mustang1989
Well-Known Member
- Joined
- Aug 6, 2022
- Messages
- 552
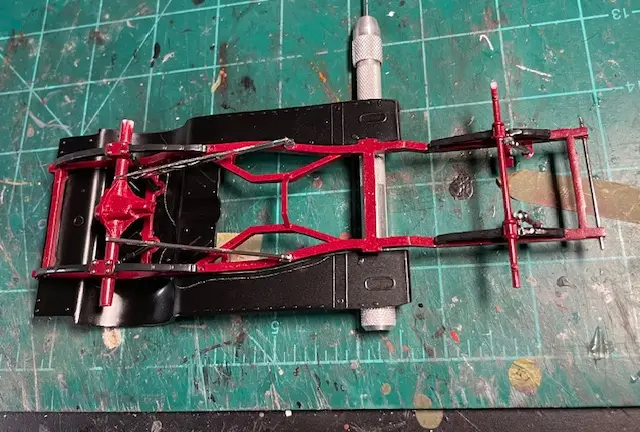
Looks like the Panther build that I have been on for a while now is in the final stages of completion and I'm moving at a snail's pace on it trying to get everything done as good as possible after spending so much time on it. With that being said, I wanted to venture back into familiar territory with an automotive build that I can use a bit of artistic license on and still get this done in a 3–5-month time span.
I chose this kit because it's got a little history. I built this kit.....er actually....it was my cousins kit that he got for Christmas when I was 12 our so. Needless to say he wasn't very happy that I built it with no paint and pretty much assembled in around an hour or so.....and it looked it. lol. We've always gotten along well so it ended up being water under the bridge for him and we moved on. I plan on building this kit in the maroon color scheme that you'll see on the box top but adding a good set of wheels and tires to replace the anemic wheels in the kit. I think I have got the choice down and will post up pictures when I have the wheels. I will be spending some bucks on a good set of aluminum wheels for it to set everything on this car off in a better style. I'll also be replacing the VERY basic small block Chevrolet in the kit with a 3D printed blown big block Chevrolet and adding a few details along the way. My aim here is to have some good fun and make a decent turn out of this kit from memory lane.


I chose this kit because it's got a little history. I built this kit.....er actually....it was my cousins kit that he got for Christmas when I was 12 our so. Needless to say he wasn't very happy that I built it with no paint and pretty much assembled in around an hour or so.....and it looked it. lol. We've always gotten along well so it ended up being water under the bridge for him and we moved on. I plan on building this kit in the maroon color scheme that you'll see on the box top but adding a good set of wheels and tires to replace the anemic wheels in the kit. I think I have got the choice down and will post up pictures when I have the wheels. I will be spending some bucks on a good set of aluminum wheels for it to set everything on this car off in a better style. I'll also be replacing the VERY basic small block Chevrolet in the kit with a 3D printed blown big block Chevrolet and adding a few details along the way. My aim here is to have some good fun and make a decent turn out of this kit from memory lane.


![Pampers Sensitive Baby Wipes, Clinically Proven, Fragrance Free, Unscented, Water Based, Hypoallergenic, Multi-Use, Hand Wipes 336 Wipes Total (6X Flip-Top Packs) [Packaging May Vary]](https://m.media-amazon.com/images/I/41KLBHu9CAL._SL500_.jpg)