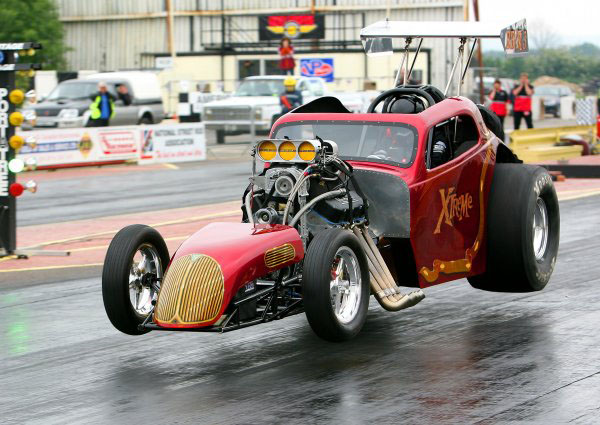
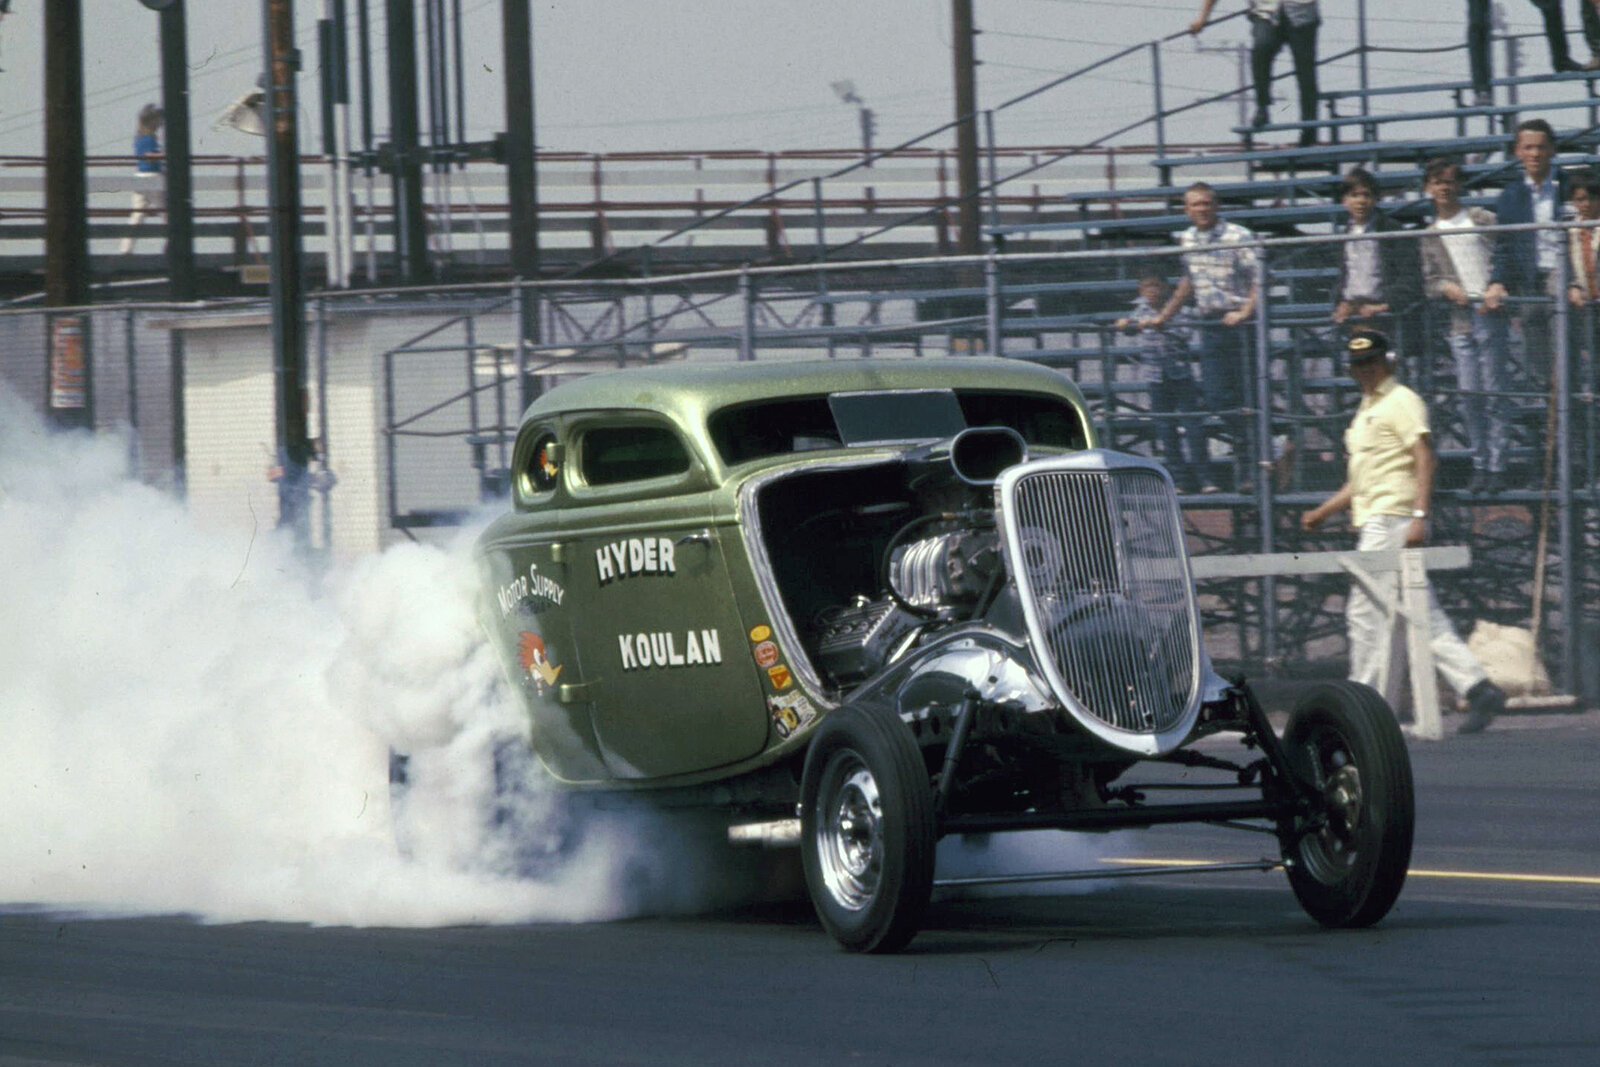
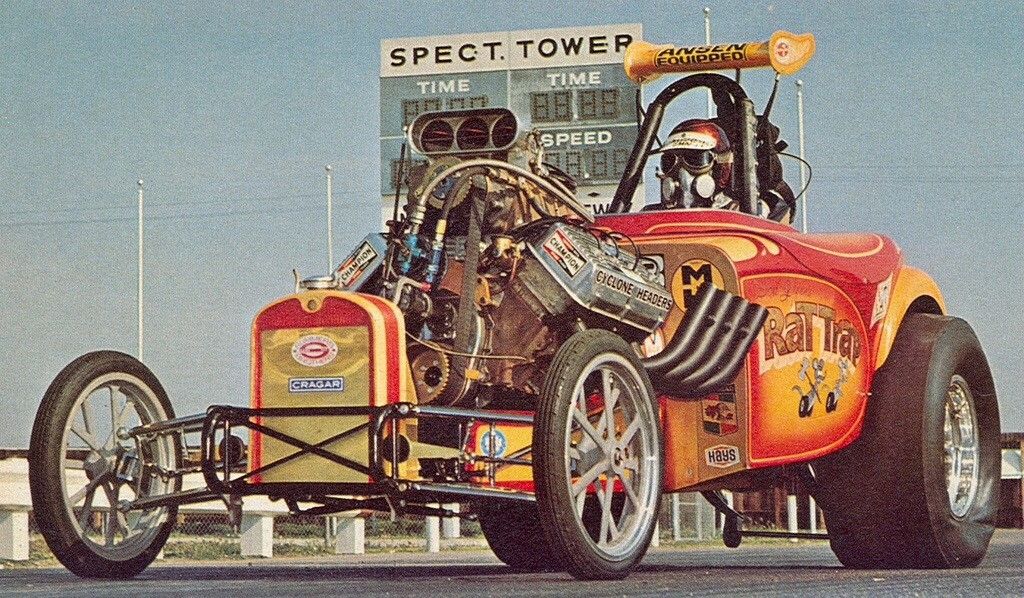
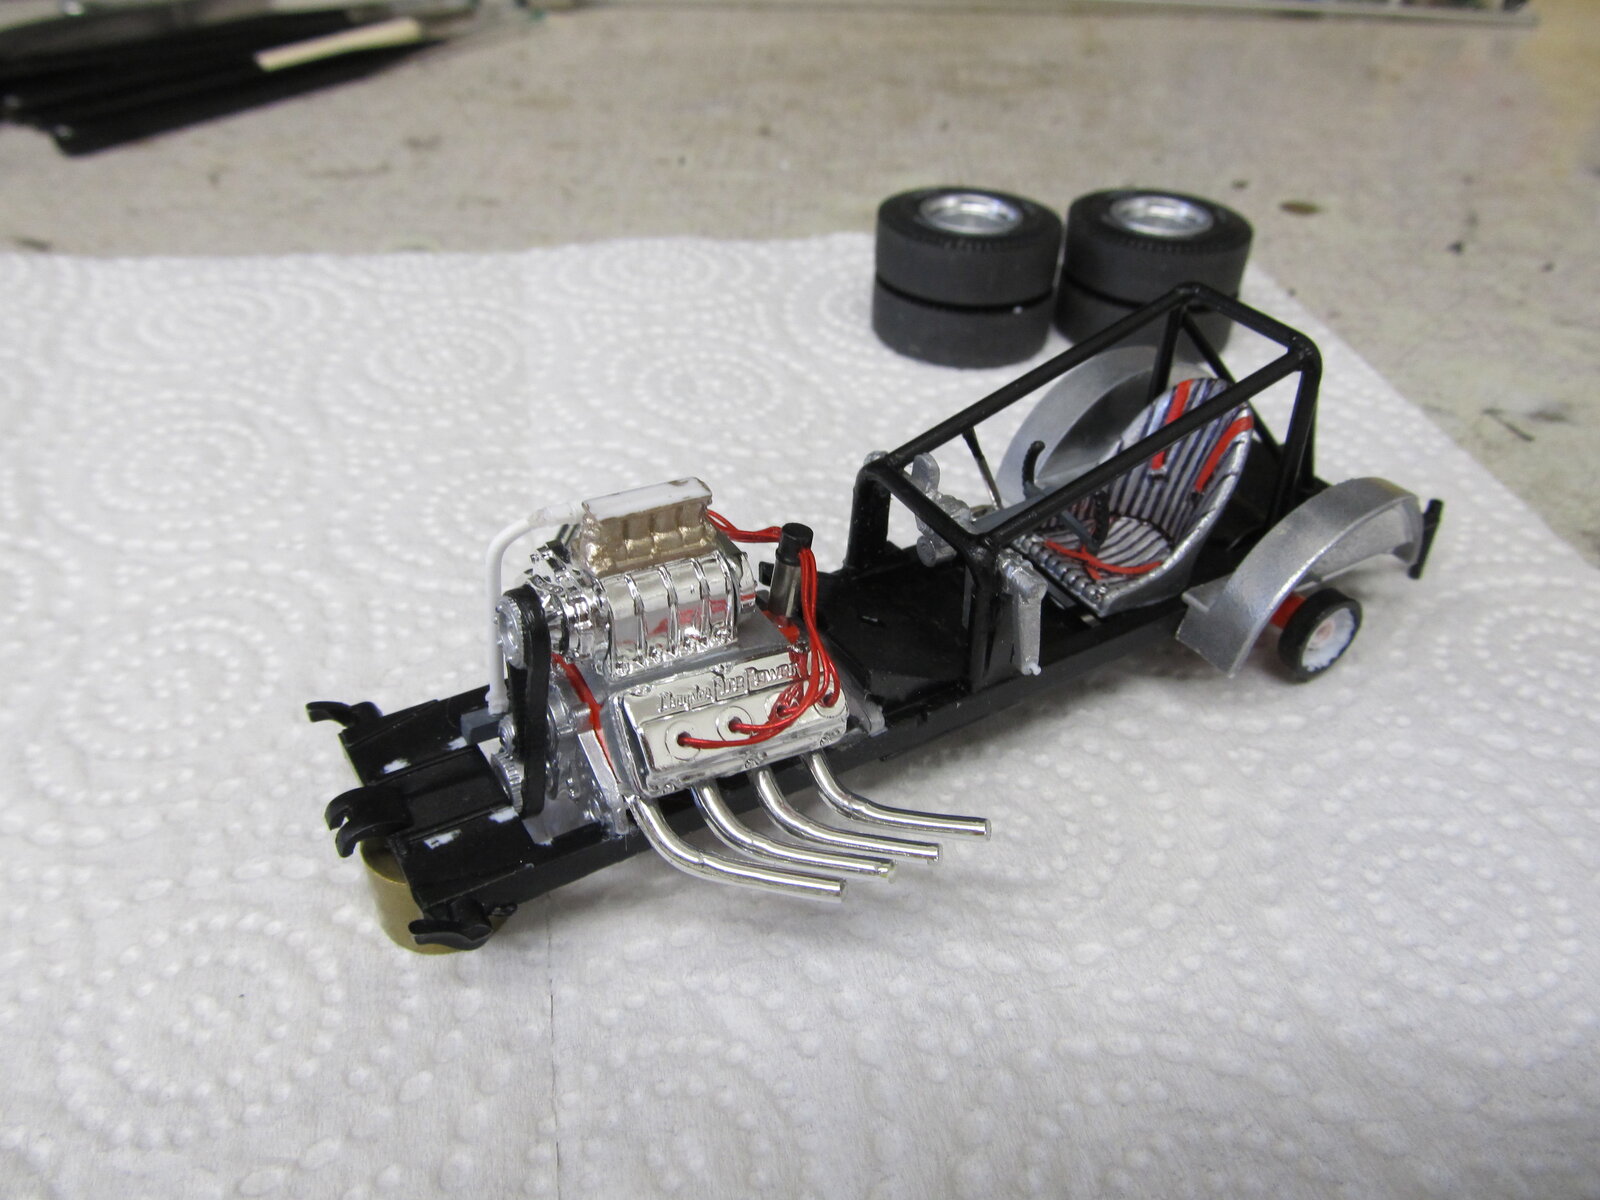
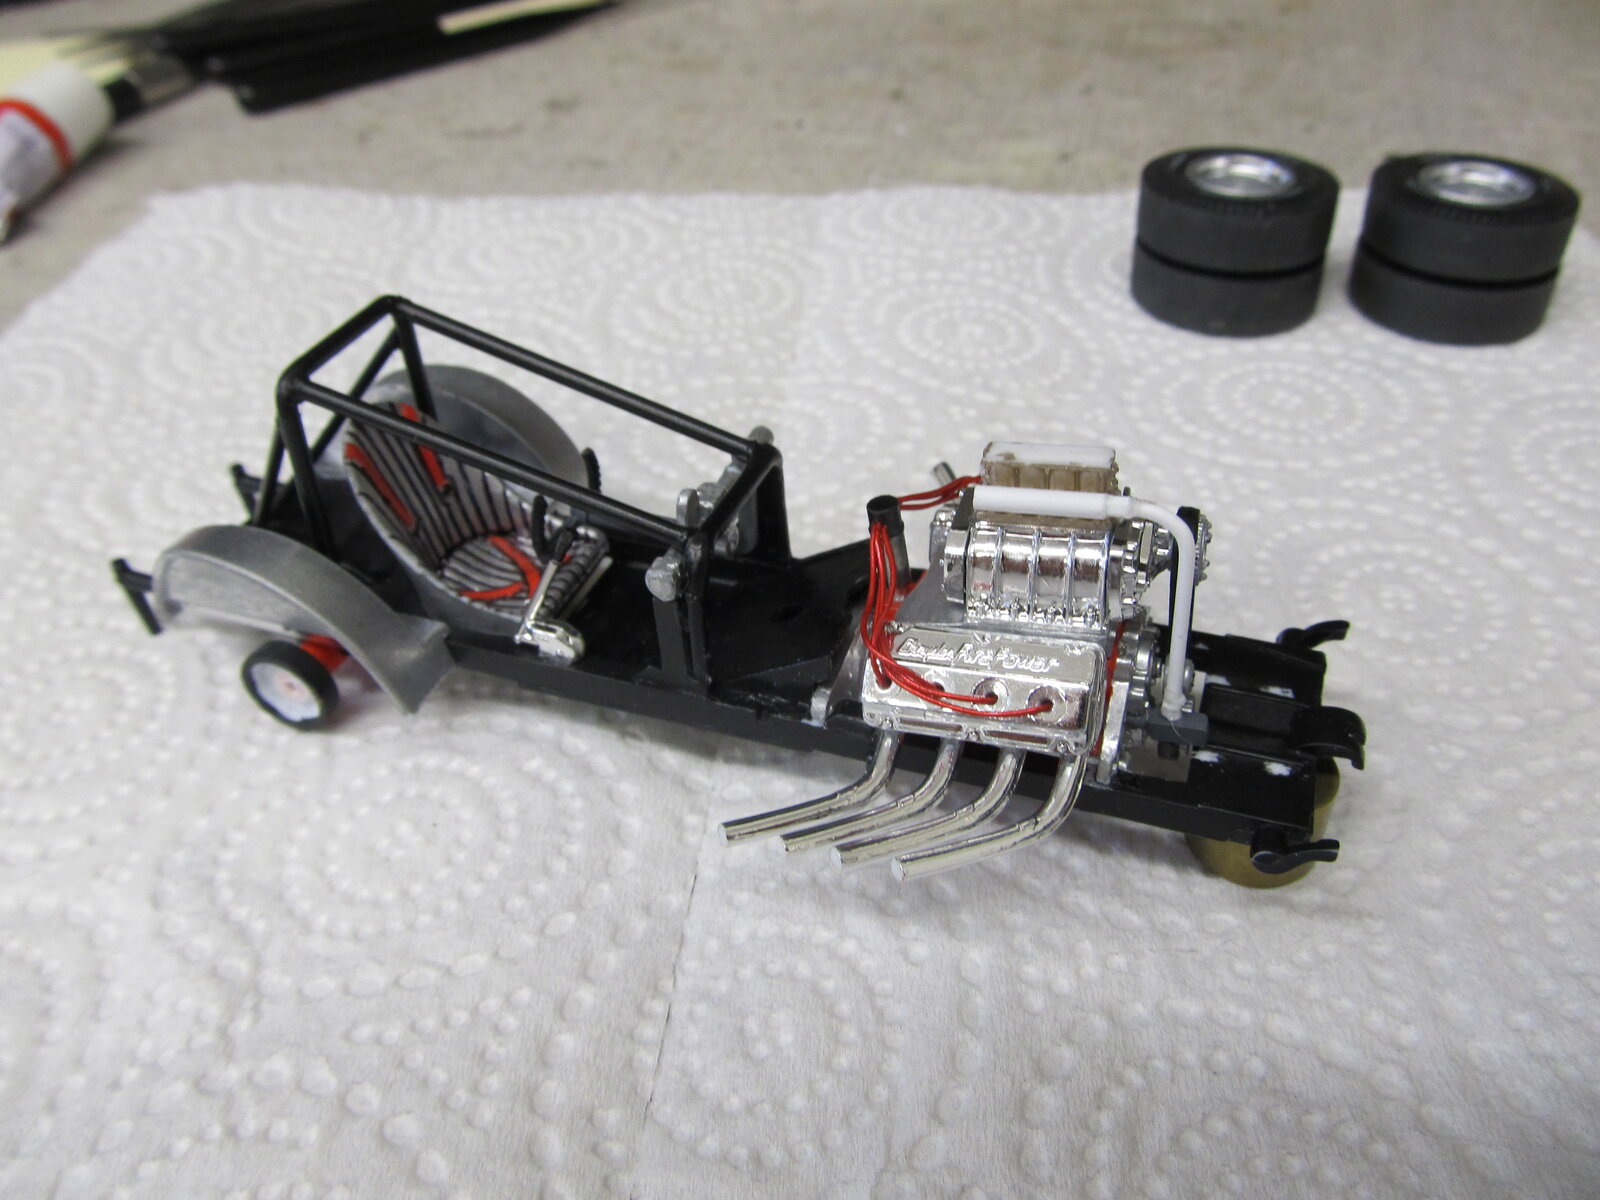
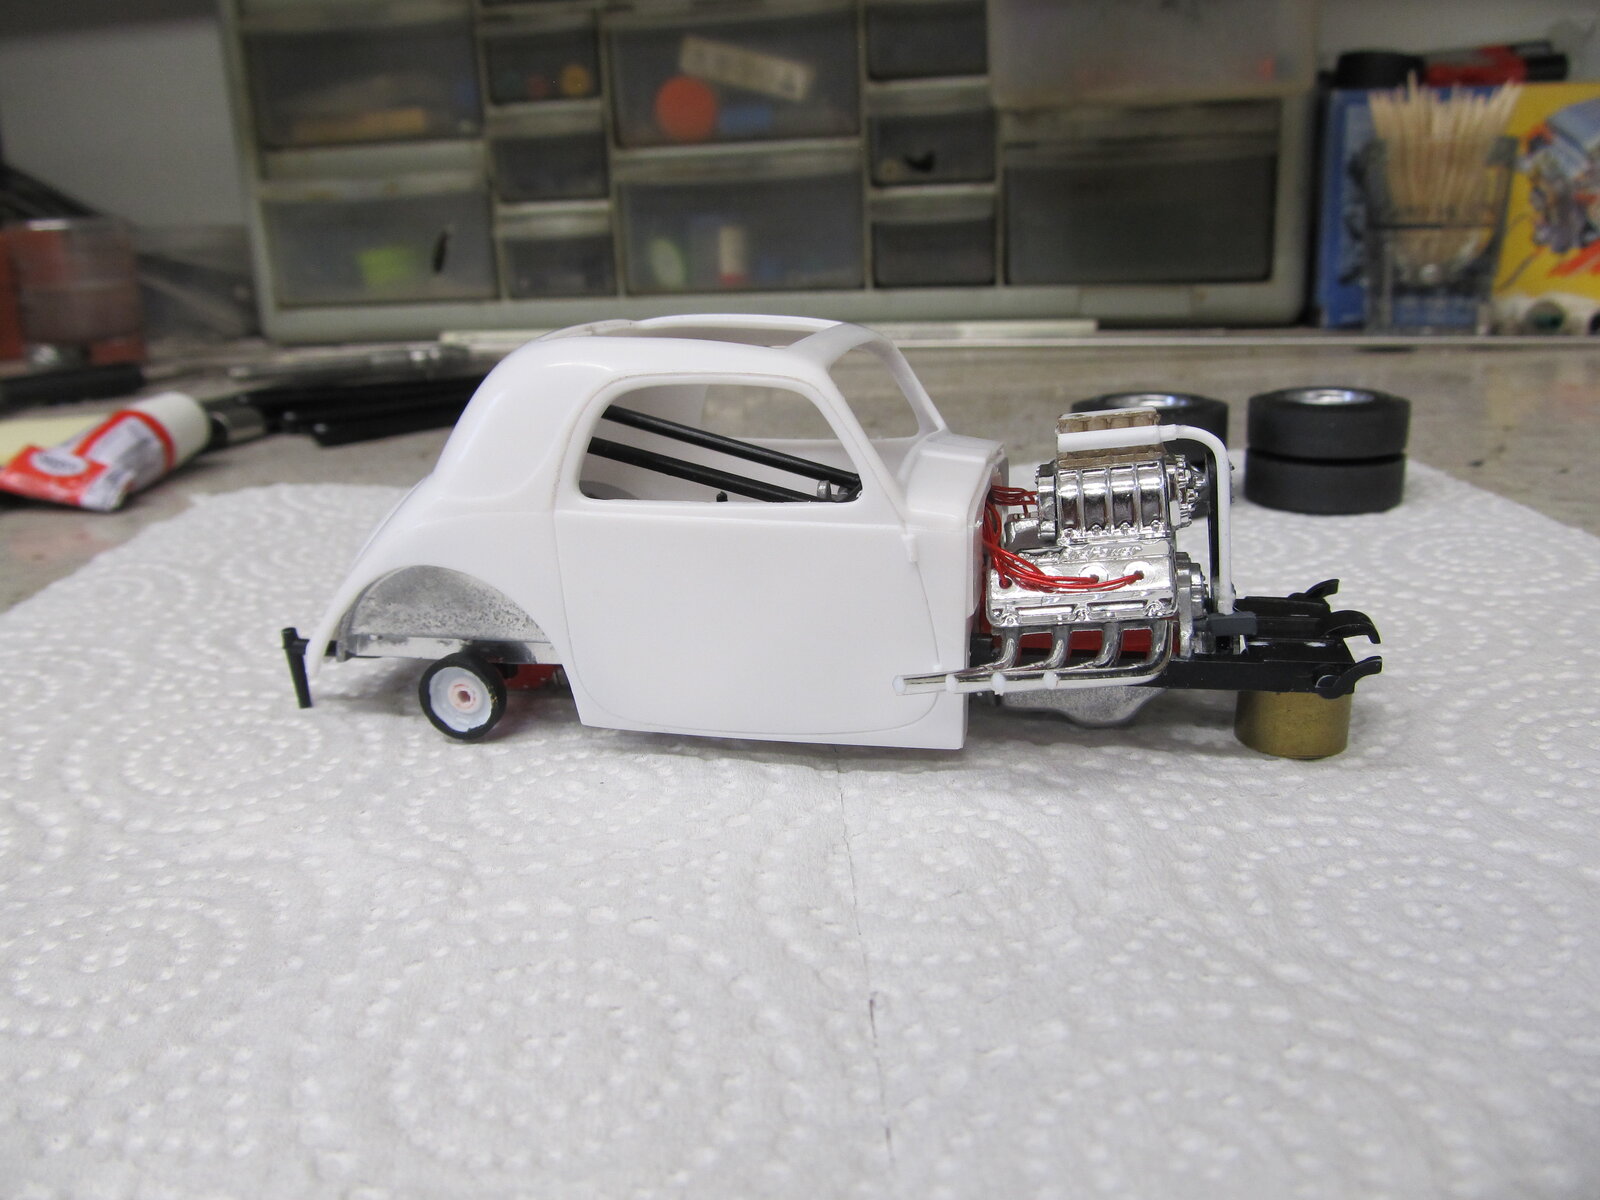
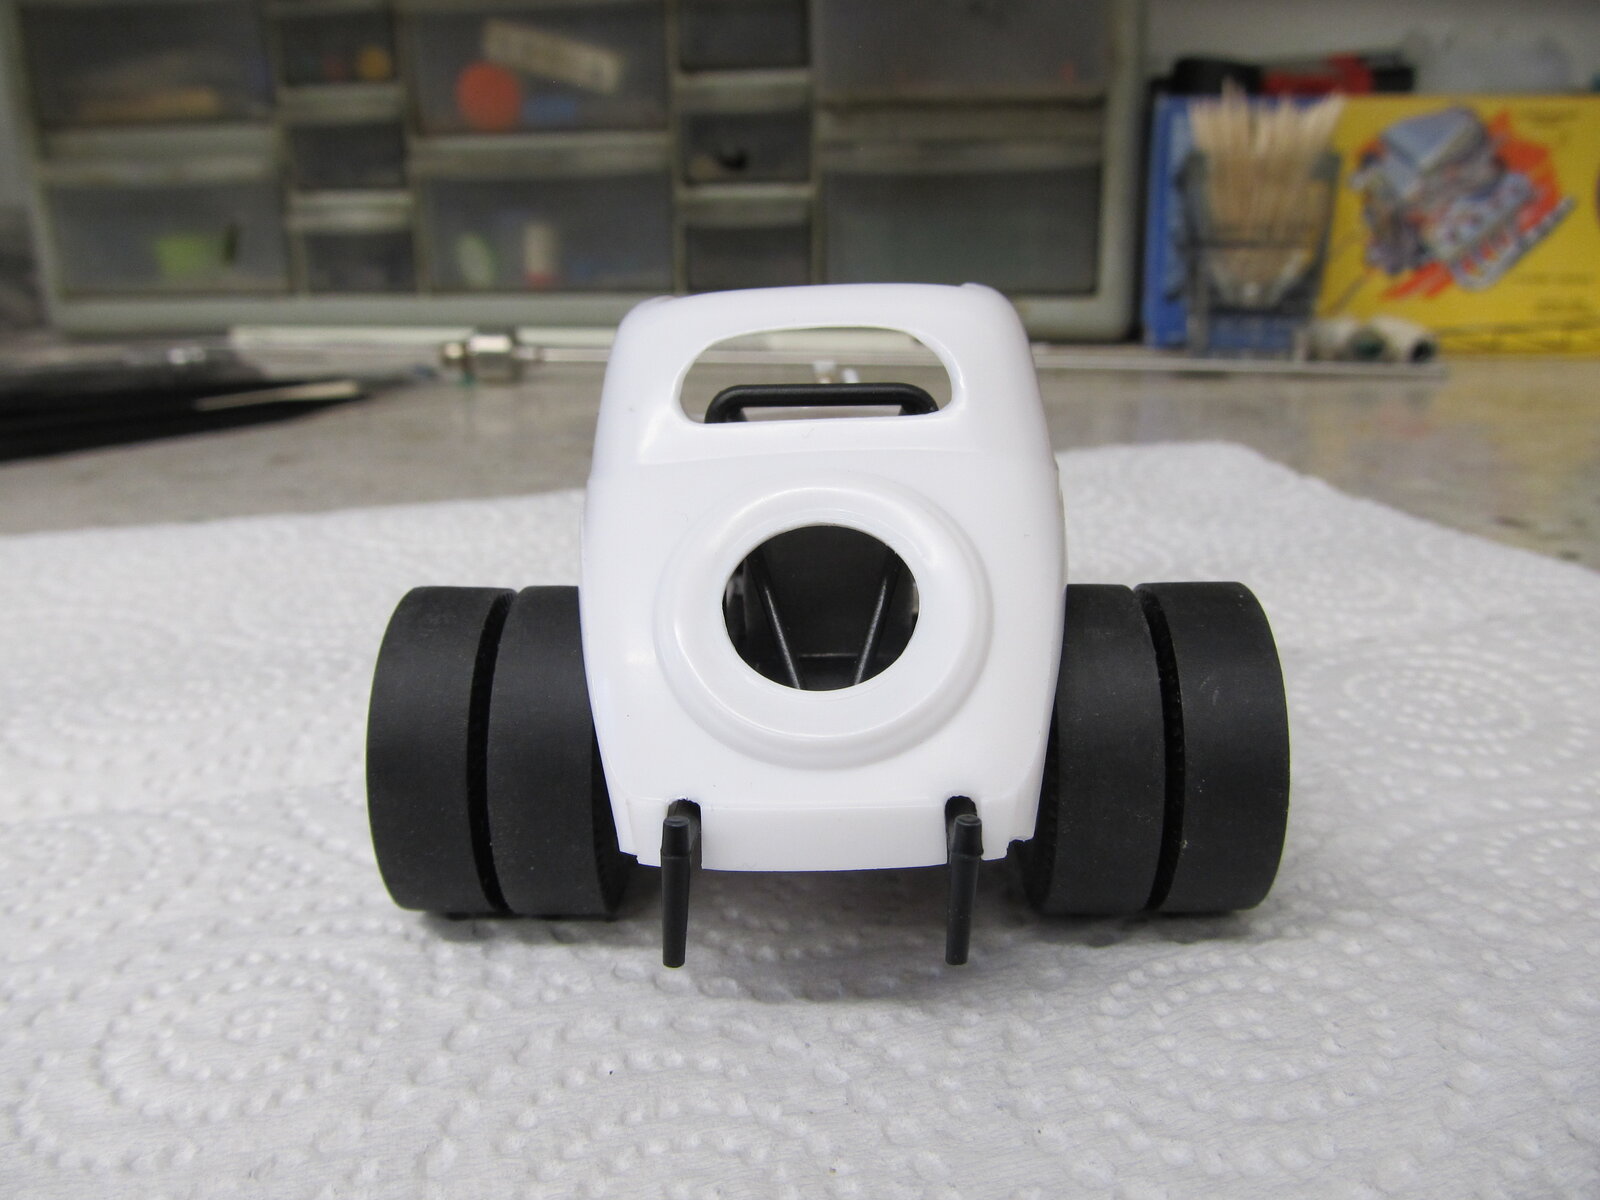
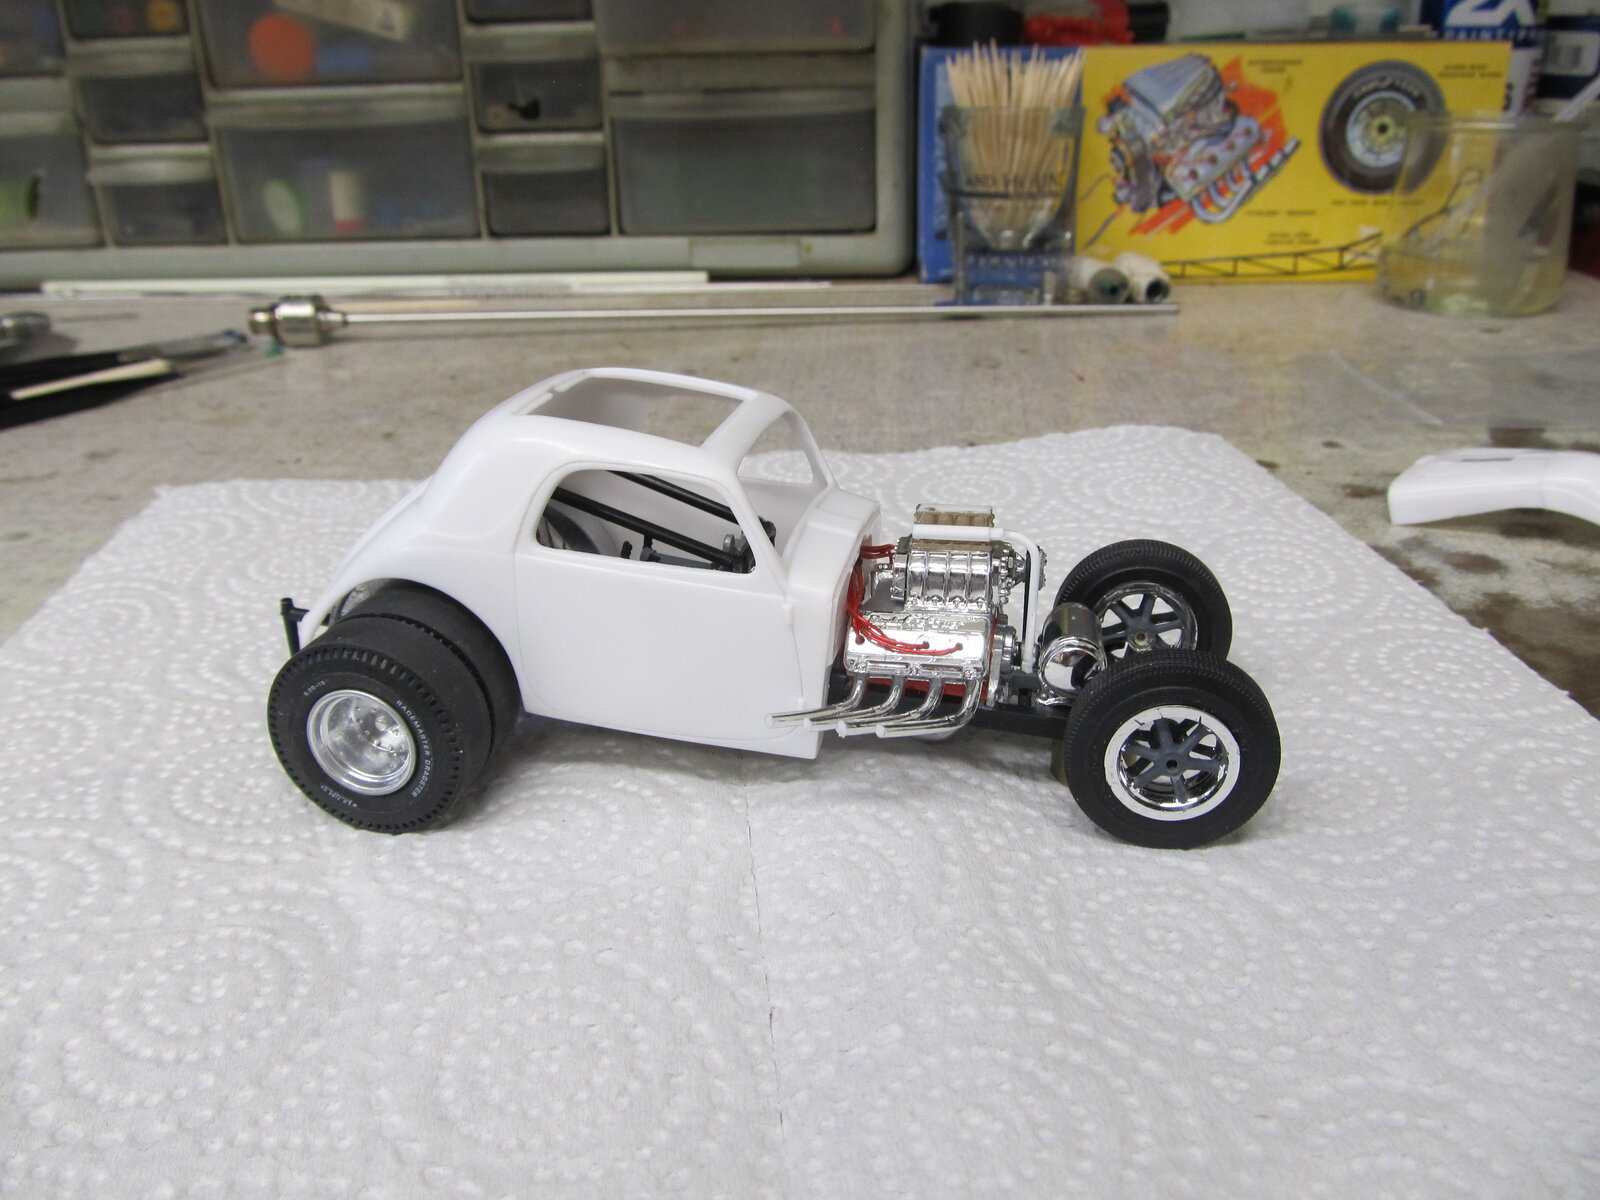
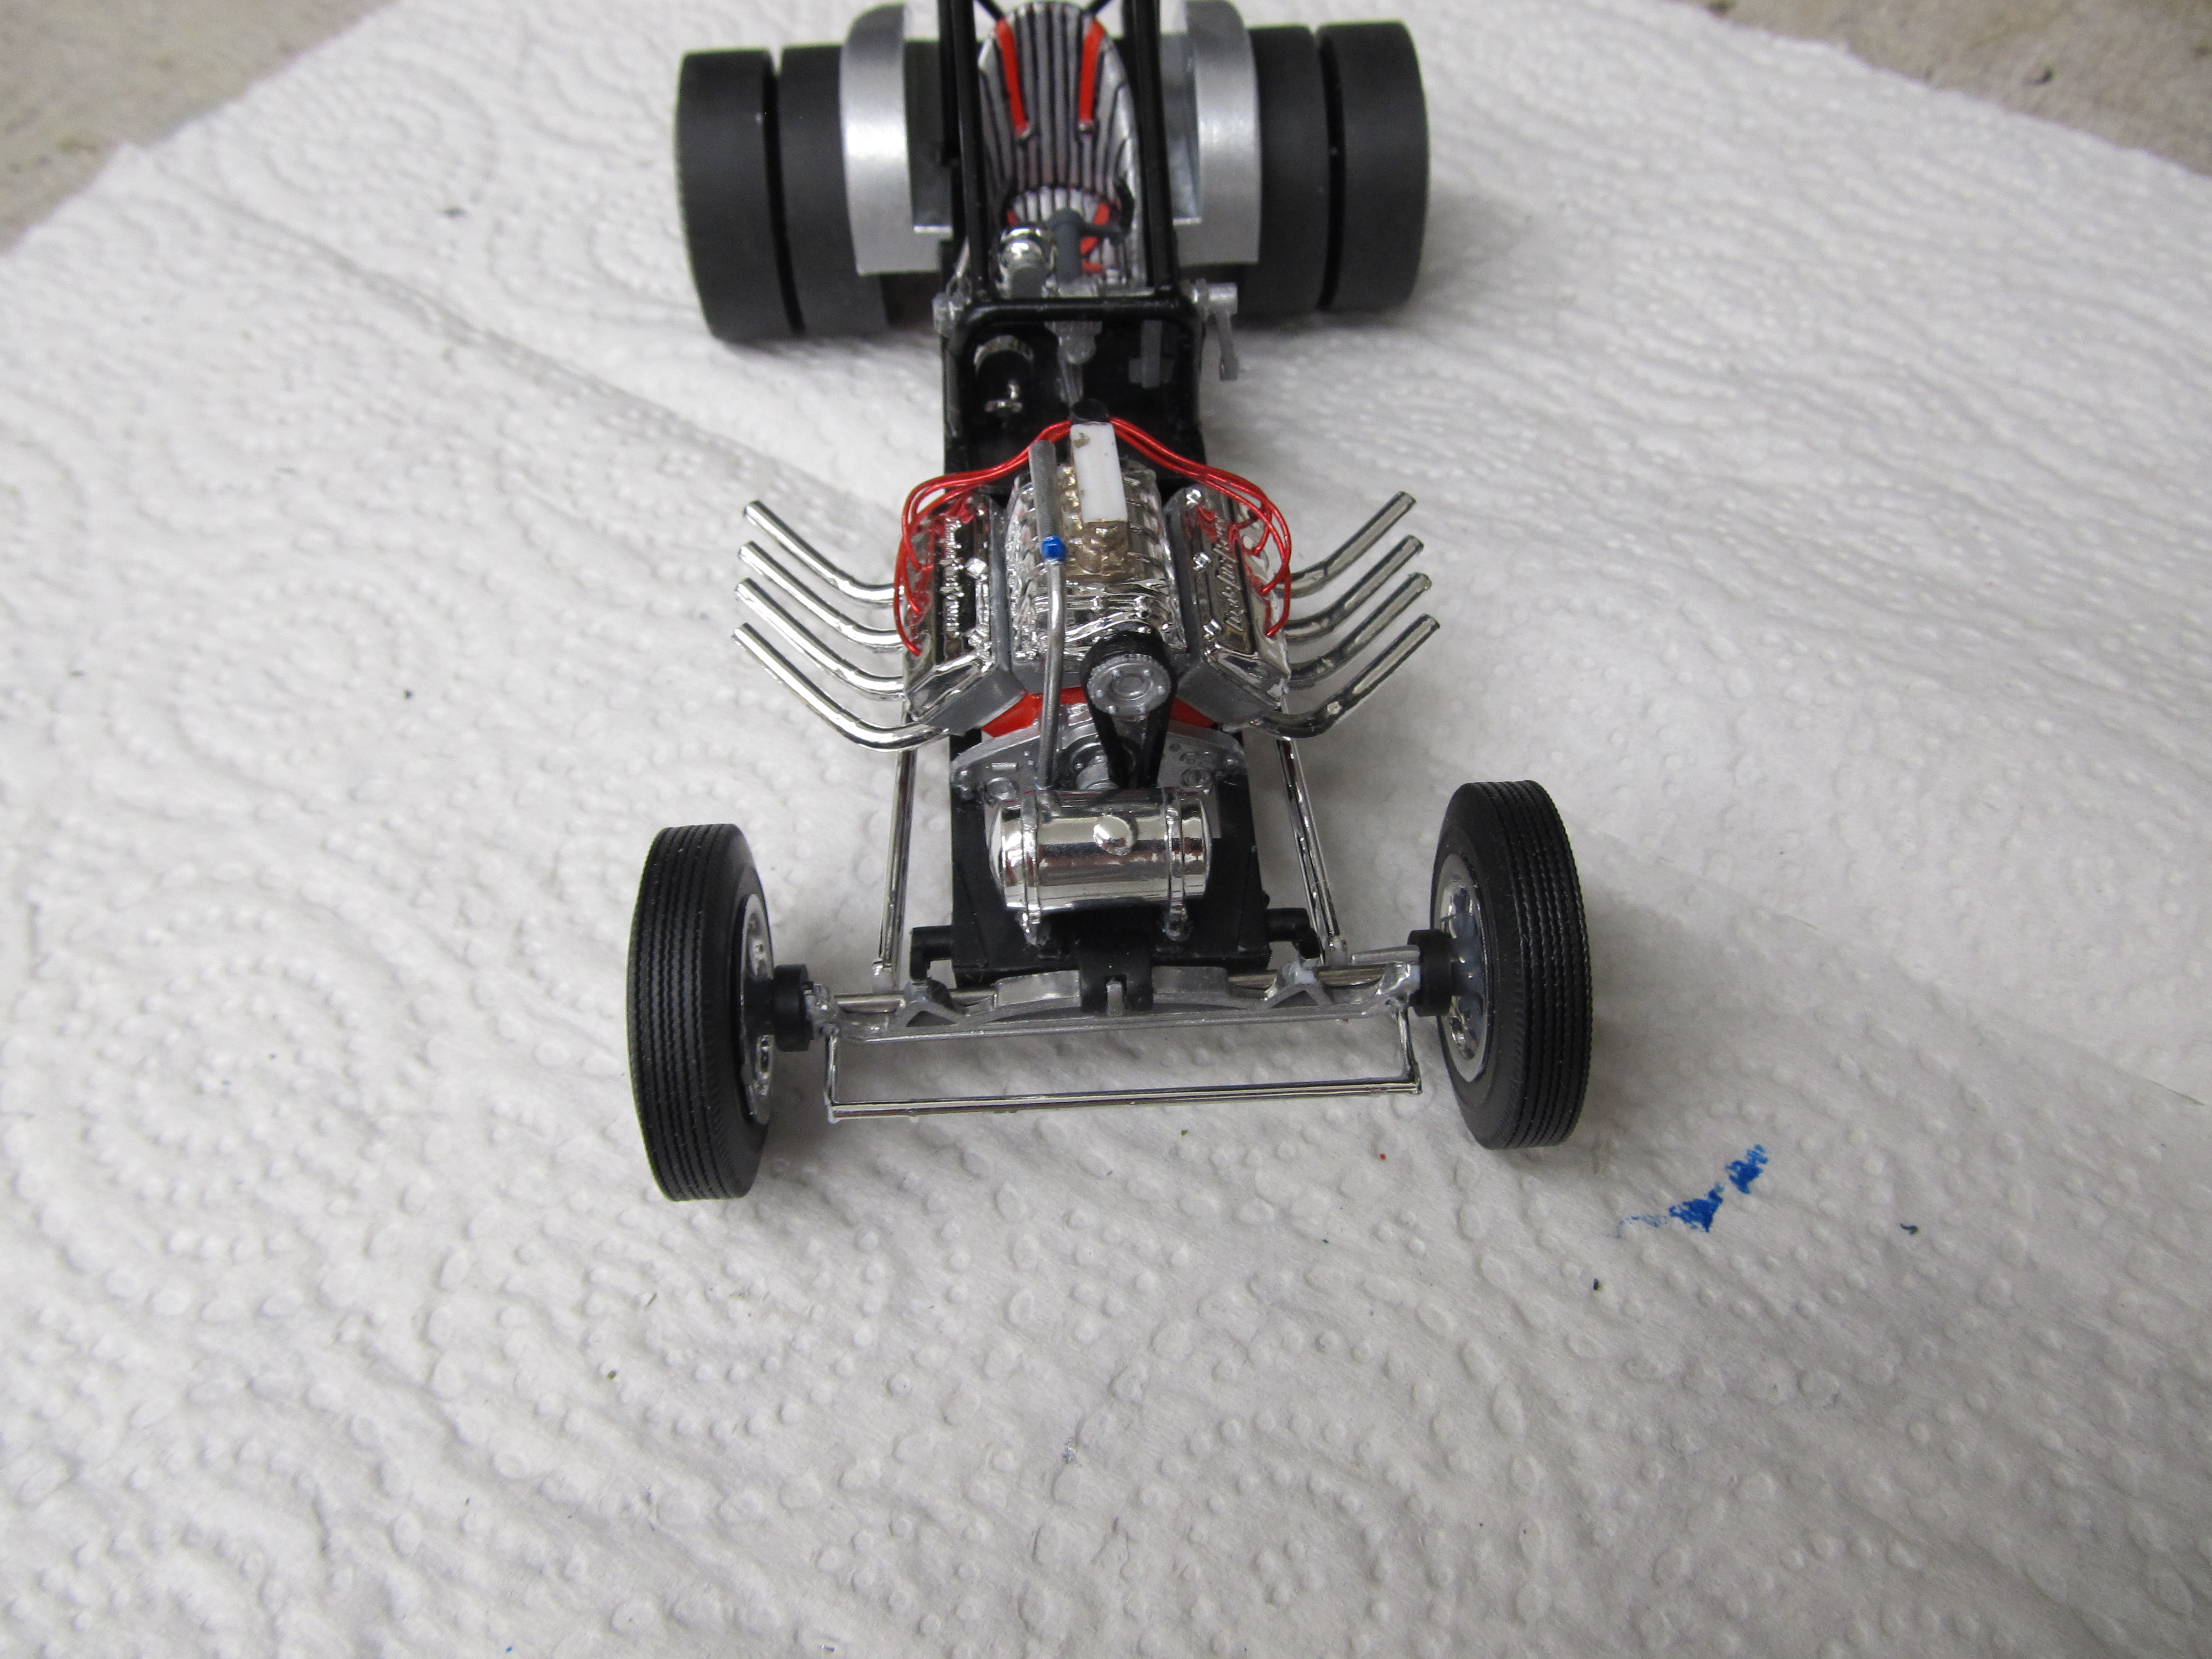
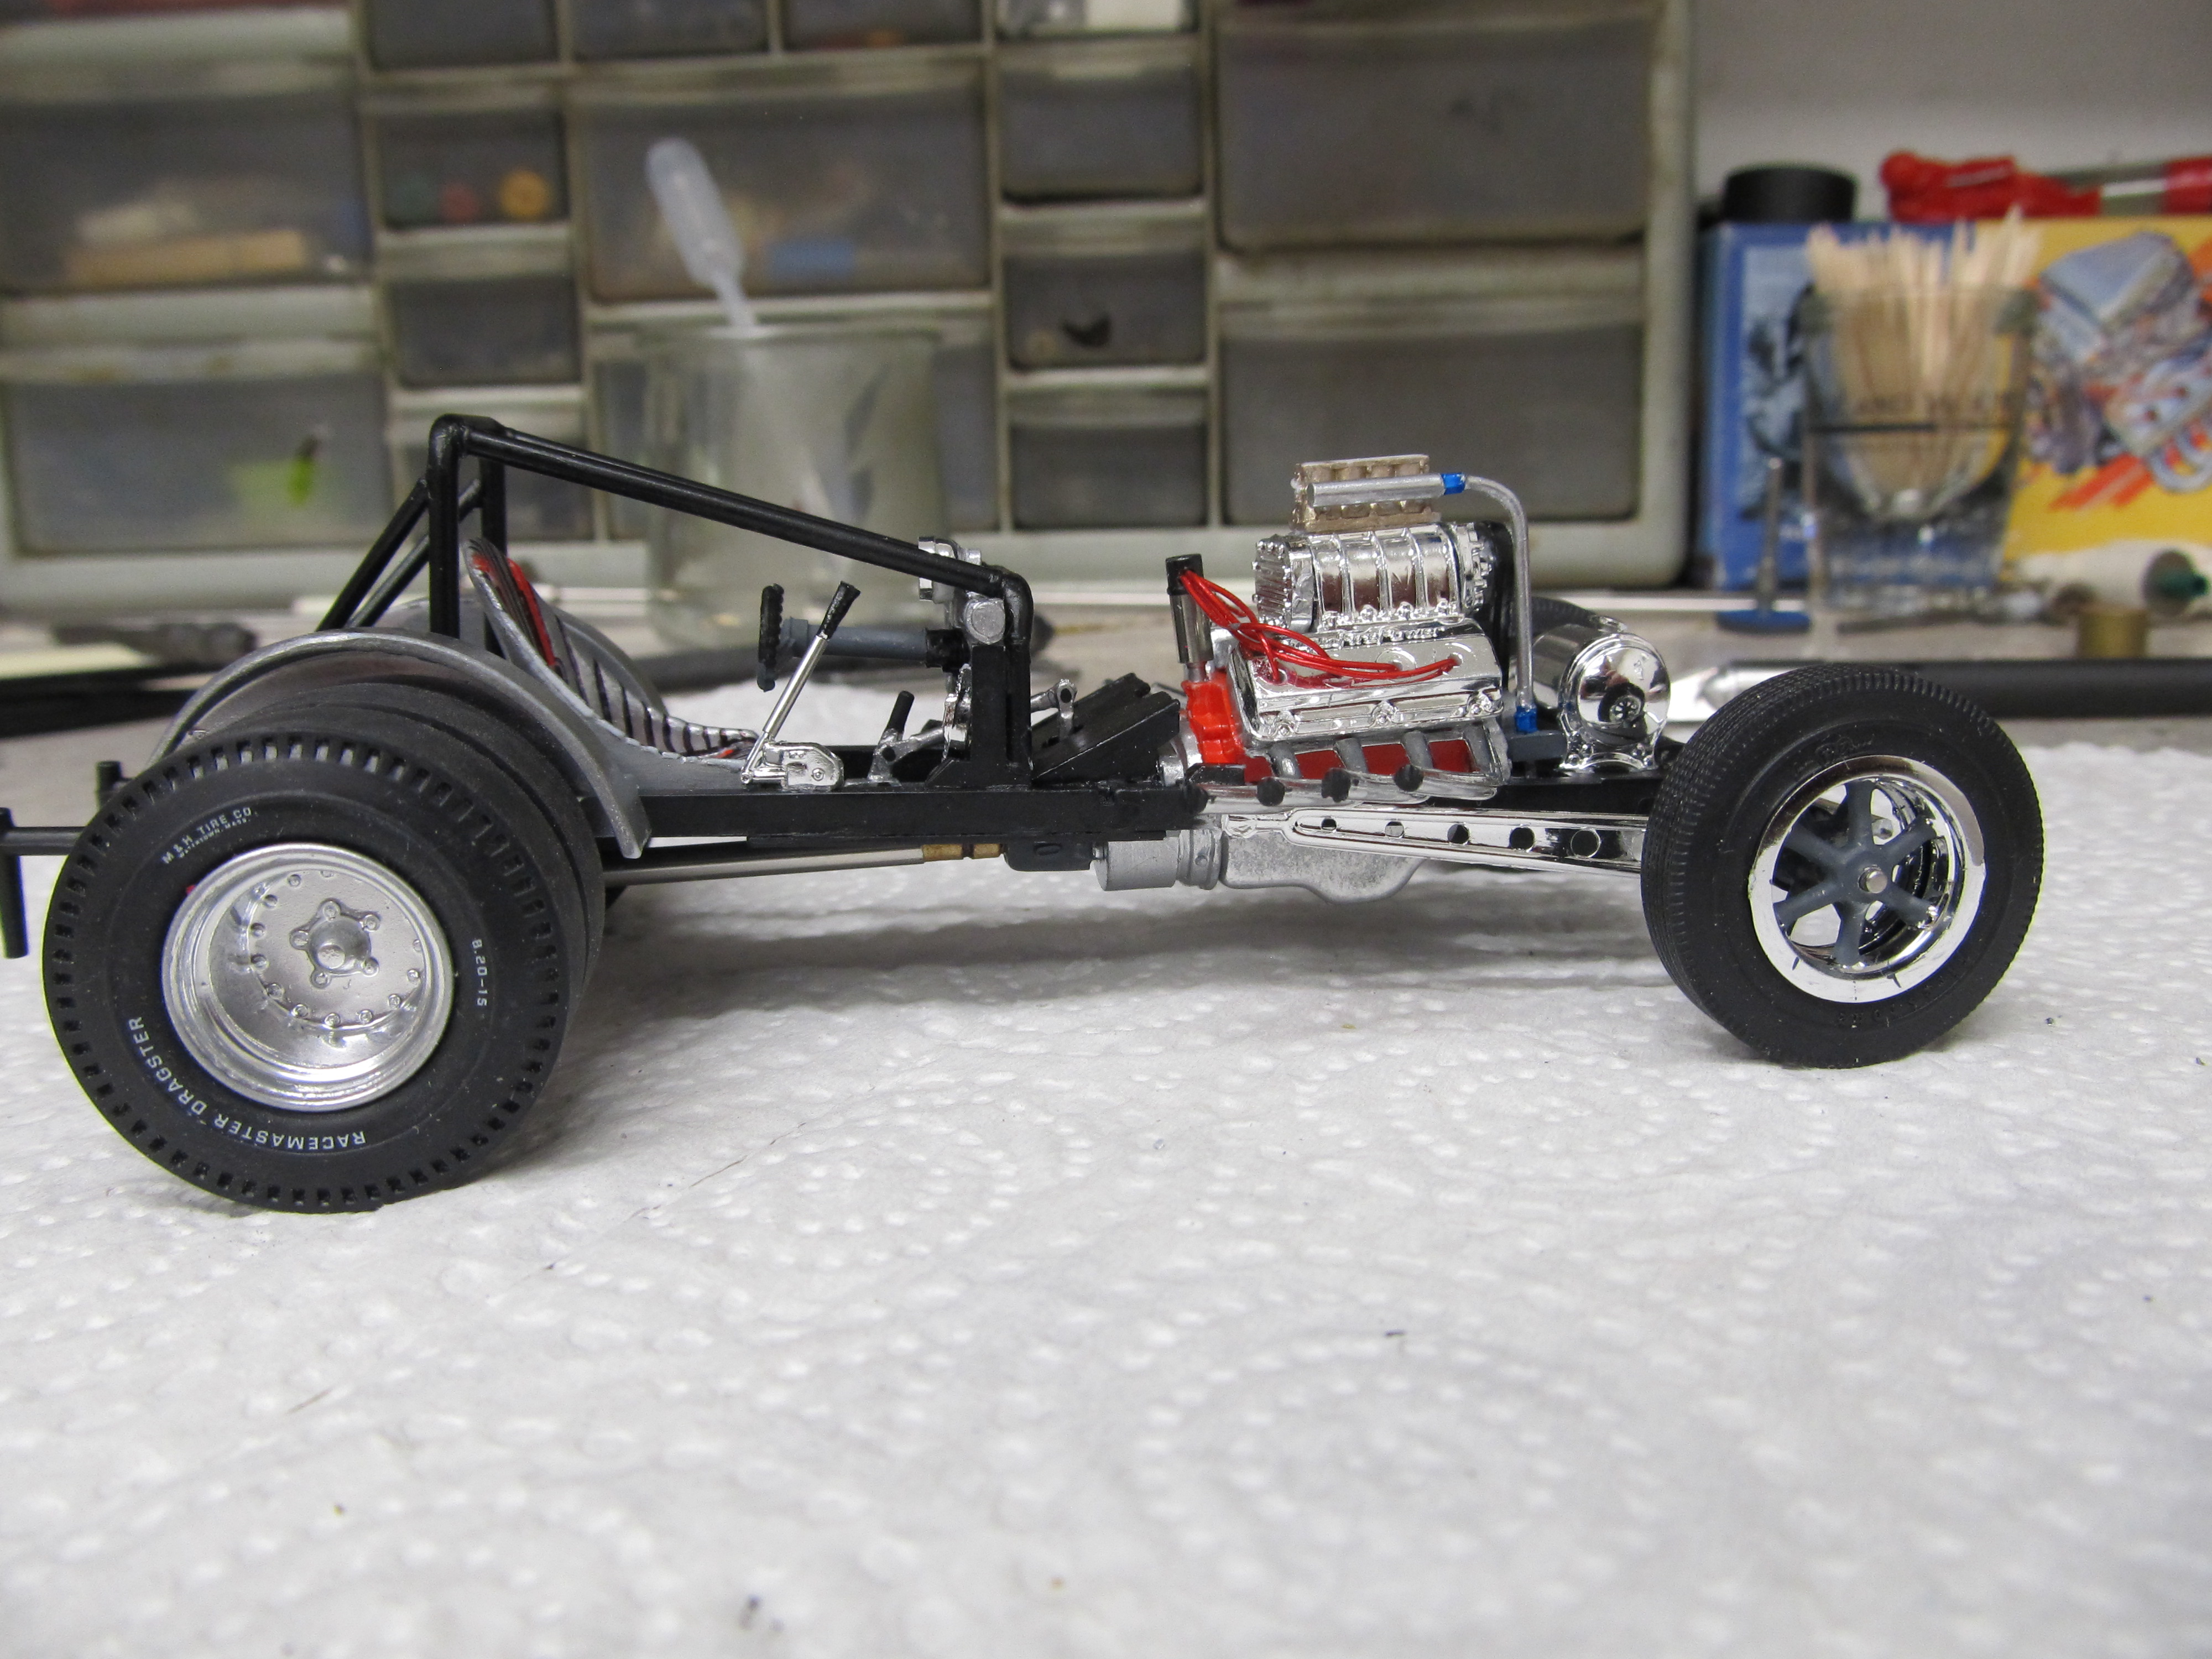
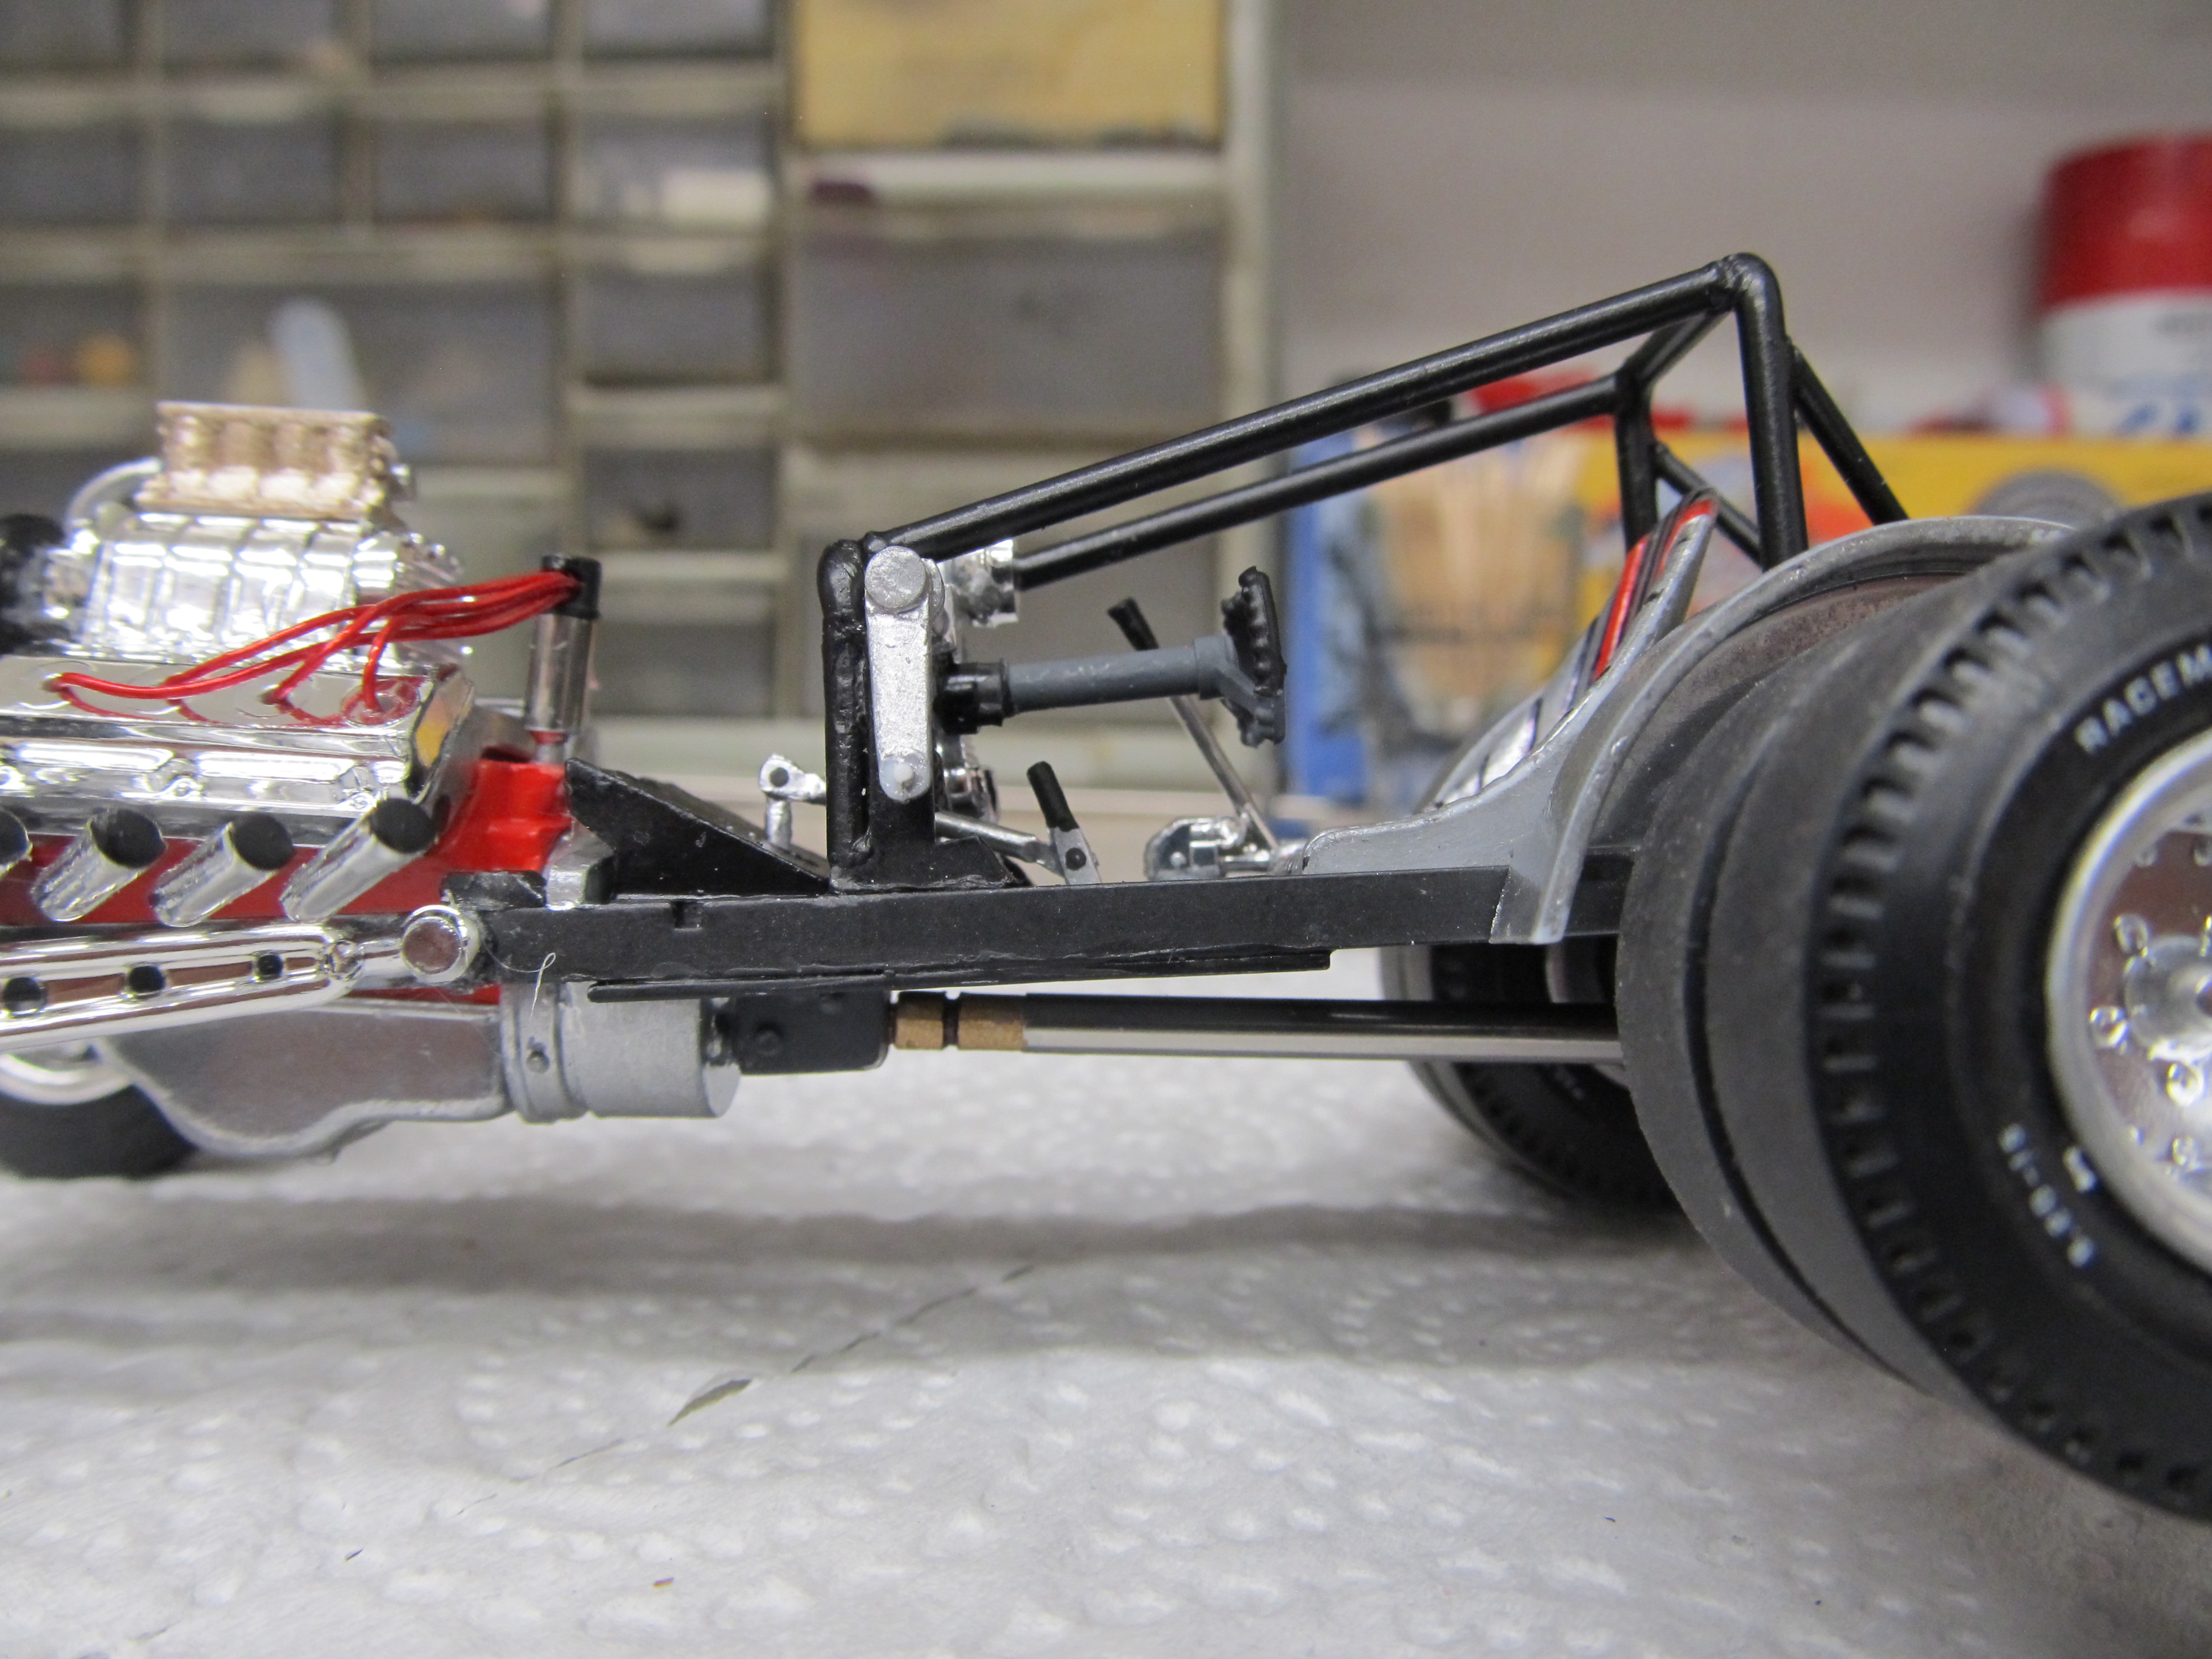
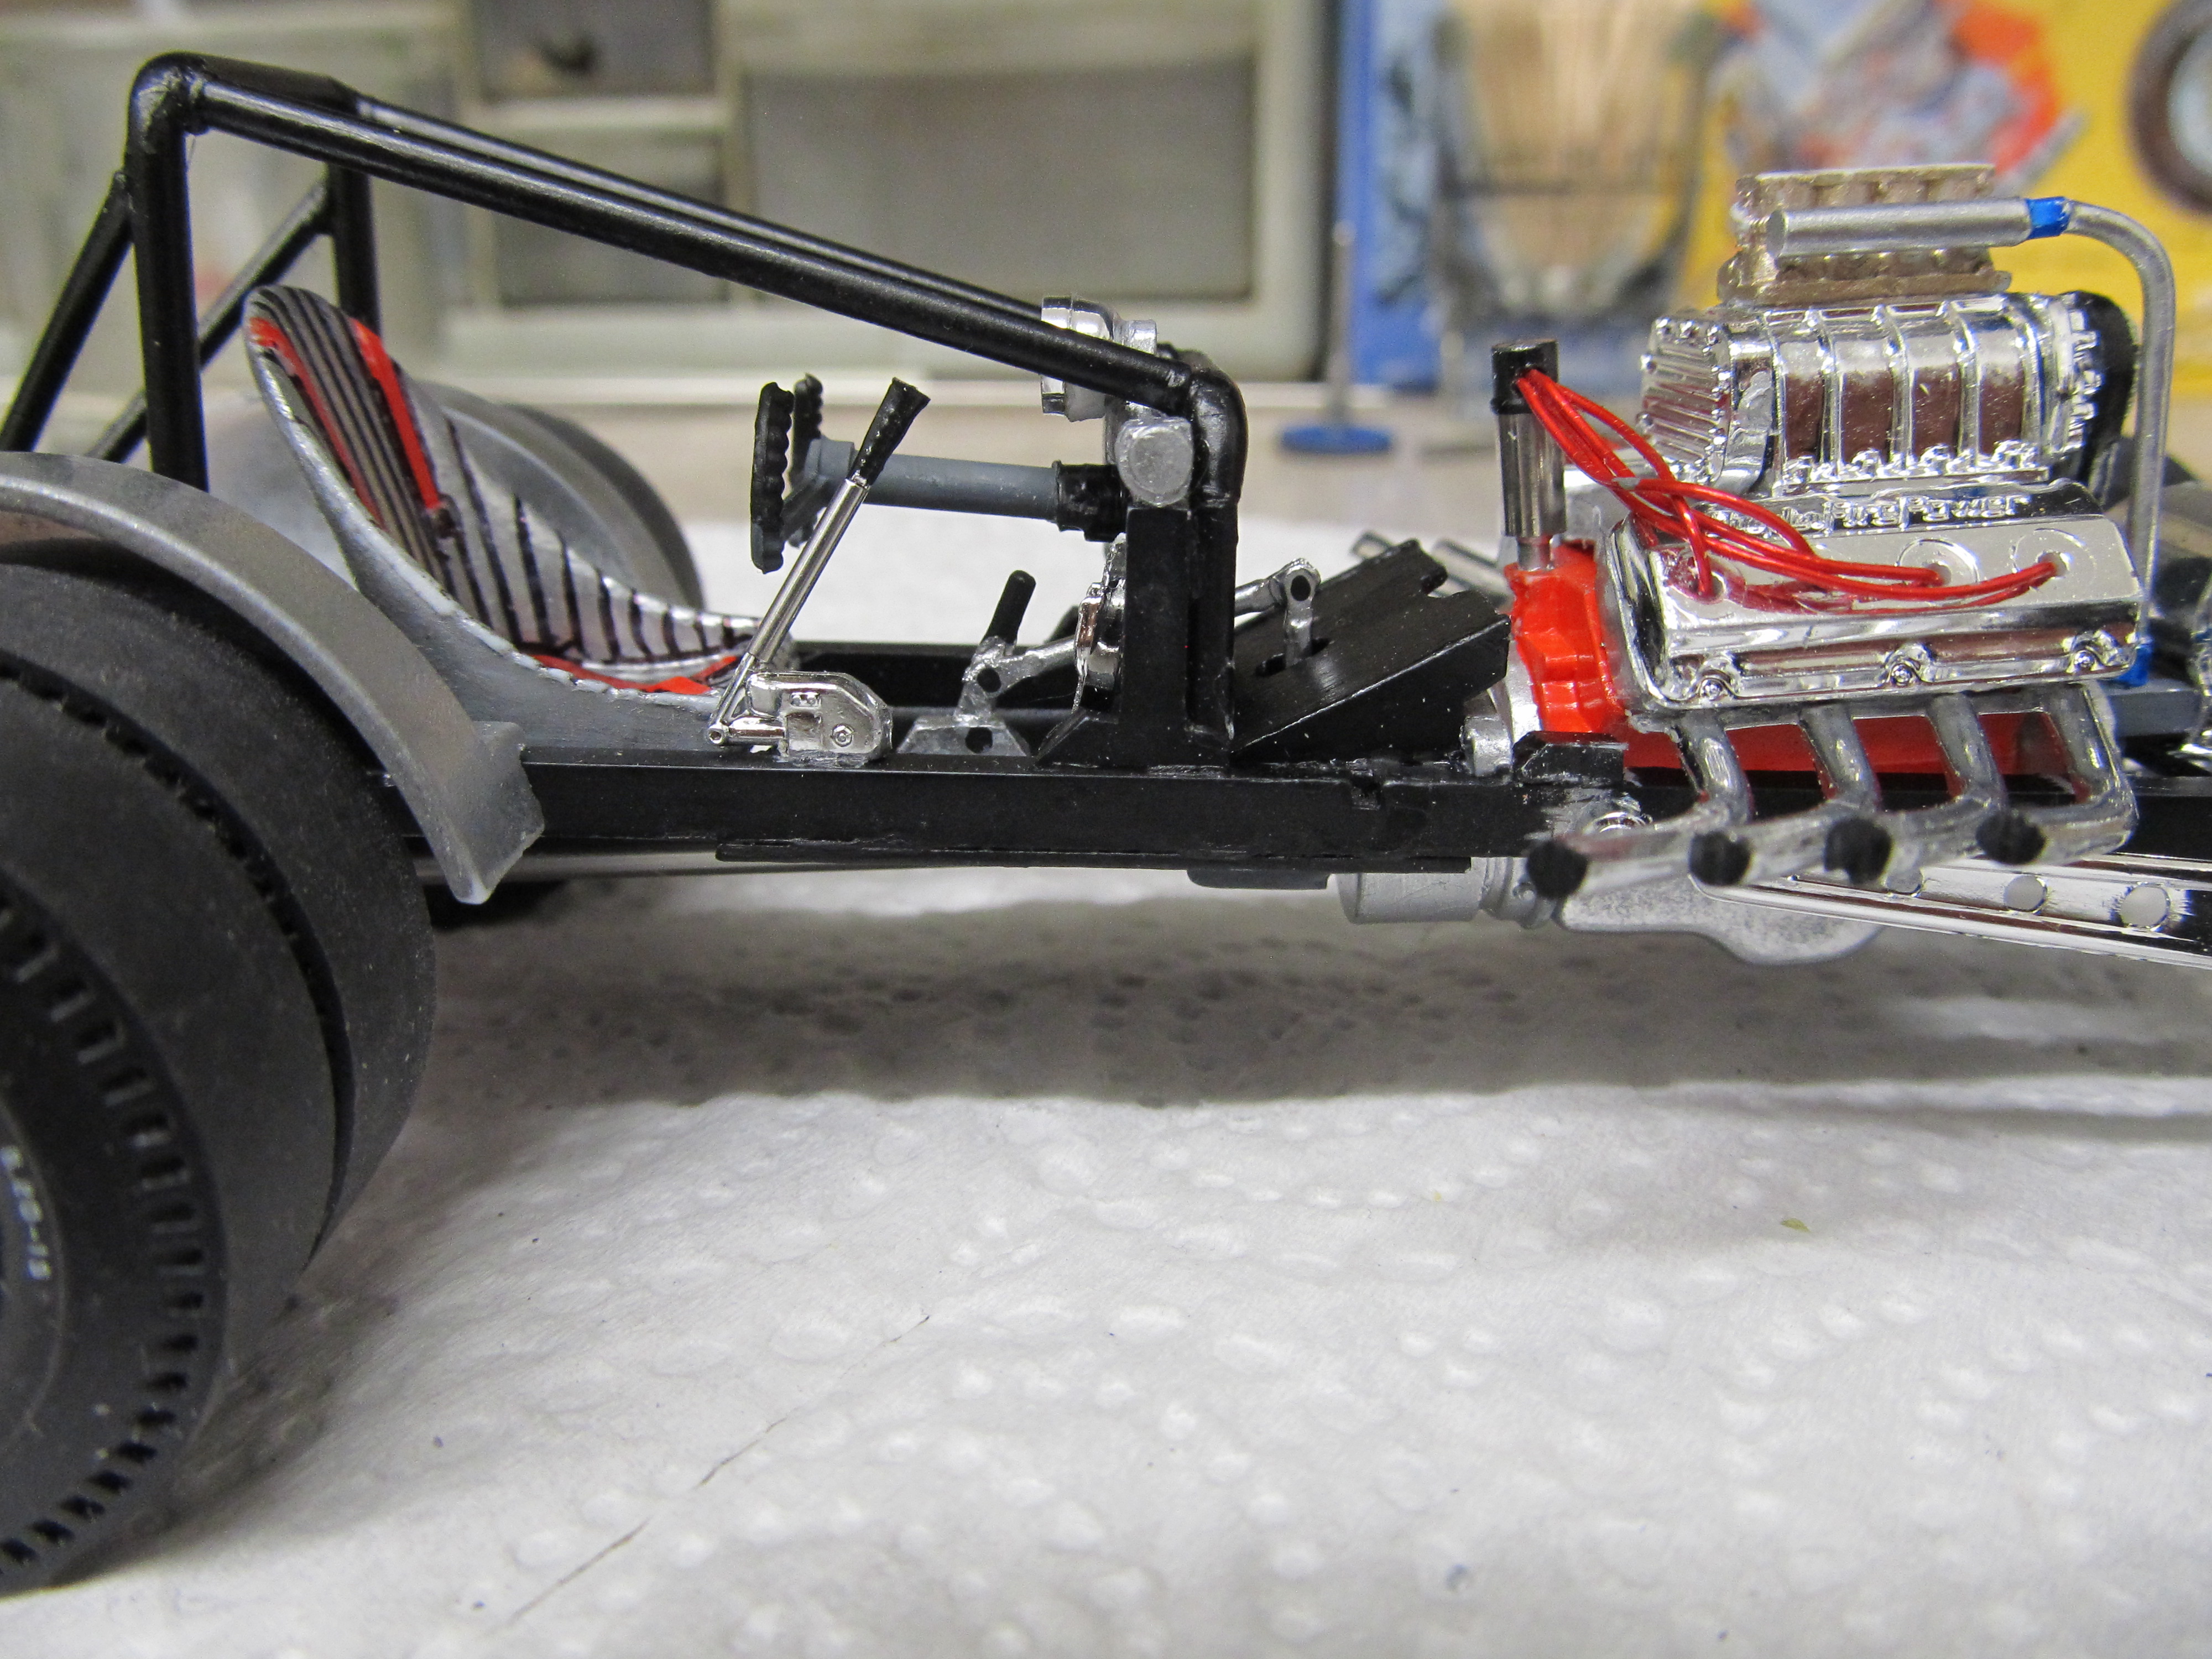
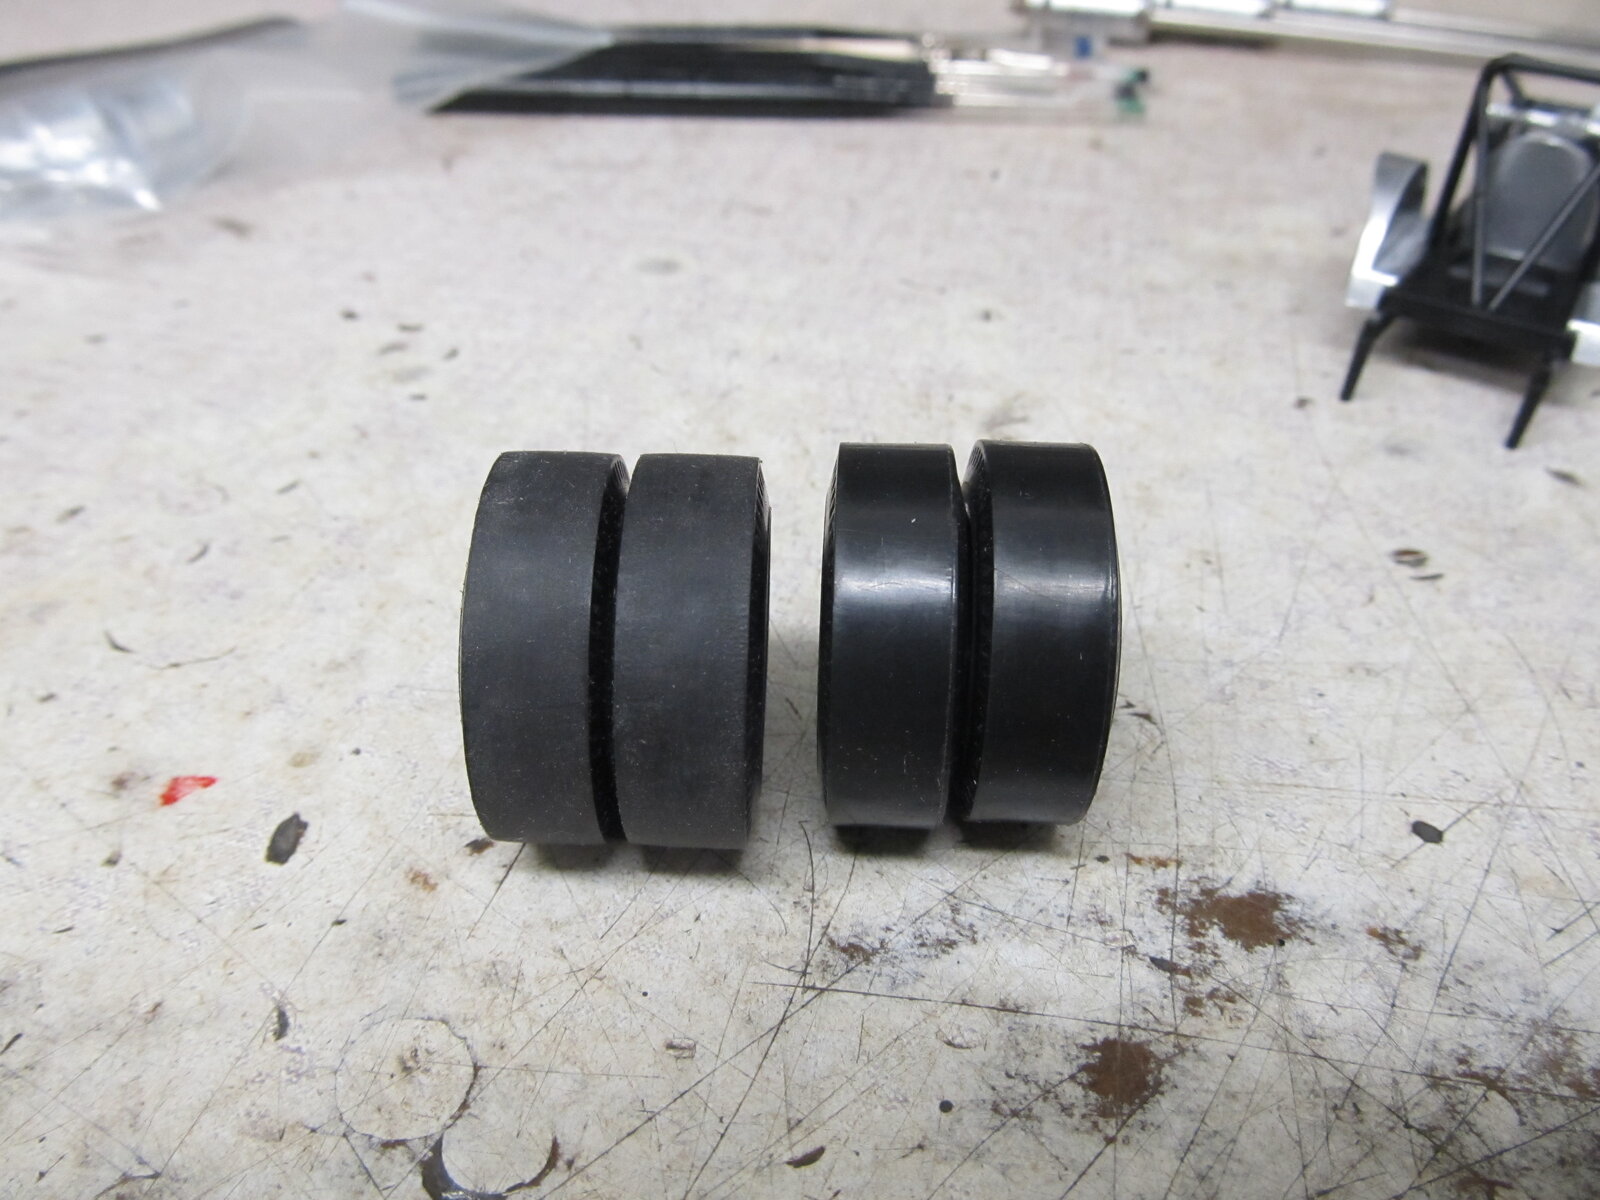
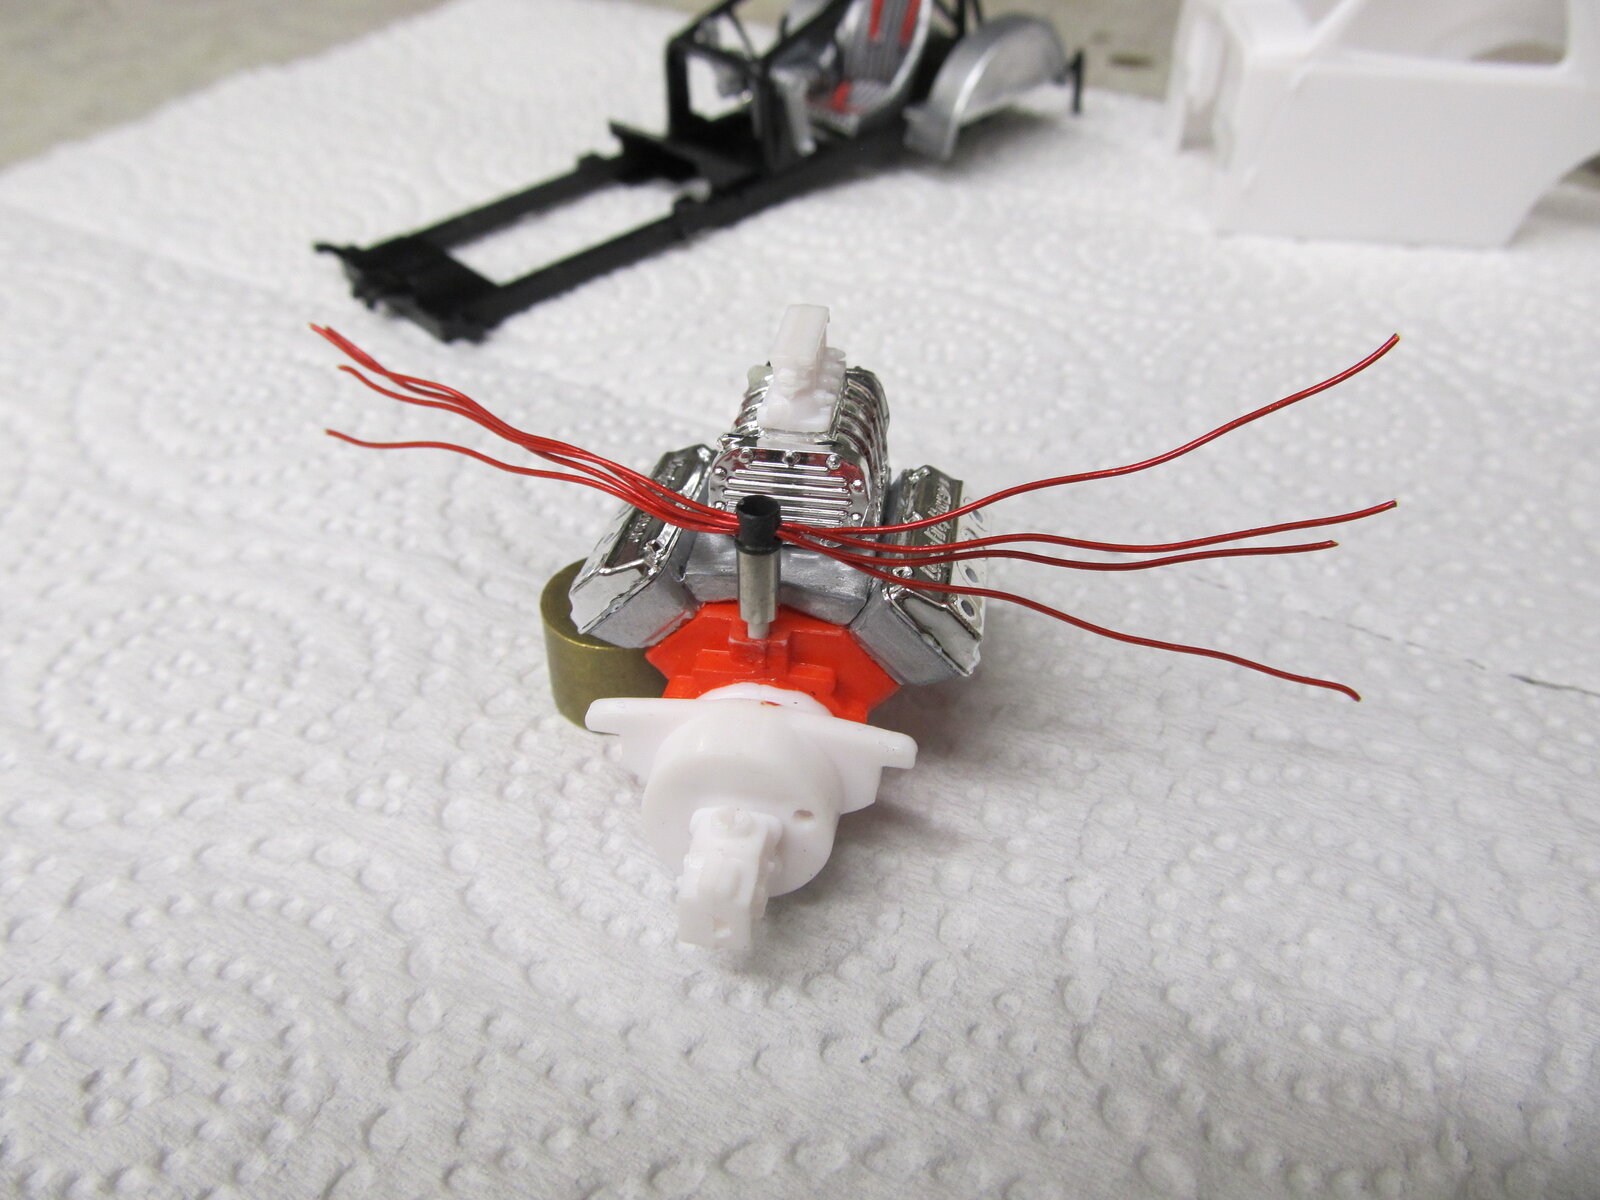
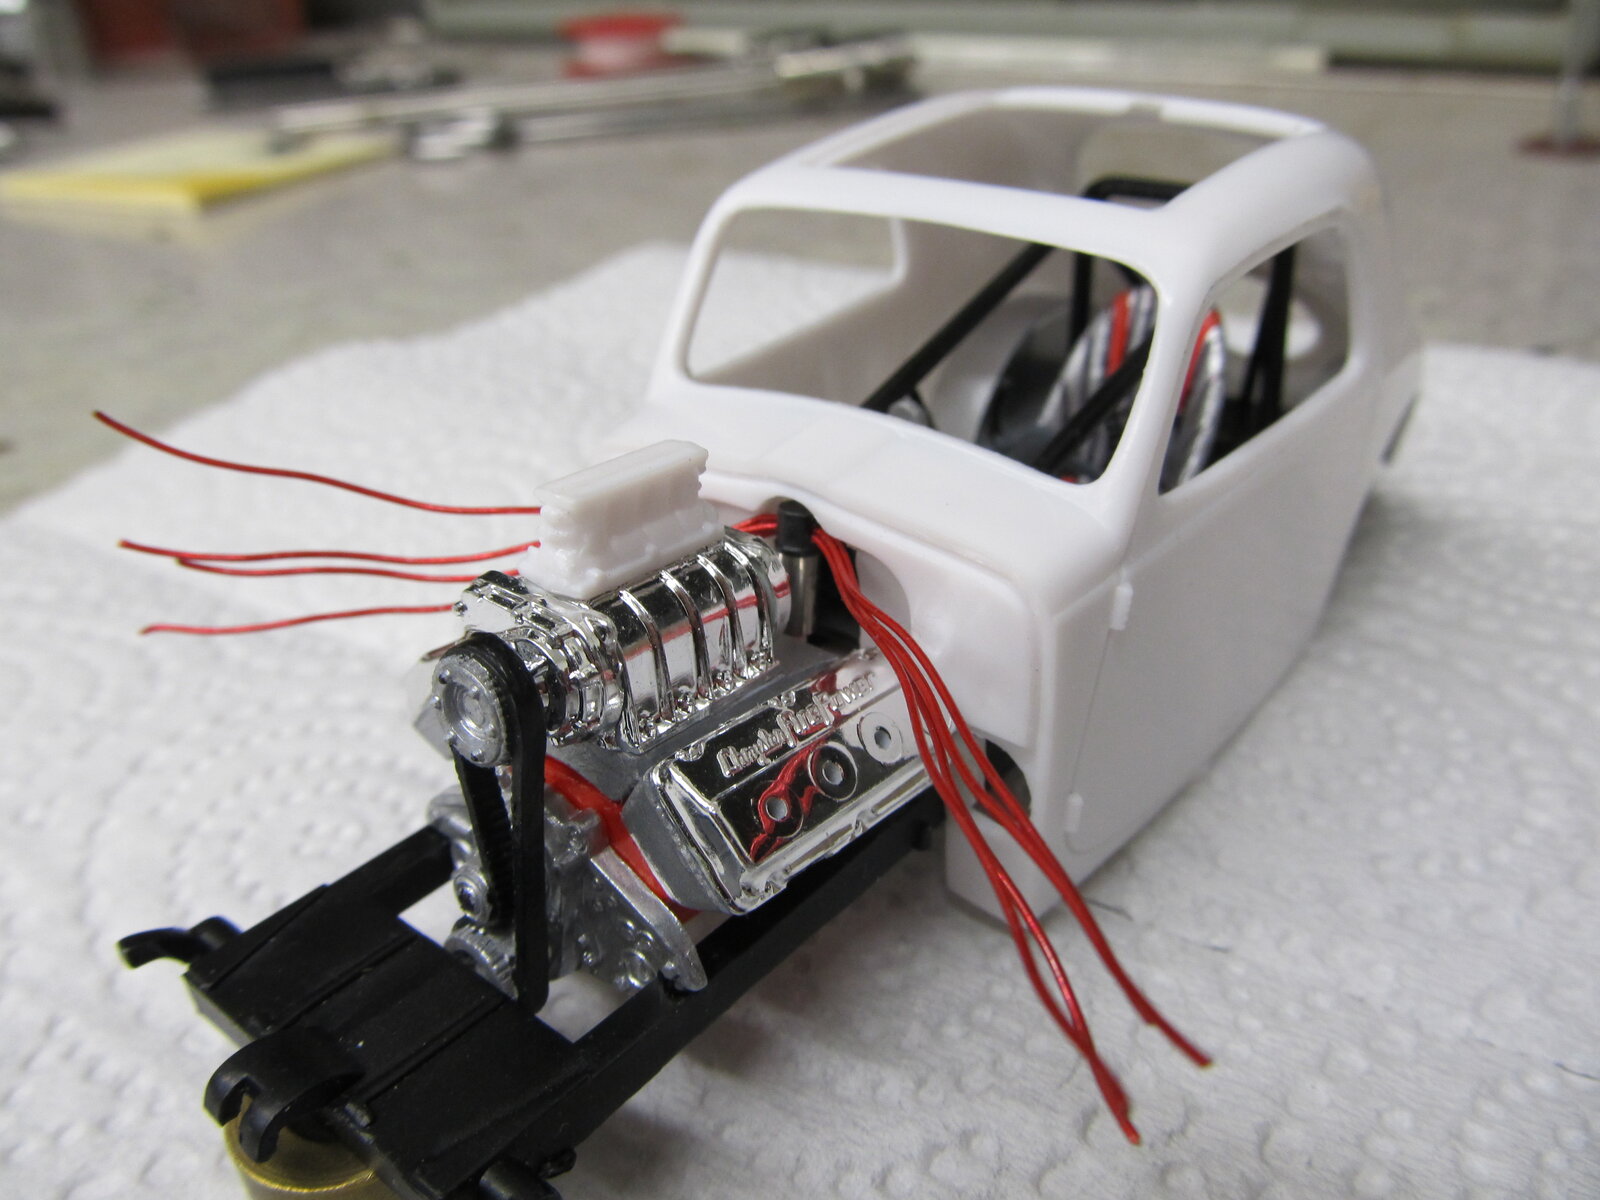
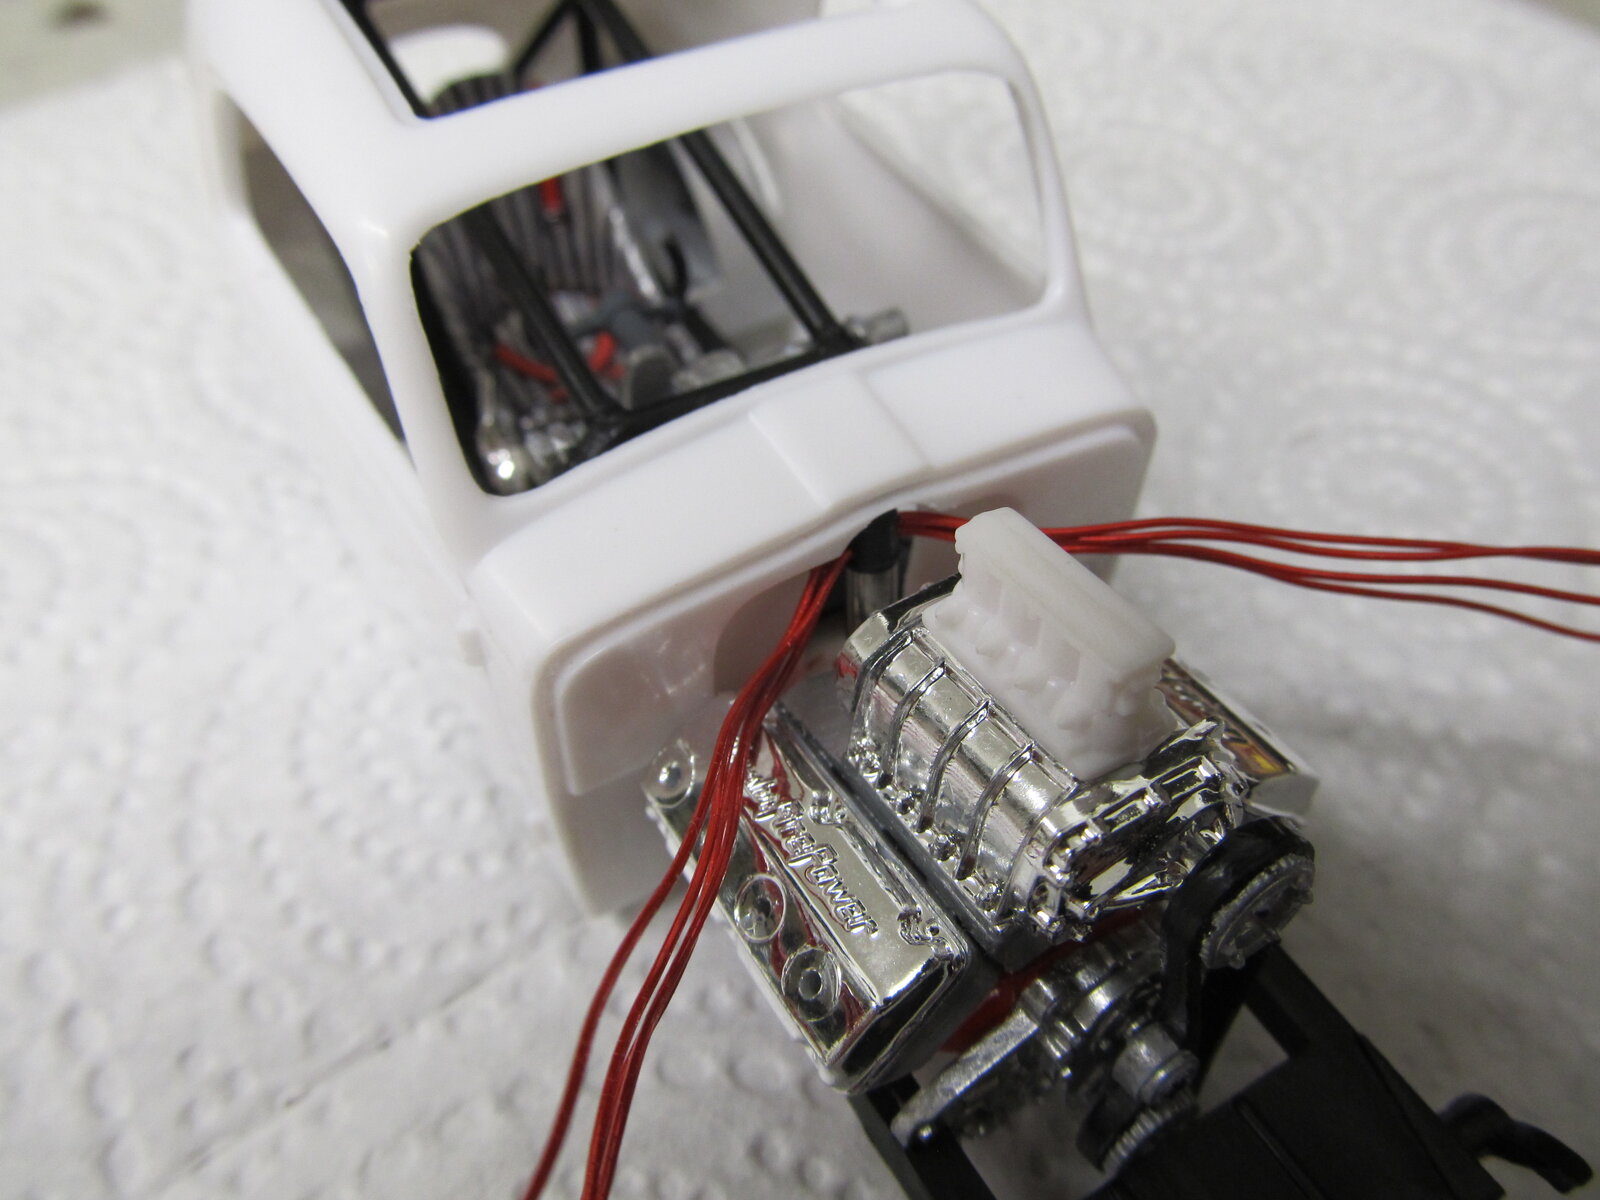
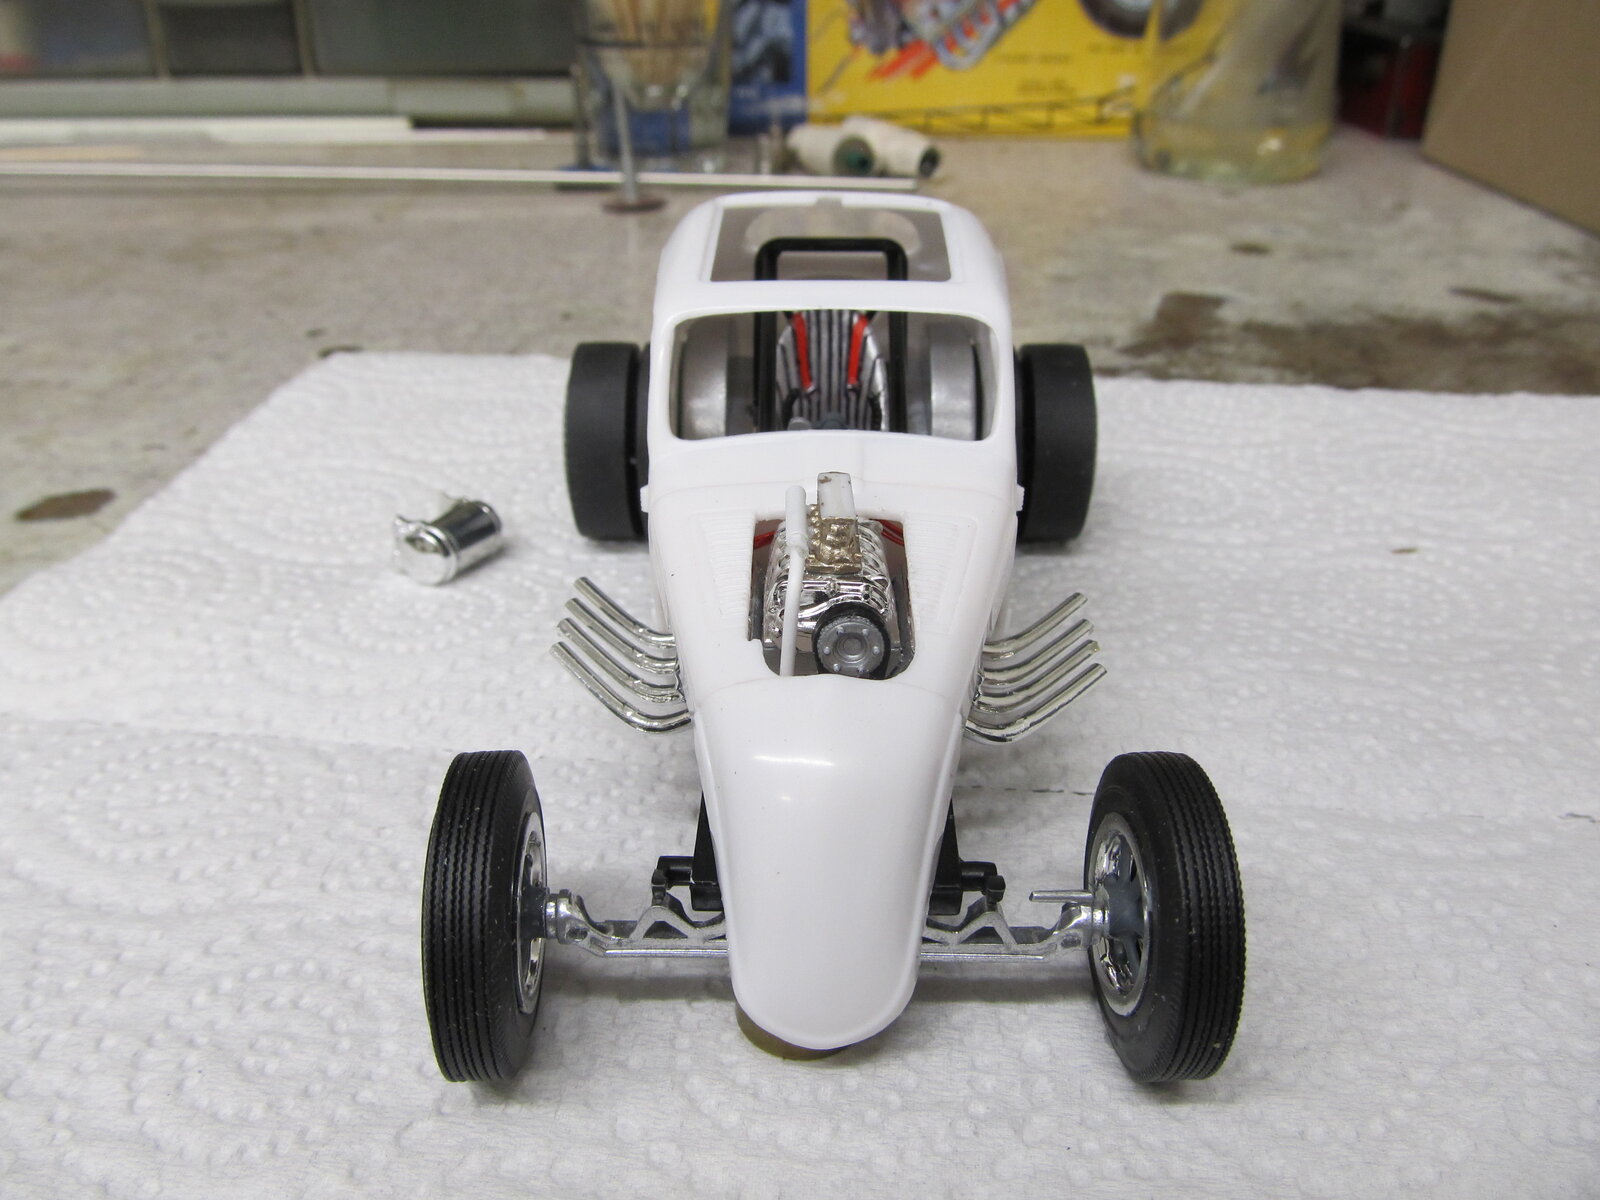
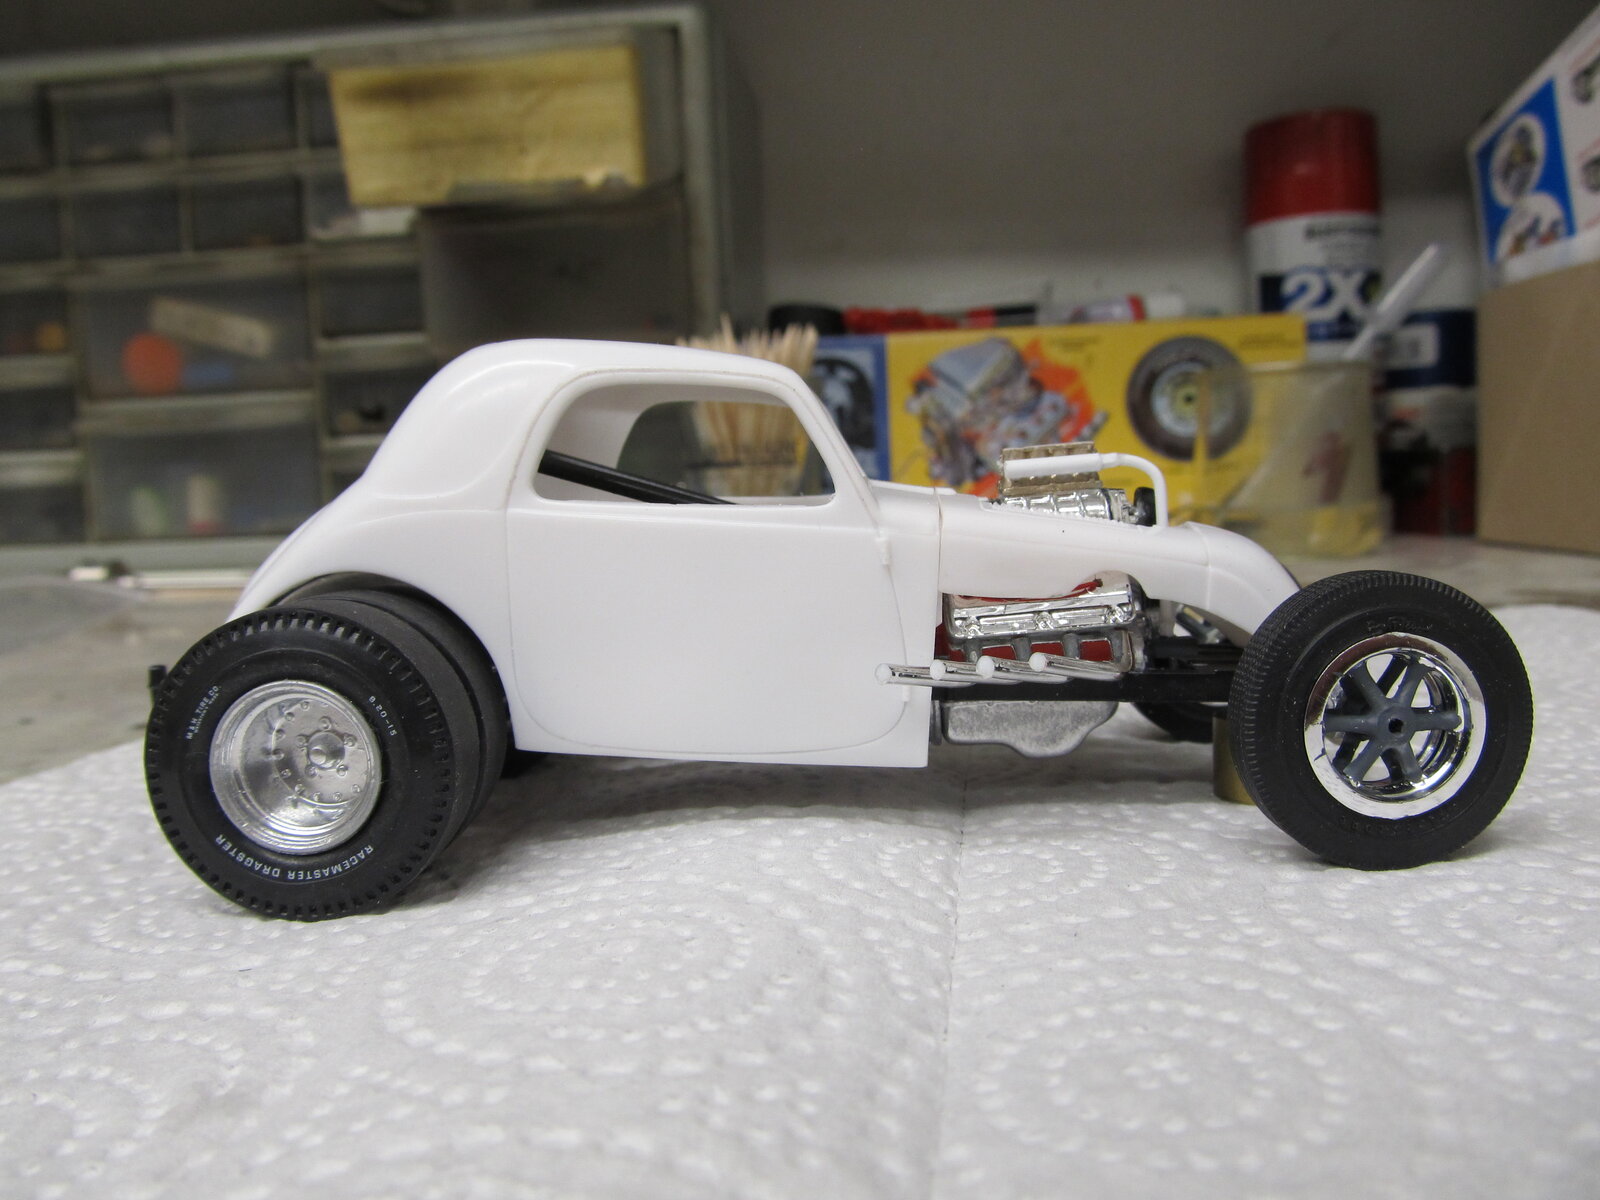
i will be adding two 30s Fiat Topolinos to the 100% Nitro gang. The first will be a late 50s version, steel body, flat chassis, little more than a big go cart with to much engine. The kit got me another set of duel rear wheels so its getting them.
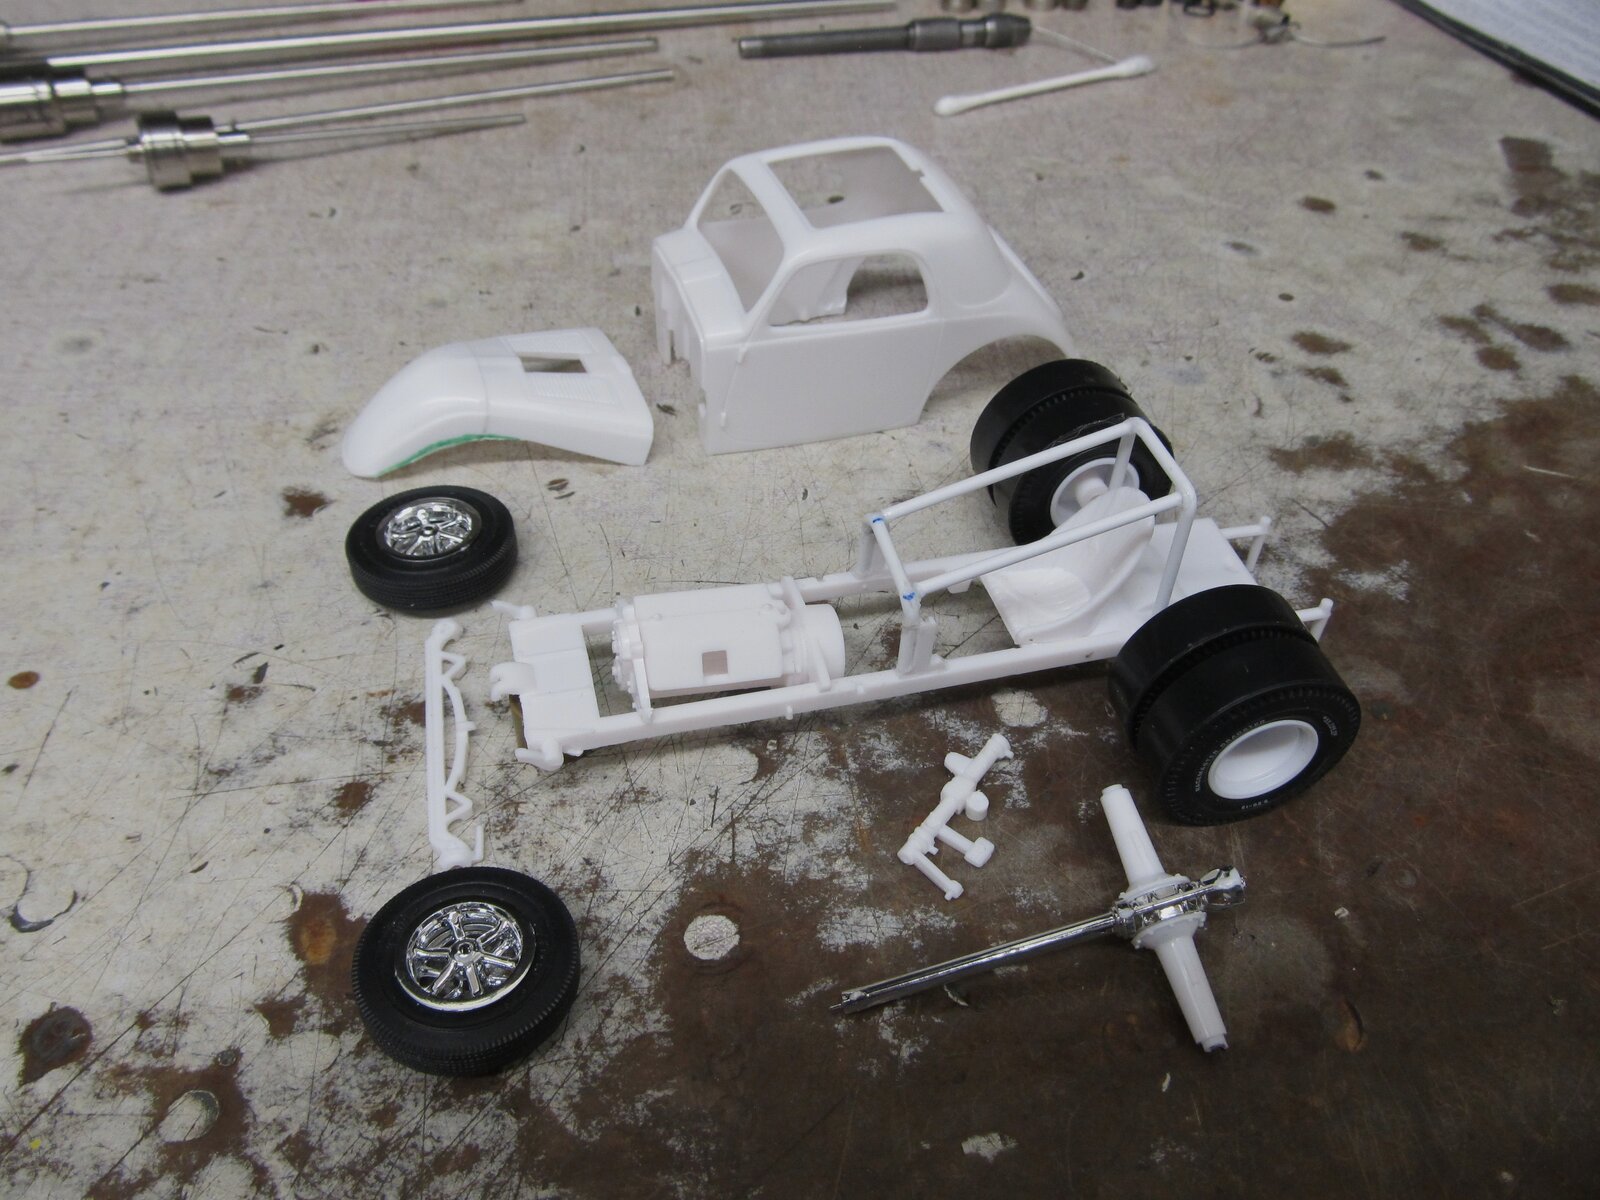
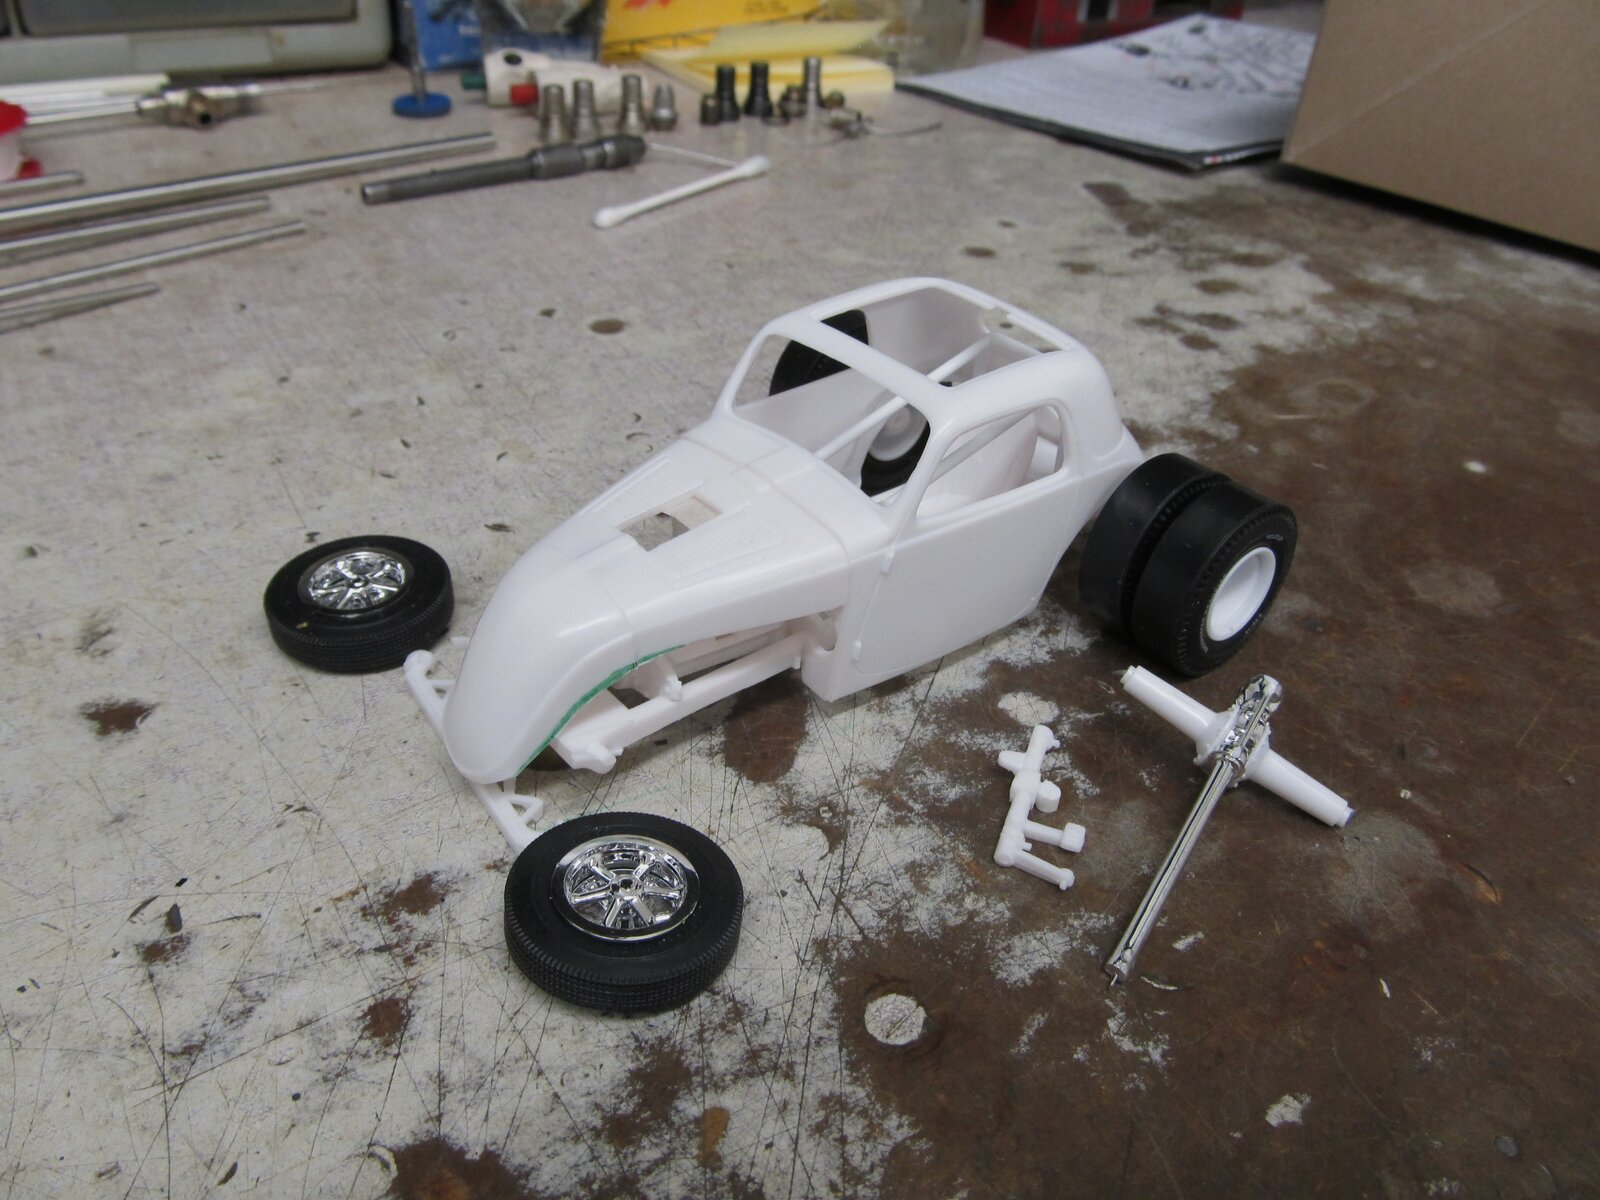
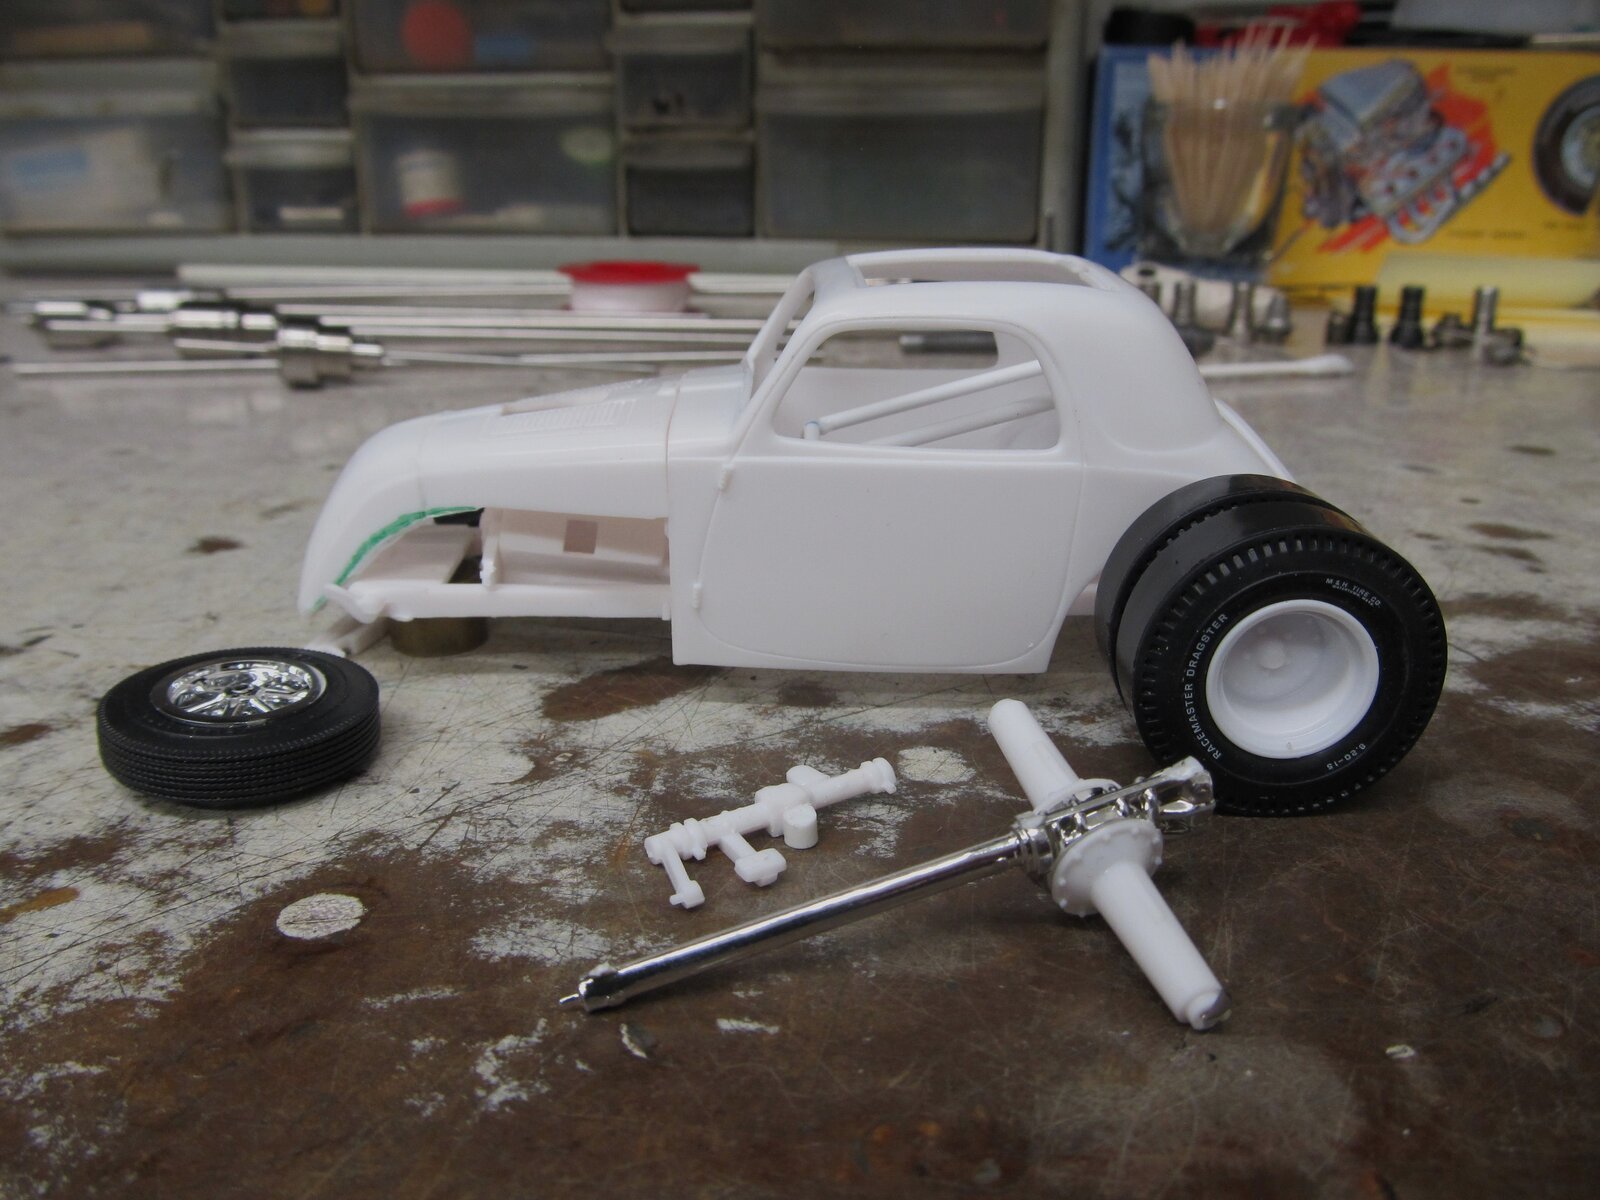
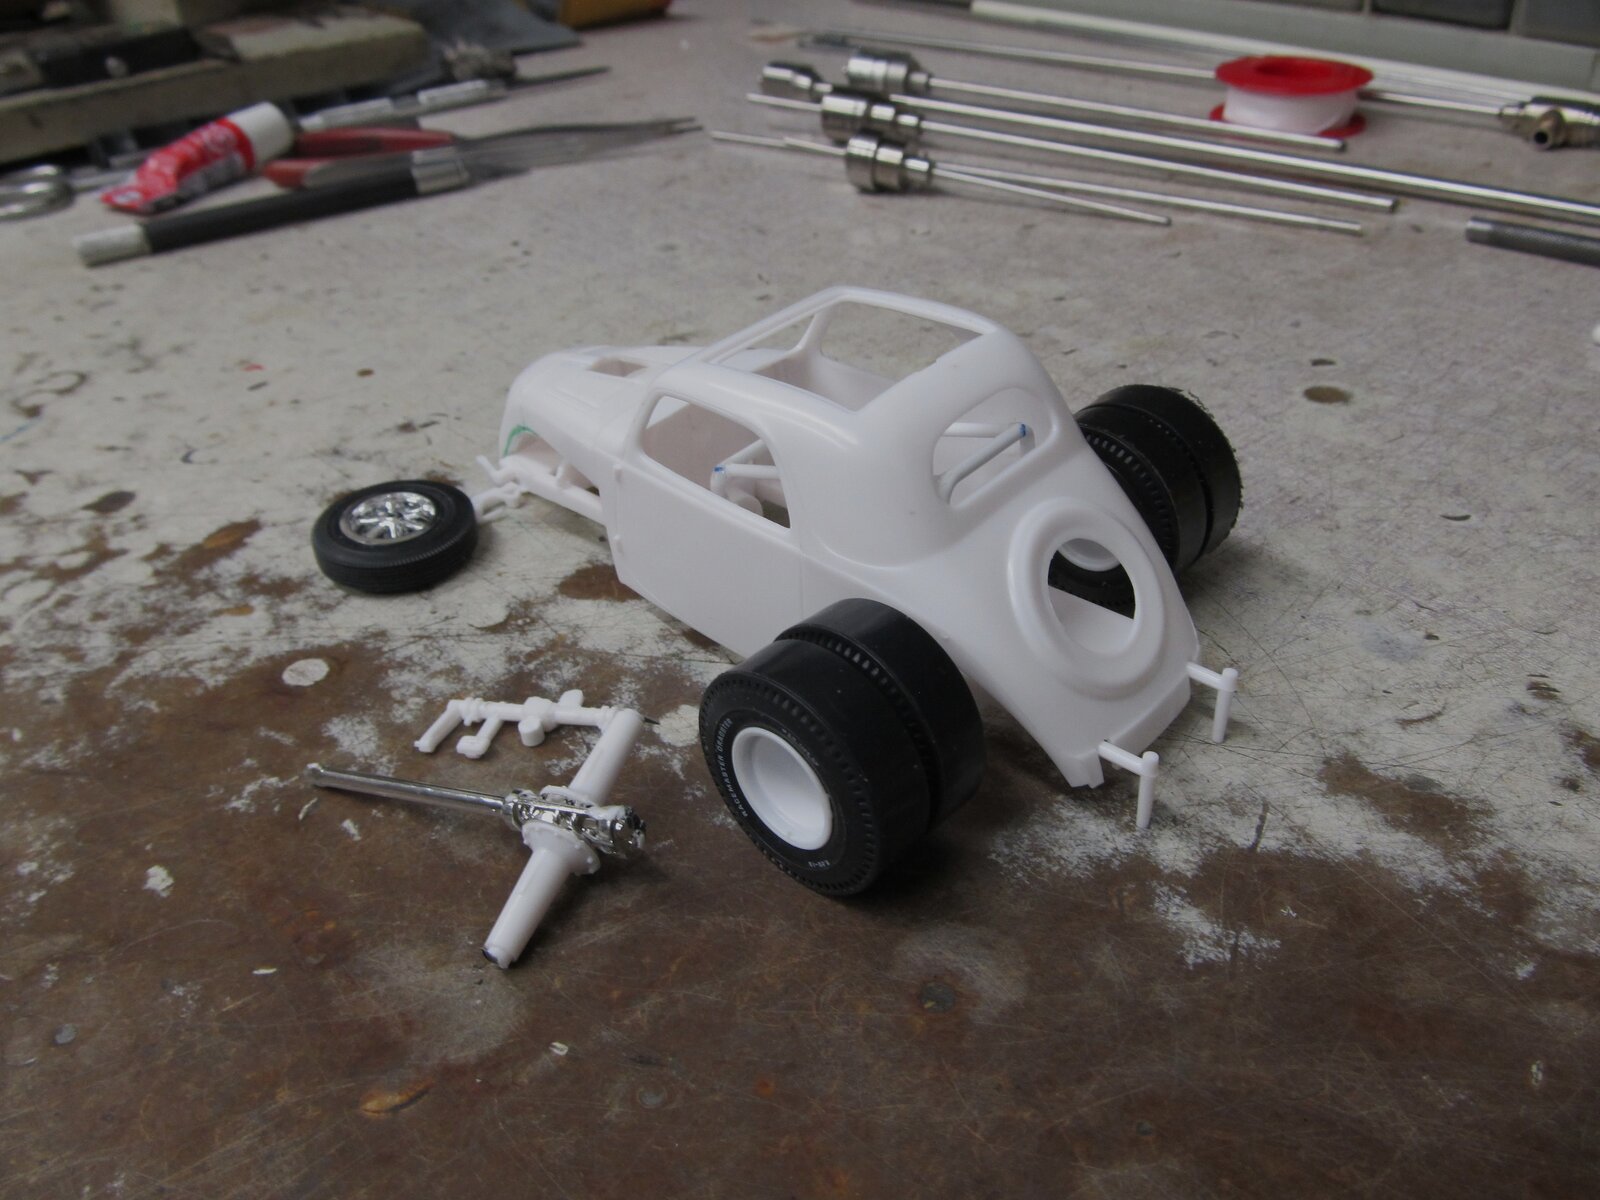


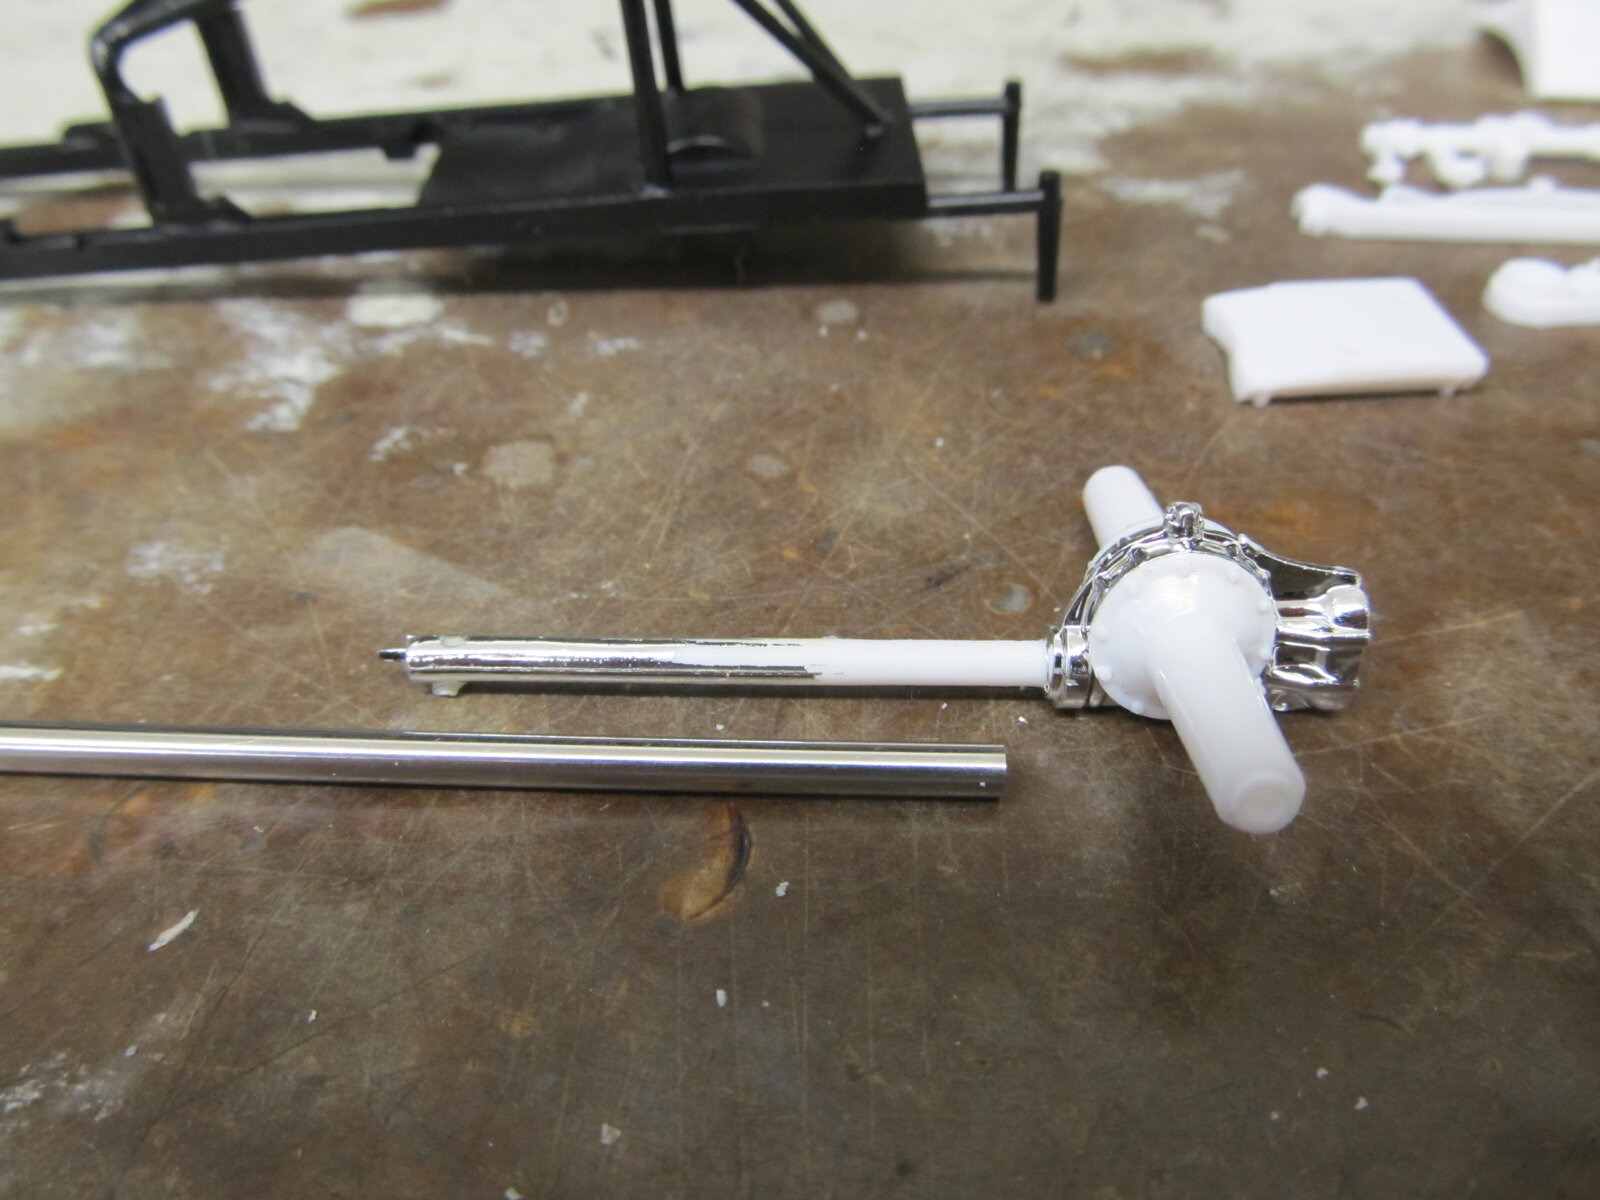
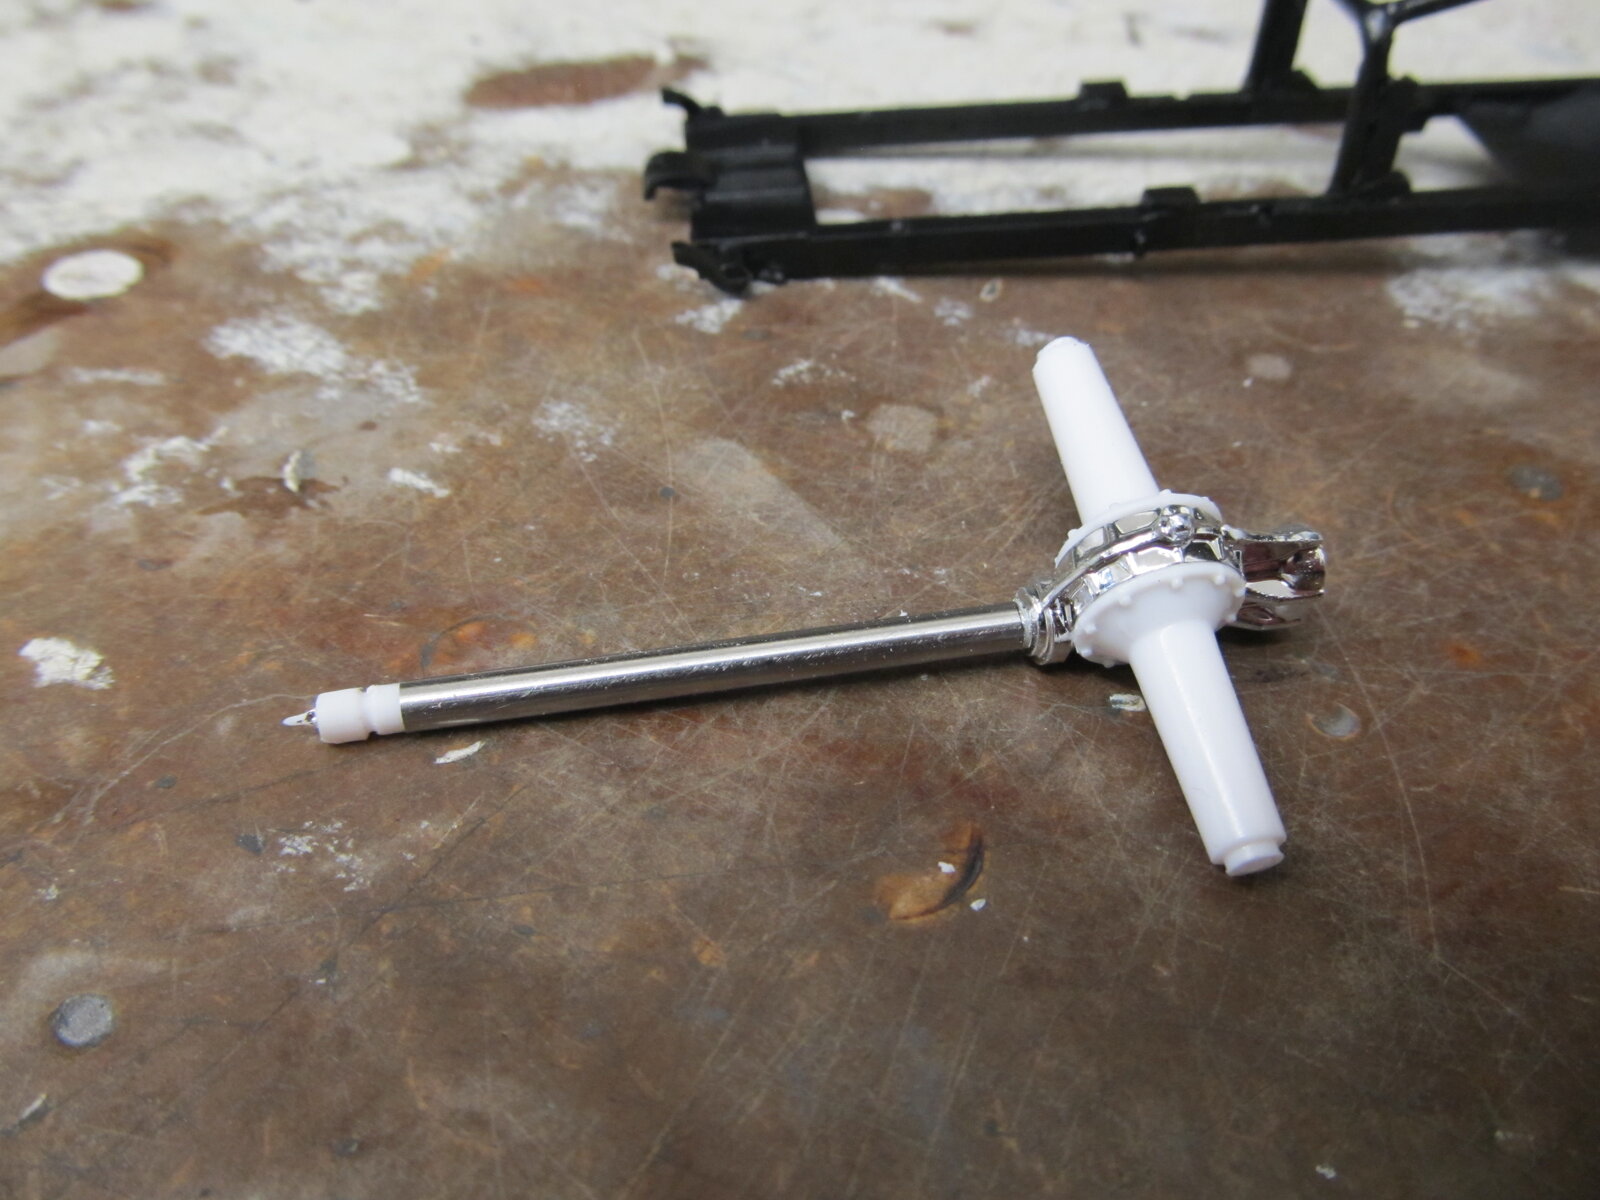
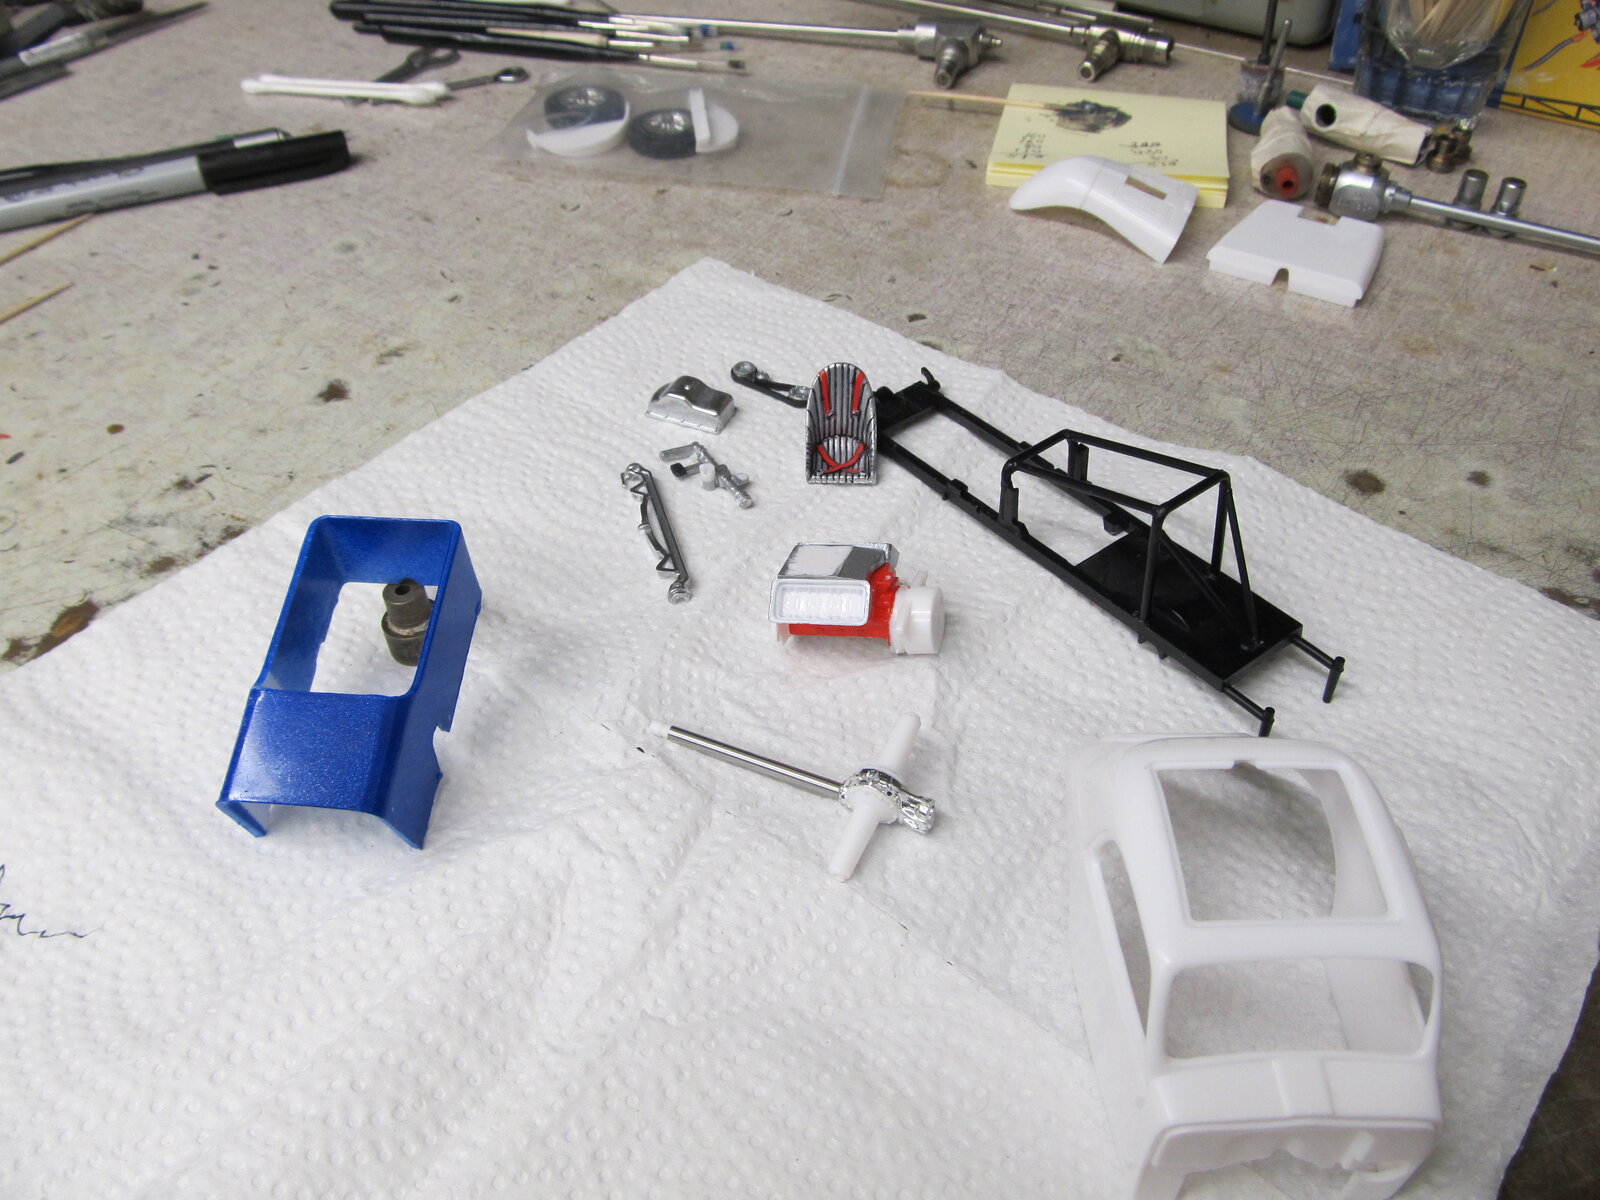
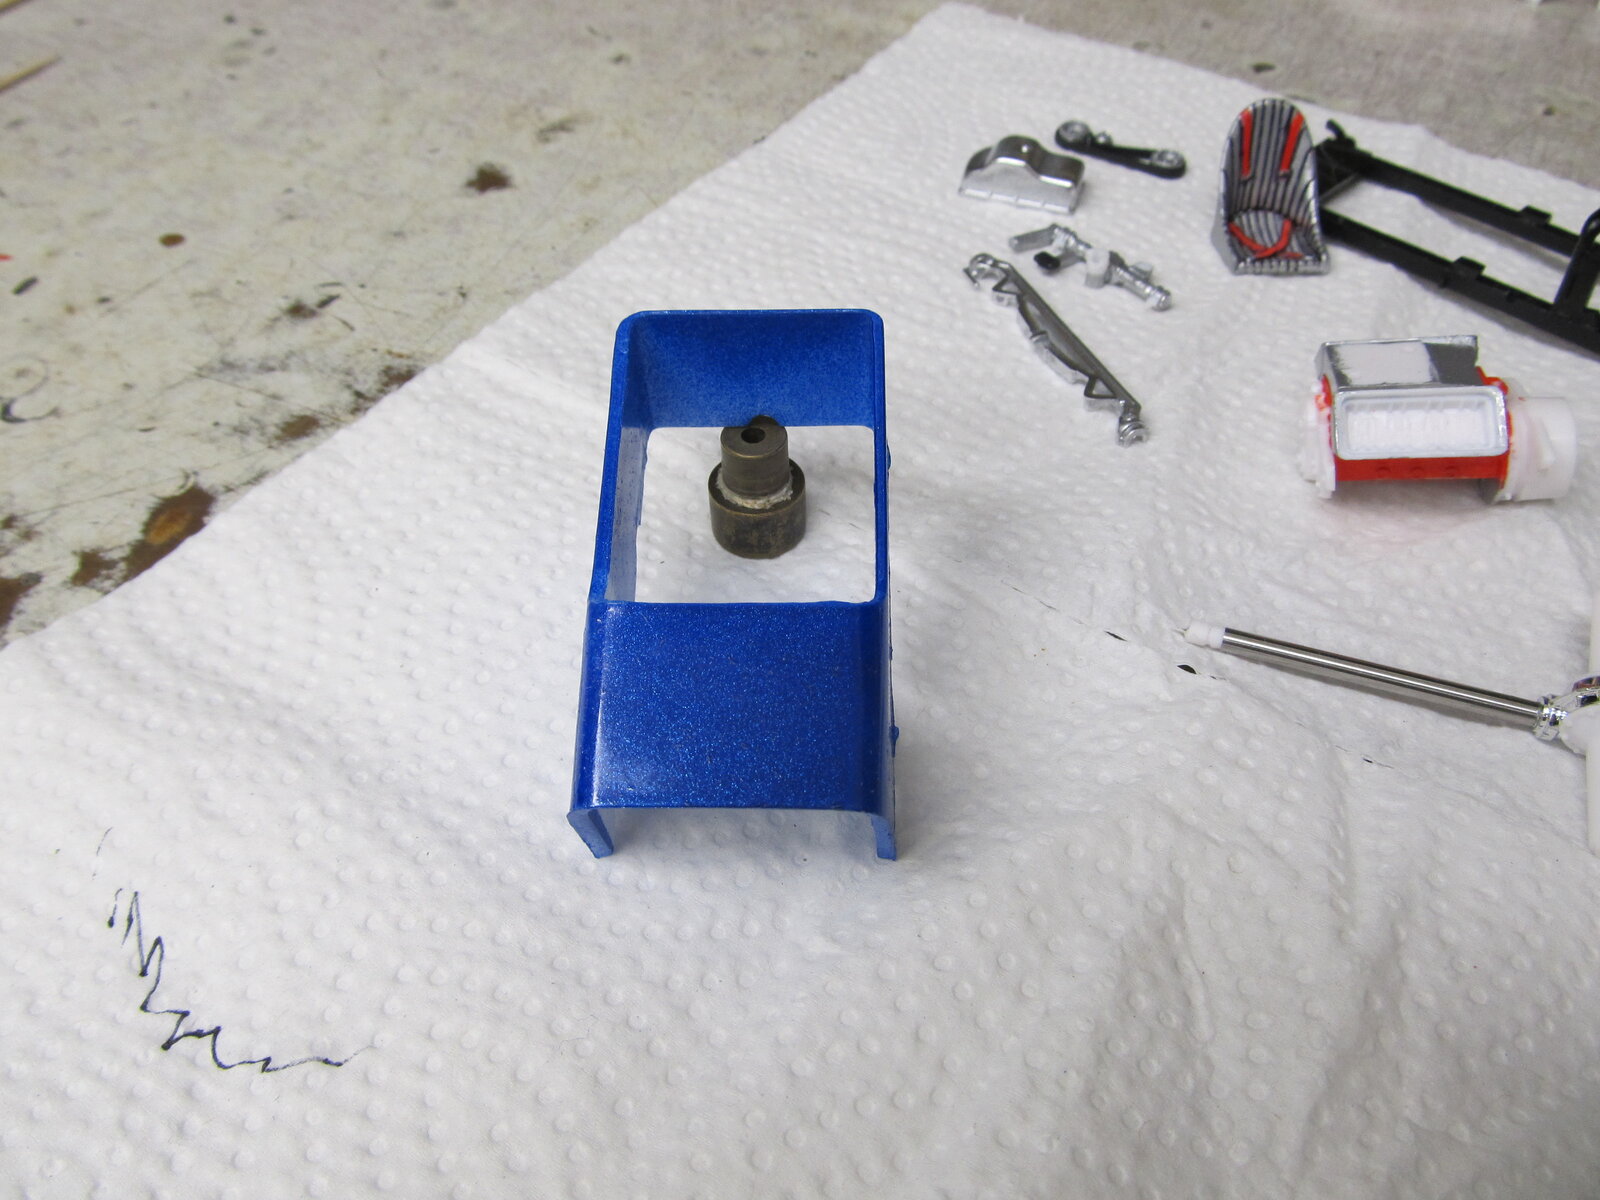
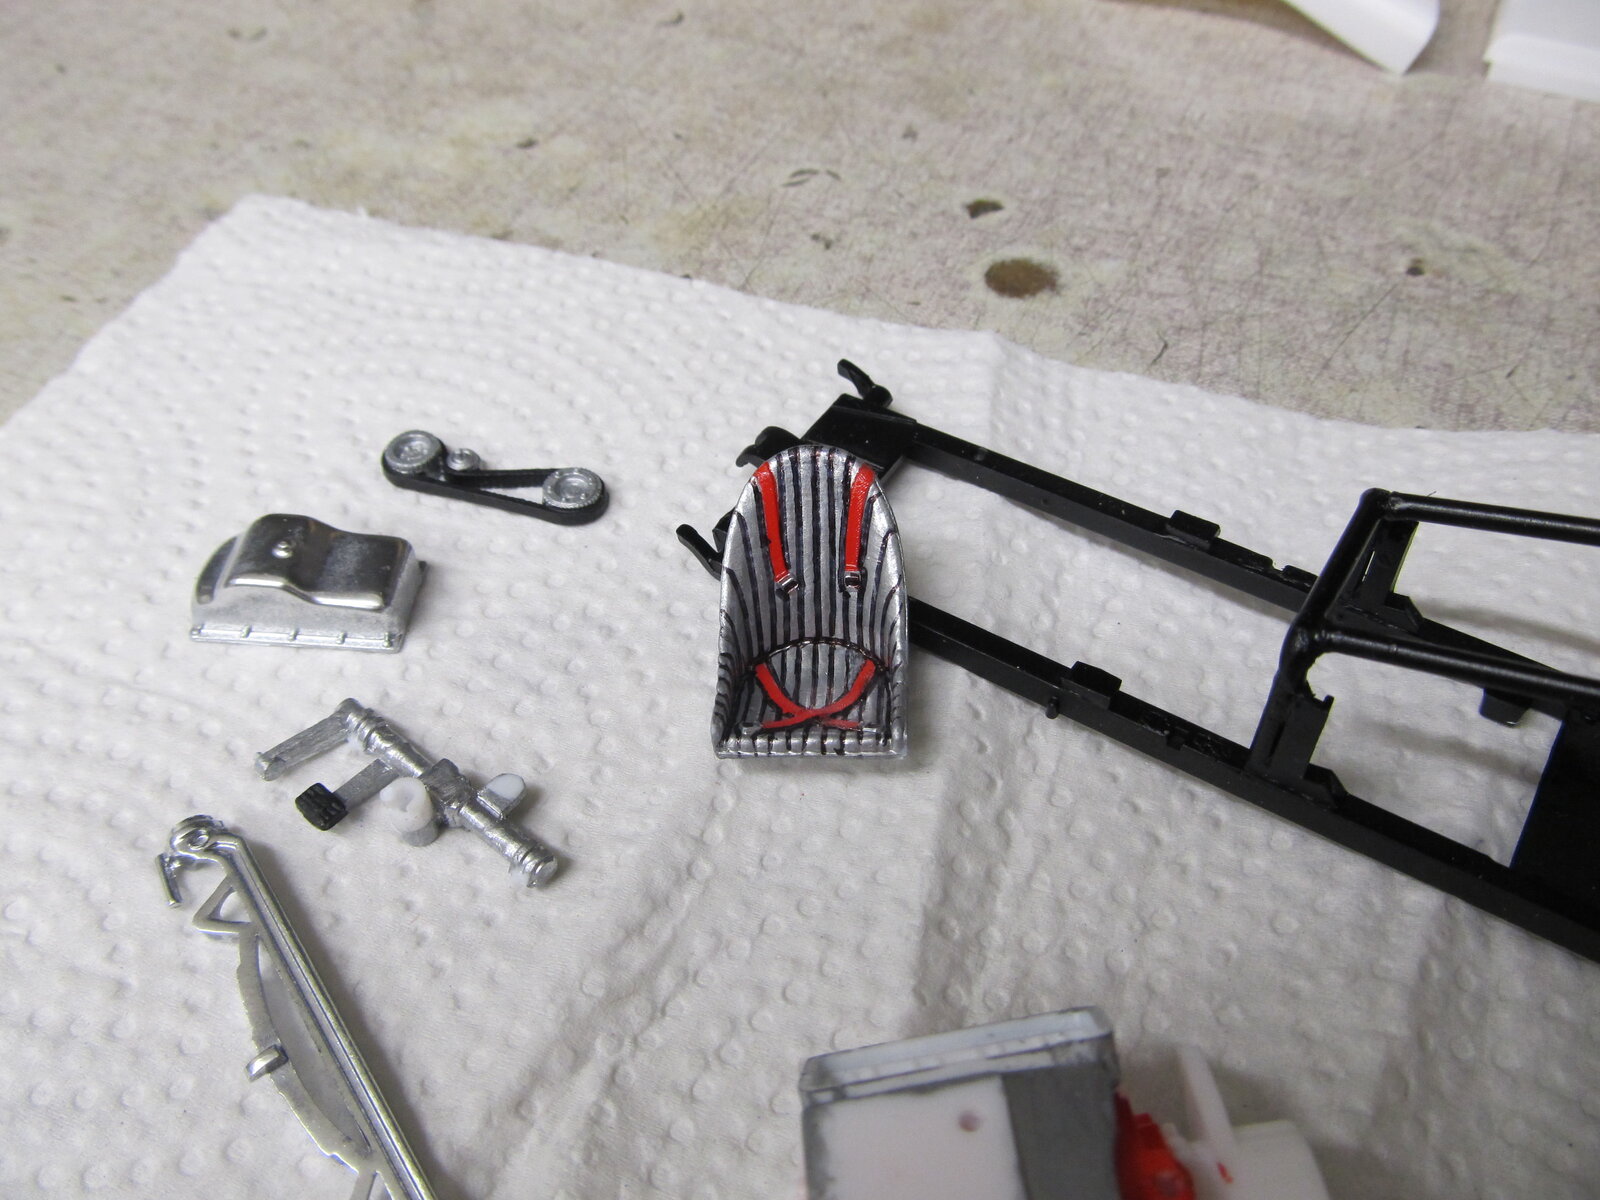
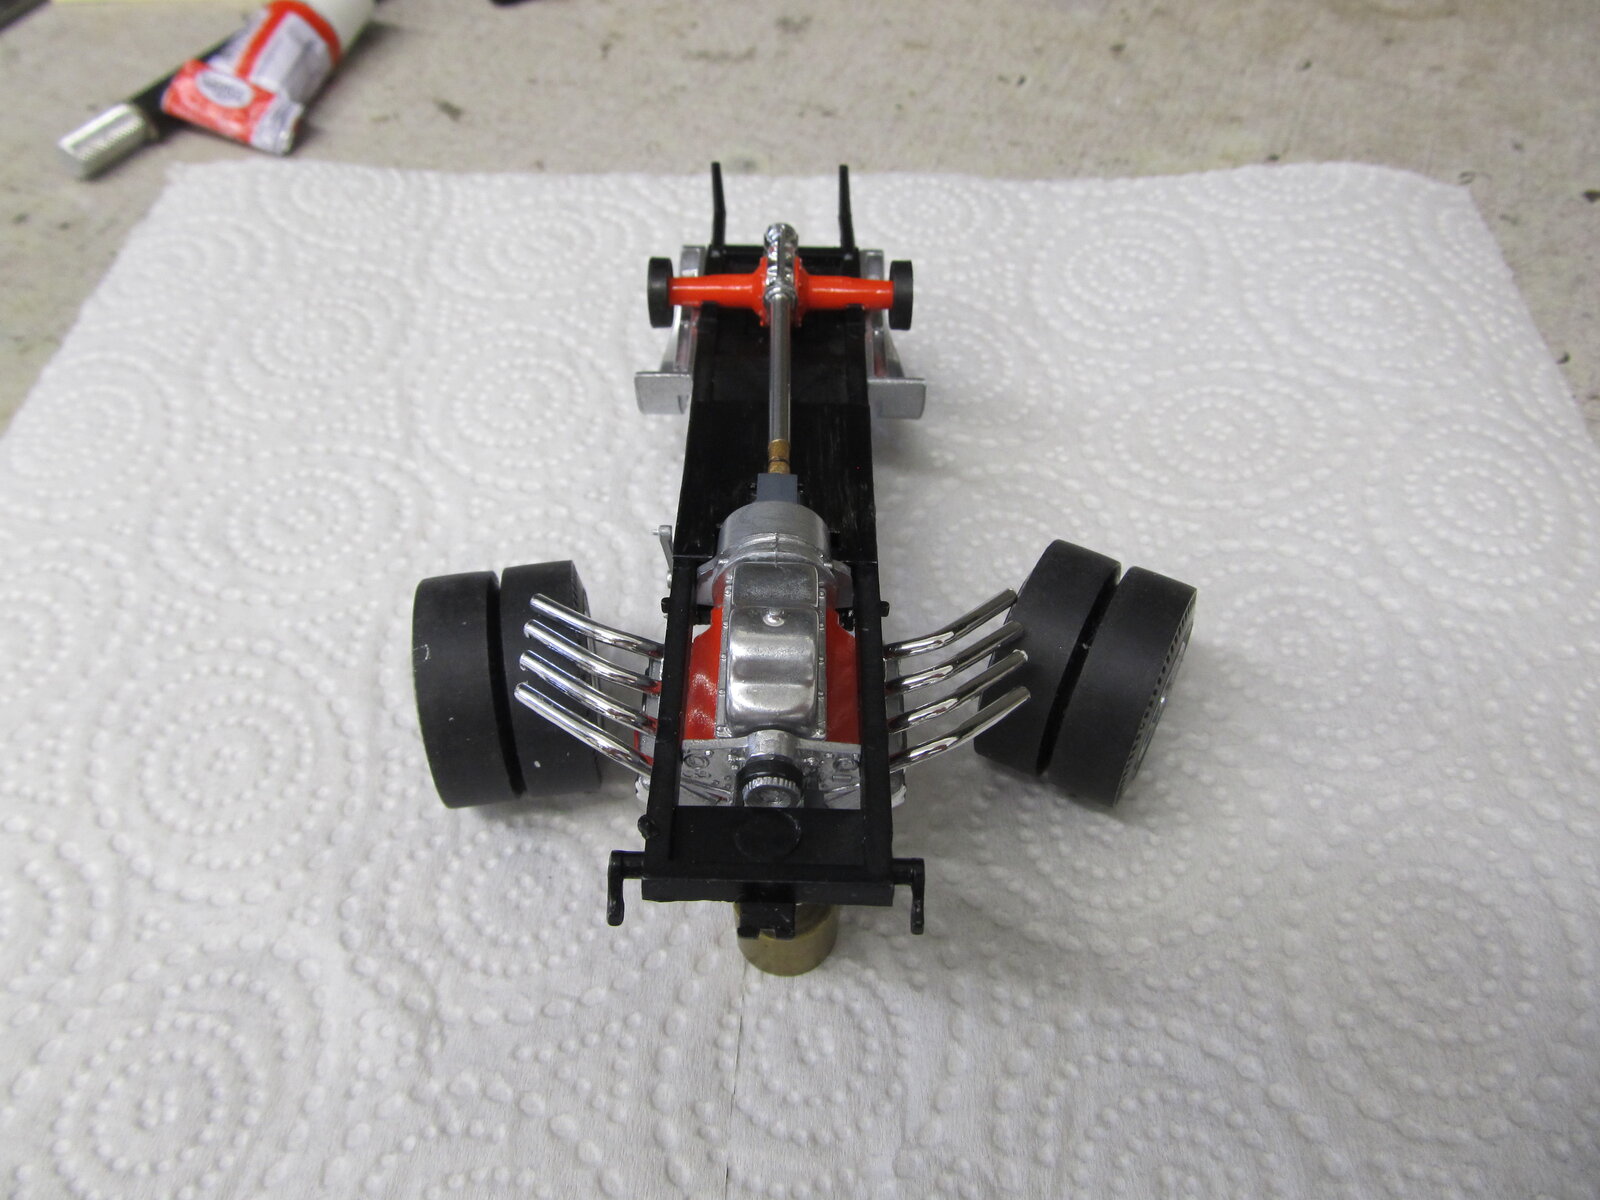
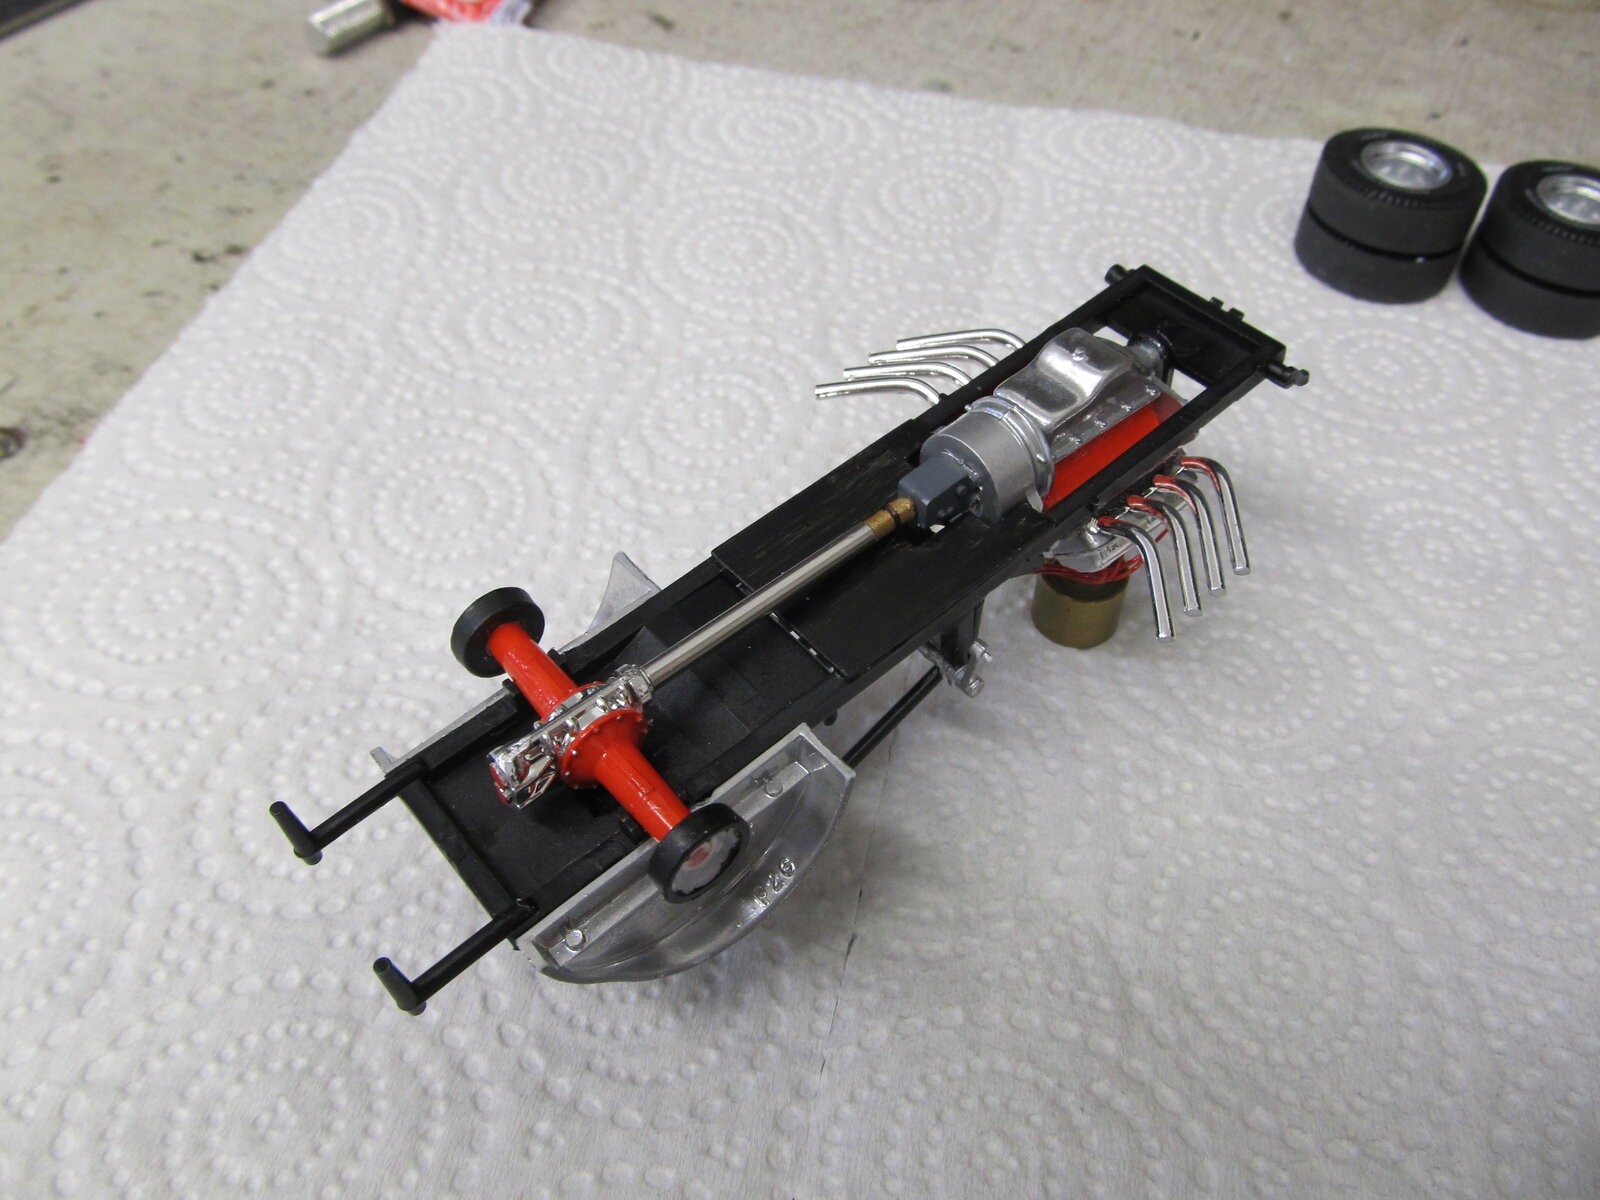
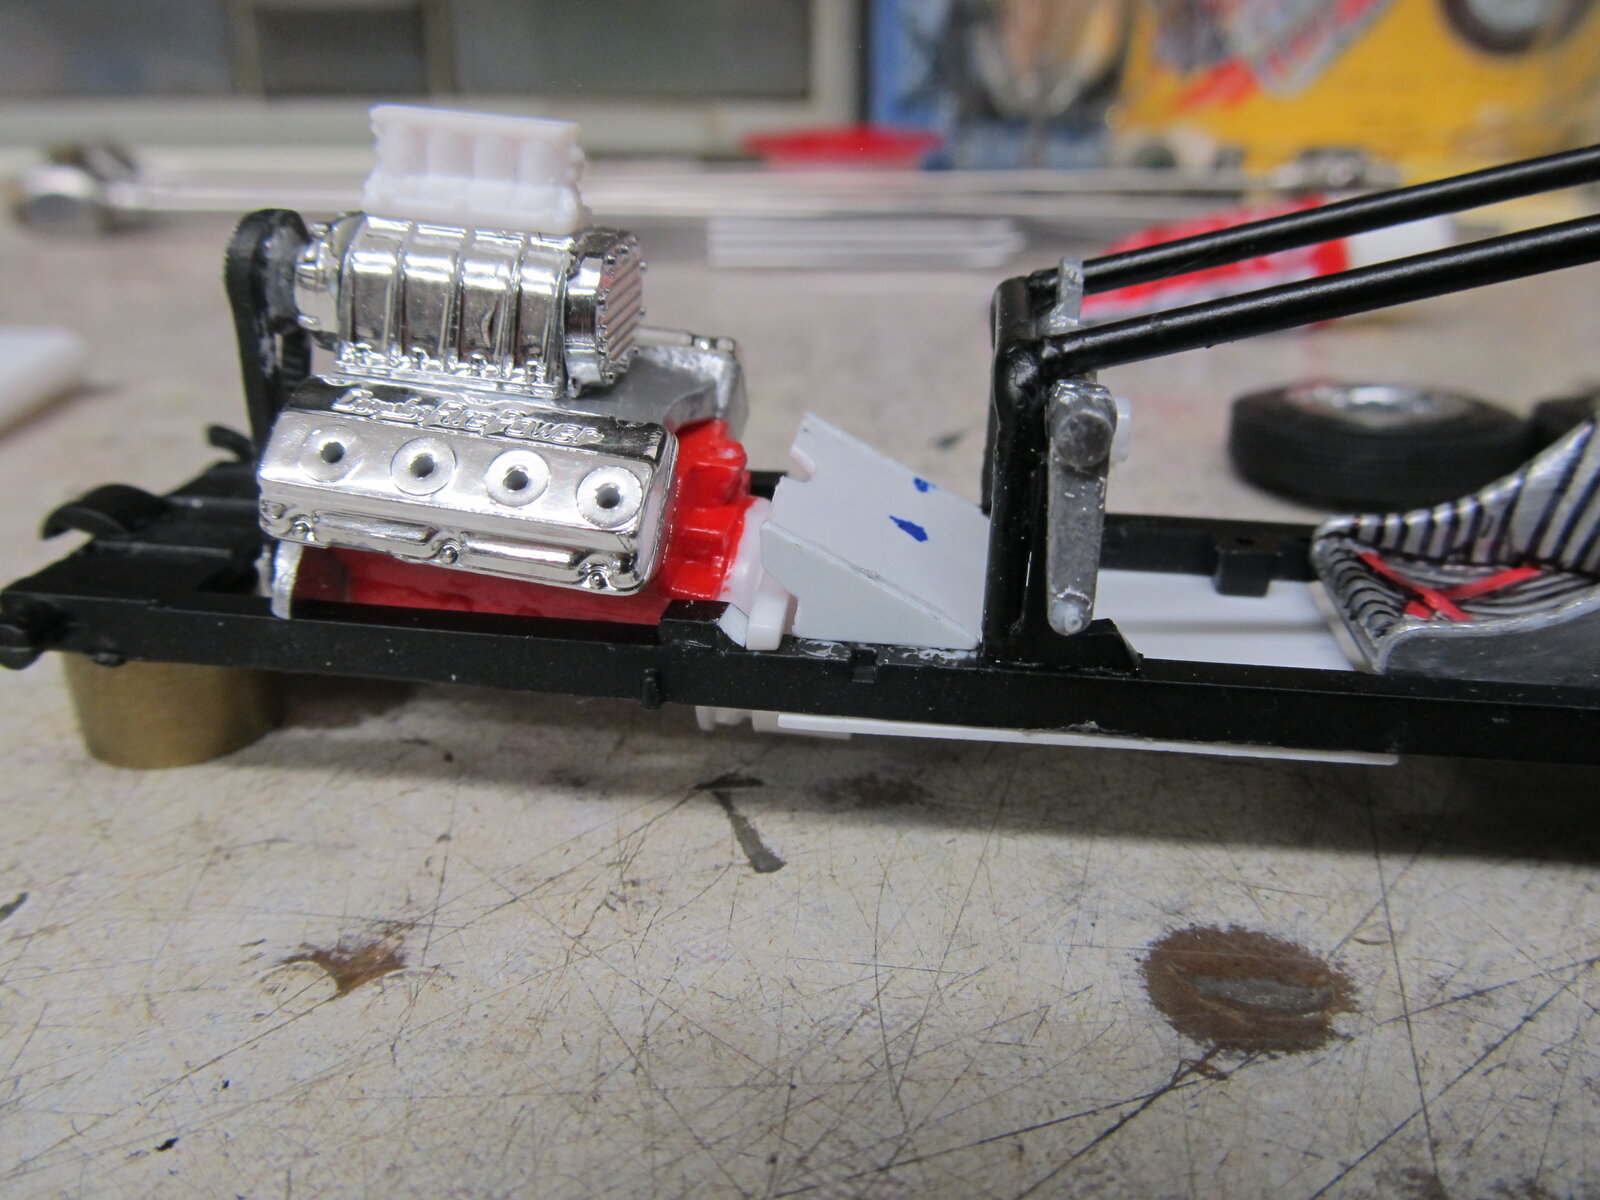
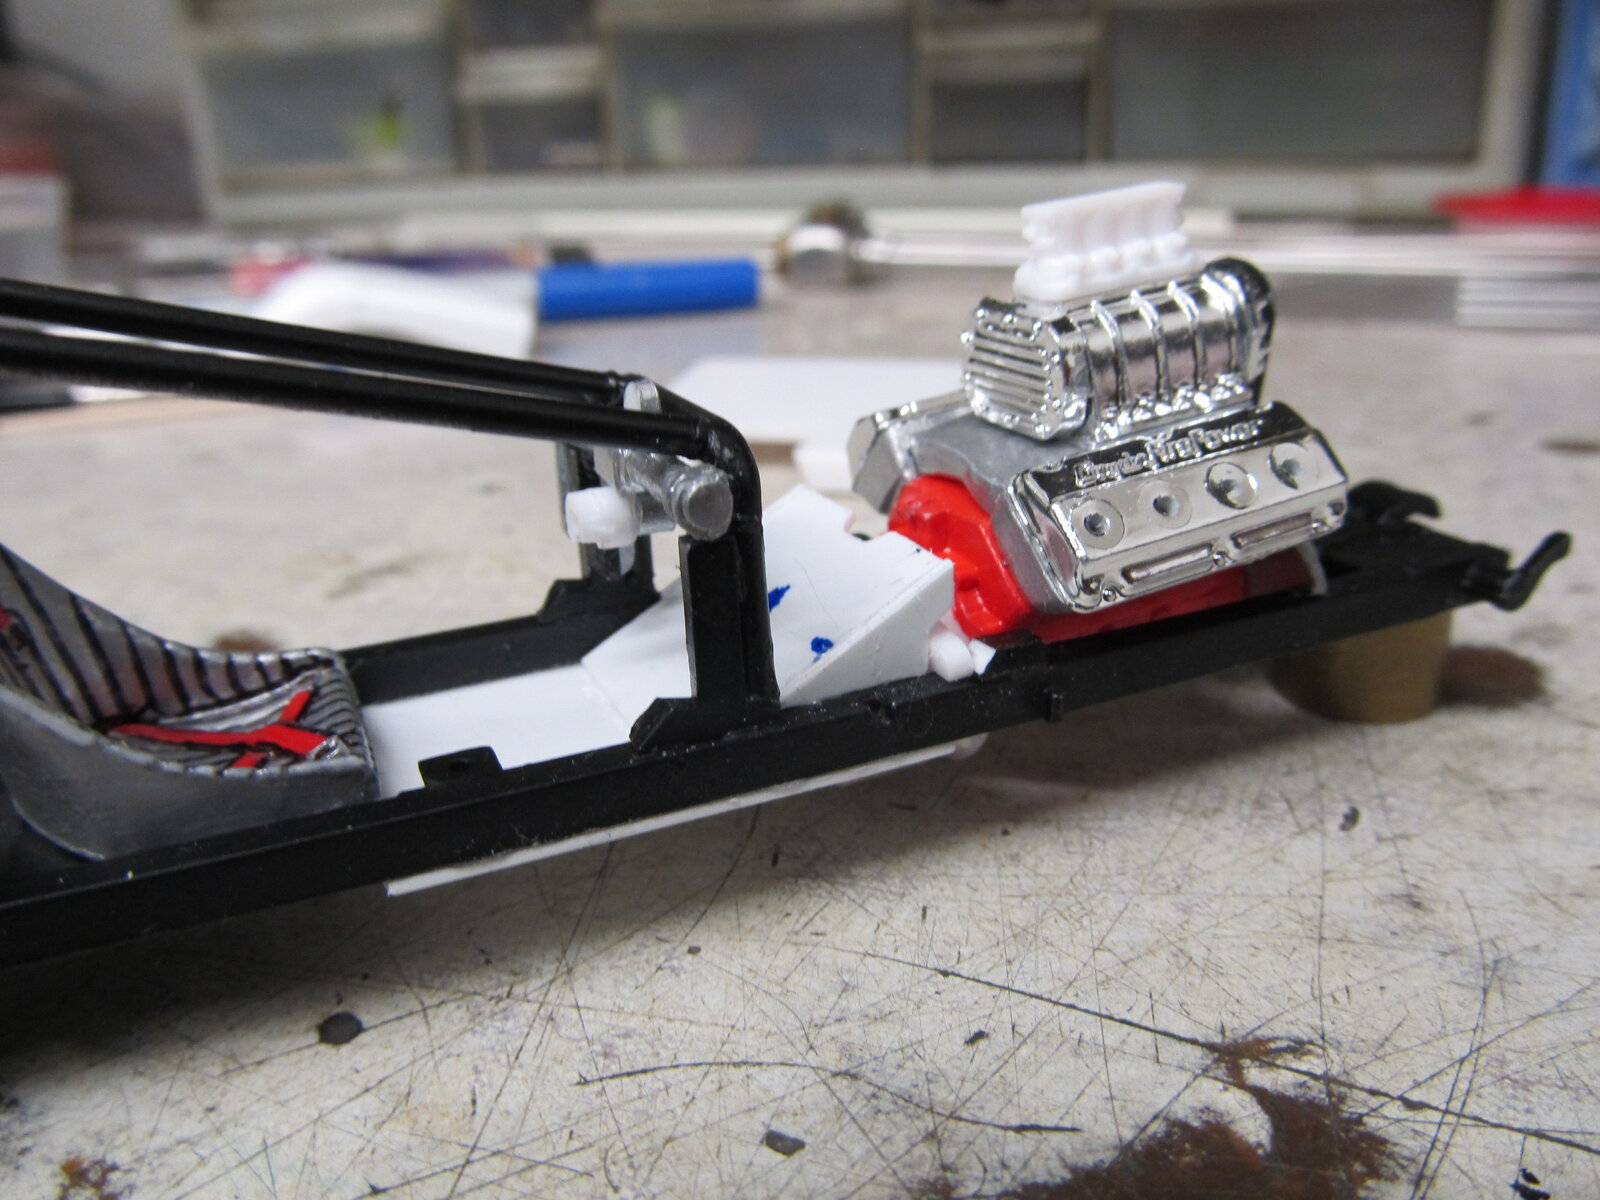
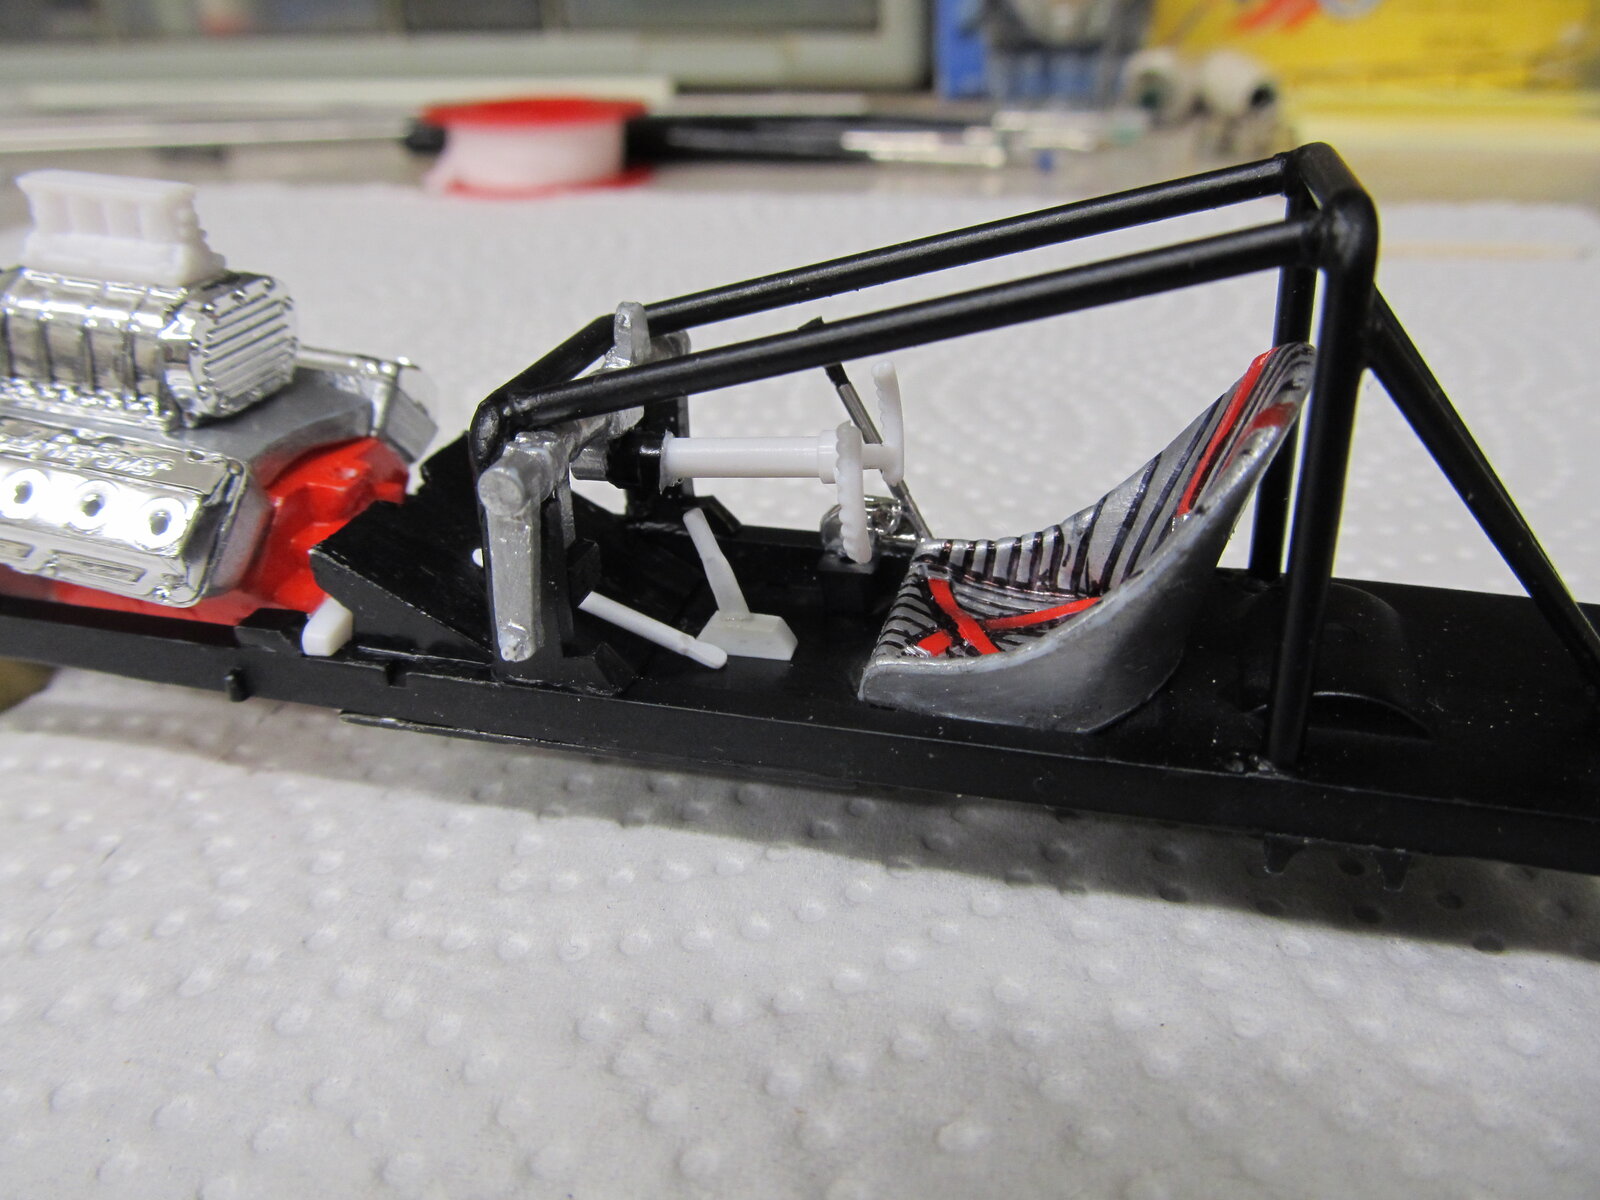
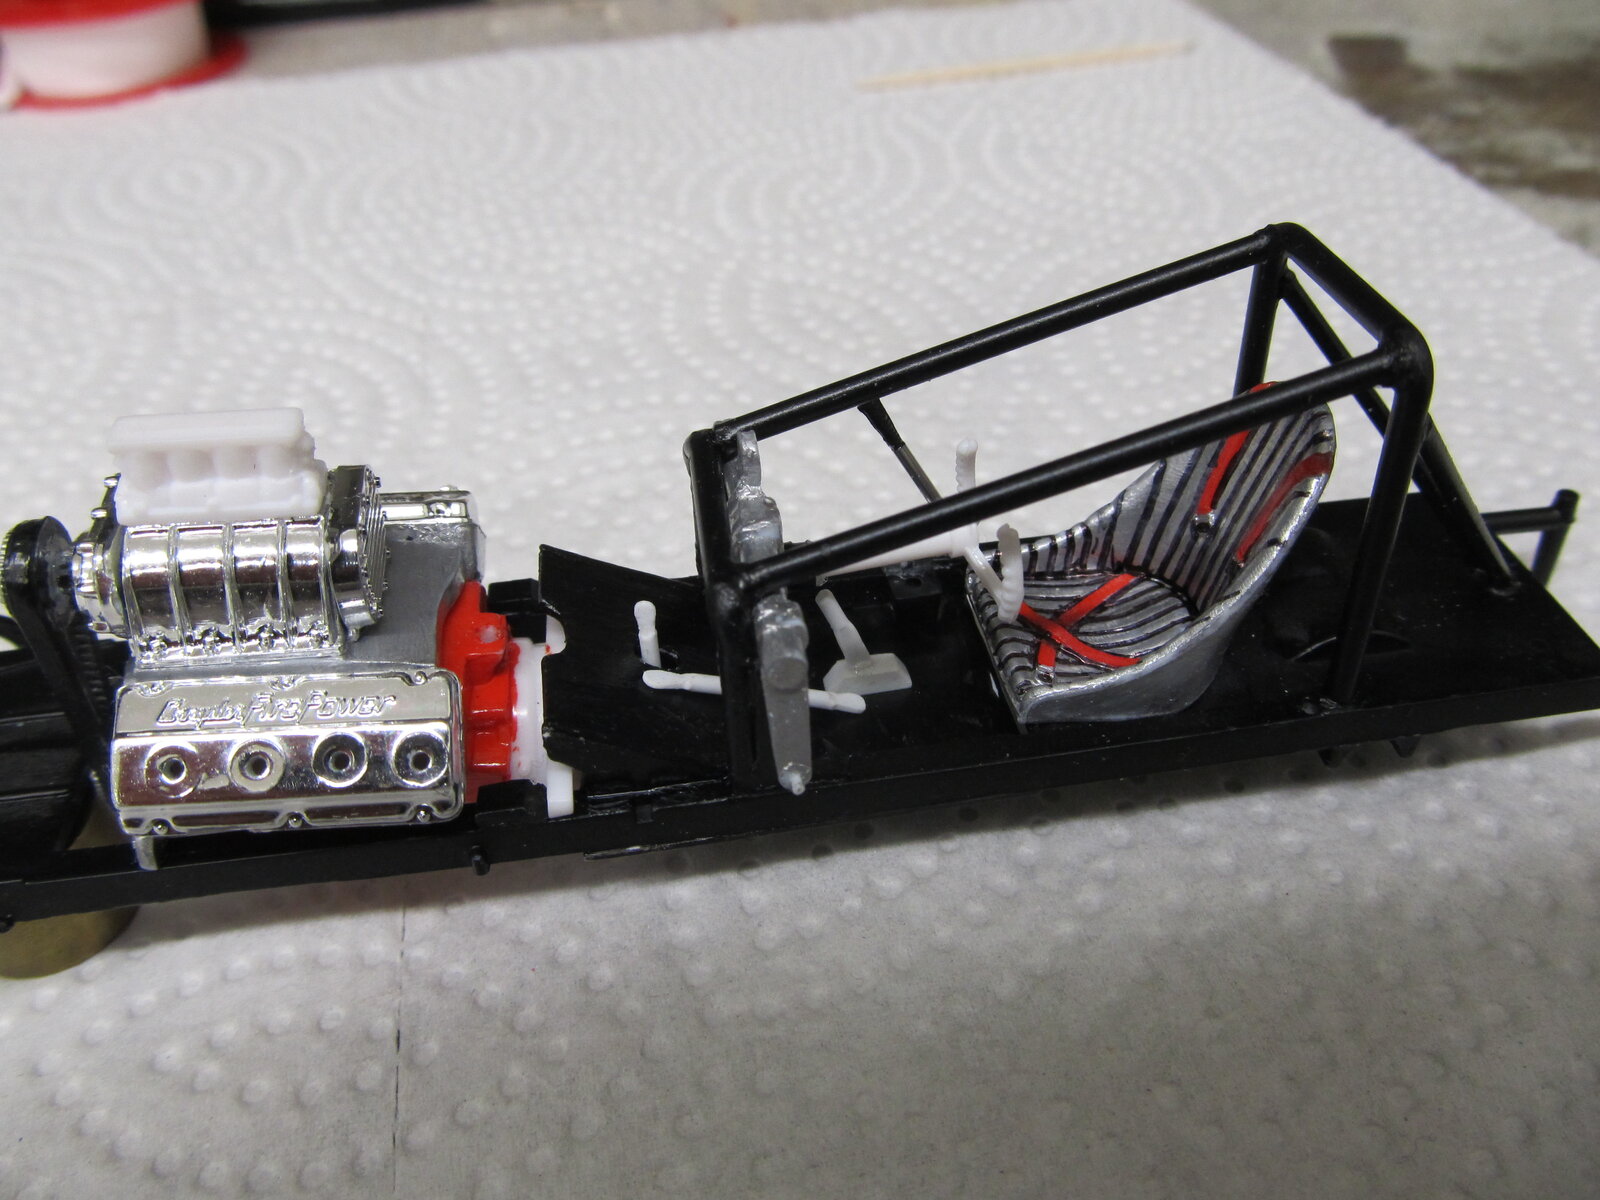
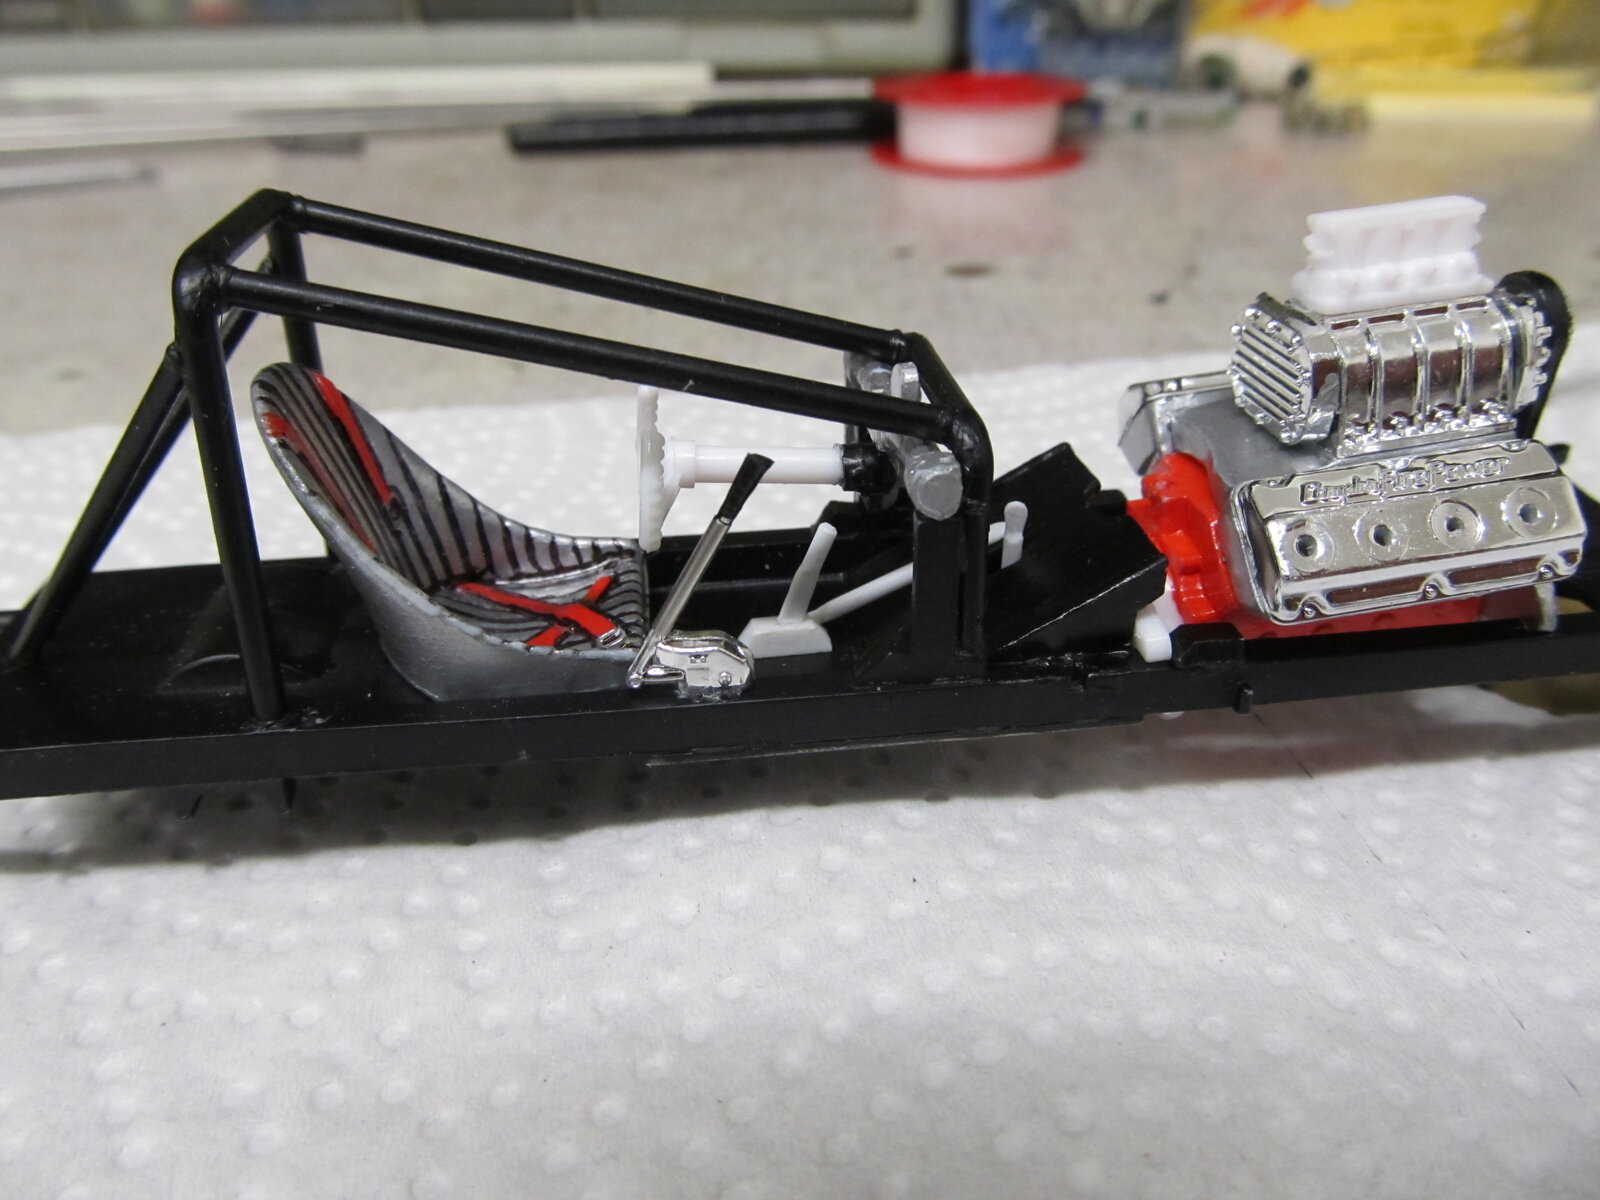
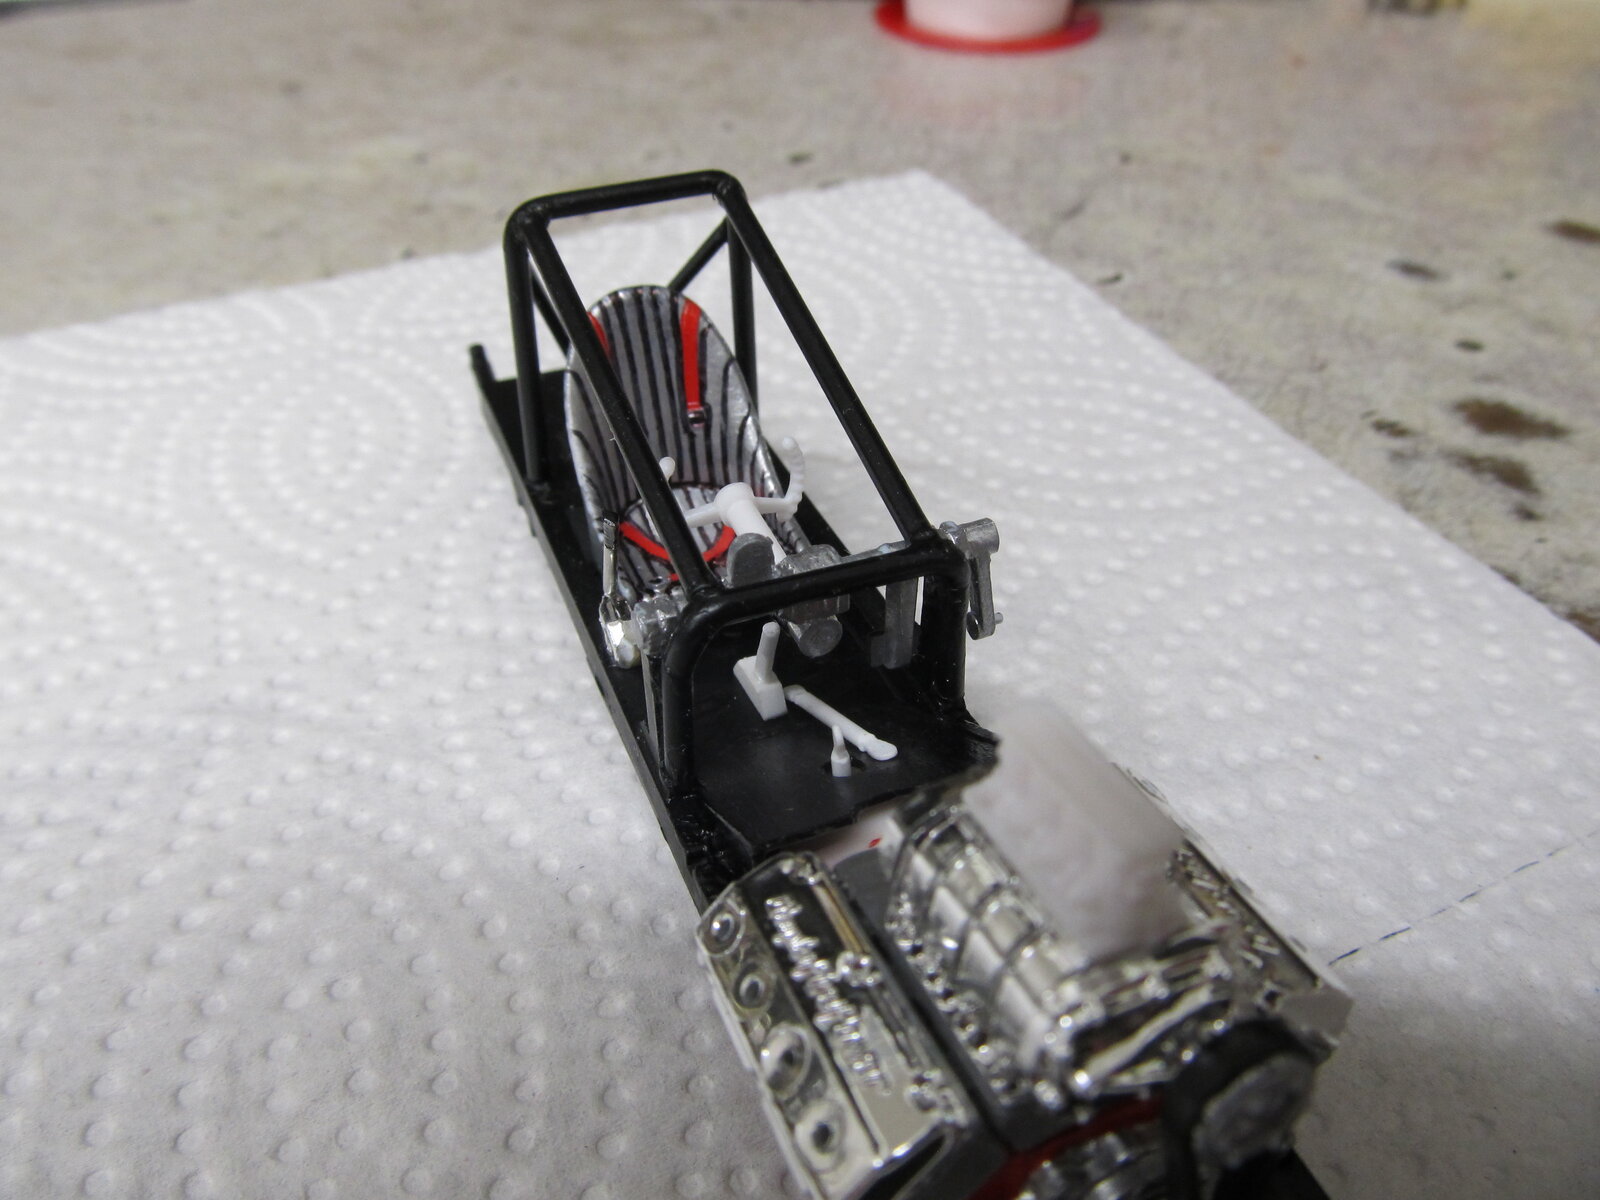
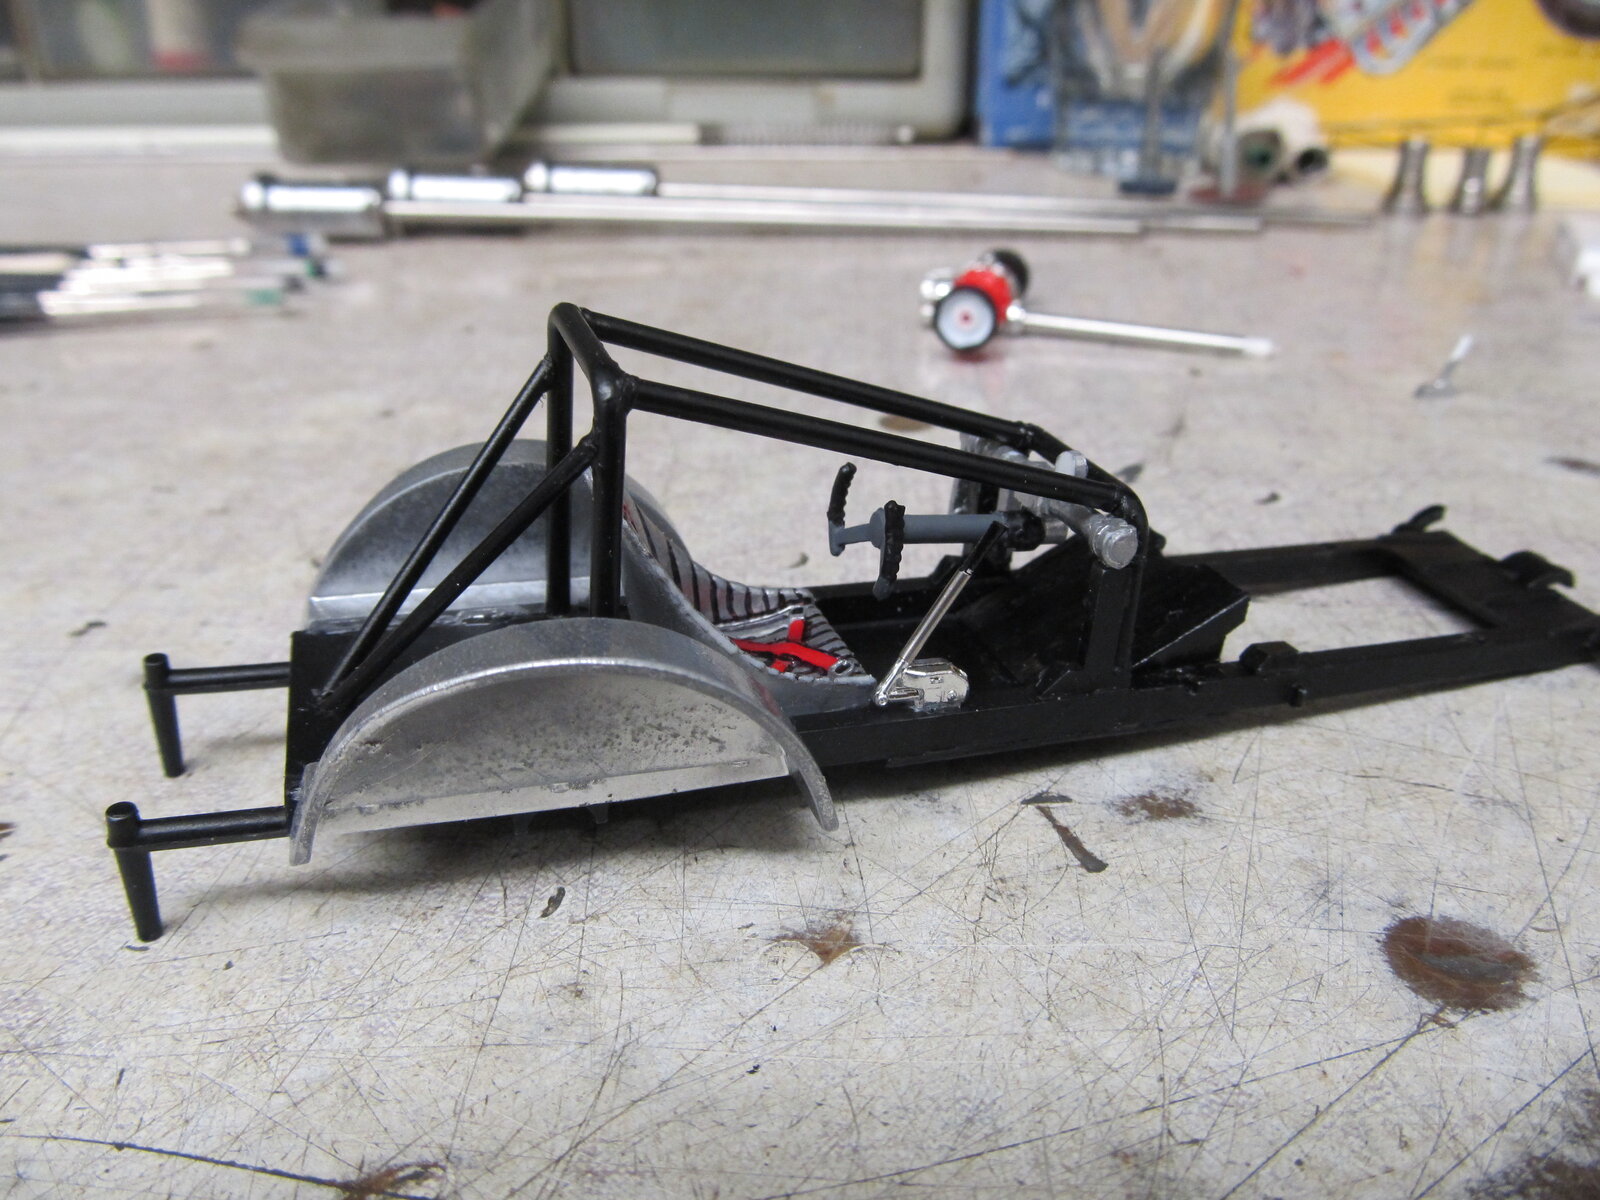
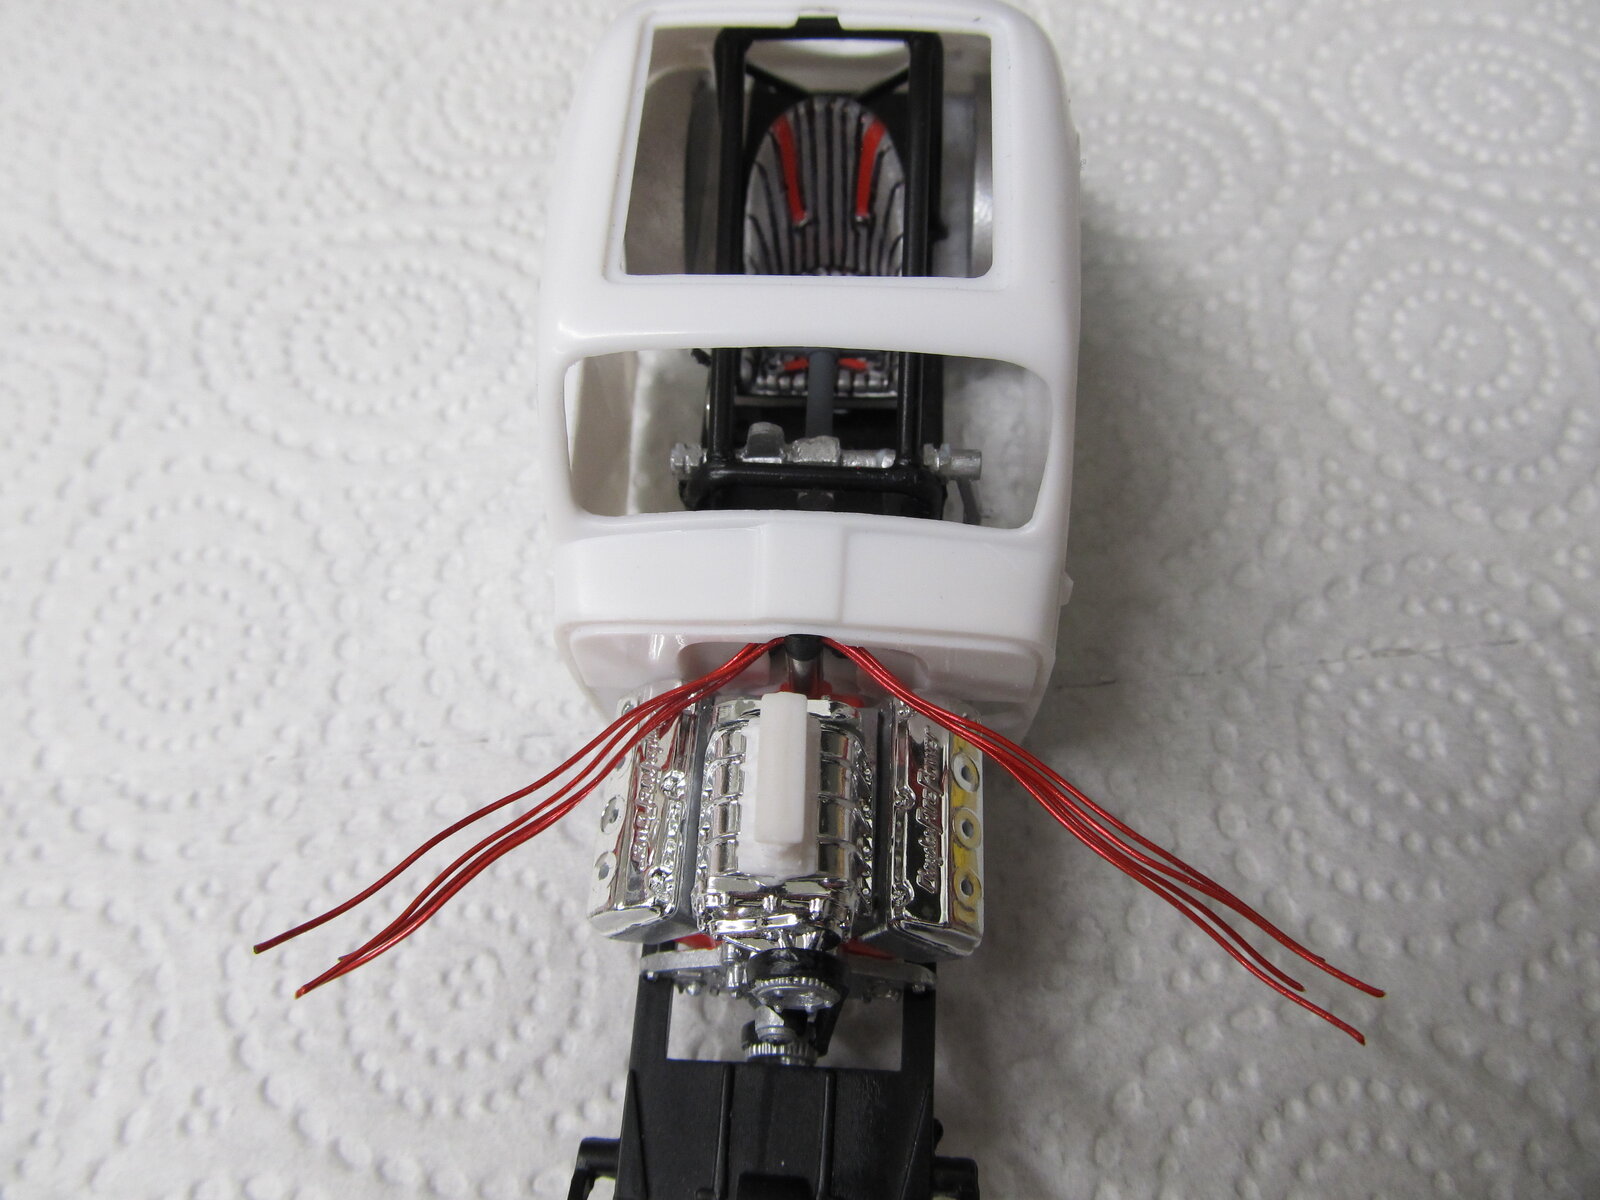
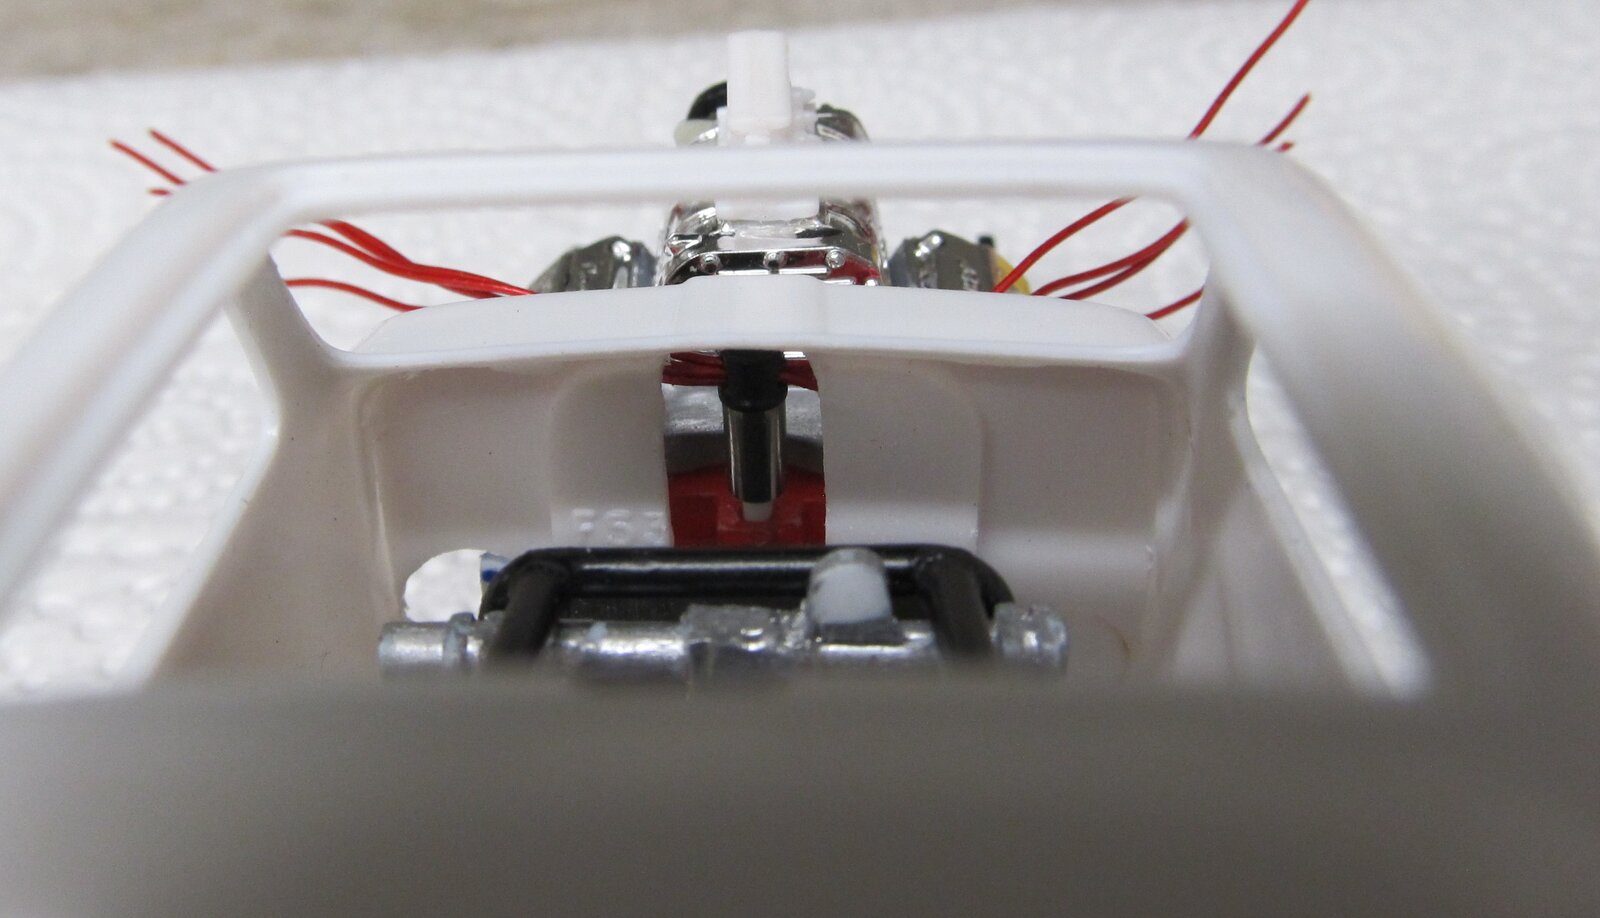
Thanks Barly im getting a little fascinated with this kit to, i had to move the steering collum assembly back cause by scale there was no way the driver was reaching the clutch pedal unless he had legs 4 ft long. And i guess i just have to pick a spot on the belly pan to put the gas pedal,Having recently completed a little mouse, this build is fascinating!
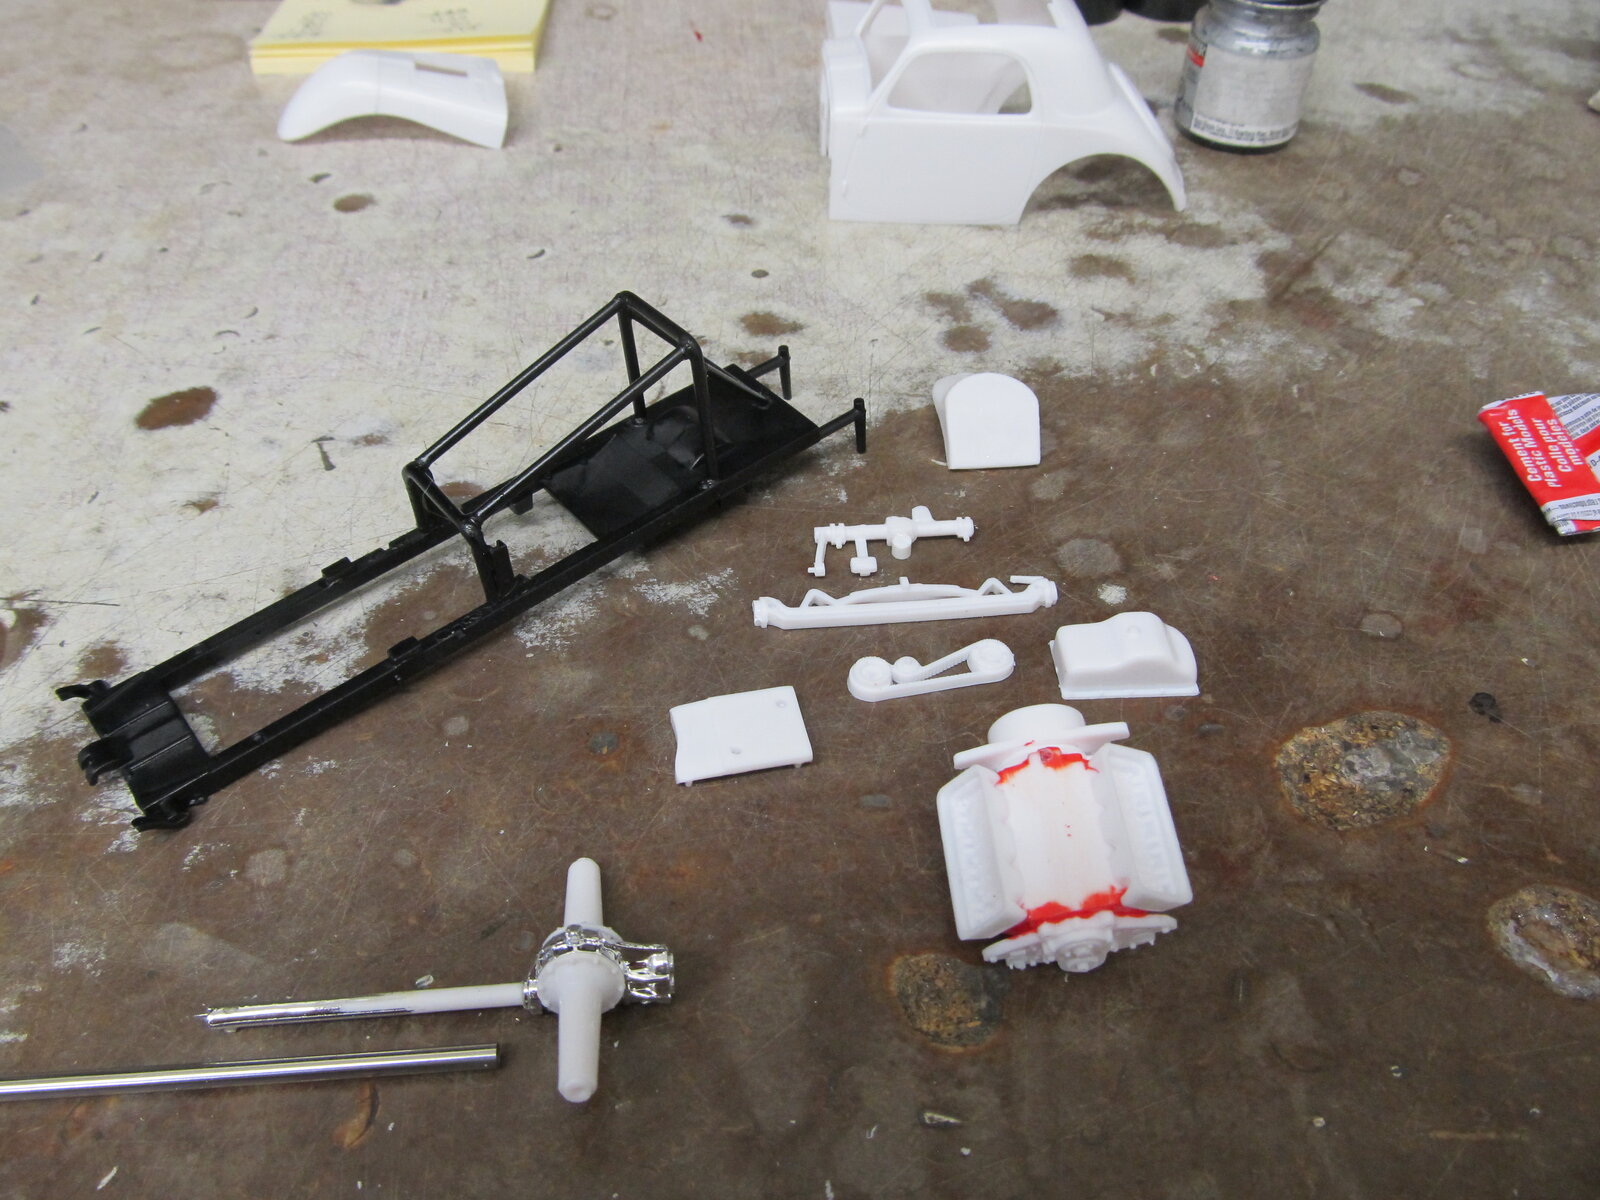
 good ol AMT instructions exploded view and a dotted line saying here, put it over here someplace. i think i will put an actual floorboard in the chassis with a crossmember for things to mount to.
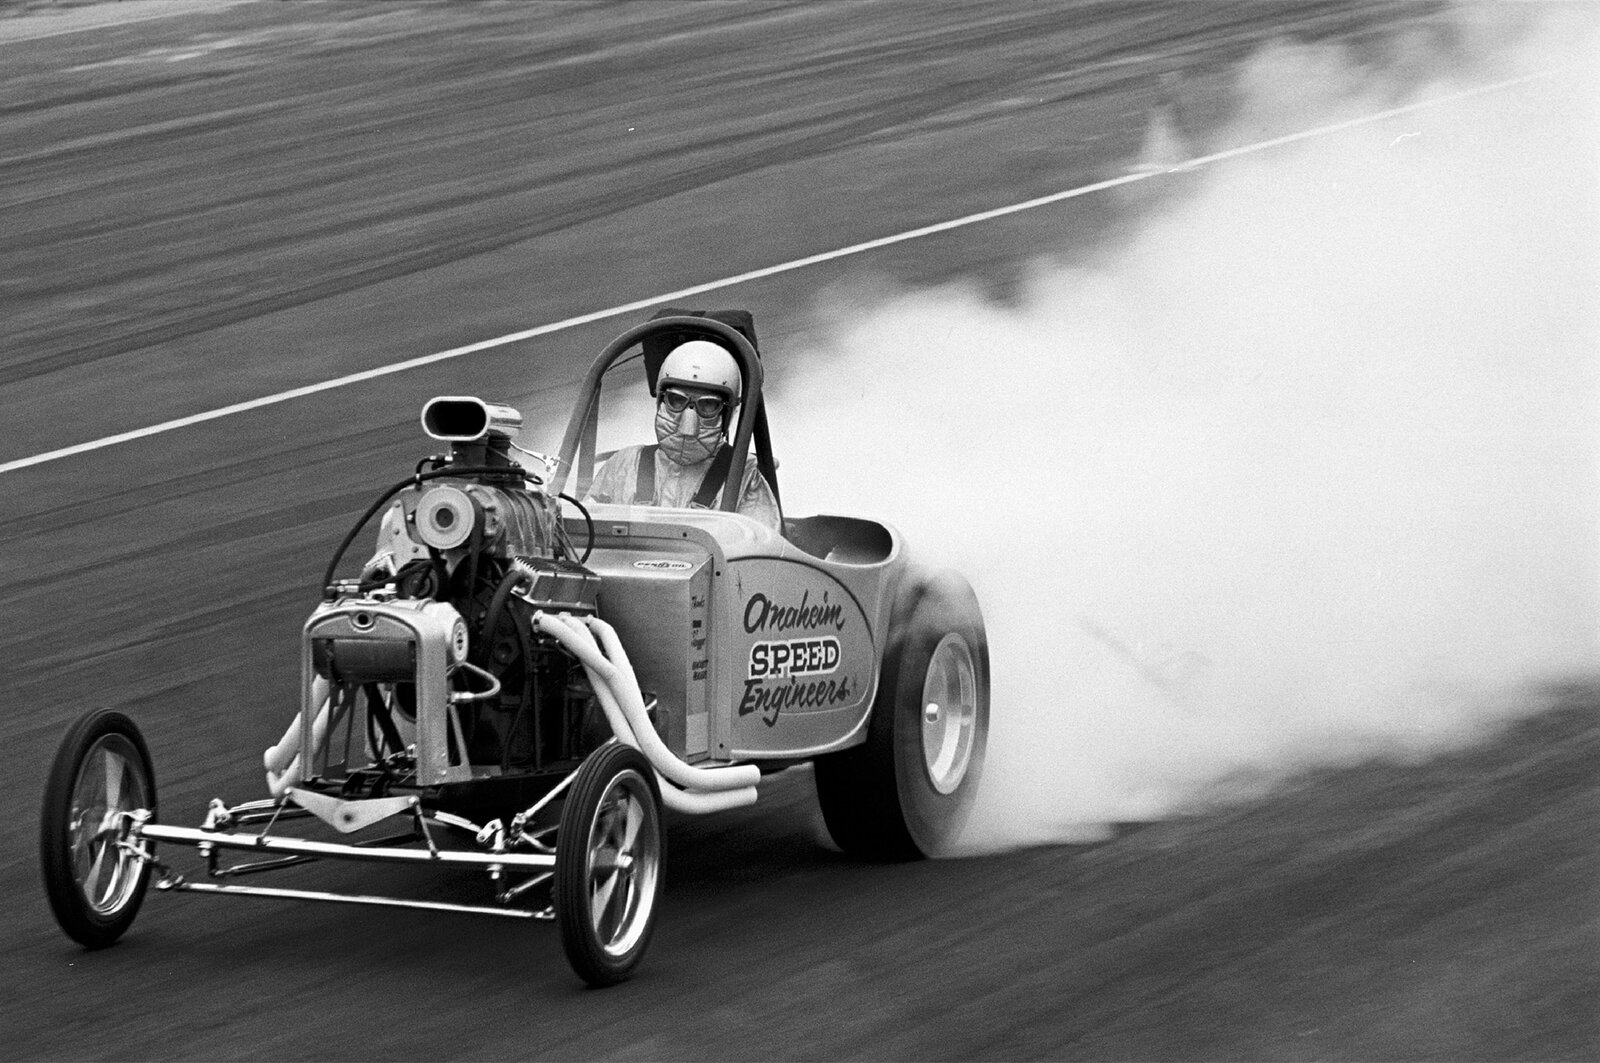
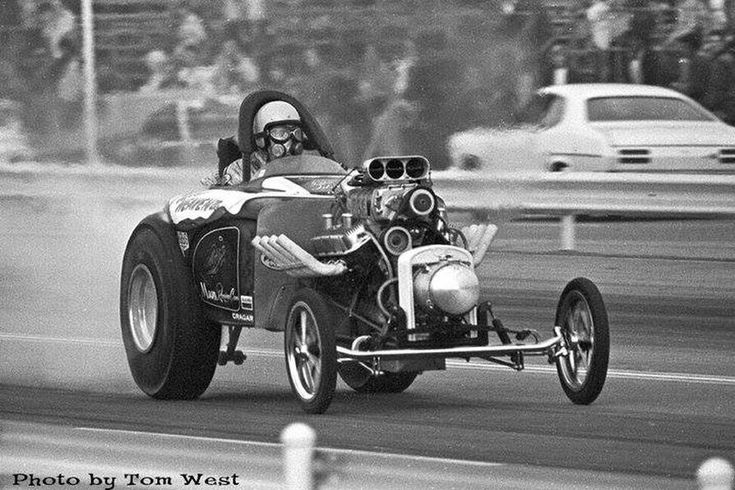
Haha! I thought the same looking at the photos of the car racing and the driver can't even be seen, sitting so far back!legs 4 ft long.
They give us a whole nother version of back seat driver.Haha! I thought the same looking at the photos of the car racing and the driver can't even be seen, sitting so far back!


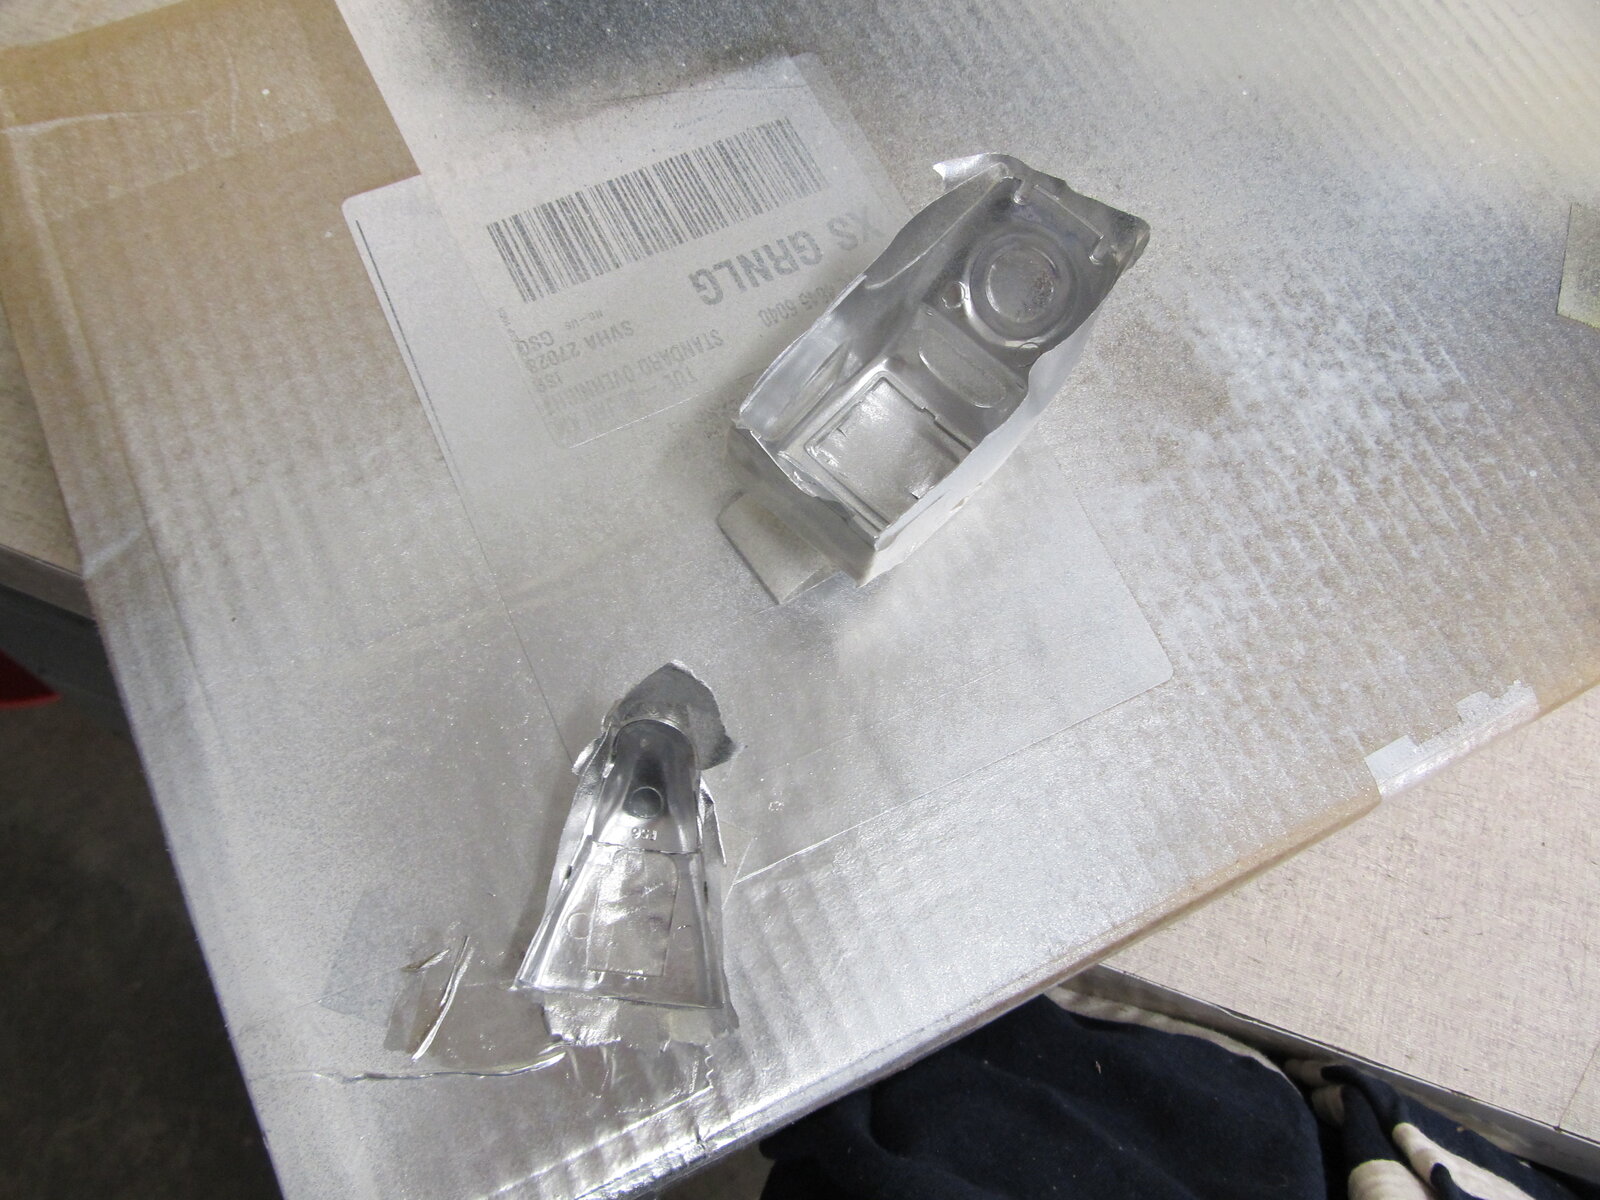
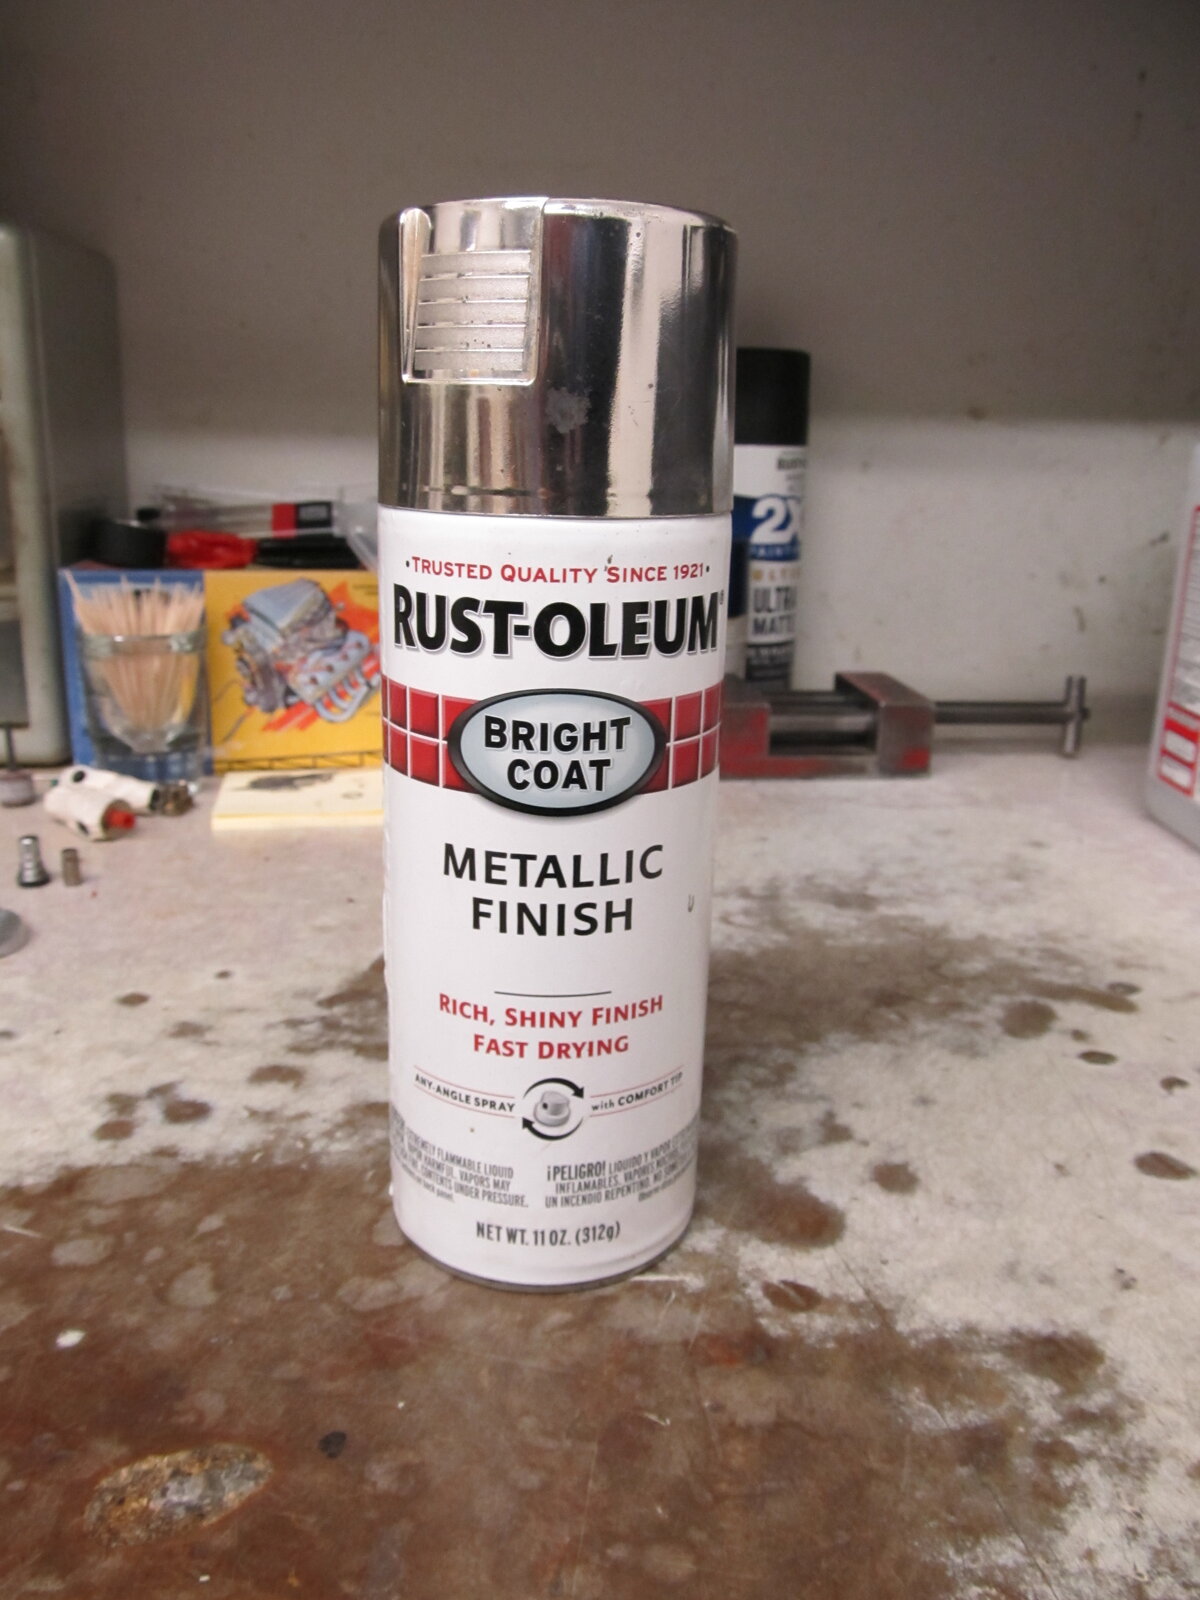
Its a Rust Oleum product, last i found it was at wally world. It works really nice but you need to shoot a couple of things to see how it does on the size item your spraying. Then dont touch it for two days. A lot of parts on the puller were done with it, wheels, intake tubes and supercharger on the merlin , intakes and fuel systems on the turbines and the gear box. This can is about 3 years old, i just shot the wheels for the Topo tonight so its still doing ok but i think it works better when its new,What is that real shiny chrome paint you're using? I use Tamiya Acrylics and want to know if it's the Chrome they use. I saw you had the same finish on the Tanker axles. I'm about a week away from starting my "Tanker".
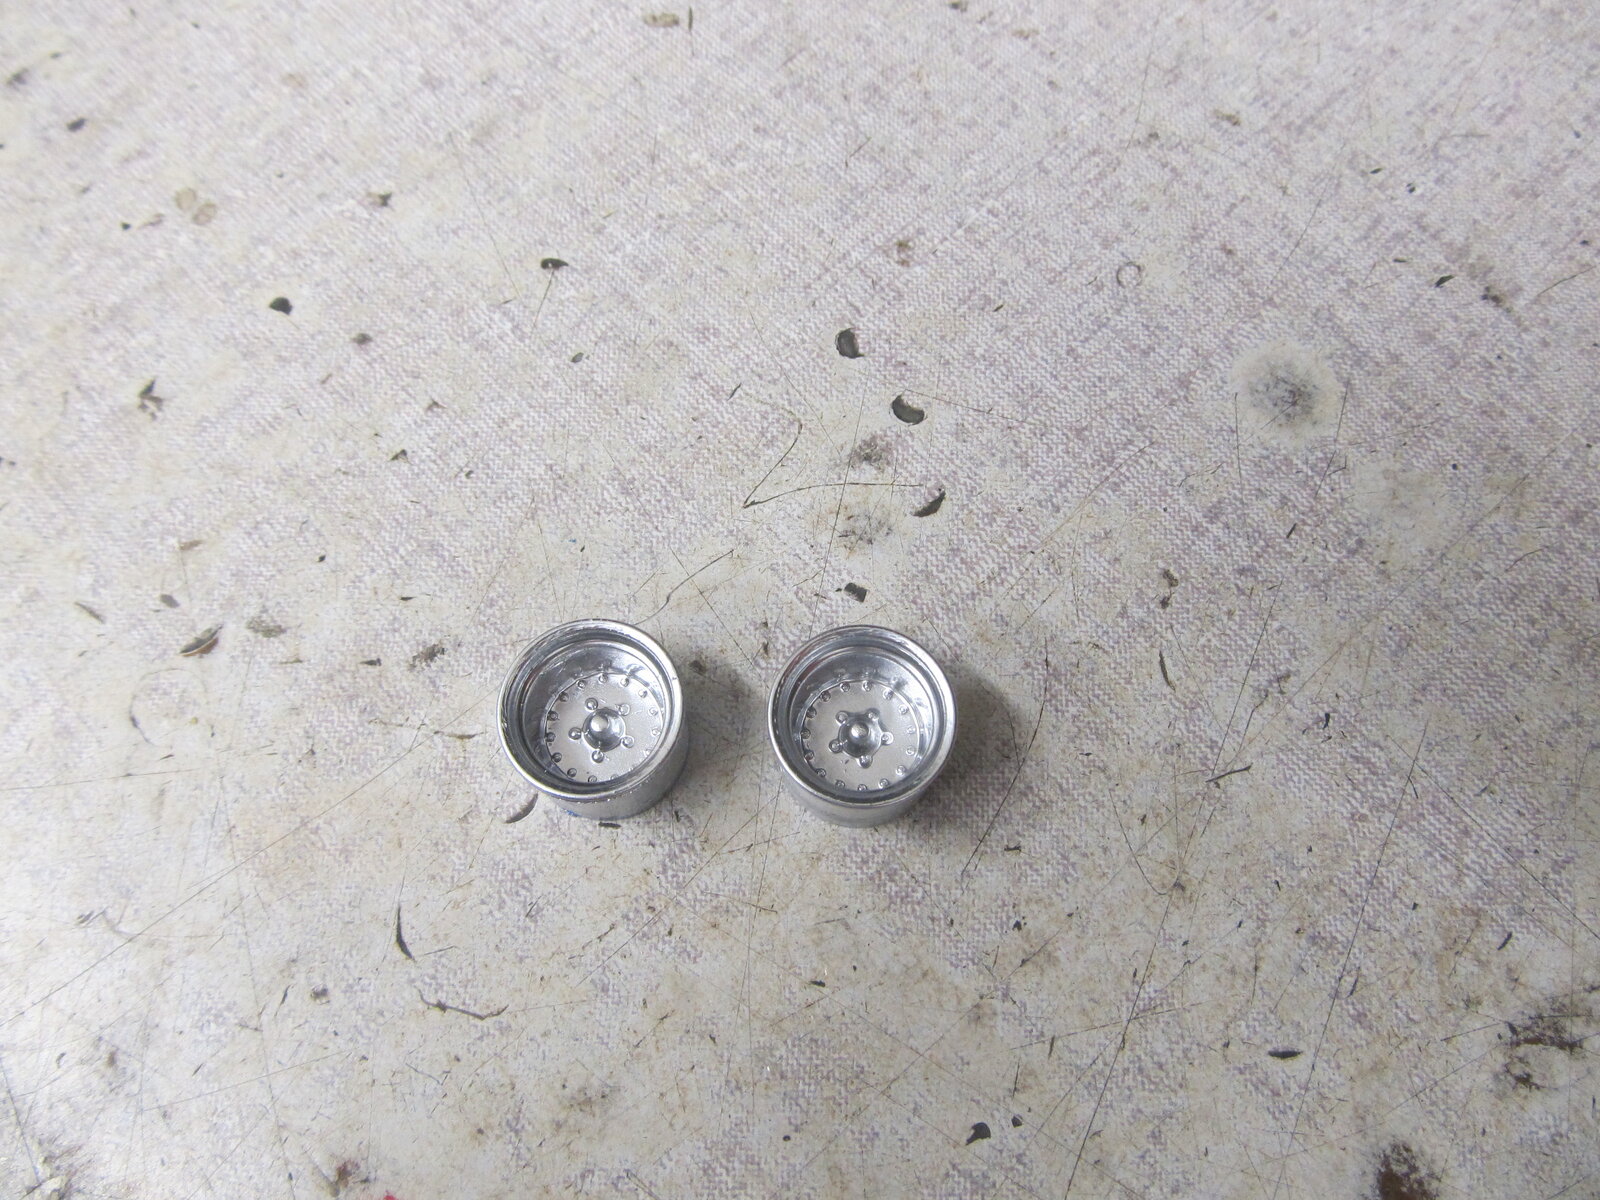
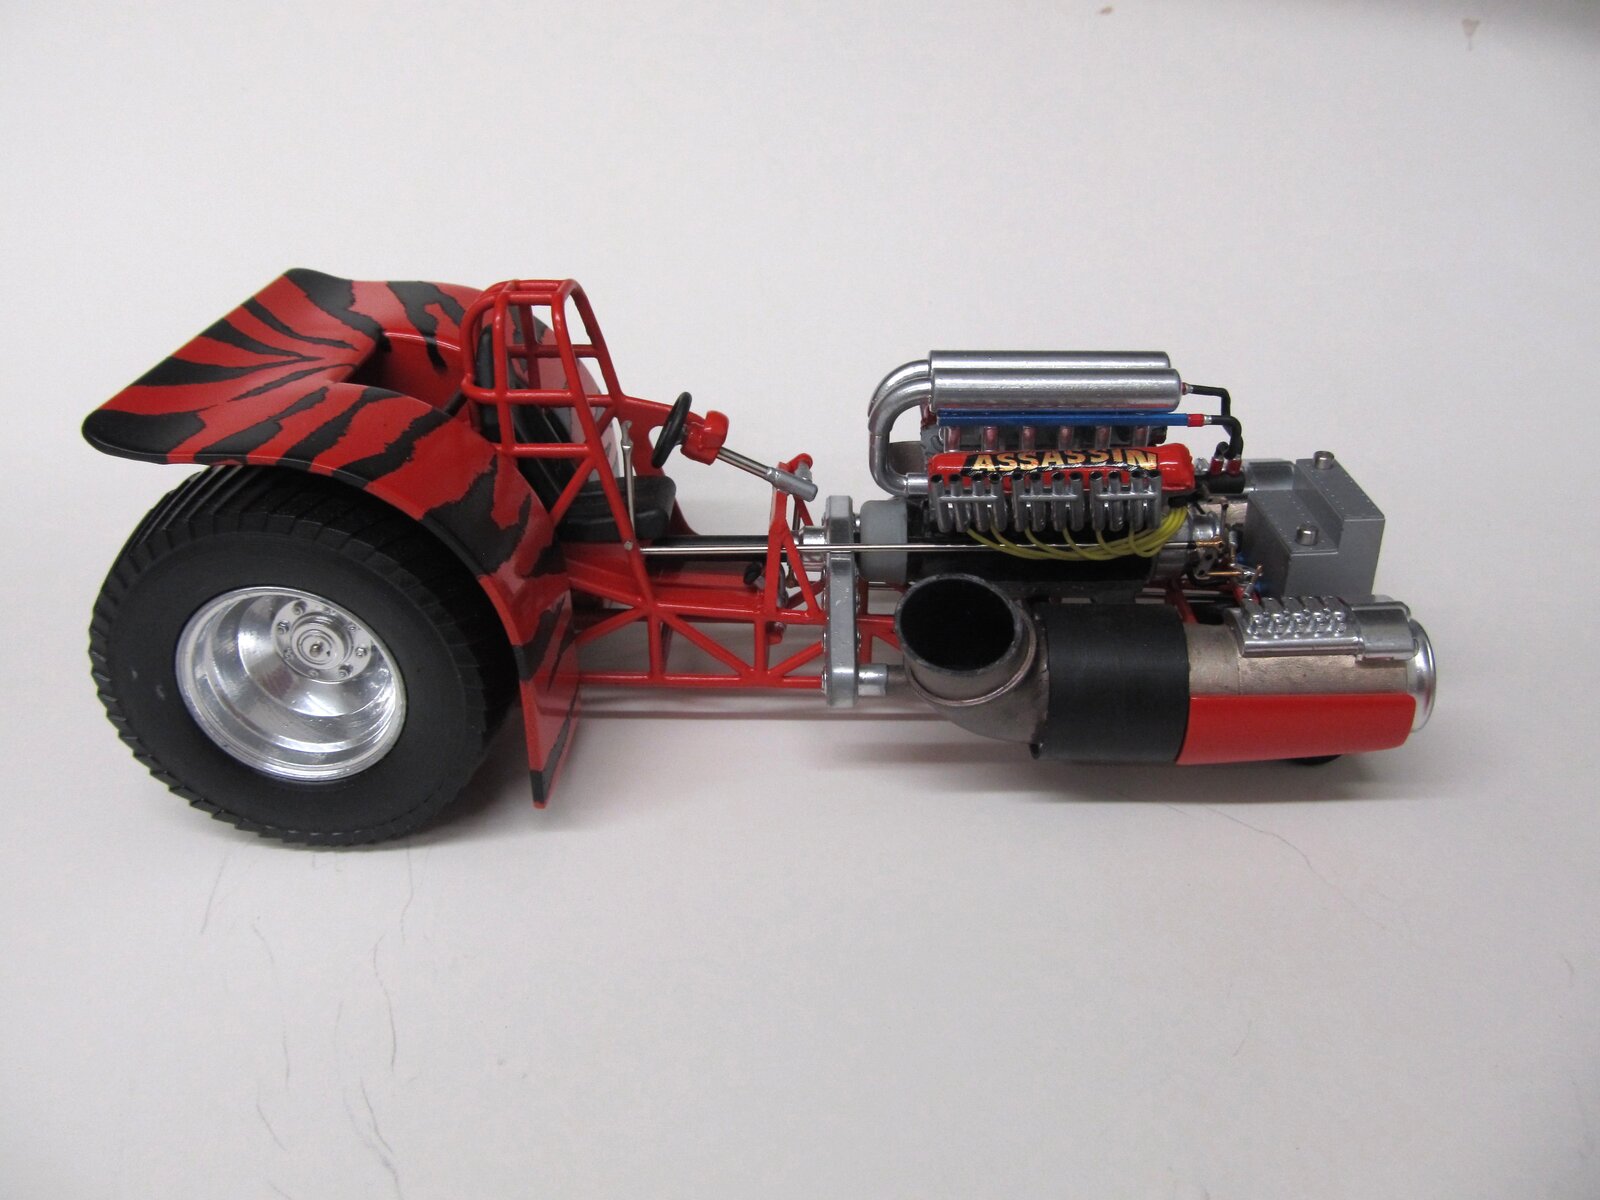
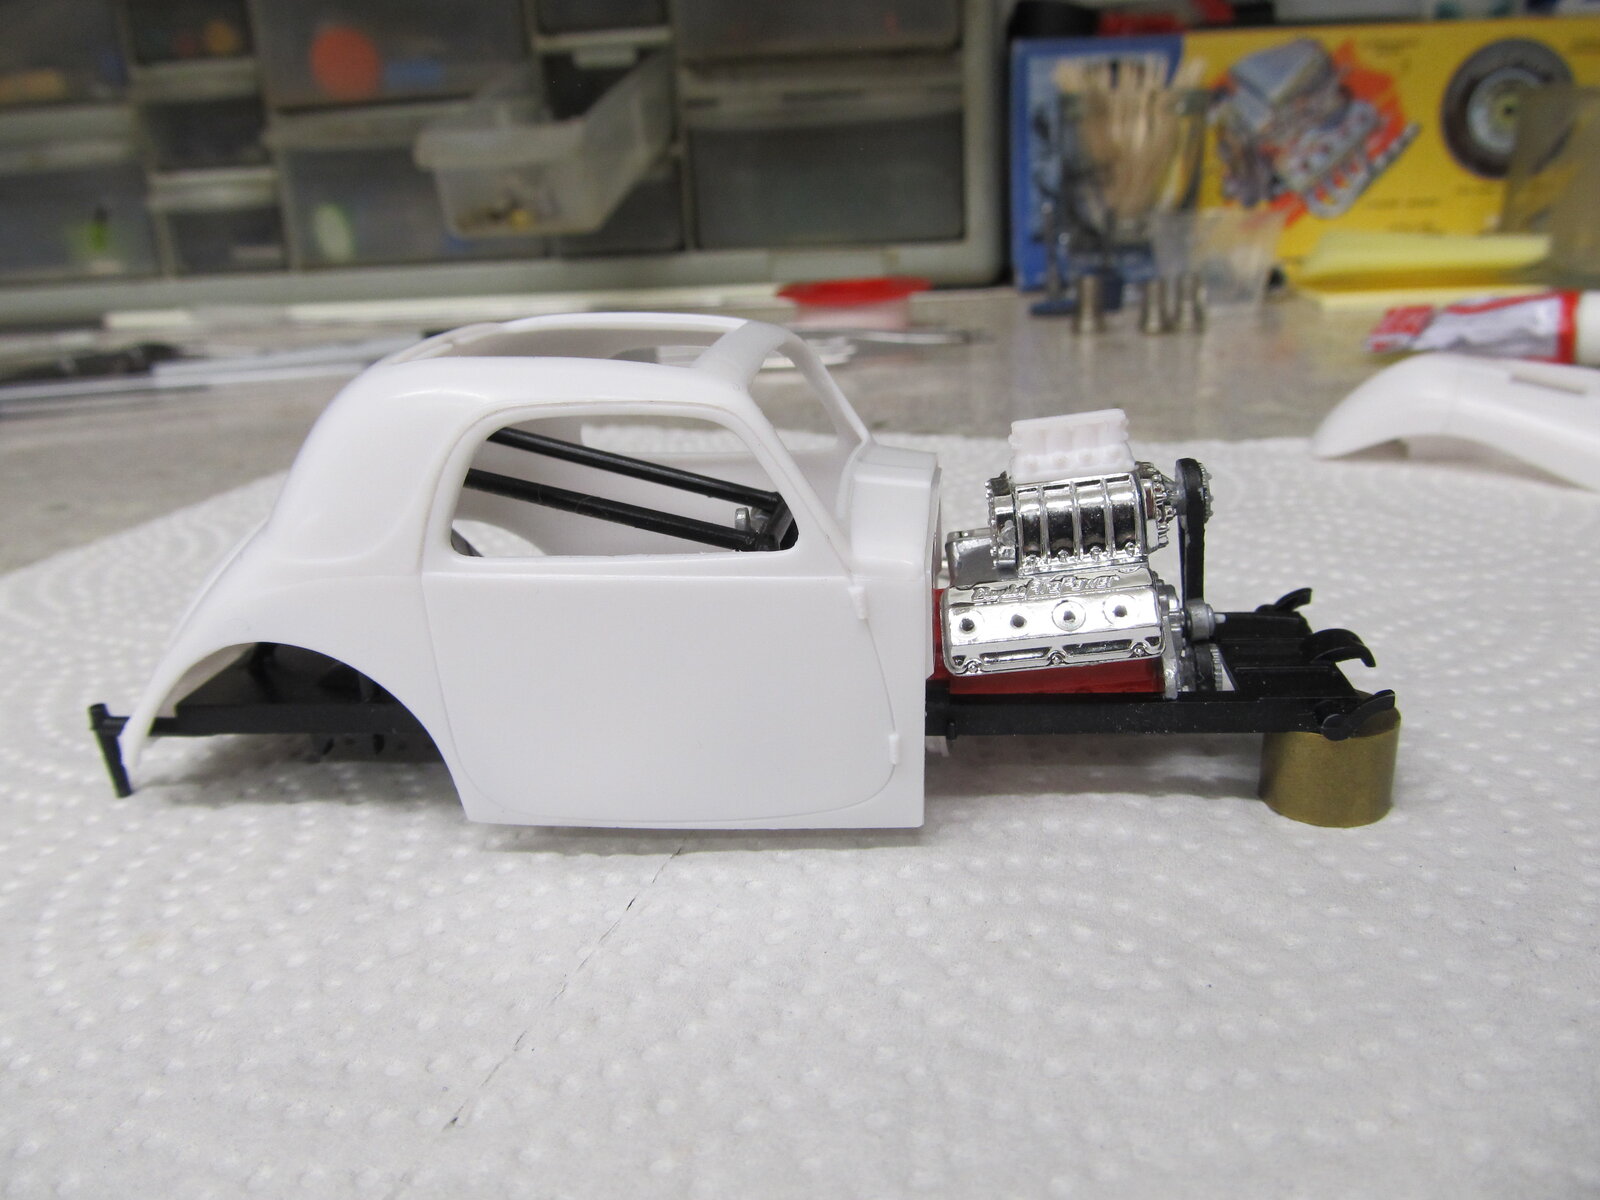
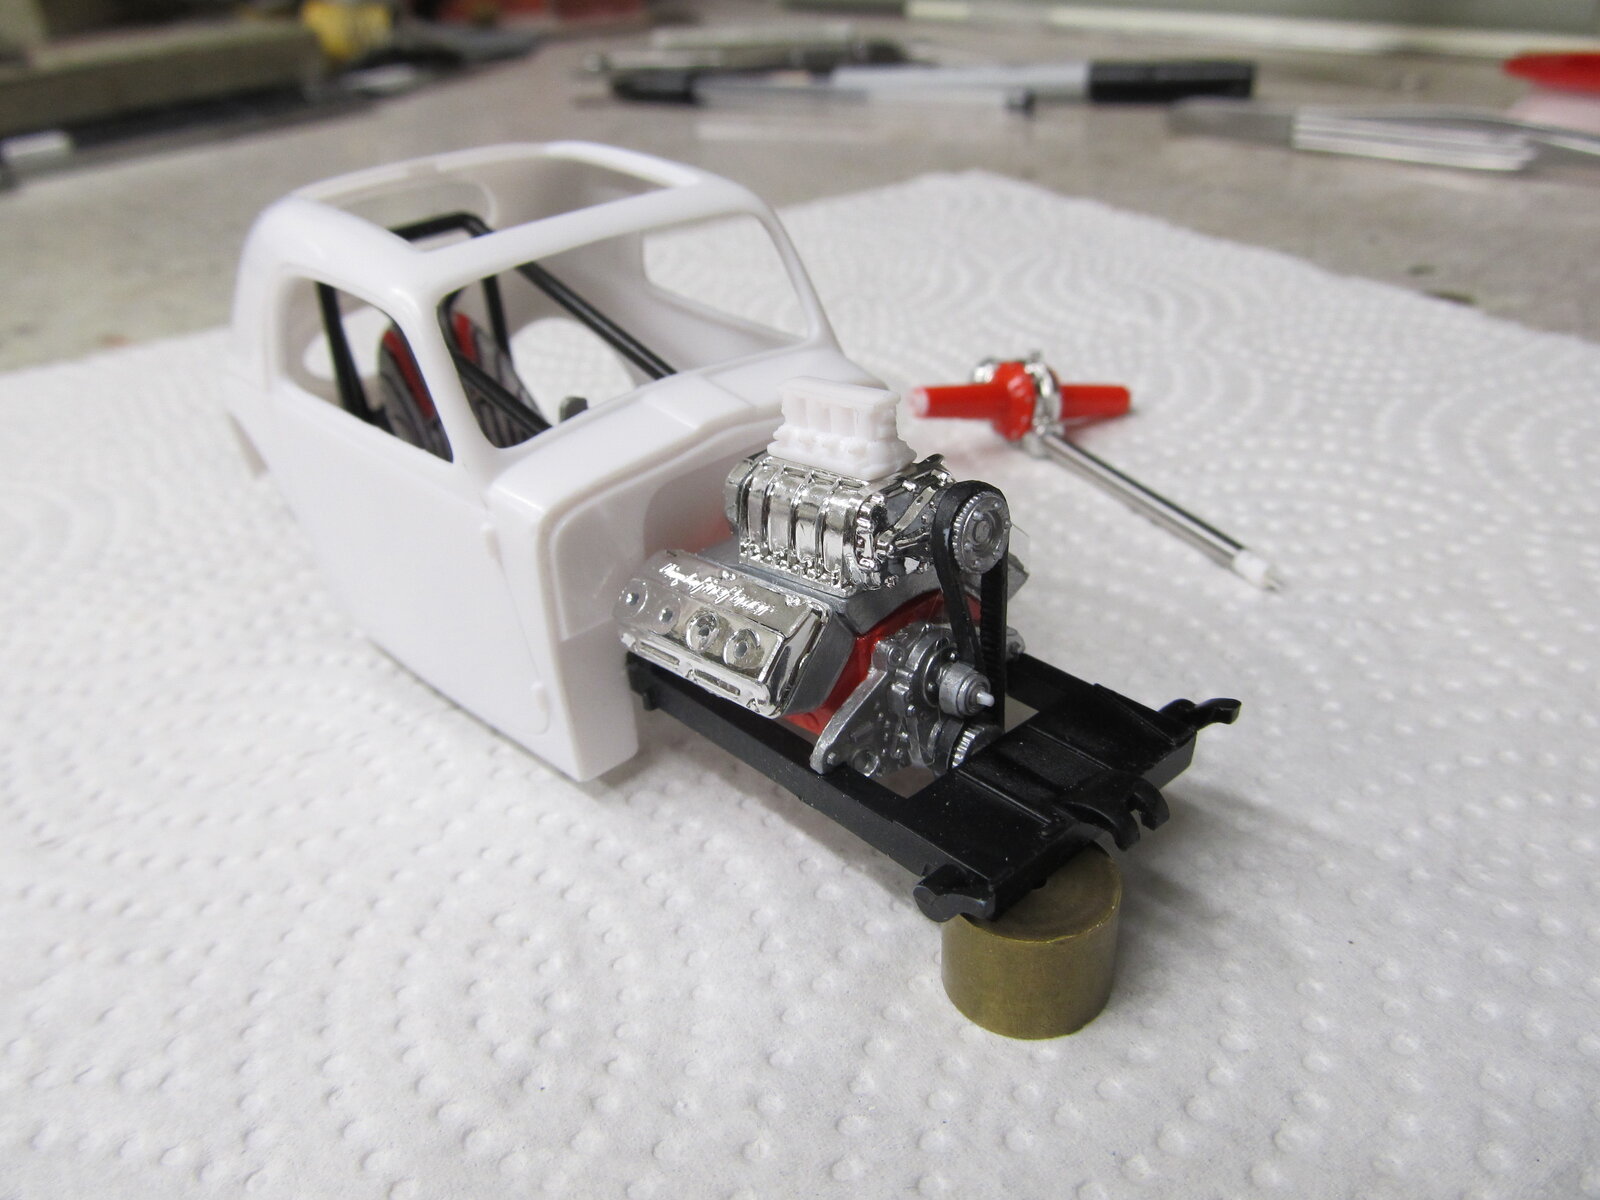
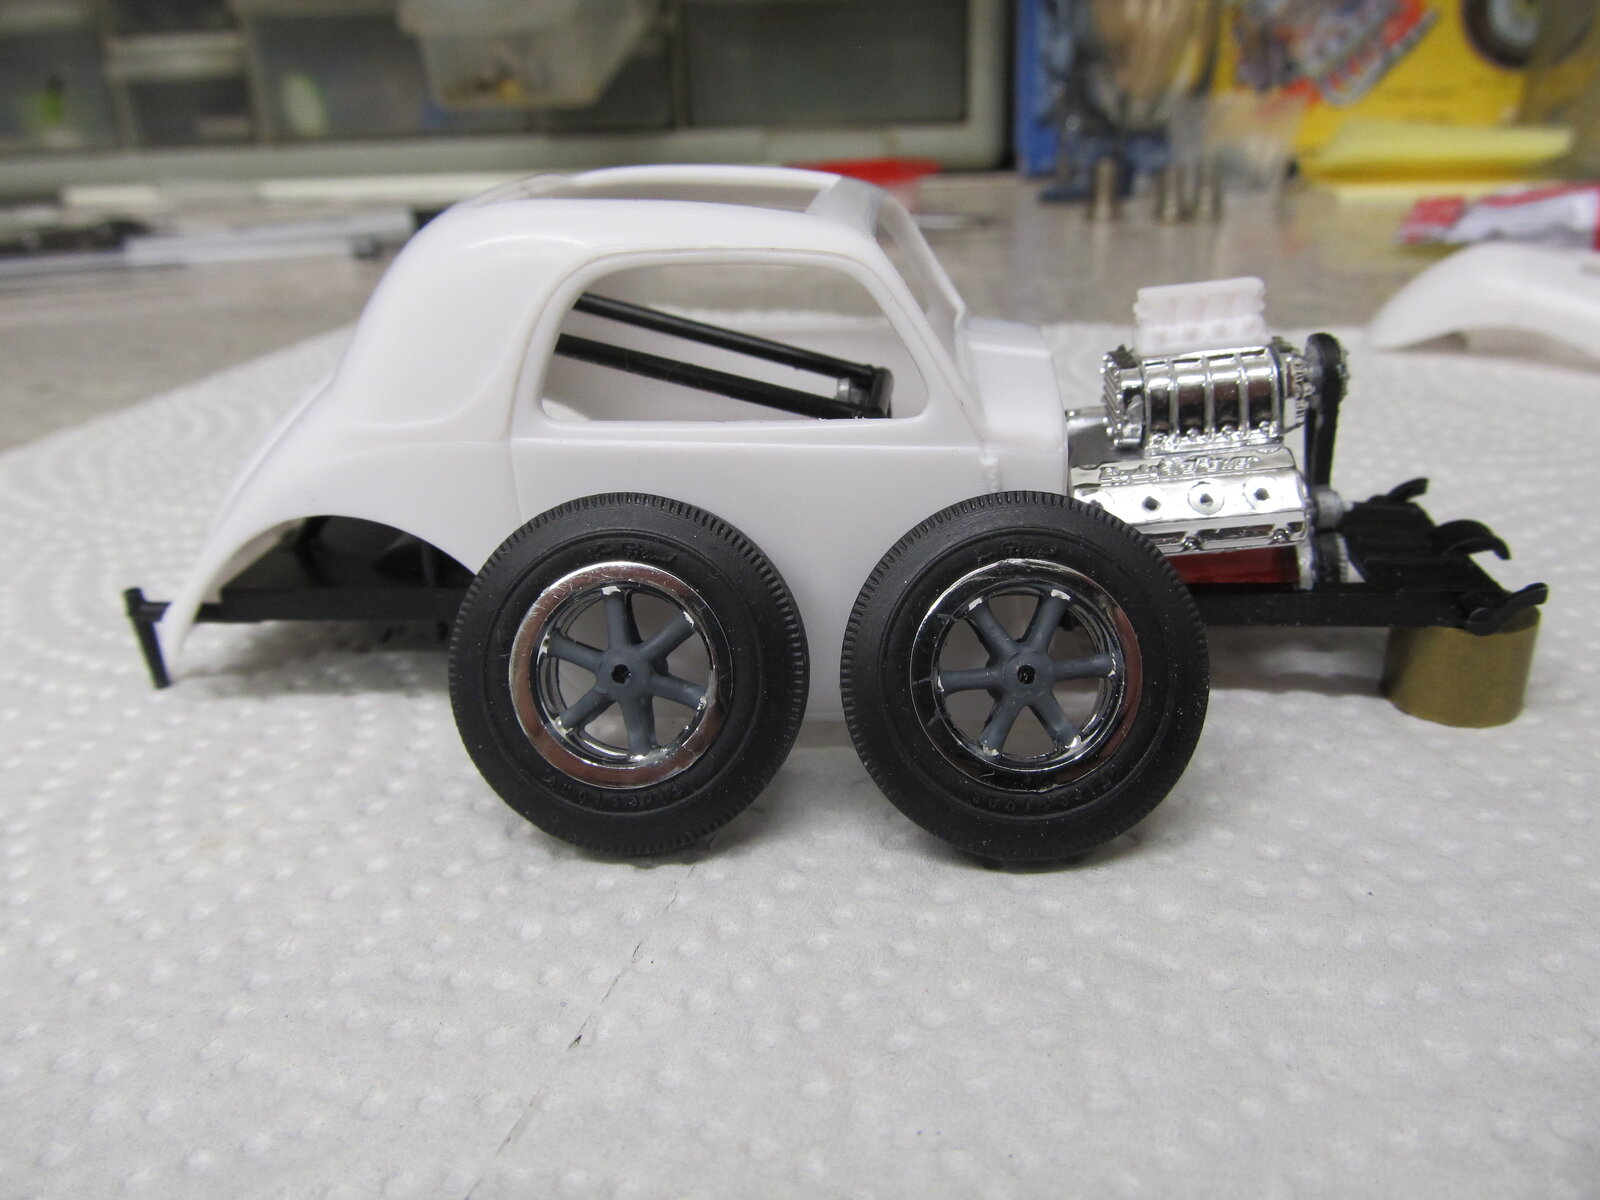
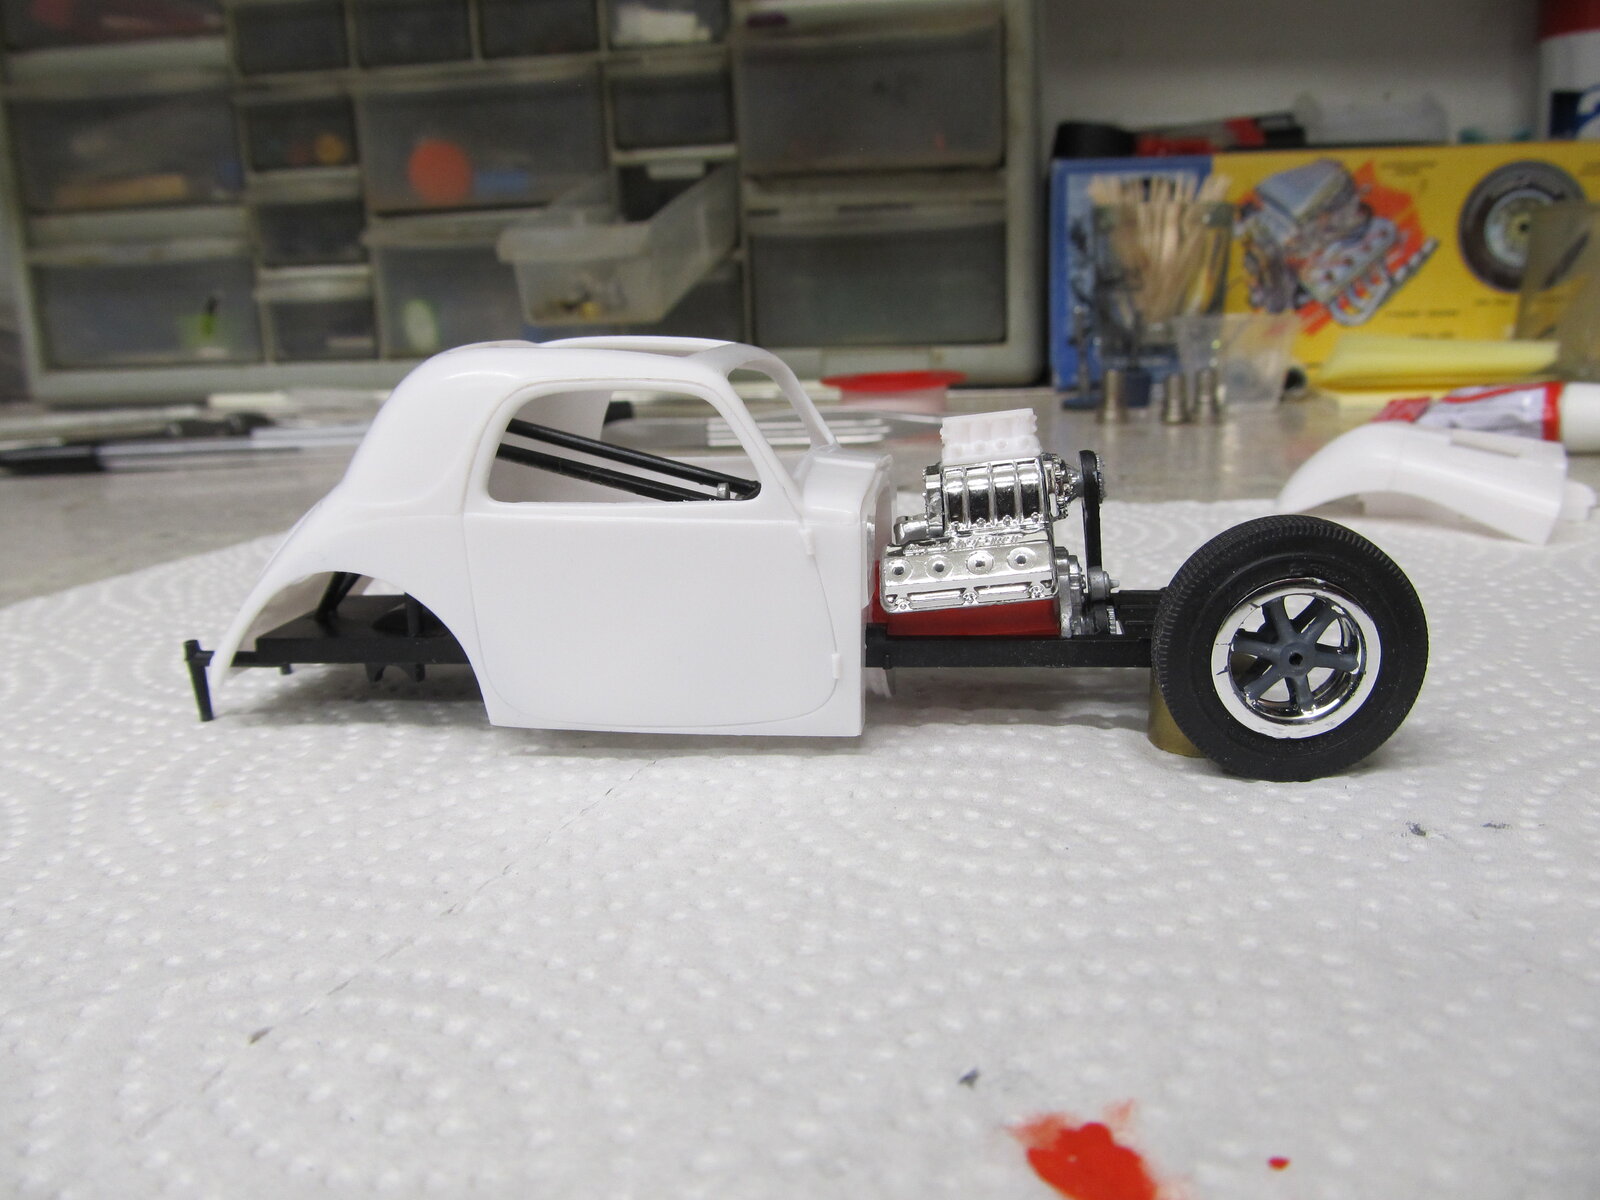
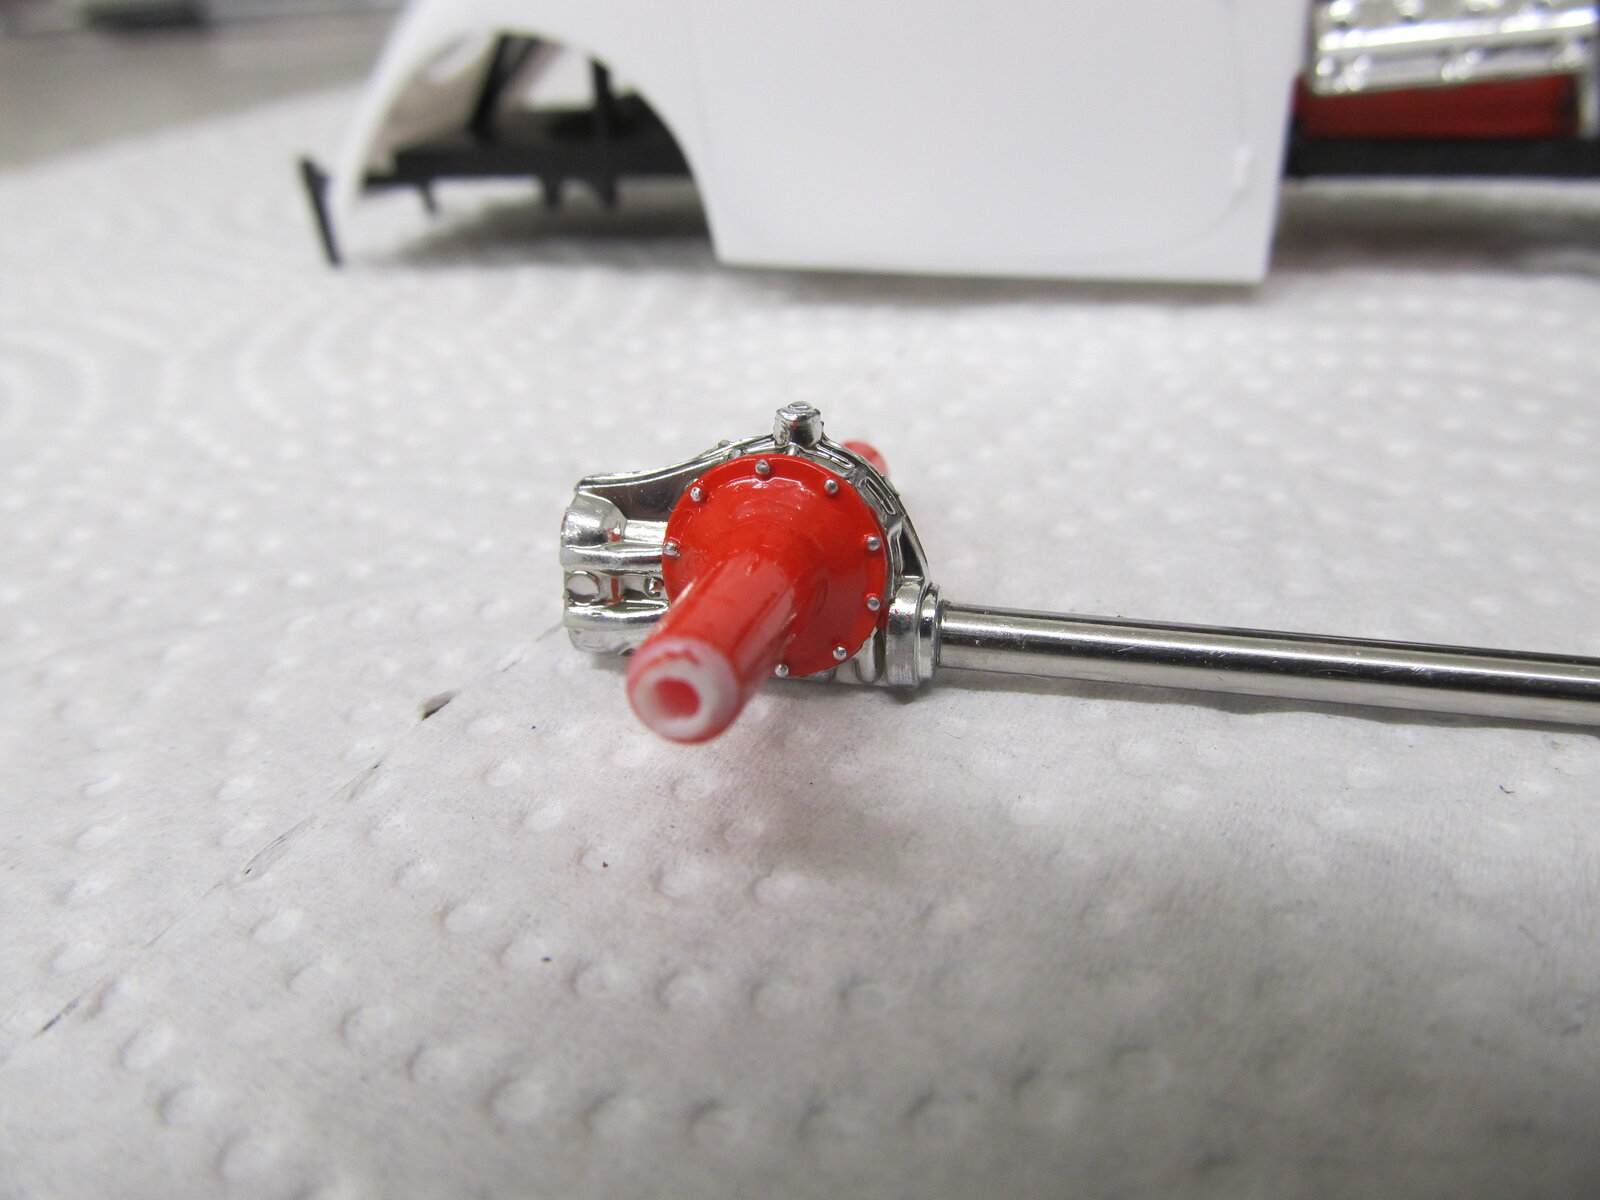
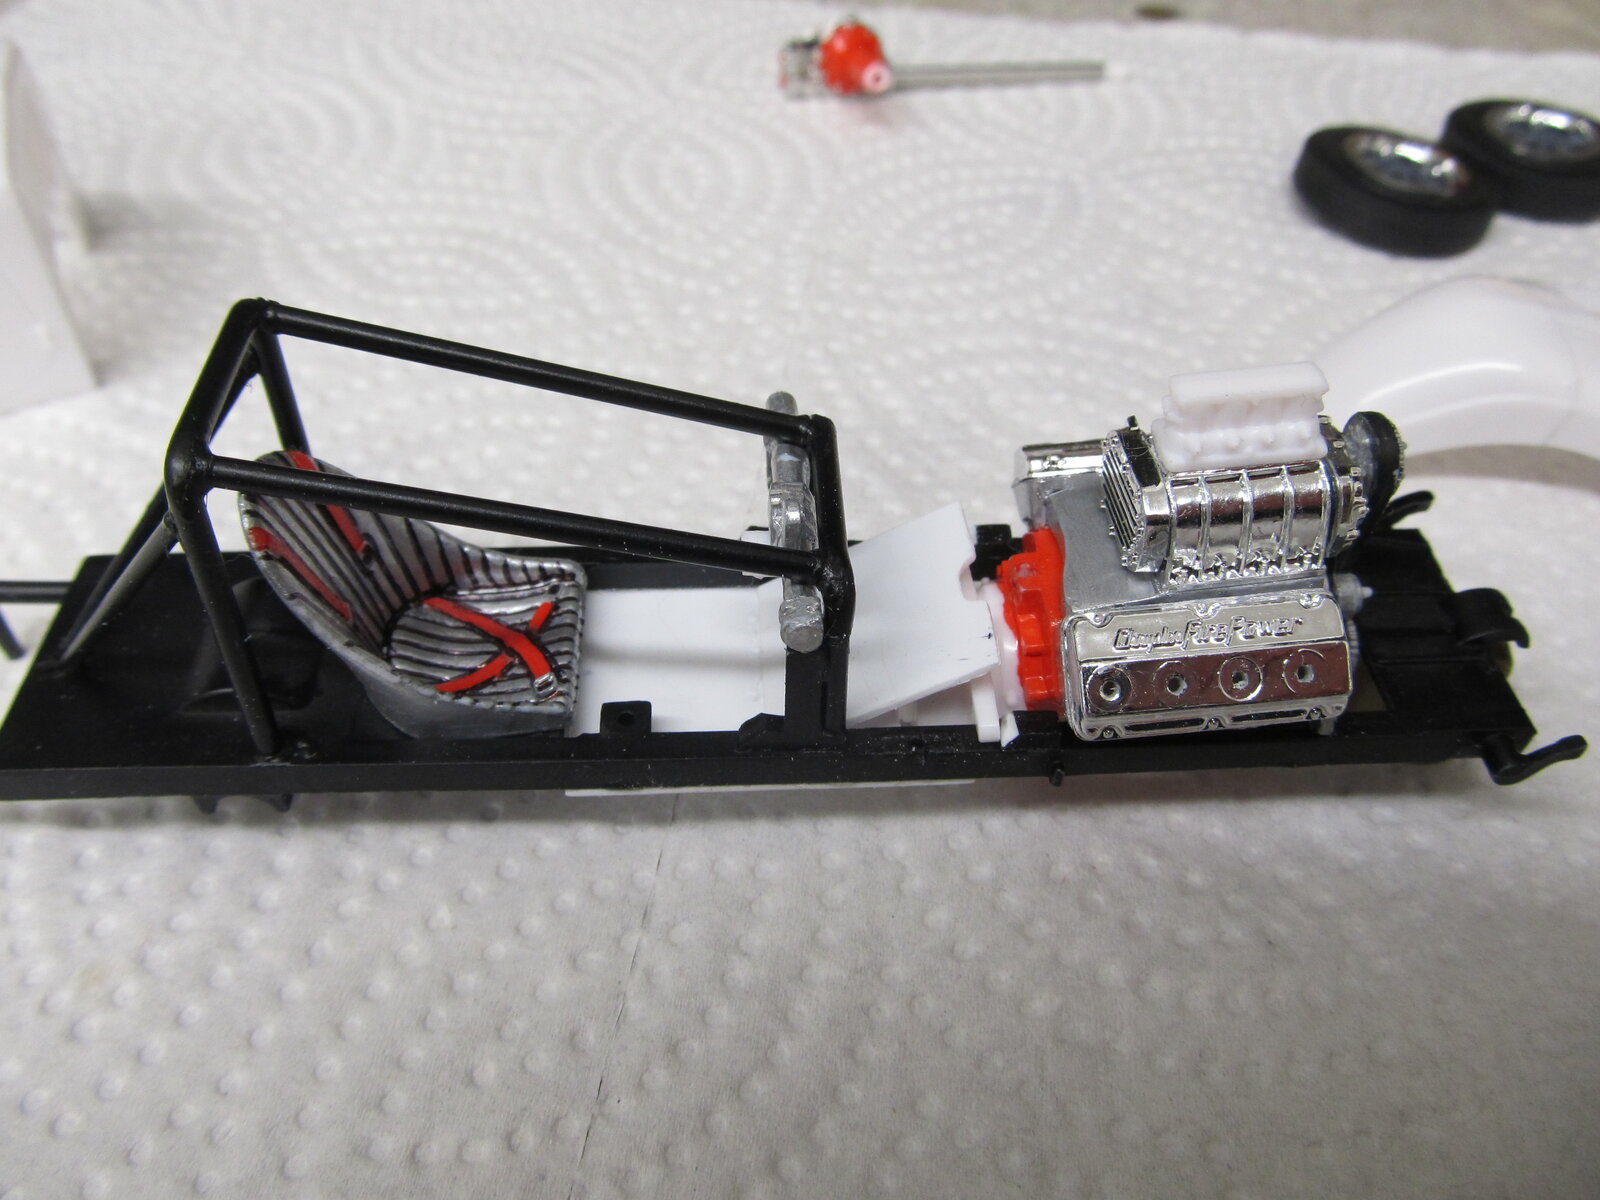
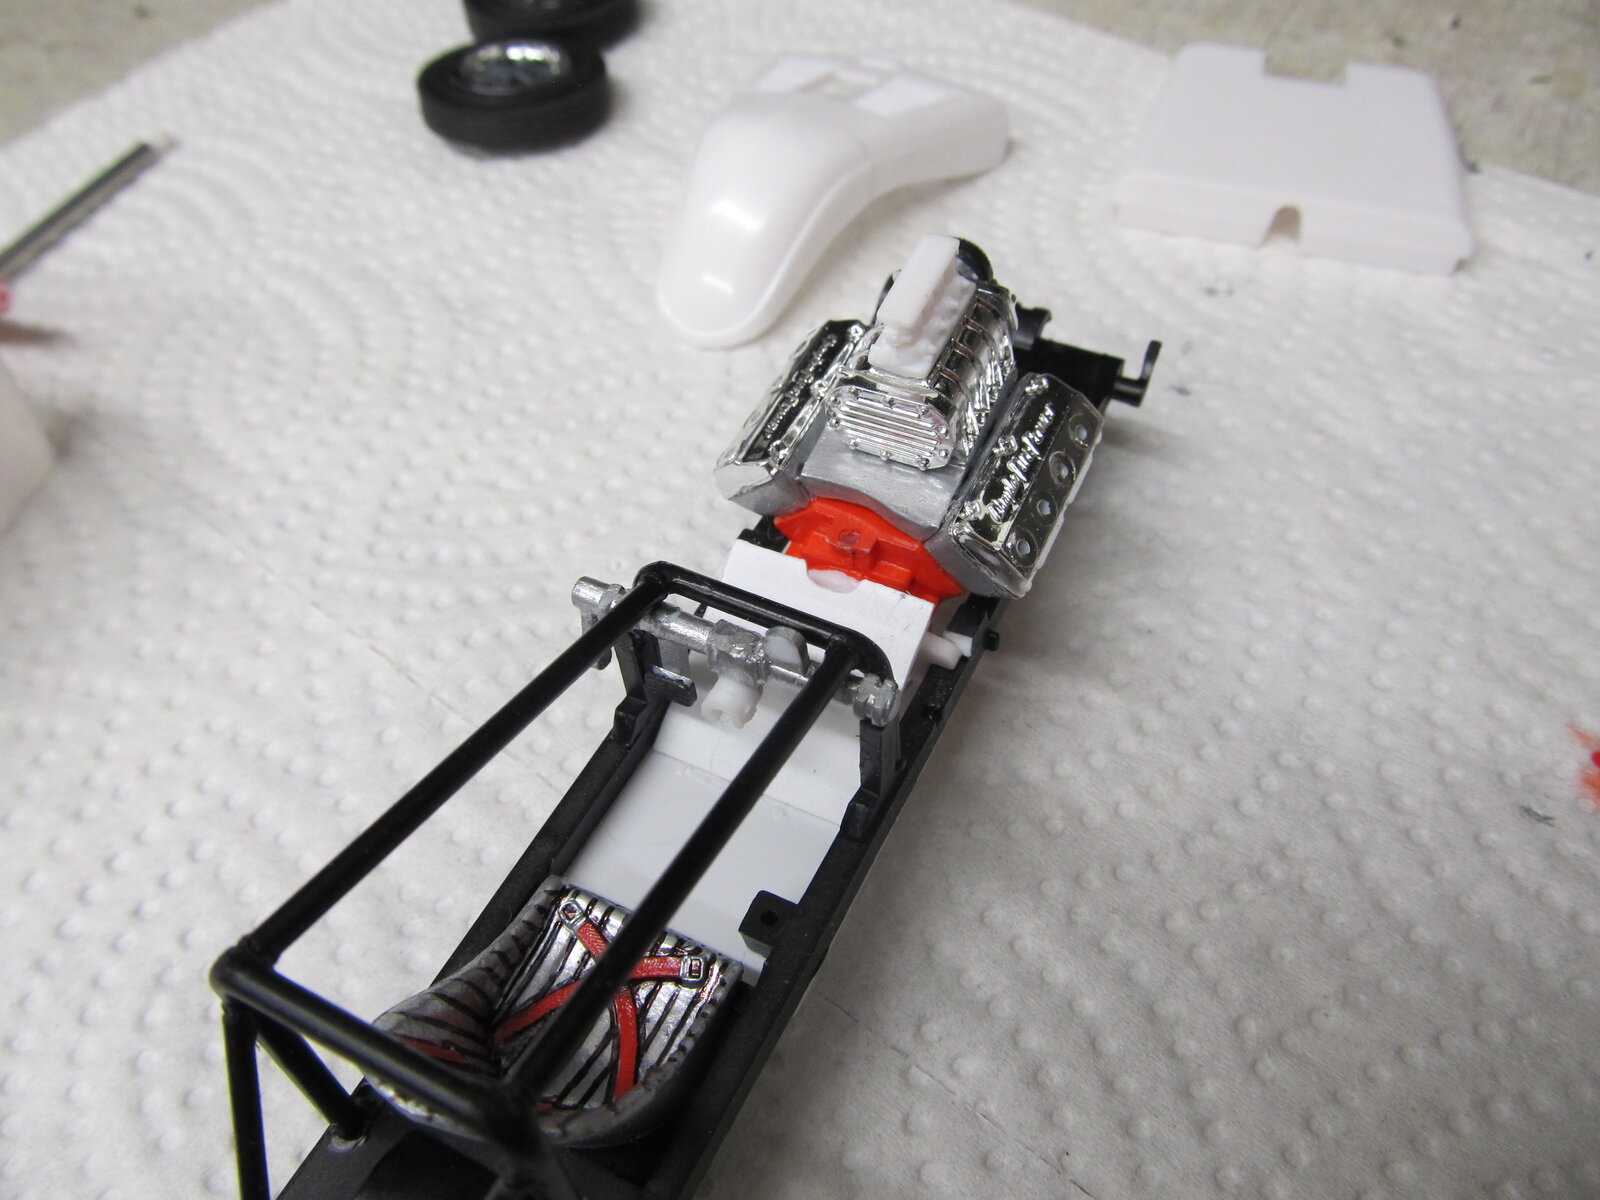
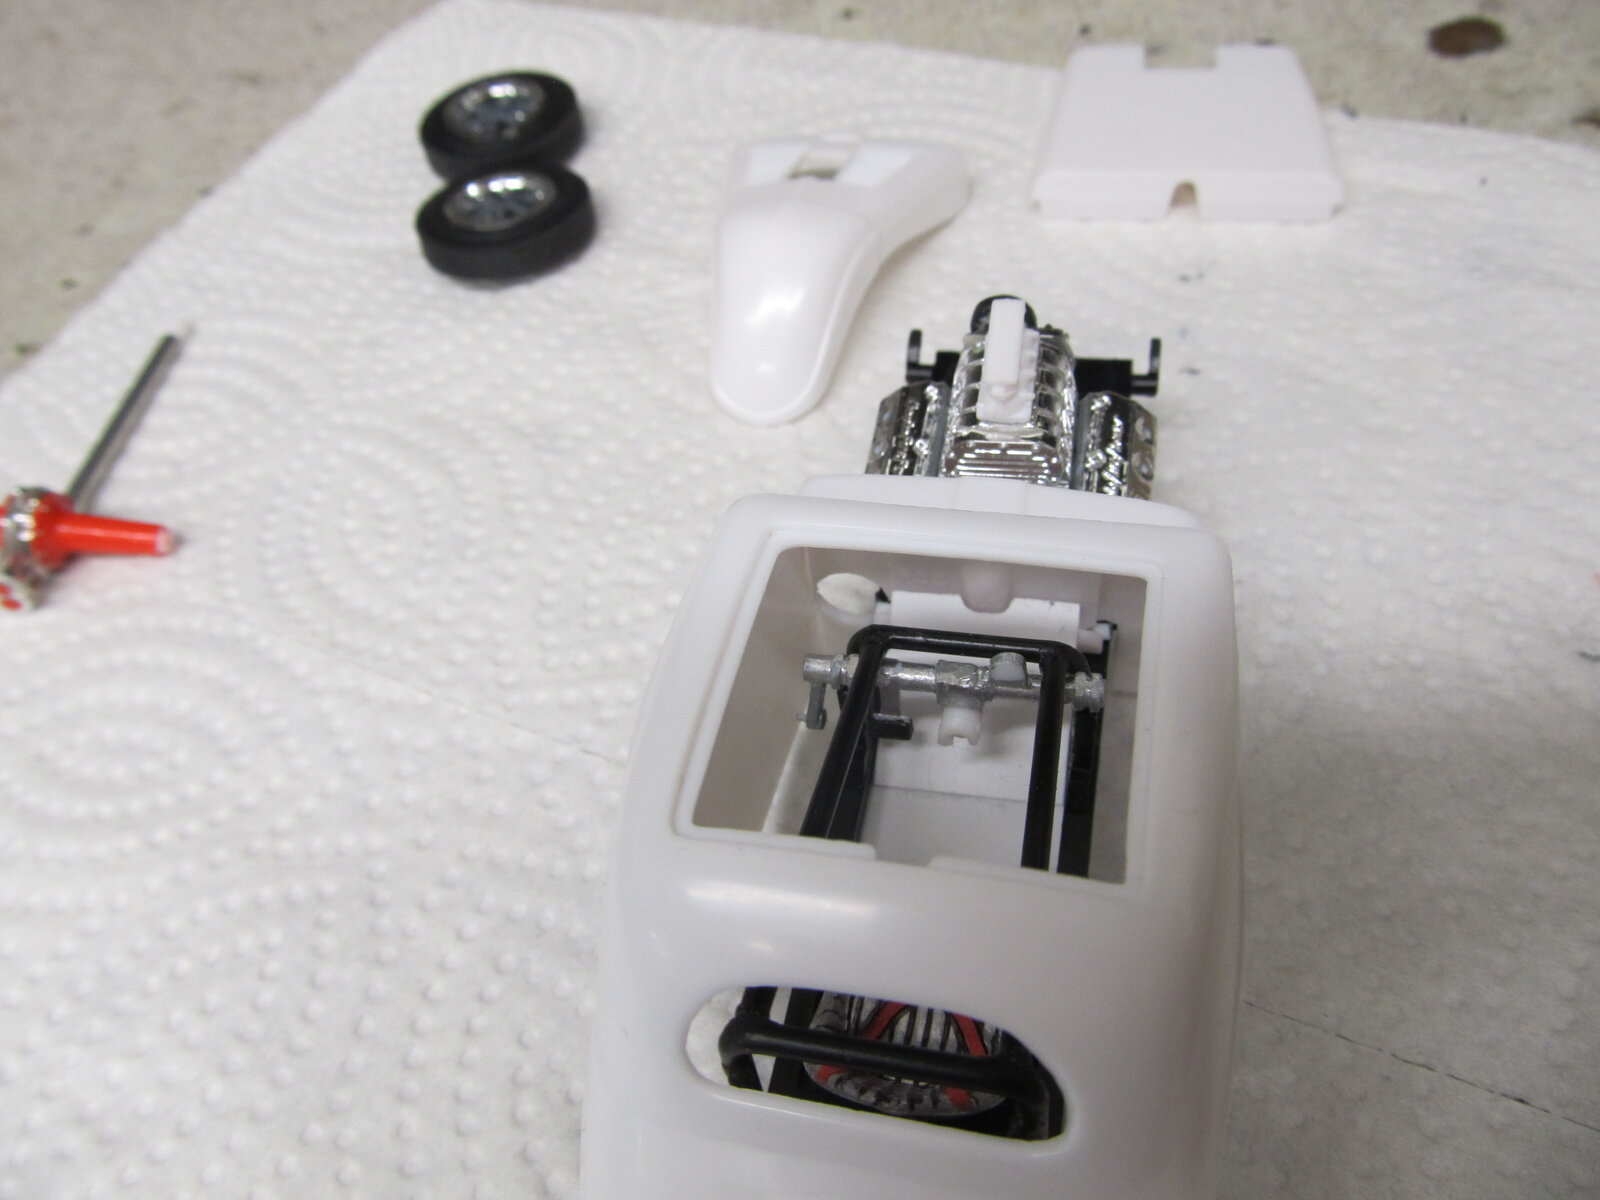
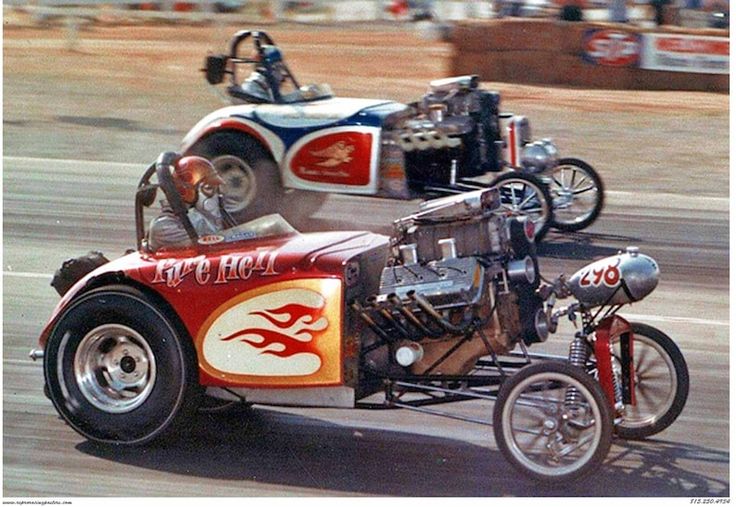
The front wheels on this one are a little chunky, the next topo has wire spokes up front. As the altereds progressed and evolved they found stouter front wheels and more tire were needed on the ill handling beasties after wire wheels collapsed and light hard spoke wheels broke from the stress of wheels stands, trying to fly and running sideways half the track.Bello! Wheels are crazy, having seen how narrow the originals were!


Man i love steampunk, i really have to get my mind back on a build i was thinking about before i walked away from social media for the last 3 years.
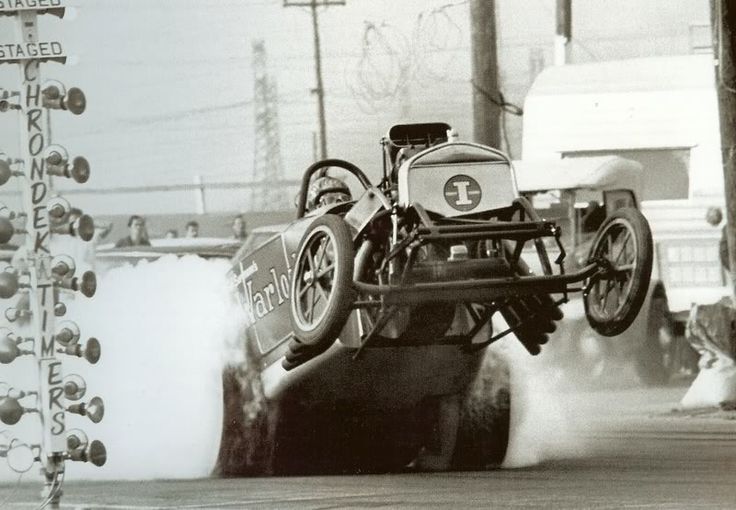
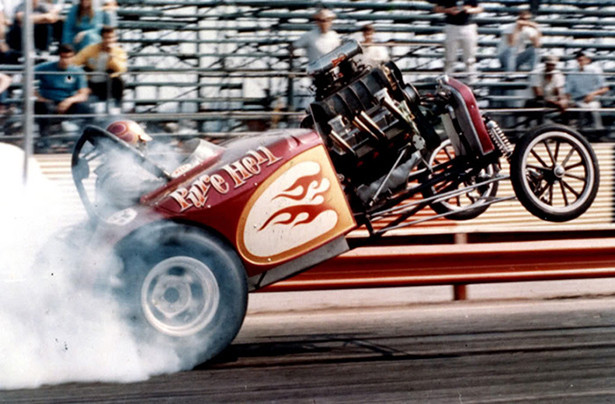
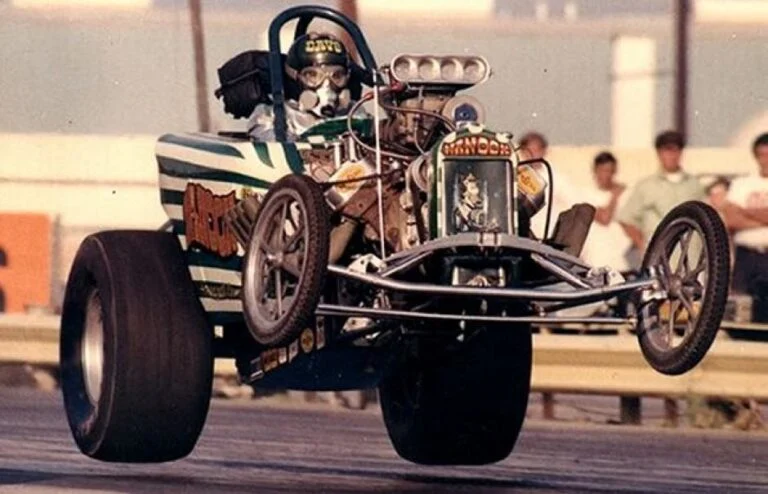
All 4 tires airborne!!The front wheels on this one are a little chunky, the next topo has wire spokes up front. As the altereds progressed and evolved they found stouter front wheels and more tire were needed on the ill handling beasties after wire wheels collapsed and light hard spoke wheels broke from the stress of wheels stands, trying to fly and running sideways half the track. View attachment 180775
Oh yea it was kind of common with them, they were very short and light, it would happen when they lifted from the burnout, or if they smoked the tires and tried to pedal it. The problem started when the modern drag tire came around, the switch from the hard side wall piecrust tire to a soft fat one. The new ones acted like slingshots, at some point in the burn out they would catch traction when the driver lifted, all that inertia had to go someplace and a light car only had one place to go. Anyone that is a pilot will tell you this is no way to land.All 4 tires airborne!!

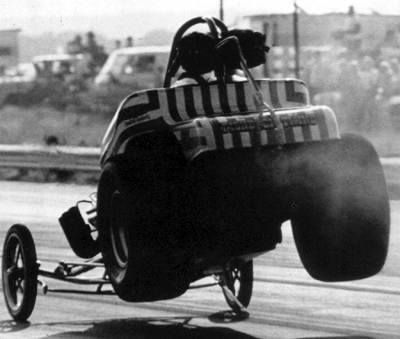
Absolutely awesome pictures! you have quite the collection.
Thank you sir, Back up to about 50 now after gifting 6 or 8 over the last 2 years.Absolutely awesome pictures! you have quite the collection.
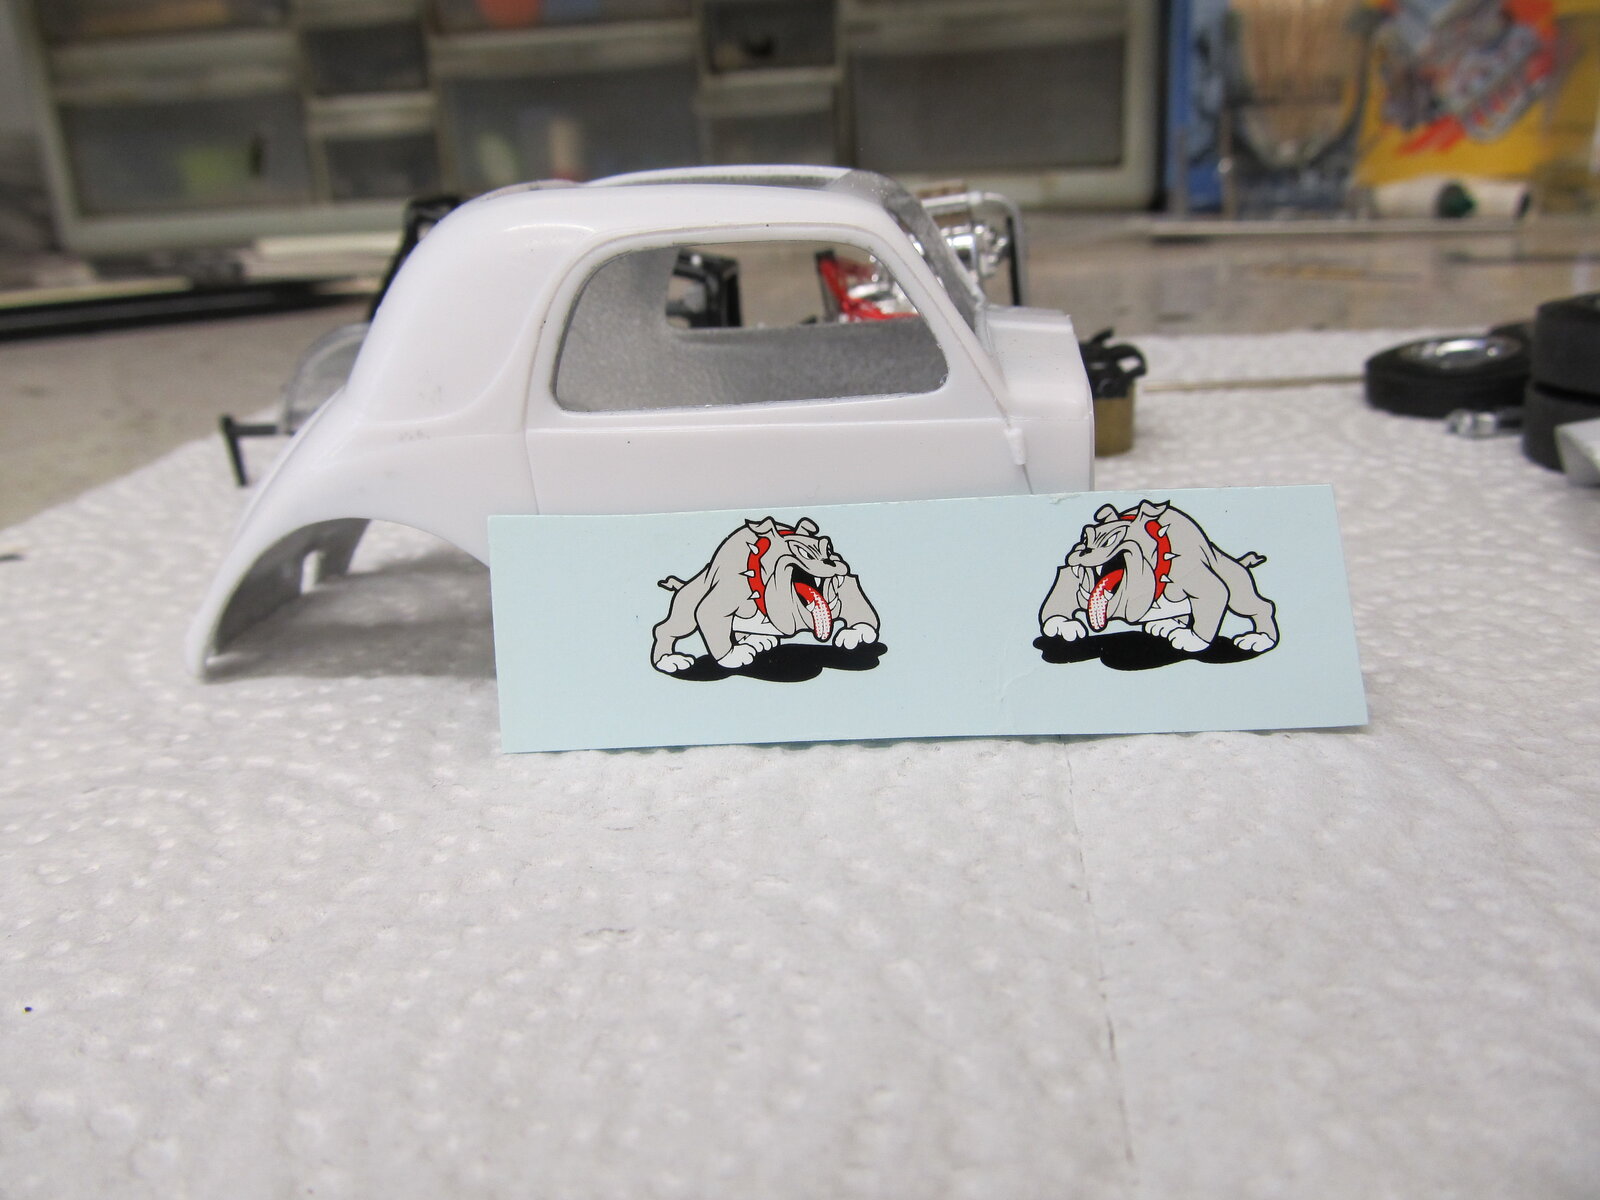
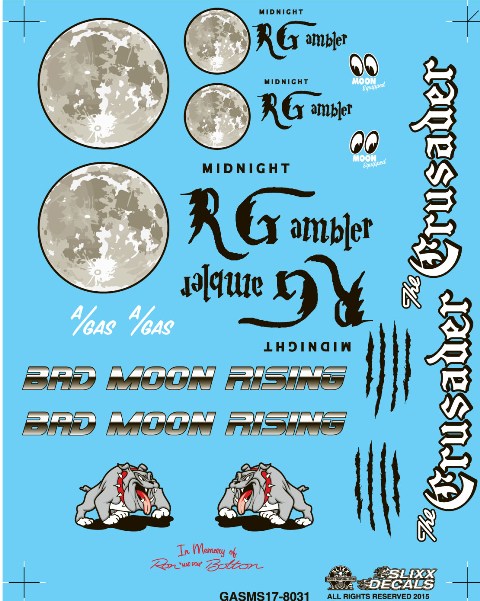
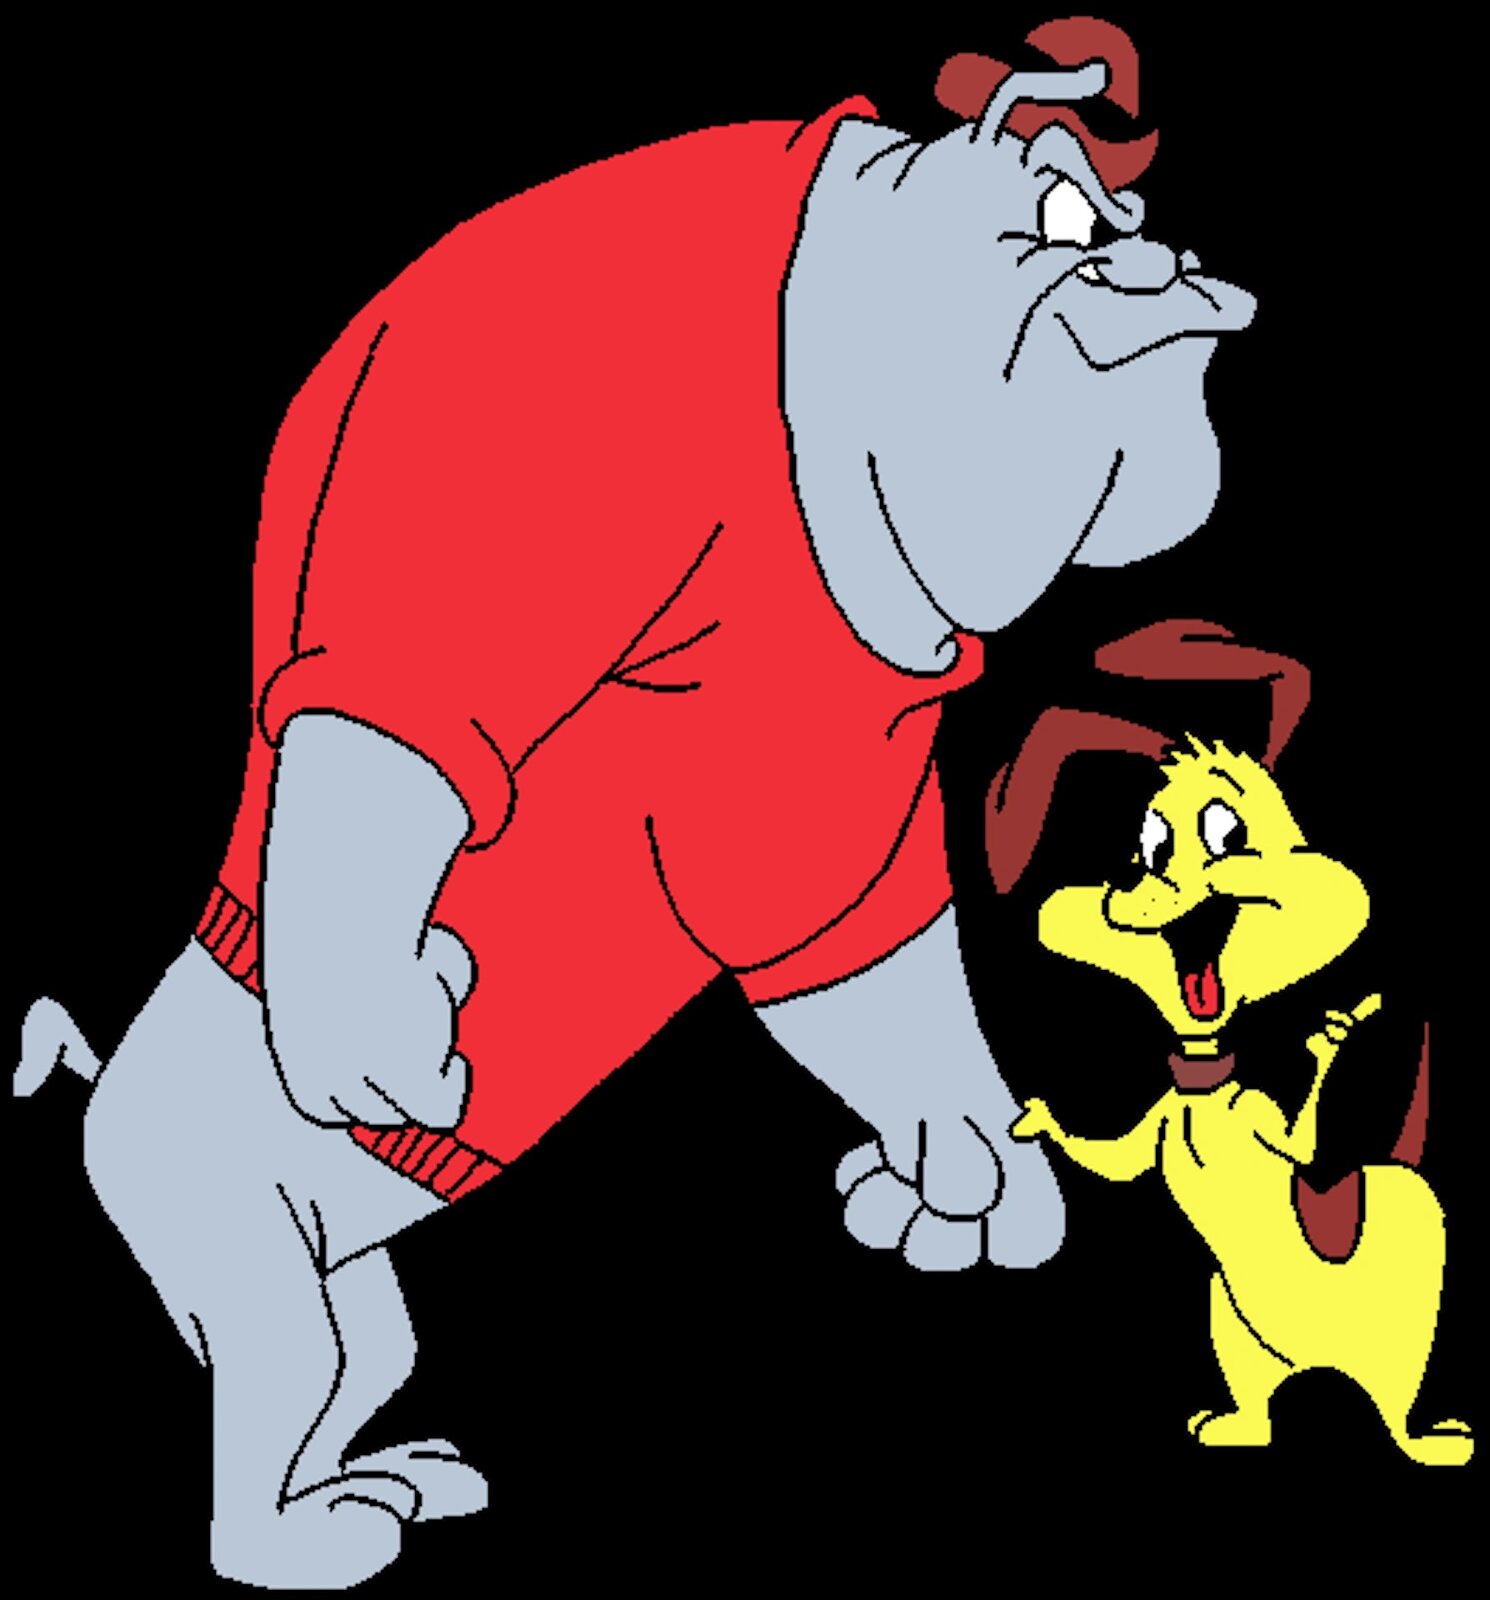
I have some bulldog decals, if they are big enough i will do it cause little bulldog fits it for sure.Forget 'little mouse': Little Bulldog!
 Cleared the hood tonight and mocked up the front end. Im going to have to make a mailbox scoop, all i have is a couple of 90s top fuel scoops and a Hillborn that is so big it looks like its 1/20 scale. Looks like the decals will be just right and good color to go on an orange car.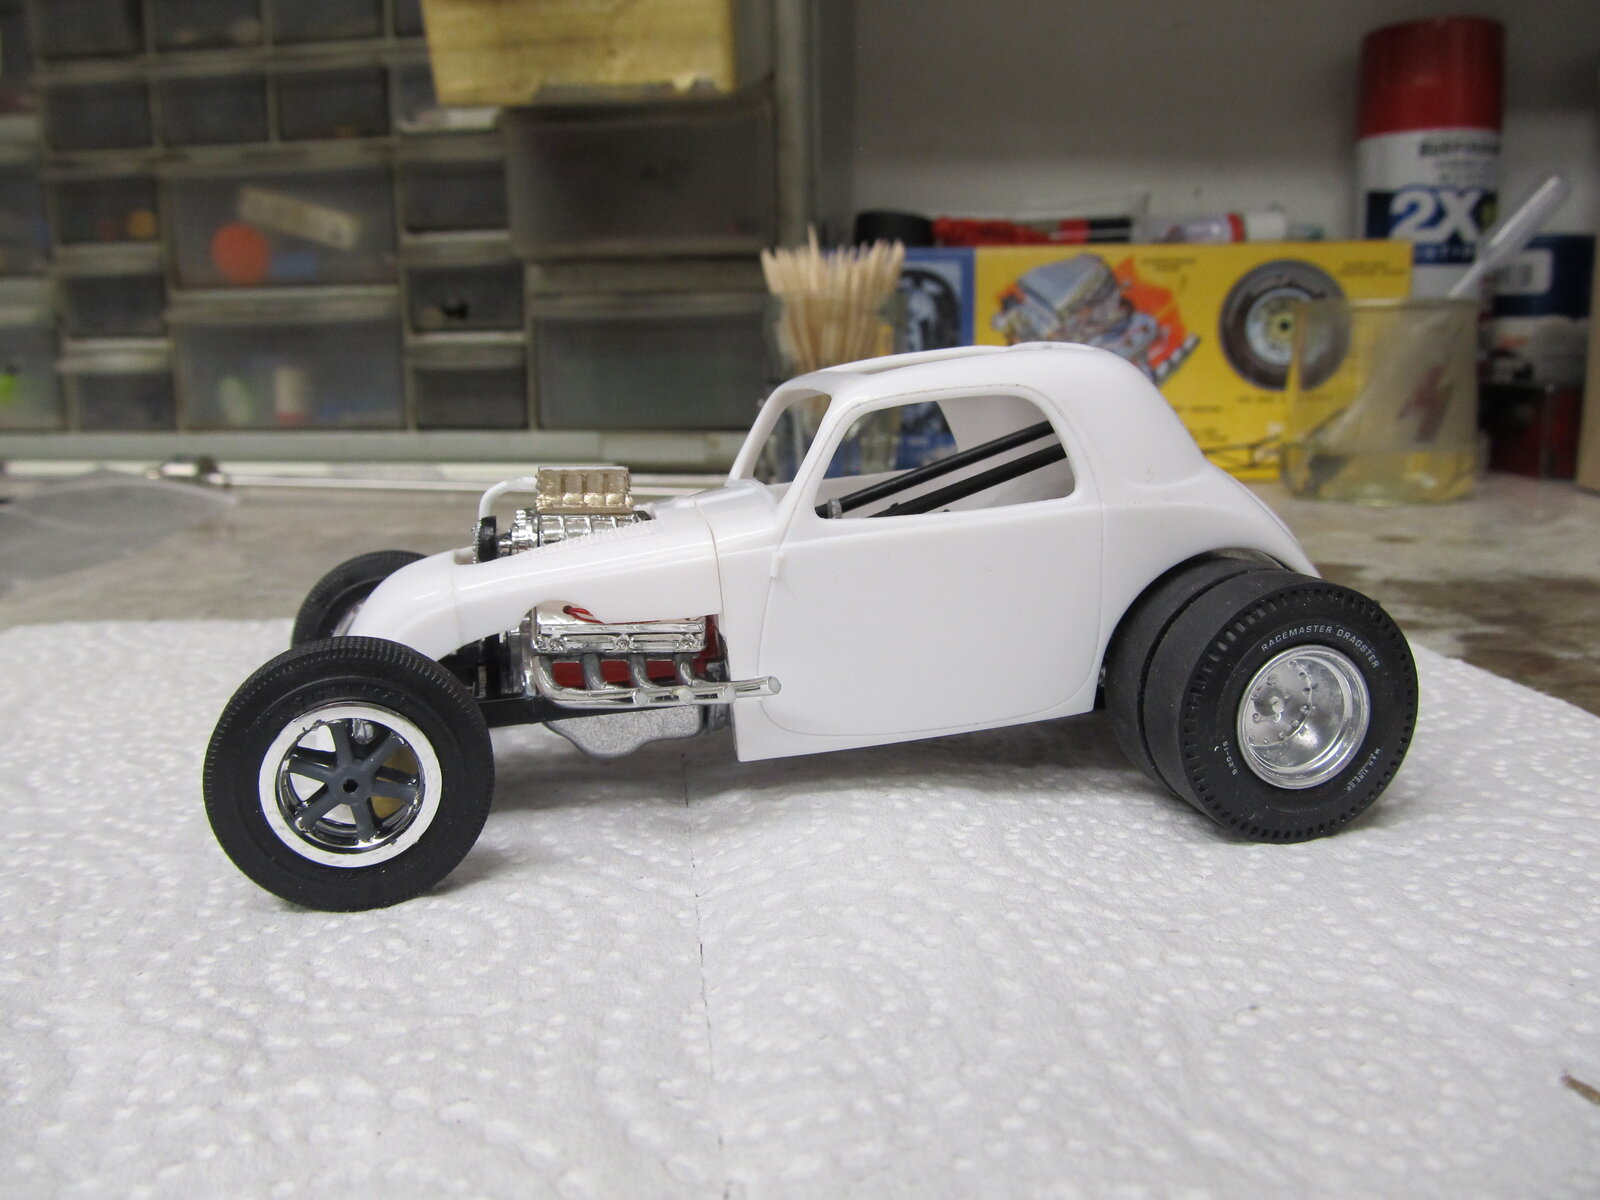
 im having a real love hate relationship with these printed kits. Now Im gona have to build another ground up salt pounder creation to get my mind right.
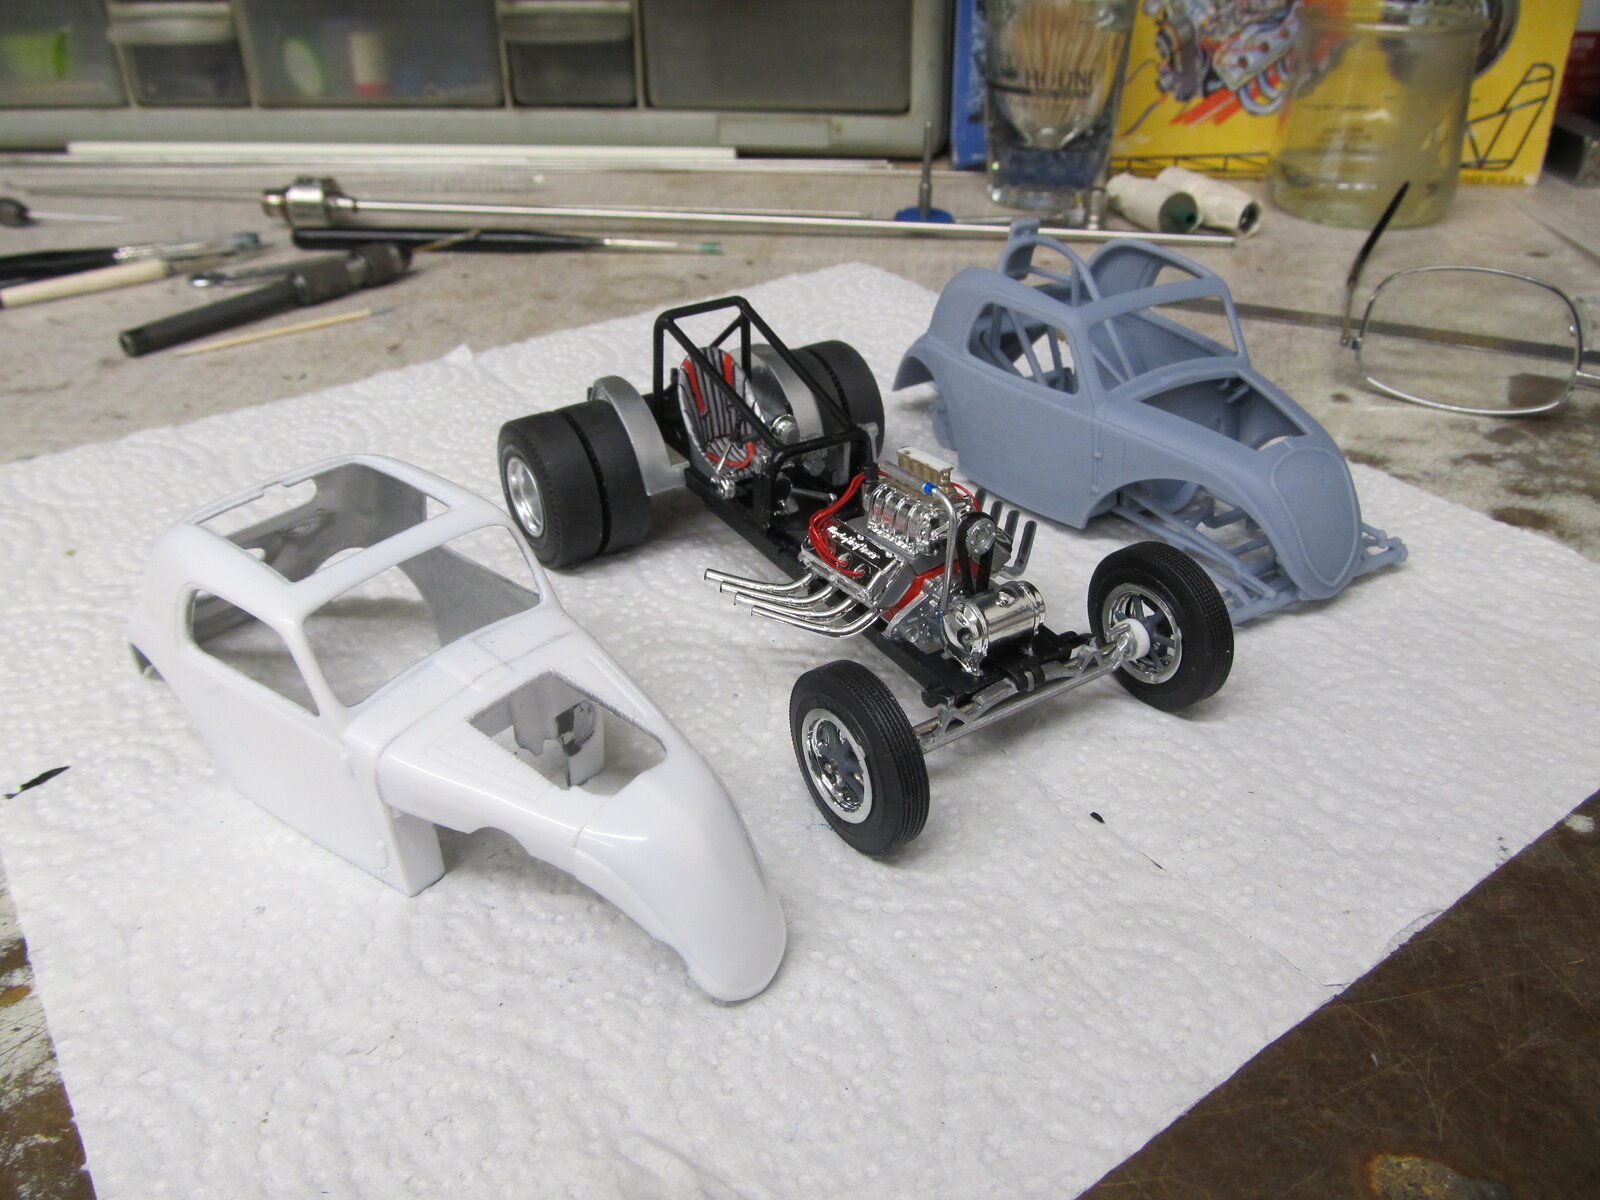
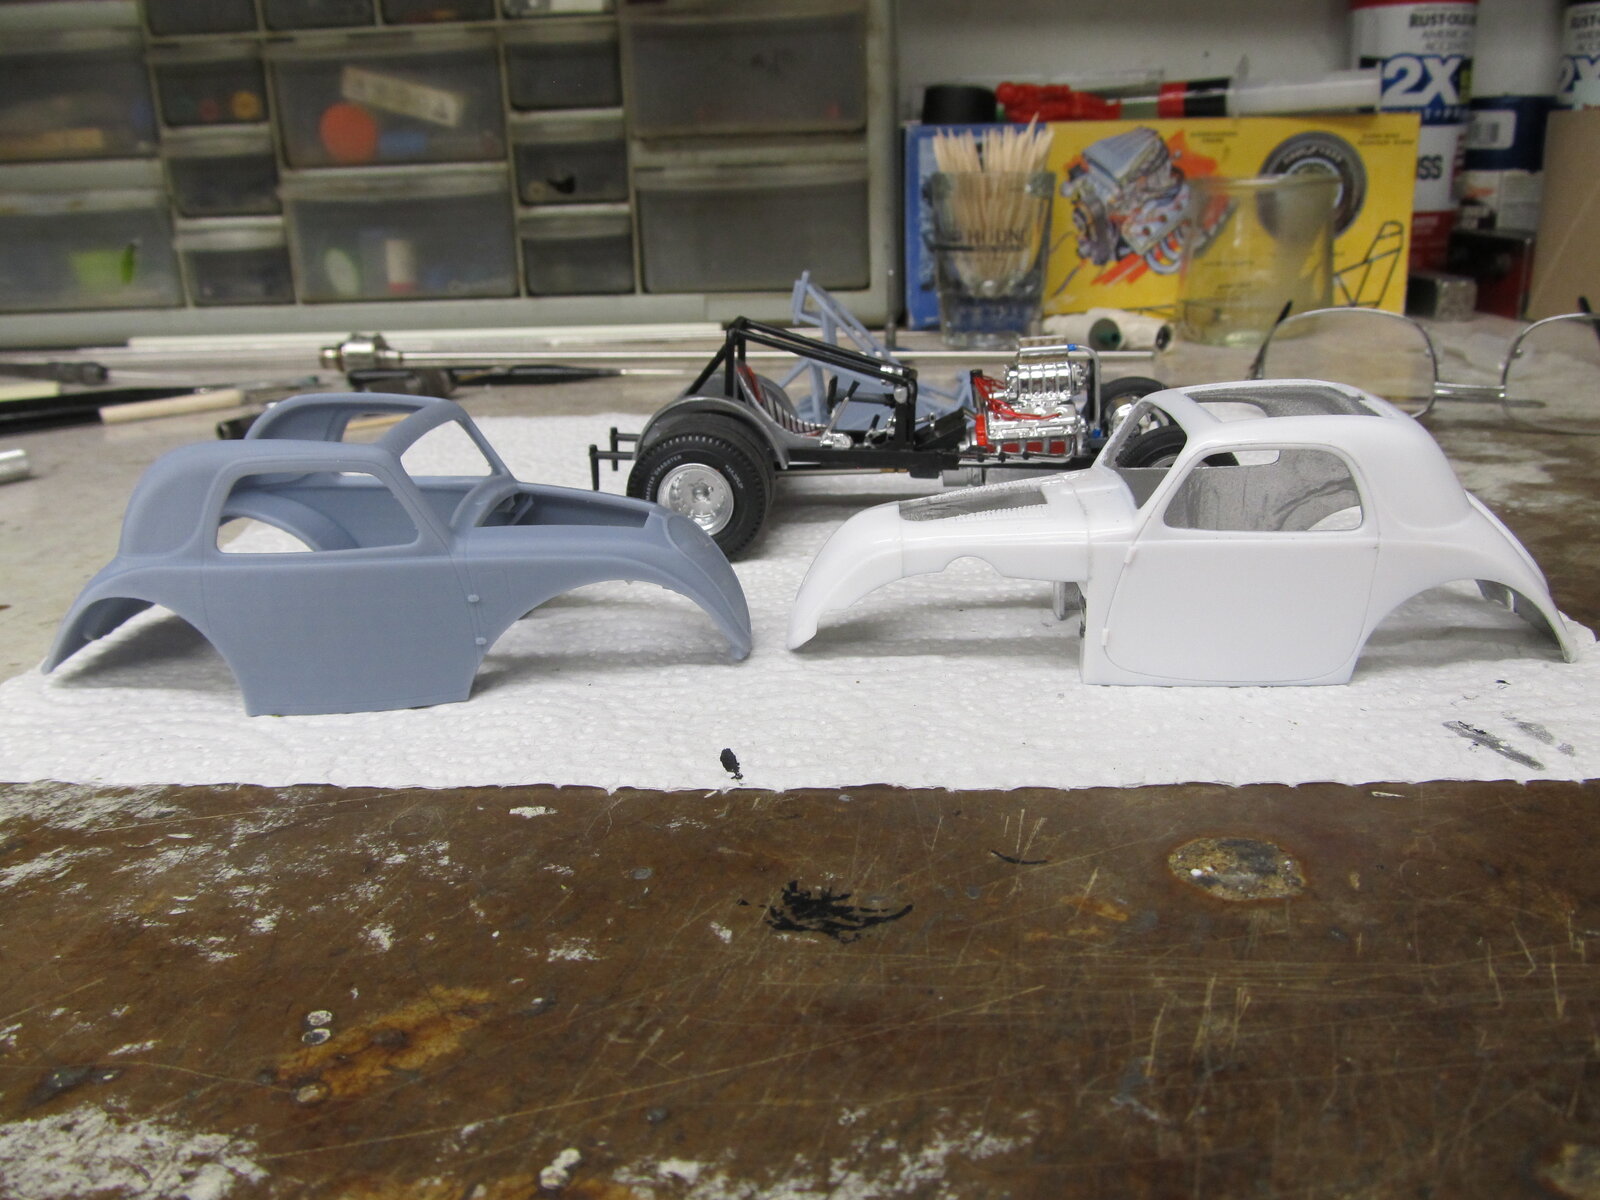
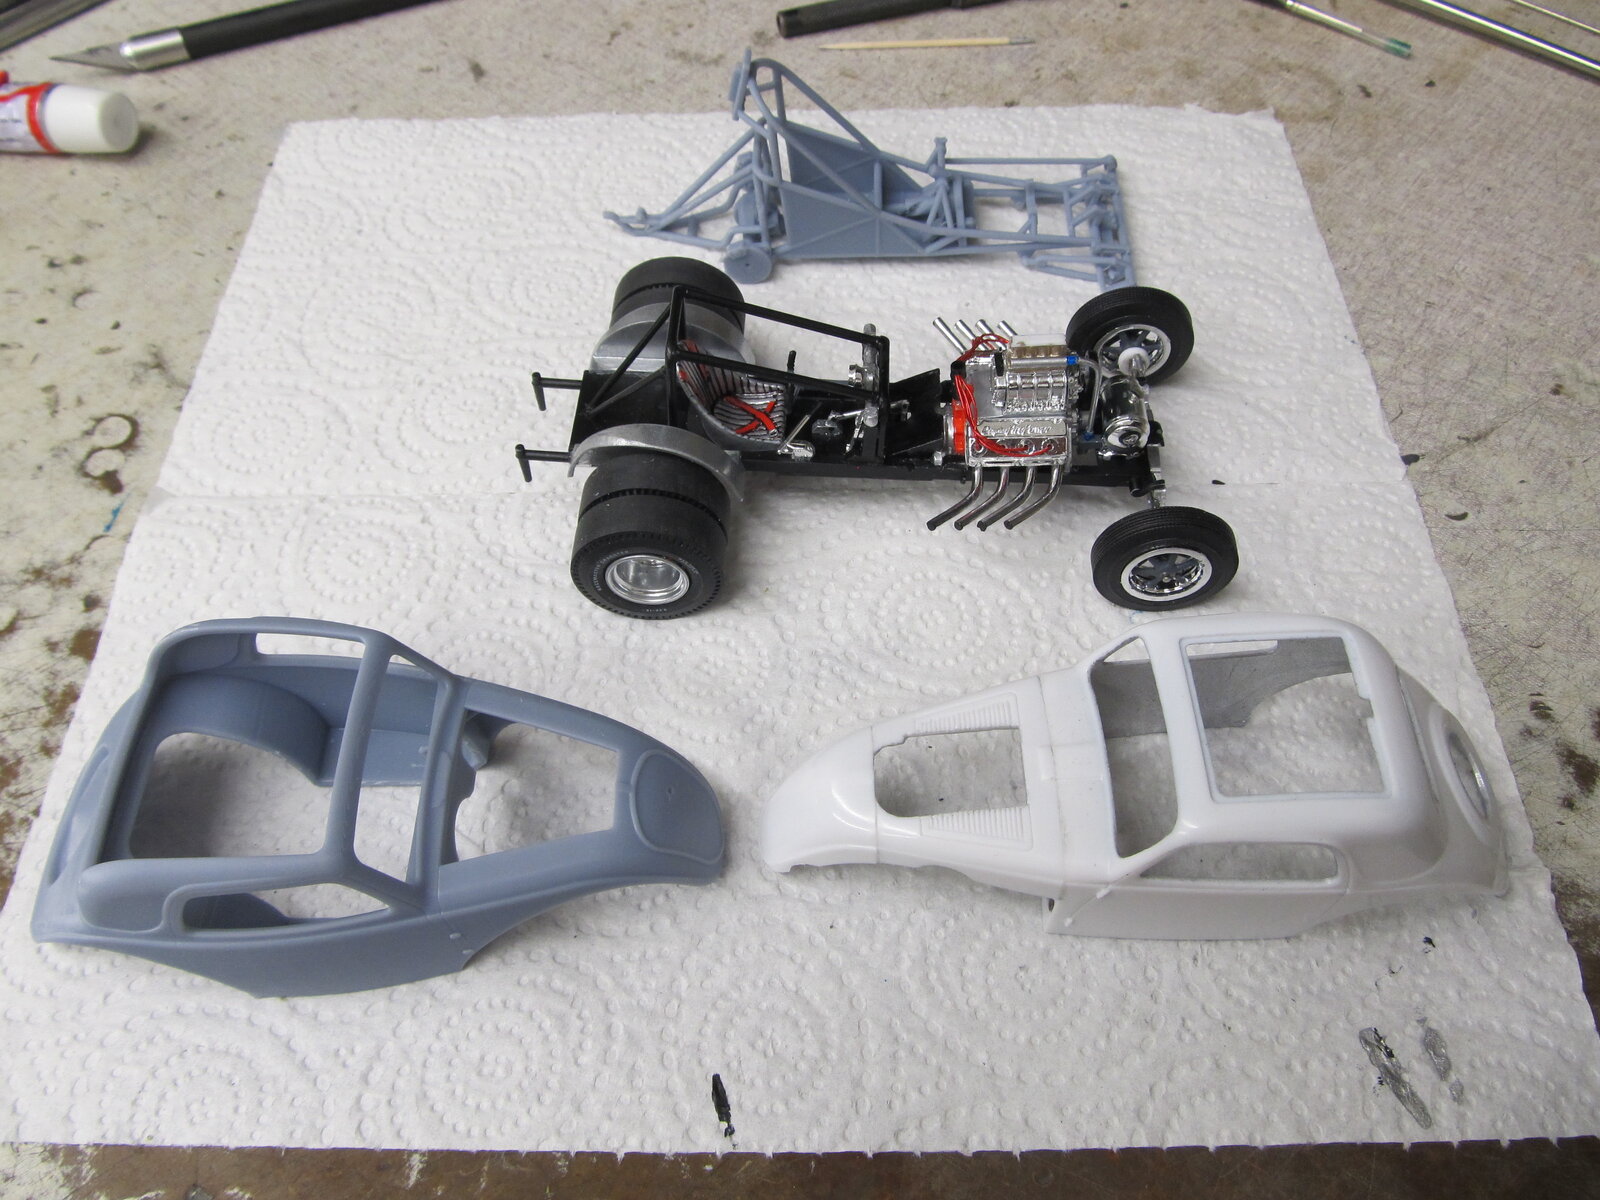
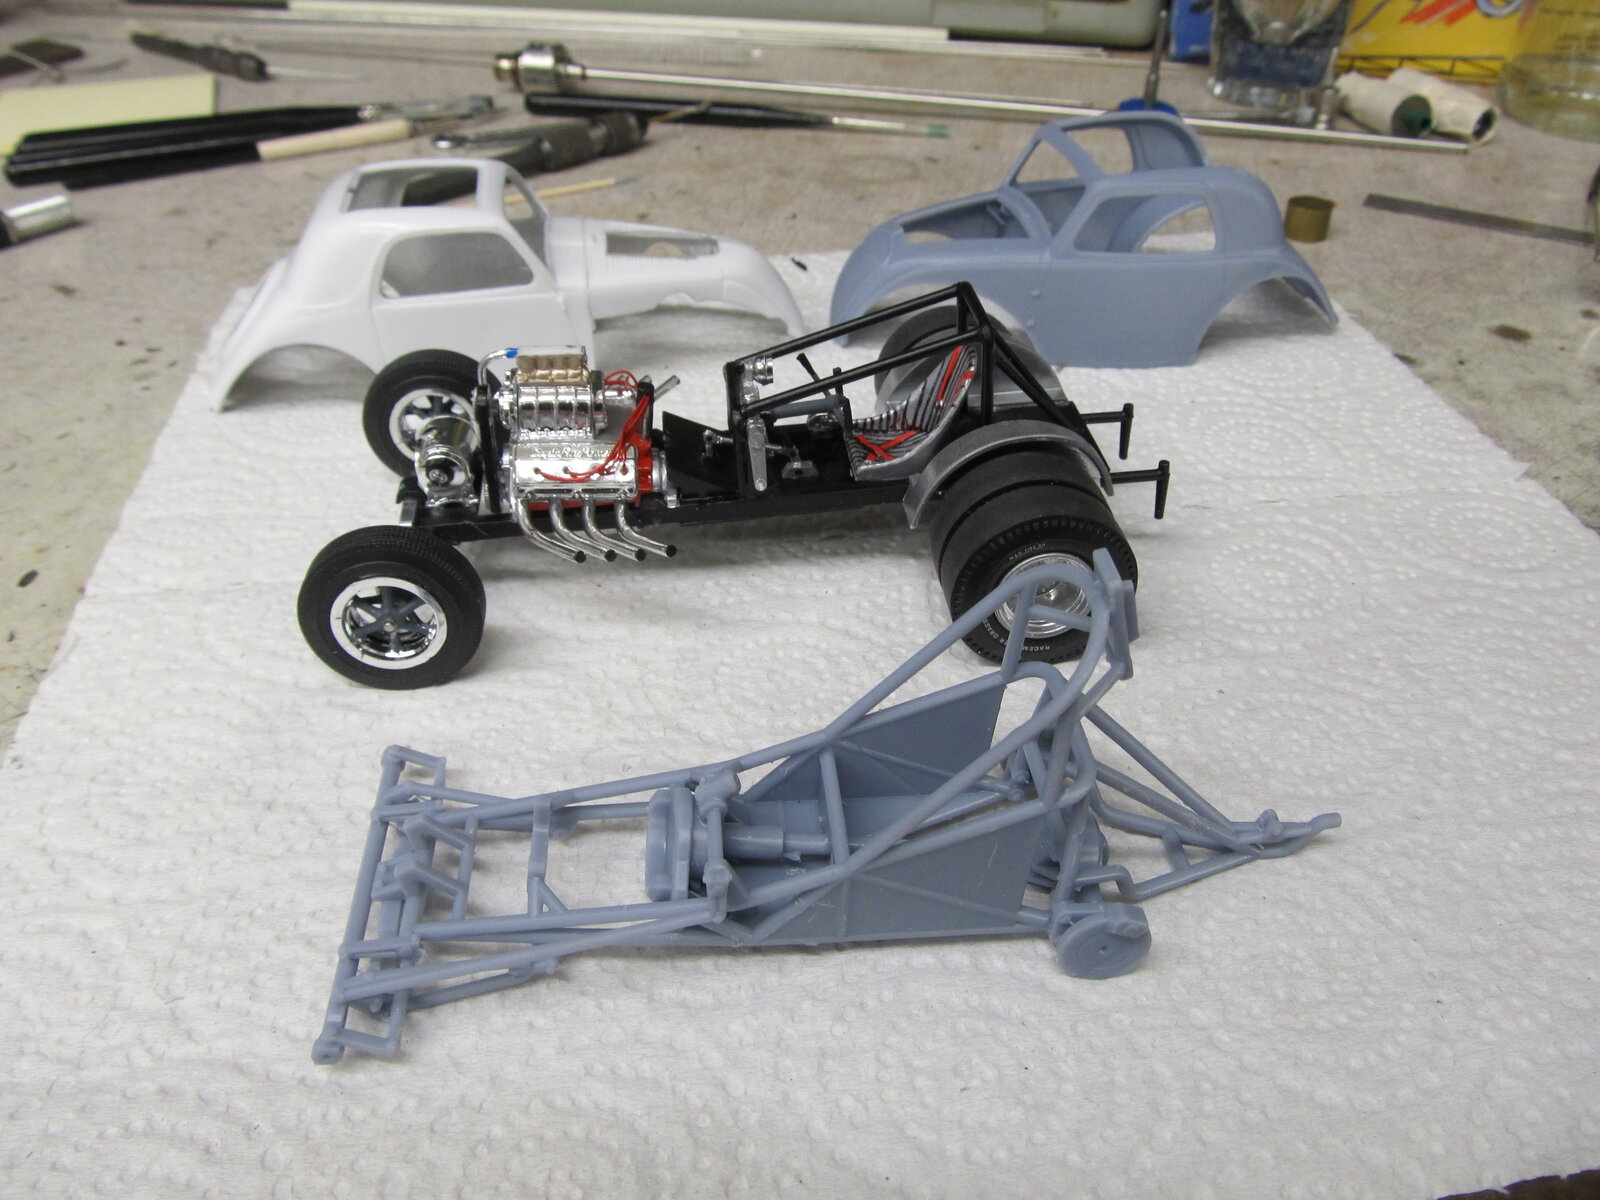
Love how your builds look just as good in and out of their shells!little bulldog


![Pampers Sensitive Baby Wipes, Clinically Proven, Fragrance Free, Unscented, Water Based, Hypoallergenic, Multi-Use, Hand Wipes 336 Wipes Total (6X Flip-Top Packs) [Packaging May Vary]](https://m.media-amazon.com/images/I/41KLBHu9CAL._SL500_.jpg)