
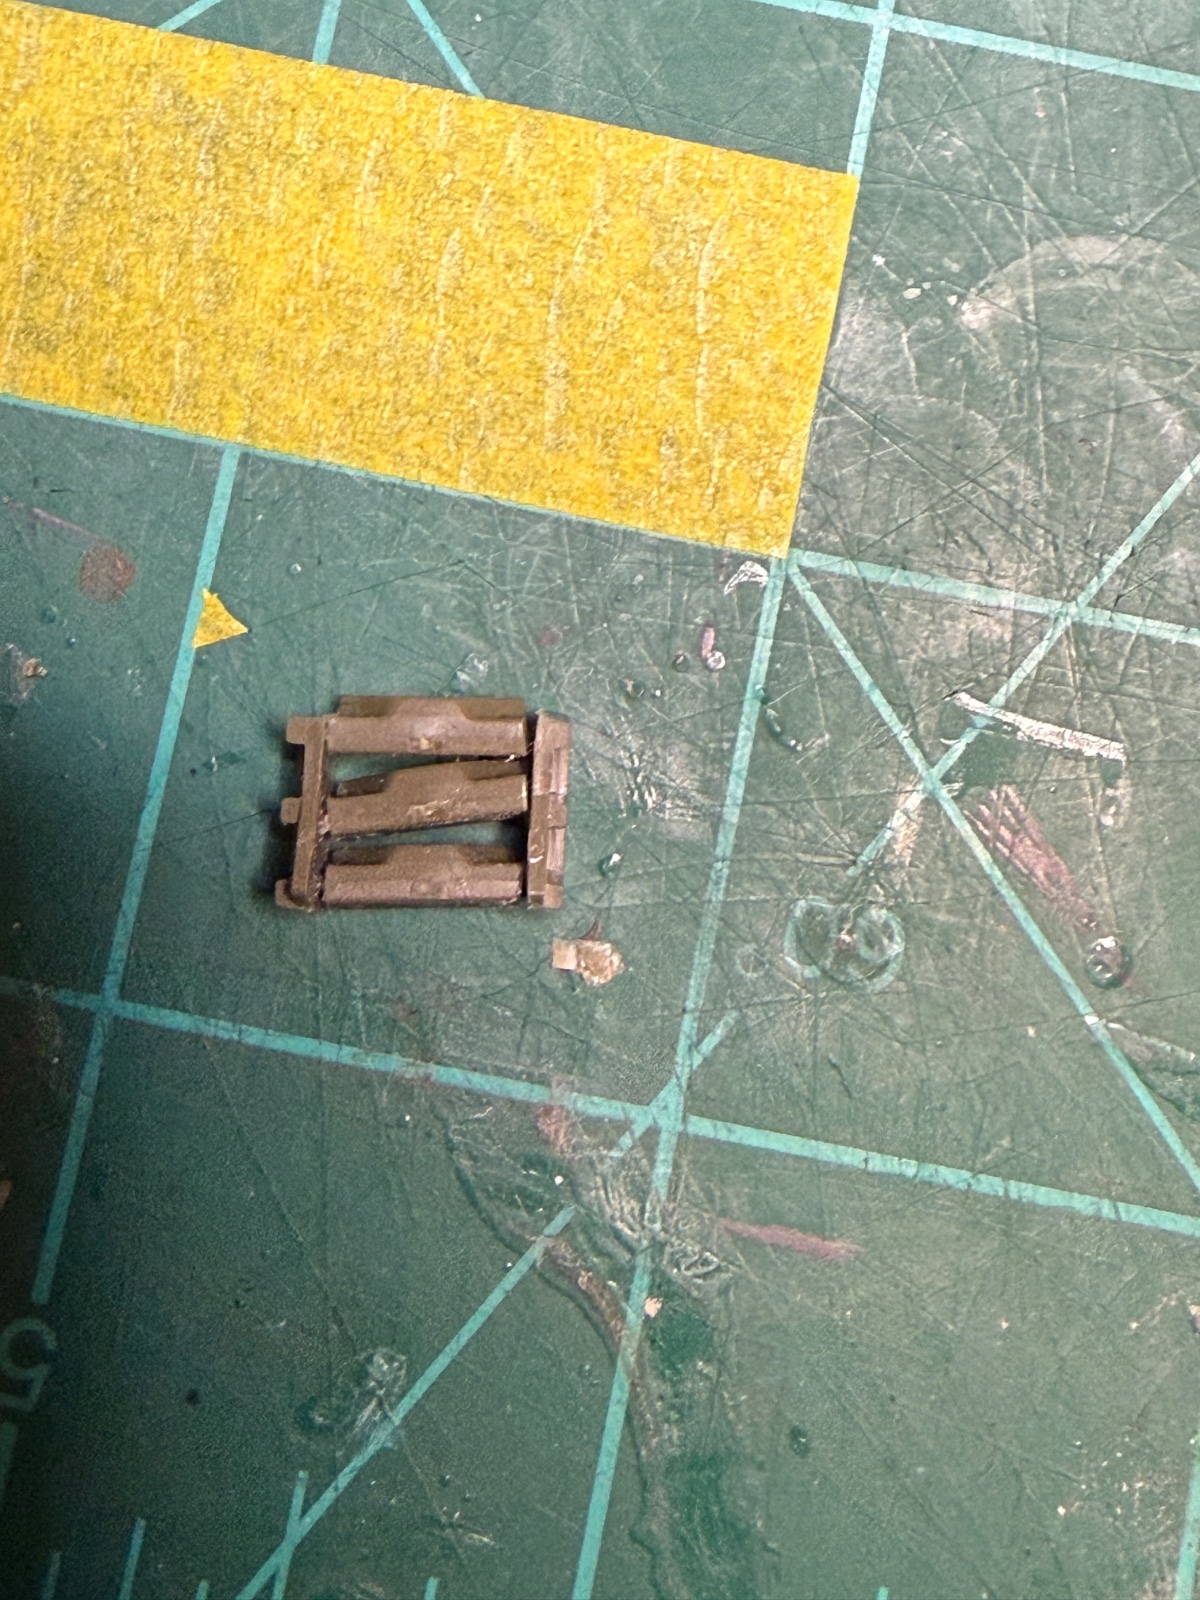
I stated this last night, couldn't sleep and wanted to assemble not paint and I recently watched a blog about the incorrect reputation the Sherman has received so I thought the Sherman tank would be the perfect late night build. As typical with my Tamiya kits, I promptly removed all parts from the sprue, placed them back in the box, applied the lid and gave it a good shake- 2-3 minutes will do. Anyway, out popped this

You are using an out of date browser. It may not display this or other websites correctly.
You should upgrade or use an alternative browser.
You should upgrade or use an alternative browser.
Tamiya Sherman 1/35 m4A3 with 75 mm gun.
- Thread starter Ron2
- Start date
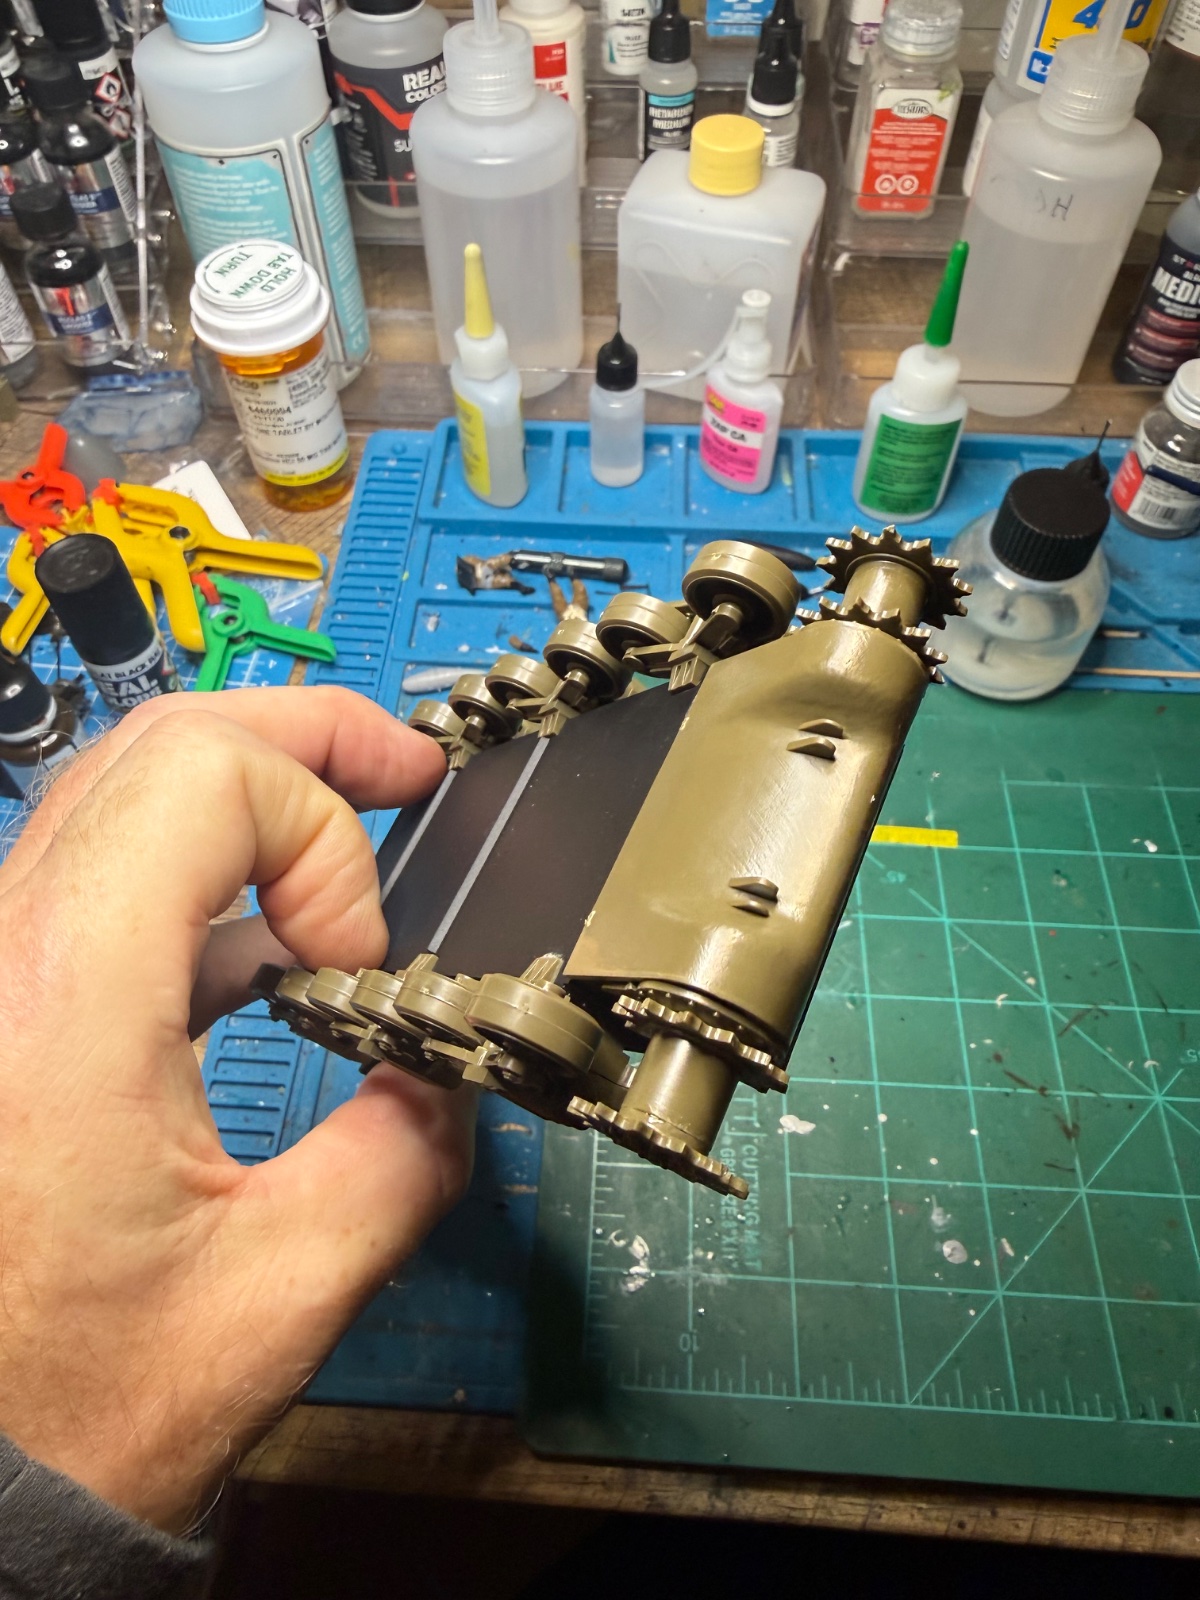
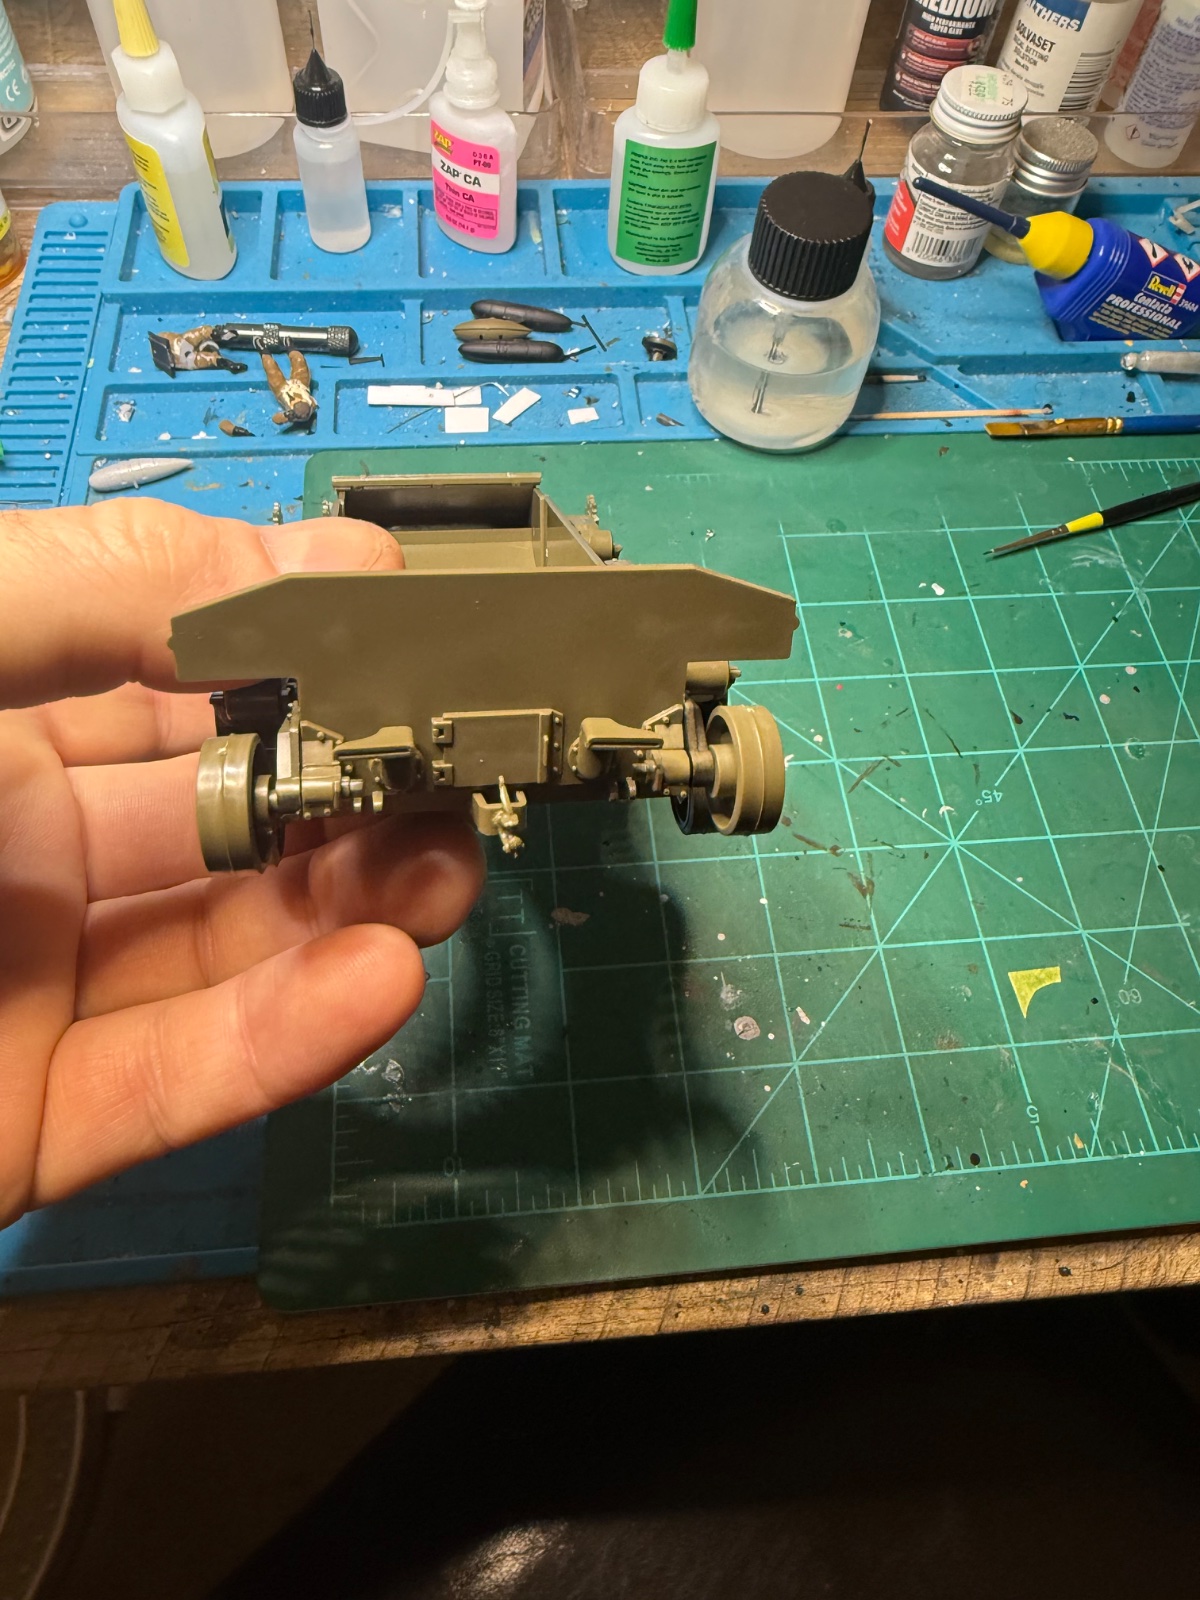
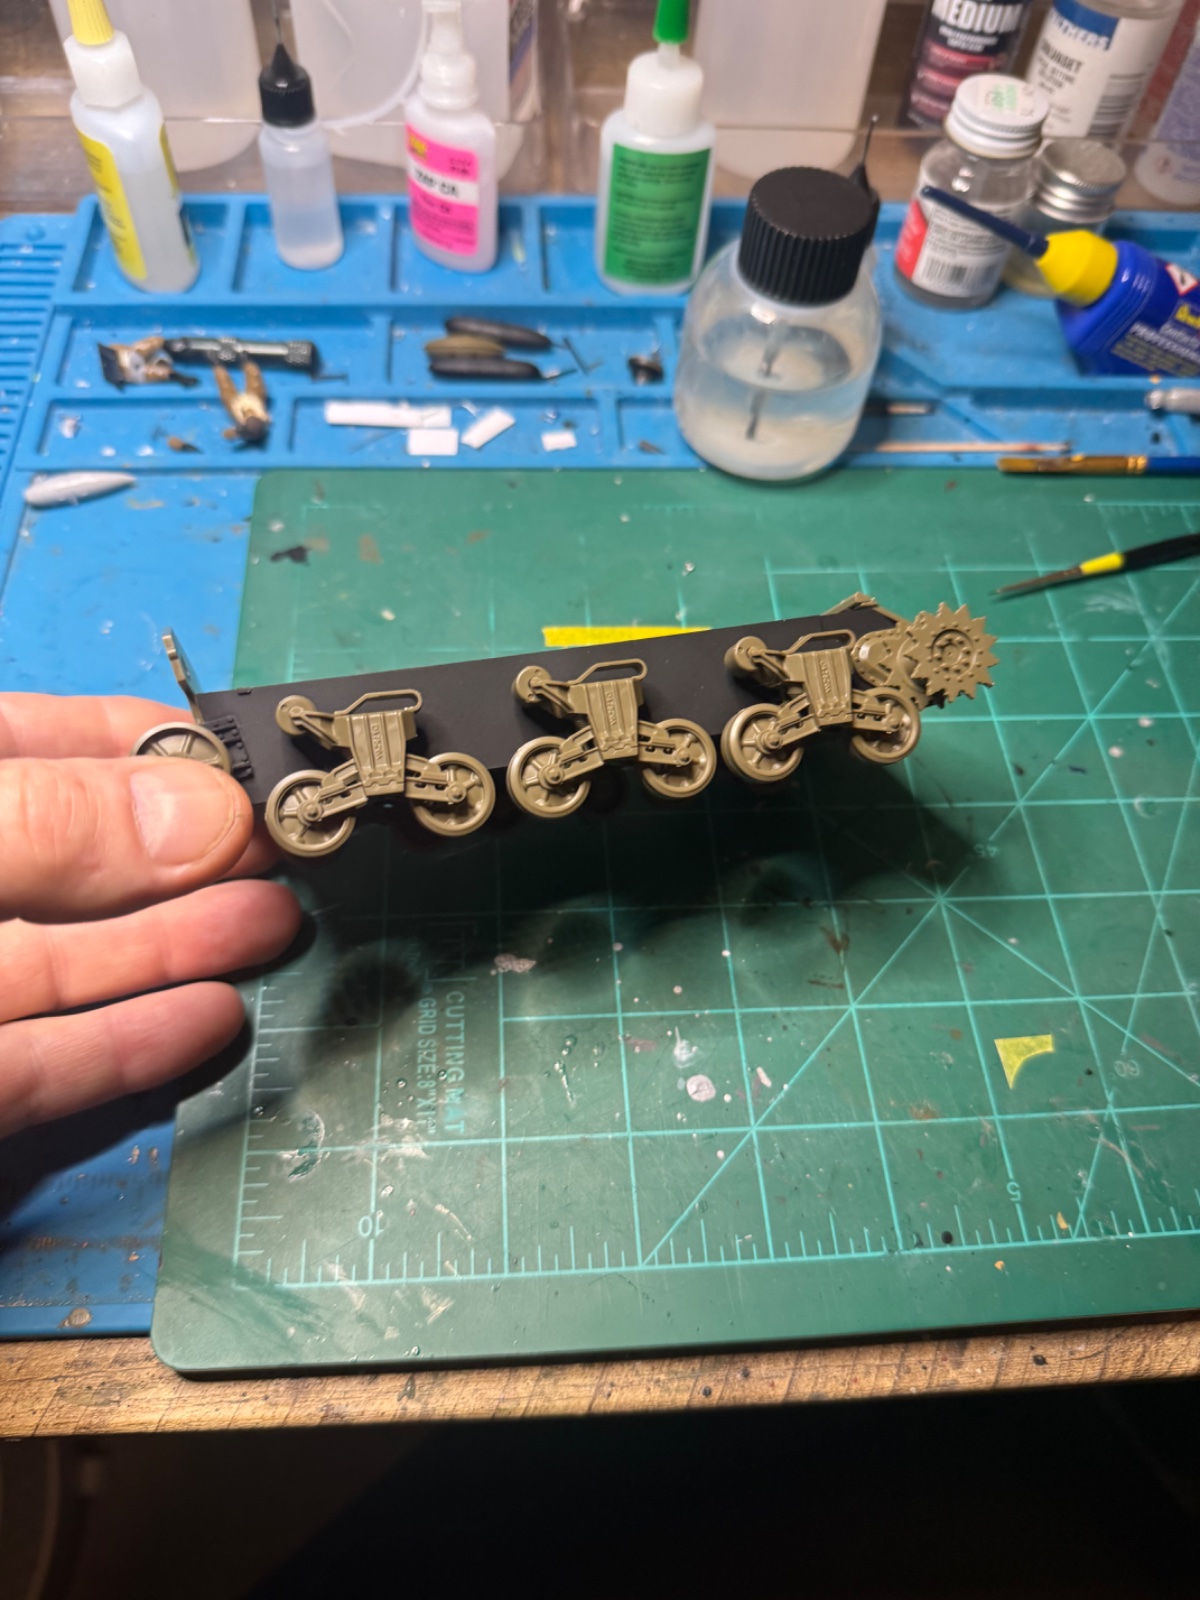
putting the spare track racks together. First attempt was/is not pretty. Attempted using thin set glue then tried CA. Second attempt I clipped the fittings off and used contact cement instead. Nice and neat. Took first one apart and did my best to sand off glue and get everything square and reassembled. Still a bit wonky but much better. I'll be hitting the tank body and turret with some different color primers for preshading today. Not sure how much modeling I can do today. I've a lot to do around the house and it's become a source of contention.I stated this last night, couldn't sleep and wanted to assemble not paint and I recently watched a blog about the incorrect reputation the Sherman has received so I thought the Sherman tank would be the perfect late night build. As typical with my Tamiya kits, I promptly removed all parts from the sprue, placed them back in the box, applied the lid and gave it a good shake- 2-3 minutes will do. Anyway, out popped this
Attachments
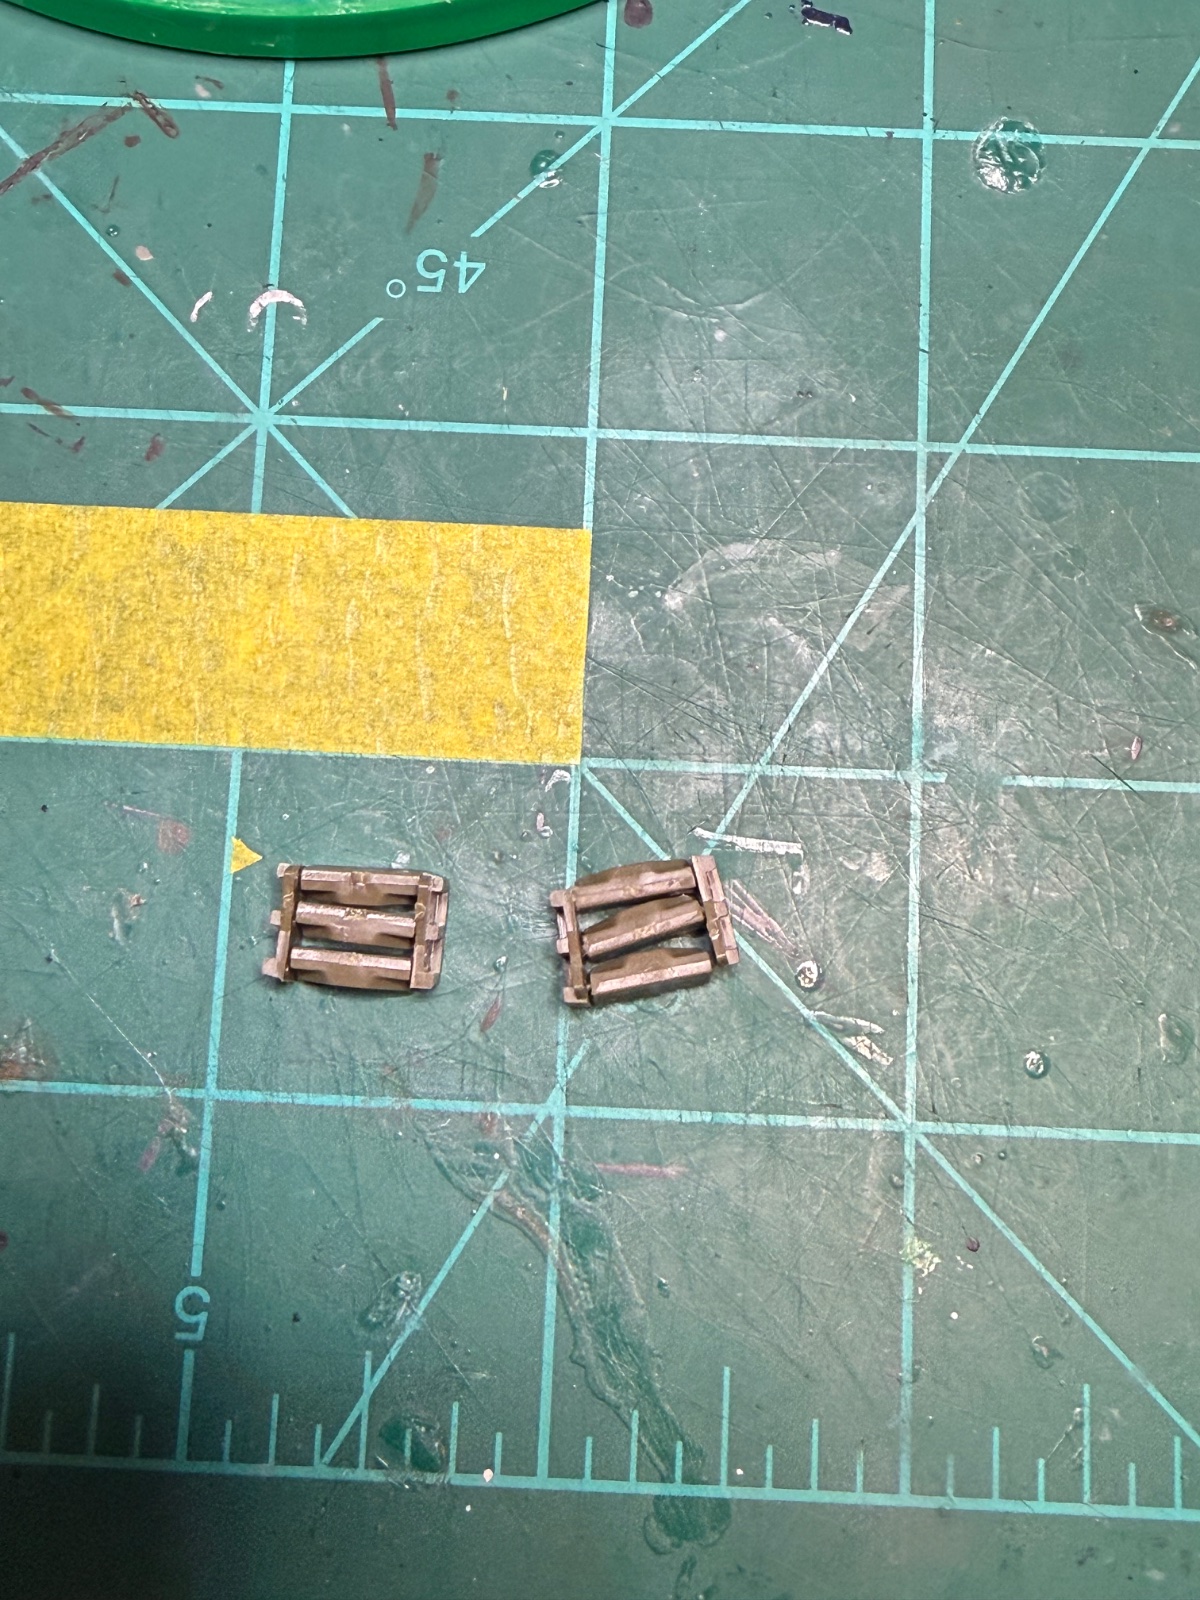
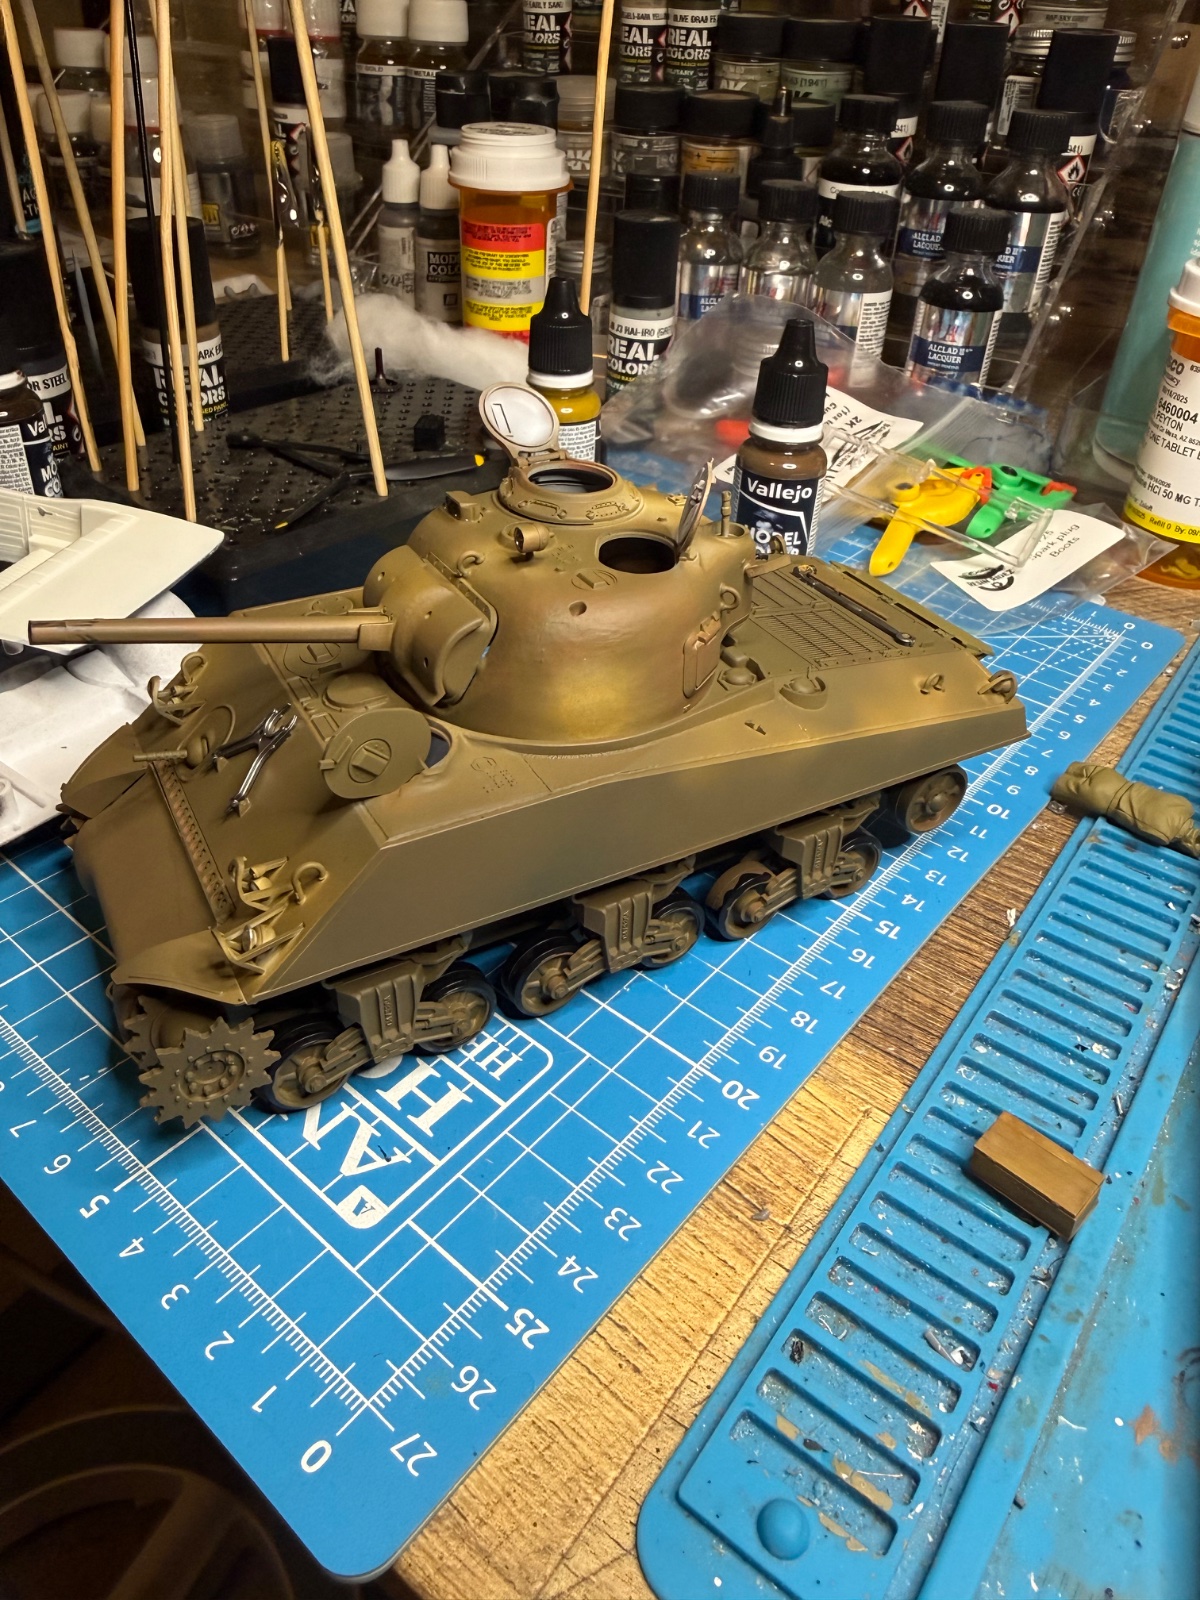
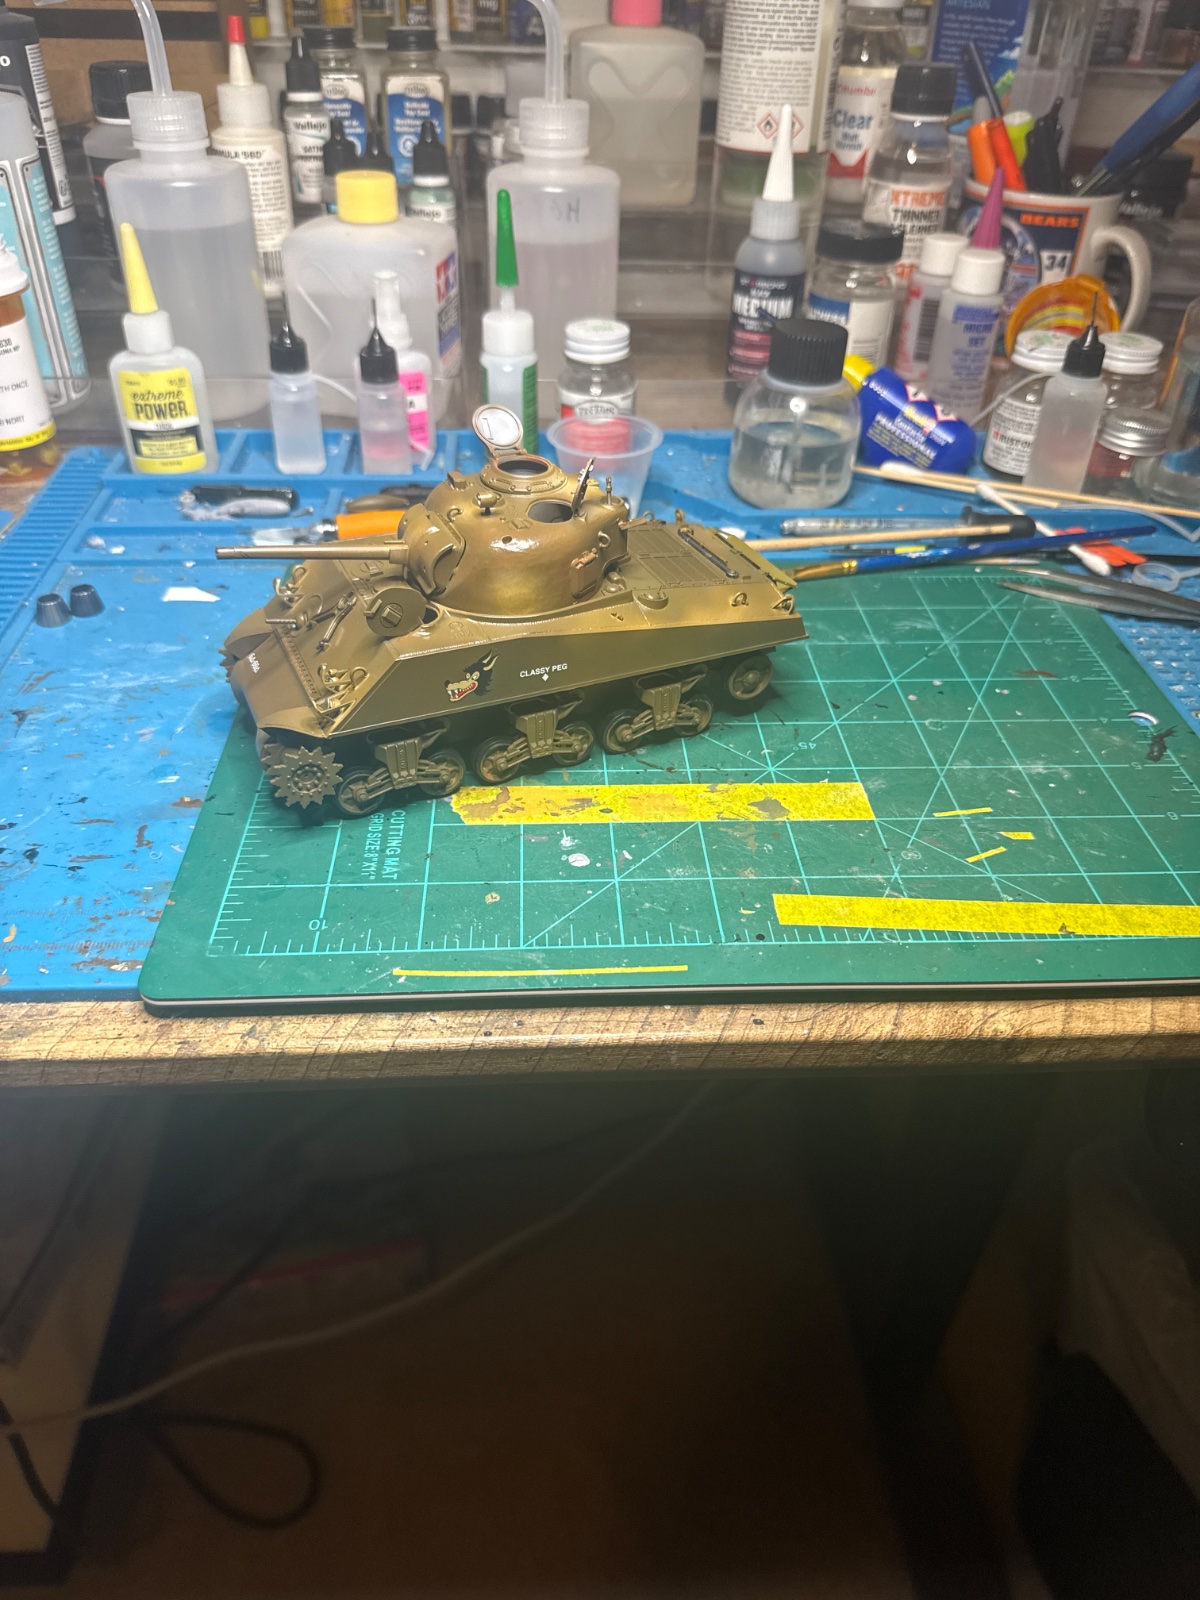
Here's where I'm at. Not sure I'm digging my color modulation but it's been a stressful two weeks and I probably should quit messing with theses models tonight. No cable with the kit. I found what I'm guessing are the tow hooks but not mentioned in directions at all. Ton of spare parts with this kit. I've got some extra armor plates which I may add to the front. They won't work on the turret.putting the spare track racks together. First attempt was/is not pretty. Attempted using thin set glue then tried CA. Second attempt I clipped the fittings off and used contact cement instead. Nice and neat. Took first one apart and did my best to sand off glue and get everything square and reassembled. Still a bit wonky but much better. I'll be hitting the tank body and turret with some different color primers for preshading today. Not sure how much modeling I can do today. I've a lot to do around the house and it's become a source of contention.
Attachments
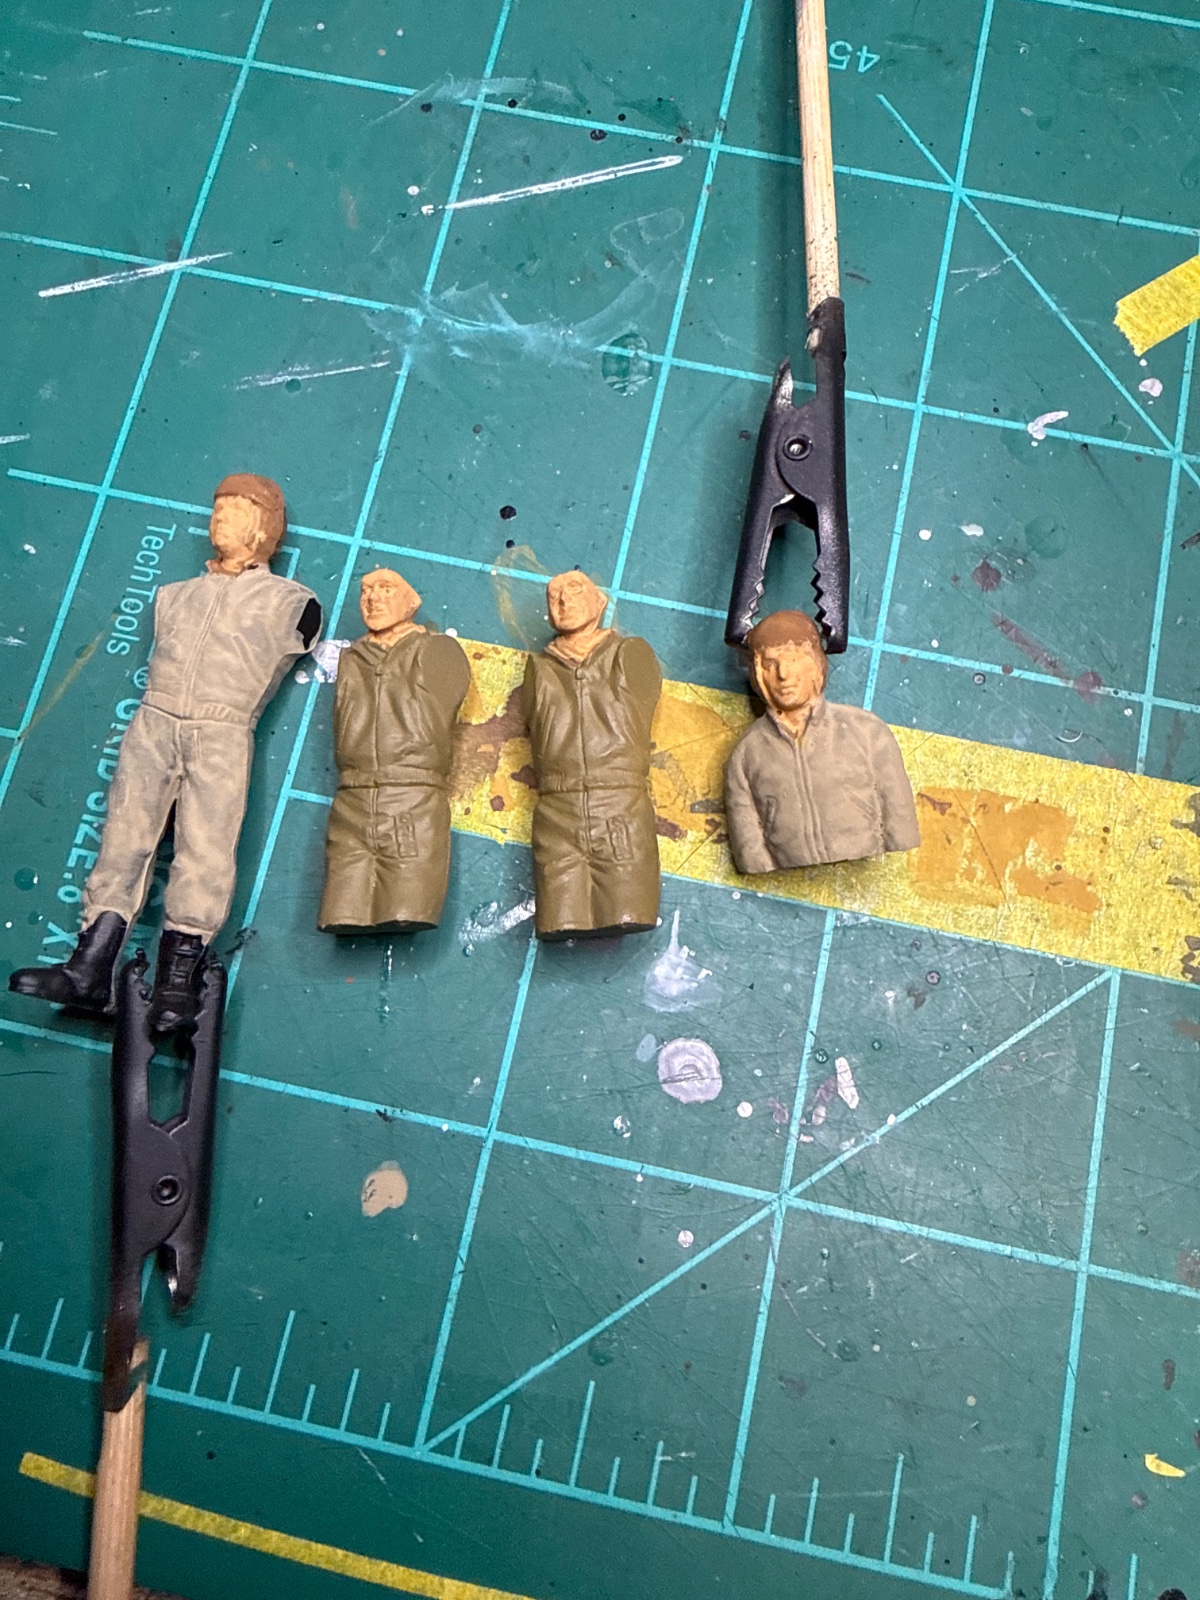
Insomnia strikes again. Worked on these guys a bit. I like the flesh color I ended up with.Here's where I'm at. Not sure I'm digging my color modulation but it's been a stressful two weeks and I probably should quit messing with theses models tonight. No cable with the kit. I found what I'm guessing are the tow hooks but not mentioned in directions at all. Ton of spare parts with this kit. I've got some extra armor plates which I may add to the front. They won't work on the turret.
Attachments

Jakko
Well-Known Member
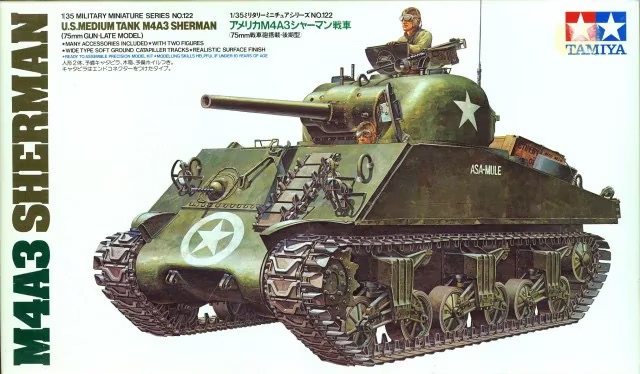
Is it this kit?I found what I'm guessing are the tow hooks but not mentioned in directions at all.
That doesn't come with any tow cable parts, no. If you have American-style cable eyes and some ca. 0.8 mm thread, it's easy enough to add, though.
This type of Sherman didn't have appliqué armour IRL, neither on the hull nor the turret. Yes, Tamiya supplies plates for the hull sides, but those are incorrect for this particular type — I think Tamiya's designers got confused by the small number of M4A2 tanks that had this type of hull and appliqué armour plates. However, the M4A3 of this particular type never had those. (The M4A2 is almost indistinguishable from the M4A3 from the front, unless particular details are visible and you know to look for them.)Ton of spare parts with this kit. I've got some extra armor plates which I may add to the front. They won't work on the turret.
Thank you. Yes I knew it did not come with the armor plates but had read that in the field it might be added. I thought I saw a couple of pics with the added field armor but I'll have to double check. I have some actual steel cable that I've used with previous builds although I've removed strands off the cable to get it closer to scale.Is it this kit?
View attachment 181489
That doesn't come with any tow cable parts, no. If you have American-style cable eyes and some ca. 0.8 mm thread, it's easy enough to add, though.
This type of Sherman didn't have appliqué armour IRL, neither on the hull nor the turret. Yes, Tamiya supplies plates for the hull sides, but those are incorrect for this particular type — I think Tamiya's designers got confused by the small number of M4A2 tanks that had this type of hull and appliqué armour plates. However, the M4A3 of this particular type never had those. (The M4A2 is almost indistinguishable from the M4A3 from the front, unless particular details are visible and you know to look for them.)


![Pampers Sensitive Baby Wipes, Clinically Proven, Fragrance Free, Unscented, Water Based, Hypoallergenic, Multi-Use, Hand Wipes 336 Wipes Total (6X Flip-Top Packs) [Packaging May Vary]](https://m.media-amazon.com/images/I/41KLBHu9CAL._SL500_.jpg)






As an Amazon Associate we earn from qualifying purchases. Product prices and availability are accurate as of the date/time indicated and are subject to change.
Jakko
Well-Known Member
This could end up as a very lengthy explanationI knew it did not come with the armor plates but had read that in the field it might be added. I thought I saw a couple of pics with the added field armor but I'll have to double check.
 Basically, the official type of appliqué armour was only fitted to what are known as "dry stowage" Shermans. These correspond almost entirely, but not quite, with "small hatch" Shermans. The Tamiya kit, though, is a "large hatch" Sherman, and only two models of large-hatch Shermans had appliqué armour: large-hatch M4 composite (the type that had a welded hull mated to a cast hull front) and early large-hatch M4A2 (75 mm) tanks.
The distinction between small-hatch and large-hatch refers to the drivers' hatches. On small-hatch tanks, these were oriented fore-and-aft, and sat on structures that projected forward from the top of the glacis plate (known as "driver's hoods" to Shermanophiles). Large-hatch tanks had a revised front that had a steeper slope to it to eliminate those hoods, with the drivers' hatches being redesigned to be larger, set at an angle and lying entirely in the forward roof plate.
In the field, crews of large-hatch tanks might have added extra armour plate, but this was fairly rare. In Europe, it was commonly done only on tanks with 76 mm guns (yours has a 75 mm) and only in certain units. In the Pacific, additional armour more usually took the form of wooden planks and concrete (plus sandbags on the roof), though extra steel plates weren't entirely unknown.
I wouldn't use steel cable myself, I found it far too stubbornI have some actual steel cable that I've used with previous builds although I've removed strands off the cable to get it closer to scale.
Copper wire works much better (twist some yourself from strands from an electrical cable) as it will hold its shape, but I generally prefer nylon cord.Interesting. I wonder how effective wooden planks were. I can see small arms fire but beyond that it wouldn't seem to make a difference. Copper would probably work better but honestly I haven't had much issue with the cable conforming once I remove strands.This could end up as a very lengthy explanation
The distinction between small-hatch and large-hatch refers to the drivers' hatches. On small-hatch tanks, these were oriented fore-and-aft, and sat on structures that projected forward from the top of the glacis plate (known as "driver's hoods" to Shermanophiles). Large-hatch tanks had a revised front that had a steeper slope to it to eliminate those hoods, with the drivers' hatches being redesigned to be larger, set at an angle and lying entirely in the forward roof plate.
In the field, crews of large-hatch tanks might have added extra armour plate, but this was fairly rare. In Europe, it was commonly done only on tanks with 76 mm guns (yours has a 75 mm) and only in certain units. In the Pacific, additional armour more usually took the form of wooden planks and concrete (plus sandbags on the roof), though extra steel plates weren't entirely unknown.
I wouldn't use steel cable myself, I found it far too stubborn
Jakko
Well-Known Member
IIRC, the wooden planks were mainly meant as stand-off armour against Japanese lunge mines — basically, a shaped charge on a pole, detonated by the operator running it (literally) into the target tank.
Top gloss coat and decals. Hopefully weathered this weekend.Here's where I'm at. Not sure I'm digging my color modulation but it's been a stressful two weeks and I probably should quit messing with theses models tonight. No cable with the kit. I found what I'm guessing are the tow hooks but not mentioned in directions at all. Ton of spare parts with this kit. I've got some extra armor plates which I may add to the front. They won't work on the turret.
Attachments
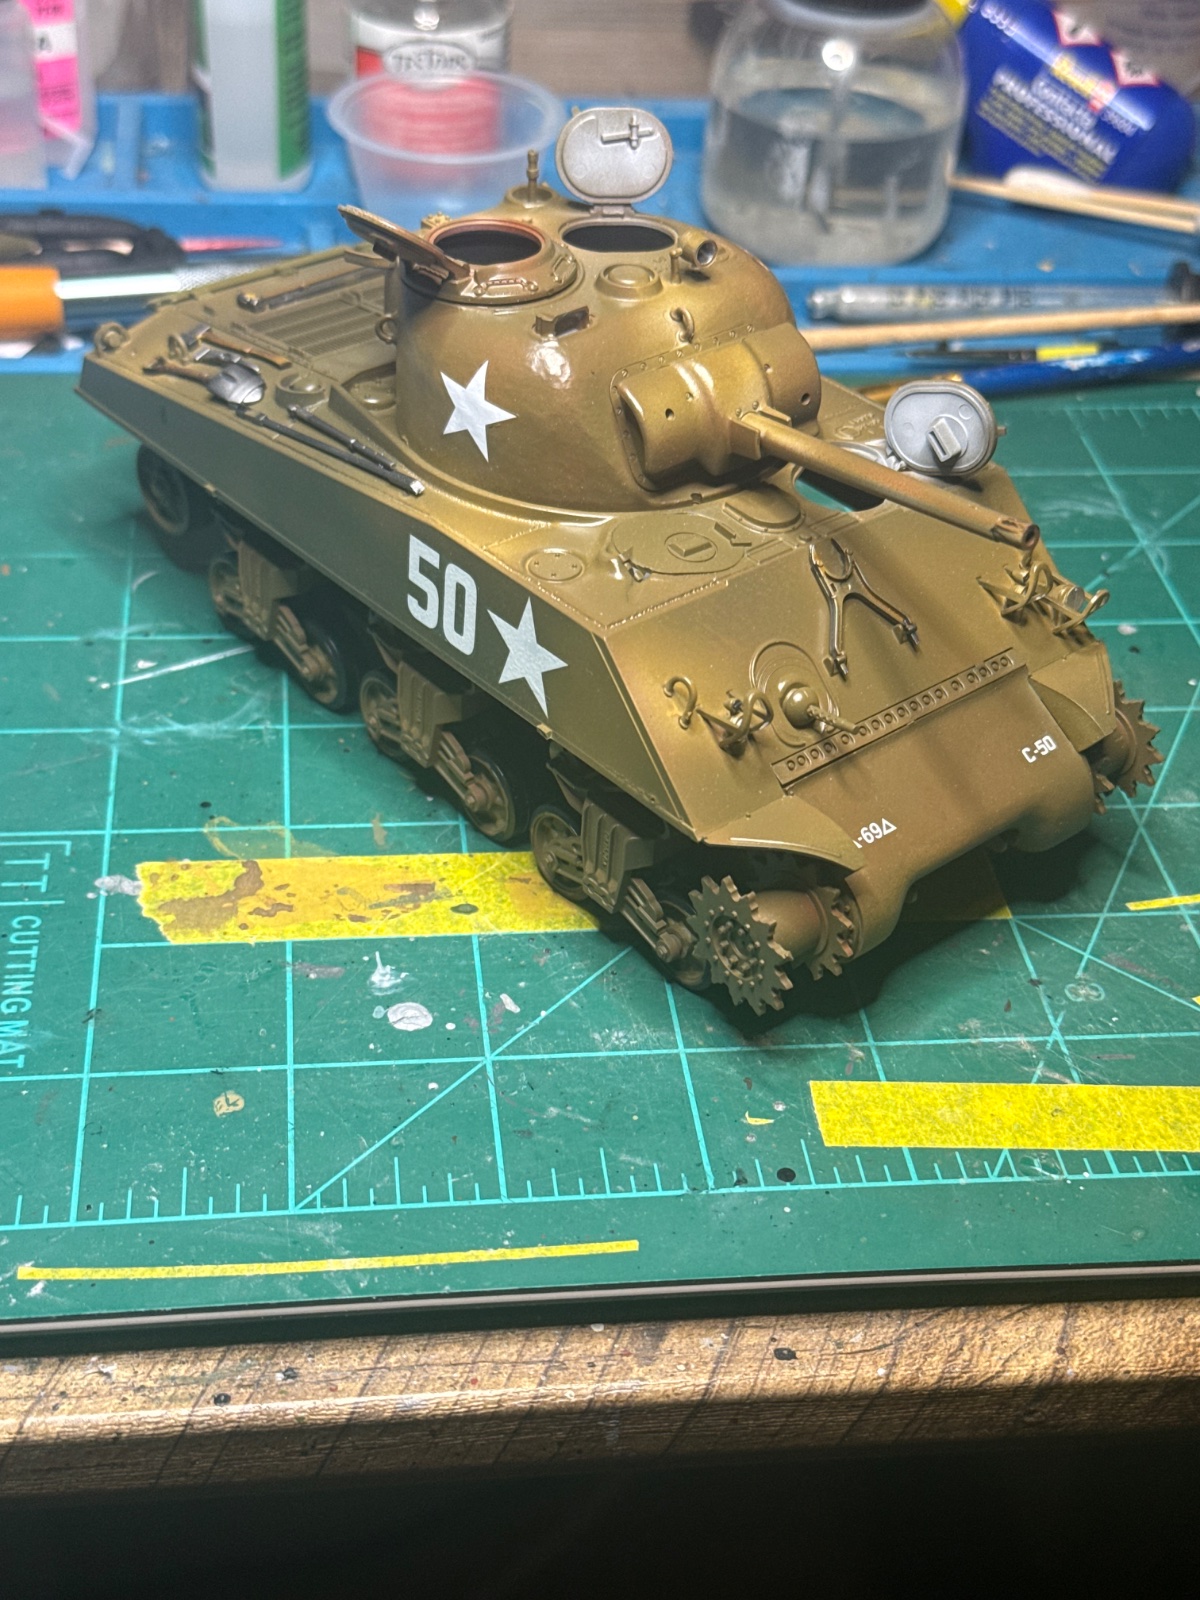
Taking shape. Need to do some more weathering and wash to some of the supplies. I'm going to tie off the loads as well. Haven't decided on snow yet. Not adding white camo. Lighting is giving it more of a yellow hue than it has.Top gloss coat and decals. Hopefully weathered this weekend.
Attachments
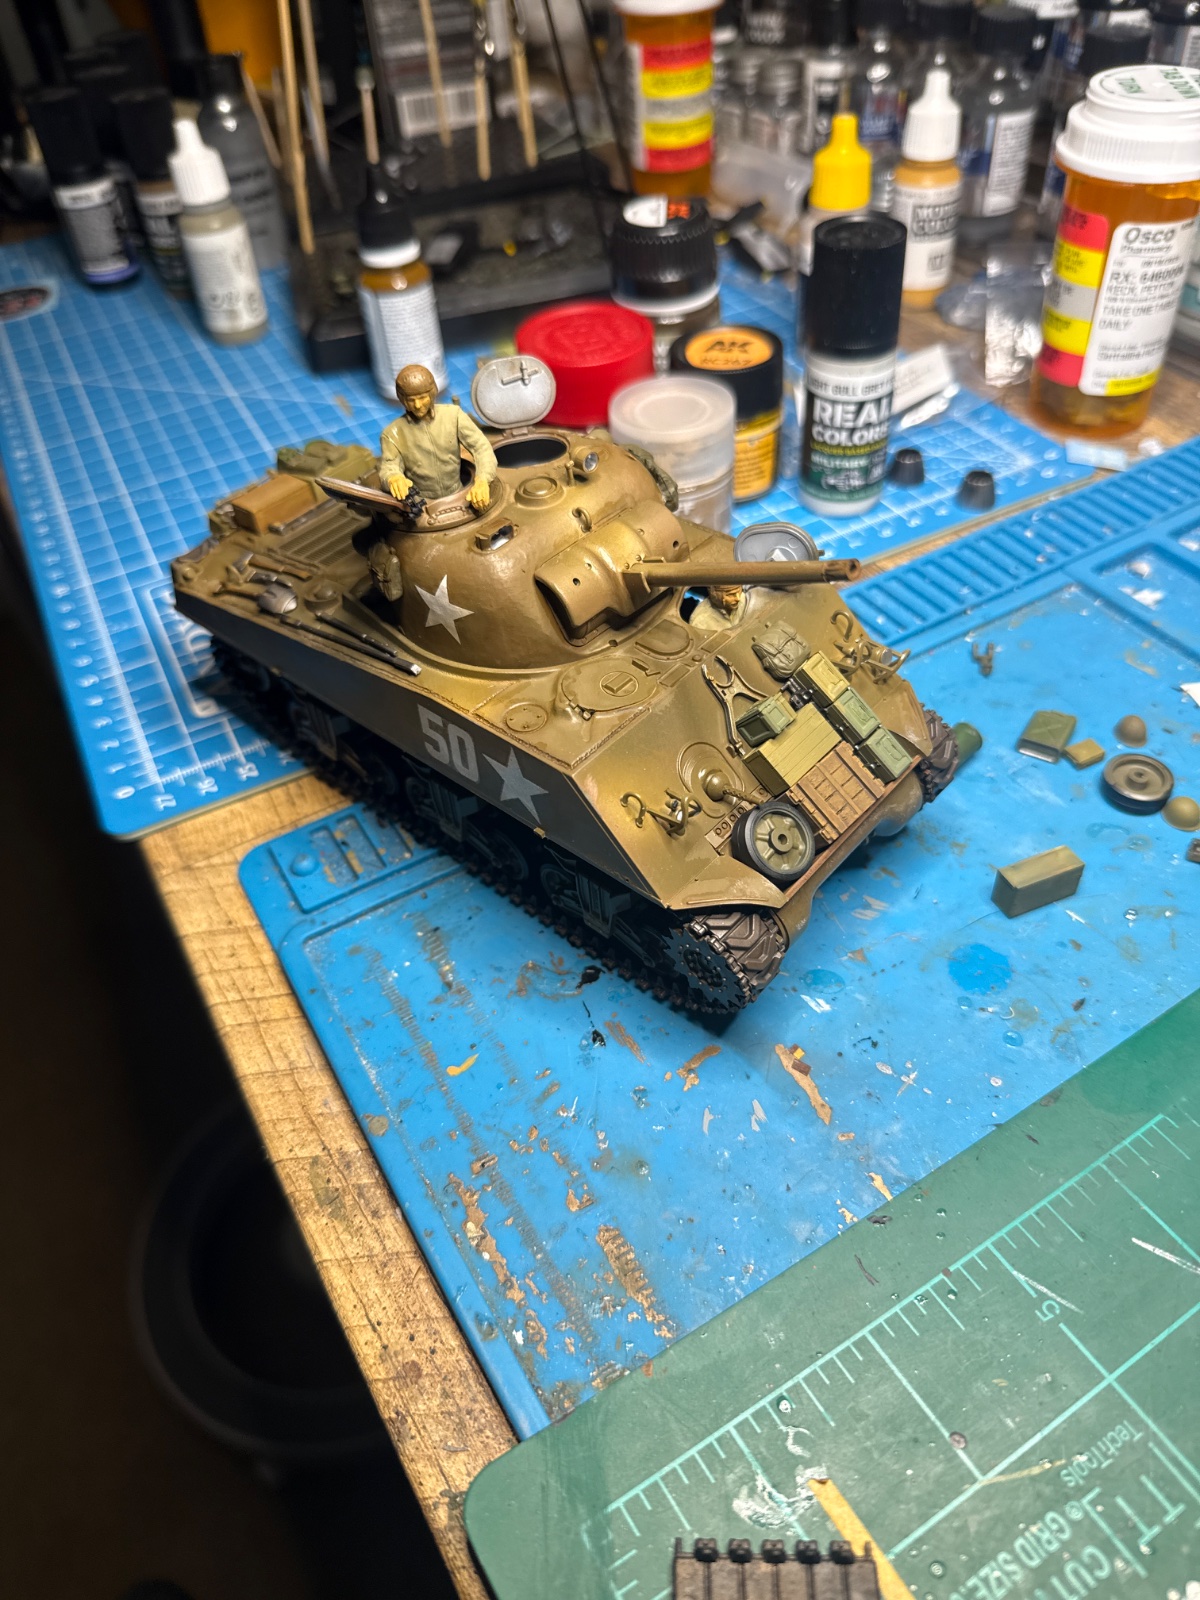
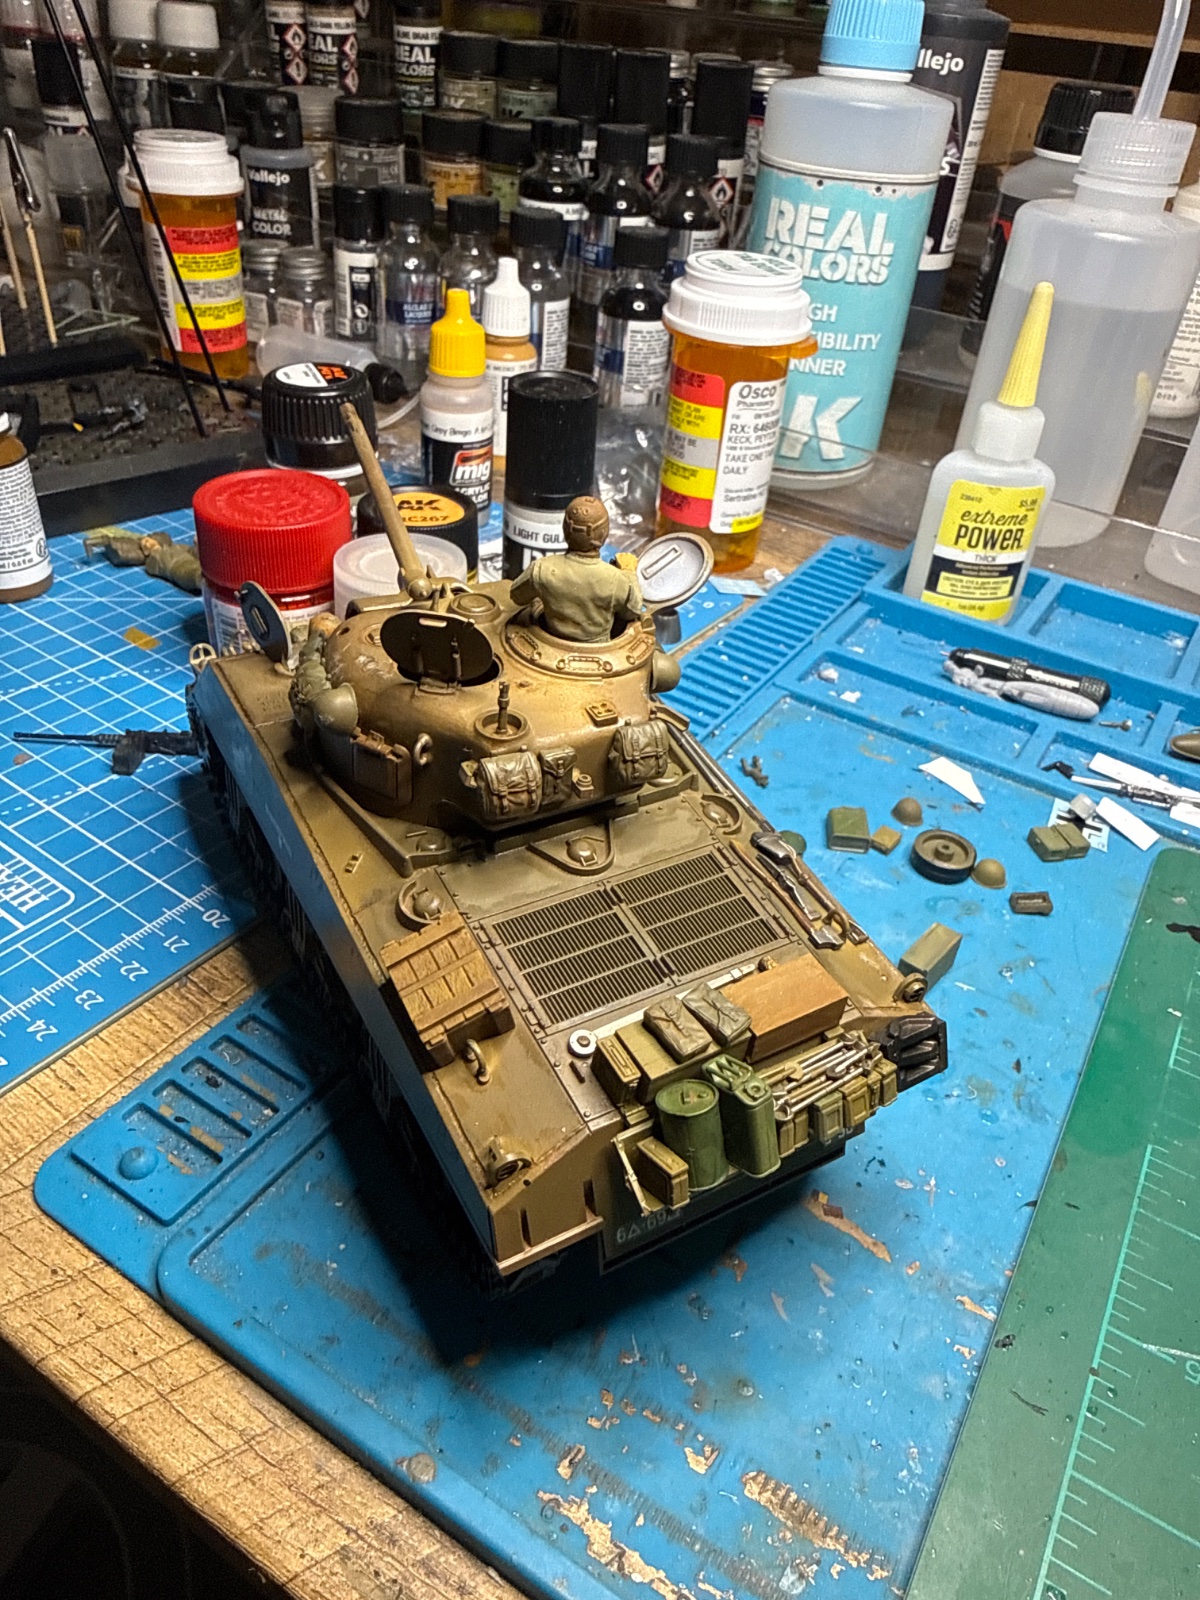
Wrapped this up today. I think it is my best armor build to date. Commander has no eyes not for failure of trying. I repainted his face at least five times, at one point he had three green iris! Haha. Finally got disgusted. With my inability to hold steady and apply a a small dot. The other issue which I may try to correct is no belt of ammo for the 50 cal. Otherwise I'm very pleased. Obviously I did not opt to add snow.Taking shape. Need to do some more weathering and wash to some of the supplies. I'm going to tie off the loads as well. Haven't decided on snow yet. Not adding white camo. Lighting is giving it more of a yellow hue than it has.
Attachments
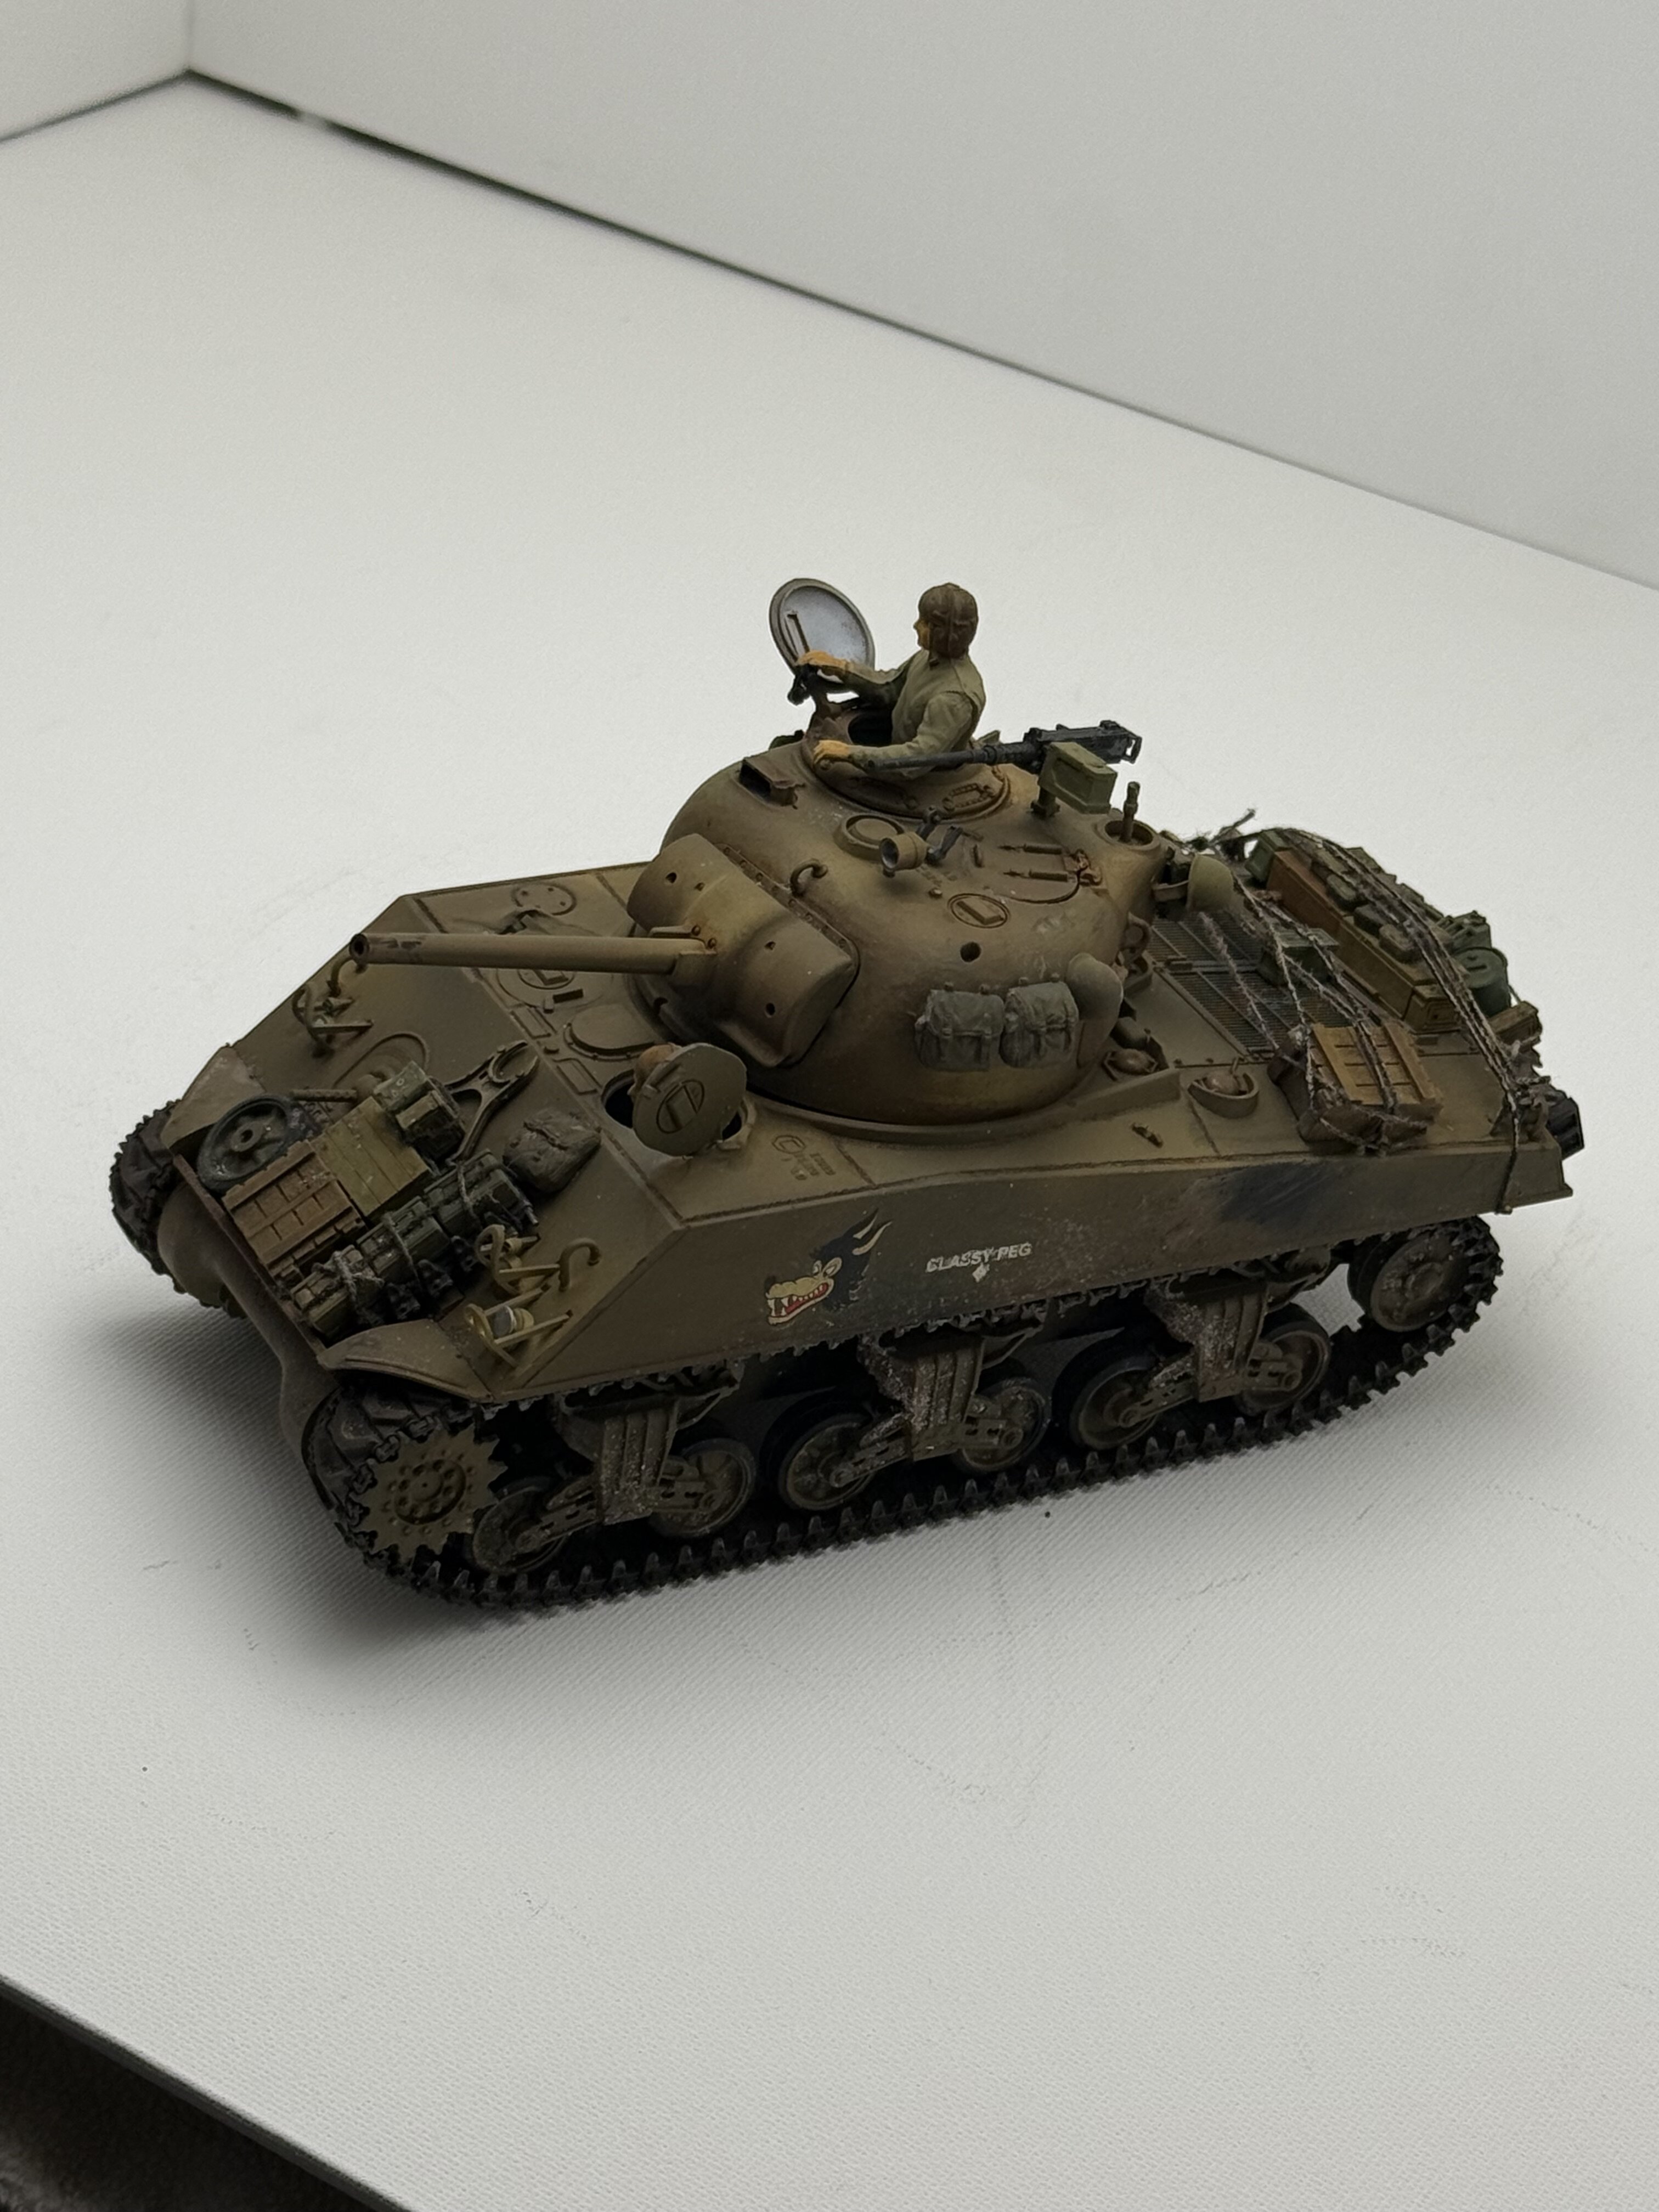
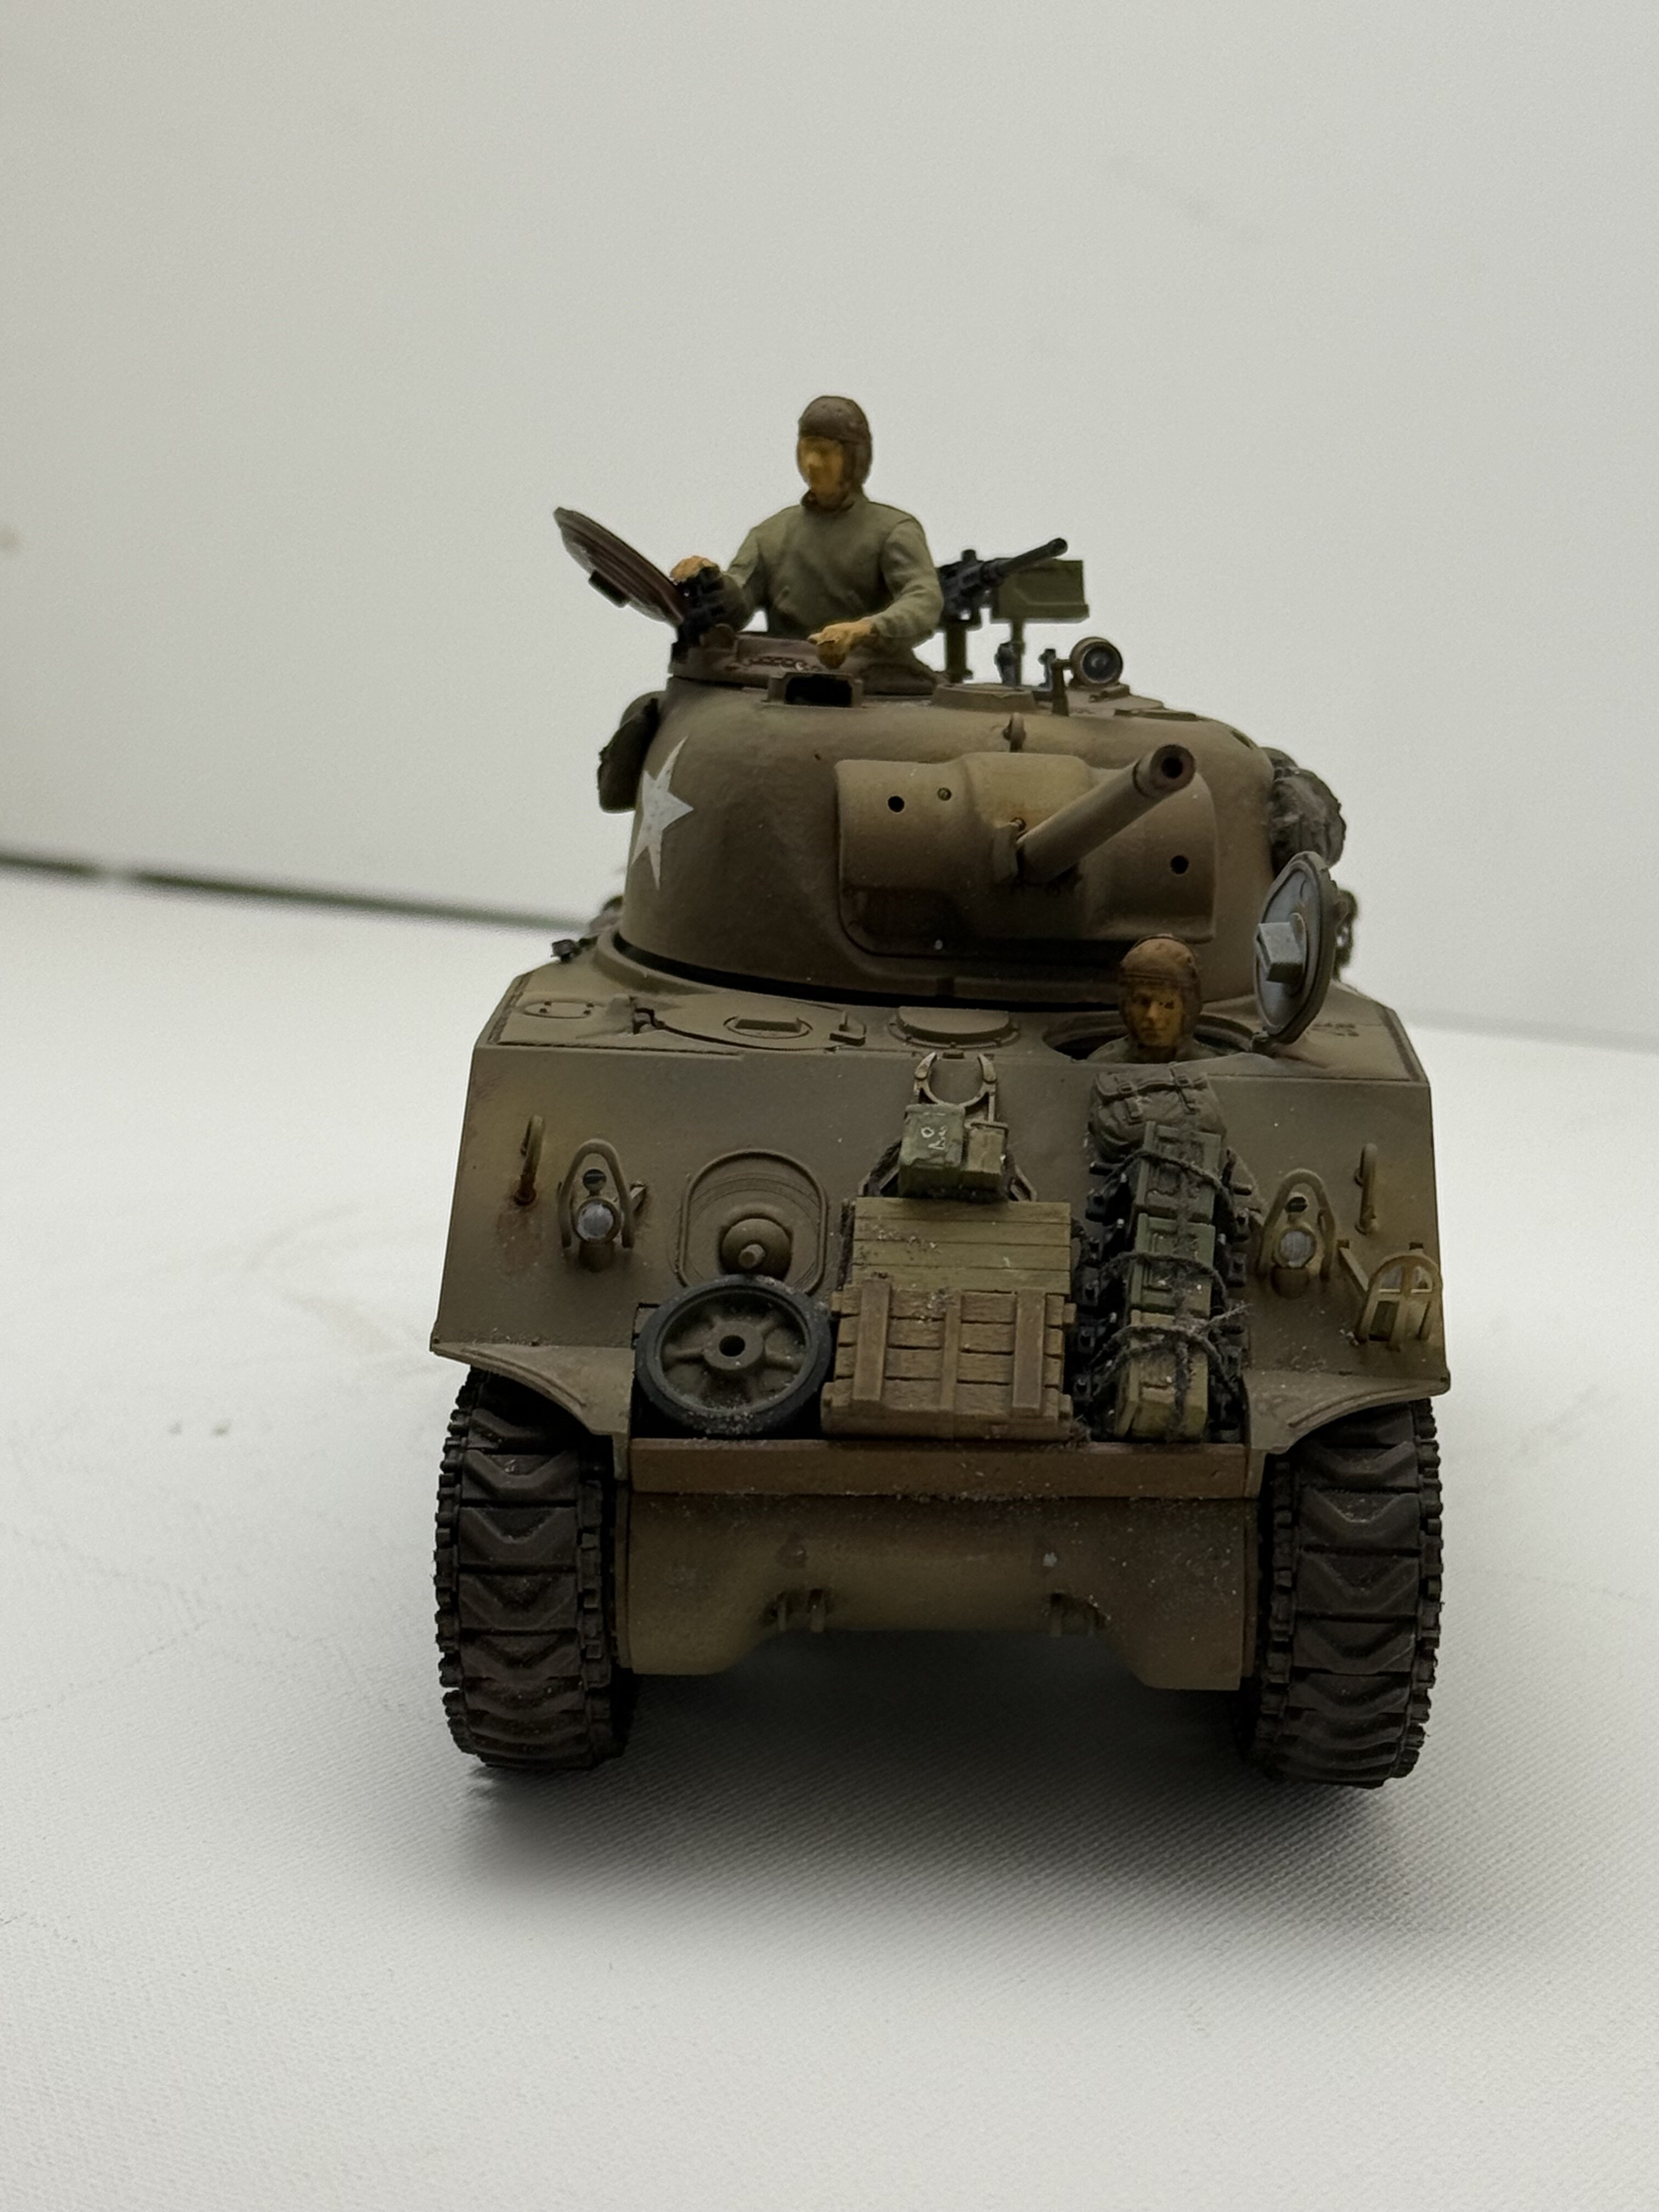
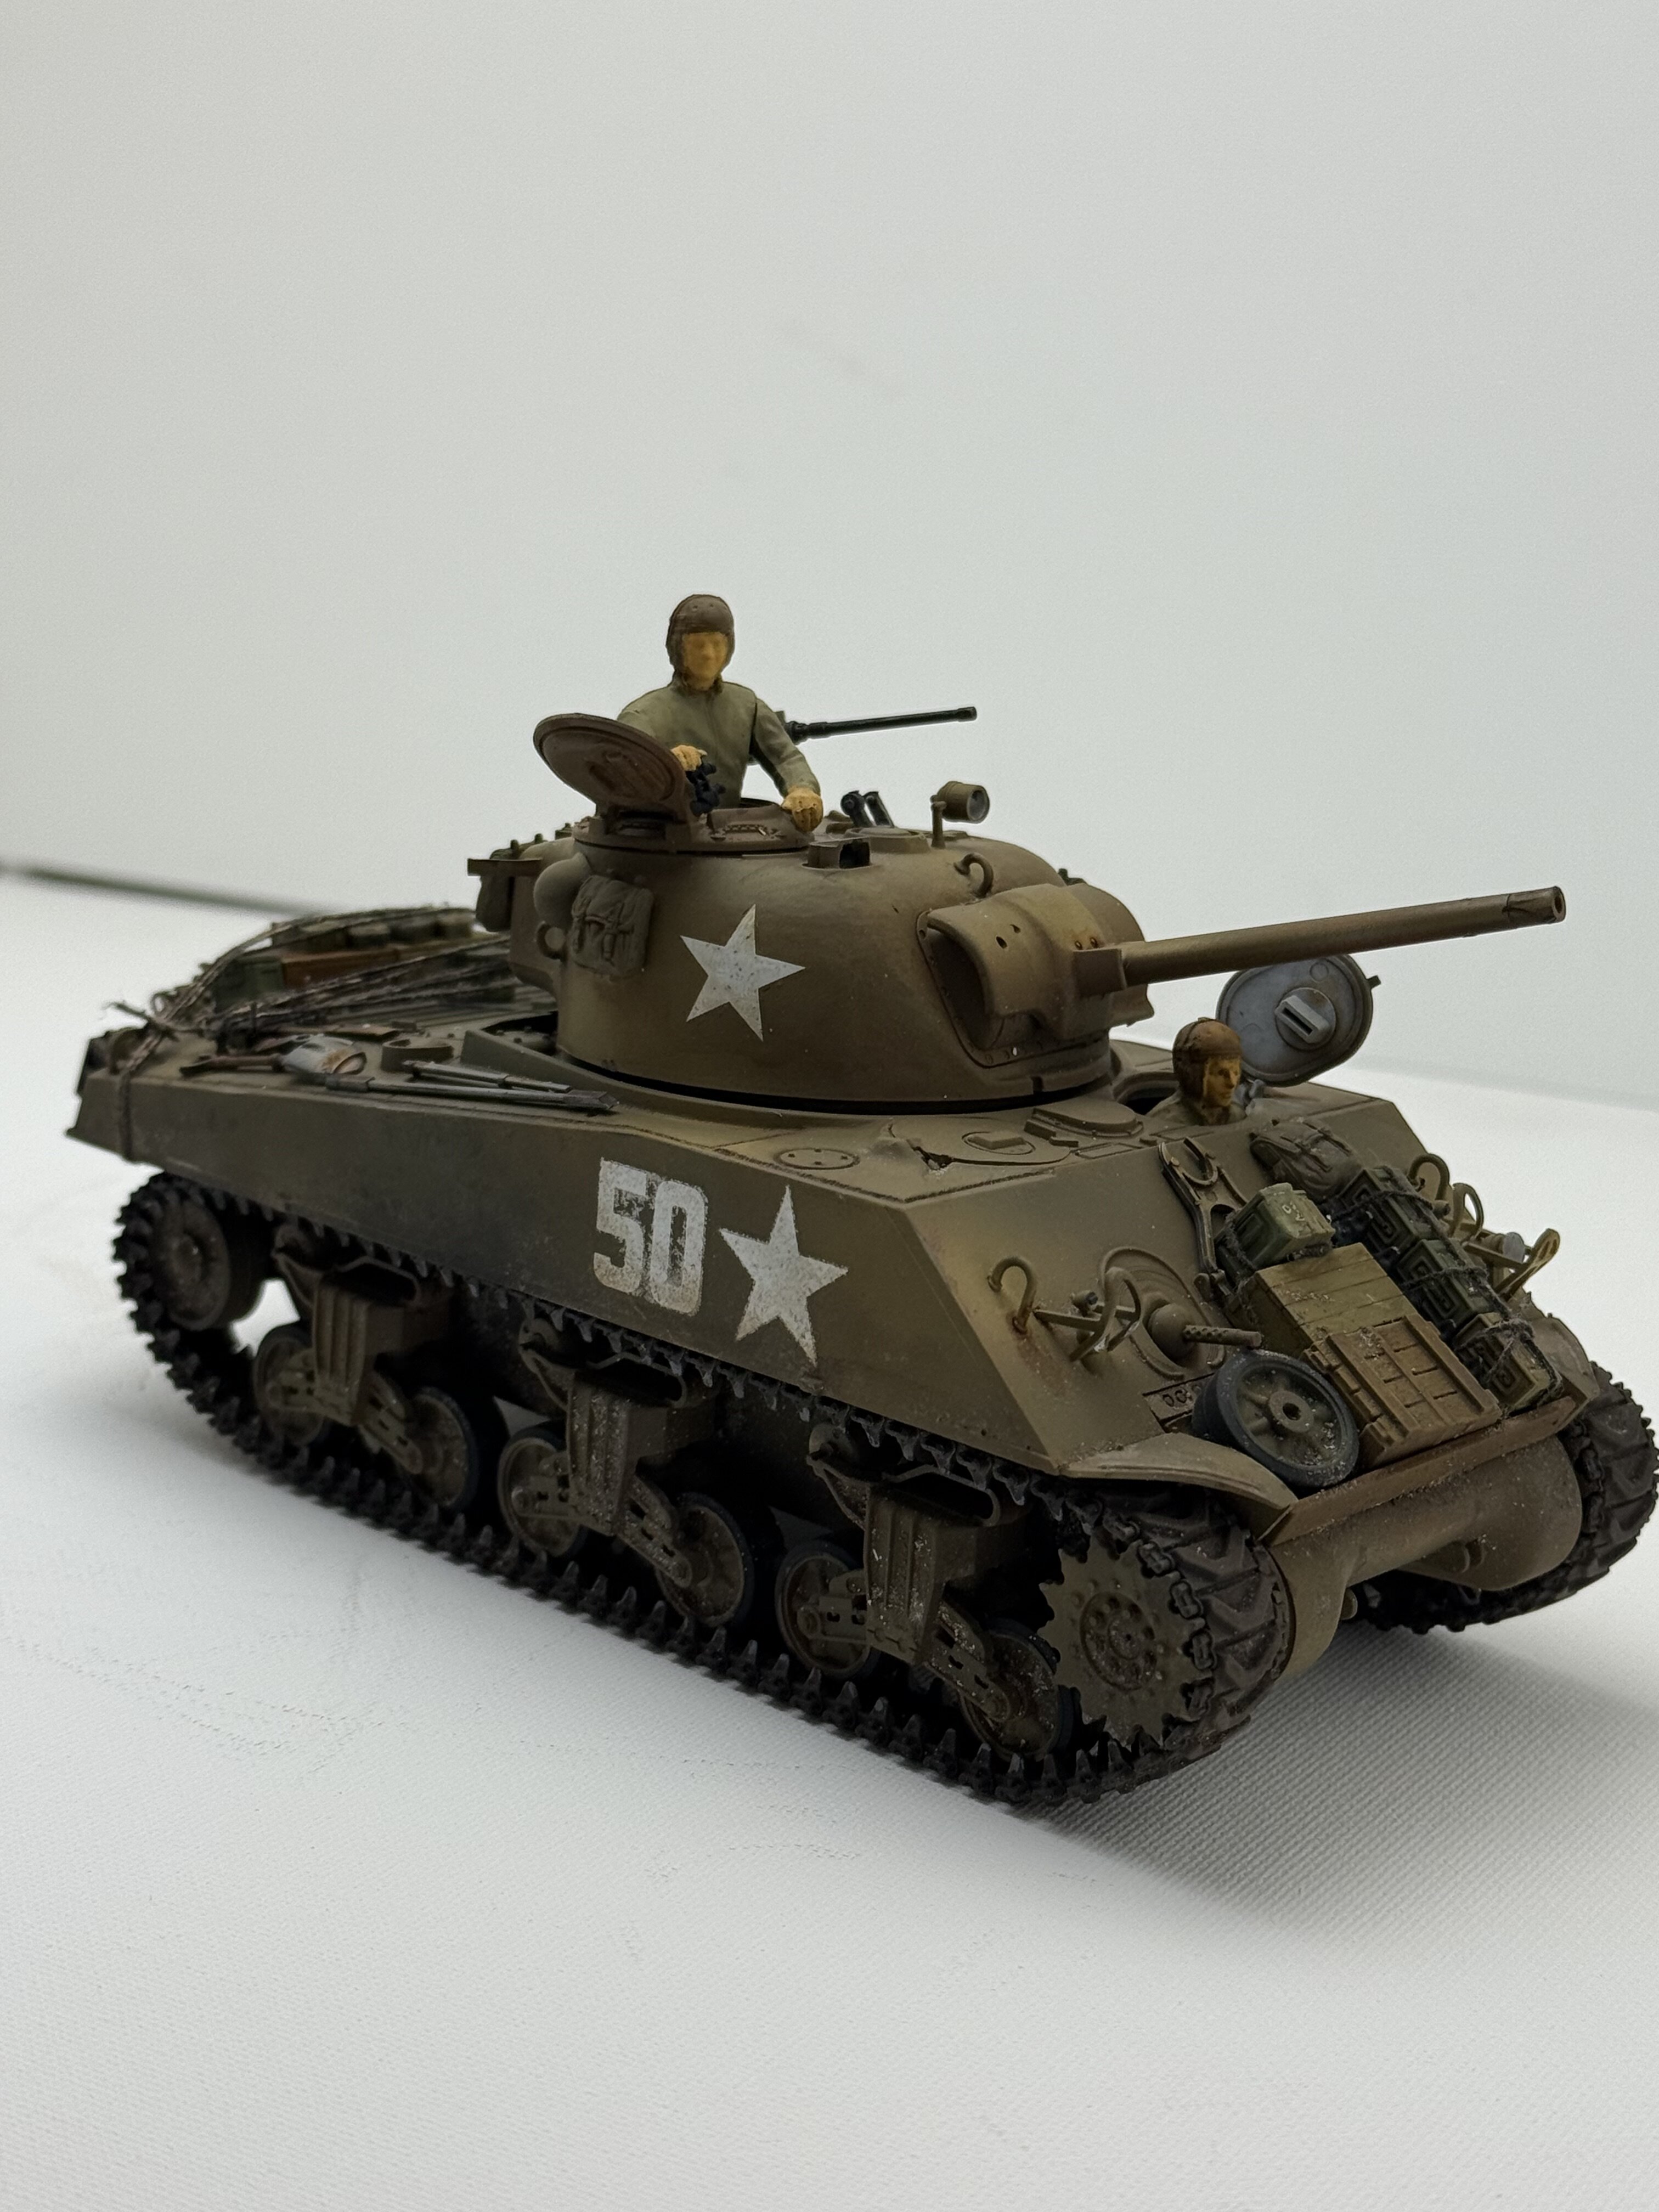
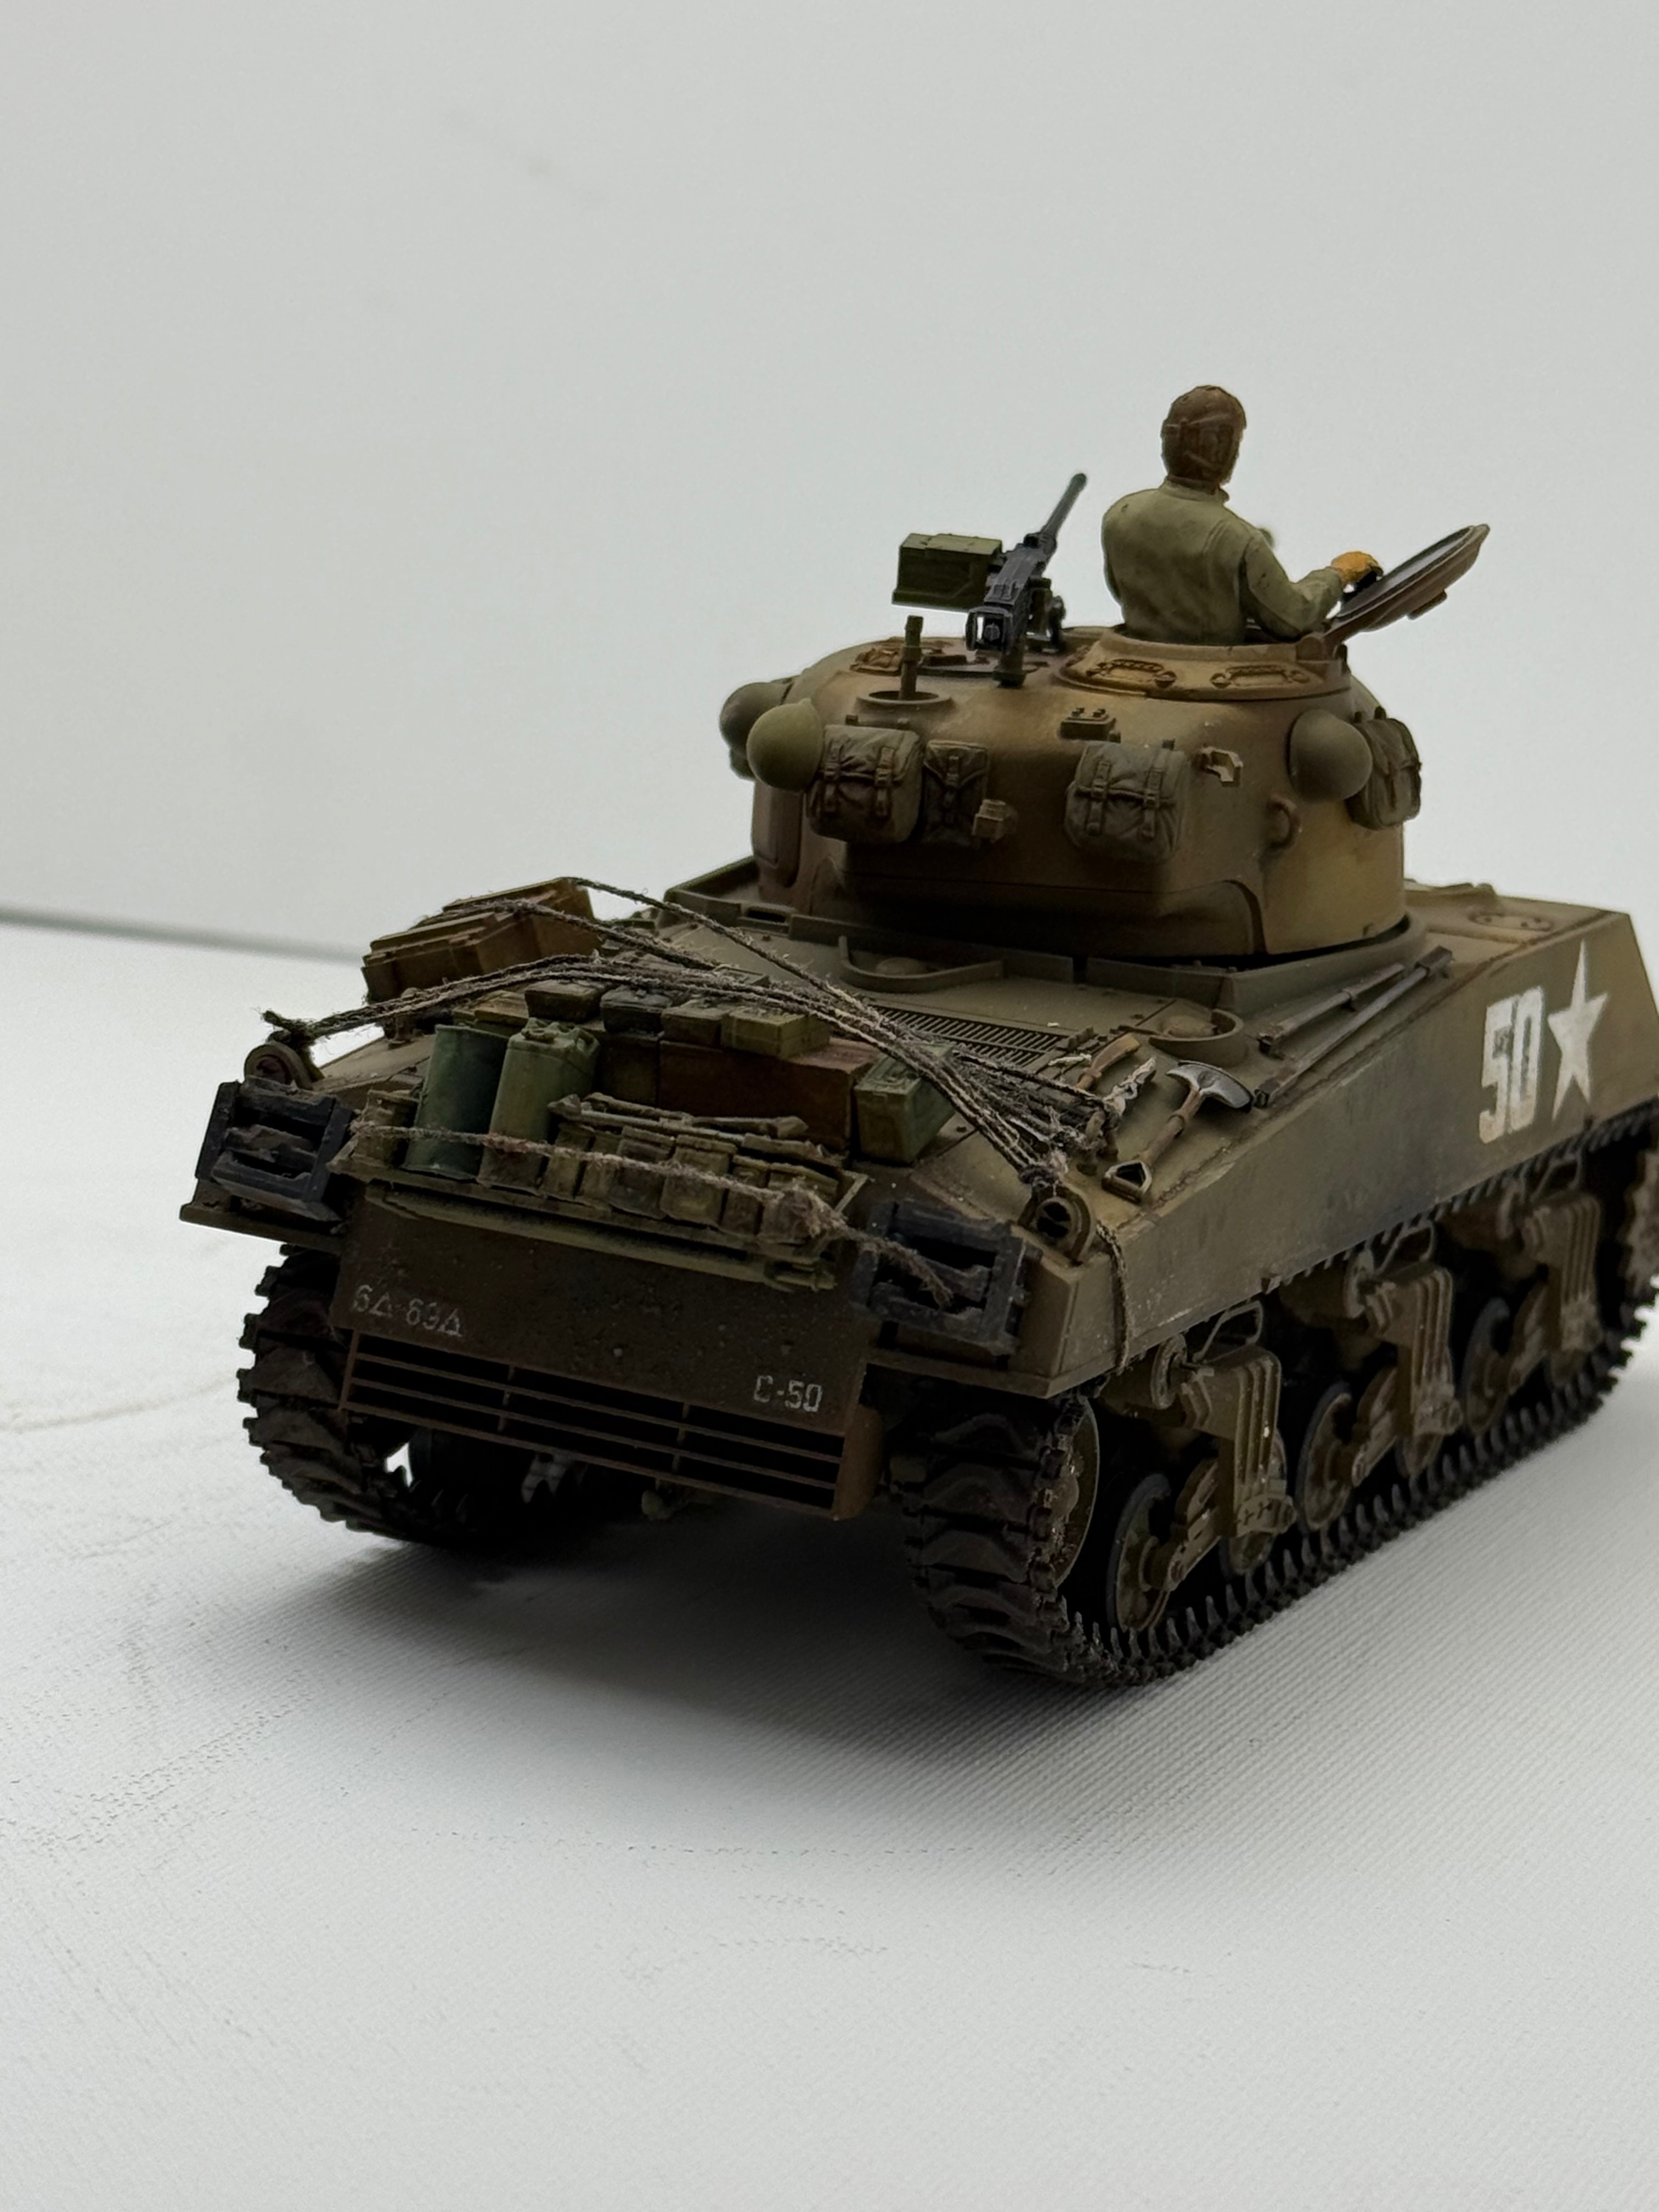
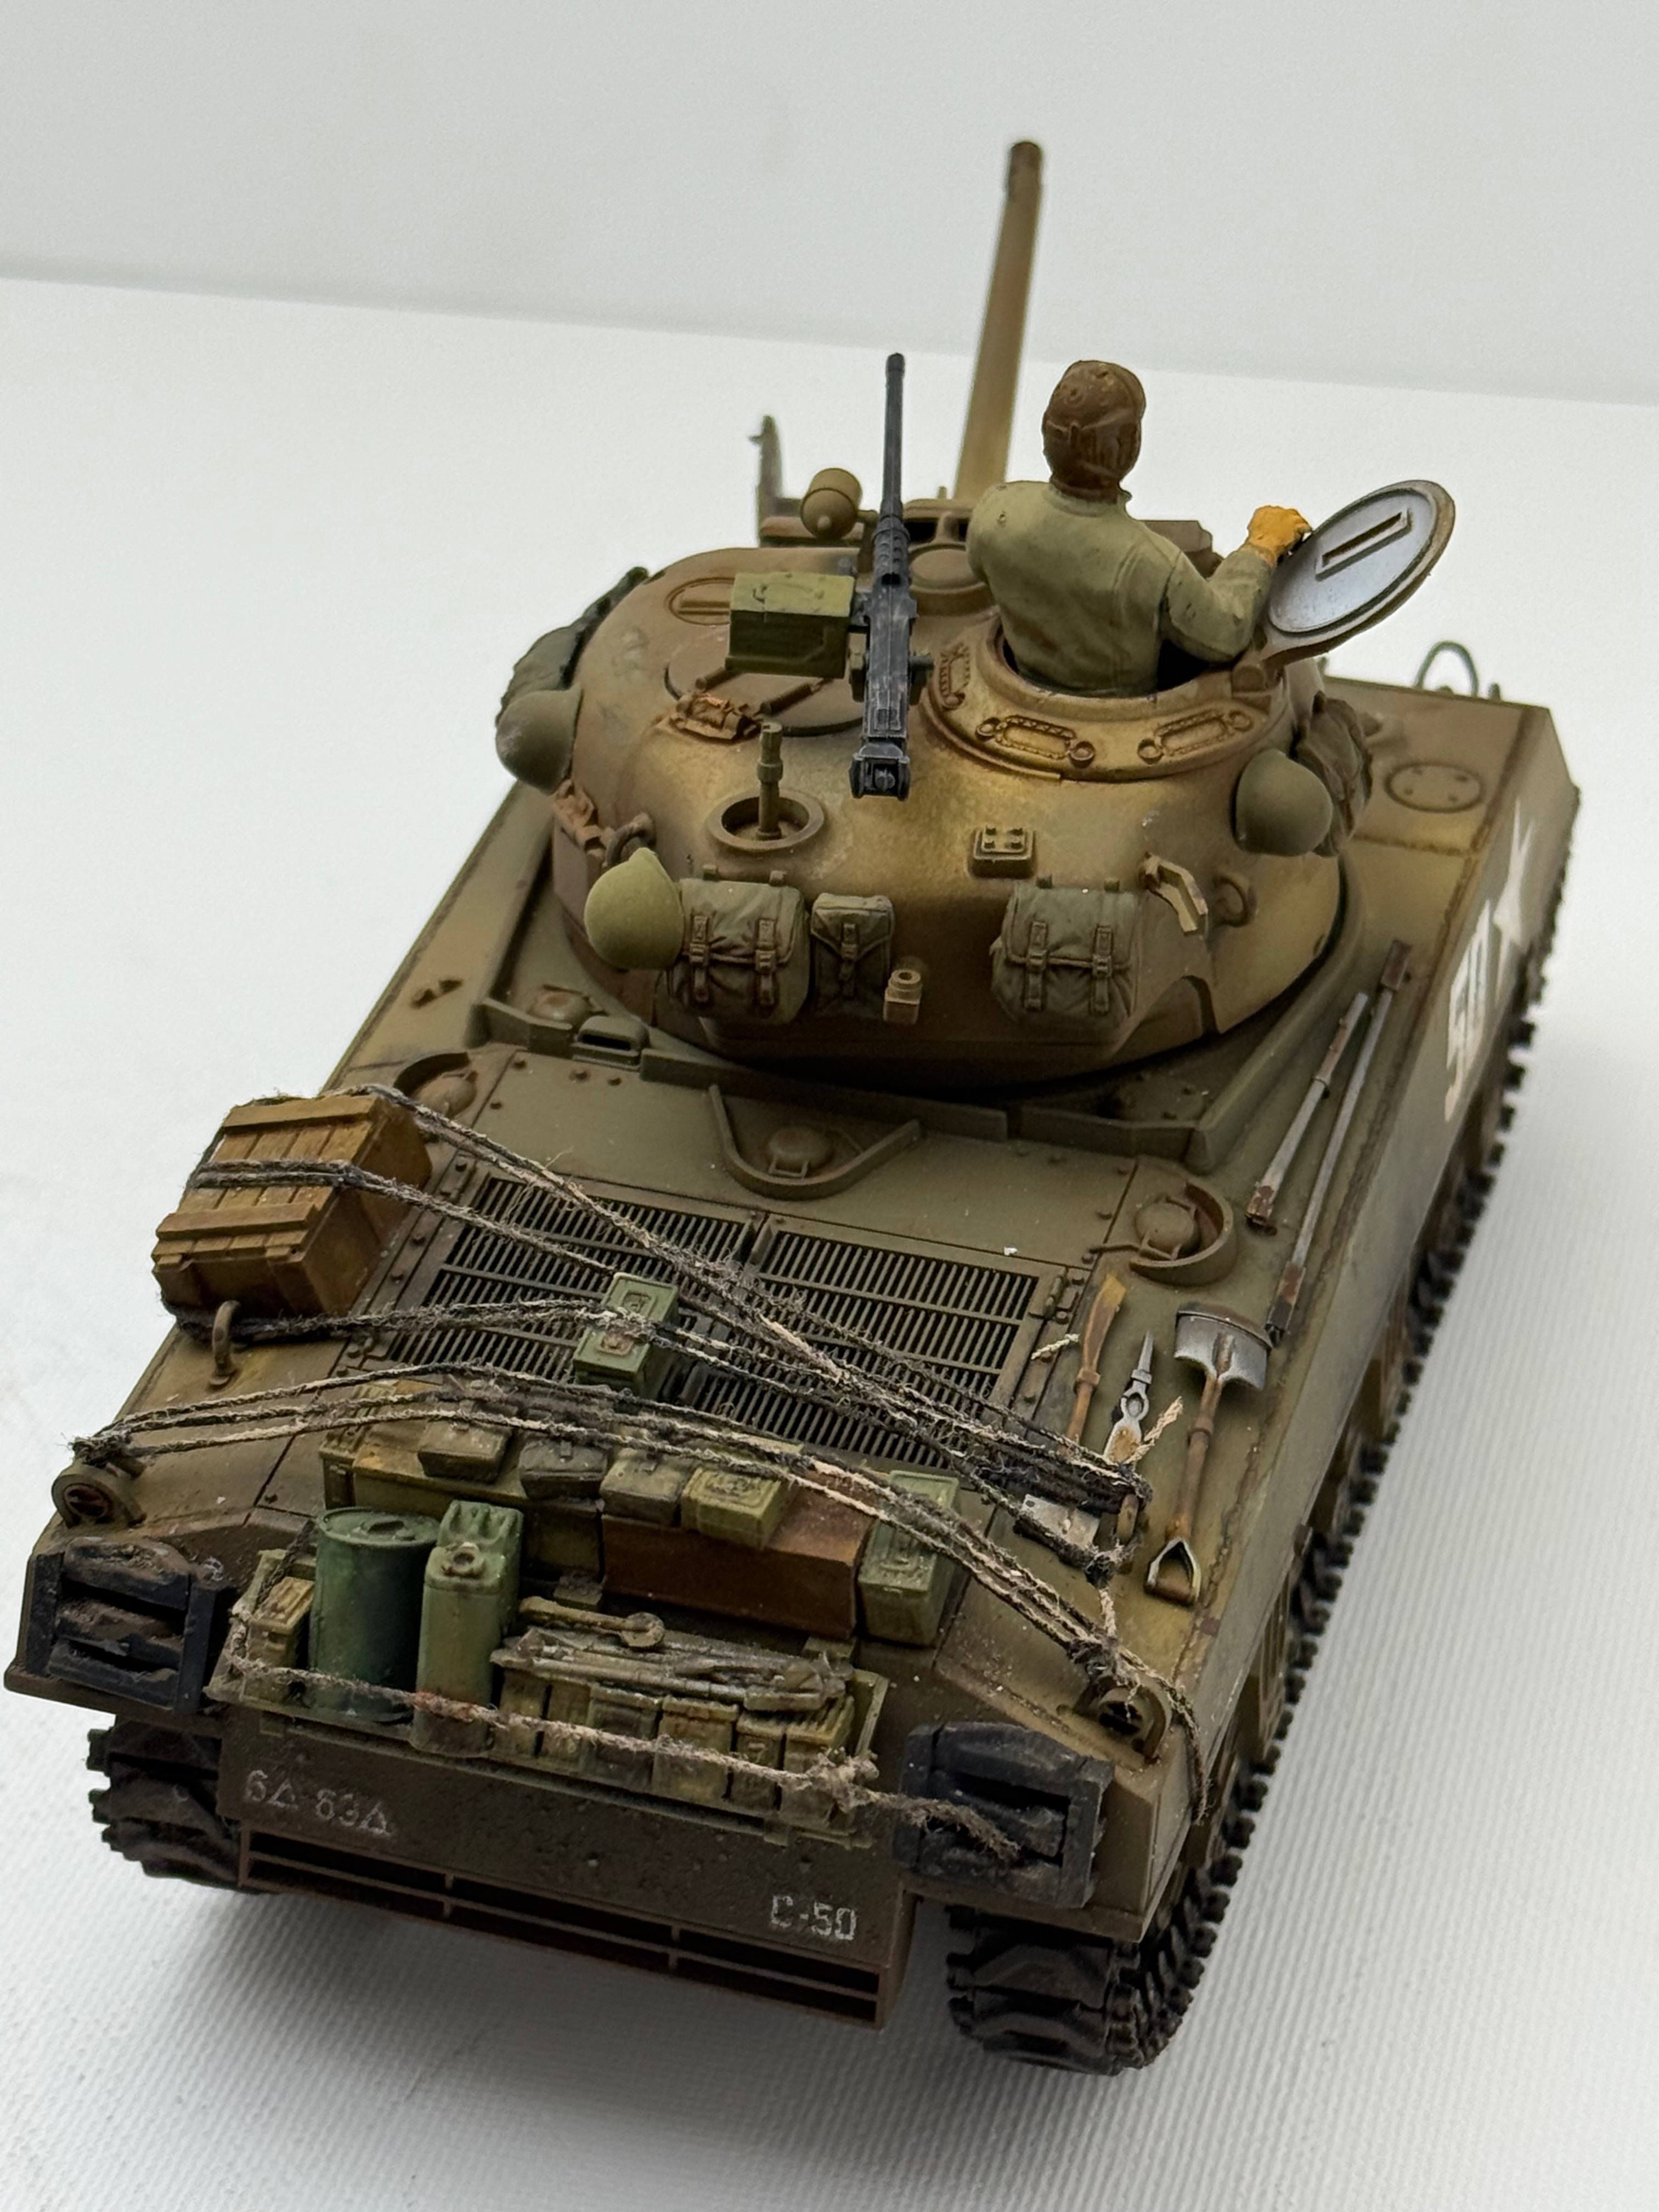
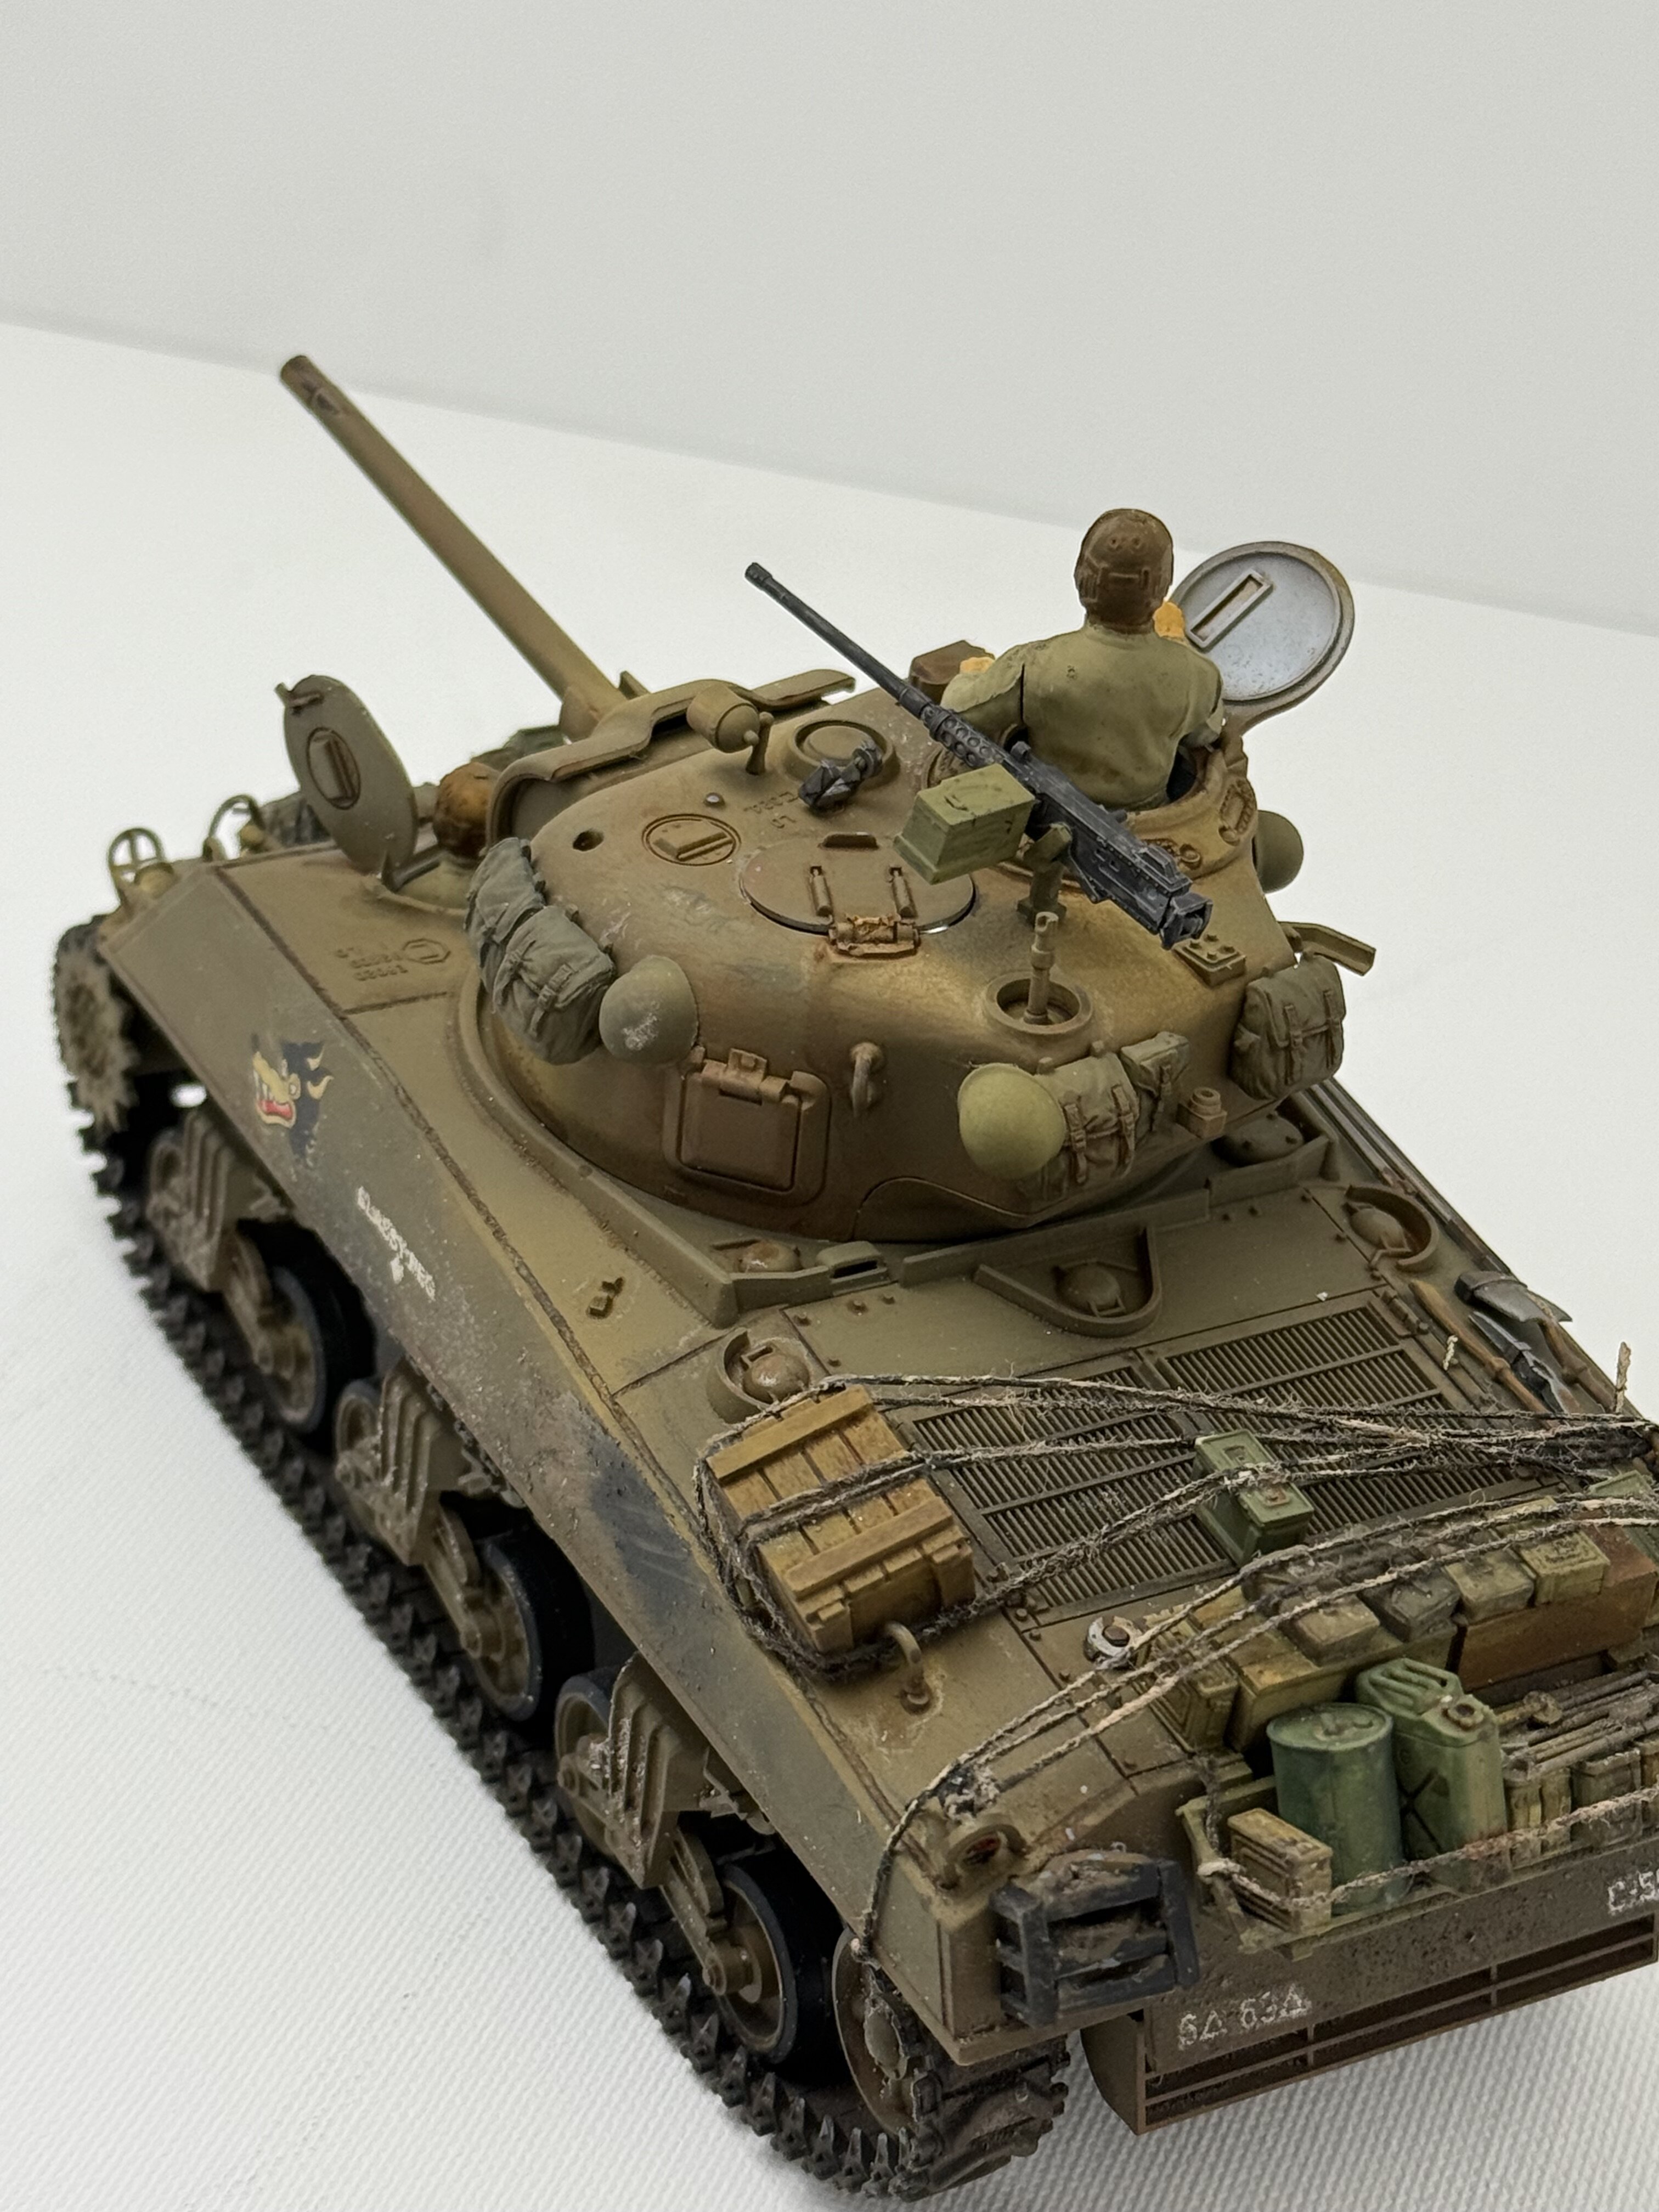

Nice work!
And eyes are overrated, at that scale anyways. Just a squint is plenty good.
Classy... Well named.
And eyes are overrated, at that scale anyways. Just a squint is plenty good.
Classy... Well named.
Thank you!Nice work!
And eyes are overrated, at that scale anyways. Just a squint is plenty good.
Classy... Well named.
Jantk14
Well-Known Member
Really good. Nice!
Thank you!Really good. Nice!
Jakko
Well-Known Member
I used to be able to paint irises in 1:35 scale, twenty-plus years ago. Now I don't bother, because I find that detail that's not there is nowhere near as obvious as detail that is there but has been overdone. In other words: better to have a figure with no eyes than with manga eyes


mustang1989
Well-Known Member
- Joined
- Aug 6, 2022
- Messages
- 552
thank you, getting better with each build. At least I think I am.Some really good detail went into this build @Ron2 . I took on my first armor project this past year and I learned a great deal through it all. Before that build I didn't have a single armor piece in my stash. Now..............I have multiple armor kits.........


