1967 Impala Police Interceptor

Scale Model Addict - Model Tips, Guides, Tools & Tech, Tutorials, and Community

Help Support Scale Model Addict:

I like the engine detail and the "neato mosquito" air cleaner. Nice touch. How about a 2" cowl hood from Lex's Scale Modeling for this car? Maybe a little clean up involed but it may be worth a shot.

Here's the link: Resin 2" Cowl Hood '67 Chevelle AMT 1/25.
Lol, thanks.
Maybe, I'll see how my attempts comes out, I was thinking more along the lines of a "Harwood" forward facing type. Nice to know a resin option is out there.
 
Thank you- I thought about plastic strip, but taking the lazy way out with paint will hide it from the front, of course if you turn it and look into the vehicle, it'll be visible. Just seems like the body isn't designed to fit this chassis- Like the retooled an existing model and slapped the body onto it. Things don't align properly, and I get warpage, fit issues are a part of it, but sheeesh, come on. I do see what you mean with the body and chassis, I removed a sizable amount of plastic from the bottom of the fender wells, which helped the chassis fit, but that was before I'd mounted the motor. I dunno- I'm glad I caught this before I painted it... :eek:
I feel your pain. I still have another to build for me.o_O
 
Another update, for anyone who's actually still following this.
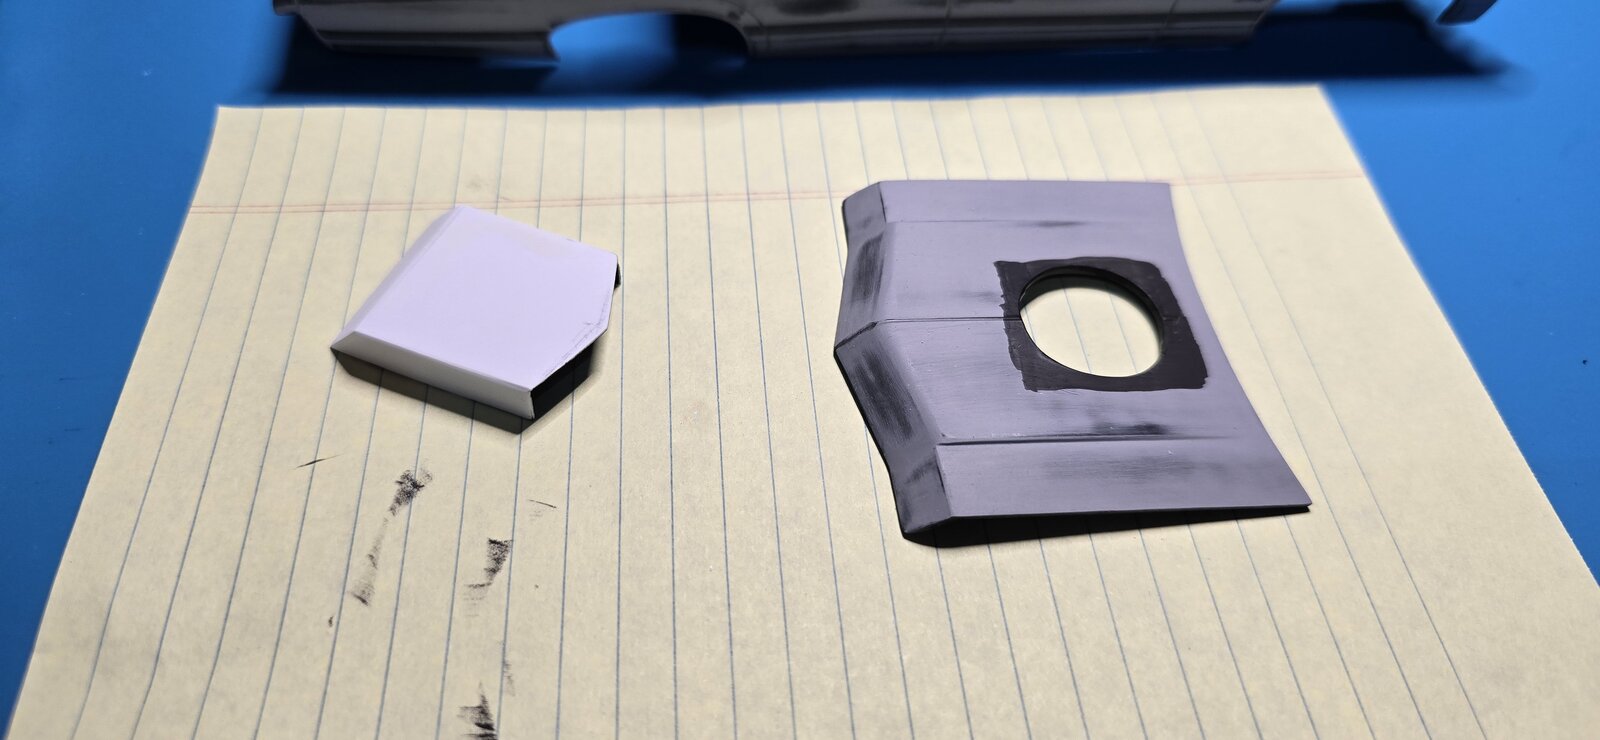
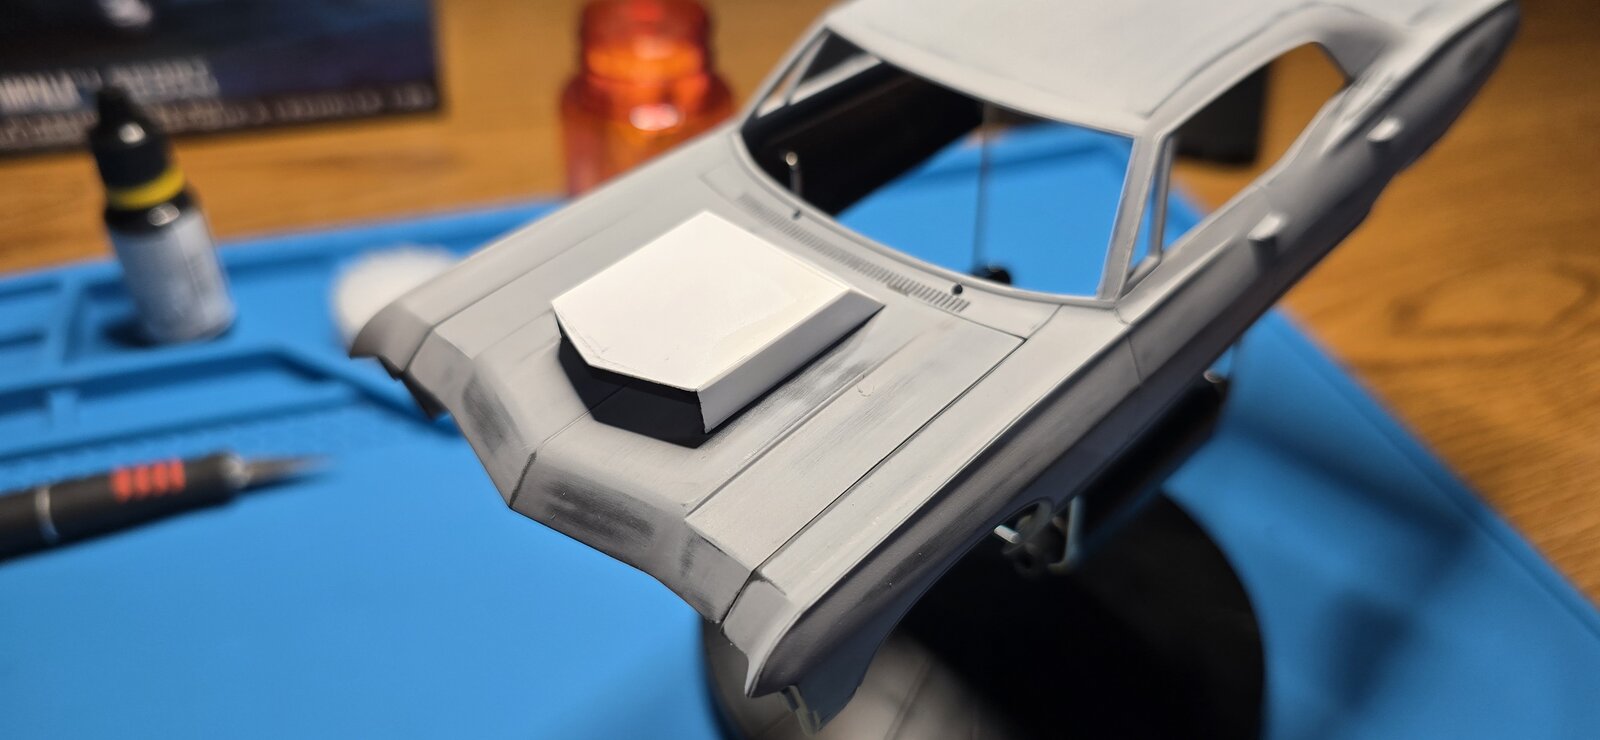
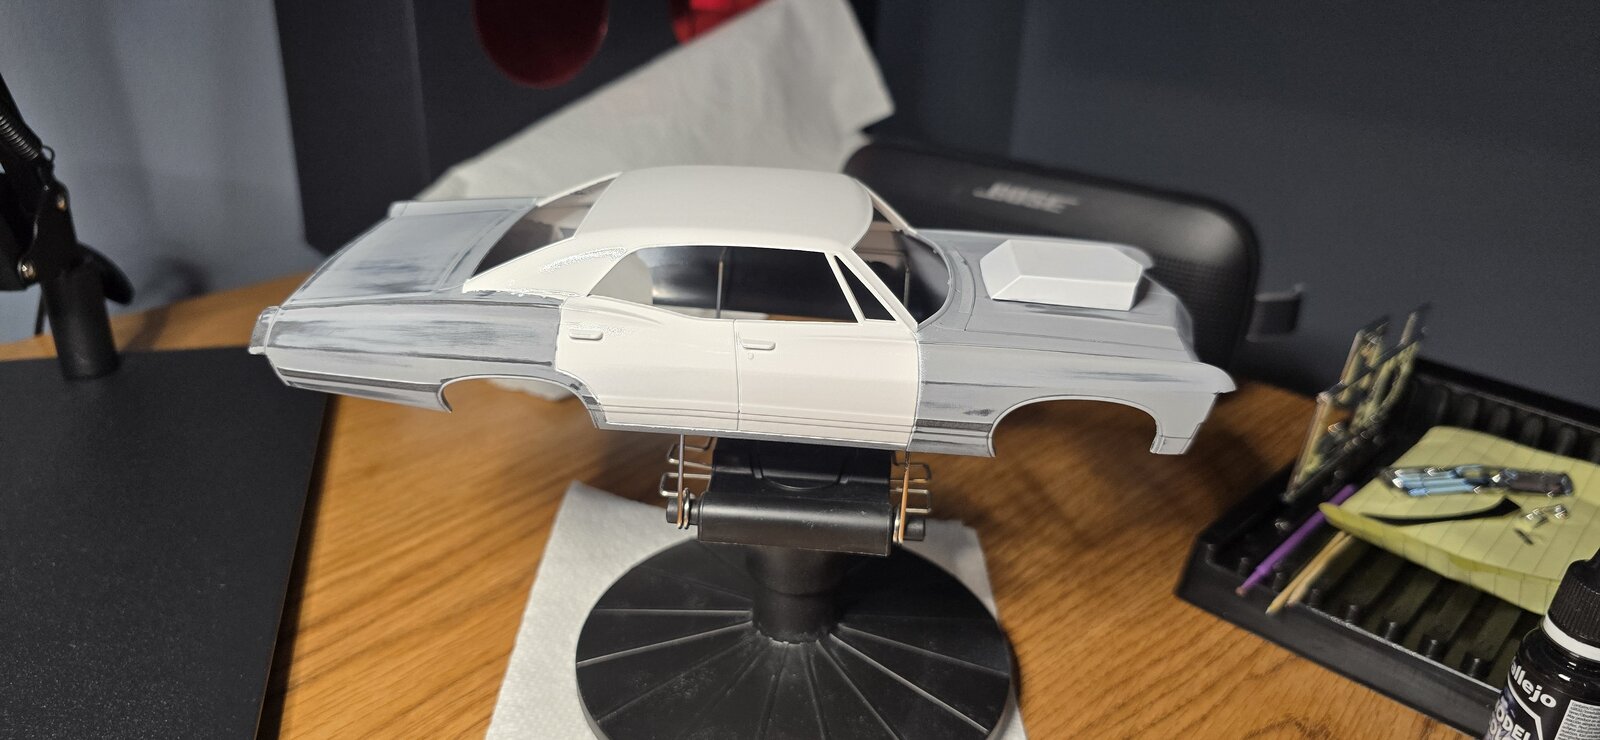
Shaped up the hood scoop, painted the inside and got it secured to the hood, got a coat of lacquer on the bumper, hopefully I can proceed with assembling that in a day or two.
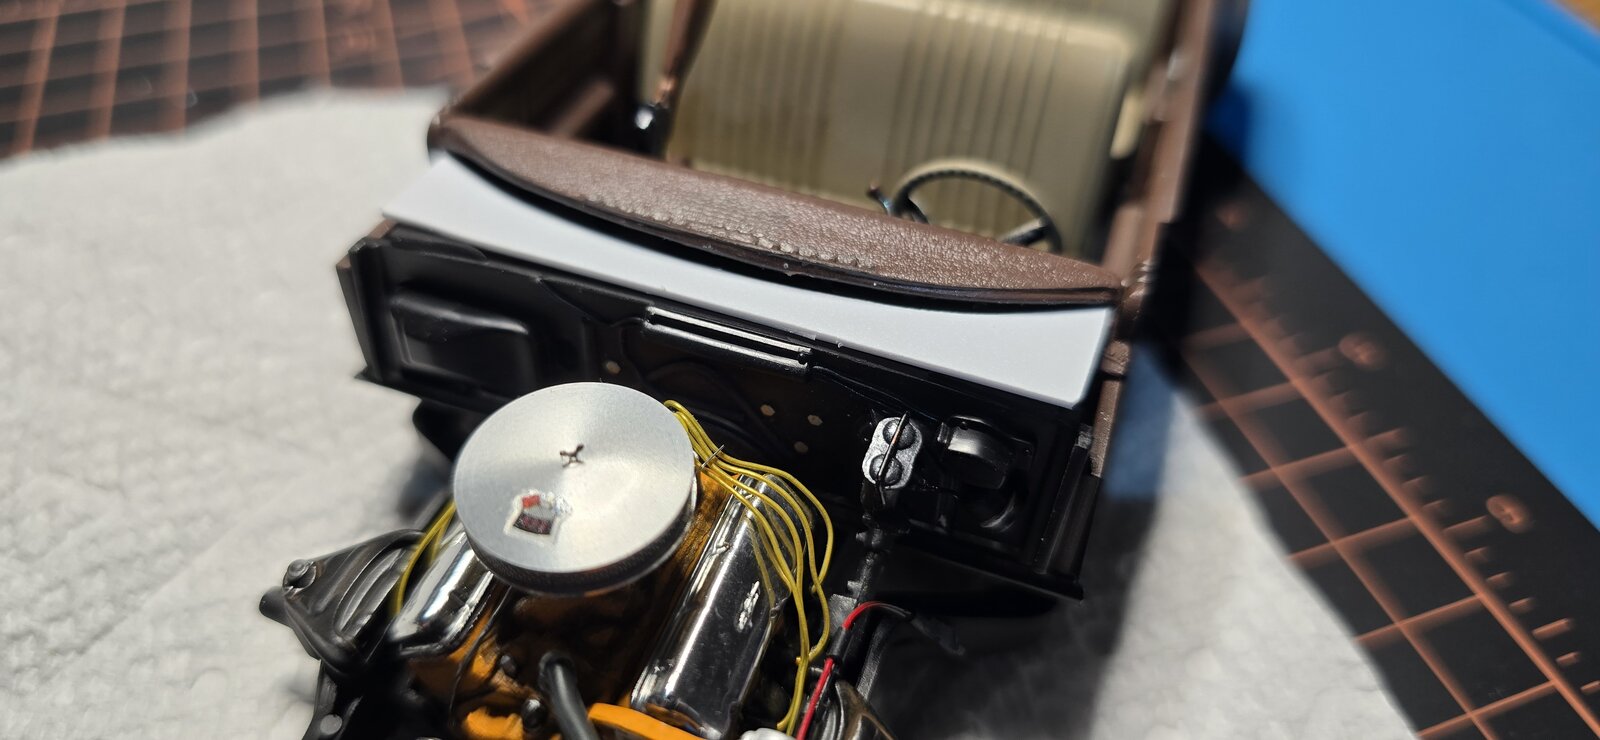
Took some sheet styrene and copied wjbrandel's idea, attempted to cover the gap below the dash/windshield, will probably still paint the bottom of the windshield with a black band to help hide it, but hopefully the plastic strip helps to hide it even more.
Of course, I am concerned about fitting the firewall to the body/chassis. The instructions direct you to glue the firewall to the body, then insert the chassis, but it was so tight without it, will have to see if I can get it in while on the chassis, then fit it to the body under the hood.
At some point I'll get this painted...
20251026_084534.jpg
20251026_085225.jpg
20251026_091616.jpg
 
As an Amazon Associate we earn from qualifying purchases. Product prices and availability are accurate as of the date/time indicated and are subject to change.
Well, as a wiseman once said, "I'd rather be lucky than good", I'll take all the luck I can get. :)
Of course, experience, skill and ability can improve one's luck, just as a lack of experience can suck the luck right outta the room.

Bit more work this am-
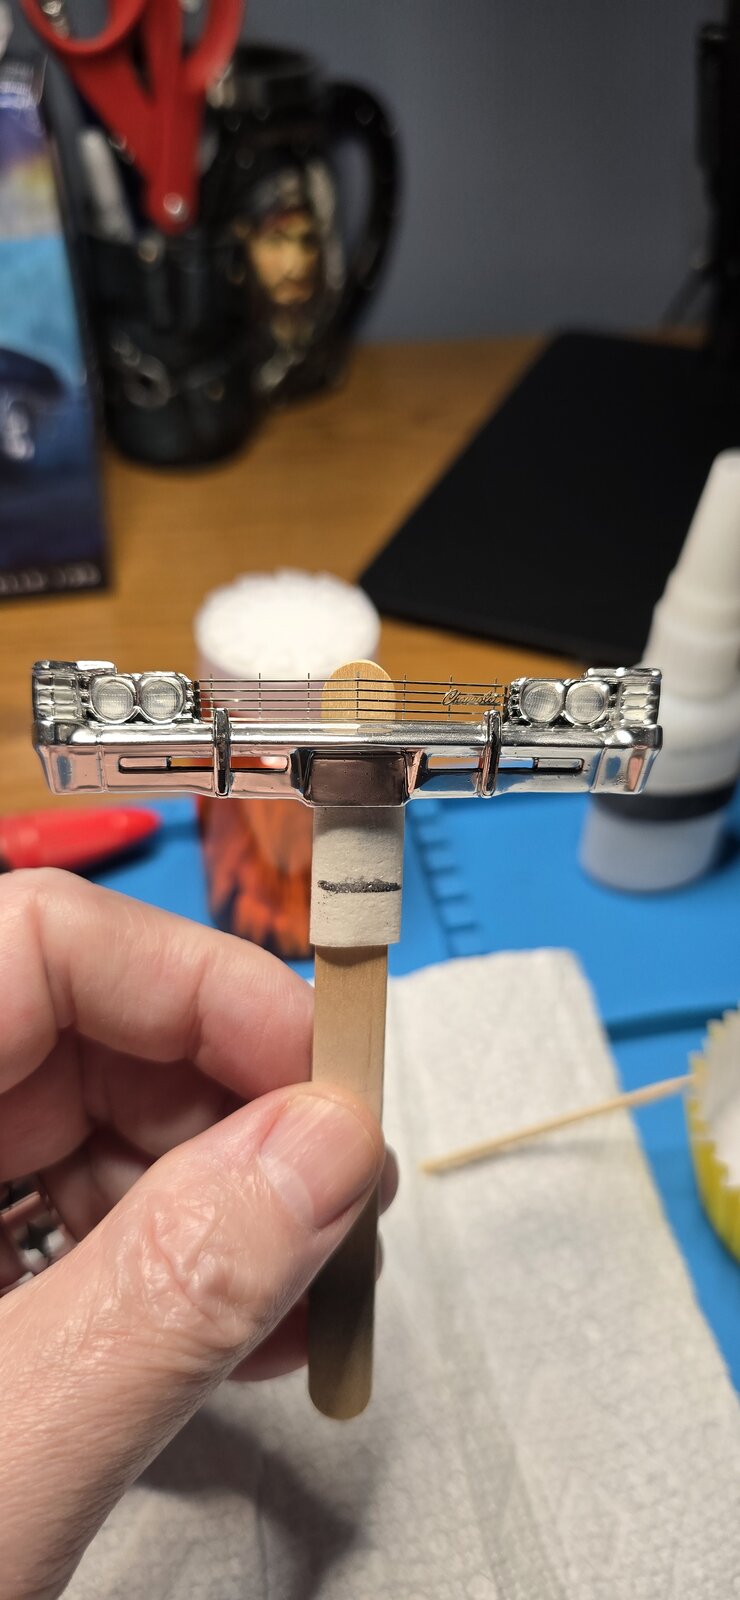
Got the PE Grille attached to the bumper, I was a bit worried about the Fusionfirm chrome holding up to all that man-handling, as I put a tumbprint into the valve covers when I was affixing them to the heads. Having said that, with some care, the PE grille went onto the bumper assembly without issue.
I love Model Car Garage's stuff, this grille looks amazing, as does all of the stuff I have purchased from them.

Also, used the recommended Super Clean to strip the hood trim, it worked fantastic, taking about 4 hours to strip the chrome of the trim (this chrome is some of the best/heartiest I've seen). Here I wanted to post a before/after. The hood trim is stripped (though it's still slick and shiny from whatever they put on it to adhere the chrome), and I applied the Fusionfirm directly to it. I am continually amazed at how easy this stuff goes on and how it looks.

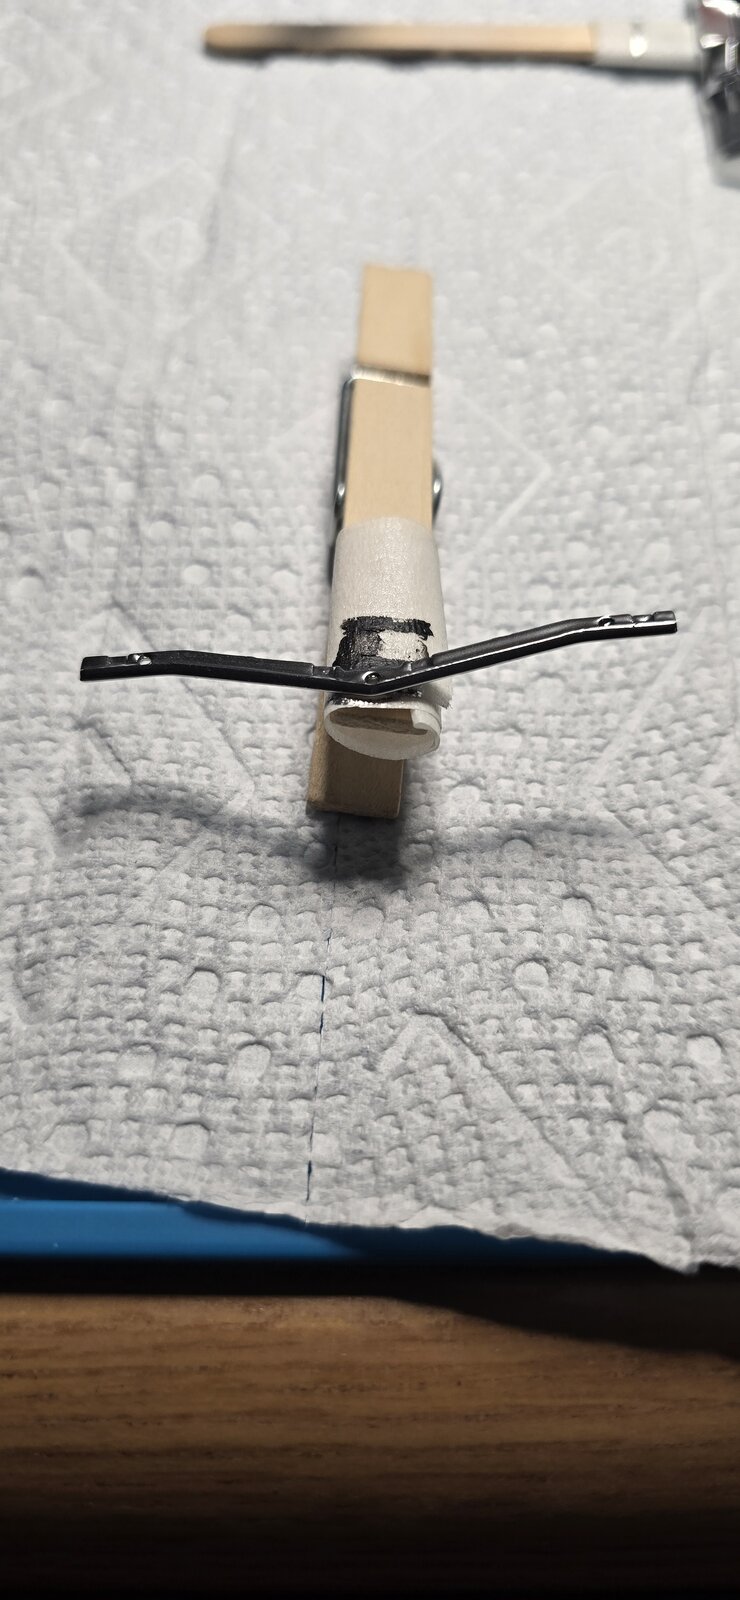
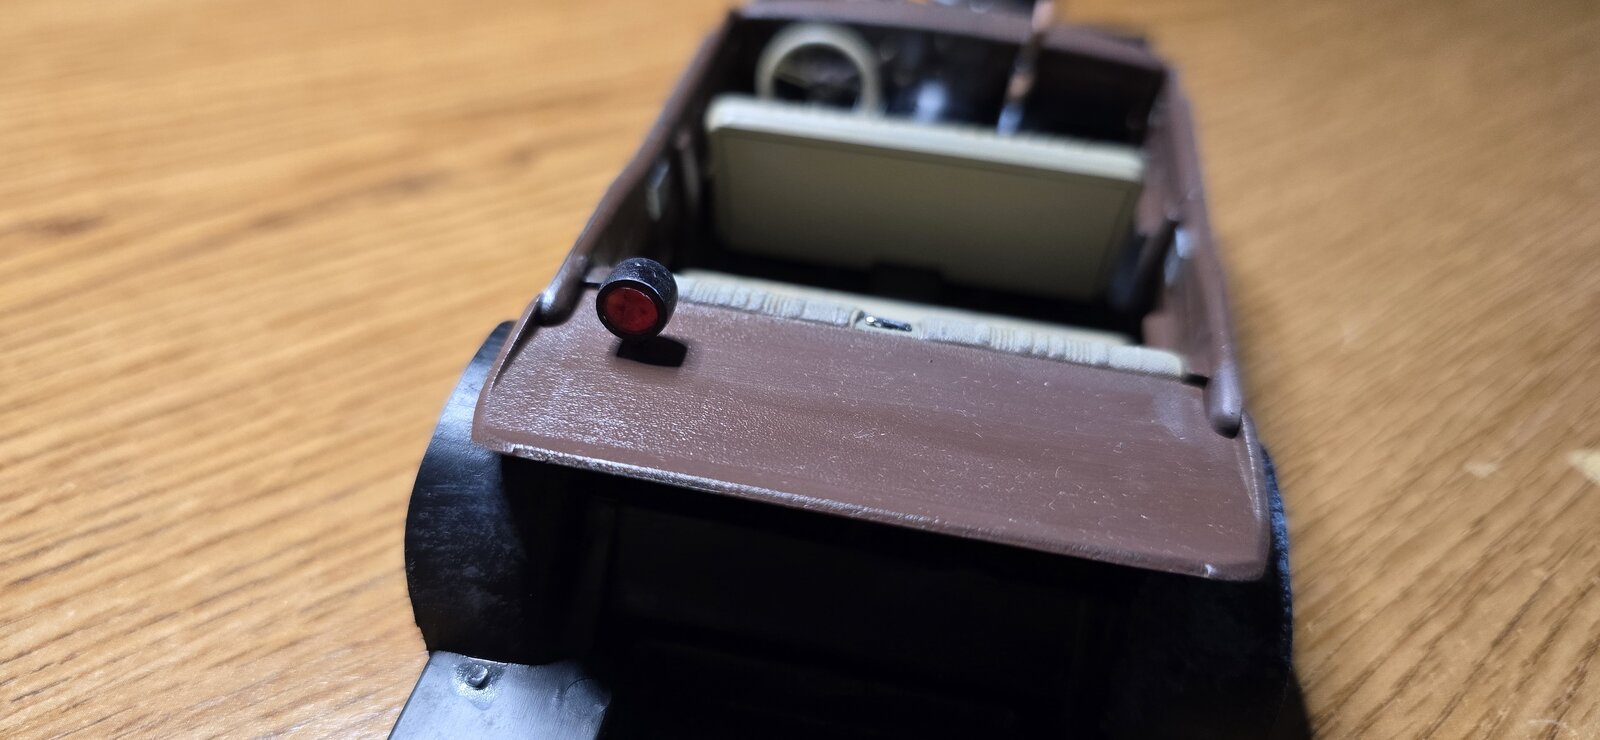
Lastly, decided to add a can light to the deck tray, giving it a bit more "presence".

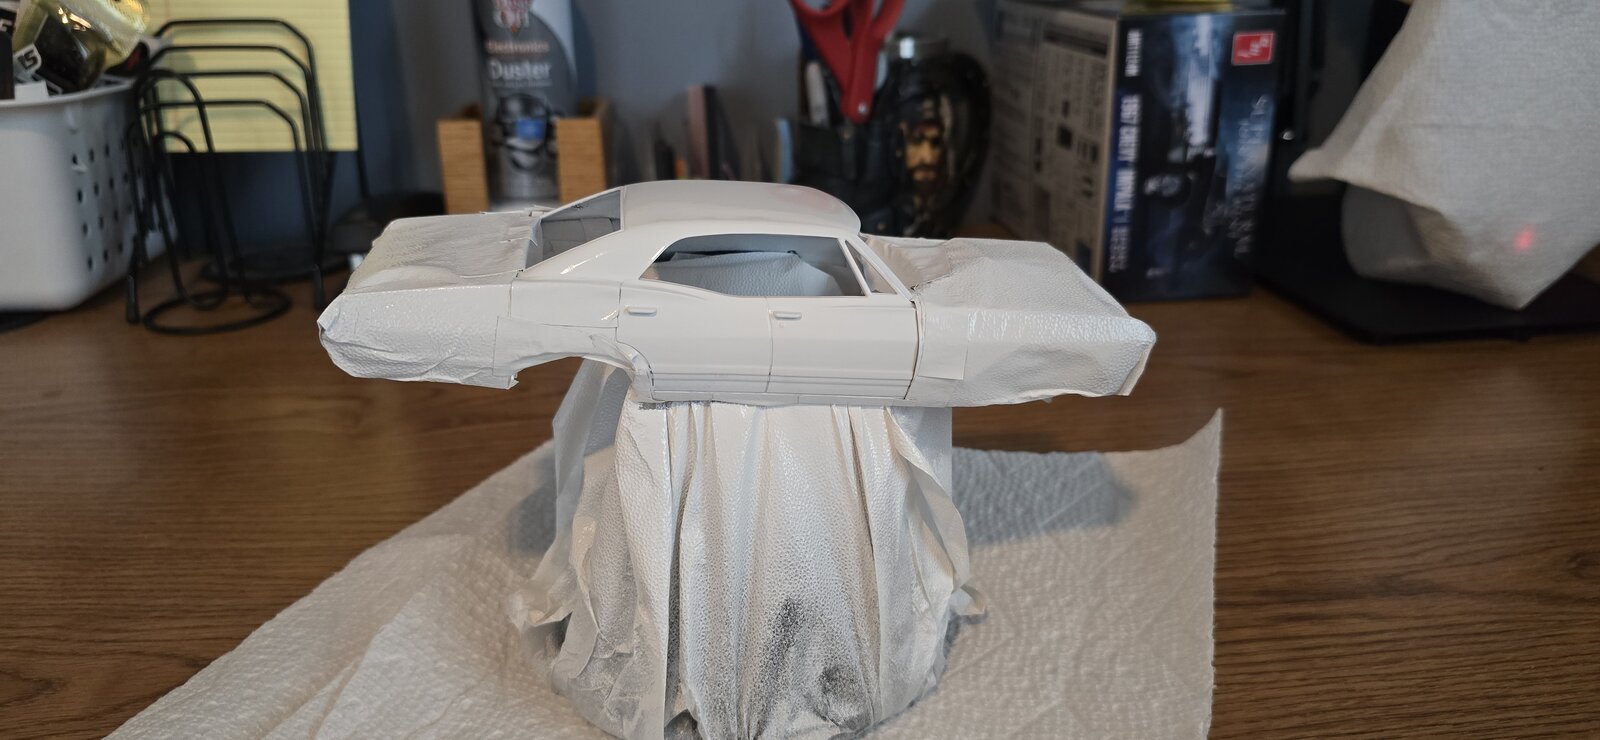
I'll let the white cure a few days and then start the masking painting process for the black.
20251028_084943.jpg

20251028_084955.jpg

20251028_085007.jpg

20251028_085245.jpg

20251028_104148.jpg
 
I tried bleach and brake cleaner to strip some chrome...had to resort to oven cleaner..that stuff works..
I bet, I tried Fantastic, then bleach (in various strengths, up to 100%) and nothing touched the chrome- I followed the advice of several other modelers and grabbed a couple of bottles of Super Clean, that stuff dissolved the chrome nicely, leaving the plastic fine. I was worried about harsher chemicals ruining the plastic and either warping or making it brittle. Never thought about oven cleaner- That stuff will stripe anything.. LOL-
I used to clean my old linoleum kitchen floors with Easy Off, removed years of dirt in seconds, also turned the house into "Disco Hut", (US Army's nickname for the tear gas room).
I don't think I have any of that stuff anymore, heck, with all the regulations and laws can you still get it at your local grocery store I wonder? I'll have to look, that's a good option for stripping, or ya' know, cleaning an oven. :D
 
You can get it..but best used in the garage....smells terrible.
Can't imagine cleaning my oven with it..wouldn't any of that near food..ever.
 
That is indeed a very good stroke of "luck" you've got there buddy. That grille turned out to be a small masterpiece by itself. I've had nothing but good luck with Model Car Garage's upgrade items as well. Stuff is pure magic.

You're progressing well on this car.
 
That is indeed a very good stroke of "luck" you've got there buddy. That grille turned out to be a small masterpiece by itself. I've had nothing but good luck with Model Car Garage's upgrade items as well. Stuff is pure magic.

You're progressing well on this car.
Thank you!
Glad to hear you're a fan of MCG's stuff too. Ive been very impressed woth their stuff, especially their grilles, they're amazingly realistic and really bring something to a model.
 
Made a little headway.
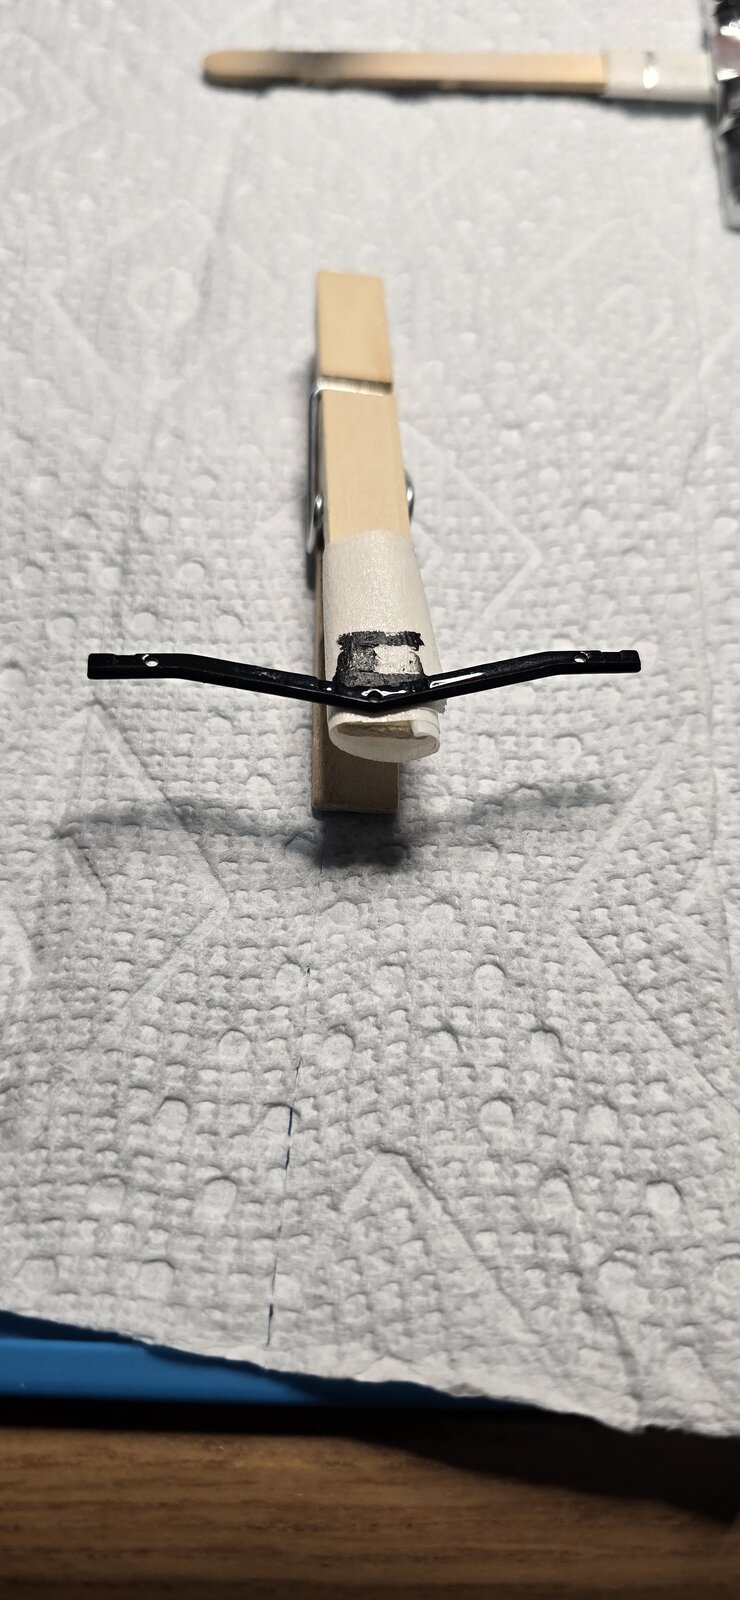
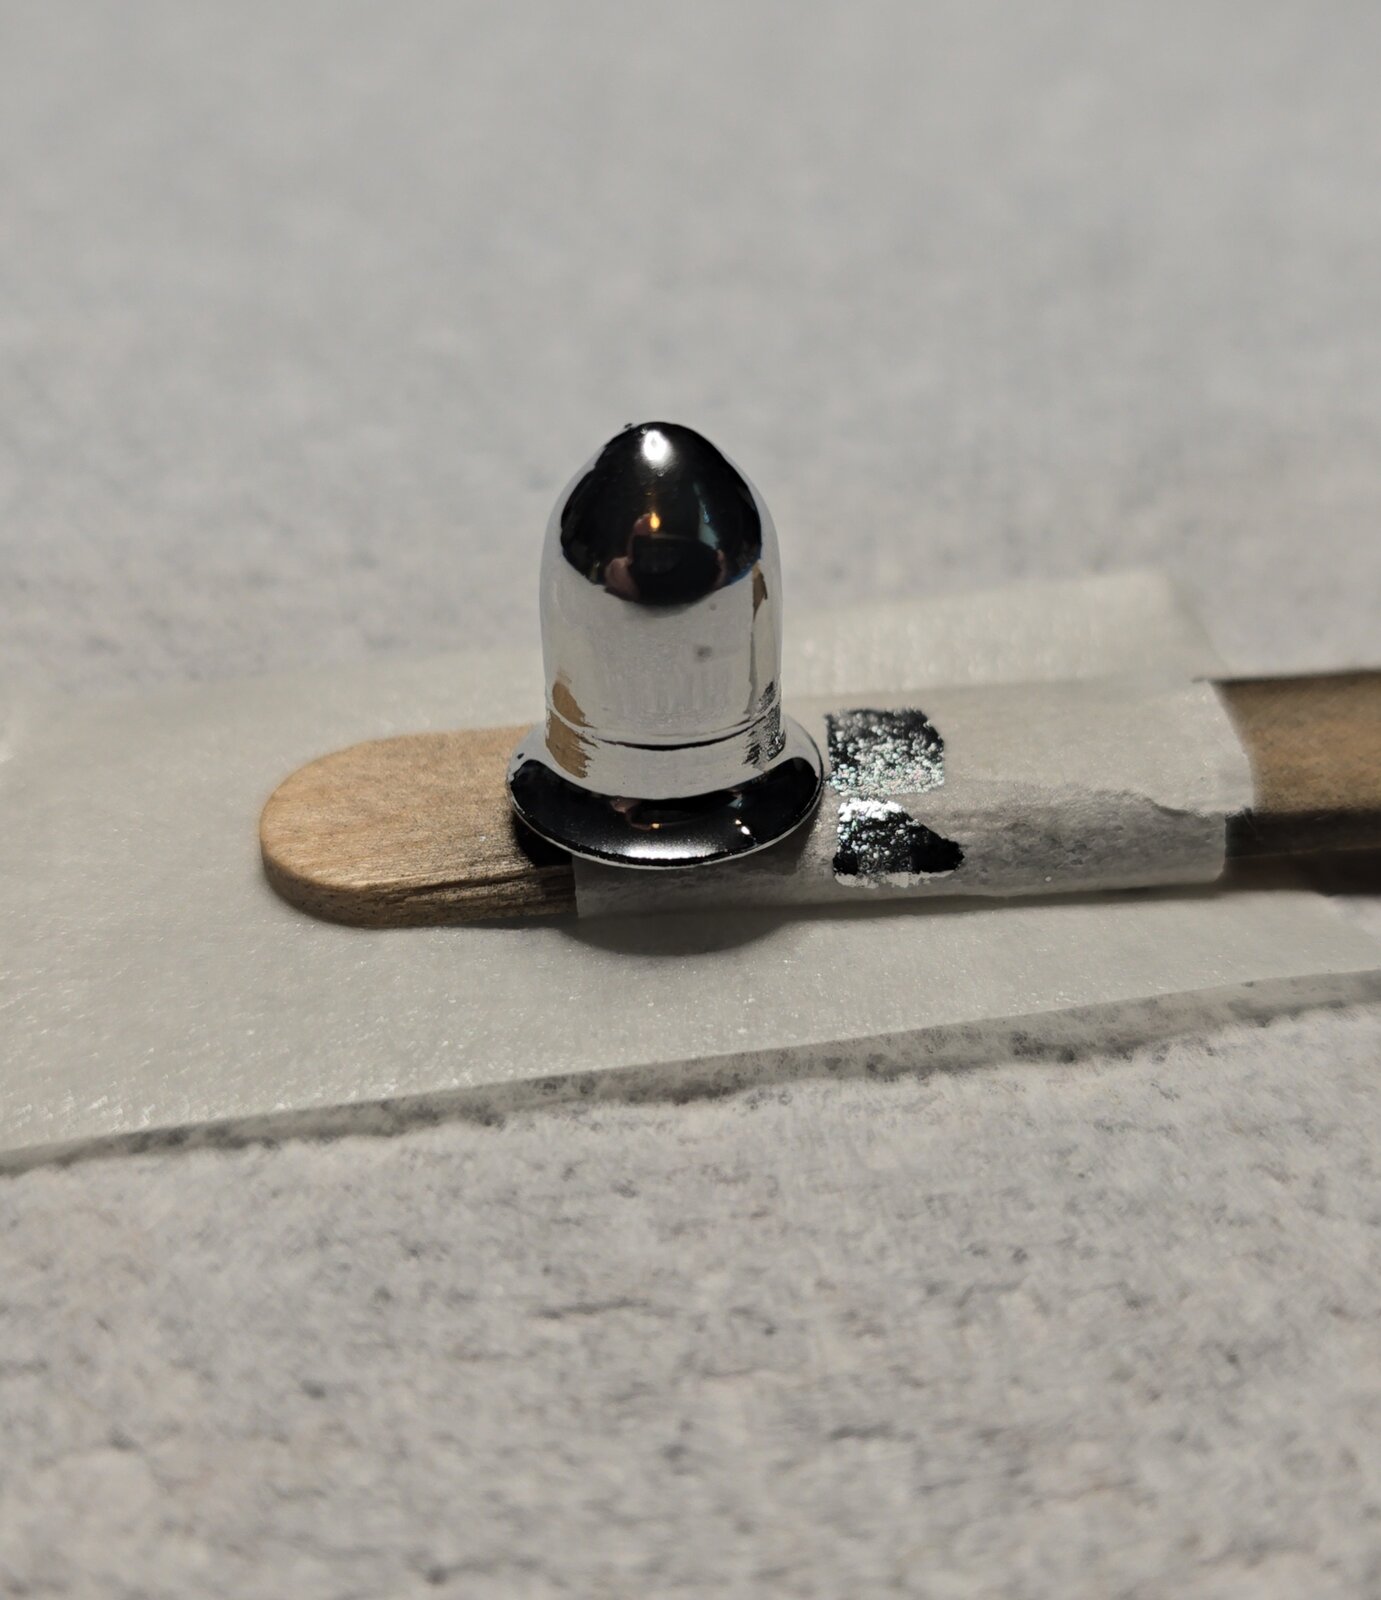
My nephew printed up a couple of old school can lights and siren bell for the roof. Pretty heavy layer lines. I did a scuff sanding on the bell and hit it with (you guessed it) FusionFirm- Wow... Covered the layer lines no problem. Now just have to wait 3 days to paint the inside. LOL

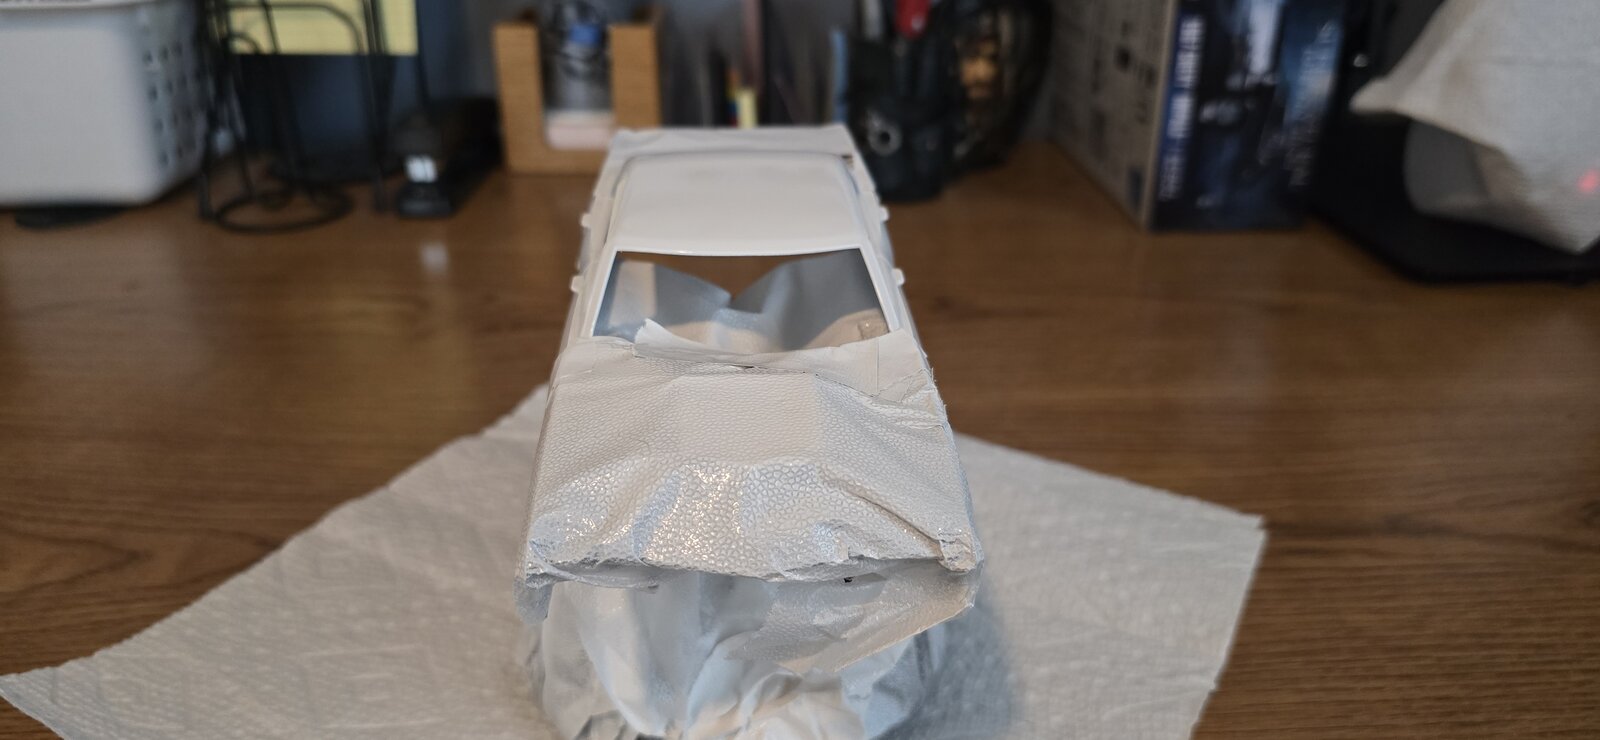
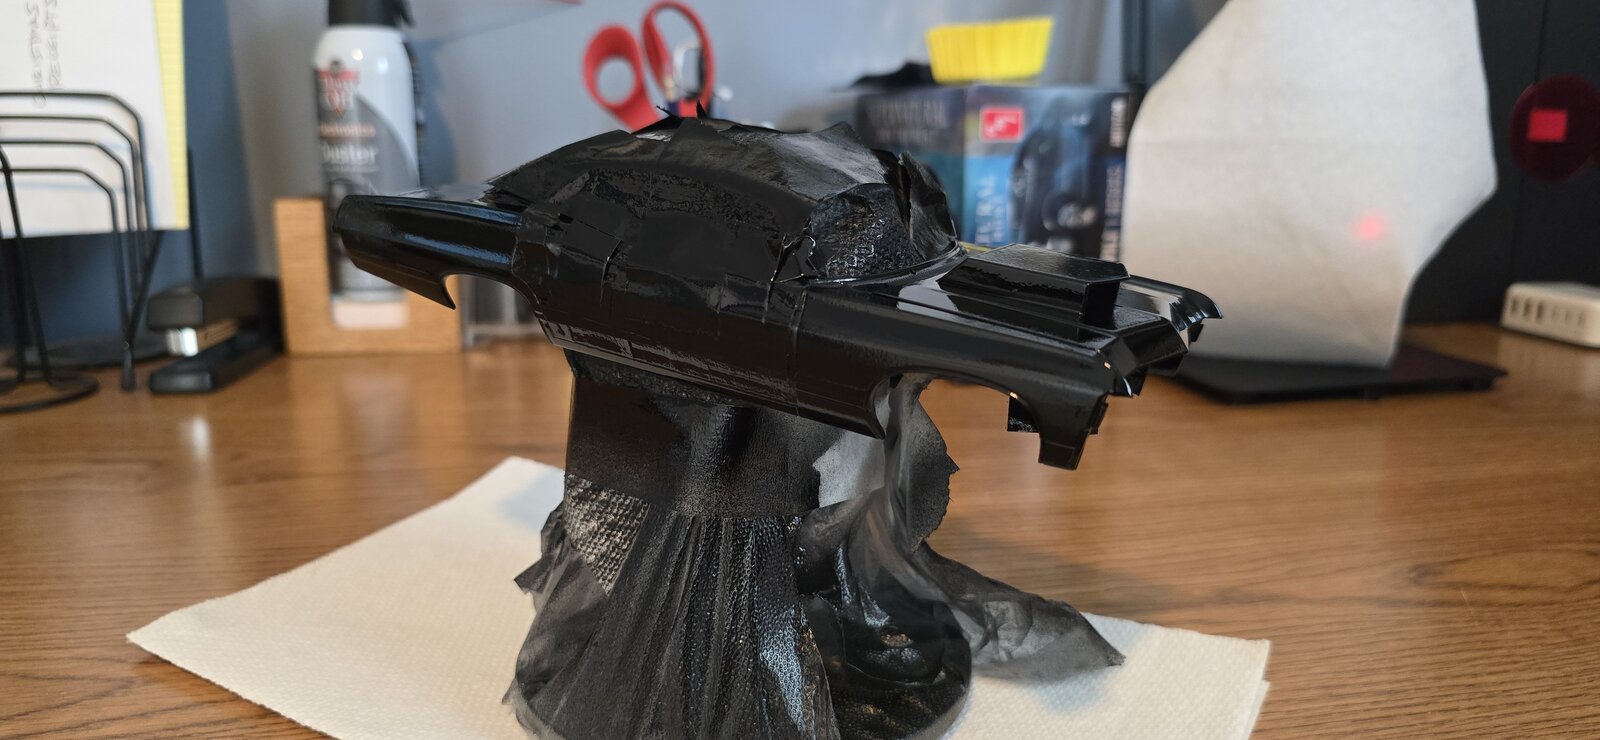
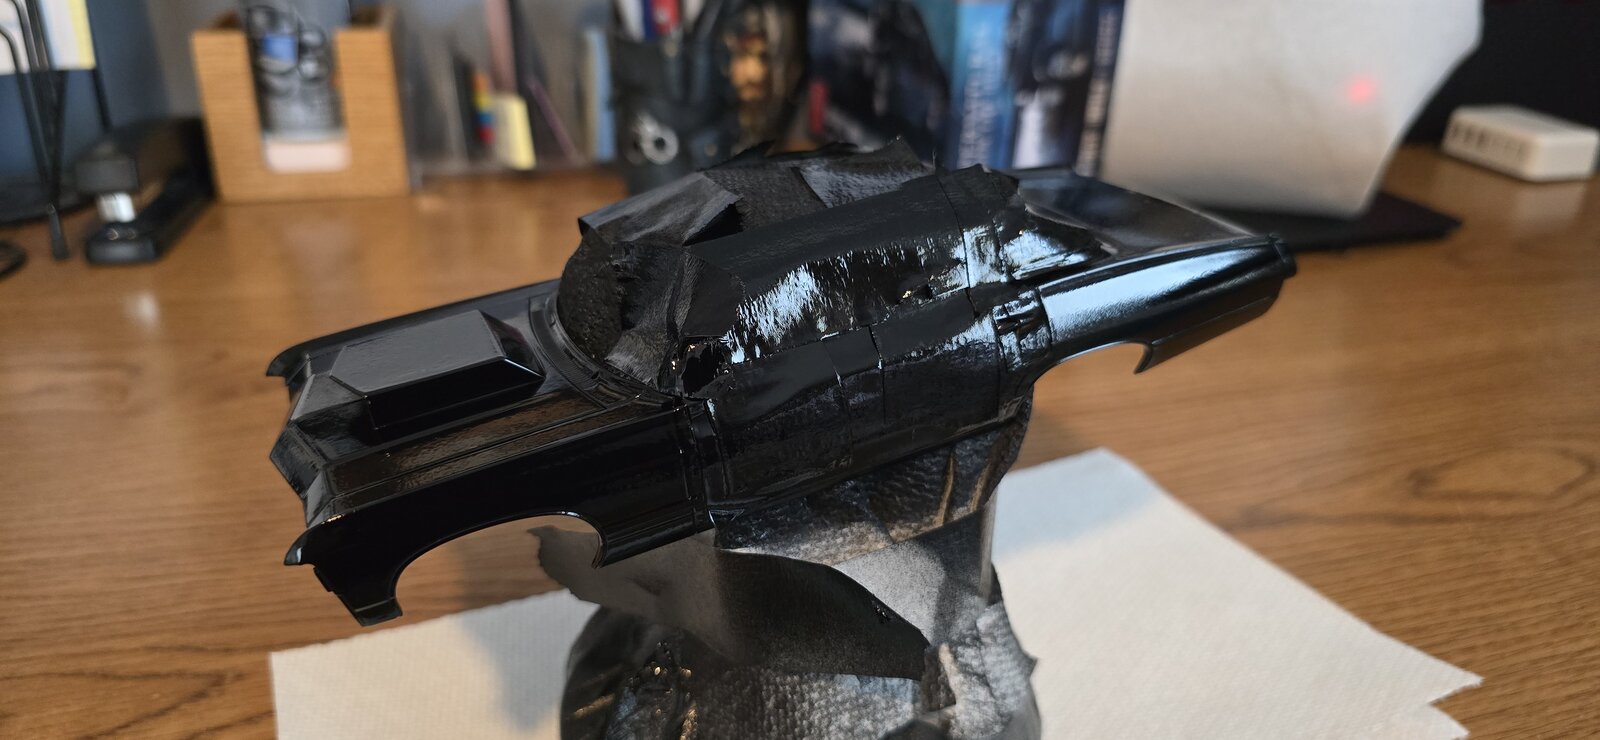
Masked off, trying a suggestion from one of the many modeler videos I've watched and put a small bead of clear along the tape lines (hoping to prevent any paint creeping under the masking) and gave it a couple of coats of gloss black. I haven't had much luck with gloss black with my airbrush, so I reverted back to Rustoleum rattle can.
Went great until the 3rd coat and something came out of the nozzle and "splorched" across the trunk. I'm hoping after the paint is cooked off I put enough down to sand it off. I'll let it sit for a few days and see how it goes. I am planning on sanding this and clearing it, so we'll see how it goes.
19bded71-4e23-4b89-a351-1b58d572ffc7.jpg
20251102_110418.jpg
20251102_110431.jpg
 

Latest posts

Back
Top