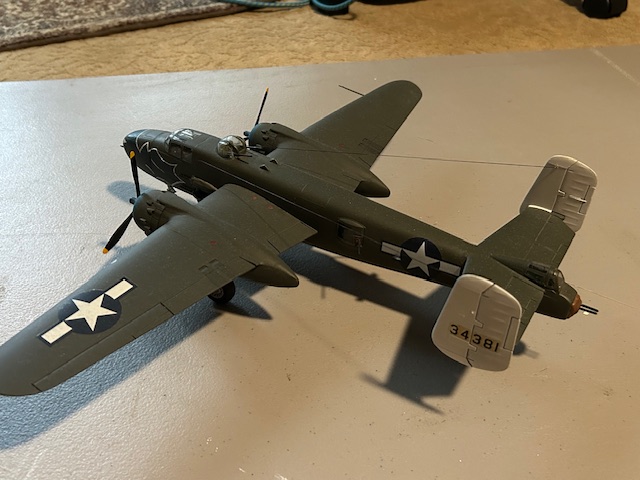
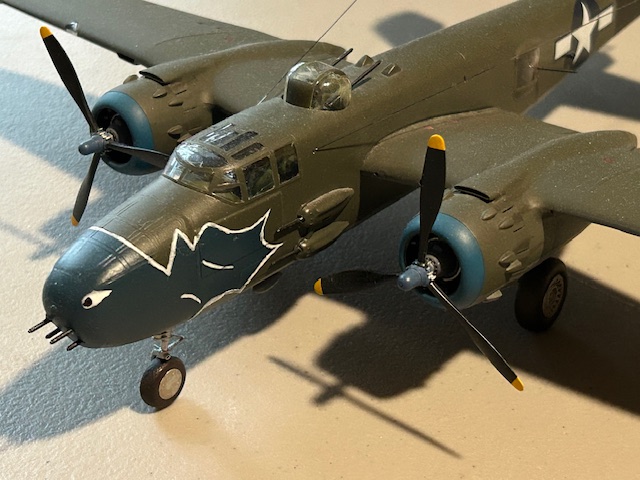
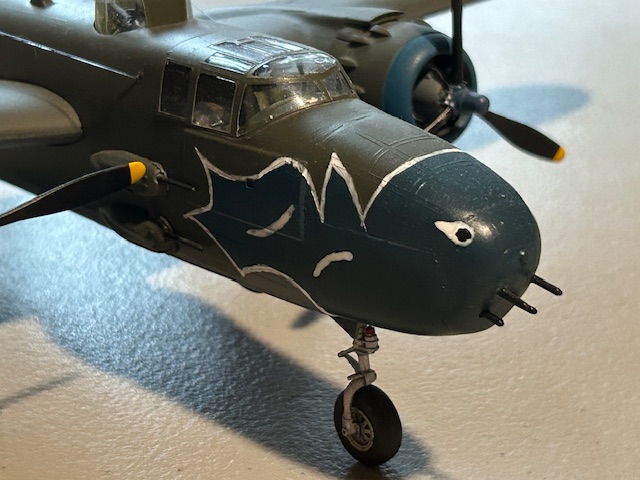
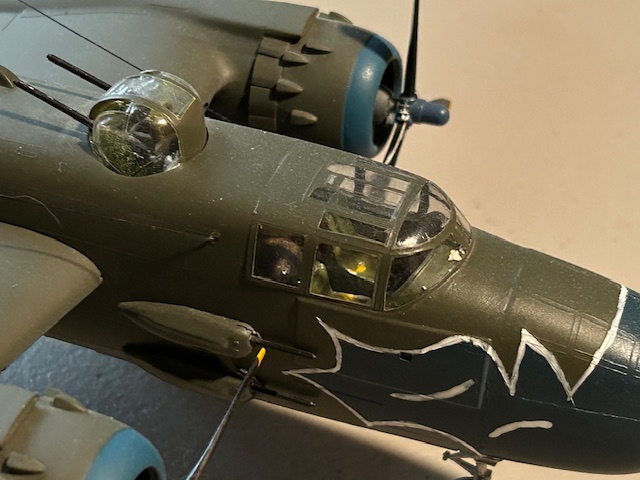
B25 finished photos

Scale Model Addict - Model Tips, Guides, Tools & Tech, Tutorials, and Community

Help Support Scale Model Addict:

Rockin' Rob

Well-Known Member
Bronze Member
Joined
Apr 29, 2024
Messages
1,574
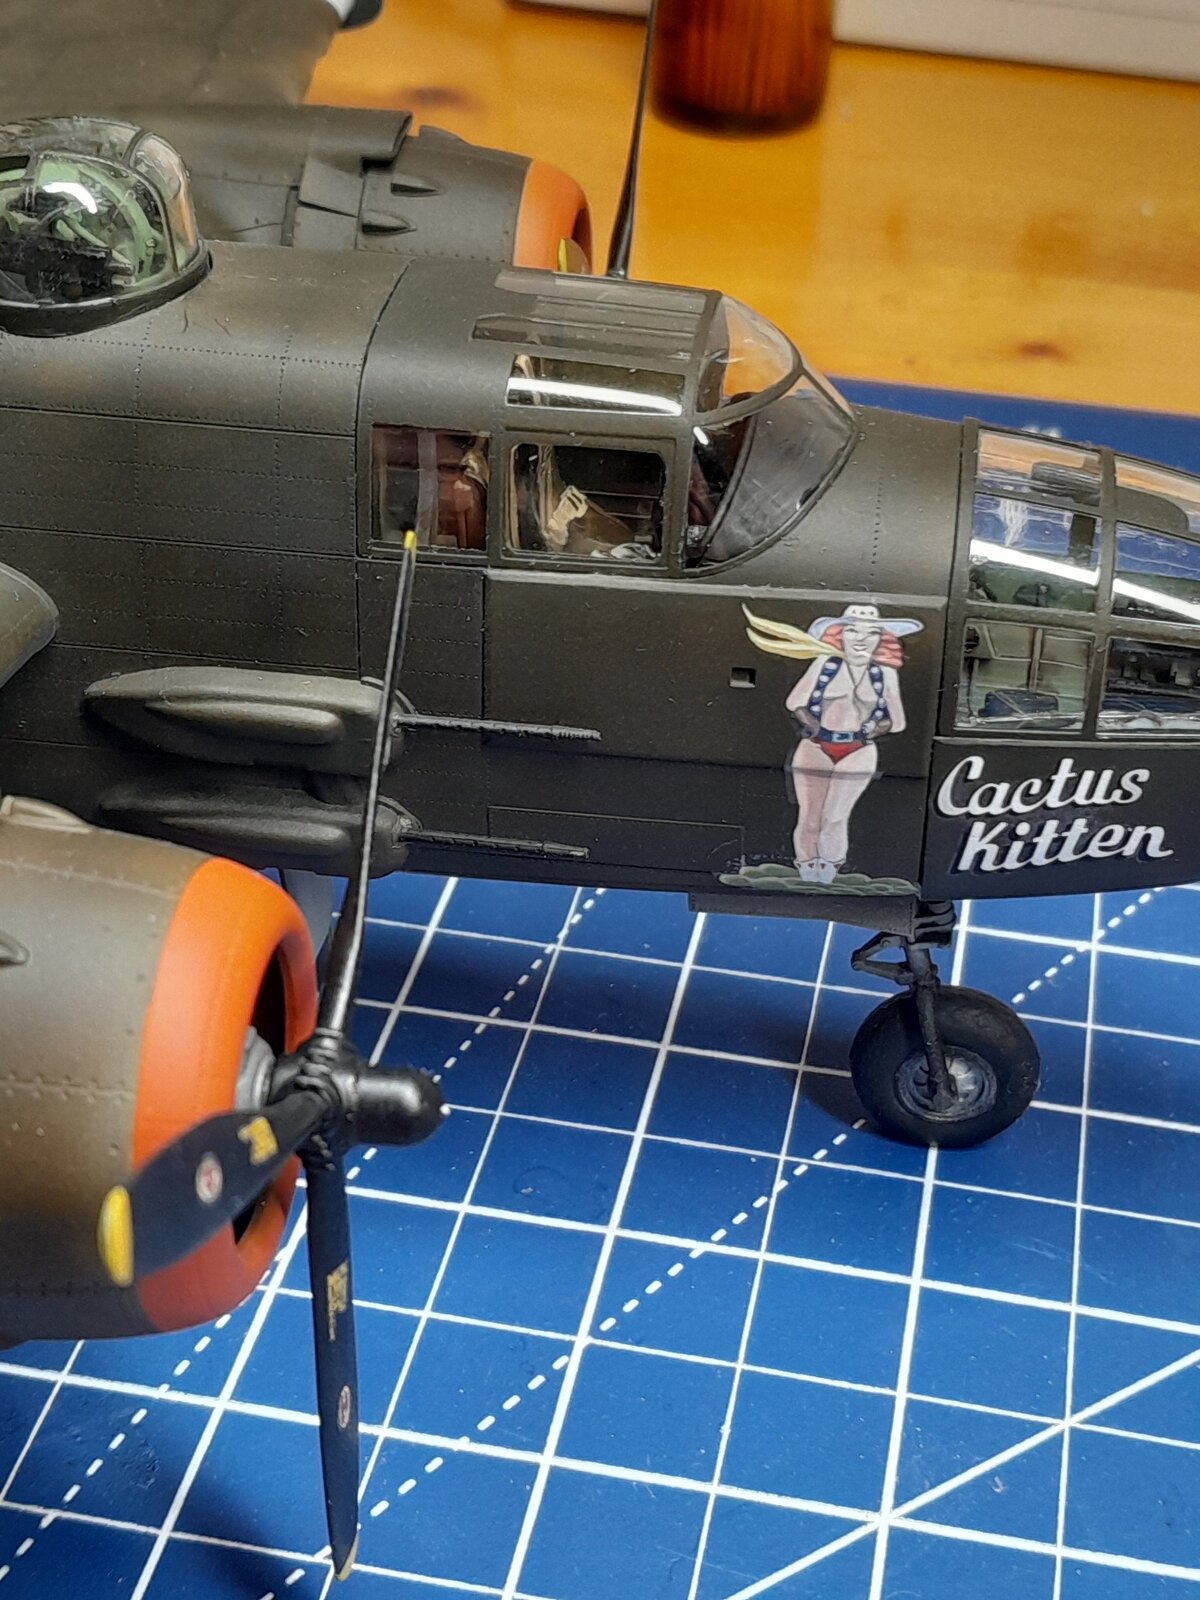
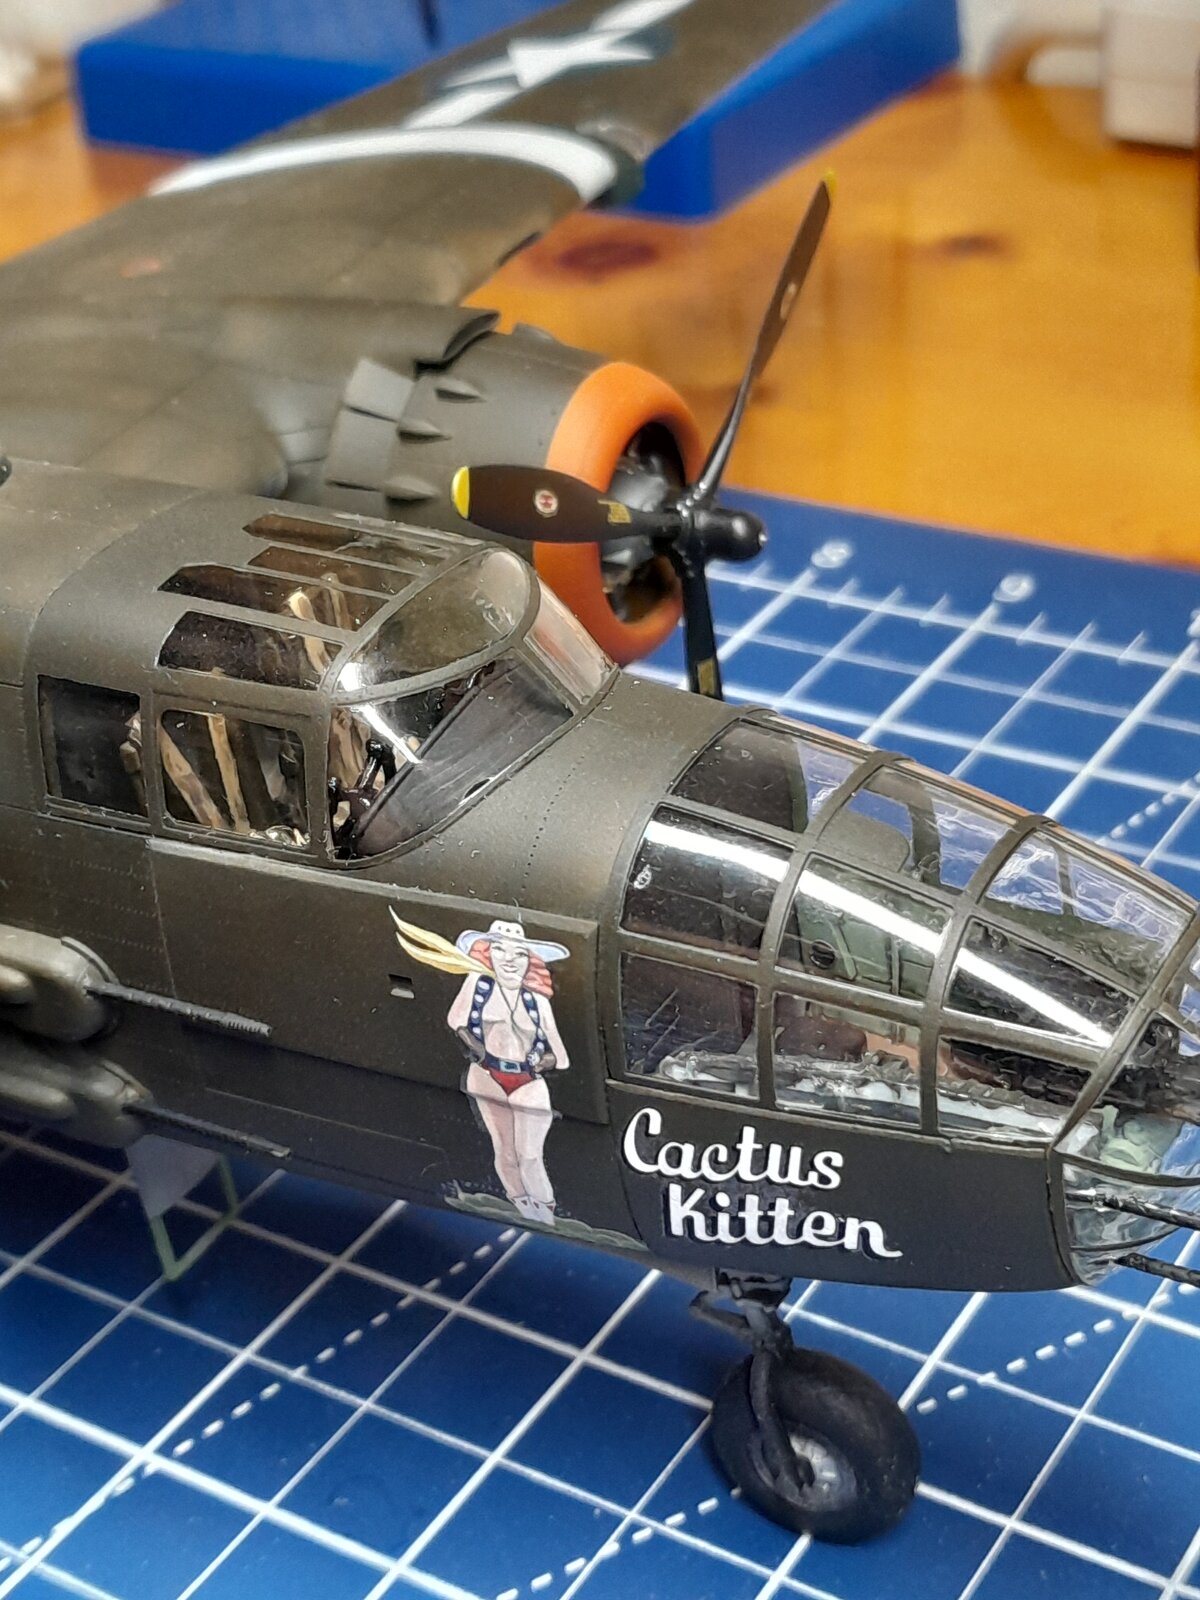
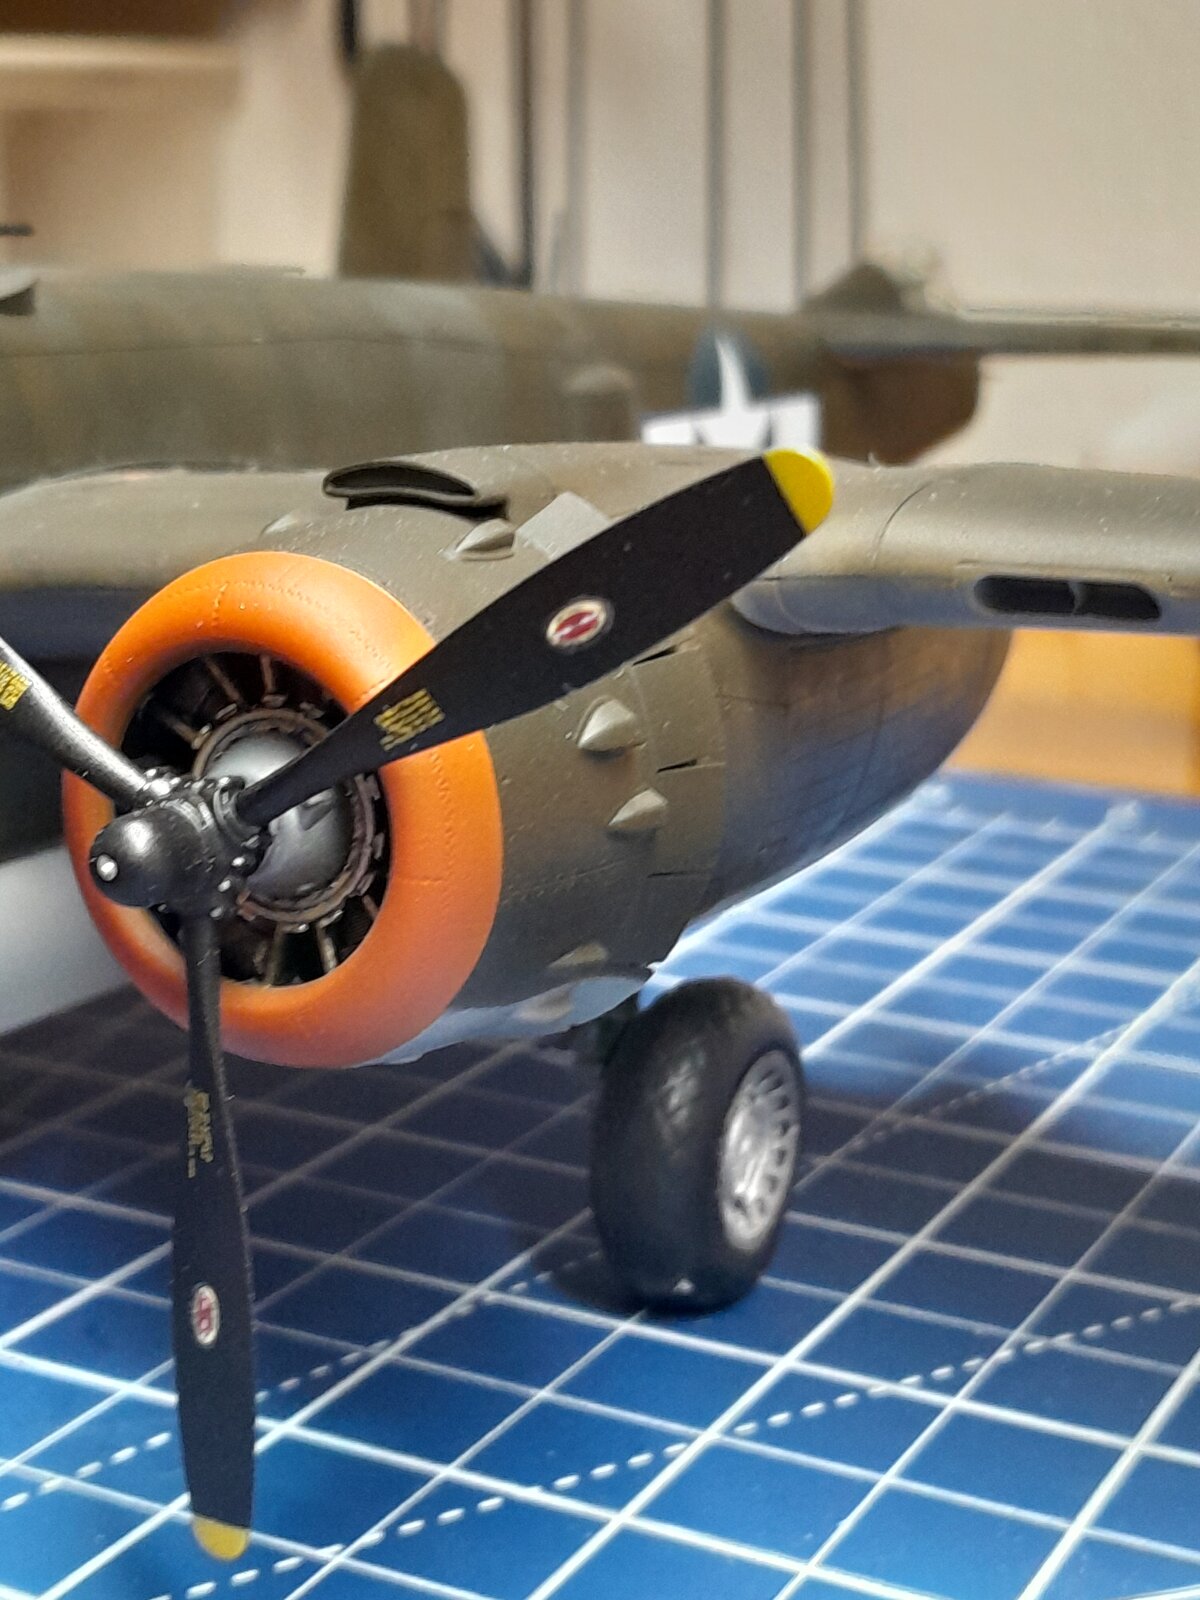
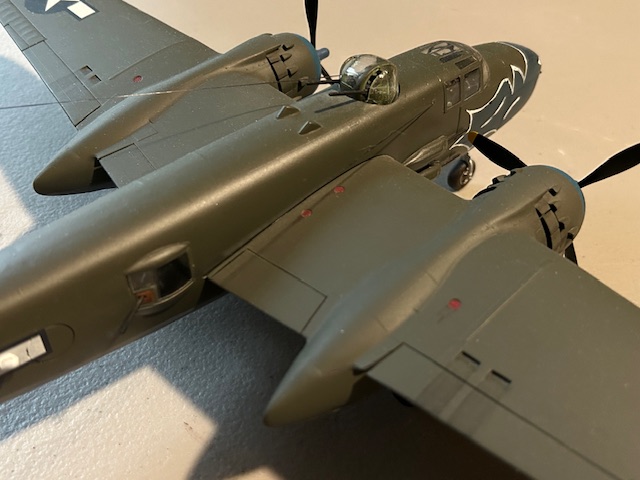
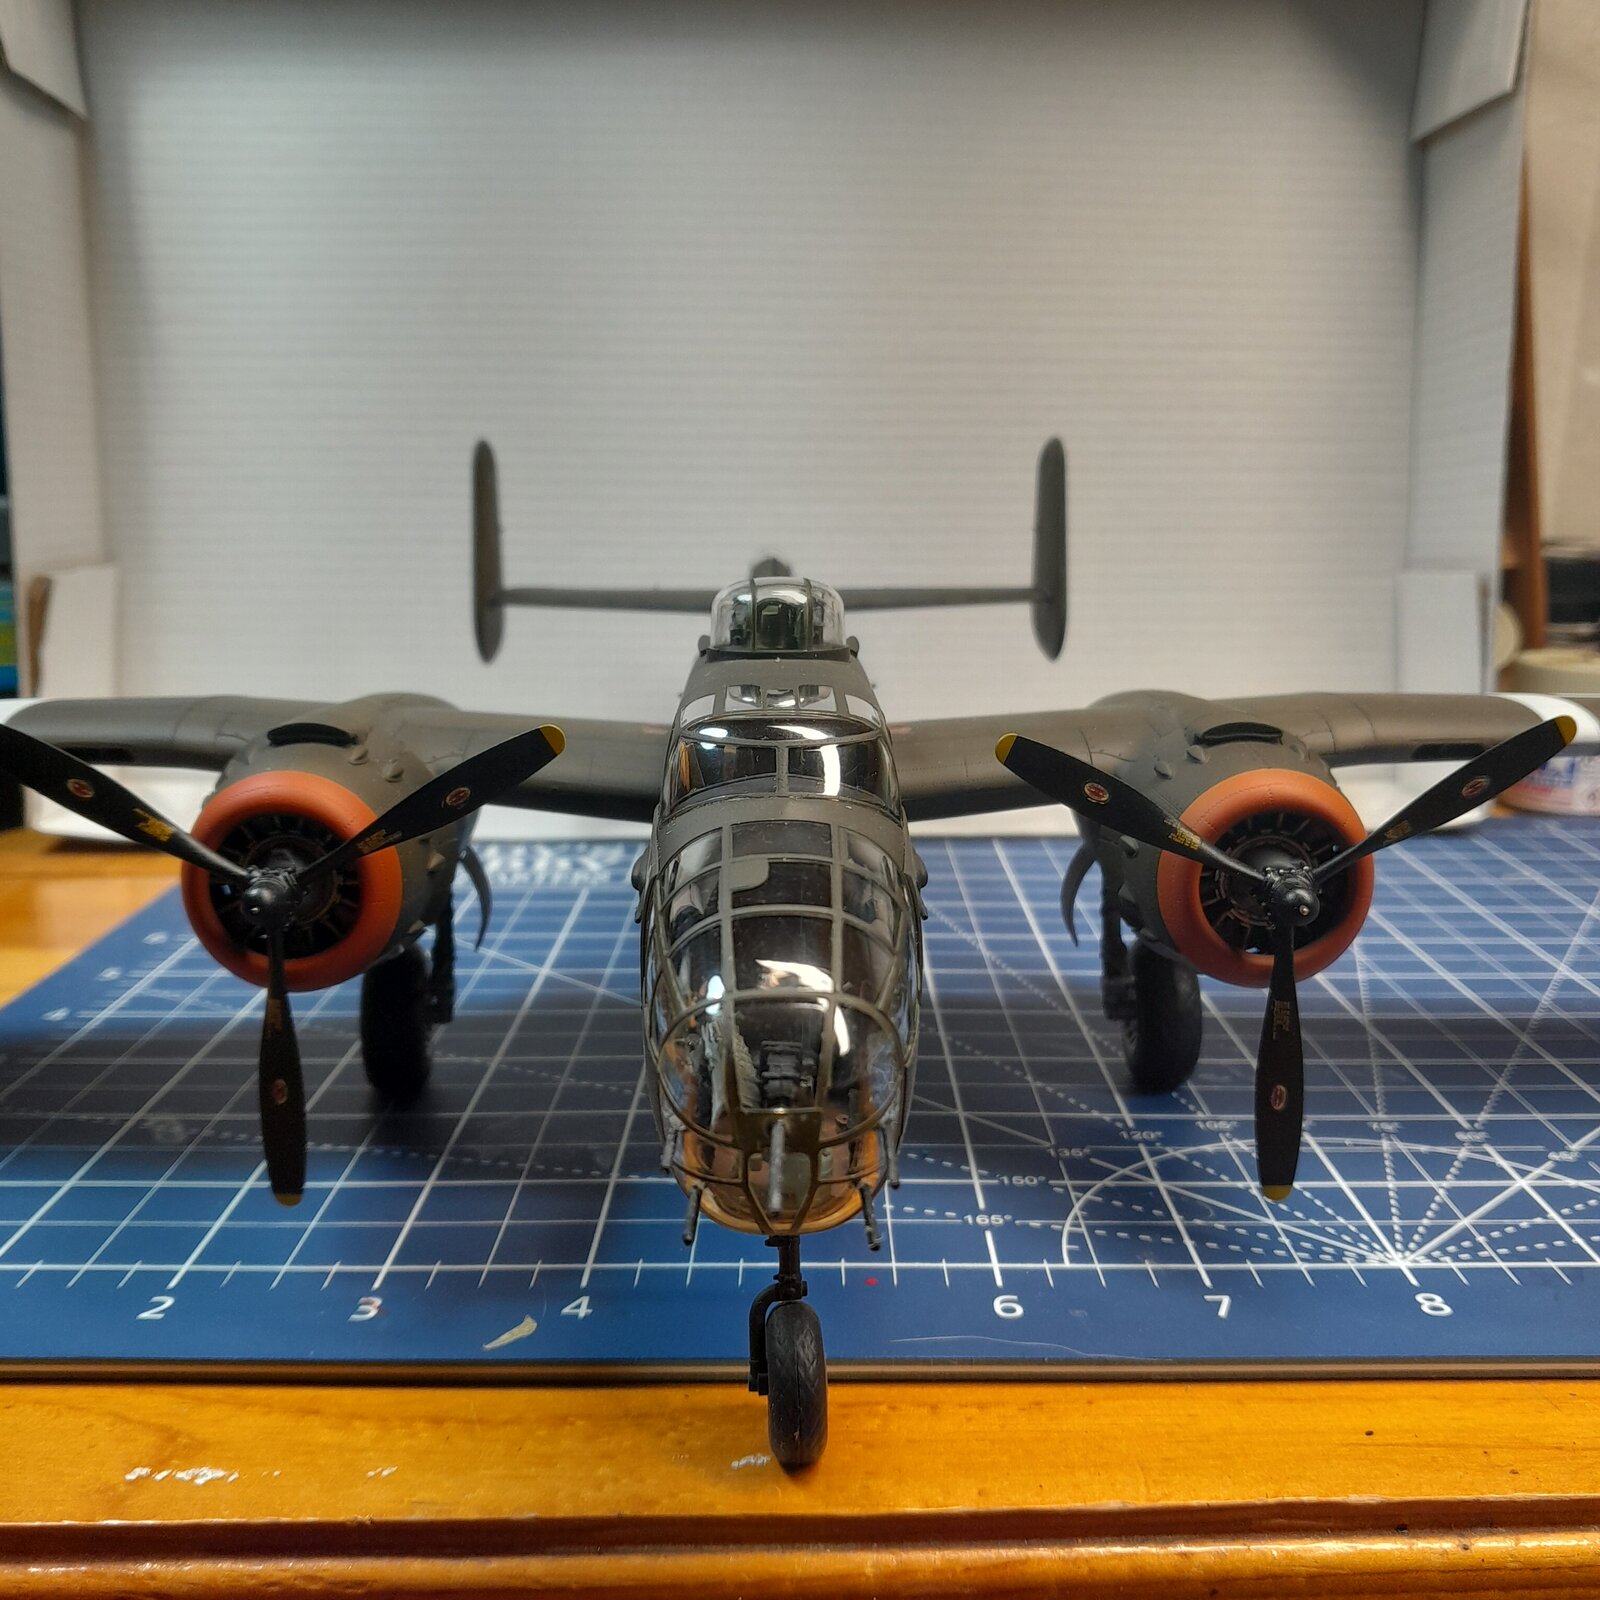
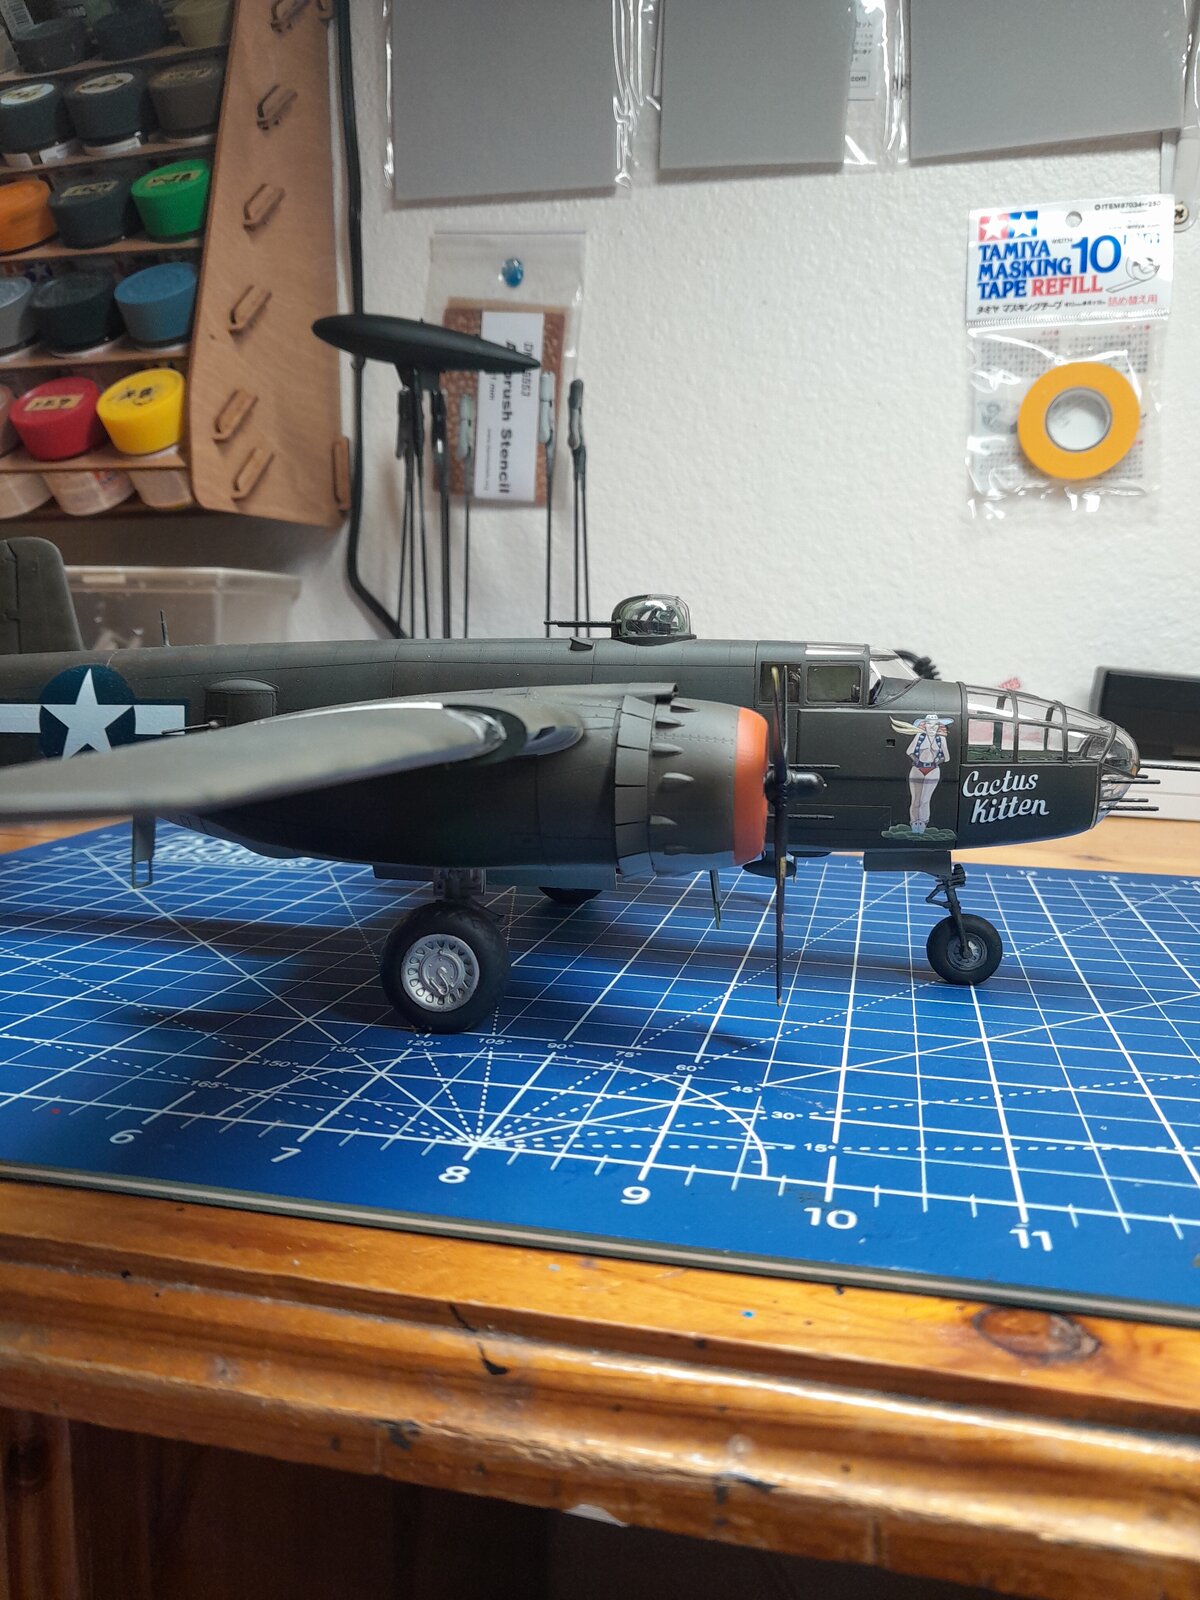
A little Dusty. It was windy yesterday a little. And I didn't put on the antenna wires because I didn't want to use fishing line because I heard you guys use something else that's kind of stretchy? And made for this?
20250727_172826.jpg


20250730_124843.jpg


20250730_124905.jpg


20250730_124937.jpg


20250730_124953.jpg


20250730_125117.jpg
 
As an Amazon Associate we earn from qualifying purchases. Product prices and availability are accurate as of the date/time indicated and are subject to change.
That's a build to be proud of! I hope you have a prominent place to display it.
Thank you. I actually think that's my best model yet. And there's no weathering. The canopies came out so good I just said no way I don't want to dirty it up. This plane's going to be fresh off the assembly line
 
Beautiful aircraft build!! I've always been a fan of "heavy nosed" B-25s! Think of the weight and balance problems of having up to 12 .50 calibre guns forward of the wing and a upper turret with 2 more 50s up there! NOW add the huge amount of ammunition and there's some serious balance issues as well as "kick" when all are fired. Has anybody done a B-25H model with the 75 mm cannon recently? I think Revell made one and am not sure if Accurate Miniatures has.
Rob, what was your final finish coat? It looks like a Satin versus a flat finish. Just curious.
Again, a great looking model!!
 
Has anybody done a B-25H model with the 75 mm cannon recently? I think Revell made one and am not sure if Accurate Miniatures has.
I built the AM version of the gun nosed Mitchell recently. No provision for the 75mm in that kit. I'd also add that the AM kit is terrible in comparison to the HKM, Robs work here has me salivating to try one from that company.
 
Beautiful aircraft build!! I've always been a fan of "heavy nosed" B-25s! Think of the weight and balance problems of having up to 12 .50 calibre guns forward of the wing and a upper turret with 2 more 50s up there! NOW add the huge amount of ammunition and there's some serious balance issues as well as "kick" when all are fired. Has anybody done a B-25H model with the 75 mm cannon recently? I think Revell made one and am not sure if Accurate Miniatures has.
Rob, what was your final finish coat? It looks like a Satin versus a flat finish. Just curious.
Again, a great looking model!!
Thanks for the kind words. Believe it or not that's just ts80 out of a spray can. Flat. I tried using the airbrush for clear but for a big model I think it's a waste of time. Not when I can give it a spritz out of a spray can wait a minute and then give it a good coat and I'm done.
 
HI Rob AN yes ive got to say what a fantastic build you have done looks real pity no crew members an the glass looks great as well did you have gloves on when handlein an fittin the glass parts WOW what a model i like very much
chrisb
 
HI Rob AN yes ive got to say what a fantastic build you have done looks real pity no crew members an the glass looks great as well did you have gloves on when handlein an fittin the glass parts WOW what a model i like very much
chrisb
Actually, no kid gloves were used. What I did was clean the canopy I think with alcohol and then I put on the masks and clean them again and then glued it to the airframe and painted and clear coated and then took off the tape when everything was done and I didn't touch it after that. Not to clean it or nothing
 
A little Dusty. It was windy yesterday a little. And I didn't put on the antenna wires because I didn't want to use fishing line because I heard you guys use something else that's kind of stretchy? And made for this?
View attachment 154561

View attachment 154562

View attachment 154563

View attachment 154564

View attachment 154565

View attachment 154566
Great job!
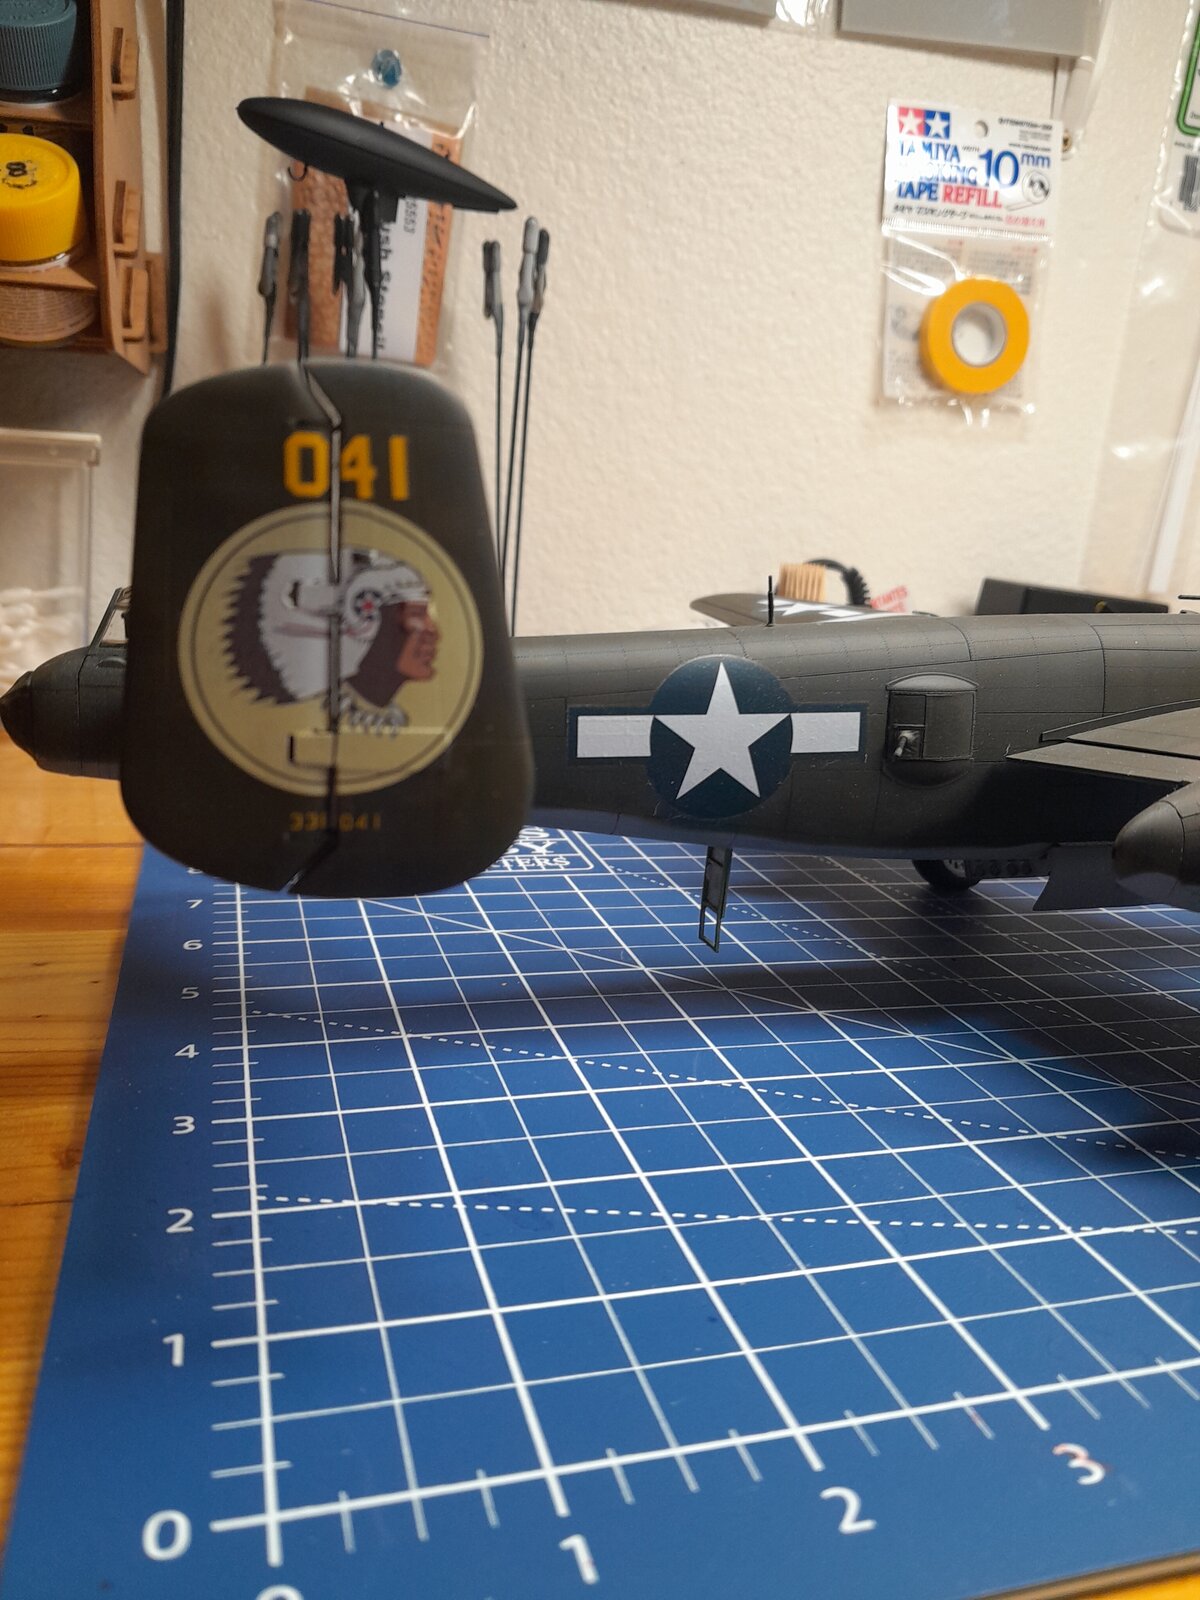
That is a really big decal on the starboard rudder. It looks perfect! There are a lot of things sticking outDid it cause you any grief
 
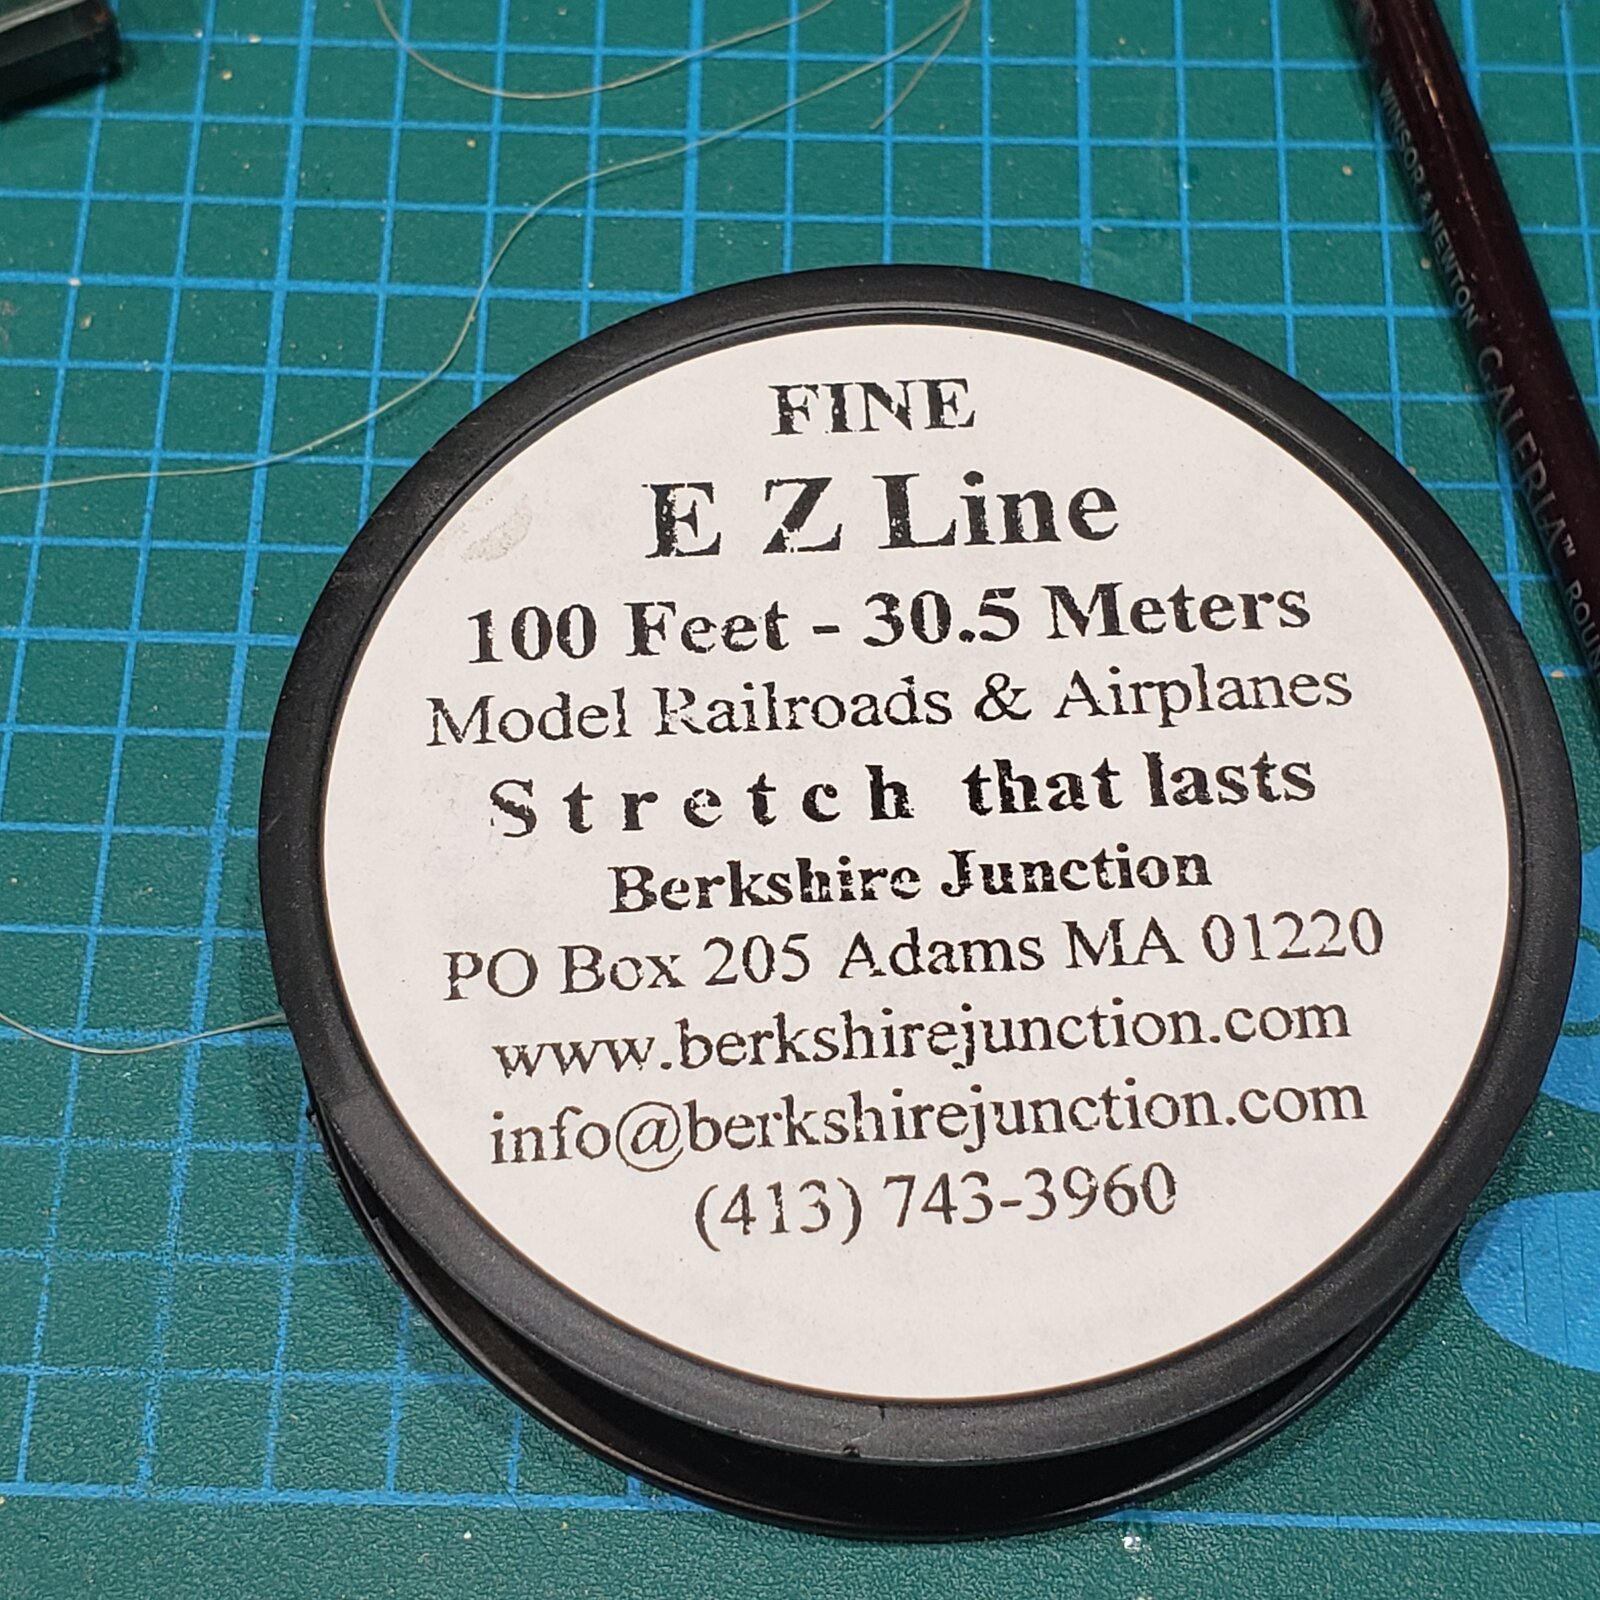
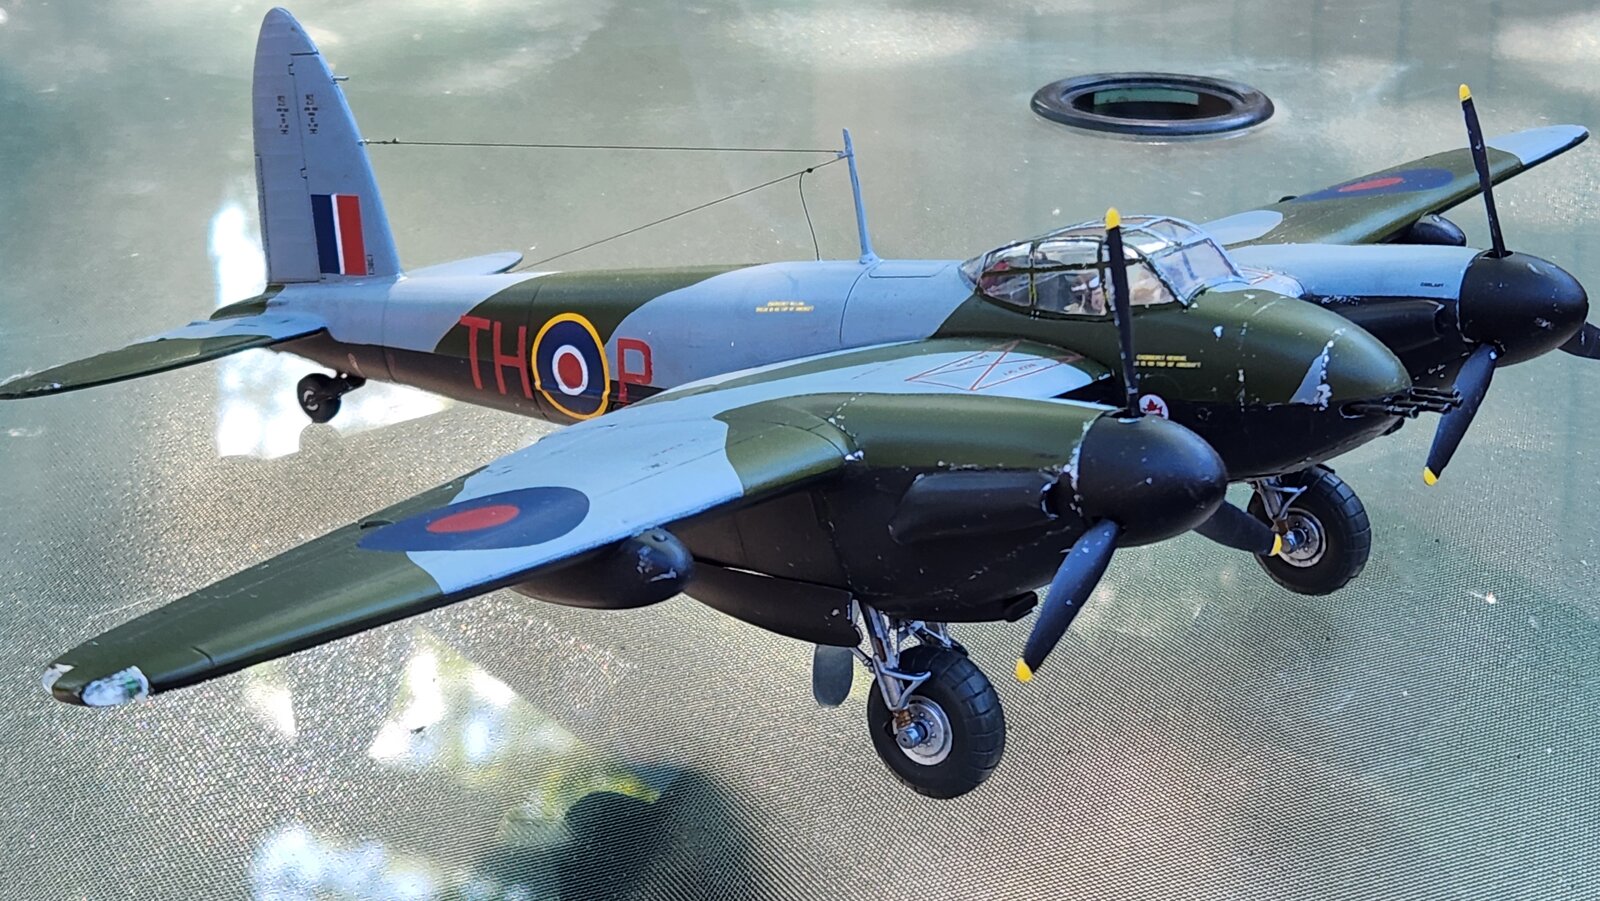
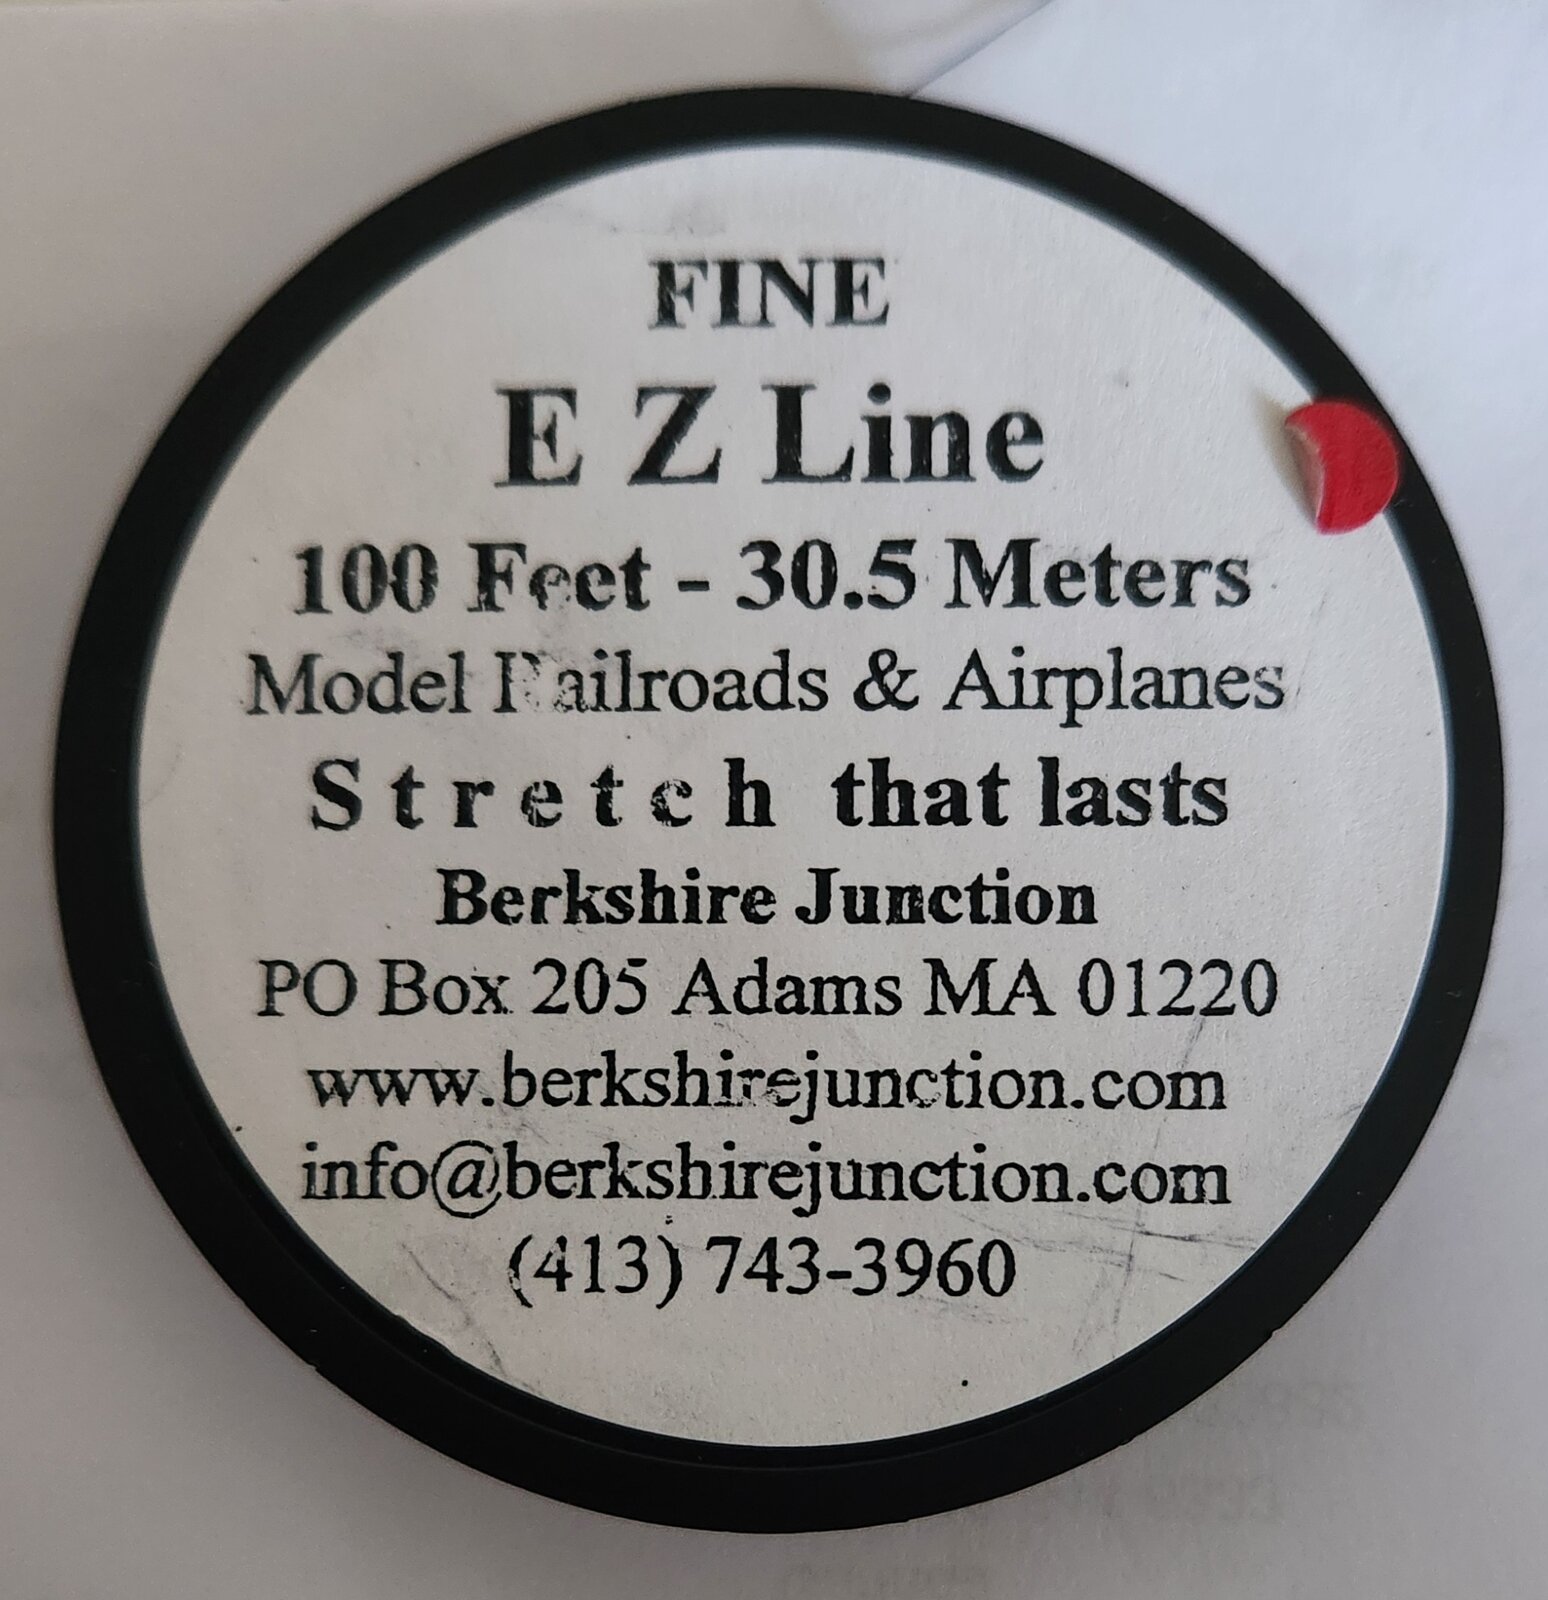
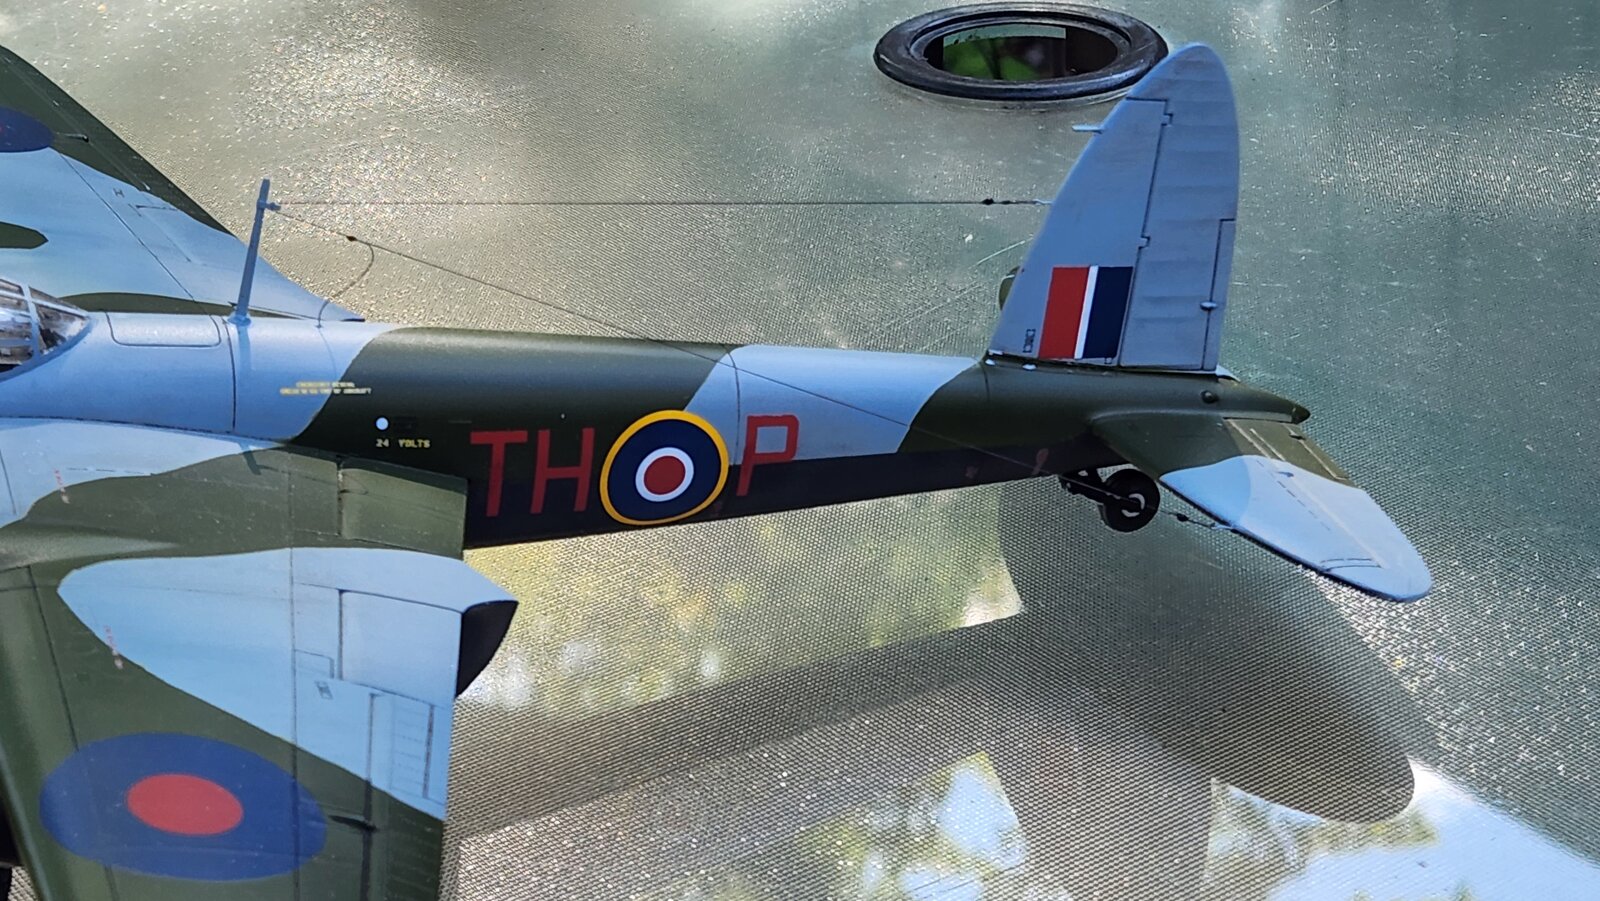
Just jumping back to the antenna wires. I used the Fine EZ Line on my recent 1/48 Mosquito. I think it turned out well. Below are some photos that you can use to see it it is something you might want to try out.
I also used some 5 Minute Epoxy to make the insulators on the antenna. I think the epoxy was okay, but I am very open to anyone else that might have a better technique for making the tiny insulators that were placed on the ends of the antenna wires.
20250801_105804.jpg
20250801_110208.jpg
20250801_105624.jpg
 
Great job!
That is a really big decal on the starboard rudder. It looks perfect! There are a lot of things sticking outDid it cause you any grief
Thanks. A little bit of grief. Mainly the machine gun barrels. There's a lot of them poking out. The two sticking out the ass end are just two pieces of wire painted black the original ones heck I don't know where they are
 
Just jumping back to the antenna wires. I used the Fine EZ Line on my recent 1/48 Mosquito. I think it turned out well. Below are some photos that you can use to see it it is something you might want to try out.
I also used some 5 Minute Epoxy to make the insulators on the antenna. I think the epoxy was okay, but I am very open to anyone else that might have a better technique for making the tiny insulators that were placed on the ends of the antenna wires.View attachment 154657View attachment 154658View attachment 154659
Nice looking plane. Yep. Berkshire Junction. I got to get some. Also I have to learn how to do antenna. I've actually never had to put one on or I probably just said nope the hell with it. But I guess the more you get into this stuff the more you want it to look right
 
I think the epoxy was okay, but I am very open to anyone else that might have a better technique for making the tiny insulators that were placed on the ends of the antenna wires.
I've used medium viscosity CA with accelerator. Apply the accelerator to the wire where you want the insulator, or to the point on the fuselage or wing. Use a fine applicator for the one on the wire. You may have to build it up, which is why to use the accelerator. For insulators on the fuselage or wing: put a tiny drop of CA directly over the hole drilled for the wire. Apply accelerator to a spot on the wire a short distance from the end. Insert the wire through the CA until it reaches the accelerator treated spot. Pull back slightly and hold until the CA sets.
 
I've used medium viscosity CA with accelerator. Apply the accelerator to the wire where you want the insulator, or to the point on the fuselage or wing. Use a fine applicator for the one on the wire. You may have to build it up, which is why to use the accelerator. For insulators on the fuselage or wing: put a tiny drop of CA directly over the hole drilled for the wire. Apply accelerator to a spot on the wire a short distance from the end. Insert the wire through the CA until it reaches the accelerator treated spot. Pull back slightly and hold until the CA sets.
Great idea! I'll be giving that a try.
Any recommendations on a brand of the accelerator?
 
Great idea! I'll be giving that a try.
Any recommendations on a brand of the accelerator?
I use Mercury Adhesives™, both their CA and accelerator, though most accelerators will probably work. For wing/fuselage anchoring, you might want to practice on scrap. You can also apply the accelerator to the wire and let it run down to the CA so you don't have to worry about timing. That way you can get the wire and liquid CA exactly where you want them
 
I use Mercury Adhesives™, both their CA and accelerator, though most accelerators will probably work. For wing/fuselage anchoring, you might want to practice on scrap. You can also apply the accelerator to the wire and let it run down to the CA so you don't have to worry about timing. That way you can get the wire and liquid CA exactly where you want them
Thank you. Running the accelerator down the wire is a clever idea. I'm going to have to try that out.
 

Latest posts

Back
Top