
- Joined
- Apr 29, 2024
- Messages
- 1,579
Hey all. I had to stop building that Sherman tank with interior. I think it's enough said if I just say I was starting to get cranky. I need to build an airplane so.. here you go
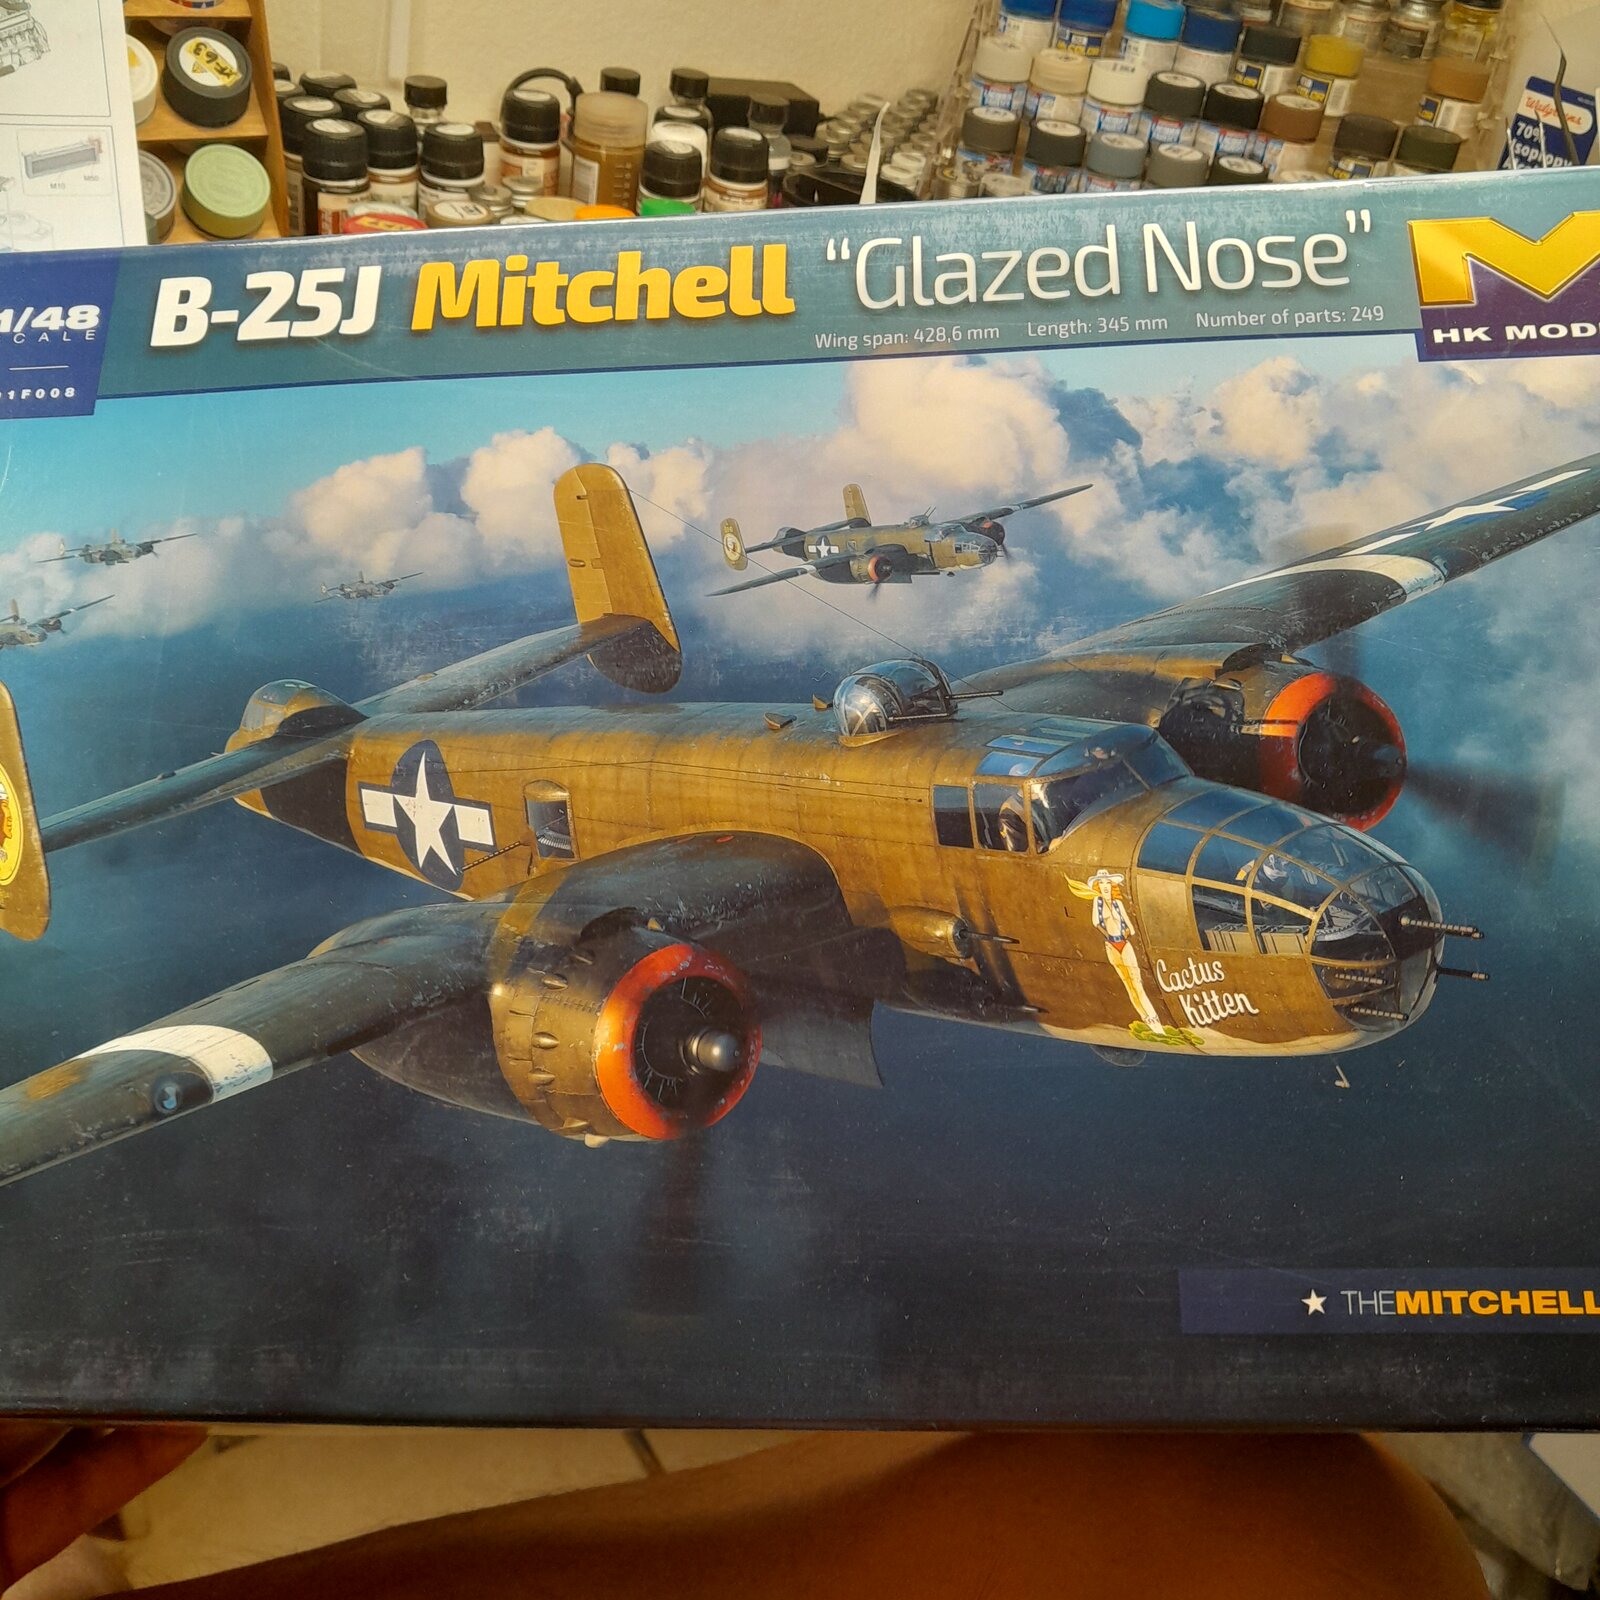
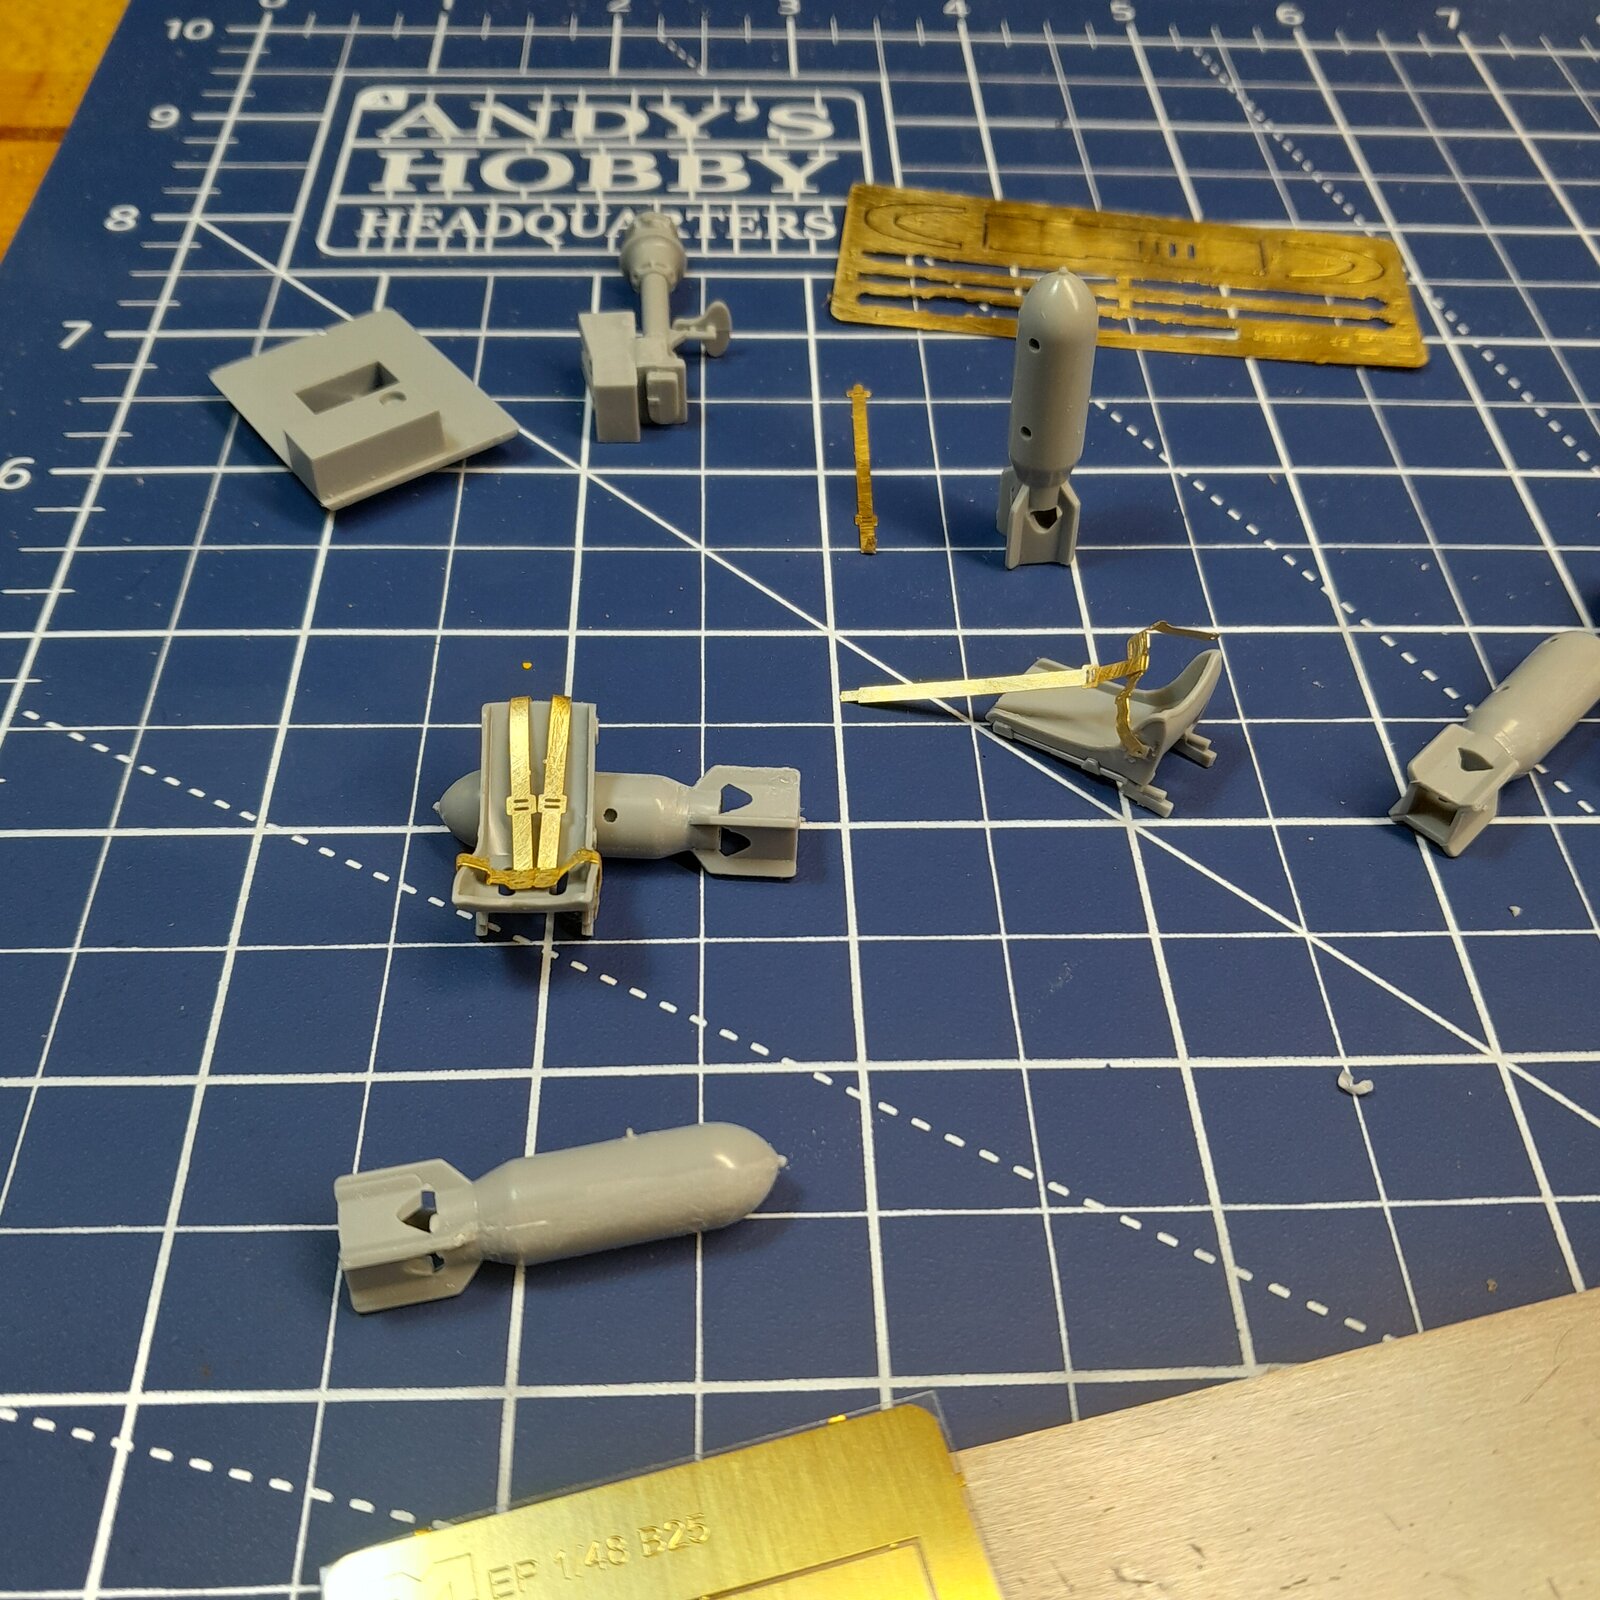
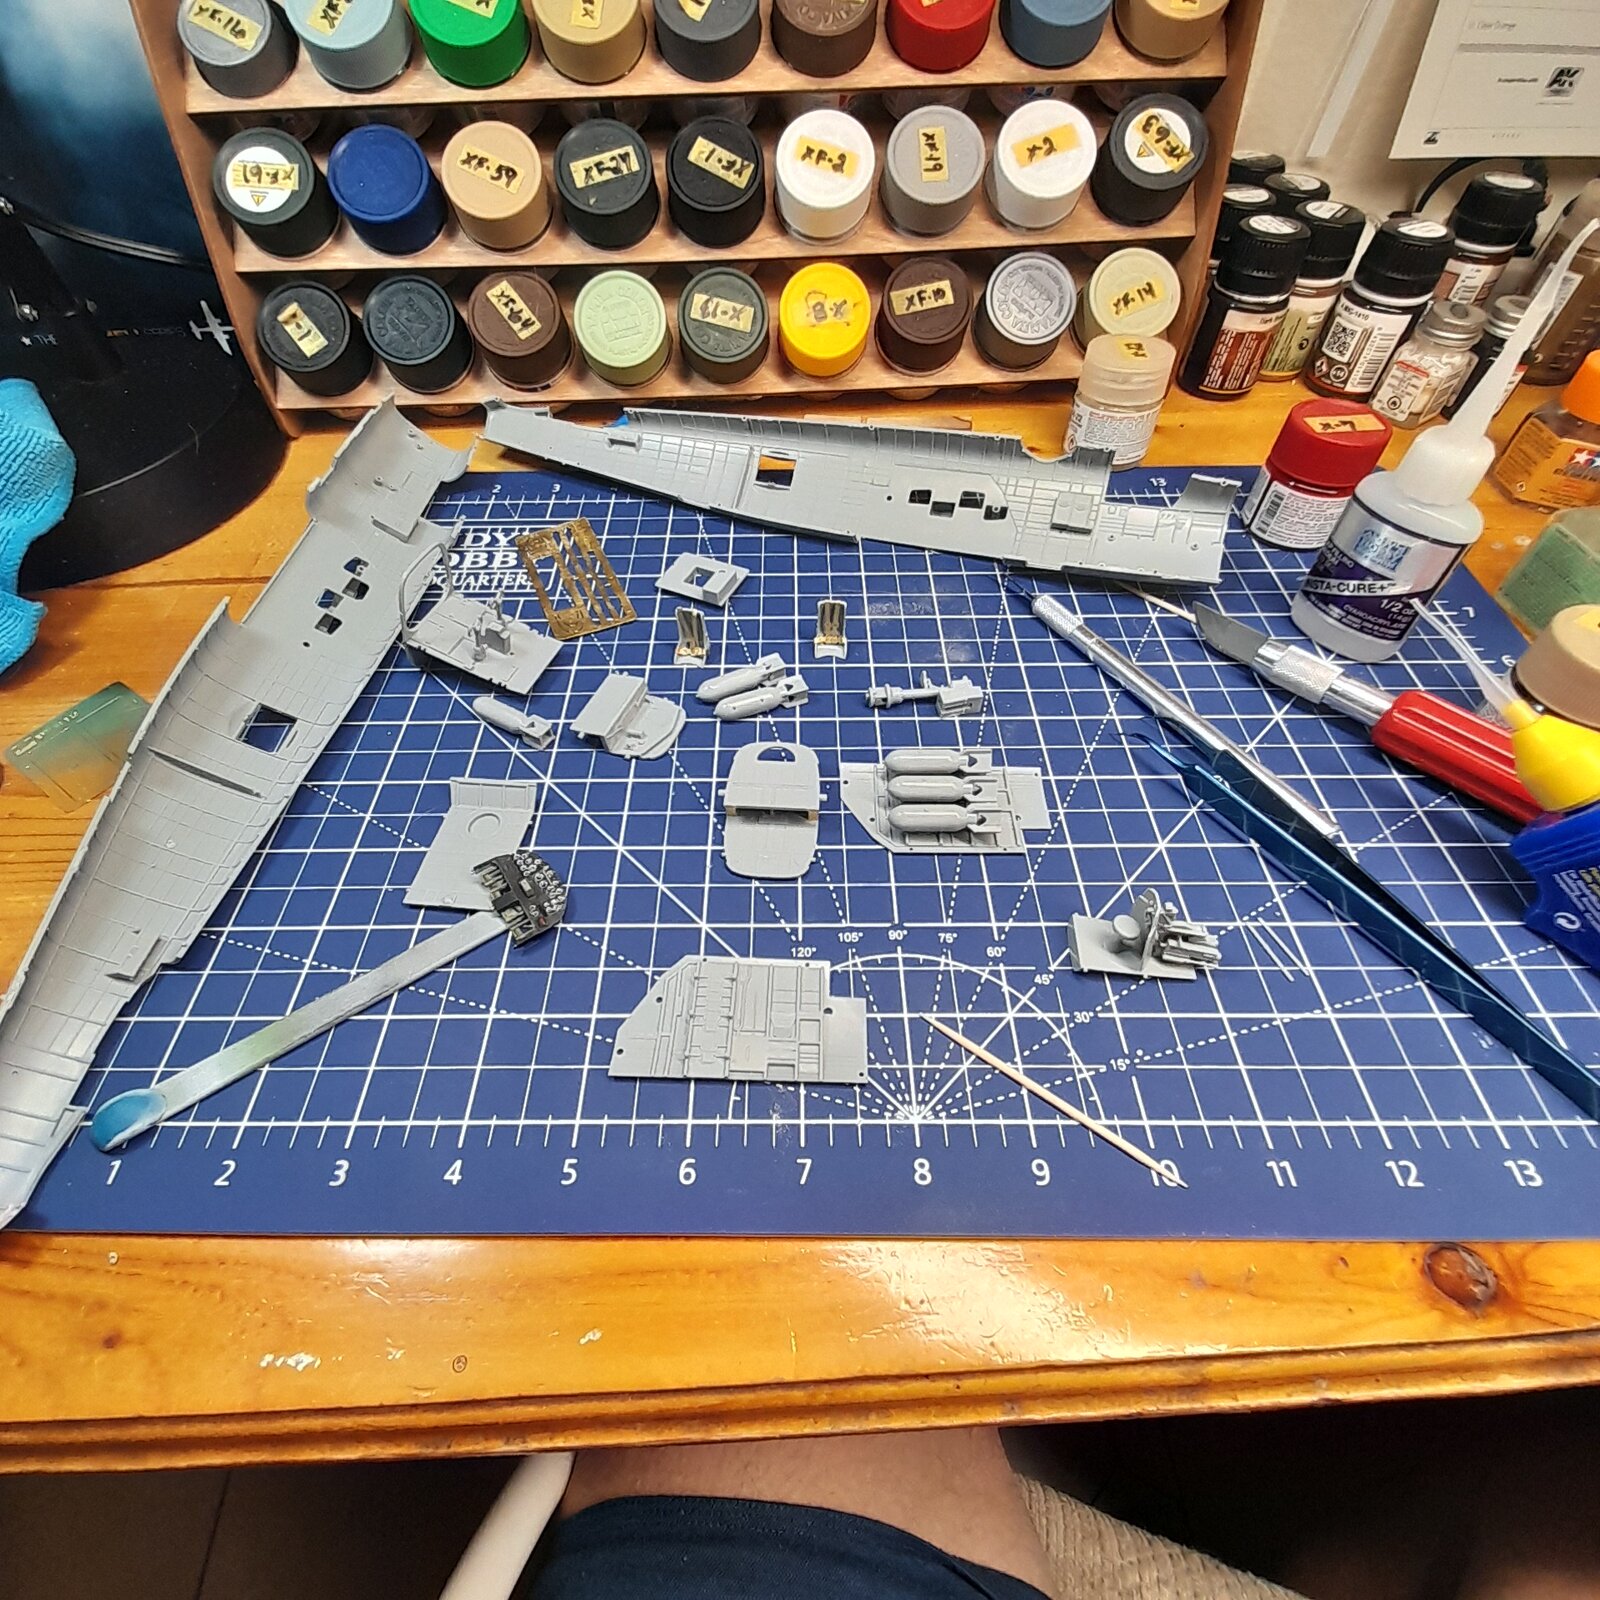
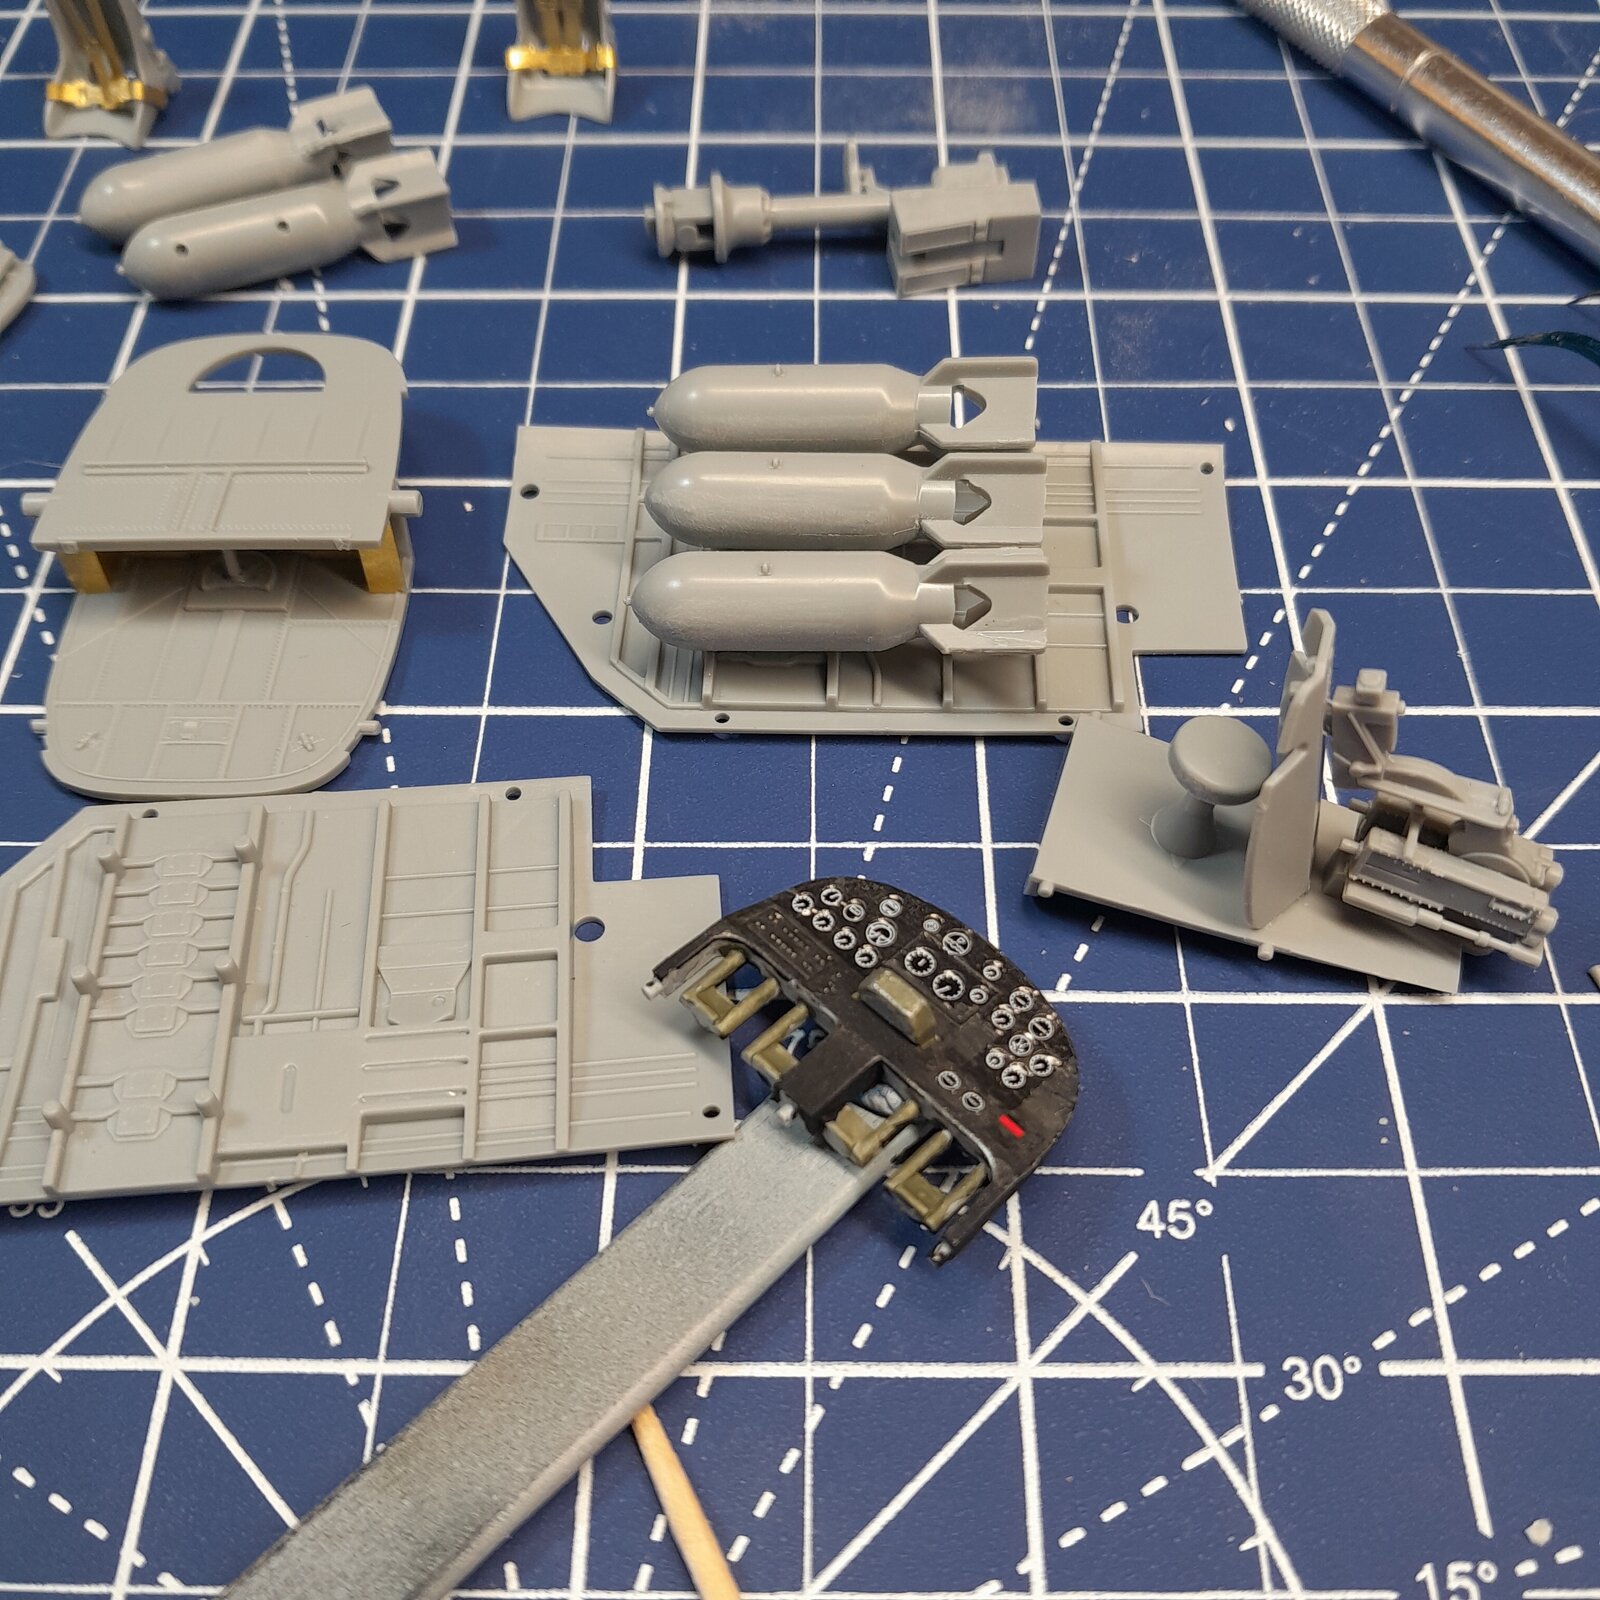
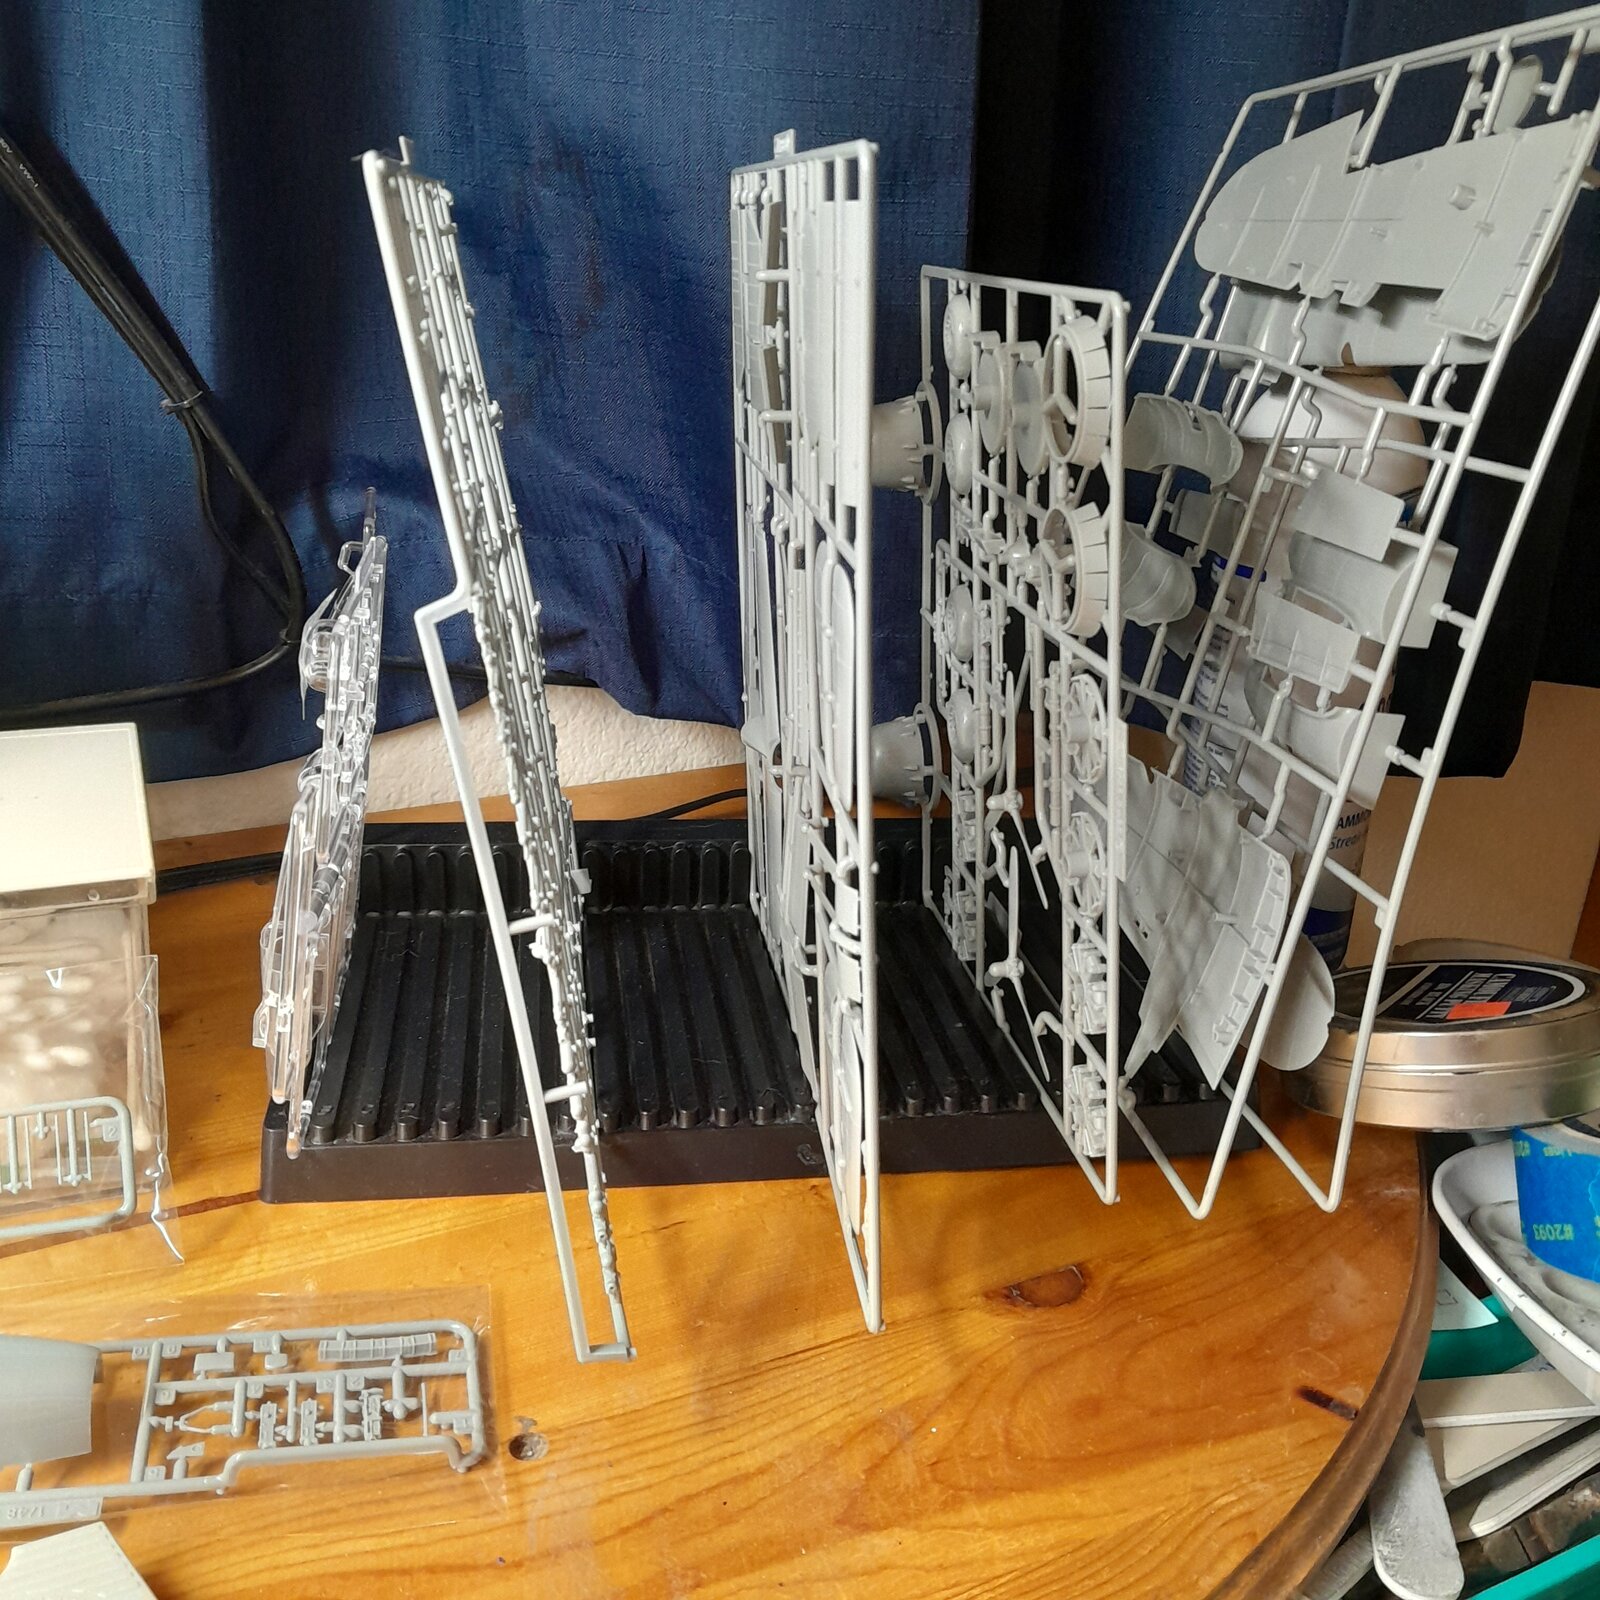

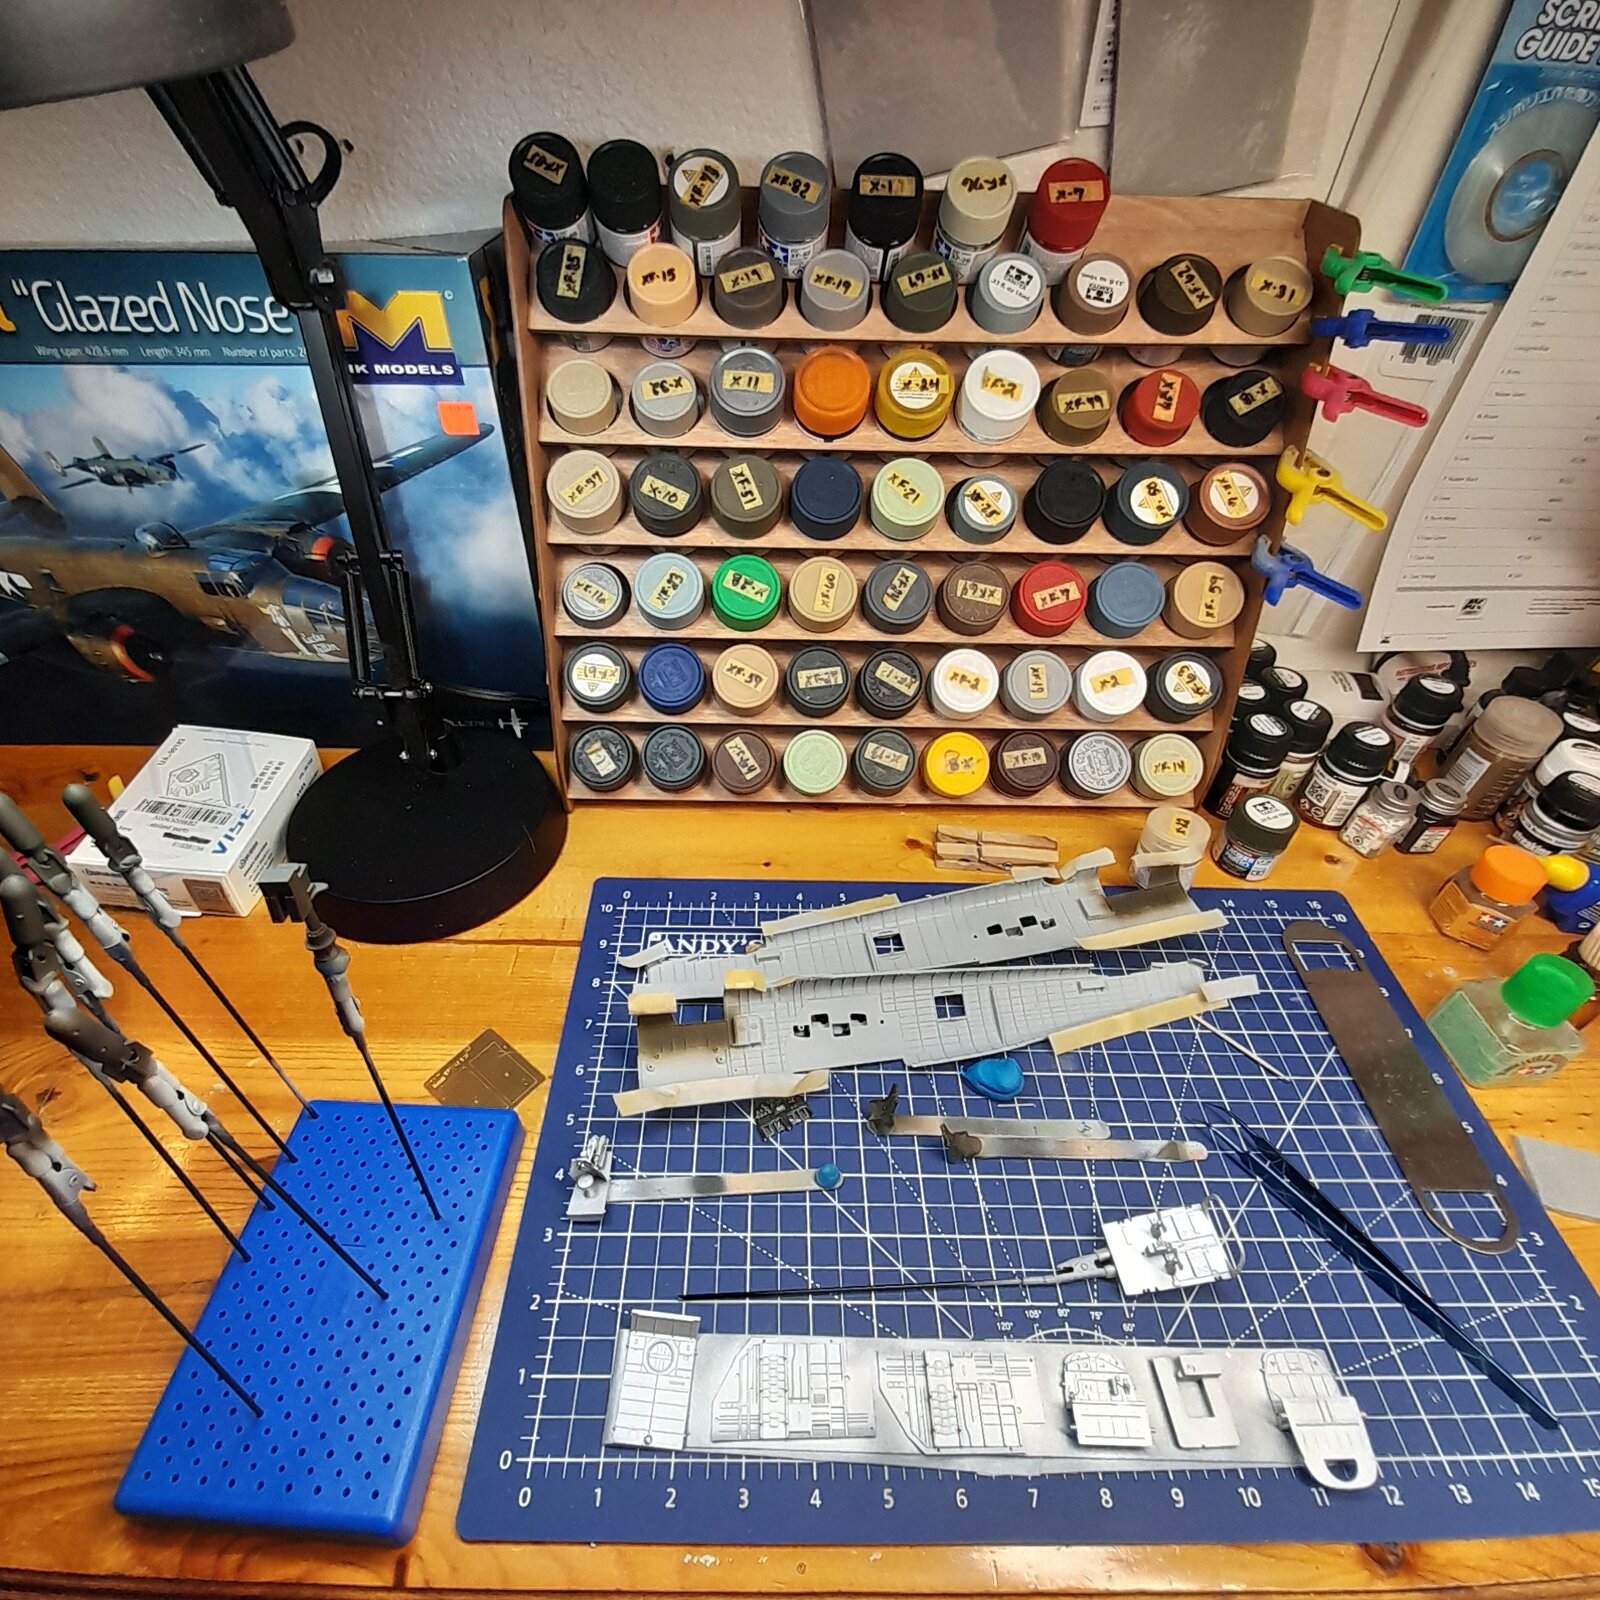
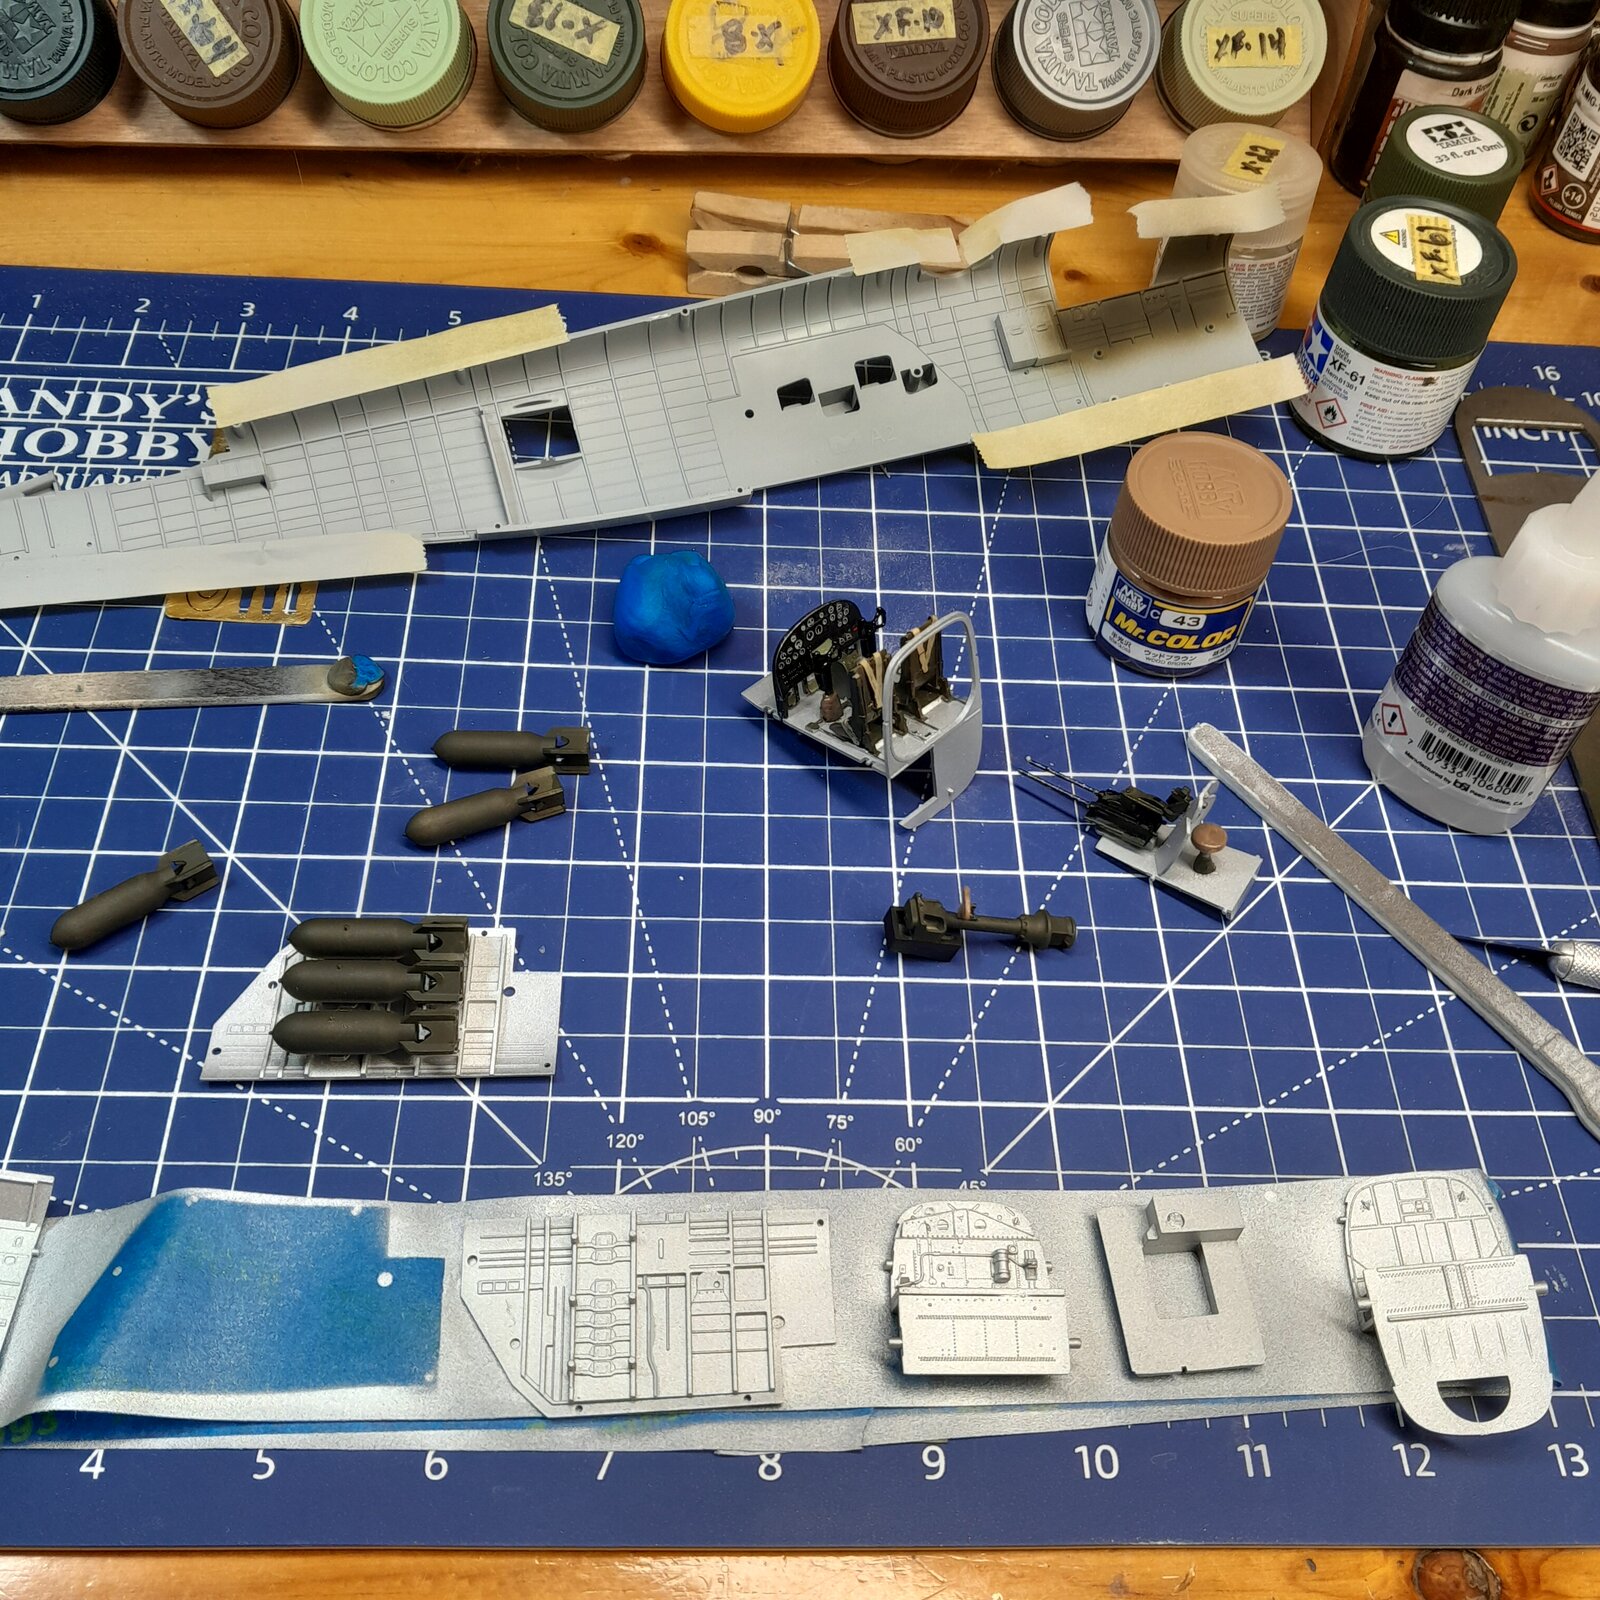
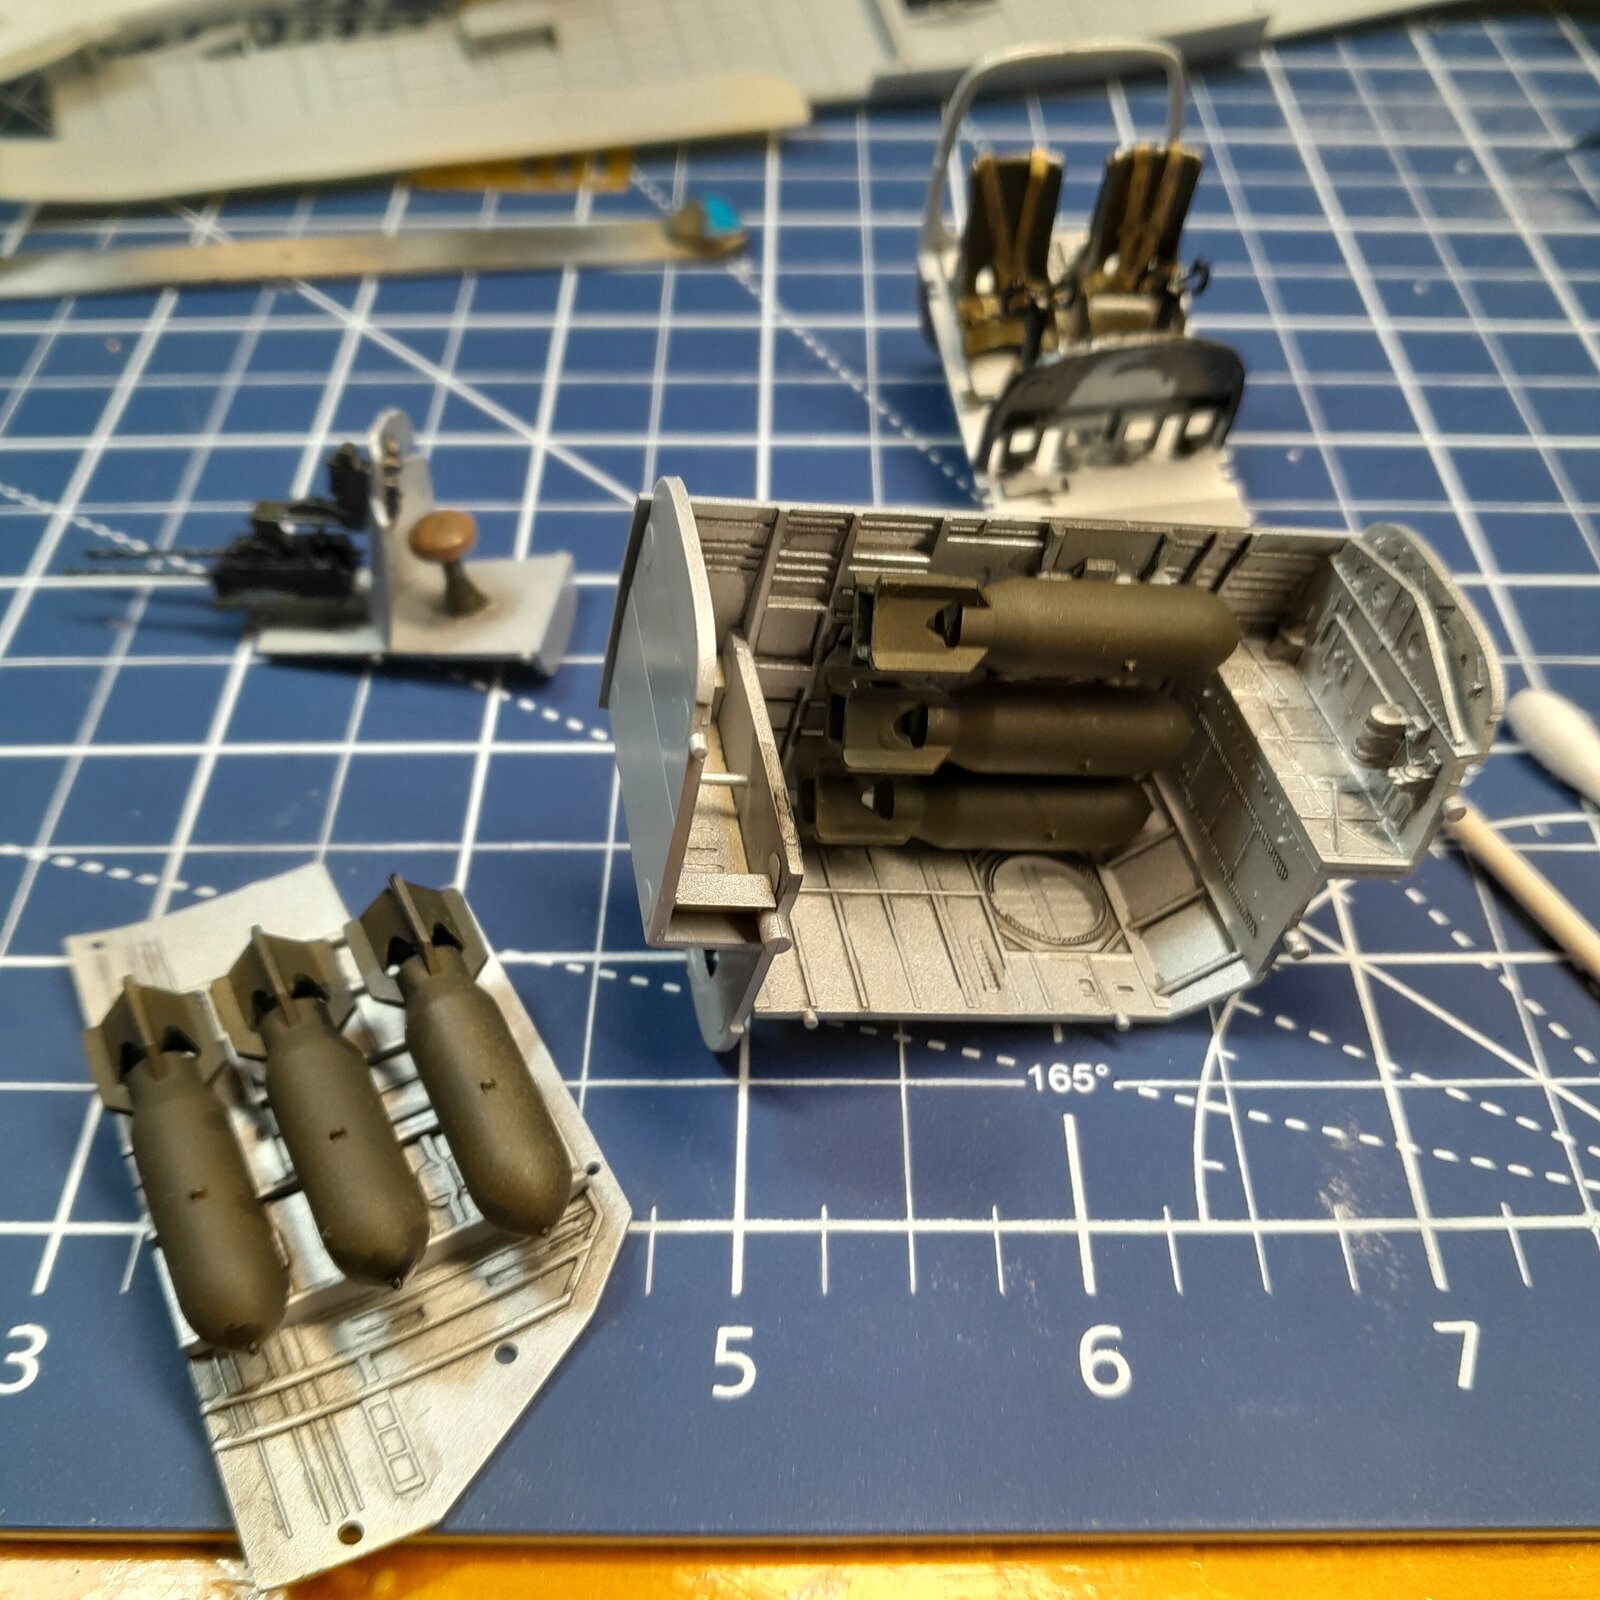
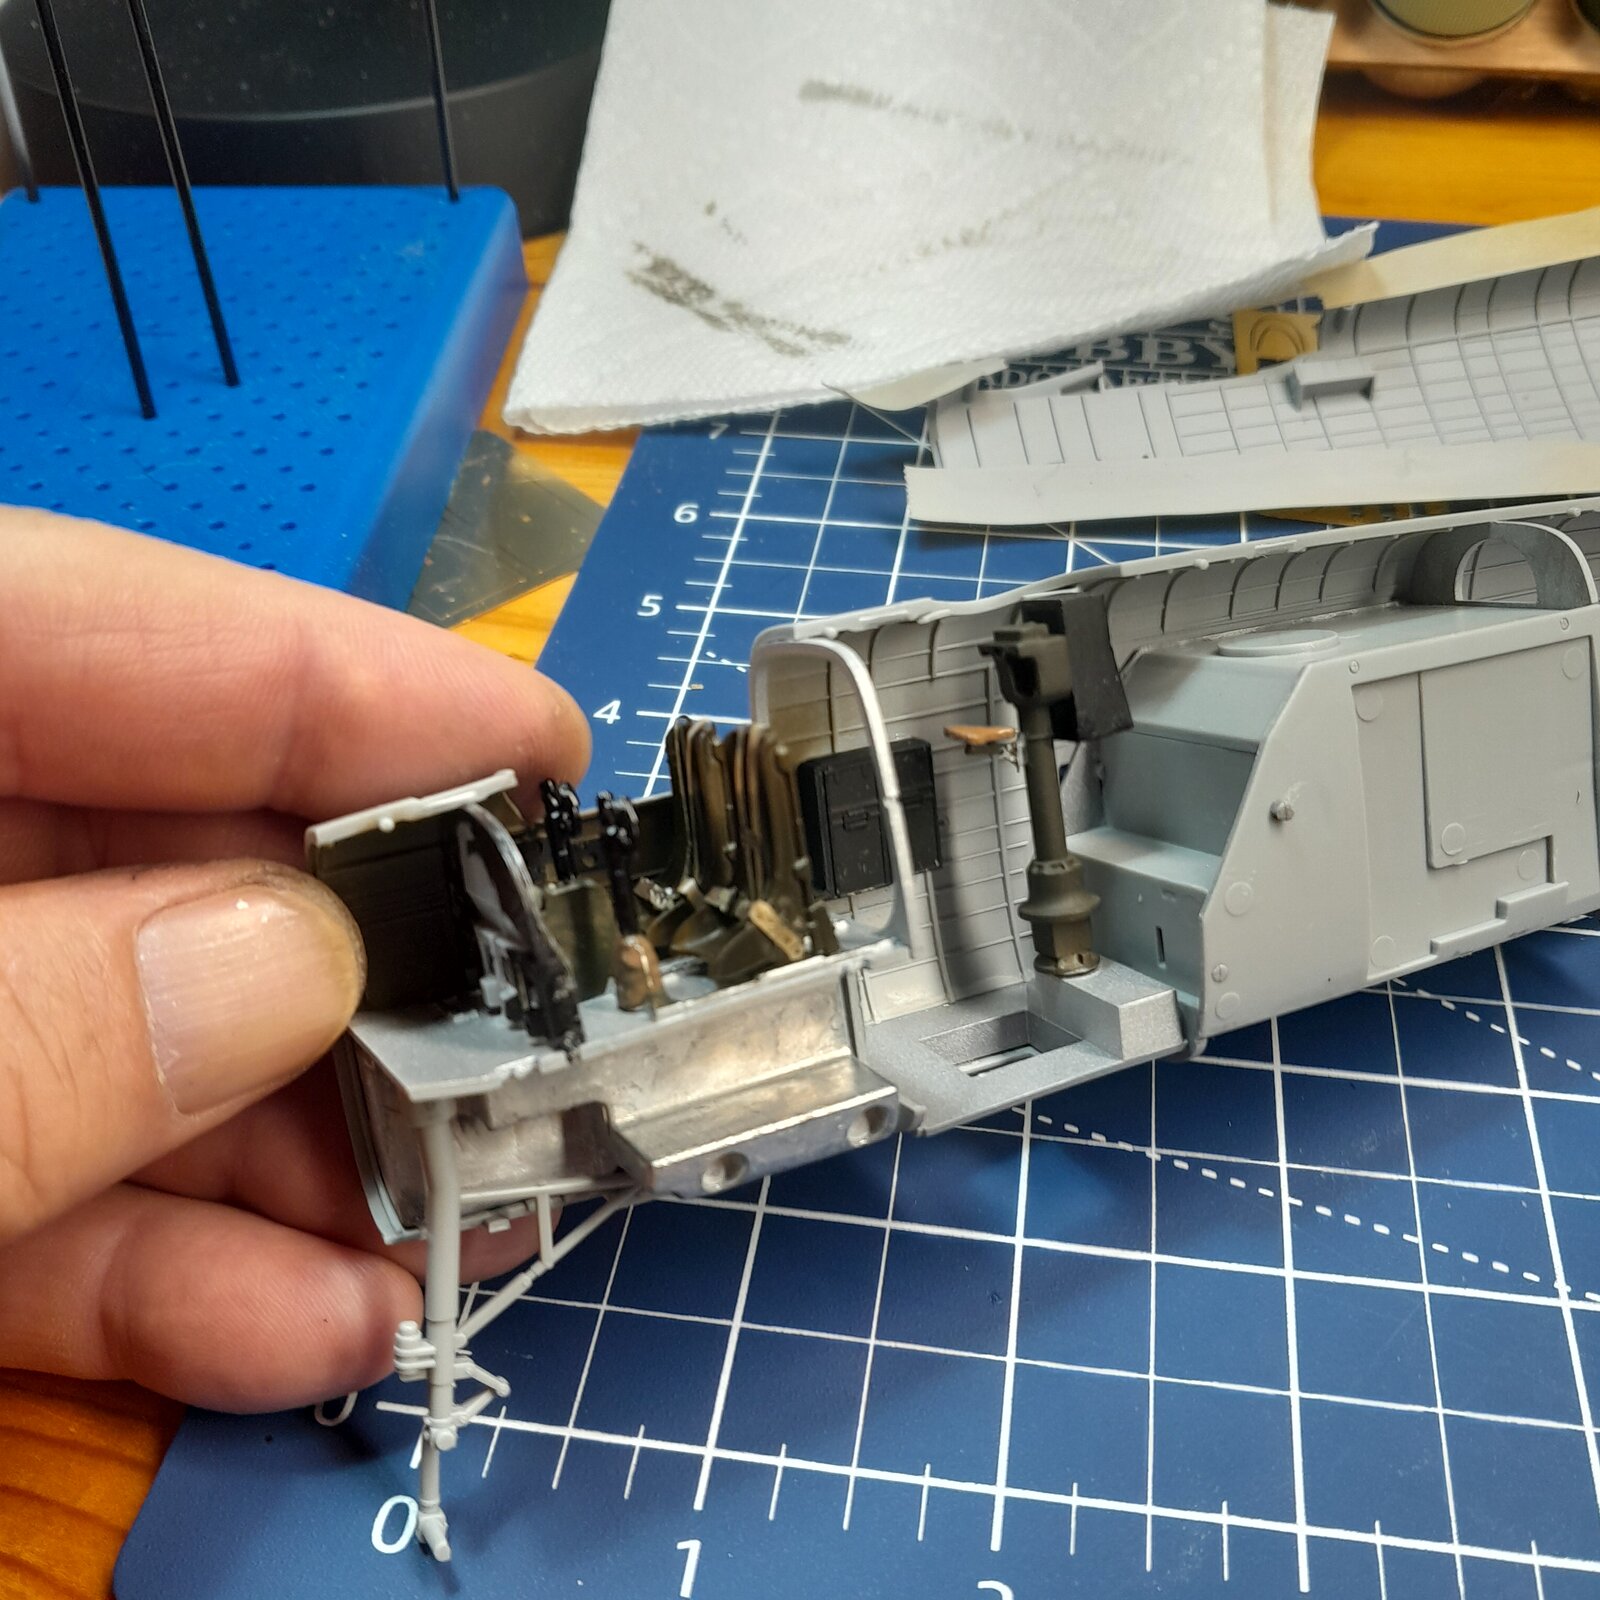
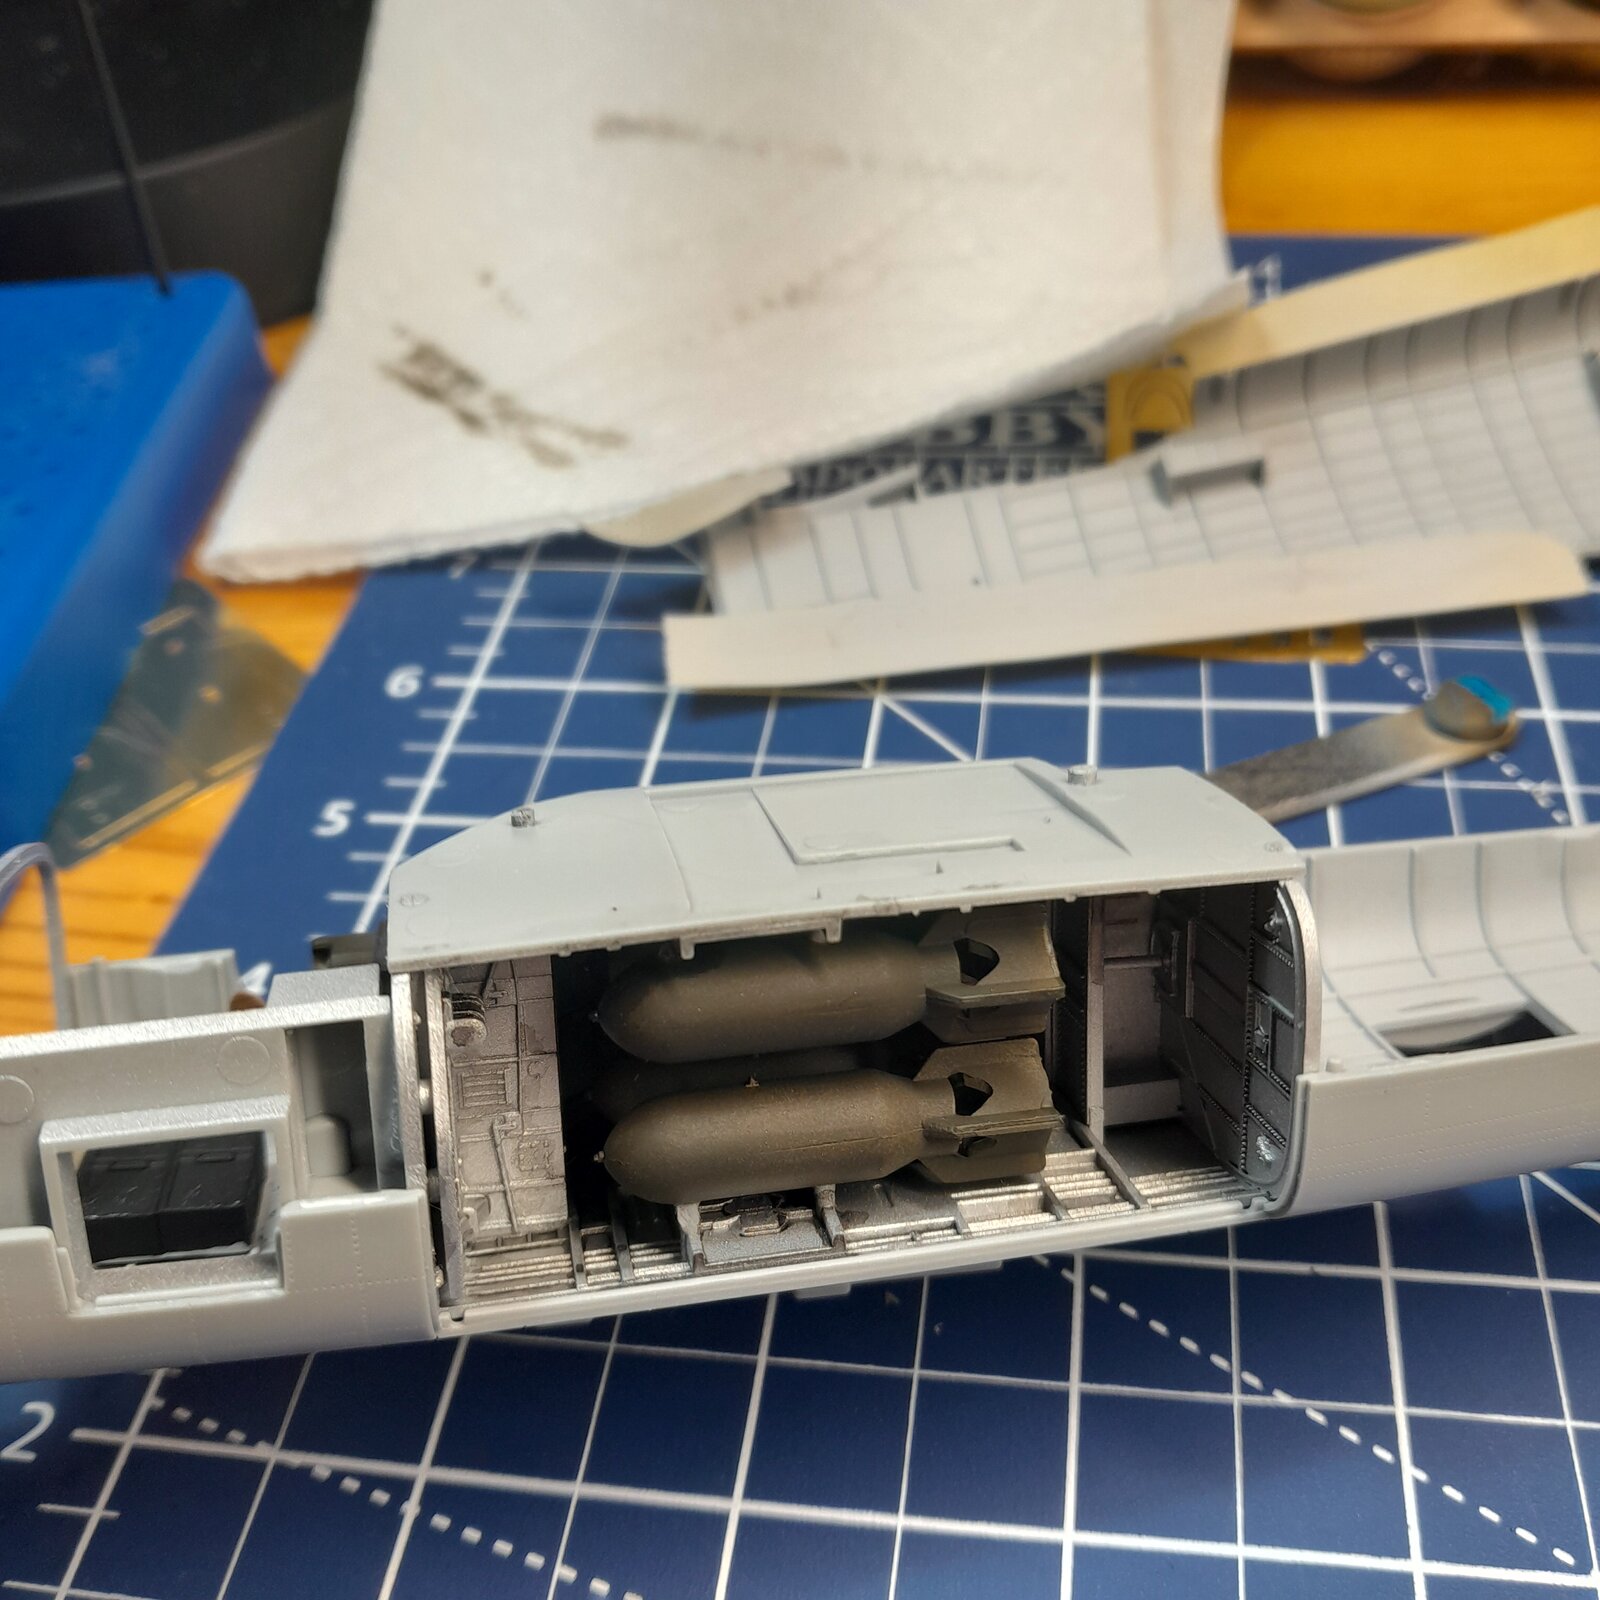
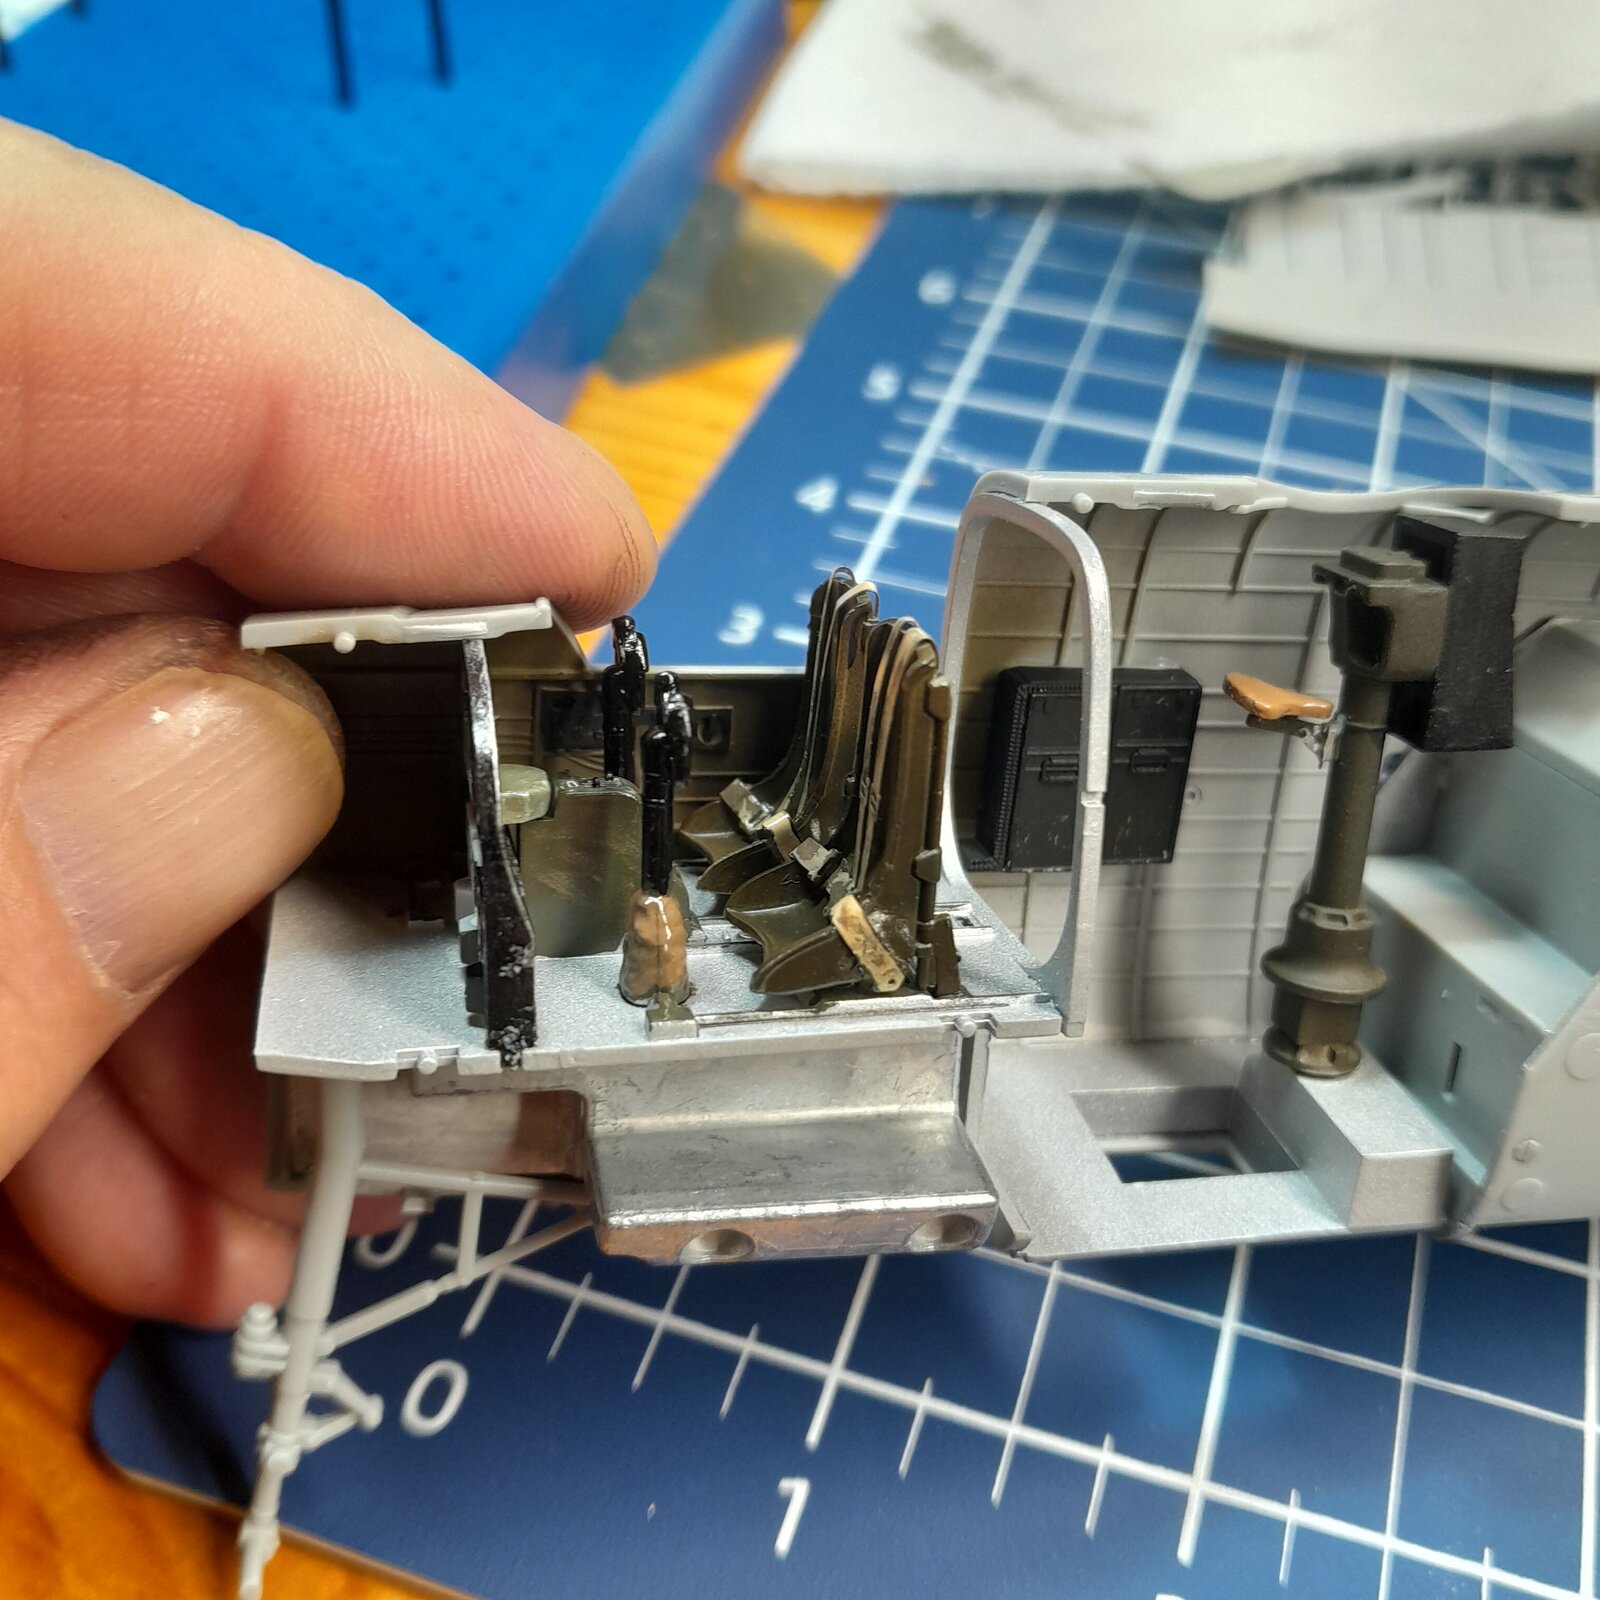


I do this almost every day, definitely a few times a week. Working while frustrated results in mistakes, for me at least.I think it's enough said if I just say I was starting to get cranky. I need to build an airplane so.. here you go
Boatman? Let me tell you something. I spent more time on my hands and knees searching for a tiny part that flew off God knows where. But I knew I was getting into some tiny stuff and that's okay. I'm just going to set it up on the shelf for a rainy day because you know yourself trying new stuff is great and going back to what you're used to building is even better. For me? It's airplanes.HEY Rob you are doin a really great job of this B25 as ive always liked this plane with the glazed front an even the gun planes splendid job Rob i'll be followin along on this splendid build an what will happen to that cranky tank build eh ?
chrisb
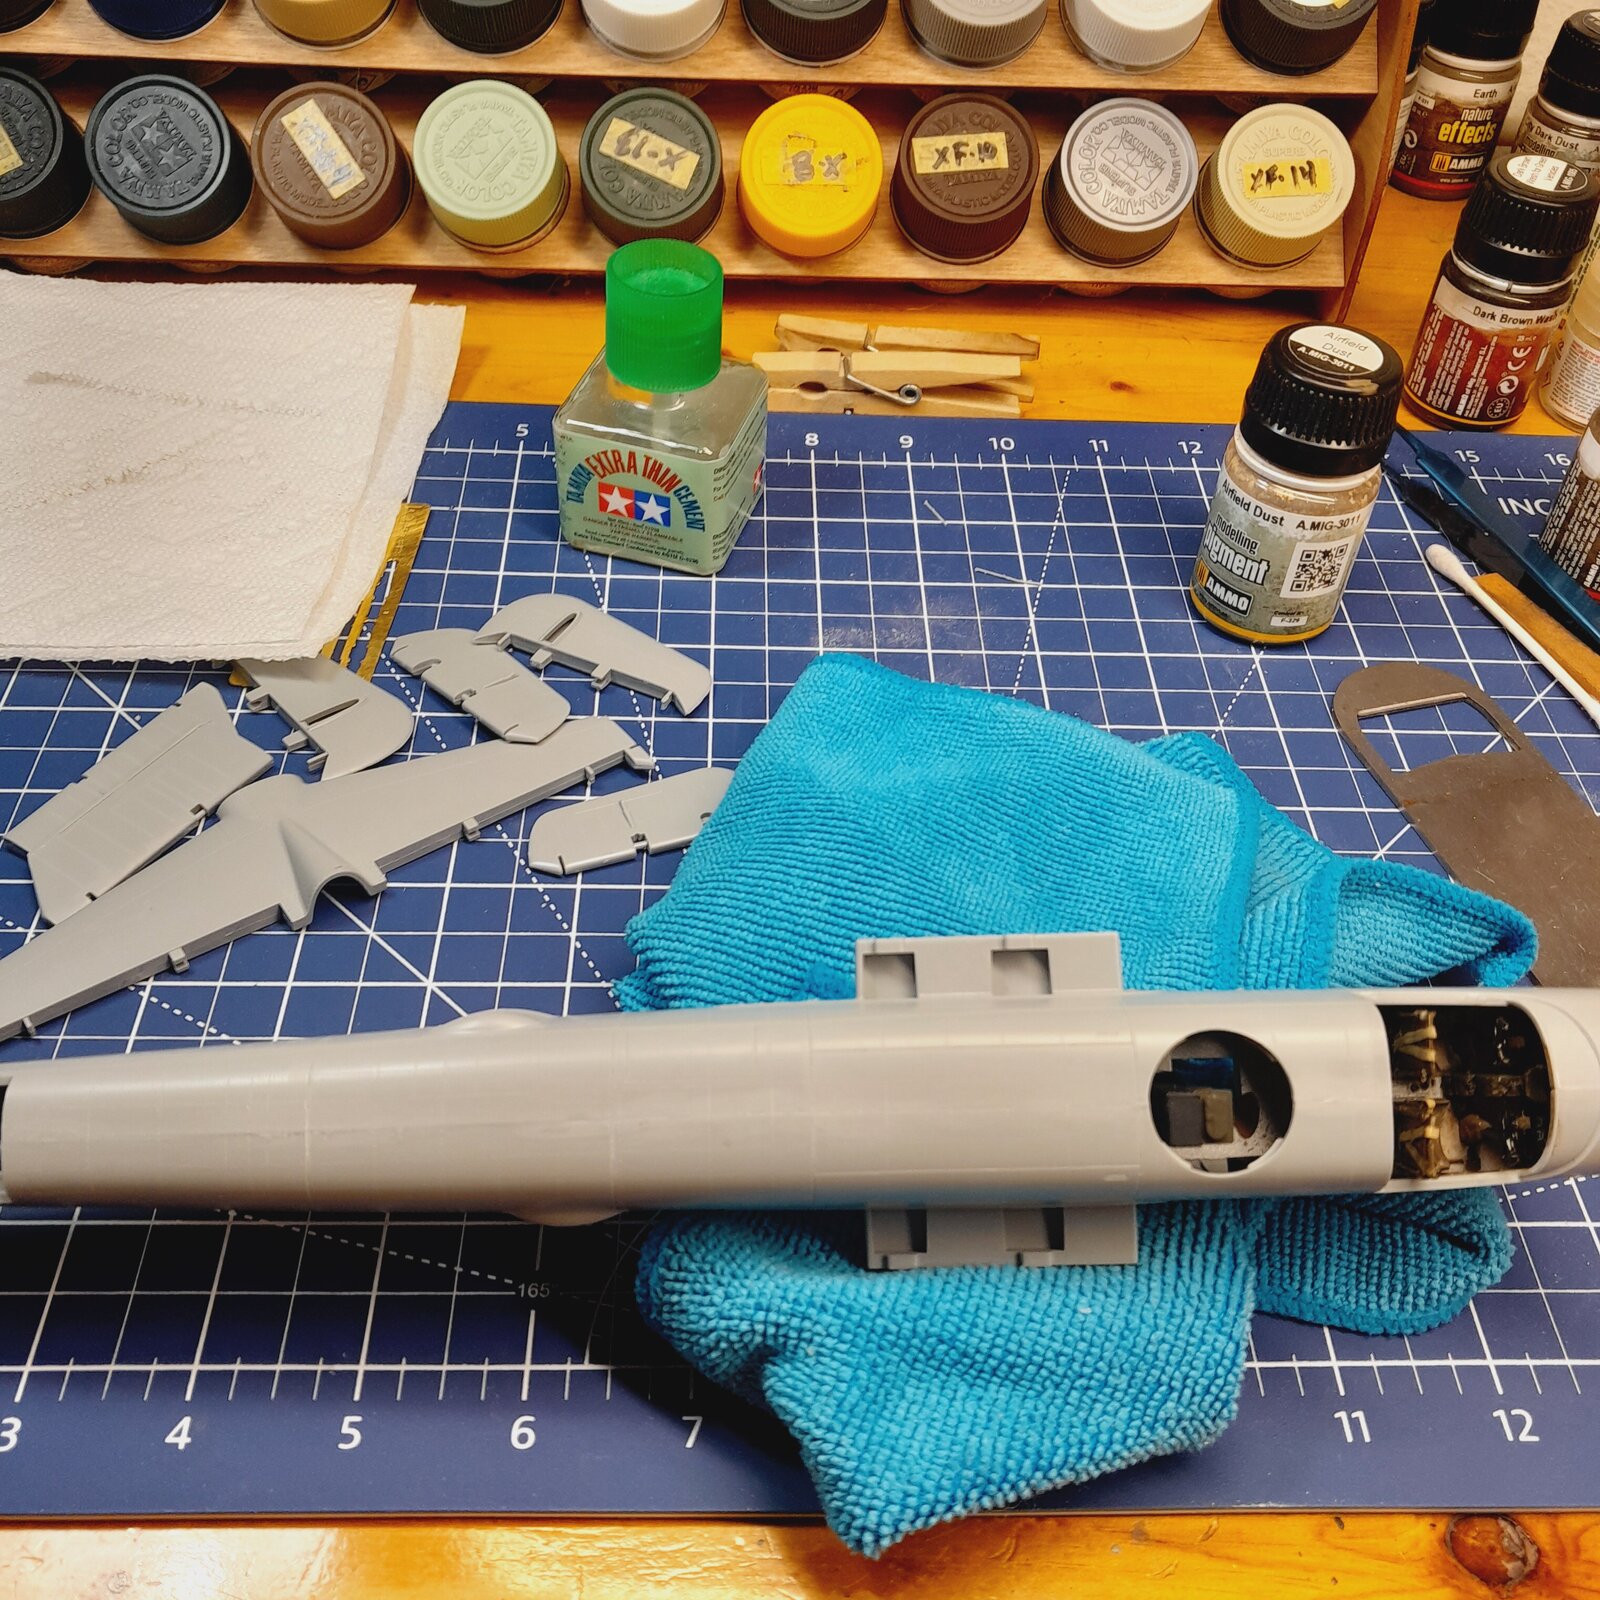
By gaps do you mean putting the two halves of the body together? Because last night I test fitted the two halves and it was perfect. No exaggeration. When I stick it together a little later I'll take some pictures and show you but the fit is just awesome. No complaints yet. And you're right on the nose gear weight. I glued it in with a little CA after test fitting the two body halves together. Mildly surprised they included a nose weight.I hope your Mitchell has better gaps than the one from "Accurate Miniatures" that I recently completed. HKM used a much better nose weight arrangement, so it is hopefully not an issue.
I do this almost every day, definitely a few times a week. Working while frustrated results in mistakes, for me at least.
My worst issues were around the engine nacelles. The interior all fit really well, fuselage was average, and the wing-roots too. But those engines, yikes!By gaps do you mean putting the two halves of the body together?
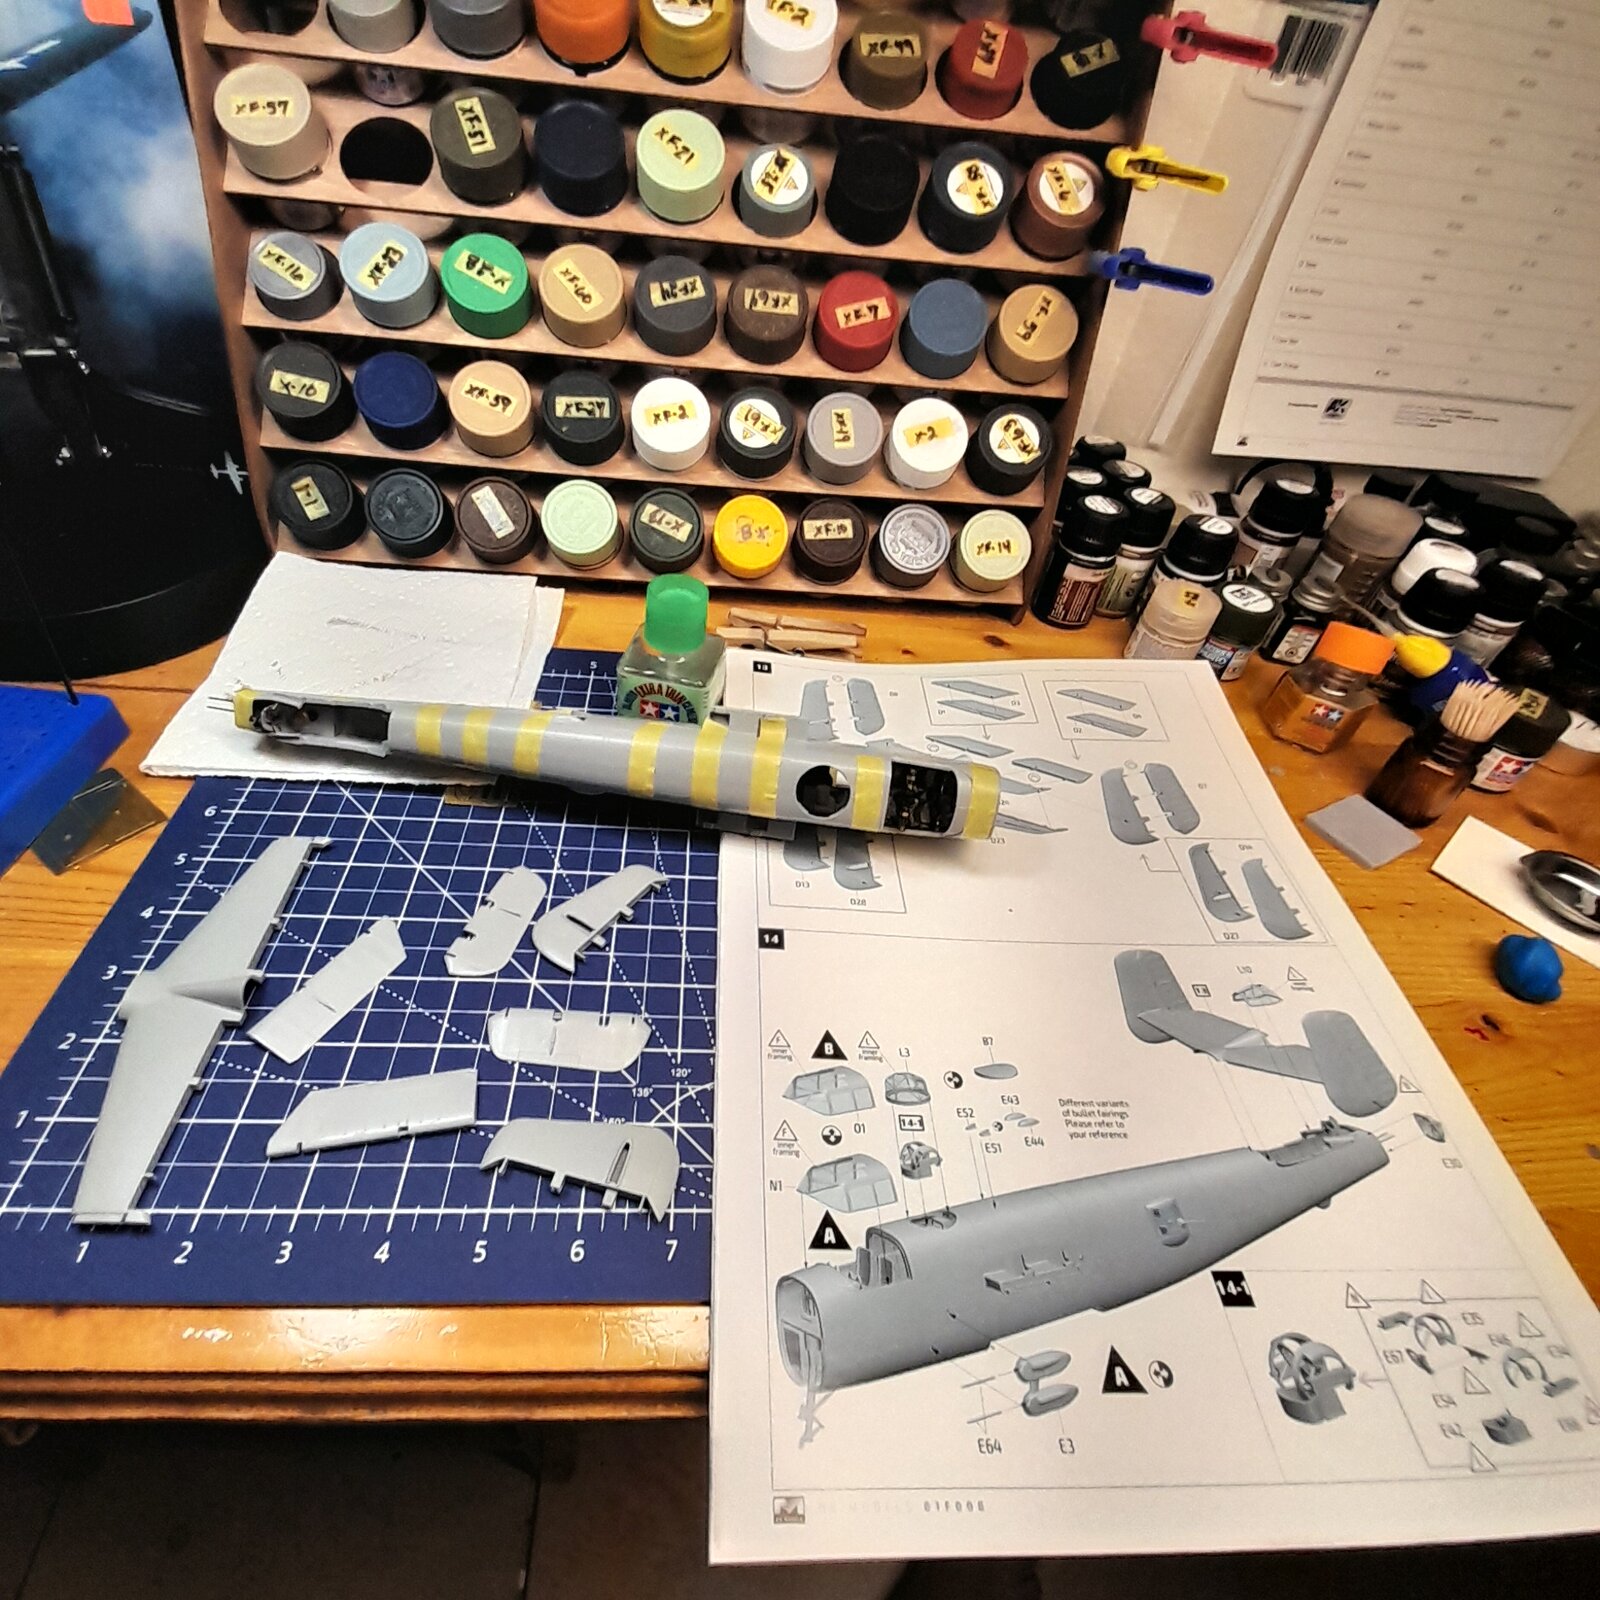
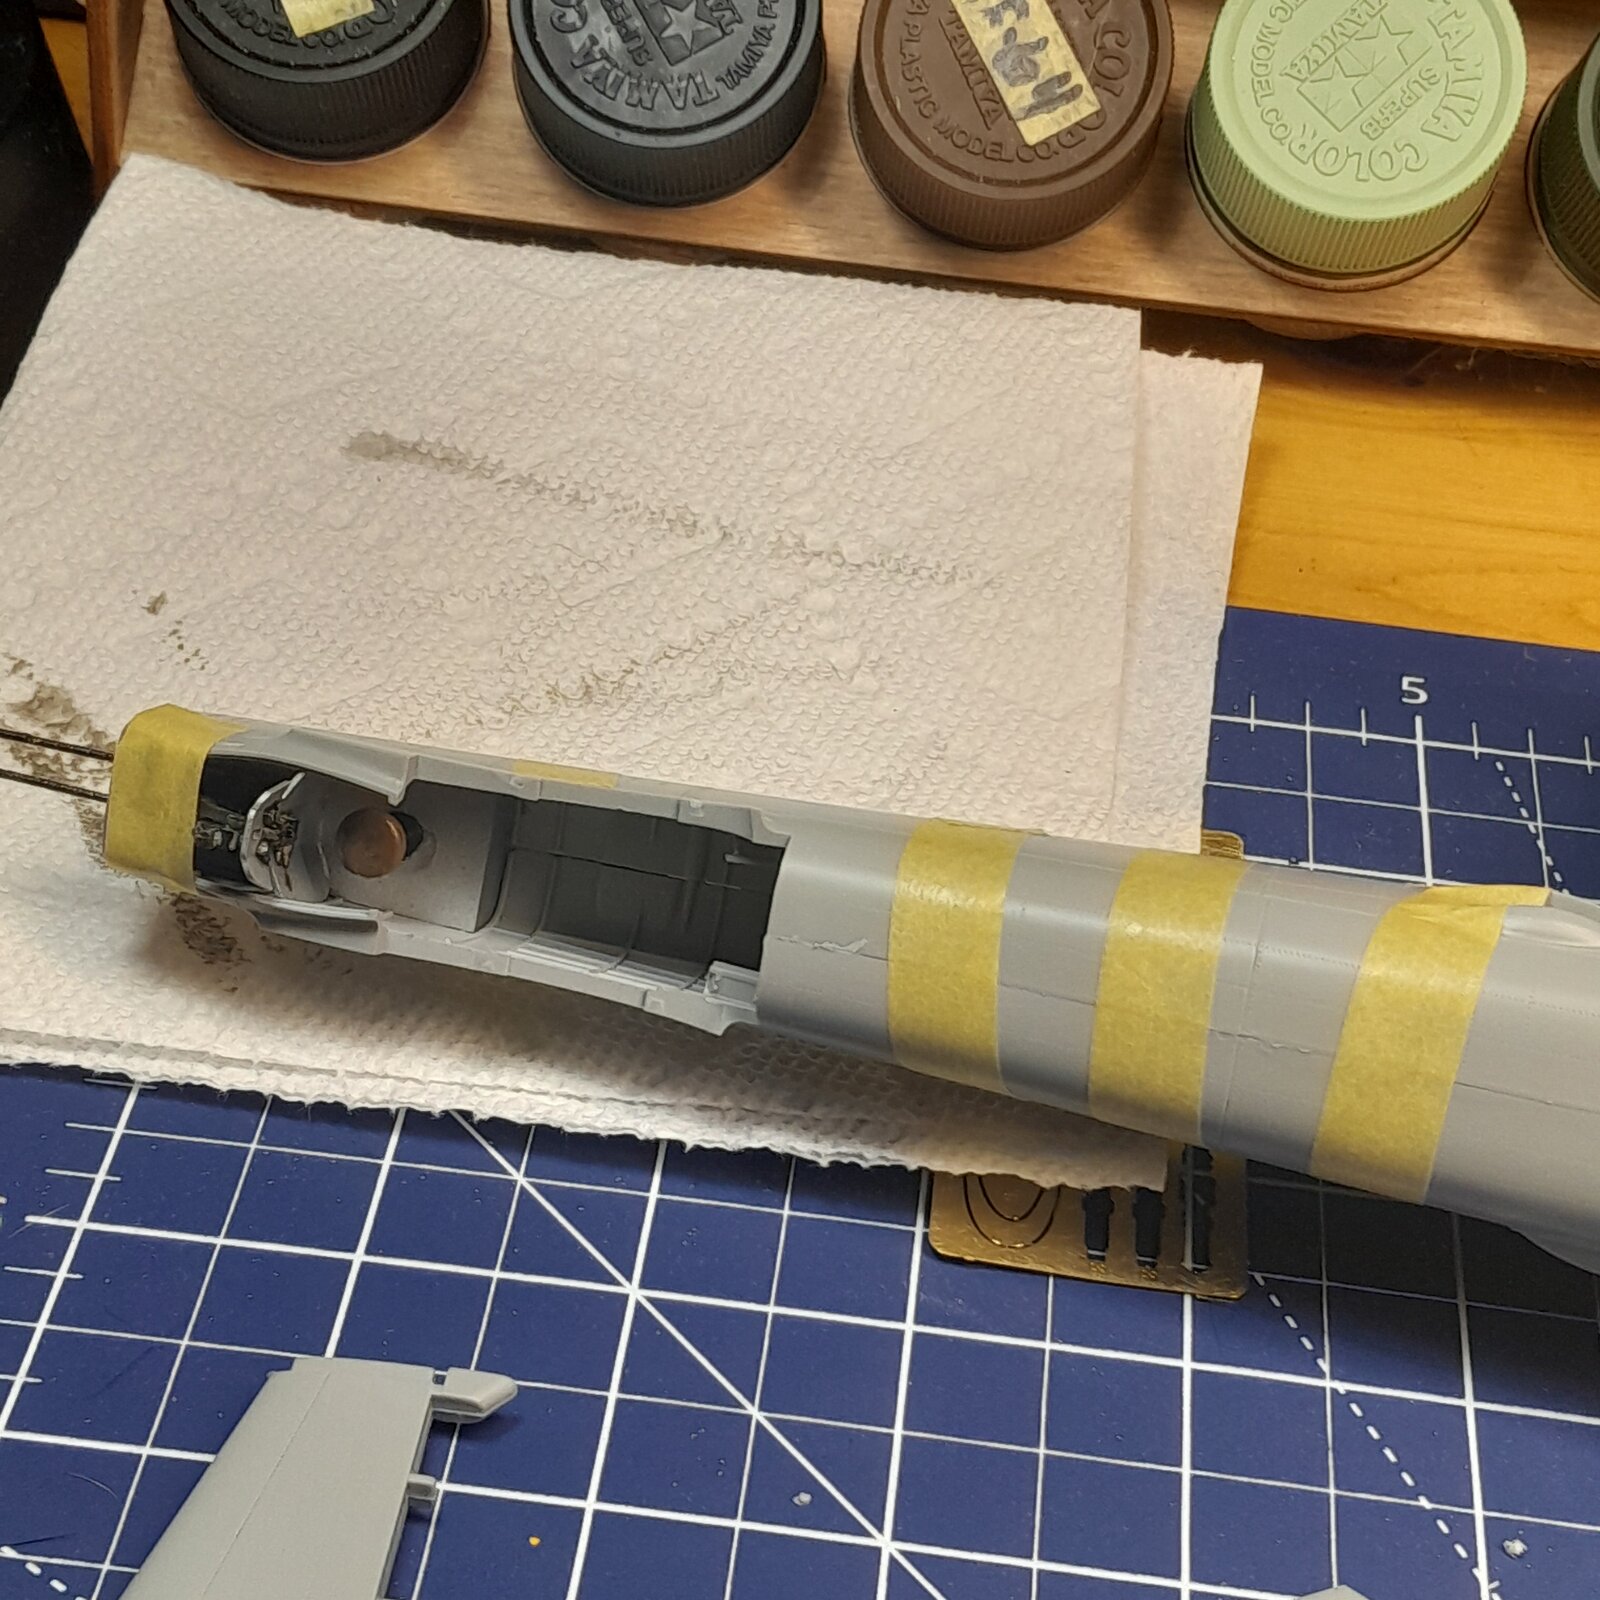

I can't decide if watching these plane builds (having not built any since I was a kid) is motivating or putting the Fear of Gremlins into me!puzzled

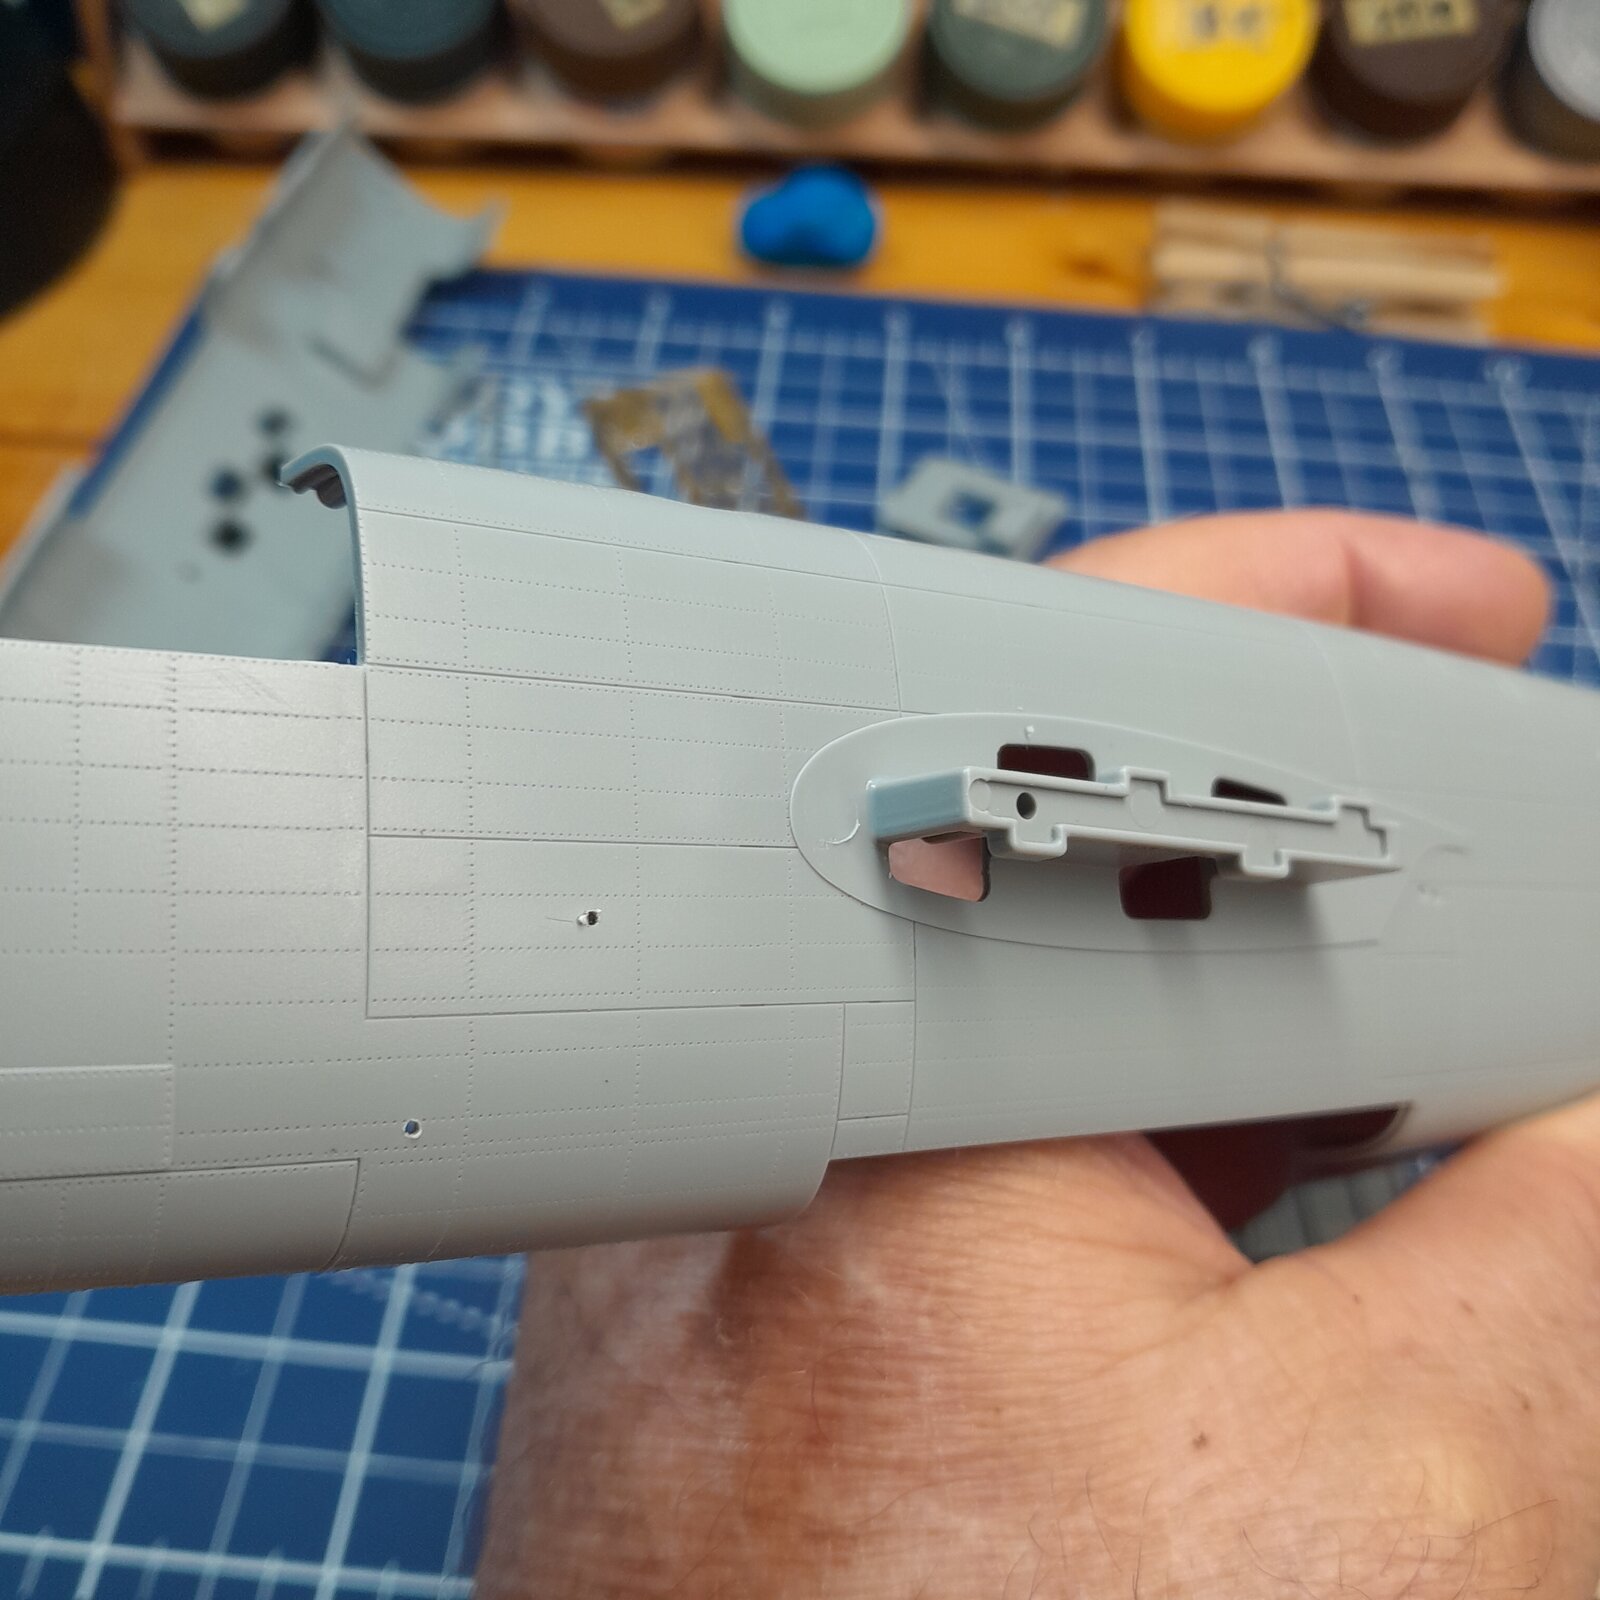
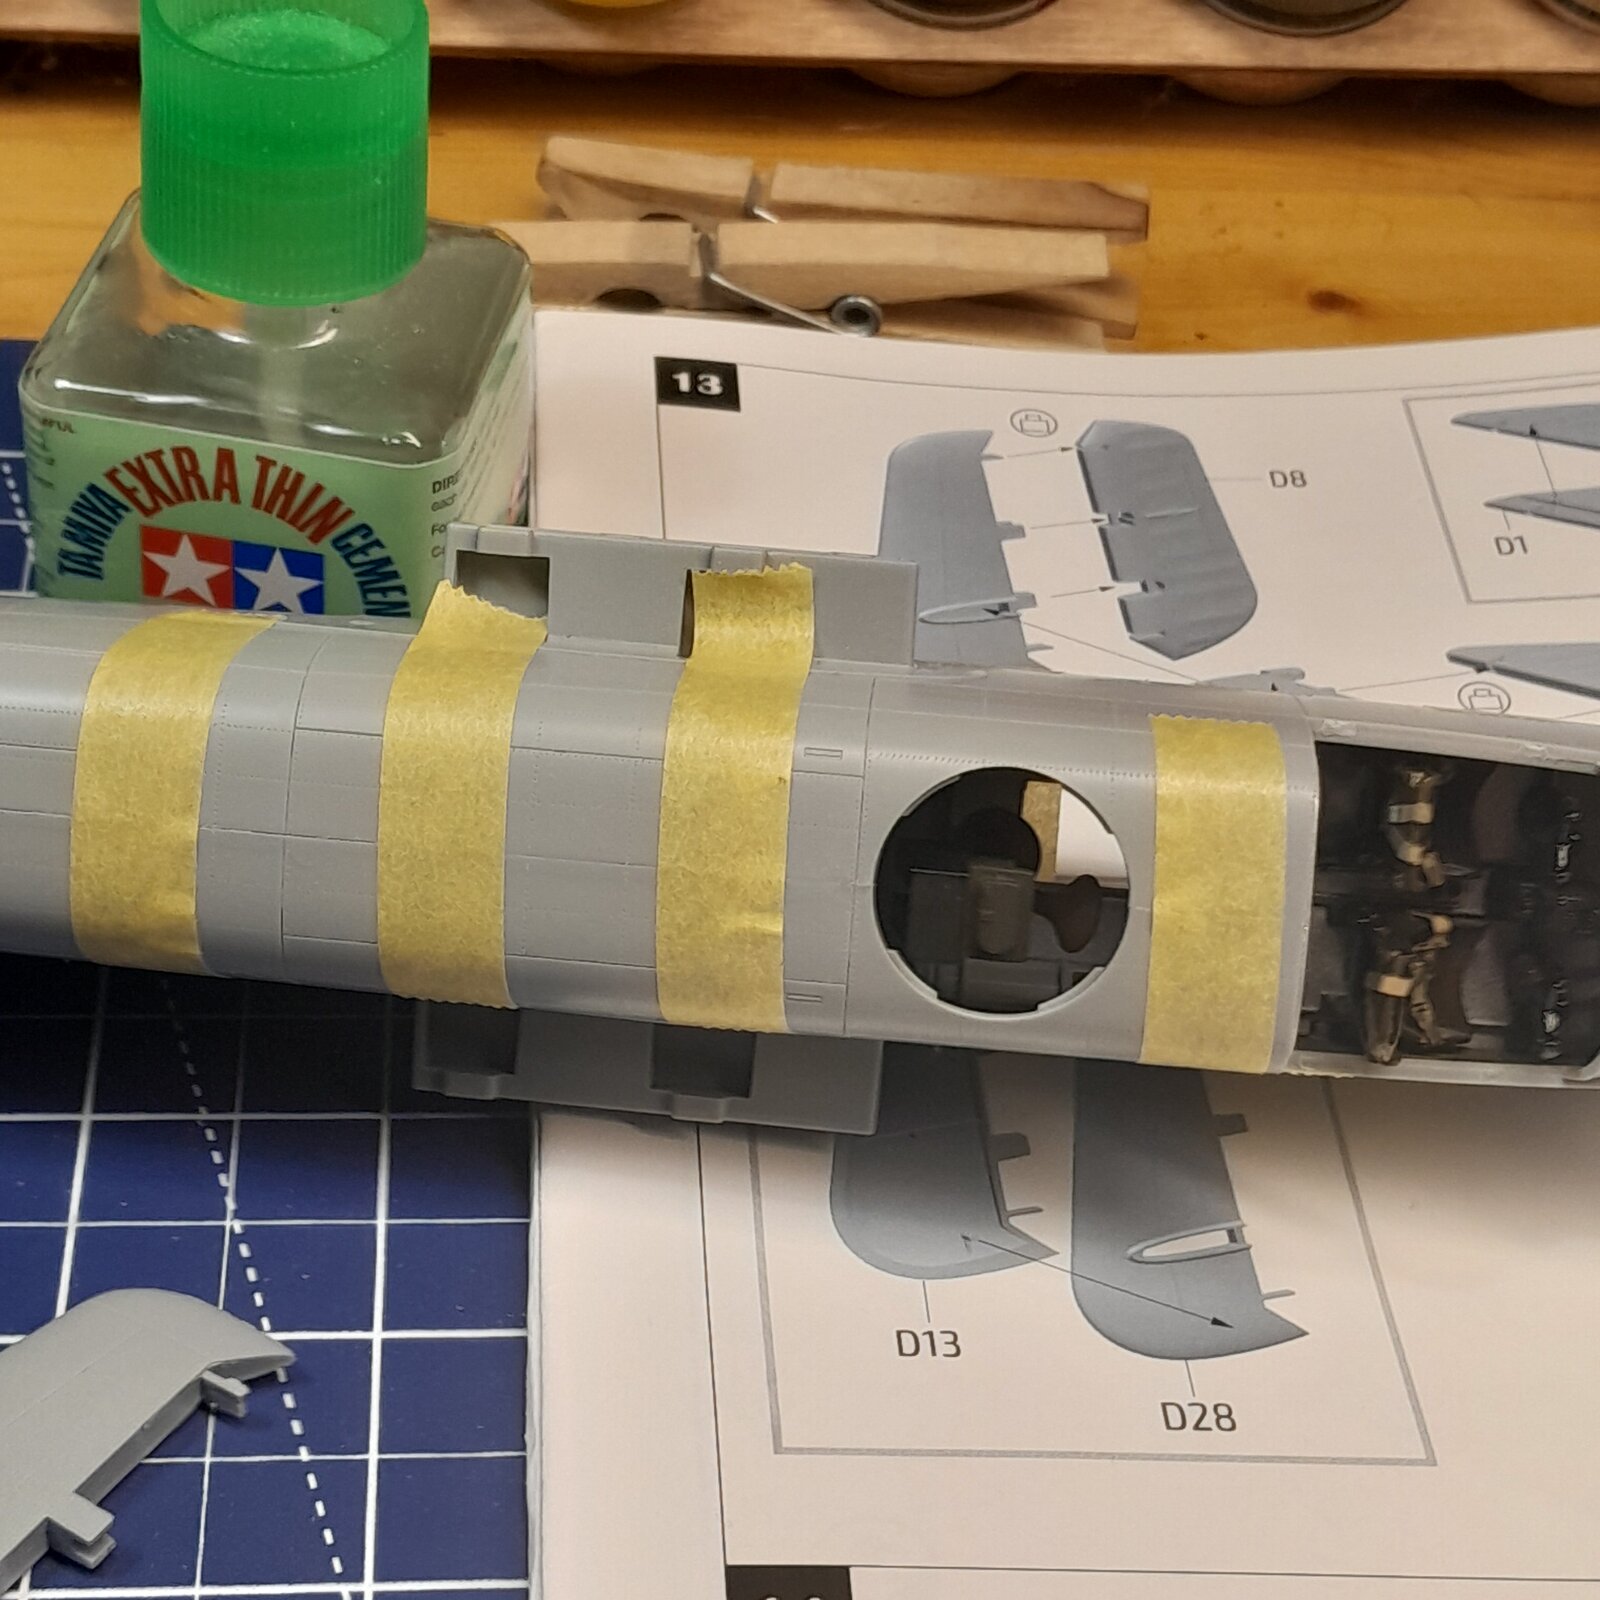
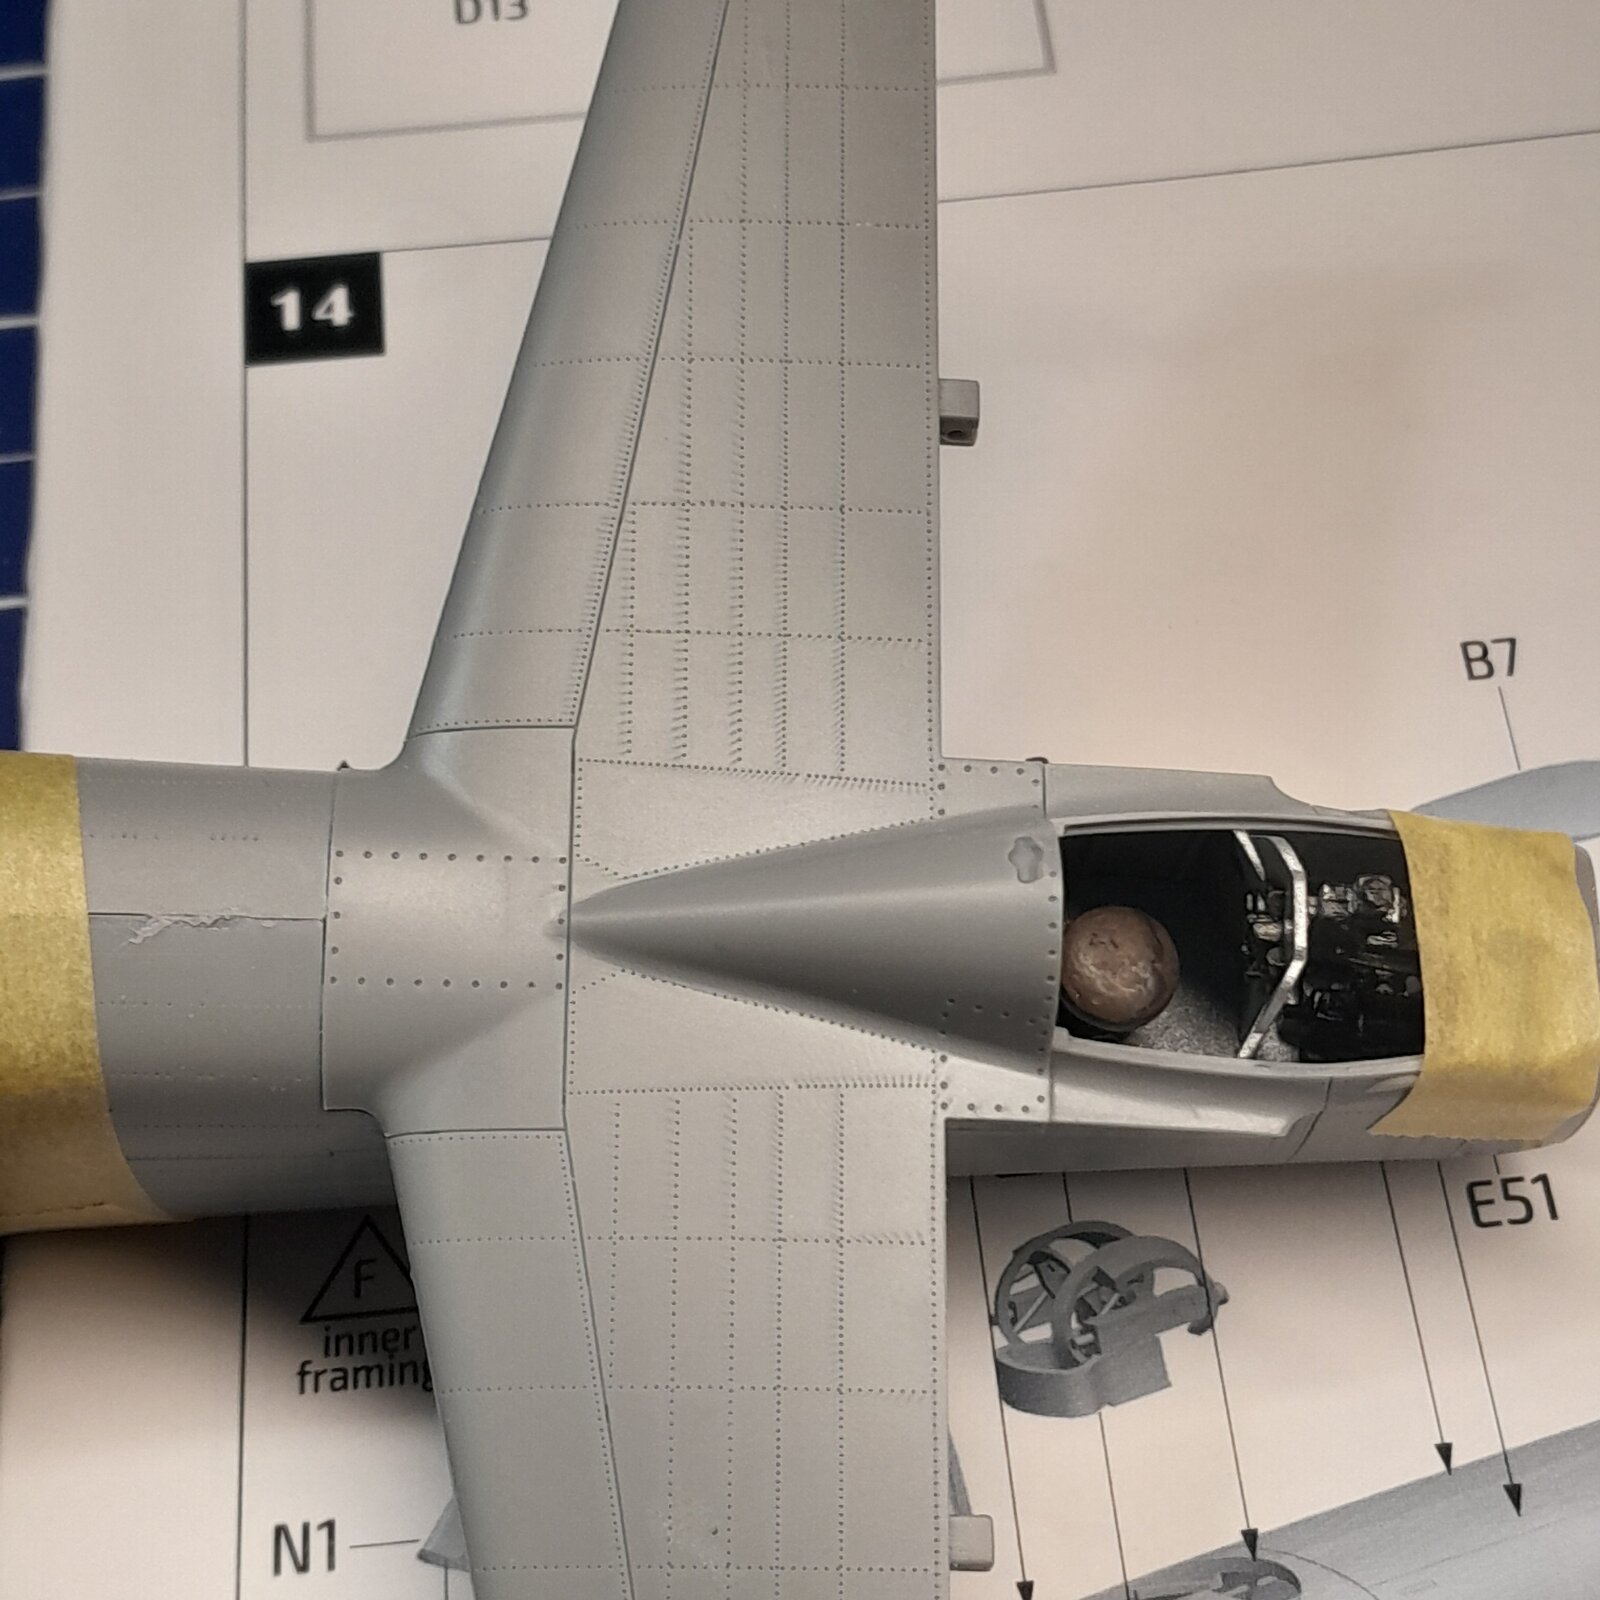
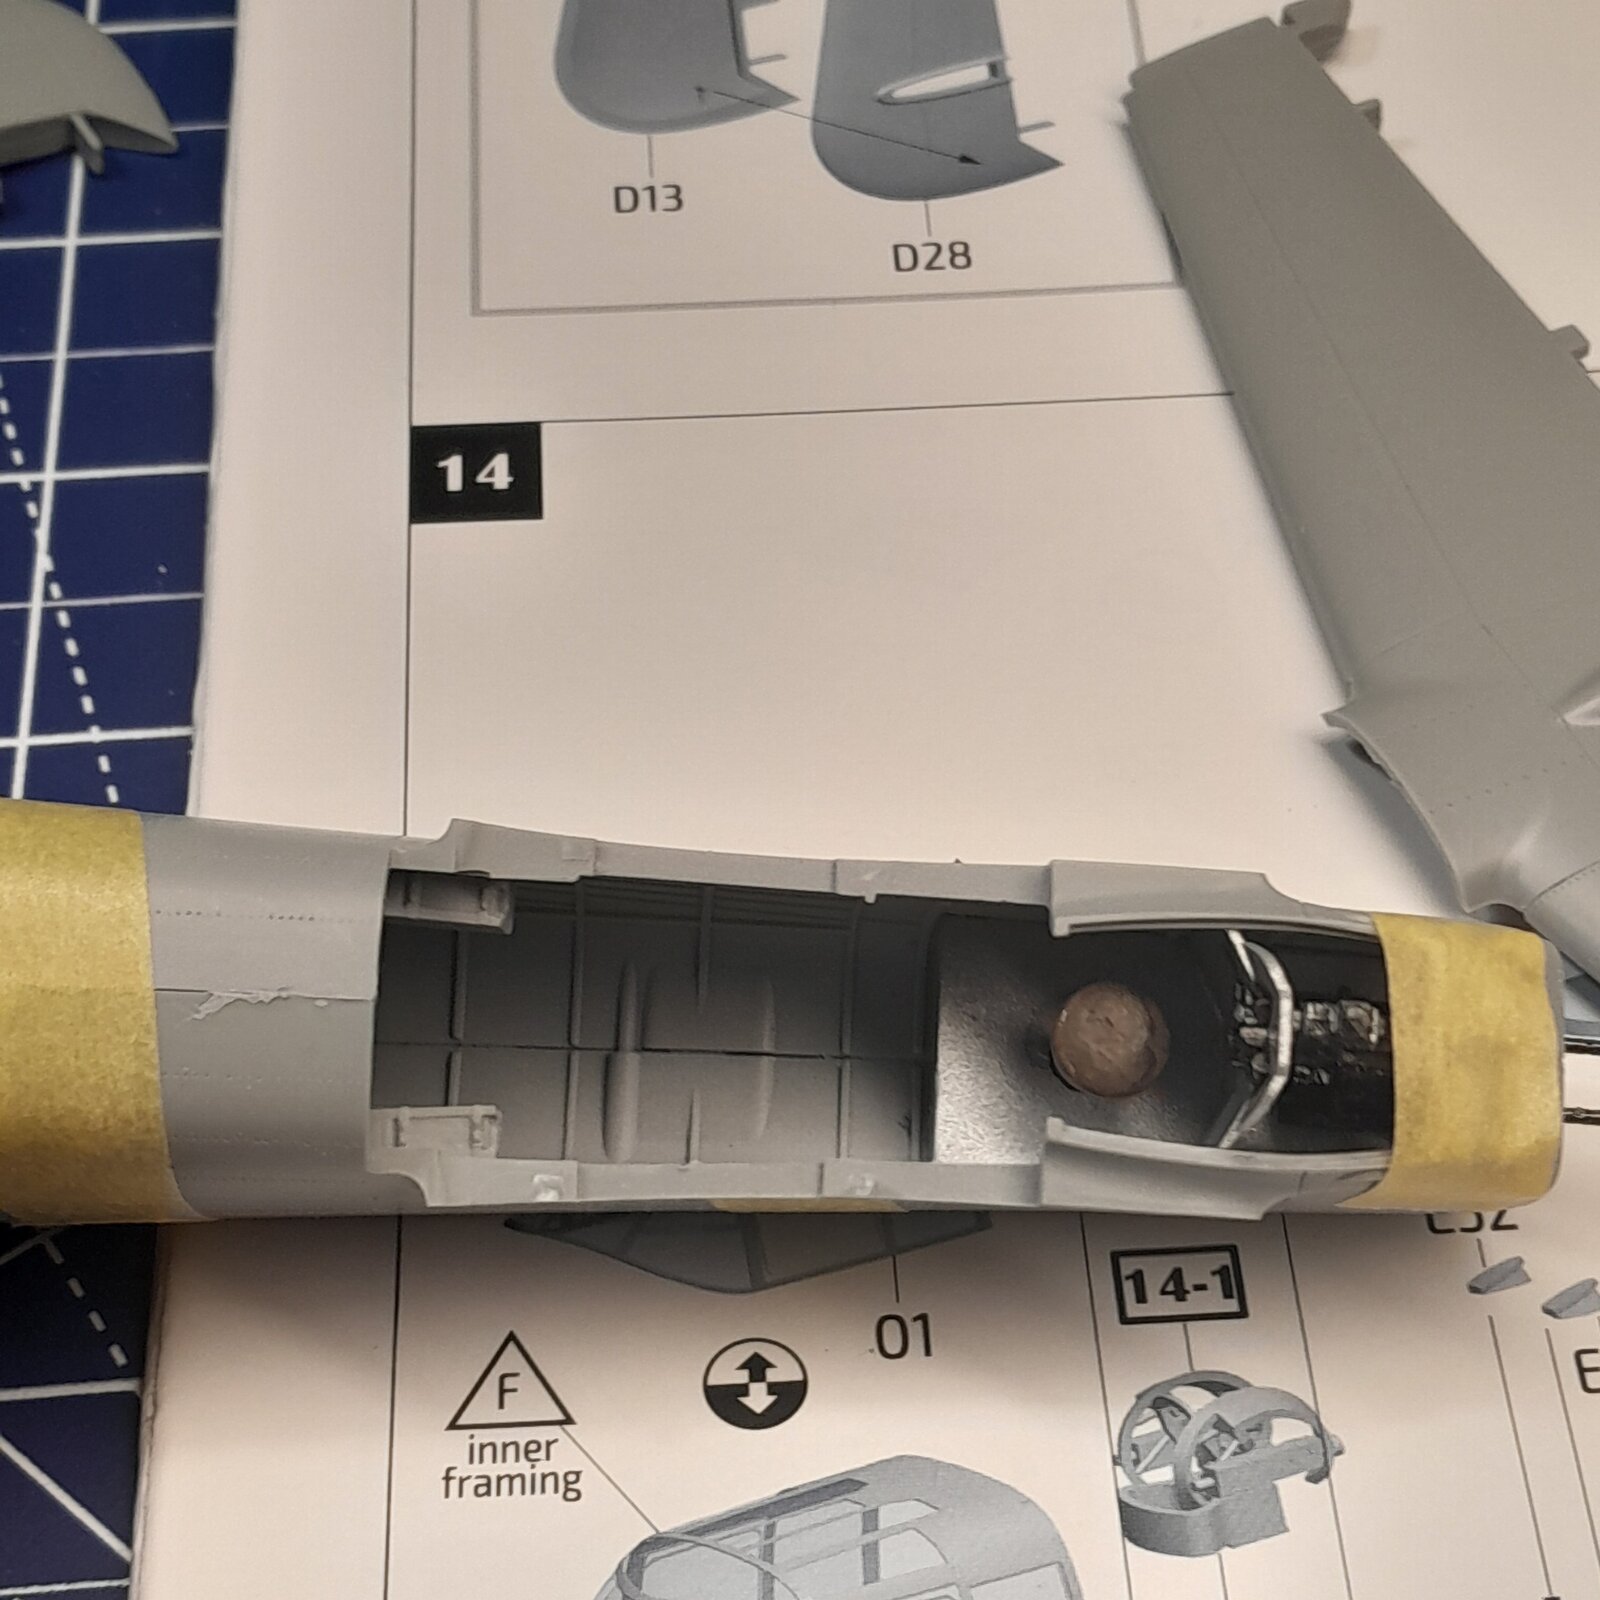
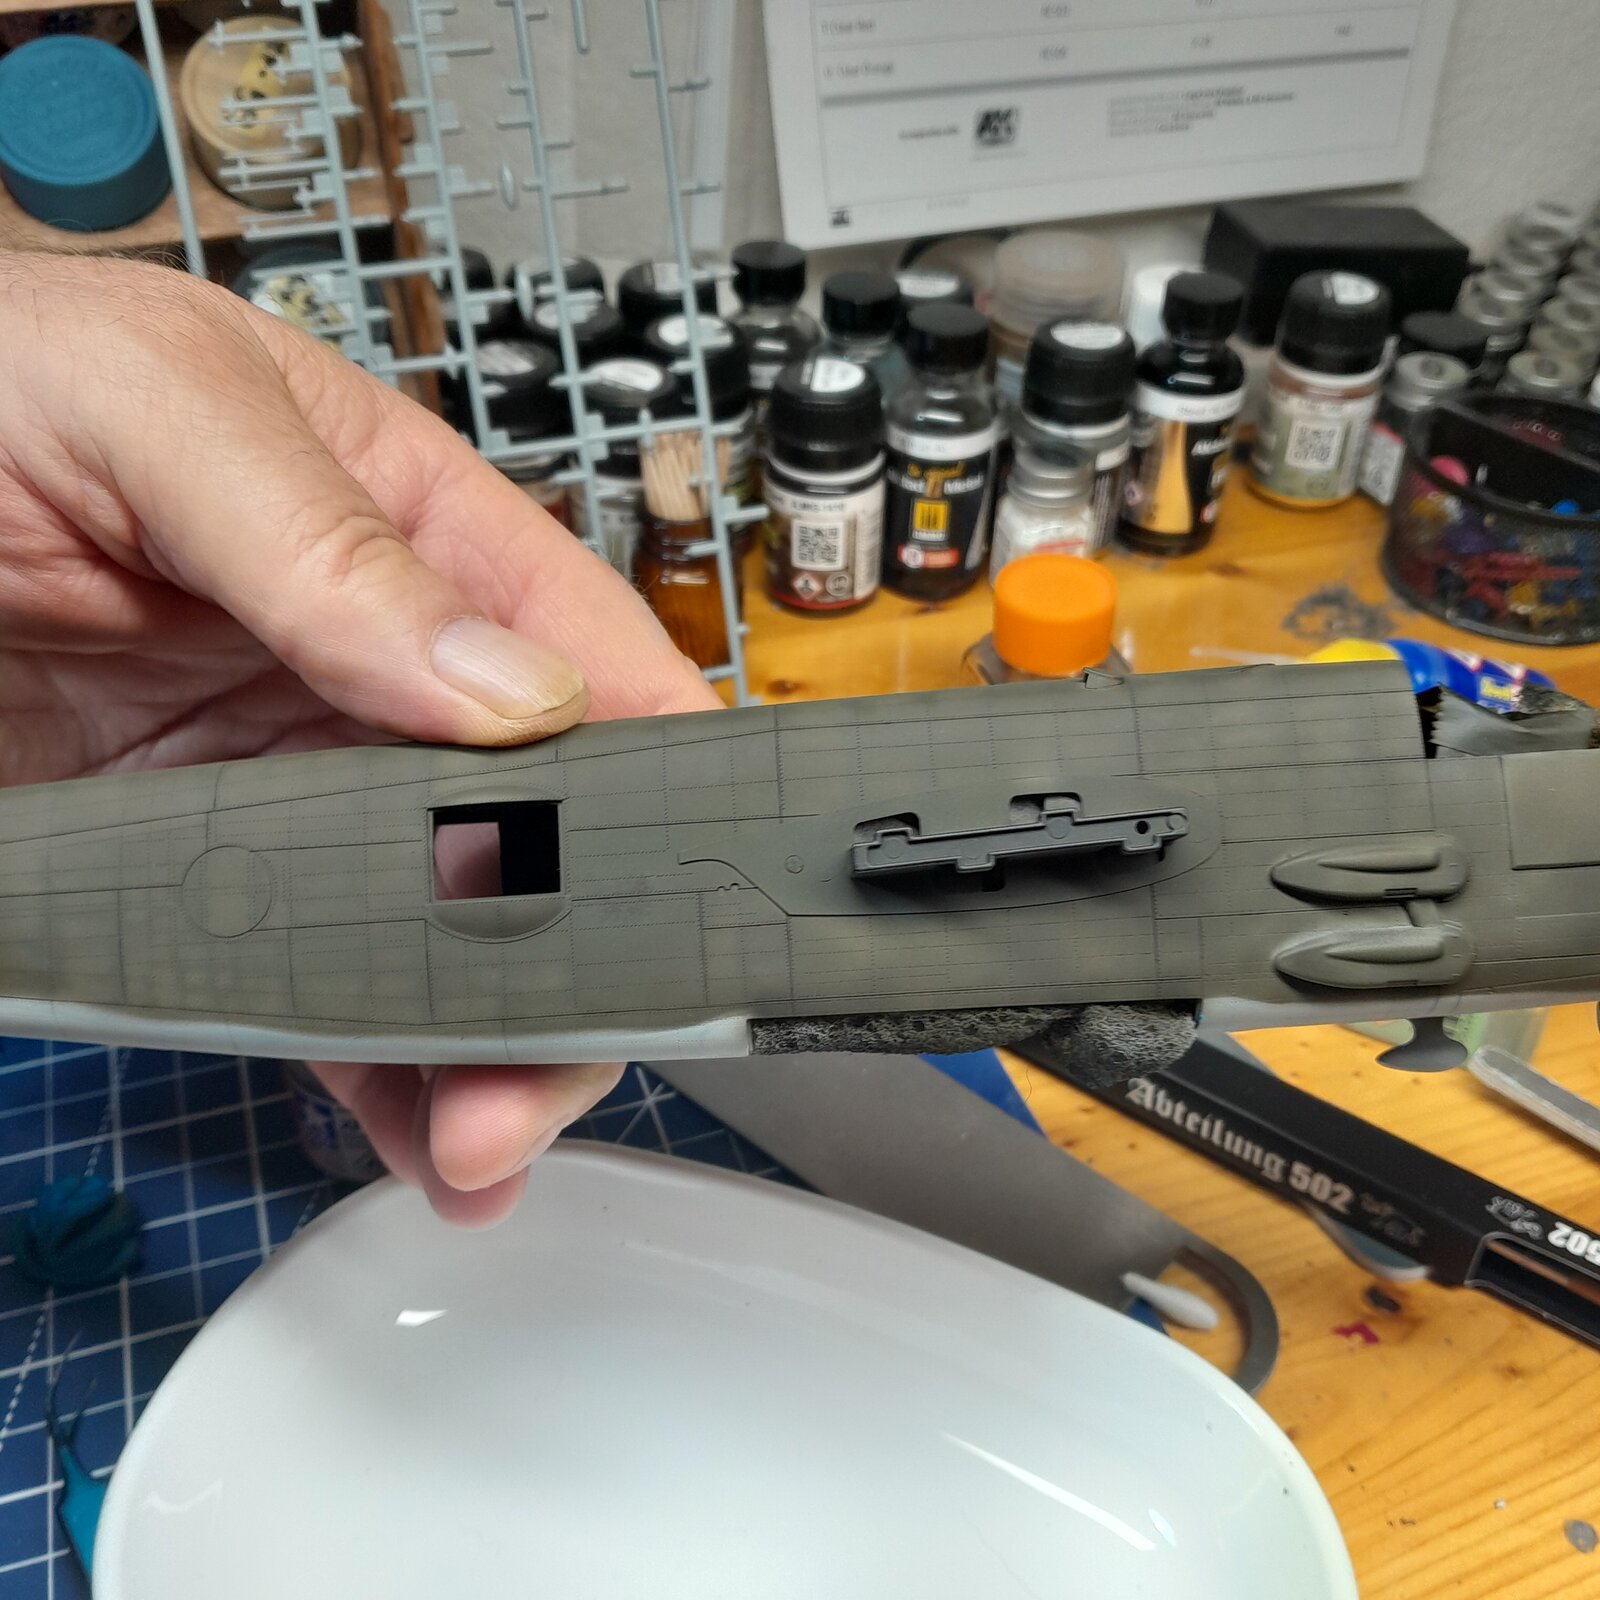
I never use tape of any kind when gluing parts together. I use clamps instead, well away from any seam I'm working on. When the clamps can't work, I've been known to sit there and hold the parts together until the plastic rehardens. (One of the reasons my builds are glacially slow.)I put the tape on and it looks like extra thin got underneath it in a pool. Because thin set does not stick to tape but it does get underneath it and it'll spread out and ruin the detail on the rivets. Live and learn.
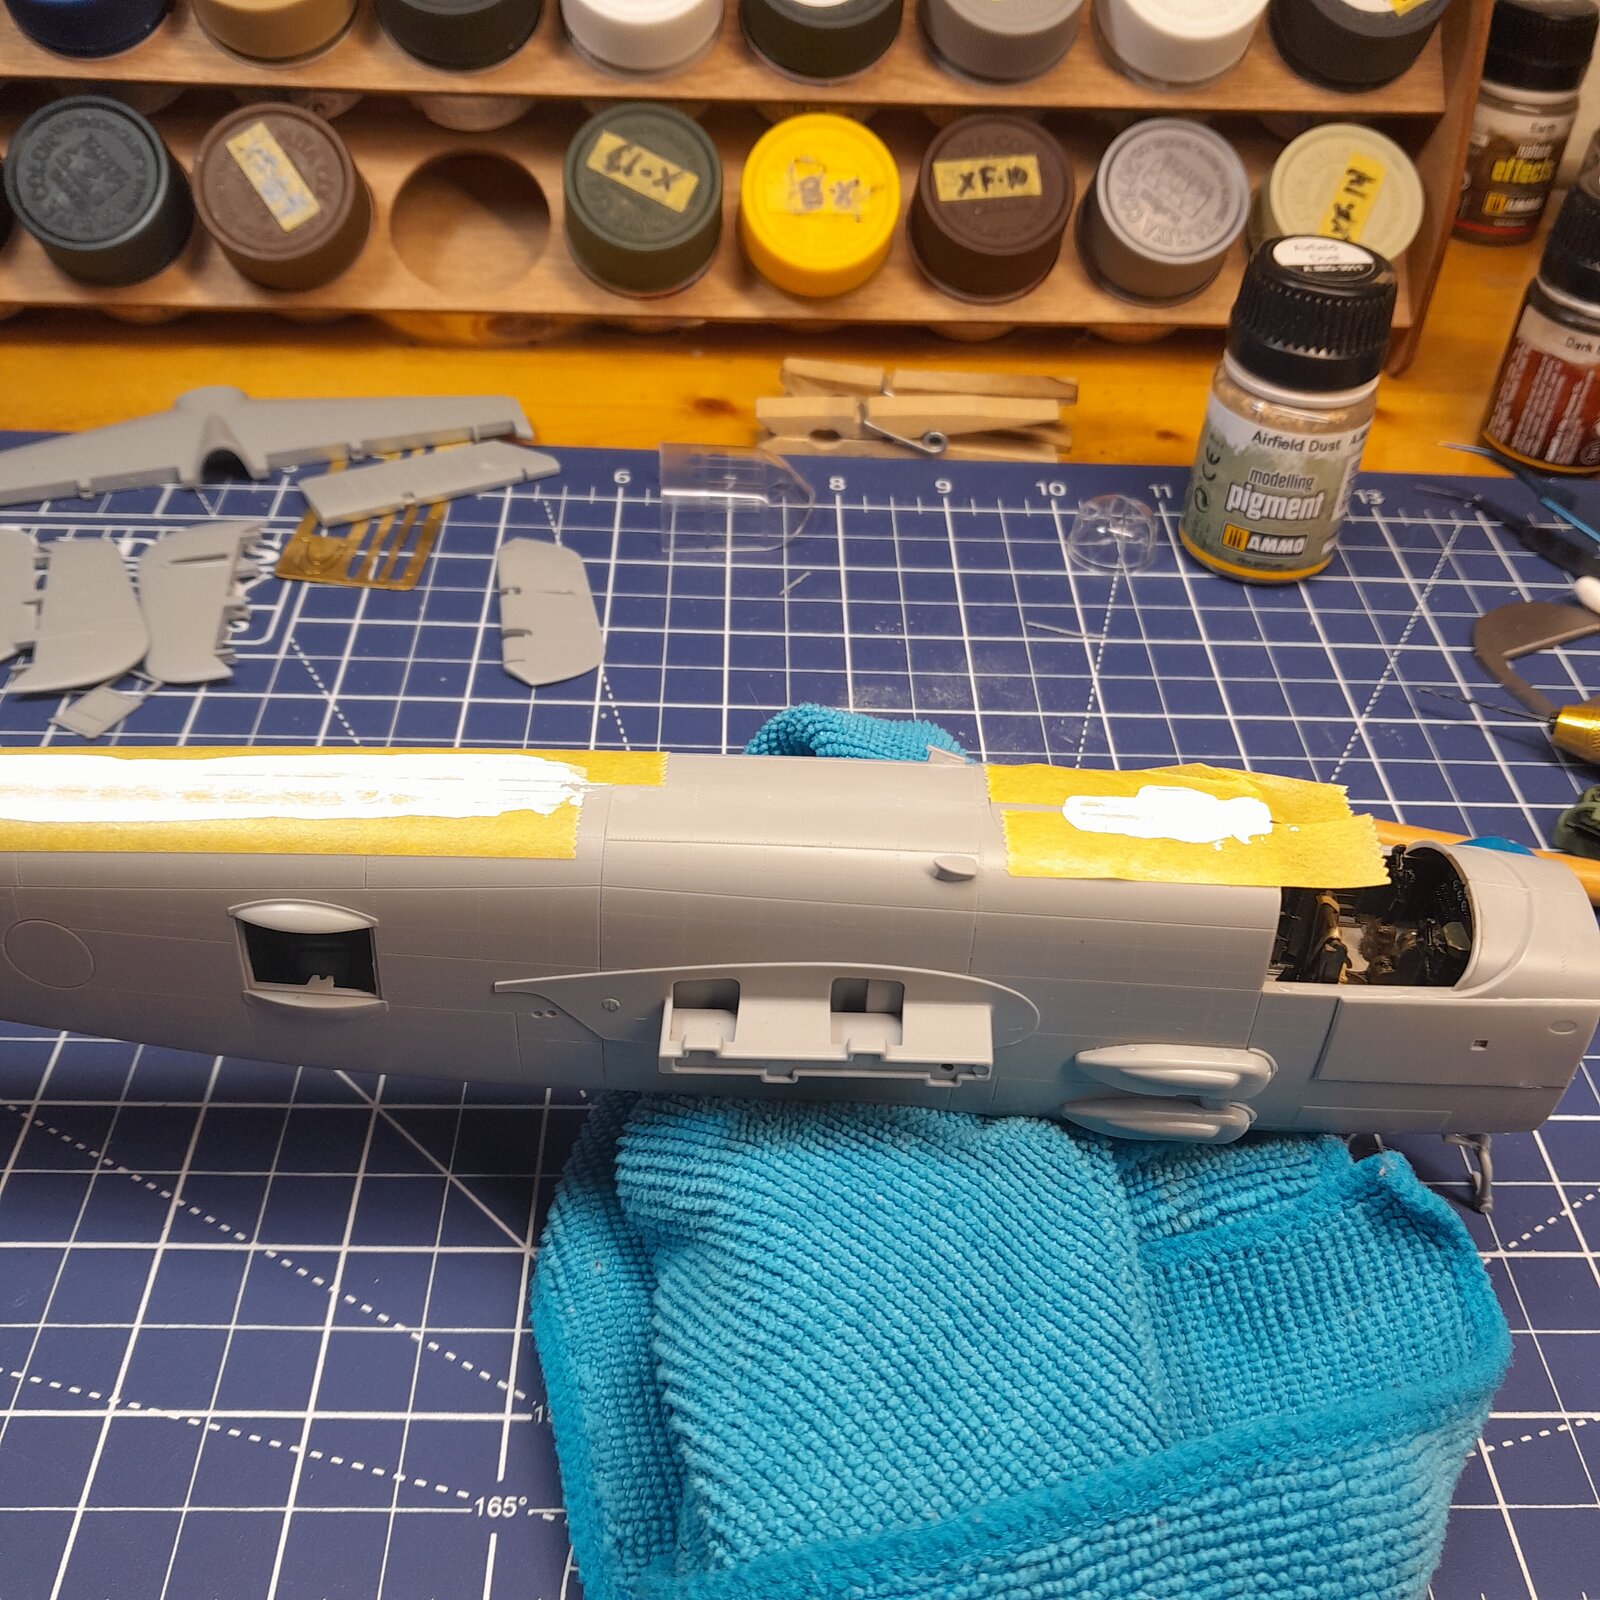
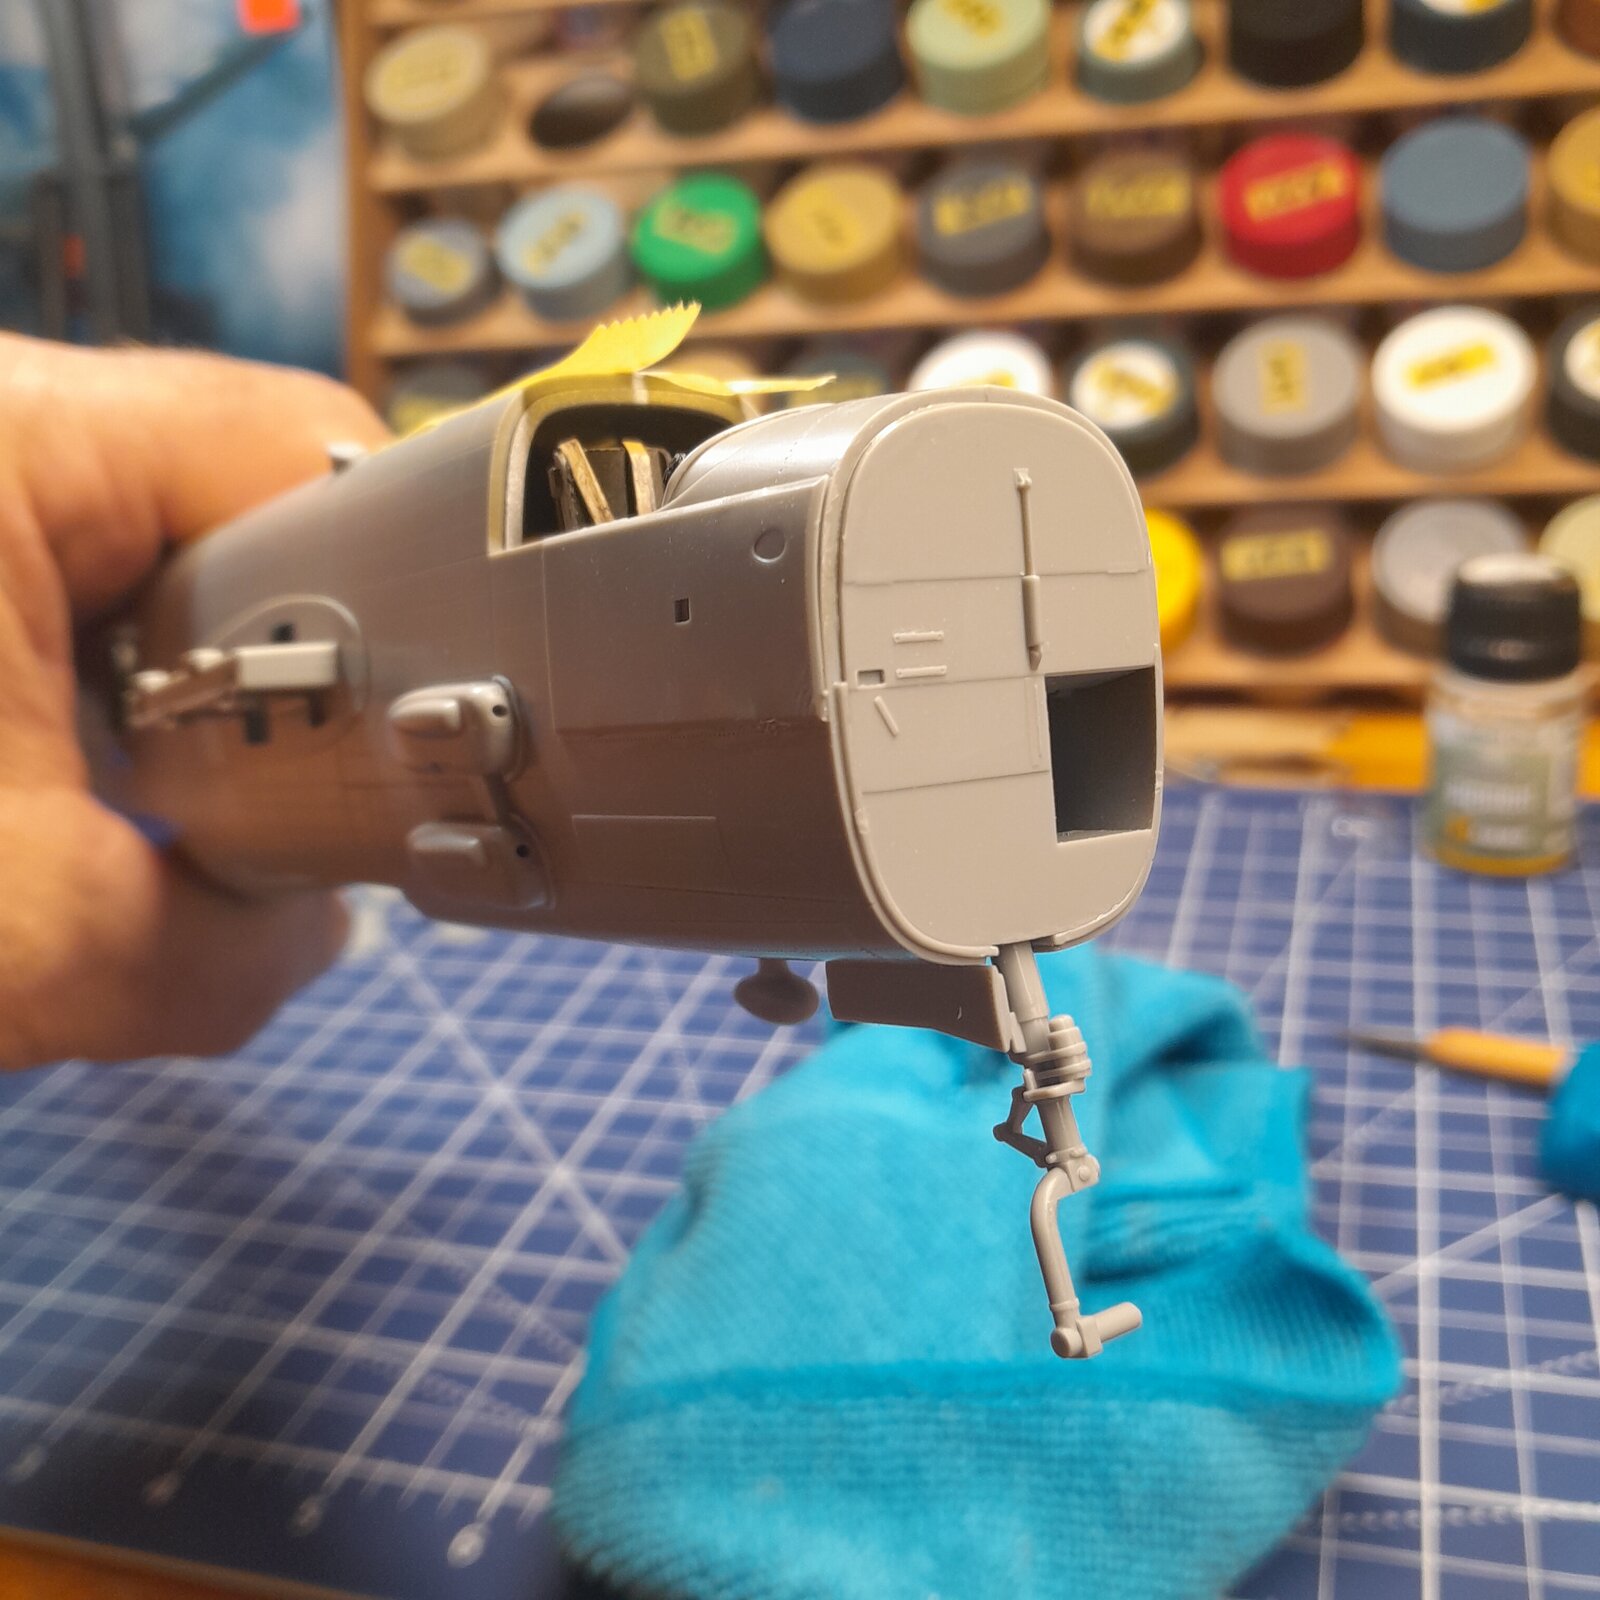
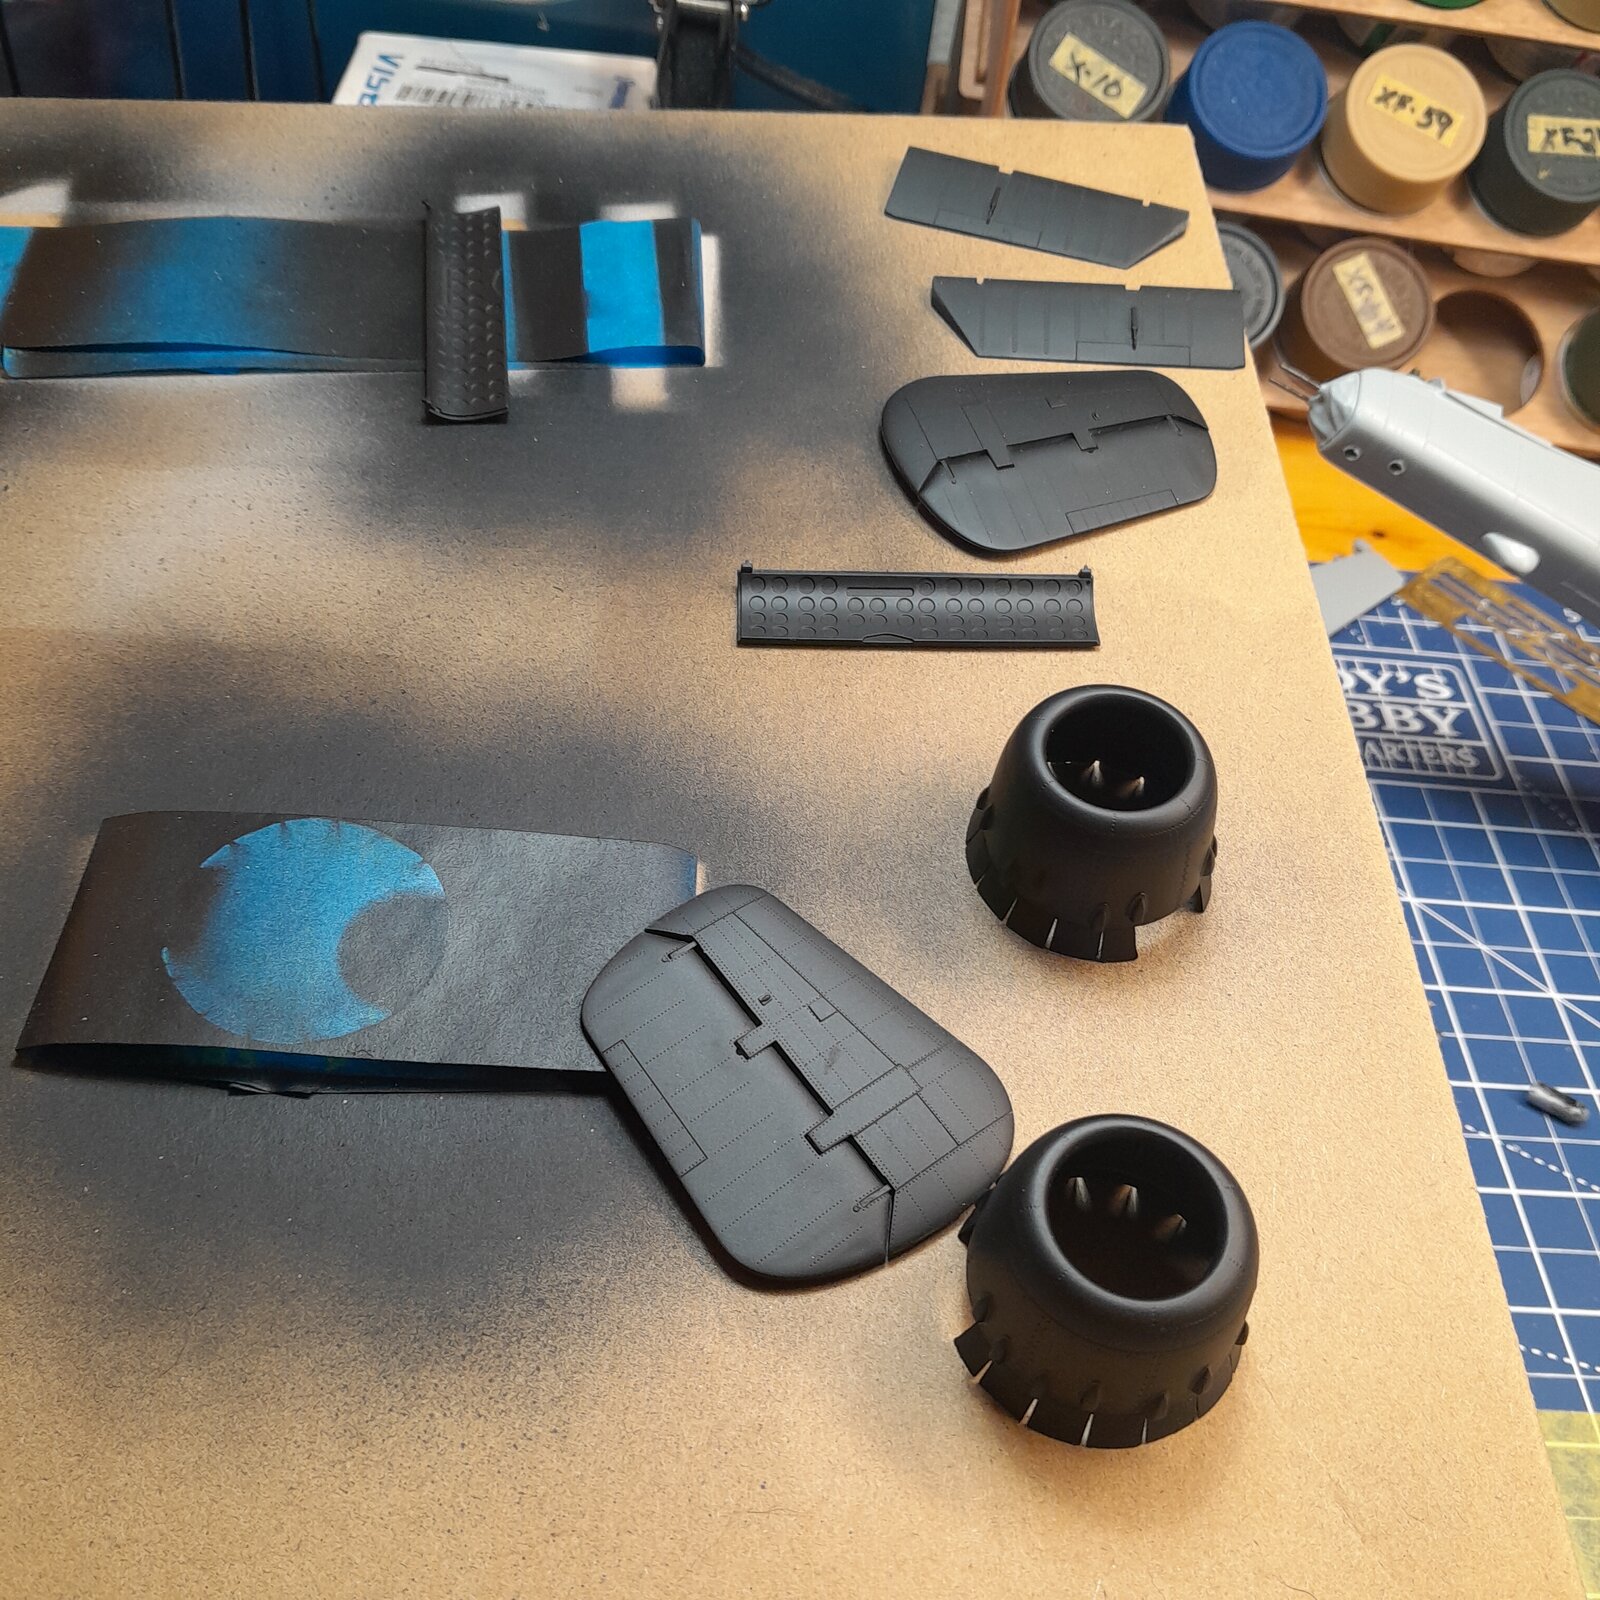
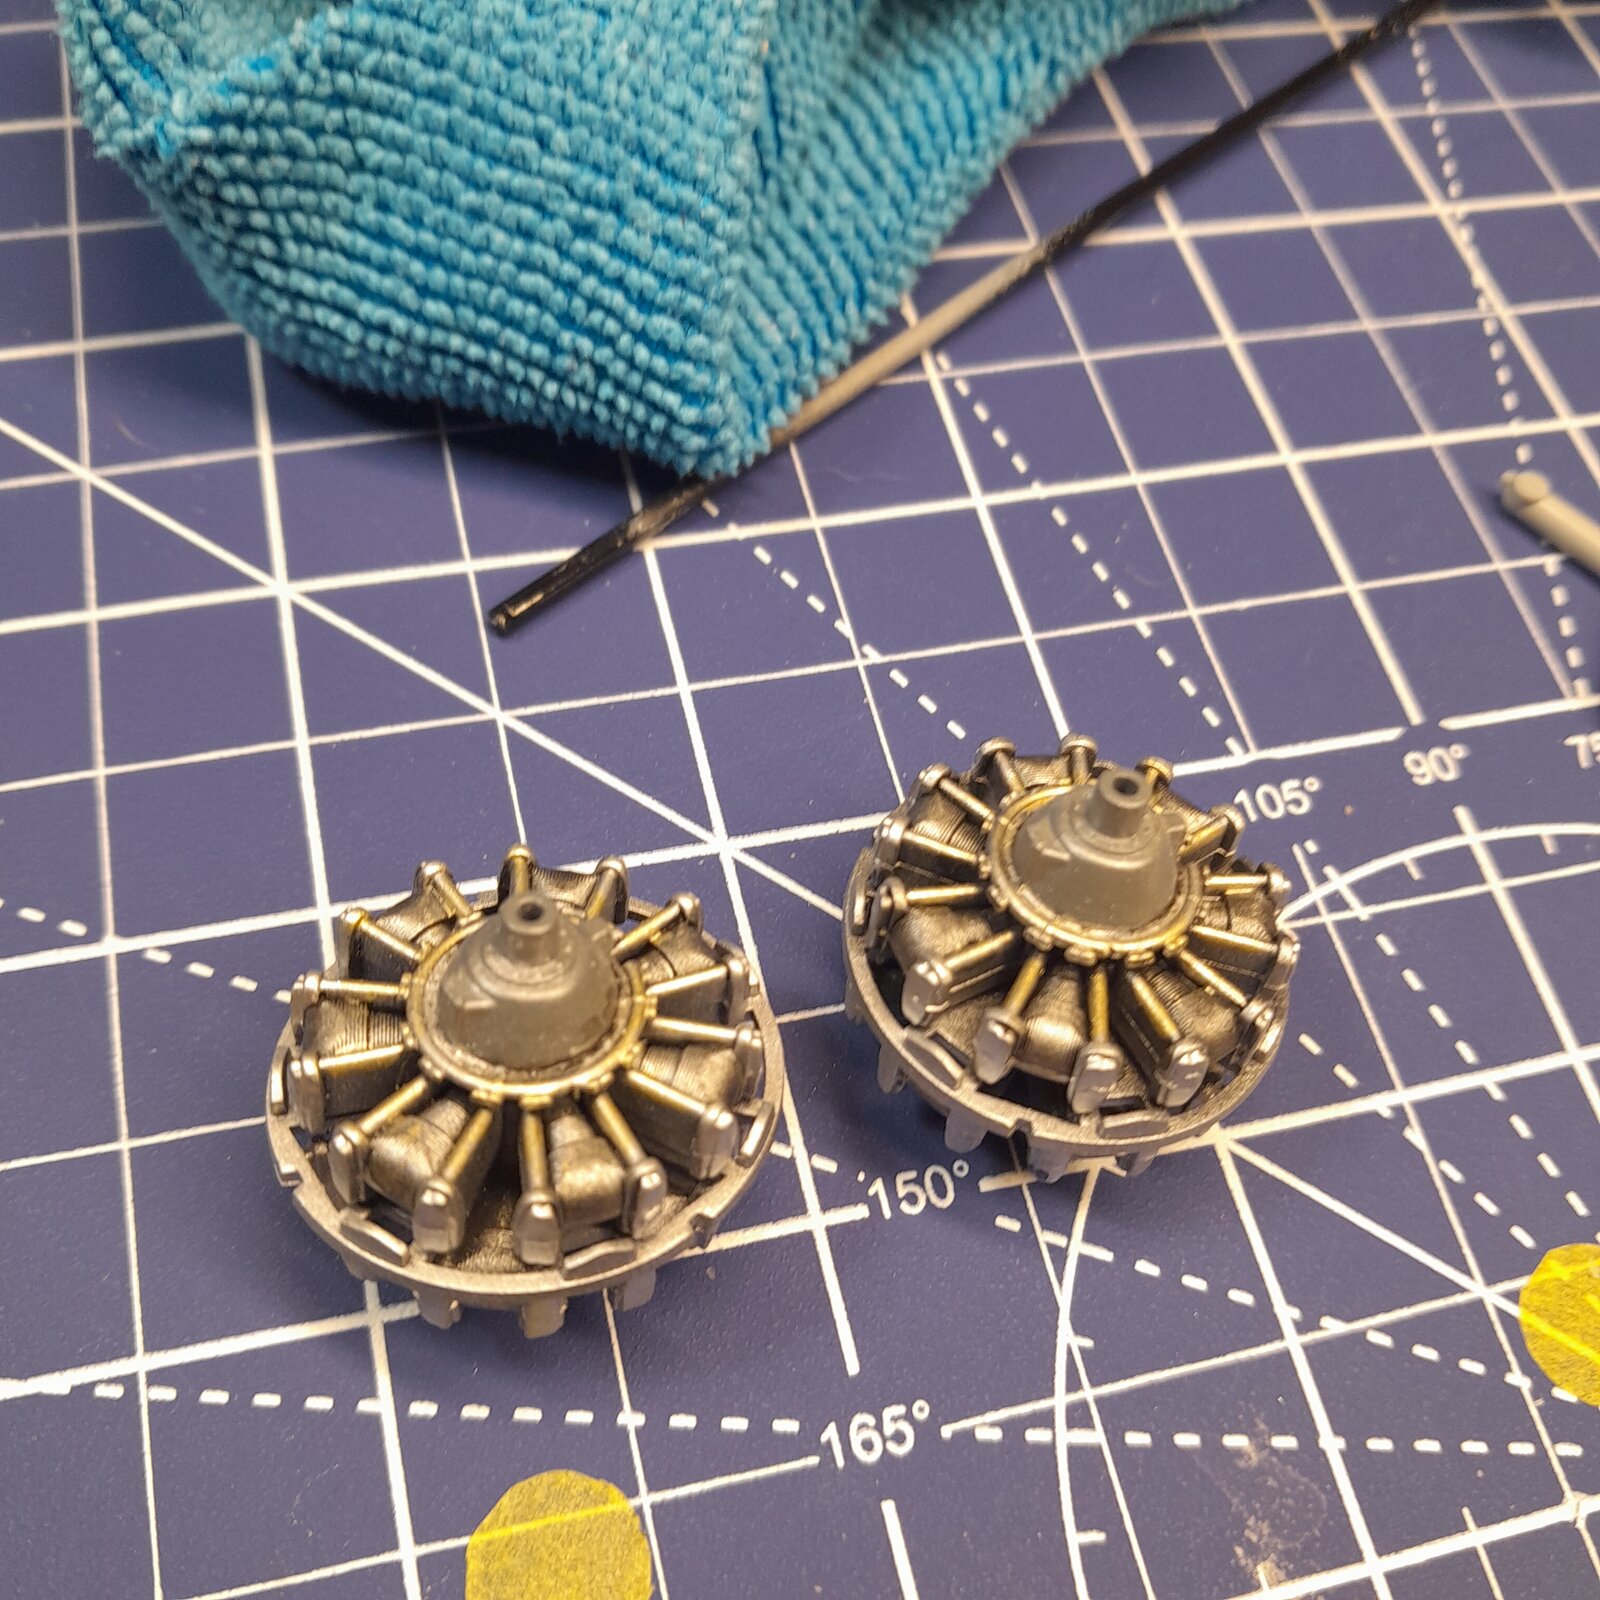
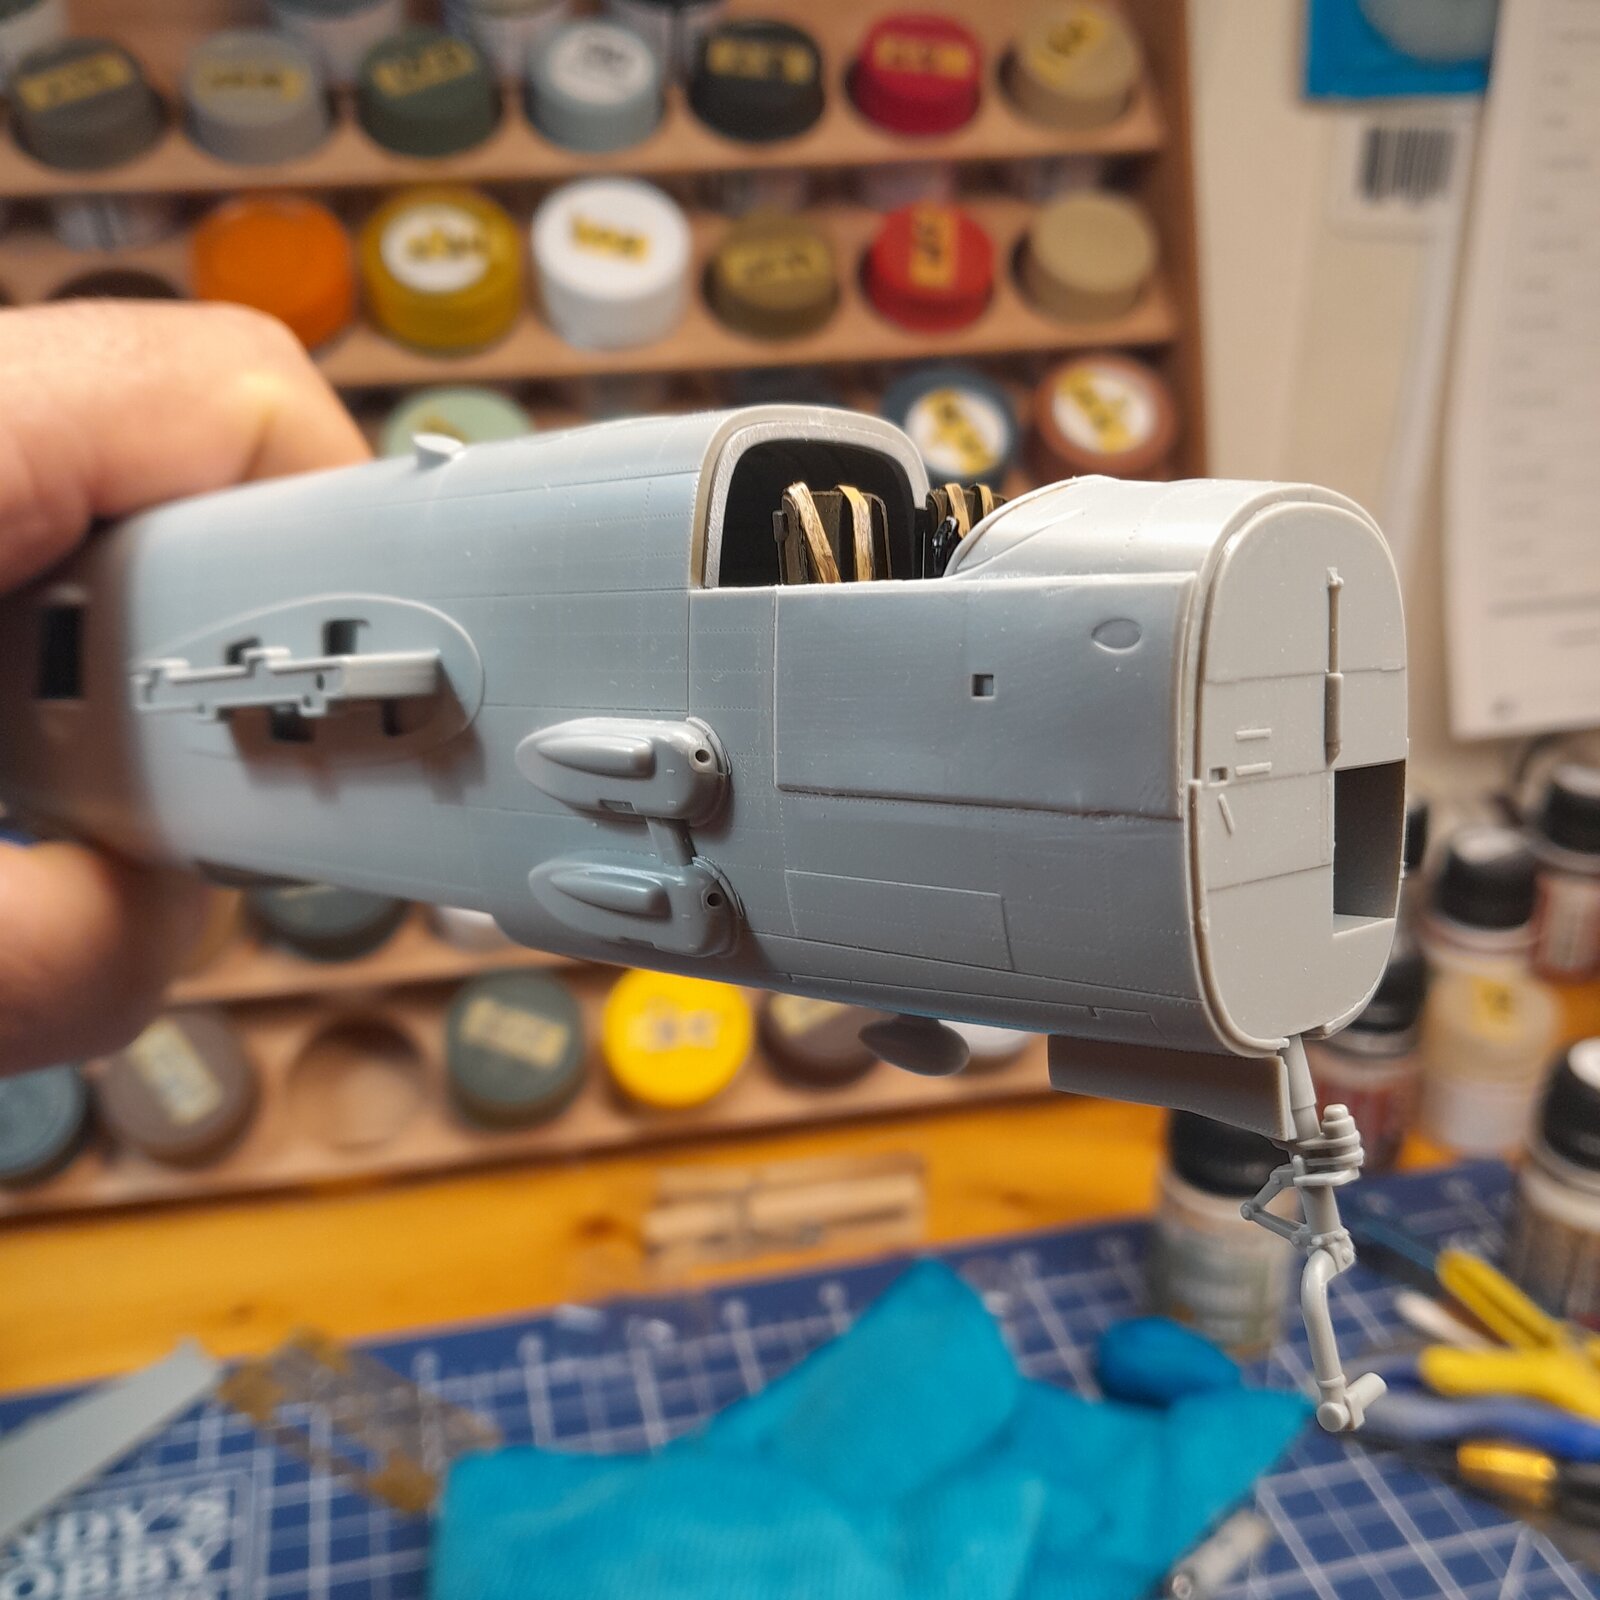
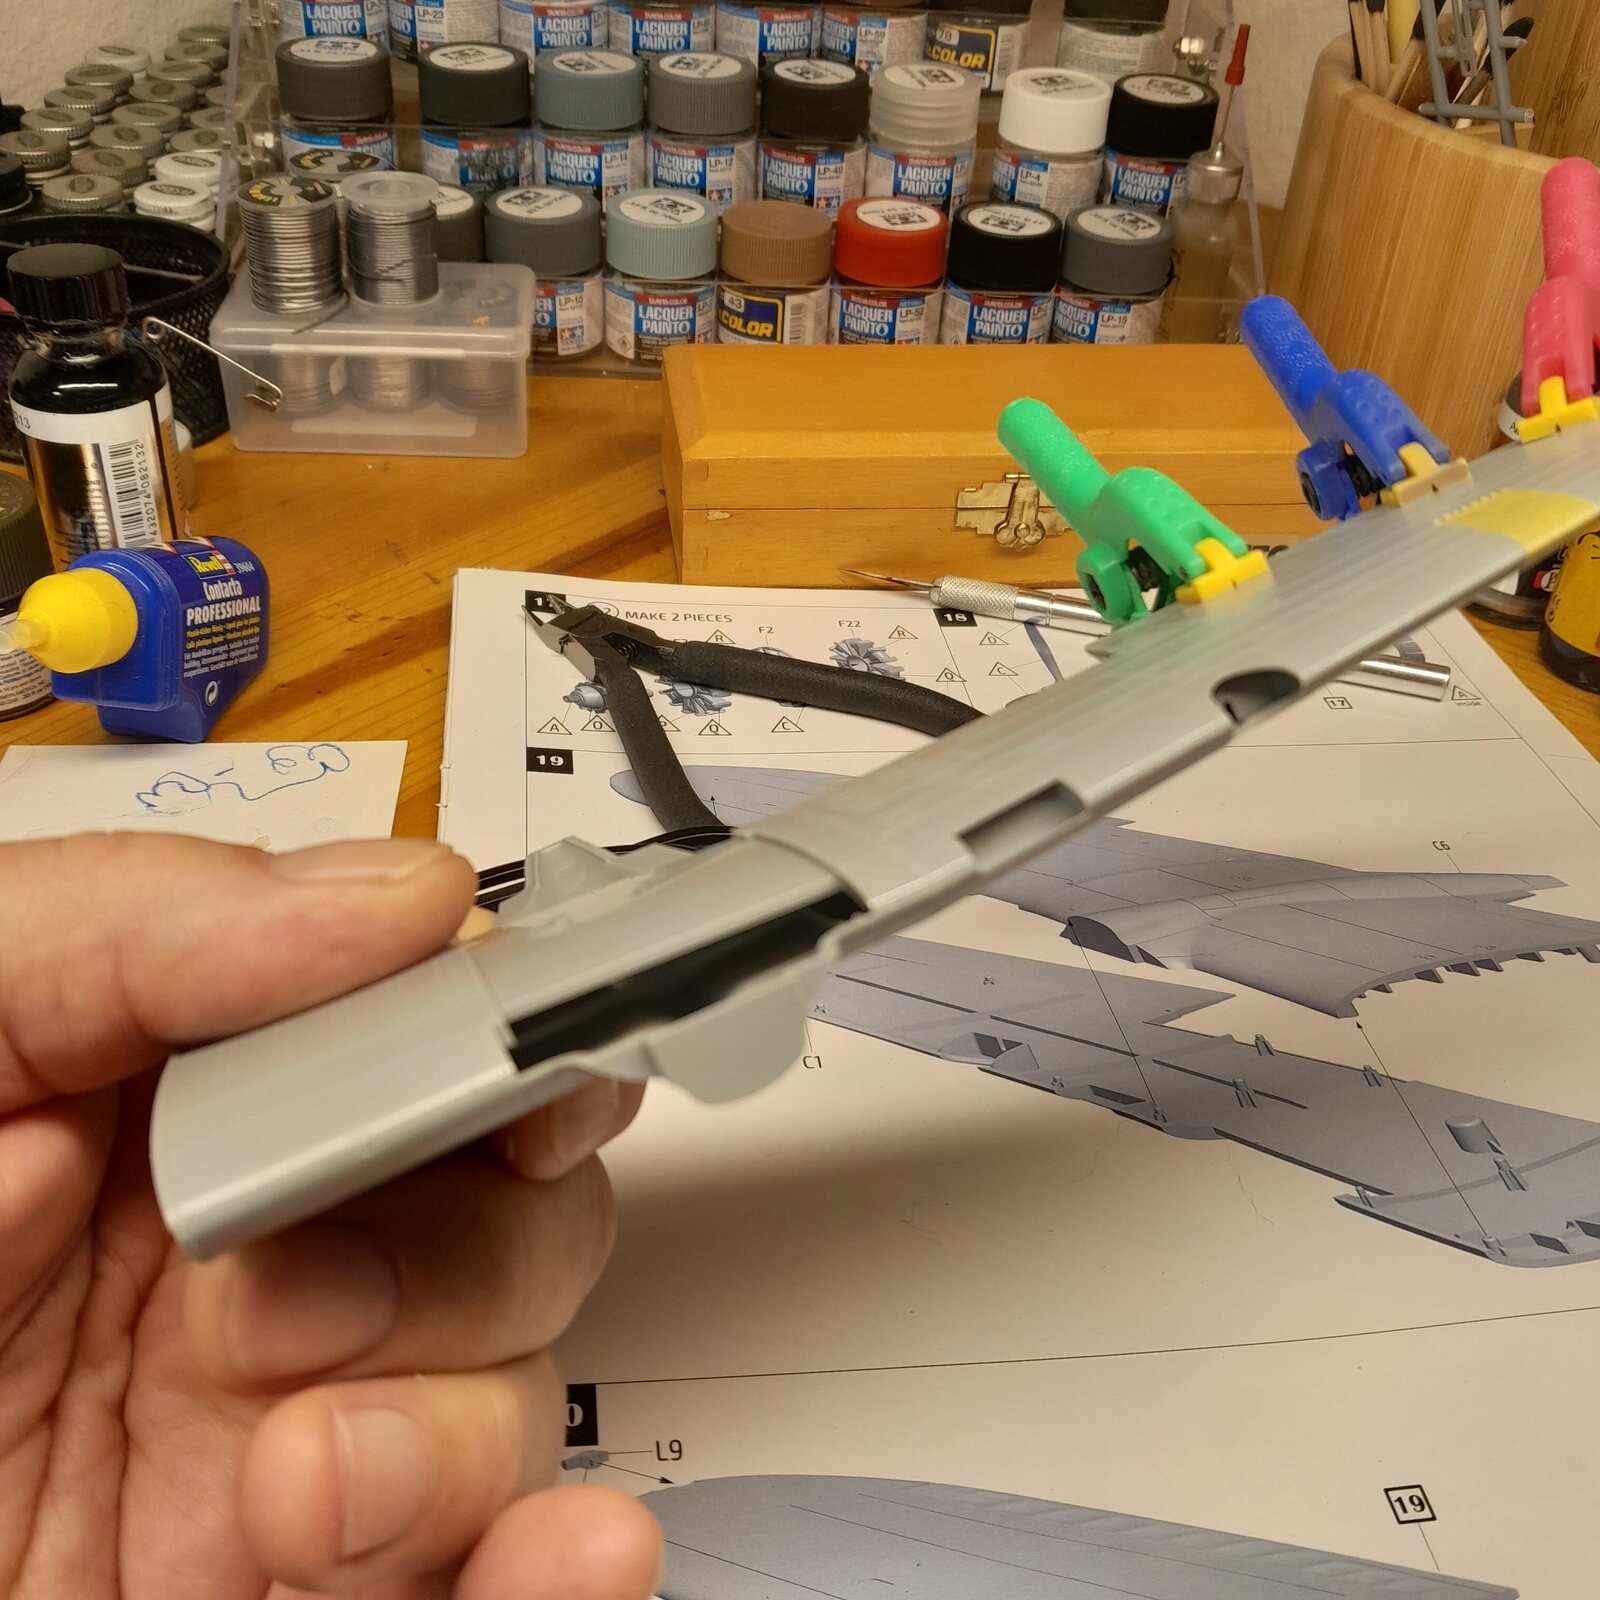
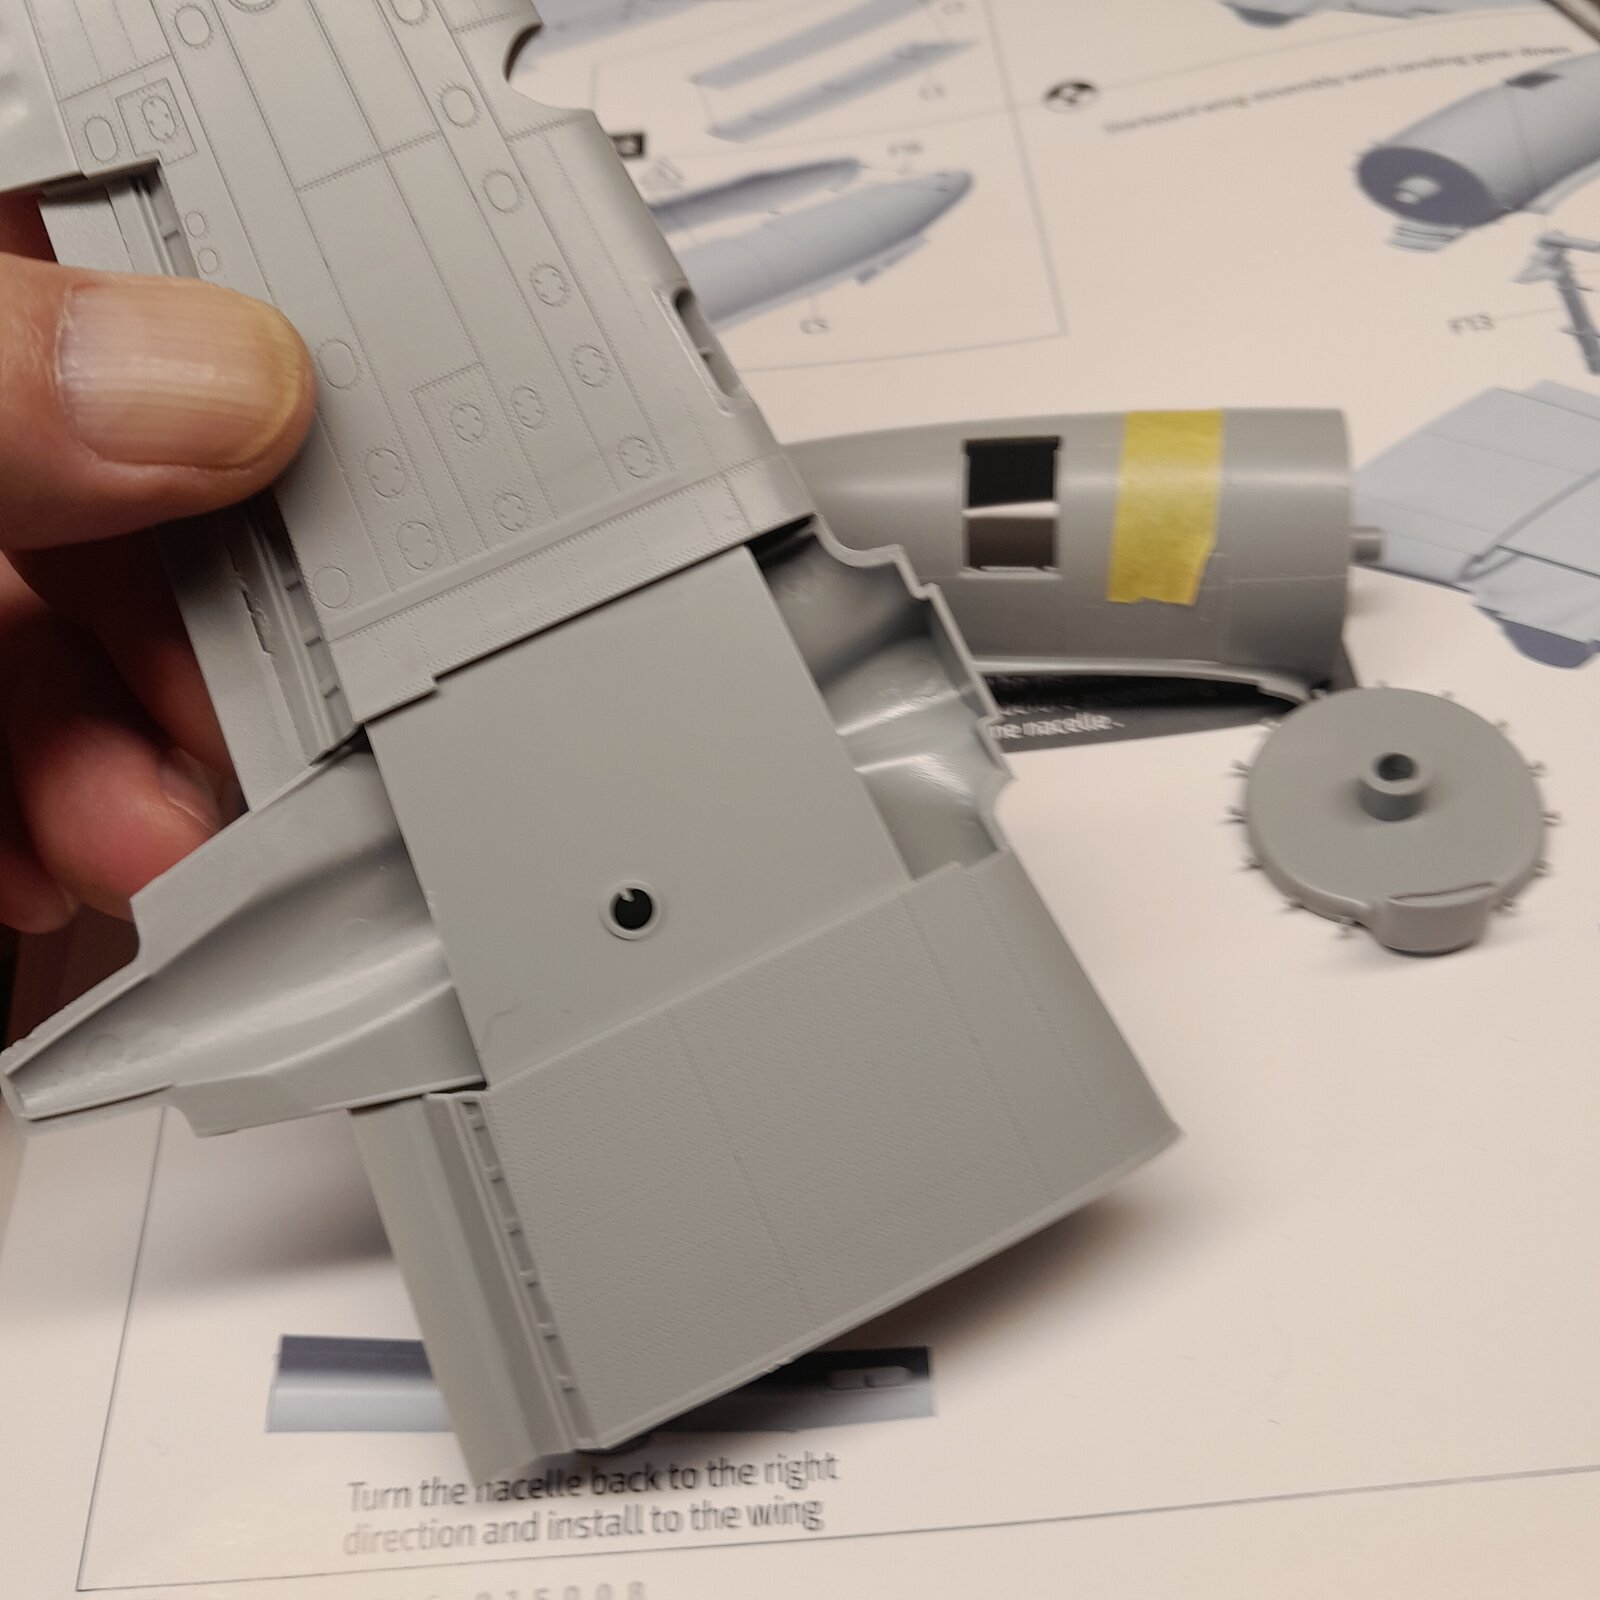
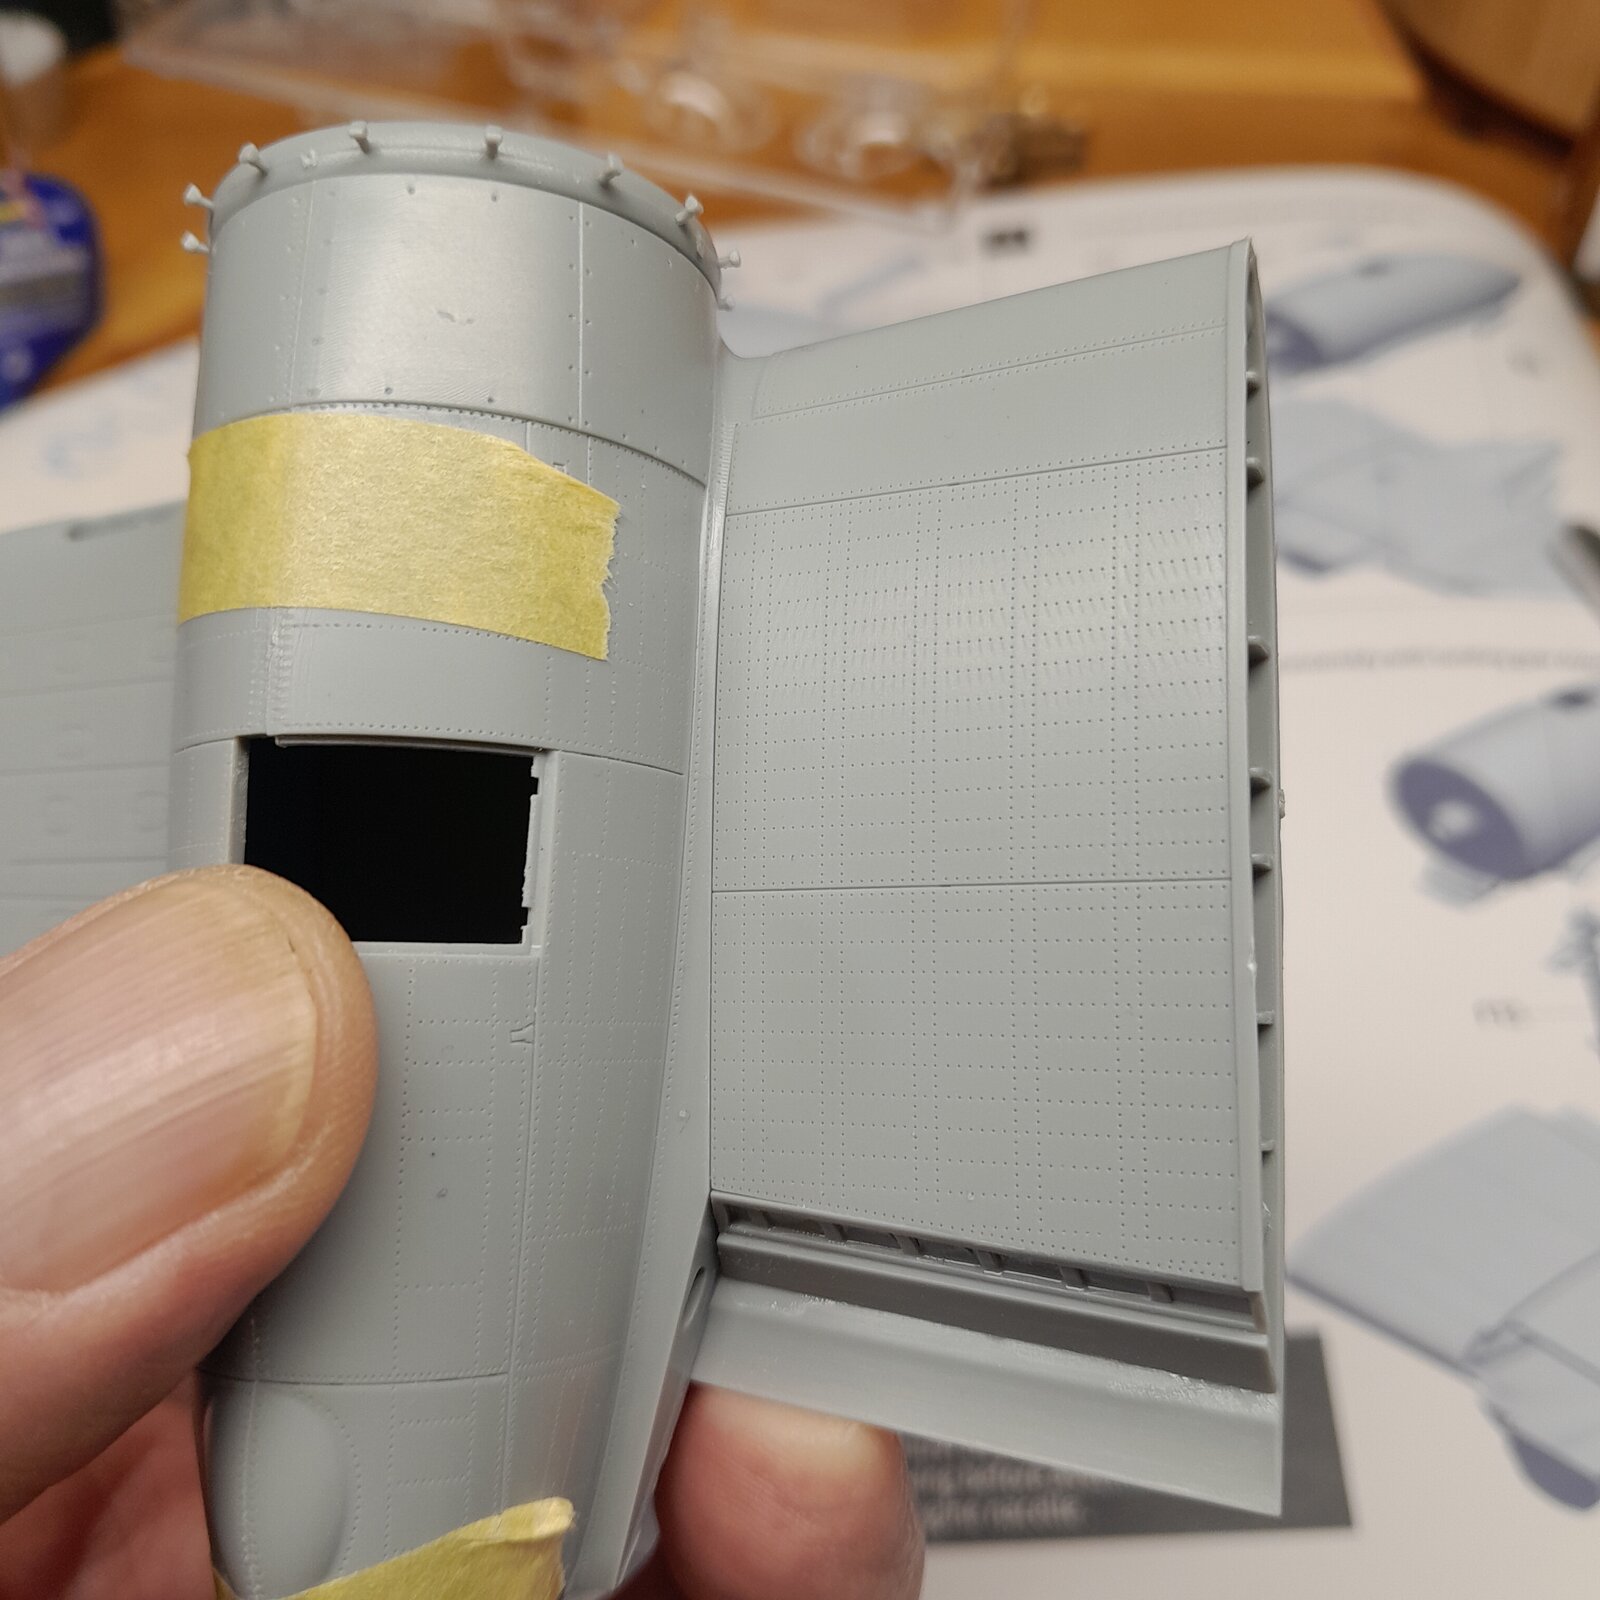
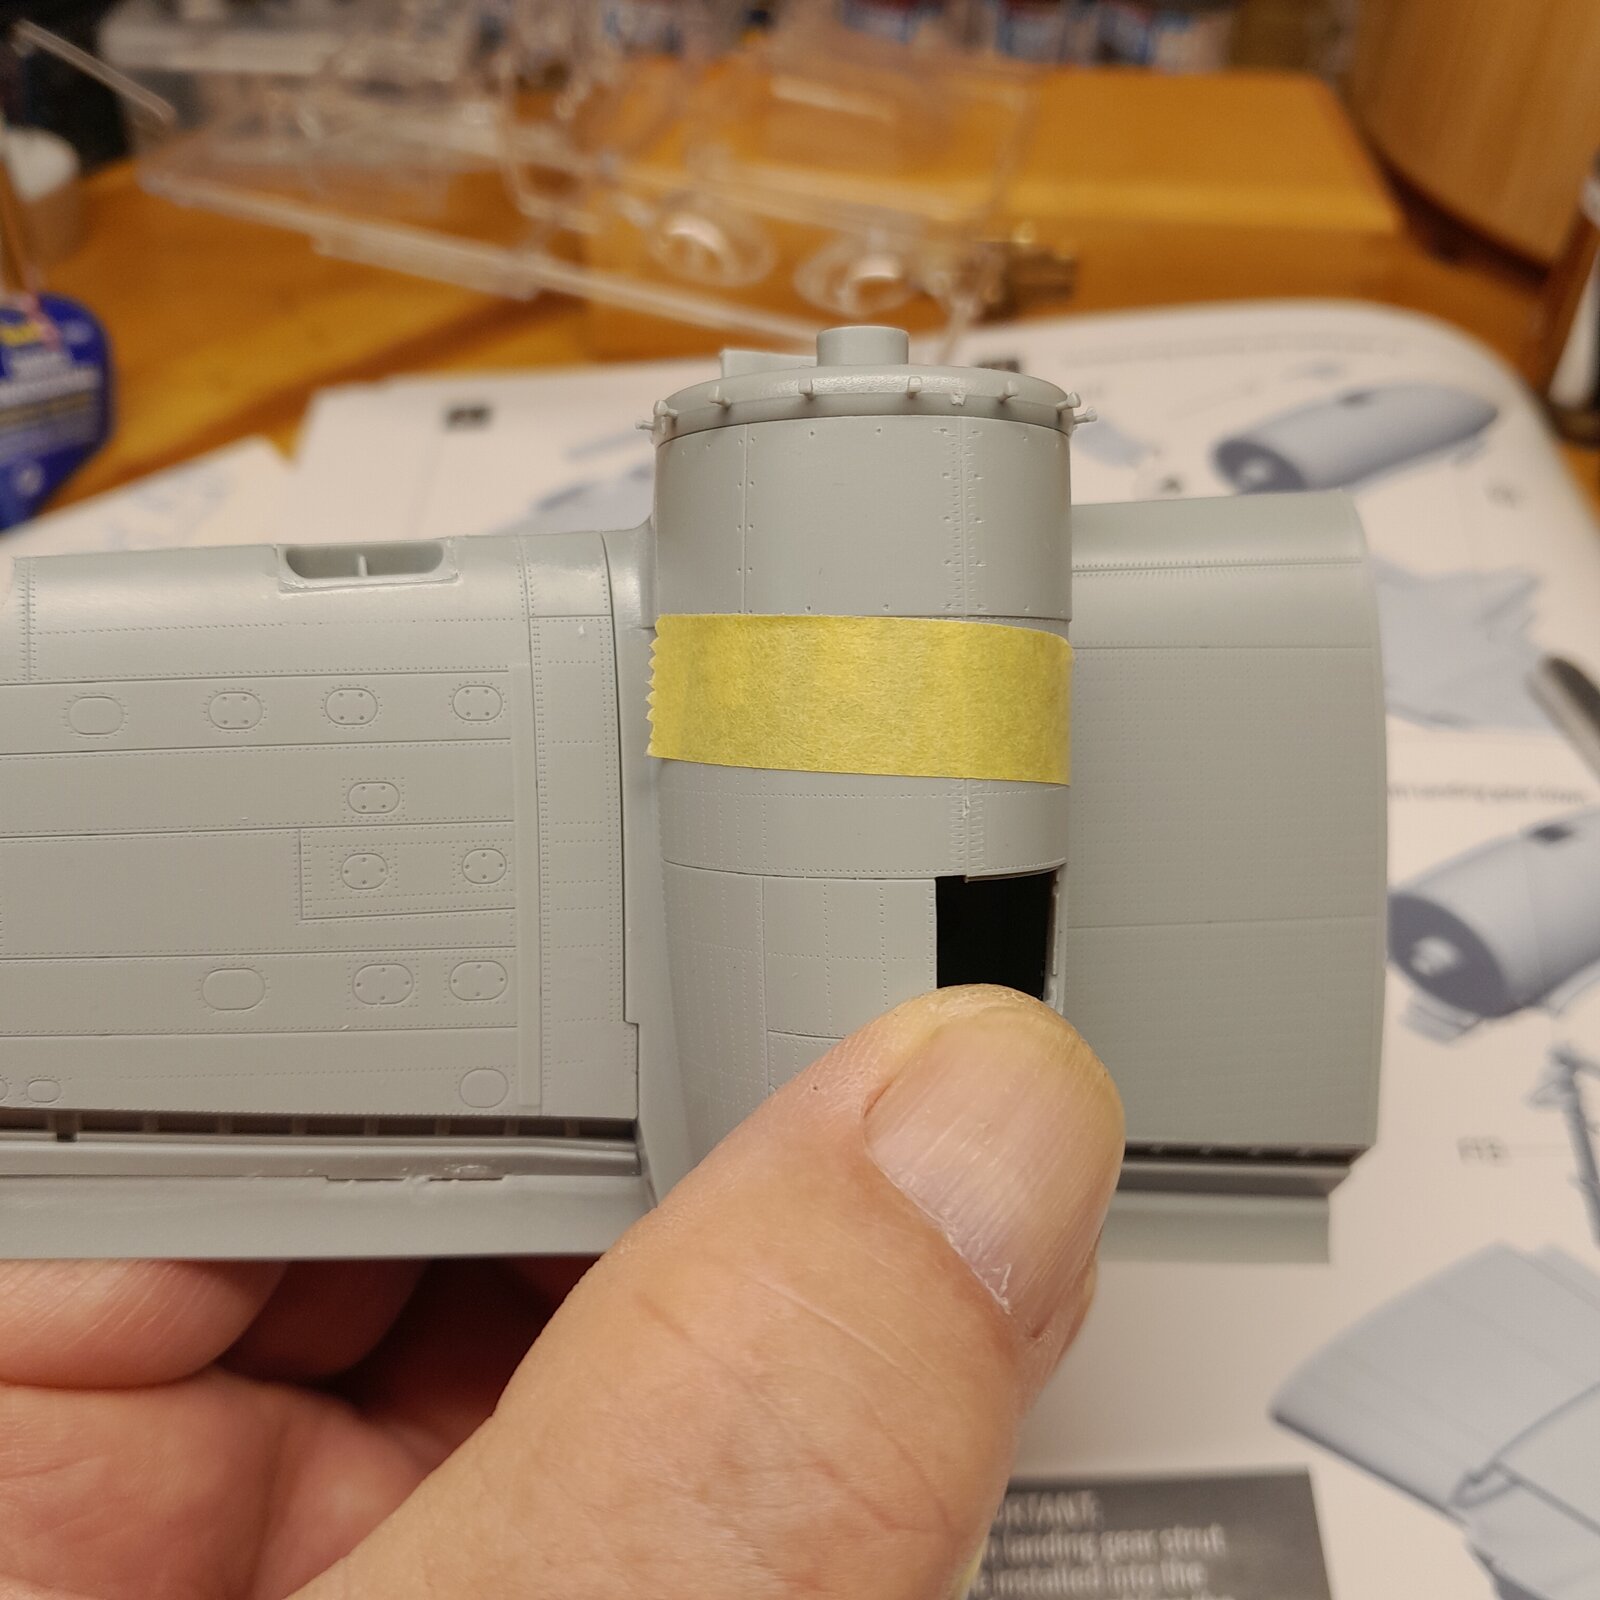
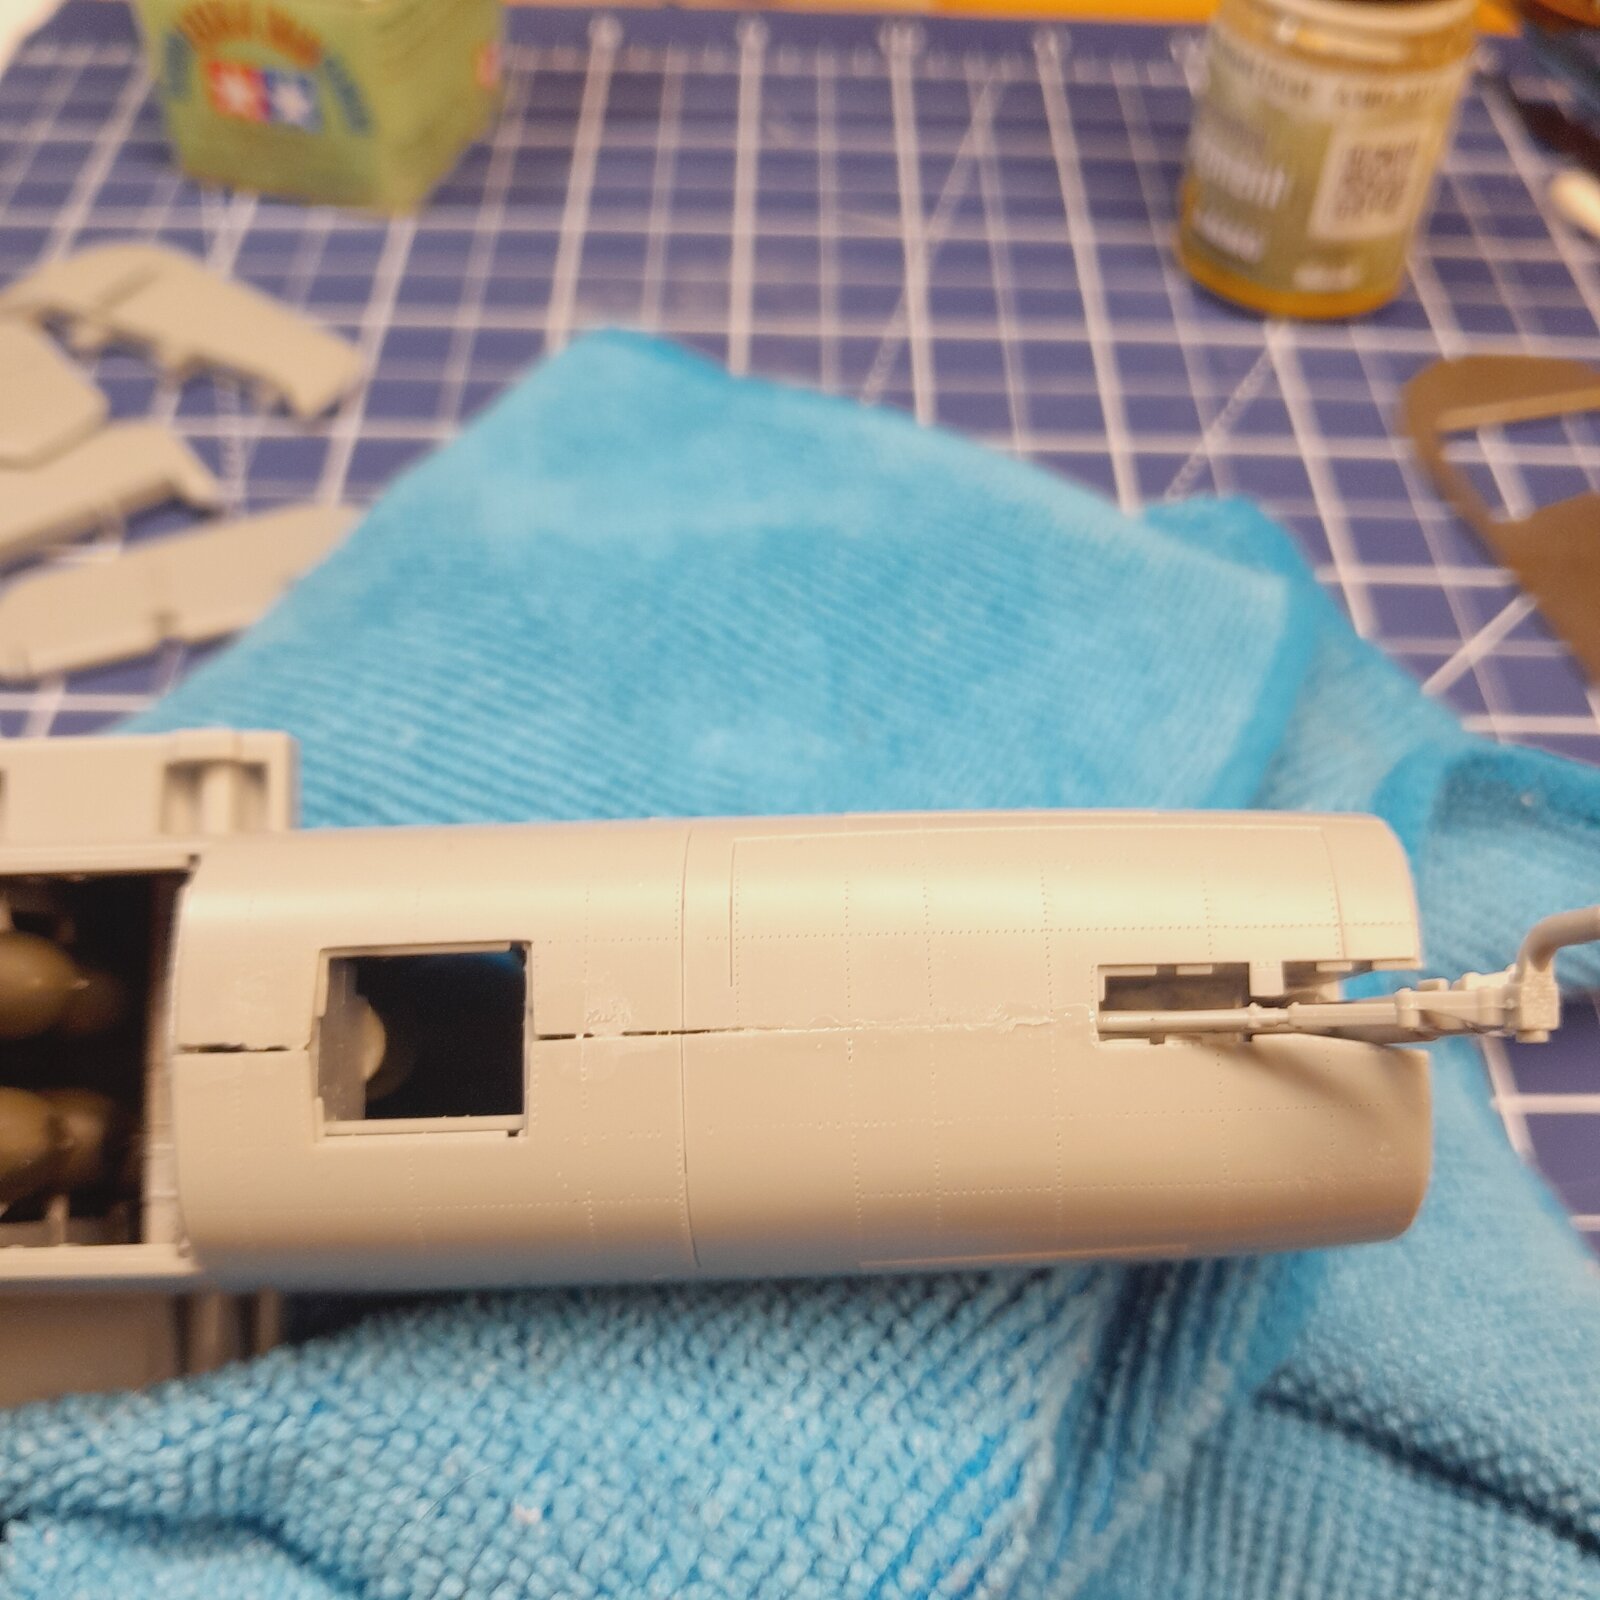
I was looking for the front nose gear door and I passed over it a couple times not reading the numbers and just looking for it. That's it? That little thing?One thing that I learned and was surprised about the Mitchell...
How small the landing gear doors were. The main gear opening is shown well by the last picture, quite small, but the nose gear was so small I had to go look it up because I thought my kitmaker had it wrong.

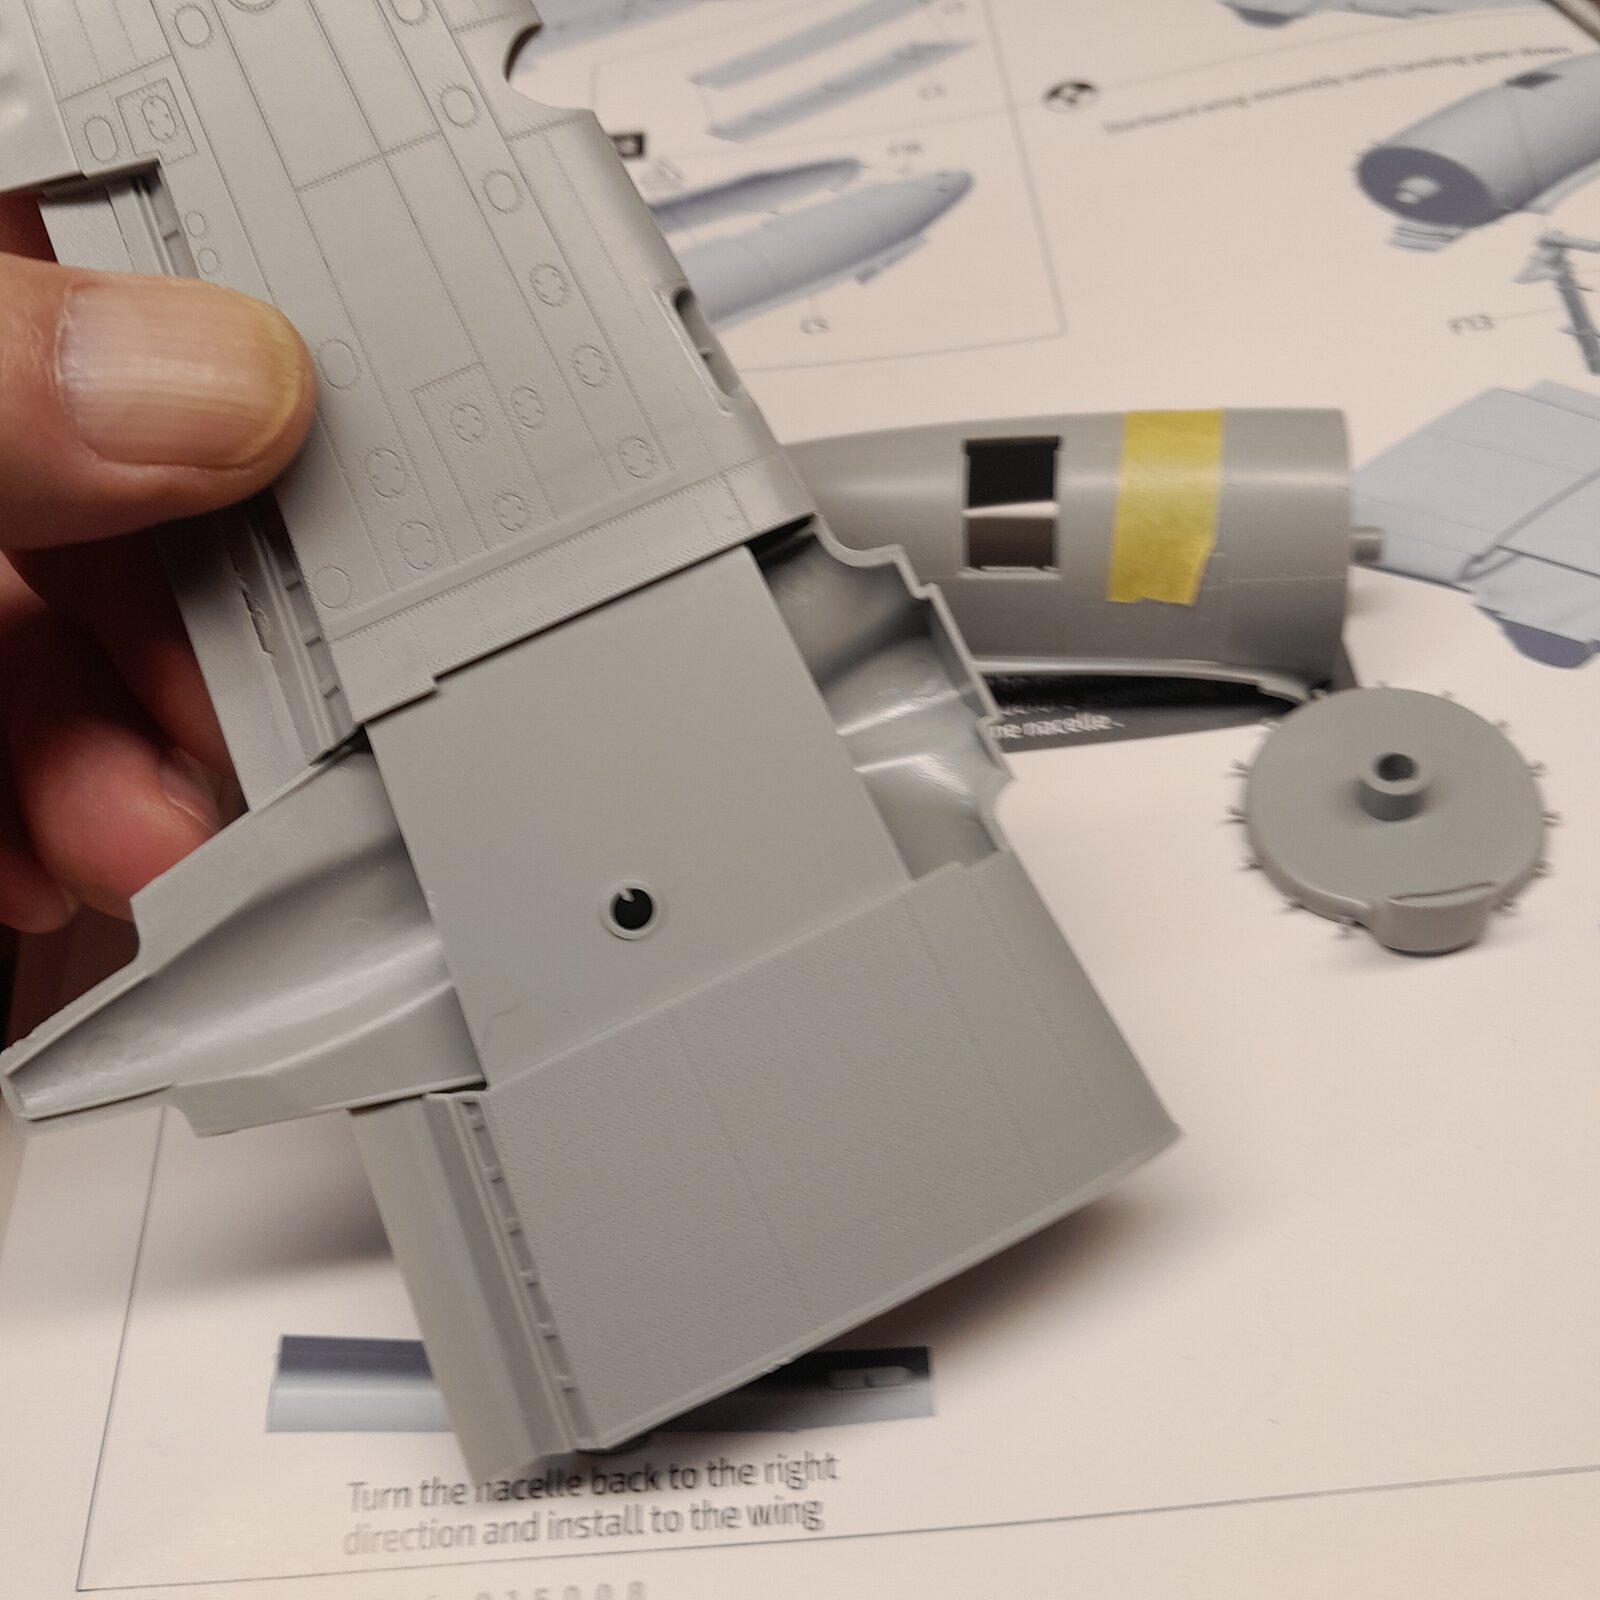
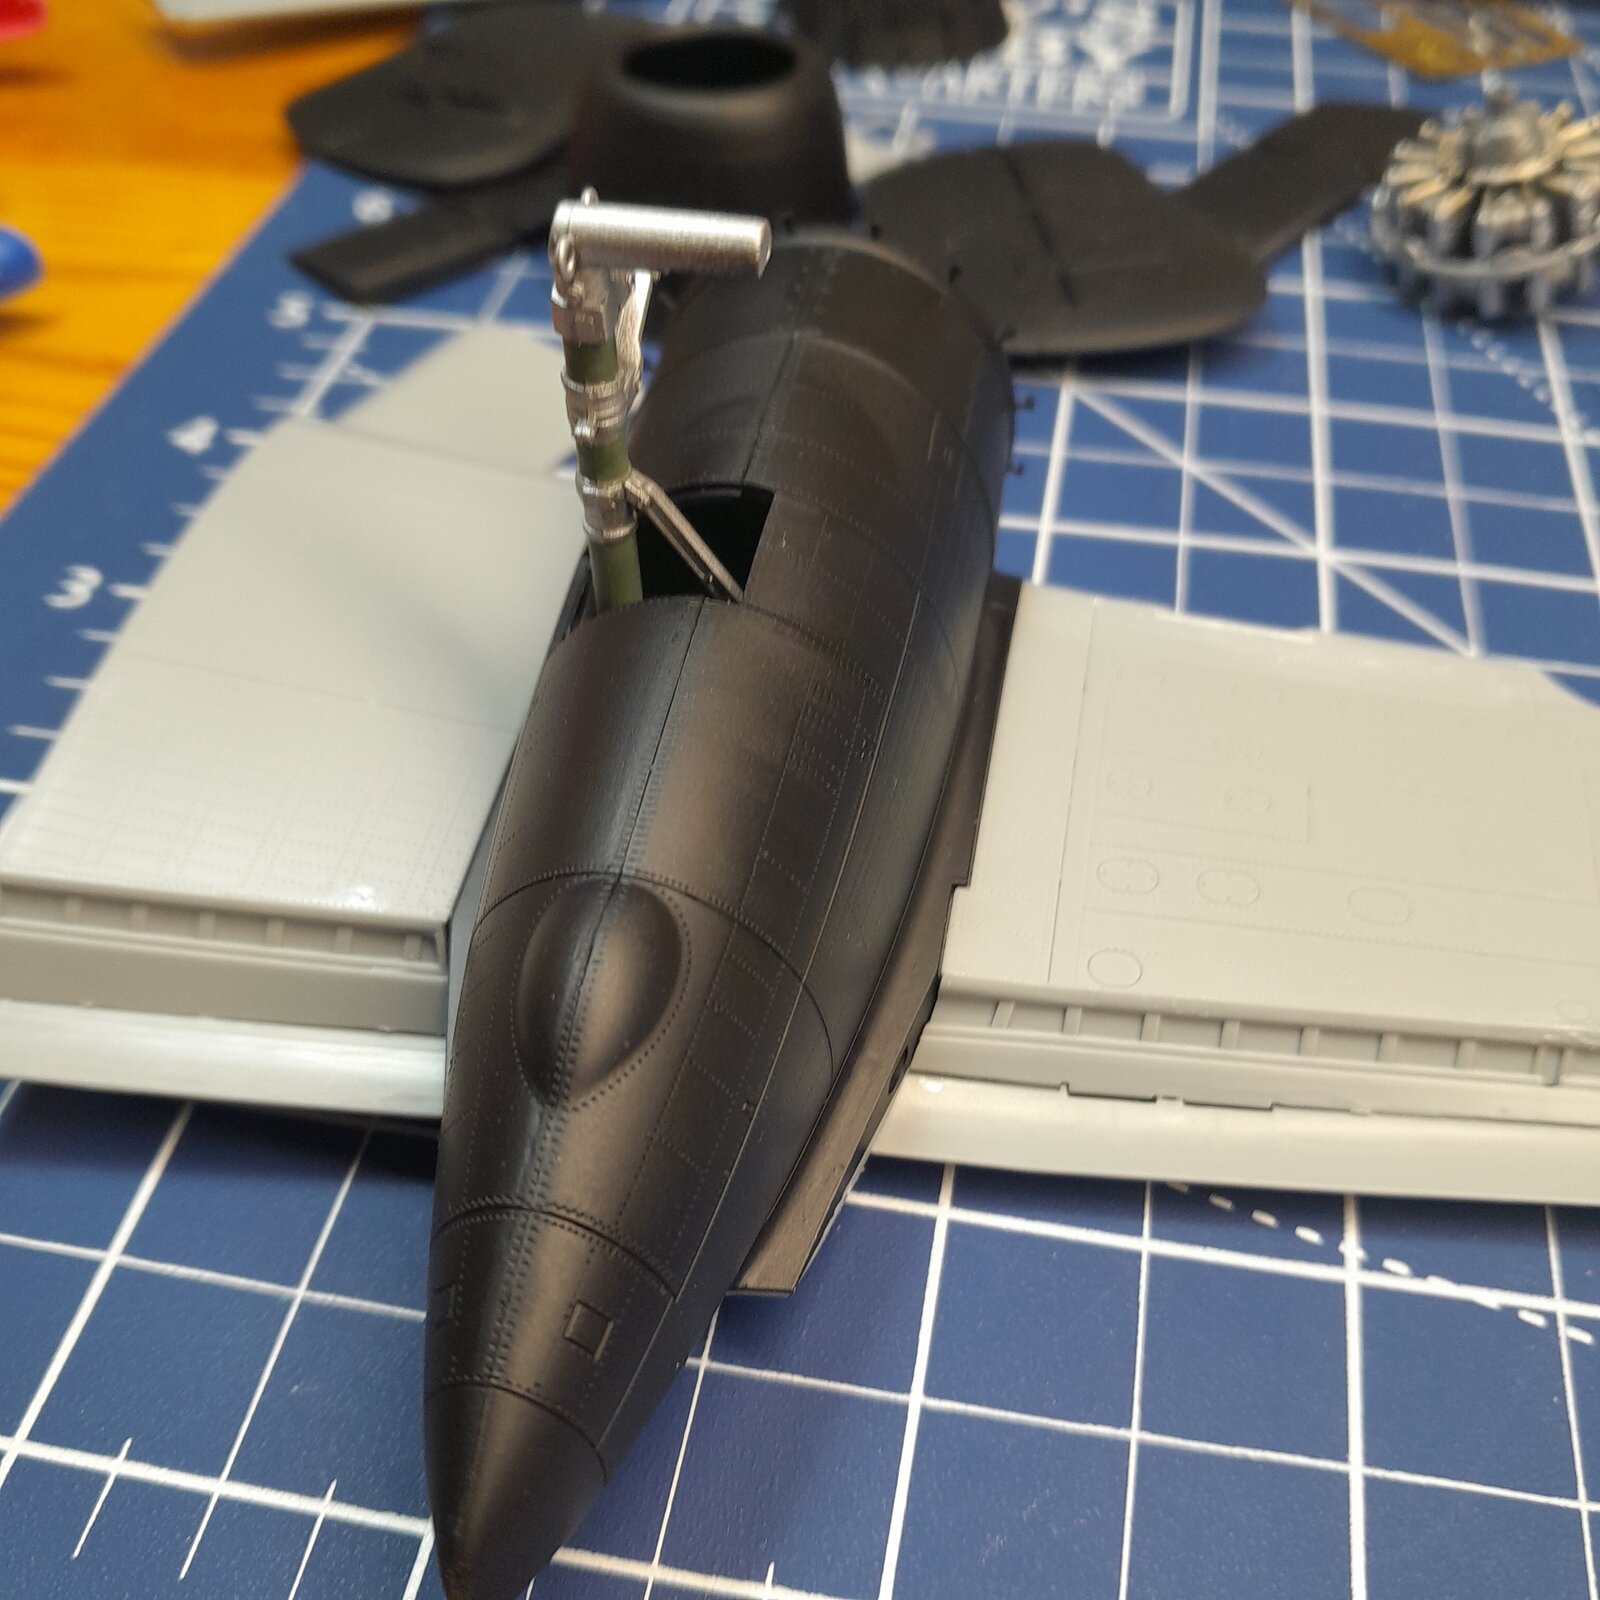
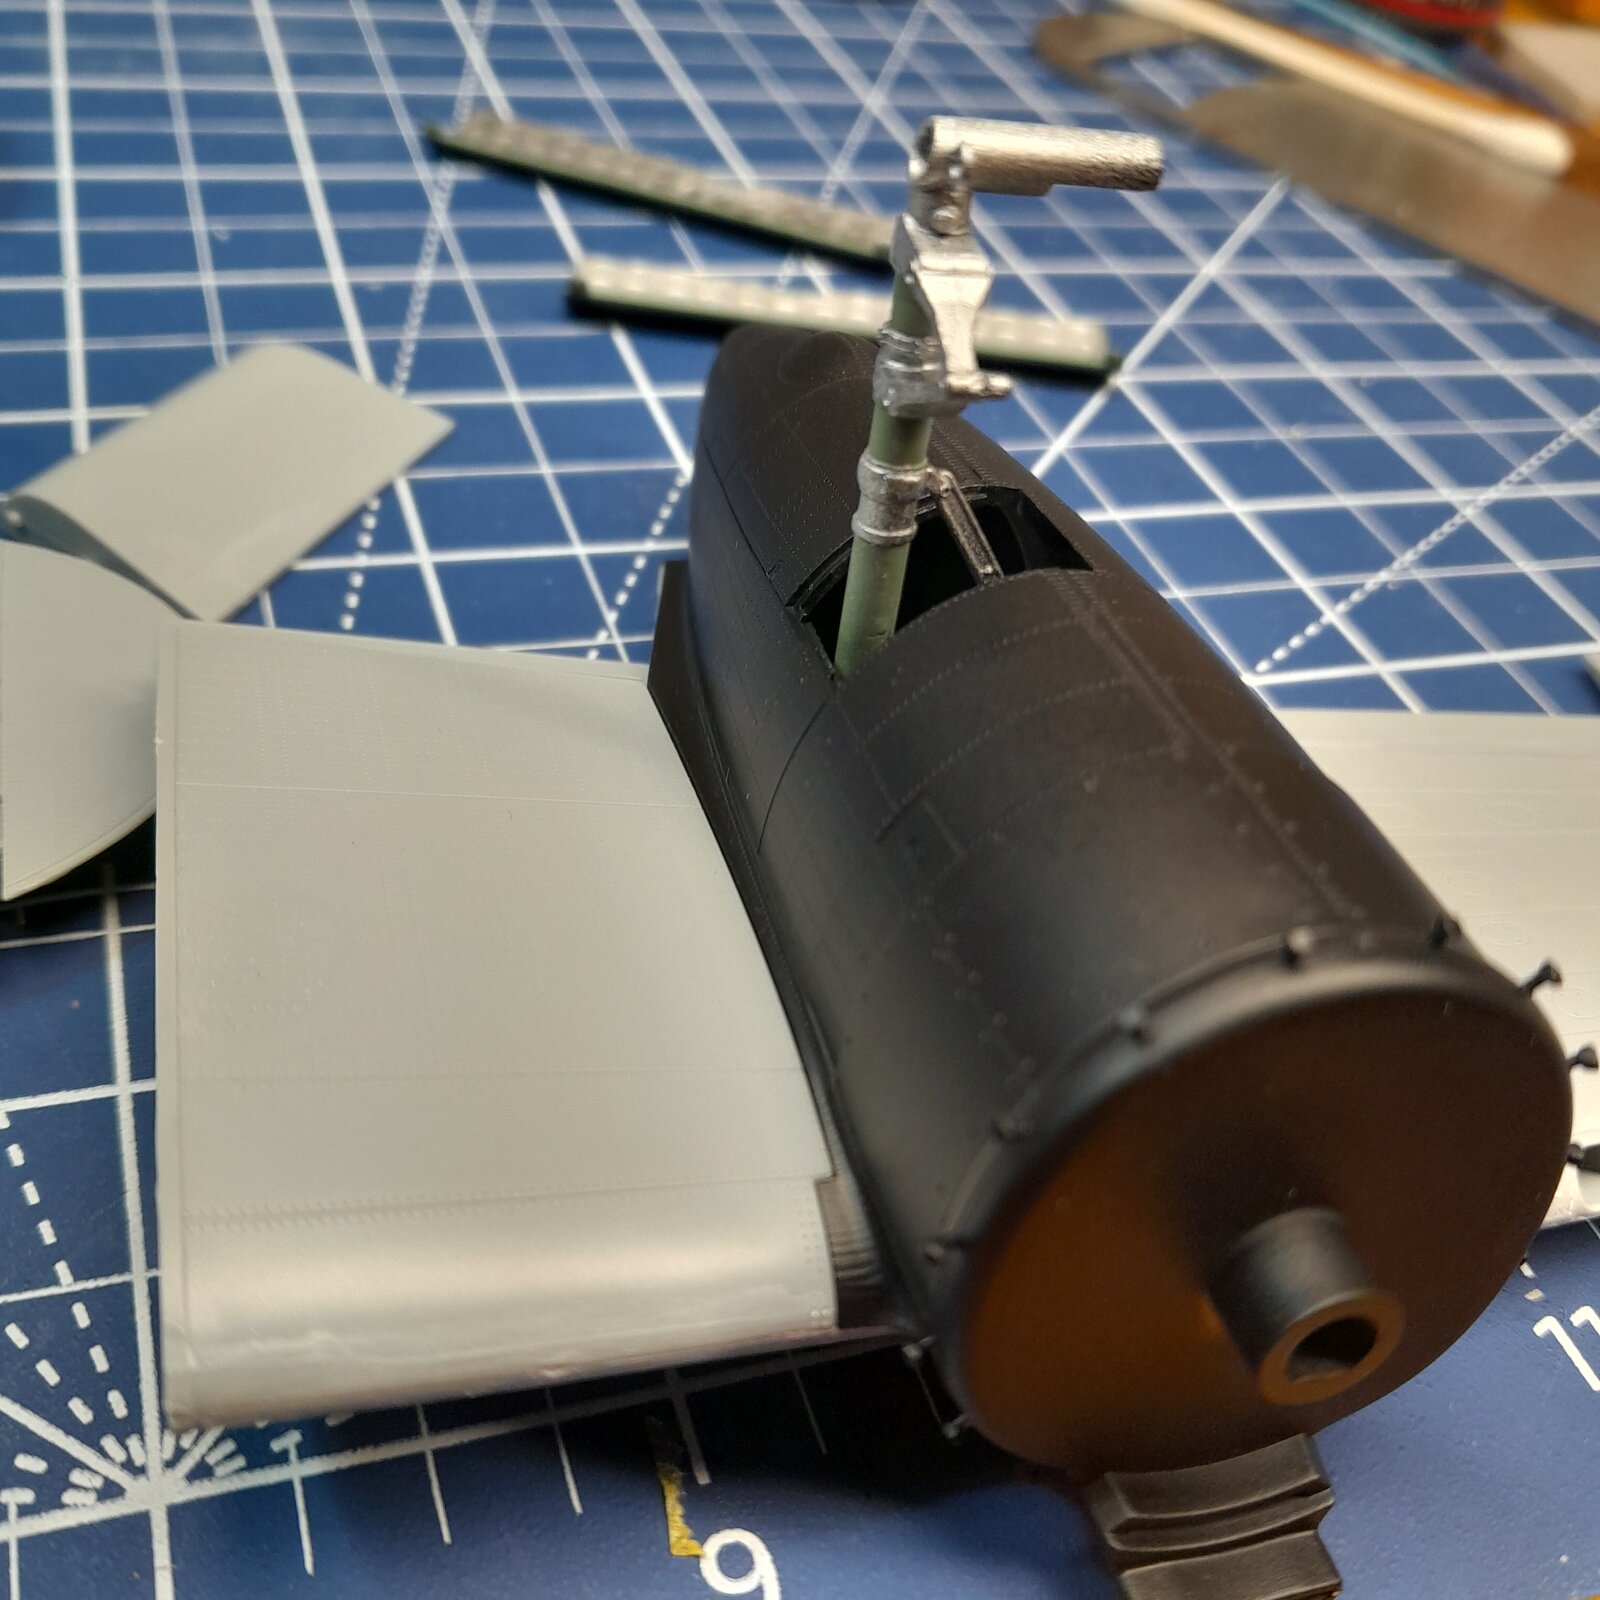
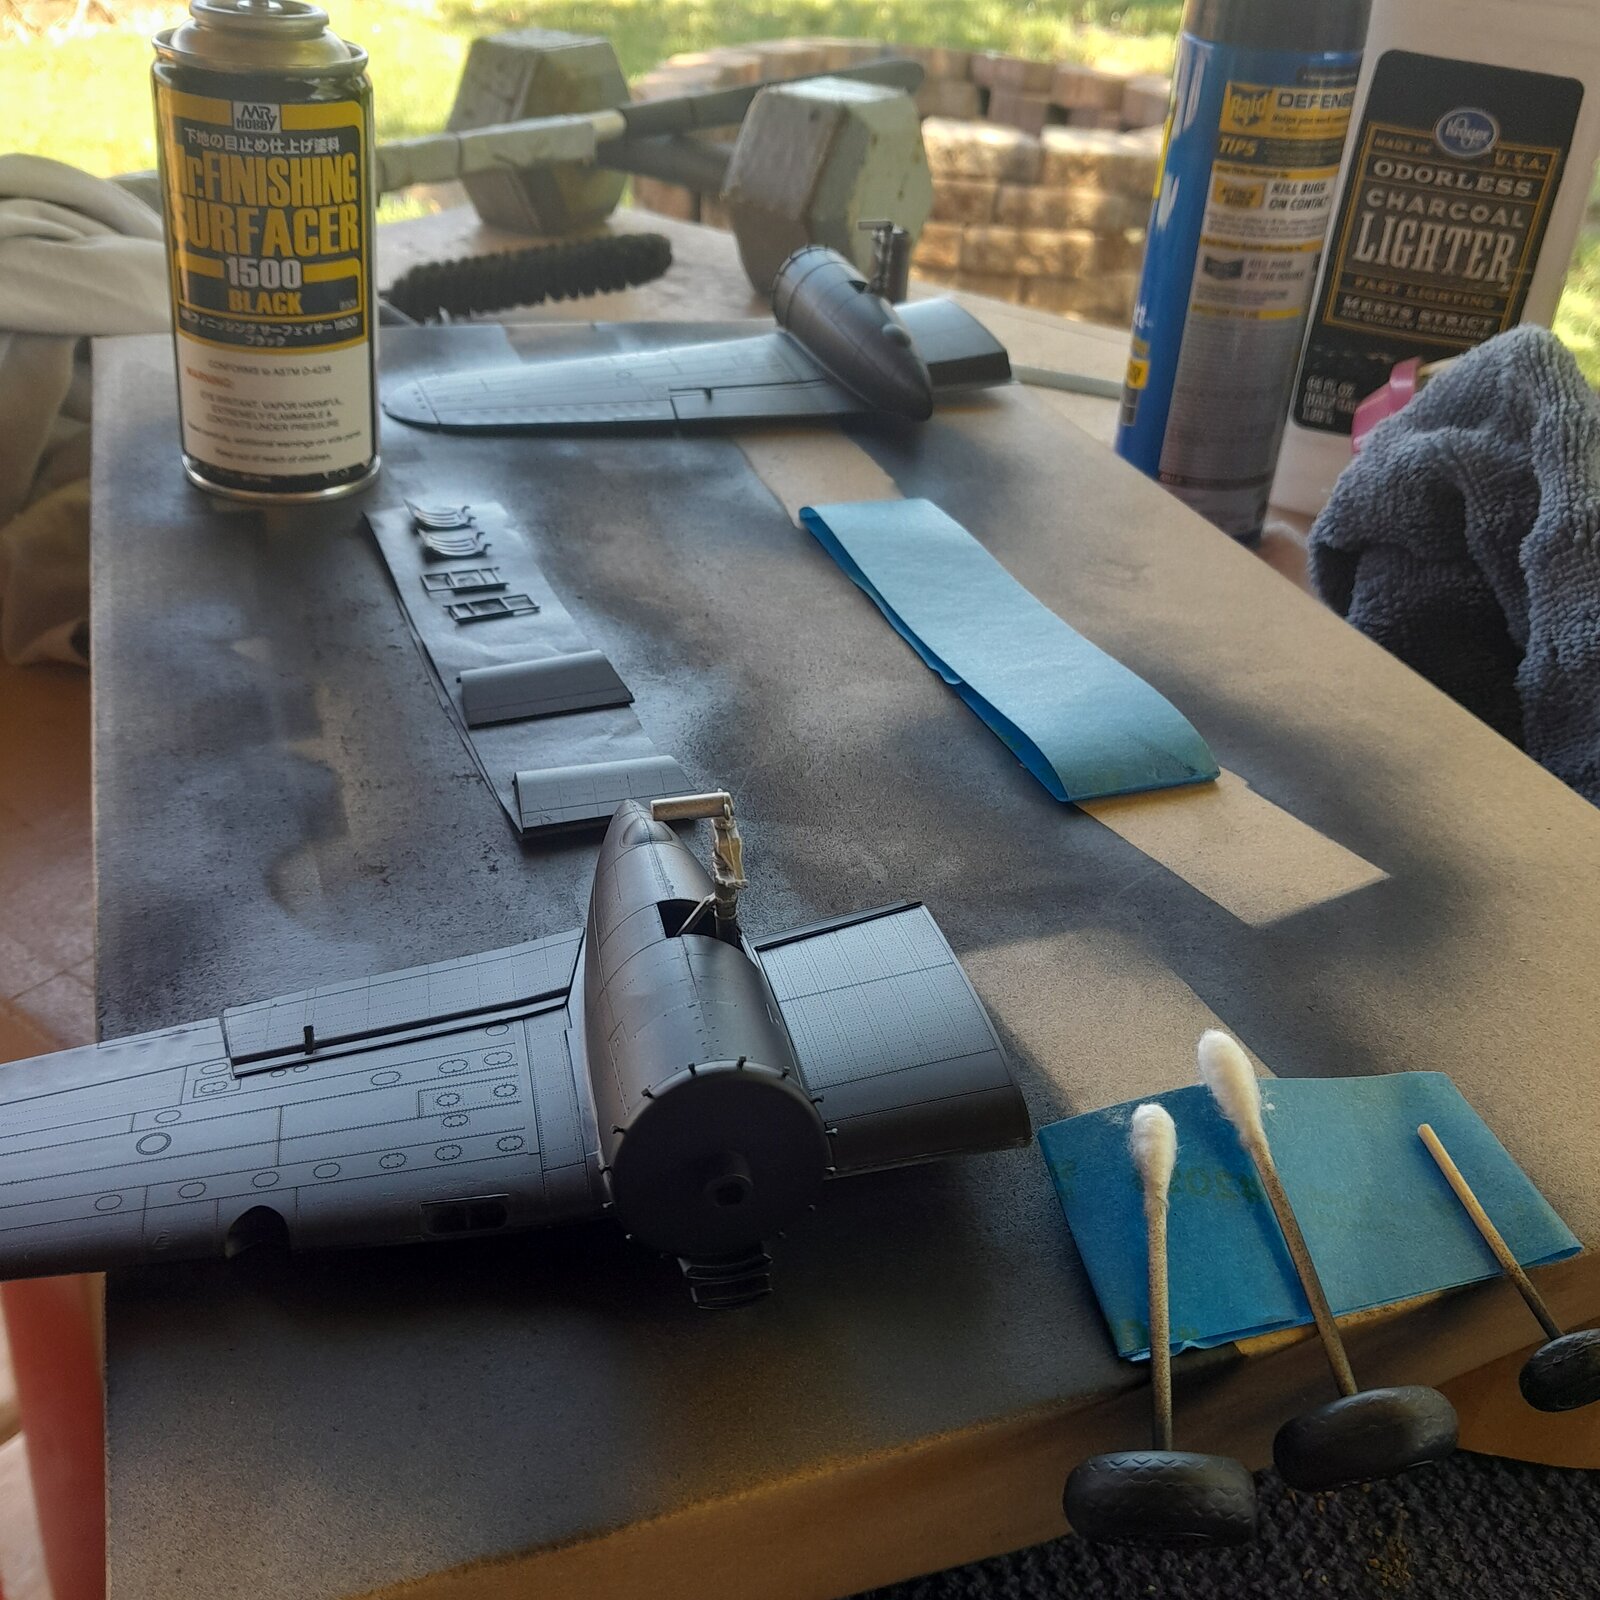
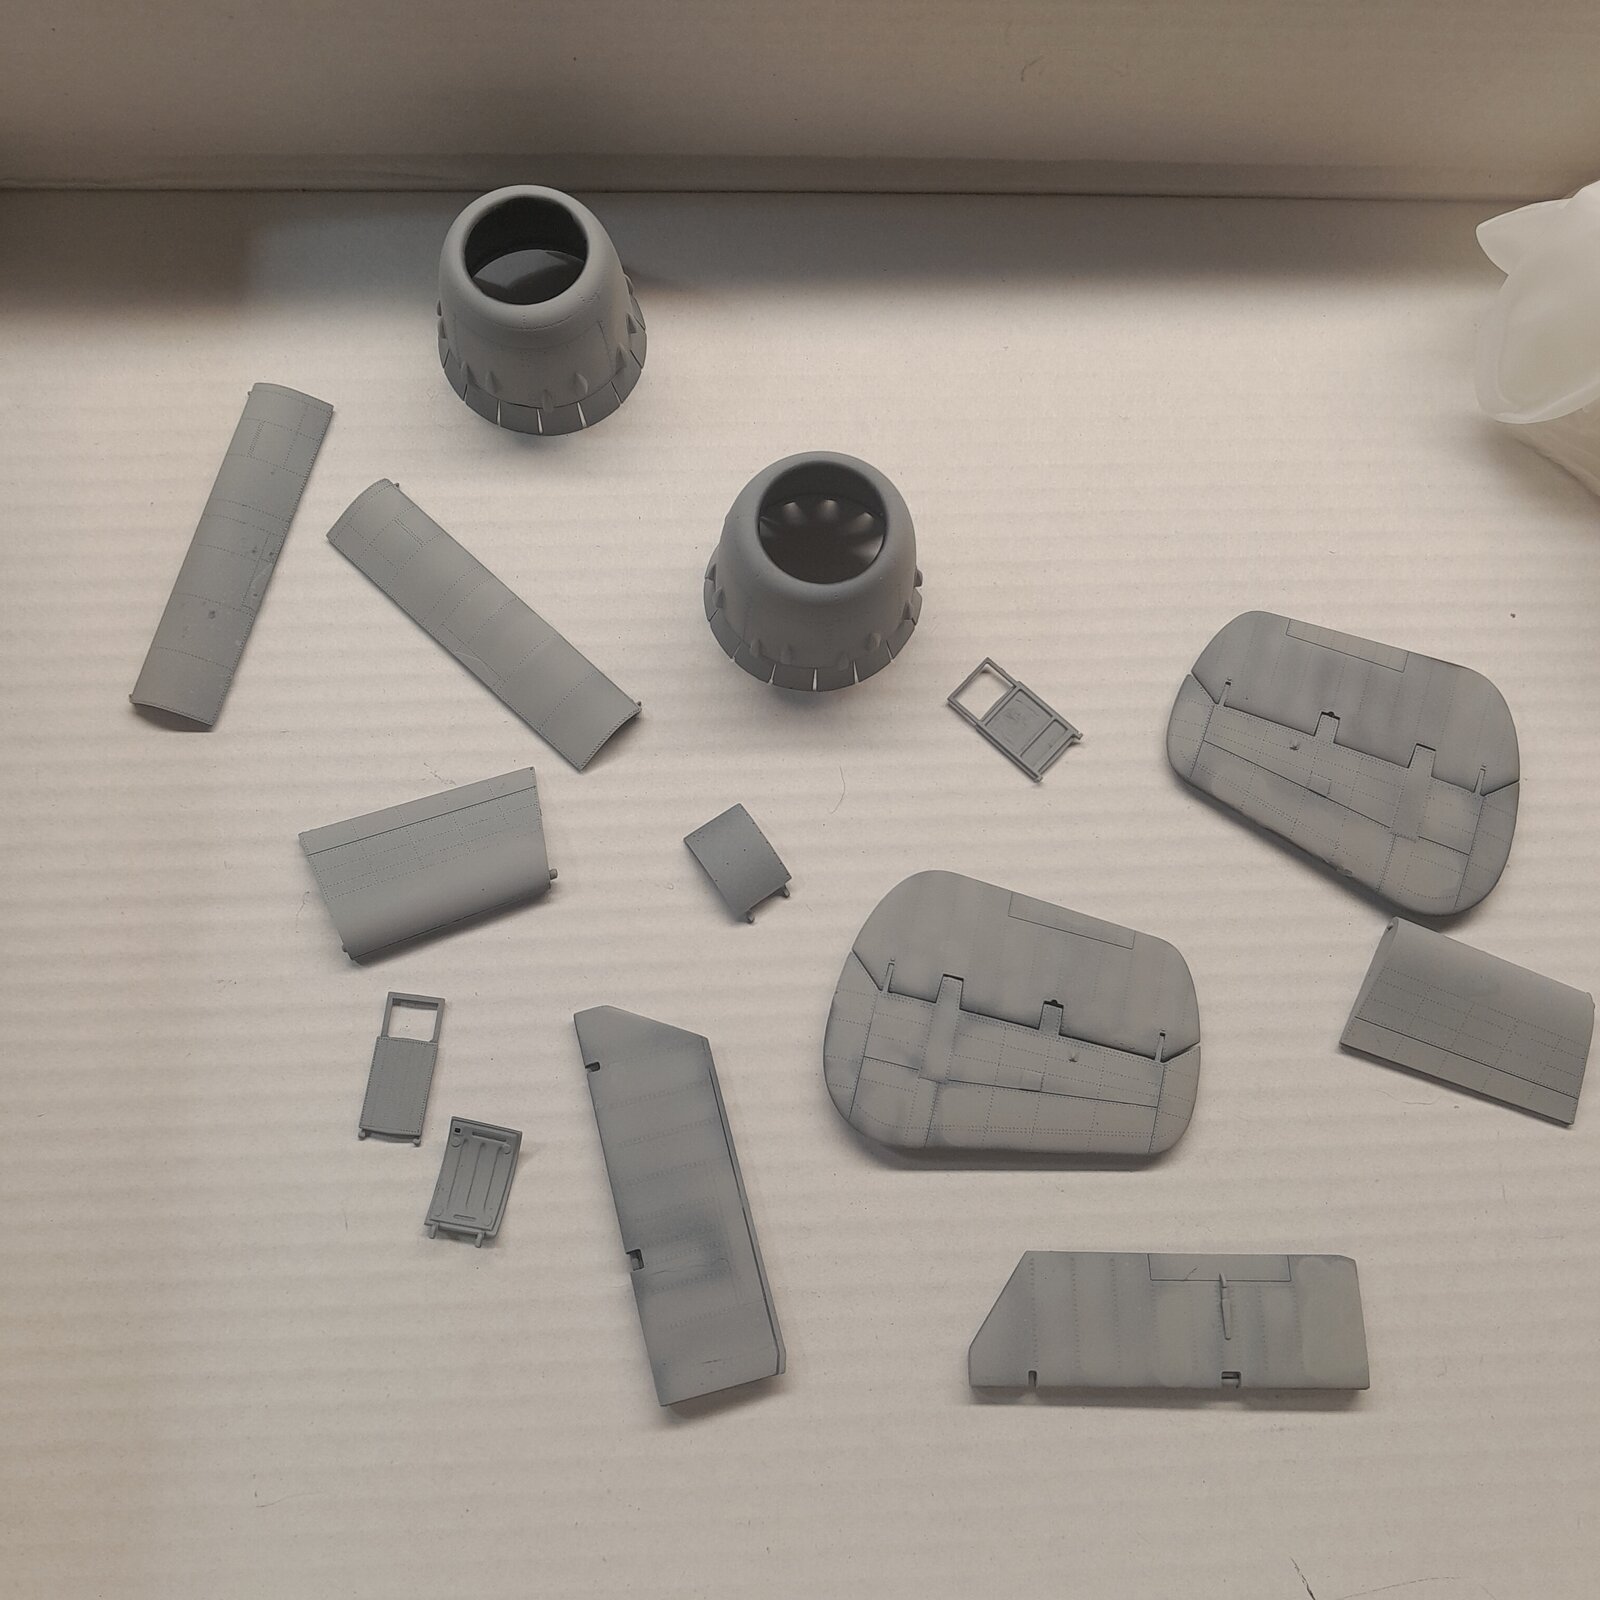
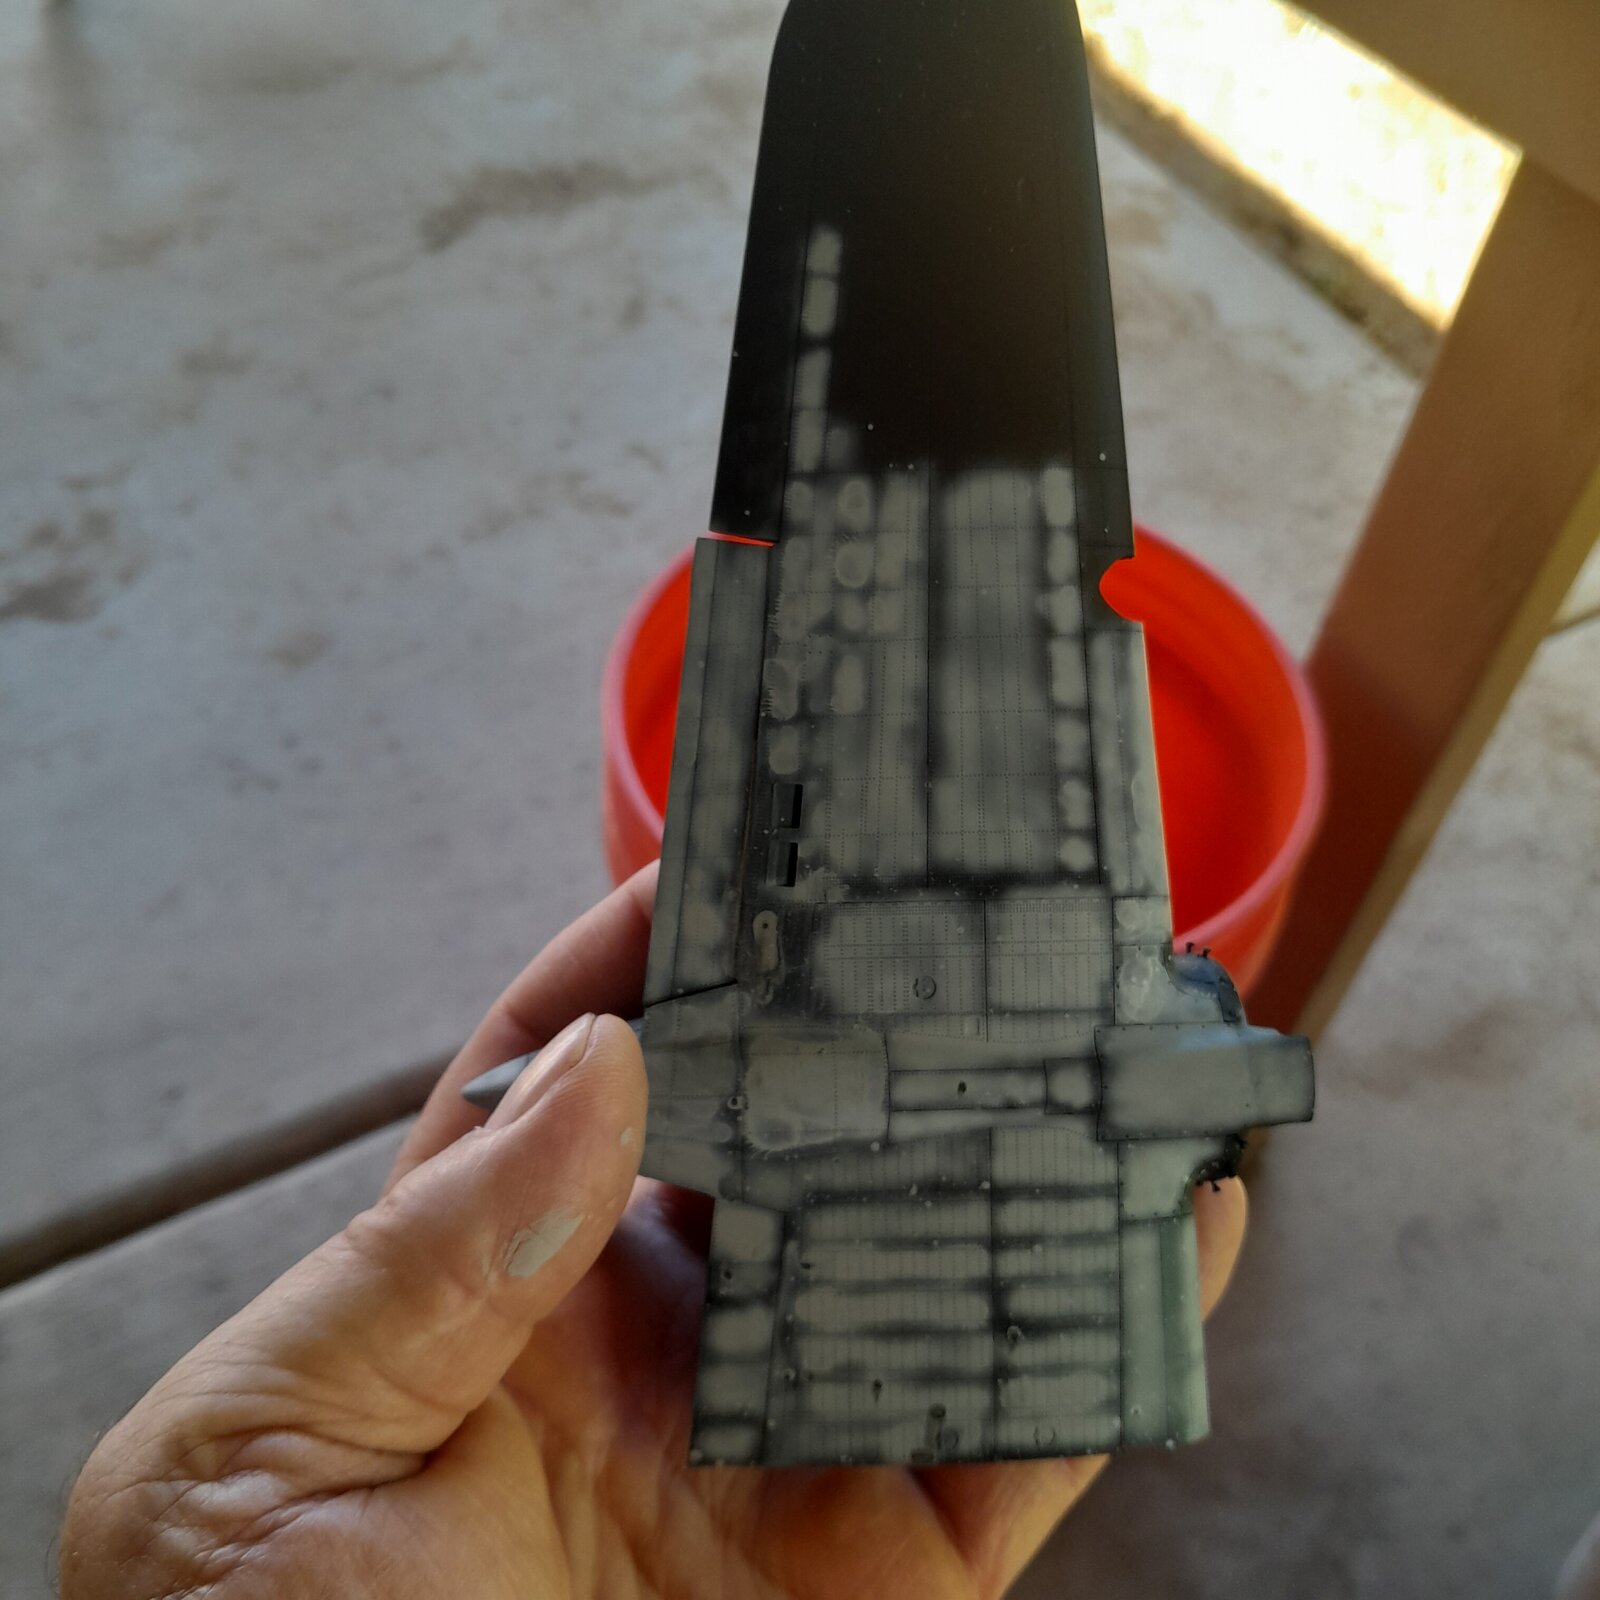
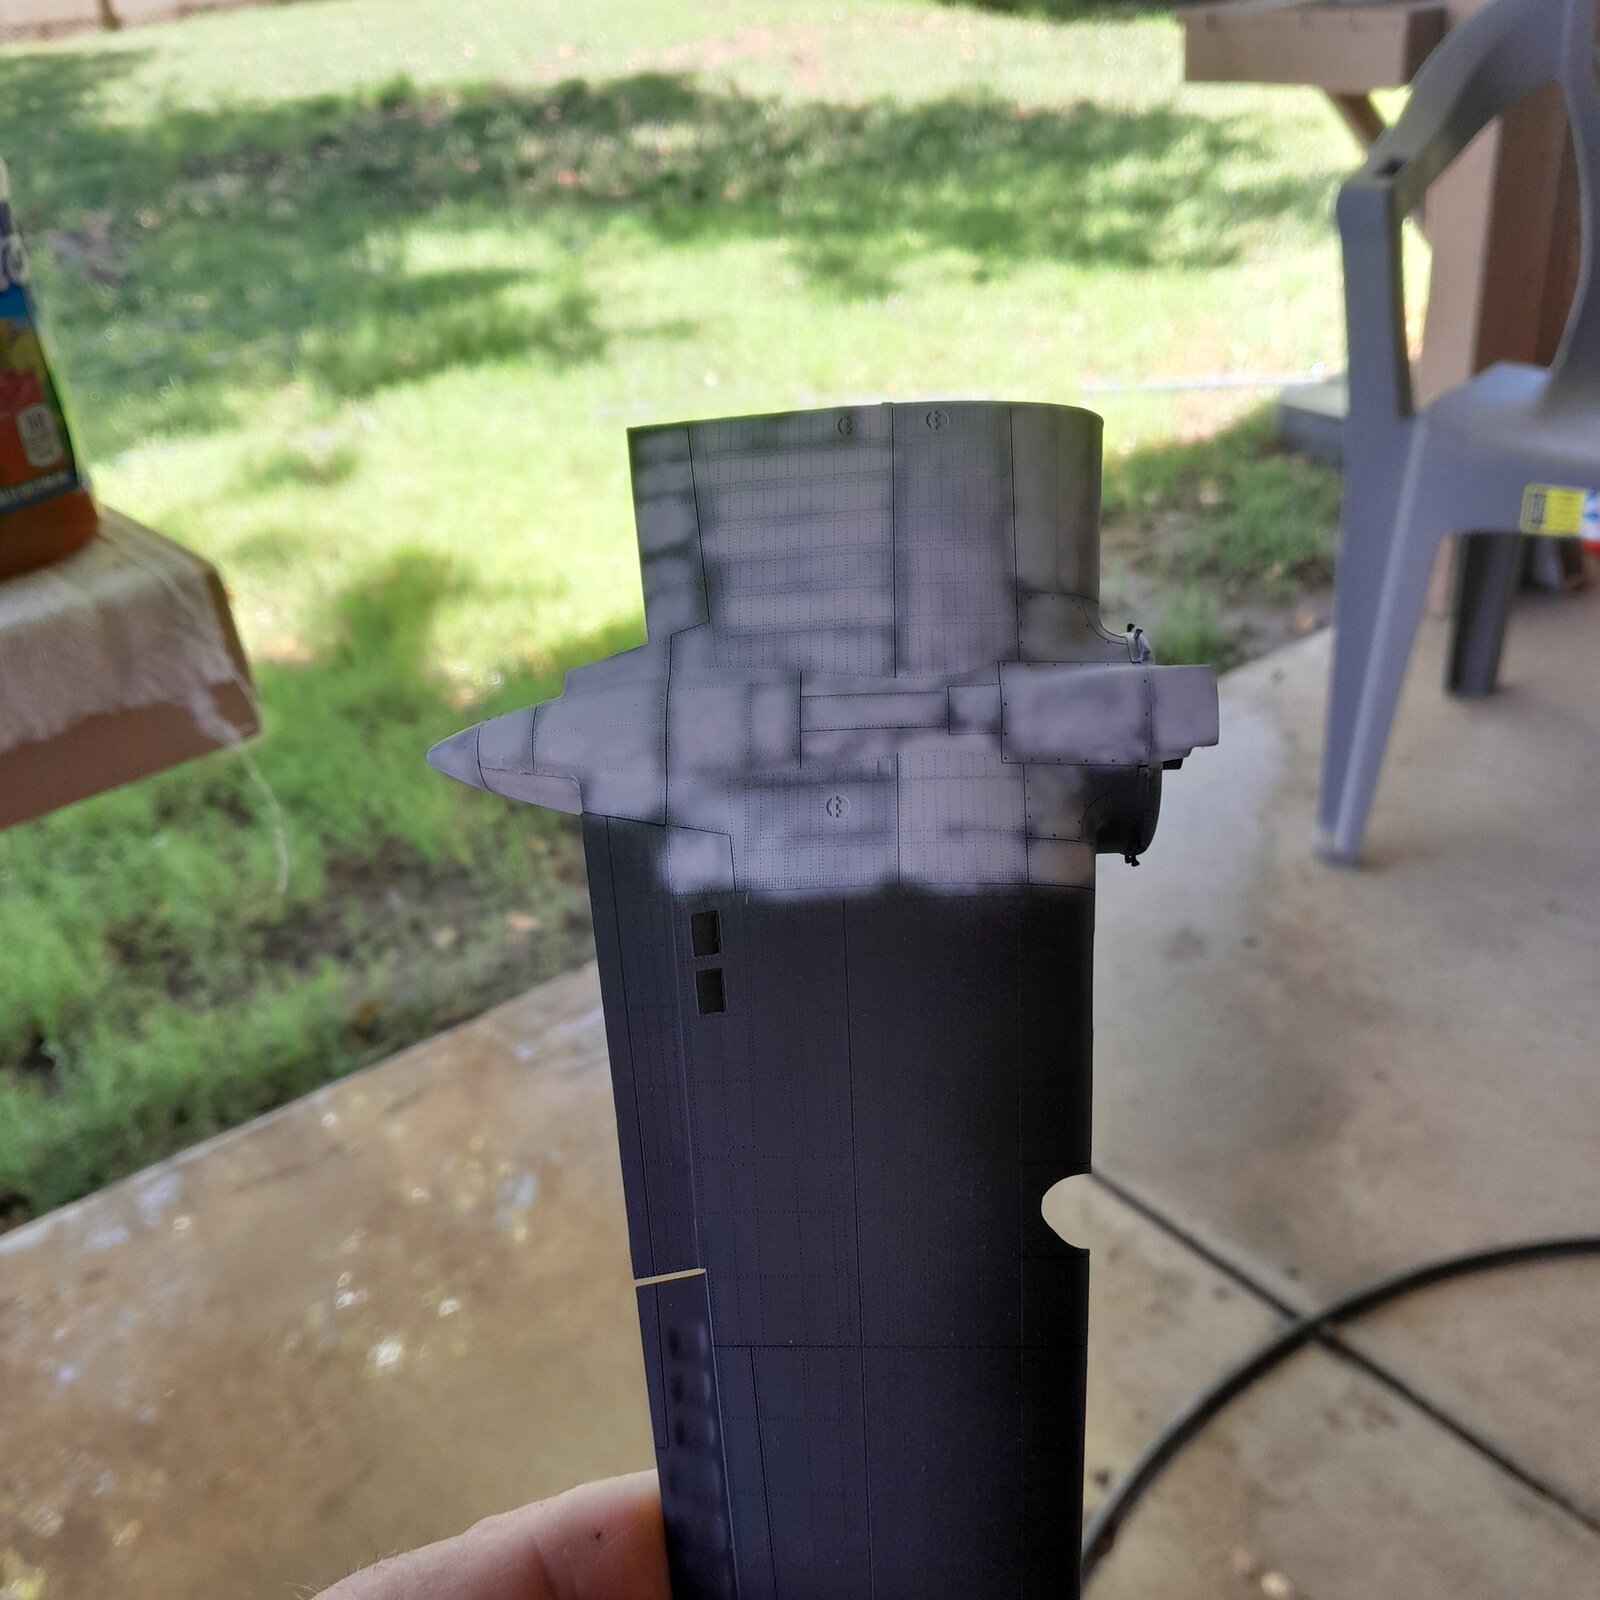
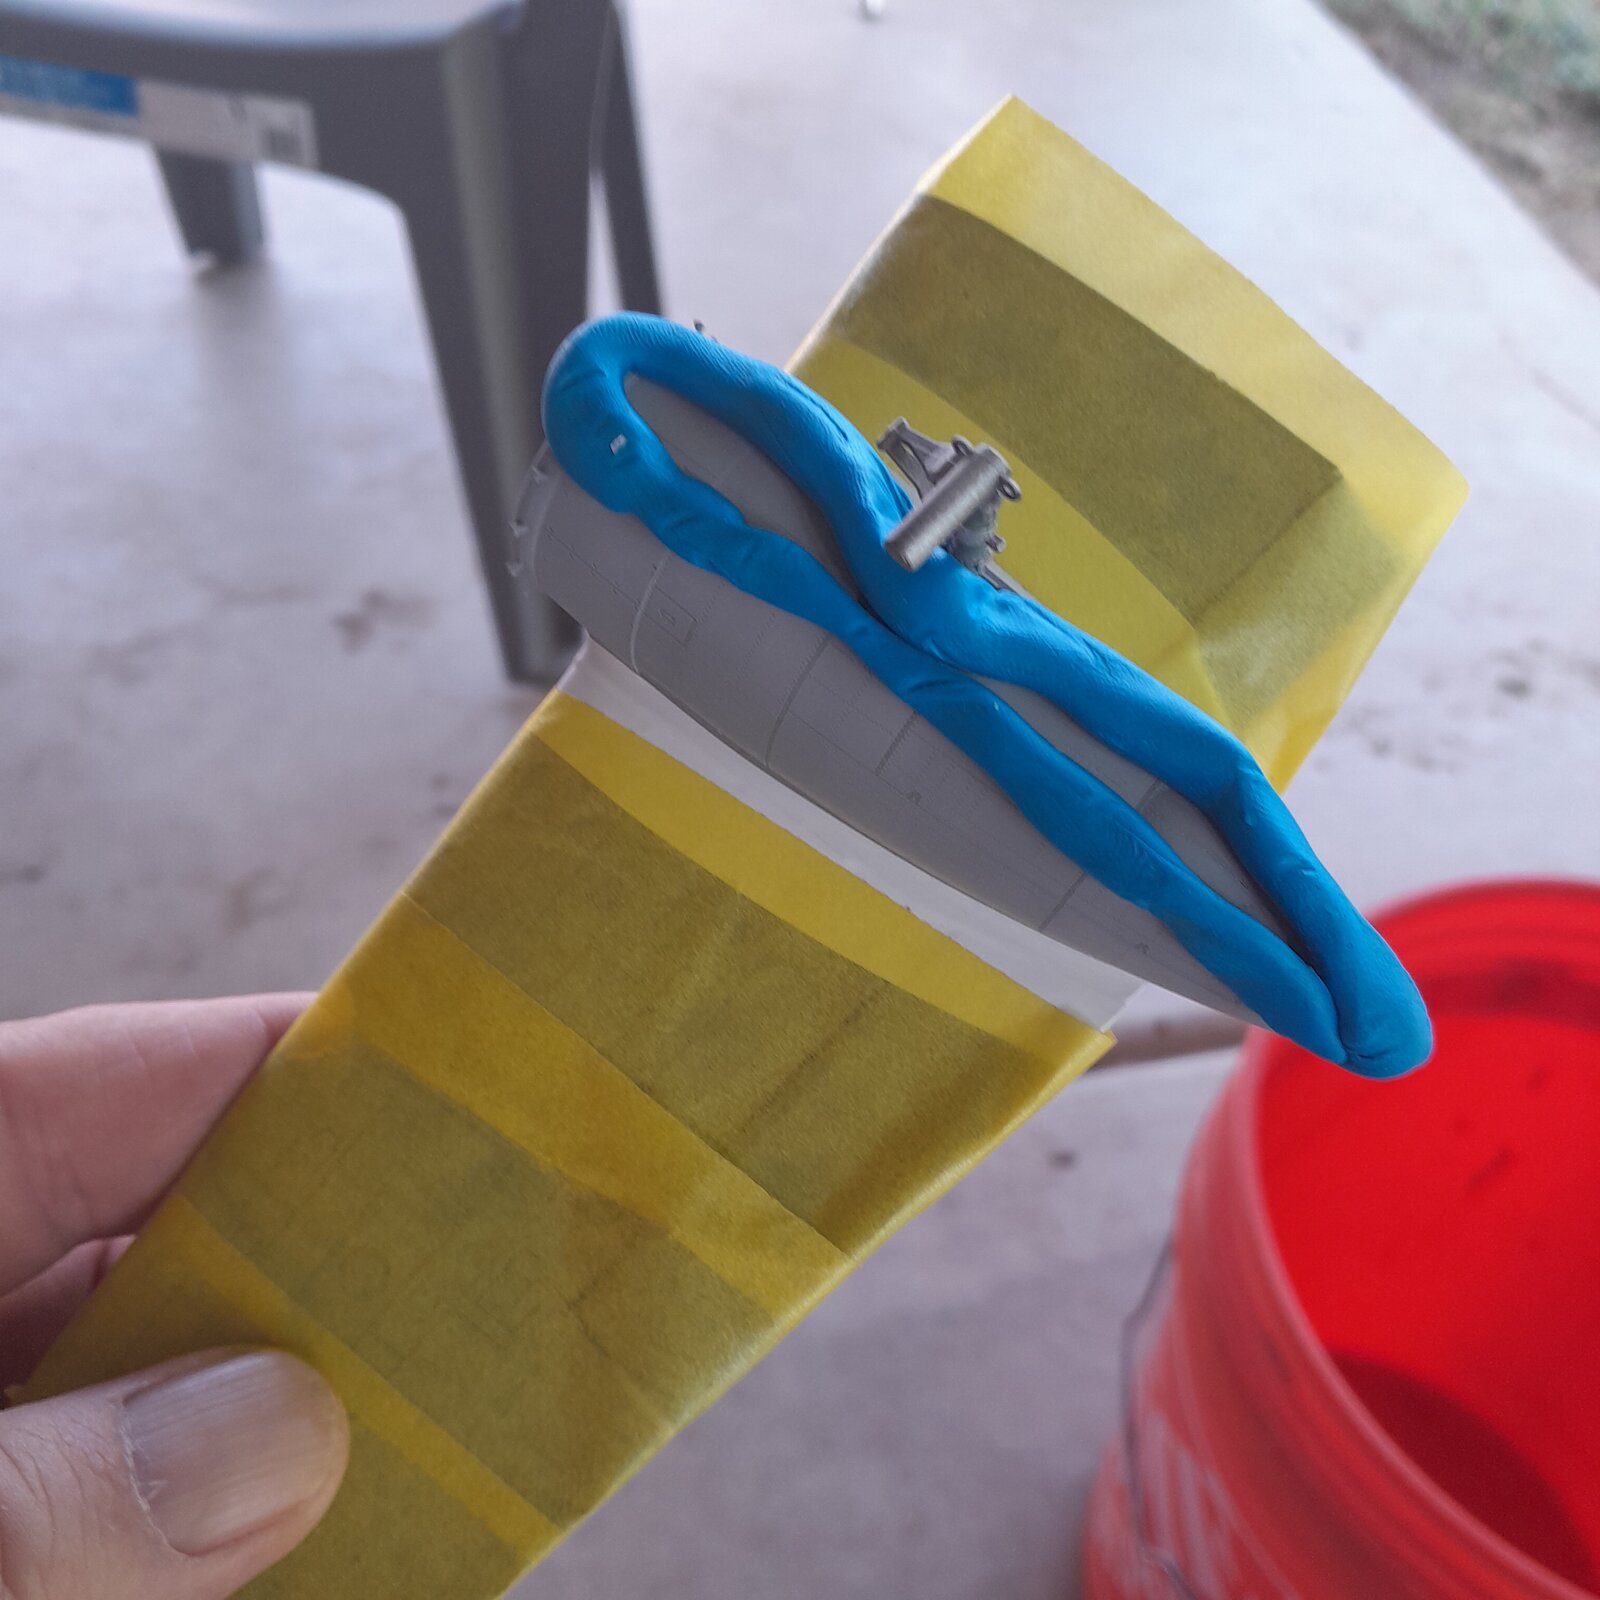
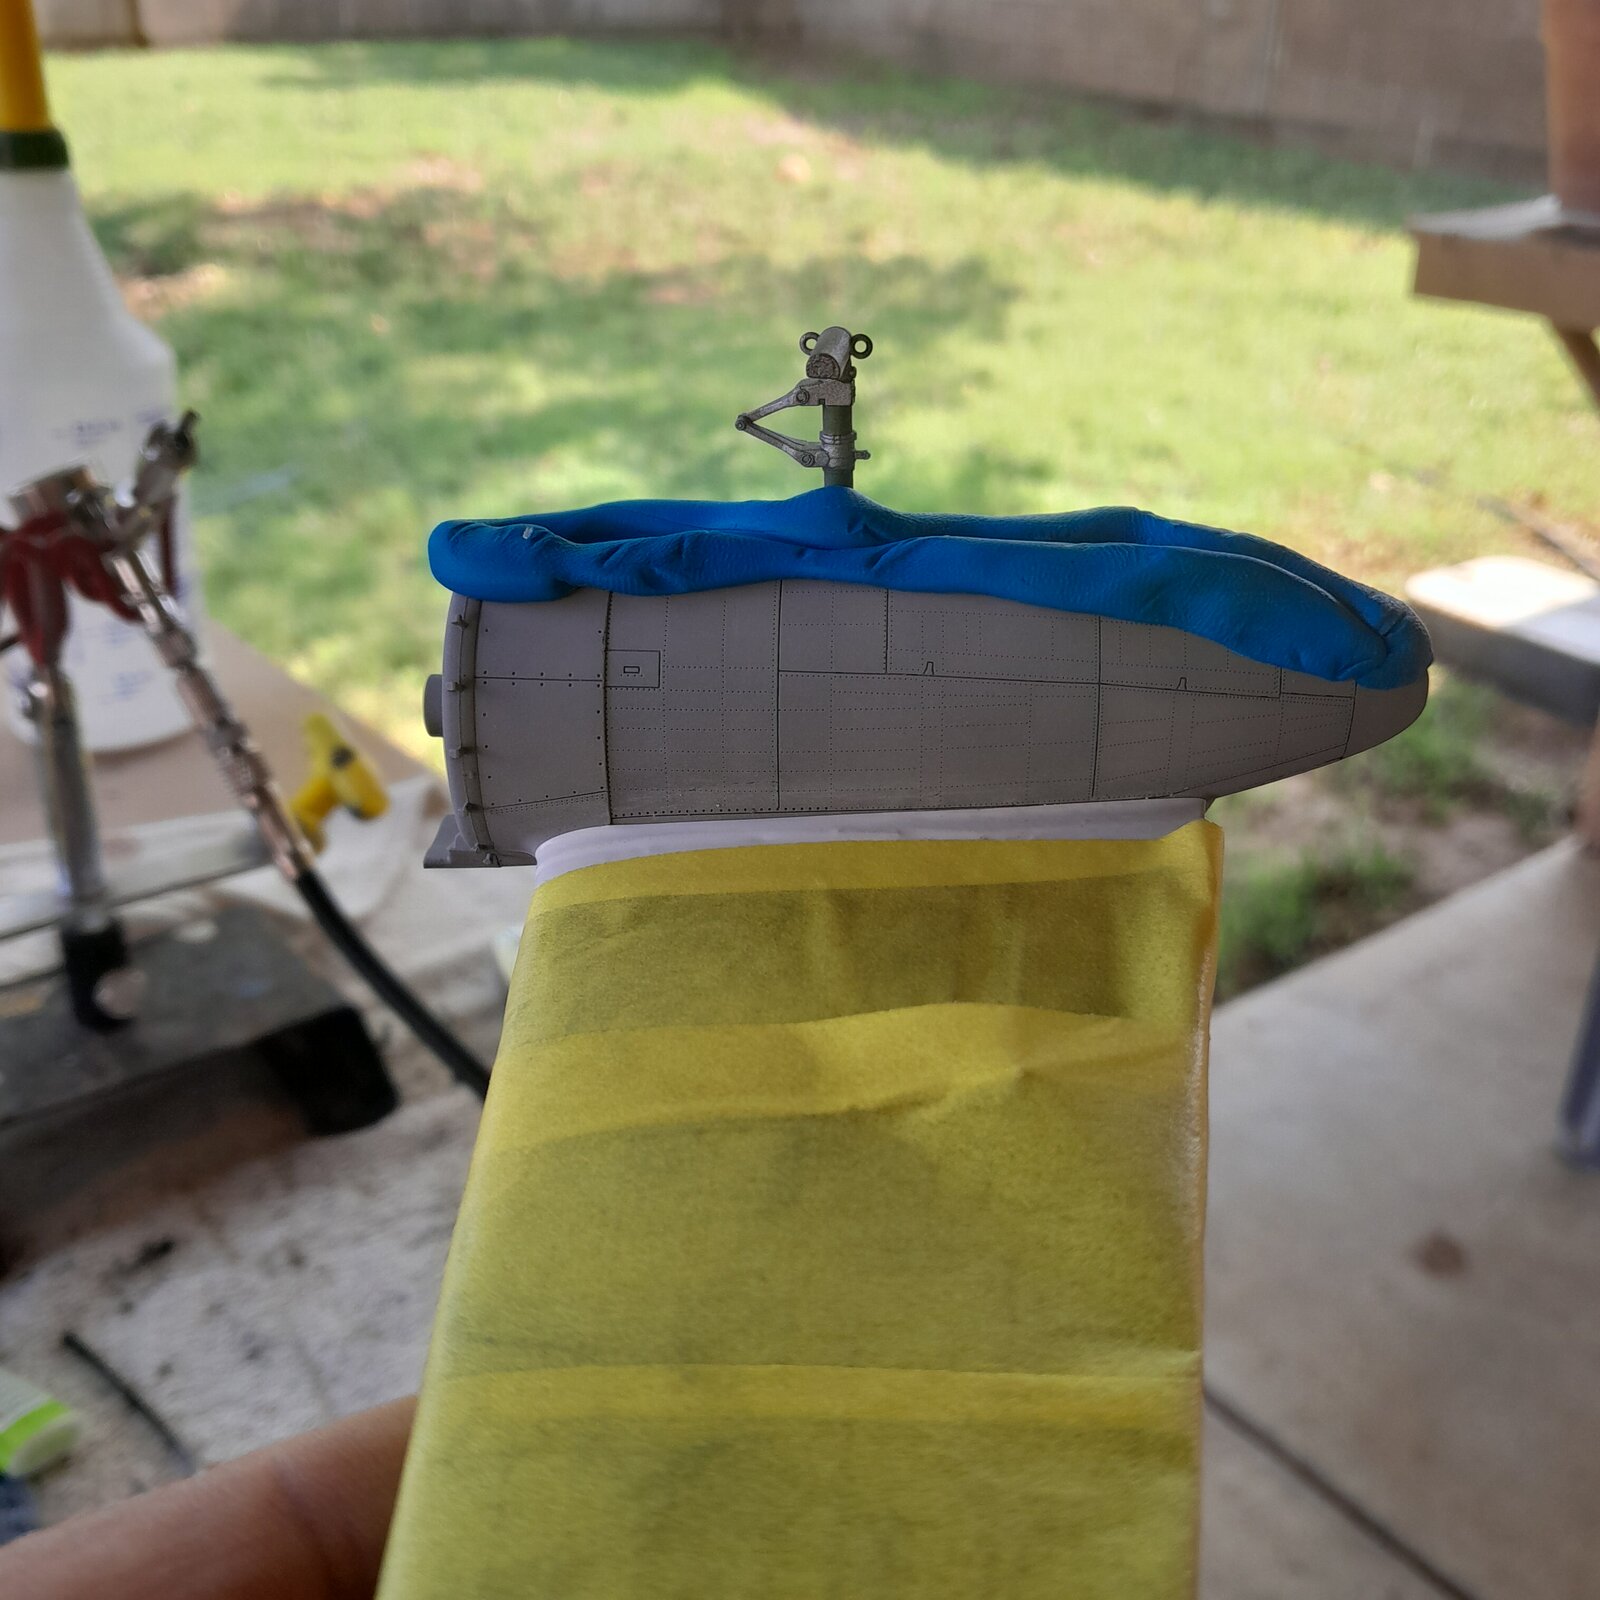
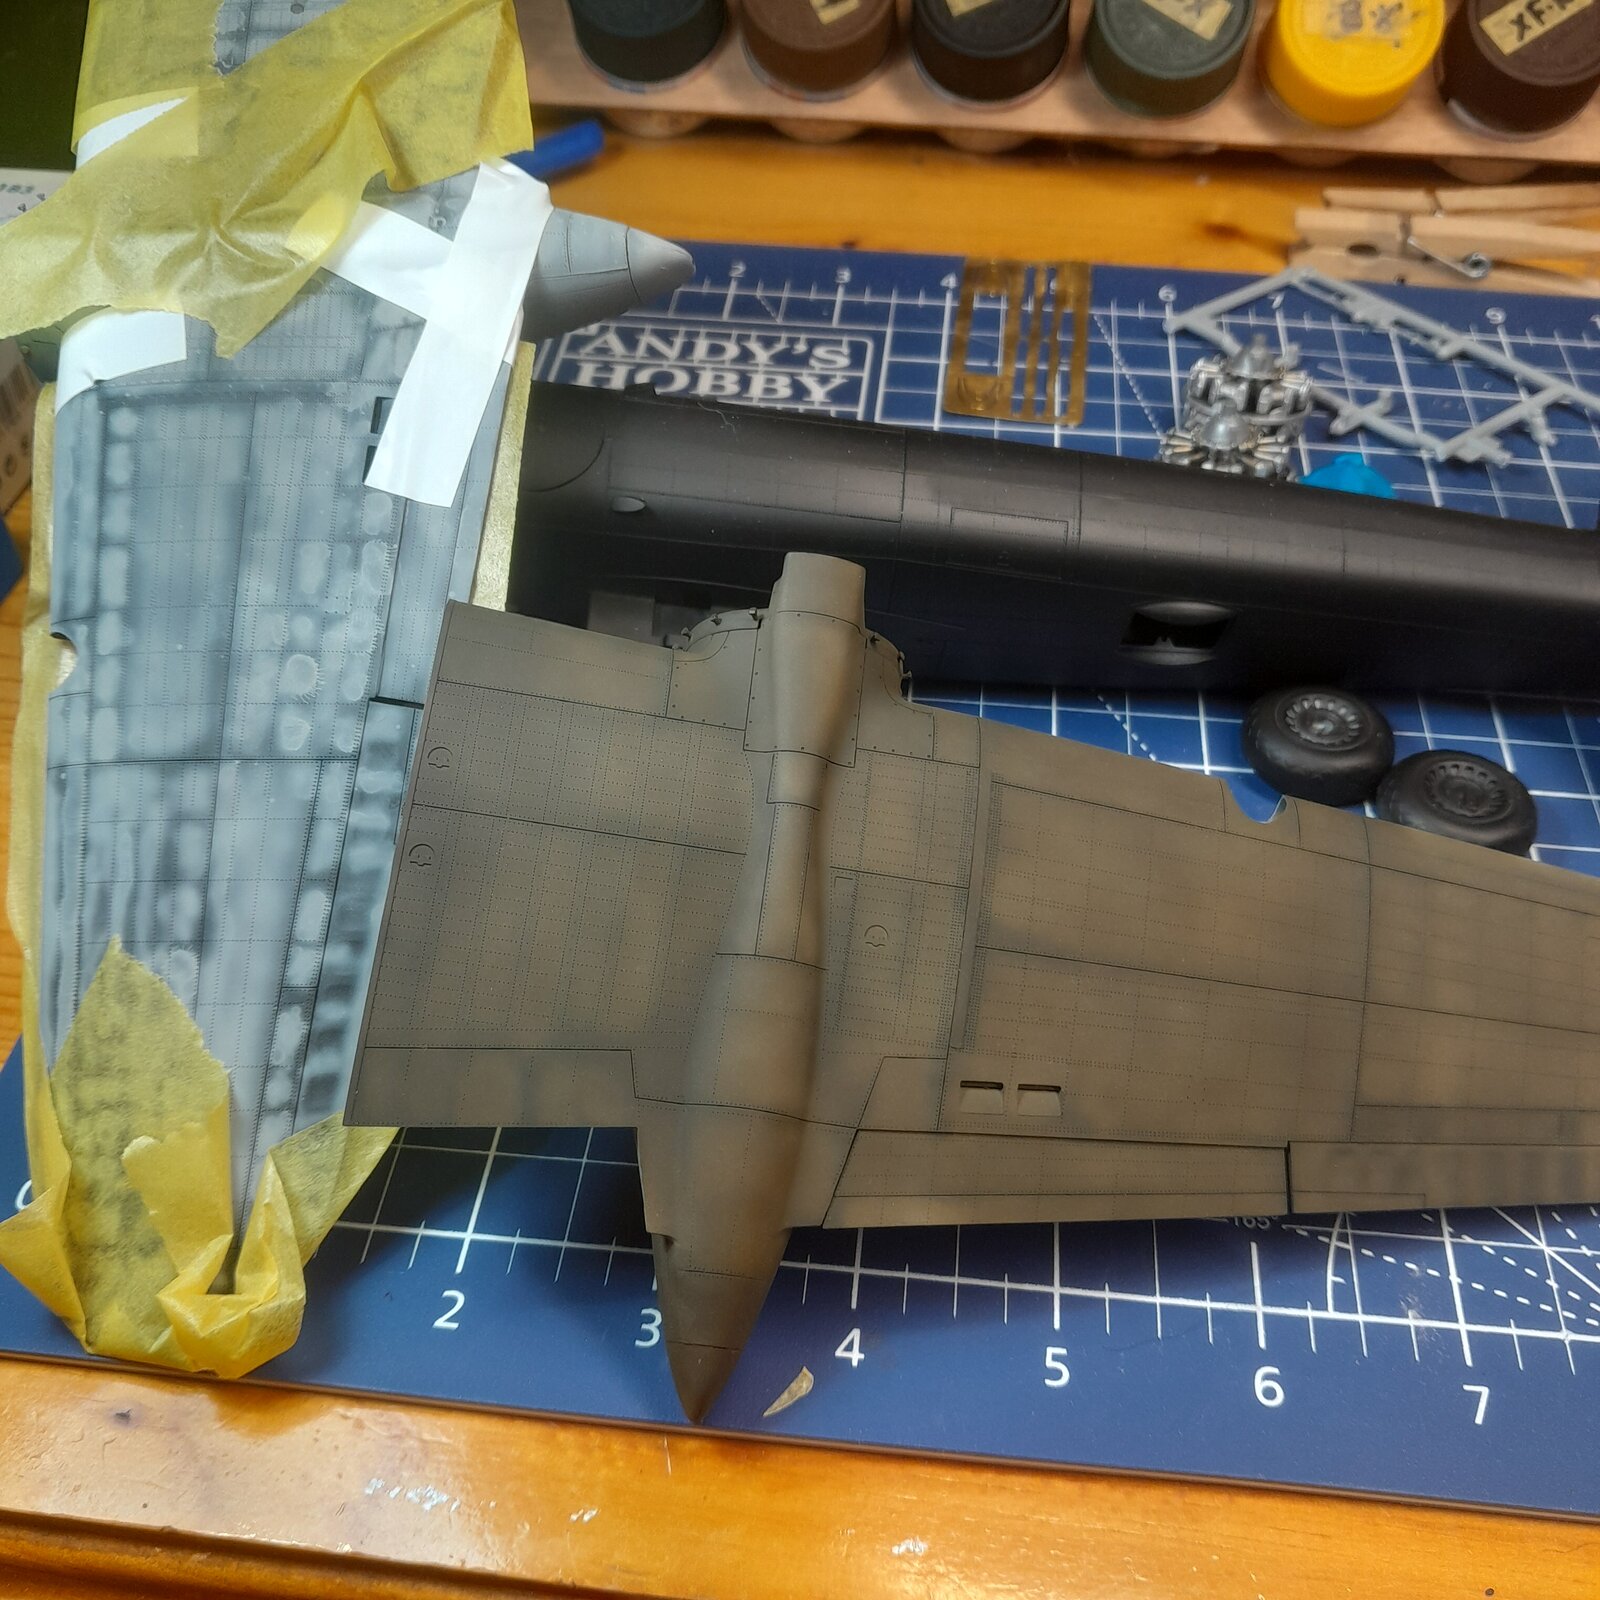
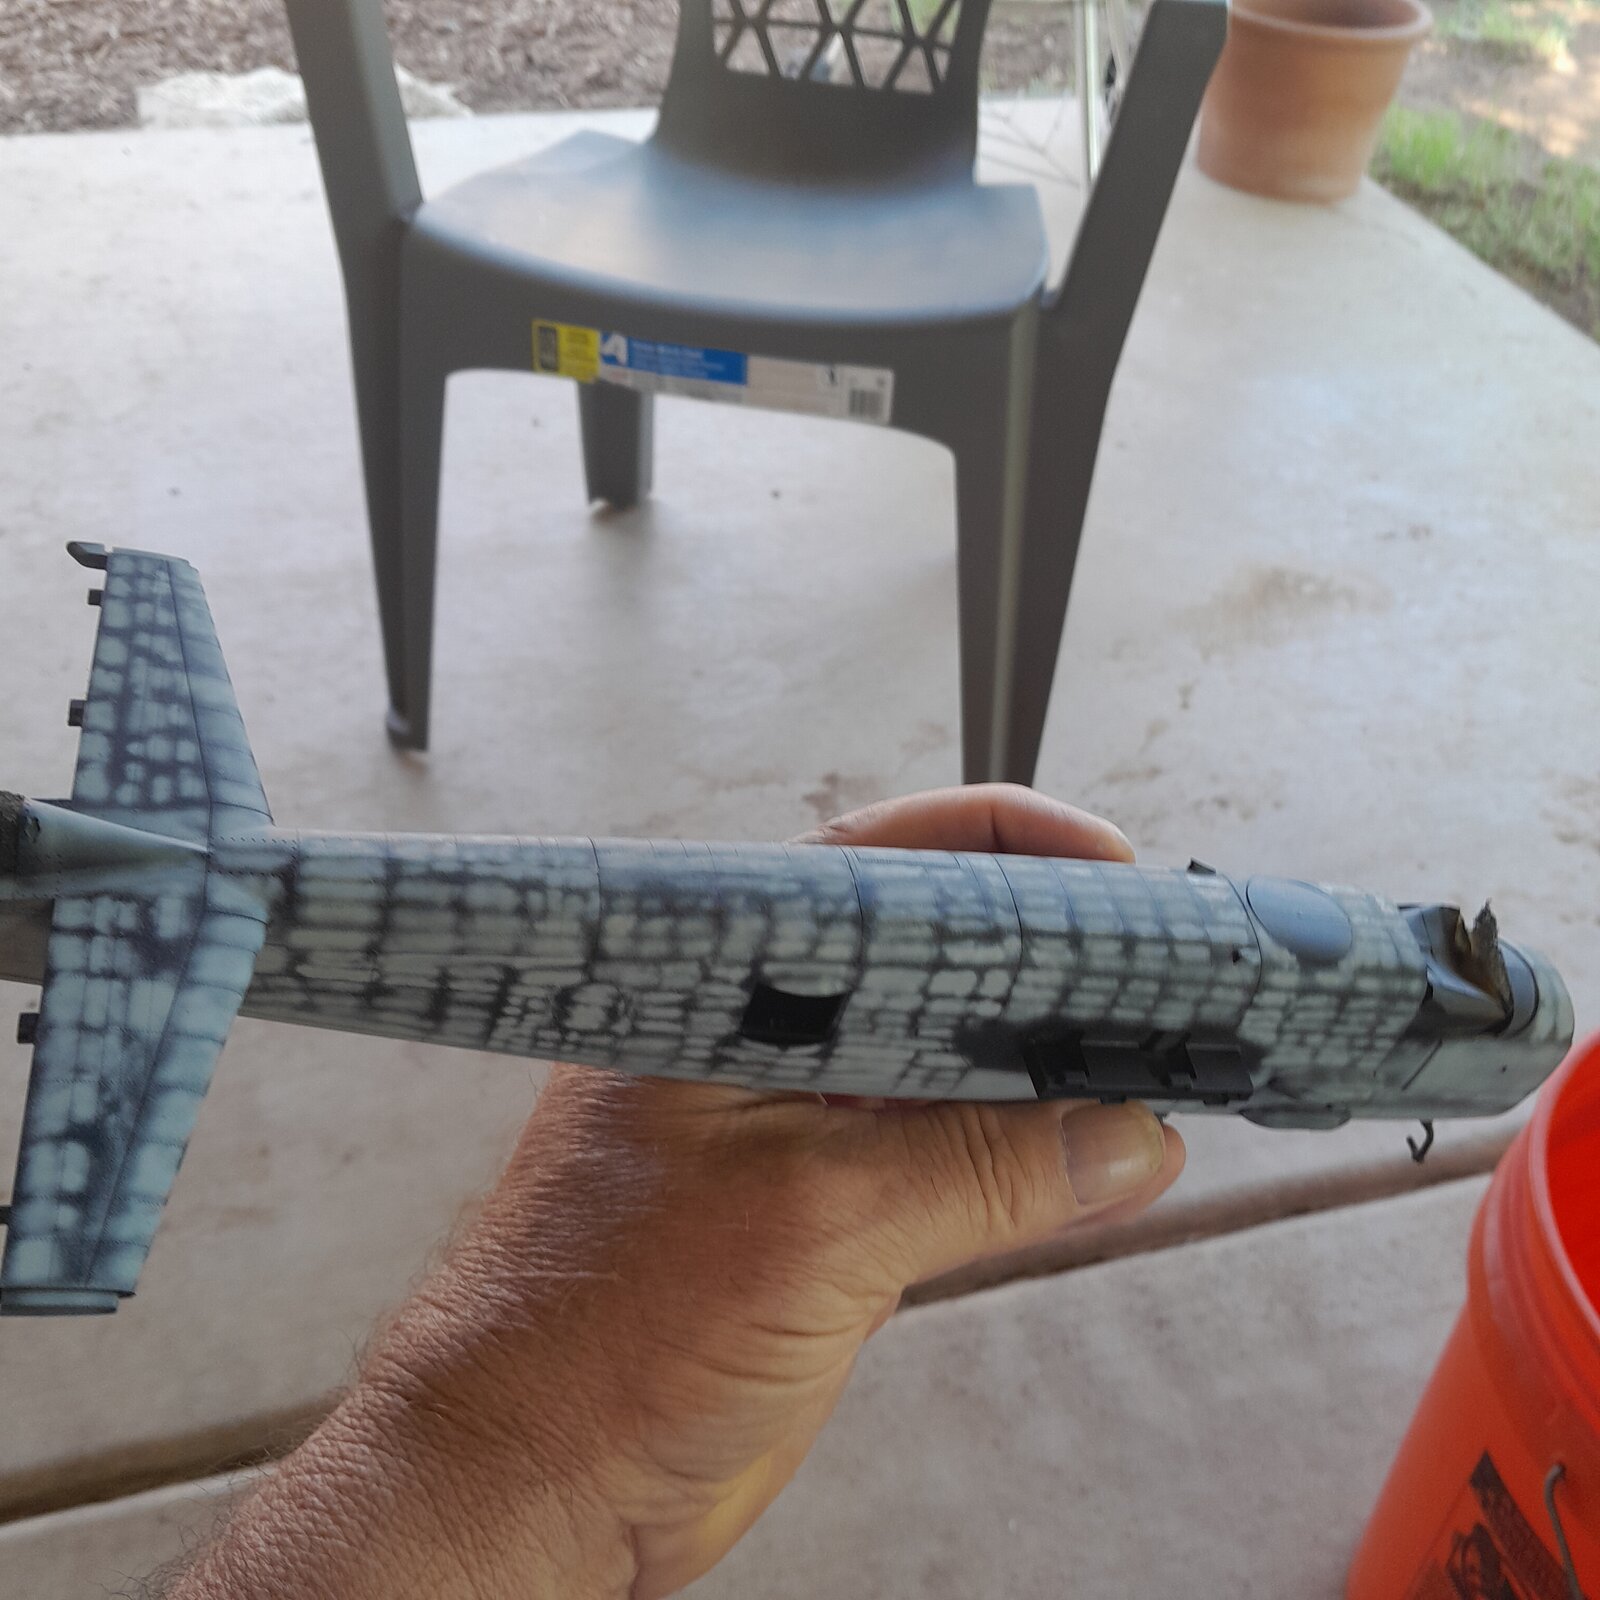

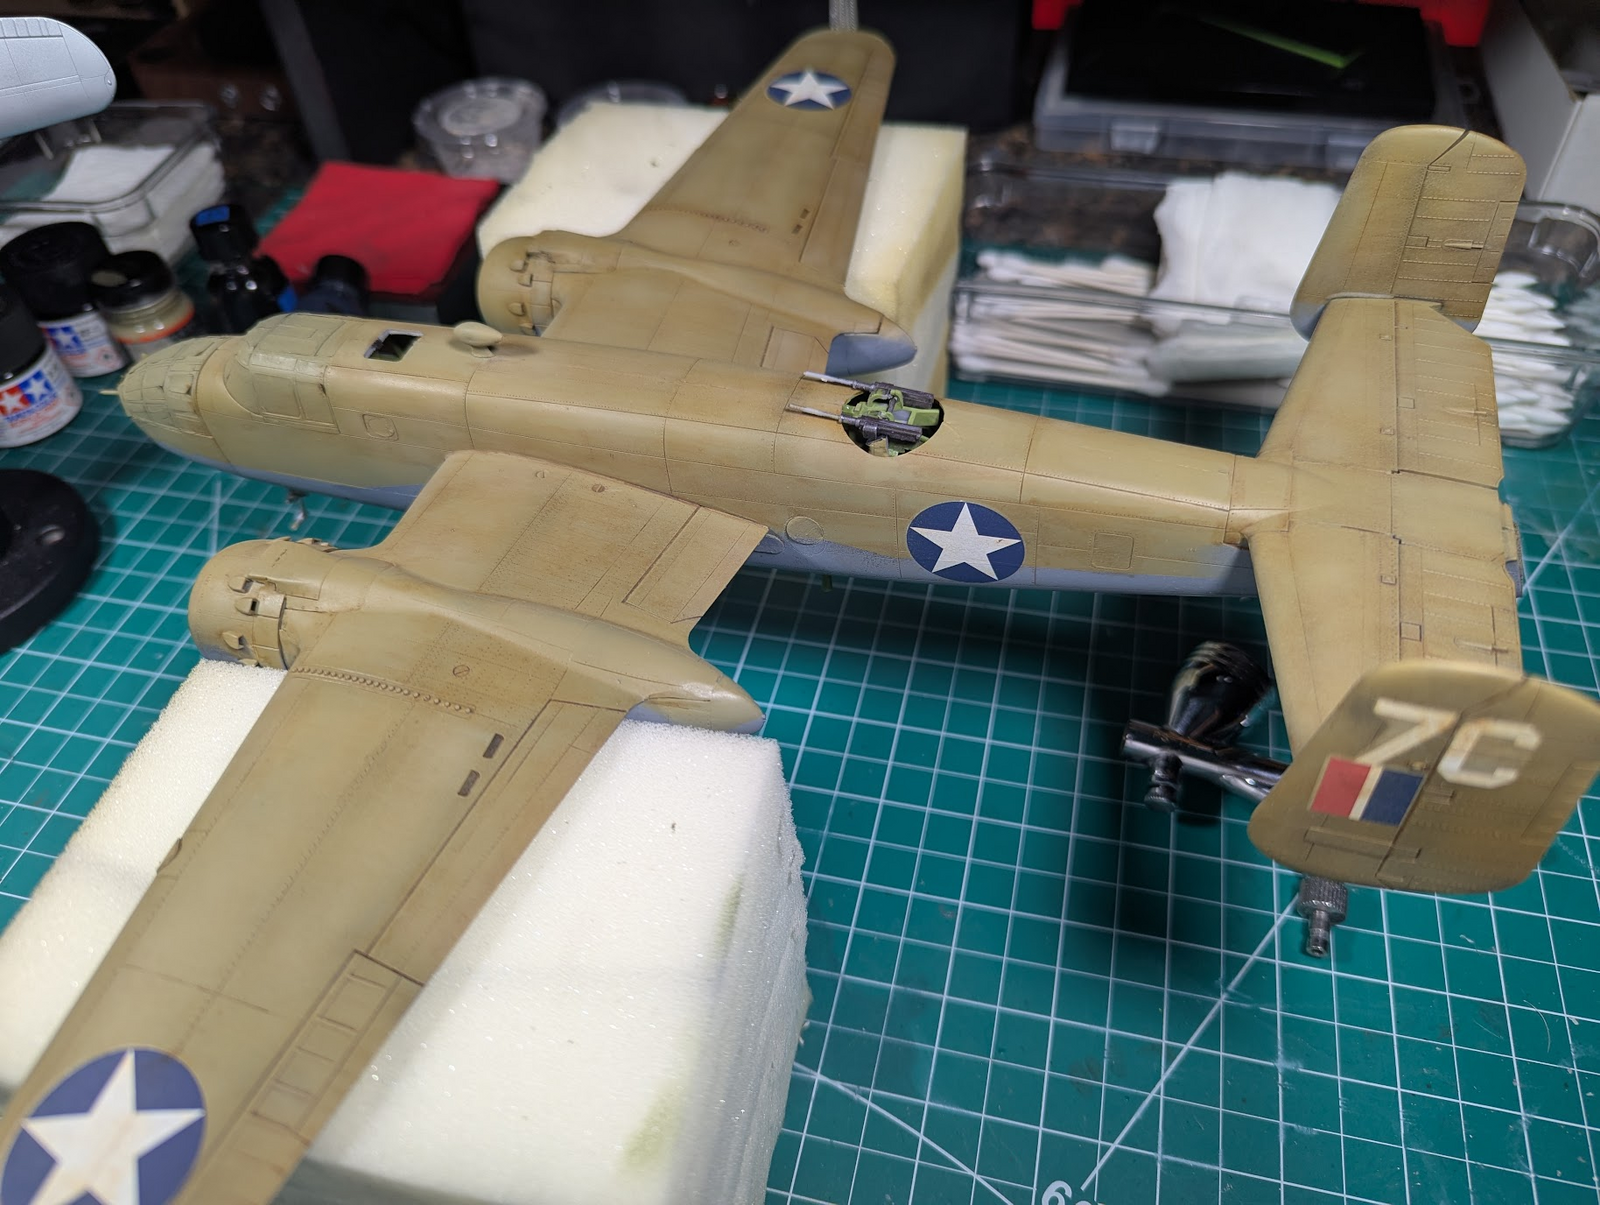
Thanks PJ! Yes it gets hot here. I thought about getting a paint booth for the hobby room but my wife works in the very next room from home and on the phone a lot so I can't have a compressor going off and I don't know how loud the fans are but I just didn't want to chance it. Besides I'm an old carpenter and I got compressors all over the place. One in the garage for the cars and a big one out back along with a pancake compressor I use out back for airbrushing. It gets hot but I keep the paint and the airbrush right inside to keep them cool. I don't think putting paint into an airbrush that is sitting in 115° heat is going to work out very well so I keep it inside nice and cool and use Mr color 500 cuz it has stuff in it for tip dry and retarder. At least I think it does cuz it is just excellent stuffThat looks like an awesome paint job.
I paint in the garage and has to be done before 11 am otherwise the sun hits that area and the garage becomes an oven even with the big doors open and fans going, hate Summer!
I love Tamiya paints too. They spray out super smooth and cover really well.
Looking very nice Rob.. Was thinking to start one of those but was wondering about the quality of the kit
Your pictures and write-up put HK Models on my list of brands I want to check out. They look like really nice parts. I know they are out of business but I'll never buy another from Accurate Miniatures.Thanks. I wouldn't hesitate. So far this kit is flawless. It goes together beautifully and any mistakes on putting it together are entirely mine
Hmm, I don't believe HK models is out of business unless my phone is lying to meYour pictures and write-up put HK Models on my list of brands I want to check out. They look like really nice parts. I know they are out of business but I'll never buy another from Accurate Miniatures.
400. Mr Color 400Thanks PJ! Yes it gets hot here. I thought about getting a paint booth for the hobby room but my wife works in the very next room from home and on the phone a lot so I can't have a compressor going off and I don't know how loud the fans are but I just didn't want to chance it. Besides I'm an old carpenter and I got compressors all over the place. One in the garage for the cars and a big one out back along with a pancake compressor I use out back for airbrushing. It gets hot but I keep the paint and the airbrush right inside to keep them cool. I don't think putting paint into an airbrush that is sitting in 115° heat is going to work out very well so I keep it inside nice and cool and use Mr color 500 cuz it has stuff in it for tip dry and retarder. At least I think it does cuz it is just excellent stuff


![Pampers Sensitive Baby Wipes, Clinically Proven, Fragrance Free, Unscented, Water Based, Hypoallergenic, Multi-Use, Hand Wipes 336 Wipes Total (6X Flip-Top Packs) [Packaging May Vary]](https://m.media-amazon.com/images/I/41KLBHu9CAL._SL500_.jpg)








