Group Build: Historical Warships of WWII

Scale Model Addict - Model Tips, Guides, Tools & Tech, Tutorials, and Community

Help Support Scale Model Addict:

1748179045864.png

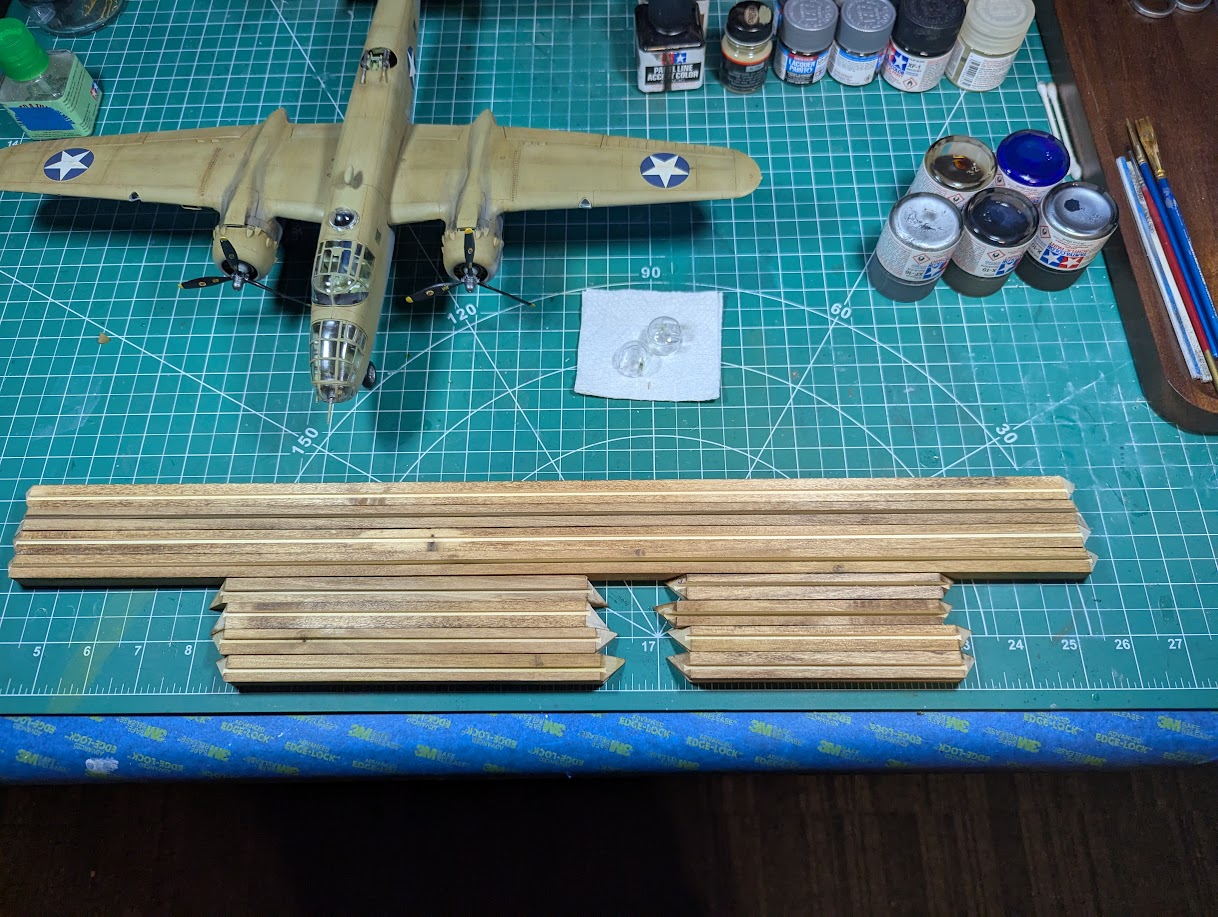
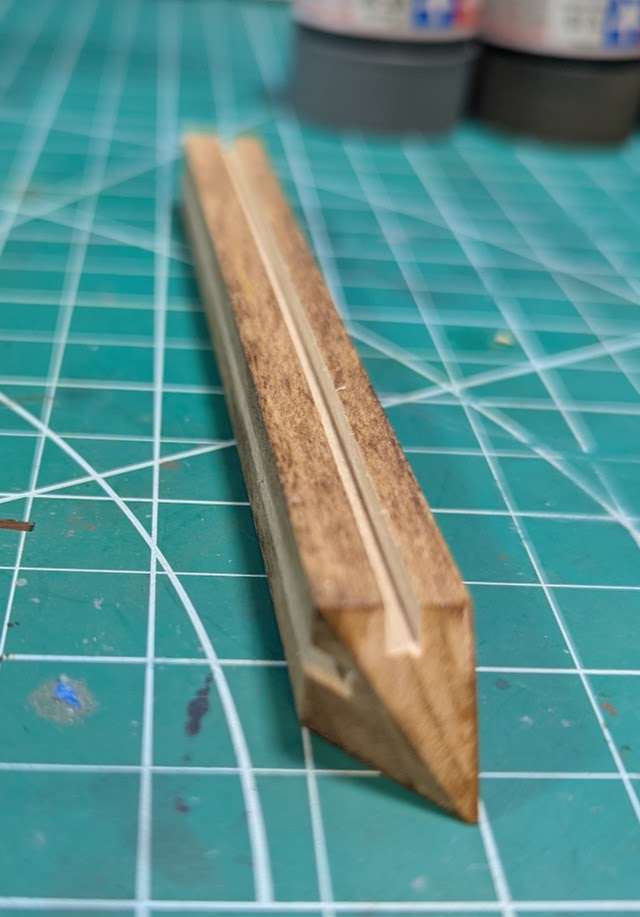
What does this have to do with the ship-build? Depending how you look at it, nothing, but that wood will be the frame for the display case I'm trying to make for the USS Texas. I bought some plexiglass yesterday, I intend to "cut it" with my router.

When I saw the prices they were asking for commercial ones, I decided to try my hand at my own. If it works out I might swap the plexi for glass just to upscale it a bit.
1748179269156.png

Close-up of the miter cuts and the channels for the glass.

Still not sure what to do for a stand. The plastic one looks like, well, bad things. I did not know about the pedestal mounts until I had sealed up the hull. May try that with copious amounts of glue since I cannot secure it from the inside.

As far as the model itself, my "EZ-Line" will be here next Friday. Folks at my model club meeting yesterday said that using World of Warships as a reference is as good as it gets for detailing these ships. Anyone here disagree?

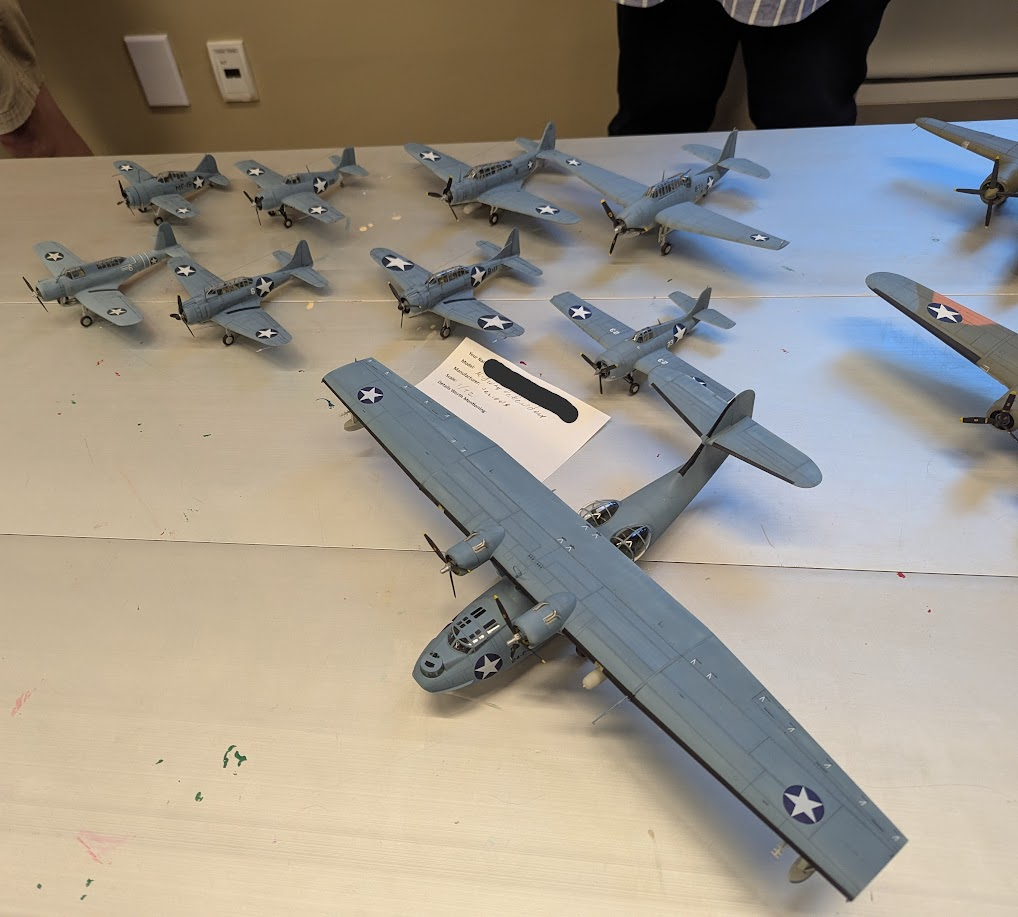
Since this picture fits the topic slightly, I'll share what one fellow brought yesterday. This represents "every" aircraft used by US forces at Midway 1942. USN, USMC, USAAF, all in one picture. Unfortunately I cut off the B26 torpedo bomber and most of the B-17.
1748179695003.png
 
View attachment 148714
What does this have to do with the ship-build? Depending how you look at it, nothing, but that wood will be the frame for the display case I'm trying to make for the USS Texas. I bought some plexiglass yesterday, I intend to "cut it" with my router.

When I saw the prices they were asking for commercial ones, I decided to try my hand at my own. If it works out I might swap the plexi for glass just to upscale it a bit.

View attachment 148715
Close-up of the miter cuts and the channels for the glass.

Still not sure what to do for a stand. The plastic one looks like, well, bad things. I did not know about the pedestal mounts until I had sealed up the hull. May try that with copious amounts of glue since I cannot secure it from the inside.

As far as the model itself, my "EZ-Line" will be here next Friday. Folks at my model club meeting yesterday said that using World of Warships as a reference is as good as it gets for detailing these ships. Anyone here disagree?

Since this picture fits the topic slightly, I'll share what one fellow brought yesterday. This represents "every" aircraft used by US forces at Midway 1942. USN, USMC, USAAF, all in one picture. Unfortunately I cut off the B26 torpedo bomber and most of the B-17.
View attachment 148716
Well I'd say casing and mounting have everything to do with the build! Great stuff. I have put many a model under plexiglass with great results. I kind of prefer it over glass for several reasons: cost, weight considerations, sheen that detracts from seeing the model depending on lighting and location.

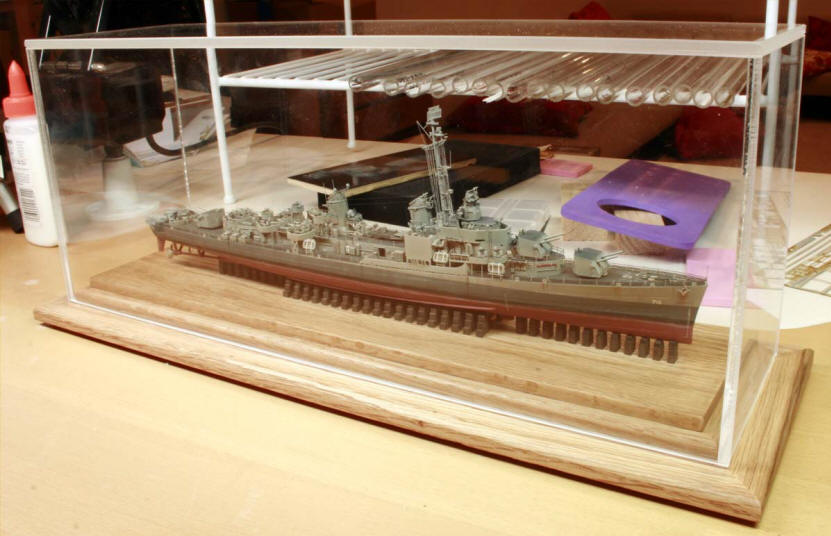
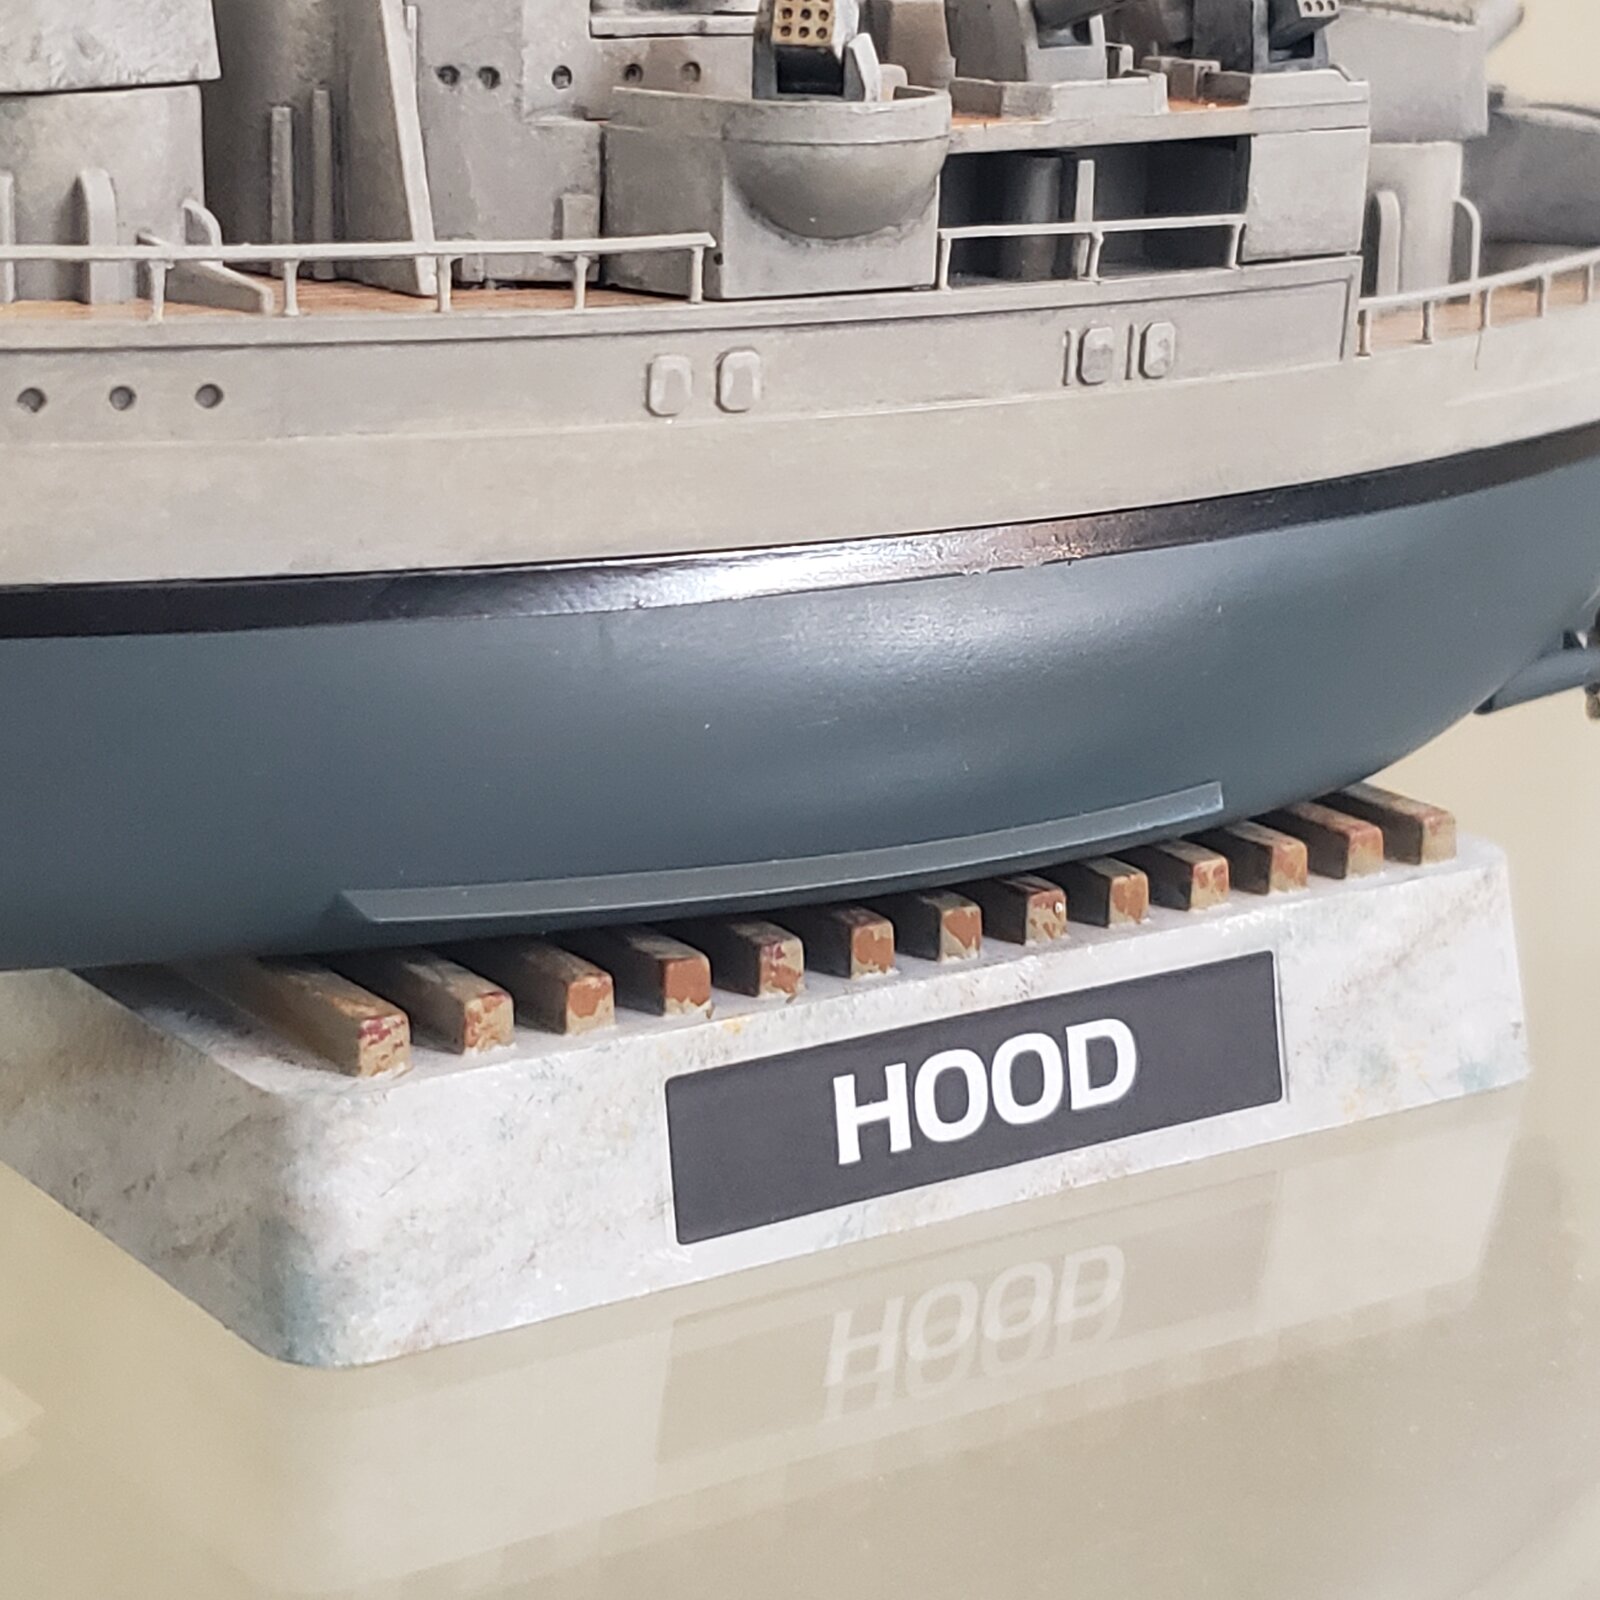
As far as mounting, you could easily use wood keel blocks screwed or glued onto your base and your model glued onto them. A couple examples for you.
1000016435.jpg
1000016434.jpg


As far as the rigging goes, I 100% agree with using WoWS for a guide. I took about 10 different angle shots for the rigging for my build. The big plus here is they have almost every ship of the time period and a lot of research went into their renderings. Even using them as a guide, you won't even need to rig to the extent that they do.

And it's extremely interesting you have the US aircraft photo, it's one of my major project plan to do all the carrier borne aircraft in 1/32 scale to shelf with a few 1/350 carriers (USS Enterprise, USS Yorktown, and USS Hornet), two of which my grandfather served on during WWII.
 
Thanks, I'll dig a bit about those "keel blocks", looking at your pics it looks like multiple versions exist.
 
Does this look like the right idea?


Clearly a different scale, but just cut several square pieces and lay them evenly underneath? Even I can do that!

The example shown above, on the right looks like a much more complex design.
 
Does this look like the right idea?


Clearly a different scale, but just cut several square pieces and lay them evenly underneath? Even I can do that!

The example shown above, on the right looks like a much more complex design.

Absolutely the right idea, they don't need to be fancy at all. The second photo is a small destroyer that I assume the builder wanted to expose as much of the lower hull, so they customized the blocks to be more center lined along the keel.
 
As an Amazon Associate we earn from qualifying purchases. Product prices and availability are accurate as of the date/time indicated and are subject to change.
A small update.
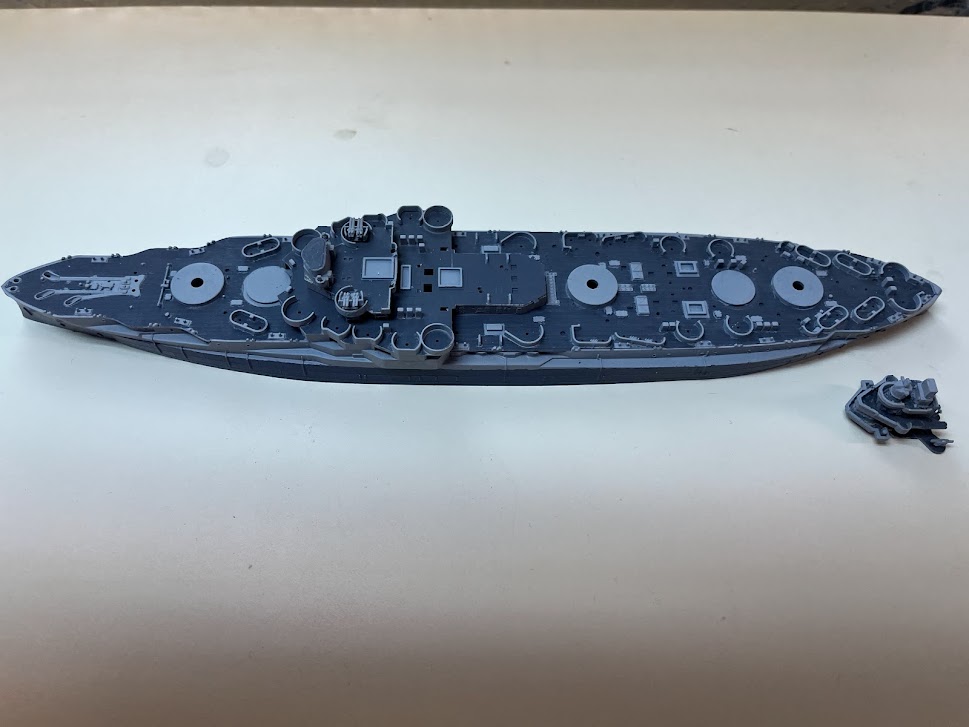
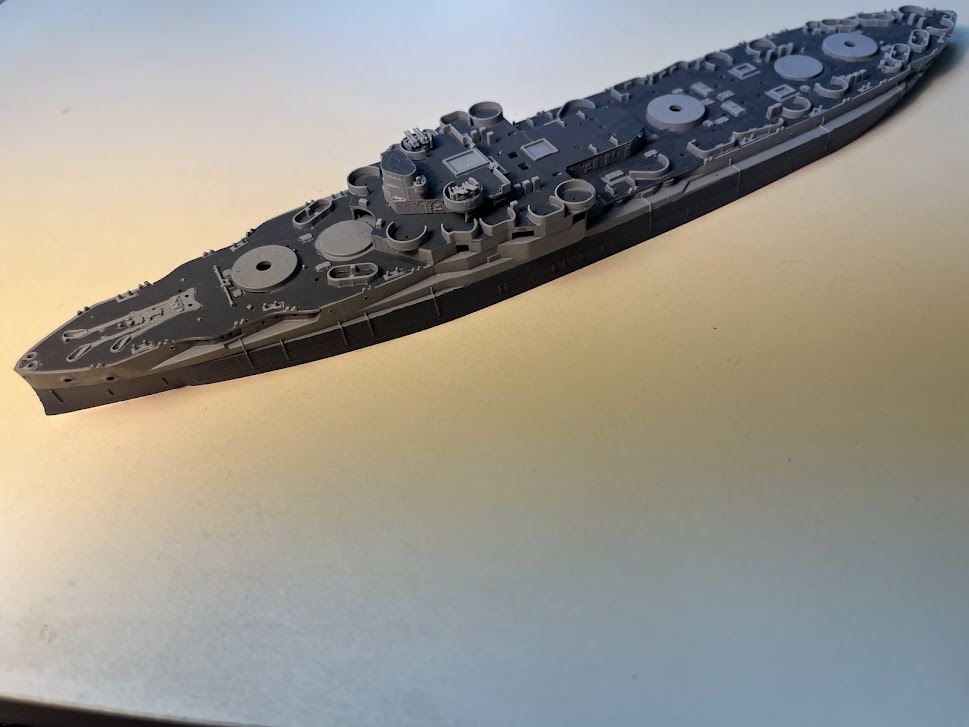
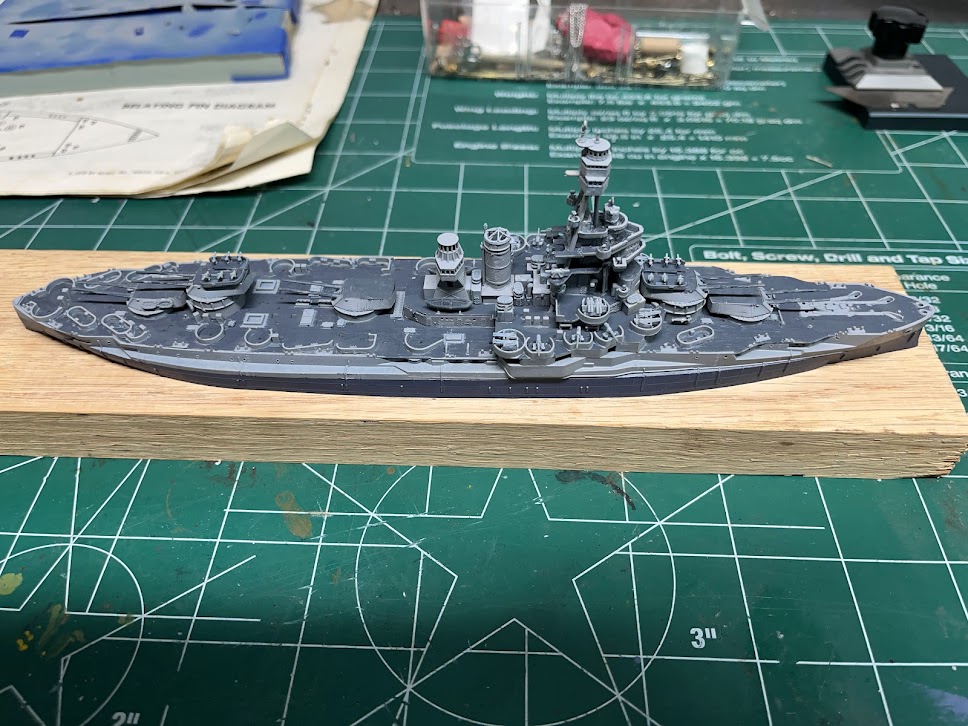
I got the painting done. Now spending relaxing hours with tweezers putting together lots of little sub assemblies of guns, Carley floats, and machinery that will be attached to the deck over time. I think I like this color scheme. I am blessed for buying the precut masks. There are soo many raised details molded into the deck it would have taken years to trim and mask it without them. Masking the demarcation line along the hull was a challenge, even using clear to seal the line, there isn't a flat spot along the entire hull and I still had a number of small bleed through spots.
IMG_0693.jpg

IMG_0694.jpg
 
A small update.
I got the painting done. Now spending relaxing hours with tweezers putting together lots of little sub assemblies of guns, Carley floats, and machinery that will be attached to the deck over time. I think I like this color scheme. I am blessed for buying the precut masks. There are soo many raised details molded into the deck it would have taken years to trim and mask it without them. Masking the demarcation line along the hull was a challenge, even using clear to seal the line, there isn't a flat spot along the entire hull and I still had a number of small bleed through spots.
View attachment 149280
View attachment 149281
The colors look amazing! Texas is a very hard ship to have to paint and I sure those masks saved your sanity.
 
Last edited:
Thankfully the replacement Pontos steel deck fret has been received today. The section I needed the most to keep this project going was all bent out of shape with a few hard creases that couldn't be removed even with all the tricks that normally work. Anyway, now that I have the entire fret replaced, it's back to the bench to get the major part of the build done and ready for paint.
 
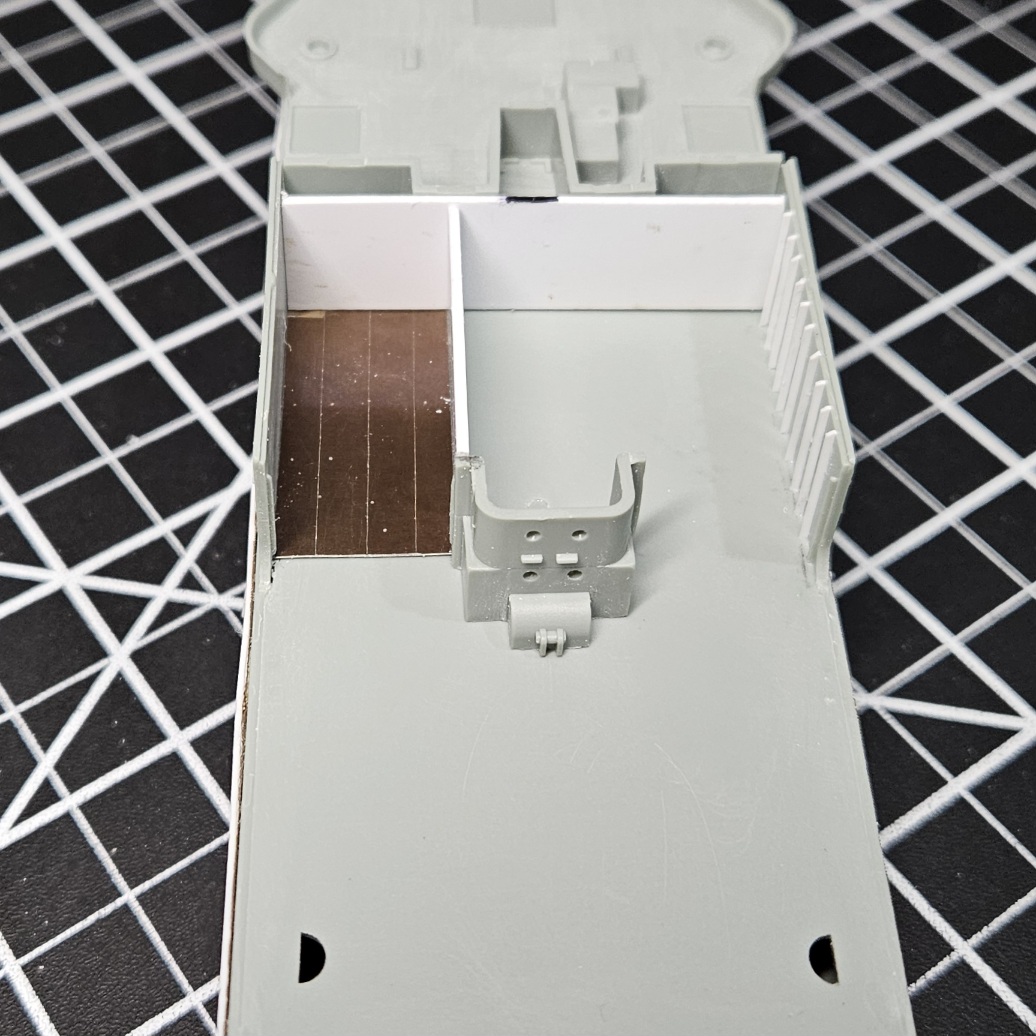
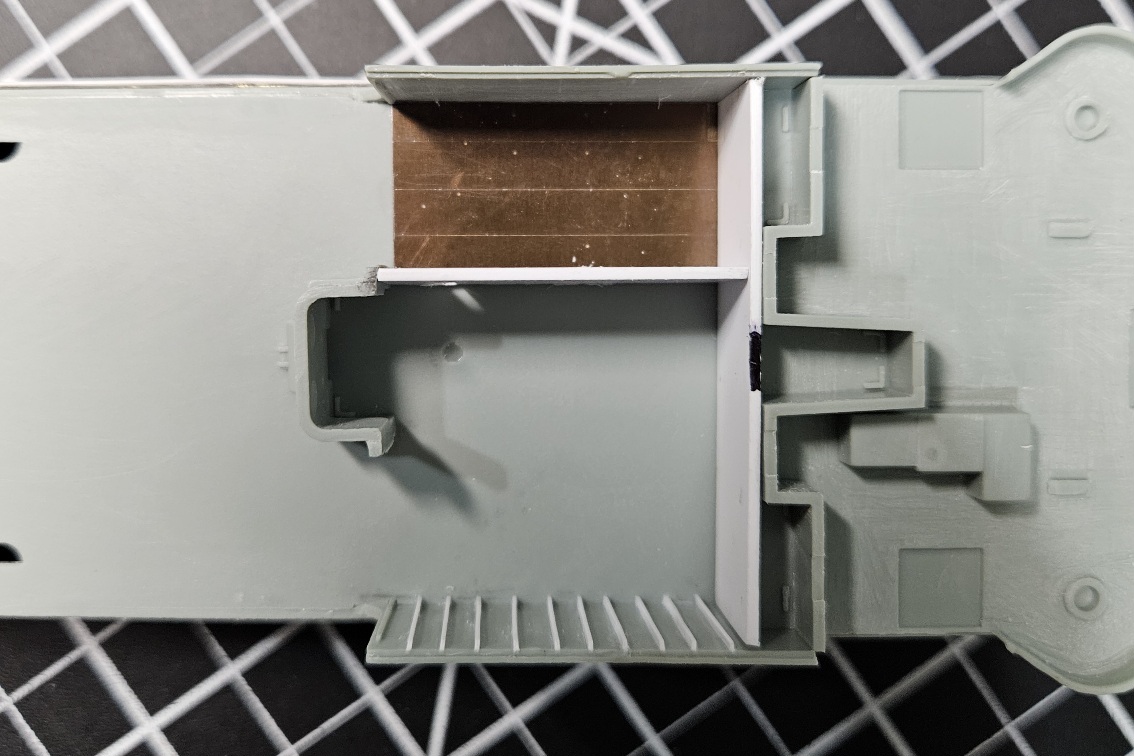
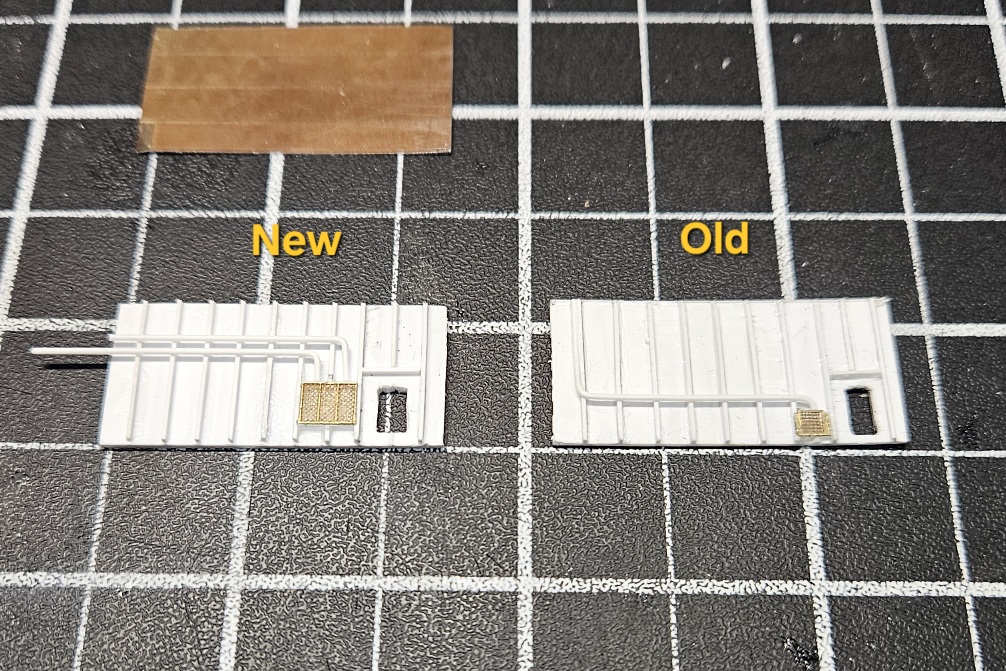
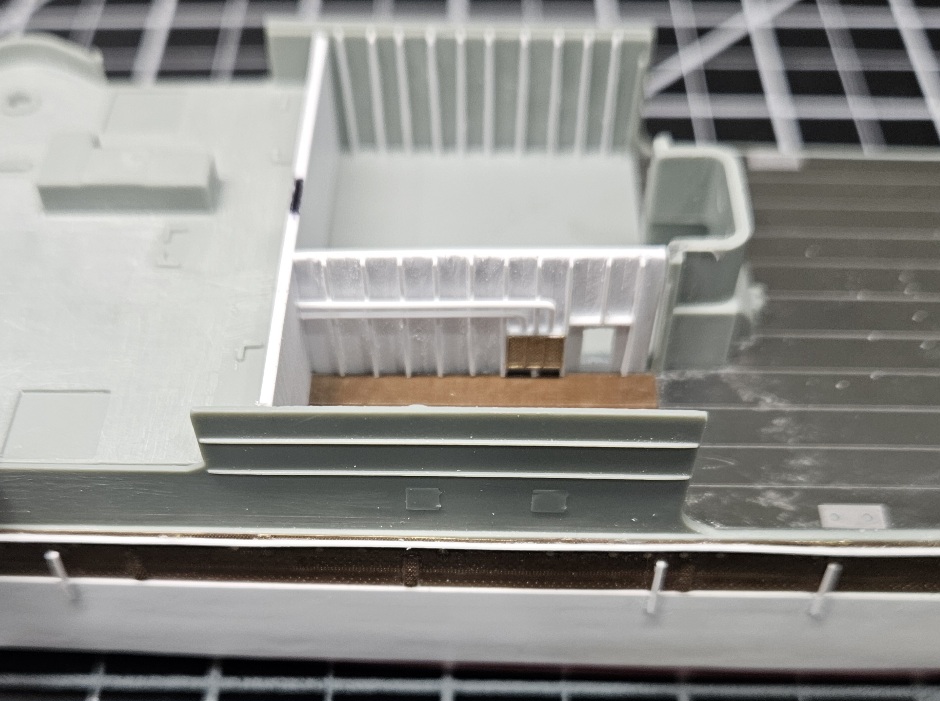
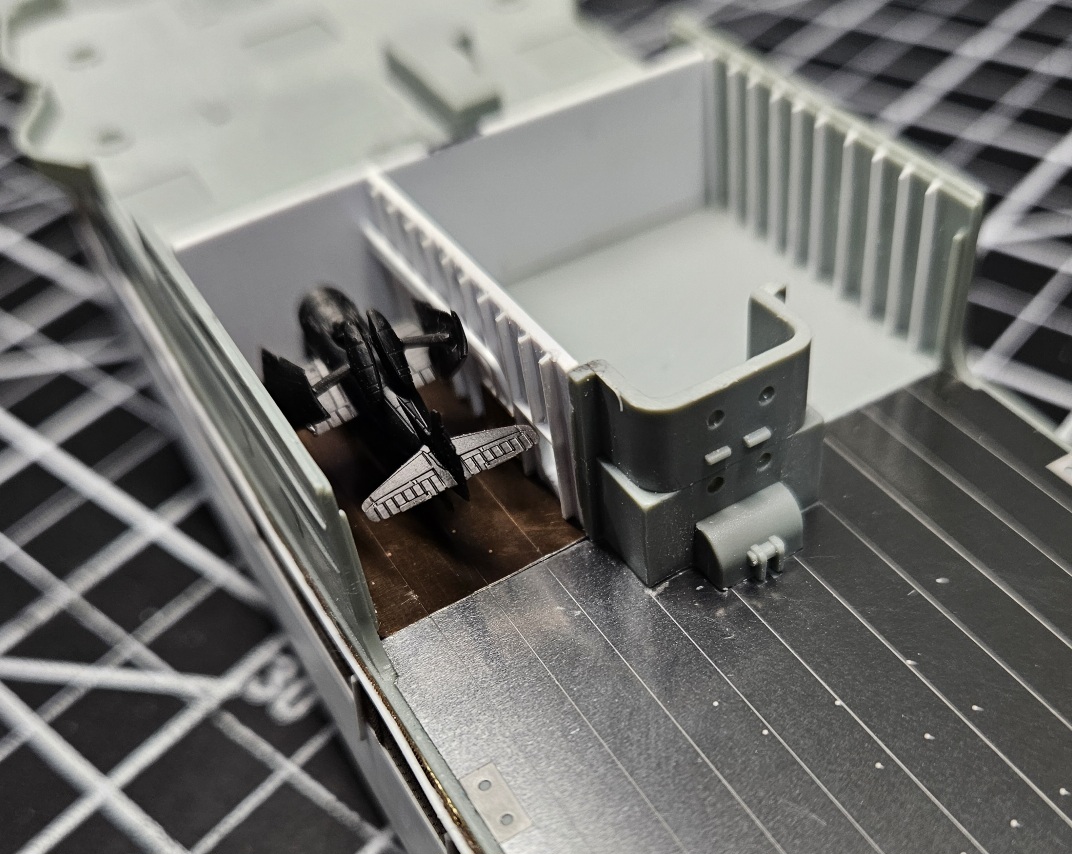
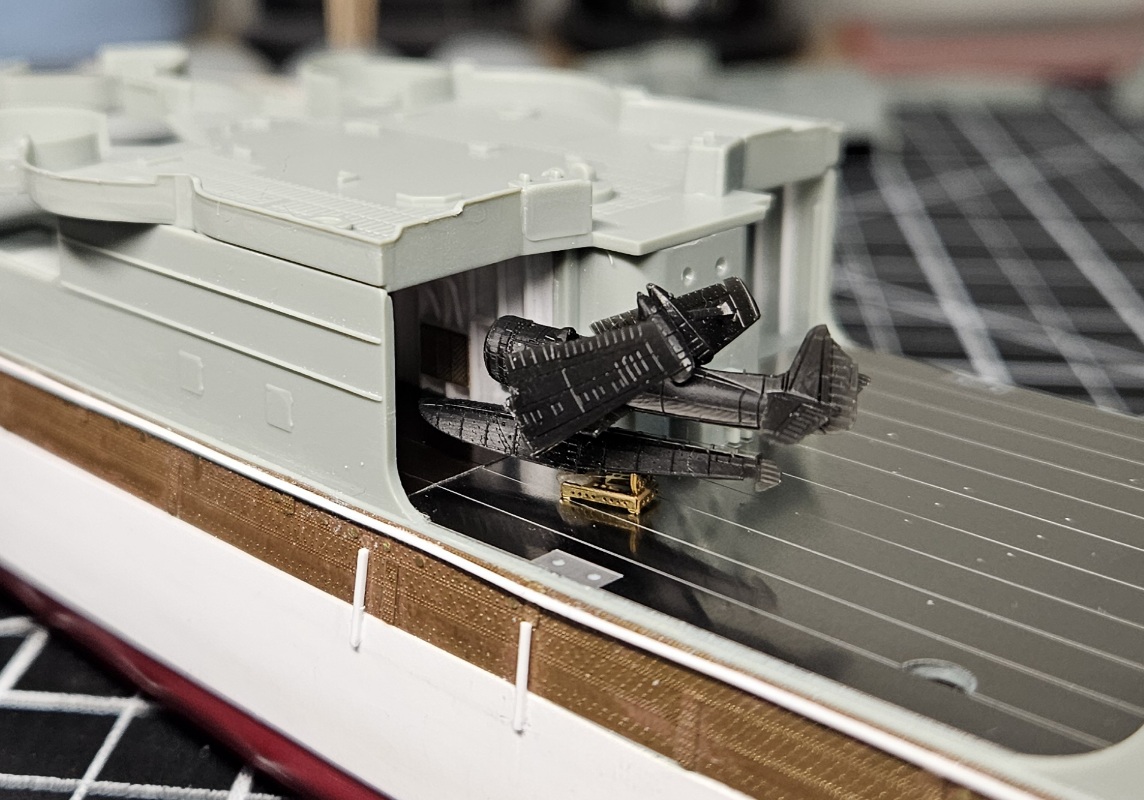
Ok, so with the full set of steel decking in photo etch, I had to revisit my prior work on the hangar bay. The scratch built interior wasn't quite up to par to match up with the interior decking I was able to make from a section of the mangled deck piece. This took a lot of time cutting the photo etch to be in line with the steel deck lines, as well as square to the interior walls on all sides.

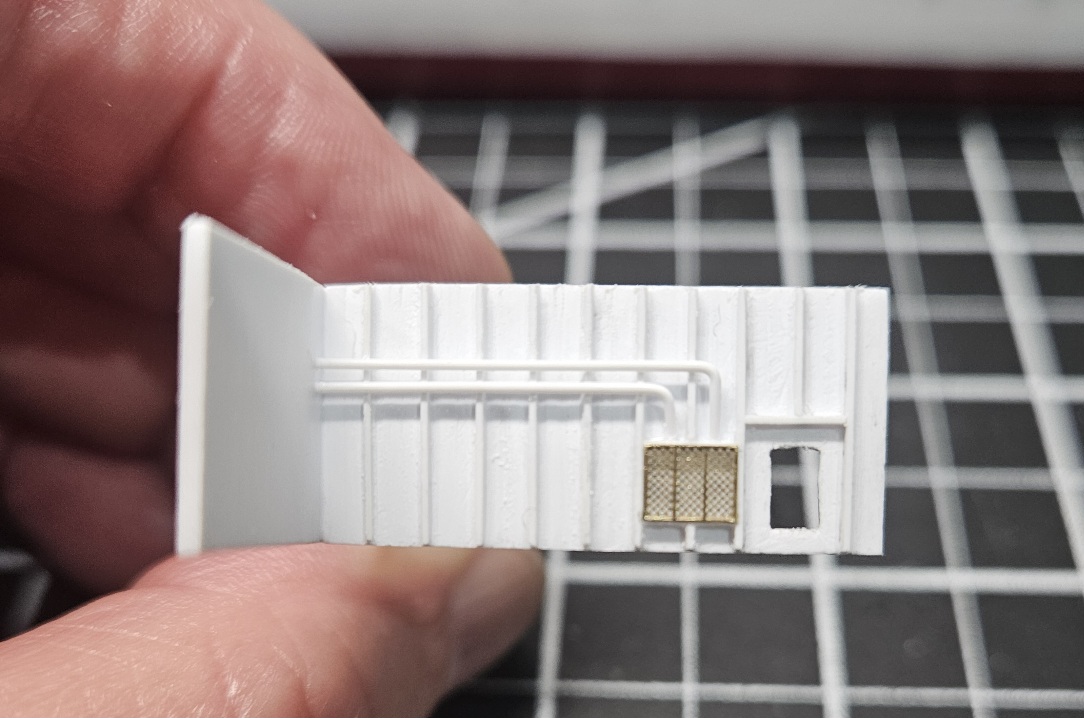
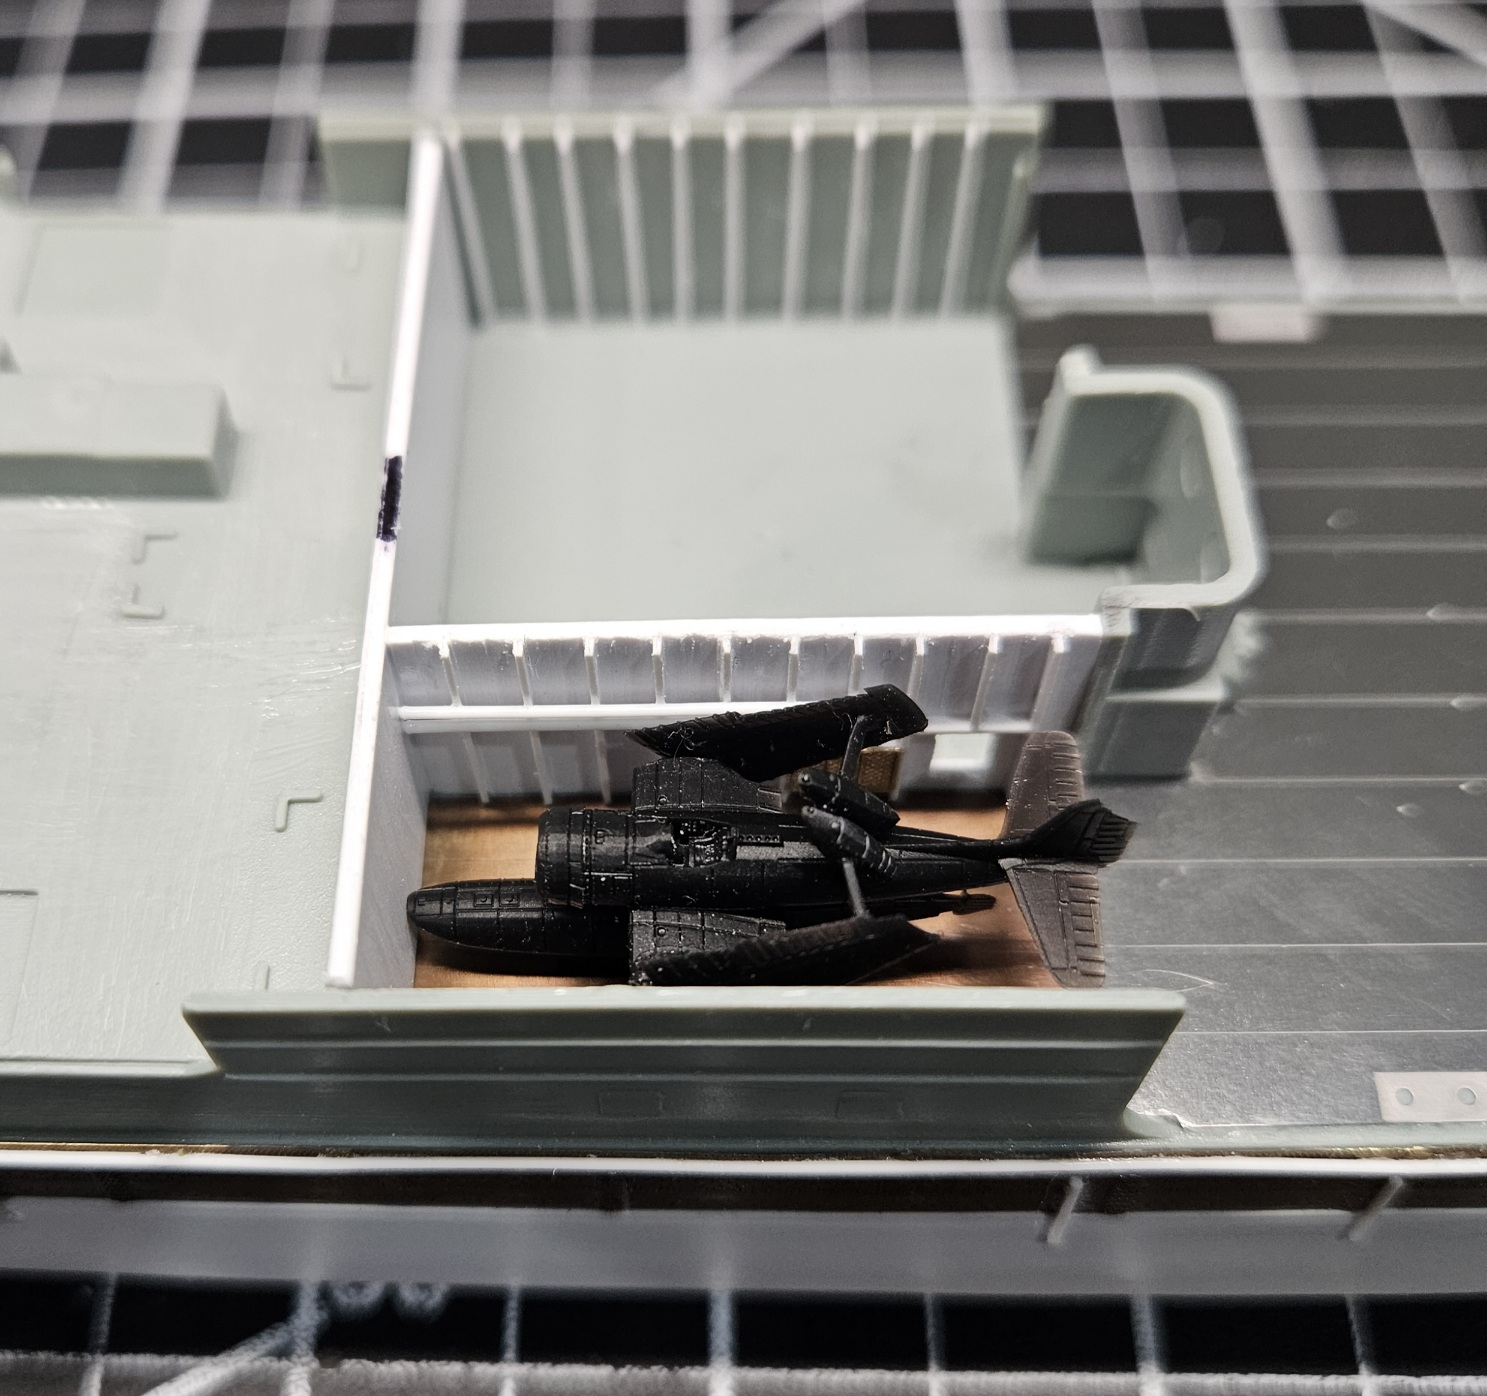
This meant that I also had to remake the interior walls in 1mm thick styrene sheet instead of the .75mm sheet I used previously. These came out much tighter and flush with the decking. All I have to do now is add the detailed bracing and plumbing. Small set back, but much more time rebuilding the hangar bay. Luckily, with only having two SC-1 Sea Hawks, I only need to build the starboard bay. So it's back to the bench and the grind...

1000016801.jpg

The old bay walls were actually a mess, so kinda worked out that I had to rework the bay.

1000016799.jpg

1000016800.jpg

The new bay reworked and ready for details.
 
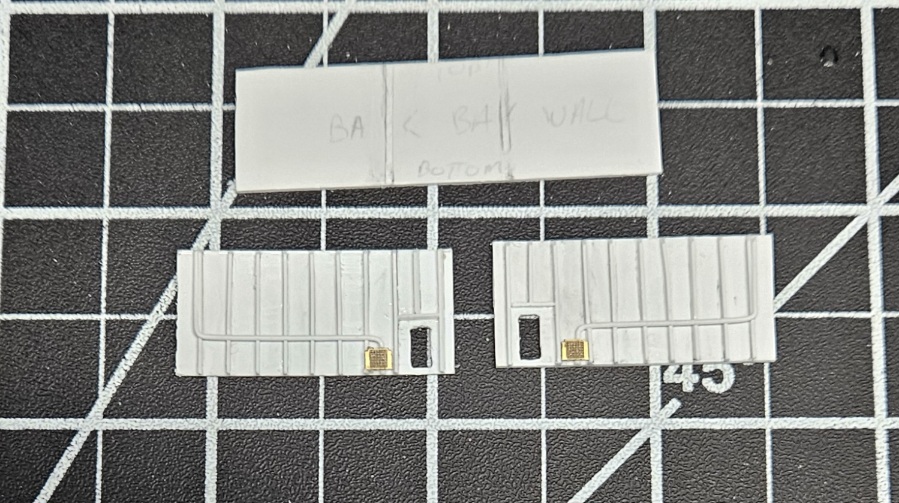
I'm probably sure these quick little updates aren't for everyone, but for those that may like to see the tedious details, here's the new hangar bay wall. The supports and venting is all secure in place, but the plumbing is not. I need to clean up the lines from excess glue once it dries, and then measure twice, cut once the plumbing lines to mount flush to the back wall. I think it's a vast improvement over the old interior wall.

1000016855.jpg
 
That is just crazy!

This thread made me want to build more ships, so I bought the 1:144 scale Destroyer, which scared the crap outta me upon opening with the ~1,800+ parts.

Now this?
 
That is just crazy!

This thread made me want to build more ships, so I bought the 1:144 scale Destroyer, which scared the crap outta me upon opening with the ~1,800+ parts.

Now this?
Building ships can get very addictive, but they can be a much longer build. Add photo etch and aftermarket parts, now you have a party going on...lol.
 
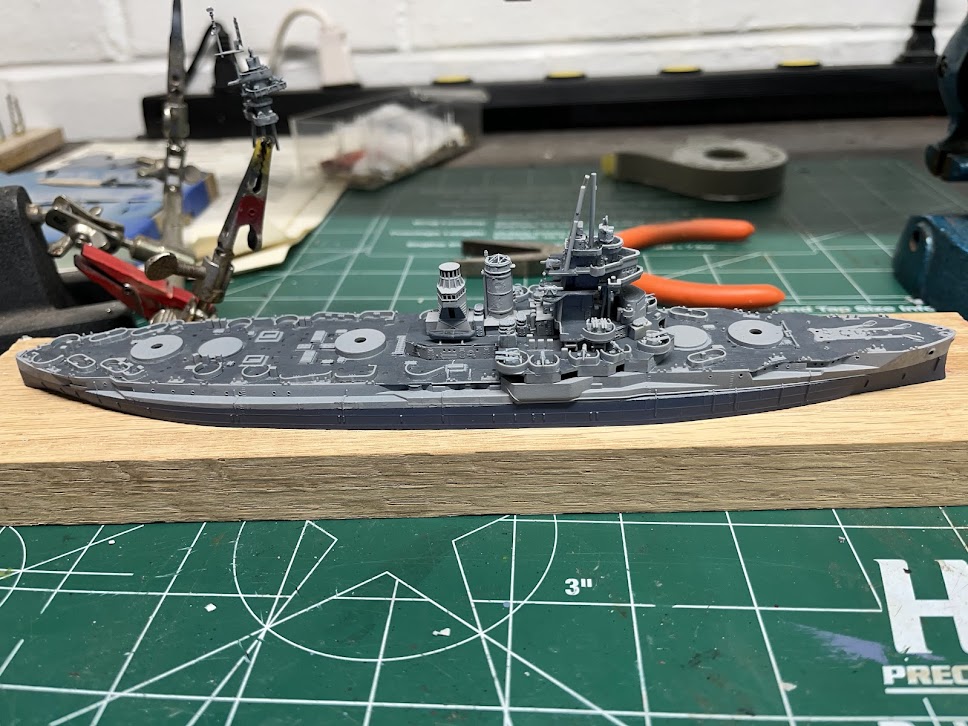
I had some valuable time at the workbench over the holiday working on the Texas. These 1/700 Trumpeter kits really force one to make sure you test fit many times before gluing. A couple of holes needed to be opened up and a little slicing here and there along with a little bit of filing got everything to line up.
IMG_0759.jpg
 
I have been doing some more work on the Texas. This kit has had some fit issues and I have had to redo the fighting tops a few times to get everything somewhat aligned. The instructions don't show where to exactly place a component that is critical to the alignment, so its trial and error.
I have the guns loosely fitted and have started bending and forming the PE catapults.
Texas 1.jpg
 
I maybe forgot to mention that I replaced the kits observation towers and stack with 3D printed ones from Model Monkey, which require some fineness to get them the fit and alignment to work. They are much nicer than what the kit provided.
 

Latest posts

Back
Top