Dan the Modeler
Well-Known Member
Thank you Sir. It is extra work, but in the end it is my hope it will be worth it. As long as I don't mess it up...lol.It's a ton of work, but it sure does look nice

Thank you Sir. It is extra work, but in the end it is my hope it will be worth it. As long as I don't mess it up...lol.It's a ton of work, but it sure does look nice
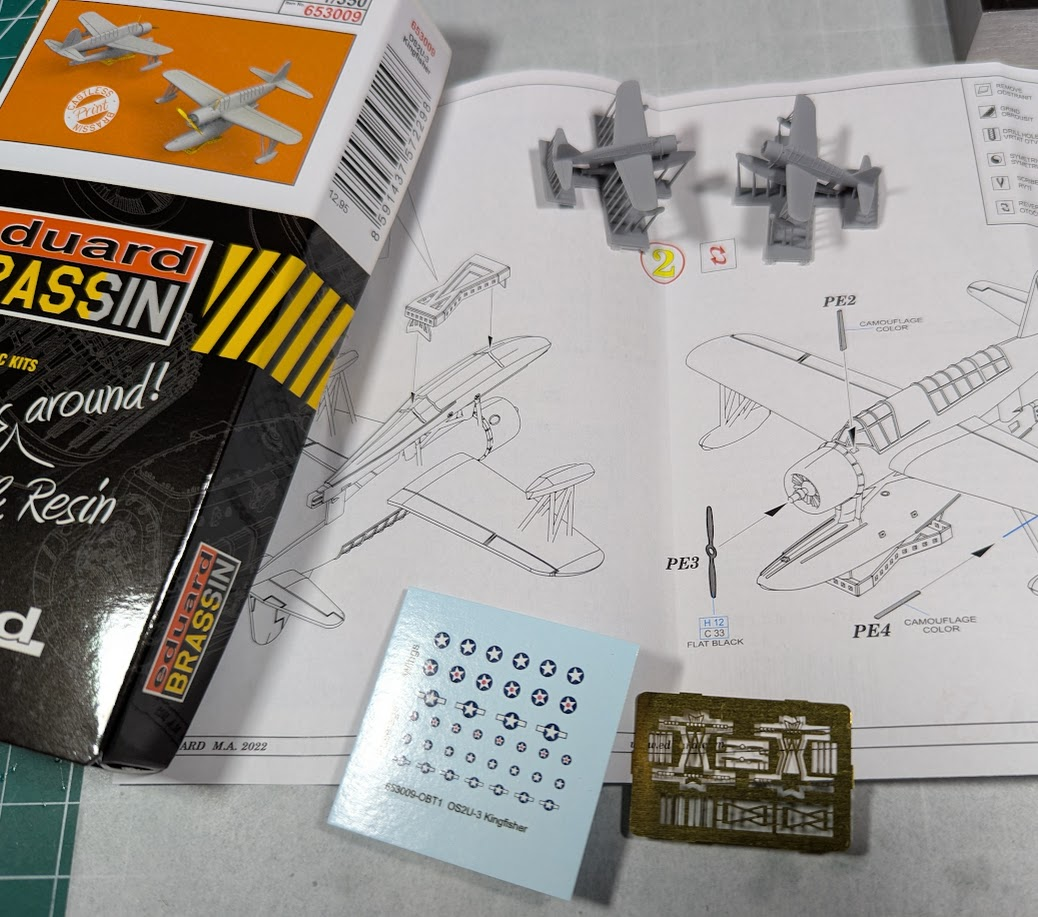
Those look very nice compared to the kit supplied seaplane. I don't know why, I was expecting clear canopies...lol.The Kingfishers came in, more PE and plenty of stickers, but the detail is really good.
View attachment 143819
View attachment 143818

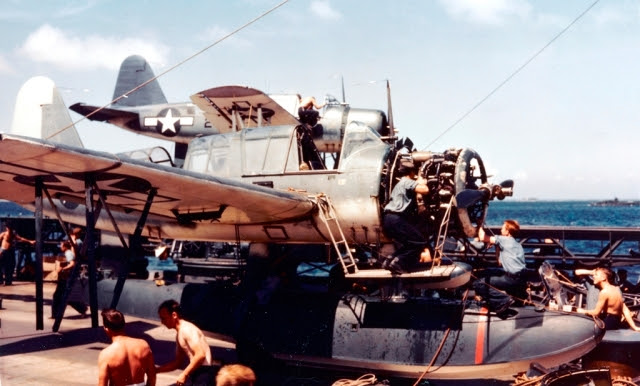
Great resource and picture. Those floats were huge. Compared to the SC Seahawk, the Kingfisher was a beast.Picture of the day, credits found in the link below...
View attachment 143885
https://inchhighguy.wordpress.com/2025/04/14/picture-of-the-week-68/

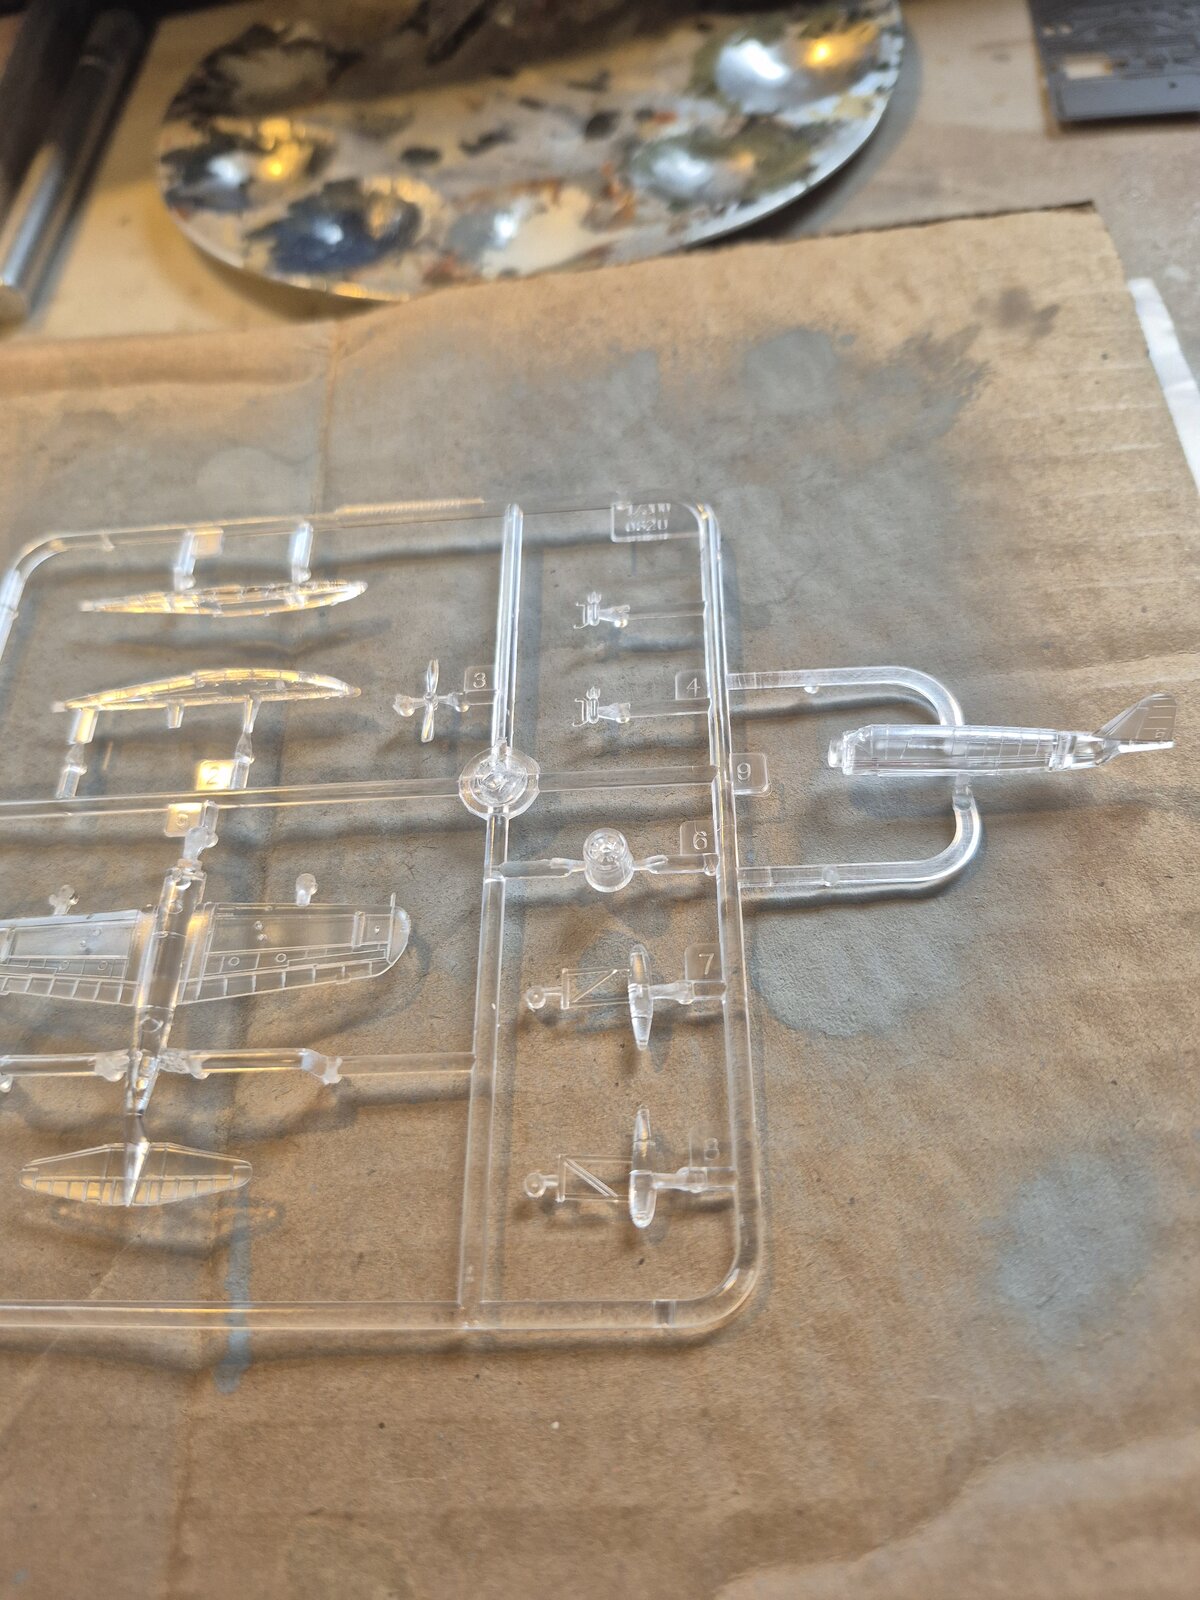
Trumpeter has some pretty good aircraft, but I found sometimes gluing the upper and lower halves can be tricky.Very cool picture.......I have a long way to go before I'm ready to build my planes.
Just for general knowledge, Trumpeter's 1/200 Kingfishers in the IOWA kit are on clear sprues. View attachment 143823
The Trumpeter 1/350th kit was the same. Mine was an older (BB-35) but I think they do that as a regular practice.Just for general knowledge, Trumpeter's 1/200 Kingfishers in the IOWA kit are on clear sprues.
That's because of the glue, right? Would that be CA , or Testors tube glue......or both?The clear part ended up fogged anyway, gray or silver paint would look better.
I'll accept all the mistakes but...That's because of the glue, right? Would that be CA , or Testors tube glue......or both?
I haven't messed around with clear parts since my thing has been armour. Would Elmer's white glue work without fogging I wonder.


^thisThe argument in favor is it makes the canopies look better. But there are many arguments against. Mine fit VERY poorly. Clear plastic is hard to cut/cast/glue/manage in general, at least IMO. The clear part ended up fogged anyway, gray or silver paint would look better.
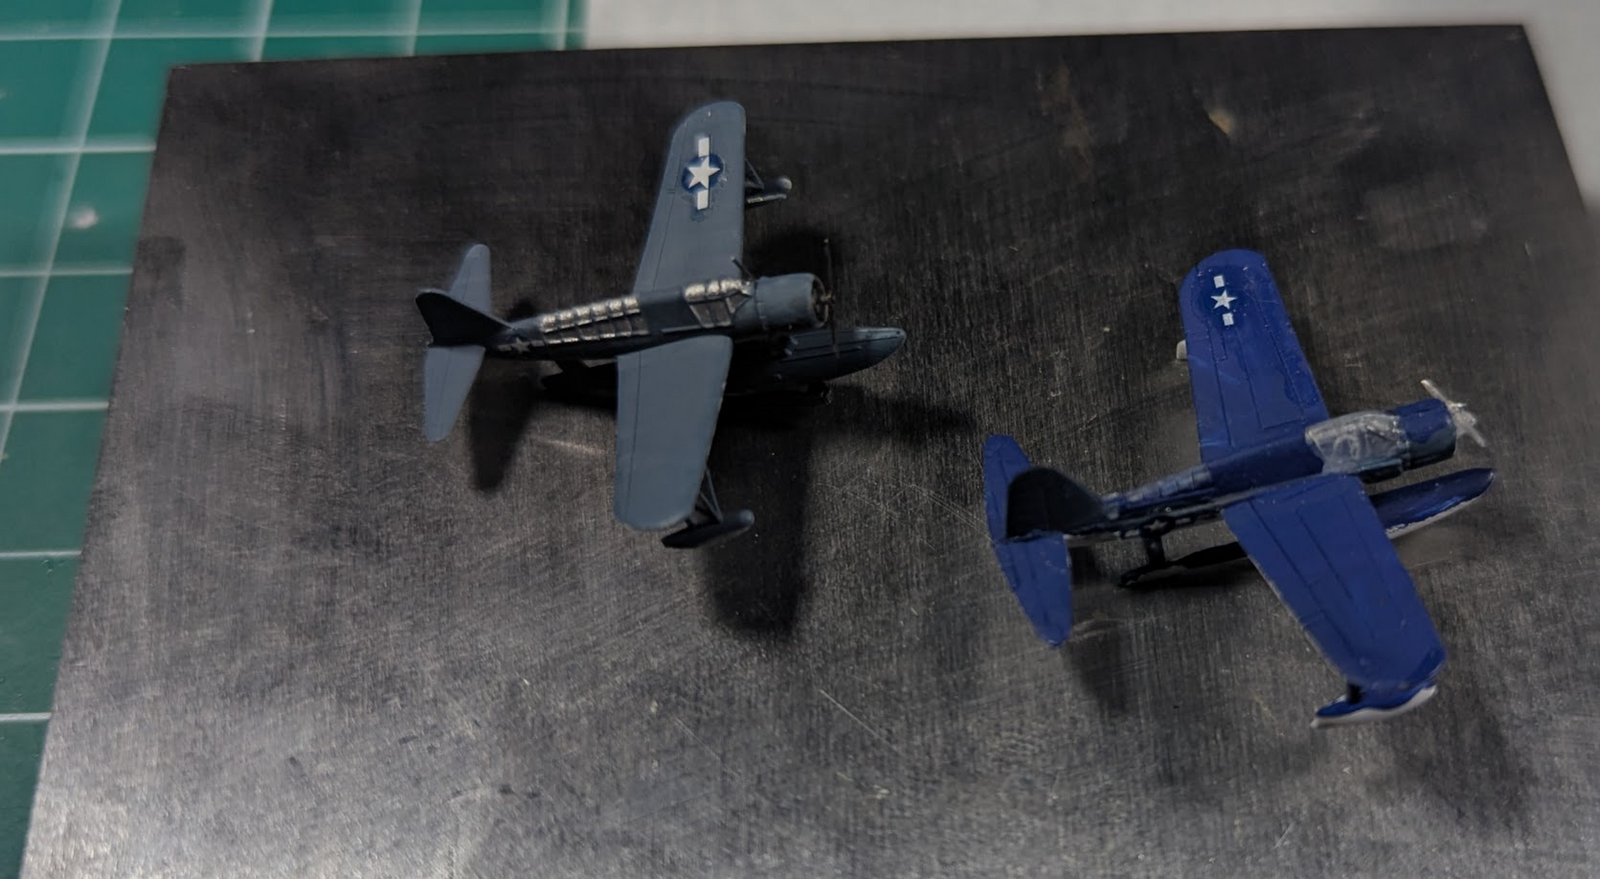
Just poppin in here to show the juice was worth the squeeze.
View attachment 144210
If by squeeze you mean effort. I think the silver (plain old XF-16) looks better as a canopy. I'll admit that the one on the right is not finished, I gave up on that, and the color being inaccurate was the final straw or kicker.
If you include cost in the squeeze calculations, maybe not, YMMV!


... nice!how they turn out
Please show and tell once you've printed!I downloaded some 3D kingfisher and 40mm Bofor stl files and am going to see how they turn out printing them on my SLS printer. I finally have an excuse to print something for a model.
If they are FDM printers, then its limited on the how well they will print surfaces and fine detail, especially at small scales. I just bought a SLS resin printer a few months ago and I'm blown away on how fine of detail it will do. I just printed a bunch of deadeyes and blocks for a sailing ship project that are 1/8" in diameter and are nearly perfect. I do 3D modeling and printing for my job, so its all second nature to me.... nice!
Have been wondering about that as well... don't have a printer, but our public library has a bunch I could use for the cost of the material.
I'd have to figure out if the printer is good enough for 1:35 scale parts.
Topic-Hijack Alert!I do 3D modeling and printing for my job, so its all second nature to me.
I probably could, except I am booked solid with work projects and what time I do get, trying to work on my own.Topic-Hijack Alert!
Do you think you could make a set of 1/24 F1 mirrors?
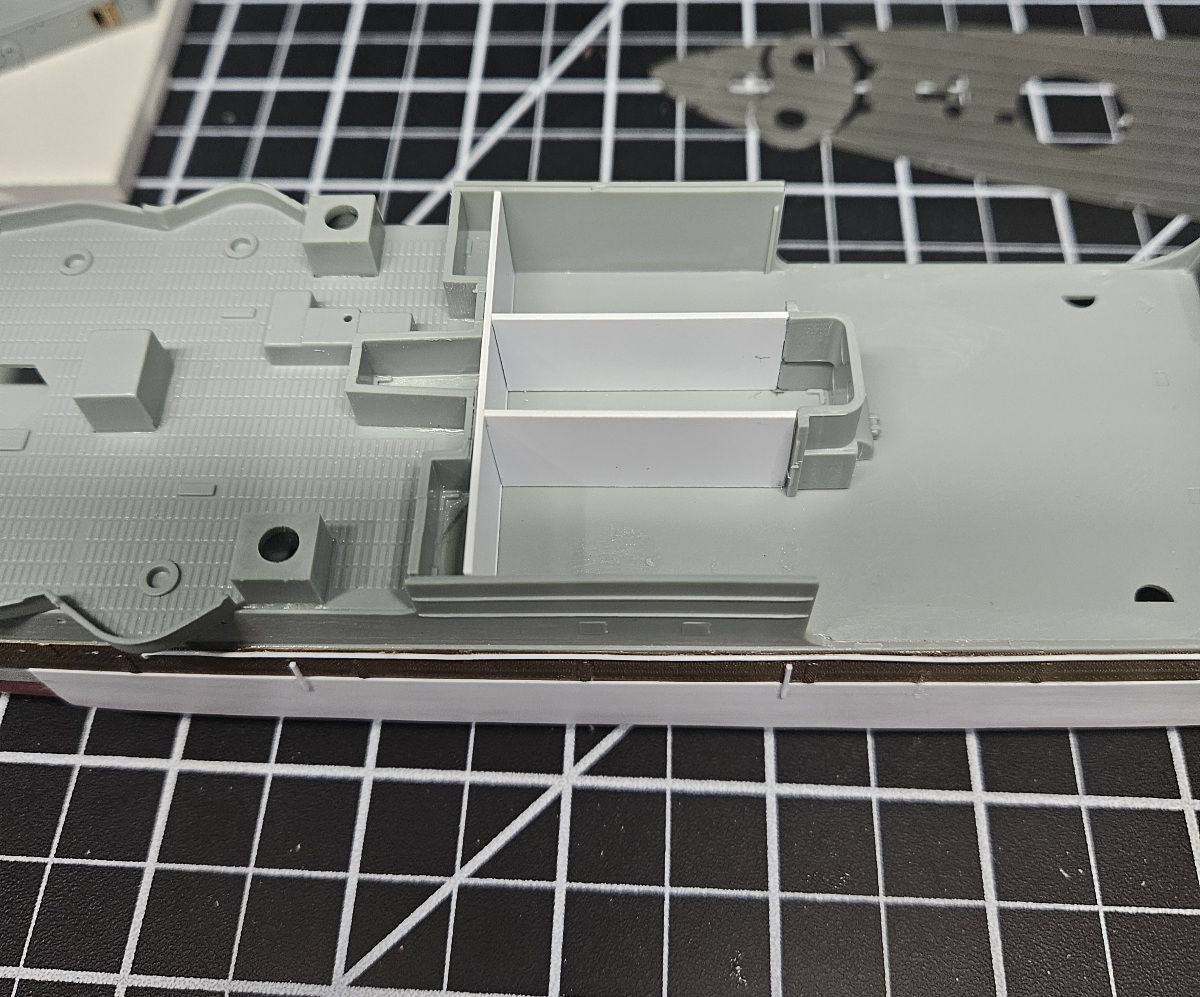
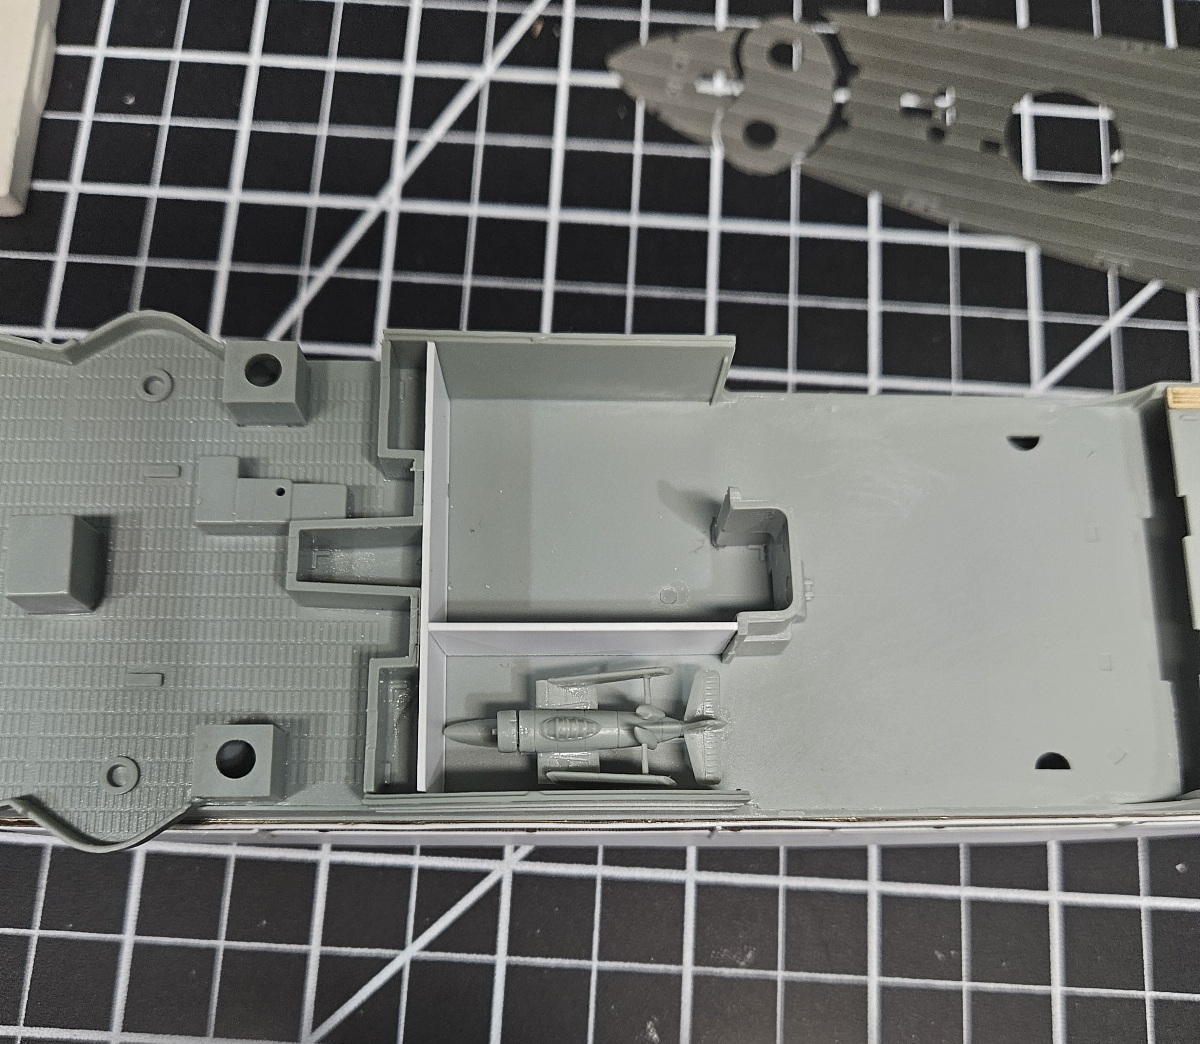
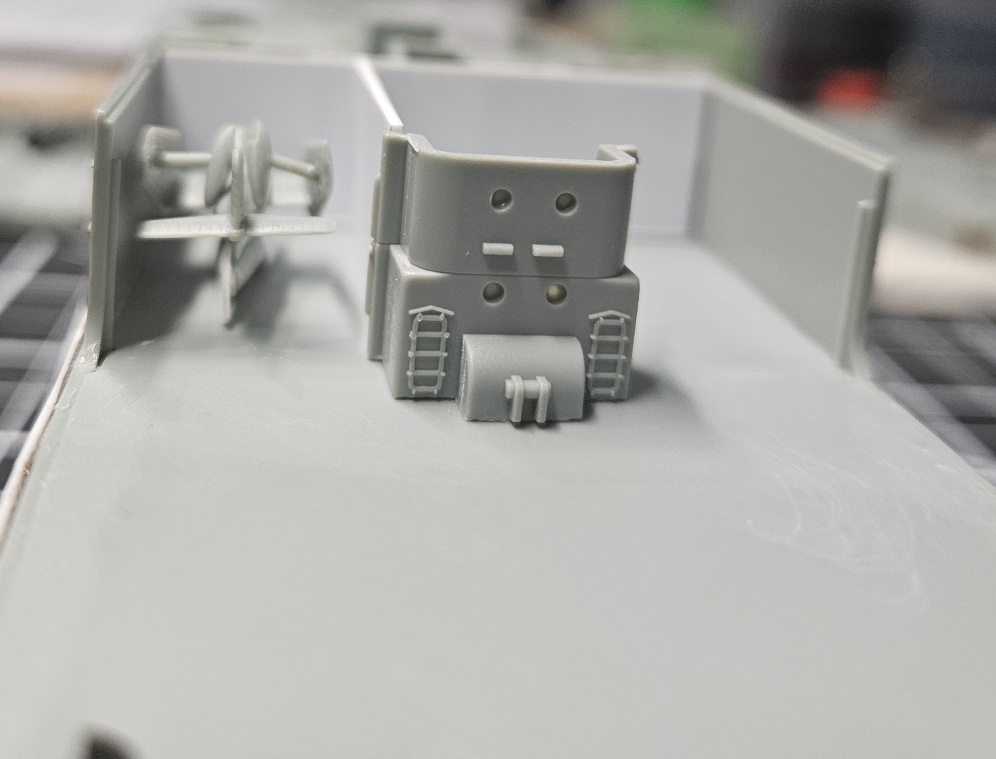
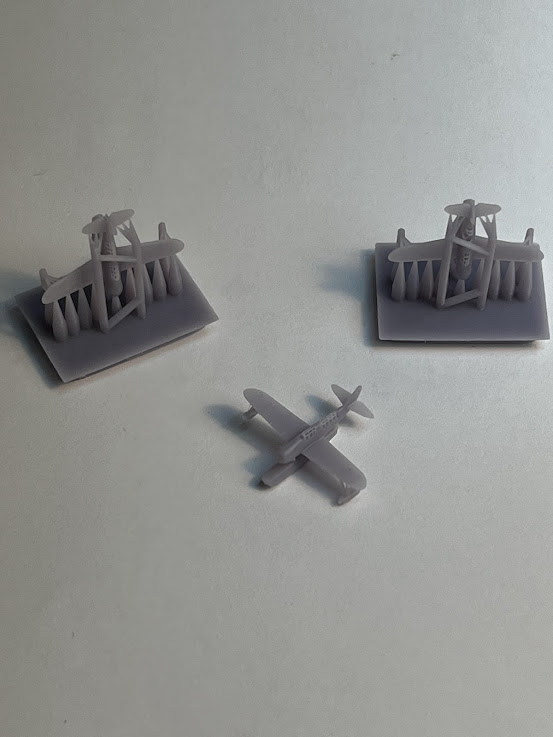
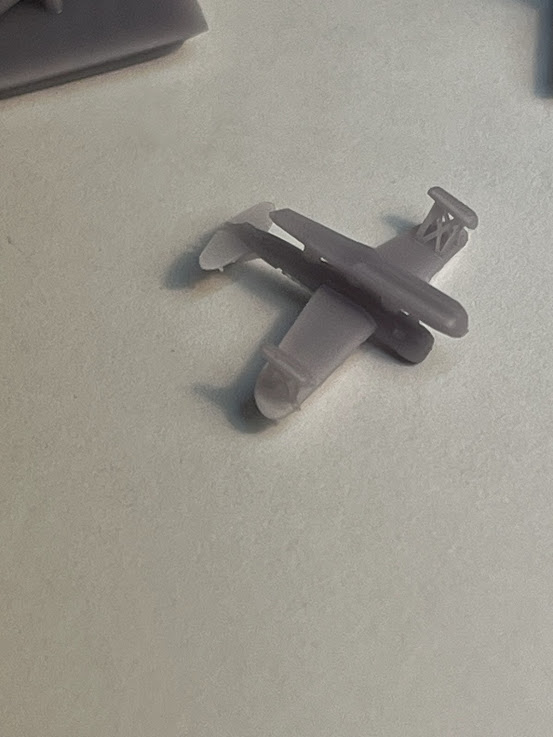
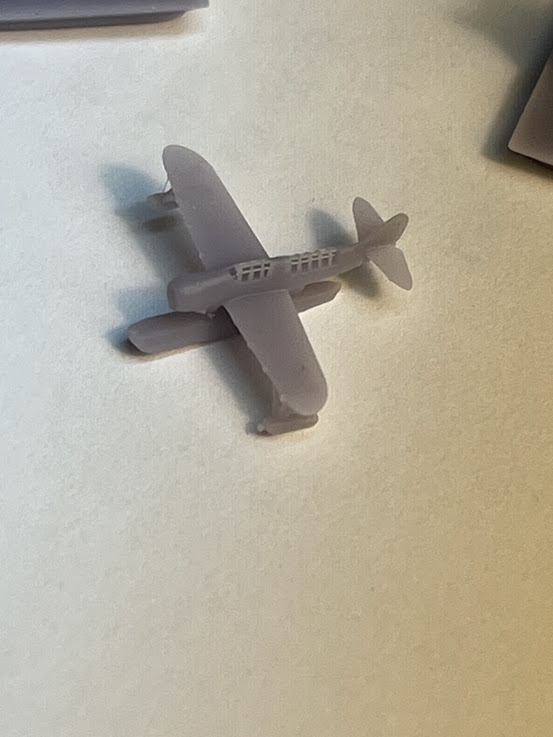
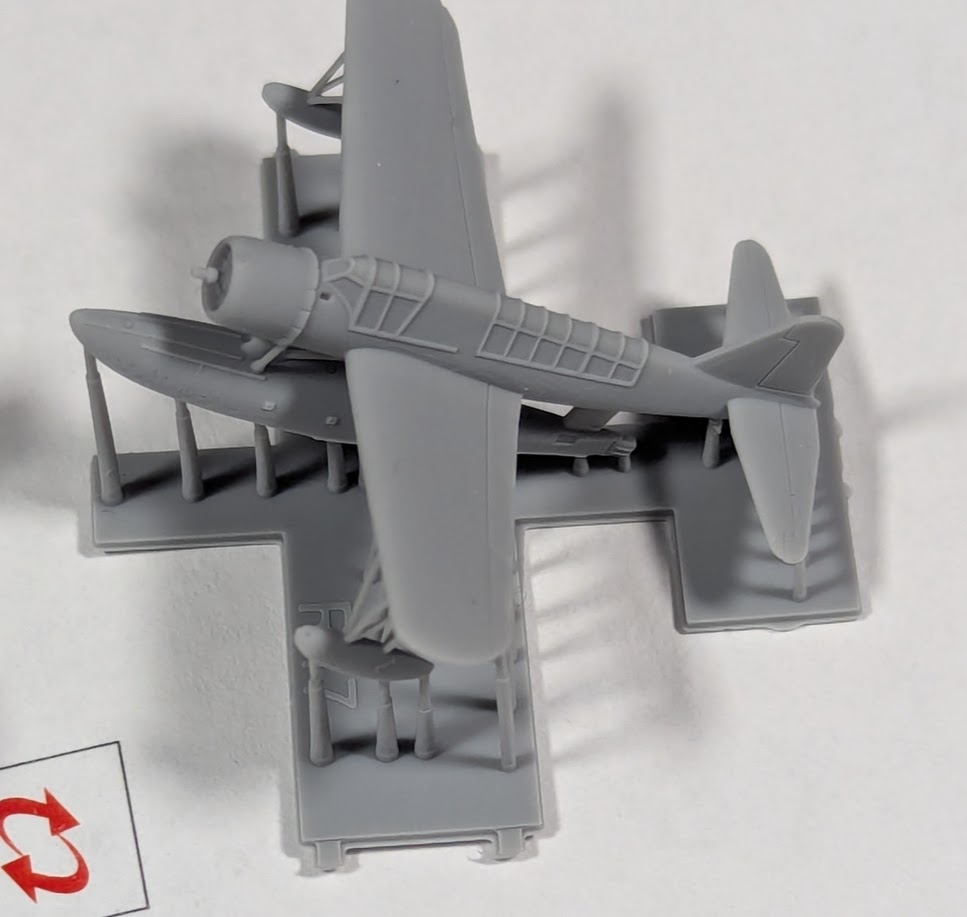
Those turned out amazing, especially at 1/700 scale! To top it off, a $1.50 and I'm sure it wasn't a whole spool of resin later...lol.I picked up some stl files off Yeggi for about a $1.50 for a Kingfisher and reduced it to 1/700 scale. They turned out pretty good on my SLS printer. Not flat and frumpy like the ones in the kit.
View attachment 146064View attachment 146065View attachment 146066
@GCB You may not be too late to join in on the group build. I know my build is very far from being done any time soon. Hell, I haven't even put one little dot of paint on anything....lol. I knew my build was going to be a long one do to all the photo etch and scratch building that's going into it.Whaou! Guys (any lady?) you have done an impressive work on those ships. I will be too late to join the group but learning a lot and hope mine will look as good as yours!

Anyhow, will build it.. should receive it next week and will start as soon as I finish the M54.@GCB You may not be too late to join in on the group build. I know my build is very far from being done any time soon. Hell, I haven't even put one little dot of paint on anything....lol. I knew my build was going to be a long one do to all the photo etch and scratch building that's going into it.


![Pampers Sensitive Baby Wipes, Clinically Proven, Fragrance Free, Unscented, Water Based, Hypoallergenic, Multi-Use, Hand Wipes 336 Wipes Total (6X Flip-Top Packs) [Packaging May Vary]](https://m.media-amazon.com/images/I/41KLBHu9CAL._SL500_.jpg)