

locomotive
Well-Known Member
- Joined
- Mar 2, 2025
- Messages
- 337
I hate PE.
The end.
The end.


Steer clear of building model ships!I hate PE.
The end.


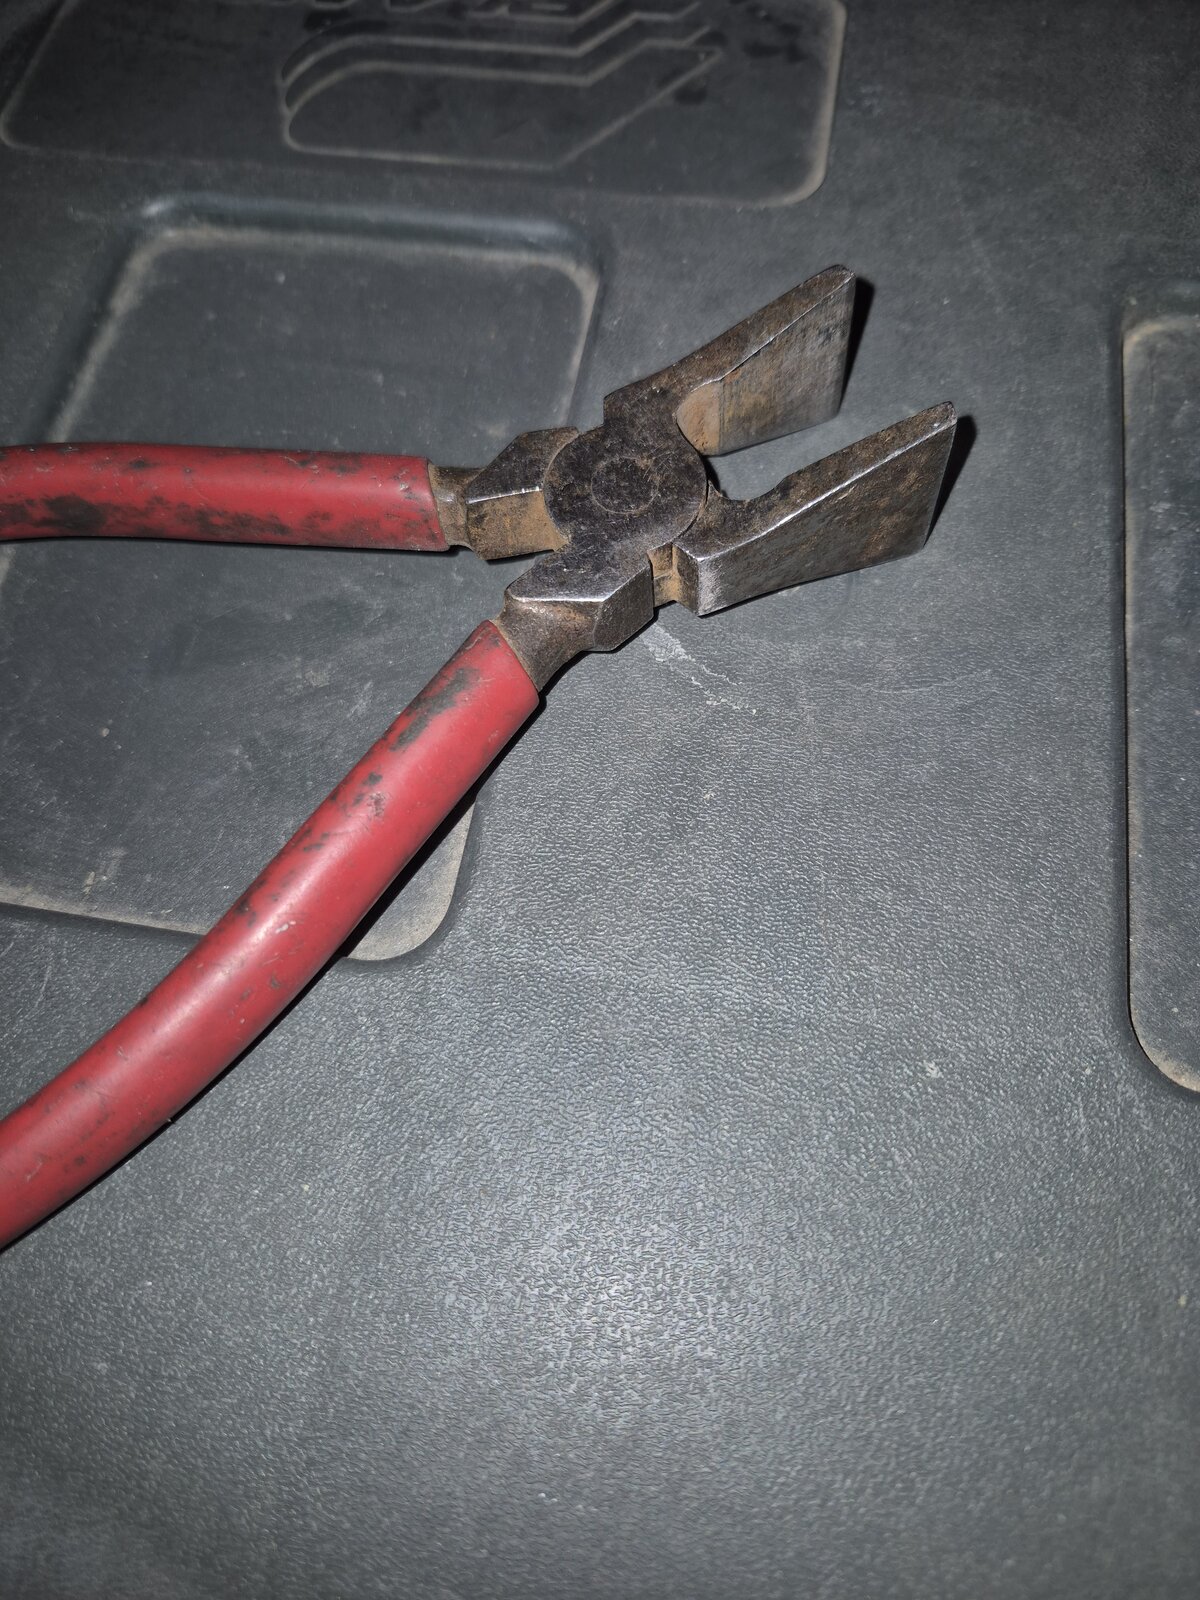

I use HDPE for cutting with a hobby blade. This deforms the part less (usually not at all) and doesn't dull the blade. To remove the burrs or clean up the cut edge, I sand with a 320 grit sanding stick while holding the part with parallel jaw jewelry pliers. or flat nose pliers.Sorry for not being more specific. I meant a slab of flat plate (thinking of it as the anvil) and another piece of flat, or rolled stock to be the hammer.
I've had trouble with keeping a larger PE art flat while cutting/bending/filing on it. I'd just like a better way to make sure it is flat and square.
This is what I use for attaching canopies and clear parts, as well as not-clear (unclear?Thanks for those tips. Speaking of the glue I was wondering what to use to attach PE to clear parts. I use CA almost always on PE to plastic, but I know it will fog the clear.
 ) parts to clear parts. (This reminds me, I need to buy more.) It behaves exactly like Micro Krystal Clear™.
which is why I gave my next post under that oneI disagree. Not sure which Gorilla glue you using that says so. The Gorilla super glue in the blue cap and yellow cap with handy brush I often use does not say so on the label. Maybe certain types of Gorilla glue do say that but neither mine instructs to do on the label.

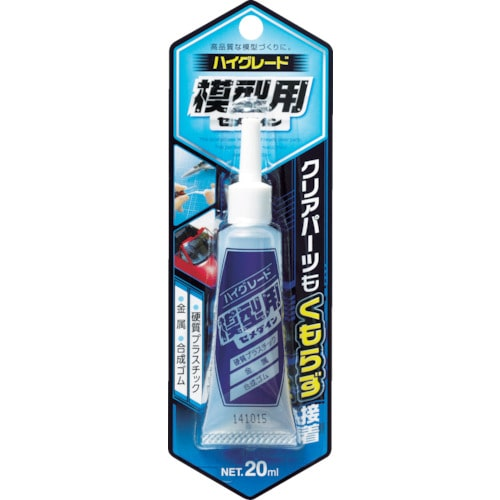


Don't try to apply it straight from the bottle unless you get an add-on fine tip that fits over the rather wide tip on the bottle. I think Mercury sells them, but I've seen them online elsewhere, too.@
Littlemarten
Hello,
Mercury Adhesives was a great tip !!
The CA with some working time allowing for the positioning of a part. Strong bond, I have yet to figure out how the tip works.
The webpage describes how. But the cap looks like it's missing something. Anyway, figured out a work around for now.
Open to suggestions...... amazing how some of the simplest things are beyond our reach LOL.
Made here in Atlanta was a suprise......
Pep
... also good for harpooning mosquitos!apply it with one of these.
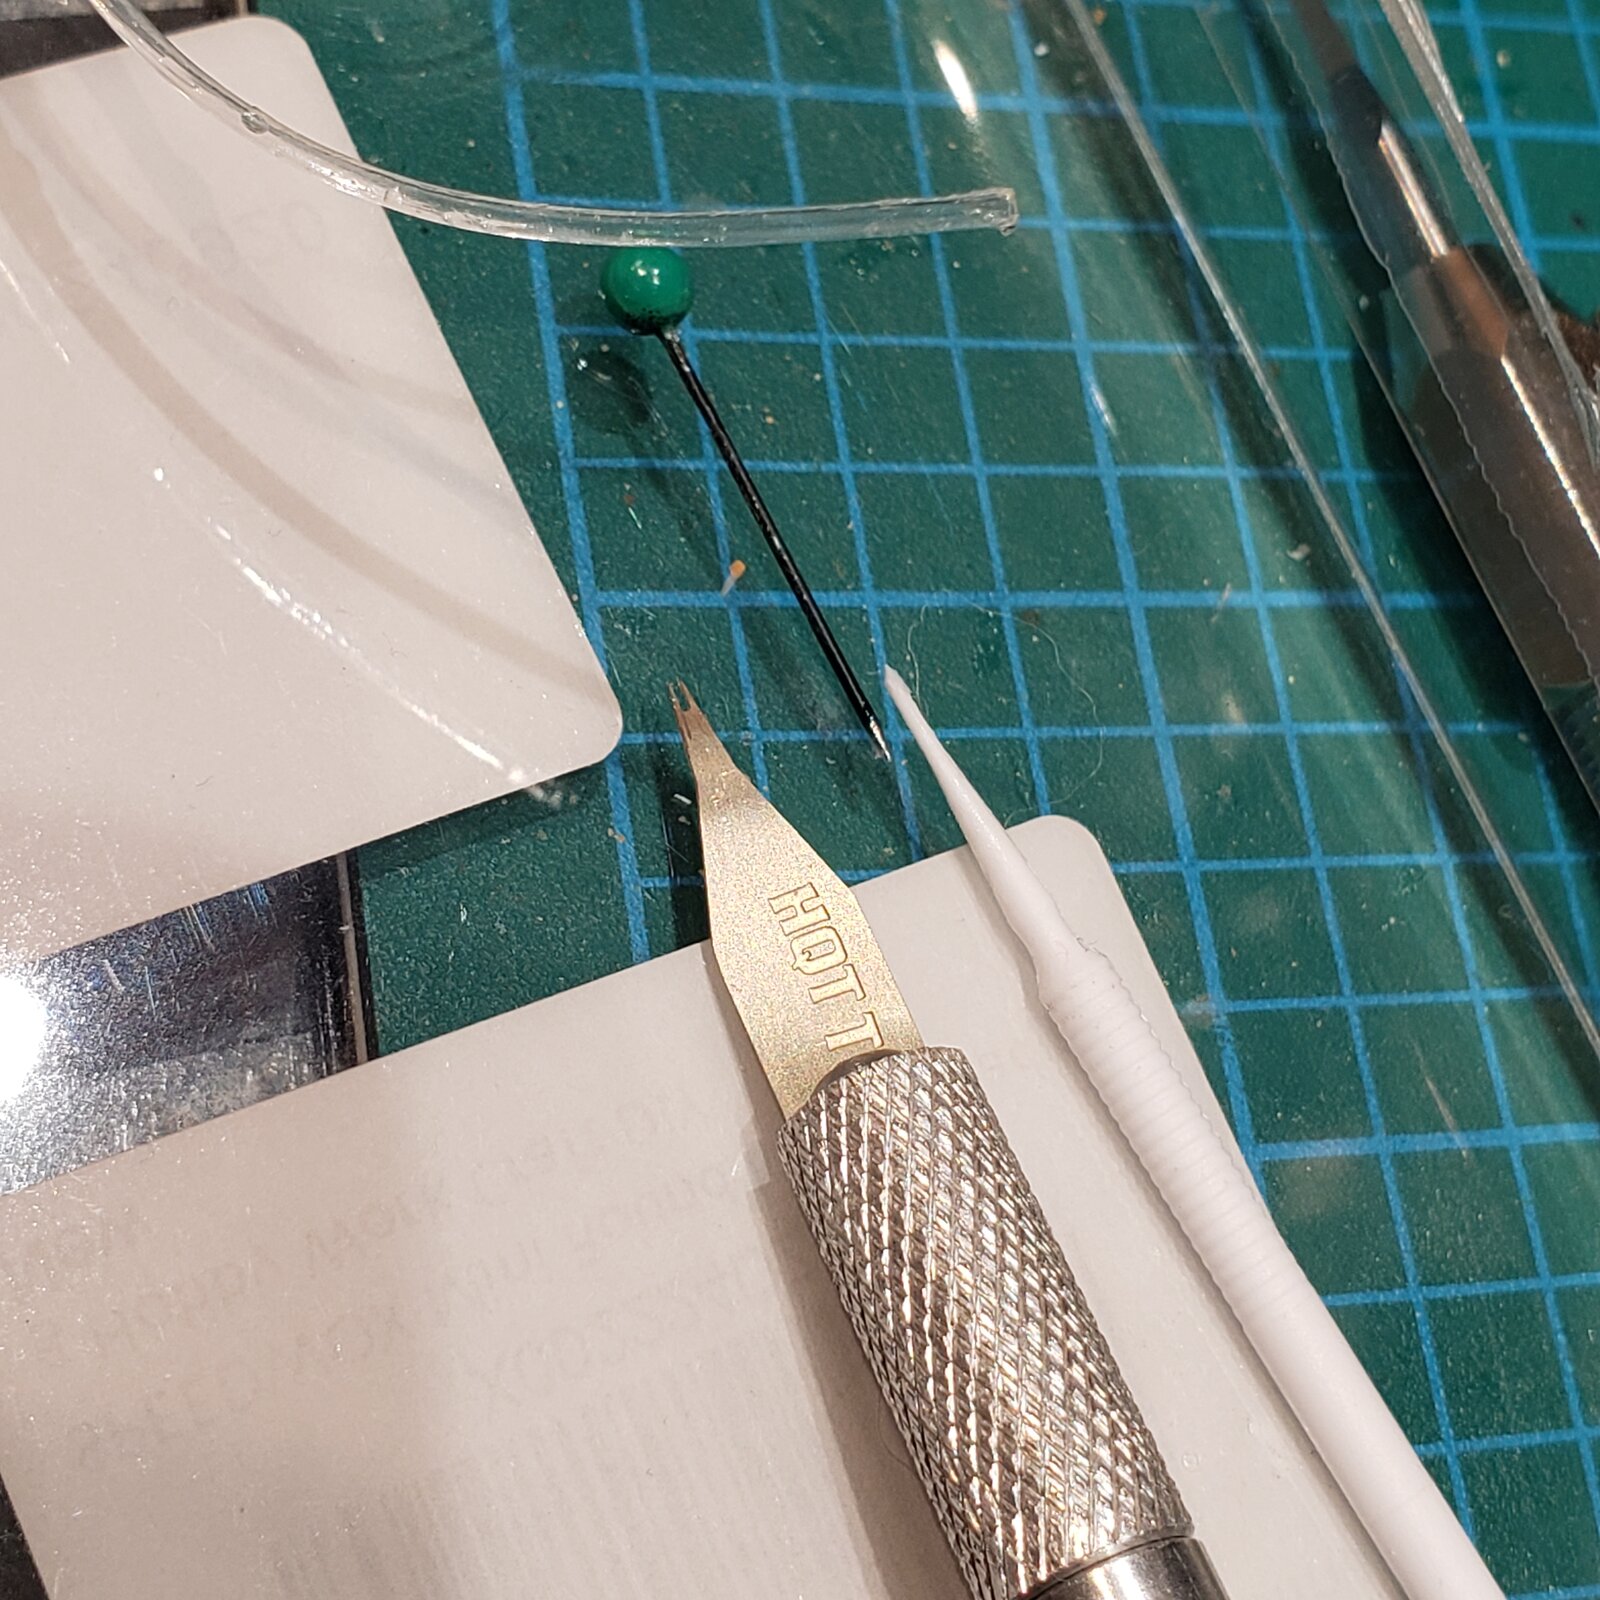
A de-fuzzed microbrush! Why didn't I think of that? Now what do I do with all these toothpicks?... also good for harpooning mosquitos!
I do something similar, only with a 'PE' tips that fit my knife handle, and push pins. A slight squeeze with pliers shatters any crusted on glue. I also like using the plastic (seems impervious to CA) applicator handle after the fuzzies wear off.
View attachment 142373

In my case, pliers for pins, careful scraping for harpoons! Dried CA is brittle, so just enough force to remove without damaging the metal.Barley does with pliers
I wipe the tip after use, and I have a small vial of acetone set into my work bench. The stopper on the vial has a tiny hole in it. I just insert the needle through the hole into the acetone. After each session, I take it out of the acetone and use a stainless steel brush to clear any that's softened but not dissolved. I also decant the acetone into a small, sealed bottle when not in use to prevent evaporation.Thinking how cheap sewing needles are in bulk, they also come in HUGE variety of sizes.
How do you keep the tip clean, like Barley does with pliers? Seems dangerous to the tip, do you replace them often?
Holy maintenance Batman! That is at a whole other level! (Secretly envious)The stopper on the vial has a tiny hole in it.
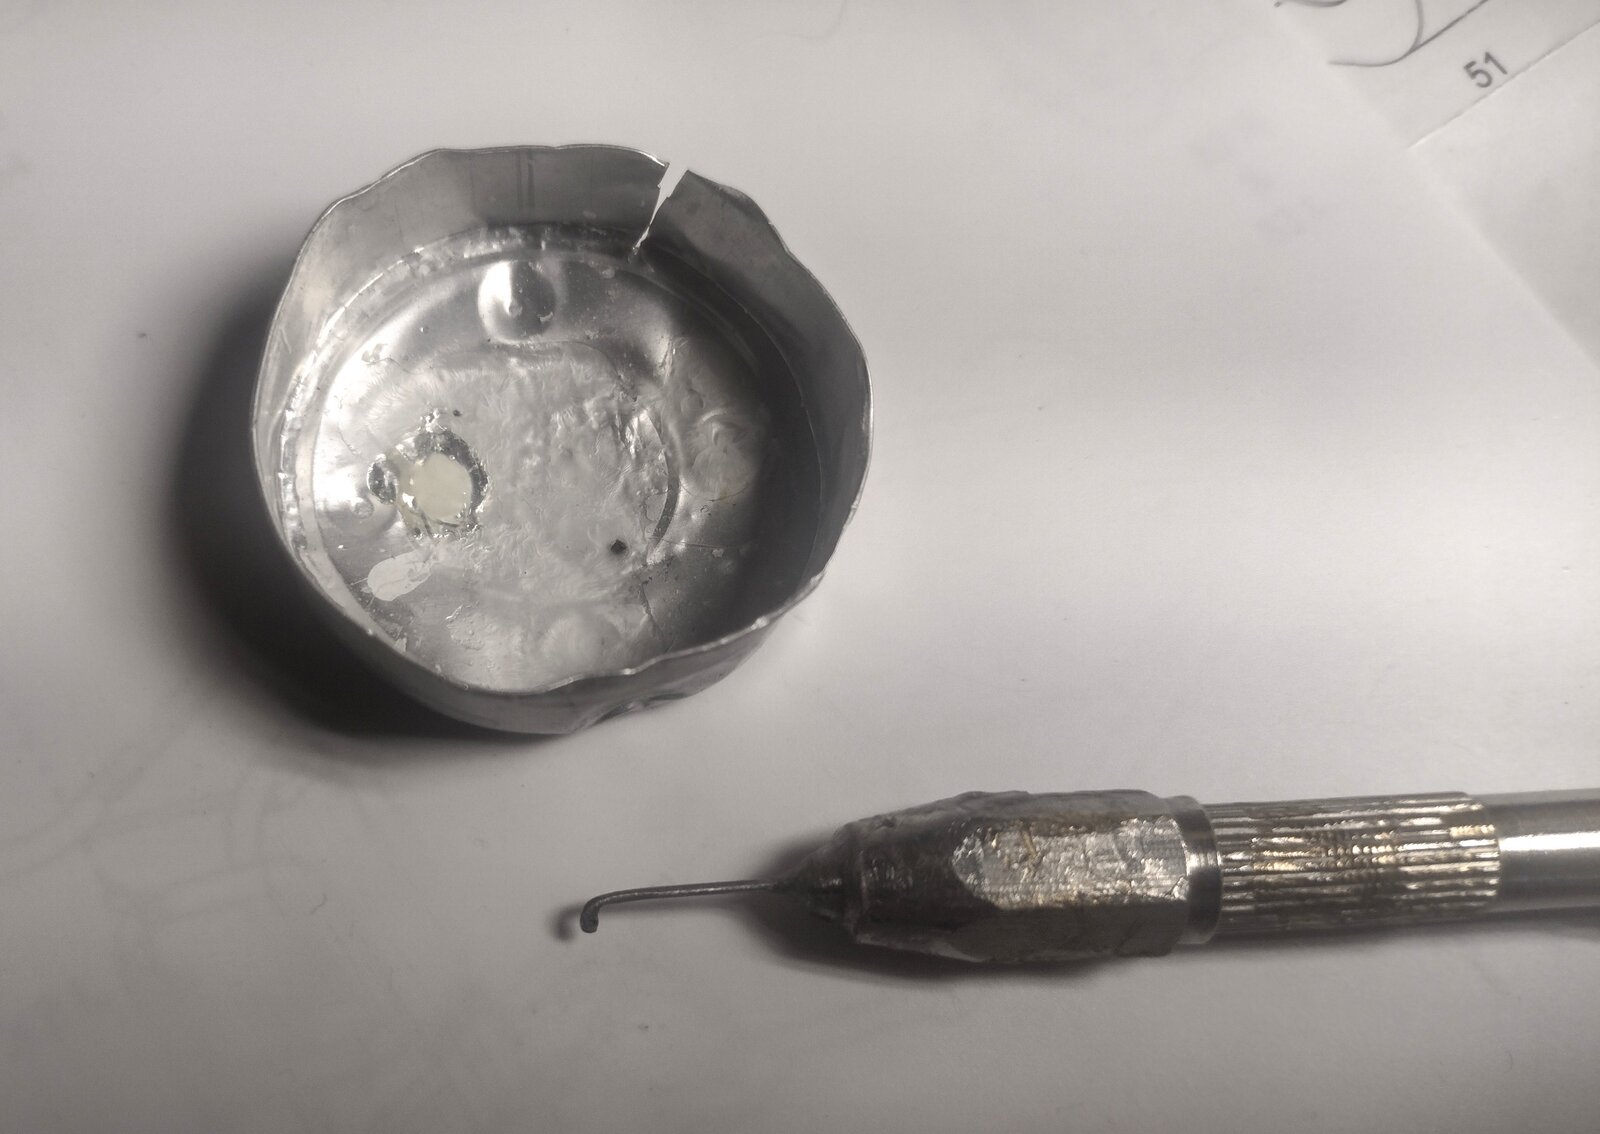
Finally! IKEA has a reason for being!tea lights
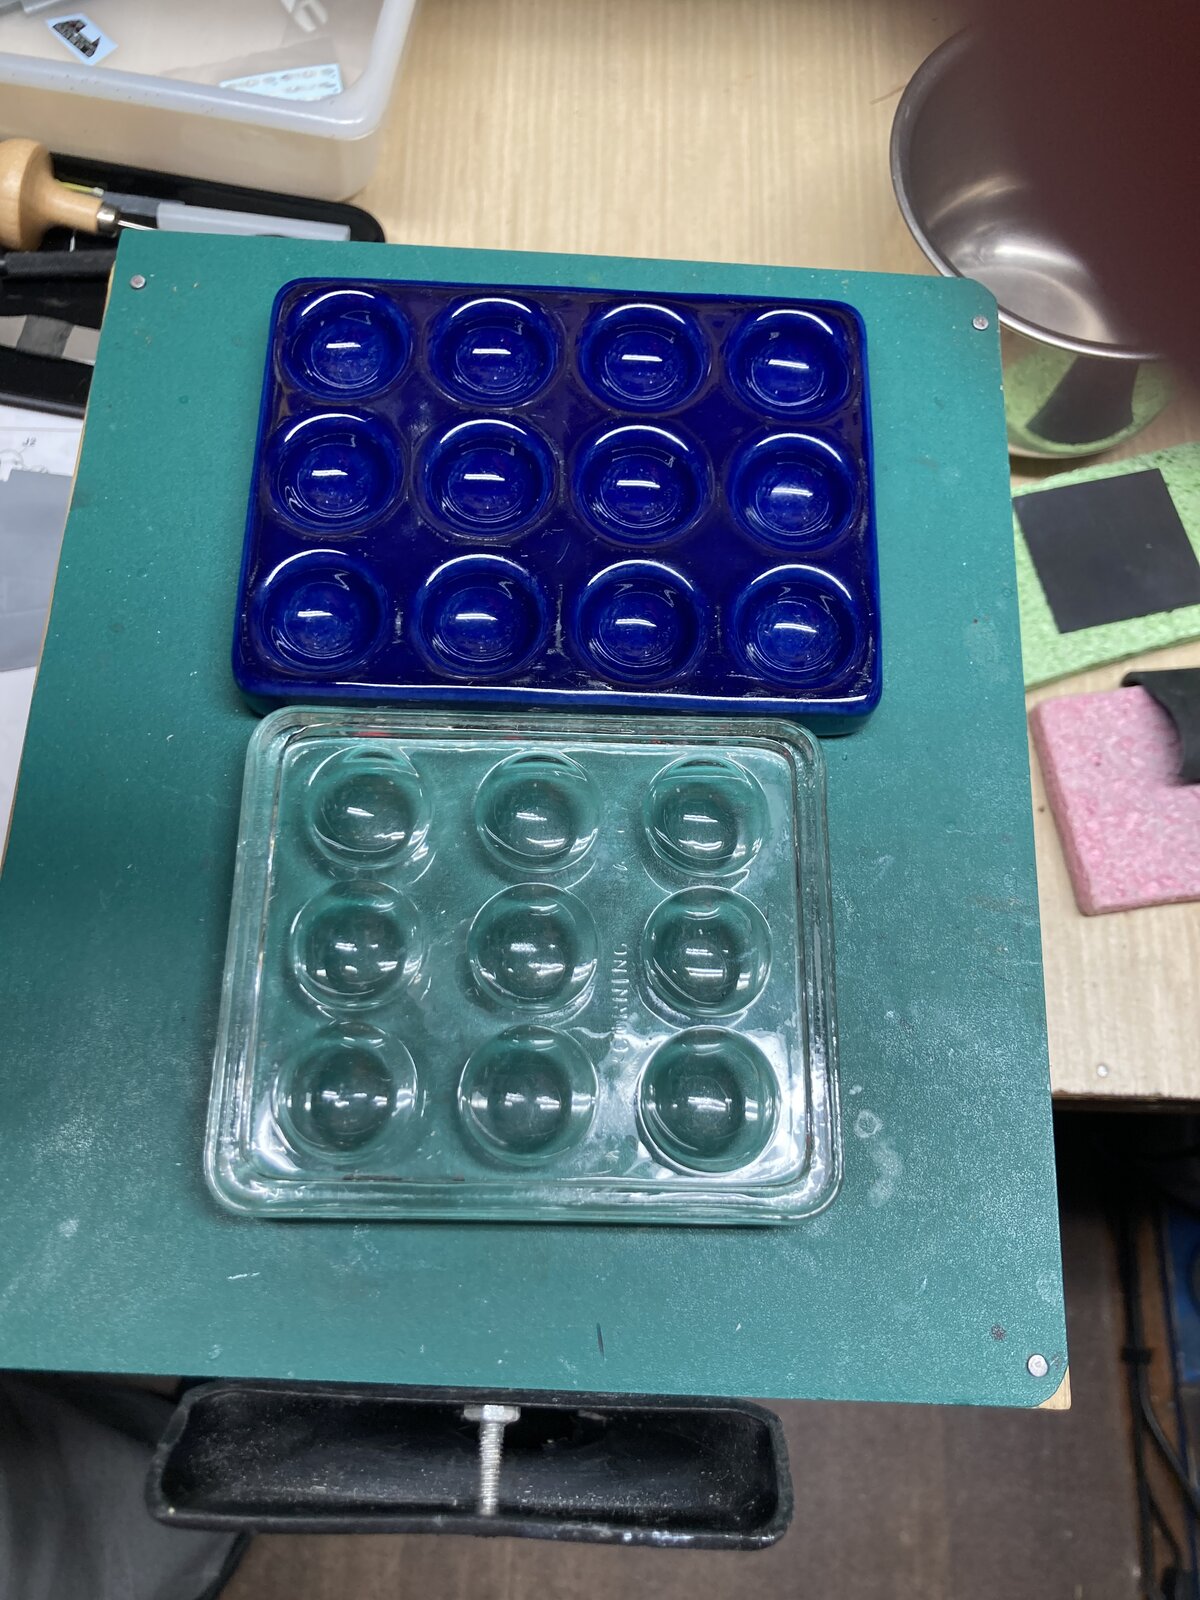
That's basically what I did before coming up with the "self sealing" cap.I keep a small bottle of acetone at my bench, an old square bottle that used to have Testors Enamel thinner in it. The larger square ones with 1.25oz.
Could I just swish the tip in there a bit and wipe with a paper towel?

Plenty of people also use empty strips that pills (and some chewing gum) come in, either for glue or as a palette for mixing small amounts of paint.welled test plates
Hello ,Don't try to apply it straight from the bottle unless you get an add-on fine tip that fits over the rather wide tip on the bottle. I think Mercury sells them, but I've seen them online elsewhere, too.
However, I don't use those very often. I put a small amount of the CA on a flat piece of glass, then apply it with one of these. Here's a close up. for applications that need more, I use a toothpick. These make application very easy to control.
Surprisingly, my experience with medium and thin CA is that they don't. And the odd time that they do, and I'm talking months, I snip off the clogged bit and I'm good!more than likely would clog


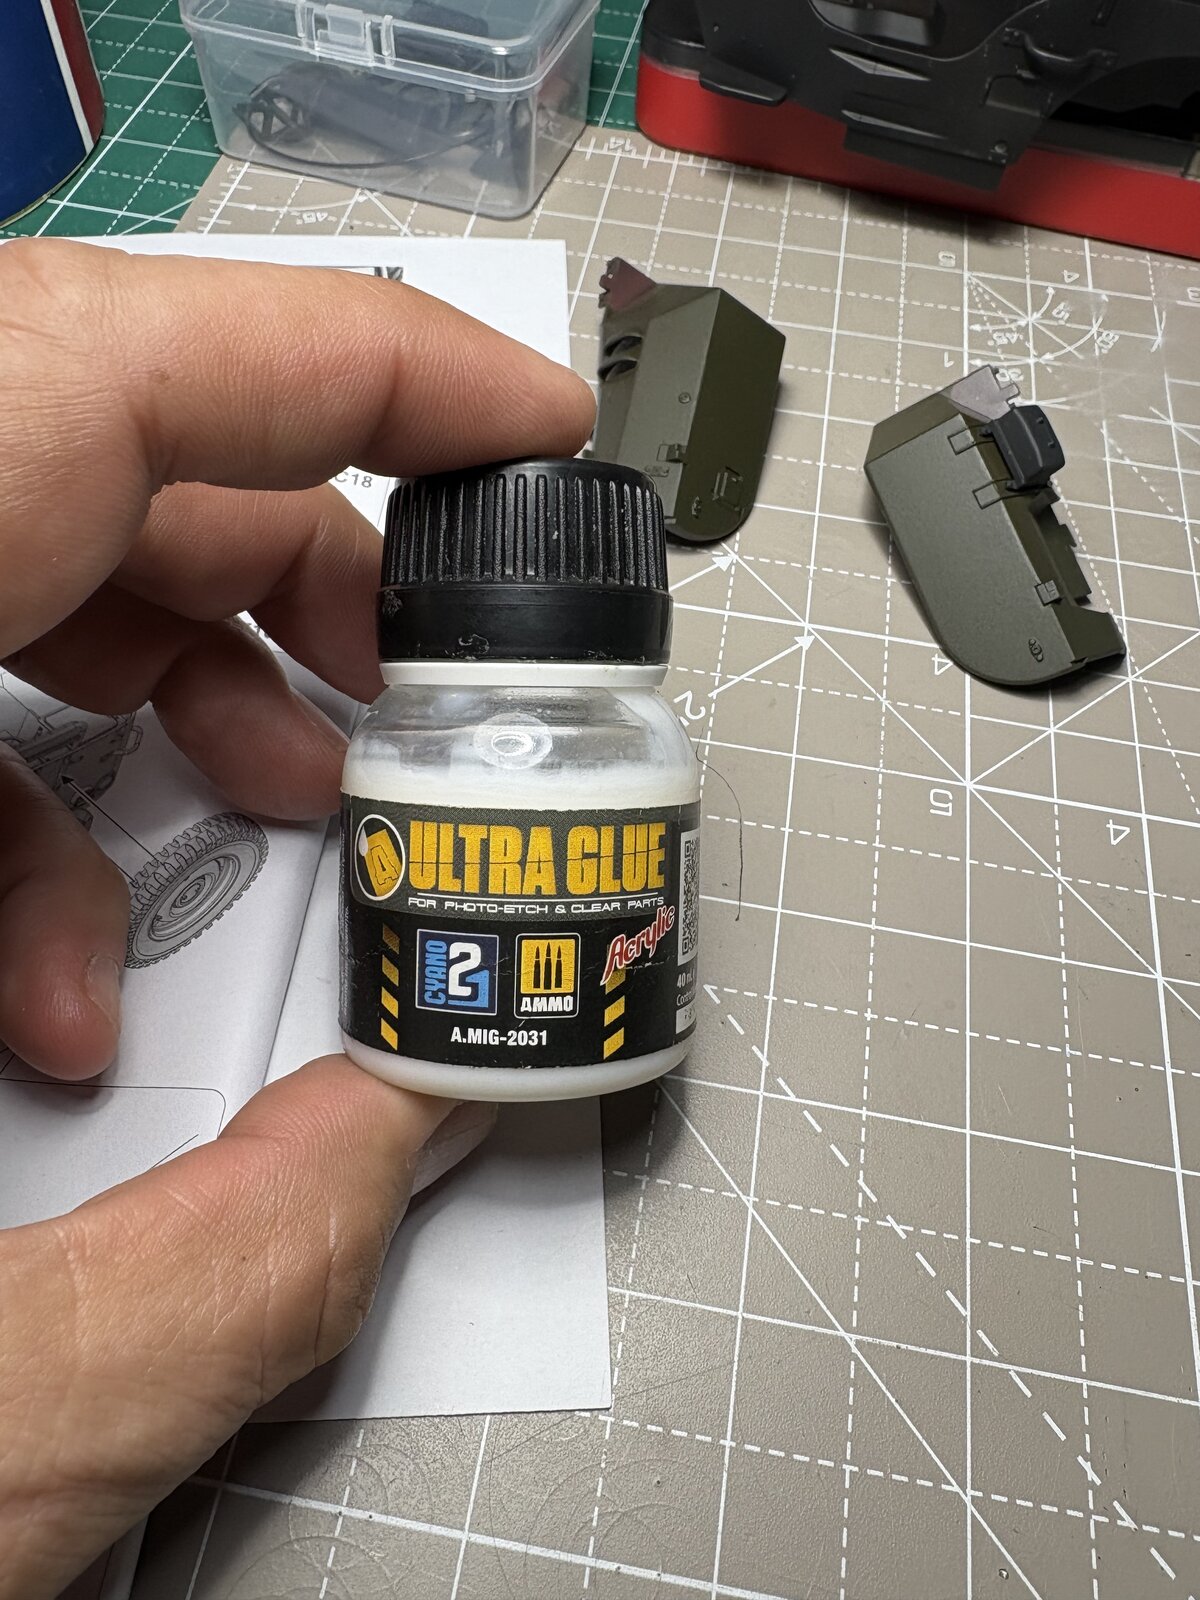


![Pampers Sensitive Baby Wipes, Clinically Proven, Fragrance Free, Unscented, Water Based, Hypoallergenic, Multi-Use, Hand Wipes 336 Wipes Total (6X Flip-Top Packs) [Packaging May Vary]](https://m.media-amazon.com/images/I/41KLBHu9CAL._SL500_.jpg)








