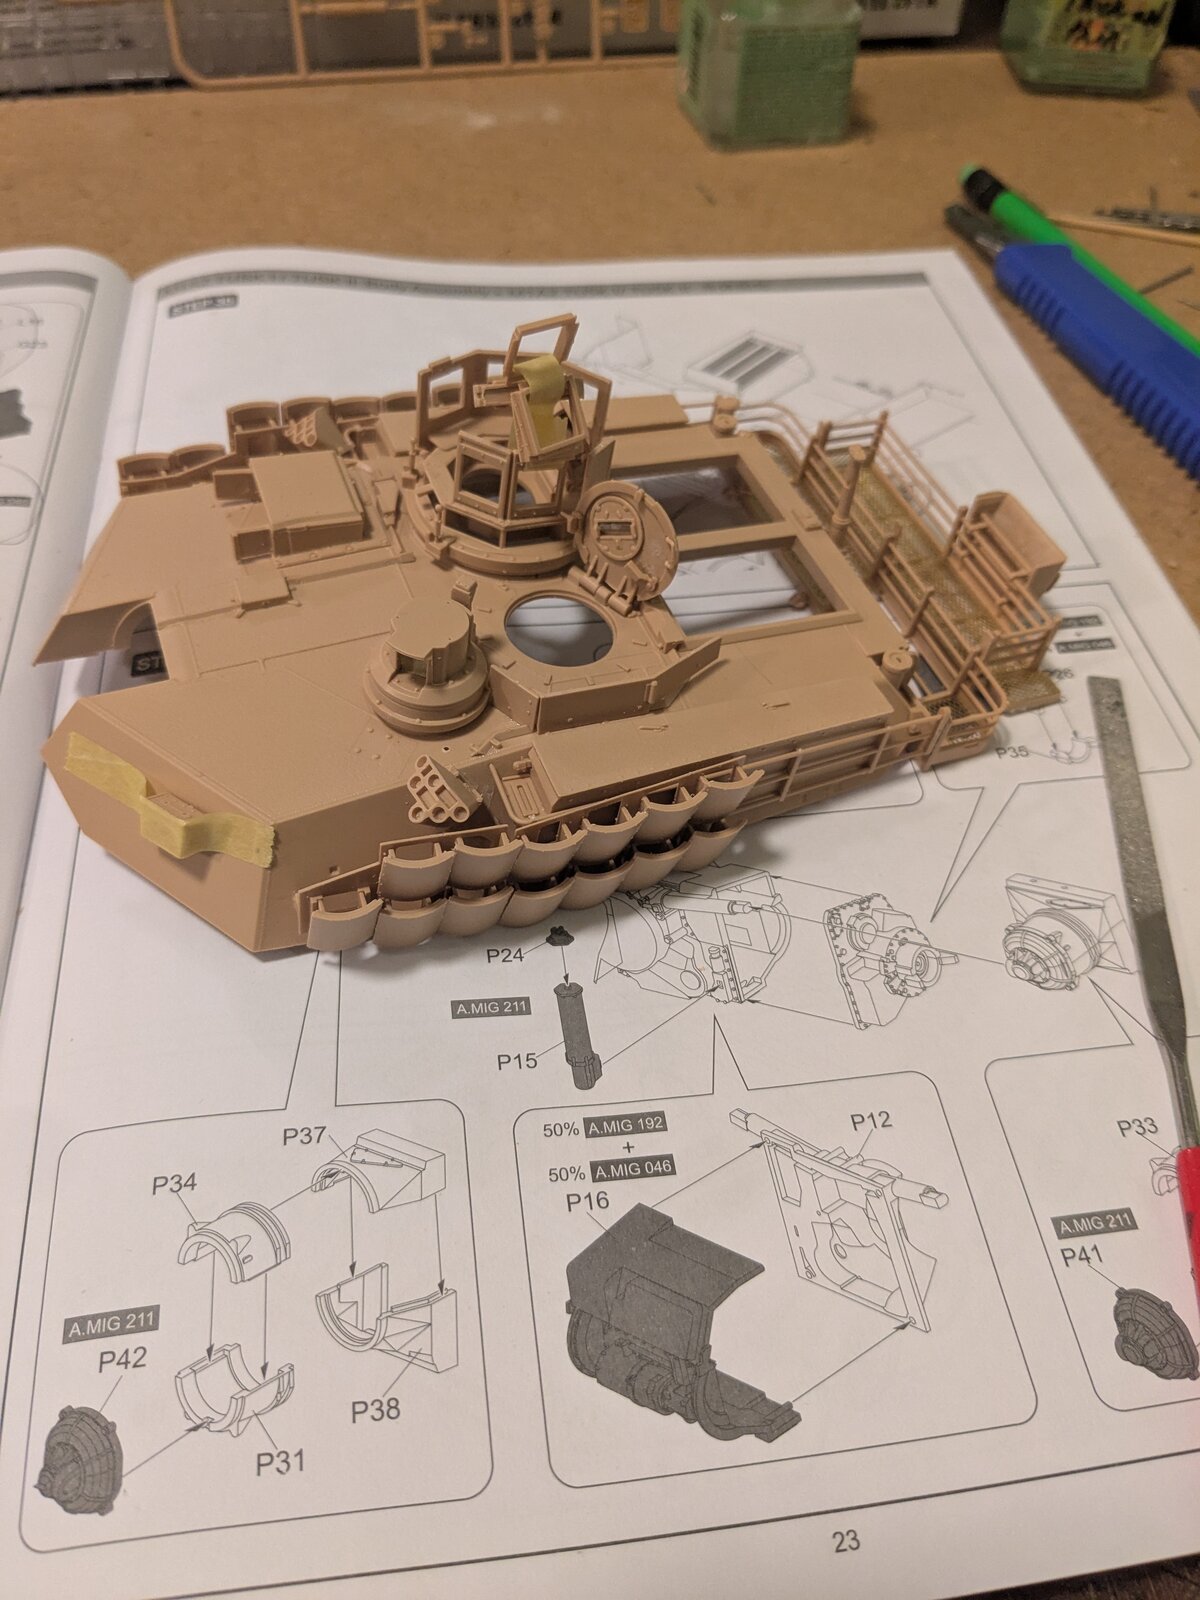
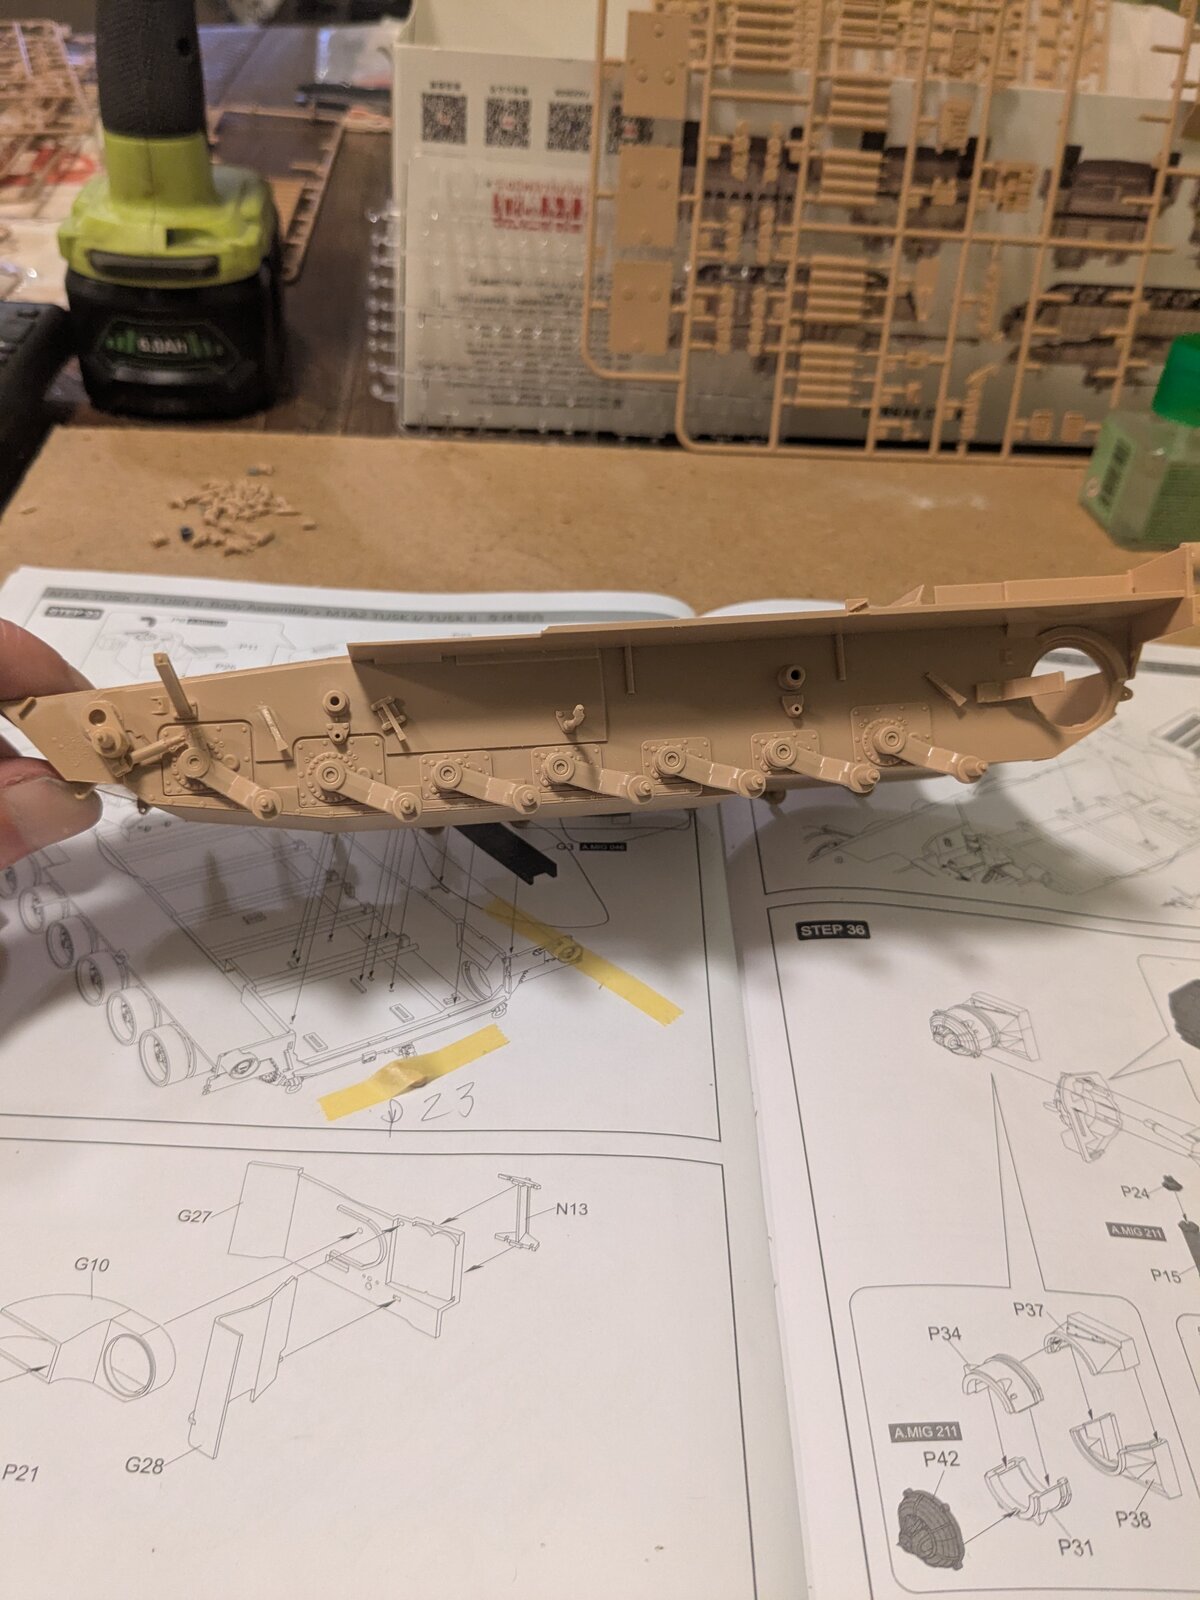
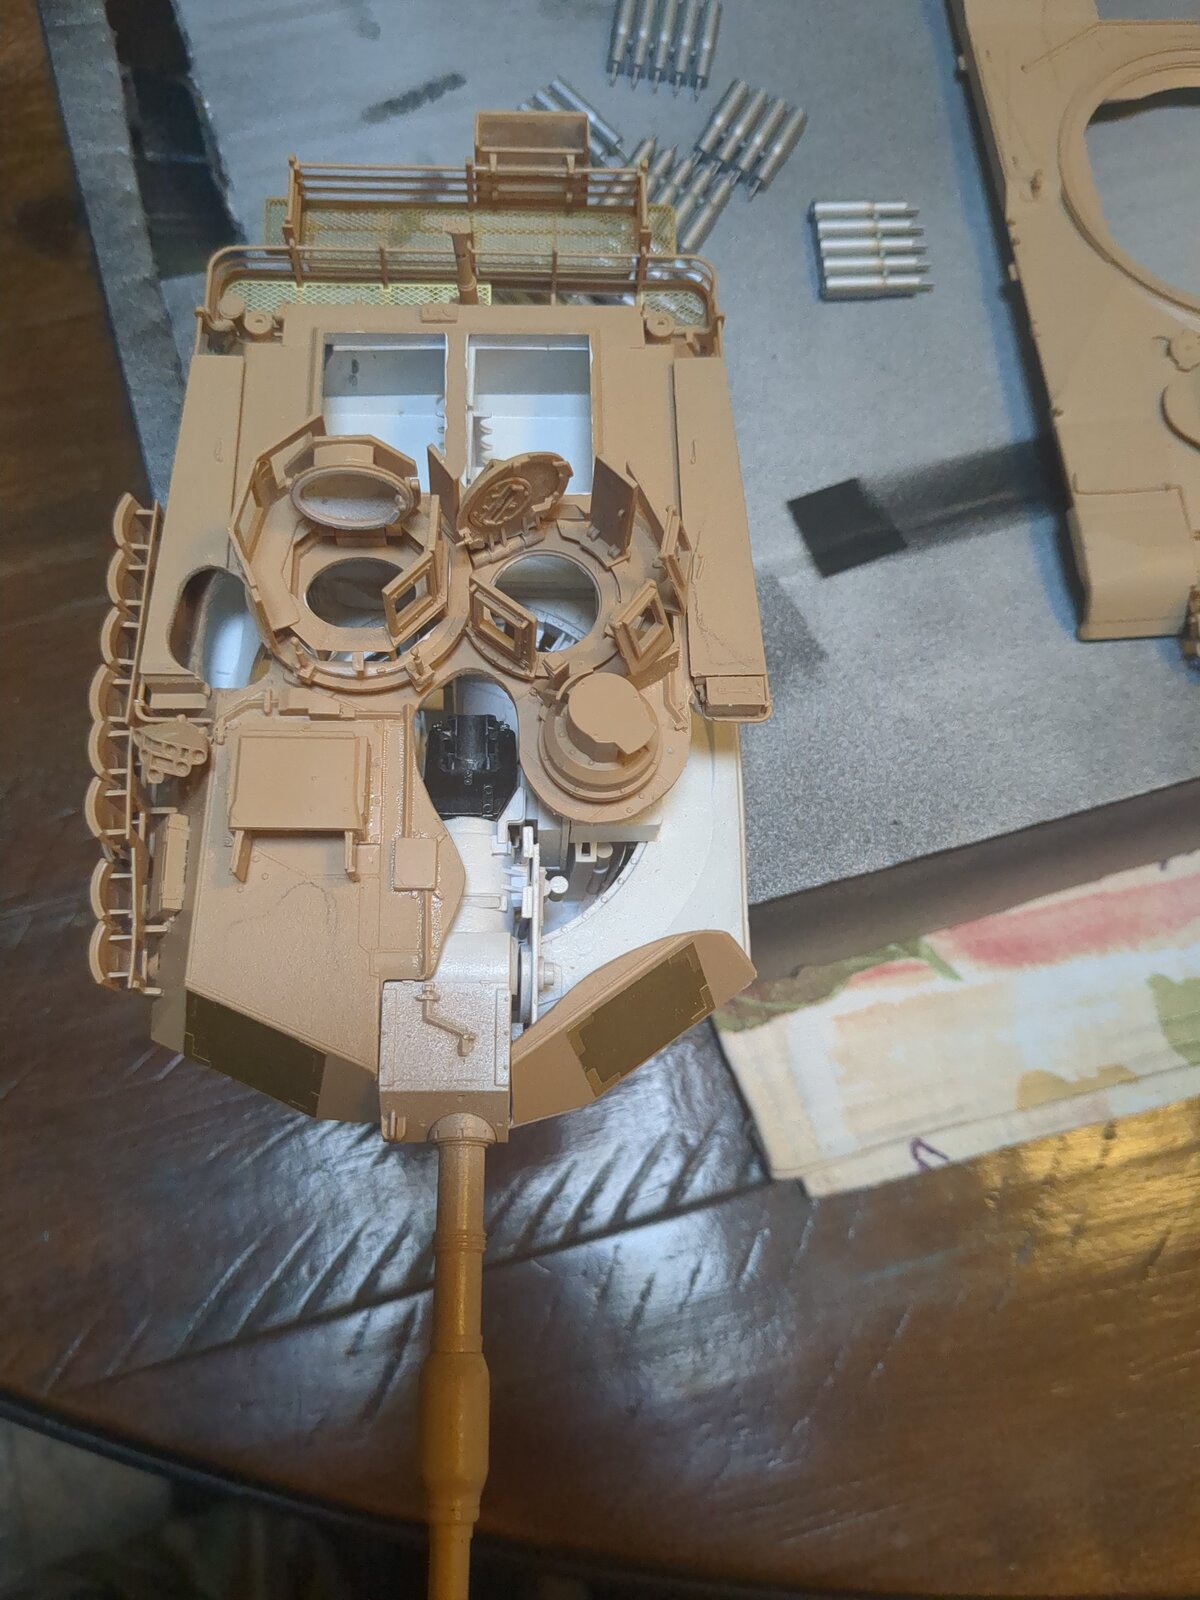
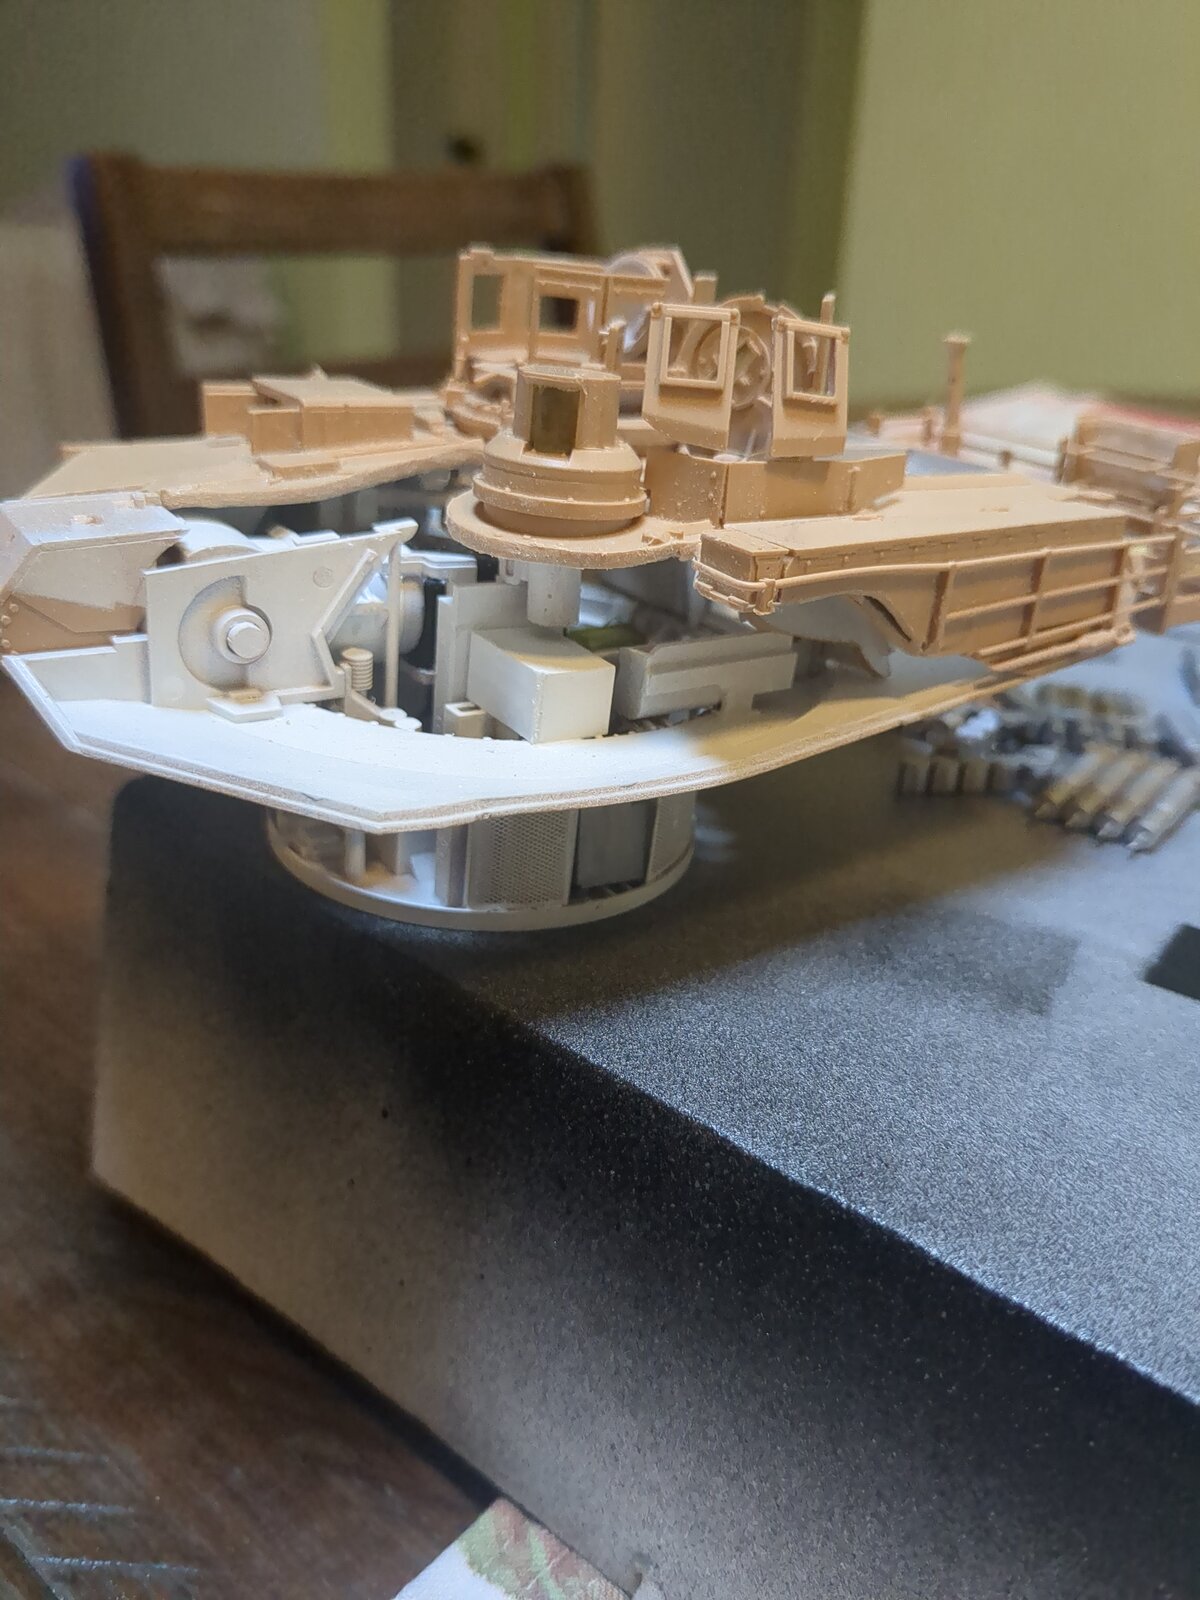
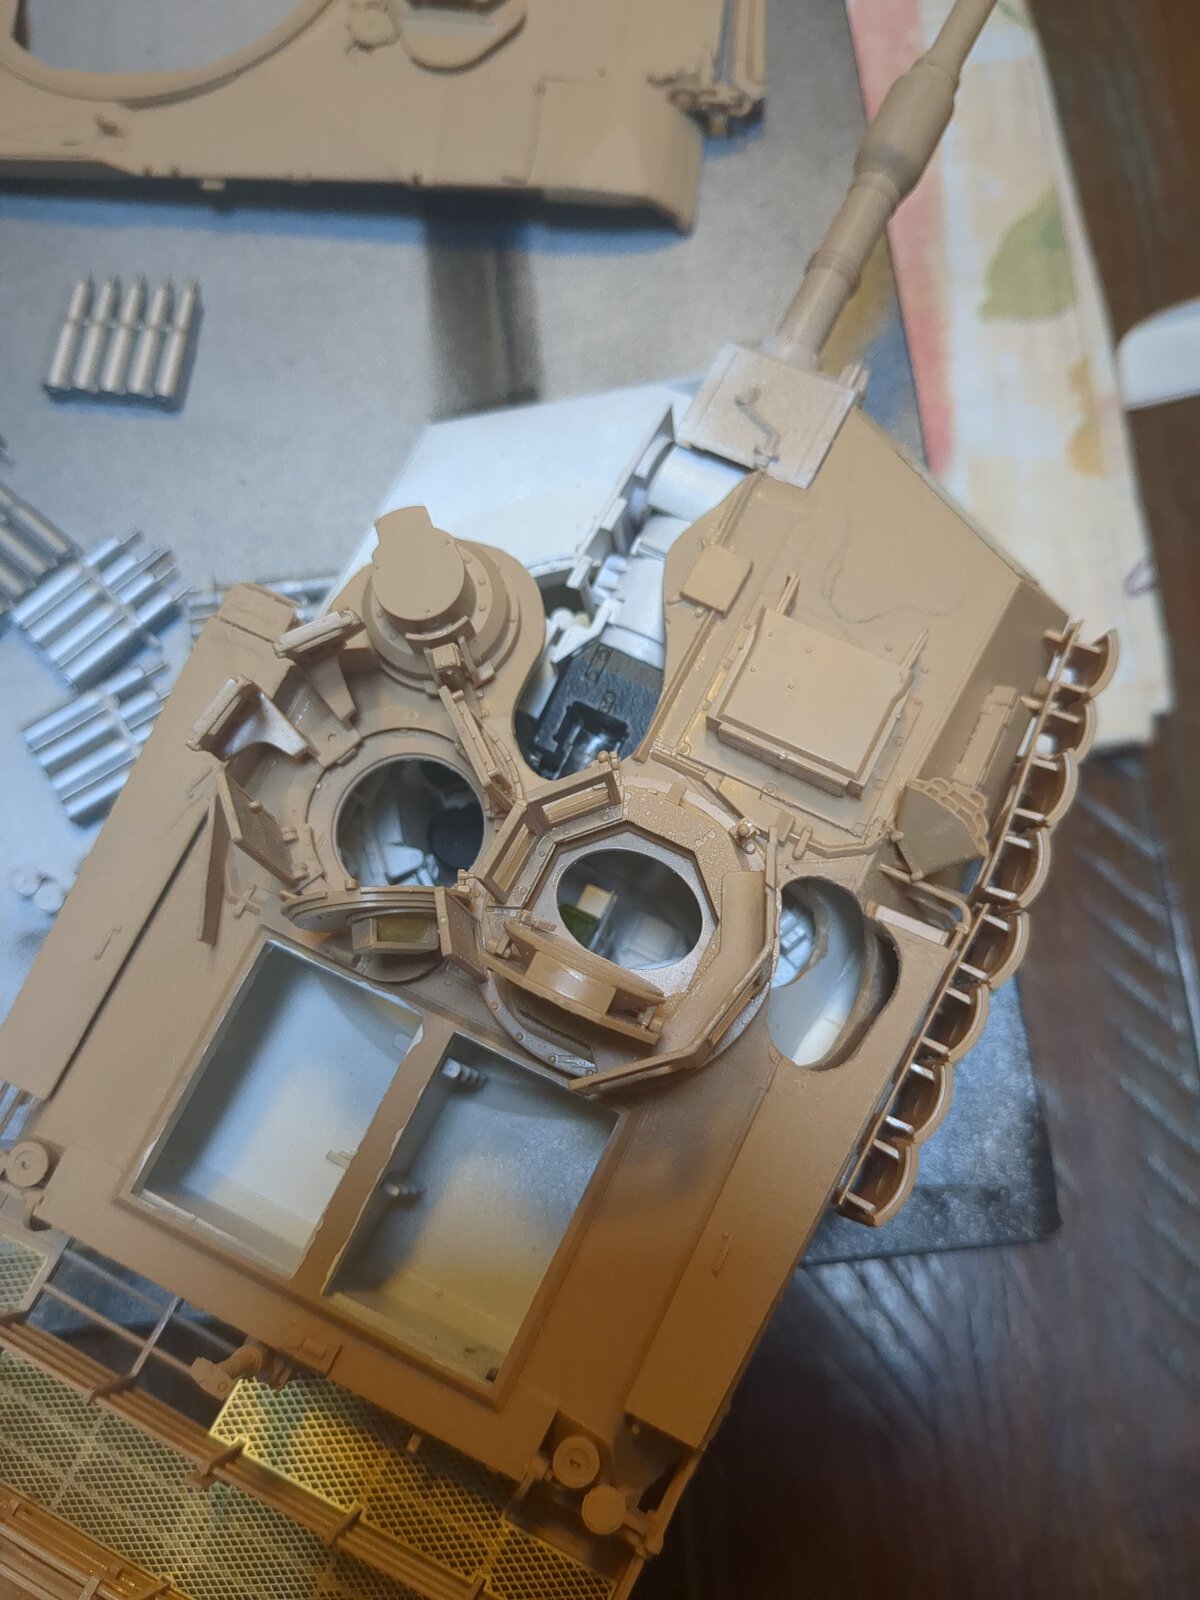
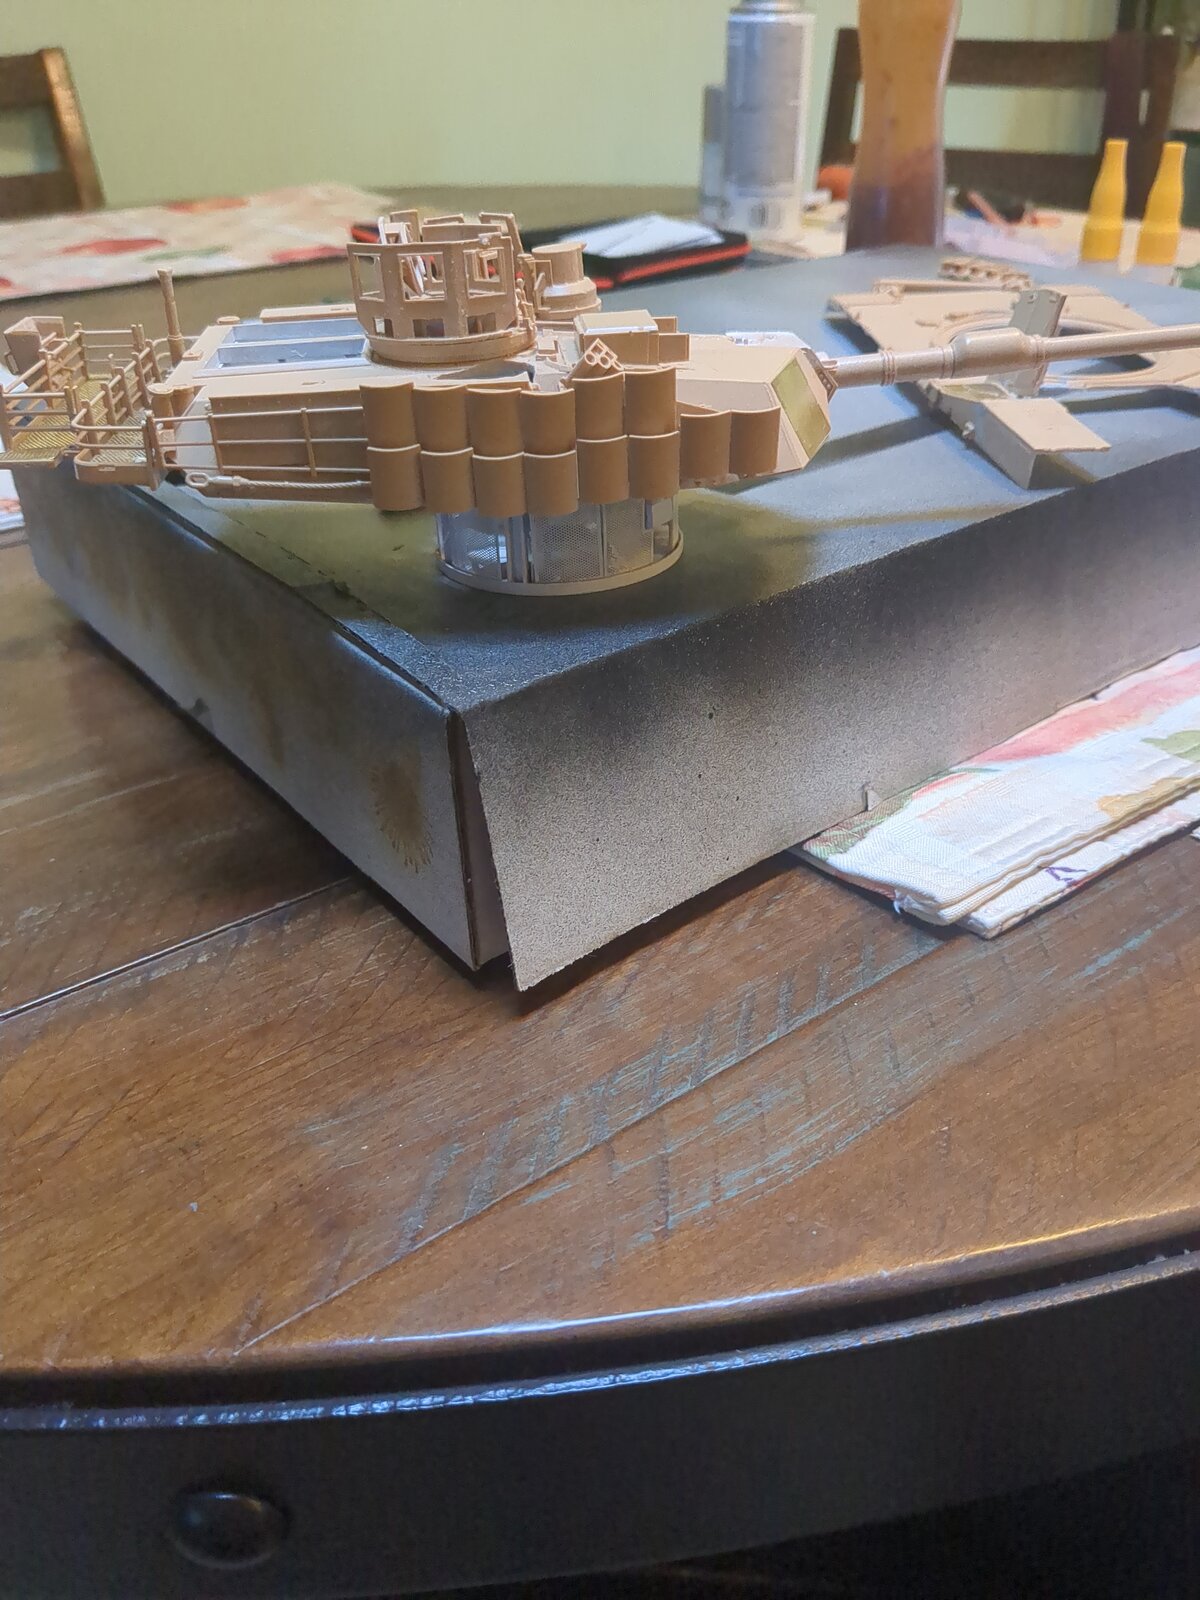
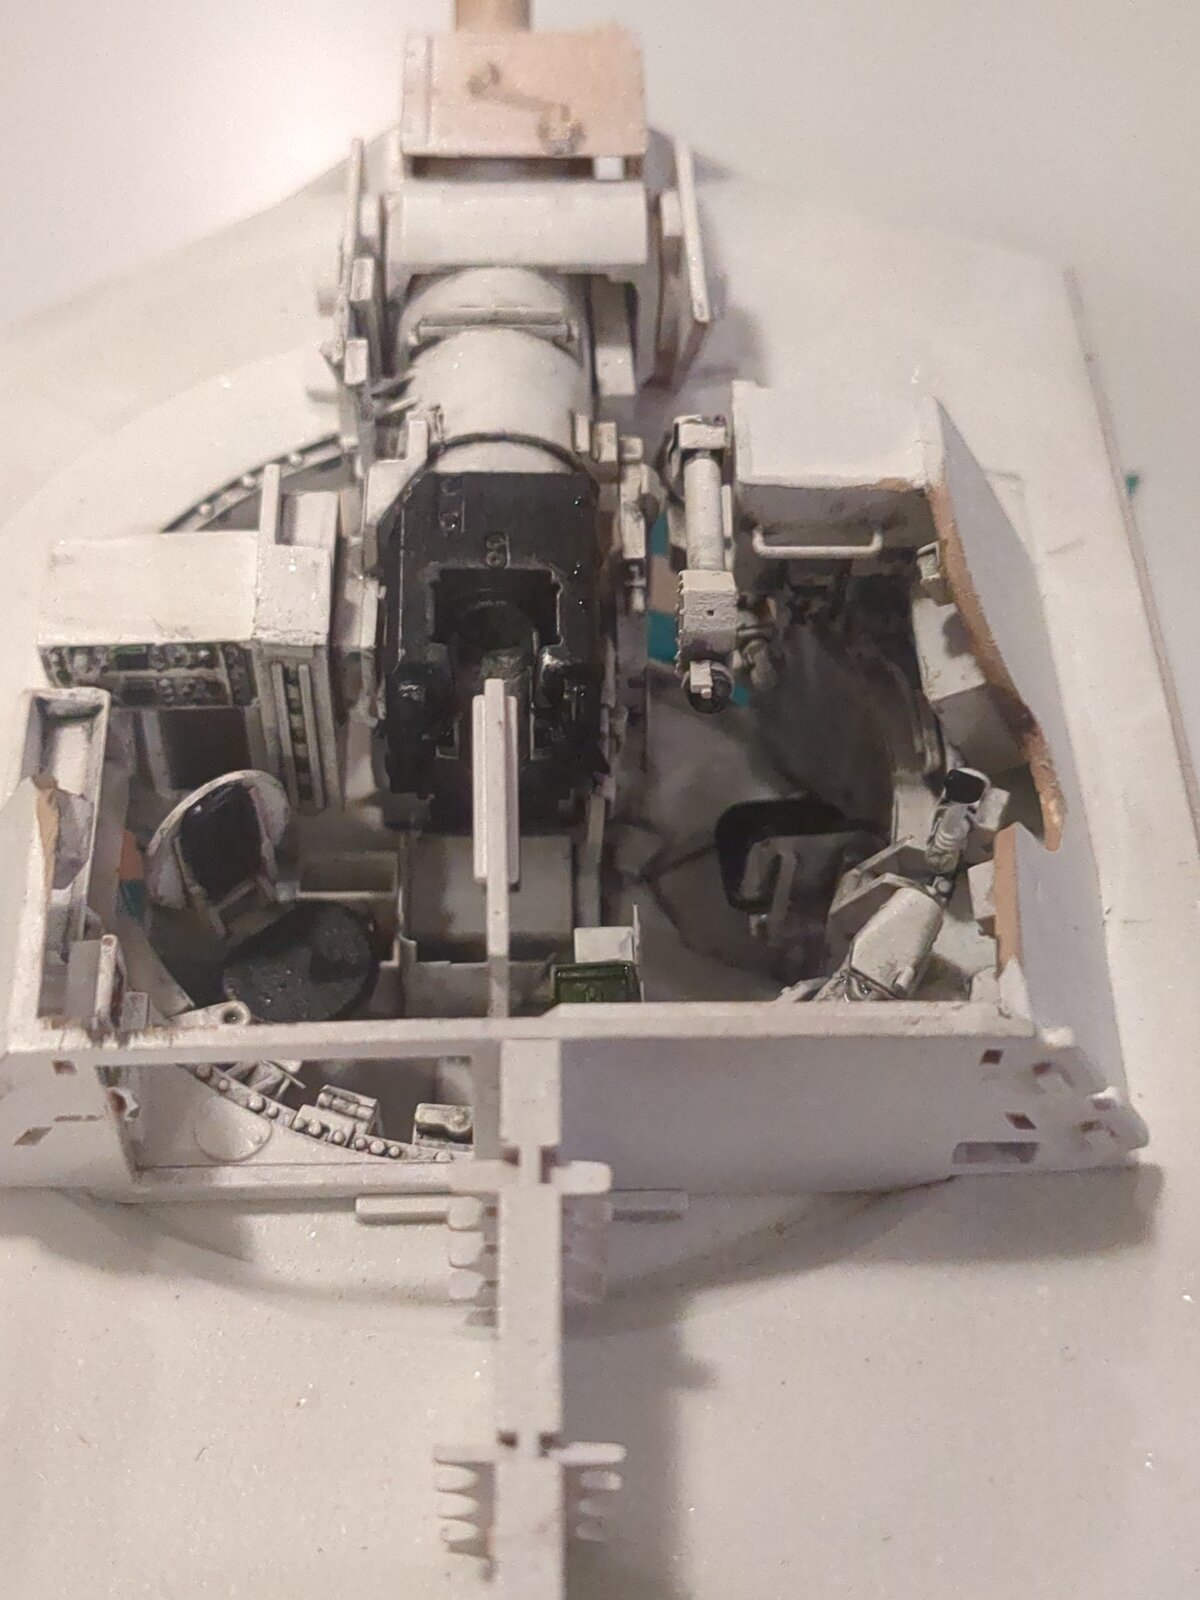
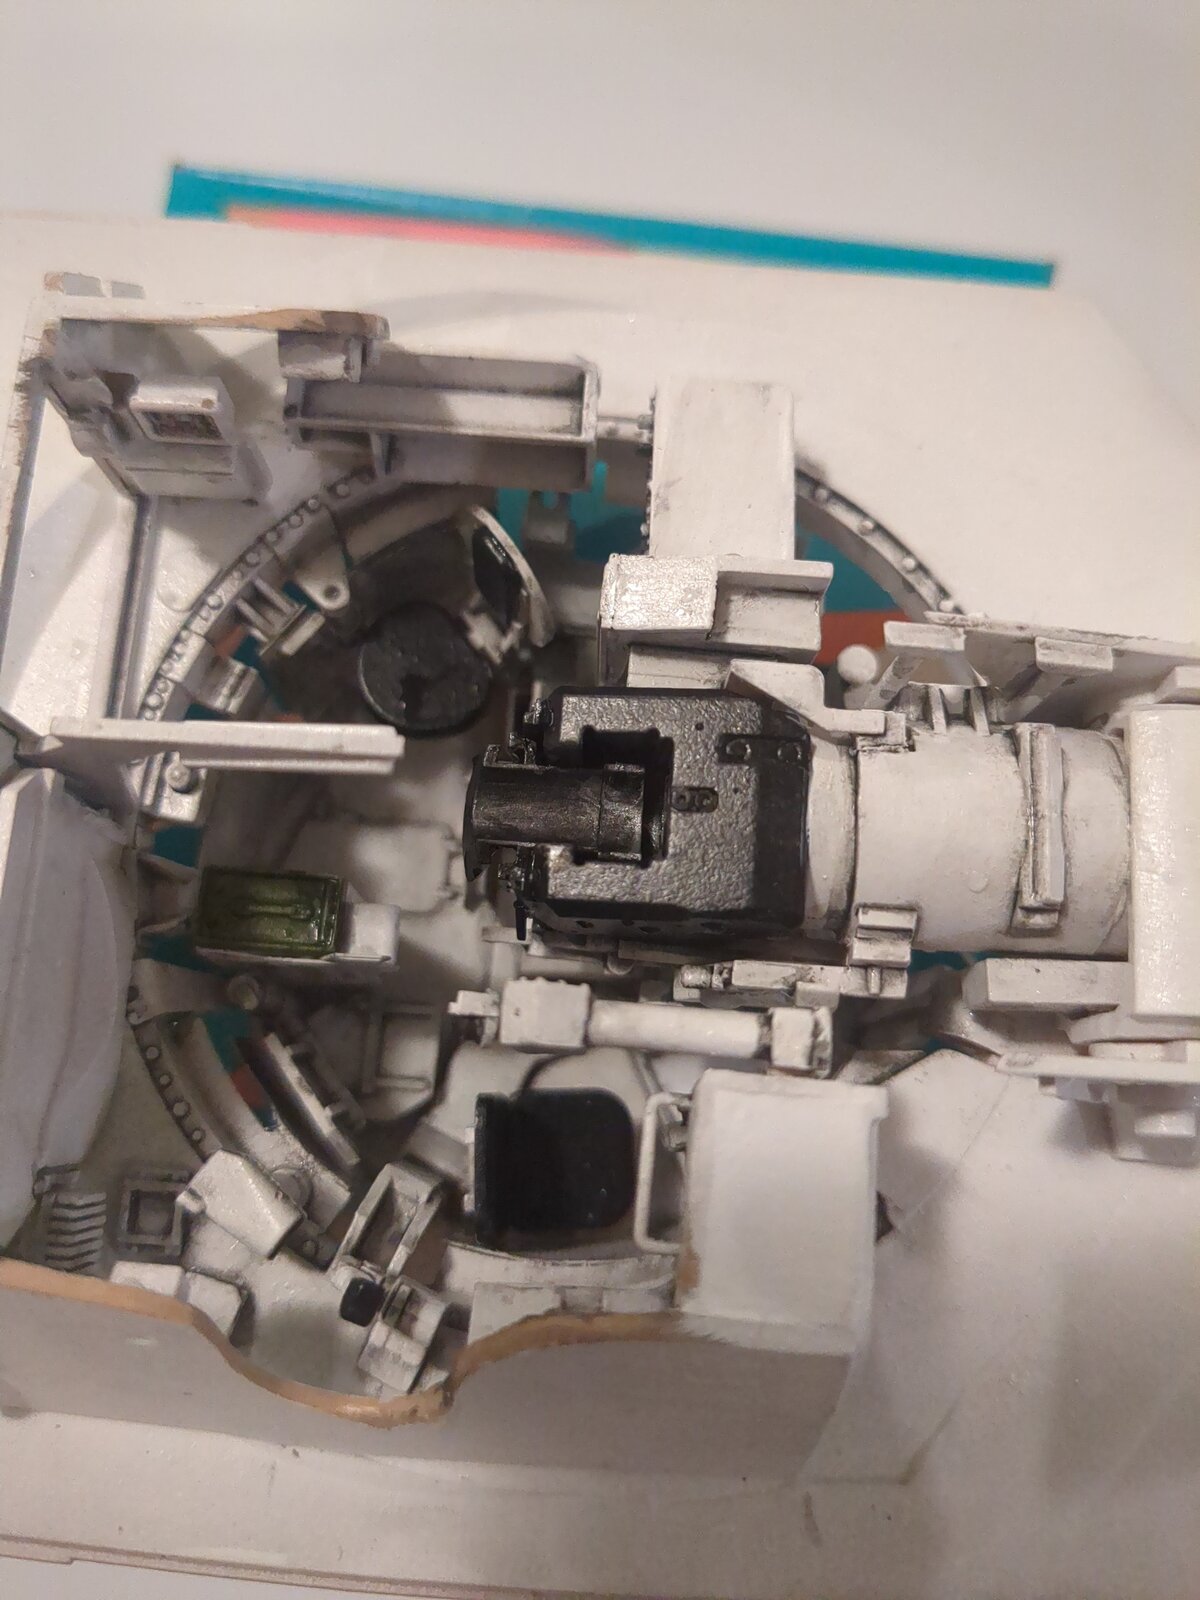
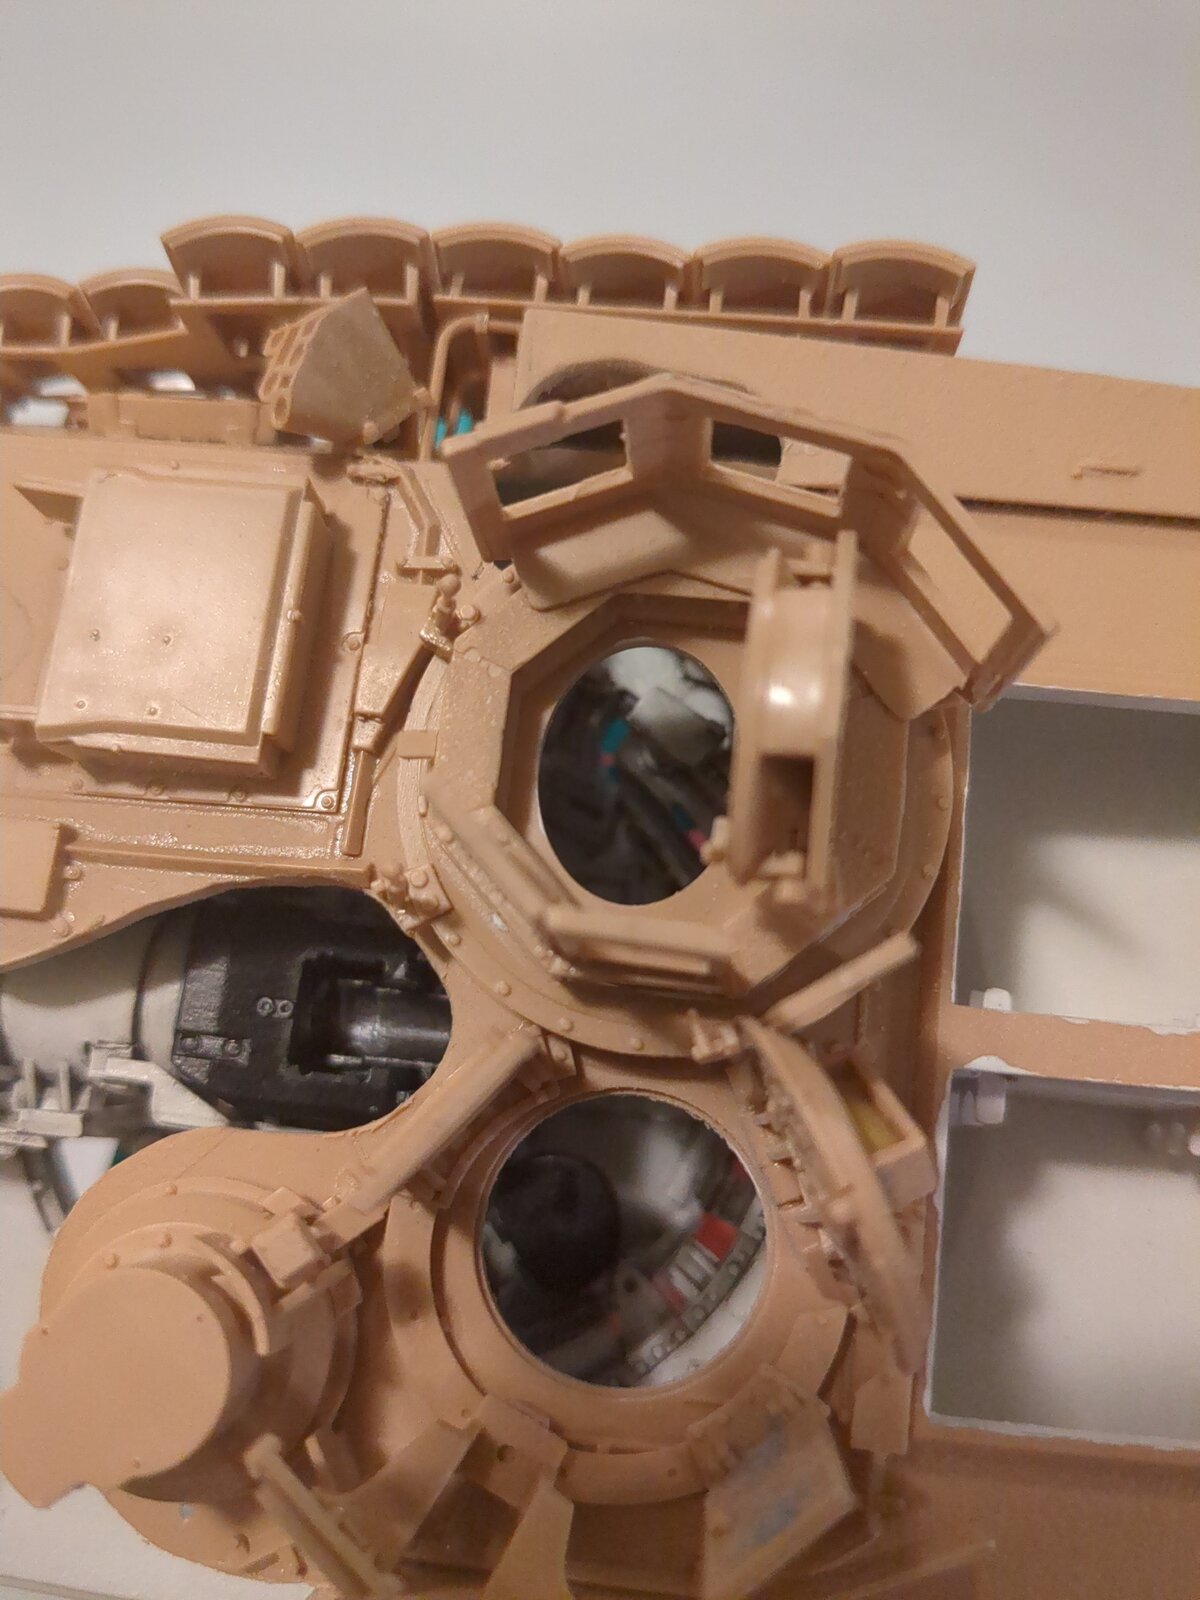
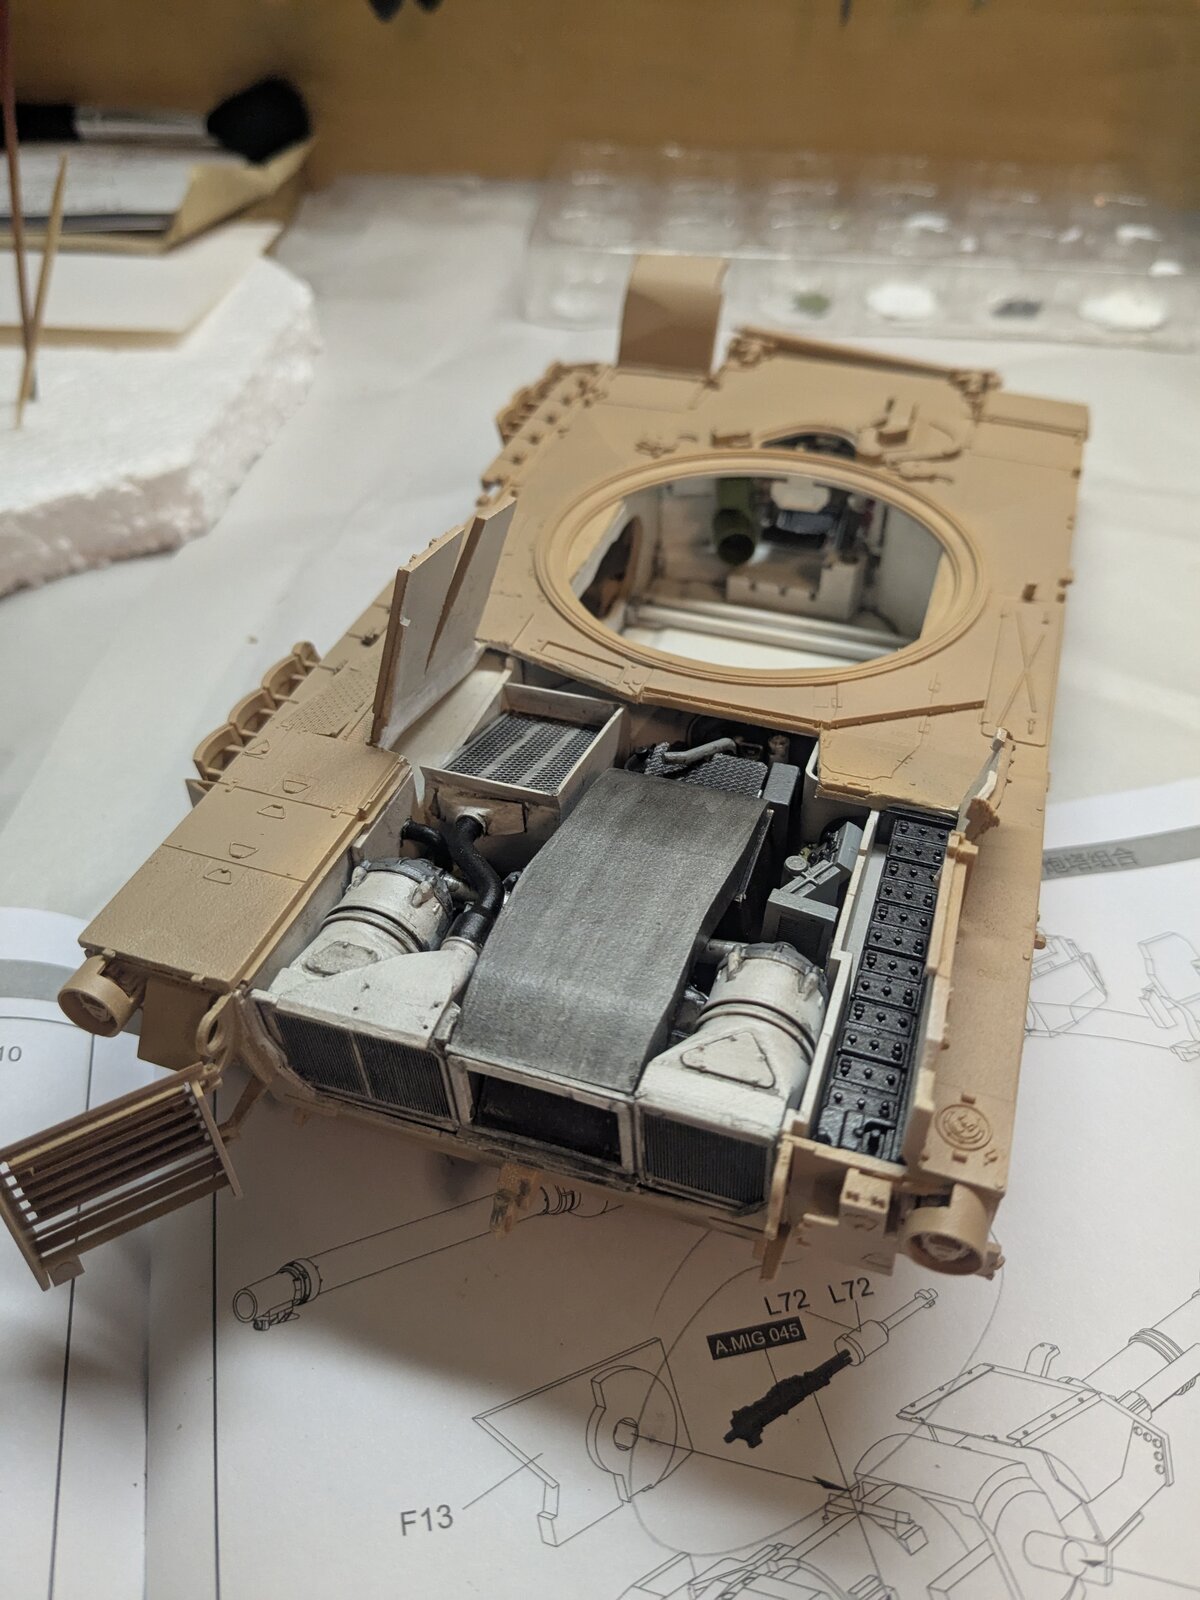
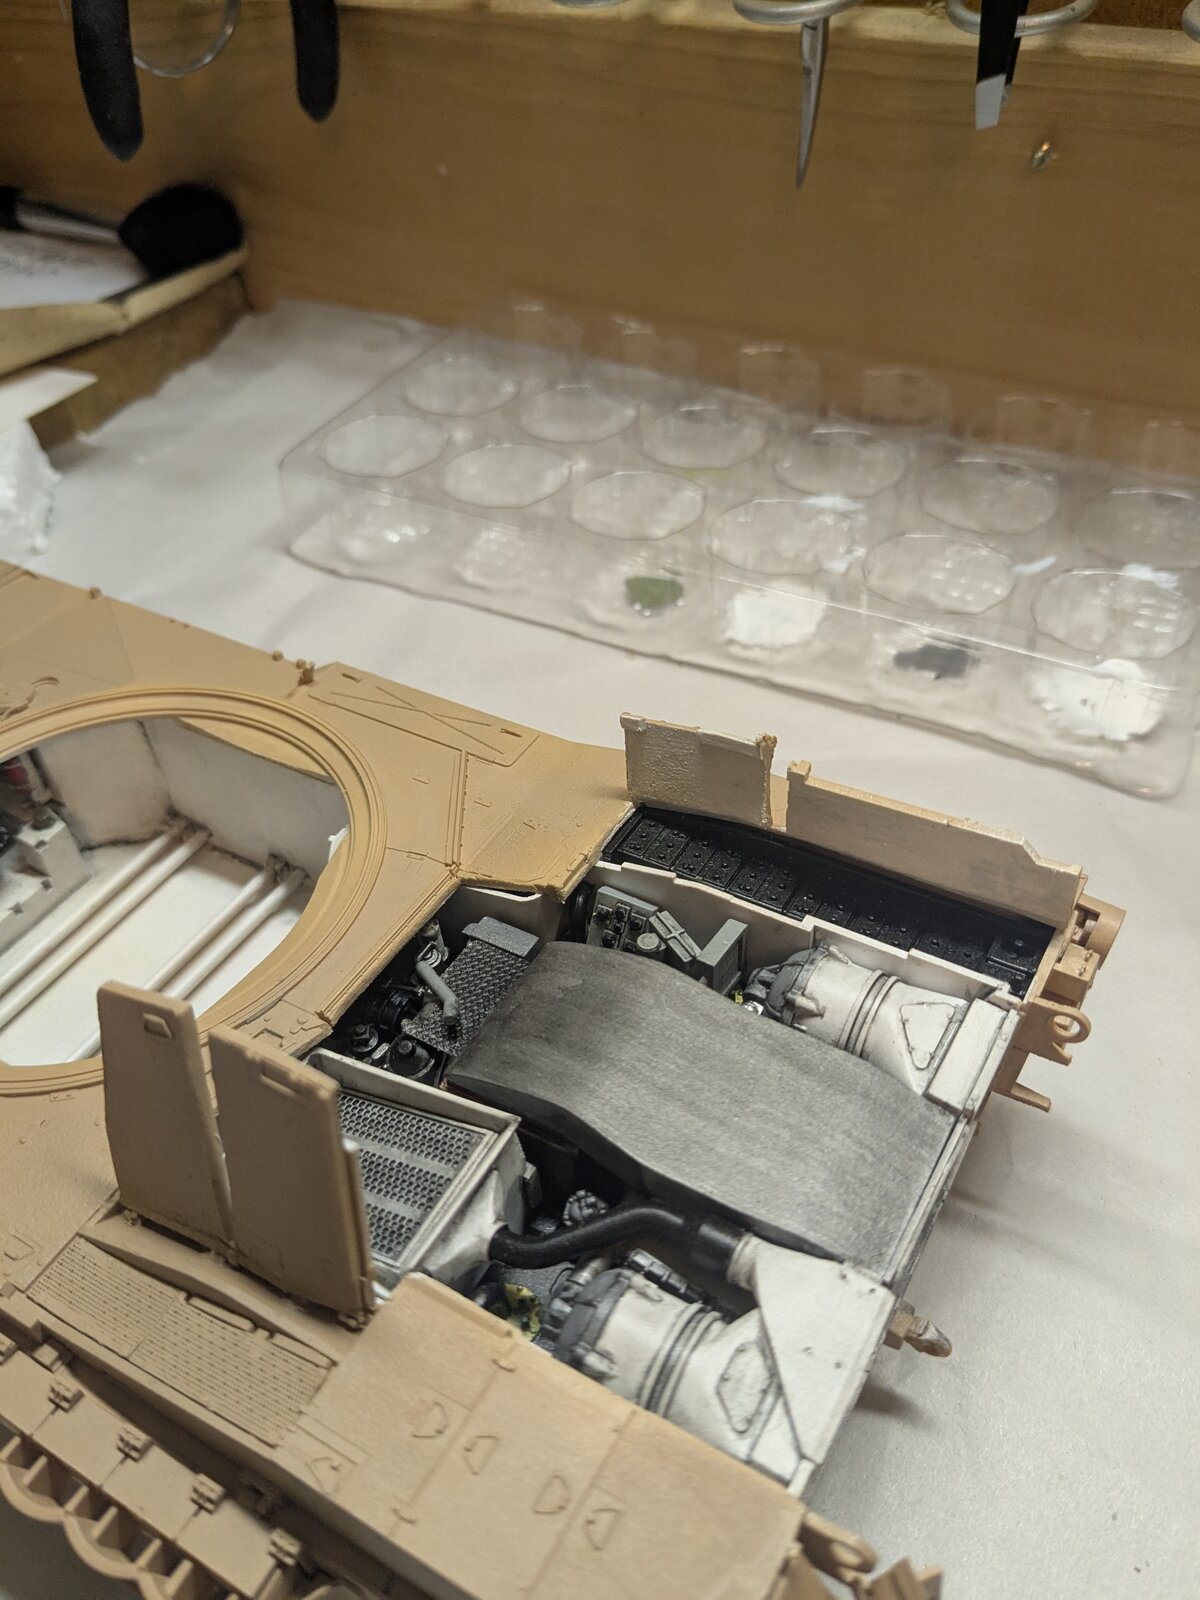
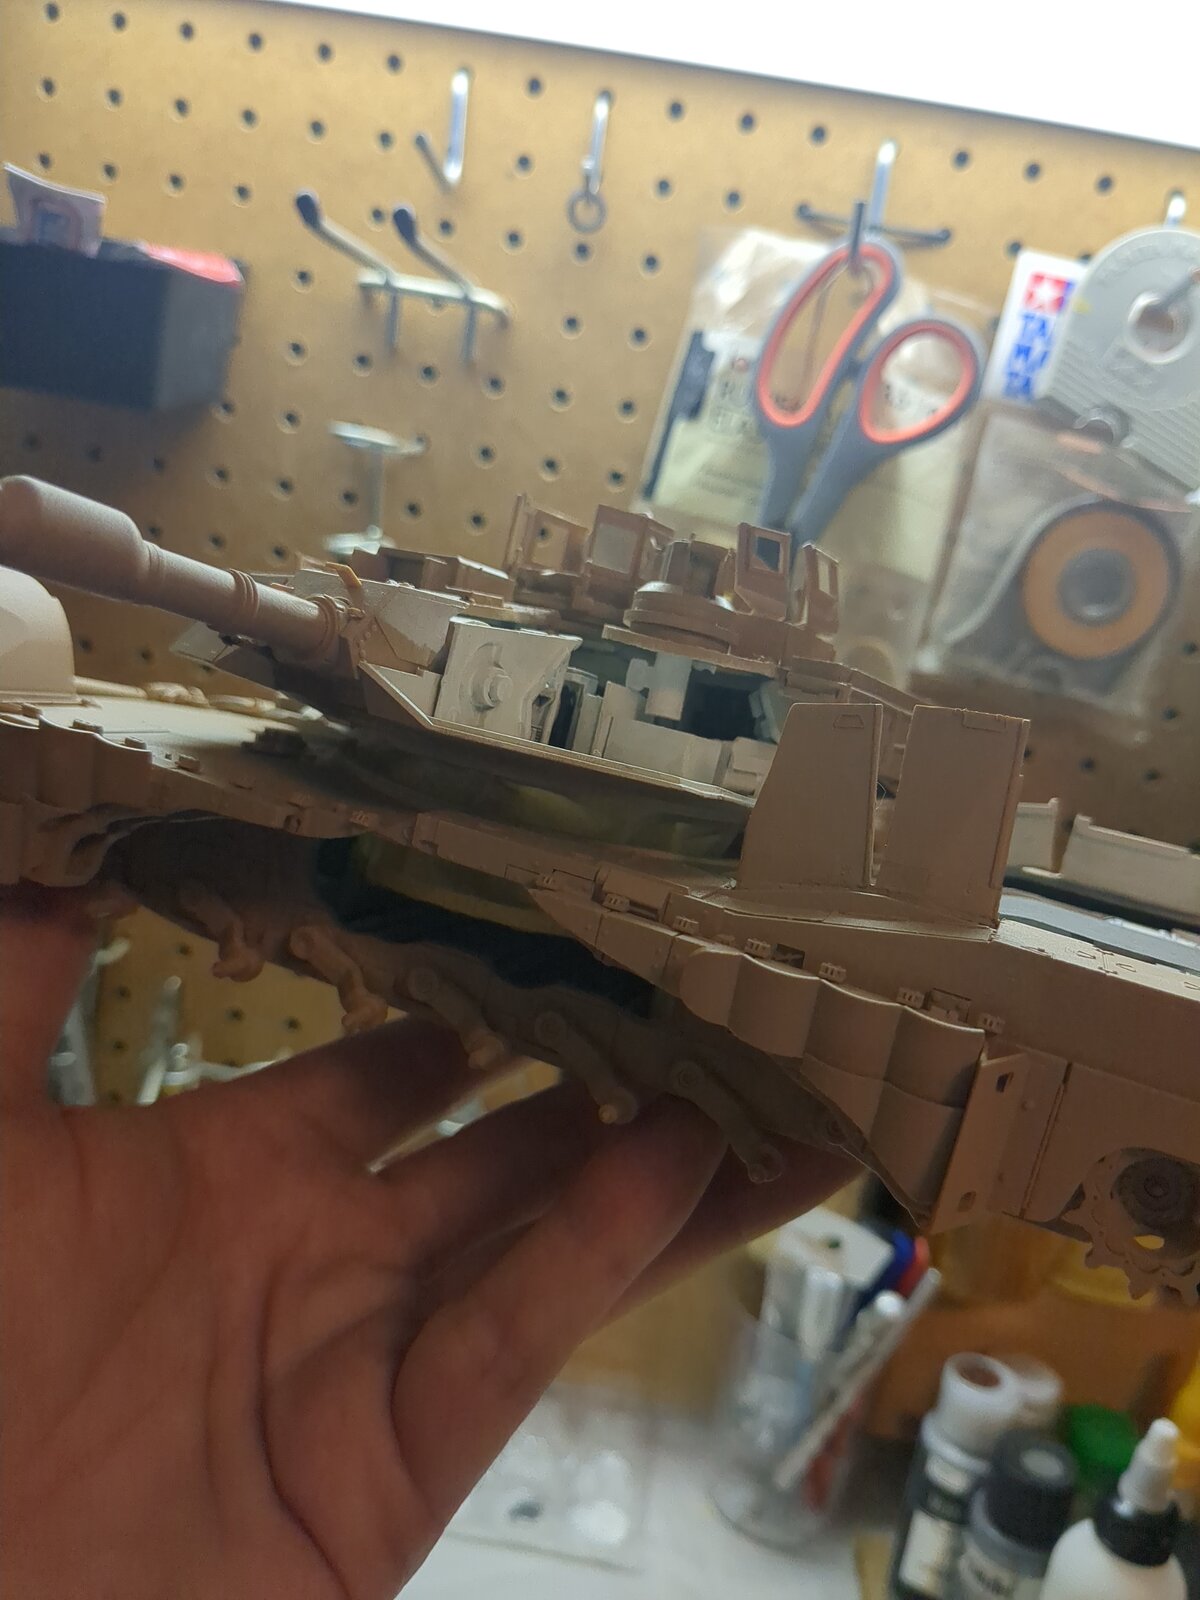
M1A2 sep abrams tusk 1/2 build with interior.

Scale Model Addict - Model Tips, Guides, Tools & Tech, Tutorials, and Community

Help Support Scale Model Addict:

sapper23

Well-Known Member
Joined
Jan 11, 2025
Messages
391
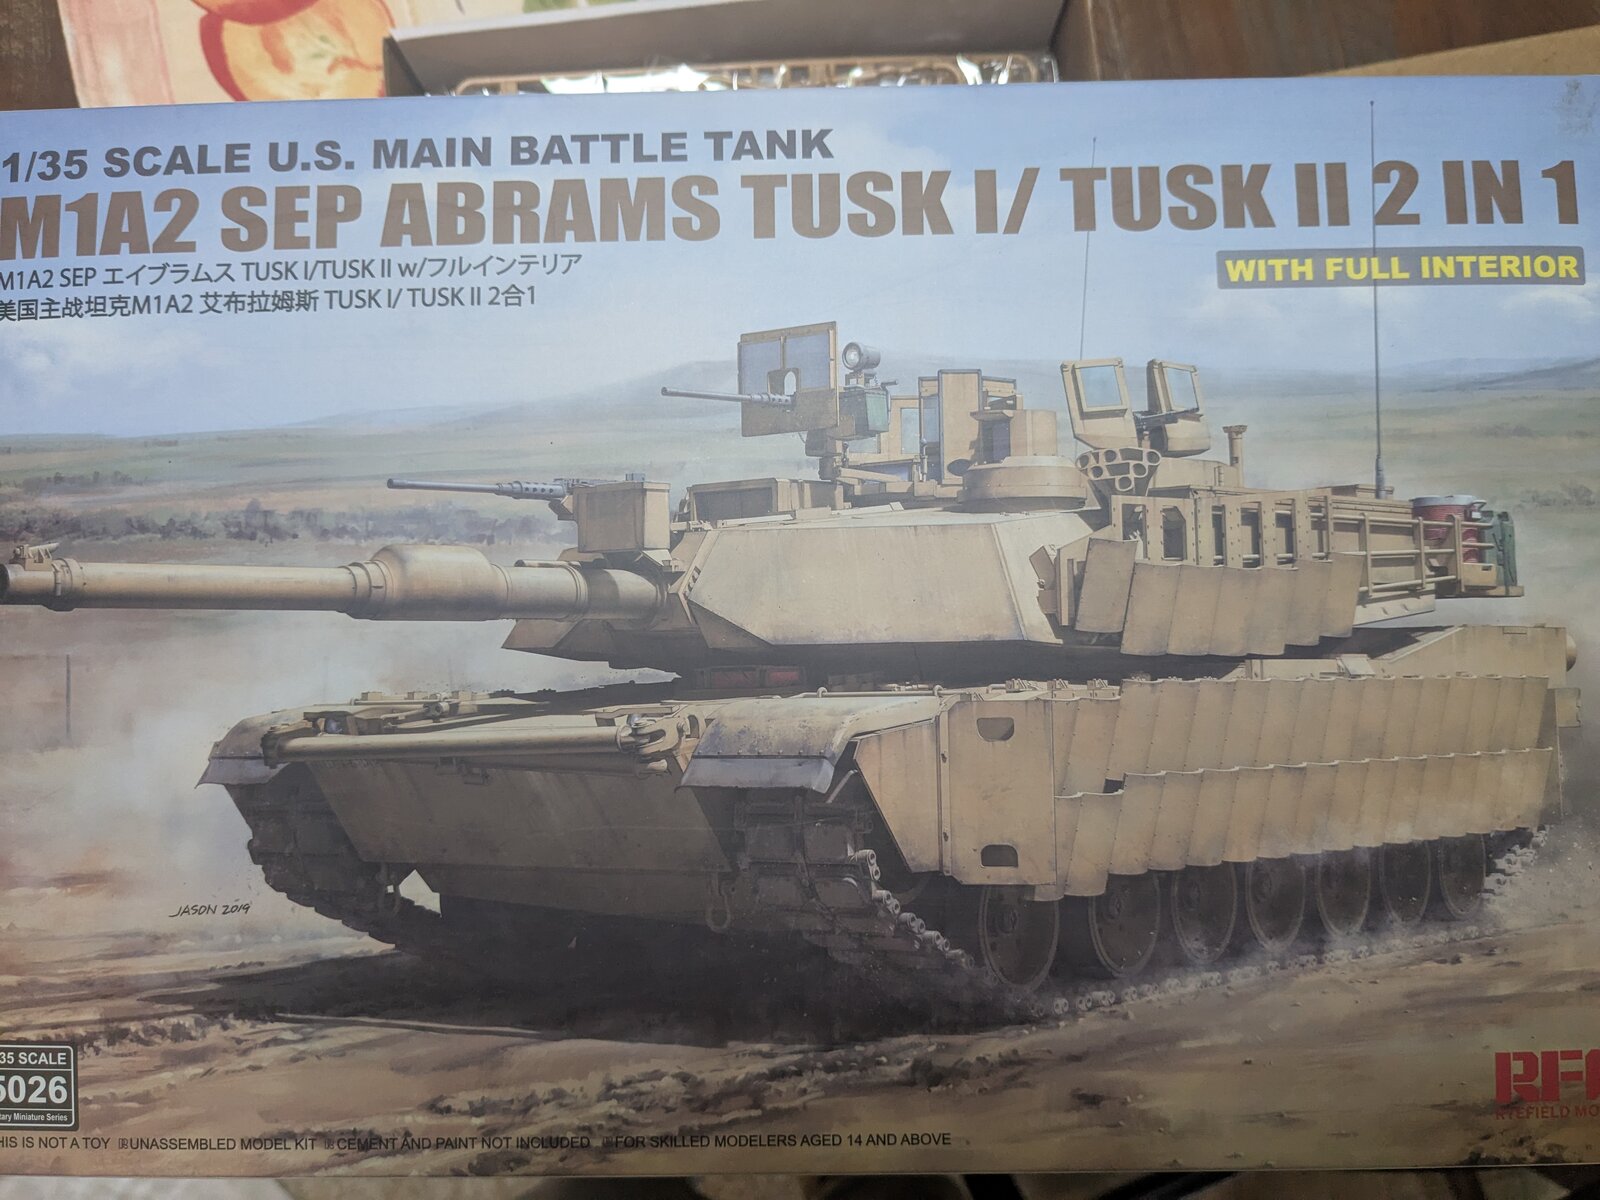
So I decided to build this kit for obvious reasons.

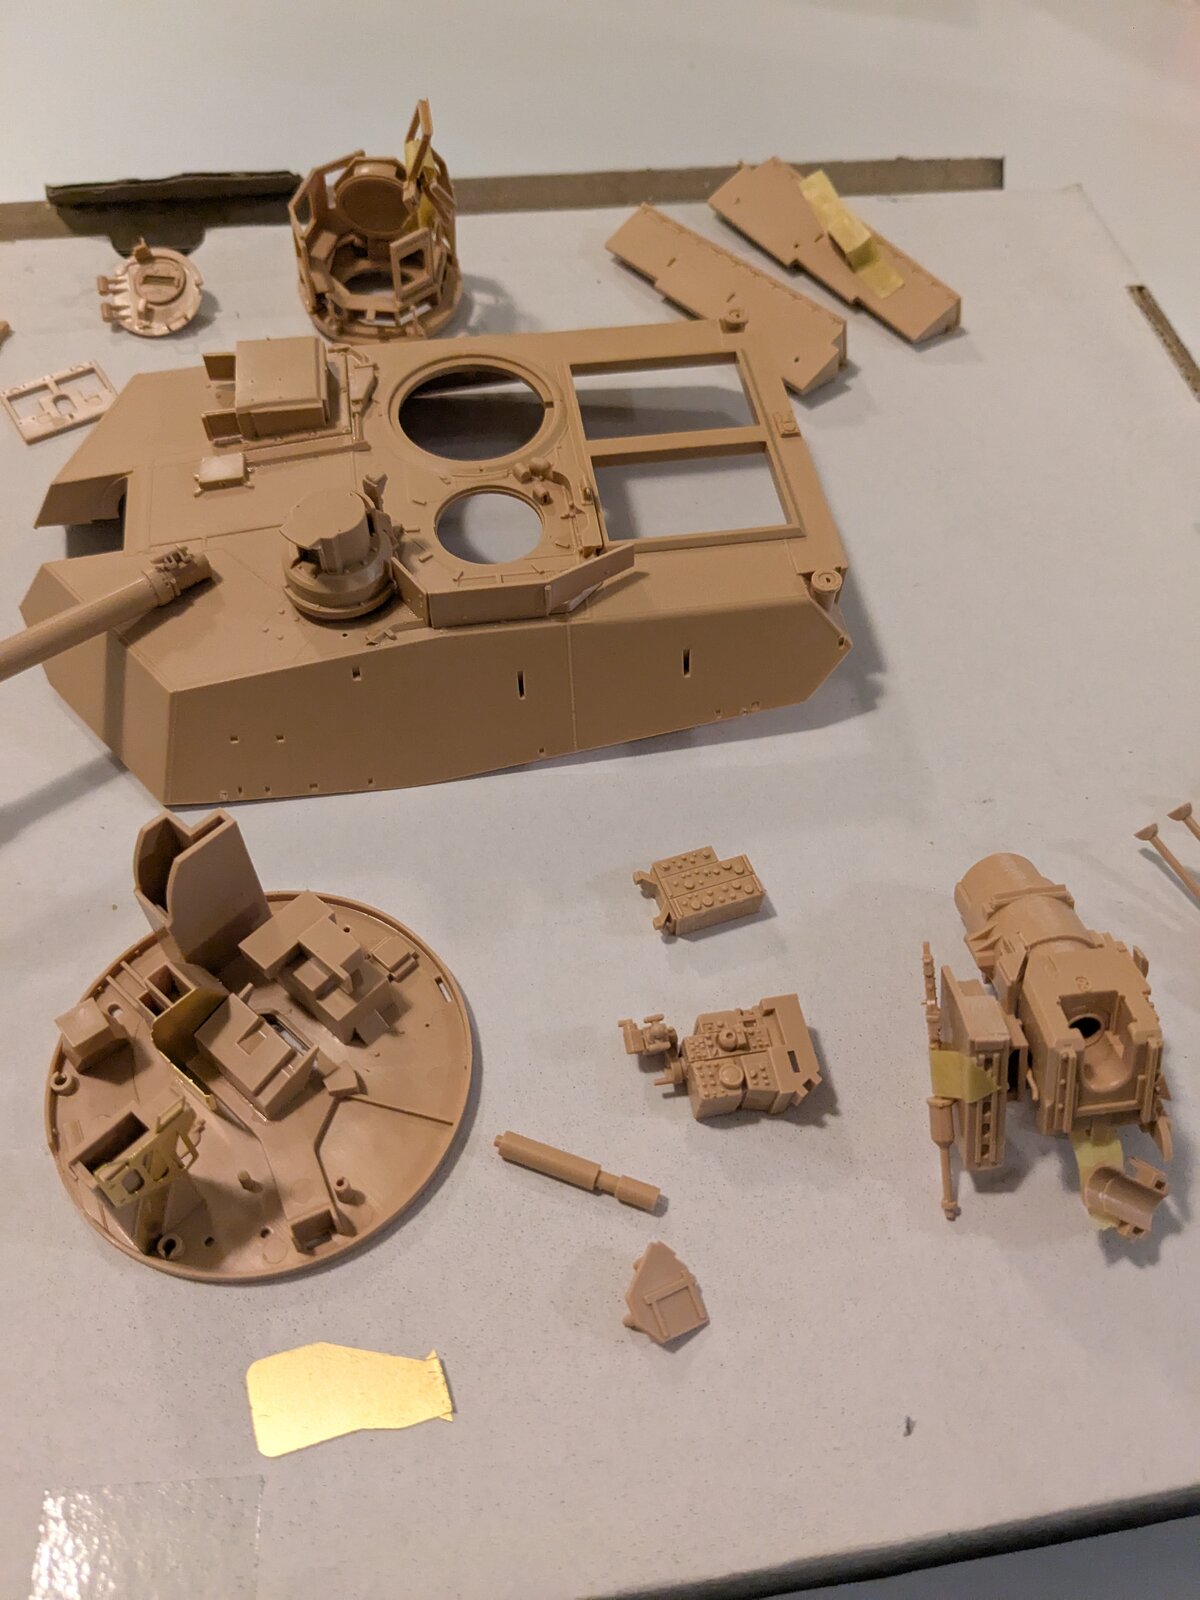
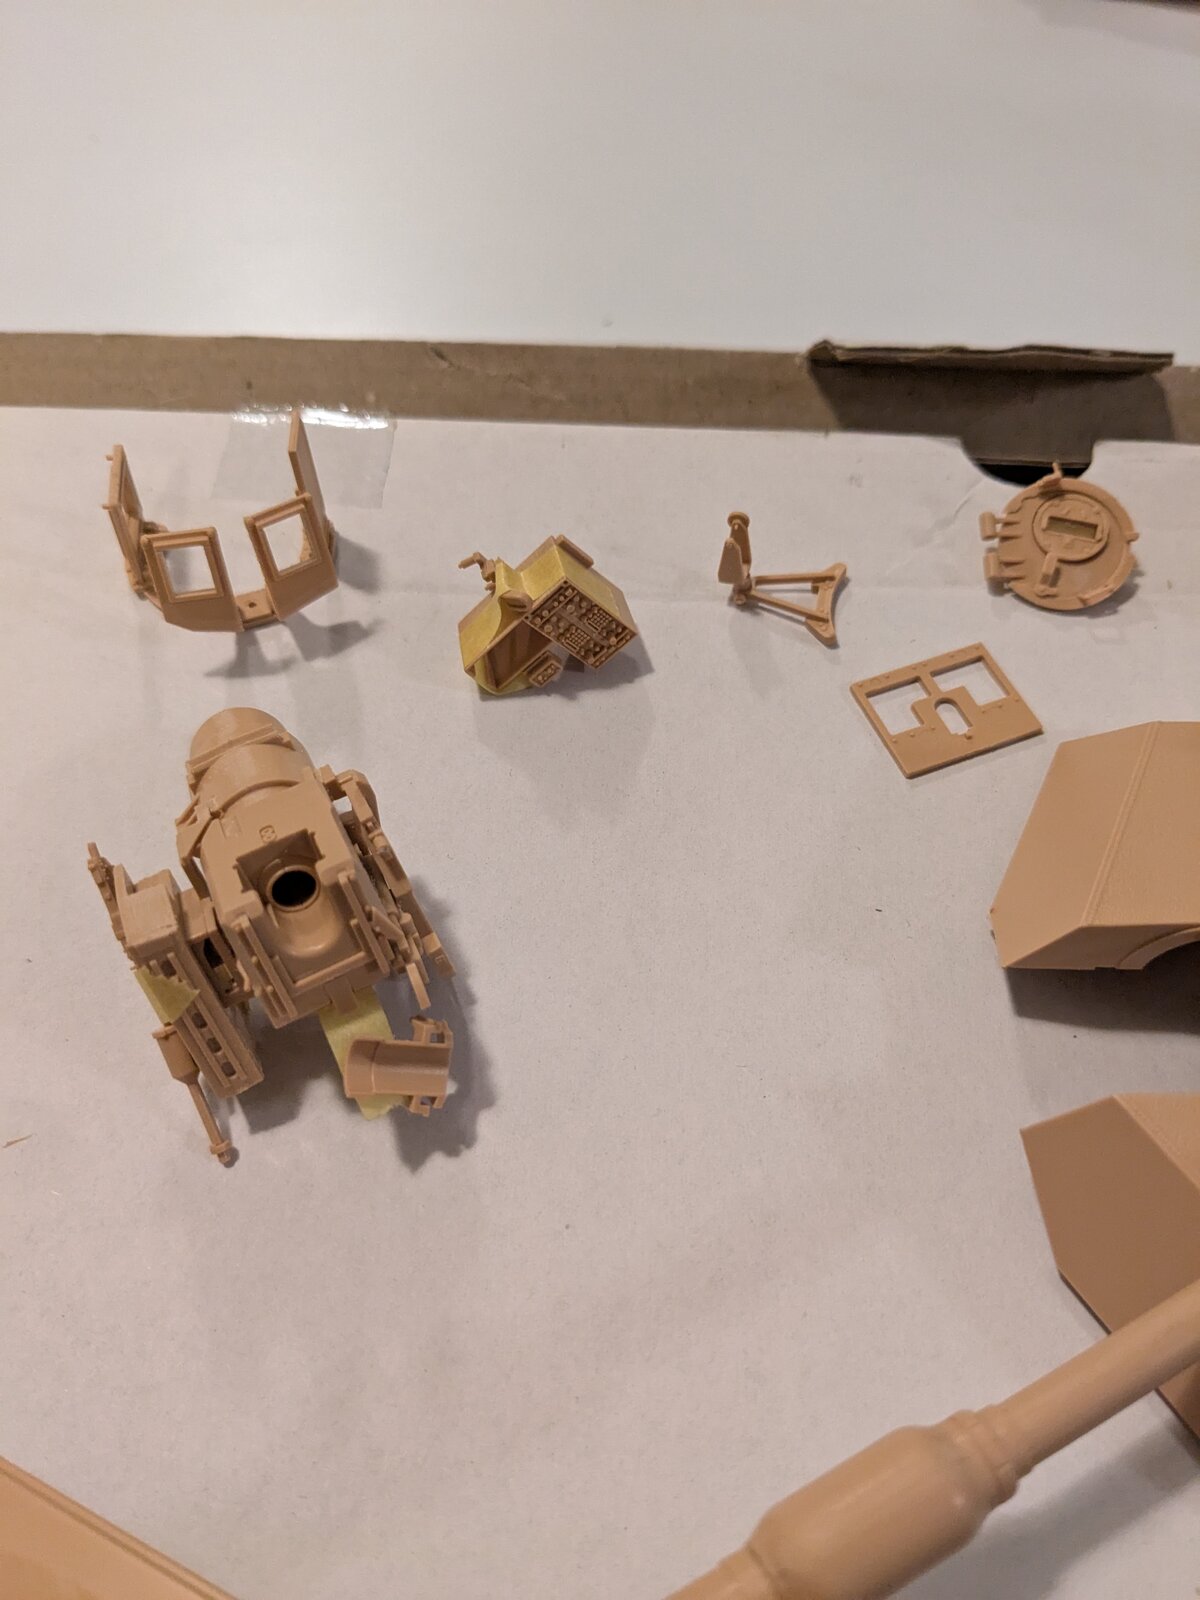
I am starting as sub Assemblys basically so I can see what is shown how it is shown so on so I can decide my method of display for the tank so as much can be displayed as possible.

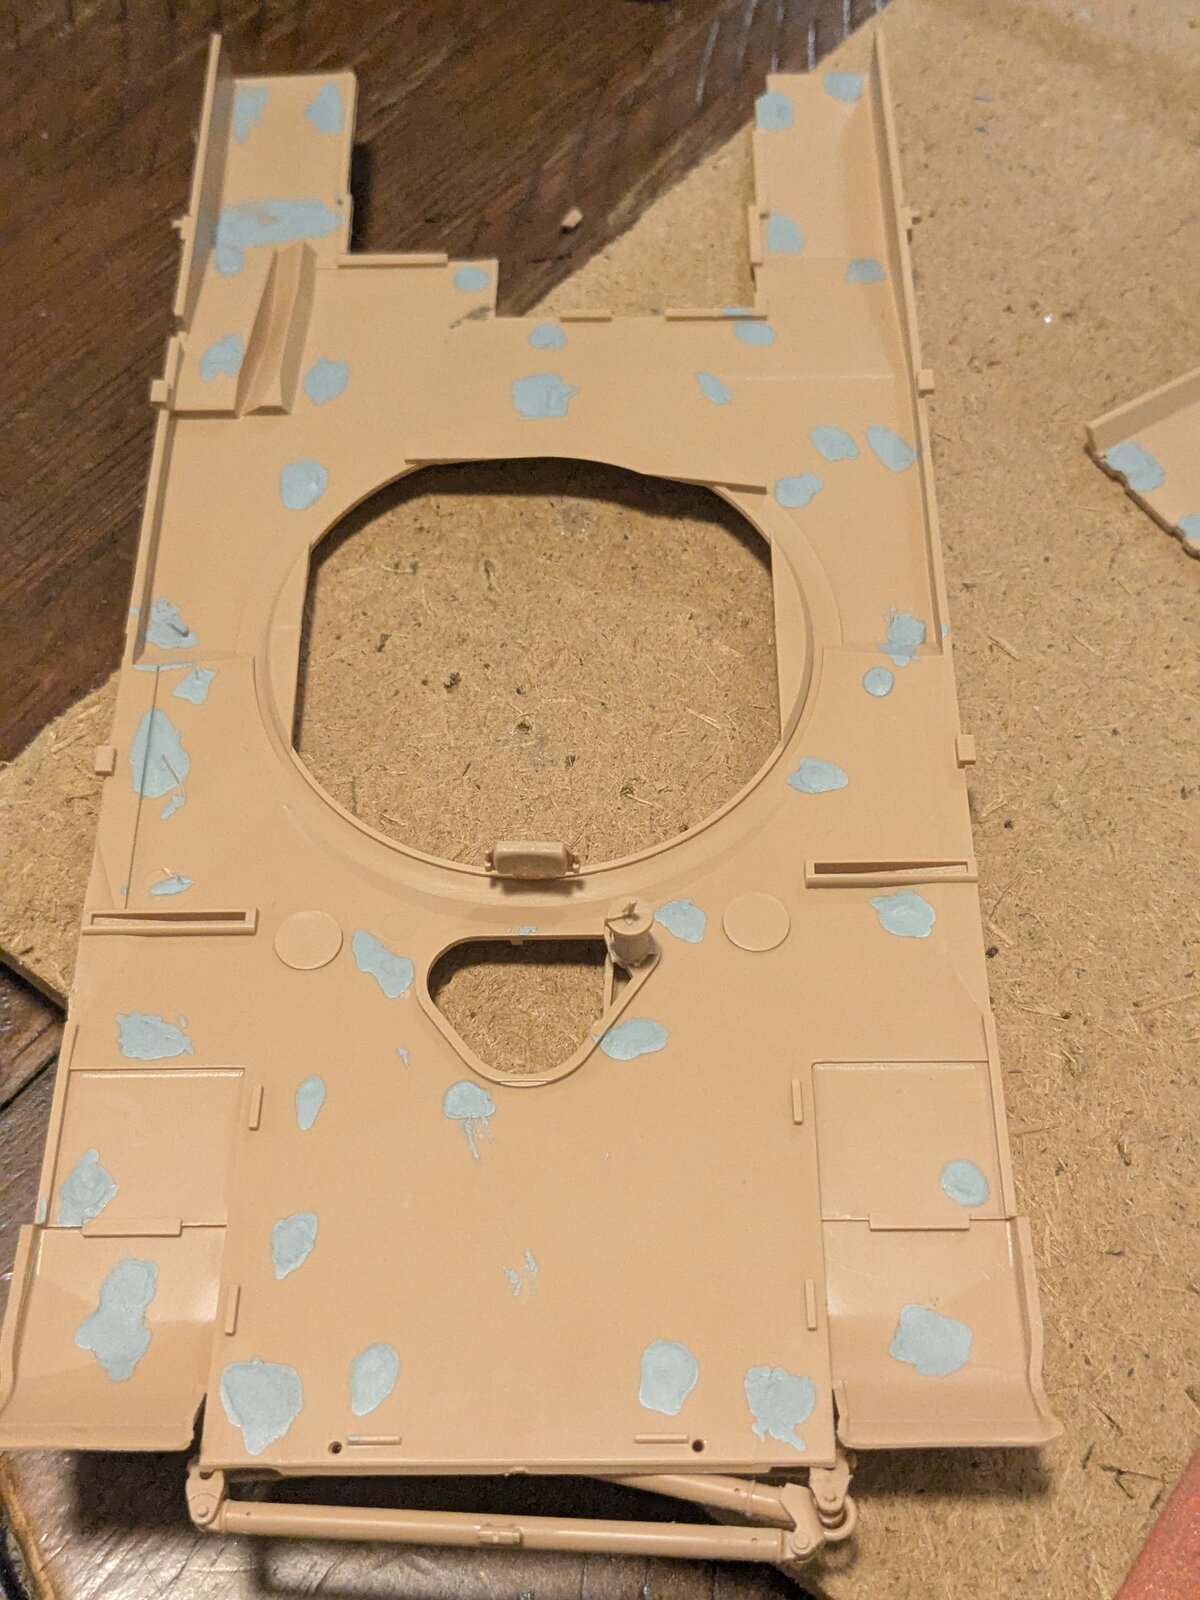
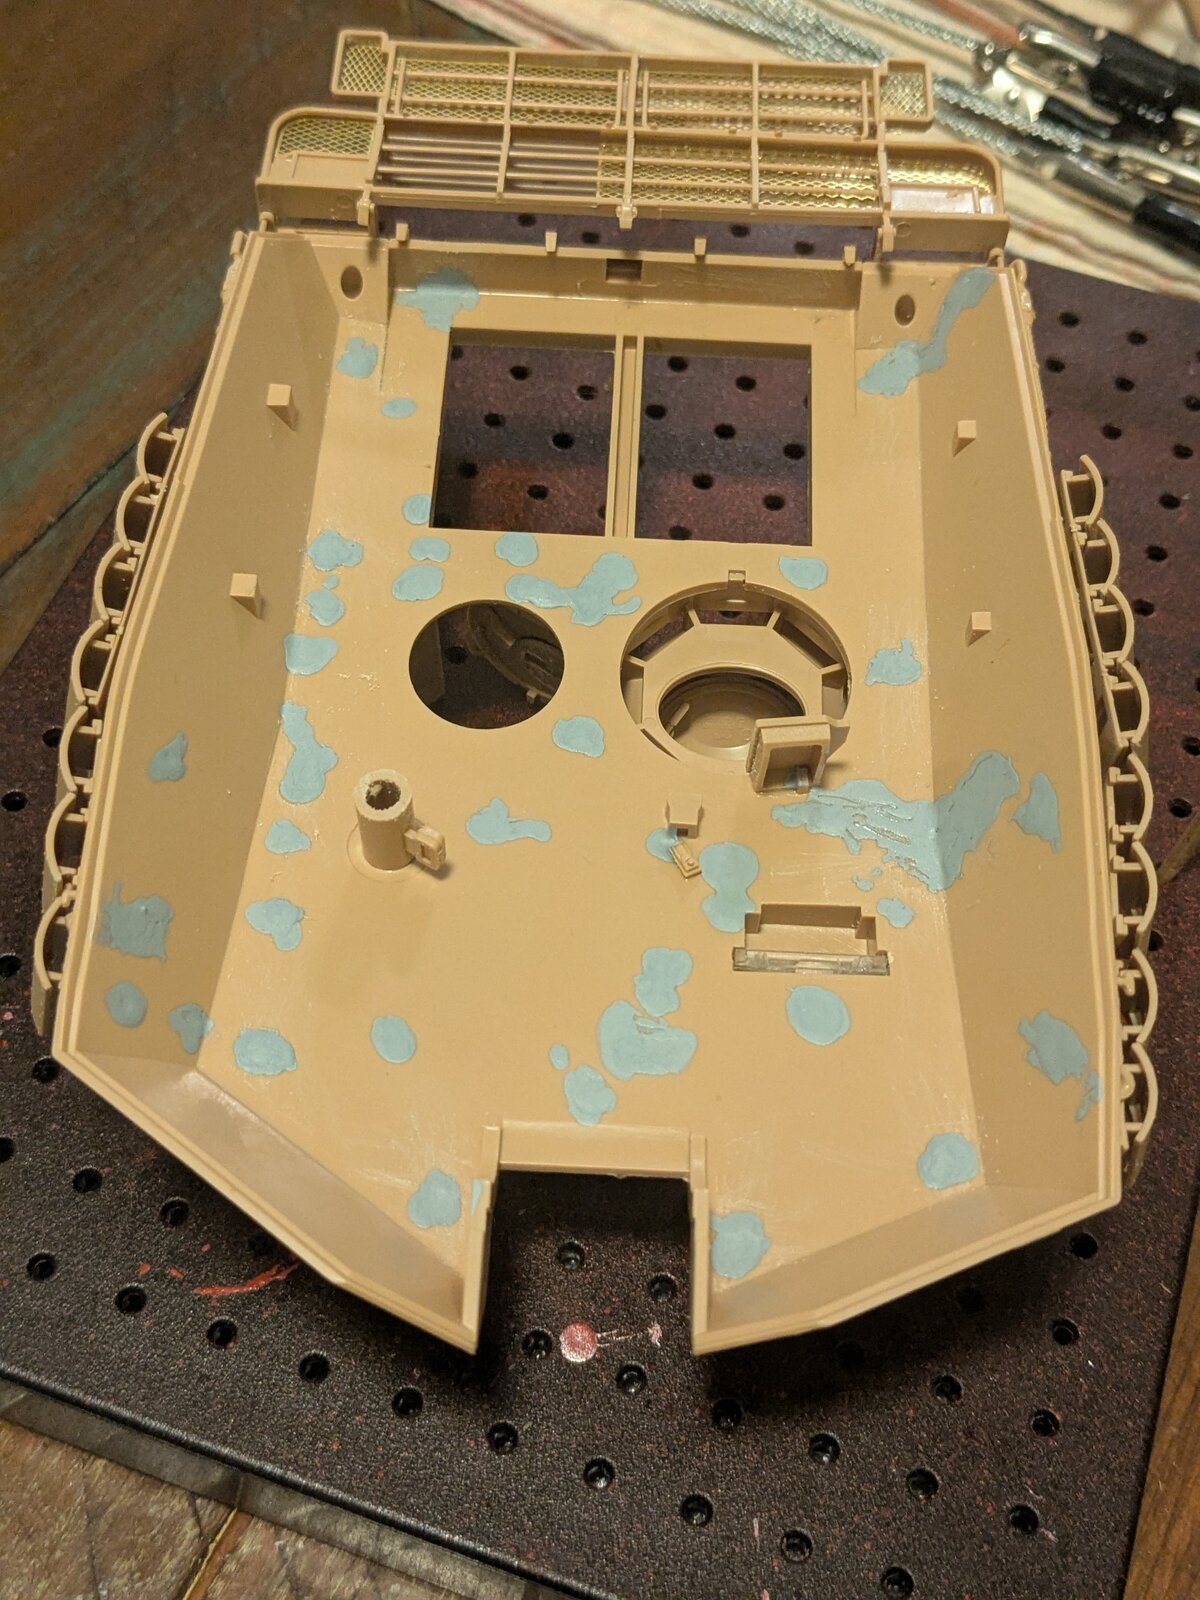
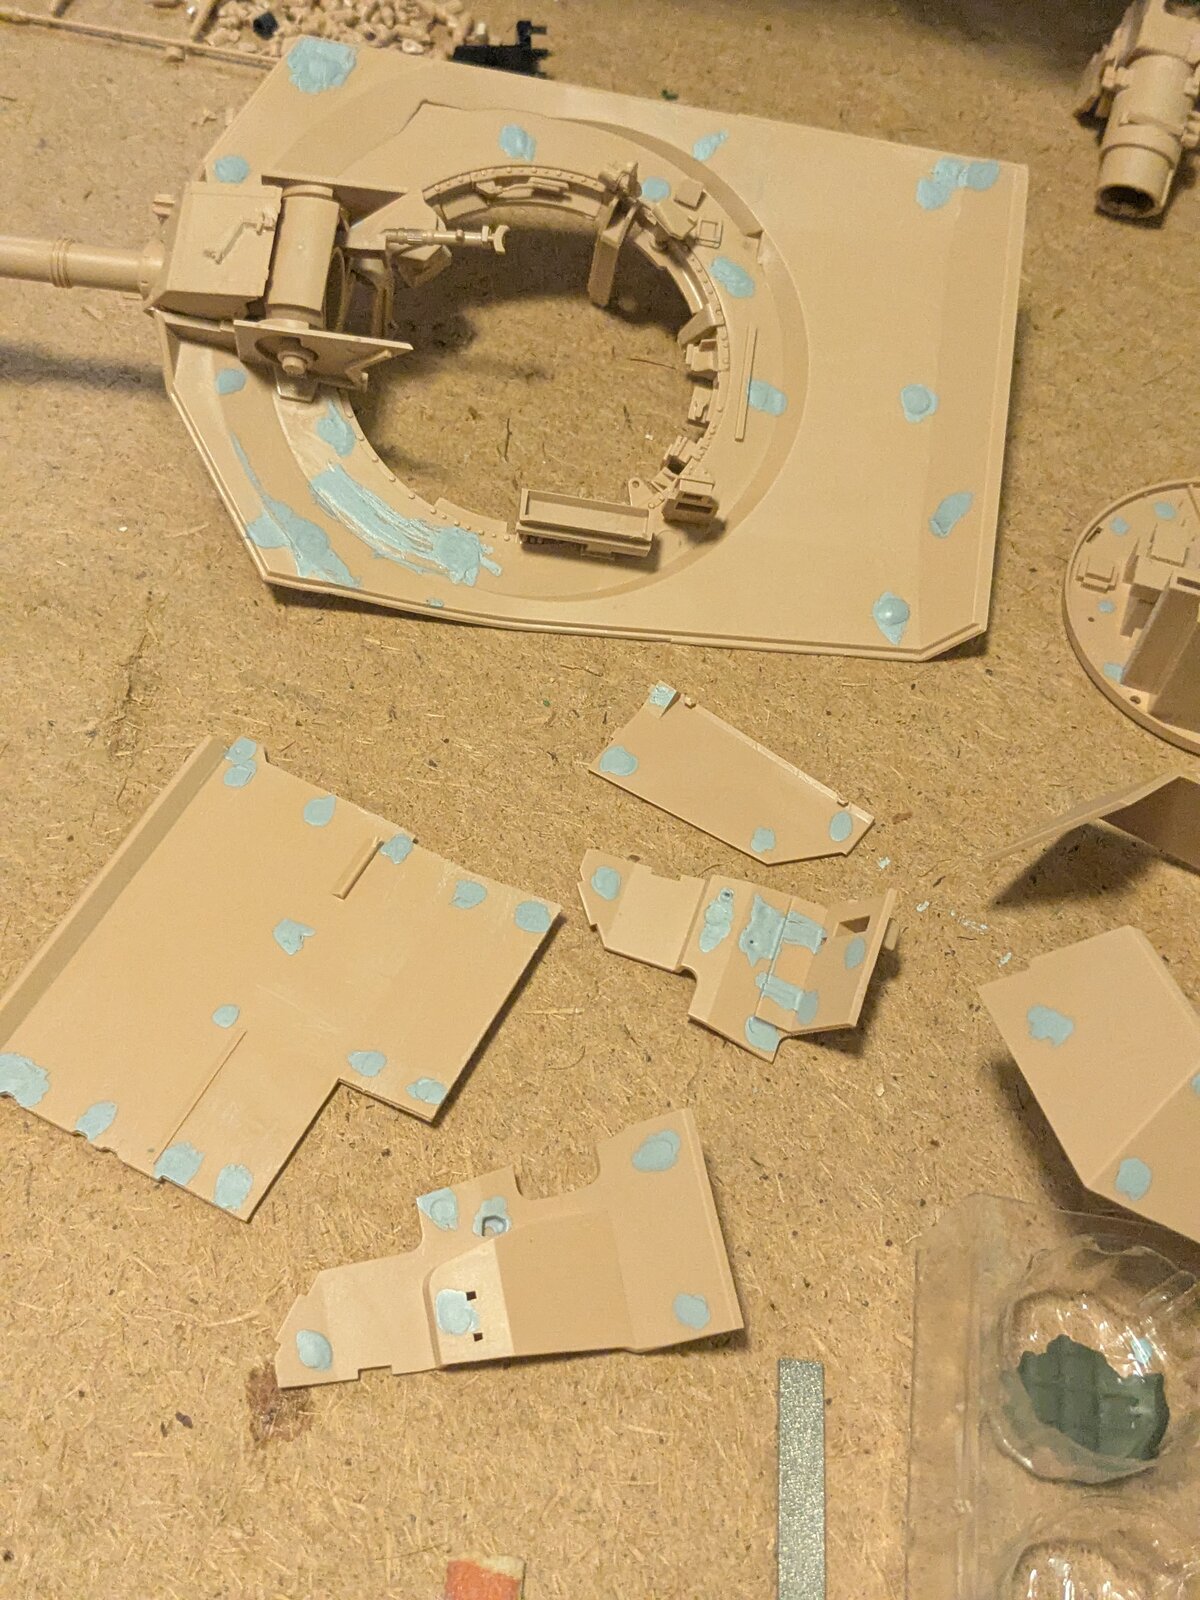
It is a good method in my opinion to do this kit also because it makes painting much easier and allows test fitting. It also allows you to see all the spots you will need to fill and sand and trust me depending on how displayed it is alot.

I'm my opinion not a beginner kit at all lol... I think the instructions could be alot better as well. It lacks clarity in some places so.. yeah test fit important along with some critical thinking.
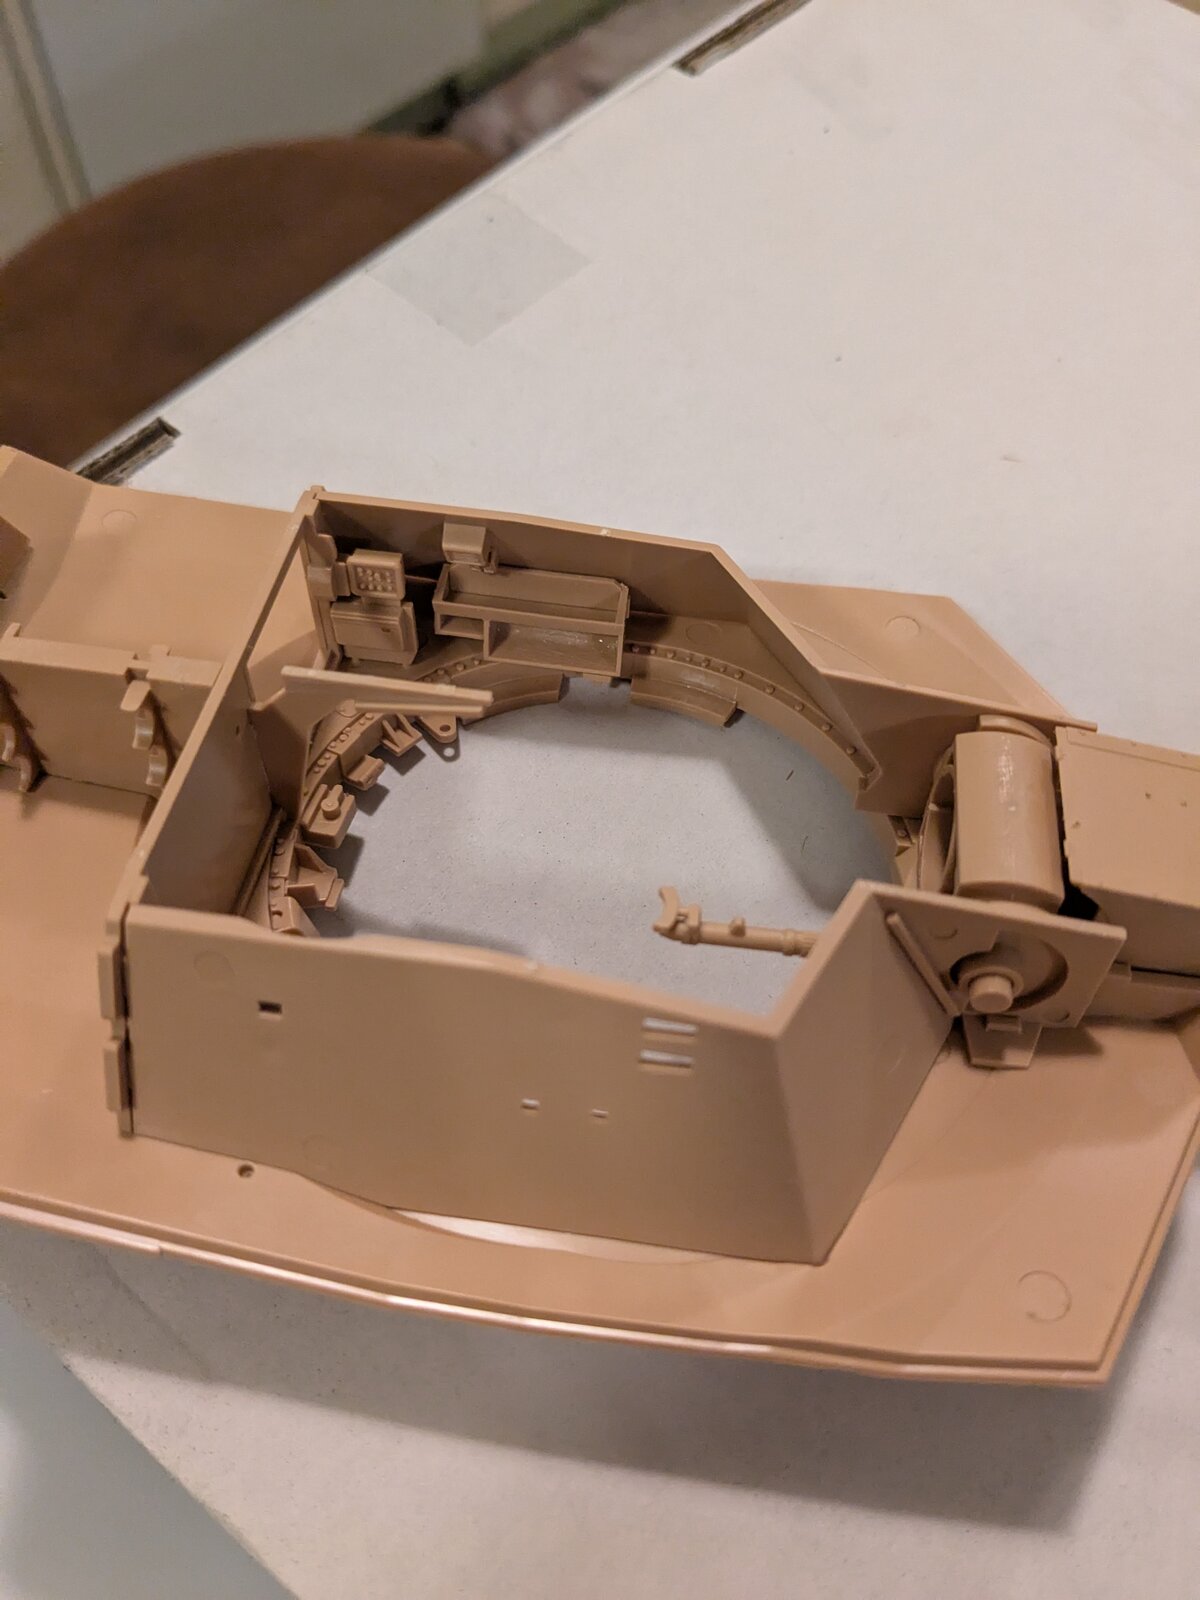
PXL_20250205_204337695.MP.jpg
 
Some work done today... Some is mocked up some is glued in place. The road arms with the axels going through were interesting to build. There whole thing is moveable and flexible but it makes putting it together challenging to say the least.

The slat armor on the turret is quite interesting as well, alot of holes to drill. Really the whole model has alot to drill depending on how you want laid out, version, so on. There is also alot of sand and fill depending on it too

PXL_20250208_054229344.jpg


PXL_20250208_054251325.jpg


PXL_20250208_054319056.jpg
 
This looks GREAT!

I'm excited because I just ordered my first ever RFM kit and that always worries me a bit.

I do think you could have saved yourself some work with the EP marks on the upper surfaces.

Please continue to post pics of your progress!
 
As an Amazon Associate we earn from qualifying purchases. Product prices and availability are accurate as of the date/time indicated and are subject to change.
This looks GREAT!

I'm excited because I just ordered my first ever RFM kit and that always worries me a bit.

I do think you could have saved yourself some work with the EP marks on the upper surfaces.

Please continue to post pics of your progress!
Could have if I displayed it closed... I will not be displaying it closed. I have a plan for how it will be displayed and you will be able to see it depending on angle.

What model did you order?
 
This looks GREAT!

I'm excited because I just ordered my first ever RFM kit and that always worries me a bit.

I do think you could have saved yourself some work with the EP marks on the upper surfaces.

Please continue to post pics of your progress!
Ty and will keep posting pics.
 
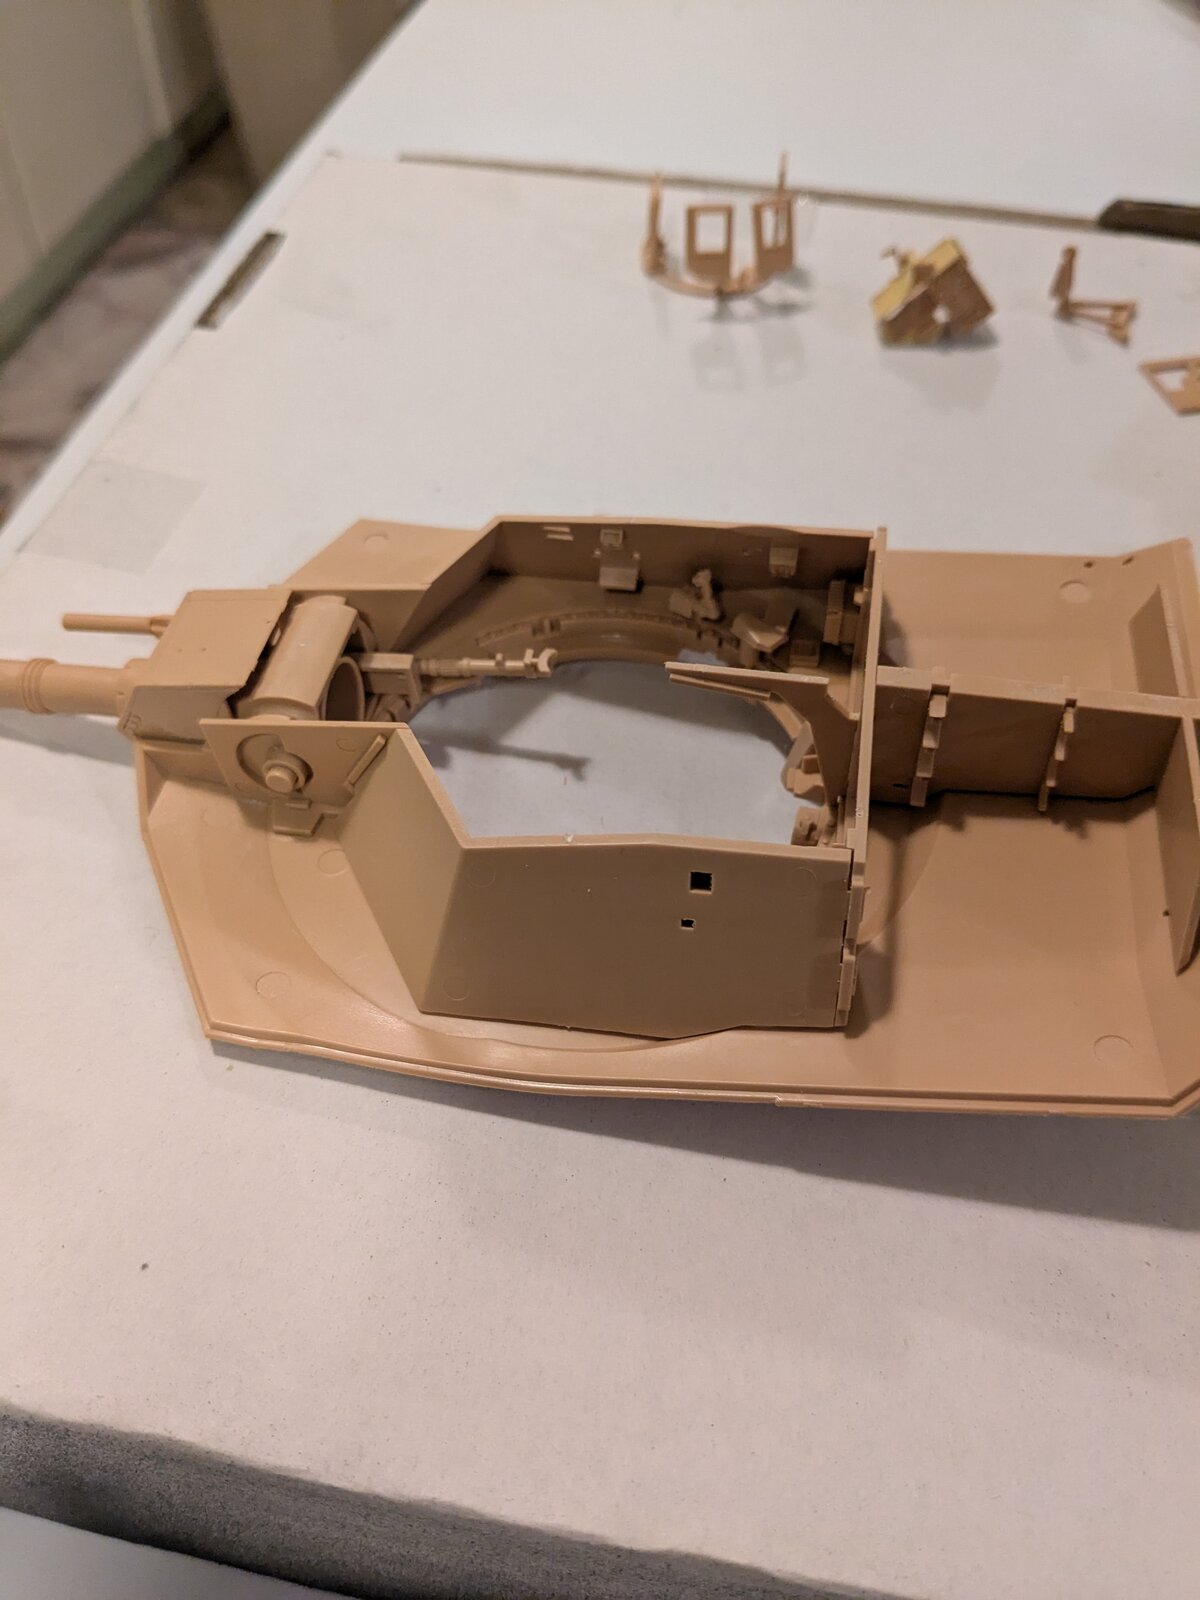
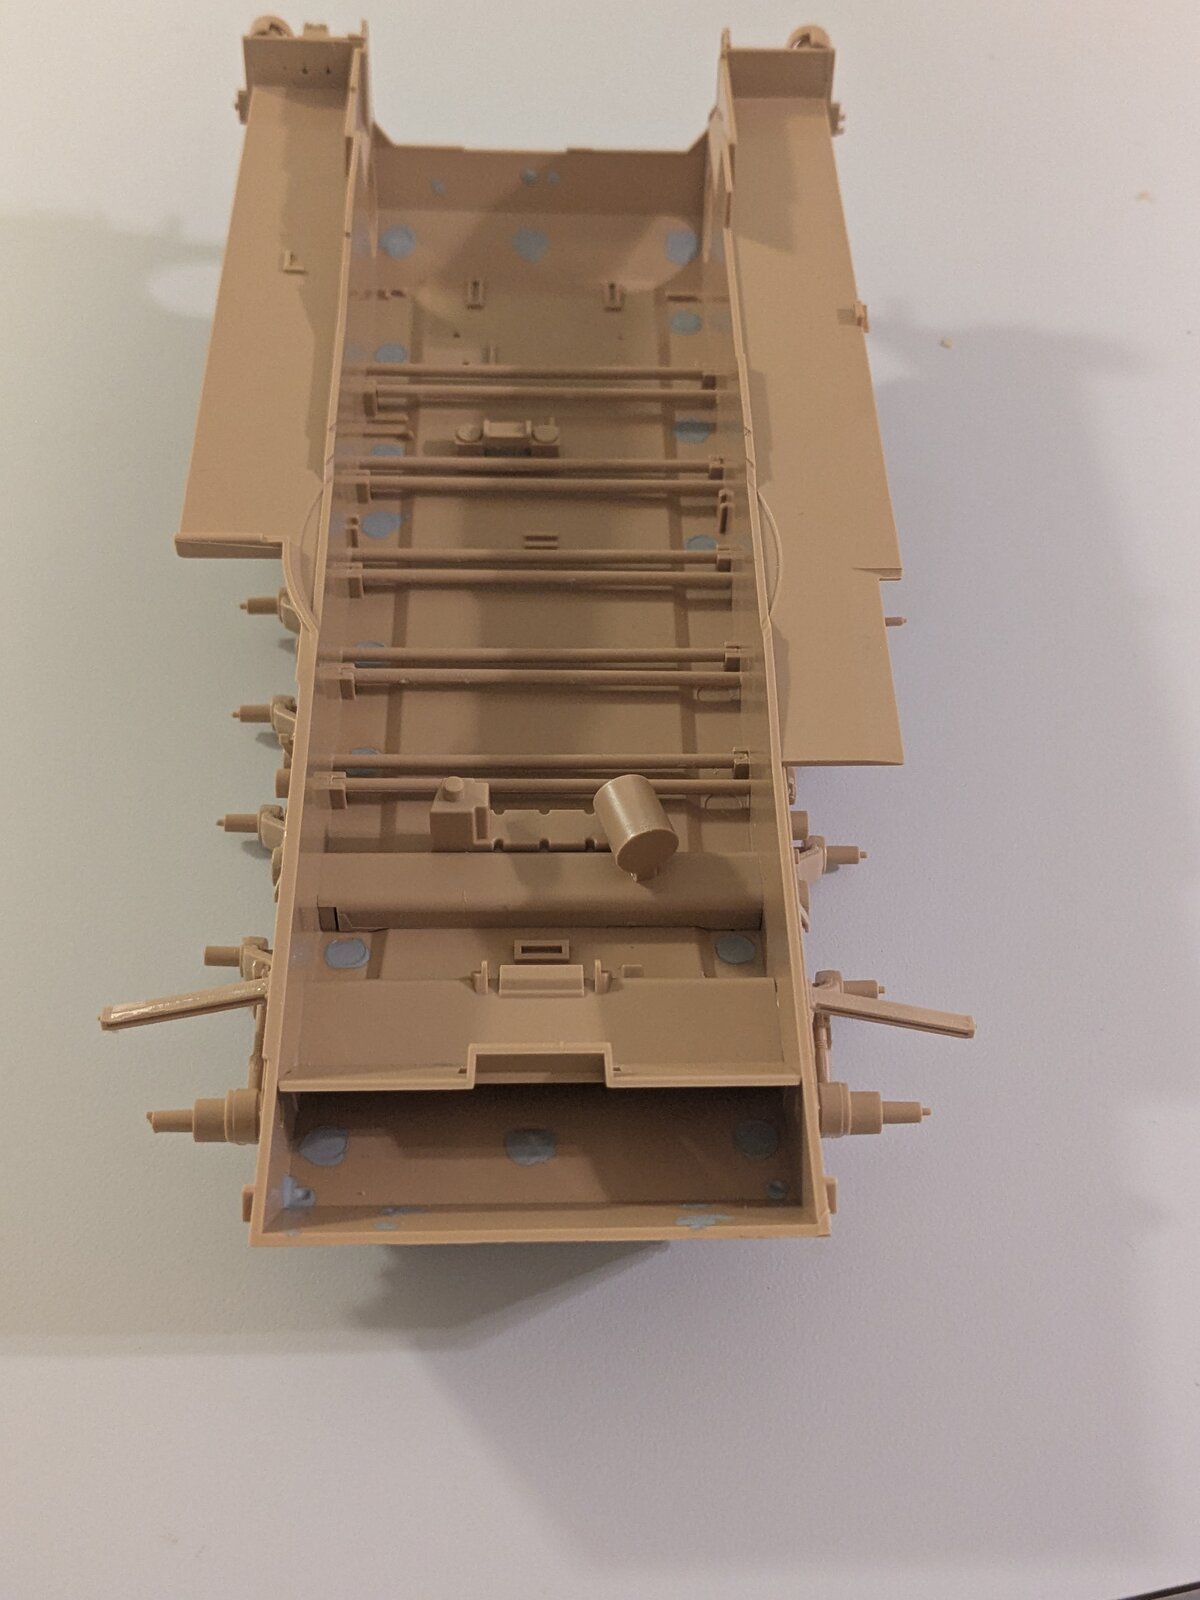
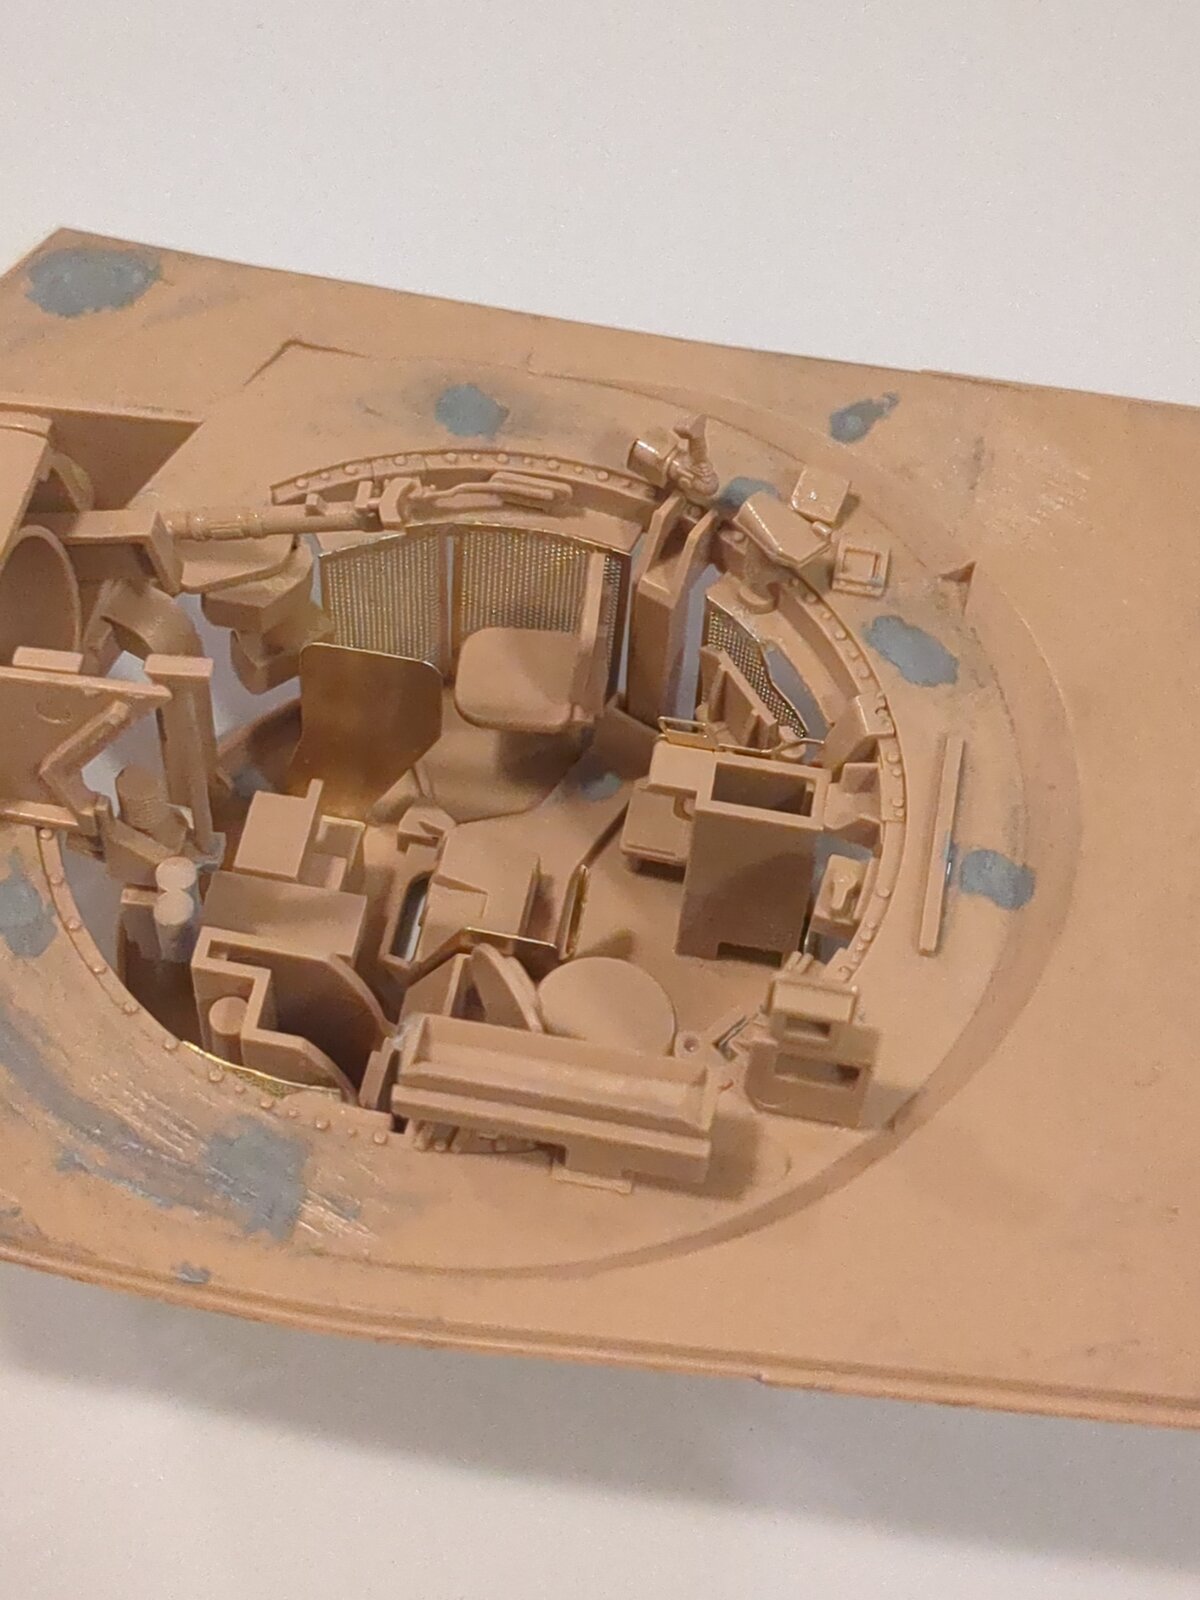
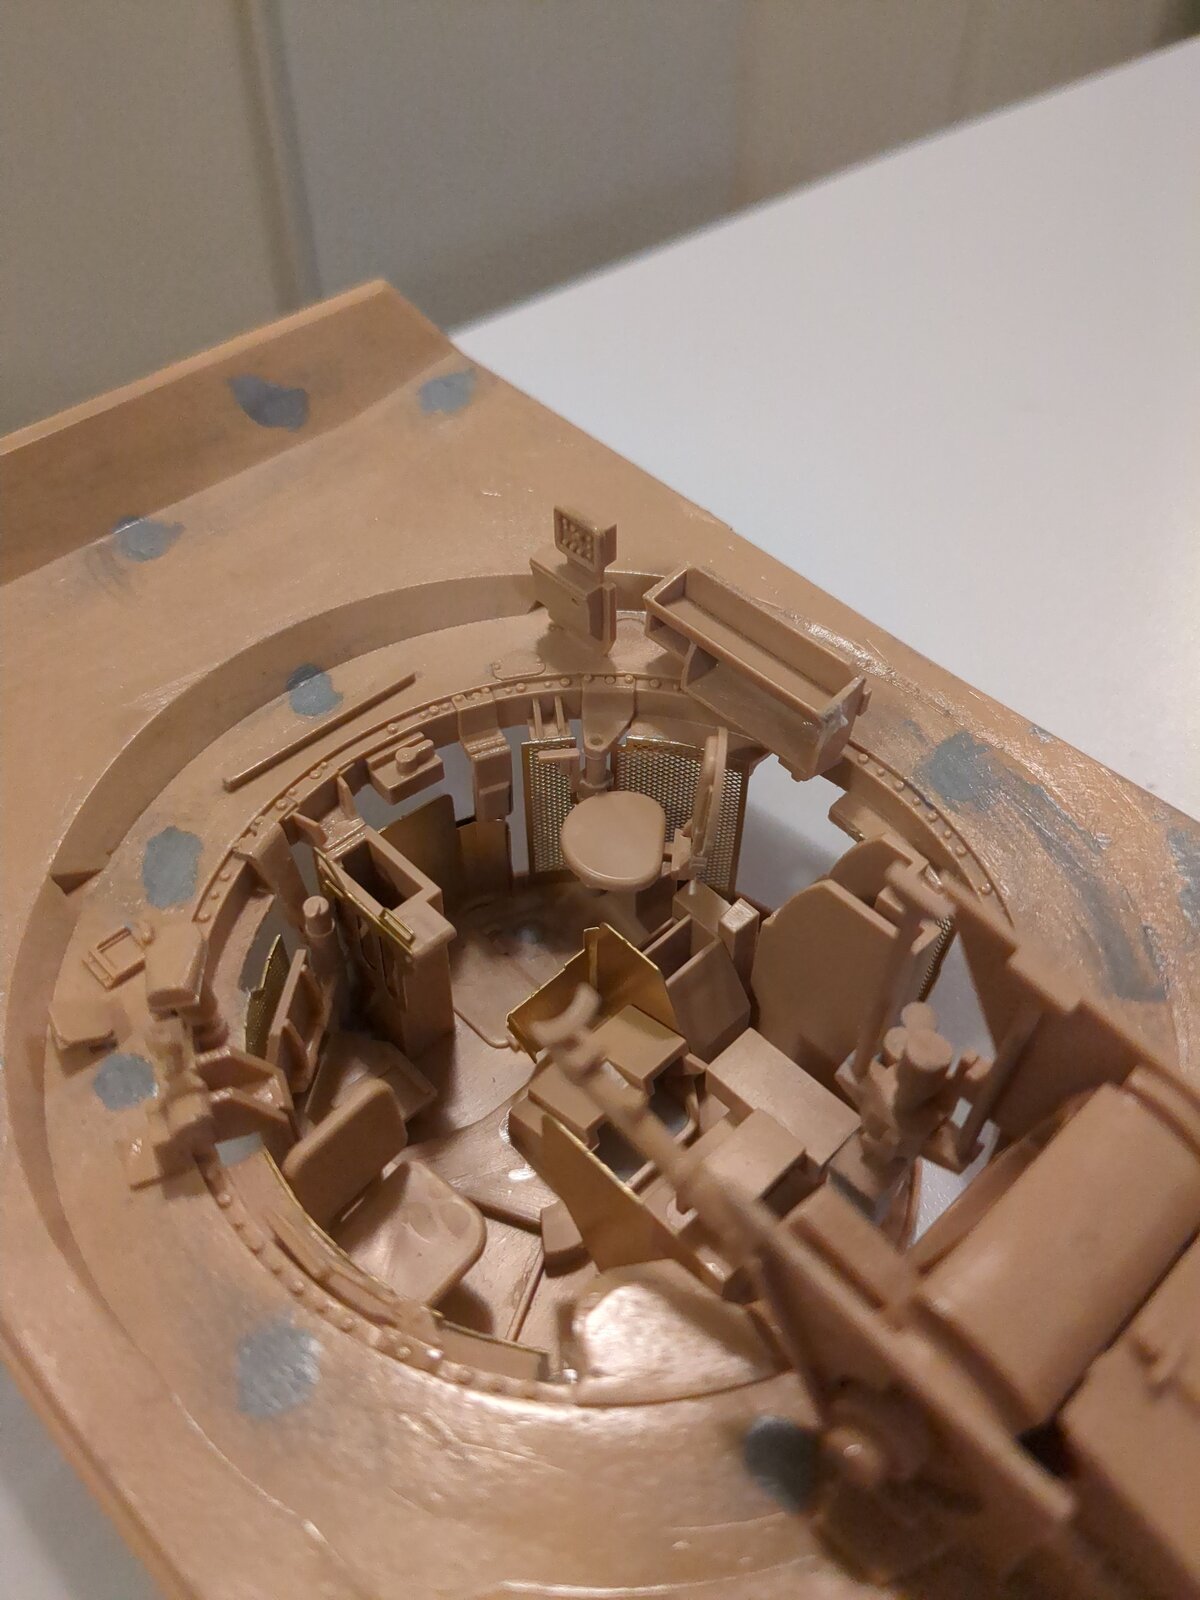
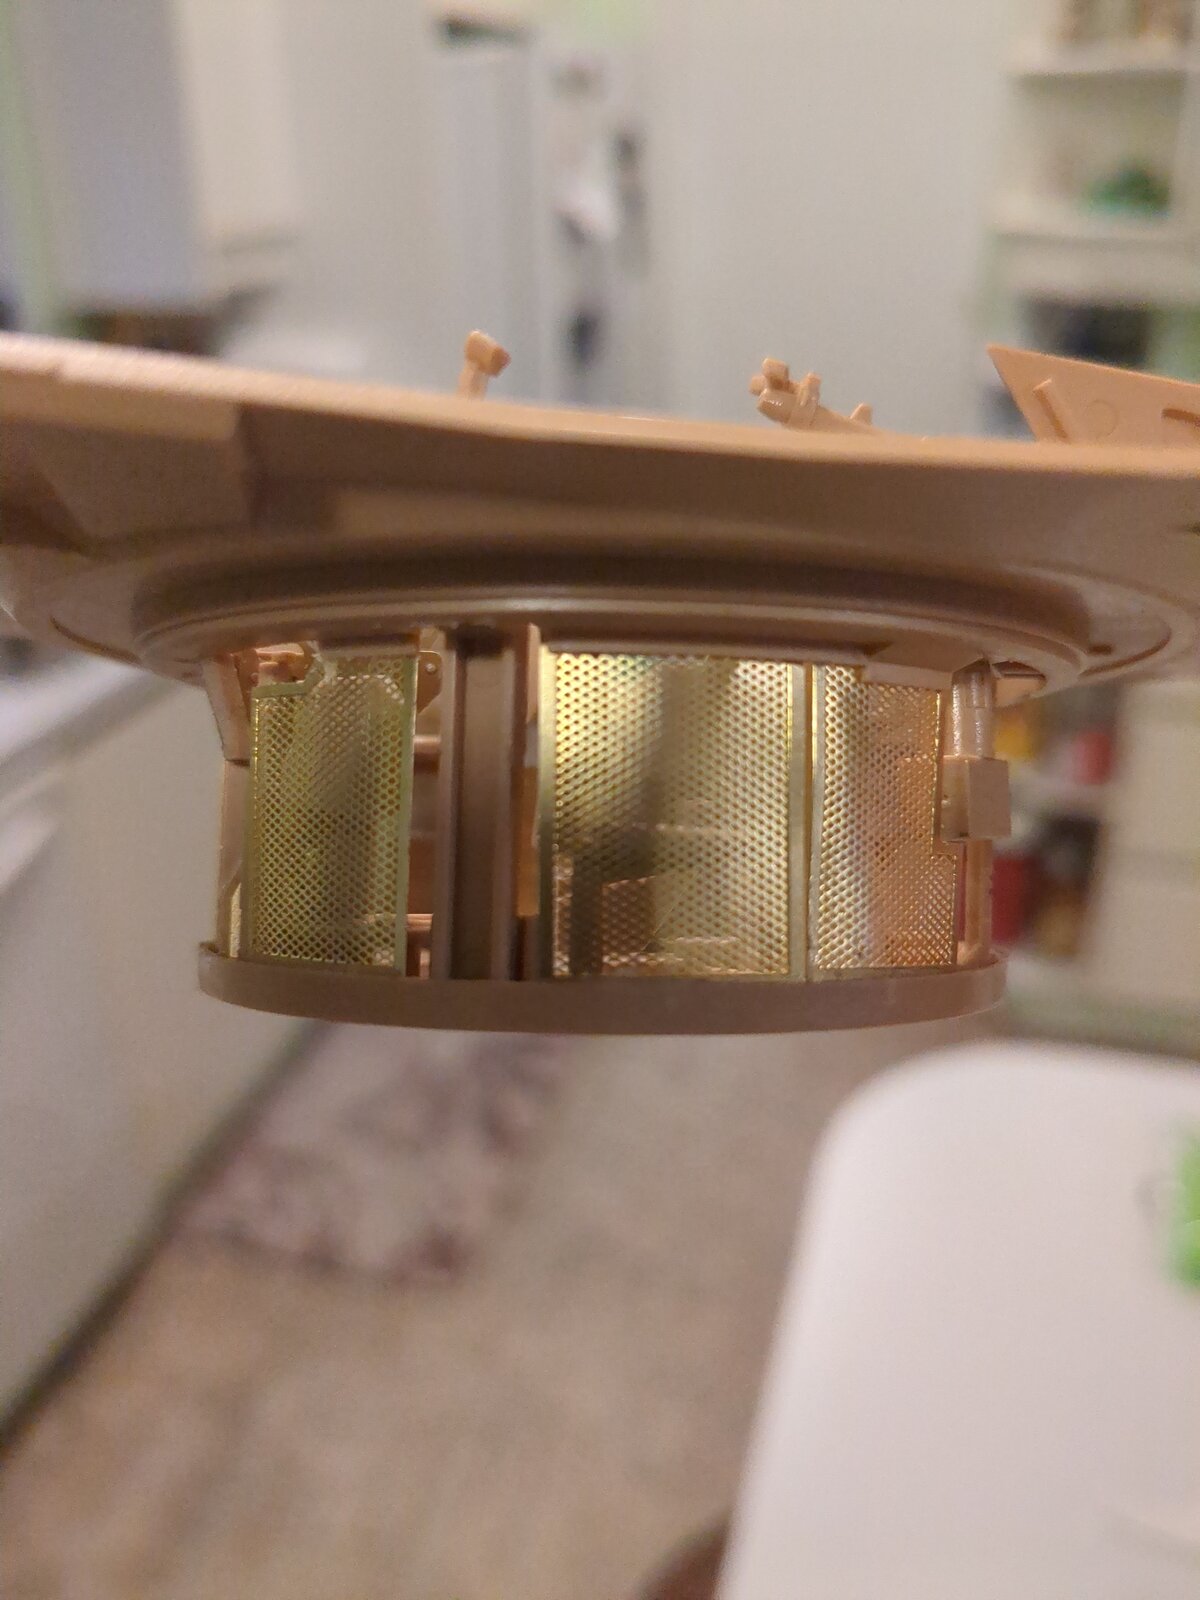
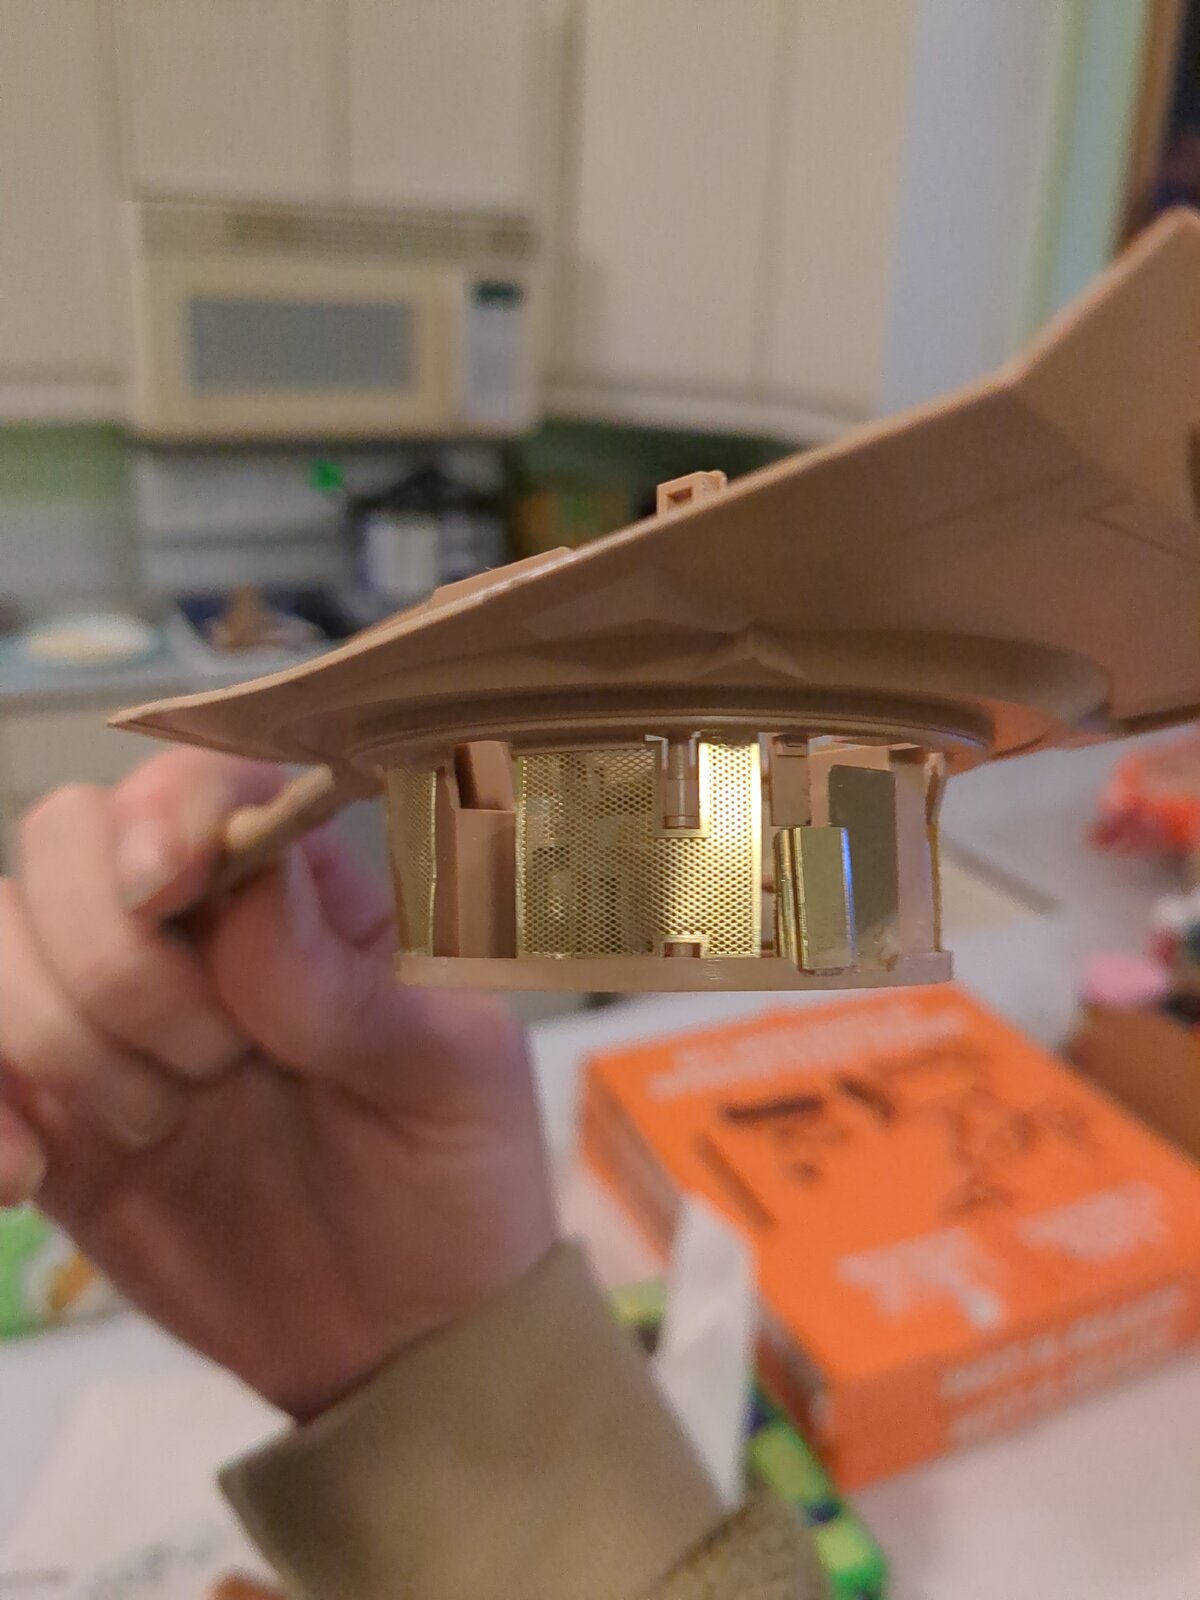
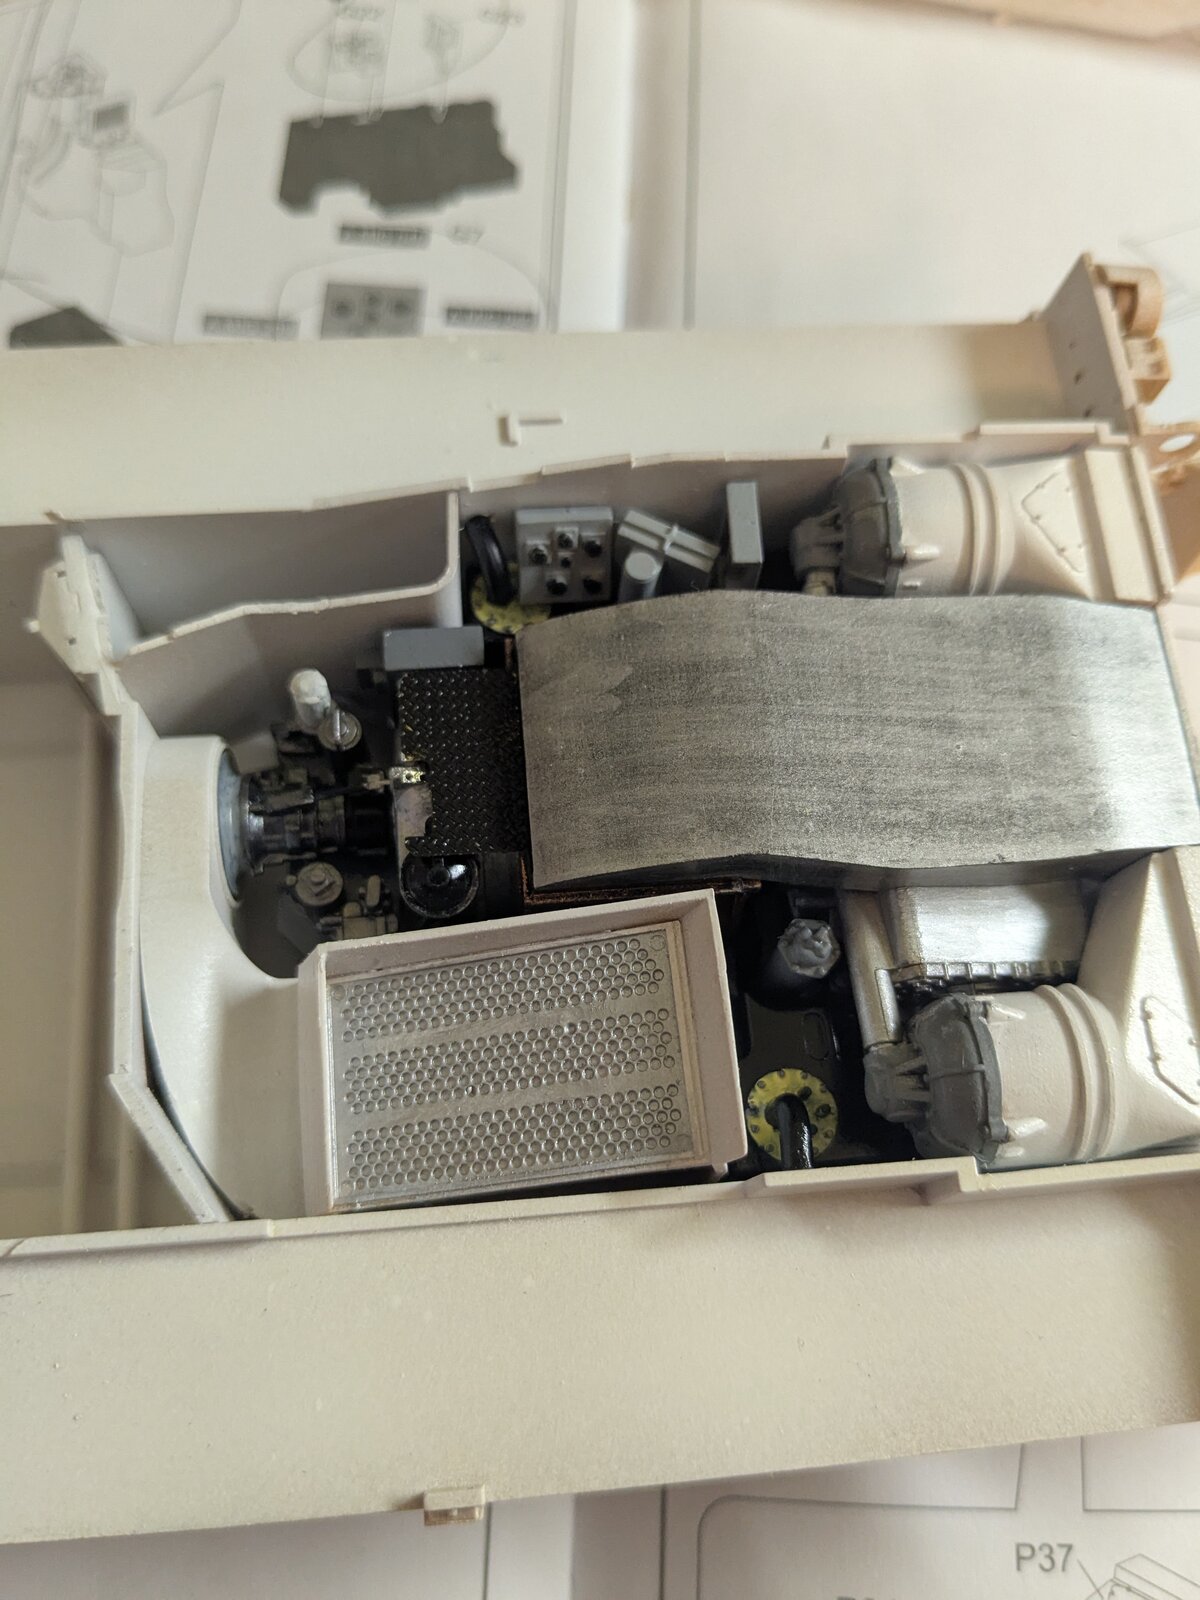
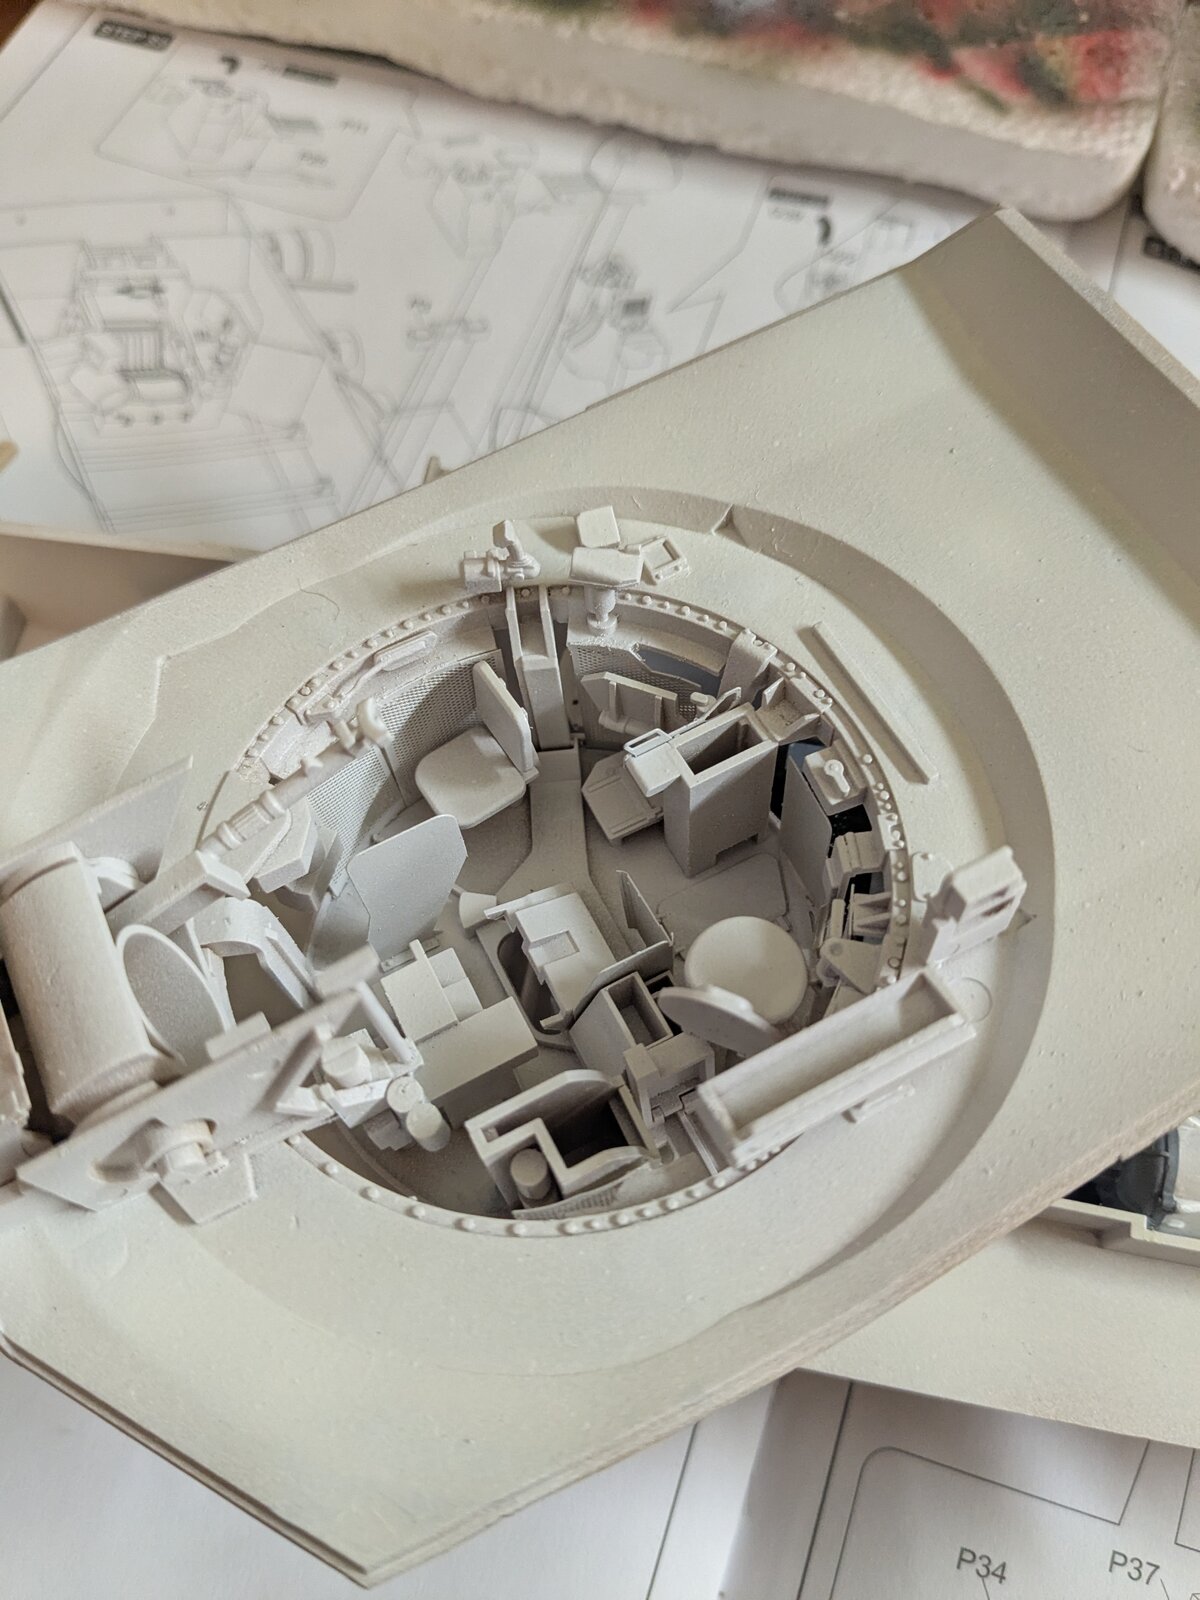
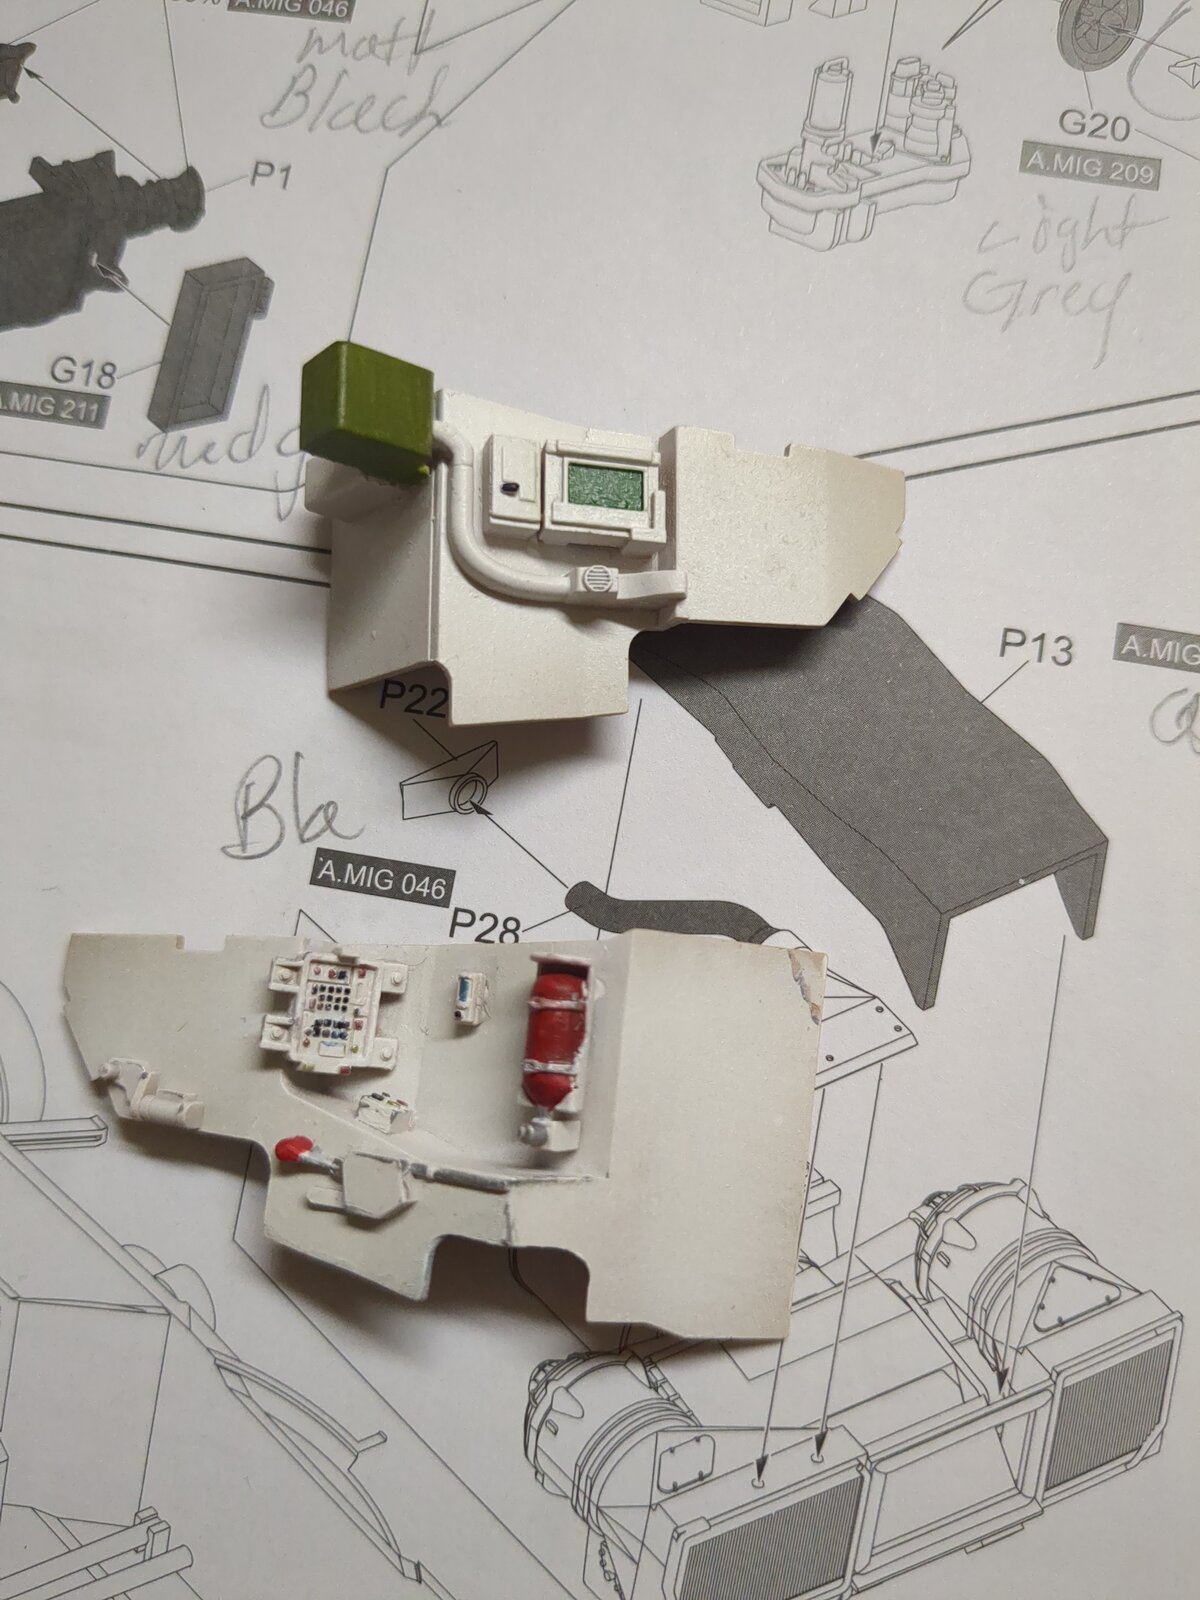
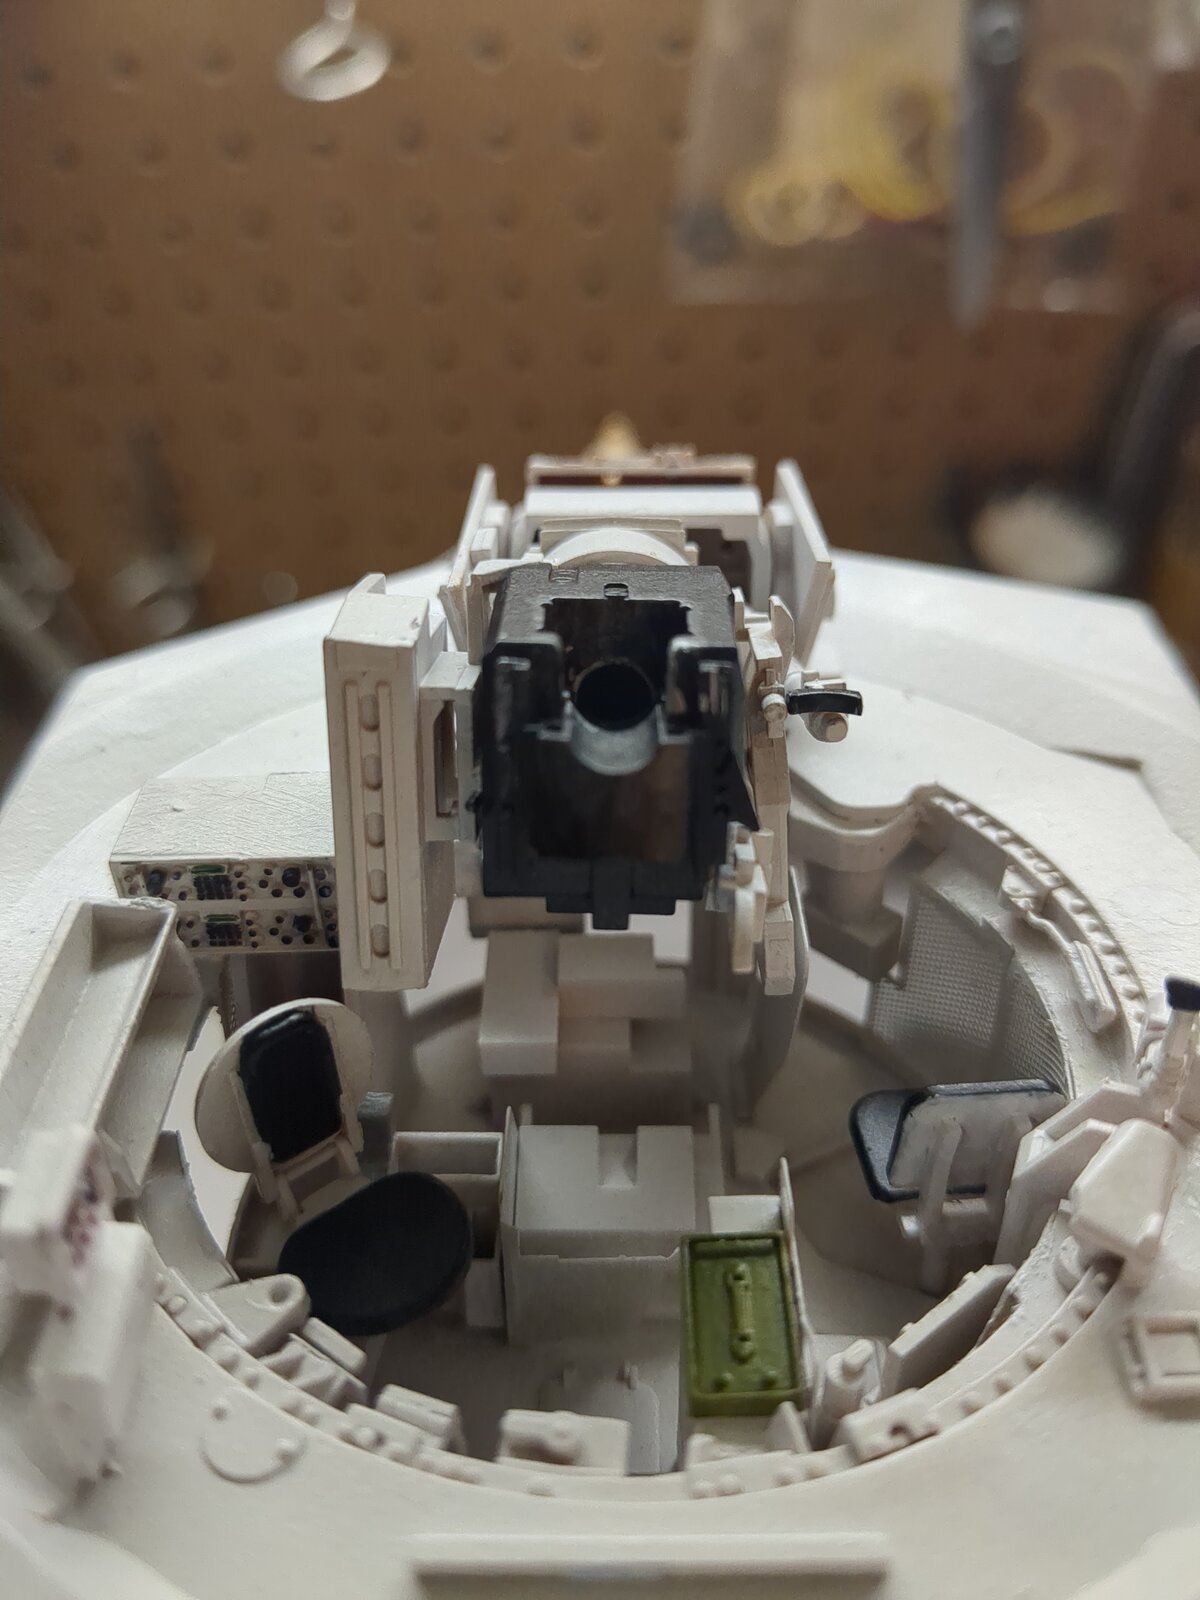
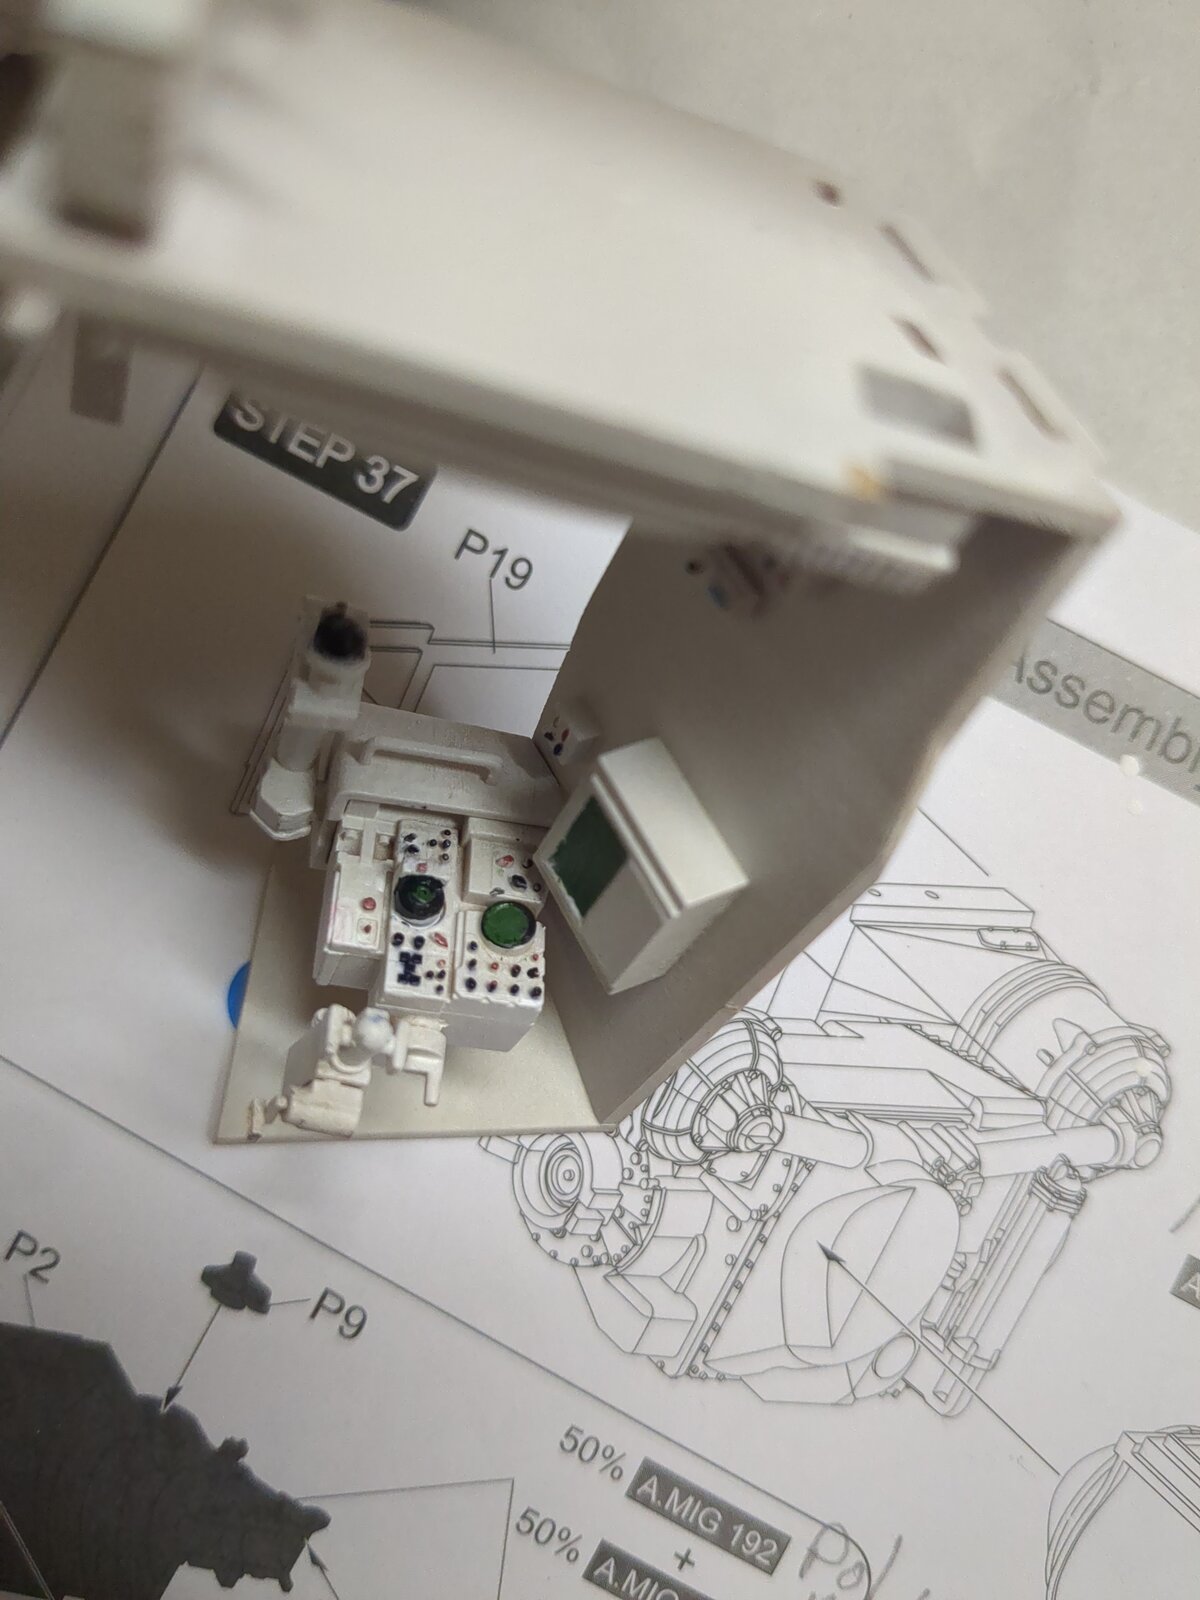
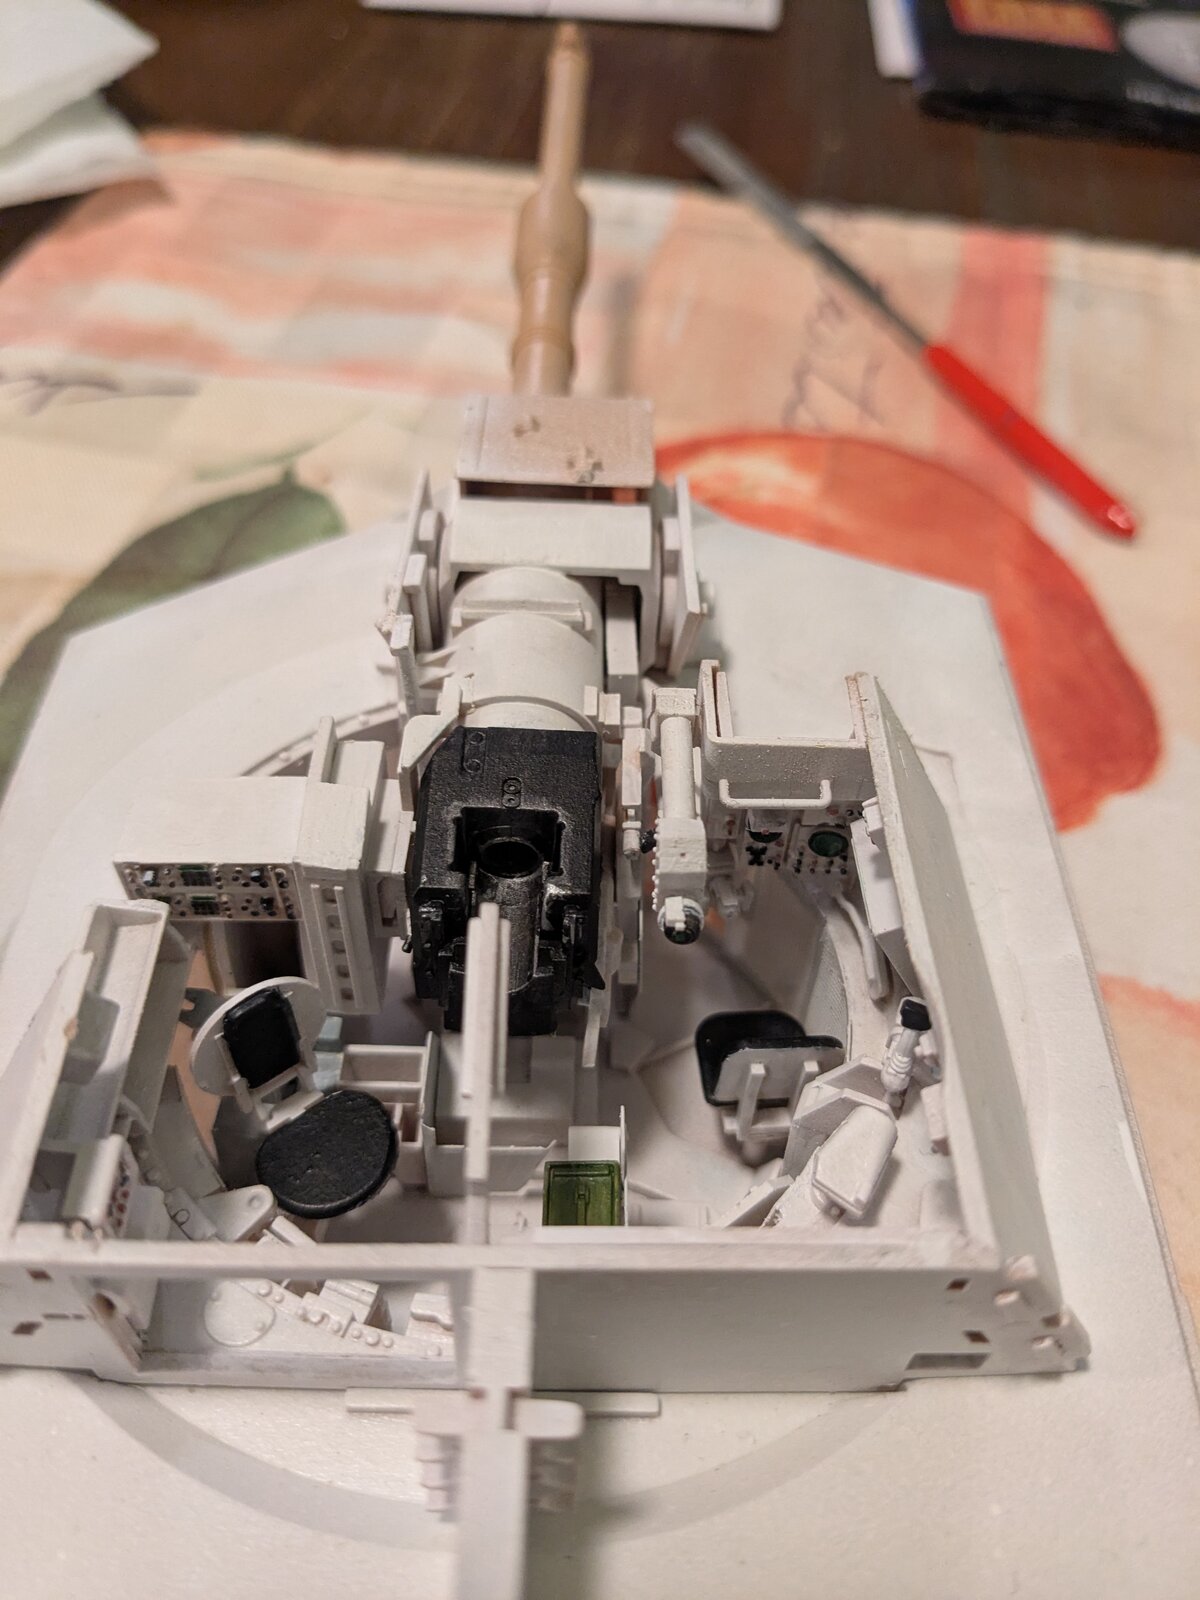
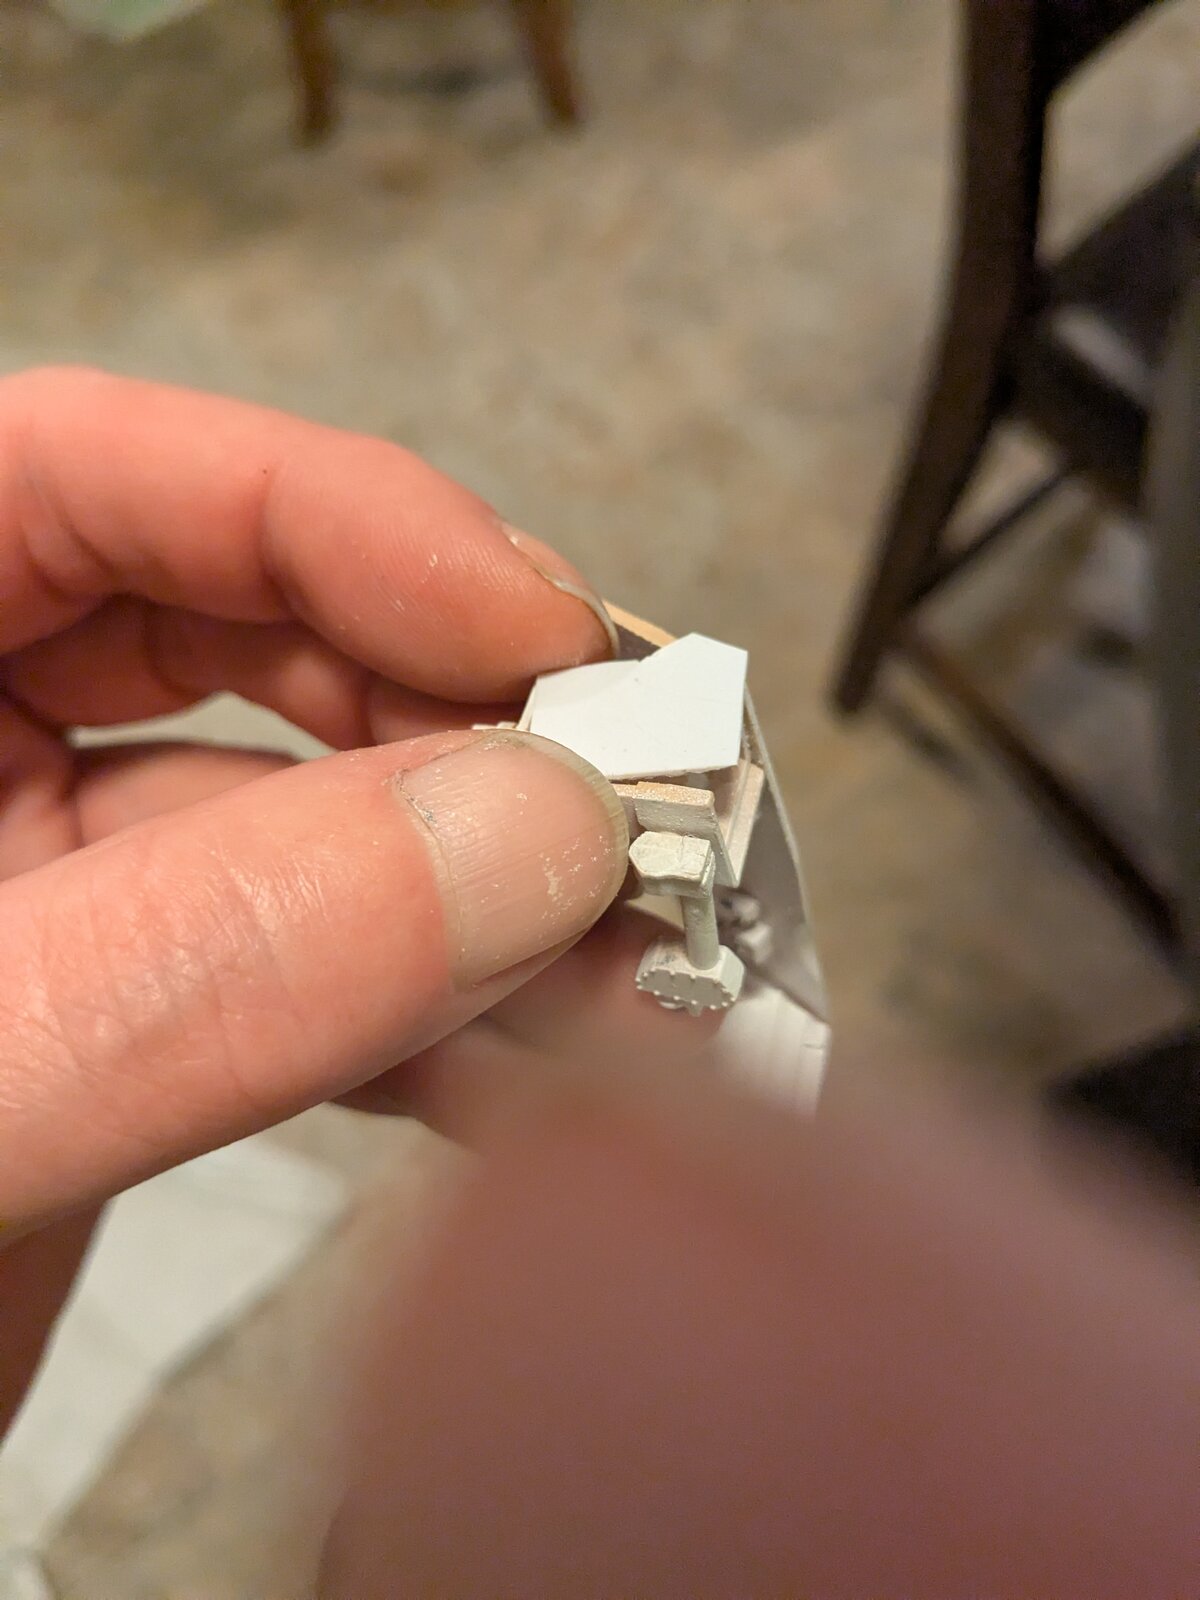
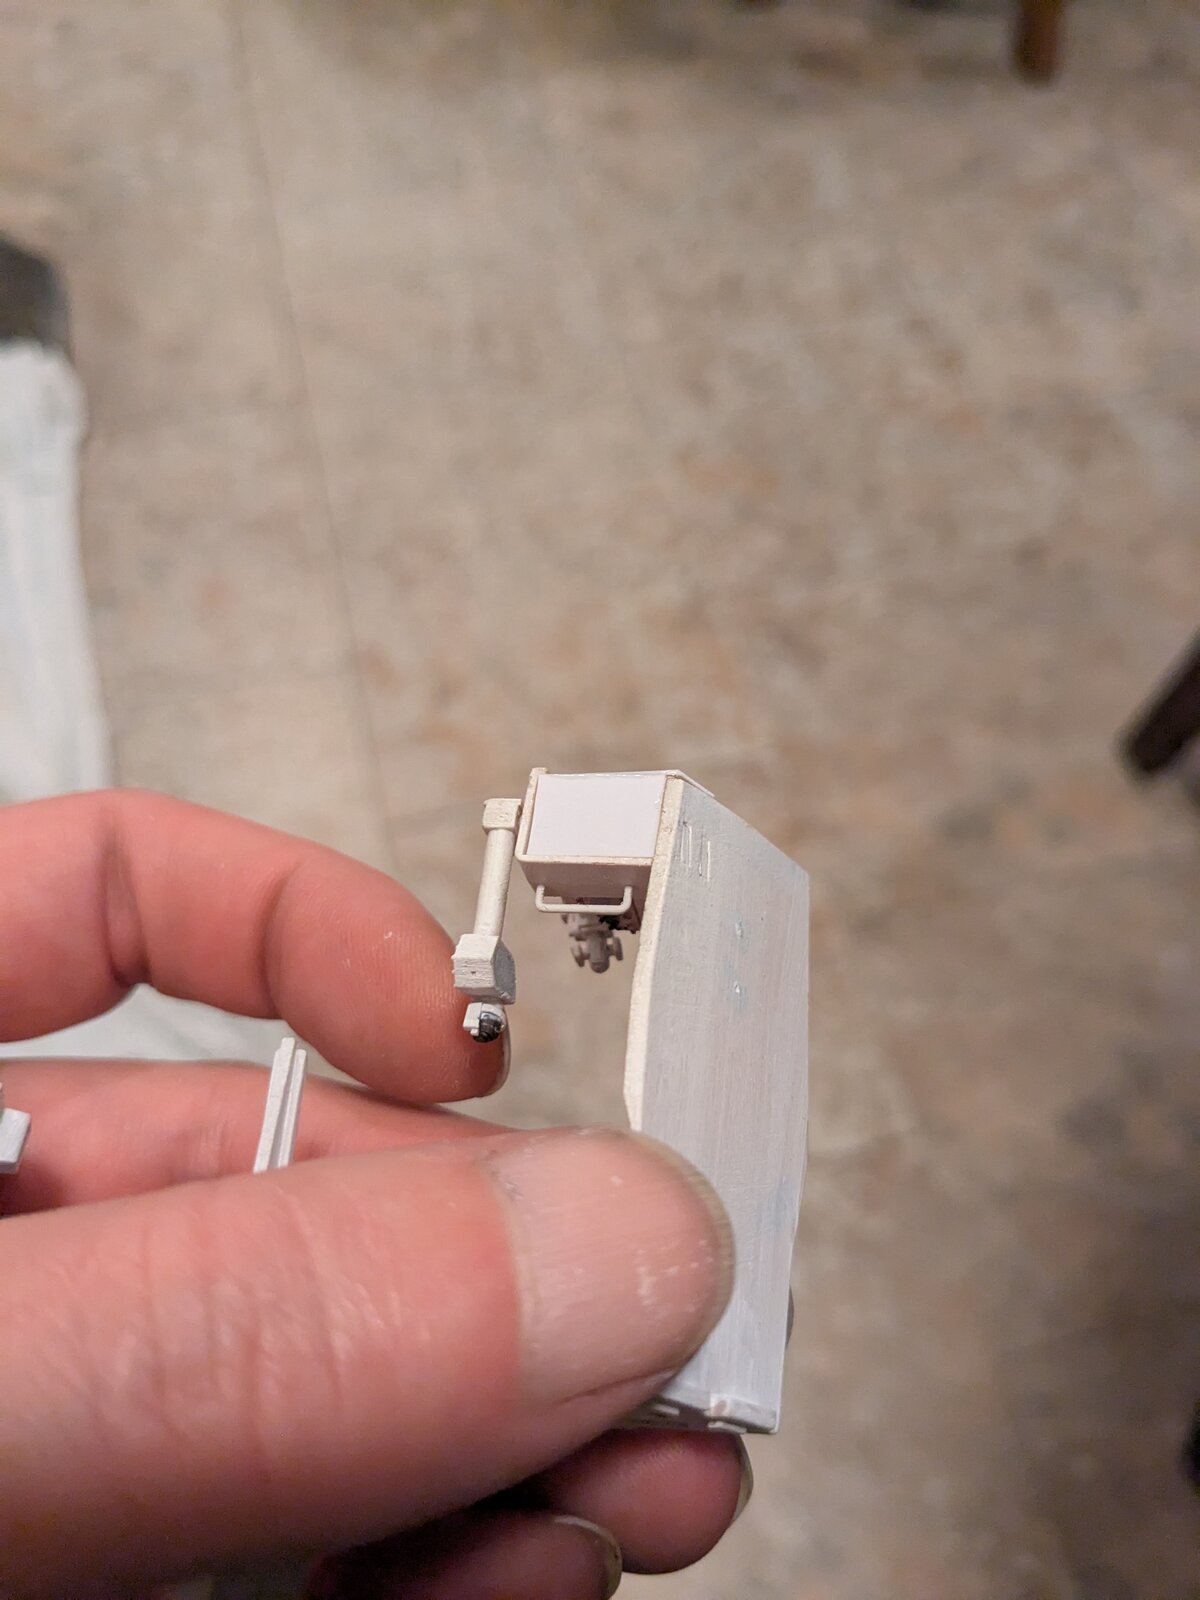
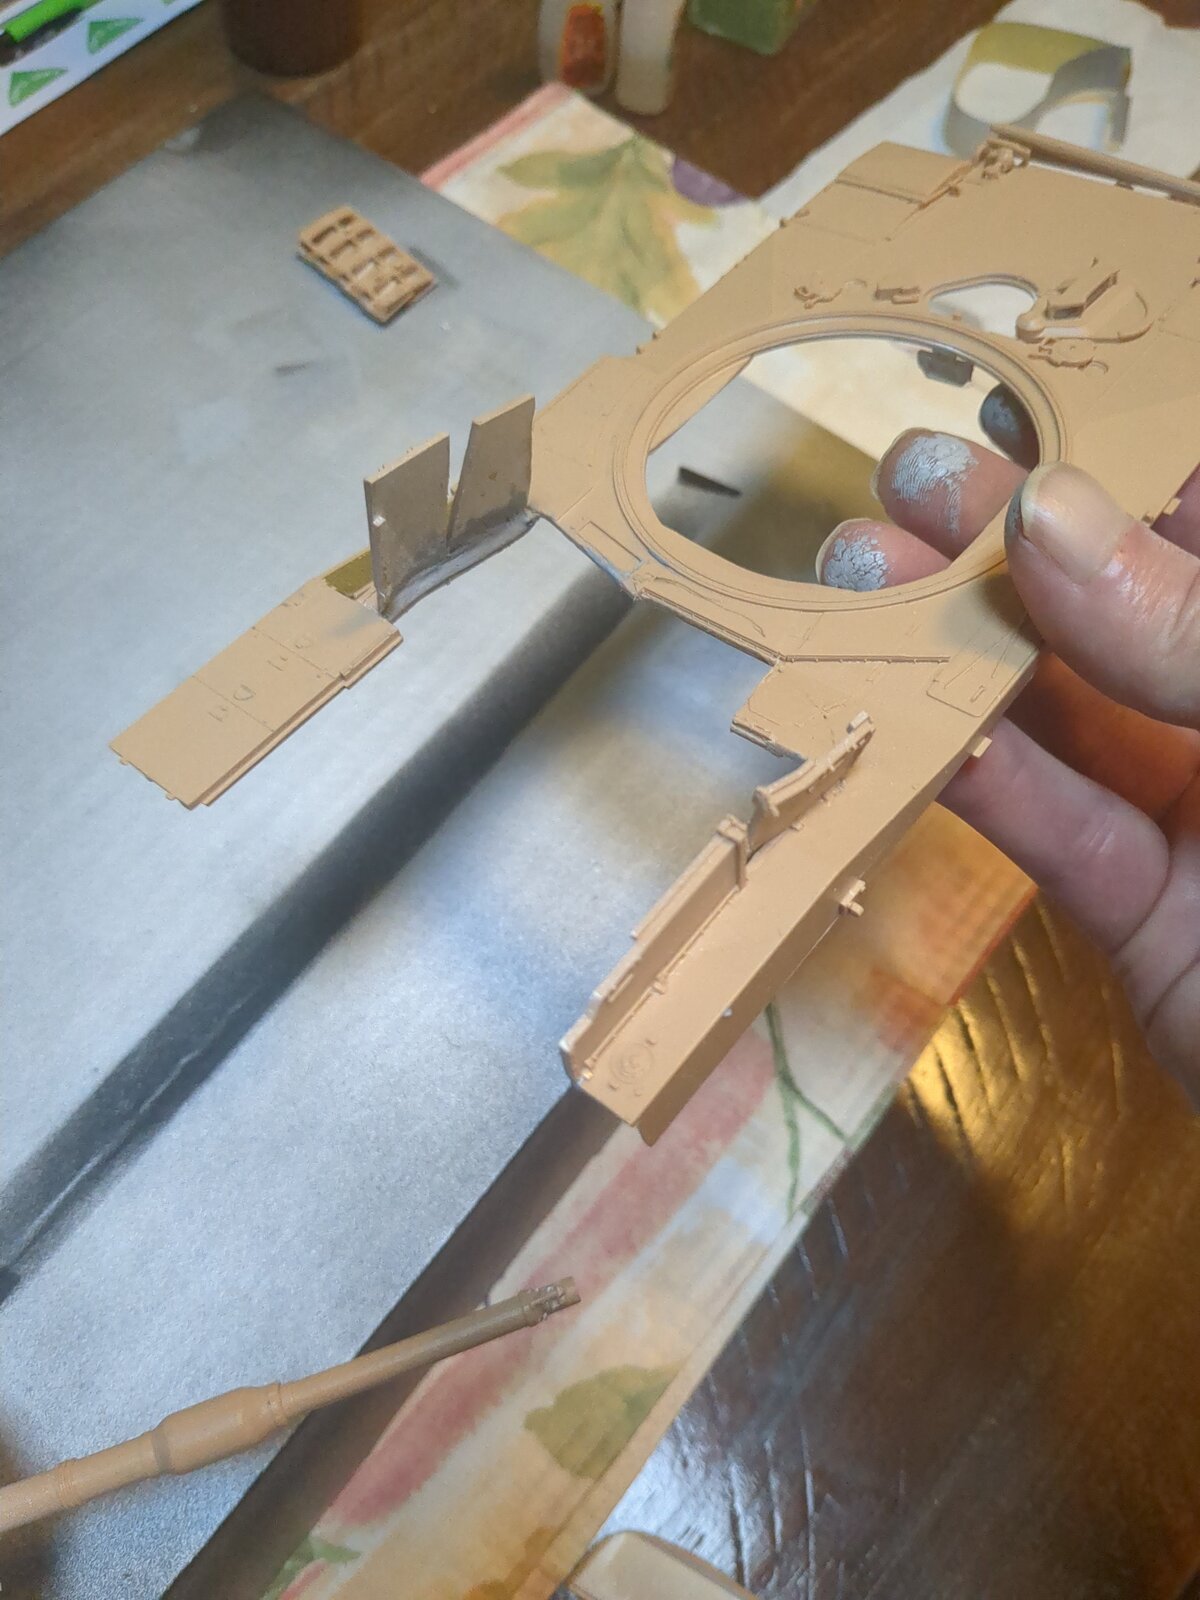
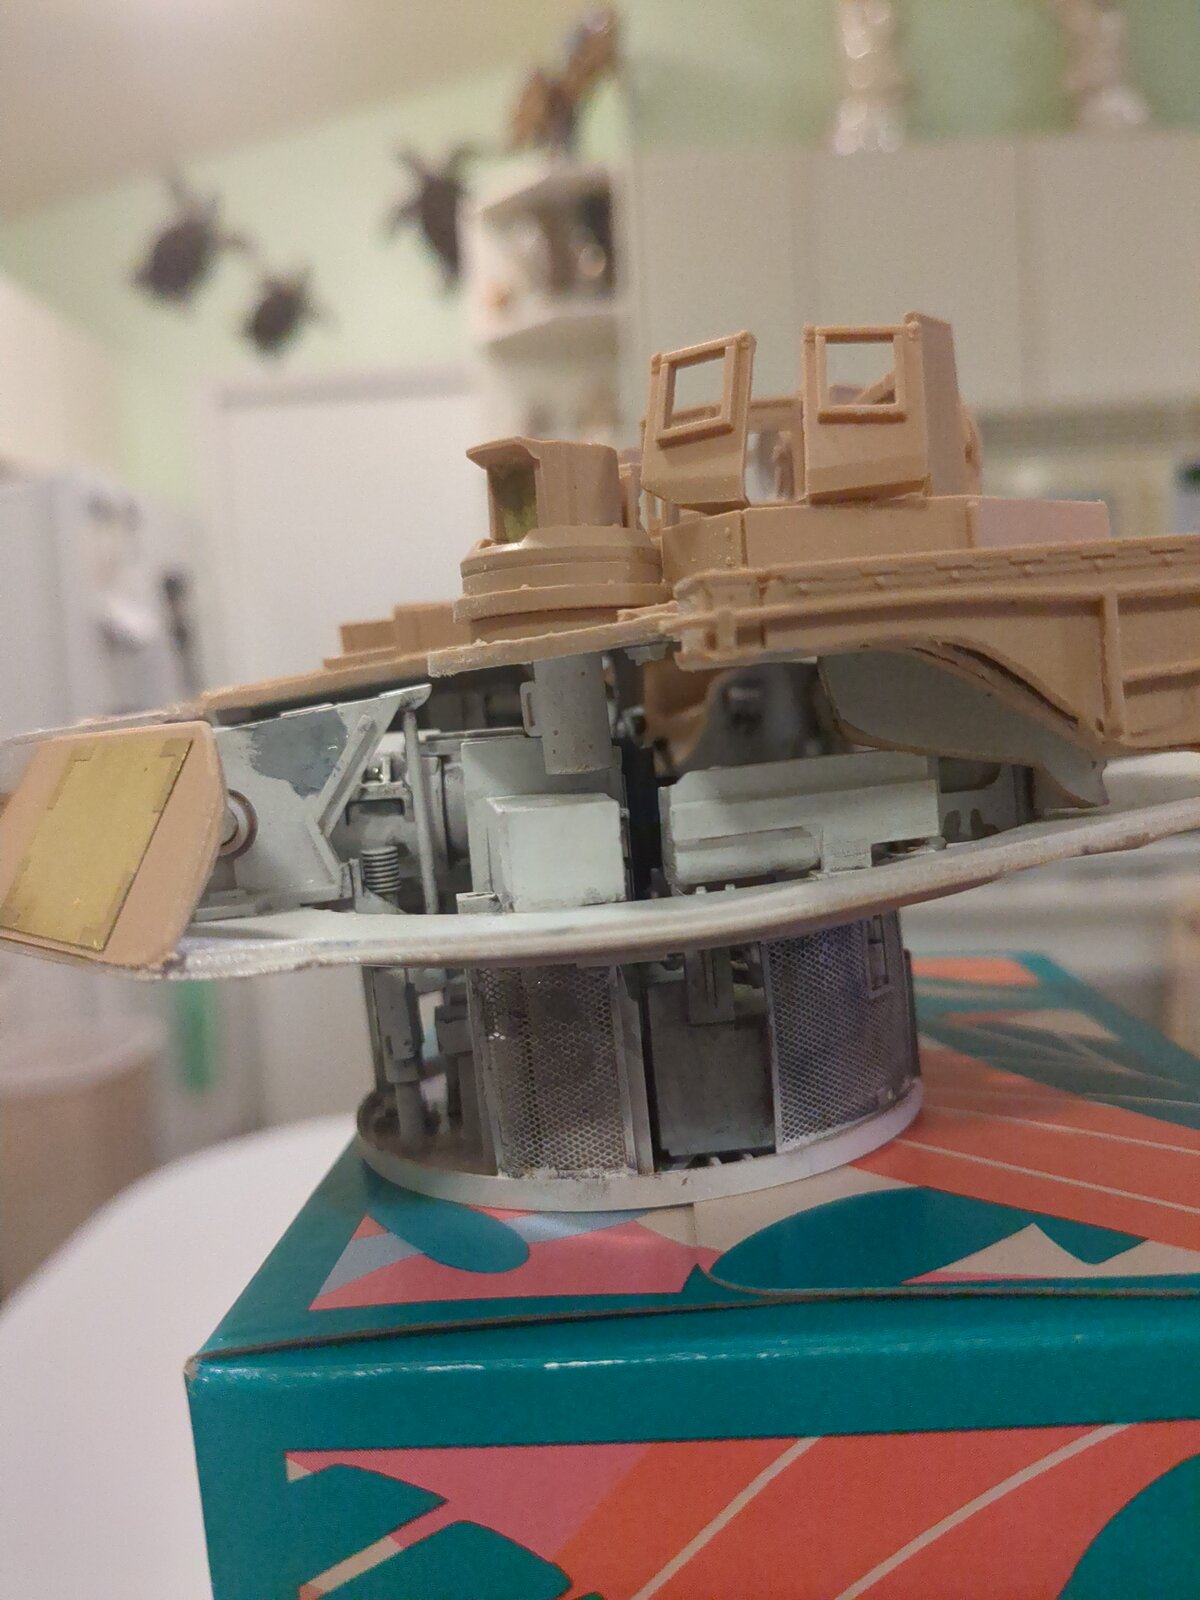
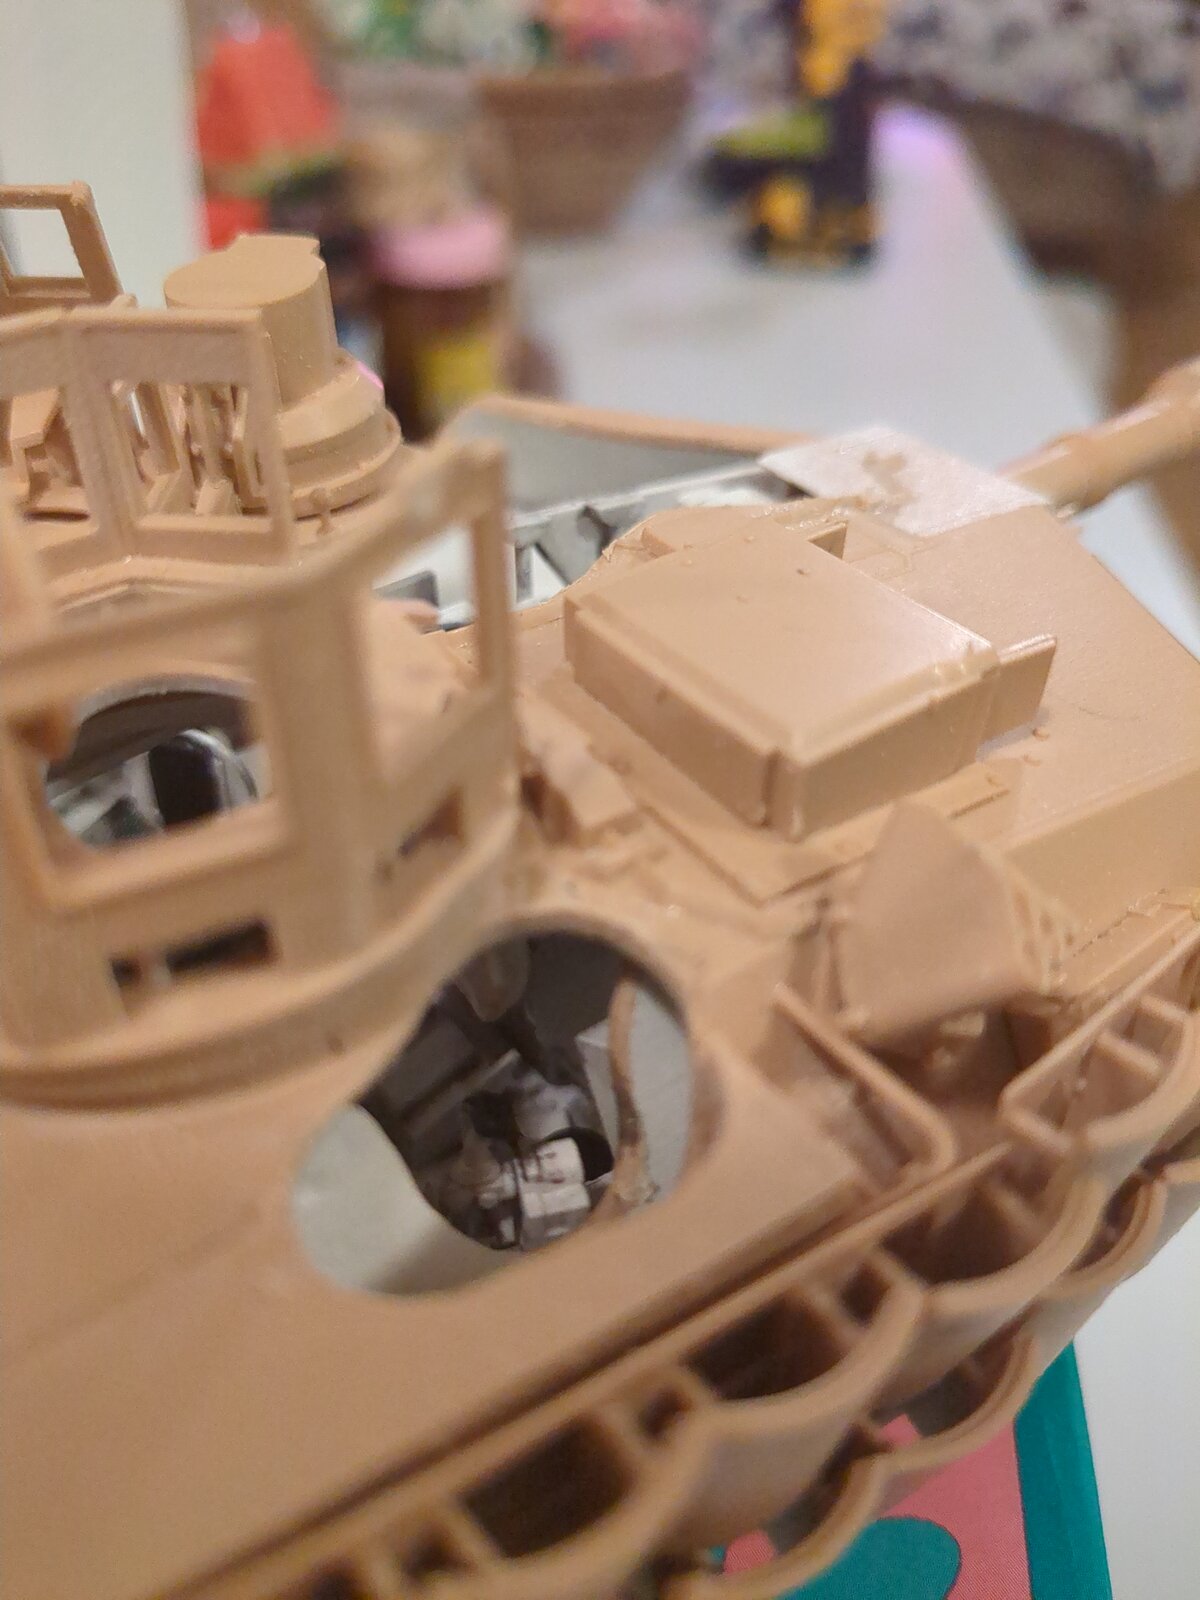
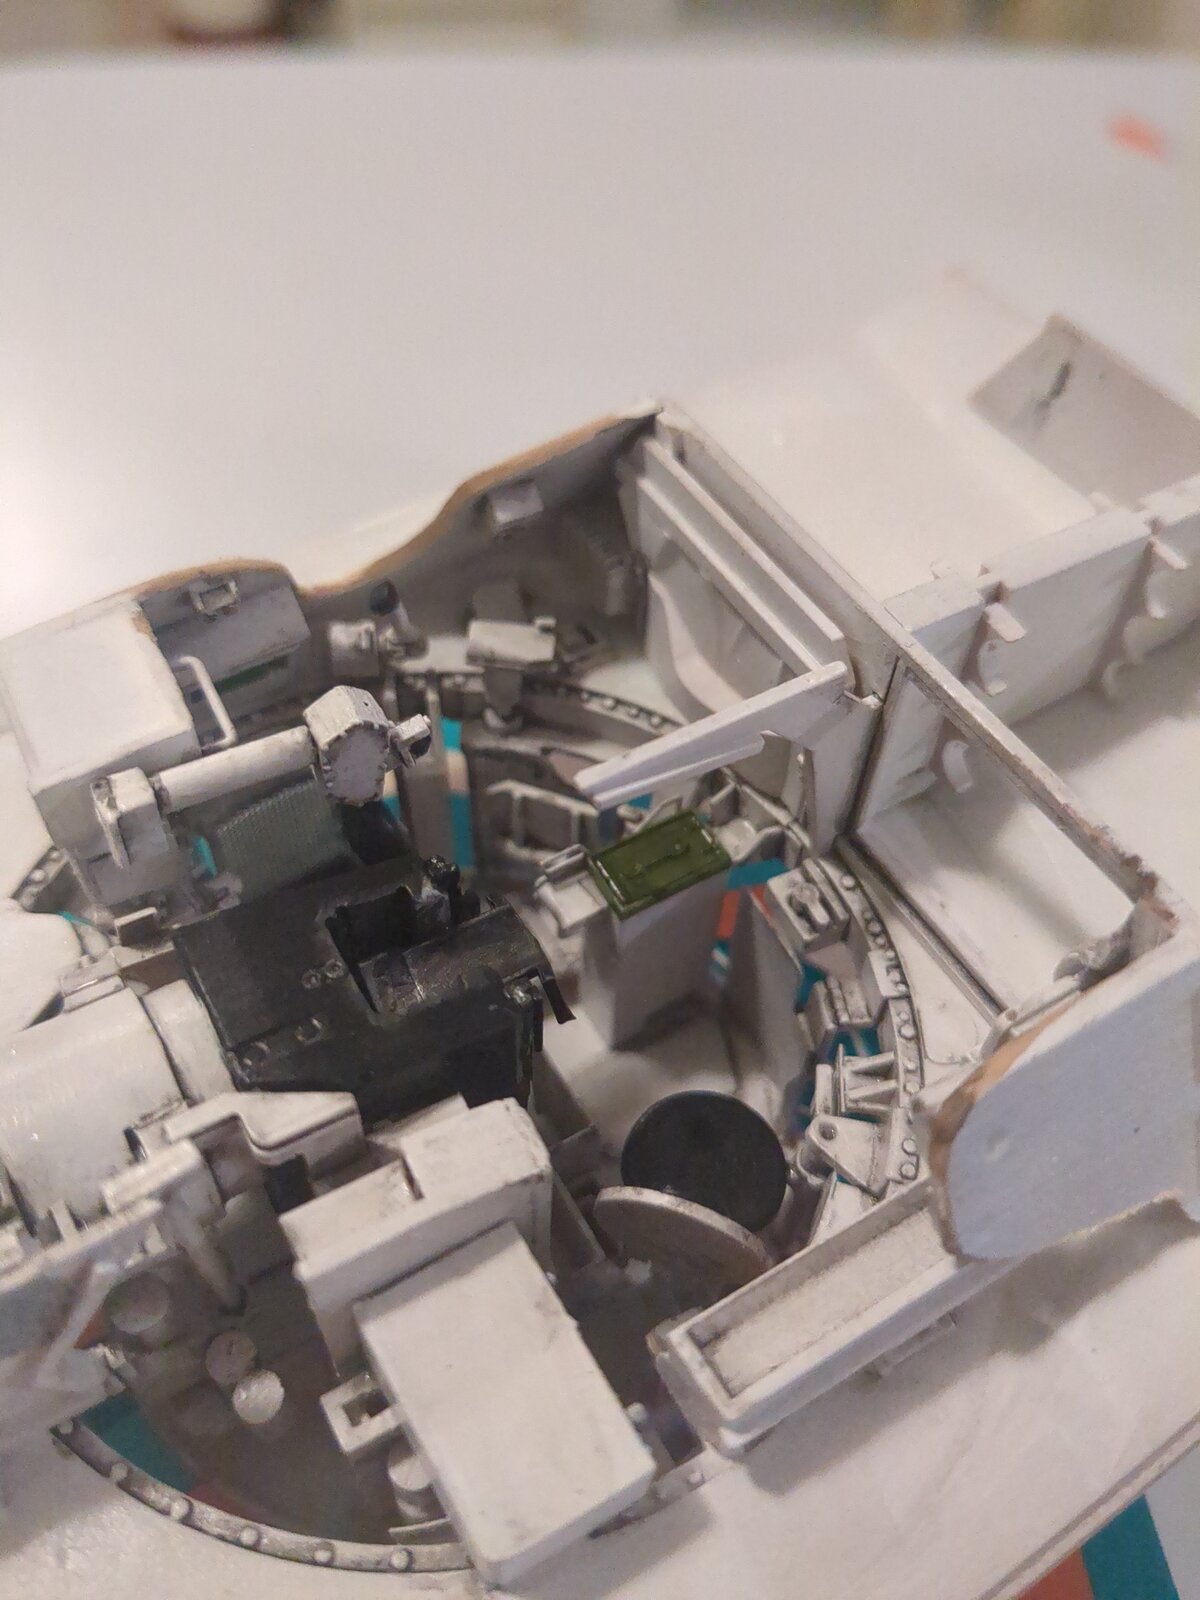
Started to think more on how I'm going to display everything when model is finished. I decided to do a interior wall cutdown to see it better from angle with how I'm going to display it. This brought up some issues to address.

PXL_20250214_024755937.jpg


PXL_20250214_024816632.jpg


PXL_20250214_030215945.jpg


PXL_20250214_031014968.MP.jpg
 
I used sheet plastic to cover and fit those for the cutdown. This will allow better view when I finally assemble it all. I only cut the parts of the wall with no mechanical's on them.

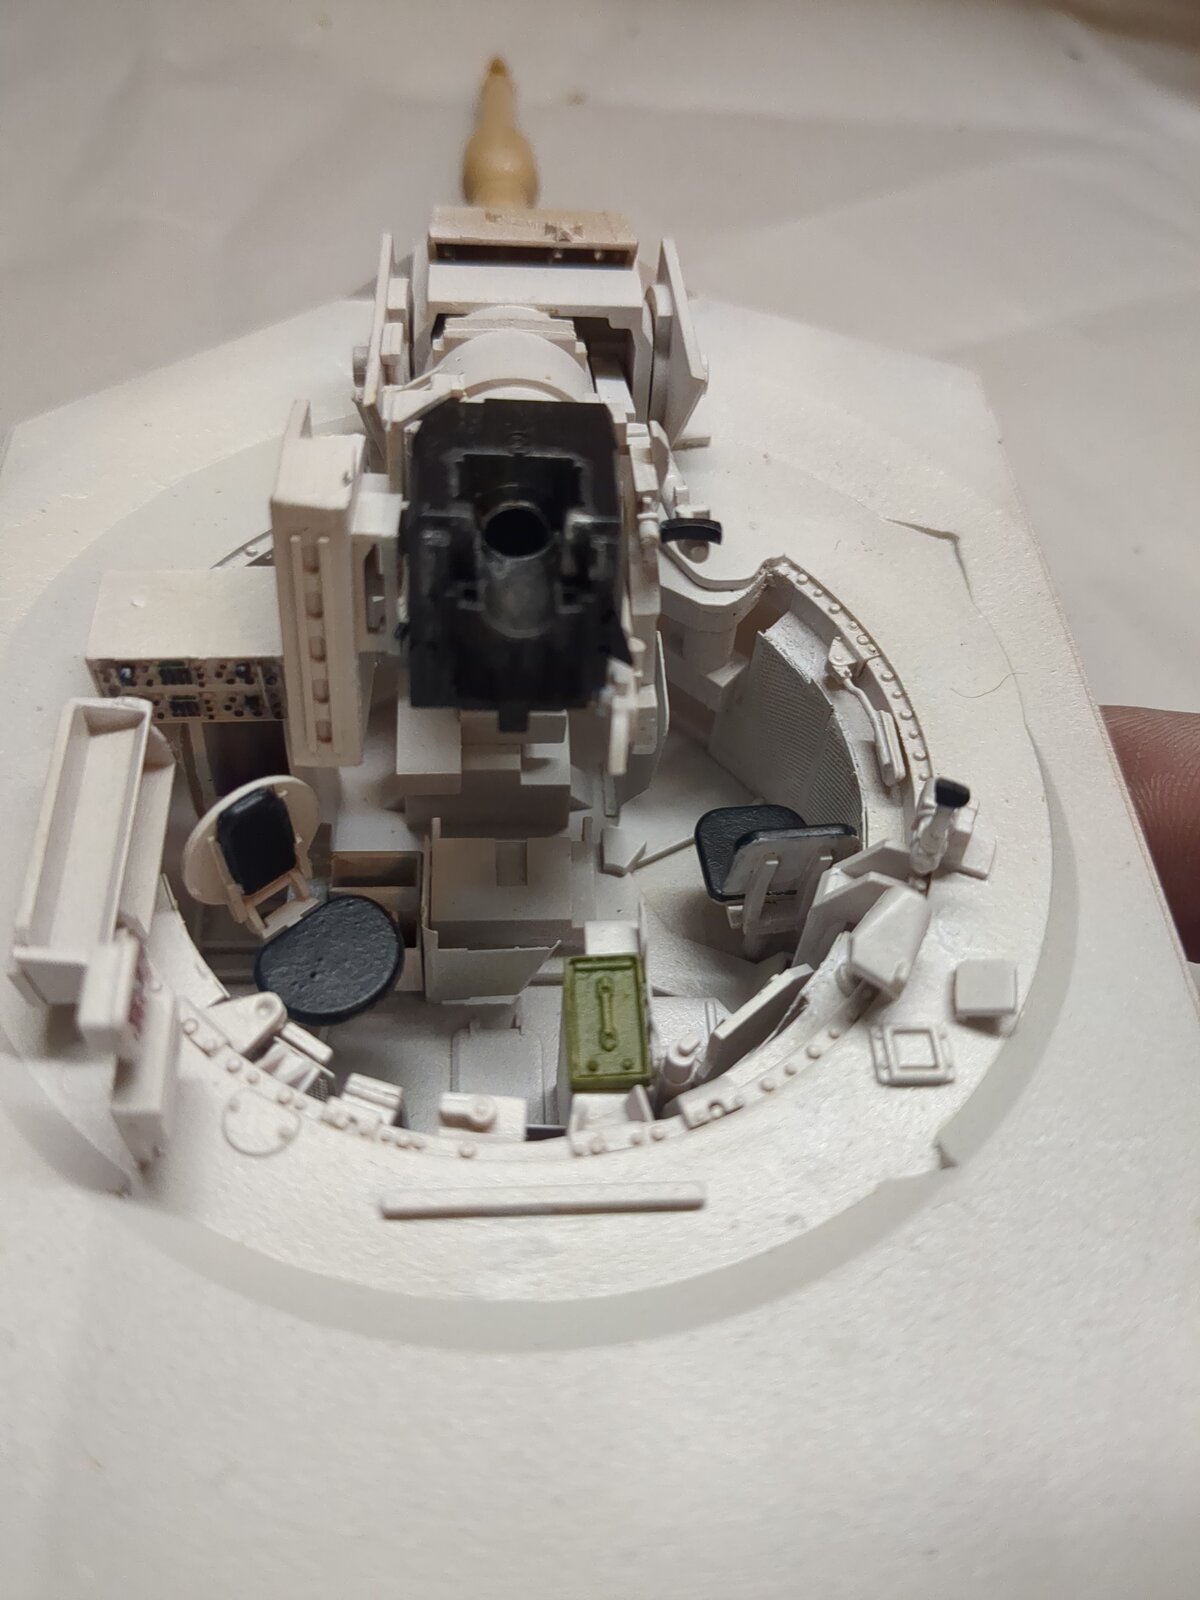
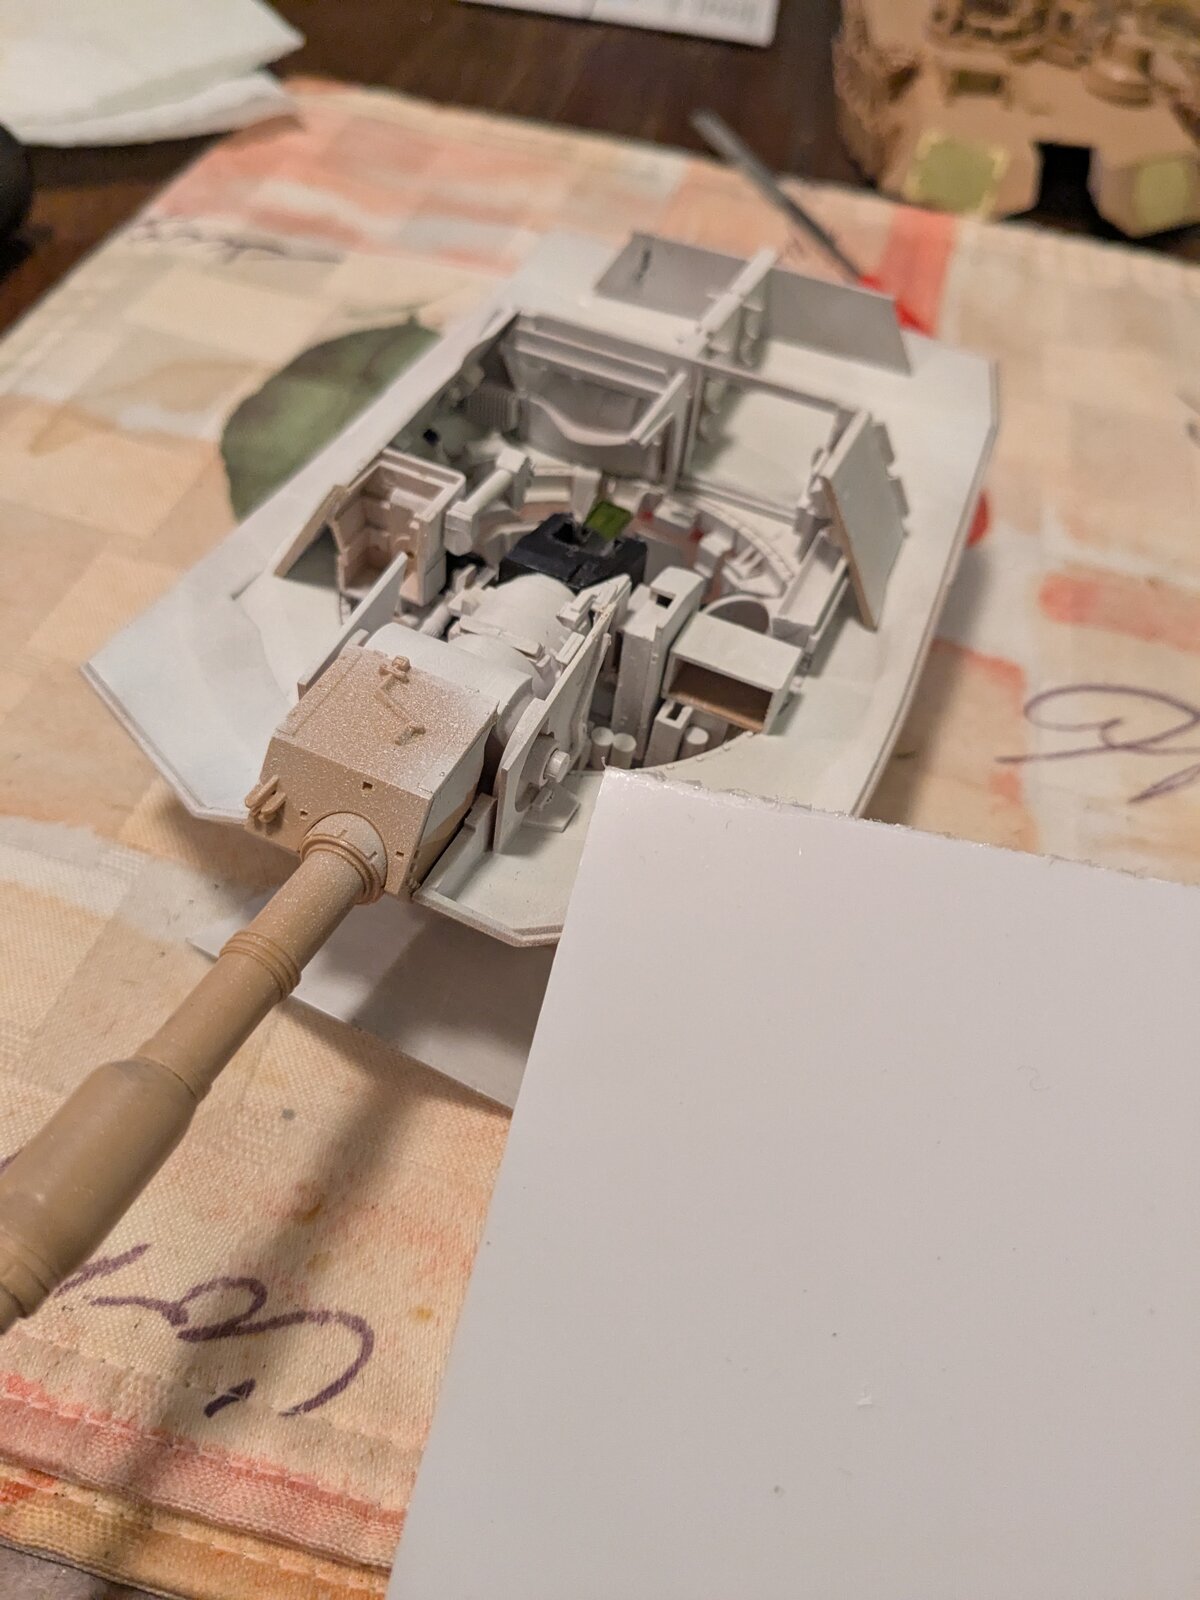
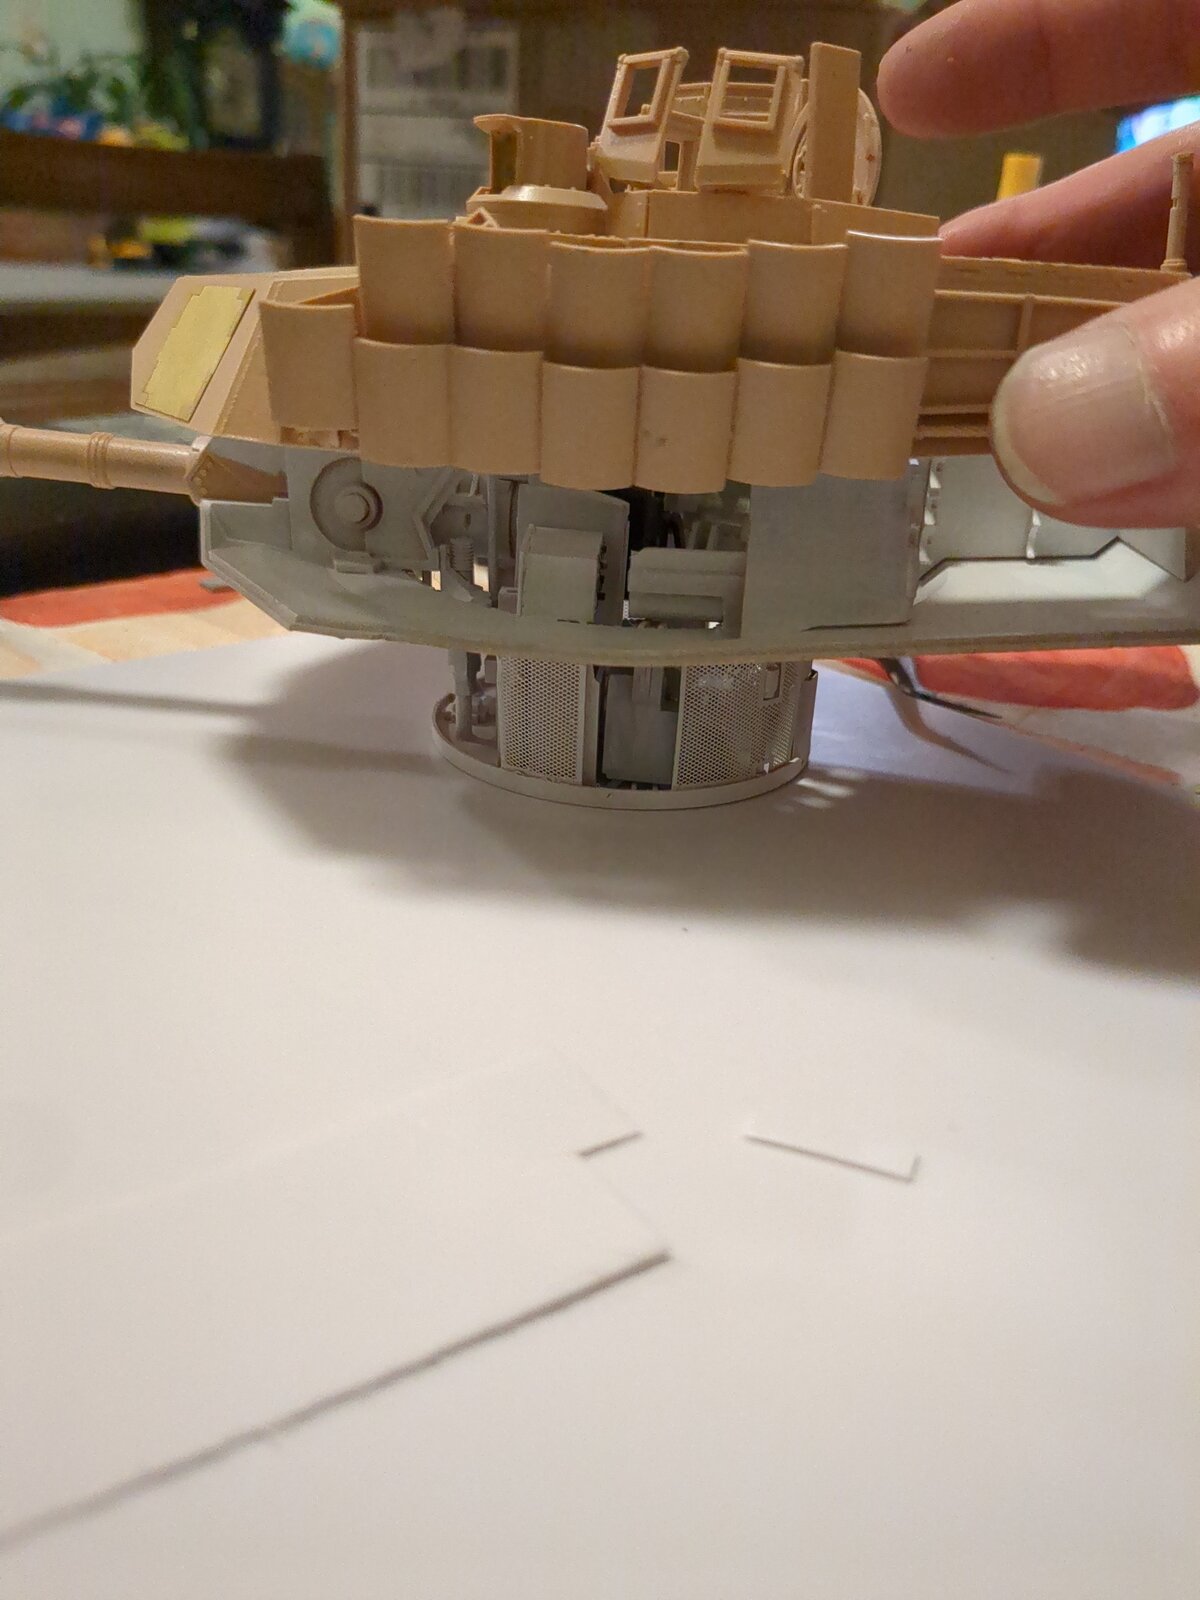
A rough idea of how the top will be displayed. There will be seperation between the upper and lower turret halves. It will be minimal, just enough to see interior but not to far as too look terrible lol.

PXL_20250214_024838205.jpg


17395034888464302917951403563179.jpg
 
If you want to make a really interesting model, you could scratchbuild the armour arrays that would become visible if you lifted off the outer shell on the real tank :)
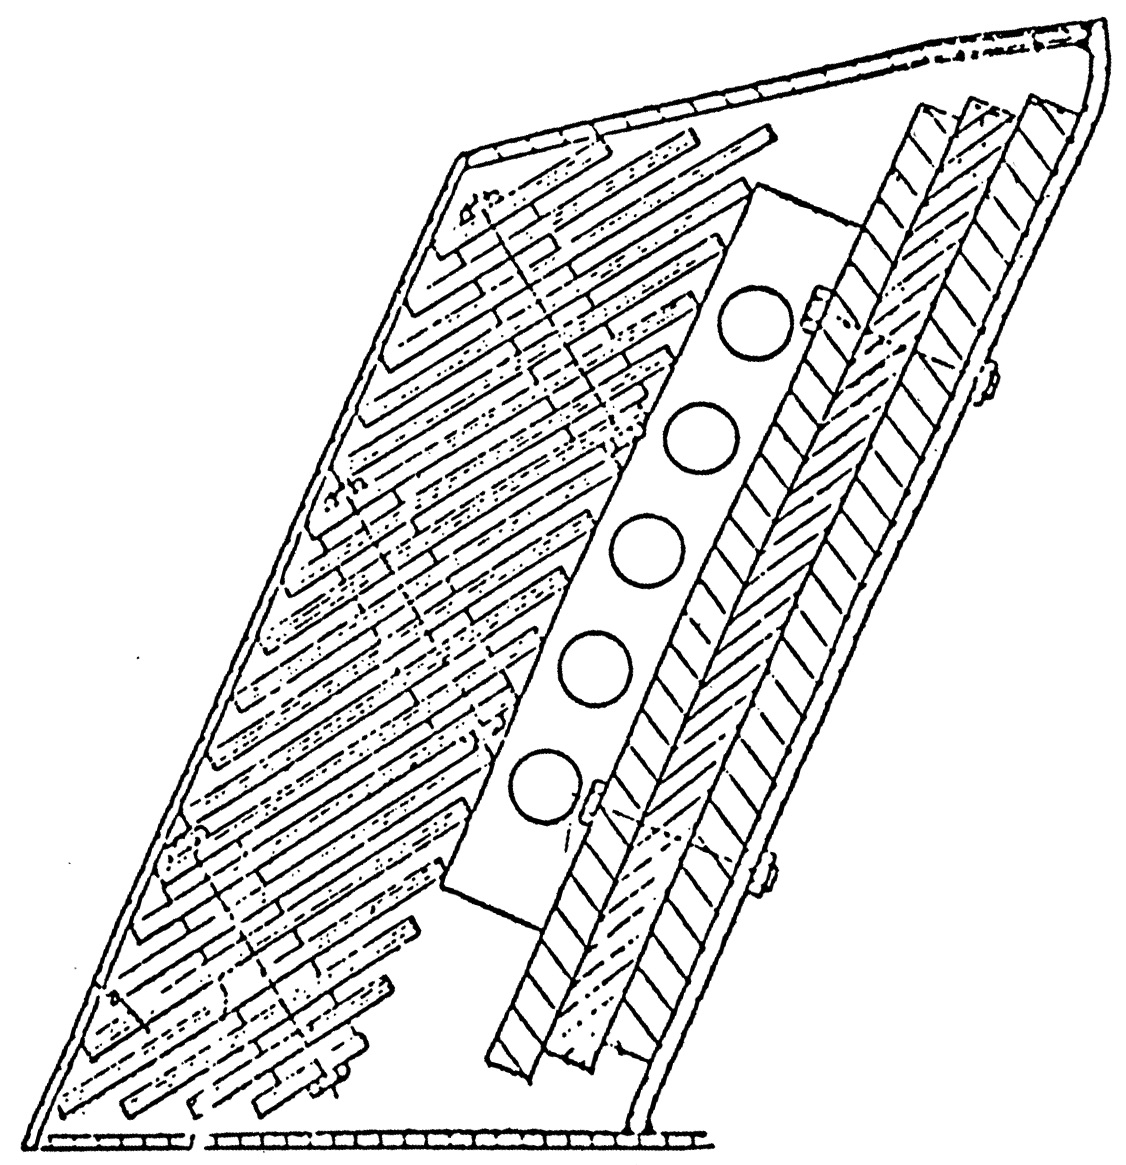
Here's a cross-section of the turret side armour on the original M1:

M1 Abrams turret side.jpeg


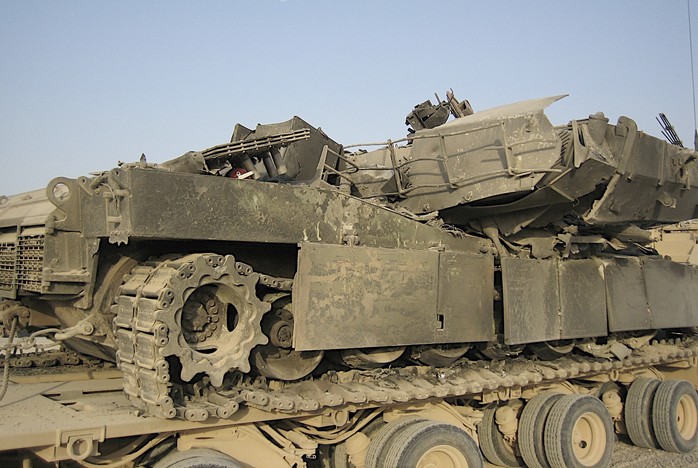
Possibly it's been changed on the M1A2, but going by this photo of a destroyed one of those, it doesn't look much different:

Destroyed M1A2 Abrams.jpg


The stack of three plates with tube-things behind it, that's lying on the engine deck, is probably the turret front armour.
 
Wow... That one really screwed up. Interesting you find that showing the armor, will have to think on it.
 
There's a lot of misunderstanding about the way modern "composite" armour works, mainly because it was classified for decades so people came up with all kinds of ideas for how it might work and be put together — nearly all of them wrong :) However, a few years ago, I wrote an article about it for the magazine of the Dutch Armour Association, and came across that photograph for it, as well as a few of other vehicles that also show the construction of this kind of armour. The drawing comes from a declassified report about the M1 Abrams's armour.
 
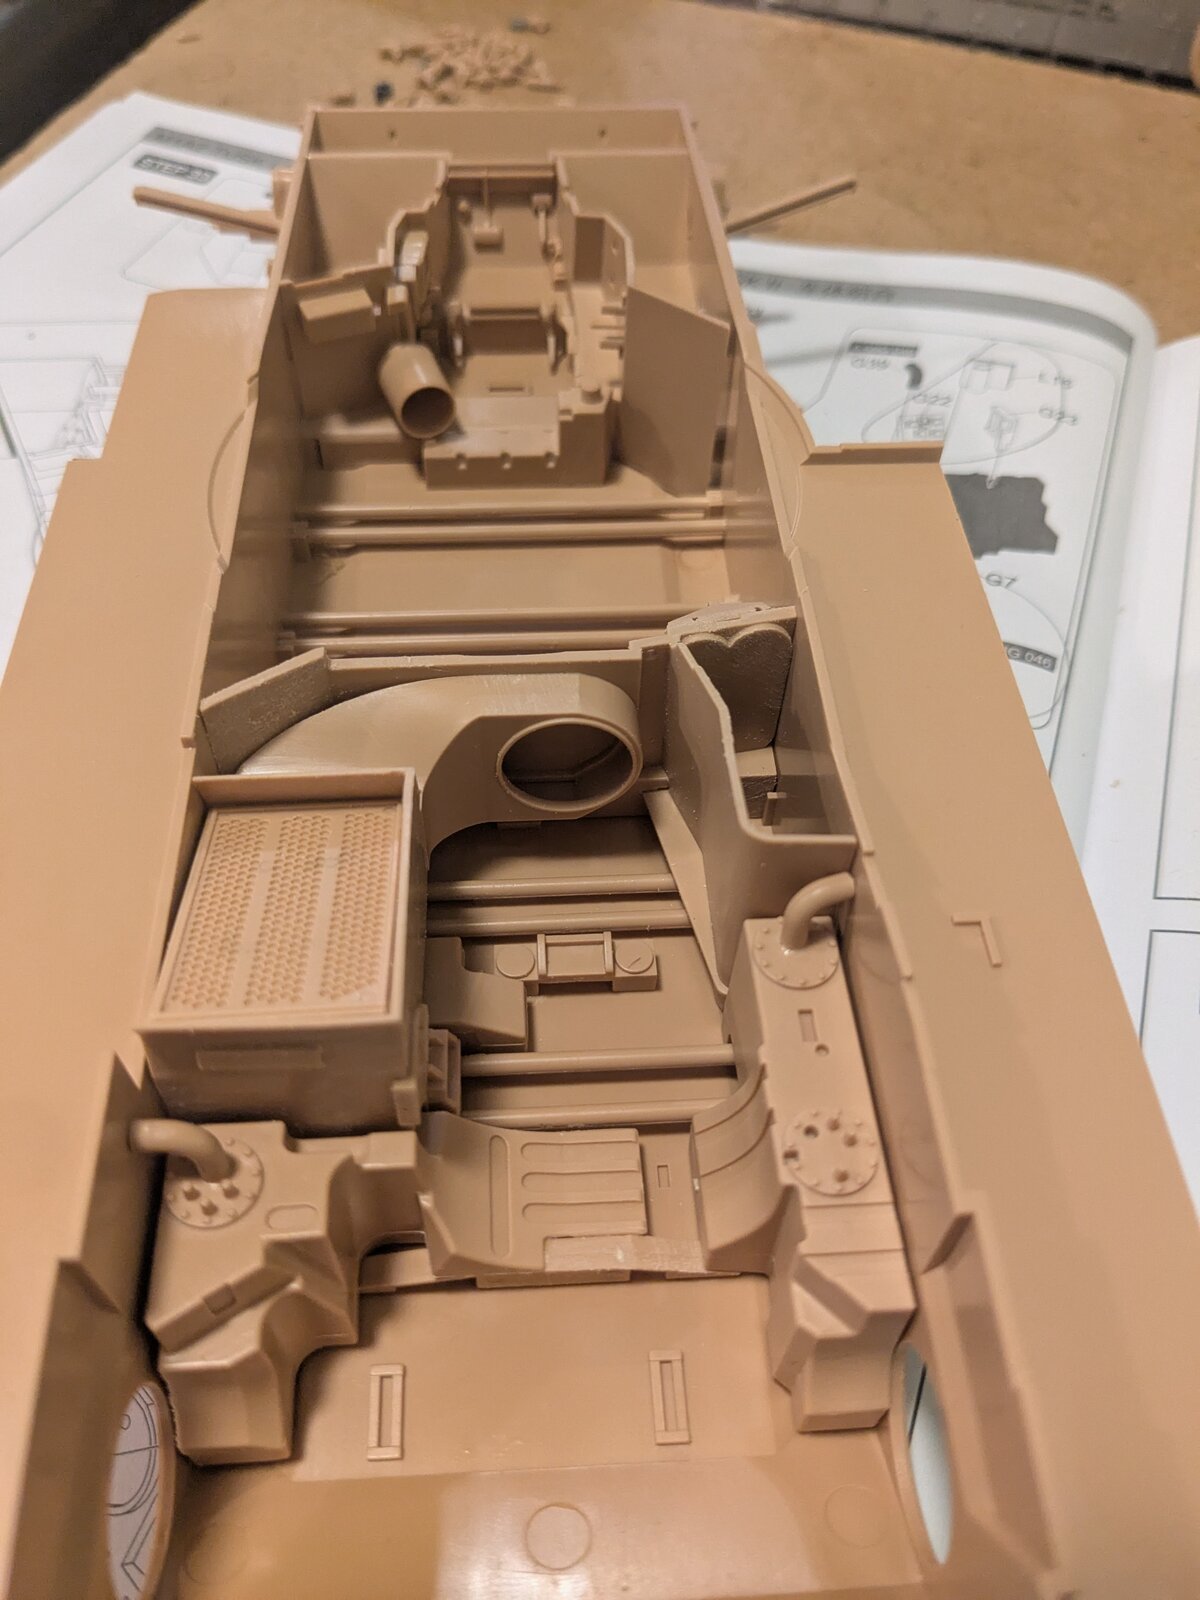
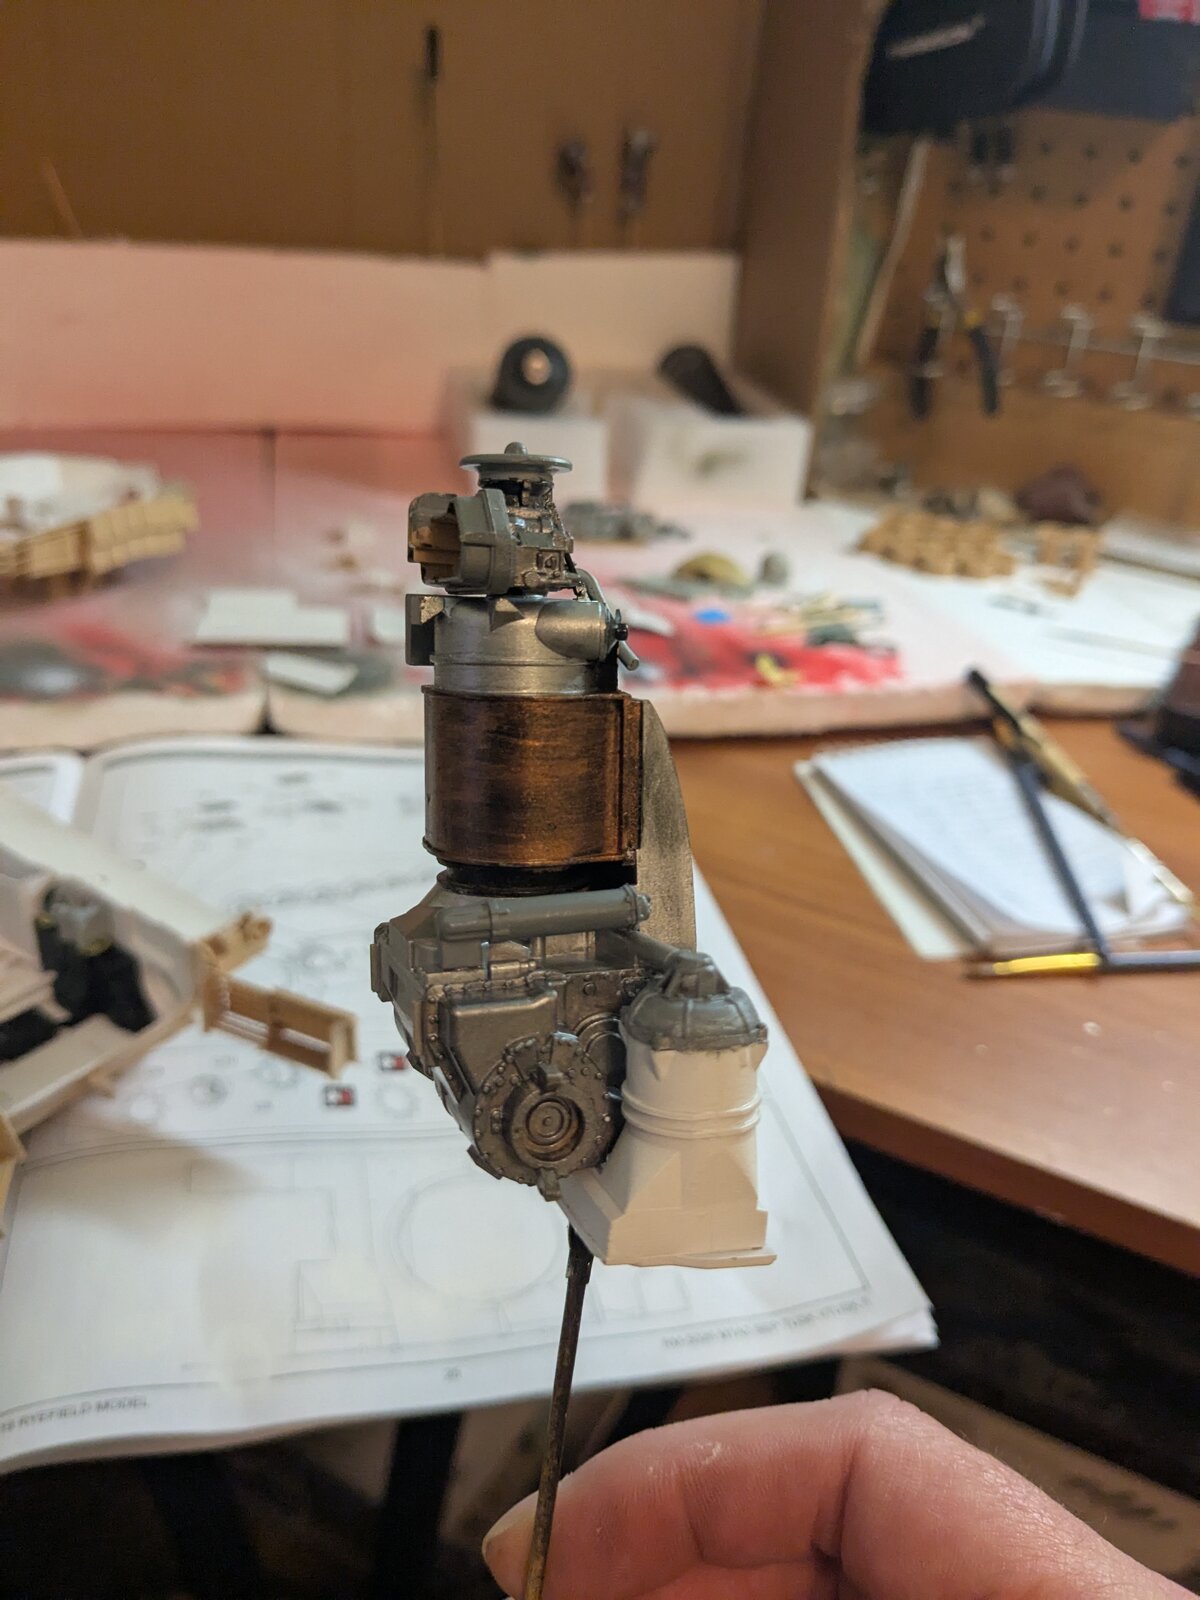
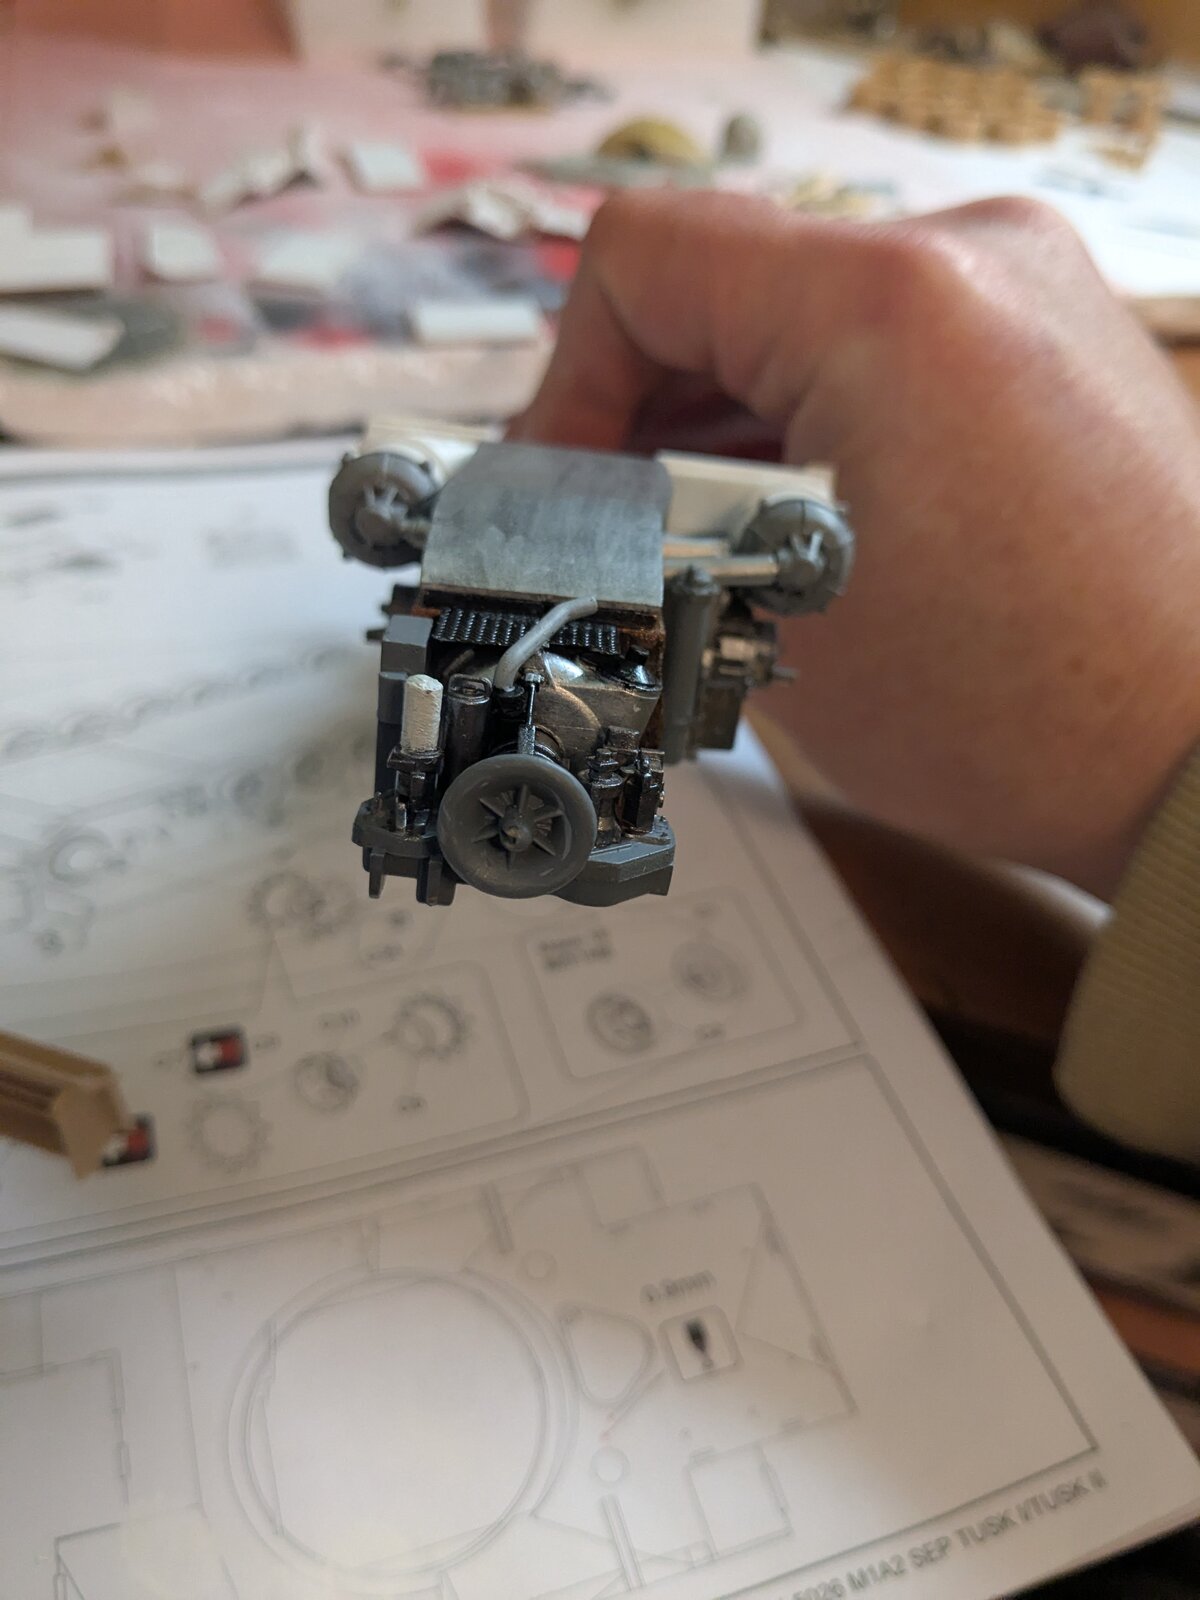
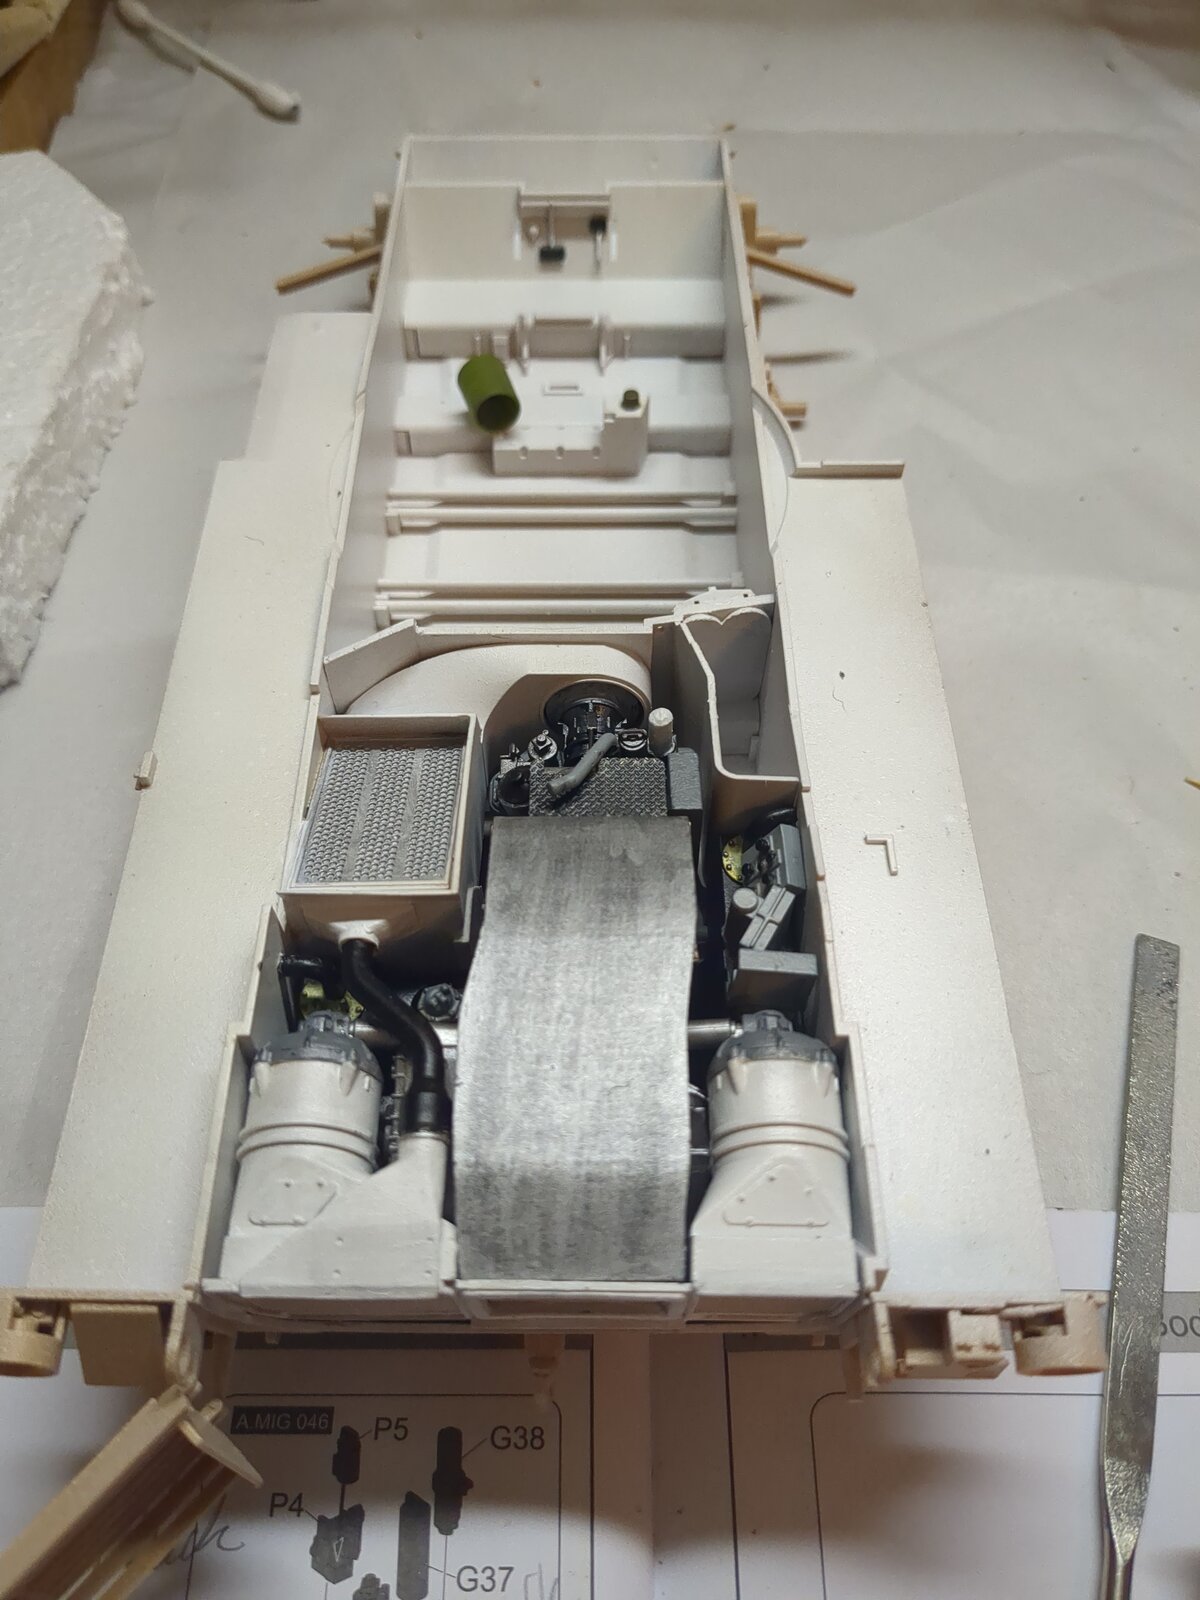
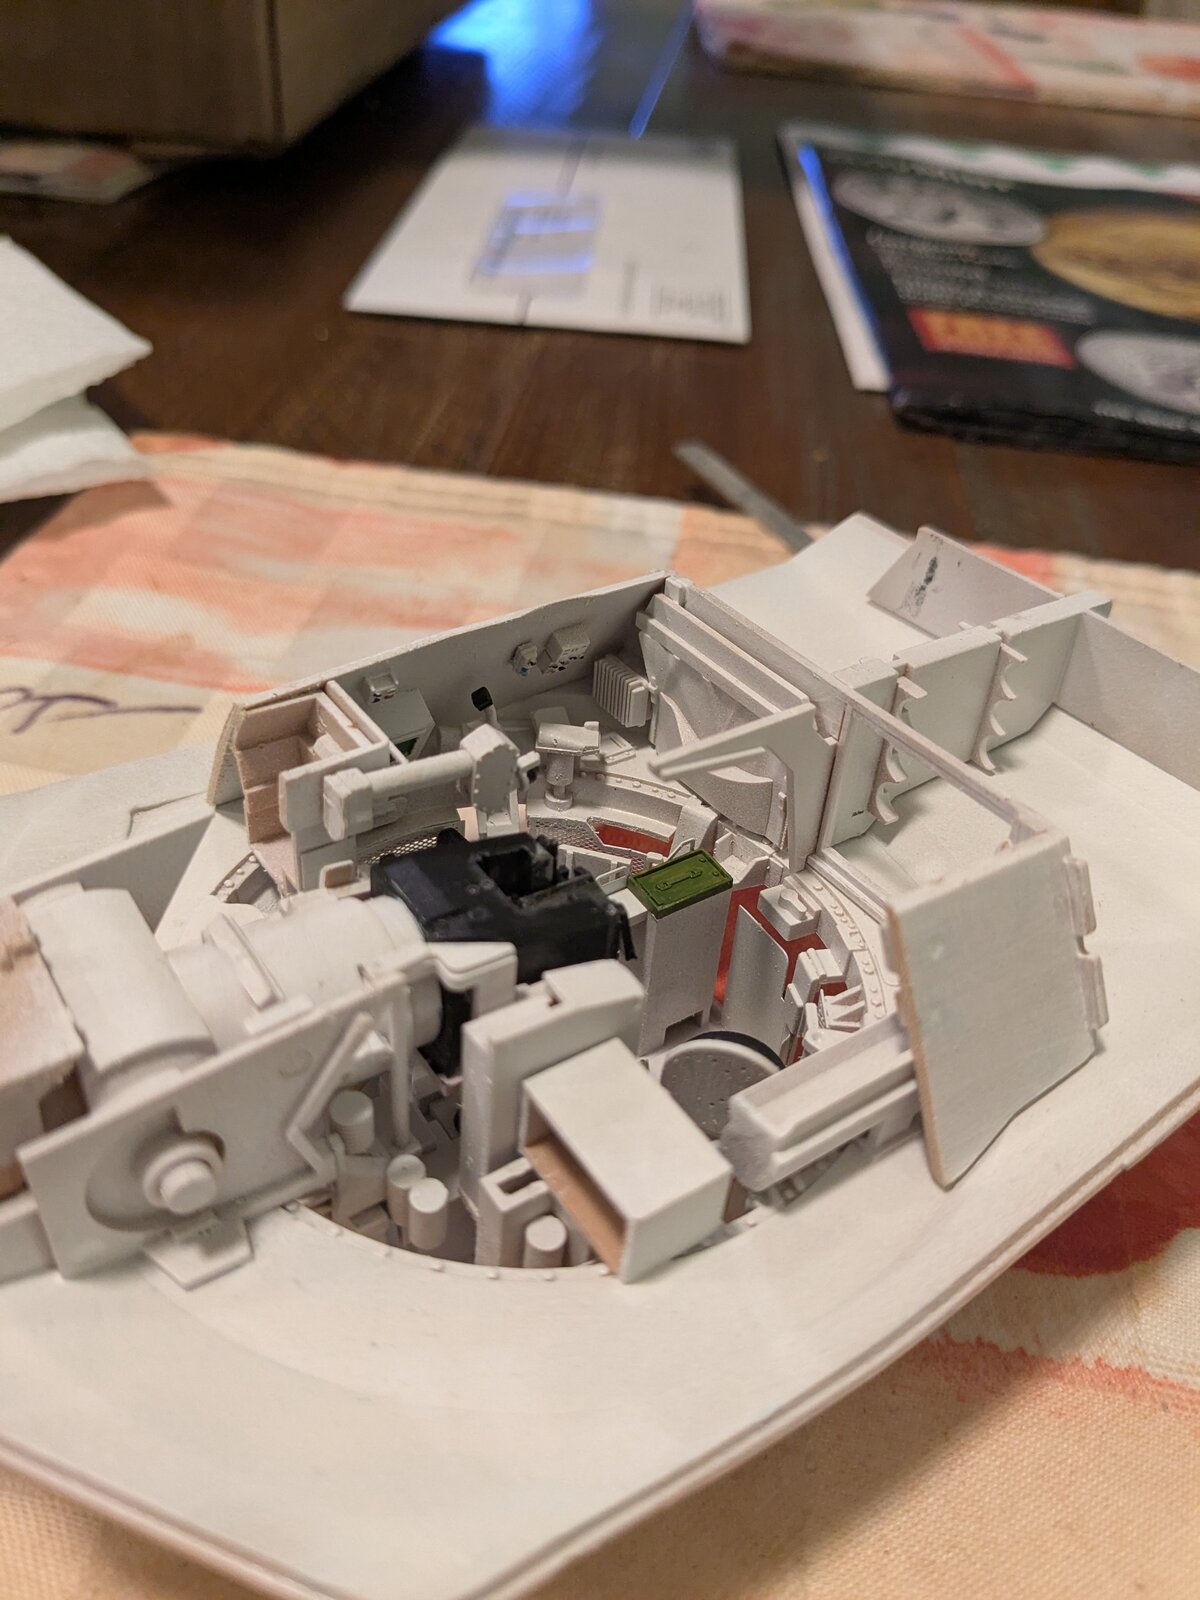
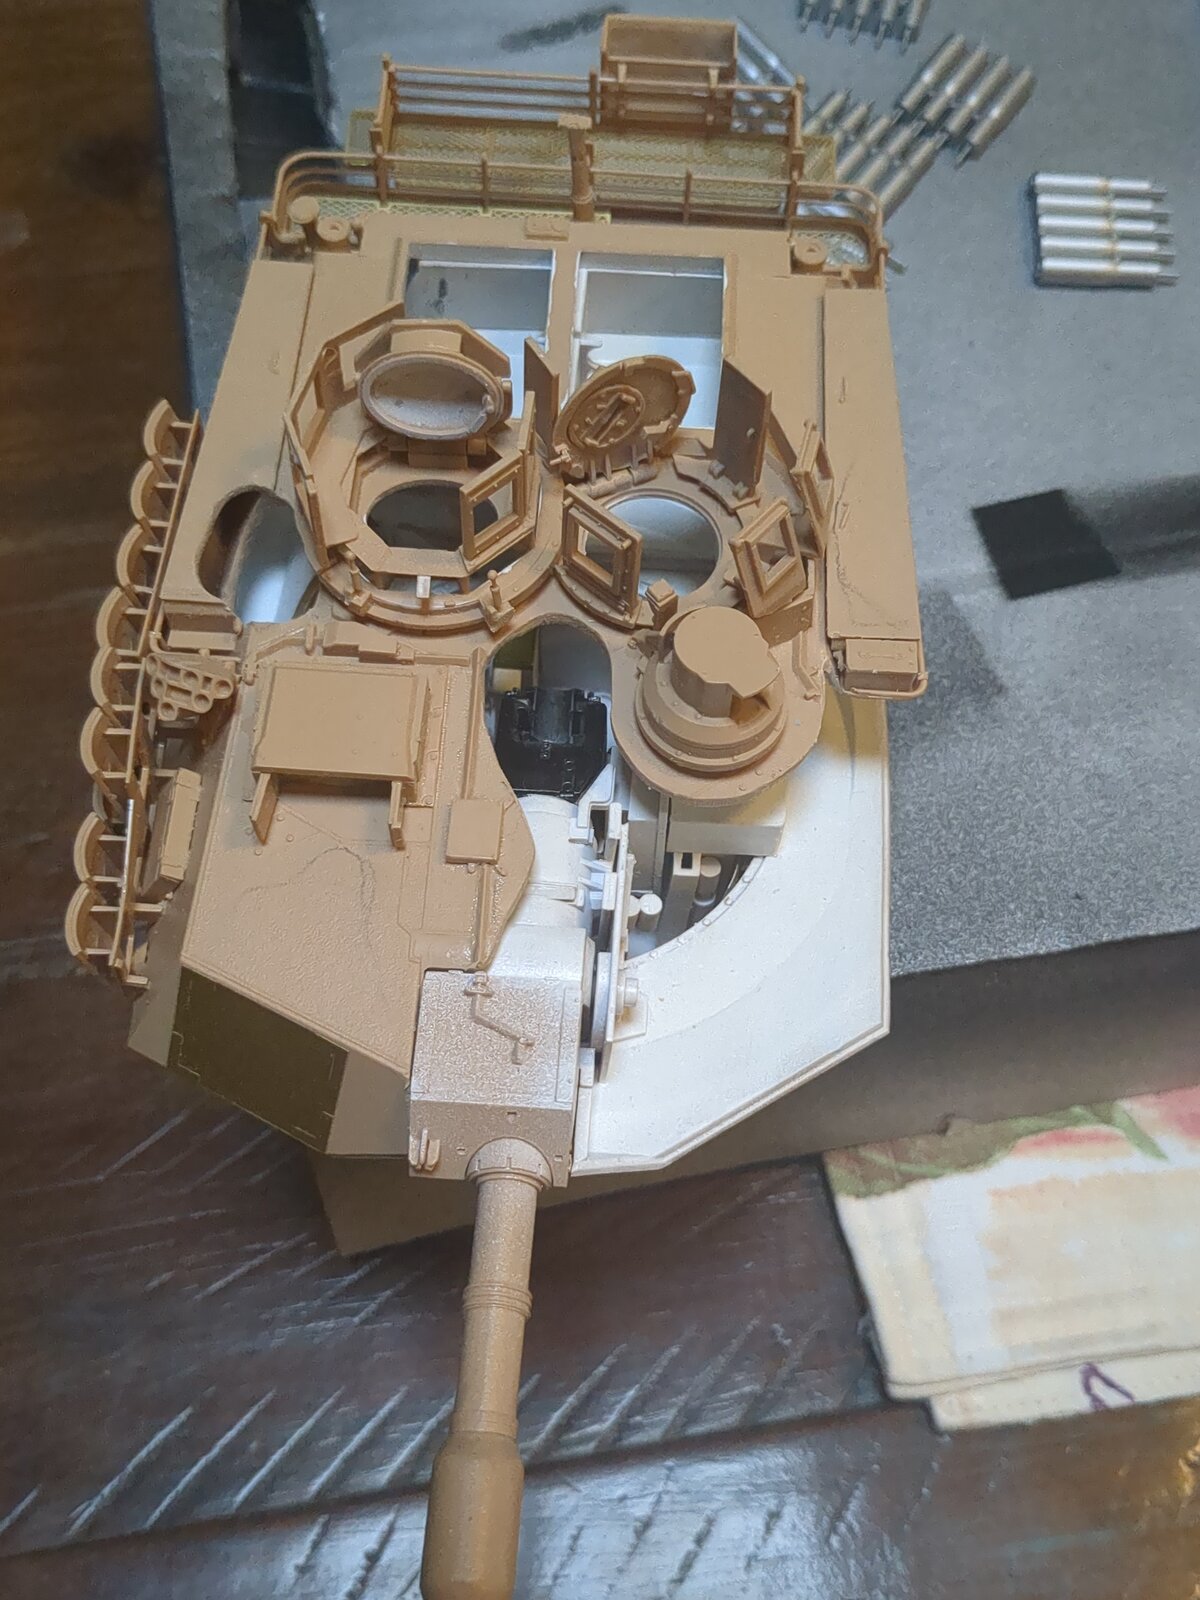
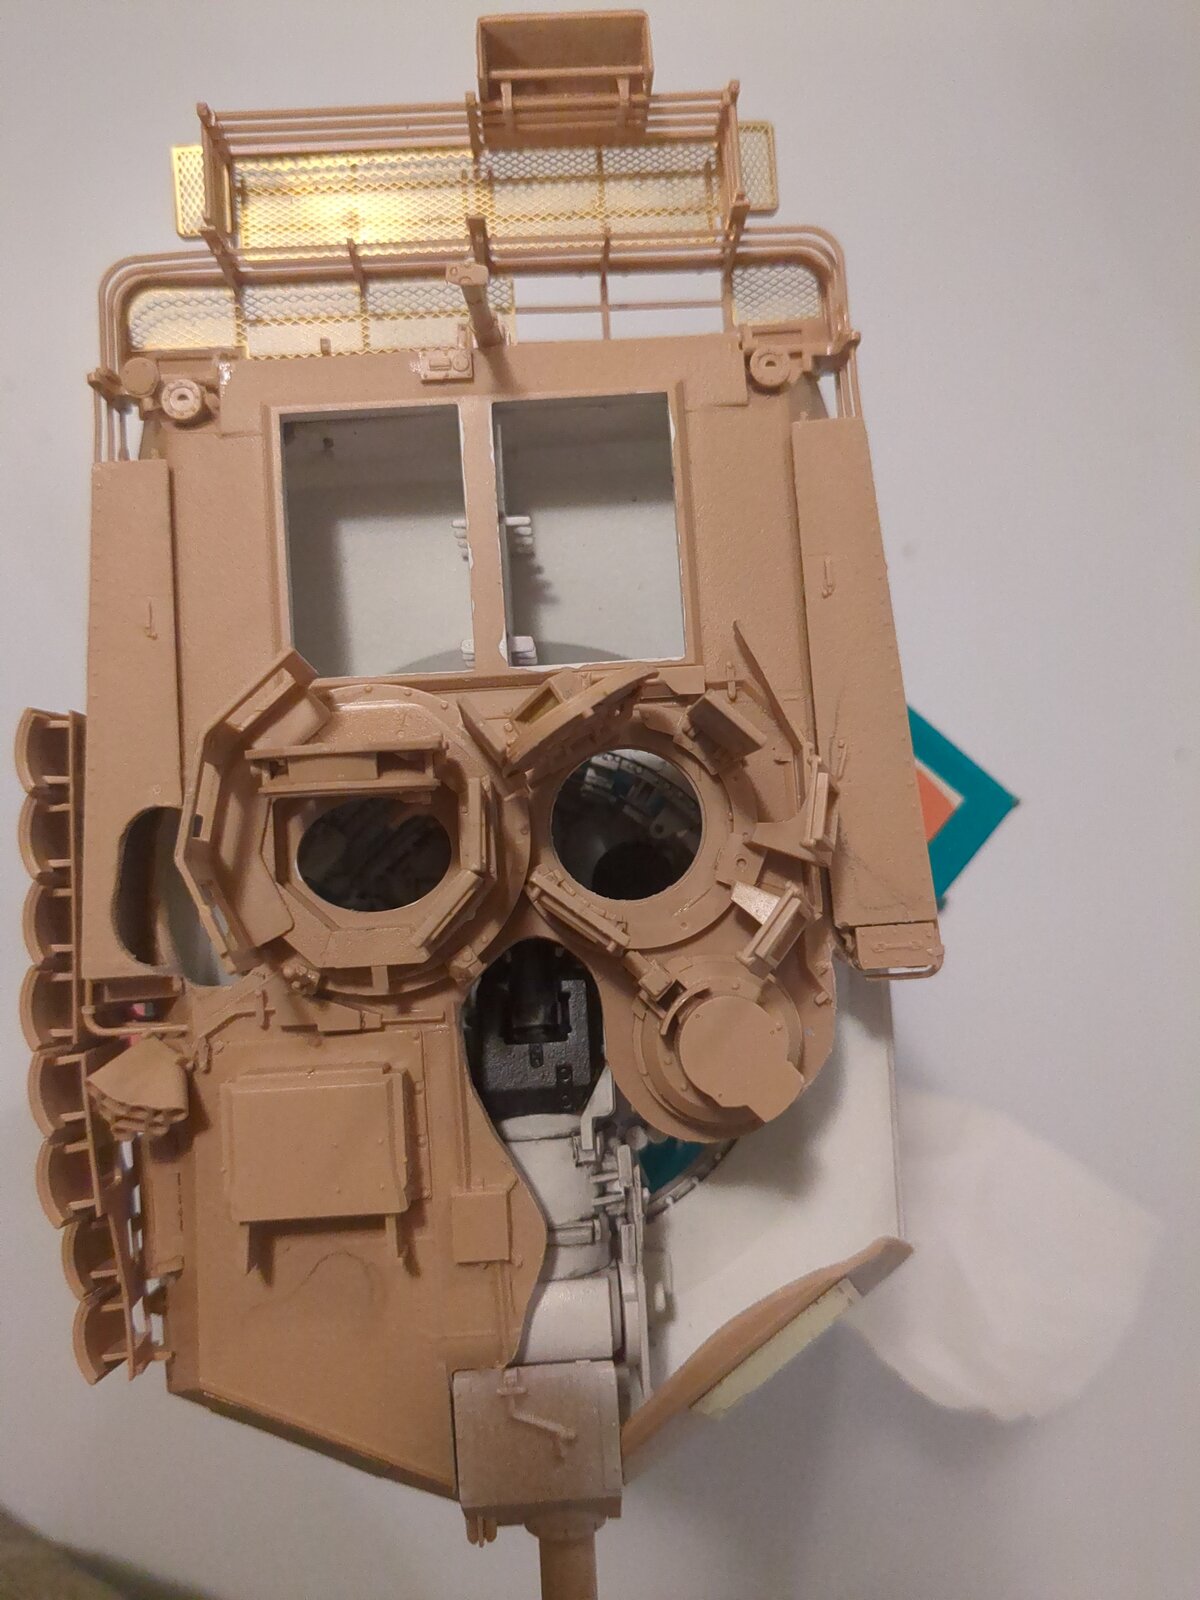
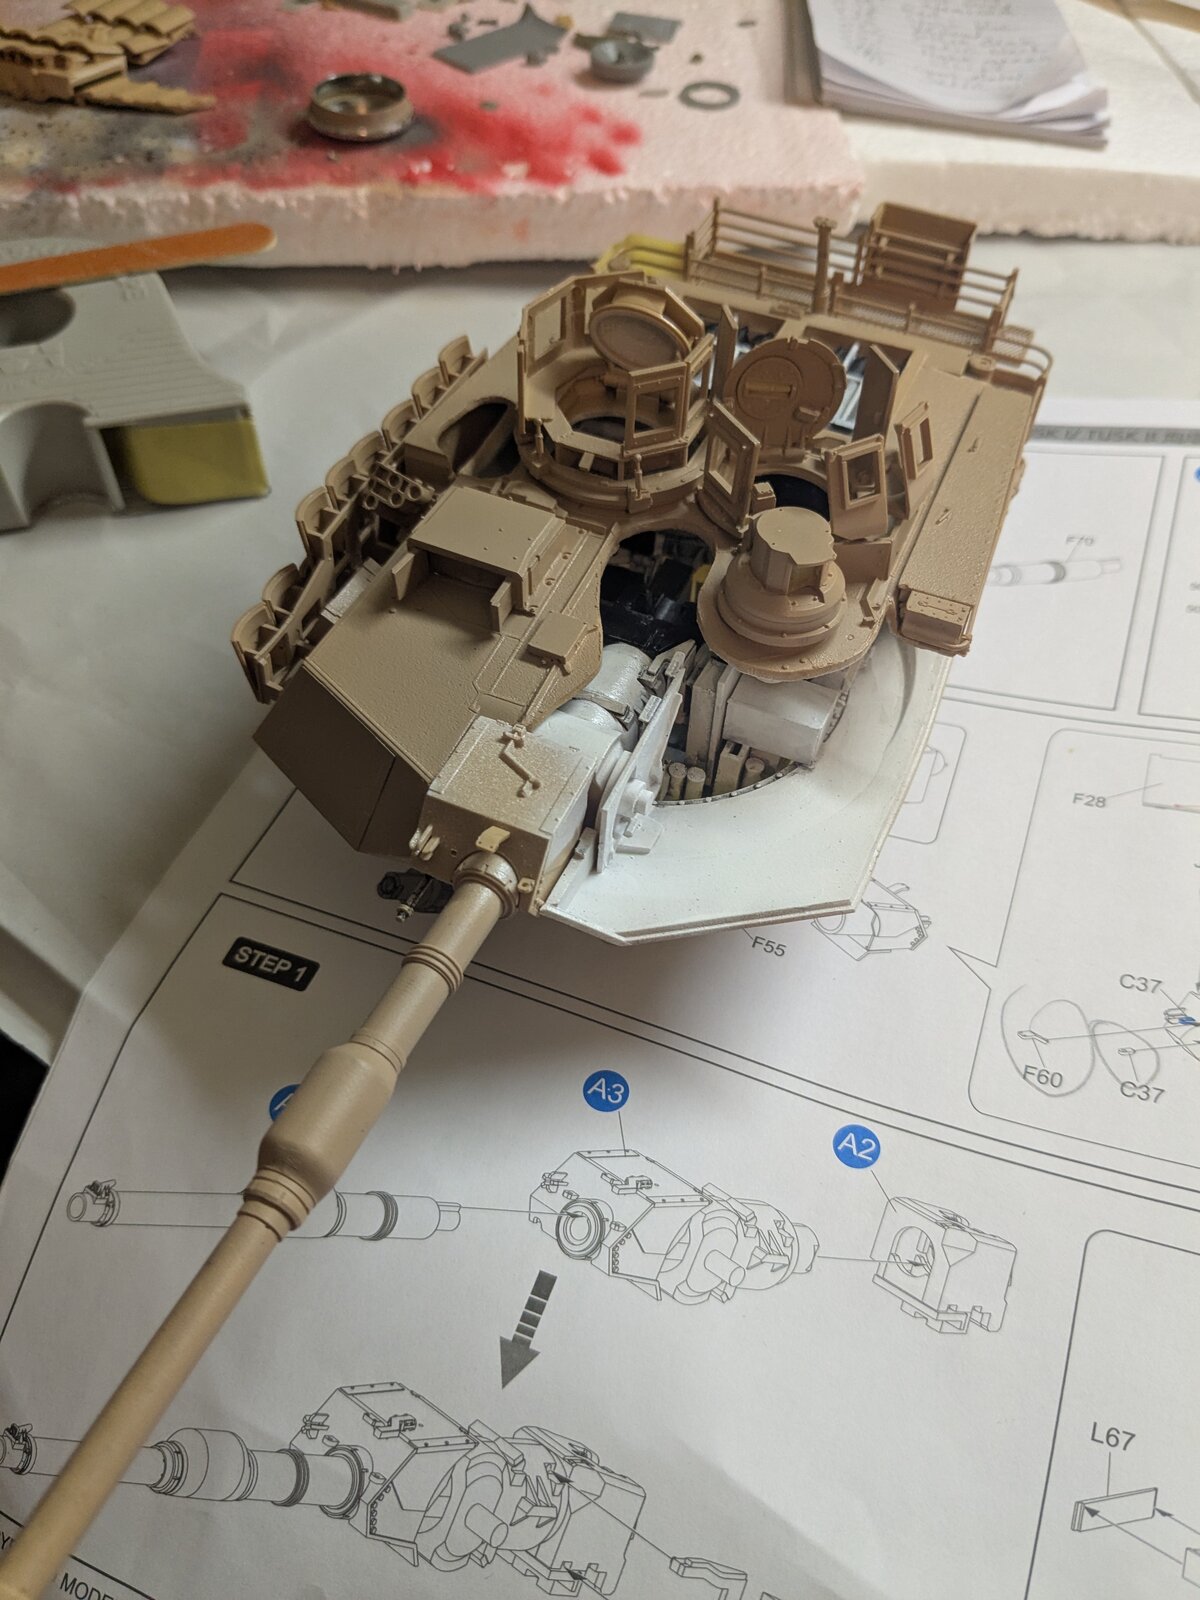
Because this kit is not the full interior like some other models and is just parts of it I have decided to go the cut away route so I can display it best. I have some things to finish up on it but not alot. The main thing was the decision on display. I also have other m1a variants so wanted to try something different.

17396524156301699949270395484525.jpg


17396525014731279335648172669509.jpg


17396525174814189940050489750365.jpg


17396525519356389509195684183933.jpg
 

Latest posts

Back
Top