Group Build: Historical Warships of WWII

Scale Model Addict - Model Tips, Guides, Tools & Tech, Tutorials, and Community

Help Support Scale Model Addict:

In case there are any other folks in this GB who are not experienced at ship building (like me) I have a tip for you.

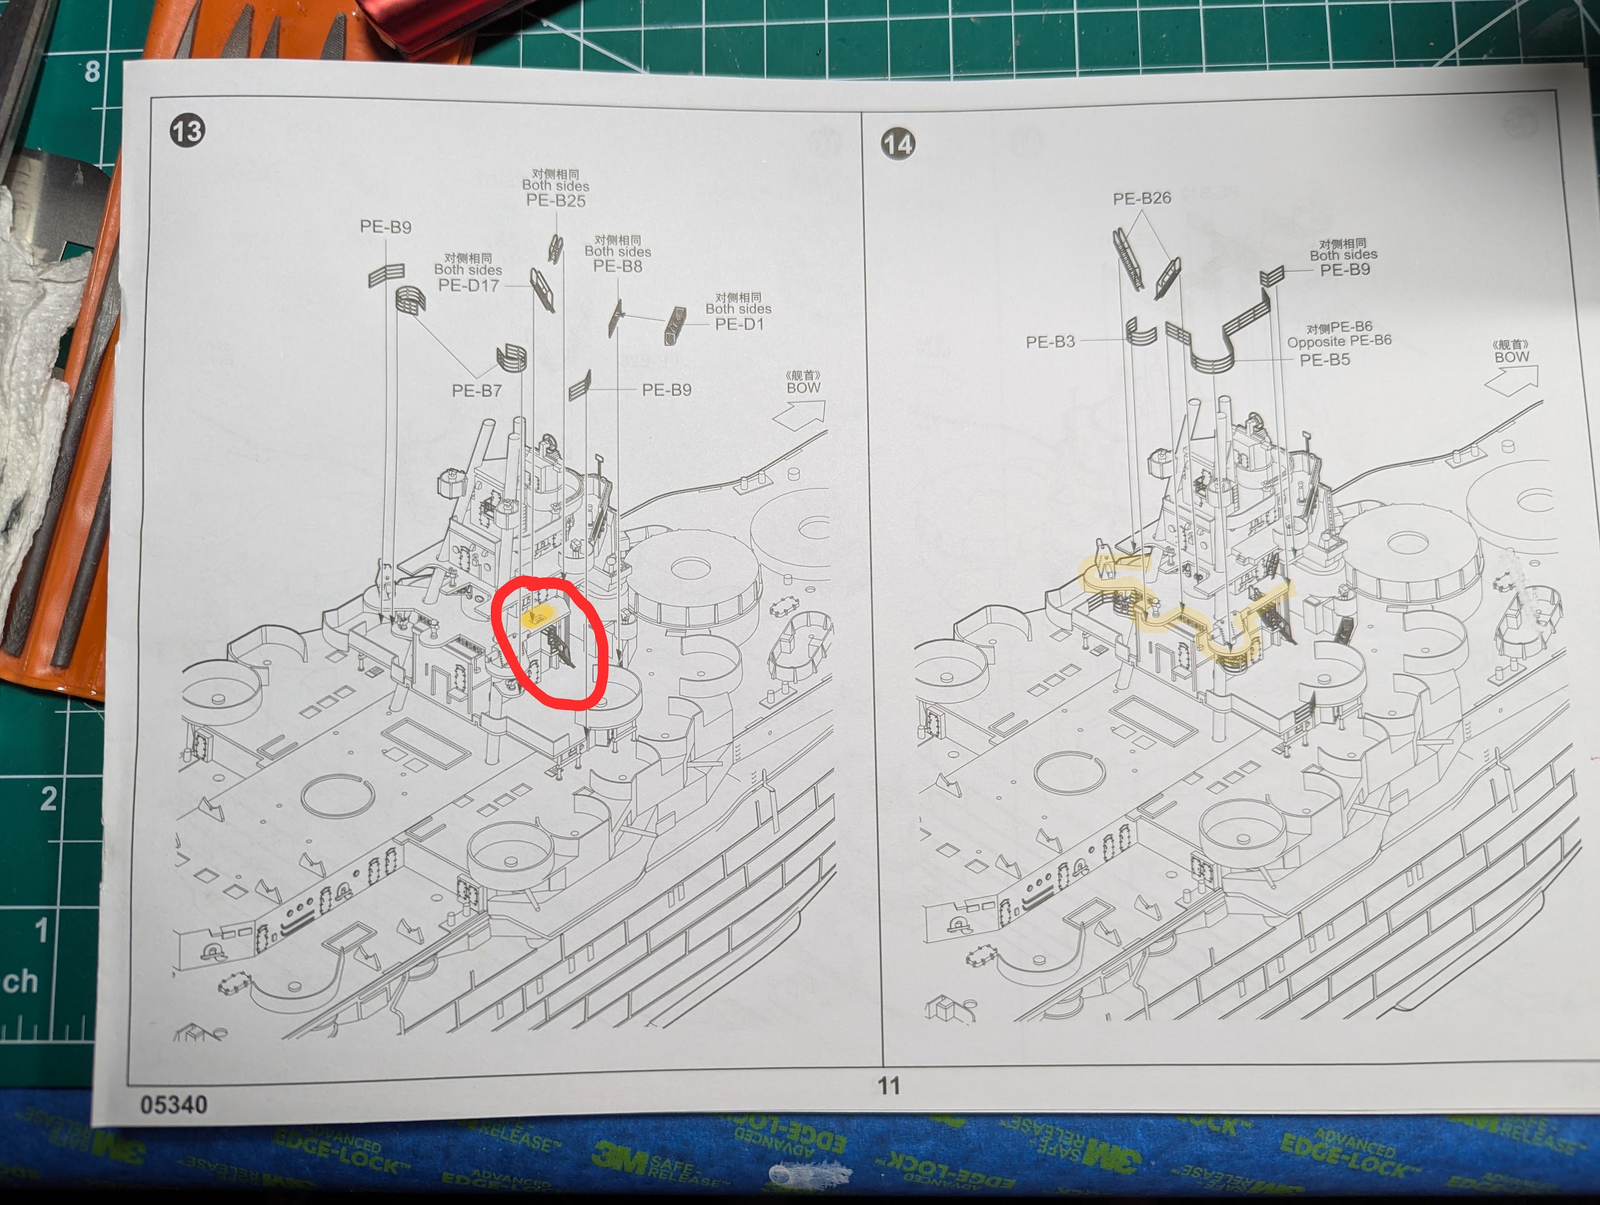
Do not follow the instructions too closely, I decided not to go out on my own like I often do with subject matter that I am more experienced with. I thought that was wise or just prudent, it was not. I'd recommend attaching the railings and ladders to each stage of the superstructure before building the superstructure regardless what the instructions indicate, it can be an unnecessary challenge to fit them into their positions once the plastic layers are built up.

1737937661592.png

I spent waaay too much time getting "PE-D17" x2 inserted into the tiny hole highlighted in yellow on the left since that platform was well adhered to the structure. Next up is PE-B5 & PE-B6 which have to curve around that platform (highlighted on the right. Both would be MUCH easier if the plastic were not glued the way the destructions said to do in step 11 & 13.

I'm also regretting that I just discovered the practice of using decorative metal "stands" that literally bolt to the inside of the hull, it seems to be almost ubiquitous among ship builders. Considering how shabby the kits' stand is, I understand why. Unfortunately I have already sealed up my hull so it is too late...or is it?

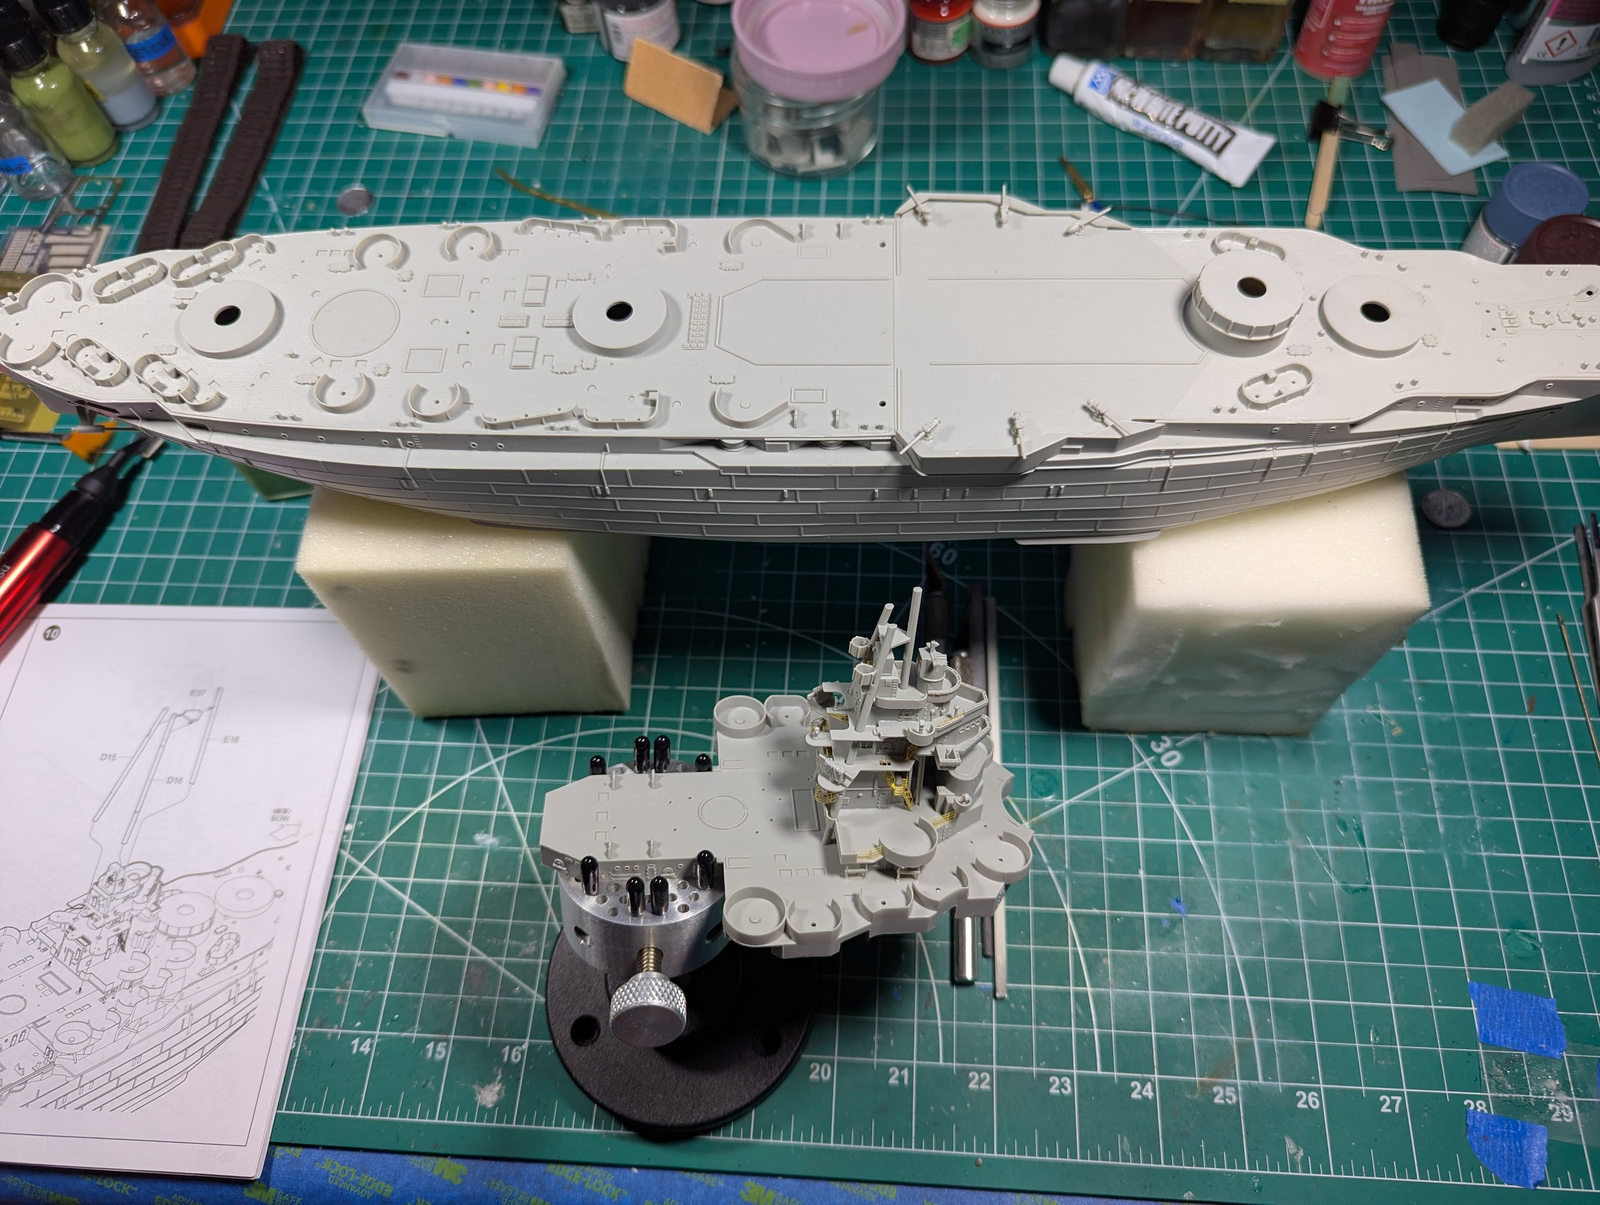
I was just looking at what I have...there are holes that are roughly 1/4 inch under some of the main gun mounts. It would be simple to drill a hole through the bottom of the ship by using them. They are not equally spaced, not cetered longitudinally, but I could drill a hole though them, mount a nut on the end of some allthread, secured with epoxy, and do it.

1737936704060.png


Would that work, it is advised, is it insane?

The large plain area behind #2 turret will be covered completely. I could also cut large holes through it that would allow a more conventional mounting mechanism that was equally spaced. I have an unfortunate habit of finding these things/methods after I've committed my errors.

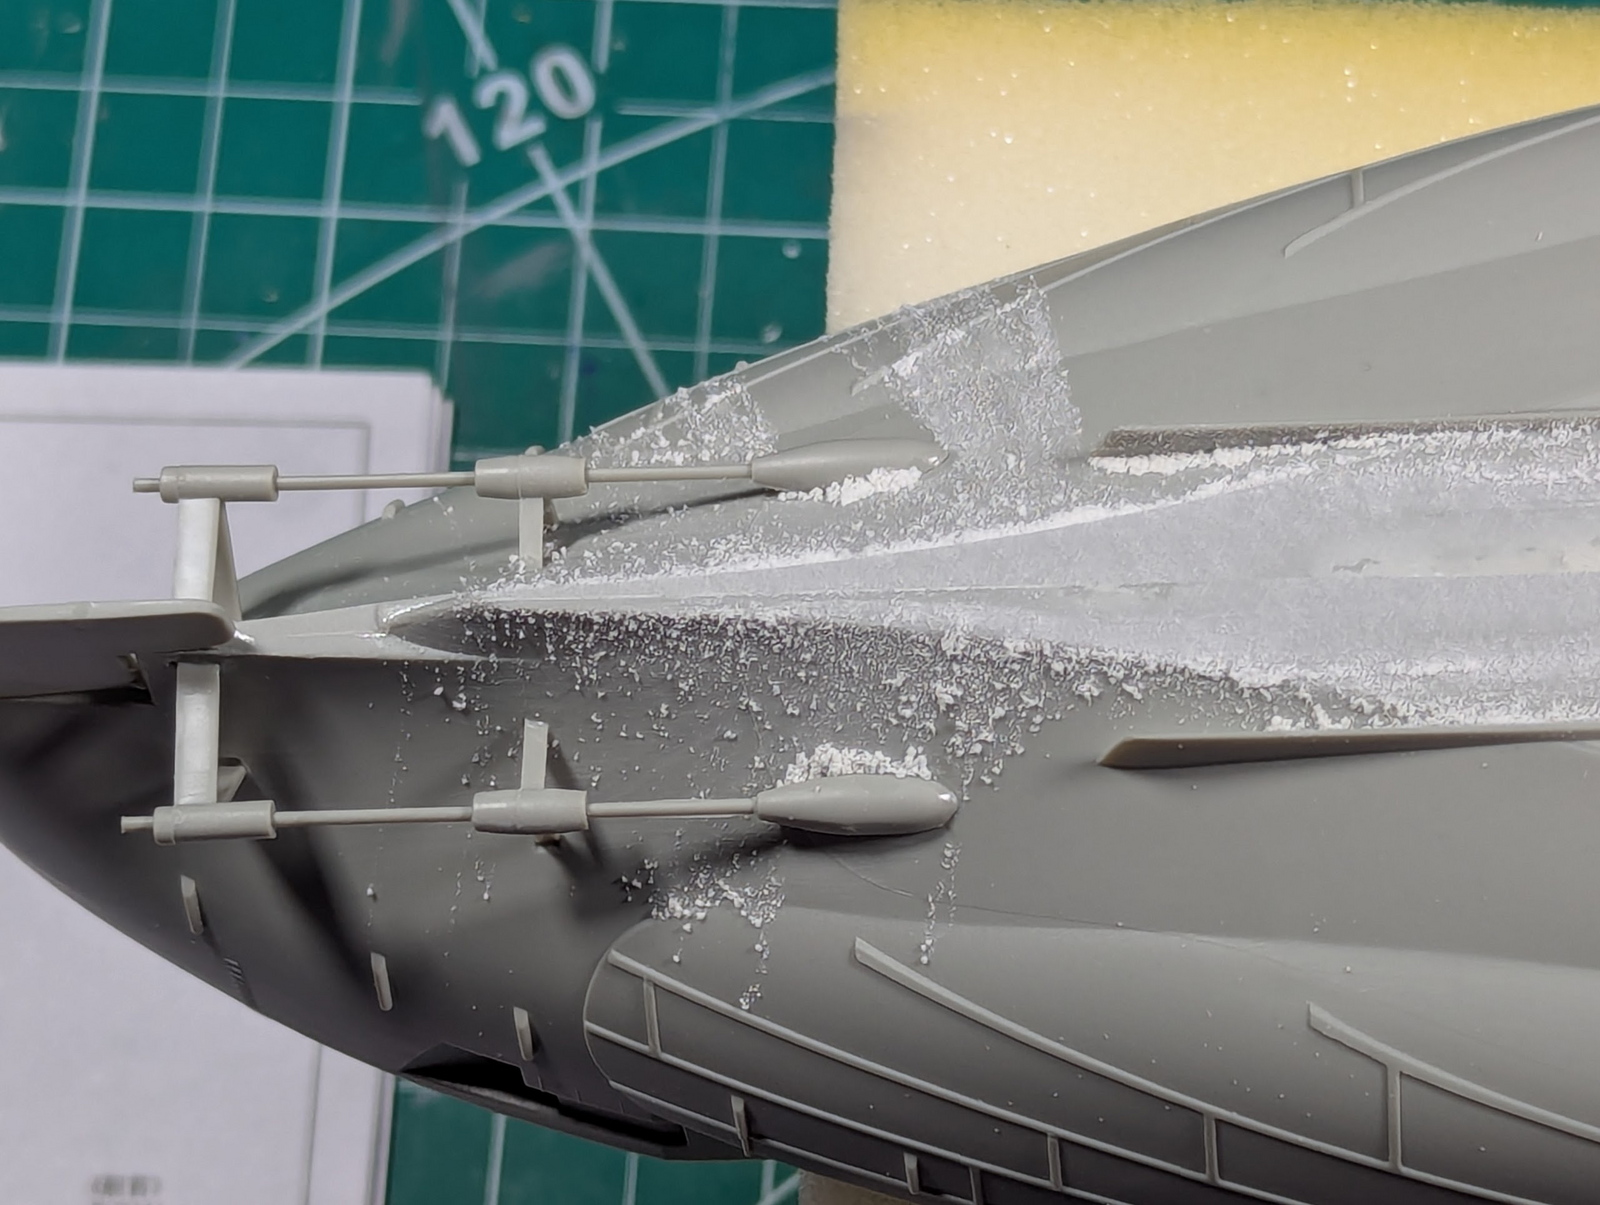
But I am getting close to putting paint on the hull. I do not understand why so many paint the keel and waterline early in the build, but it seems very common, so I am working on getting it ready to prime.

1737936951240.png
 
Last edited:
Would that work, it is advised, is it insane?

The large plain area behind #2 turret will be covered completely. I could also cut large holes through it that would allow a more conventional mounting mechanism that was equally spaced.
It's definitely plausible. You can actually use these pedestals: https://www.amazon.com/dp/B086S55LS...1&skipTwisterOG=1&titleSource=avft-a&newOGT=1

If you drill pilot holes where you want them mounted and then drill with 7/32" bit, the bolts can be threaded into the plastic itself. If you want, you can open the the deck between turret 2 and 3 if you want to use the nuts inside. It's your call and doable.

You could also use wood or balsa to make keel blocks to place your ship on when done. Here's an example.
1000012445.jpg


You can make more elaborate keel blocks similar to these.
1000012444.jpg

Options are yours my friend. Hope this helps.
 
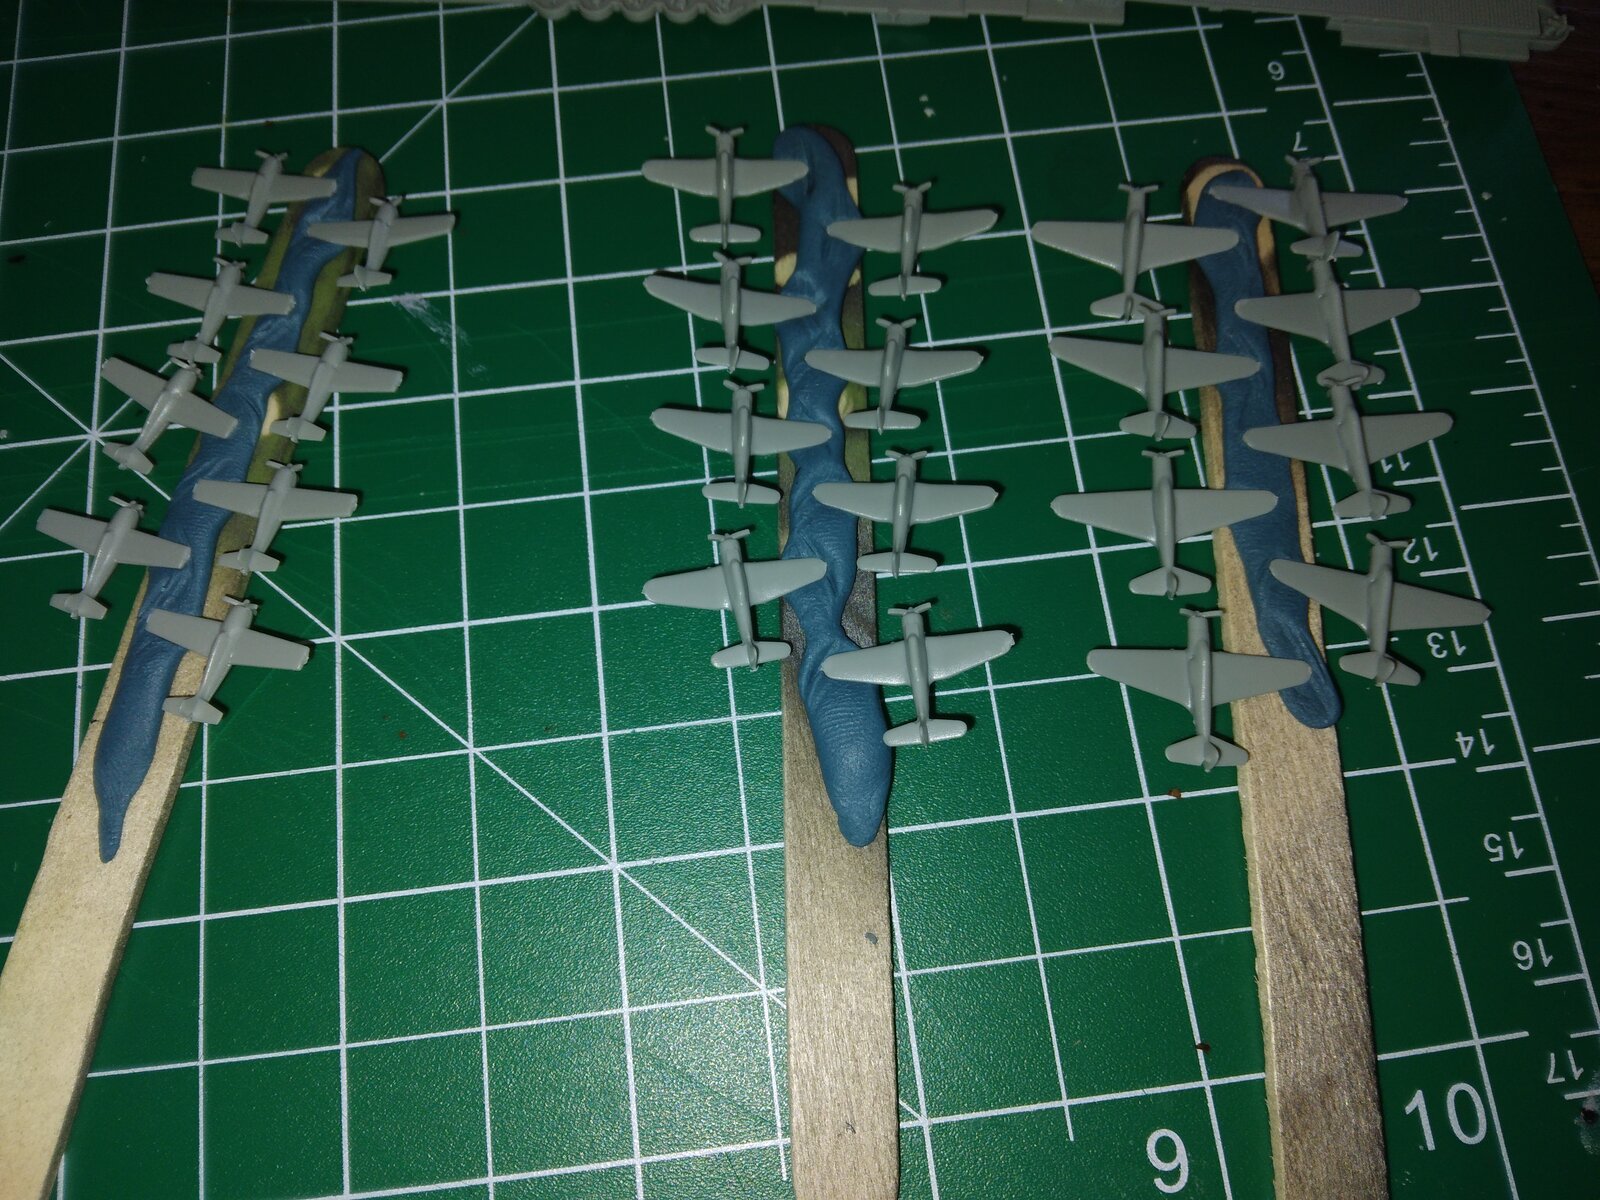
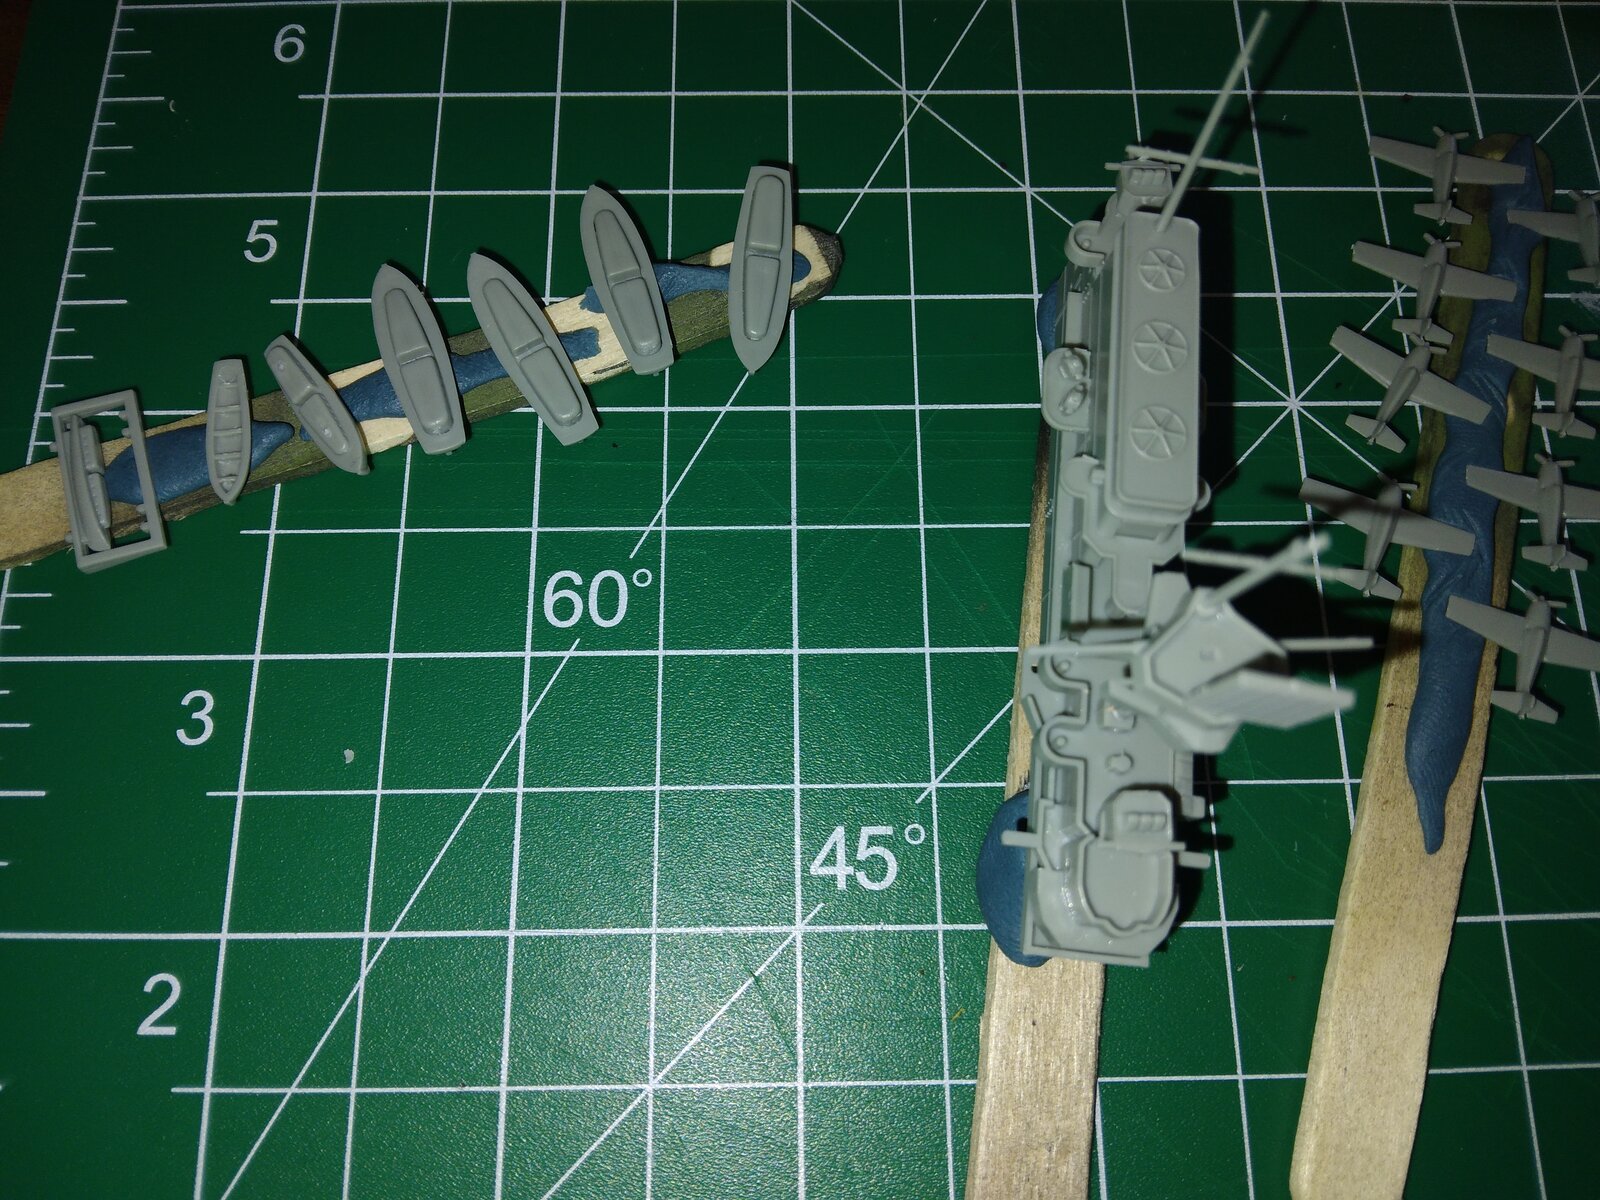
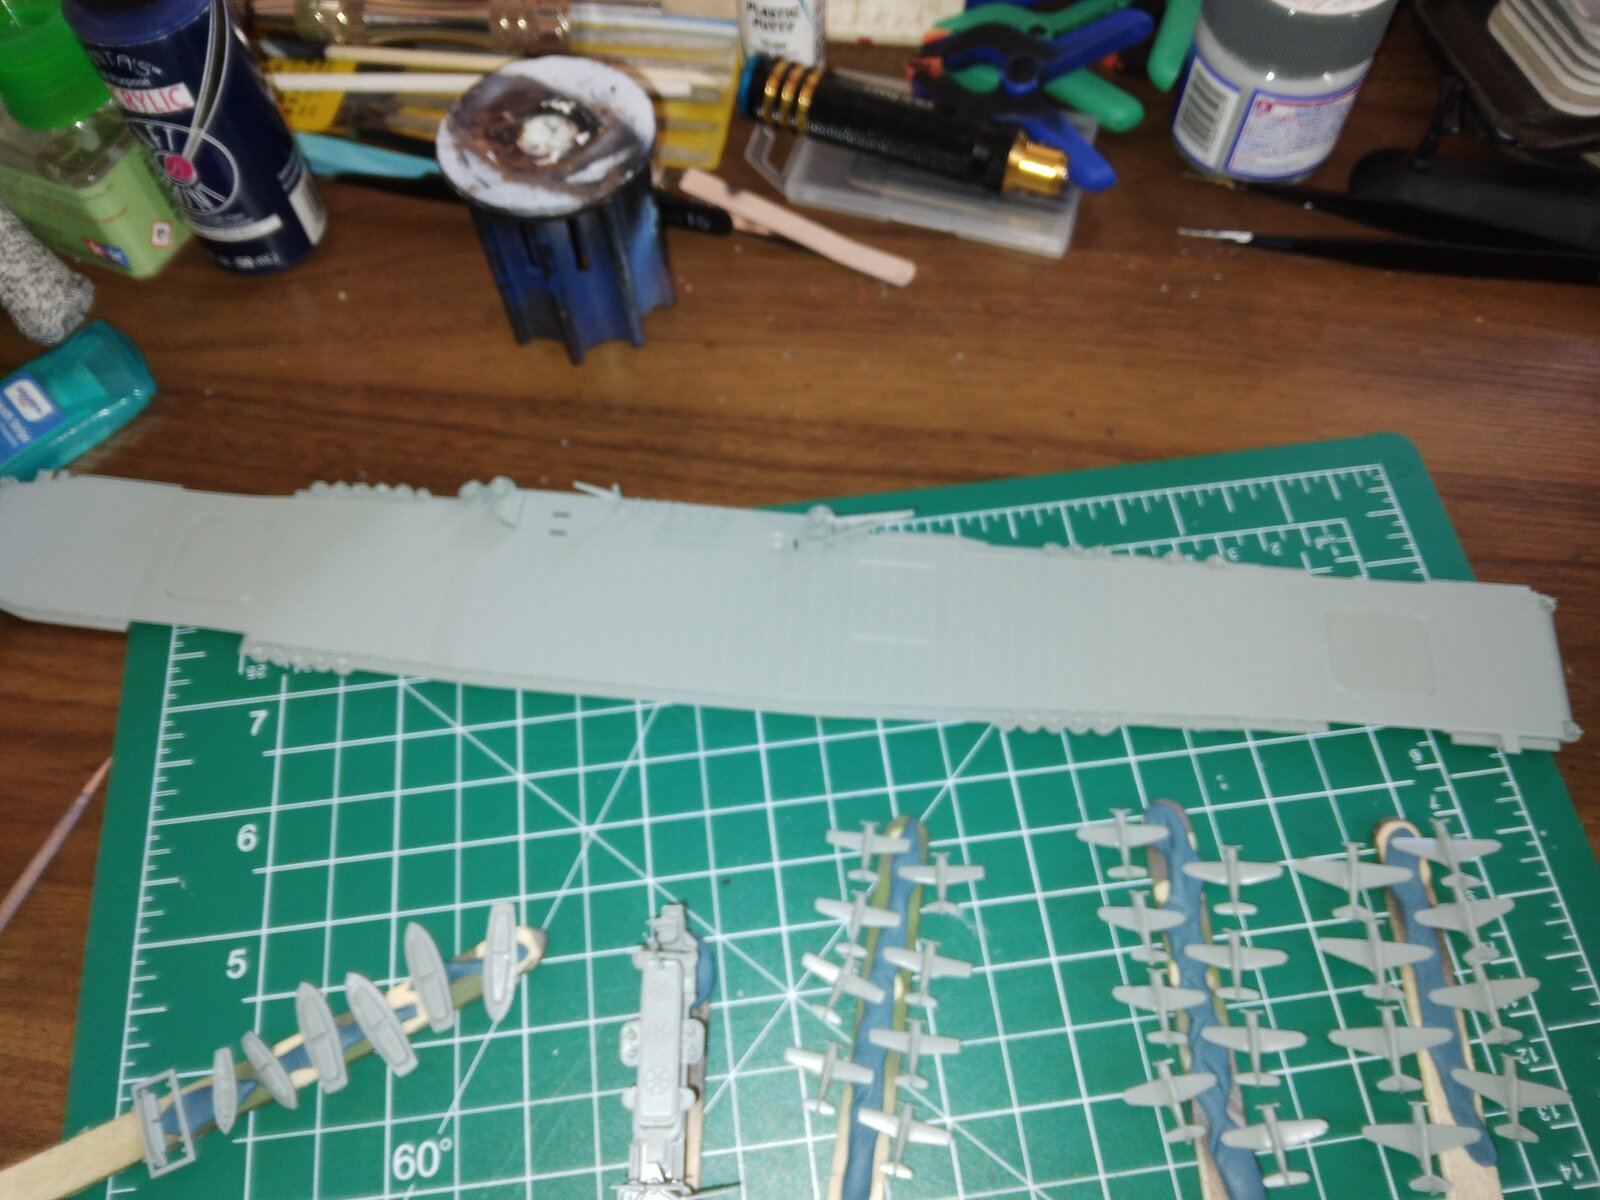
Ok I've got the ship together (mostly) as well as the planes and boats clipped and cleaned up from the sprue and now I'm ready to shoot some primer on it and then lay the paint on it. However I don't have the right paints for Measure 21, so I'm in a holding pattern while I consider my options.
And I don't know if I am going to use the PE rails and stairways that were included with the kit, I've never enjoyed working with PE so I'm debating that as well.

20250127_104531.jpg


20250127_104540.jpg


20250127_104547.jpg


All those little guns were a PITA! I don't wanna do that again :(.
 
Ok I've got the ship together (mostly) as well as the planes and boats clipped and cleaned up from the sprue and now I'm ready to shoot some primer on it and then lay the paint on it. However I don't have the right paints for Measure 21, so I'm in a holding pattern while I consider my options.
And I don't know if I am going to use the PE rails and stairways that were included with the kit, I've never enjoyed working with PE so I'm debating that as well.

View attachment 135901

View attachment 135902

View attachment 135903

All those little guns were a PITA! I don't wanna do that again :(.
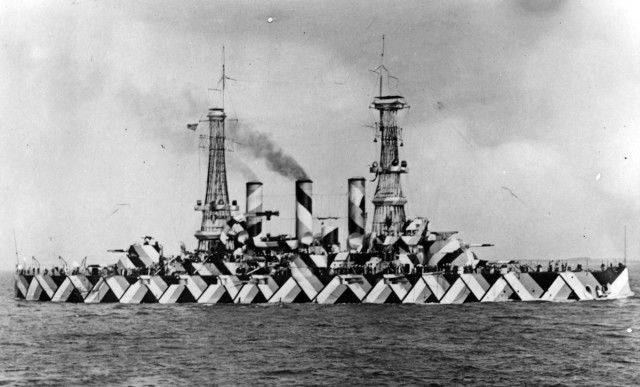
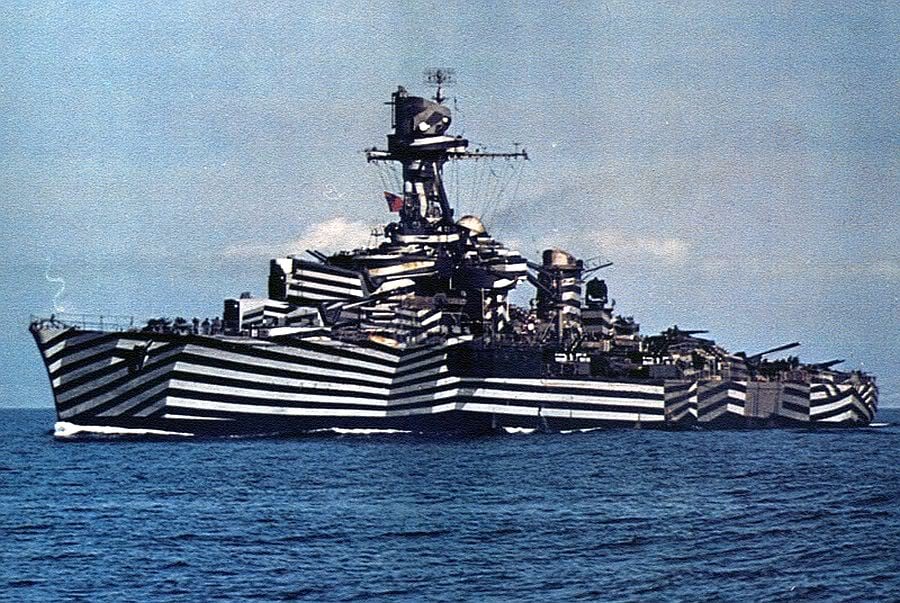
you could do a dazzle camo. :oops:

lossy-page1-1200px-USS_Nebraska_experimental_camouflage.tiff-640x387.jpg


Cruiser-Gloire.jpg


For Tamiya paint you could use this for measure 21.

US Navy Ship WWII
20B Deck Blue #36801 – XF50
5L Light Grey – XF19:2 + XF2:1
5O Ocean Grey – XF24
5H Haze Grey – XF83
5N Navy Blue #15042 – XF18:2 + XF2:1
Hull Red – XF9:1 + XF7:2
 
Last edited:
As an Amazon Associate we earn from qualifying purchases. Product prices and availability are accurate as of the date/time indicated and are subject to change.
In case there are any other folks in this GB who are not experienced at ship building (like me) I have a tip for you.

Do not follow the instructions too closely, I decided not to go out on my own like I often do with subject matter that I am more experienced with. I thought that was wise or just prudent, it was not. I'd recommend attaching the railings and ladders to each stage of the superstructure before building the superstructure regardless what the instructions indicate, it can be an unnecessary challenge to fit them into their positions once the plastic layers are built up.

View attachment 135842
I spent waaay too much time getting "PE-D17" x2 inserted into the tiny hole highlighted in yellow on the left since that platform was well adhered to the structure. Next up is PE-B5 & PE-B6 which have to curve around that platform (highlighted on the right. Both would be MUCH easier if the plastic were not glued the way the destructions said to do in step 11 & 13.

I'm also regretting that I just discovered the practice of using decorative metal "stands" that literally bolt to the inside of the hull, it seems to be almost ubiquitous among ship builders. Considering how shabby the kits' stand is, I understand why. Unfortunately I have already sealed up my hull so it is too late...or is it?

I was just looking at what I have...there are holes that are roughly 1/4 inch under some of the main gun mounts. It would be simple to drill a hole through the bottom of the ship by using them. They are not equally spaced, not cetered longitudinally, but I could drill a hole though them, mount a nut on the end of some allthread, secured with epoxy, and do it.

View attachment 135838

Would that work, it is advised, is it insane?

The large plain area behind #2 turret will be covered completely. I could also cut large holes through it that would allow a more conventional mounting mechanism that was equally spaced. I have an unfortunate habit of finding these things/methods after I've committed my errors.

But I am getting close to putting paint on the hull. I do not understand why so many paint the keel and waterline early in the build, but it seems very common, so I am working on getting it ready to prime.

View attachment 135839
I found that following the order of steps in model ship instructions is a good way to learn how not to do something again.
I am not kidding with these Trumpeter battleships when I say that the superstructures need to be test built without glue to see what type of origami puzzle it may become, especially when adding PE. Your going along with it very well and doing what we all have done. I see your going through another thing with these kits, nothing below the waterline seems to fit. Lots of carving and sanding.
 
What I can share from my limited experience with warships, is that a single model here is several mini model builds within. The hull, main deck, (hangar deck and flight deck for CVs), superstructure, armament, radar and firing systems, deck equipment, mast and ariels, etc. should all be built and test fitted in sub assemblies. Once you break down the ship this way, you tend to see a clearer picture as to where PE can be placed before finishing, or after. You can also break down more complicated paint schemes this way so you're not building ahead of yourself, or painting yourself into a corner so to speak. when building the superstructure(s), keep them in as many levels as you can for painting and finishing so that it simplifies your life and then assemble your subassemblies. Always work from the center of the ship outward to port and starboard, then forward and aft with all your details and rigging. This will save you many headaches along the way and help to improve the way you build ships. Now let's see if I can keep to this myself on my build....lol.
 
Thanks Jack, you're awesome!

I'm pretty well versed with the dry-fit mentality, but will readily confess that with aircraft and armor the PE is a secondary thought. Almost window dressing.

I was very slow and methodical with attaching the styrene, but I 100% confess I did not do the same with PE. In other realms (armor/aircraft/cars) PE bits generally attach to exteriors, even if they go in cockpits, fighting compartments, engine compartments, they can be added to the plastic after the styrene is glued.

Lessons learned; and if learned the hard way, they set in better. I'm just hoping to advise other newbs with my lessons.

I do routinely look ahead and assemble bits before instructions say to with subject matter I am more familiar with, I was leaning too hard on the paper in this case, knowing my inexperience. That said, this is not insurmountable, just adding to the challenge, which a small and disturbed part of me likes at the same time I am grumbling about it.
 
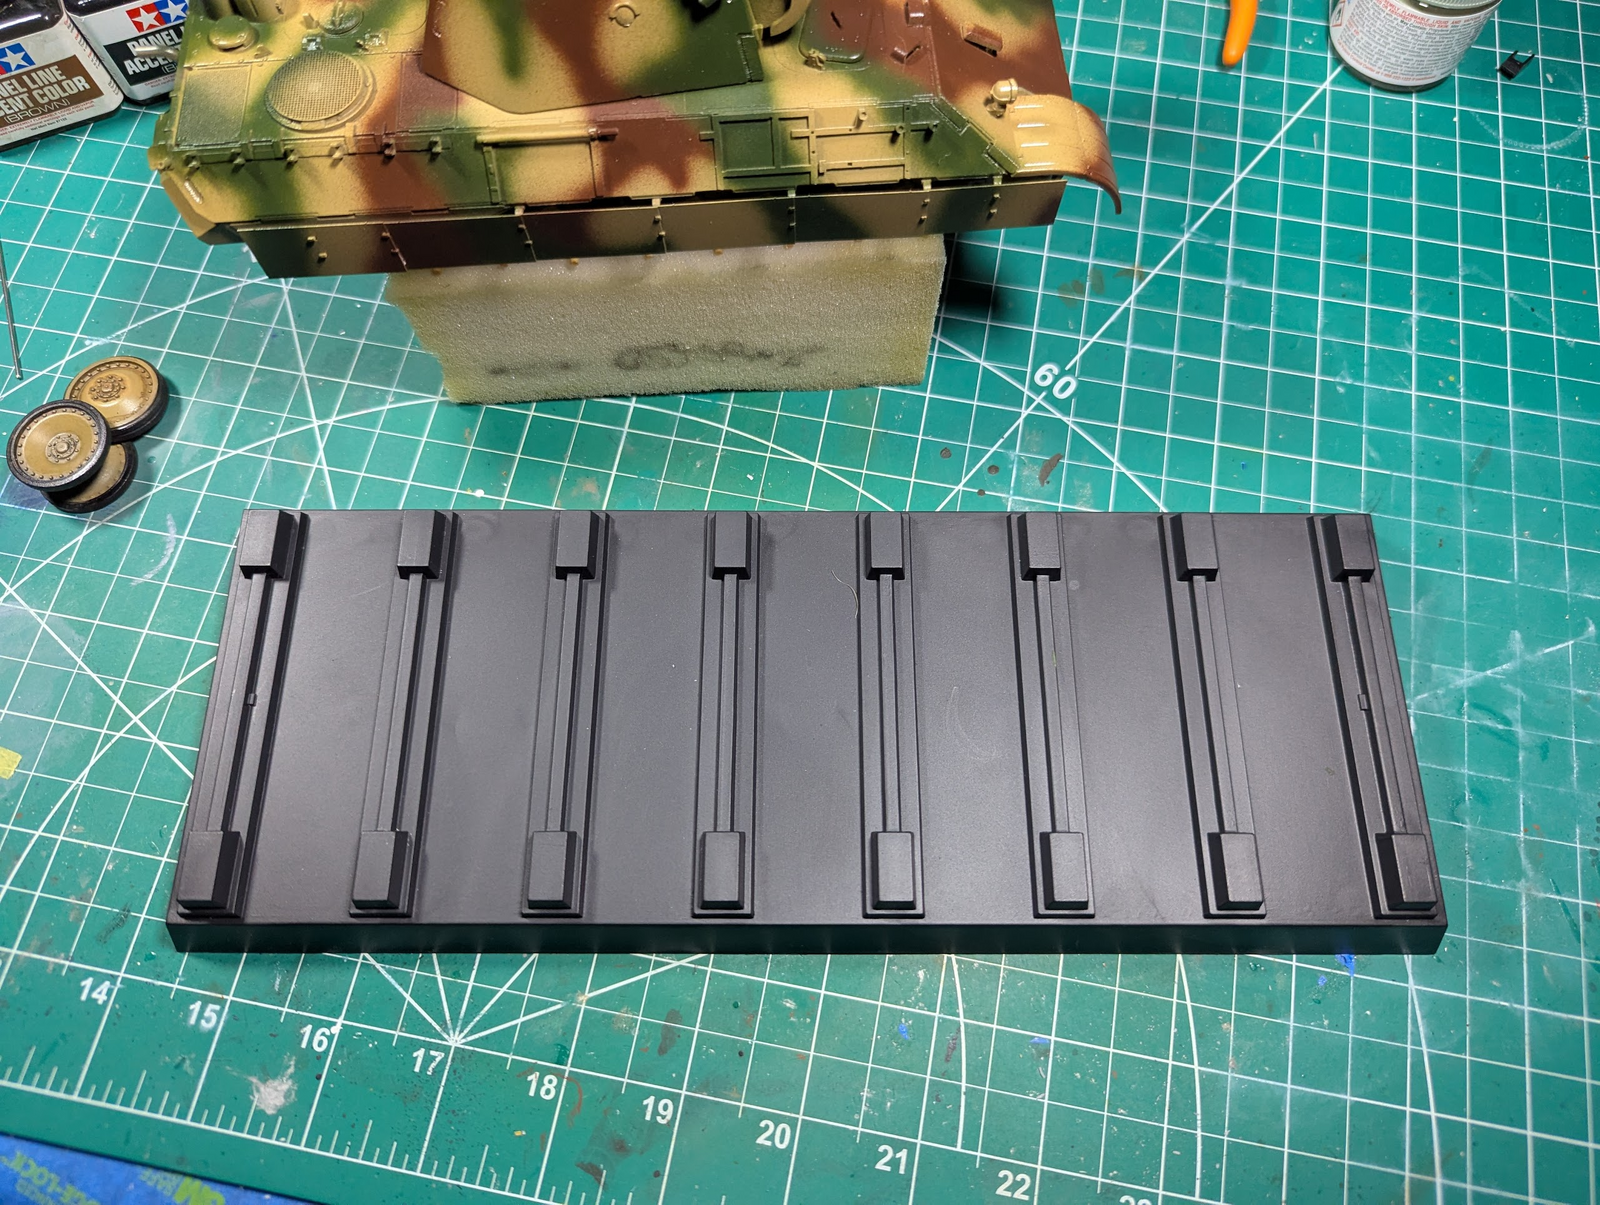
You could also use wood or balsa to make keel blocks to place your ship on when done. Here's an example.
"Keel Blocks" eh?

I am learning so much which only reveals how much one does not know. I think that explains this weird base...duh (meaning ME) those are keel blocks!
1738030871430.png

it should be relatively simple to make that into a gloss (semi?) black base with woodish painted portions for the keel block. Dang, so much to learn, so many squirrels!
 
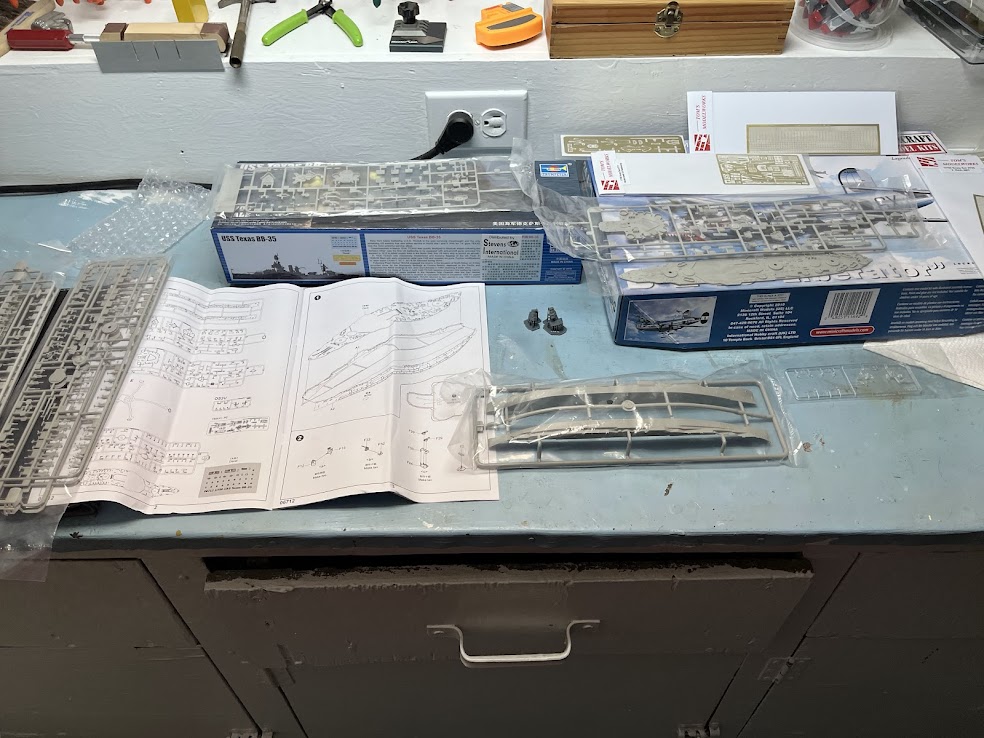
I know what you mean Ed, soo many squirrels. I can't decide when to start the Texas. I have the Thermopylae and a B-24 on the bench. I have gone to the closet stash three times now to get the Texas kit and the first two attempts I brought back a different kit.
 
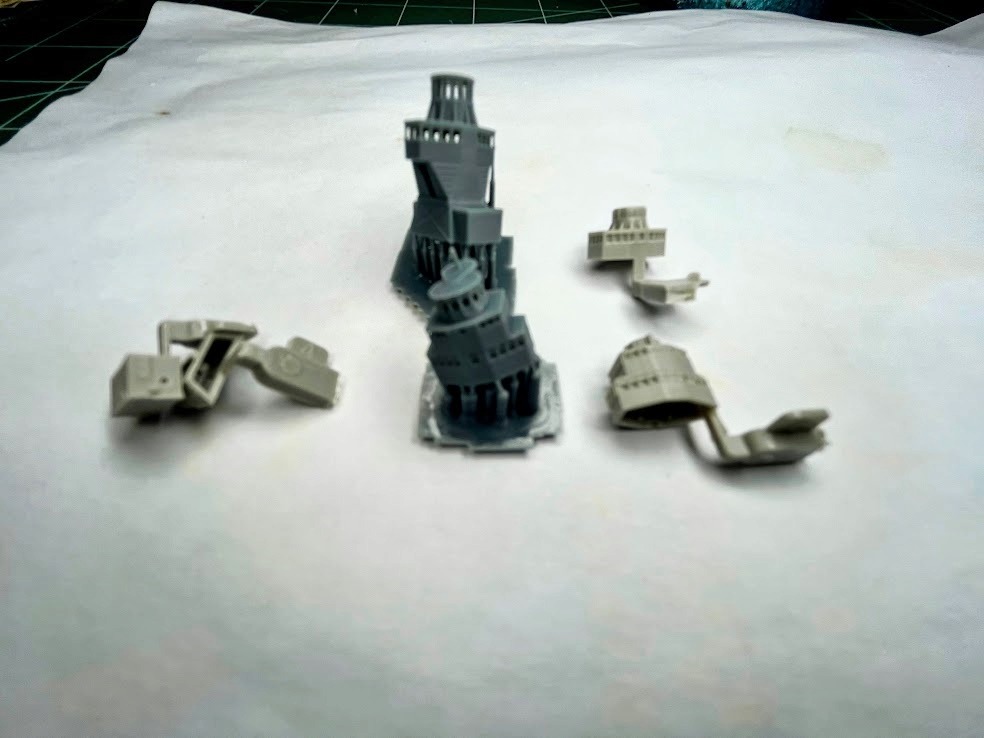
Here are the fighting tops. The 3D printed set compared to the kits. Trumpeters detail is a little better in the Texas than their Arizona, but the Model Monkey prints are inexpensive, easy to work with, and contribute to a nicer overall look.
Texas IMG_0499-EDIT.jpg
 
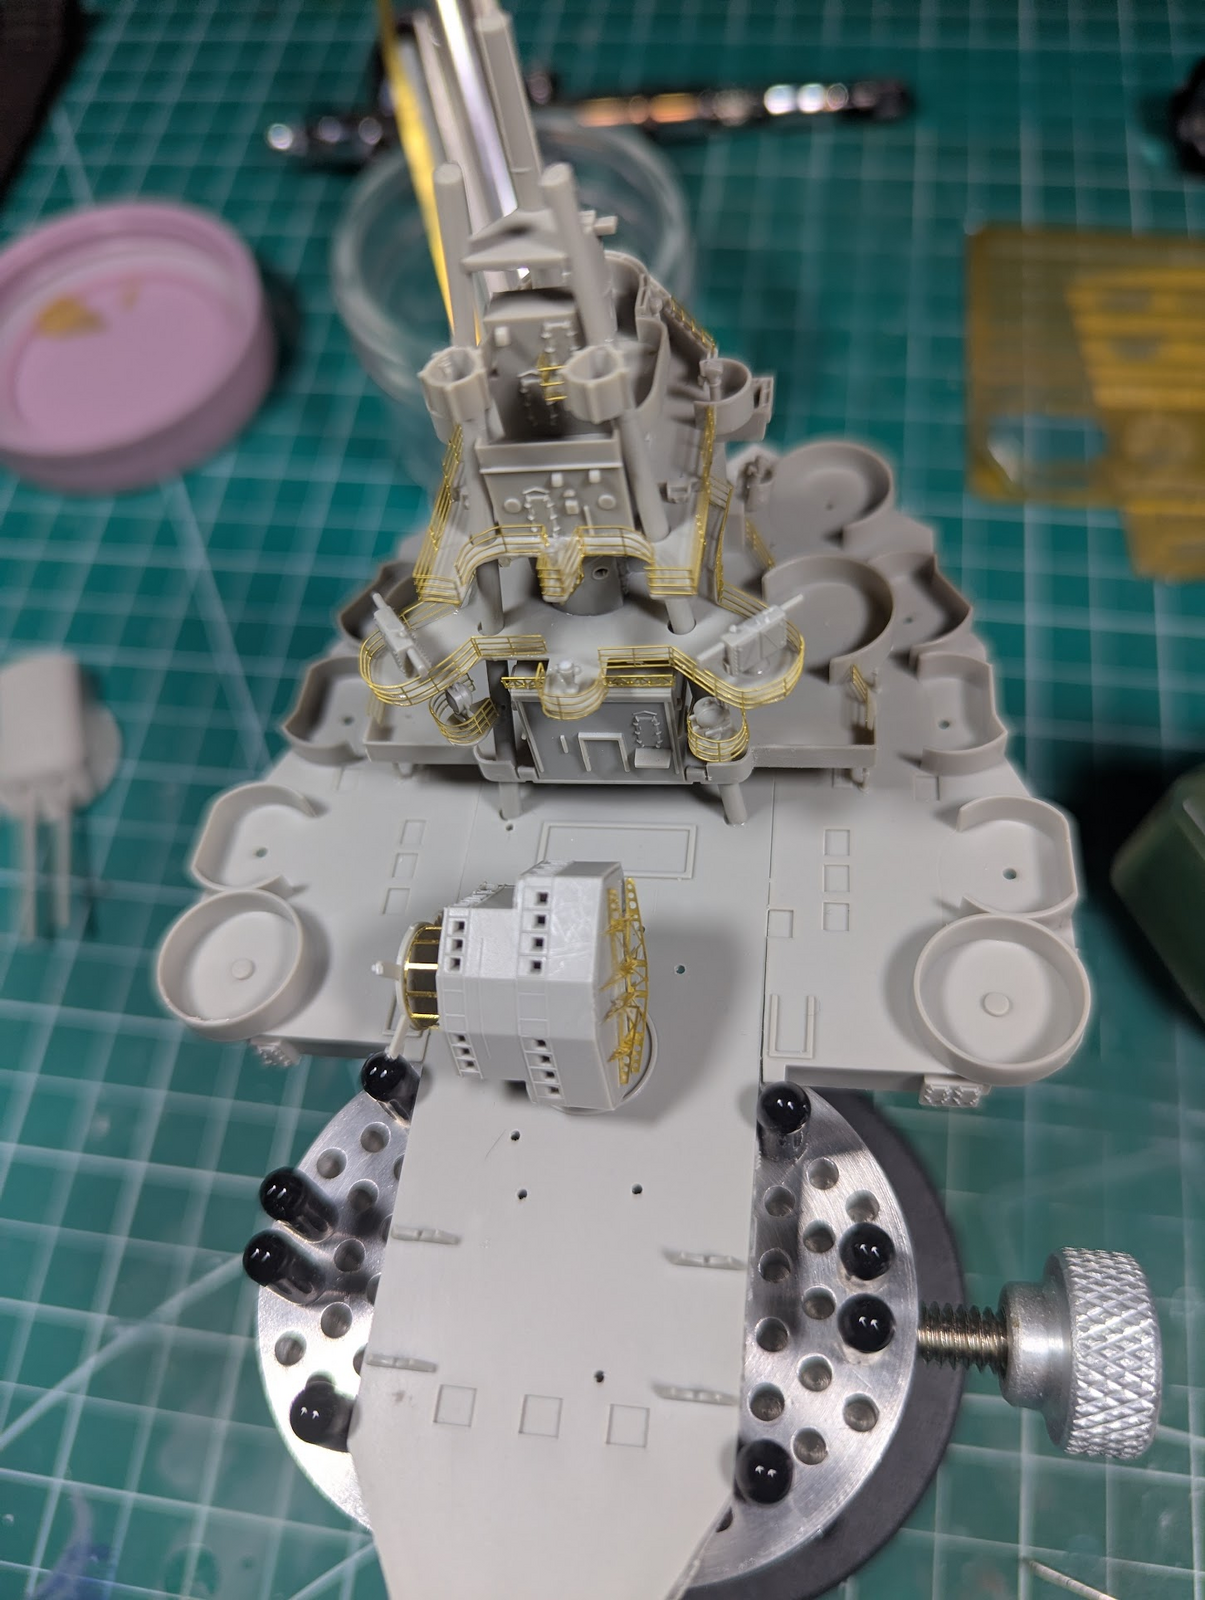
I admit that I underestimated the complexity and detail of this kit when I bought it. That said, I'm digging it, nothing makes you flow down like so much hyper-thin PE!

1738189307322.png


It is a bit blurry at the top there, but that indicates another error on my part. Those three tubular supports should all be at the same height, not sure if I installed the wrong part entirely or if I did not connect it correctly. No big deal to resolve of course, but that sideways bit in the center needs to sit on top of those posts. Going to wait until I put more PE on before I do that.
 
I do have a 1/350 Yorktown to finish, but I think this might be a chance/excuse to get this done instead

1738207688898.png


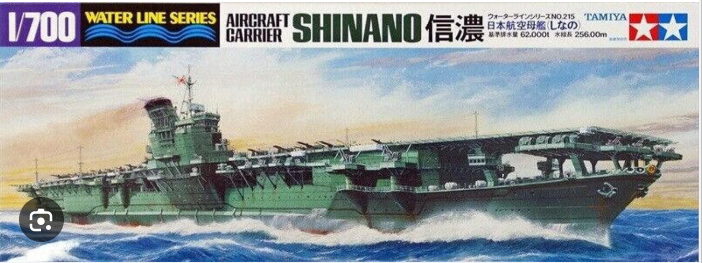
It is an interesting subject in that it started out as what was supposed to be the third ship in the Yamato-class after the Yamato and Musashi.
However, after the Battle Of Midway loss of 4 of it's carriers, and the dawning realization that battleships were no longer they key to victory, the partially completed hull was turned into an aircraft carrier.
She was sunk by the American sub Archerfish 10 days after commissioning on it's first mission sailing to Kure
Like the other Yamato class it had a design flaw which helped it sink so quickly and unexpectedly despite what should not have been as bad damage wise

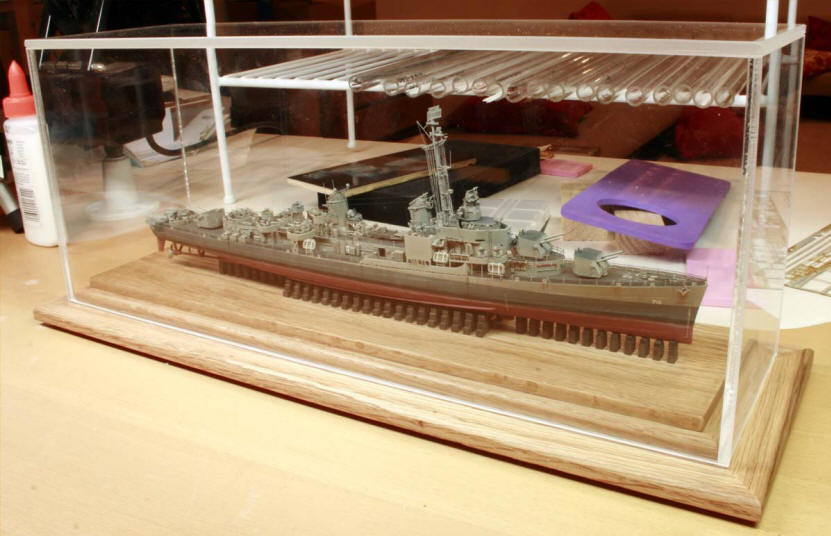
Figured it should look good sitting next to the Yamato in the display case
 
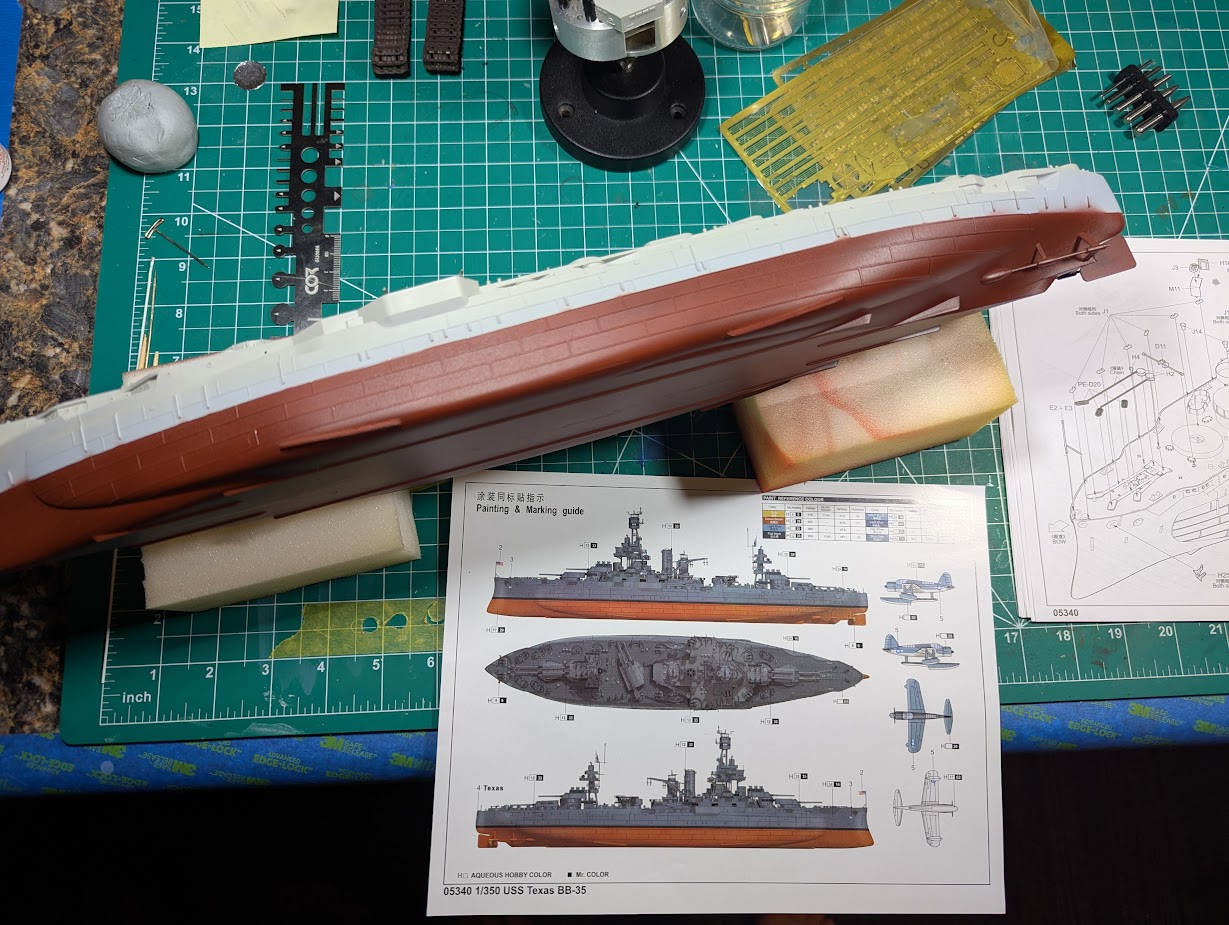
Took a break from the superstructure to work on the hull. I spent HOURS sanding the main seam underneath, frankly it needs more work, but the parts that show...will not show unless it is picked up and turned upside down.

Instructions say to use Tamiya XF9, which is really a brown with very little red. So I think that Trumpeter and Tamiya are both wrong. I mixed it about 50-50 with XF7 which is extremely bright red and it is still a bit on the brown side of red, but I reddened it a lot so calling that one done too.

1738246095308.png

That light gray that is similar to the plastic is just primer, so ignore the color of it. I am thinking I need to complete the sides and clear them before I start putting the details onto the deck. What do you shipbuilders say? How to you keep the hull colors from getting on the superstructure? There
is no clear delimiter, well there is, but it is not a solid/smooth thing, do I need to cut a hundred little bits of tape to mask that?

The reason for this is the choice to paint measure 22, where there's a dark blue side with lighter blue upper and even gray parts. The guide shown above is what she wore at Iwo Jima and Okinawa (I think) and I'm wanting to attempt the more difficult D-Day colors.

Vertical Surfaces:
Navy Blue 5-N
To be applied to the hull to the height of the main deck edge at its lowest point. The upper edge of this Navy Blue are should be horizontal.

Haze Gray, 5-H
All remaining vertical surfaces and all masts and small gear.​

Horizontal Surfaces:
Deck Blue, 20-B.
All horizontal surfaces above the siding.​

============

Does this picture (from wikipedia) represent the correct application of colors to you?

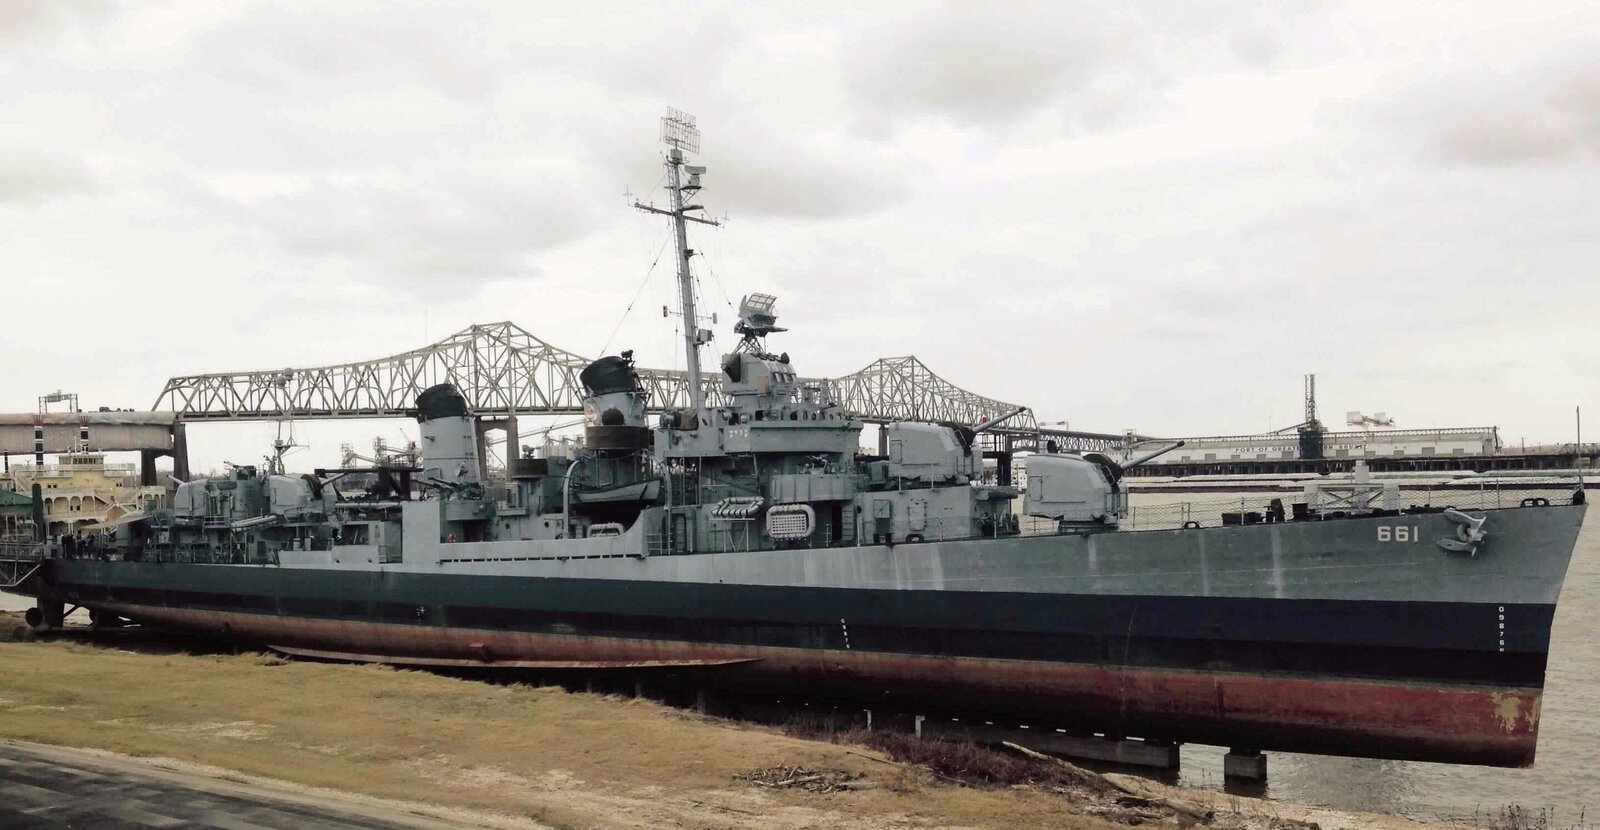
1738246569348.jpeg


The navy blue stripe would not have that departure line the way it does on this destroyer of course, so it would go all the way up the sides? The black water-line stripe shows how dark the navy blue really is (if accurate), I cannot find any color photos of her in this color scheme, the black& white ones are just not clear enough. I'm thinking I'll cheat a little and make more contrast between the two.

Last question for now, thanks in advance, this is new subject matter to me...
Does the horizontal surfaces being deck blue include the top of the fighting towers and turrets, or just the main flooring/deck areas?
 
Thanks for sharing your work, and asking these questions in such a methodical way! I don't have answers, but your project is making for an excellent primer for others, like me, of a ship build!
 
Took a break from the superstructure to work on the hull. I spent HOURS sanding the main seam underneath, frankly it needs more work, but the parts that show...will not show unless it is picked up and turned upside down.

Instructions say to use Tamiya XF9, which is really a brown with very little red. So I think that Trumpeter and Tamiya are both wrong. I mixed it about 50-50 with XF7 which is extremely bright red and it is still a bit on the brown side of red, but I reddened it a lot so calling that one done too.

View attachment 136167
That light gray that is similar to the plastic is just primer, so ignore the color of it. I am thinking I need to complete the sides and clear them before I start putting the details onto the deck. What do you shipbuilders say? How to you keep the hull colors from getting on the superstructure? There
is no clear delimiter, well there is, but it is not a solid/smooth thing, do I need to cut a hundred little bits of tape to mask that?

The reason for this is the choice to paint measure 22, where there's a dark blue side with lighter blue upper and even gray parts. The guide shown above is what she wore at Iwo Jima and Okinawa (I think) and I'm wanting to attempt the more difficult D-Day colors.

Vertical Surfaces:
Navy Blue 5-N
To be applied to the hull to the height of the main deck edge at its lowest point. The upper edge of this Navy Blue are should be horizontal.

Haze Gray, 5-H
All remaining vertical surfaces and all masts and small gear.​

Horizontal Surfaces:
Deck Blue, 20-B.
All horizontal surfaces above the siding.​

============

Does this picture (from wikipedia) represent the correct application of colors to you?

View attachment 136168

The navy blue stripe would not have that departure line the way it does on this destroyer of course, so it would go all the way up the sides? The black water-line stripe shows how dark the navy blue really is (if accurate), I cannot find any color photos of her in this color scheme, the black& white ones are just not clear enough. I'm thinking I'll cheat a little and make more contrast between the two.

Last question for now, thanks in advance, this is new subject matter to me...
Does the horizontal surfaces being deck blue include the top of the fighting towers and turrets, or just the main flooring/deck areas?
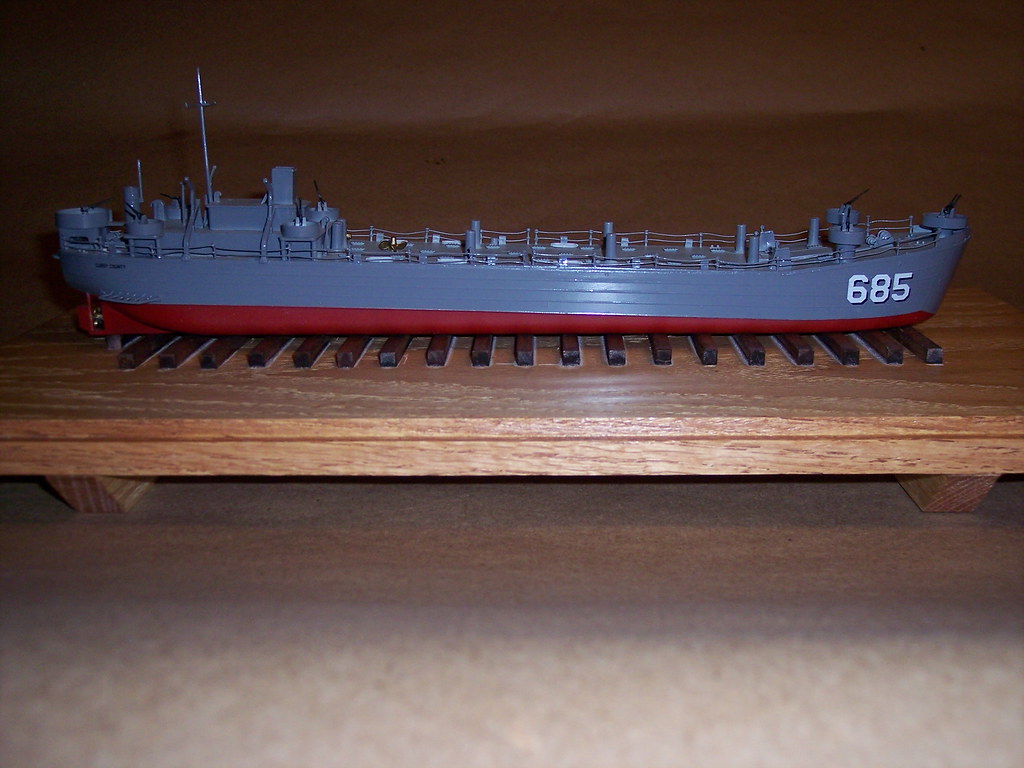
This is what I used on the LST. It looks very close to the actual anti-fouling red.

Screenshot (124).png
 
@Edbert she is looking just fine! The best way to tackle painting this beast is to paint all your horizontal surfaces, let cure then mask. Yes you will have to use some small bits of tape for the tight areas around the gun shields and deck bits, but it will be an easier task and quicker than you think. Then you can paint away with all your vertical surfaces.
 
@Edbert I apologize I missed a good portion of your question regarding the Measure 22 scheme on the hull of the ship. The hull should be completed before you paint the horizontal decks and surfaces. First, mask off your lower hull up to the bottom edge of your hull red and mask above to protect the upper hull to spray your boot stripe in black, once that has cured, mask off the boot stripe taping edge to edge and remove the upper masking. So at this point you will paint from the top of the boot stripe Hazy Gray 5-H, and let it cure well. Final step of the hull is mask the top of the horizonal line using the lowest point of the deck which I am assuming are the gun placements of the secondaries. Mask that line parallel to the top of the boot stripe, this will be painted the final color Navy Blue 5-N. Once cured up, you can cover your hull work to start painting your Deck Blue horizontal surfaces and decks. I hope I explained this well enough, but if there are any questions, let me know and I will see if I can post some images of the process.
 
I'm feeling an urge to paint all the rubber life-rafts (30 of the little buggers) a bright color. Not neon orange or yellow, but something of a different color than the steel, to provide interest to the eyes if nothing else. Would that be a mistake? Seems most builders paint them the same color as the armor they mount to, you can see some of them stacked up in the 1st picture below.

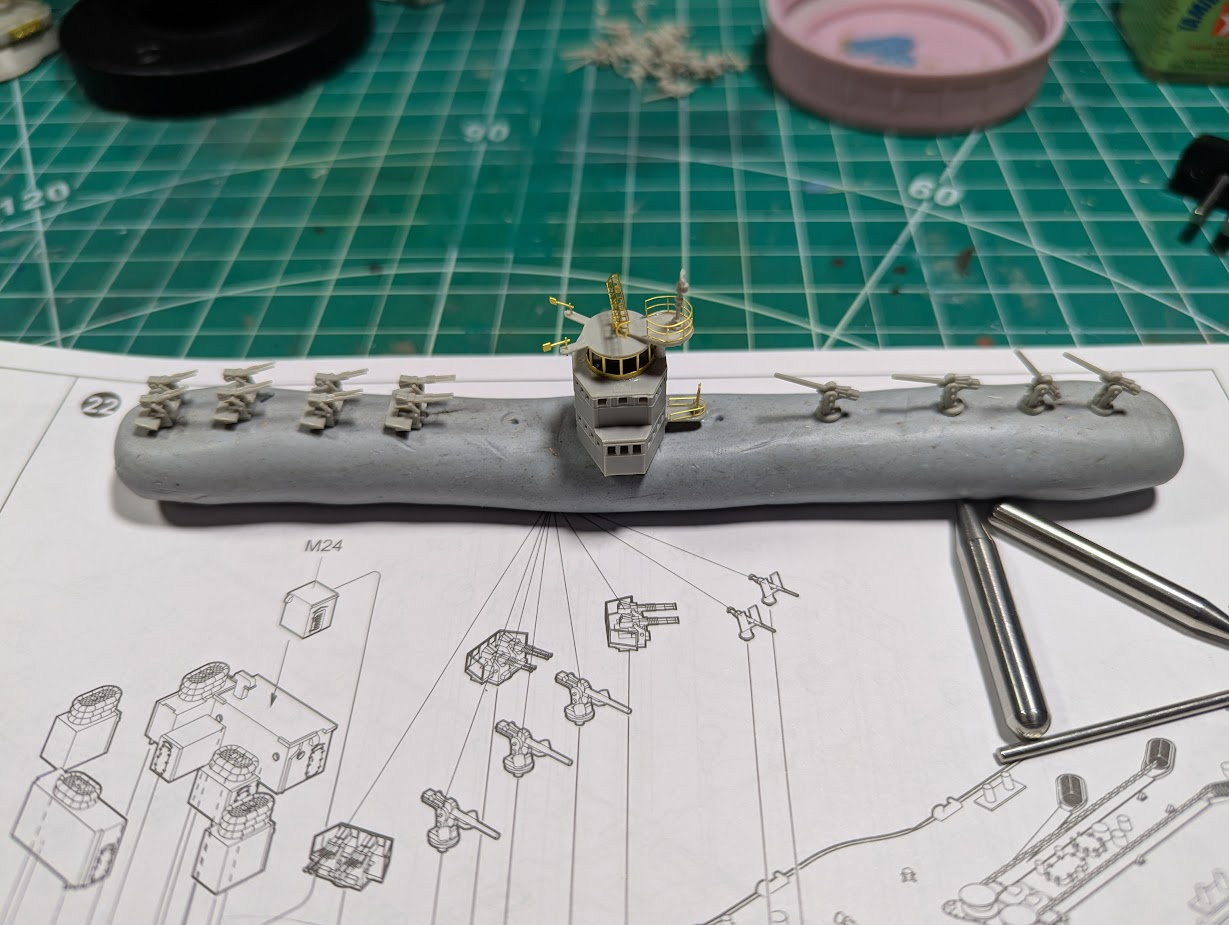
I've started on the secondary and AAA, lots of those too. thinking I'll mount them near the end, just before paint to avoid breaking or knocking them around.

1738423561502.png


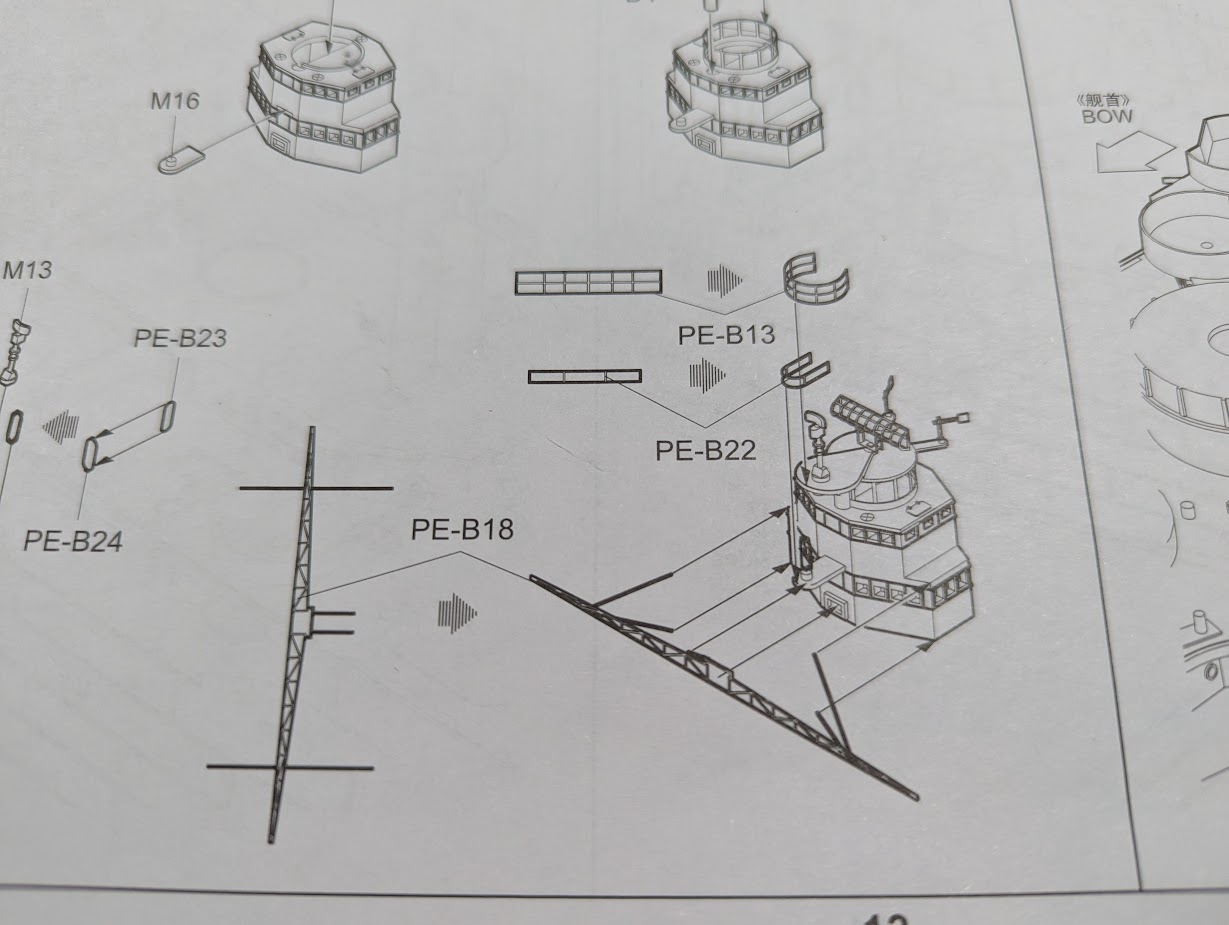
I am DEFINITELY leaving PE-B18 until the end, no way that remains unbent with so much assembly remaining.

1738423796107.png
 
I'm feeling an urge to paint all the rubber life-rafts (30 of the little buggers) a bright color. Not neon orange or yellow, but something of a different color than the steel, to provide interest to the eyes if nothing else. Would that be a mistake? Seems most builders paint them the same color as the armor they mount to.
Well it is your model, so you could do as you like. However, if you'd like it to be closer to what may have been, you can paint the stacks with some variation such as painting lower rafts in black rubber as they would be unpainted and newer with one or two on top either the vertical or horizontal colors of the deck/structure they are mounted to. The interior you could paint tan or wood color simulating the bottom structures of the rafts. This will give you enough variation to make them more interesting. HTH
 

Latest posts

Back
Top