Group Build: Historical Warships of WWII

Scale Model Addict - Model Tips, Guides, Tools & Tech, Tutorials, and Community

Help Support Scale Model Addict:

I have the 1/700 kit and I am leaning towards Measure 22. M12 would be a good one but like you said, would require some backdating of the deck arrangements. With M22, I like the contrasts between the dark sea blue and light 5N. I am not crazy on masking and painting the deck though.
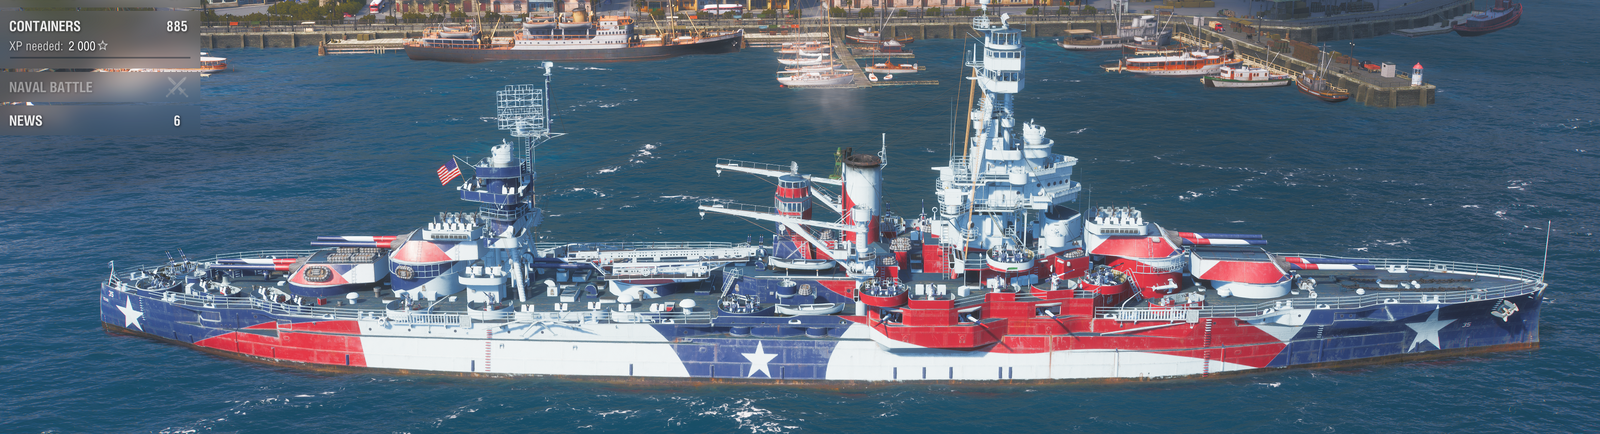
There's this paint scheme, from a video game I am fond of and one of the main reasons I wanna try to build a boat :)

1737502236660.png


Talk about a pain to mask, yikes!
 
Continuing work, never had 4 sheets of PE before, kinda daunting, but at least this is super-thin brass.

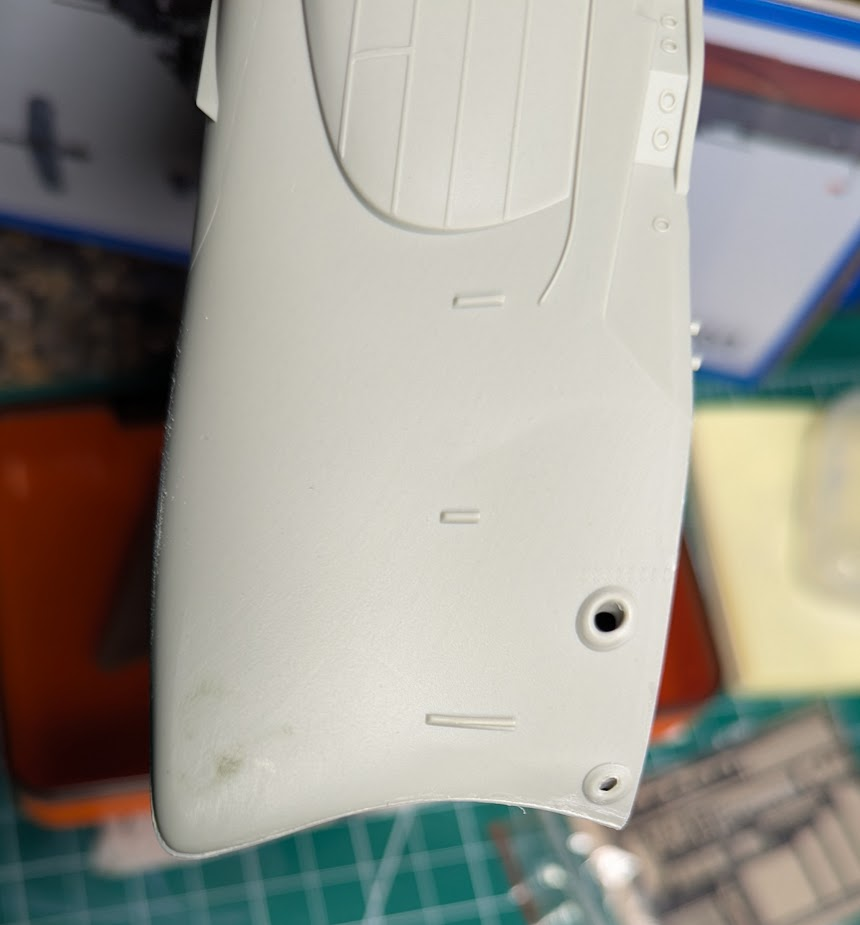
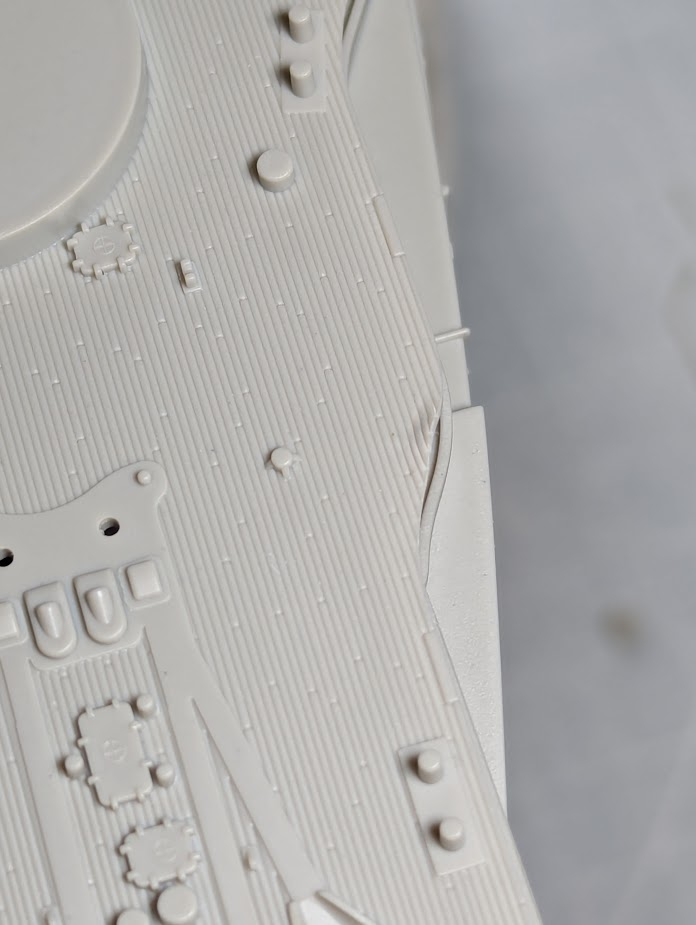
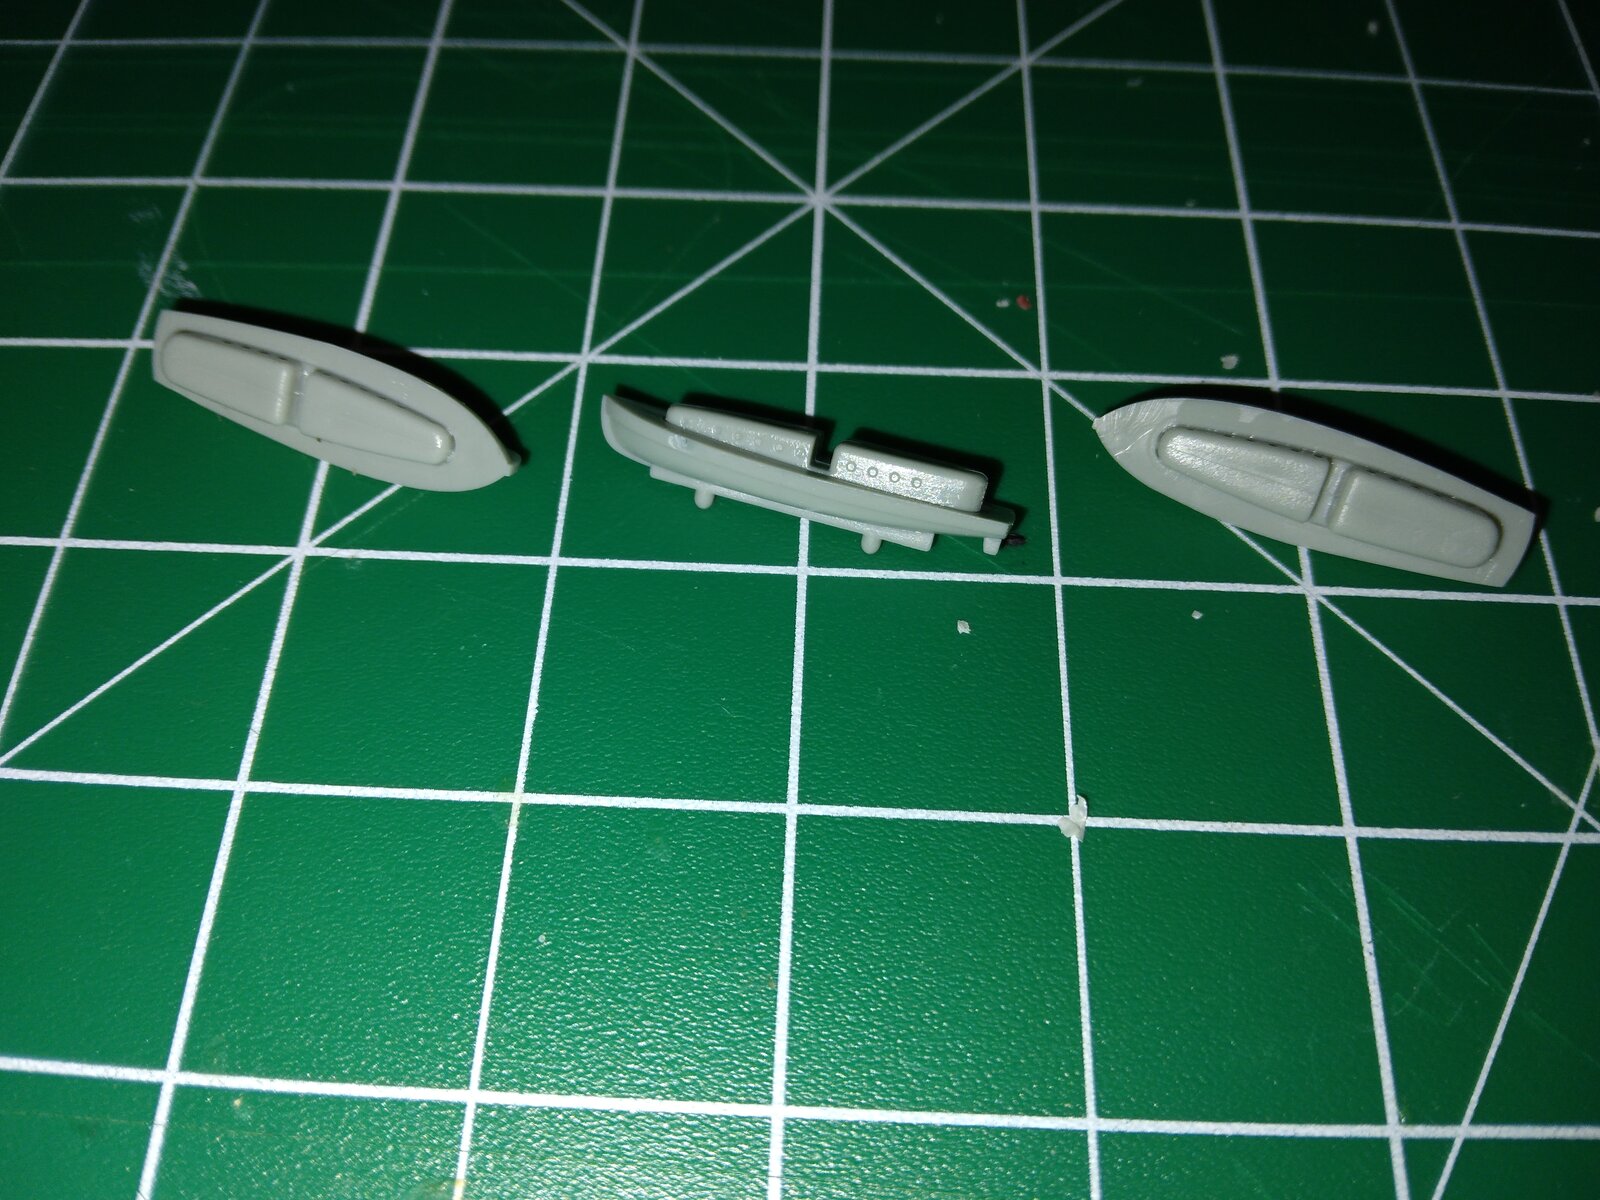
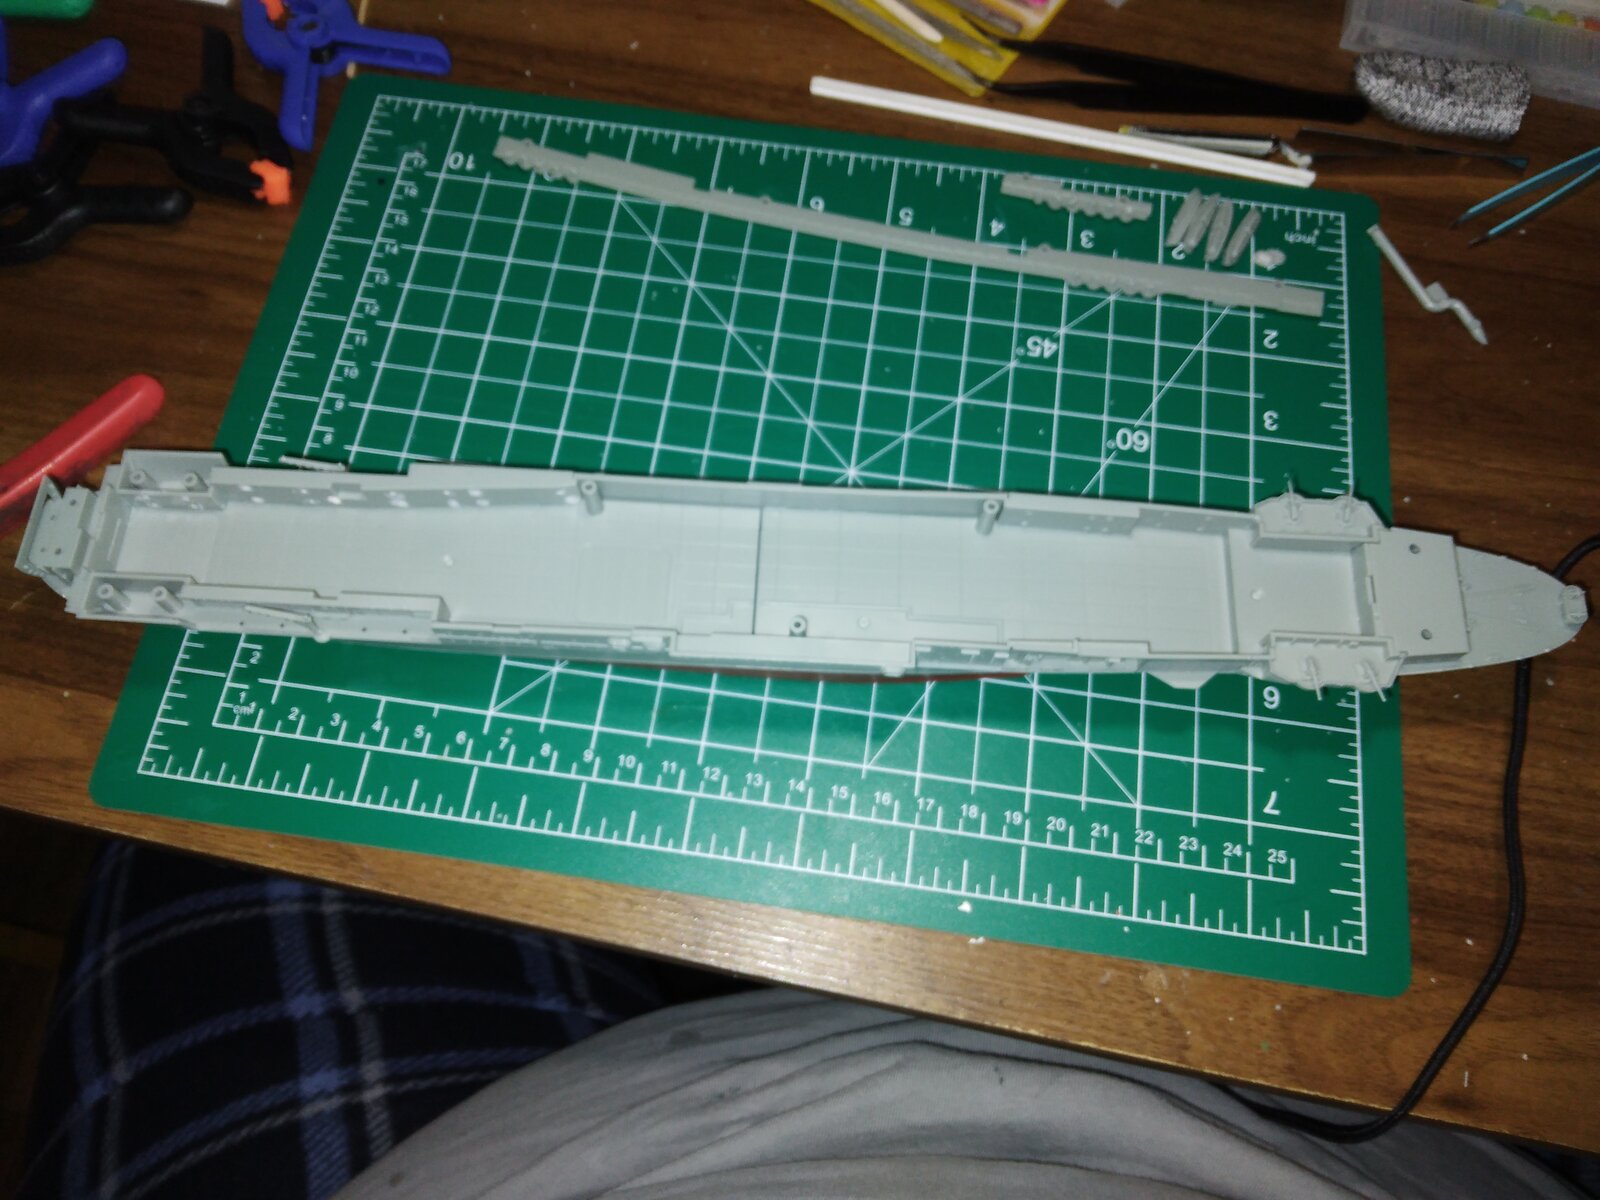
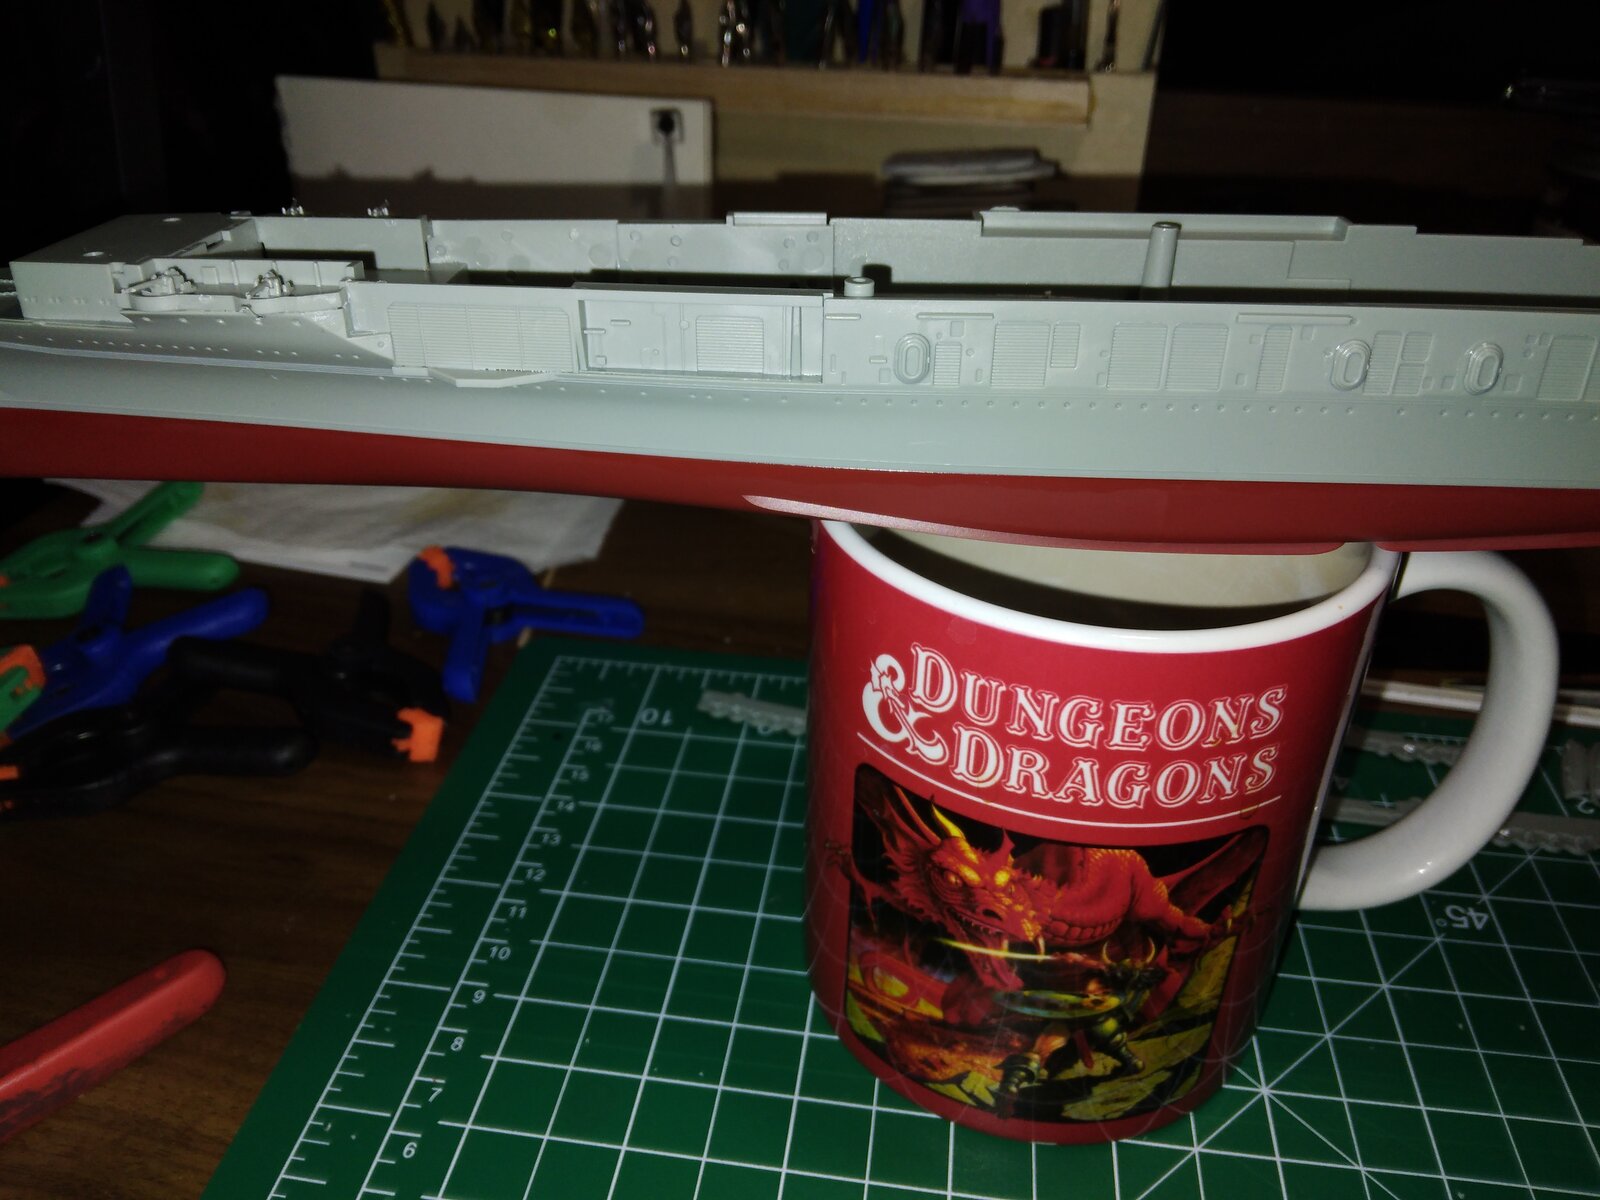
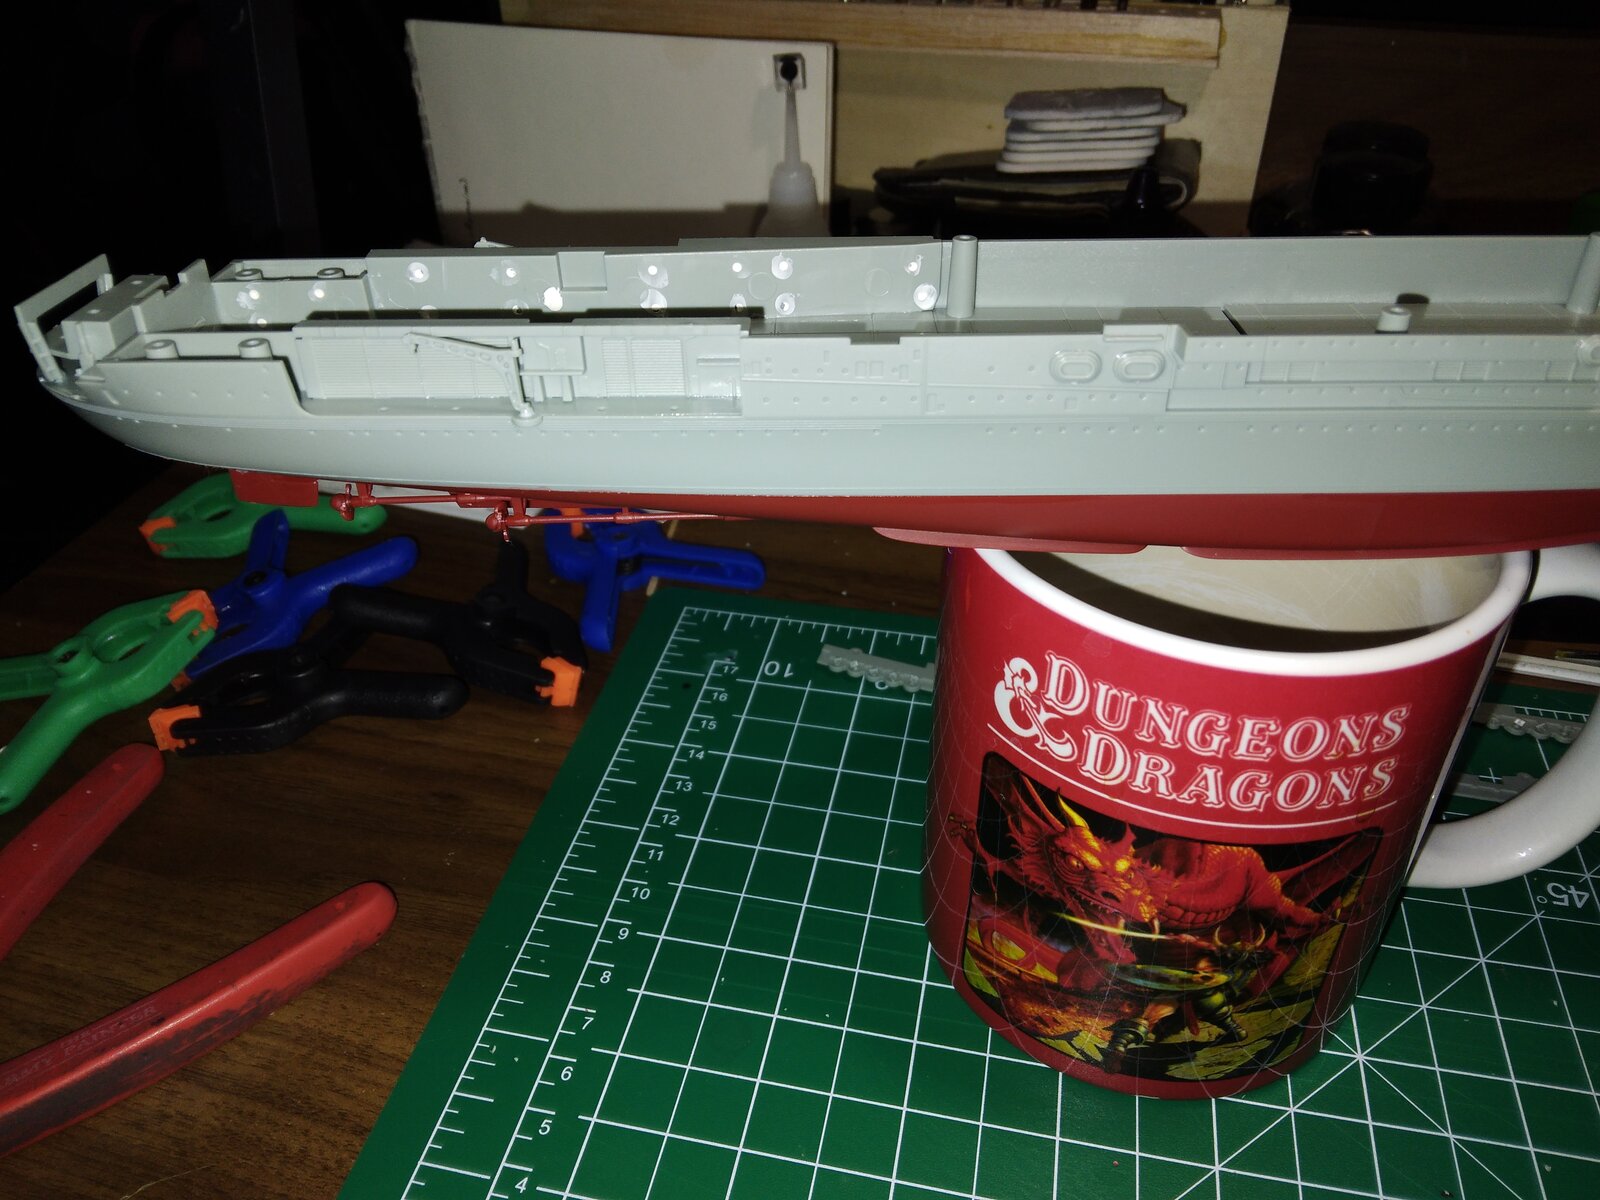
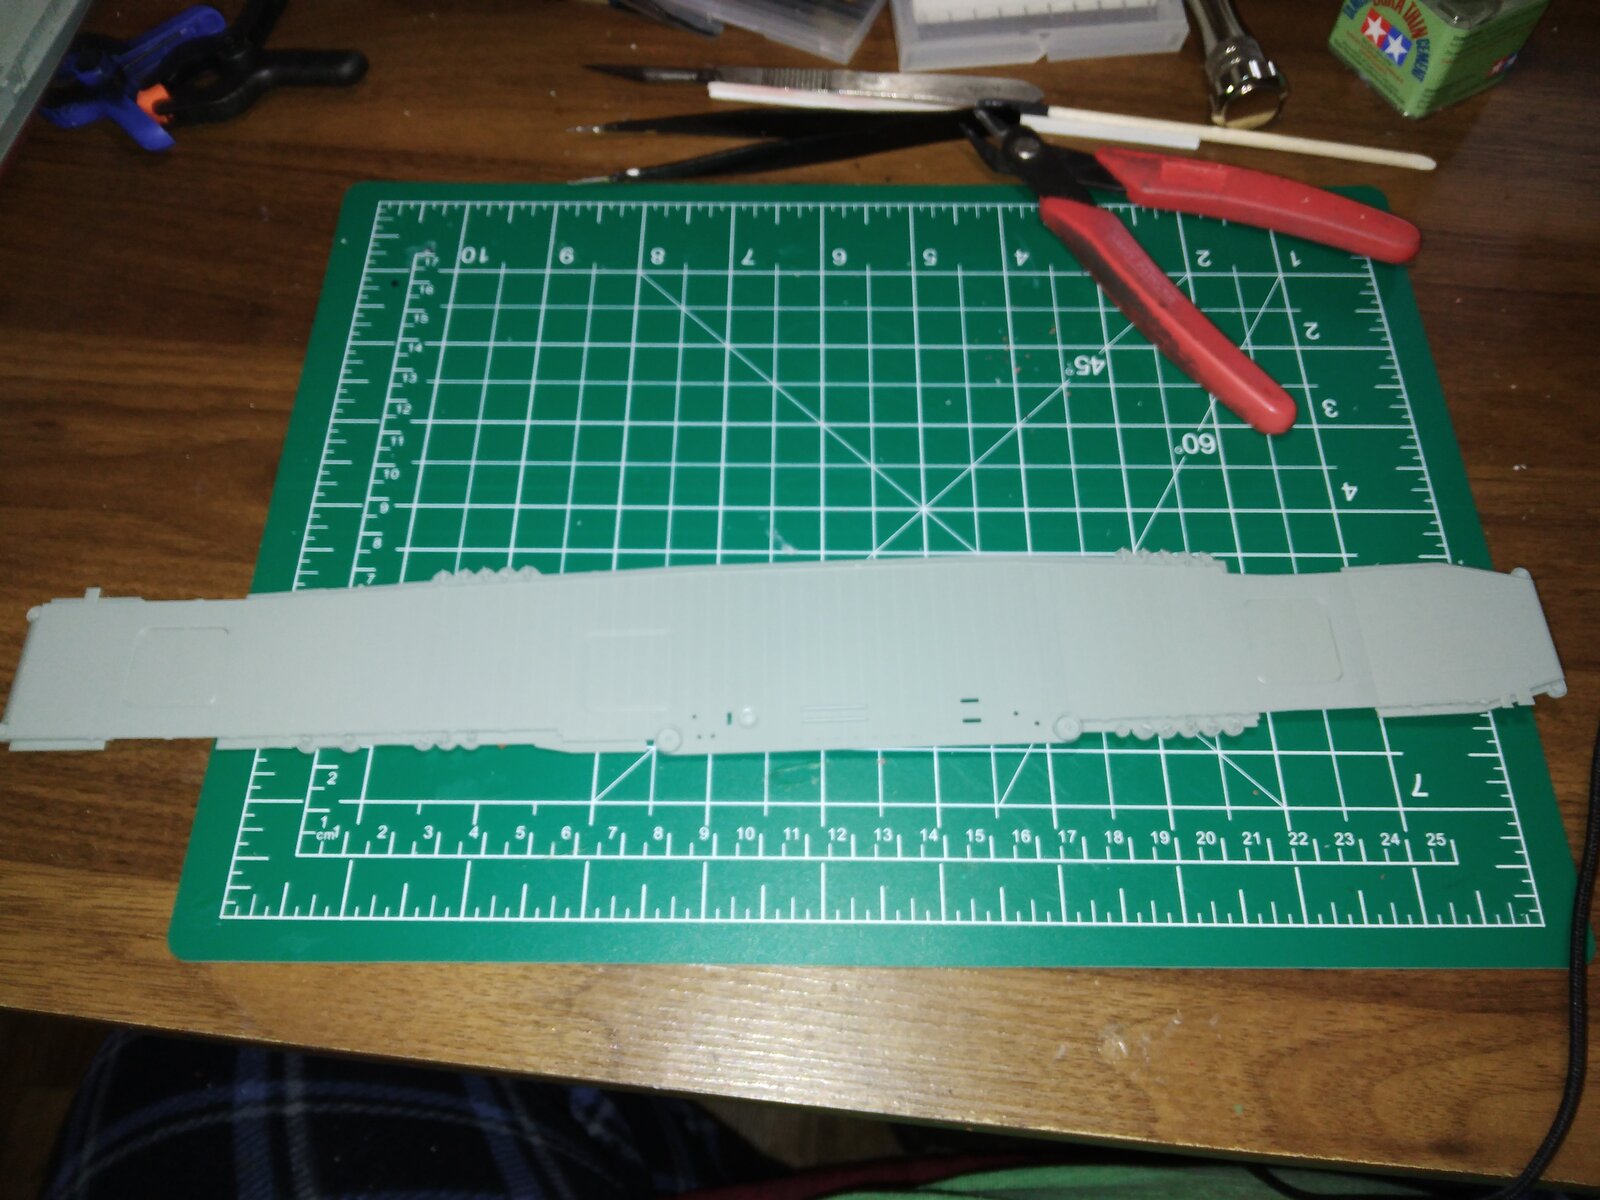
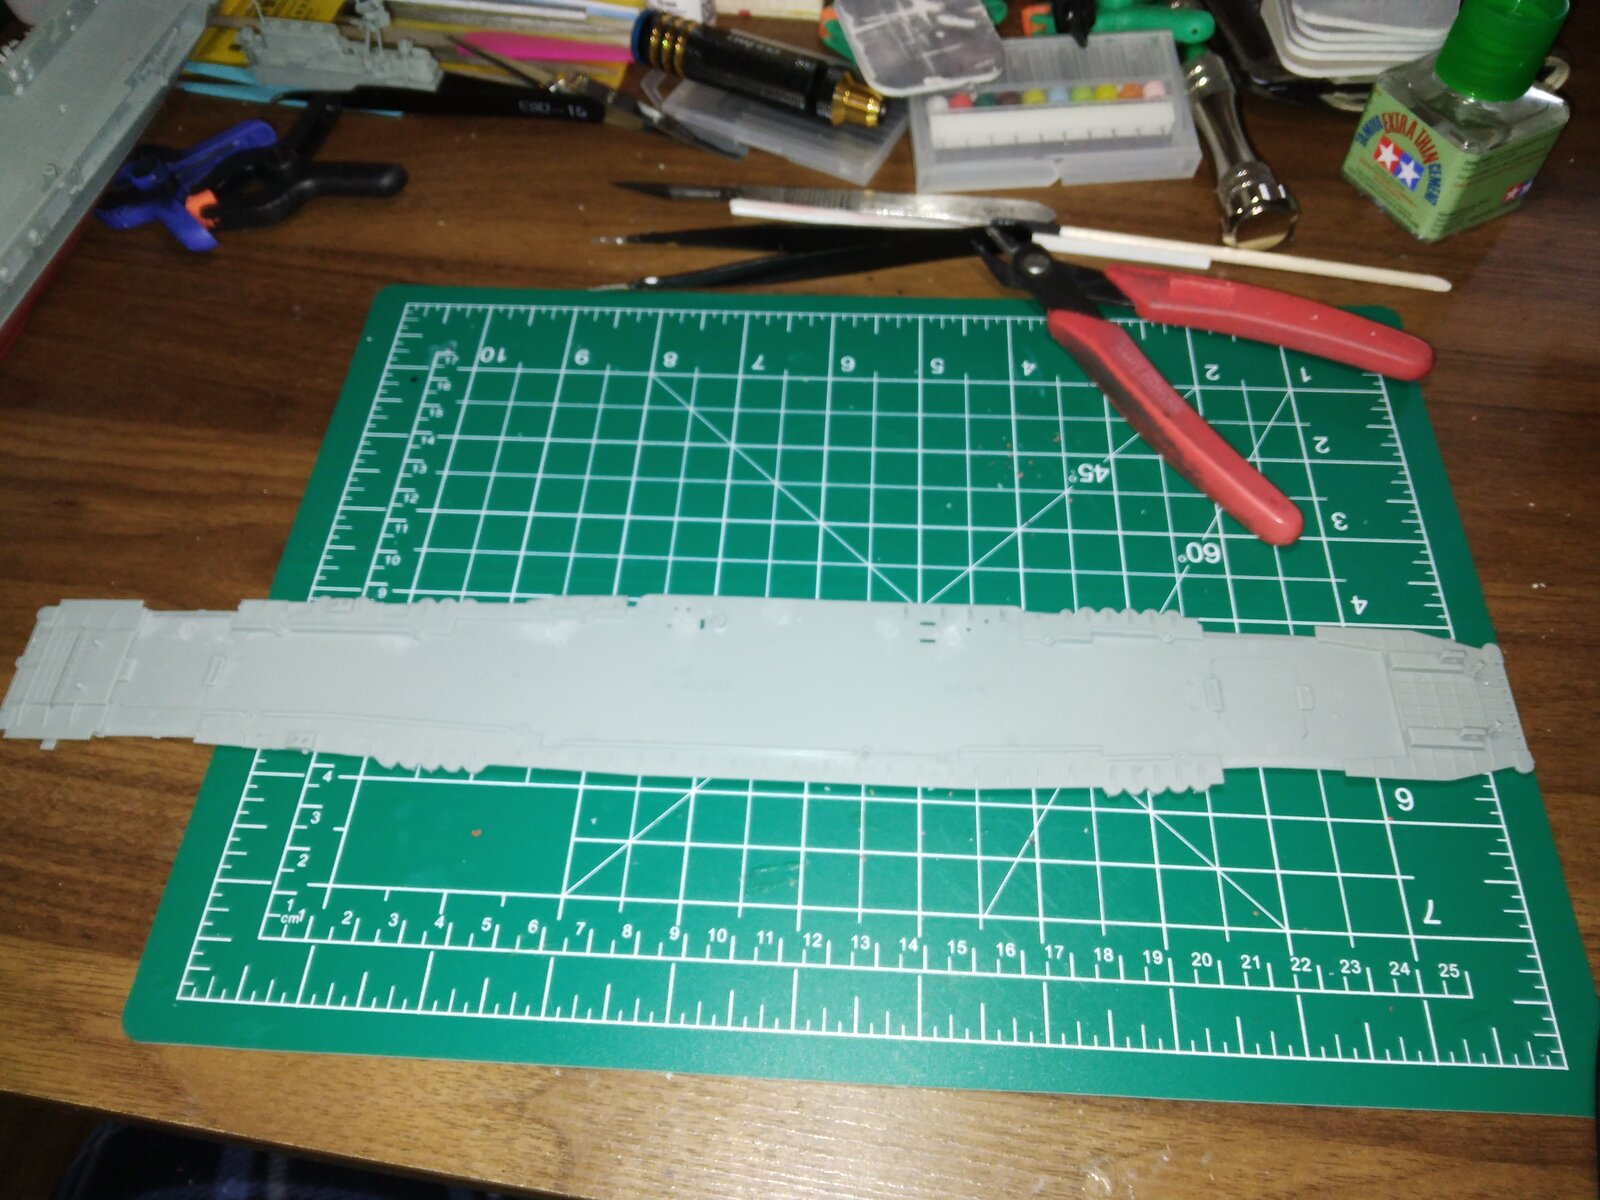
I'm a little disappointed in Trumpeter's QA/QC, this is my 1st ever kit from them so it may not be universal at all. But it seems the two halves of the hull are different lengths, and part of the deck was "melted" or somehow damaged.

1737650830652.png

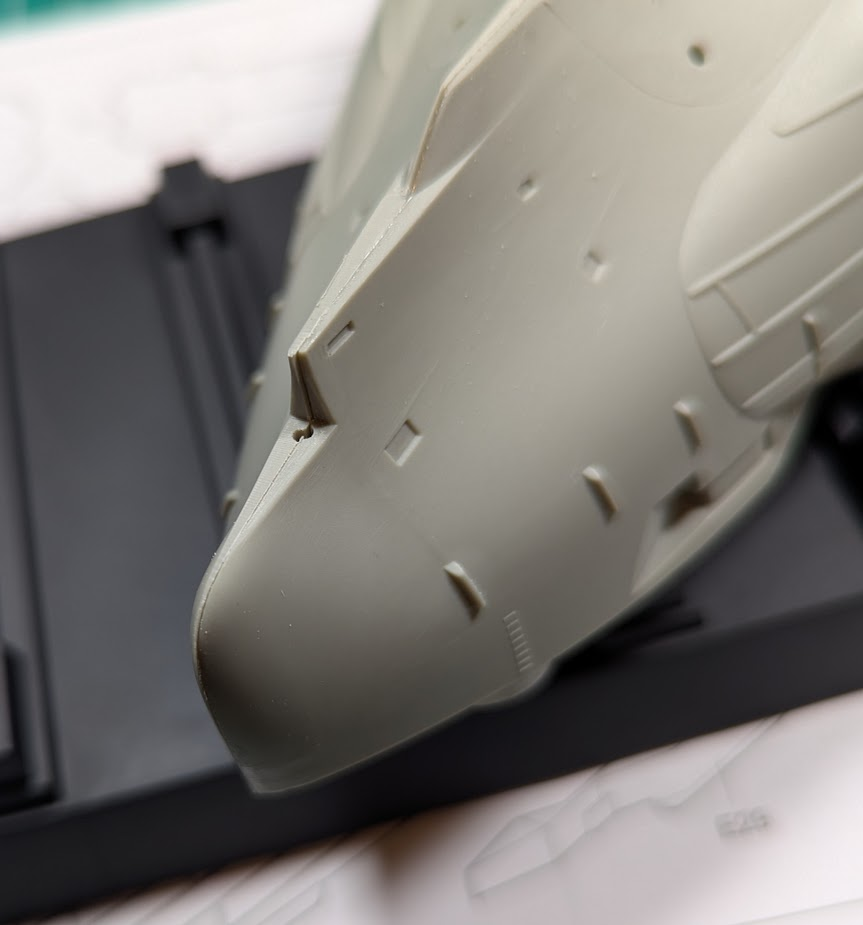
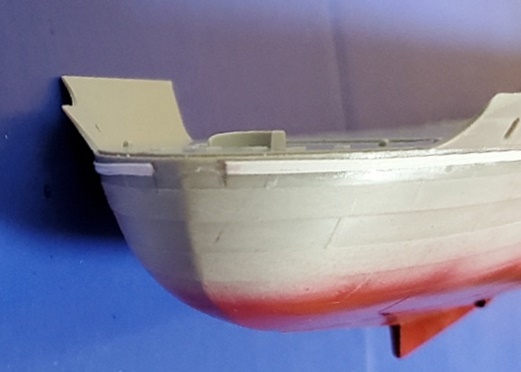
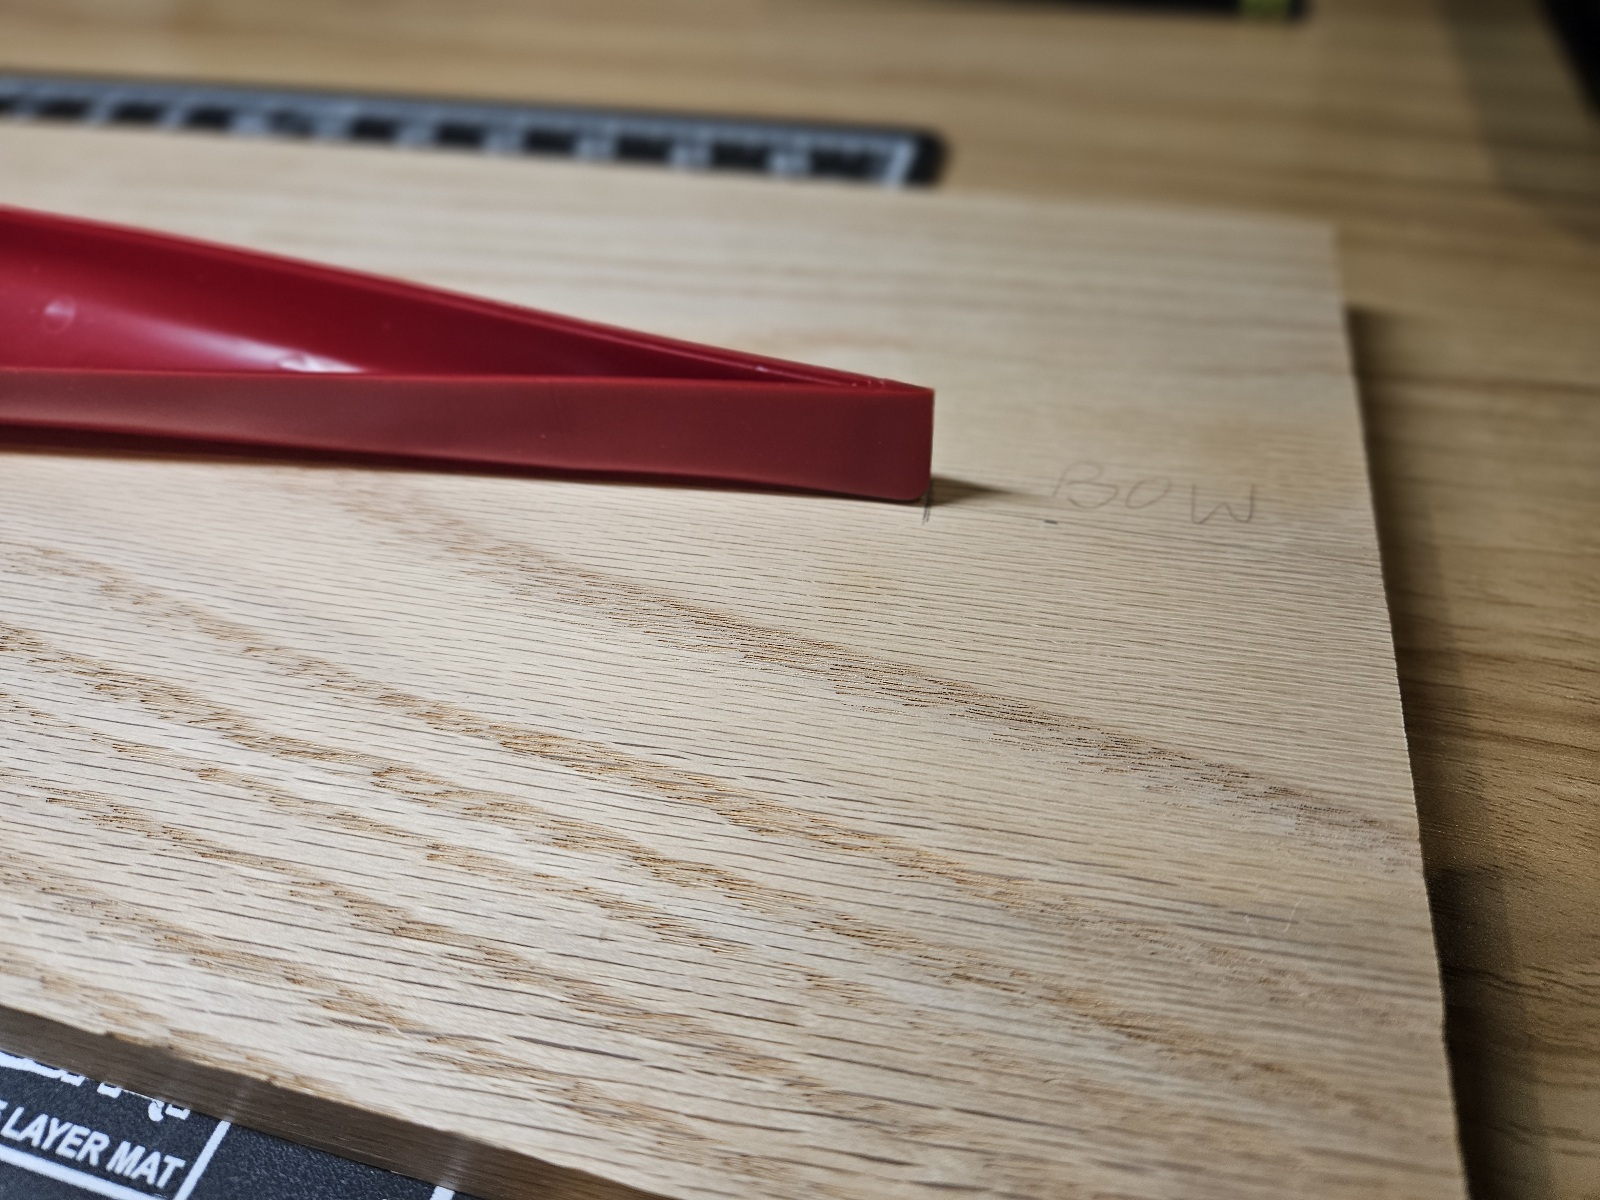
This is what I mean about the hull halves. You can see the step there on the bow. The biggest part is maybe a mm, rest is less, but still disappointing. I could bend the parts slightly to make them mate up, so the overall length might be okay. But if so that means they are warped.

1737650974658.png

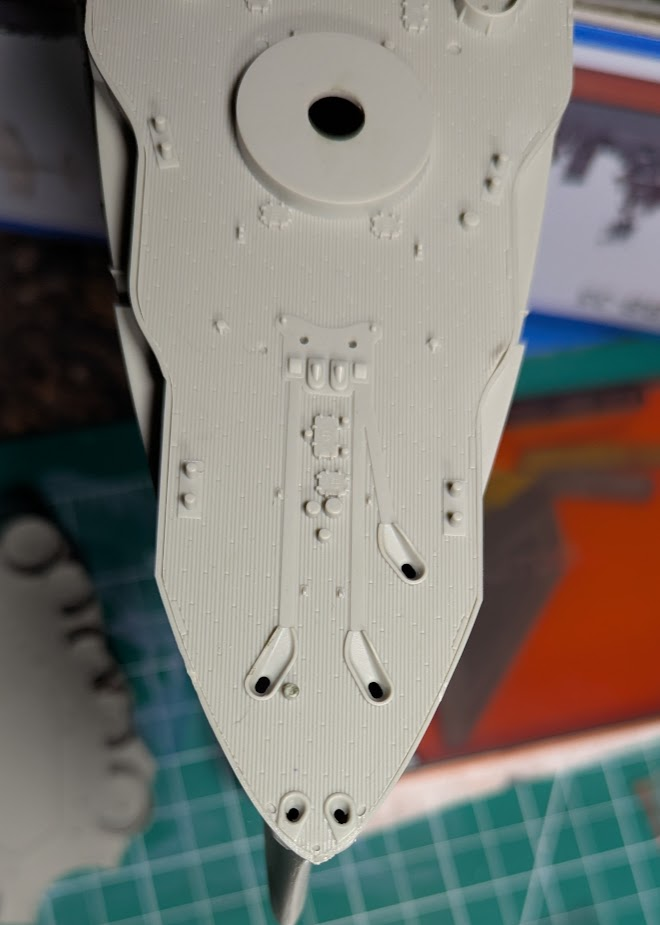
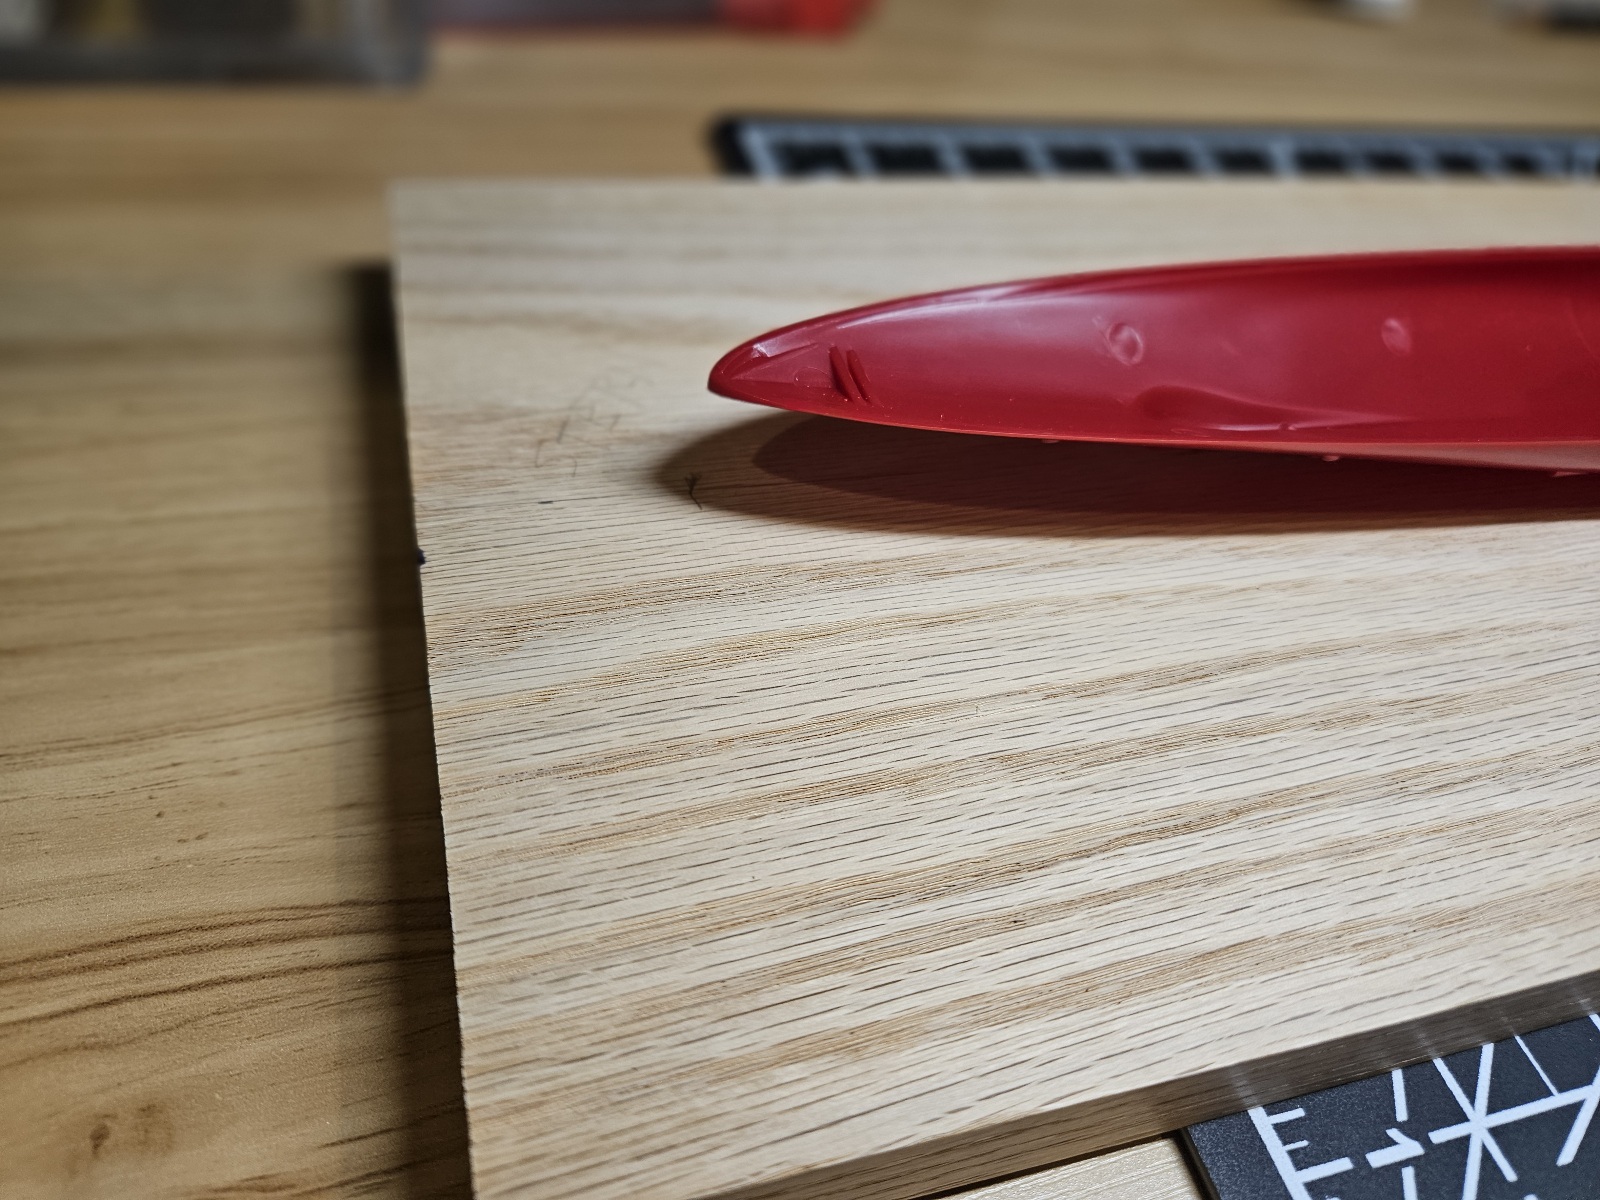
You might be wondering..."if you could bend them slightly to mate the halves why did you not do so?" This picture shows why. If the two halves of the hull were perfectly aligned, then the deck did not fit at all. You can see here it is still not perfect. But I think the deck being really close is more important than the hull, I think I can grind the hull to an acceptable profile much easier.

1737651123486.png

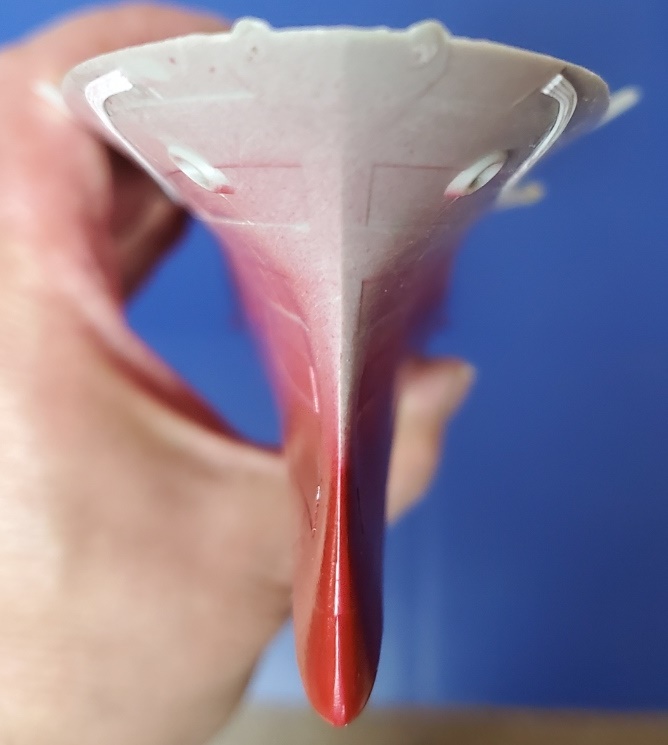
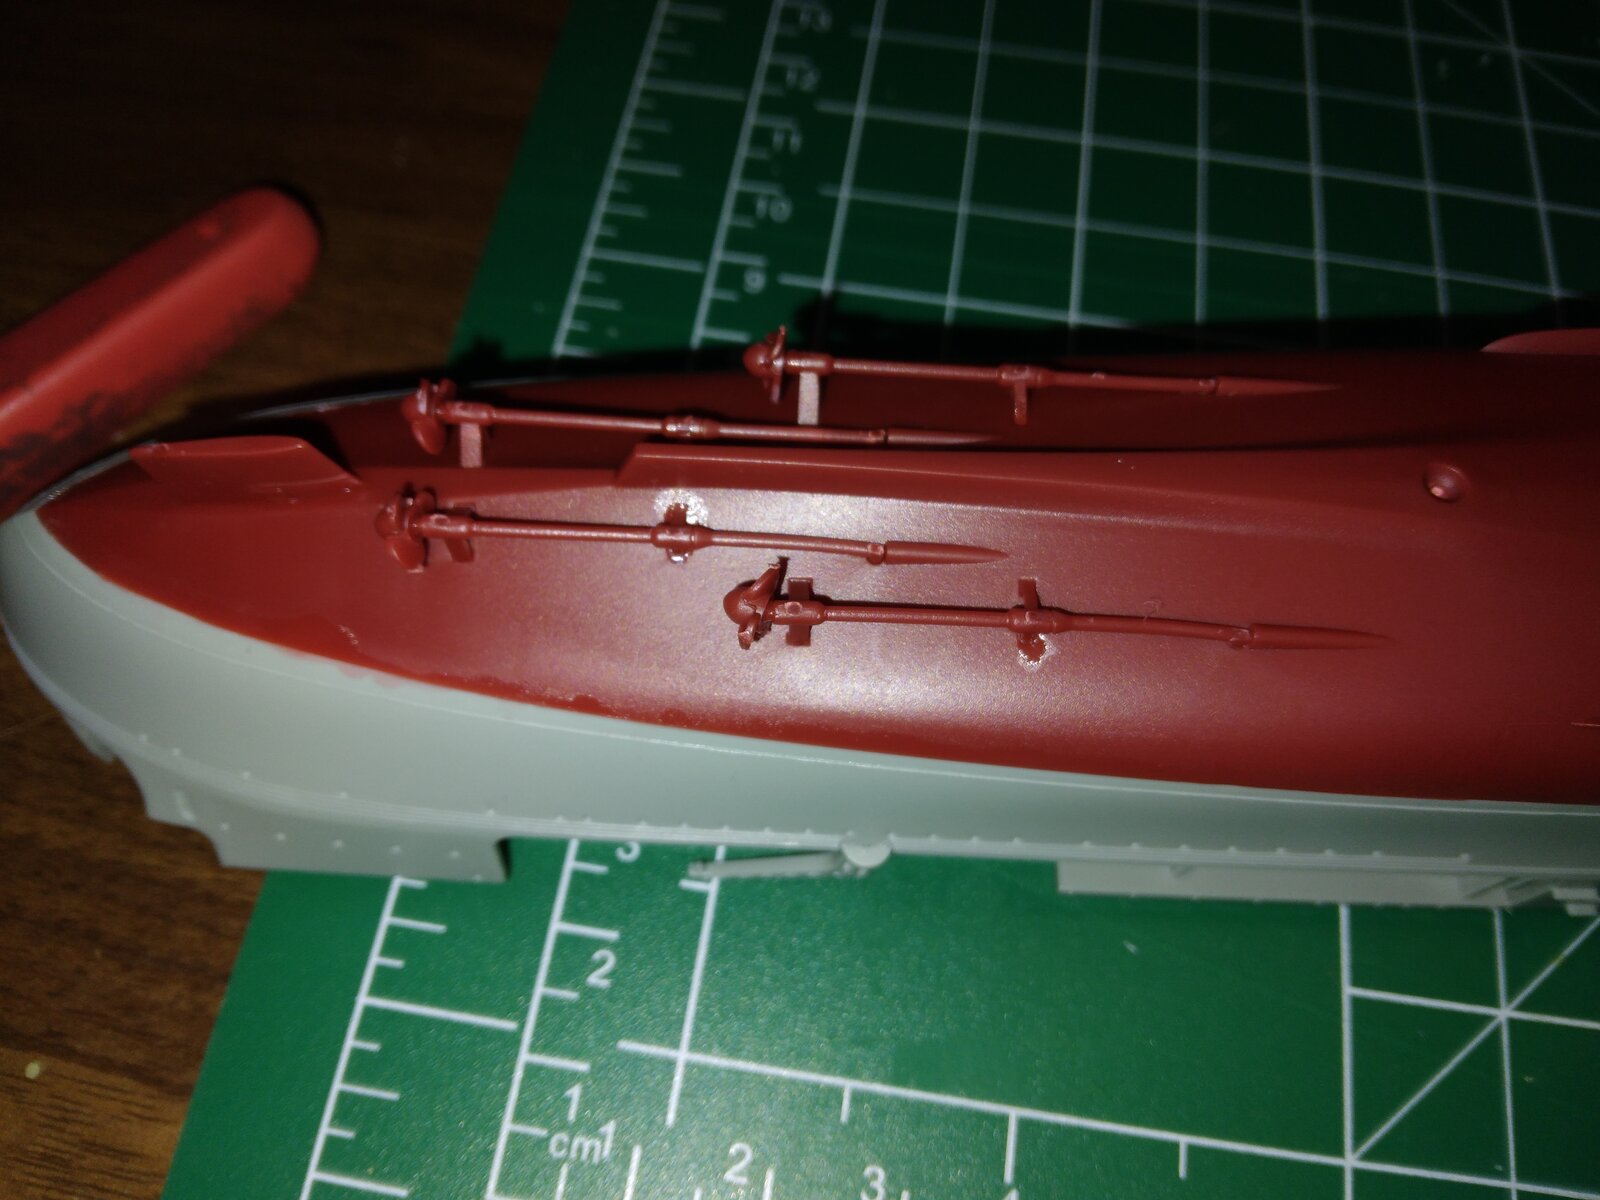
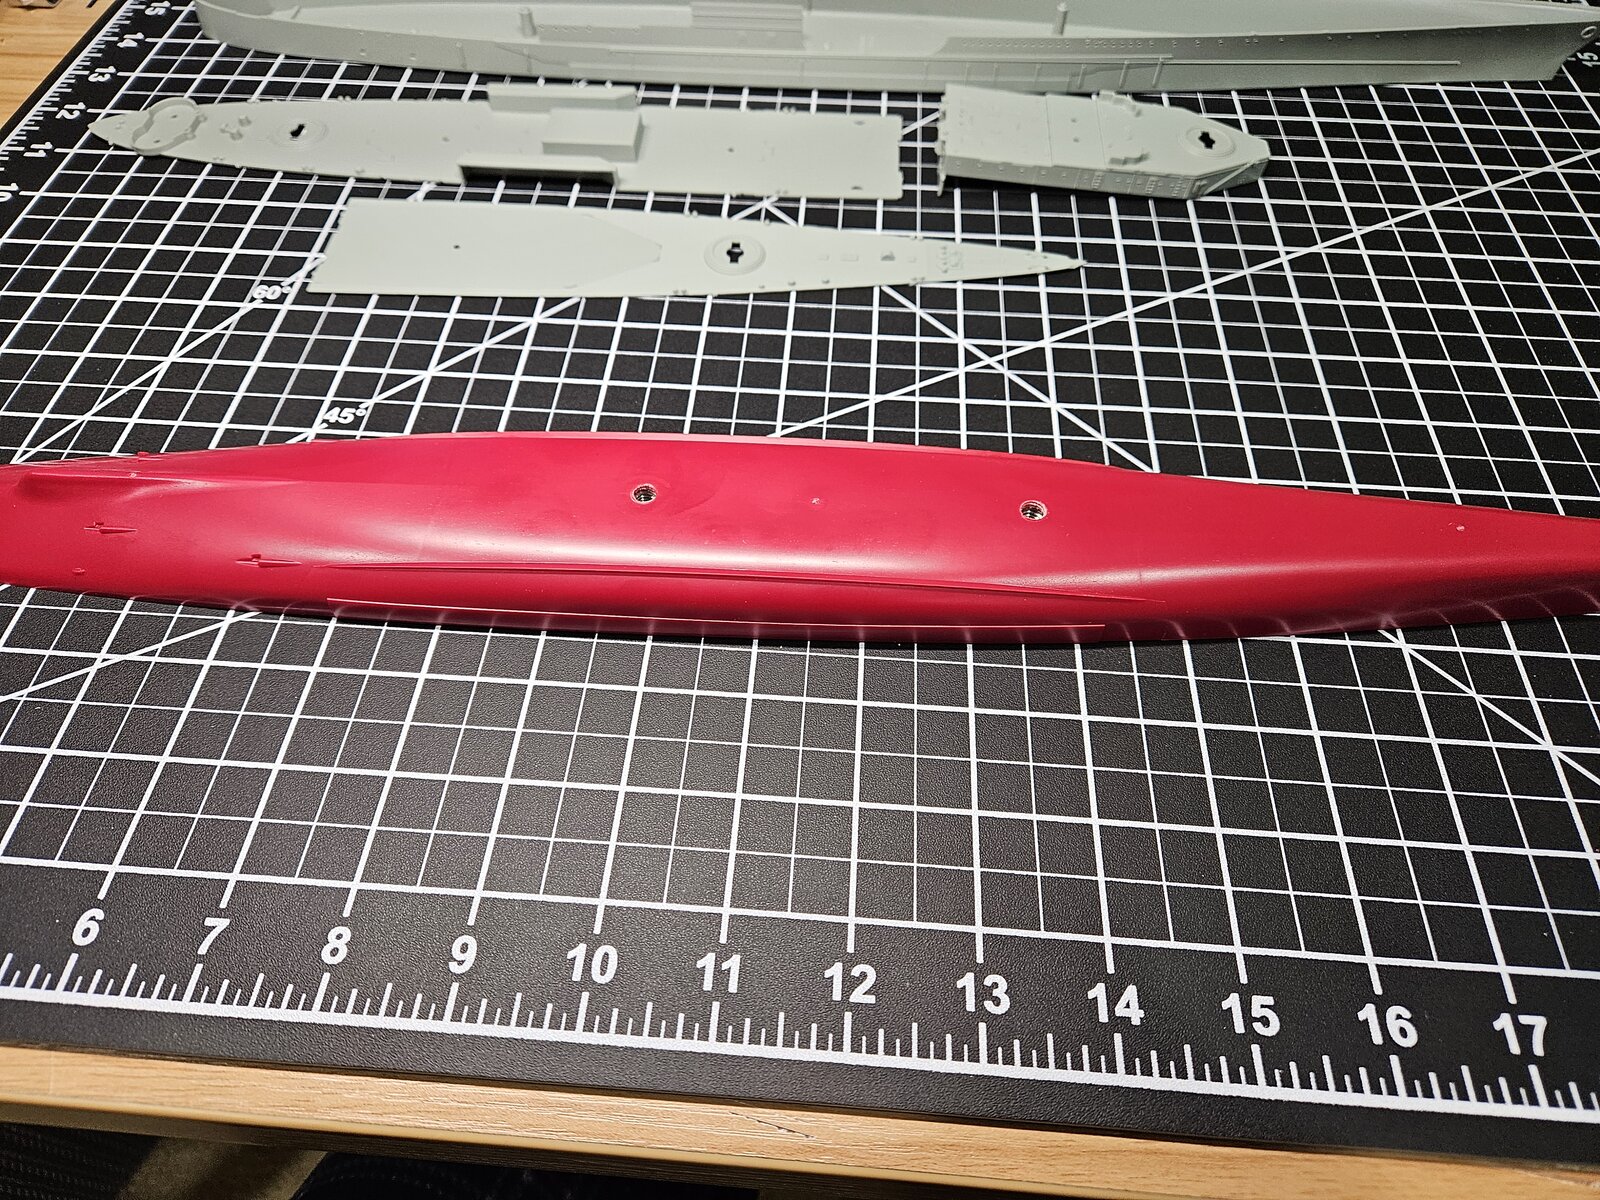
Here's another example. The above water part (sorry for my ignorance of ship terminology) of the stern is mated pretty well, but even with that part lined up there are parts of the keel that do not align at all, including the hole for the rudder. Still a reasonably easy fix, maybe I'm spoiled by other manufacturers or just kits of higher-end and cost.

1737651283373.png

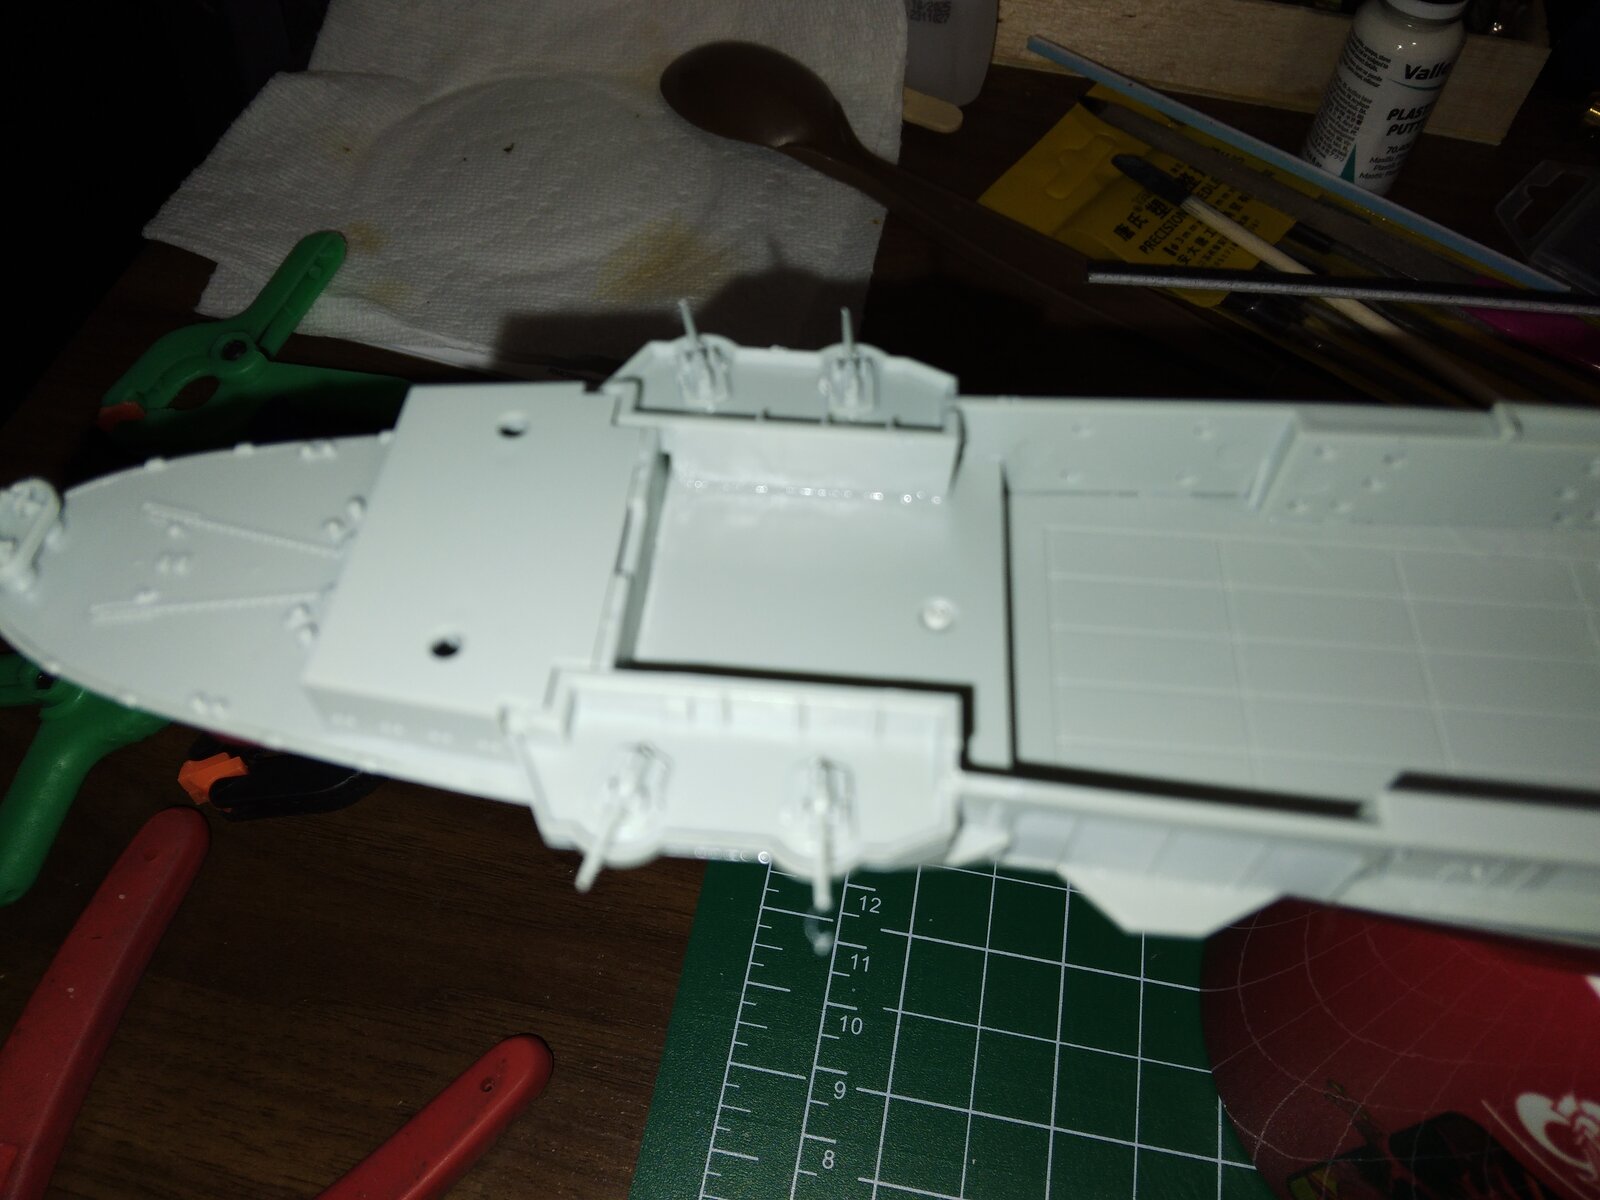
You might have seen it in the 2nd pic, but this is a close-up of the melted bit I mentioned, that part of the deck is raised above the rest by at least 2mm. I do not look forward to adding putty after grinding he raised part down and having to scribe the wood lines again. Maybe I'll get one of those wooden deck aftermarket kits.
 
I have had fits issues with all my Trumpeter ships in the past. They get trickier in the superstructure. Trial fit and assemble as much as possible before gluing and don't be alarmed if you have to do some cutting and adjusting so that the upper superstructure looks right.
 
As an Amazon Associate we earn from qualifying purchases. Product prices and availability are accurate as of the date/time indicated and are subject to change.
I remember when Trumpeter first started coming out with their 1/350 scale CVs, they were few, but the fit was better. However, there were shape and scale issues that had to be retooled as they moved forward with later war CVs.

It seems that their CQ has definitely taken the back seat to the desire to put out more ships new to the market. I hope the shortcomings don't detract from your desire to build this ship. Just know with some patience, the corrections in the end will be worth the effort, as it will enhance your abilities as a modeler during the course of the build. Know also, there is a wealth of knowledge here amongst your peers that can always help along the way.
 
Oh and one quick suggestion for the deck that is "melted". Use a heat source, e.g. boiled water cooled a bit, hairdryer or low temp heat gun to warm up the plastic enough so that is pliable and use flat faced pliers or the like to pinch it back straight. You might have to scribe the plank lines a little, but the plastic regained will be a much better seam than sanding and filling than rescribing.

Just my .02 cents worth on this type of repair, I always opt for using plastic over fillers or putty, stronger bonds and joints, also less work.
 
Last edited:
That's disappointing to hear about Trumpeter's ship models......I've been eyeballing their 1/200 USS IOWA for awhile, not a cheap kit.
I'll probably still get it. I've been doing nothing but armor for the last few years and want a change of pace. I will say that Trumpeter's 1/16 panzer IV and Tiger II are good kits. The builds were pretty straightforward, no real issues.
 
That's disappointing to hear about Trumpeter's ship models......I've been eyeballing their 1/200 USS IOWA for awhile, not a cheap kit.
I'll probably still get it. I've been doing nothing but armor for the last few years and want a change of pace. I will say that Trumpeter's 1/16 panzer IV and Tiger II are good kits. The builds were pretty straightforward, no real issues.
From all the reviews I've seen or read state that the fit and finish is actually pretty good on their 1/200 ships.
 
Well today is the day. We officially start the group builds! I hope everyone has smooth sailings and enjoys. Please don't hesitate to post here if you have any comments, questions or concerns. Happy building everyone!
 
I remember when Trumpeter first started coming out with their 1/350 scale CVs, they were few, but the fit was better. However, there were shape and scale issues that had to be retooled as they moved forward with later war CVs.

It seems that their CQ has definitely taken the back seat to the desire to put out more ships new to the market. I hope the shortcomings don't detract from your desire to build this ship. Just know with some patience, the corrections in the end will be worth the effort, as it will enhance your abilities as a modeler during the course of the build. Know also, there is a wealth of knowledge here amongst your peers that can always help along the way.
I mainly build 1/700, and something many of us found out was that the fit and scale problems we had with some the 1/700 kits were caused from tooling being copied from the 1/350 models and scaled down. I experienced this with the Prinz Eugene, Dreadnaught, and Banner's Arizona.
The good side is that Trumpeter has very strong, good moldings and little to no flash.
 
Everyone who is participating in this GB should post their progress photos in this thread for a couple of reasons.
So we don't have to bounce all over the board to see each build.
All builds are conveniently located in one place. This is the point of a GB thread.
Also we don't want to overload the forum with unnecessary threads.
 
Sounds like there are going to be some great builds here!

As I mentioned, I'm on the slow track with the I Love Kit 1/350 CV-6. The kit depicts the ship as of fall, 1942 at Santa Cruz. I want to backdate a bit to Midway, and happily most if not all the appropriate parts are in the box leftover from their CV-5 kit. Here are some pics:

20240714_164728.jpg

The first thing I had to do was add de-gaussing cables. The kit supplied photo etch ones are, of course, flat. But they are also completely the wrong shape. No idea what they were looking at. Anyway, some .015 rod and patience later, here we are.
20240714_164749.jpg

20240714_164812.jpg


Here's where I am now with this one:

20250120_104126.jpg


I'm going slow with this one. Ships are not normally my thing but I've always been a big fan of Enterprise and I want to do it right.

Michael
 
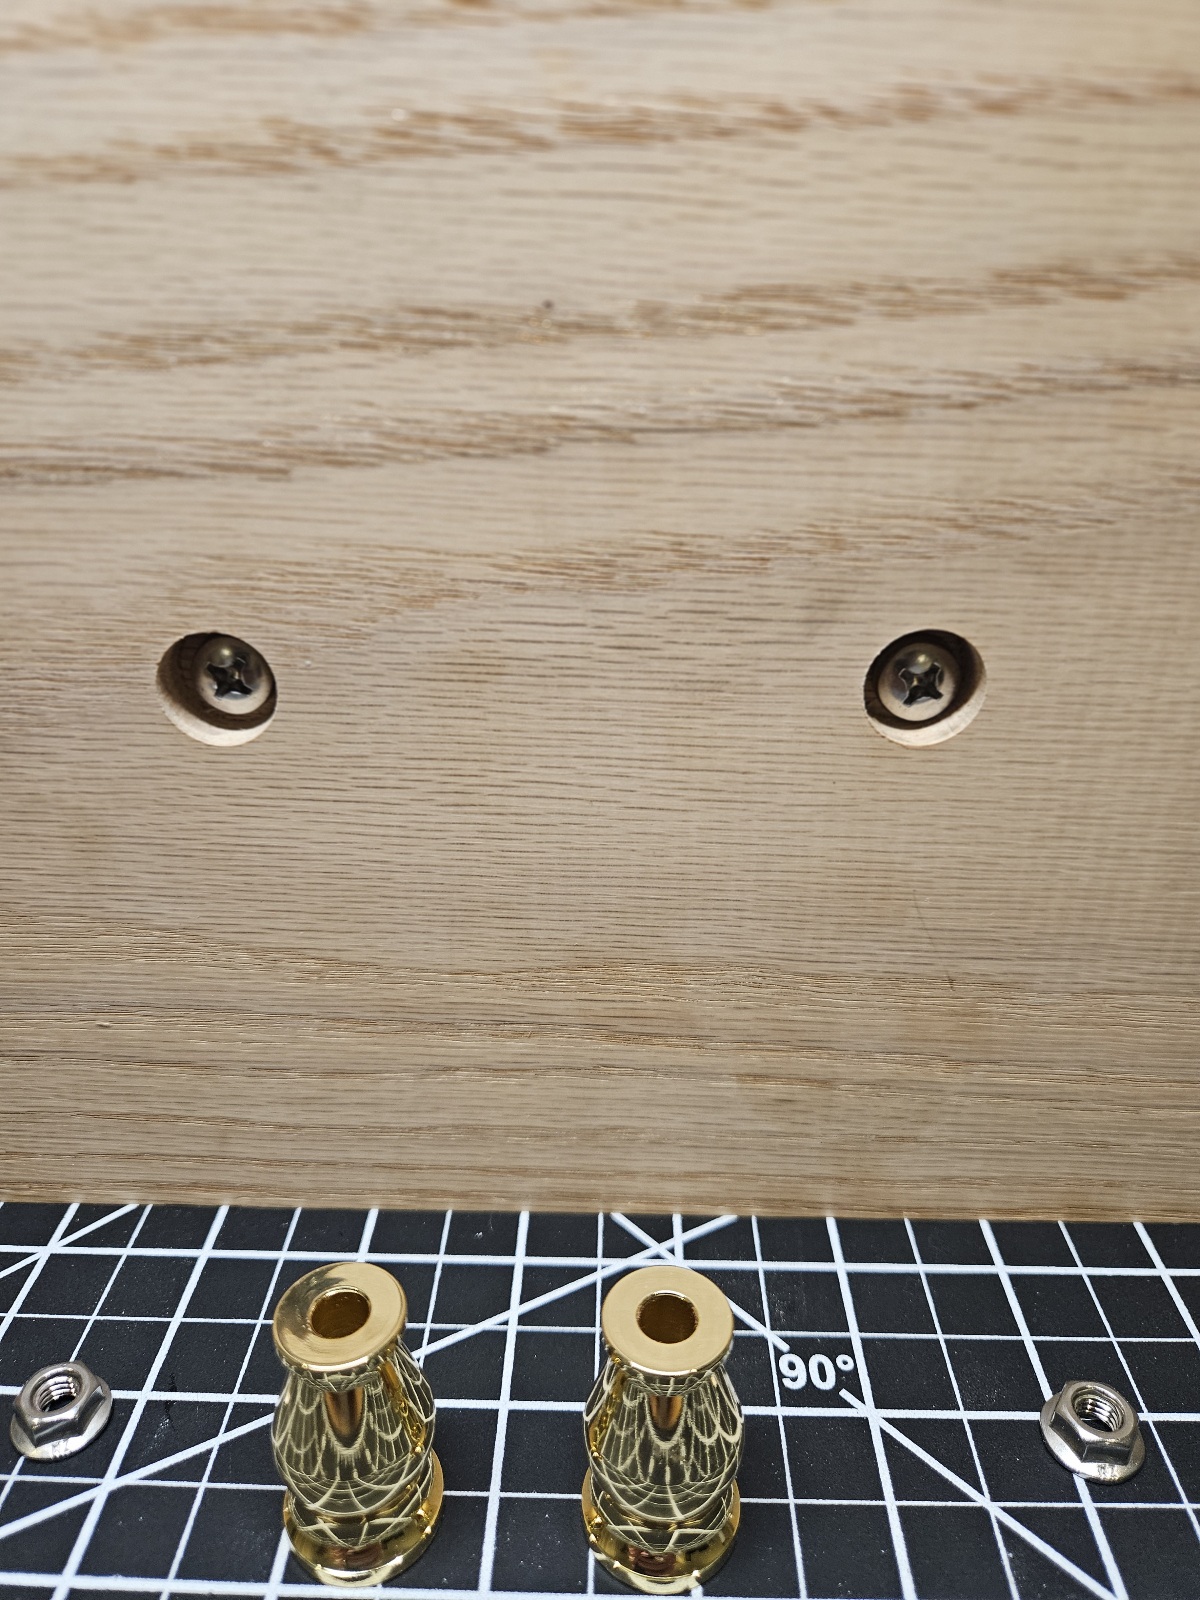
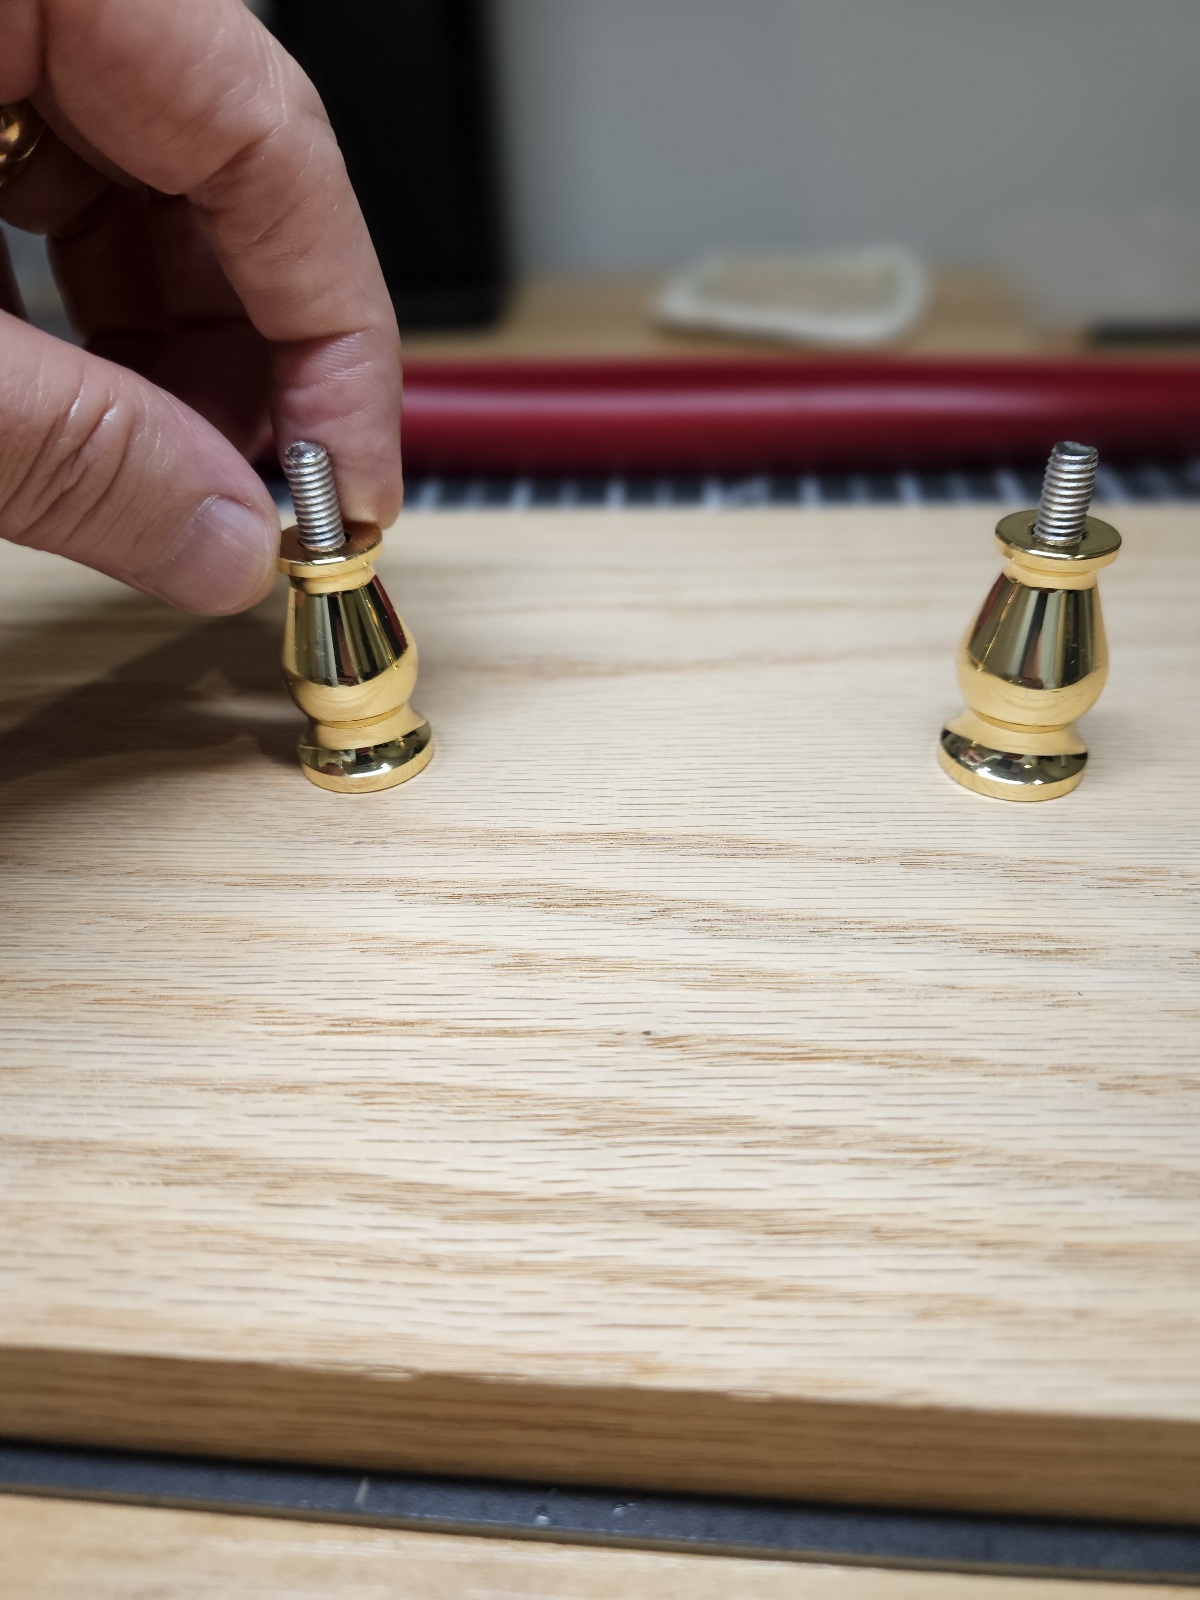
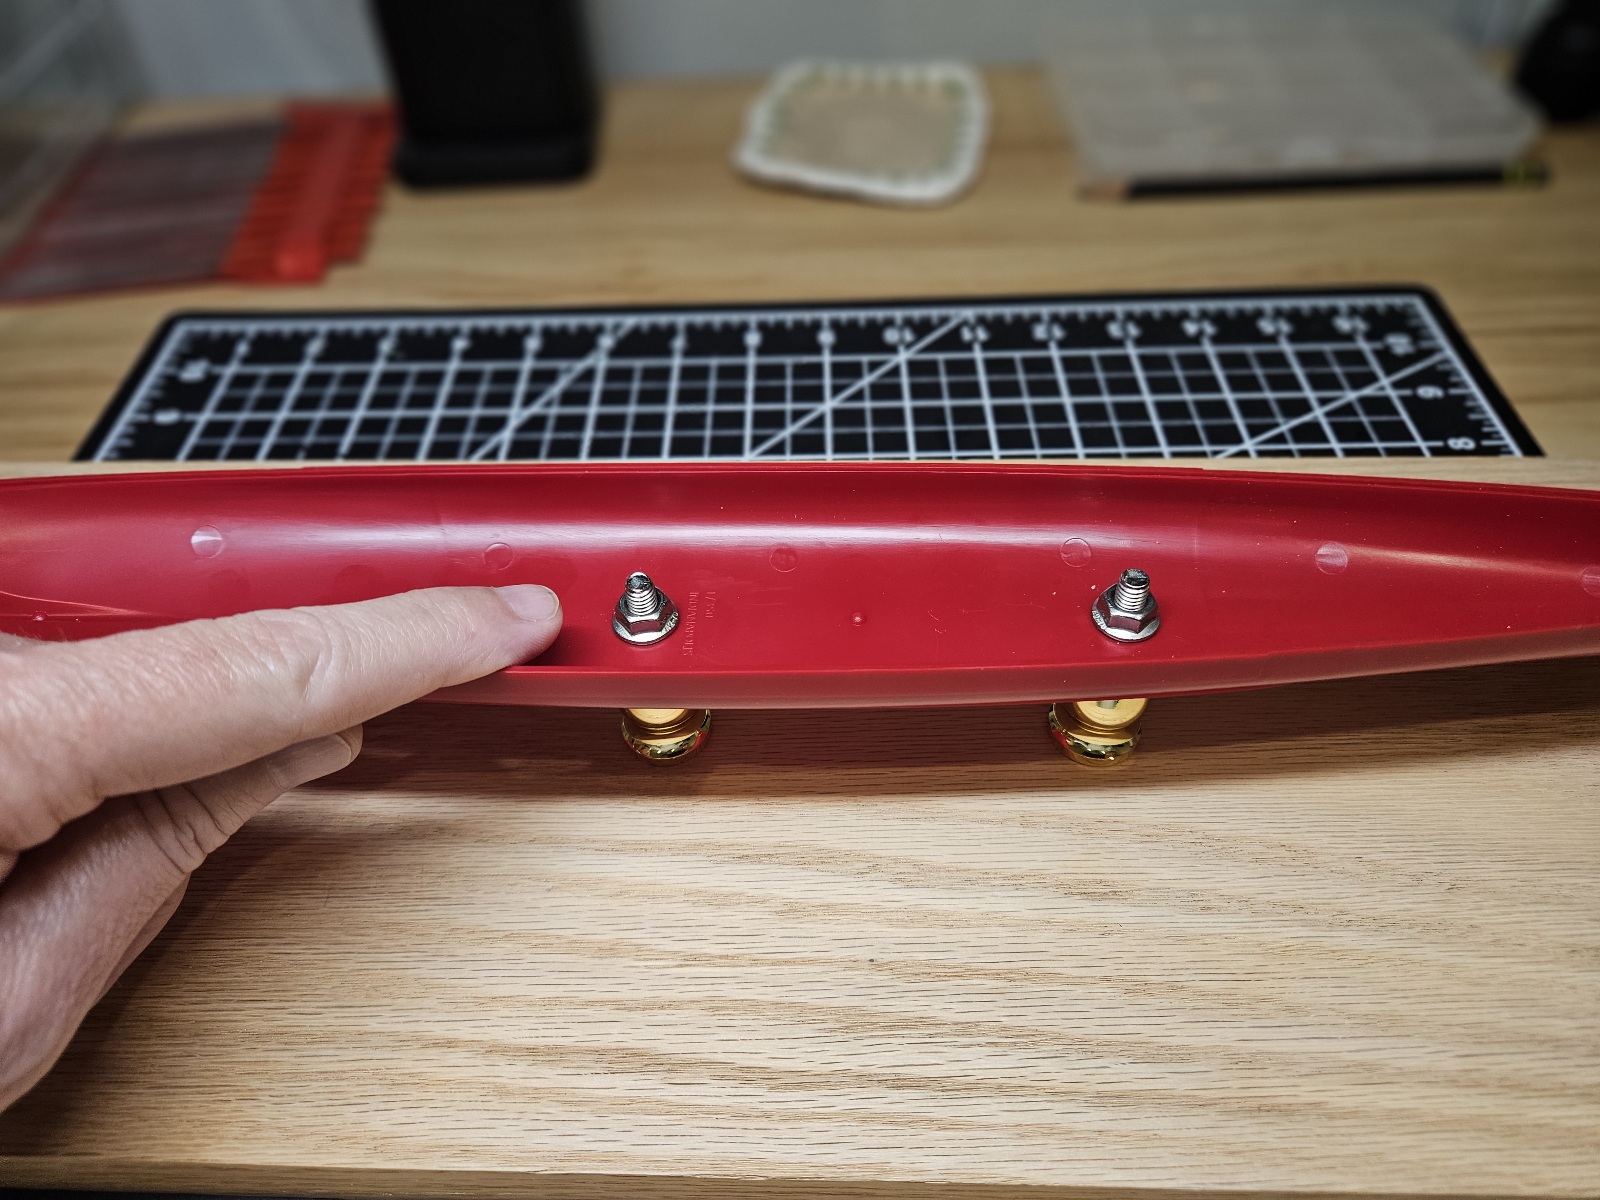
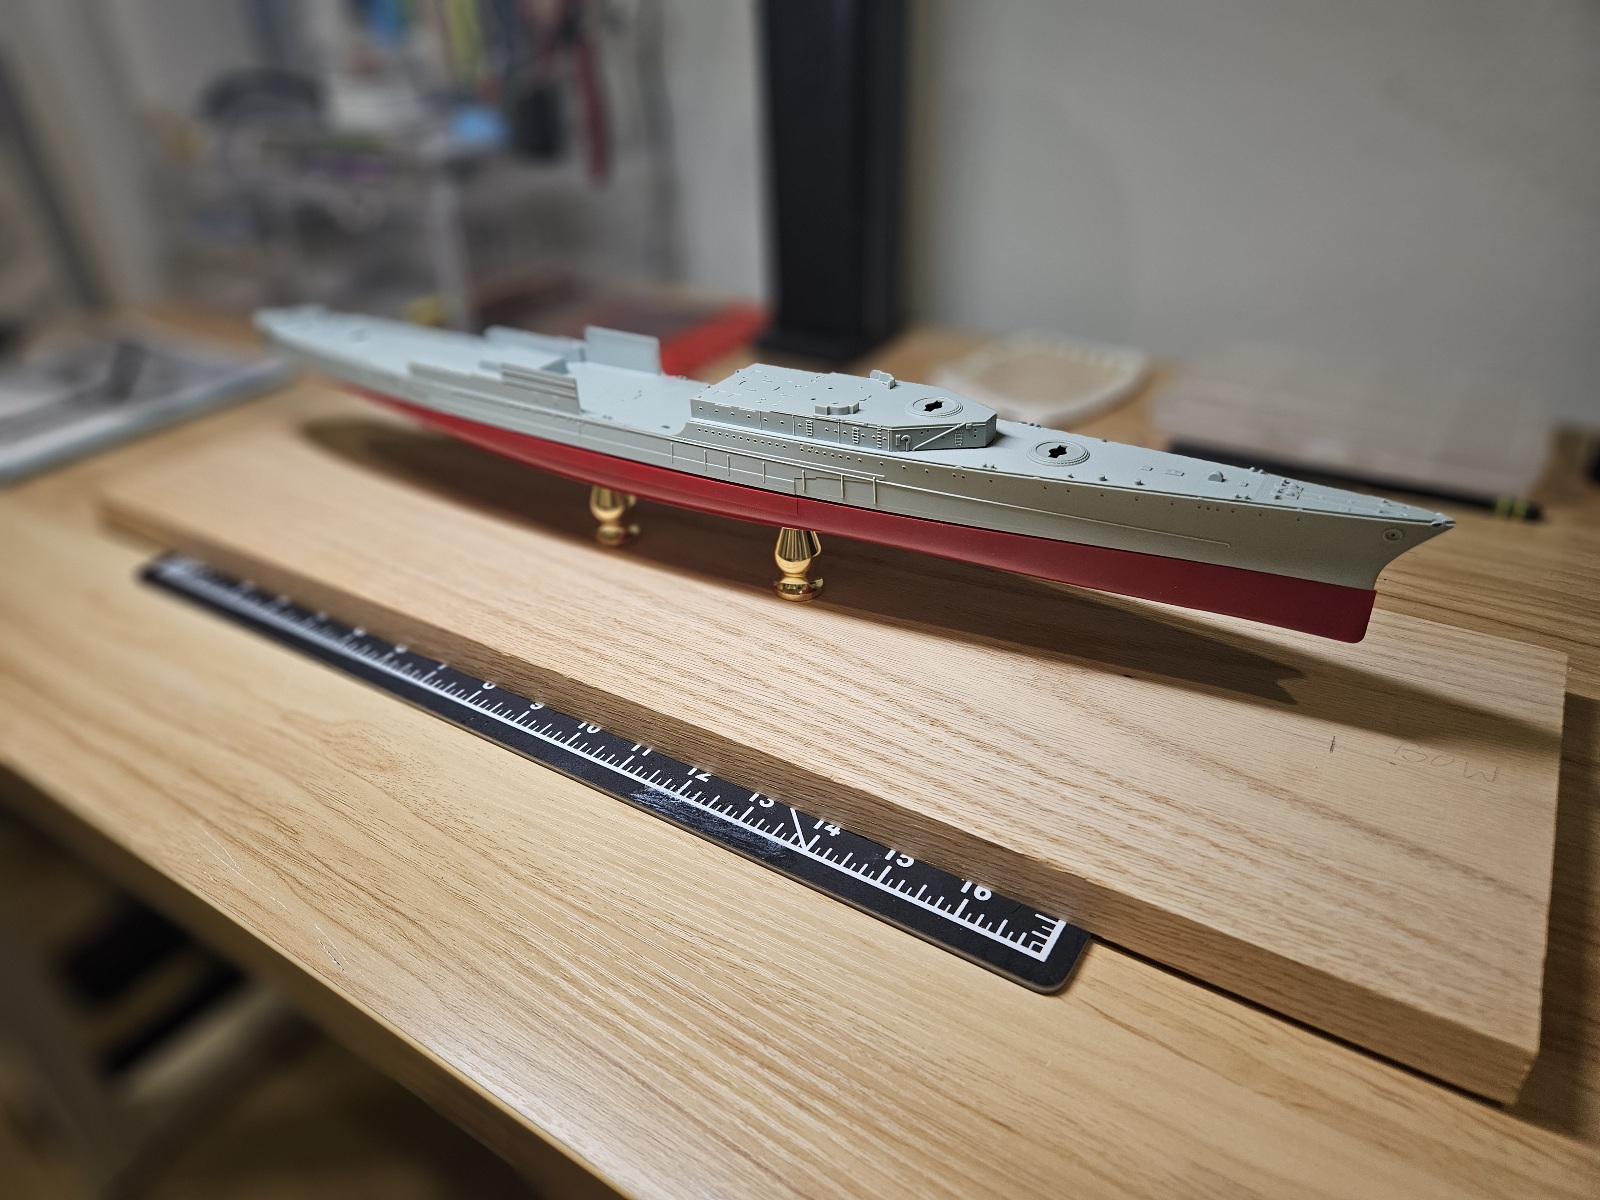
So I have completed the prep for mounting the ship to the base. I normally wouldn't post a lot about this stage of the build, but since we may have first time ship builders or those that may not have done this before, I will share this step.

20250123_115010.jpg


First I marked a center line through the base length wise. I then placed the lower hull on the center line and measured to make sure the bow and stern were centered on the base and marked it off.

20240215_210303.jpg

20240215_210313.jpg

I then drilled pilot holes in the hole base that were pre marked for the kit proved stand. I centered it on the base and marked it to drill out the base and counter sink the bottom of the base so that the bolt heads were flush with the bottom of the base.

20240215_210319.jpg

20240215_210330.jpg

20240215_210458.jpg


I then placed the brass pedestals onto the bolts and carefully threaded them into the hull. I drilled out the hole 7/32" allowing the bolts to thread into the plastic. The nuts actually weren't needed, but just incase years later the plastic gives, I used CA glue to set the nuts.

20240215_210526.jpg

20240215_210818.jpg


All done and I did a complete test fit of the model to make sure all was secure and well fitted. Onward to the build....

20240215_210903.jpg
 
Last edited:
Everyone who is participating in this GB should post their progress photos in this thread for a couple of reasons.
So we don't have to bounce all over the board to see each build.
All builds are conveniently located in one place. This is the point of a GB thread.
Also we don't want to overload the forum with unnecessary threads.
Great post, sorry I've been complicating post/threads for this GB. If any admins can, would you delete my other threads so we can keep everything posted here for the GB. Thanks
 
Everyone who is participating in this GB should post their progress photos in this thread for a couple of reasons.
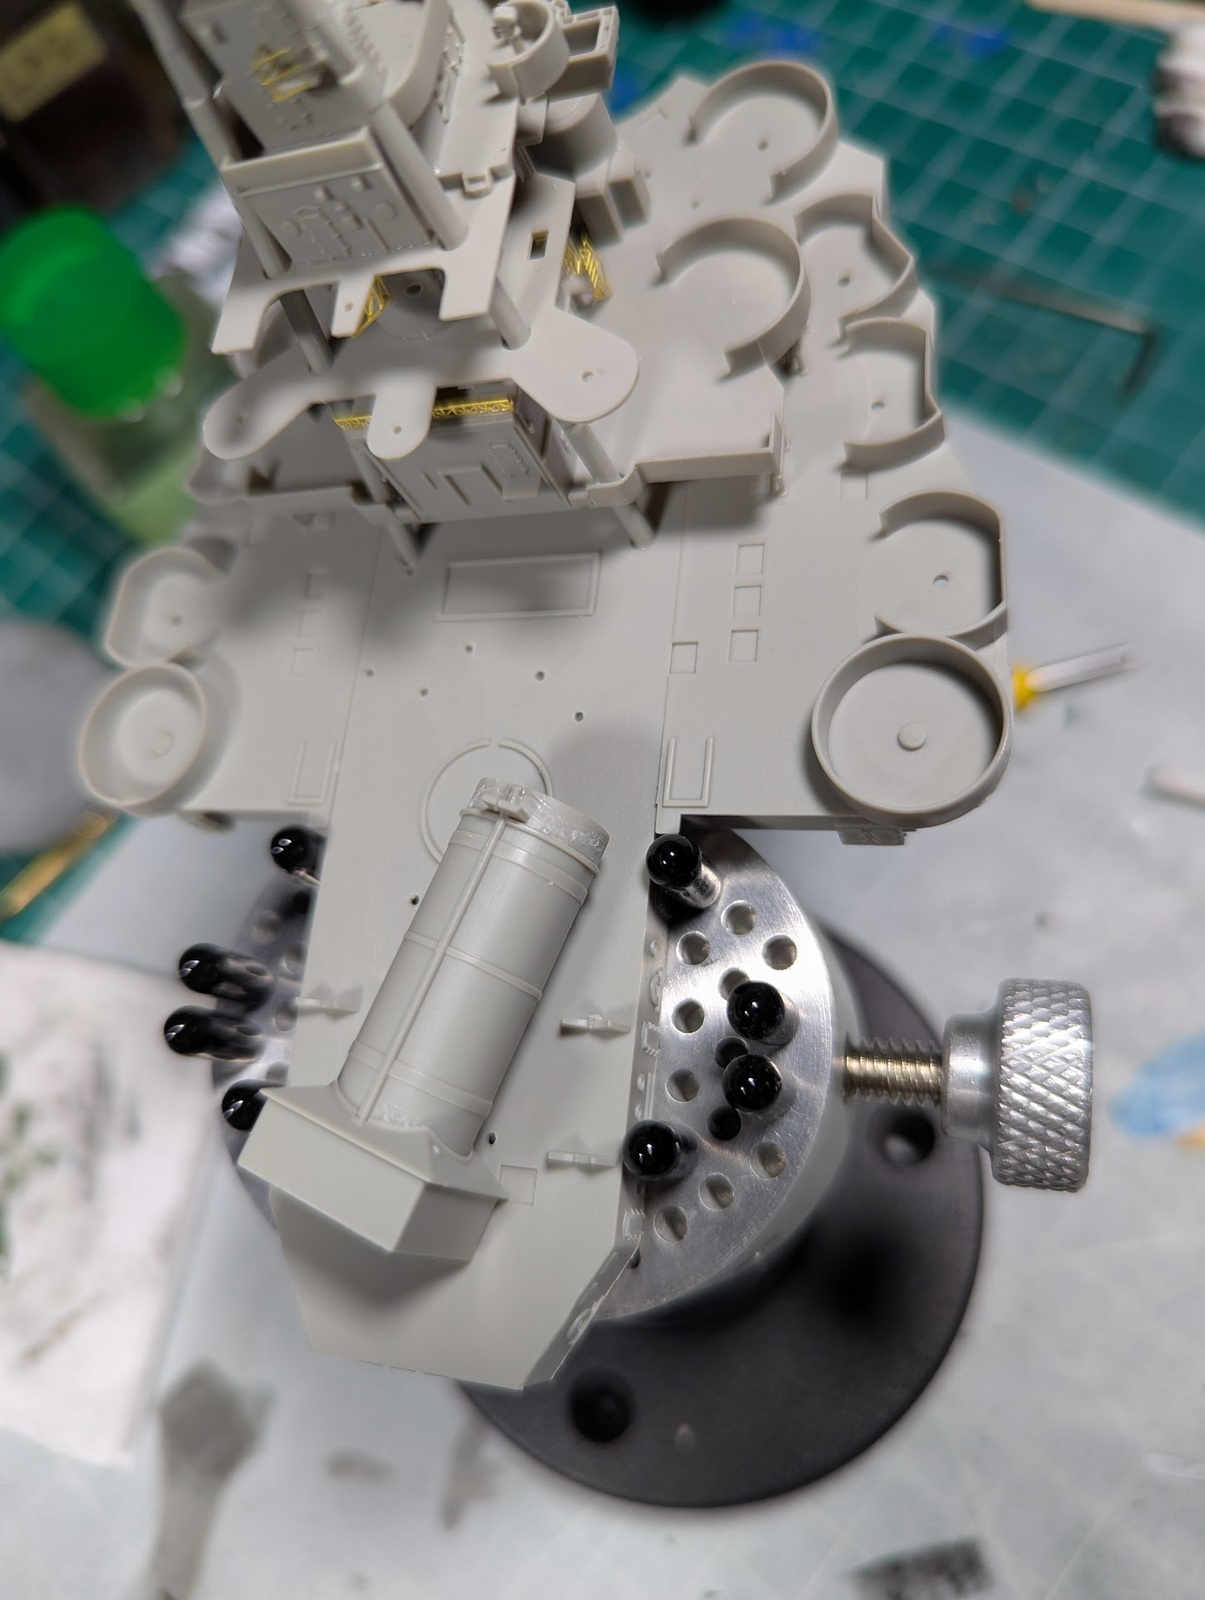
So here's my first major screw-up, I almost ruined the smokestack/exhaust.

I put it in upside down due to poor instructions/manual. I discovered my mistake pretty quickly, but the solvent had done its thing. I tried sanding the damage down, and think that would have worked, except for the detailed bit near the top. Current plan is to cover it with some extra PE brass cut into a strip.

1737762060959.png
 
Last edited:
What PE set are you using?
Thanks for the kind words, the PE I'm using came with the kit, 4 sheets, two of which are copies of each other.

I was a bit daunted on seeing so much, but while I'll say negative things about this kit, the PE is some of the best I've seen. It is VERY thin, but that makes separating and folding it much easier than more common or "normal" PE I find in most aircraft and armor kits.
 
PE is some of the best
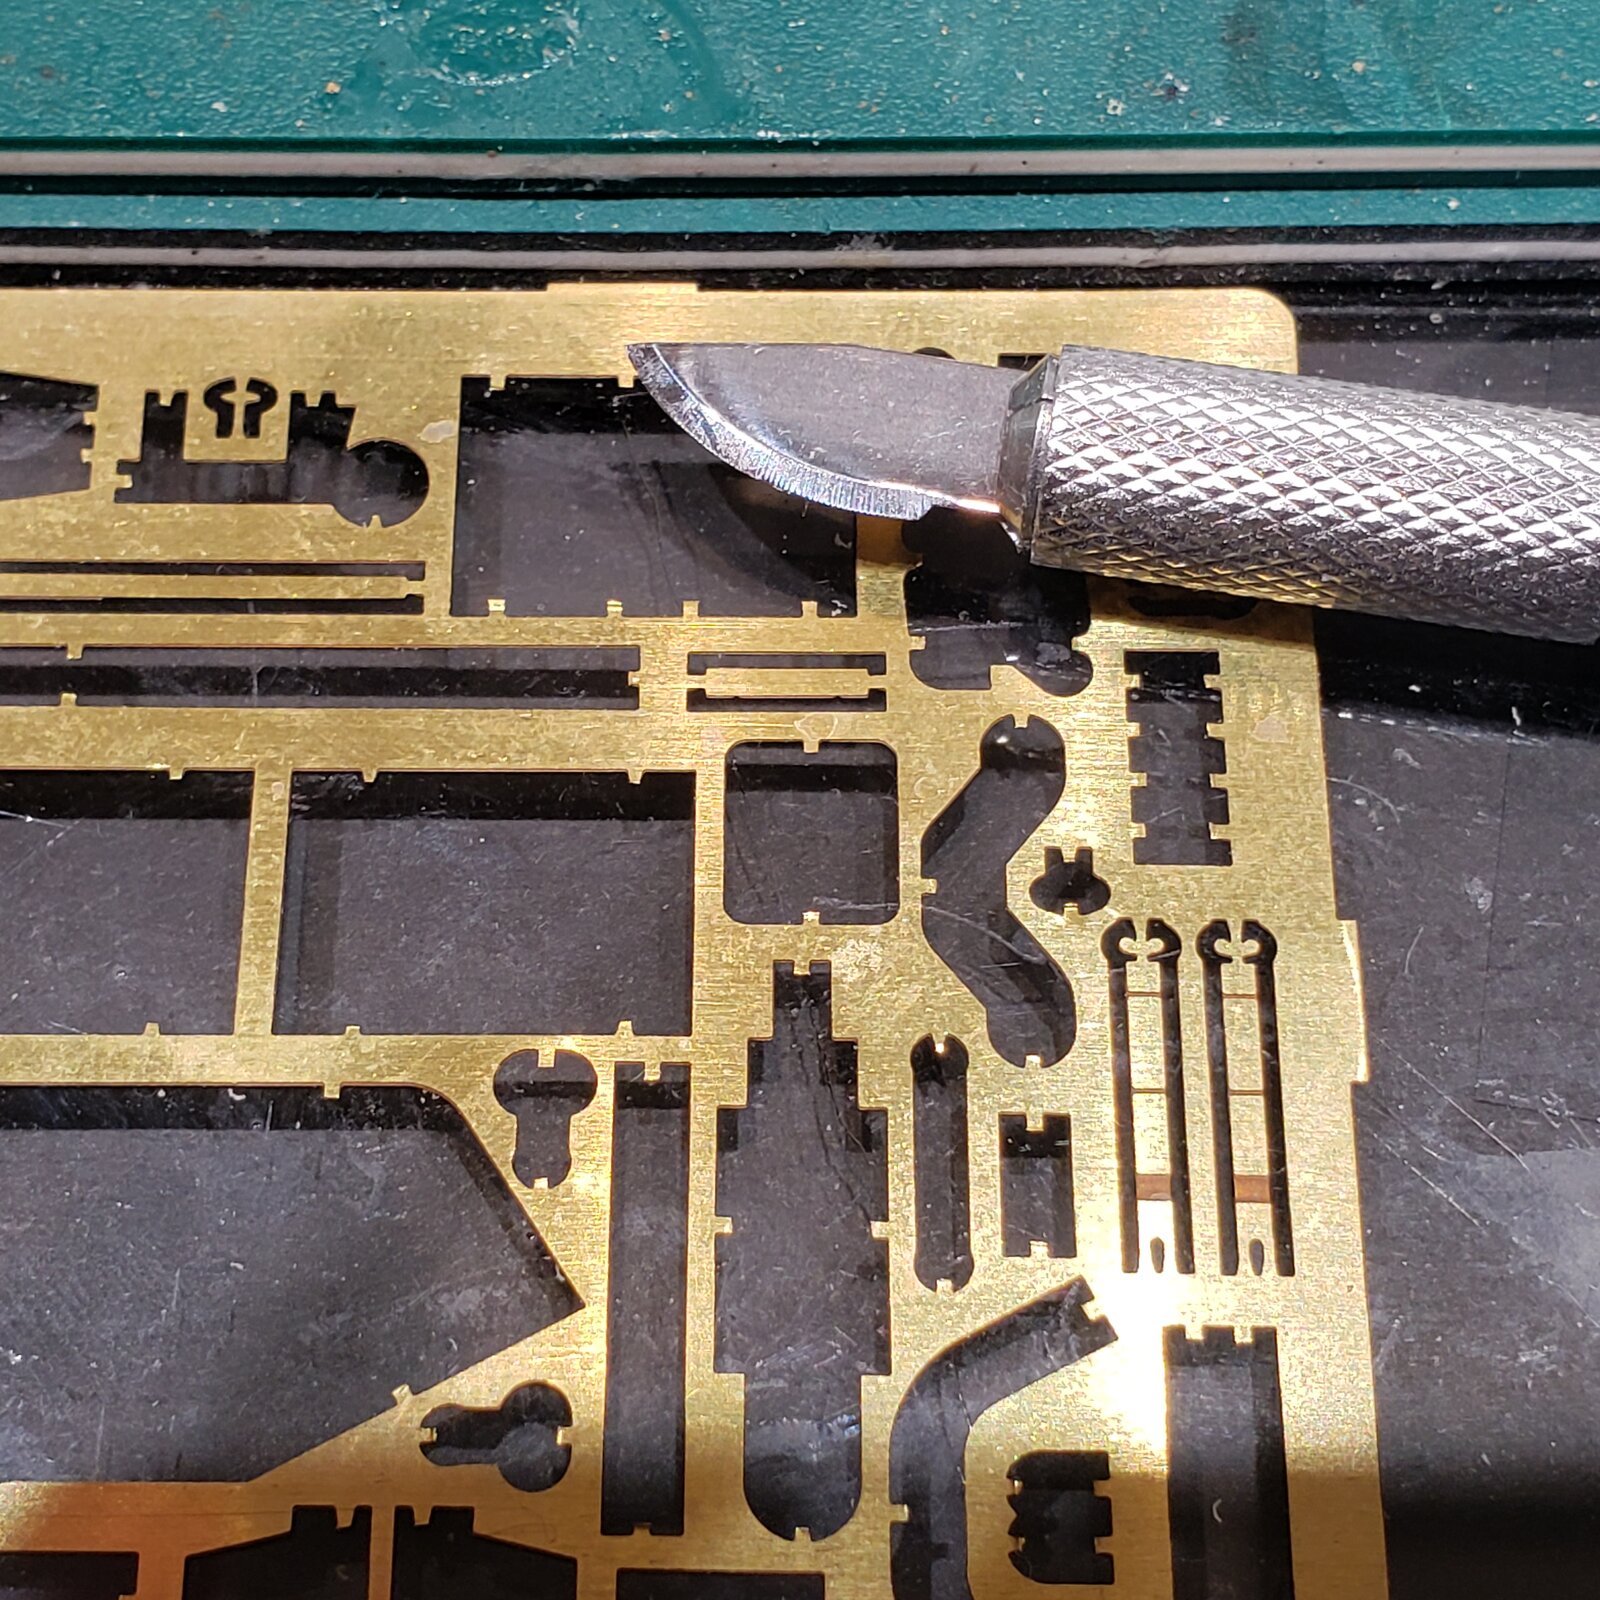
On the subject of PE, probably not news to you guys, but saw someone on YT do this, and it was a game changer for me.

Cut your PE from sheet on glass with sharp blade, with black card under the glass. I find a small curved blade works best. Sometimes I don't even need to file the cut!

1737855950704297296264433214188.jpg

Even small pieces show up well on the black, and the PE doesn't bend away from the blade on the glass.
 
Wow @wjbrandel, you came out of the gate swinging! I can imagine how small those guns really are, that's why I gave up 1/700 scale in ships. Great job on CV6 so far, you're well ahead of me. I'll probably be last to finish at my pace to start...lol. Awesome coffee mug by the way!
 
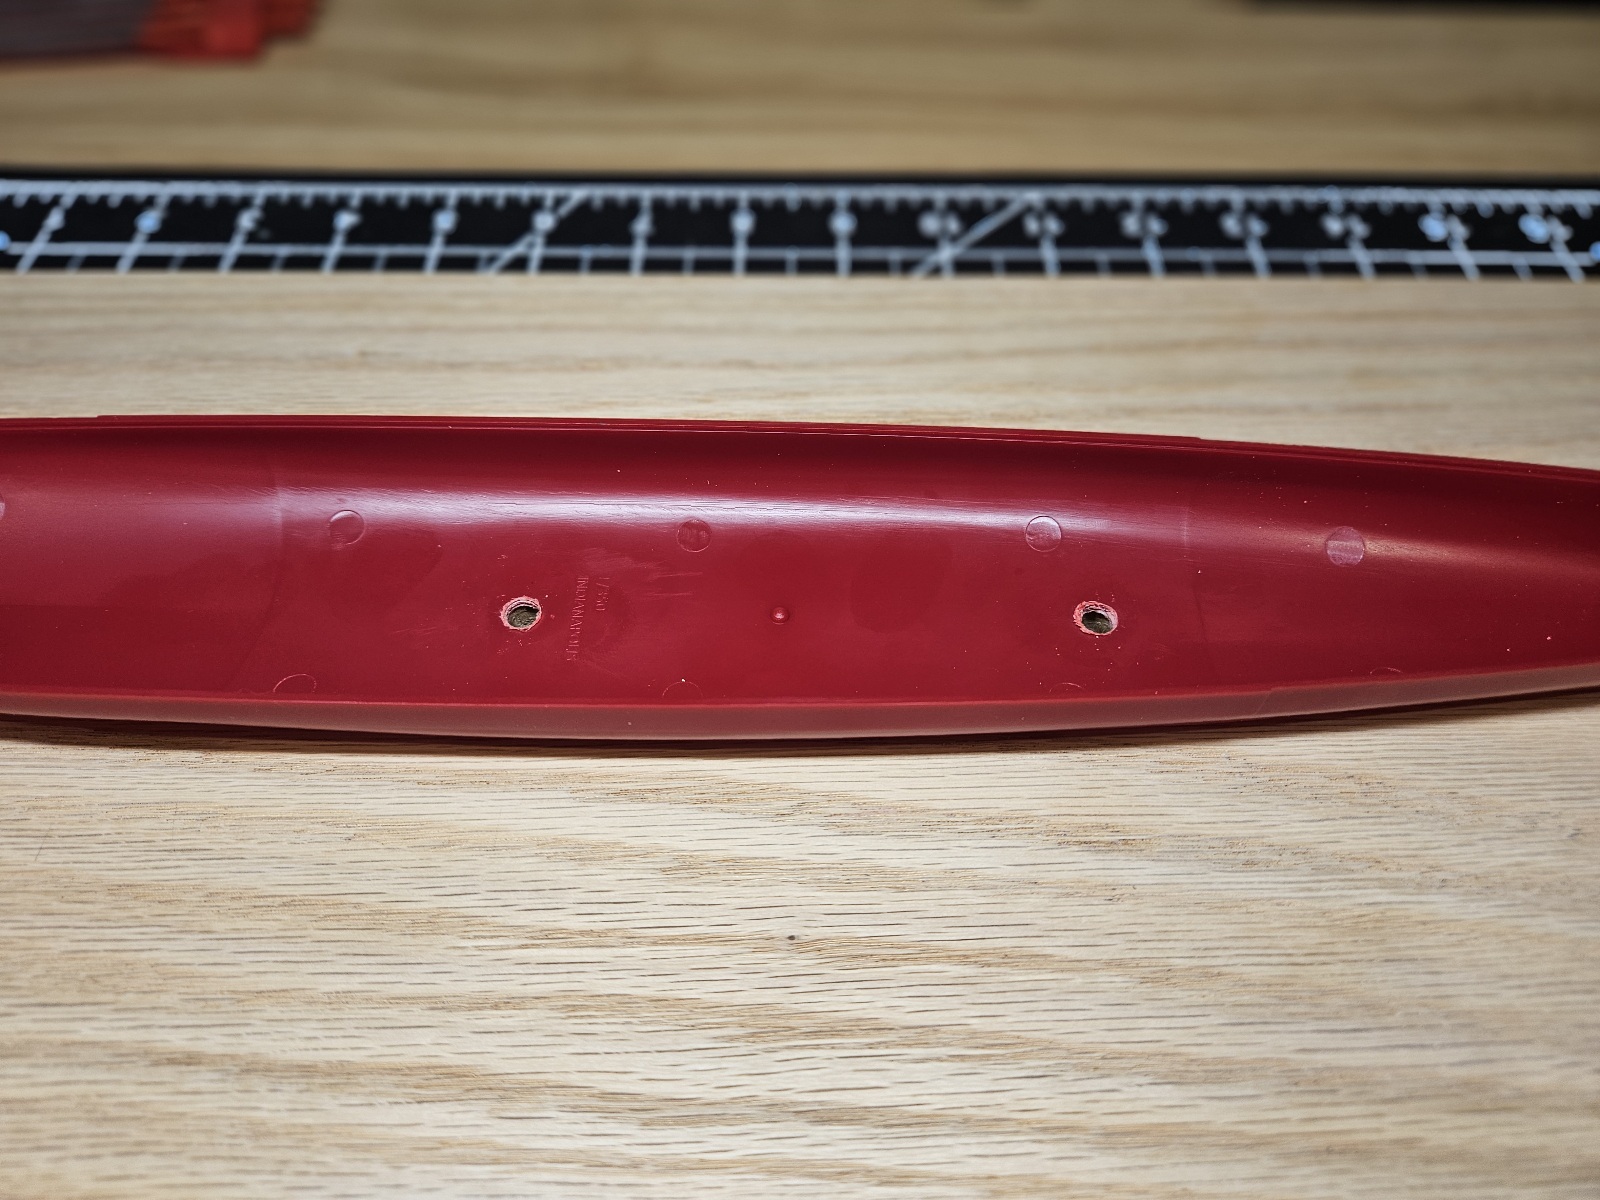
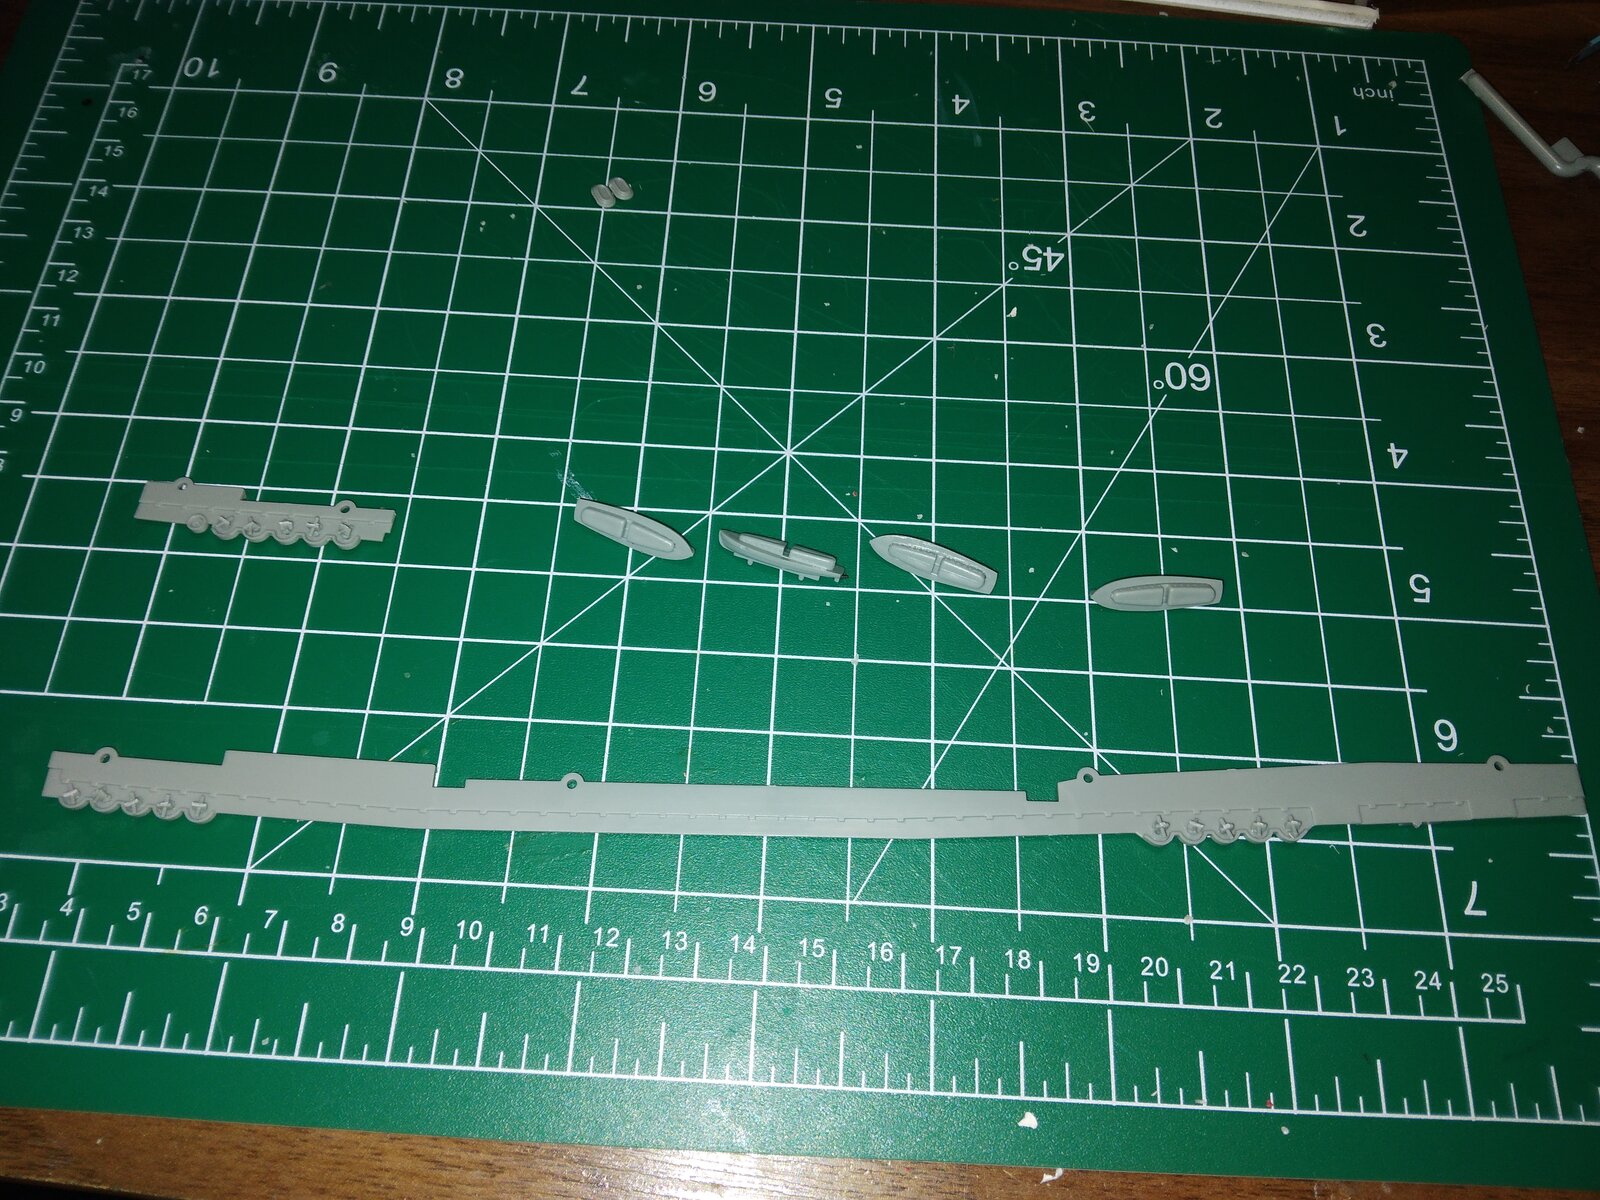
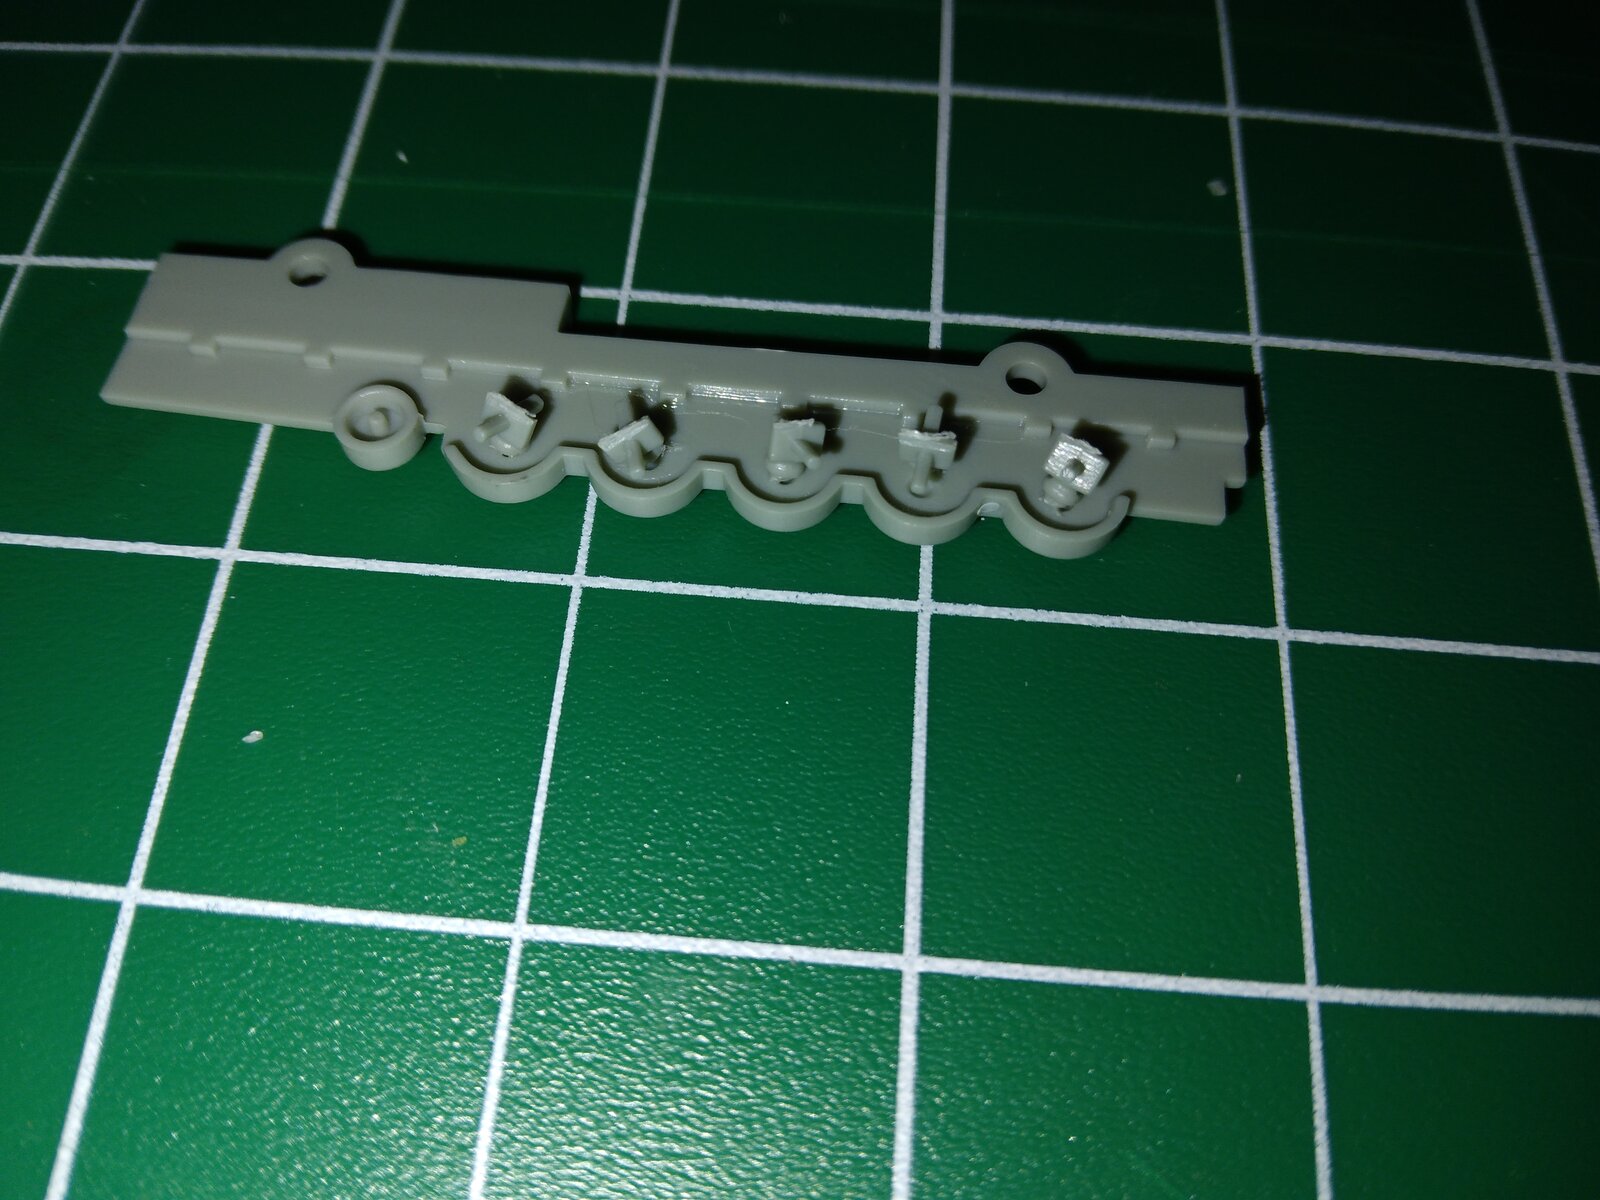
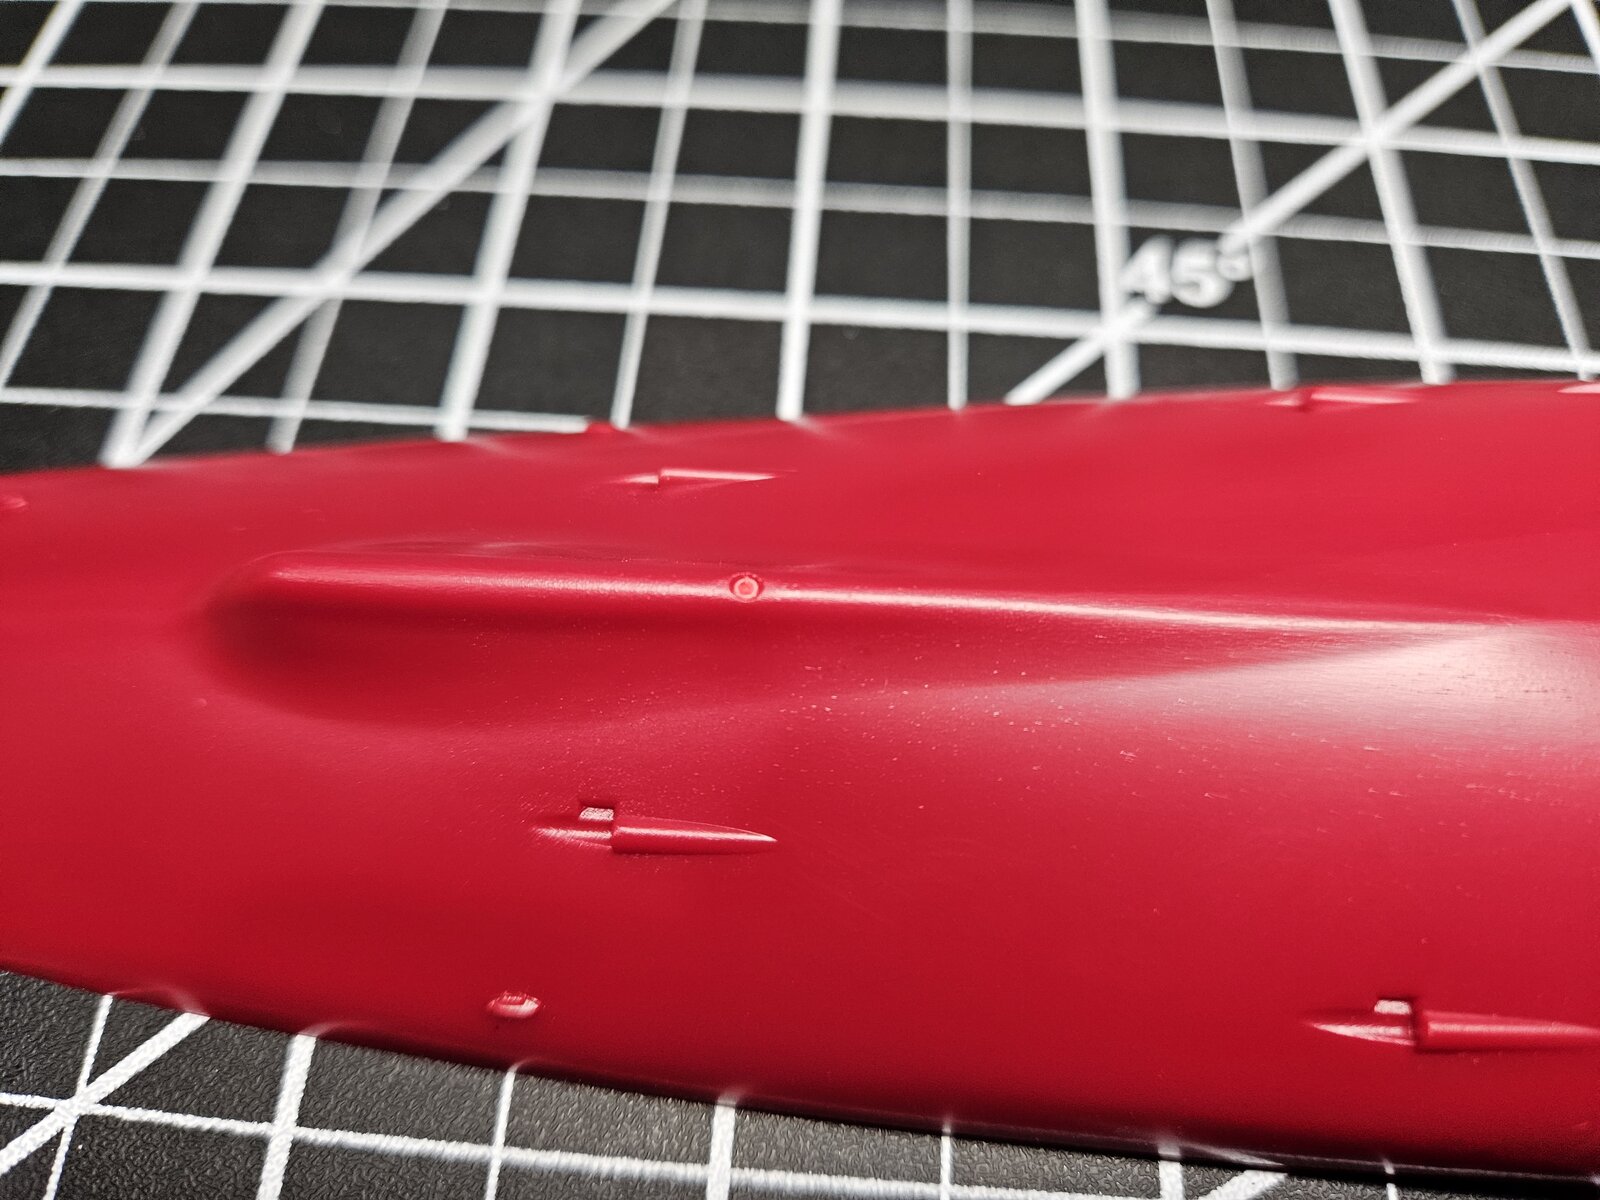
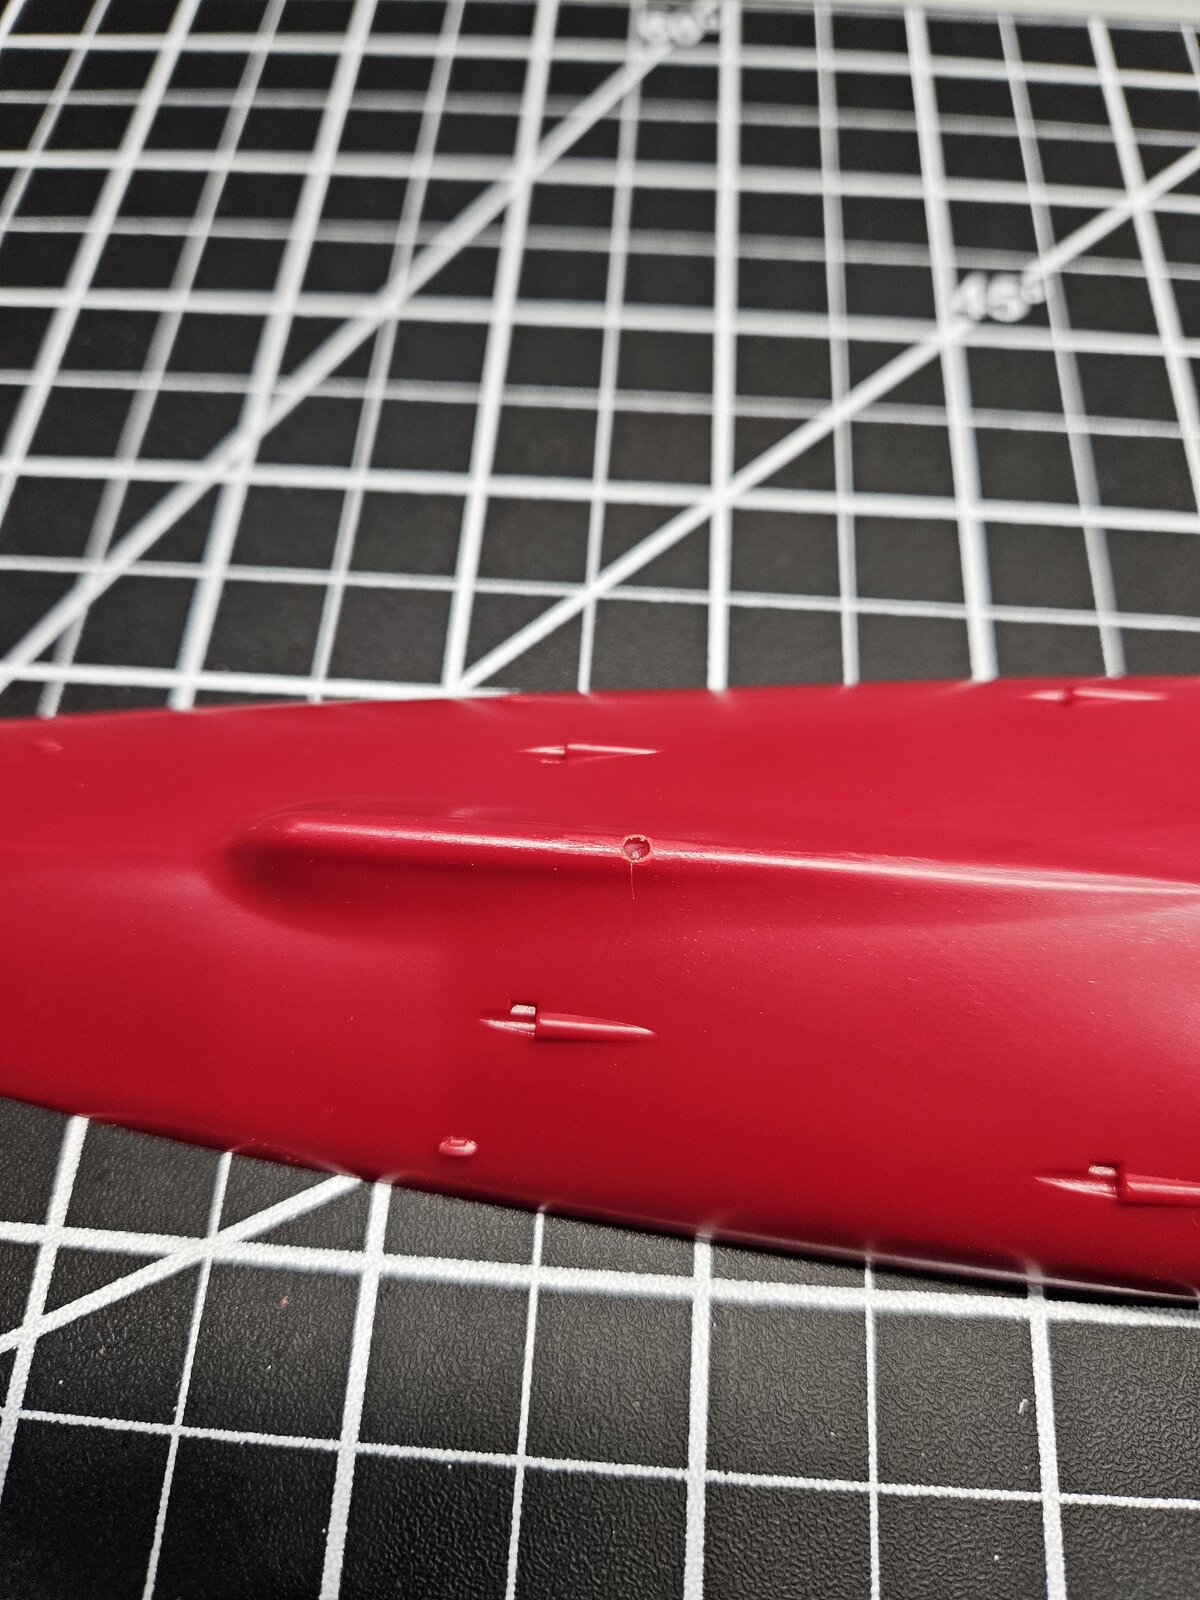
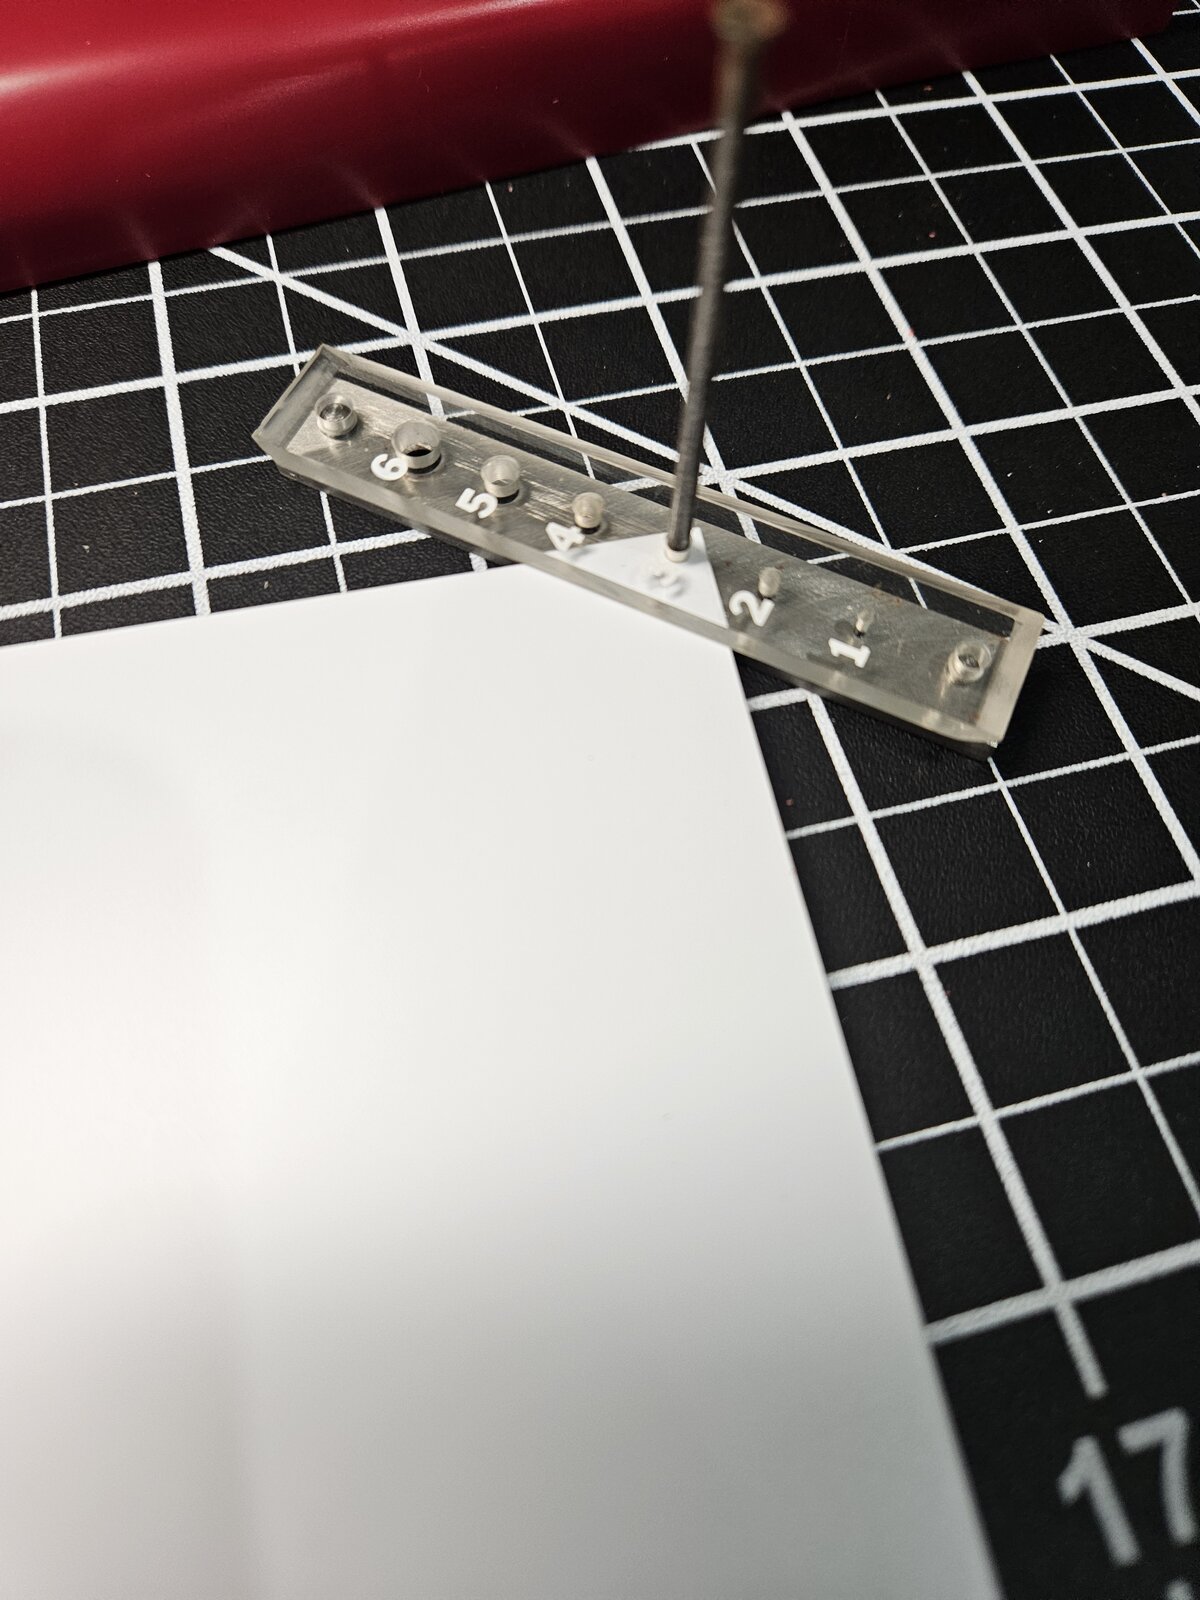
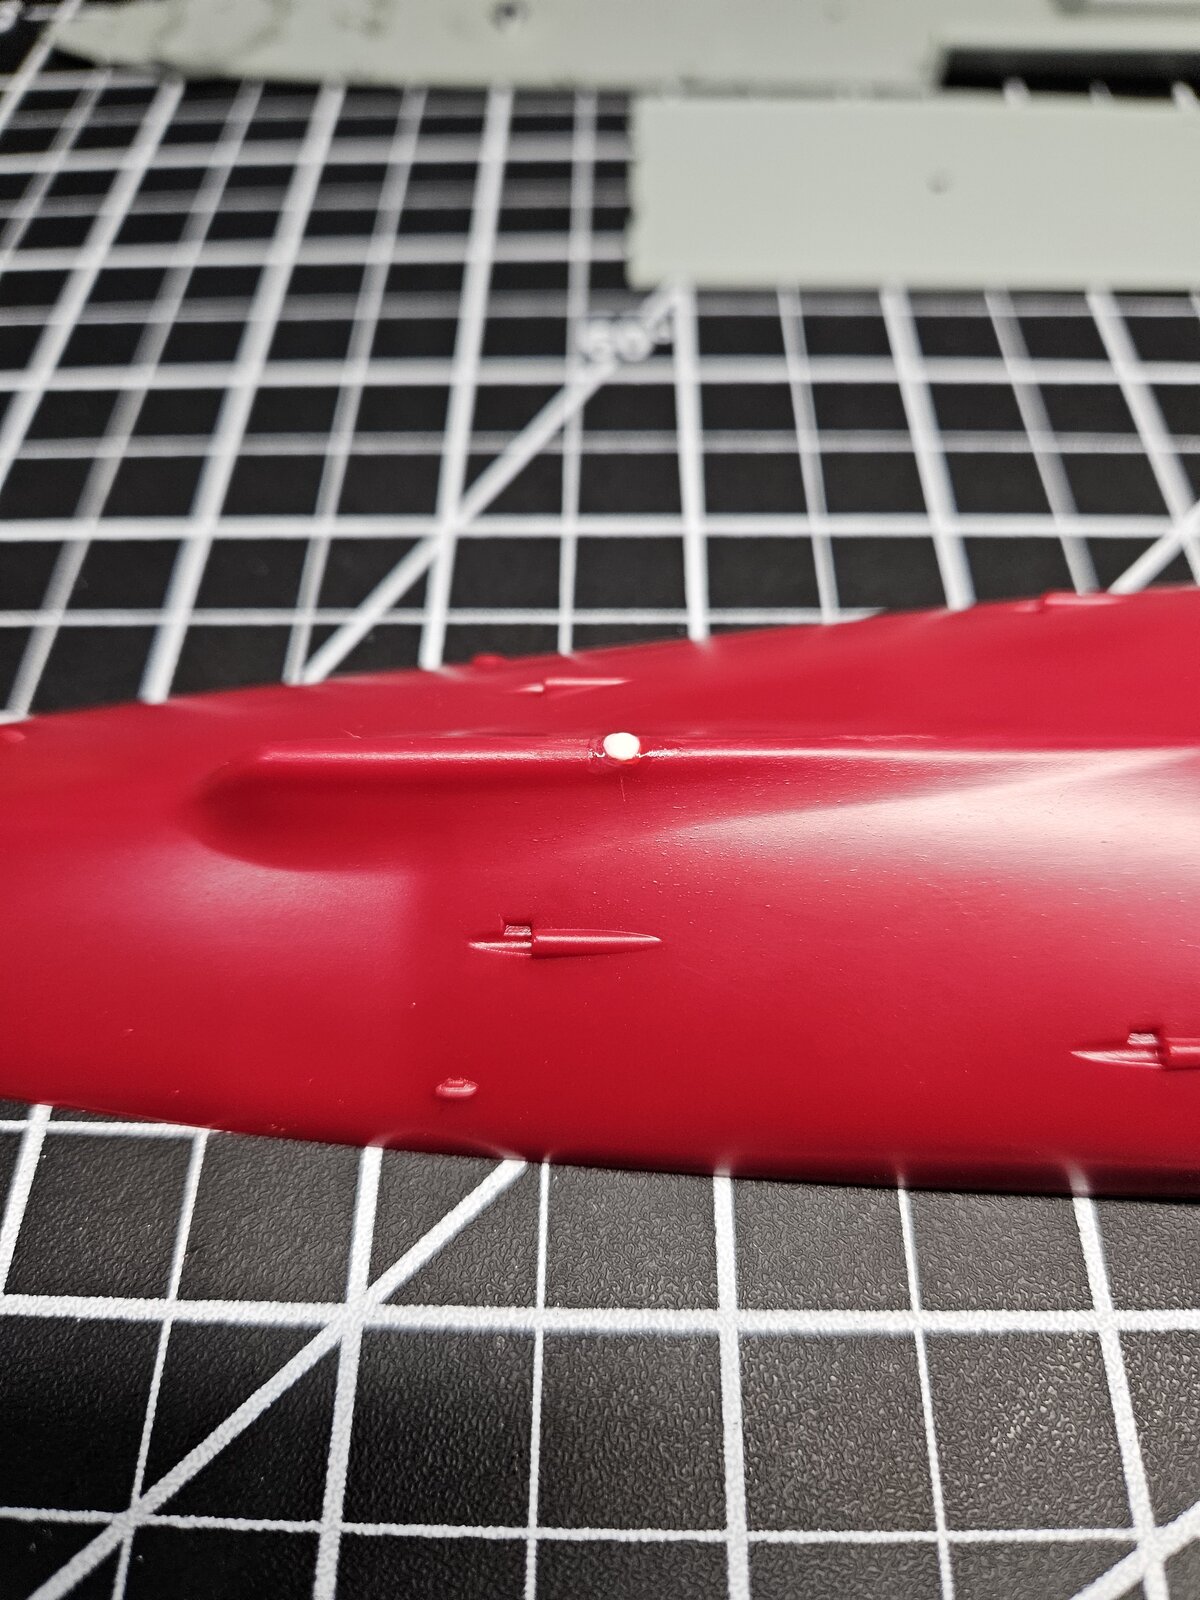
So to start, the Academy kit has a two piece hull, upper and lower if you would like to waterline it. As I'll be building her full hull, I had to take care of three injection points on the bottom hull. Now they really won't be seen, but I know they are there. My first step was to drill them out just deep enough to punch out styrene sheet to fill them just slightly above flush so they can be sanded and never be seen again.

I generally prefer this method over putty or filler, as it is stronger and plastic through and through. If you ever have to scribe or drill, you can do so without long cures and cracking from putty.

Anyway, here are the injection points in the plastic lower hull:
1000012404.jpg

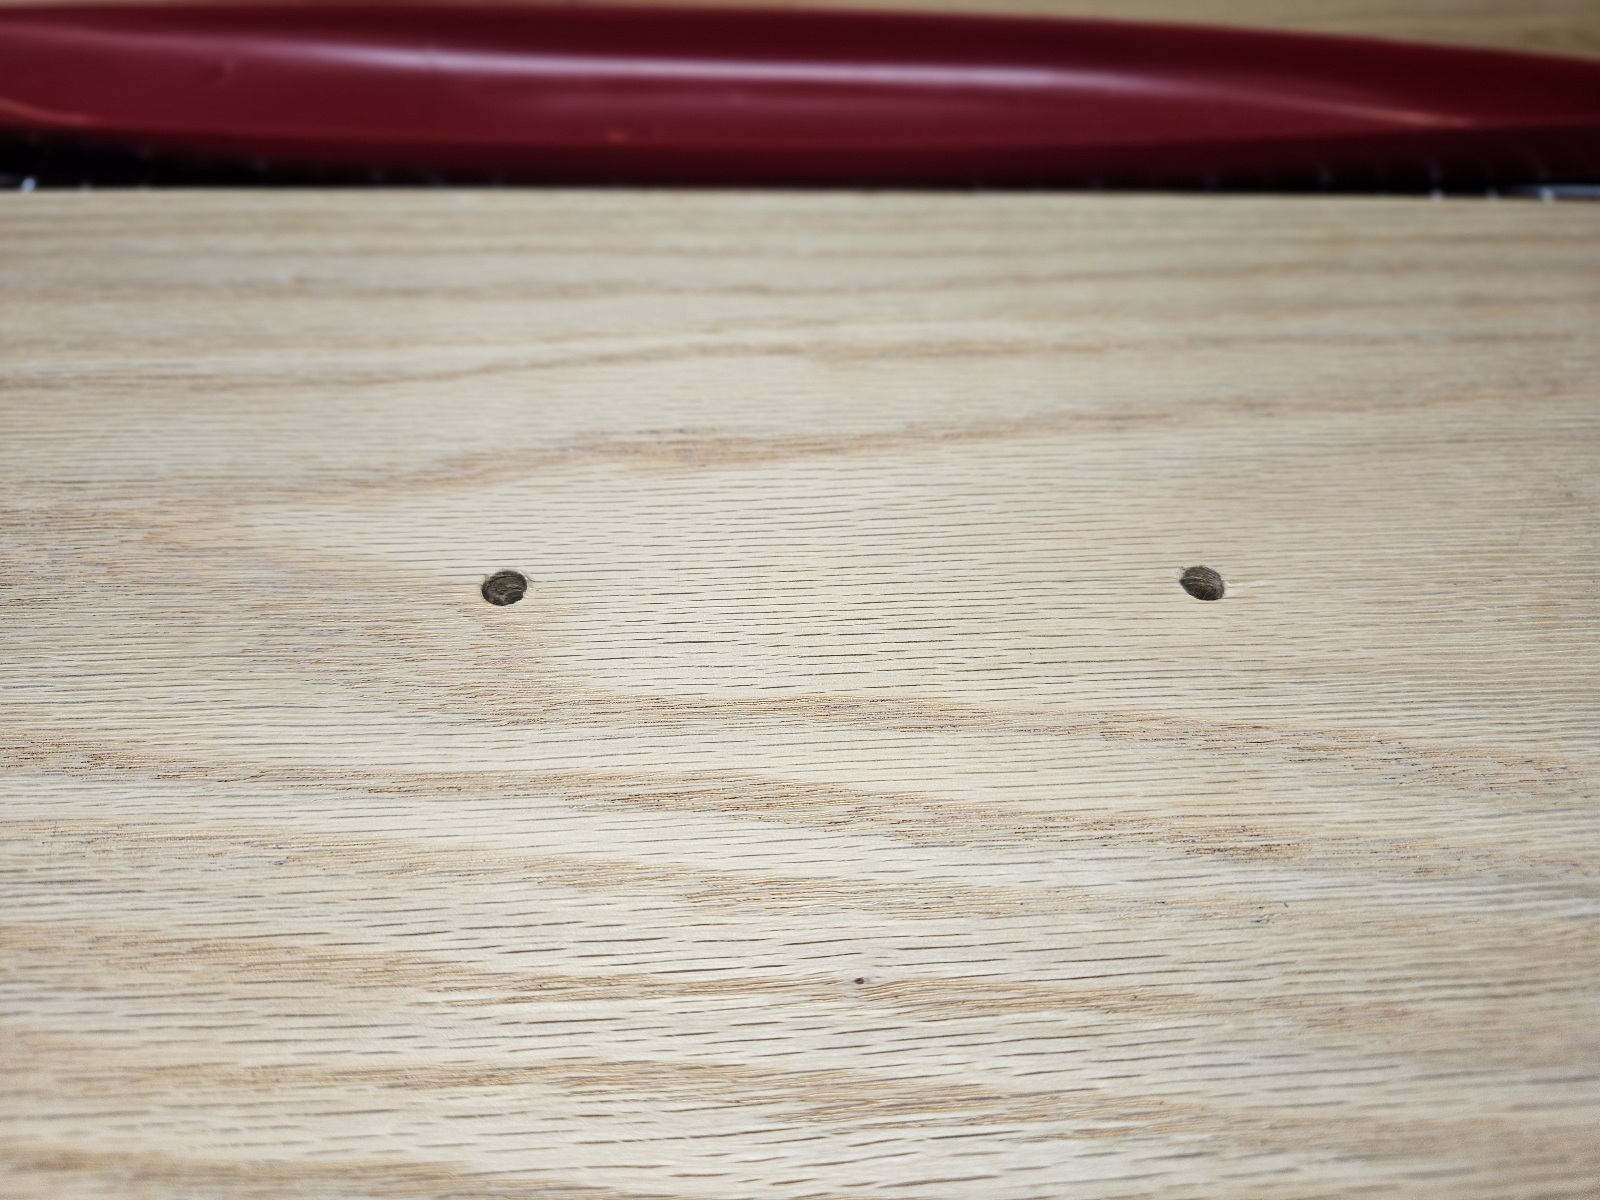
One close up:
1000012405.jpg

And after drilling out to match the punched plugs:
1000012410.jpg

And after plug inserted and fused in with Tamiya extra thin cement:
1000012411.jpg

1000012413.jpg

I'll let them set overnight, and then sand them flush and done. I'll give the full lower hull a good wet sanding to remove all seam lines and prep for joining lower and upper hull.
 
A little bit of a late start for me, but I finally got started on the 1/700 scale CV6 (pulled it from my stash and the USS Arizona fell on my head. Forgot I had that one).

View attachment 135630

View attachment 135631
Those little guns were a pain.
View attachment 135632View attachment 135633

View attachment 135634

View attachment 135635

View attachment 135636

View attachment 135637

Got as far as I want to tonight, I'll get more done tomorrow
Great start on this. Love the coffee mug too.
 
Got some more put together.
20250126_145821.jpg

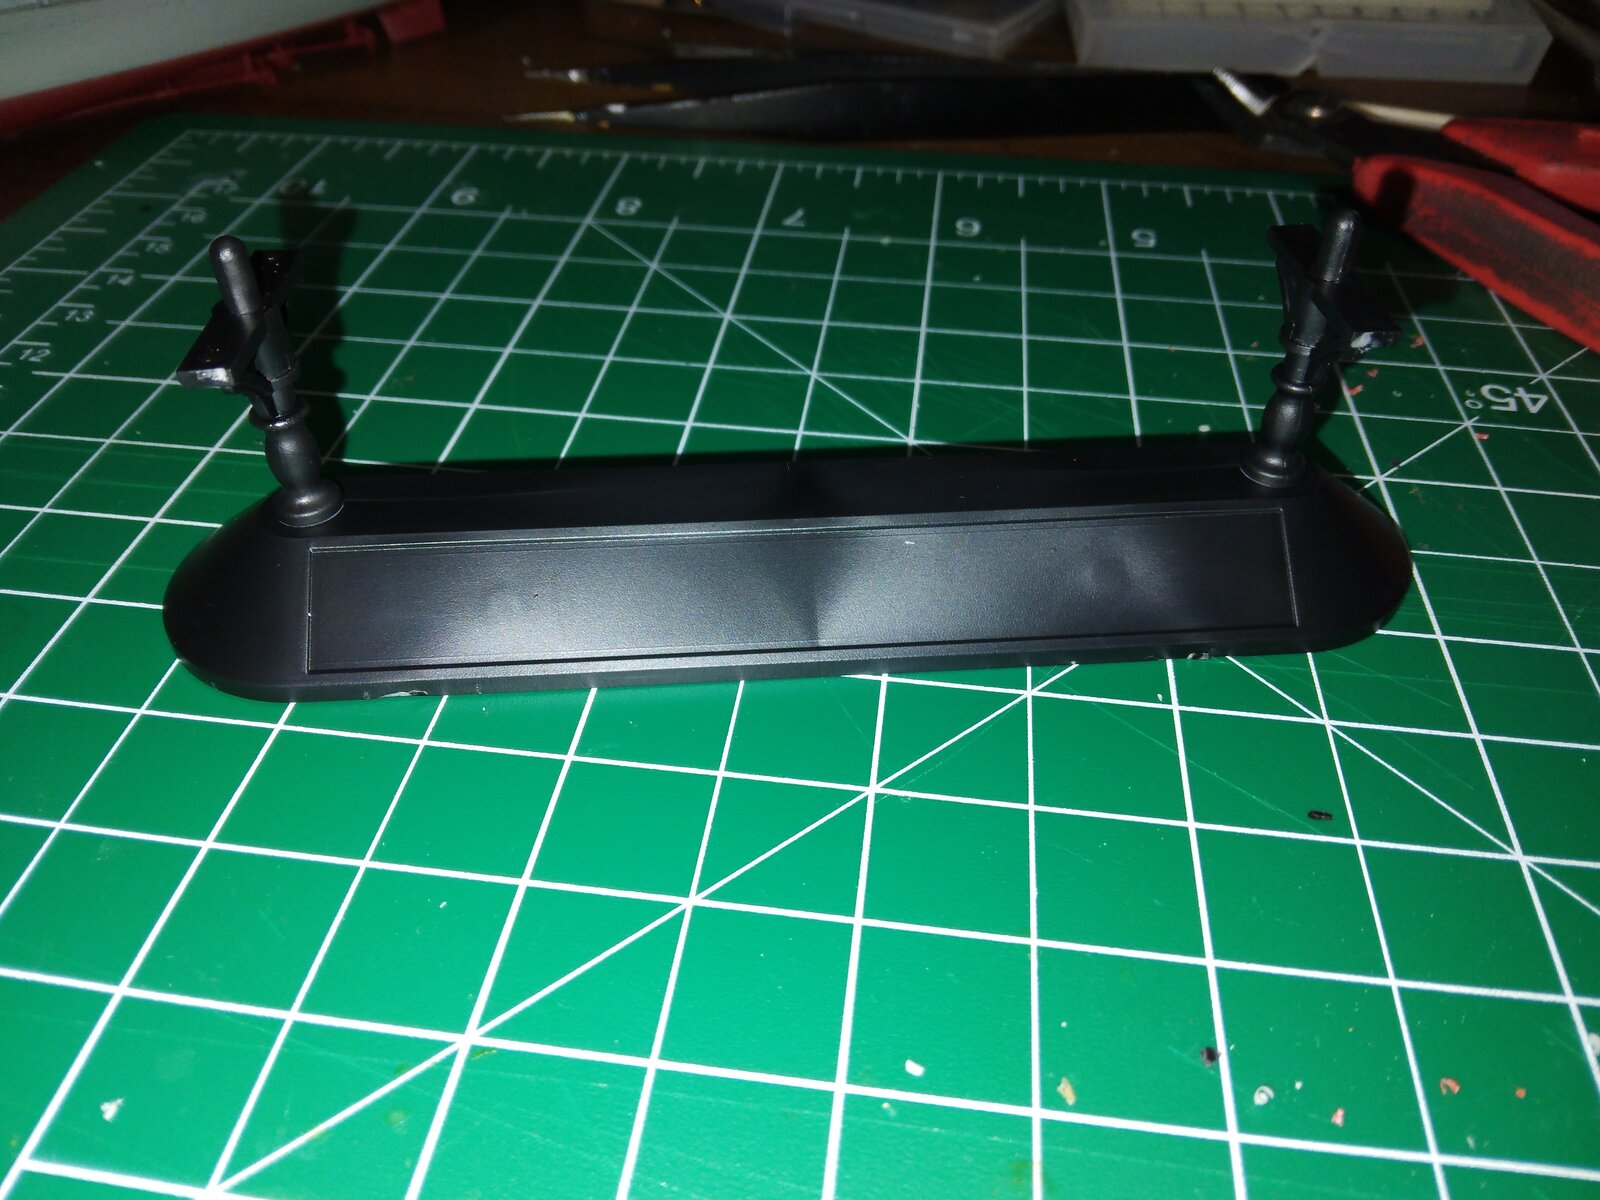
Here is the stand for the ship
20250126_145845.jpg

20250126_145902.jpg

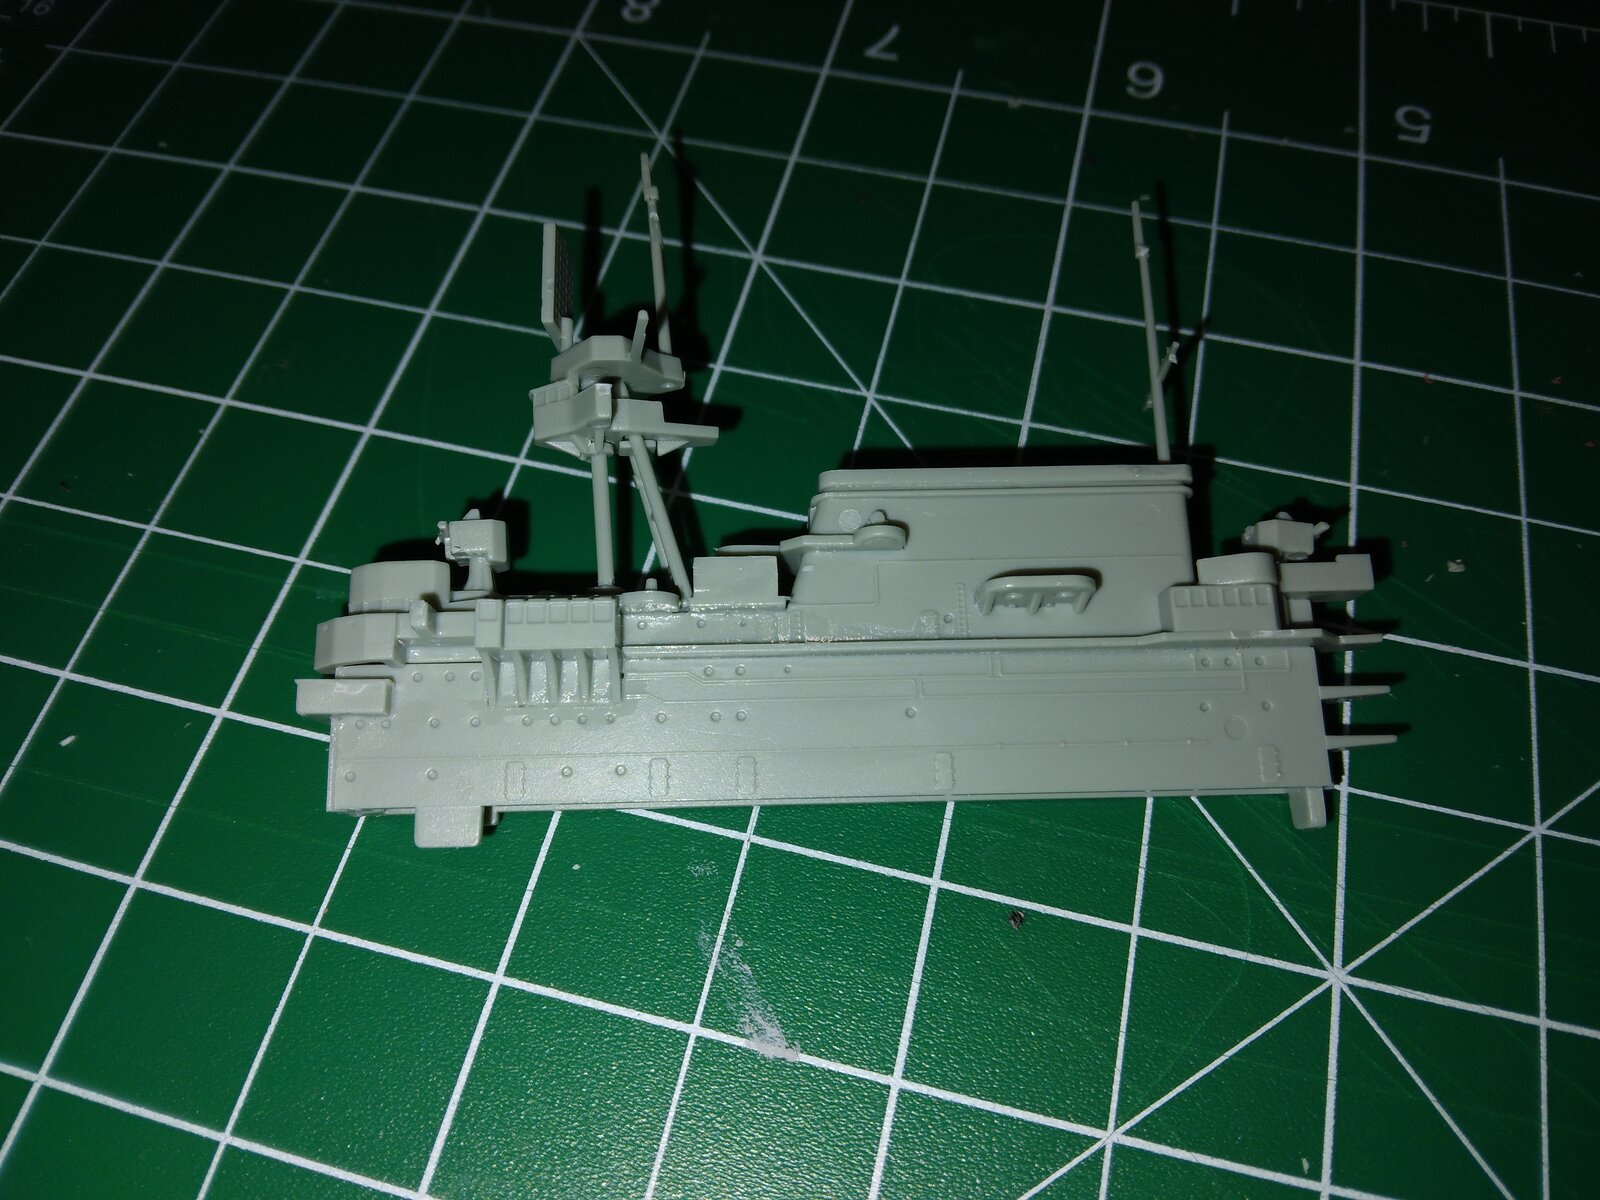
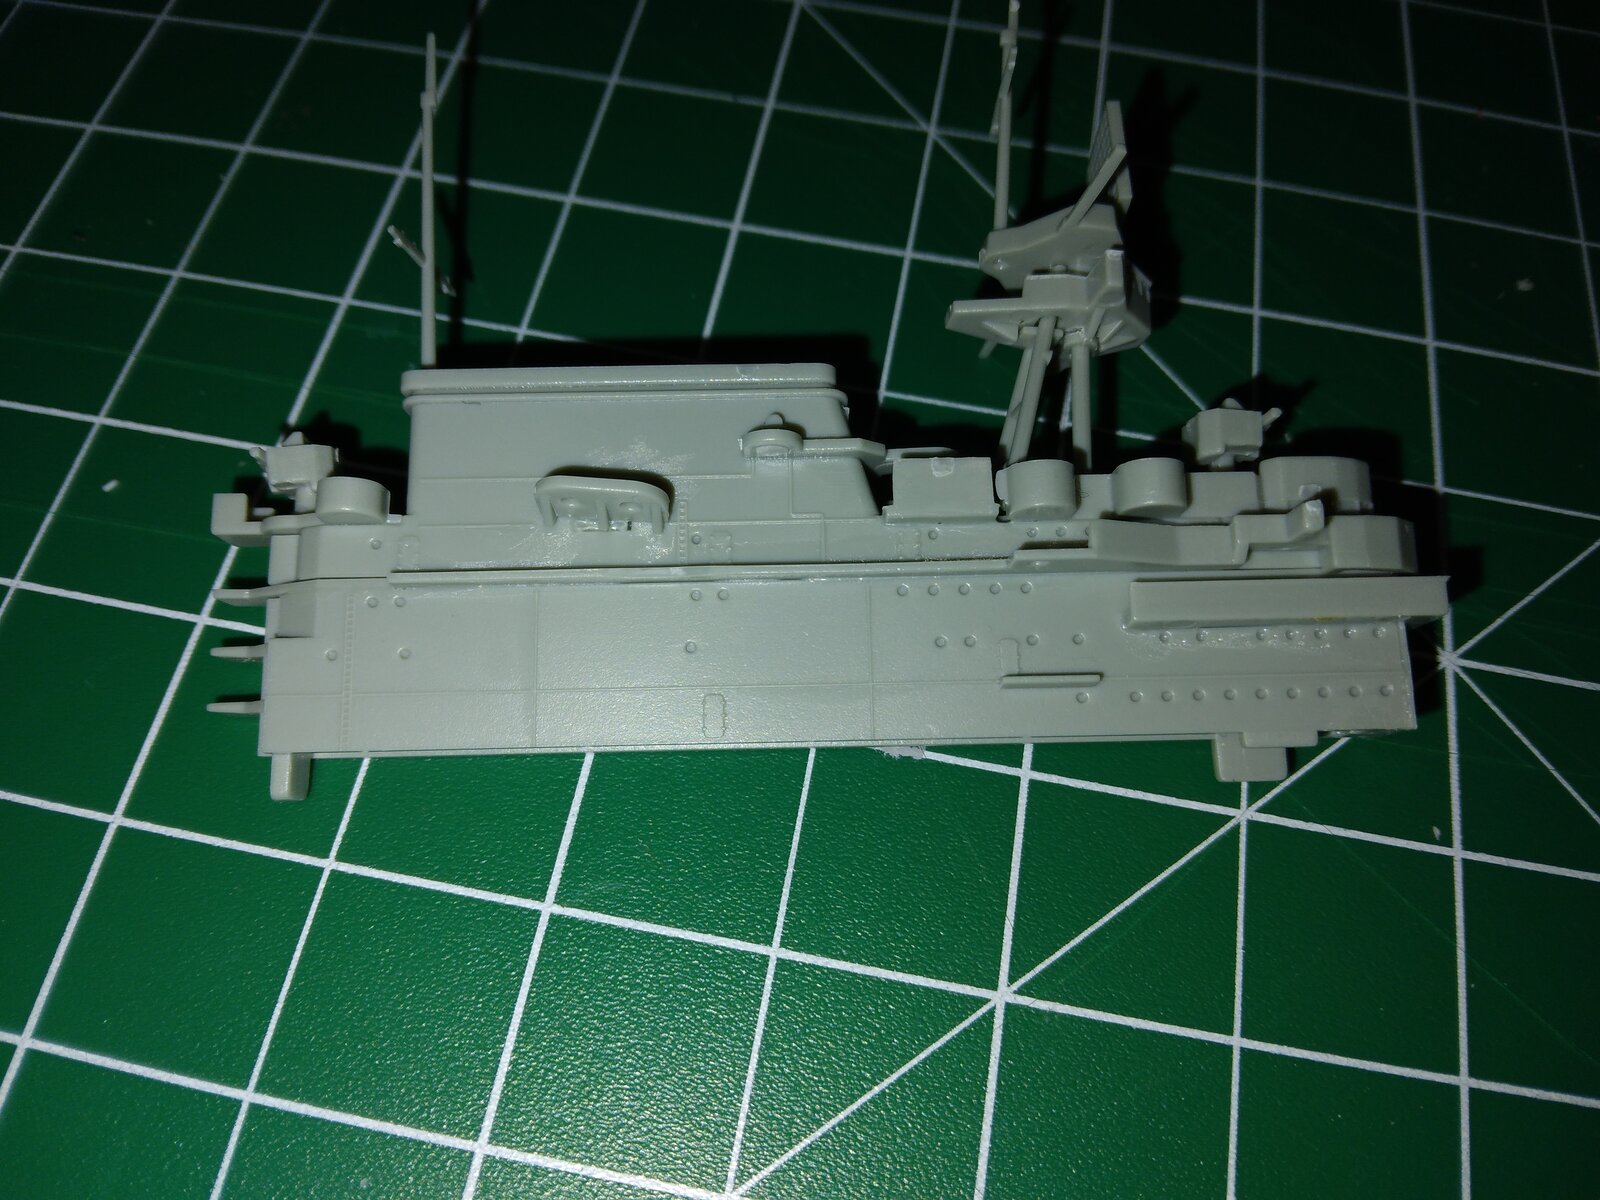
The island. As you can see one of the gun wings is slightly crooked. The tab broke off and I had to free hand putting it on. Did the best I could.
20250126_145917.jpg


20250126_145929.jpg

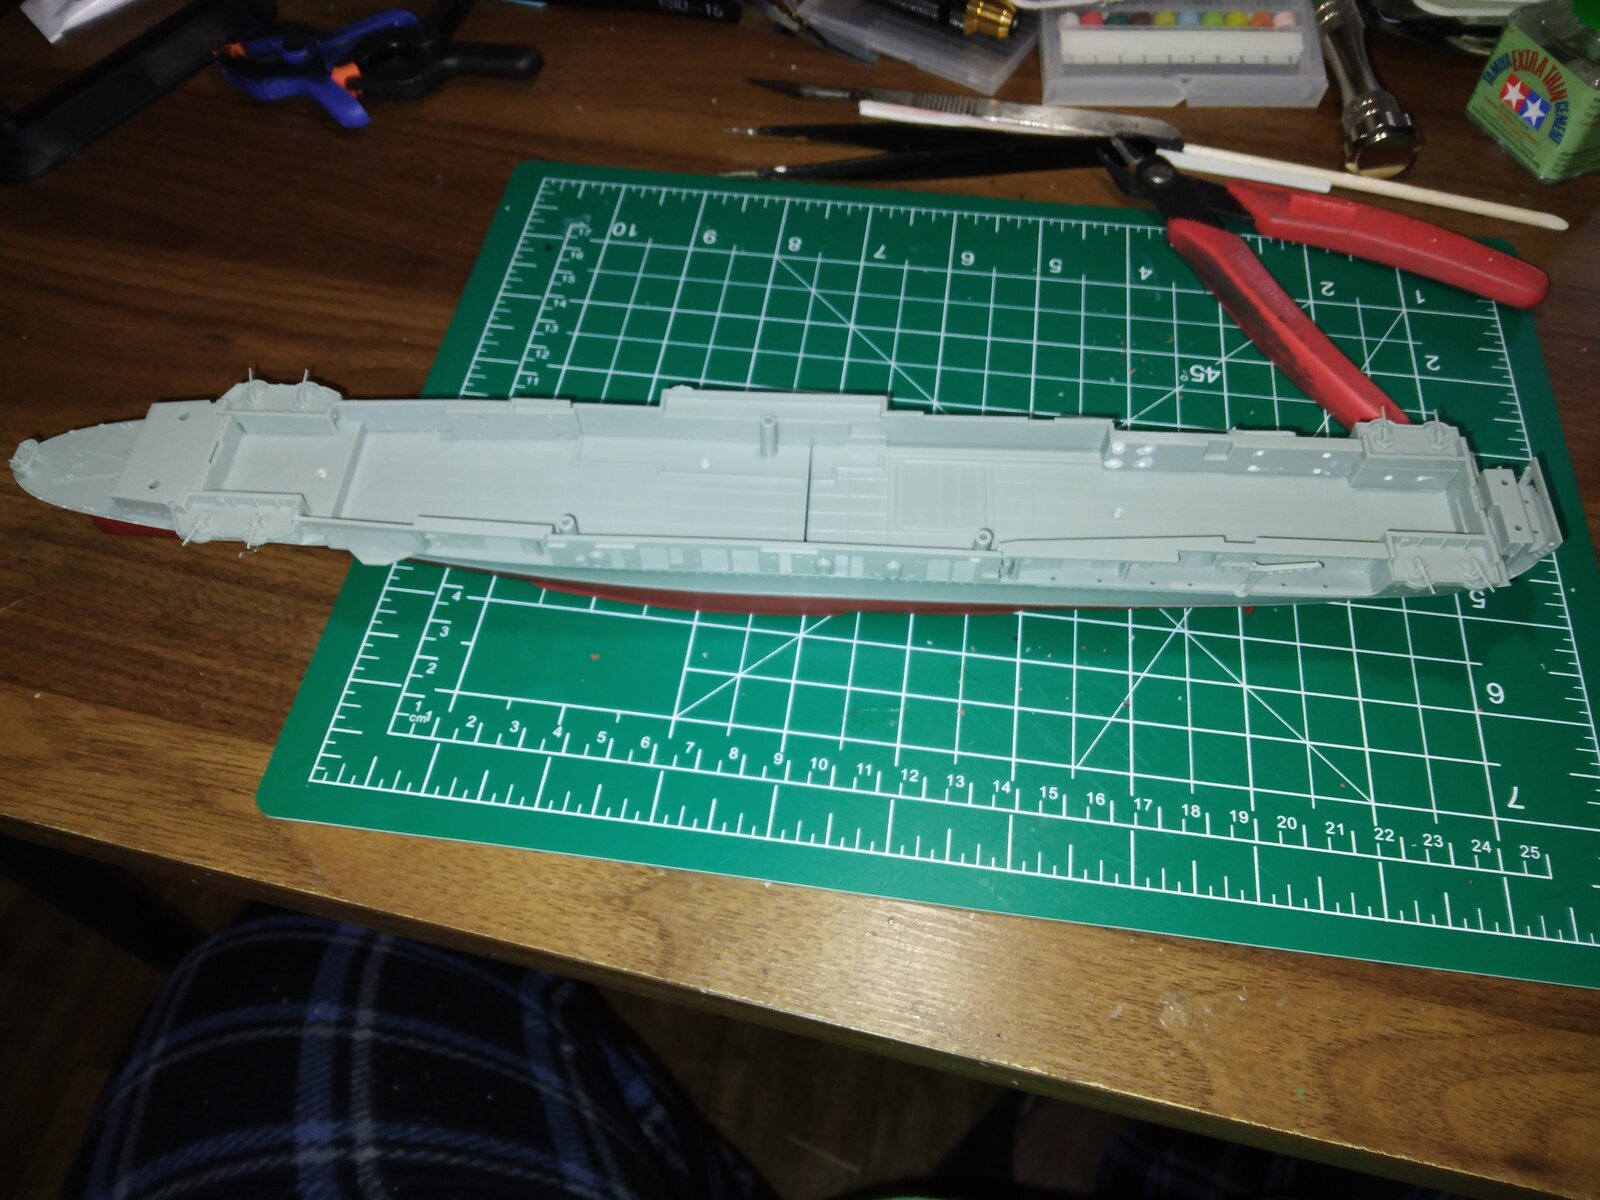
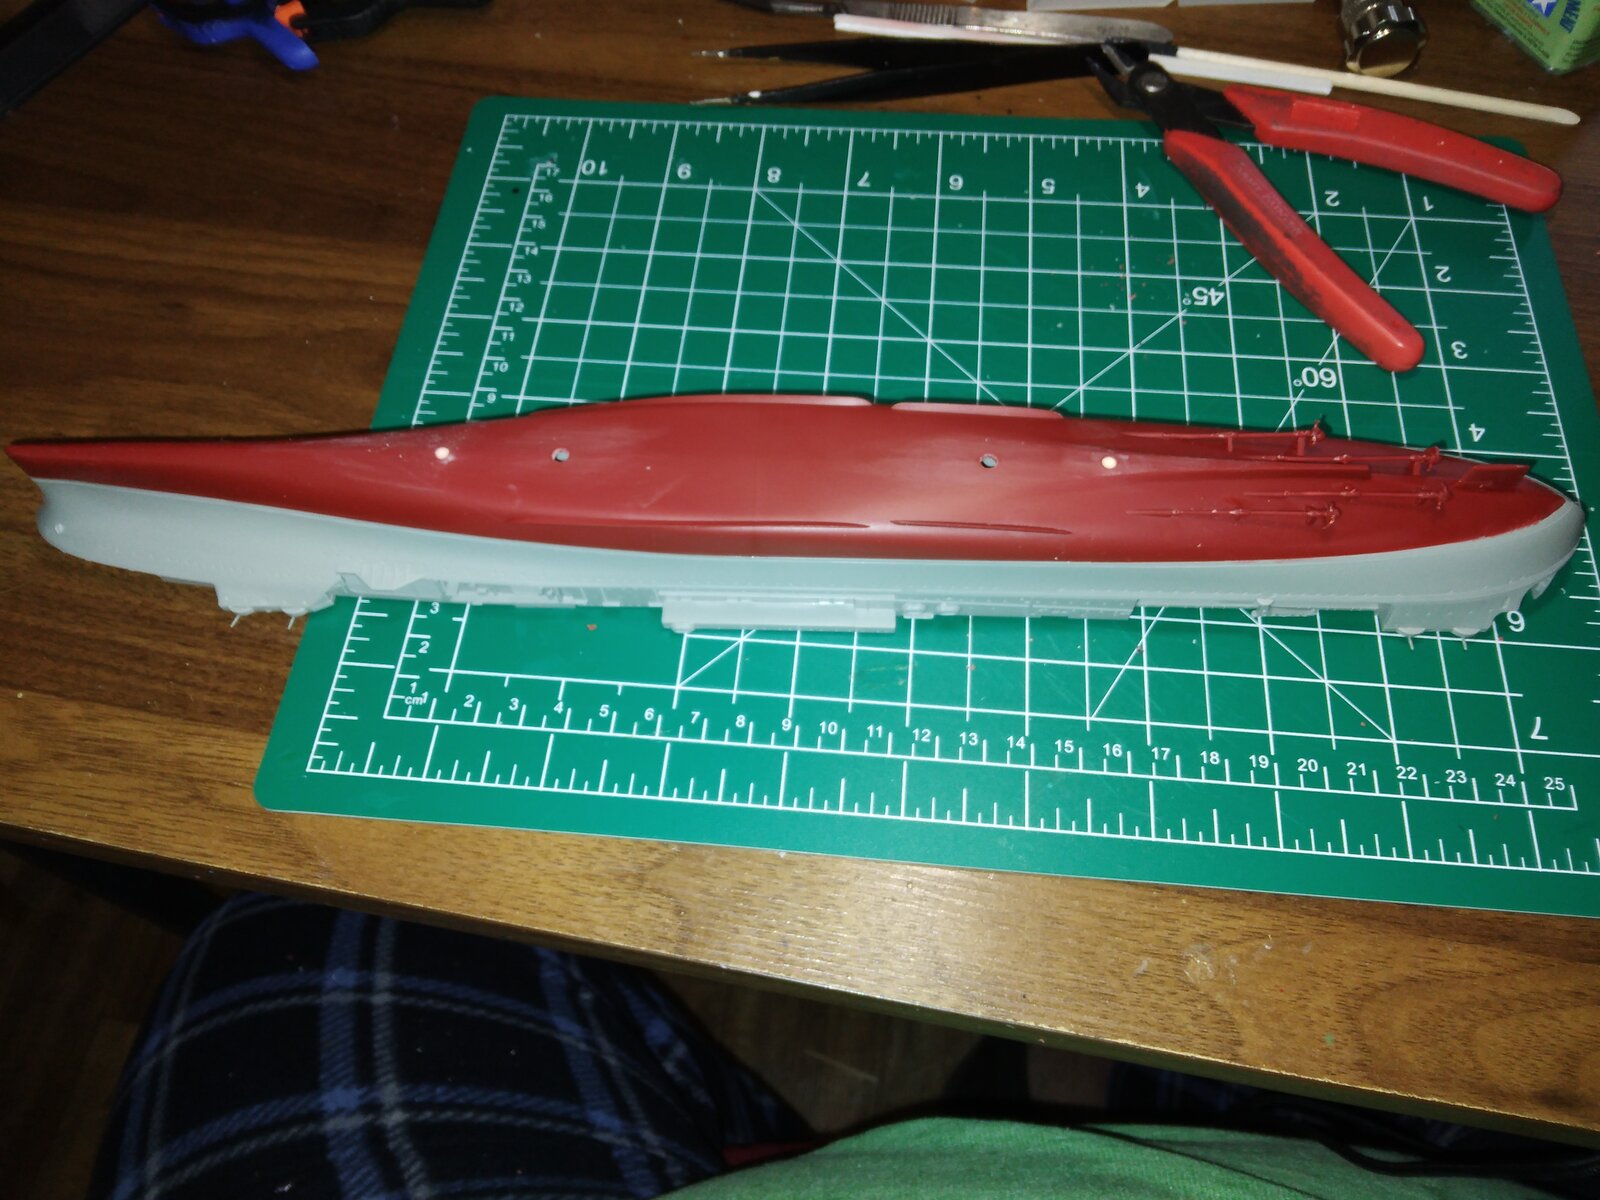
Finished the hull other than putting the flight deck on that is. I filled the ejector pin marks with putty, and when that dries I'll sand it down flush with the rest of the hull.
20250126_145951.jpg


20250126_150002.jpg


@Calico Jack, @TimM63 Thanks that's my favorite cup, although for me it's a tea cup, never acquired the taste for coffee despite Dad's best efforts.

Calico Jack, what ship are you doing?
 

Latest posts

Back
Top