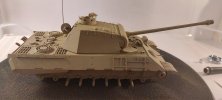
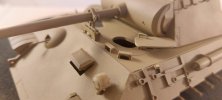
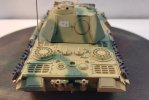
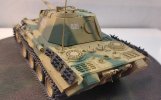
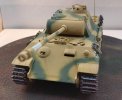
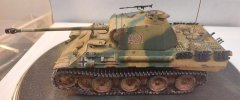
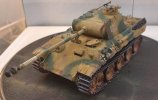
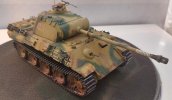
Looks like a great start. I don't know how your wallet is placed, but I would suggest looking to see if you can replace the rubber band track. Don't panic.... Yes Fruil and other workables will be two or three times the cost of the Panther, however if you investigate, Tamiya Produces a good set of Single link tracks for the Panther in hard styrene at a sensible price. I would guess the tracks for the D would fit an A Varients Panzer V.
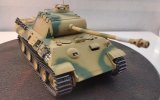
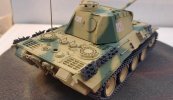
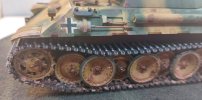
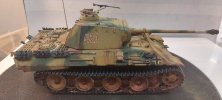
You may find them going cheap on the Web, well worth a search as they make a hell of a difference. OK cutting off sprue is boring, but assemble and Glue in sections. I use slower type liquid glue for these, wait 20 mins or so, then fit the sprocket and idler sections. Then build the top and bottom track runs to fit and add the sag in the top run. Then either fully build the run, allow to dry and paint on the wagon, or remove the sections, paint off the vehicle and once done attach to tank, glue and your good to go.
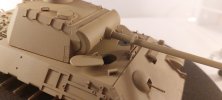
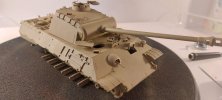
If removing to paint: DON'T add bazooka plates until the paint and glue on wheels to track is fully dry. Just paint and weather armour off the tank.
If you have hard spare track links to attach in the kit, the addon set is the same quality.
Bronco offer working addon tracks for Panthers, but I have no idea what they are like.
Have Fun