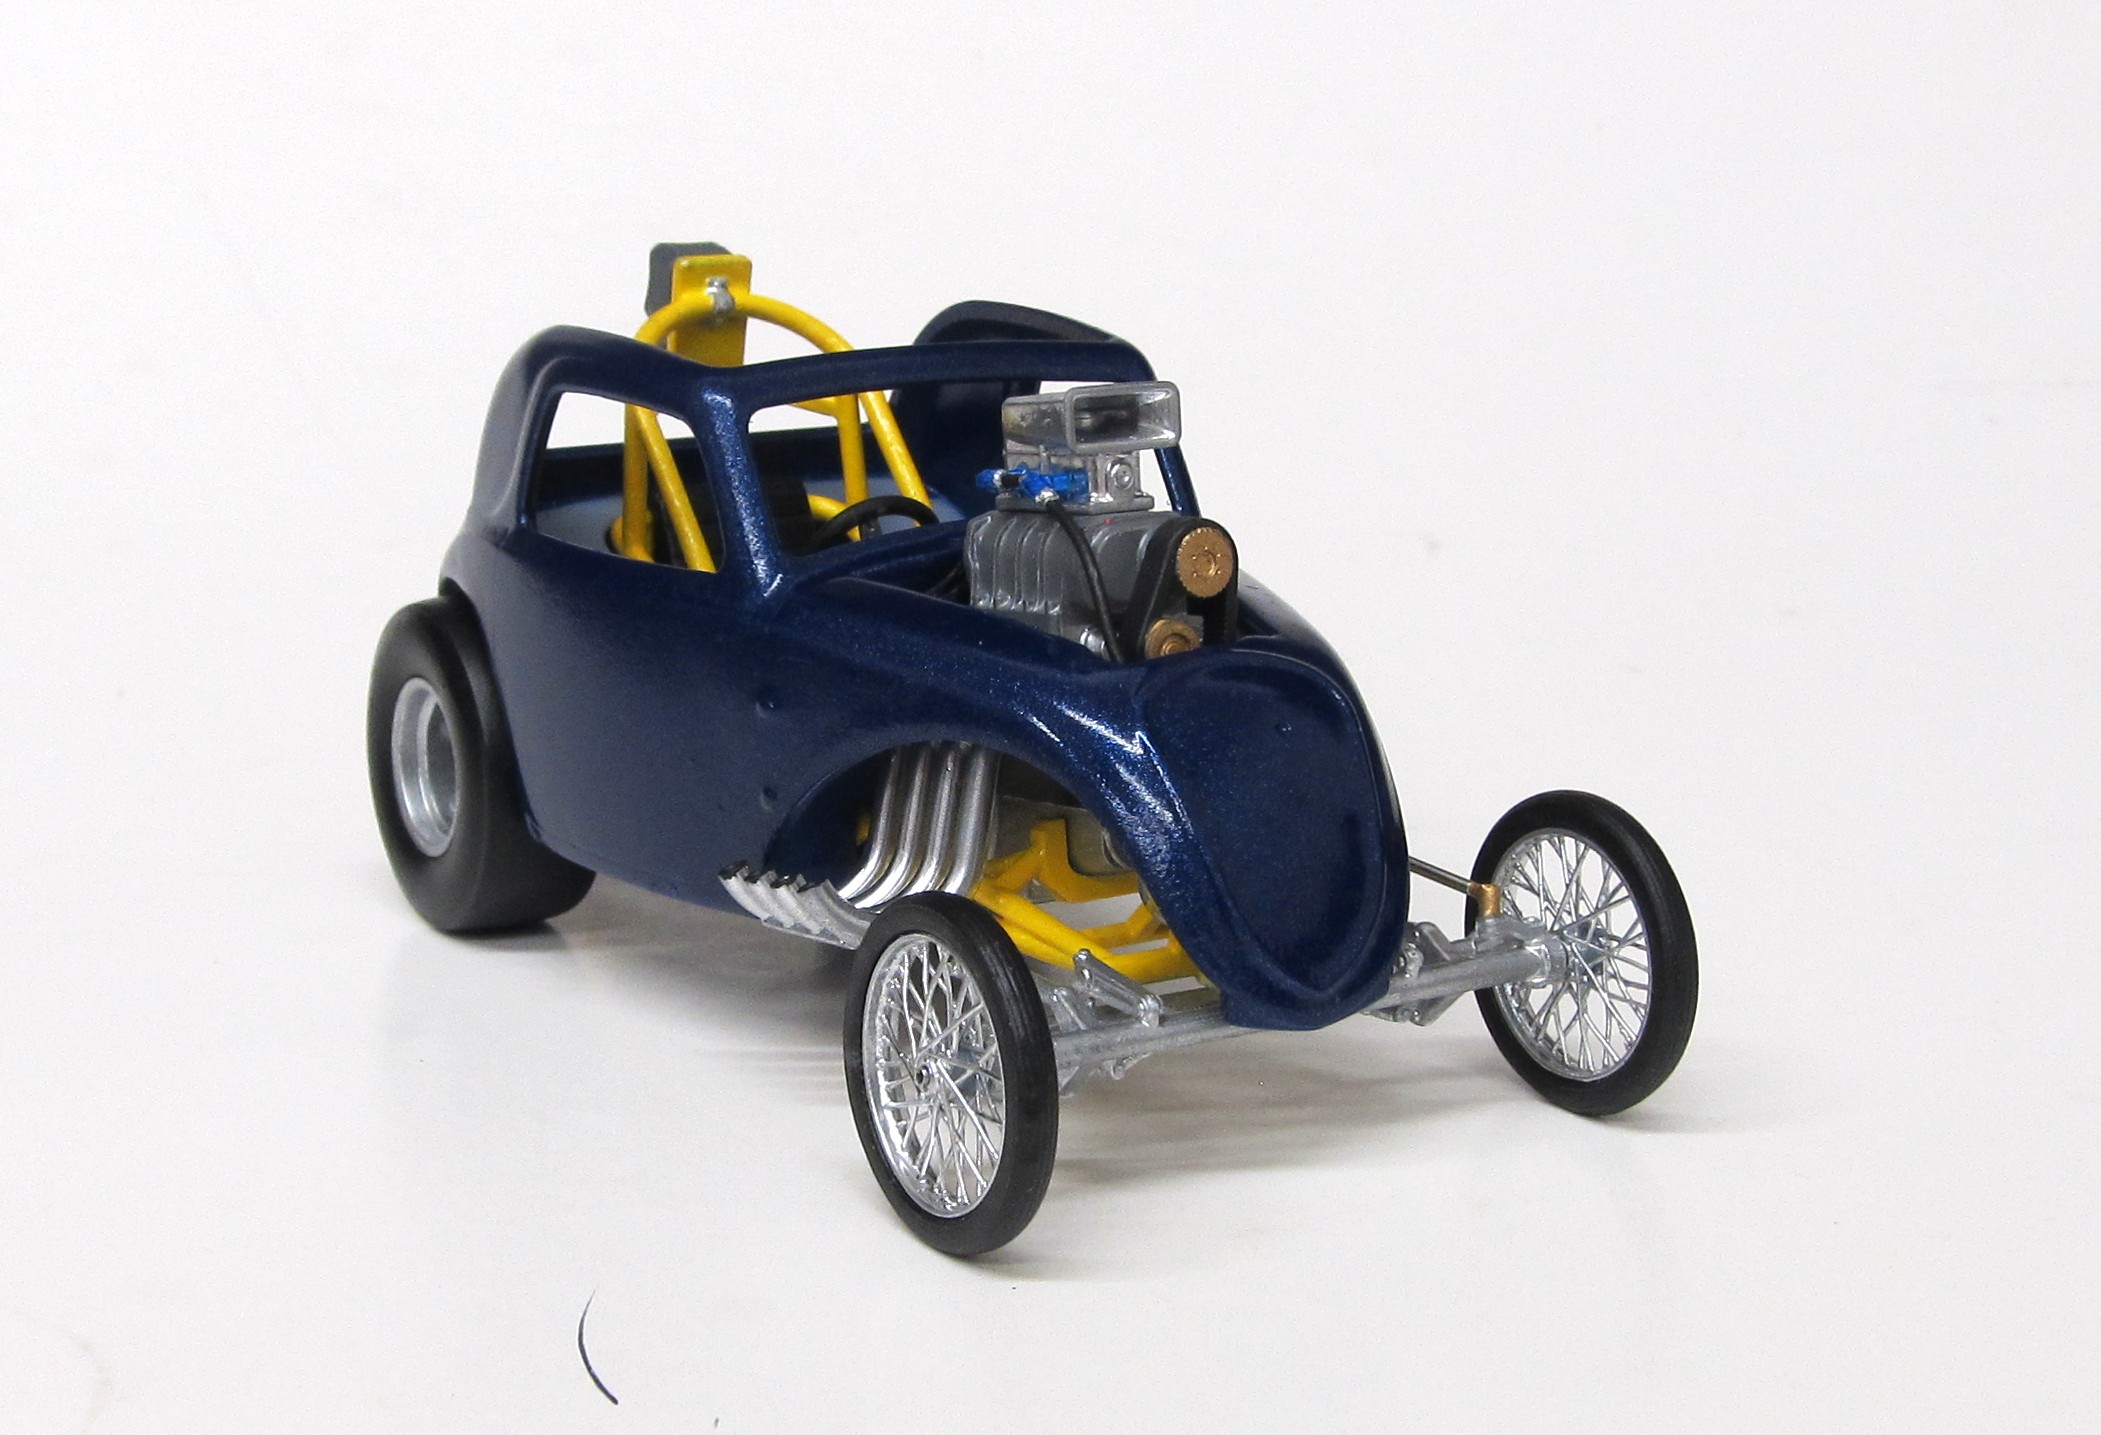
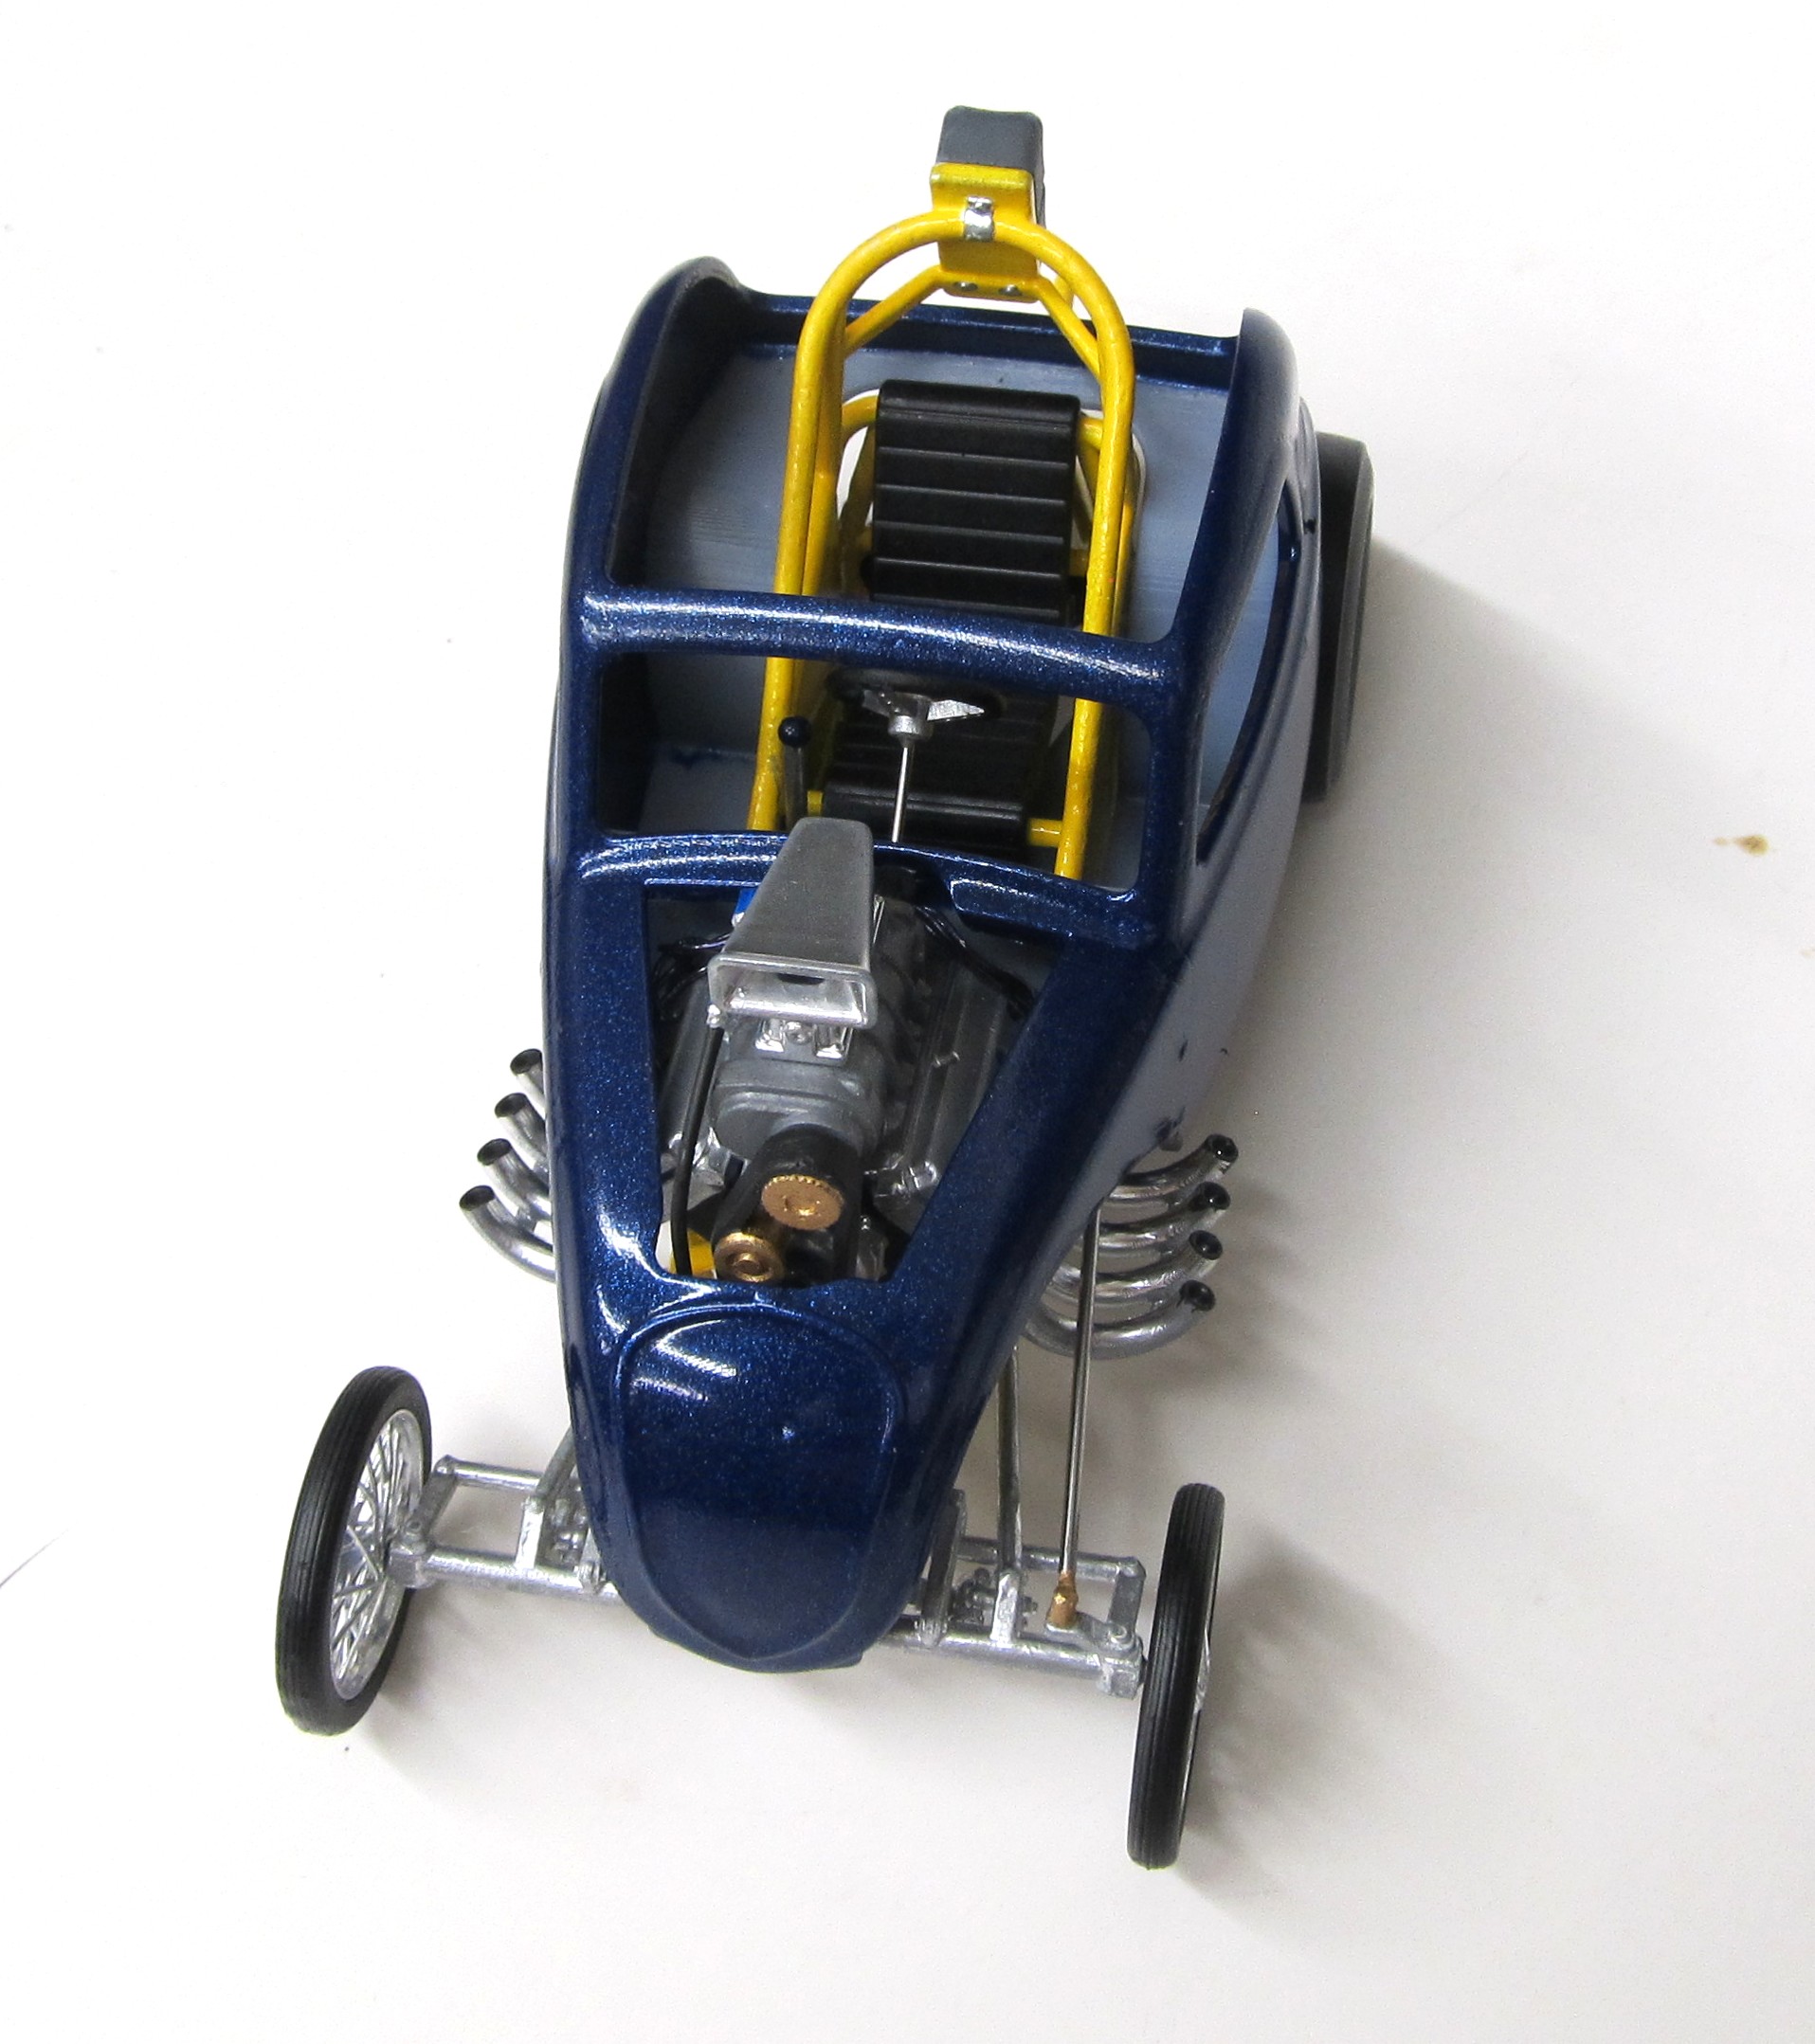
Topo 2

Scale Model Addict - Model Tips, Guides, Tools & Tech, Tutorials, and Community

Help Support Scale Model Addict:

RacerX

Well-Known Member
Joined
Nov 16, 2025
Messages
549
City & State/Province
NC, USA
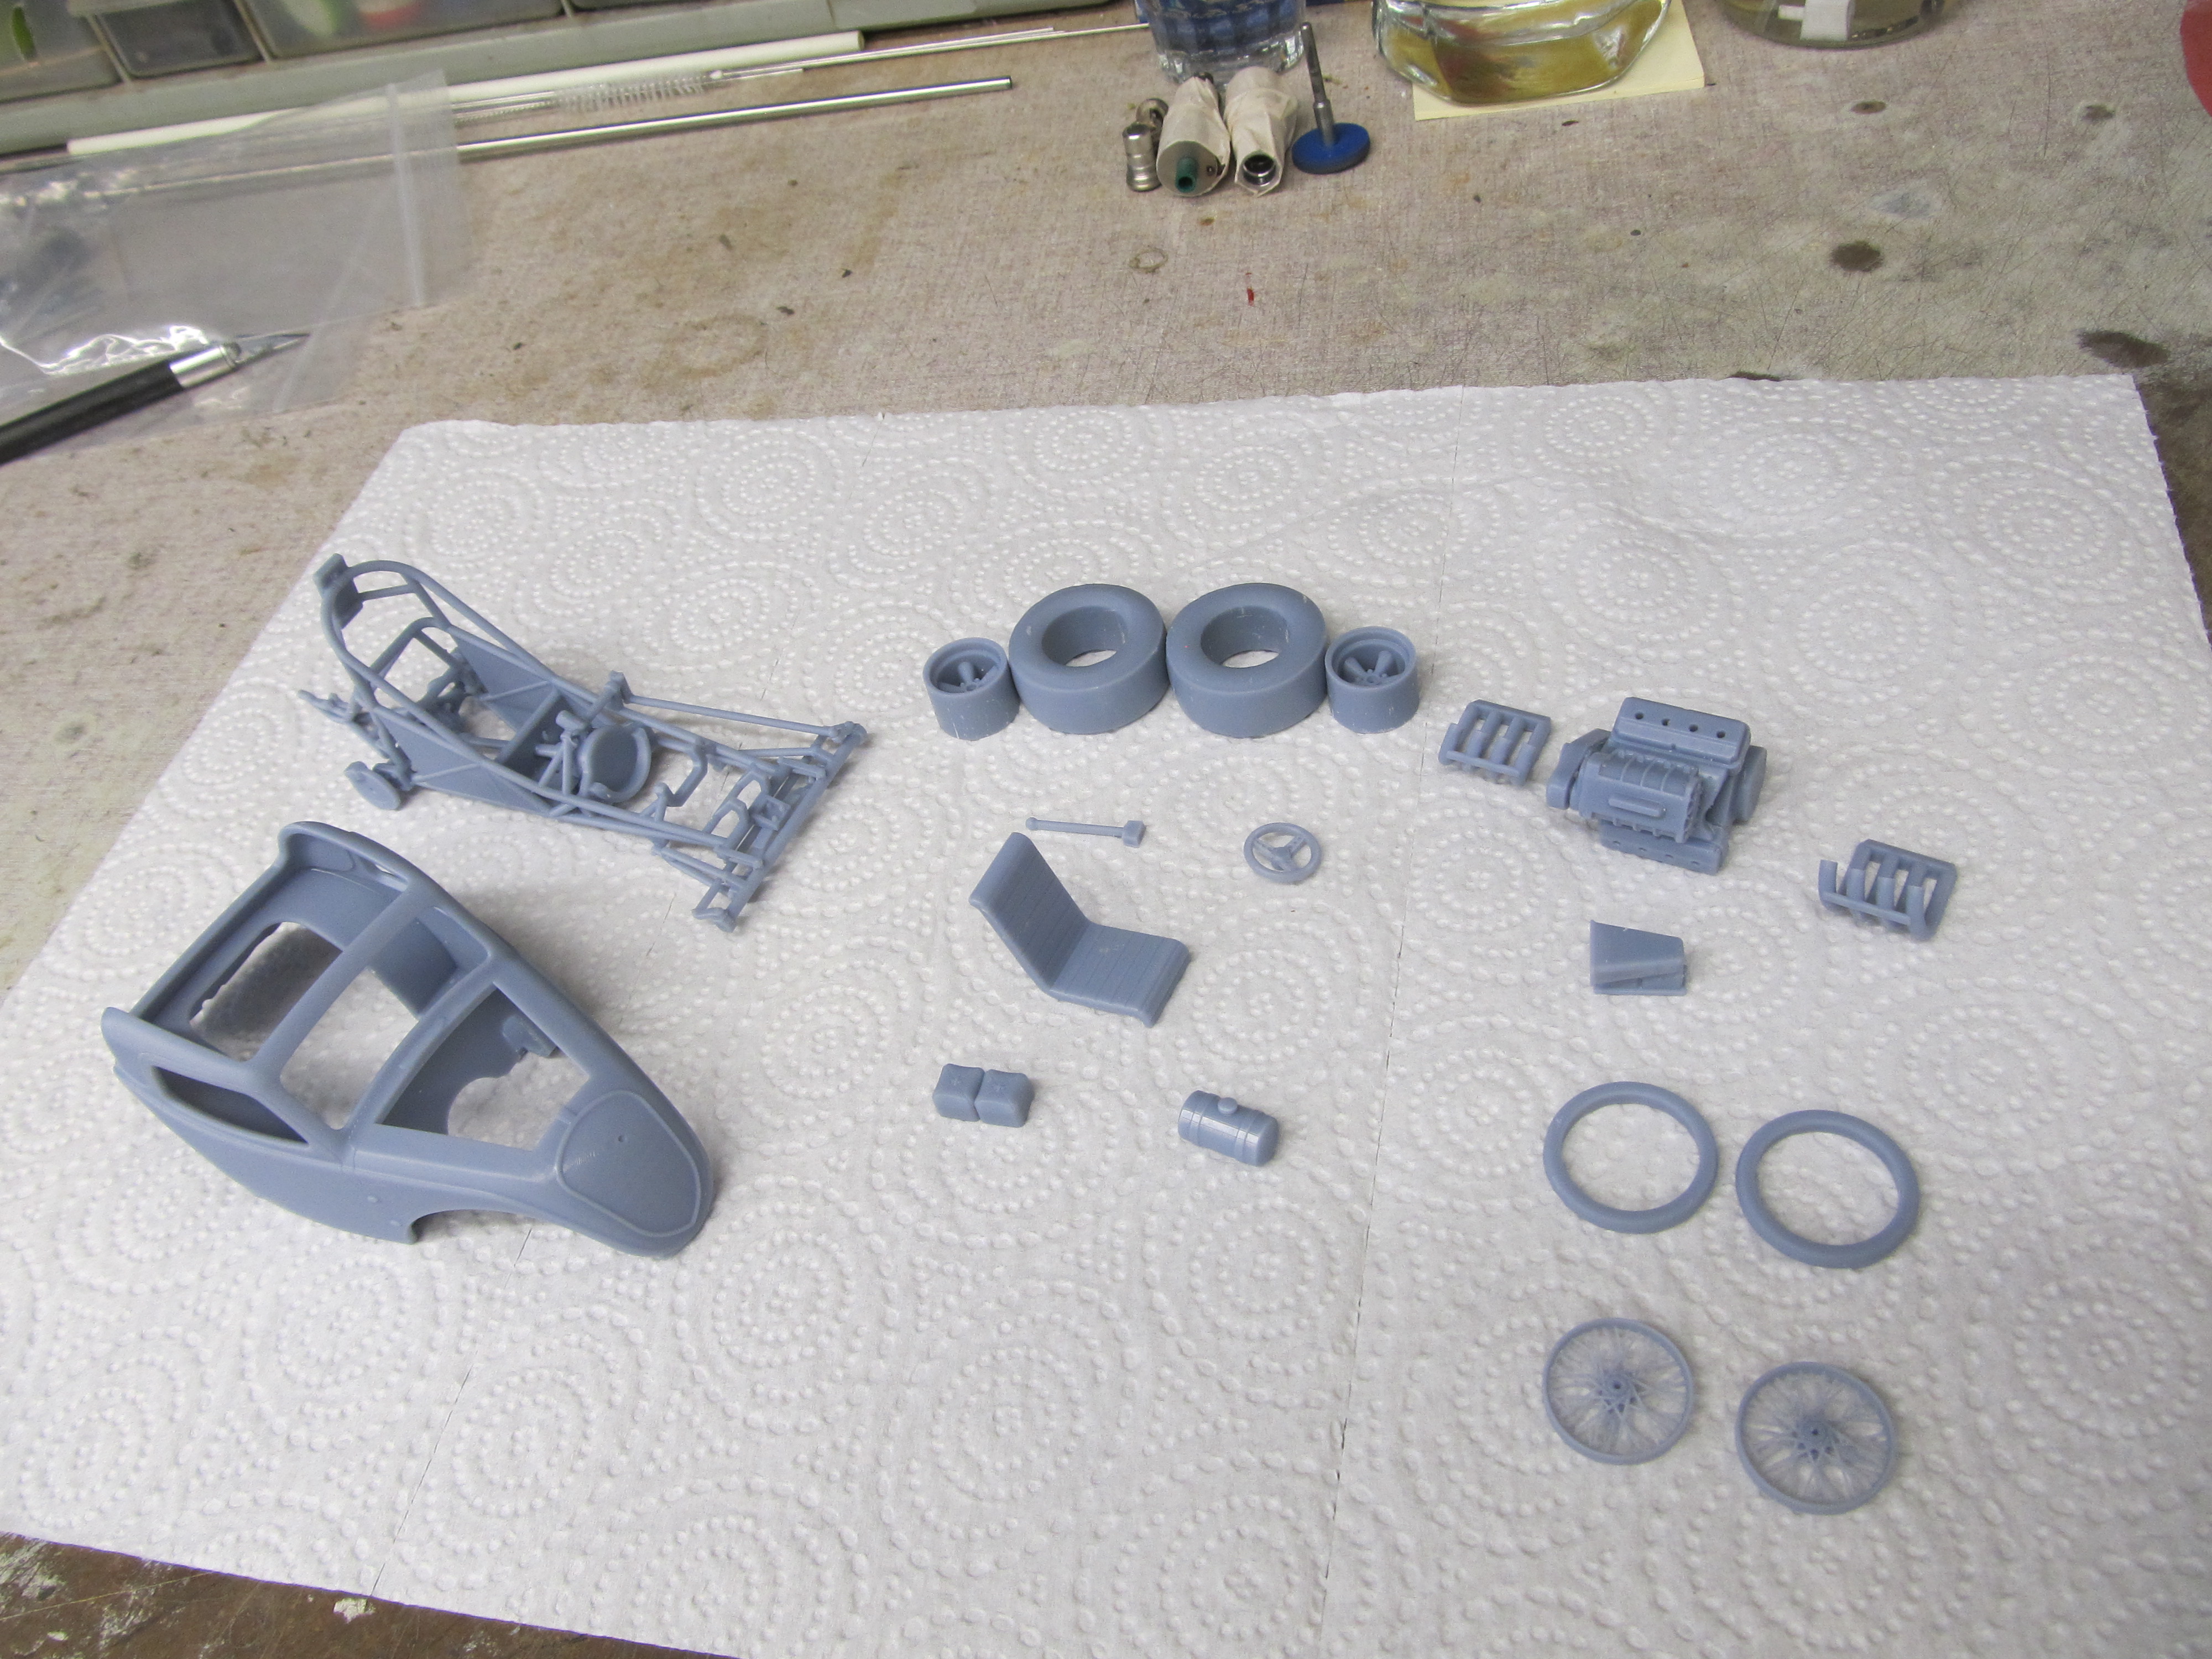
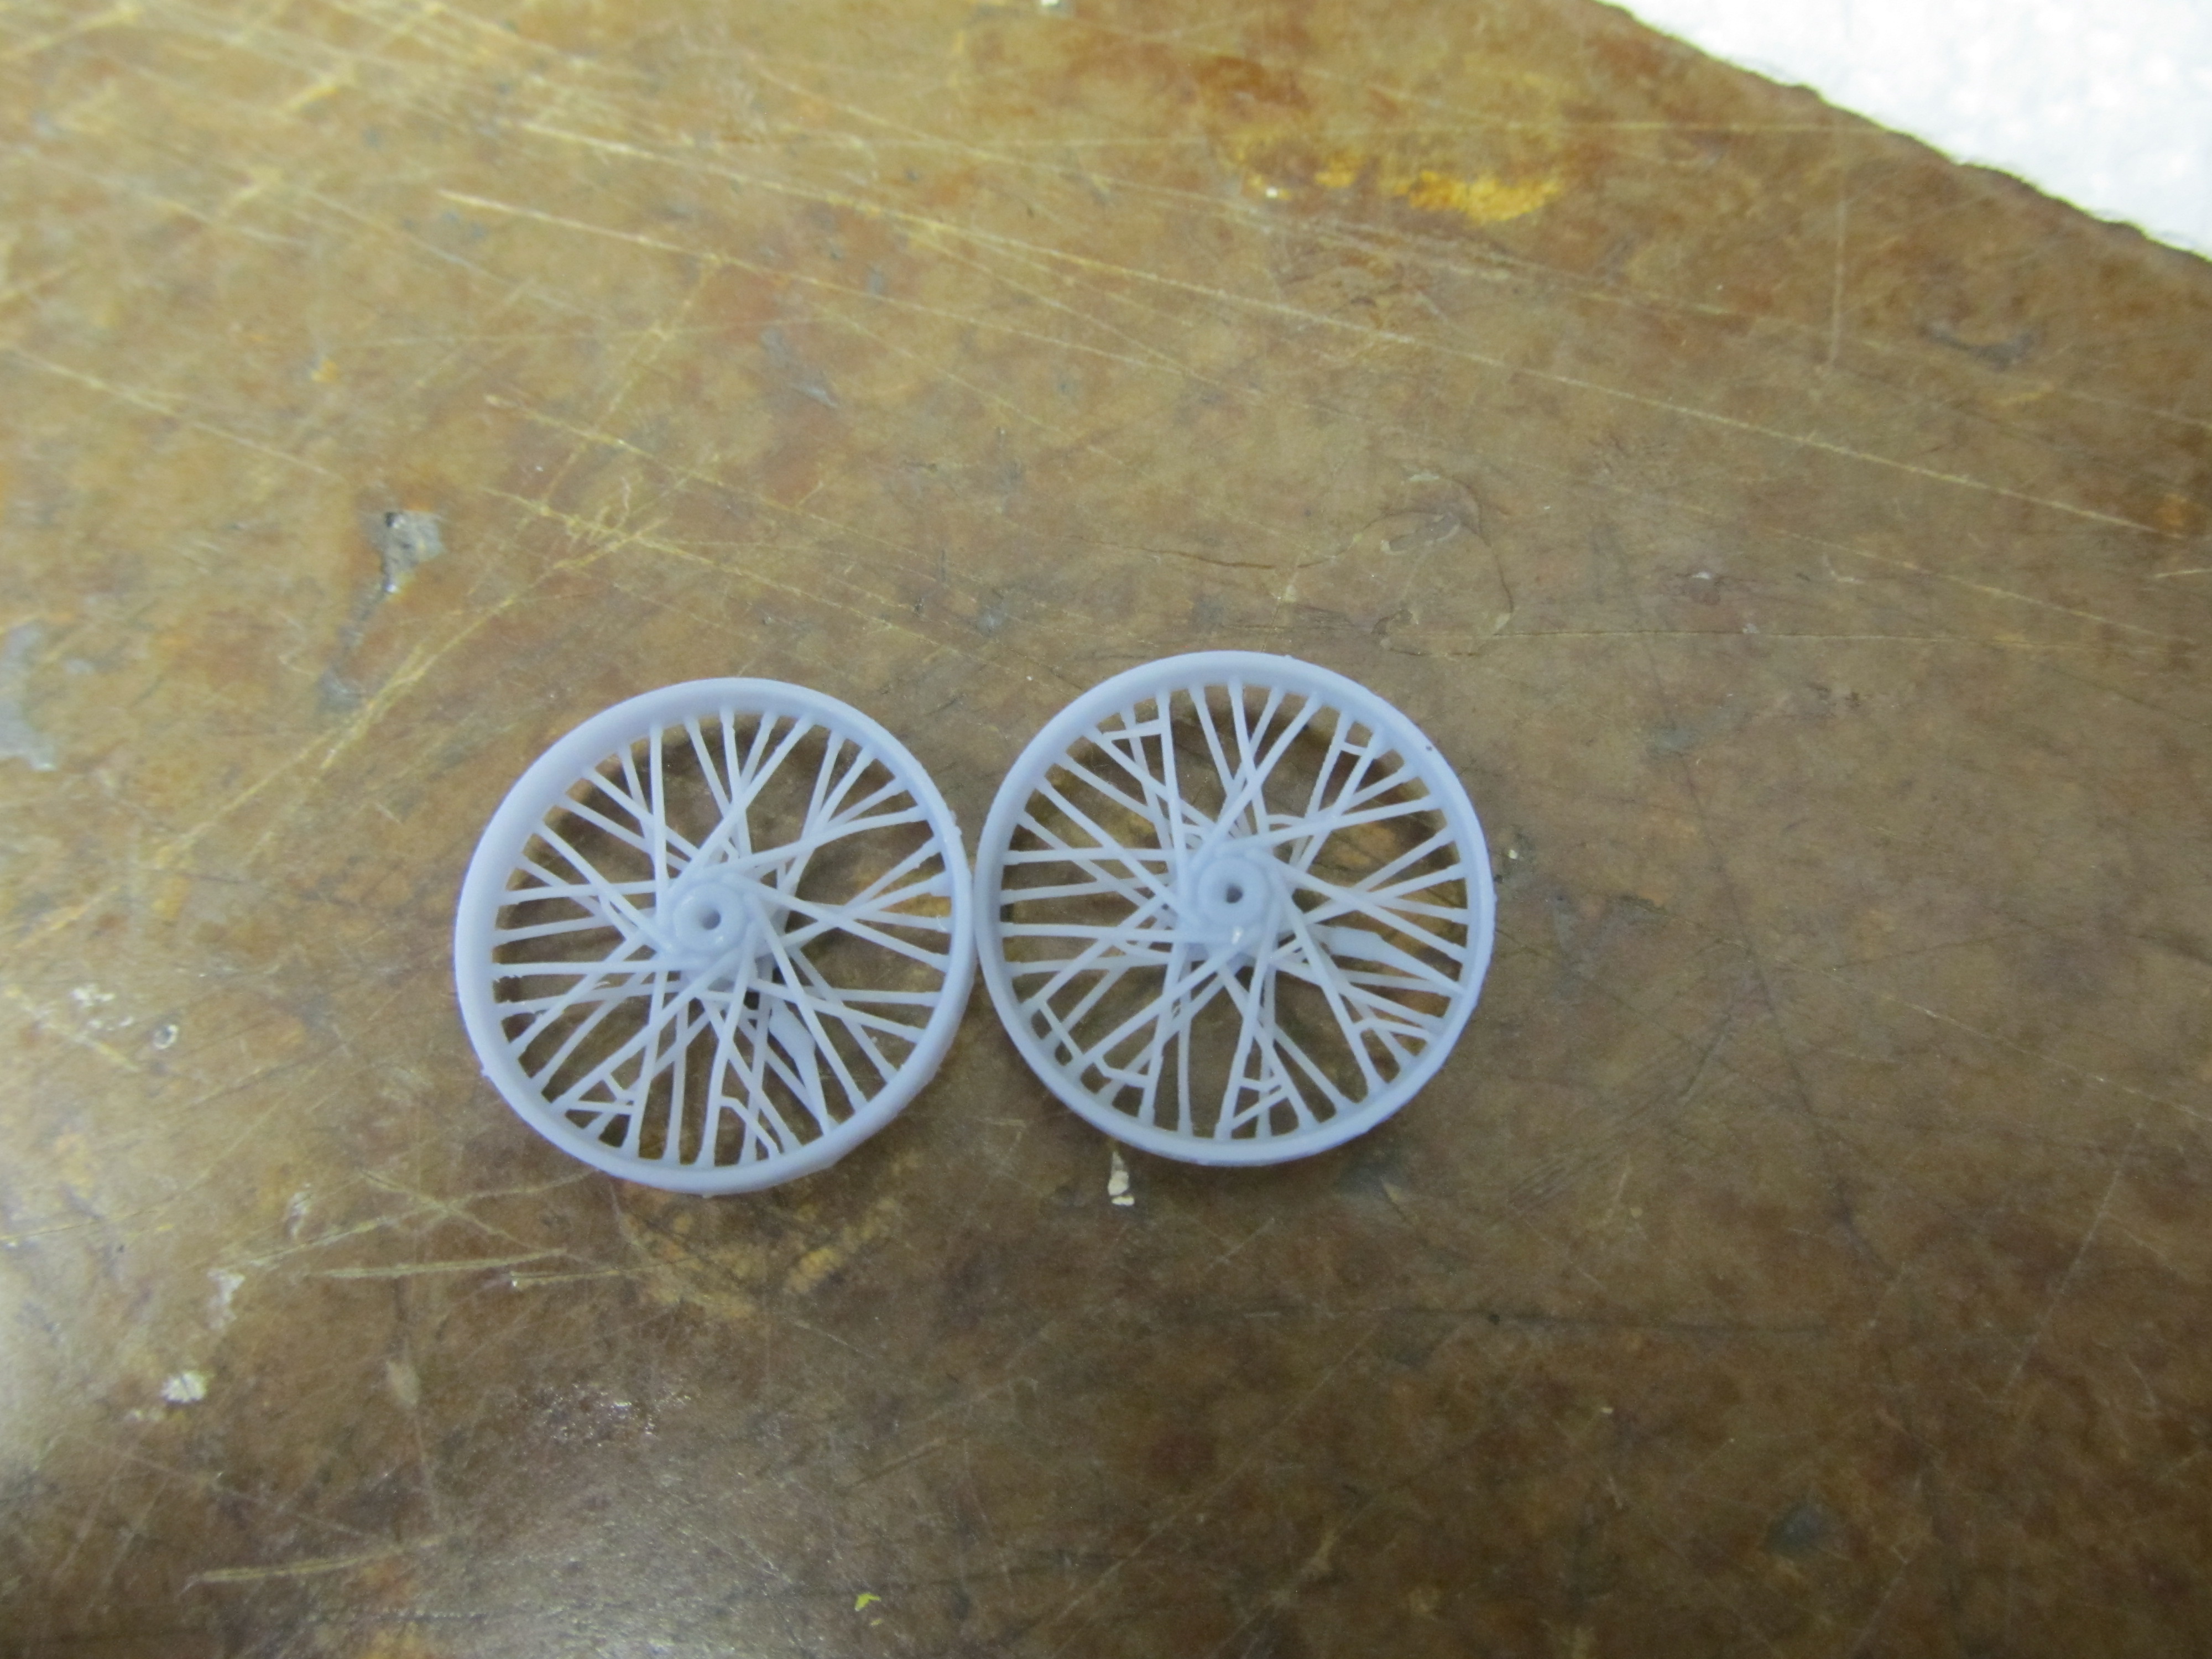
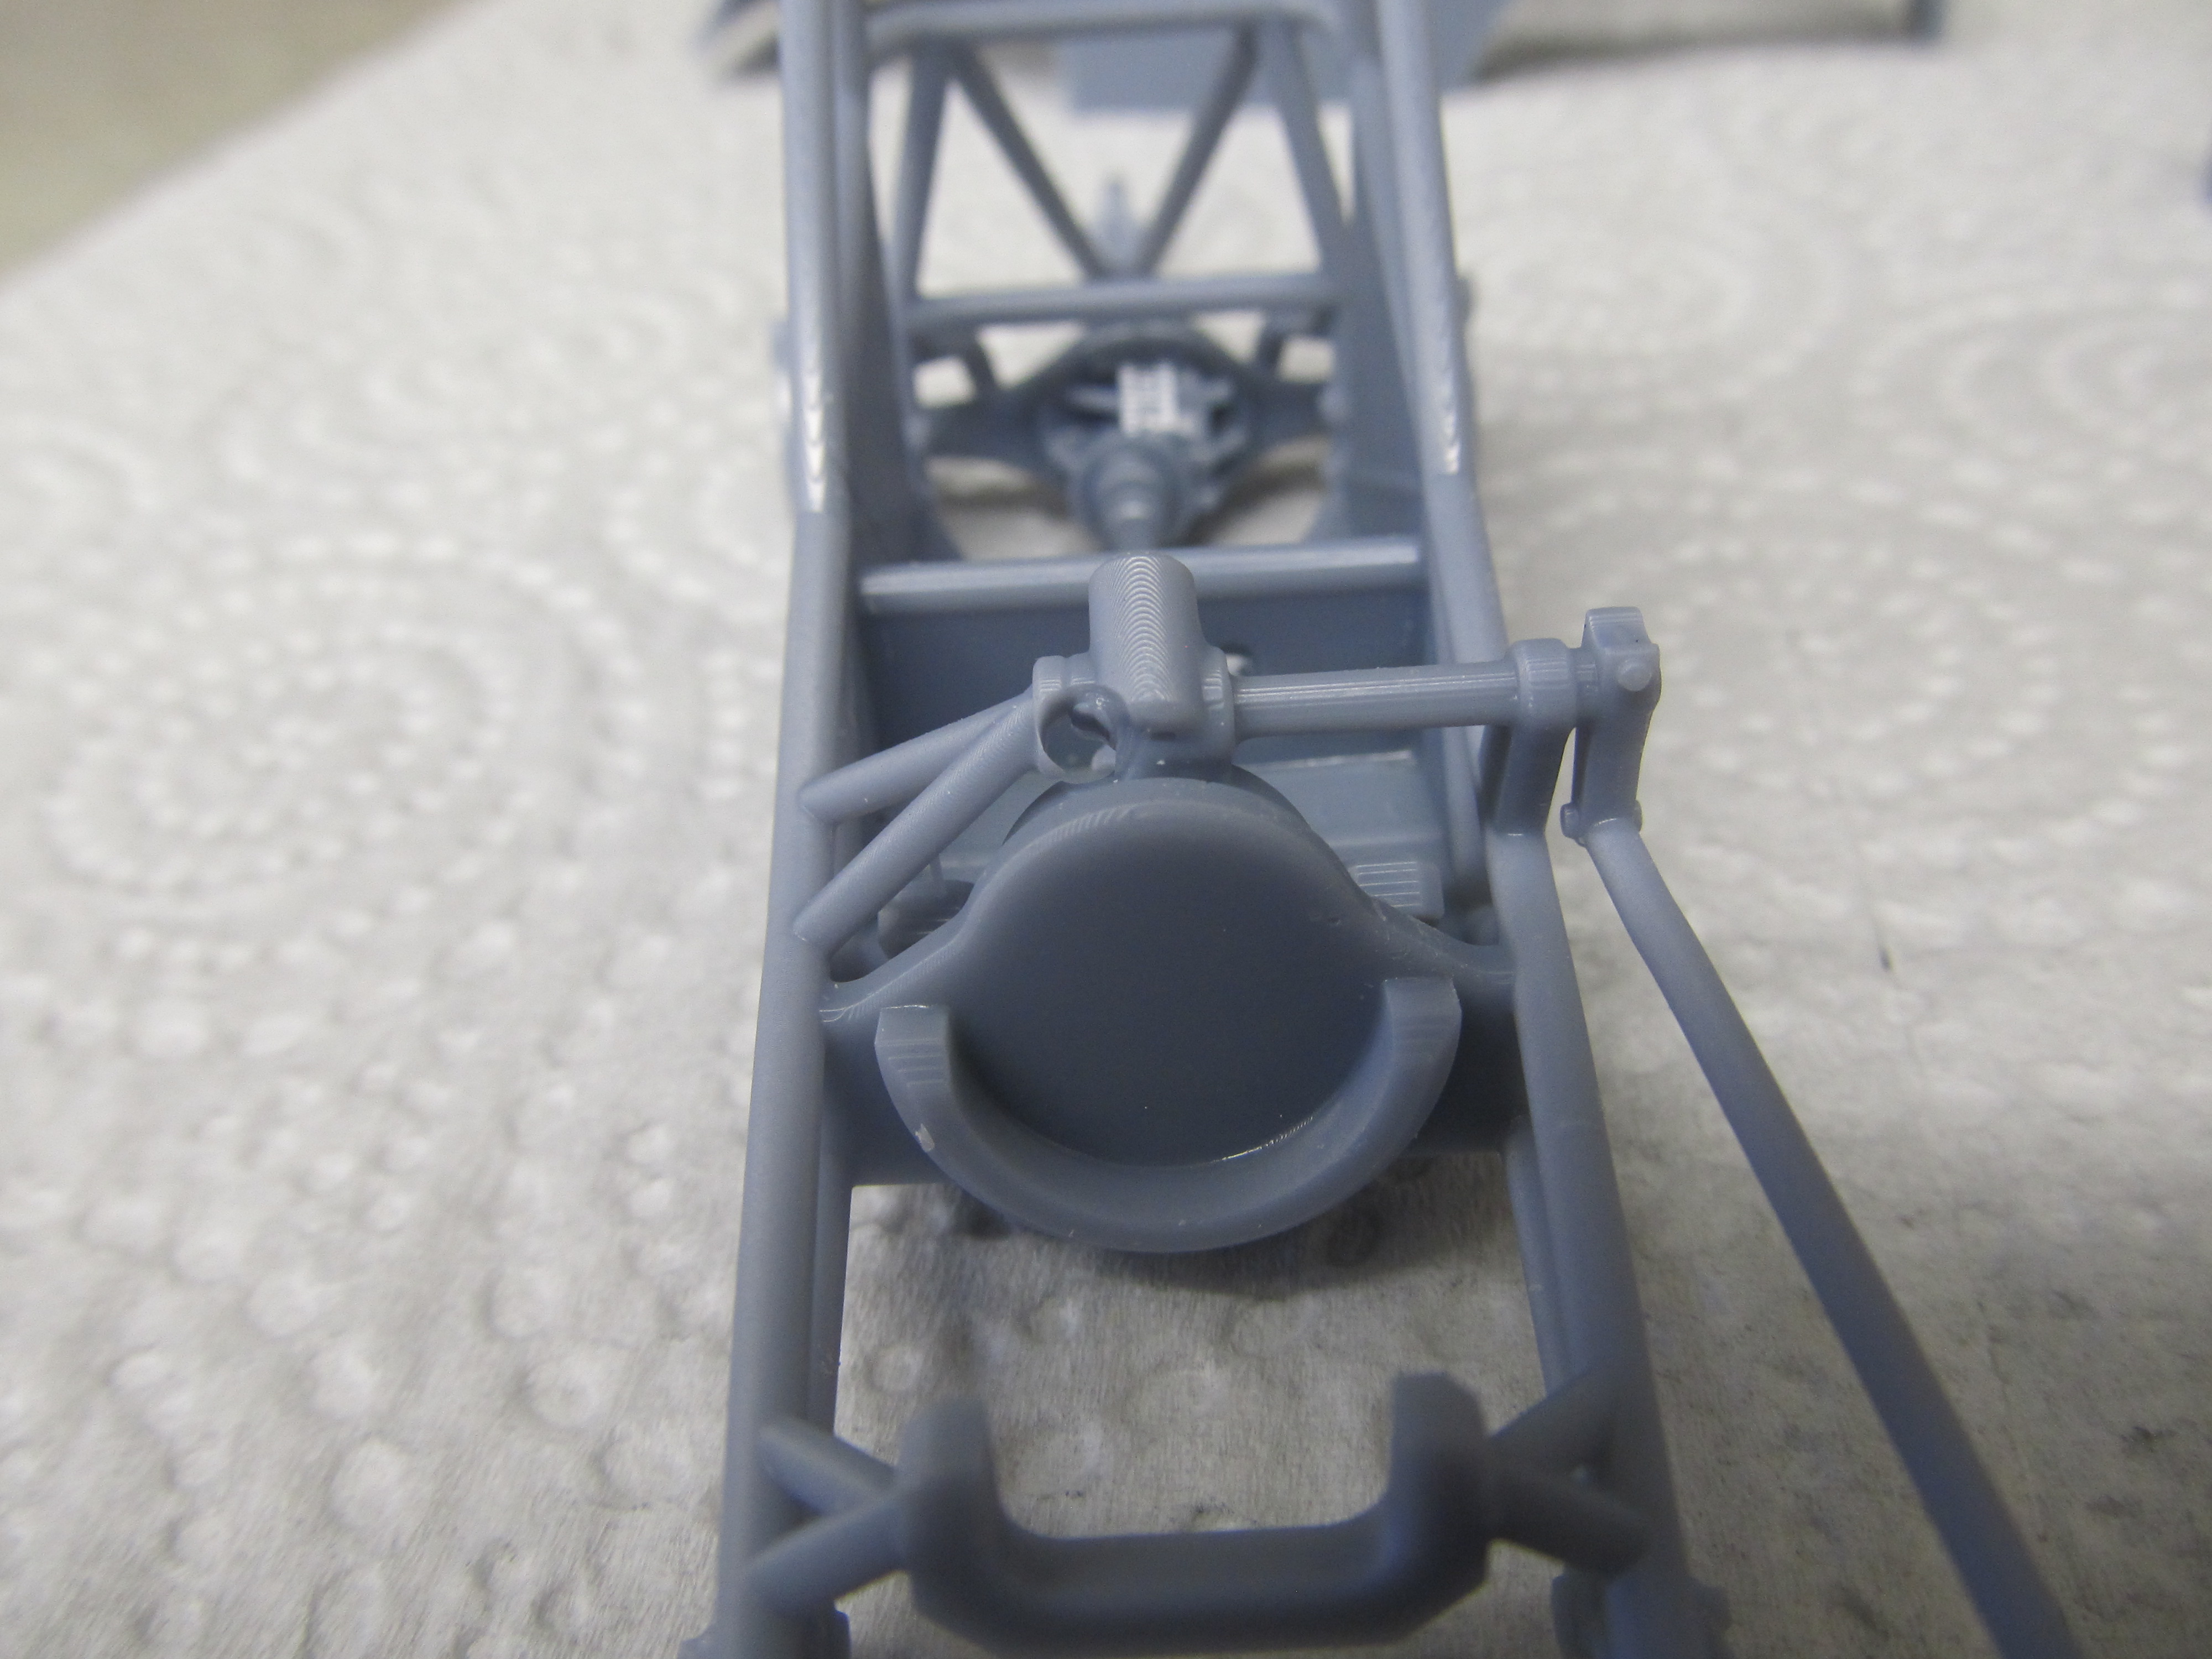
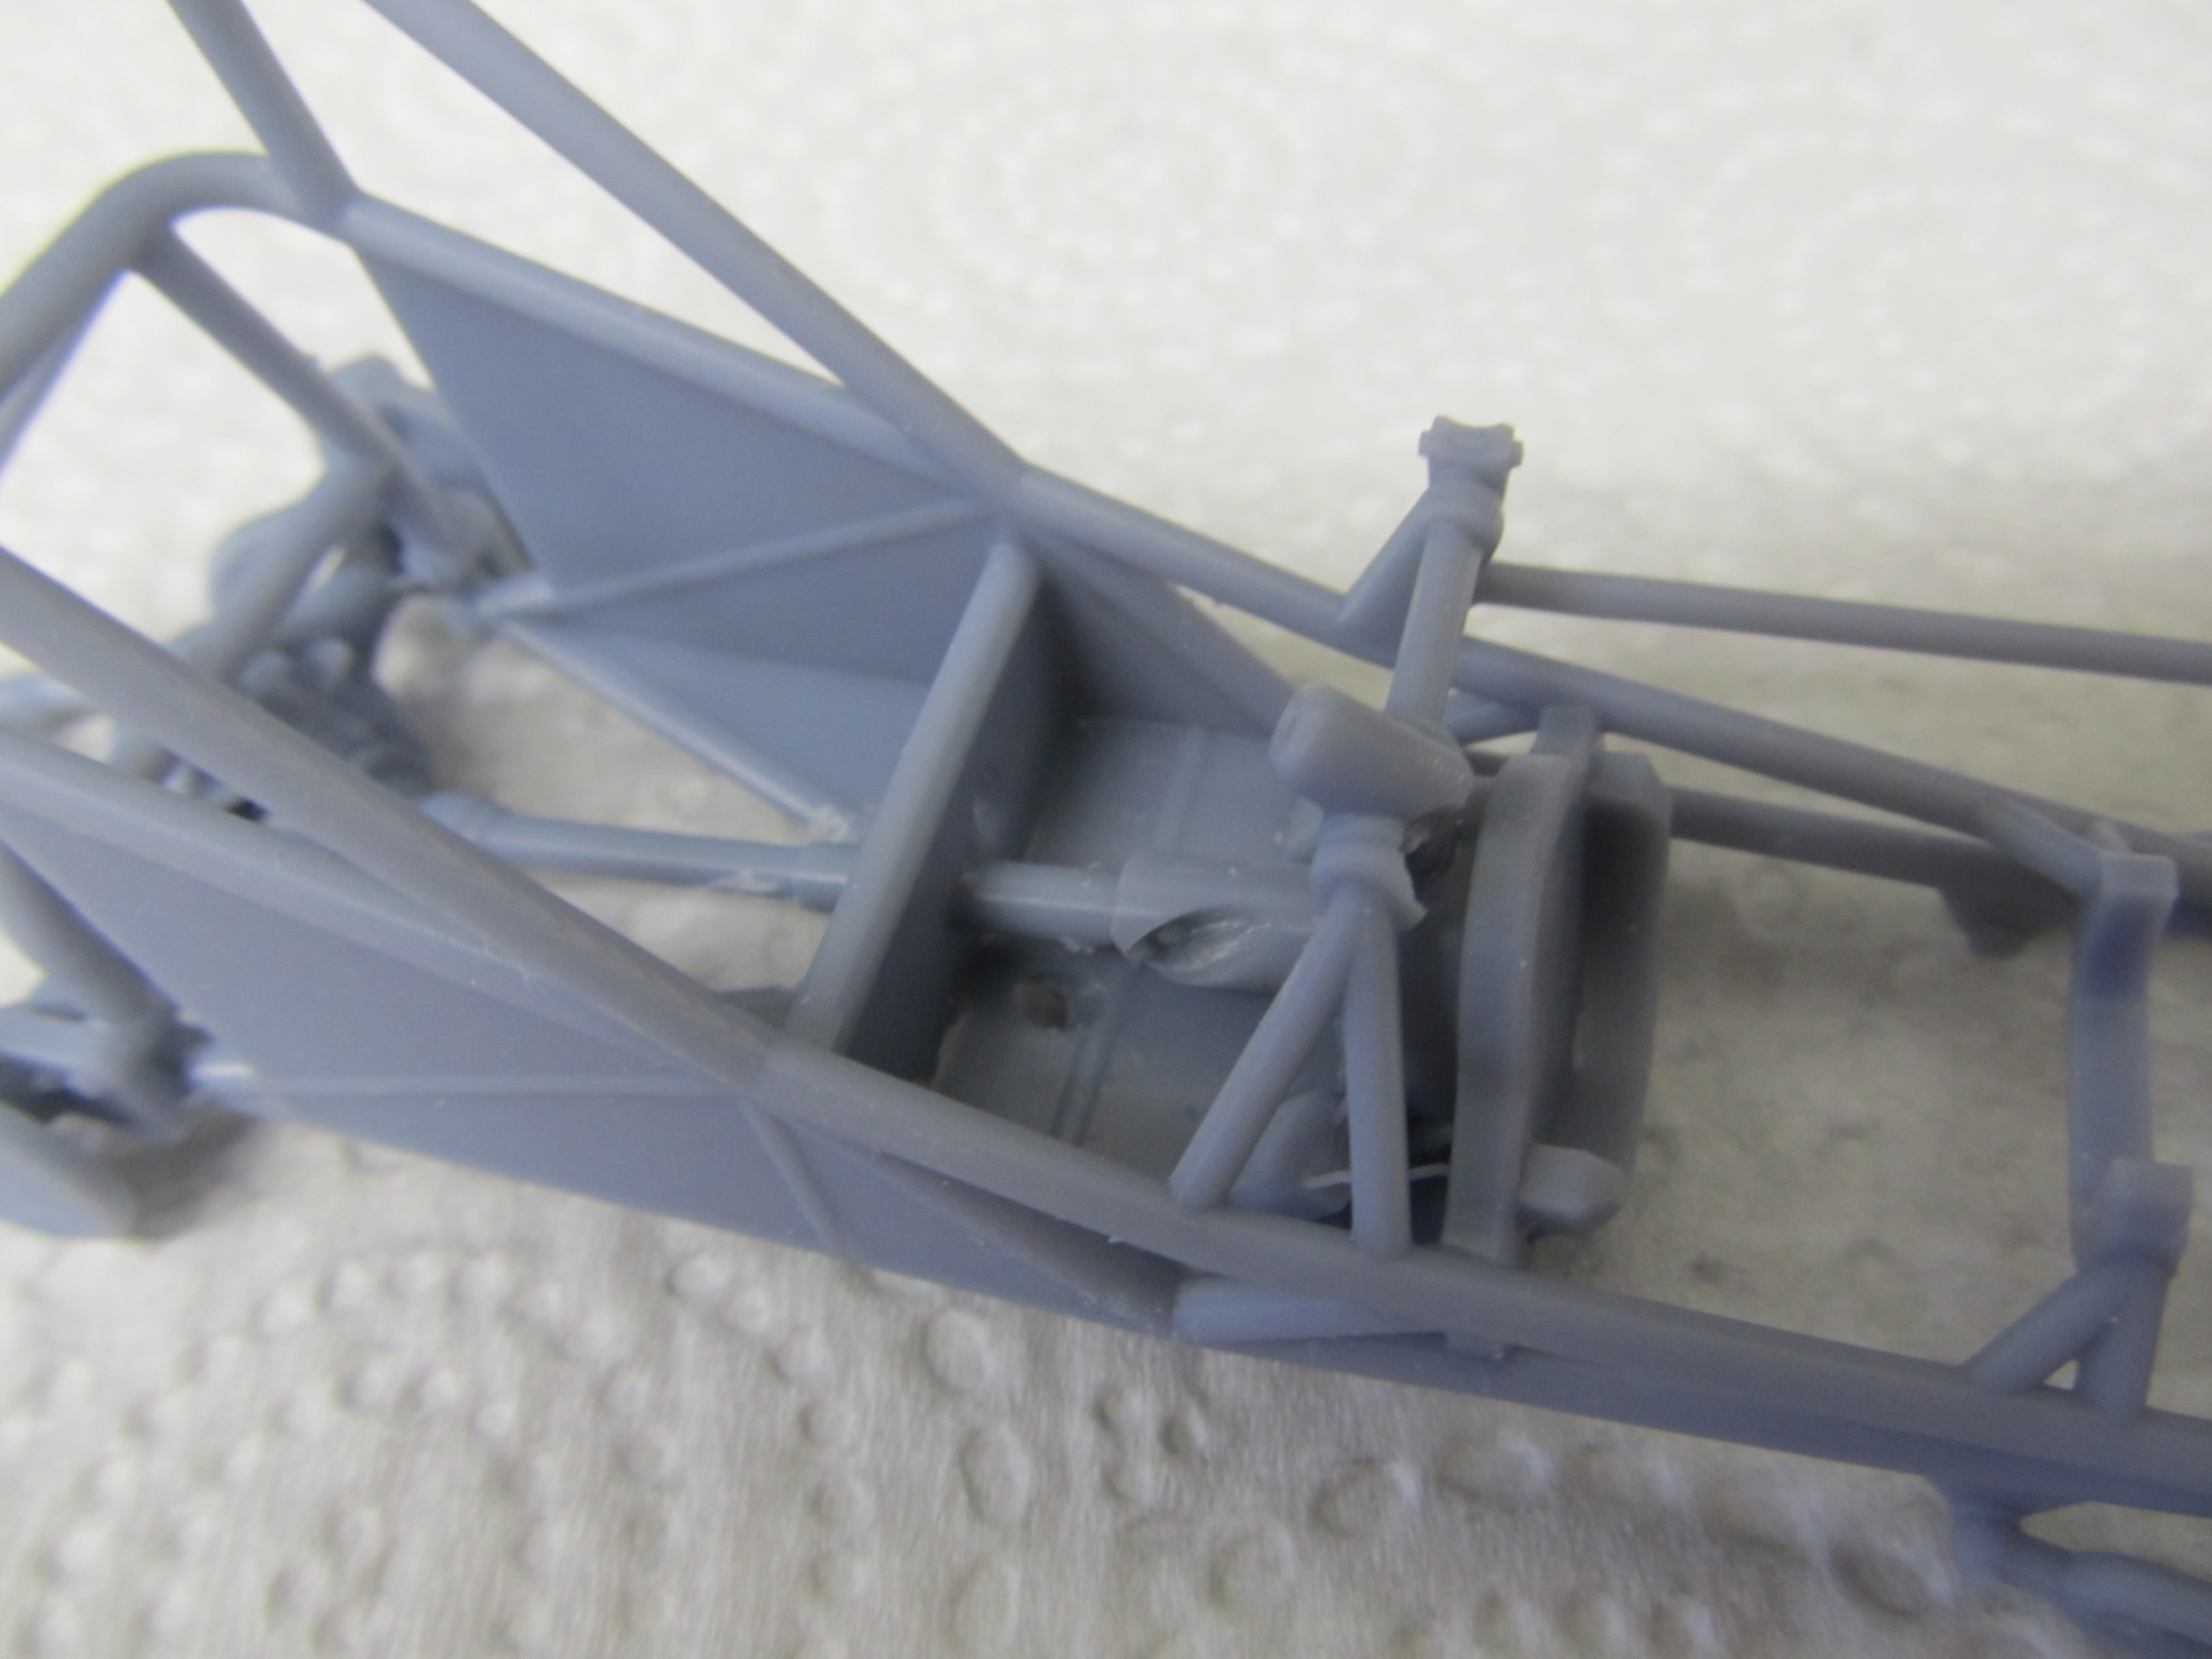
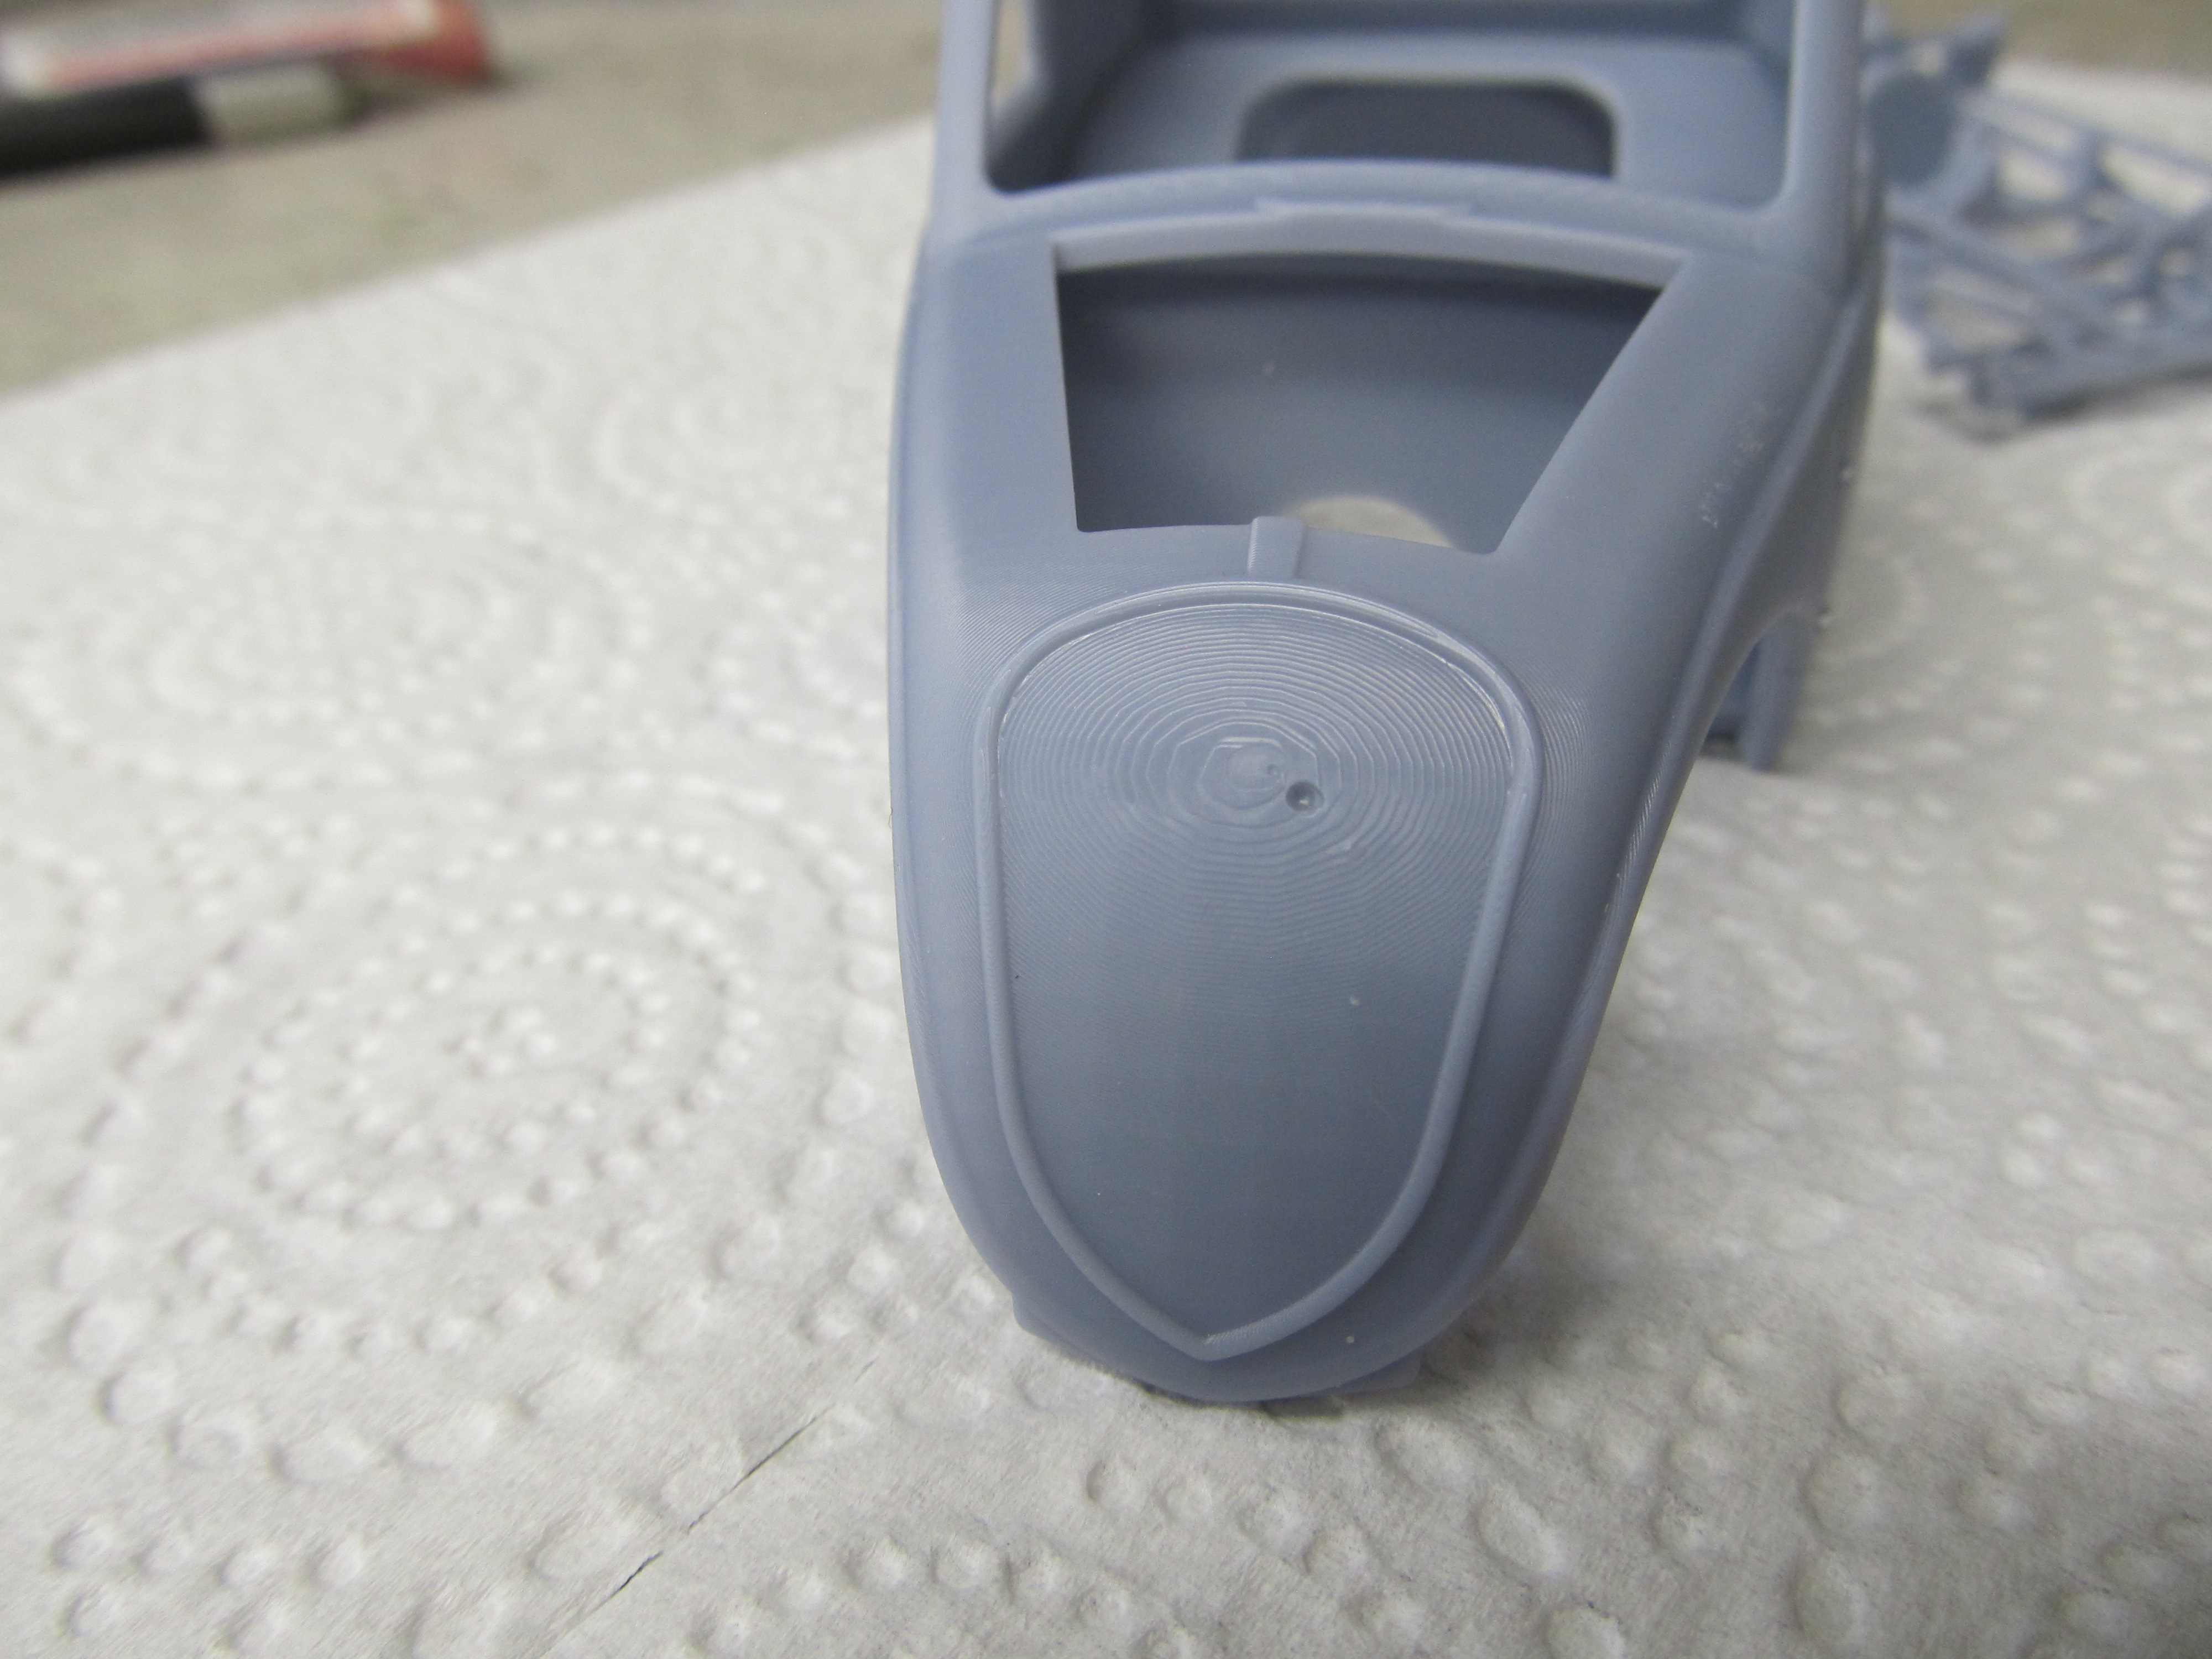
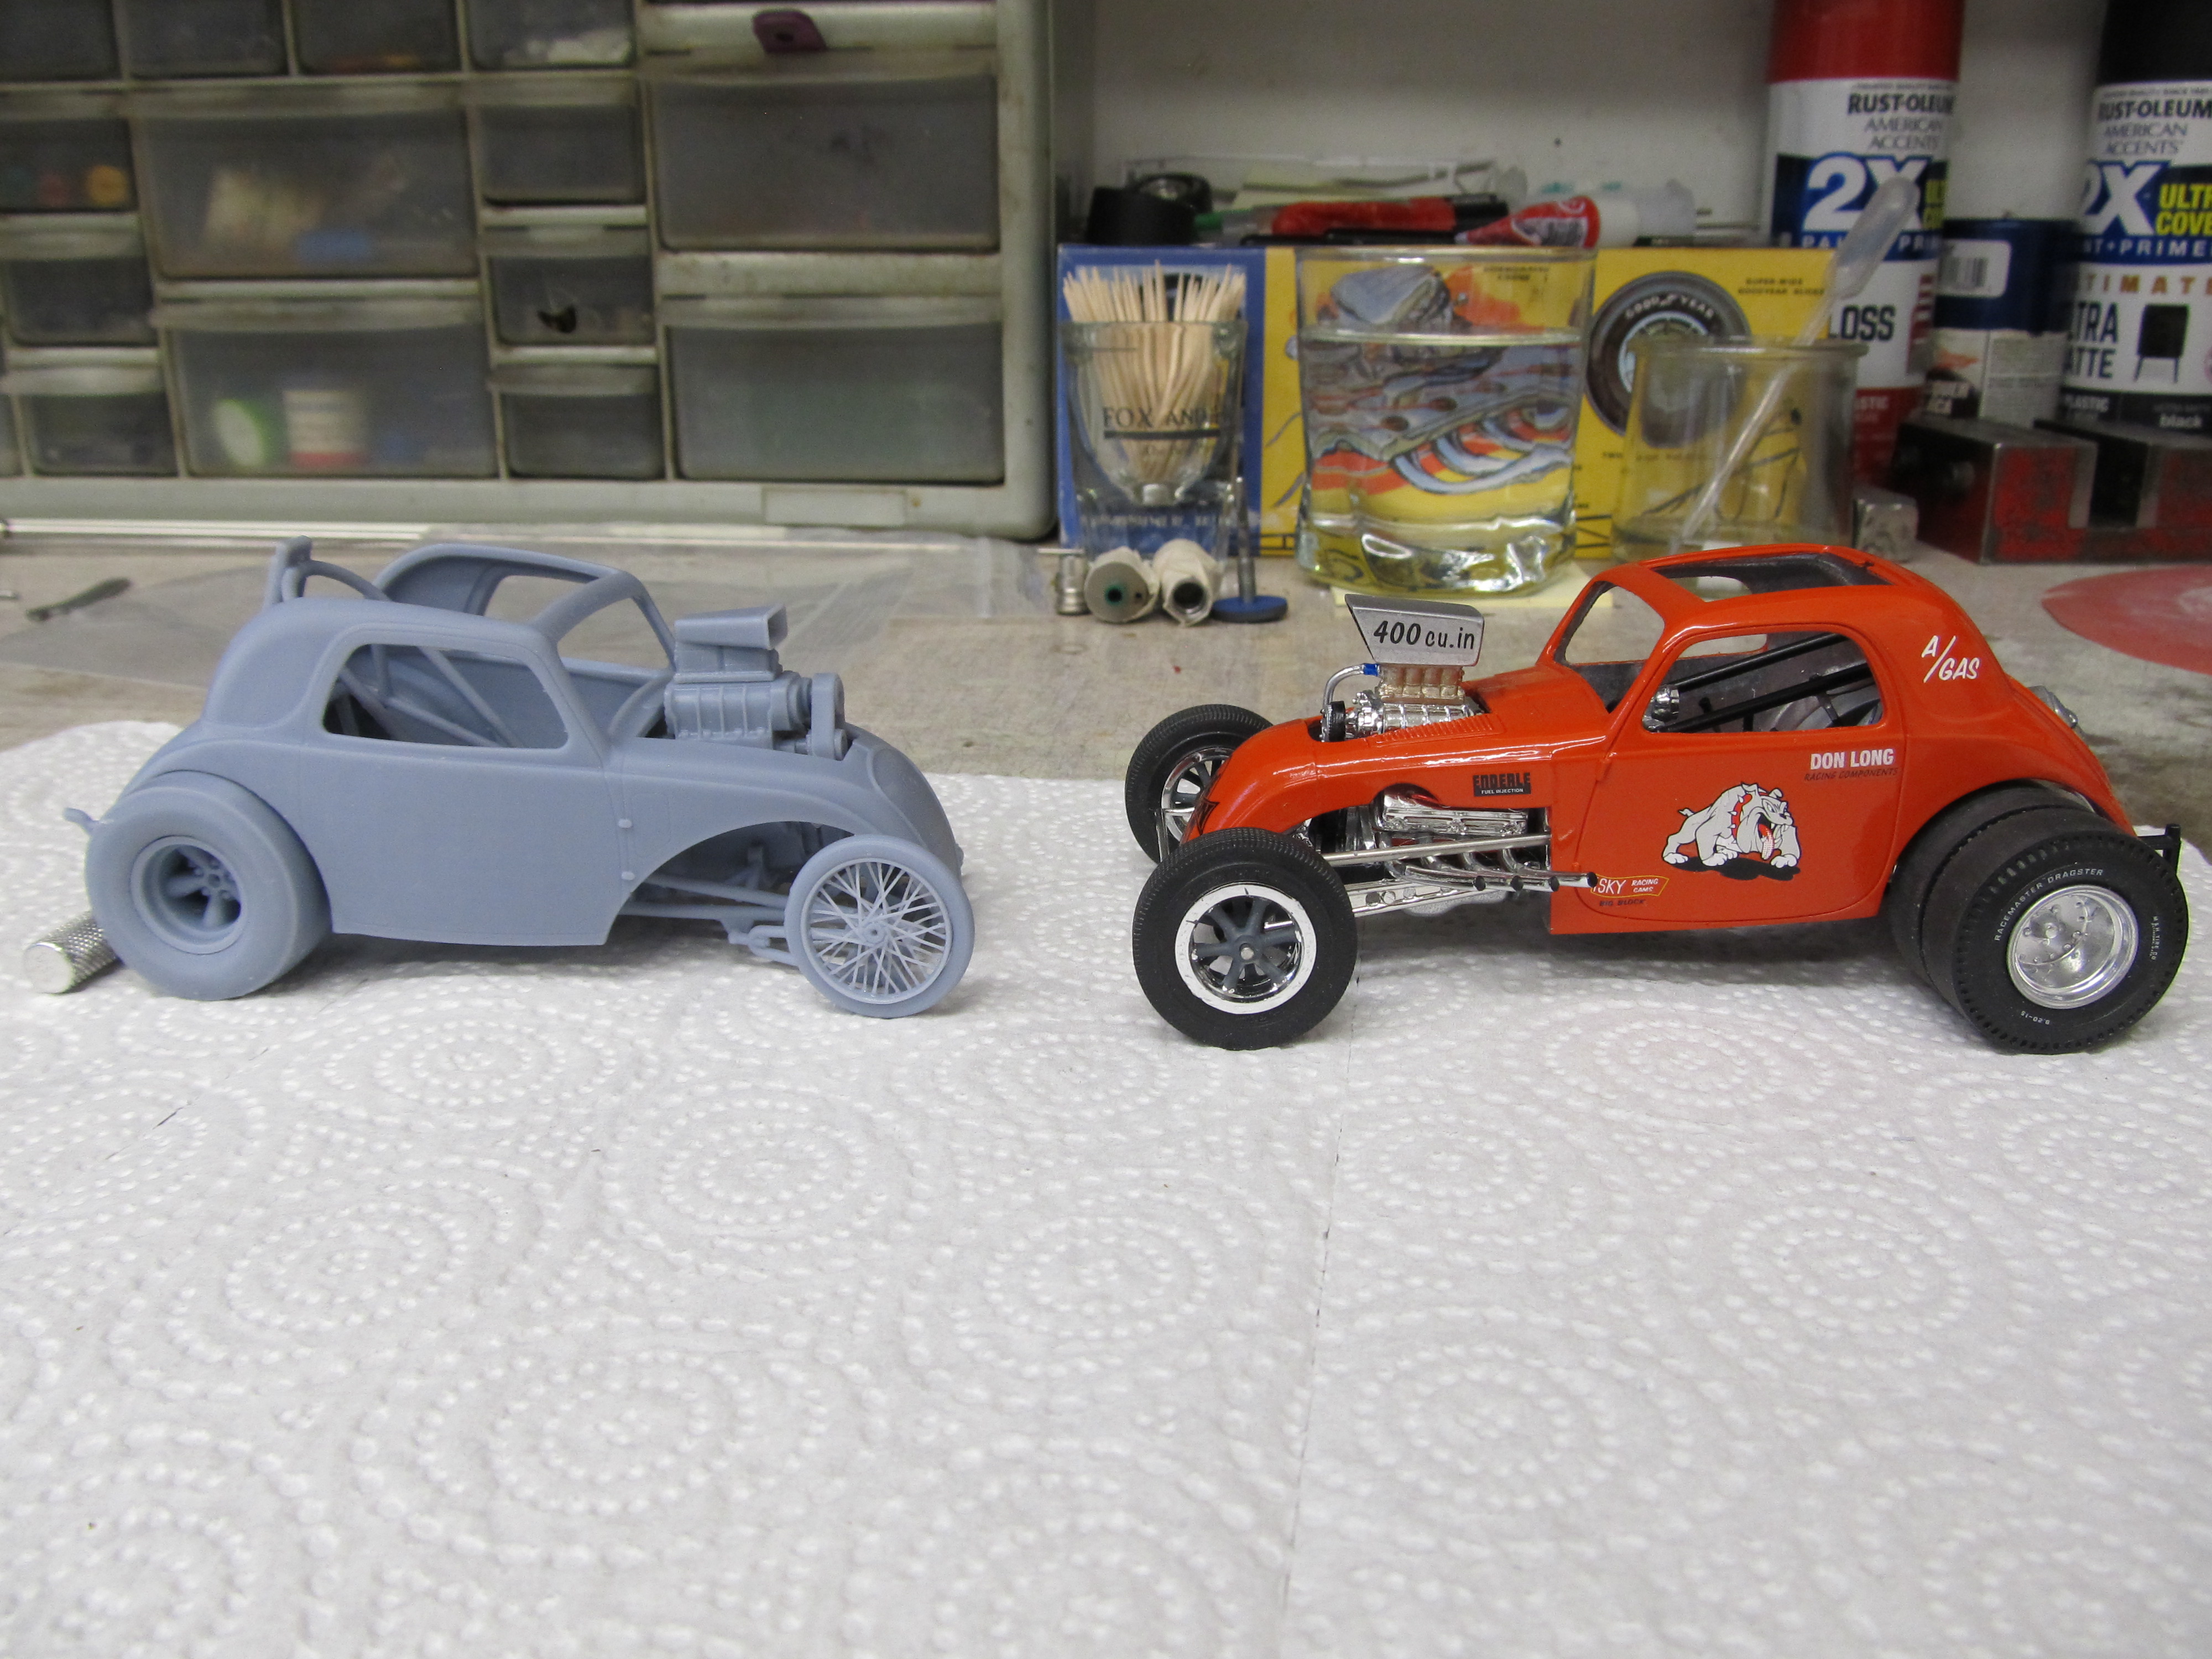
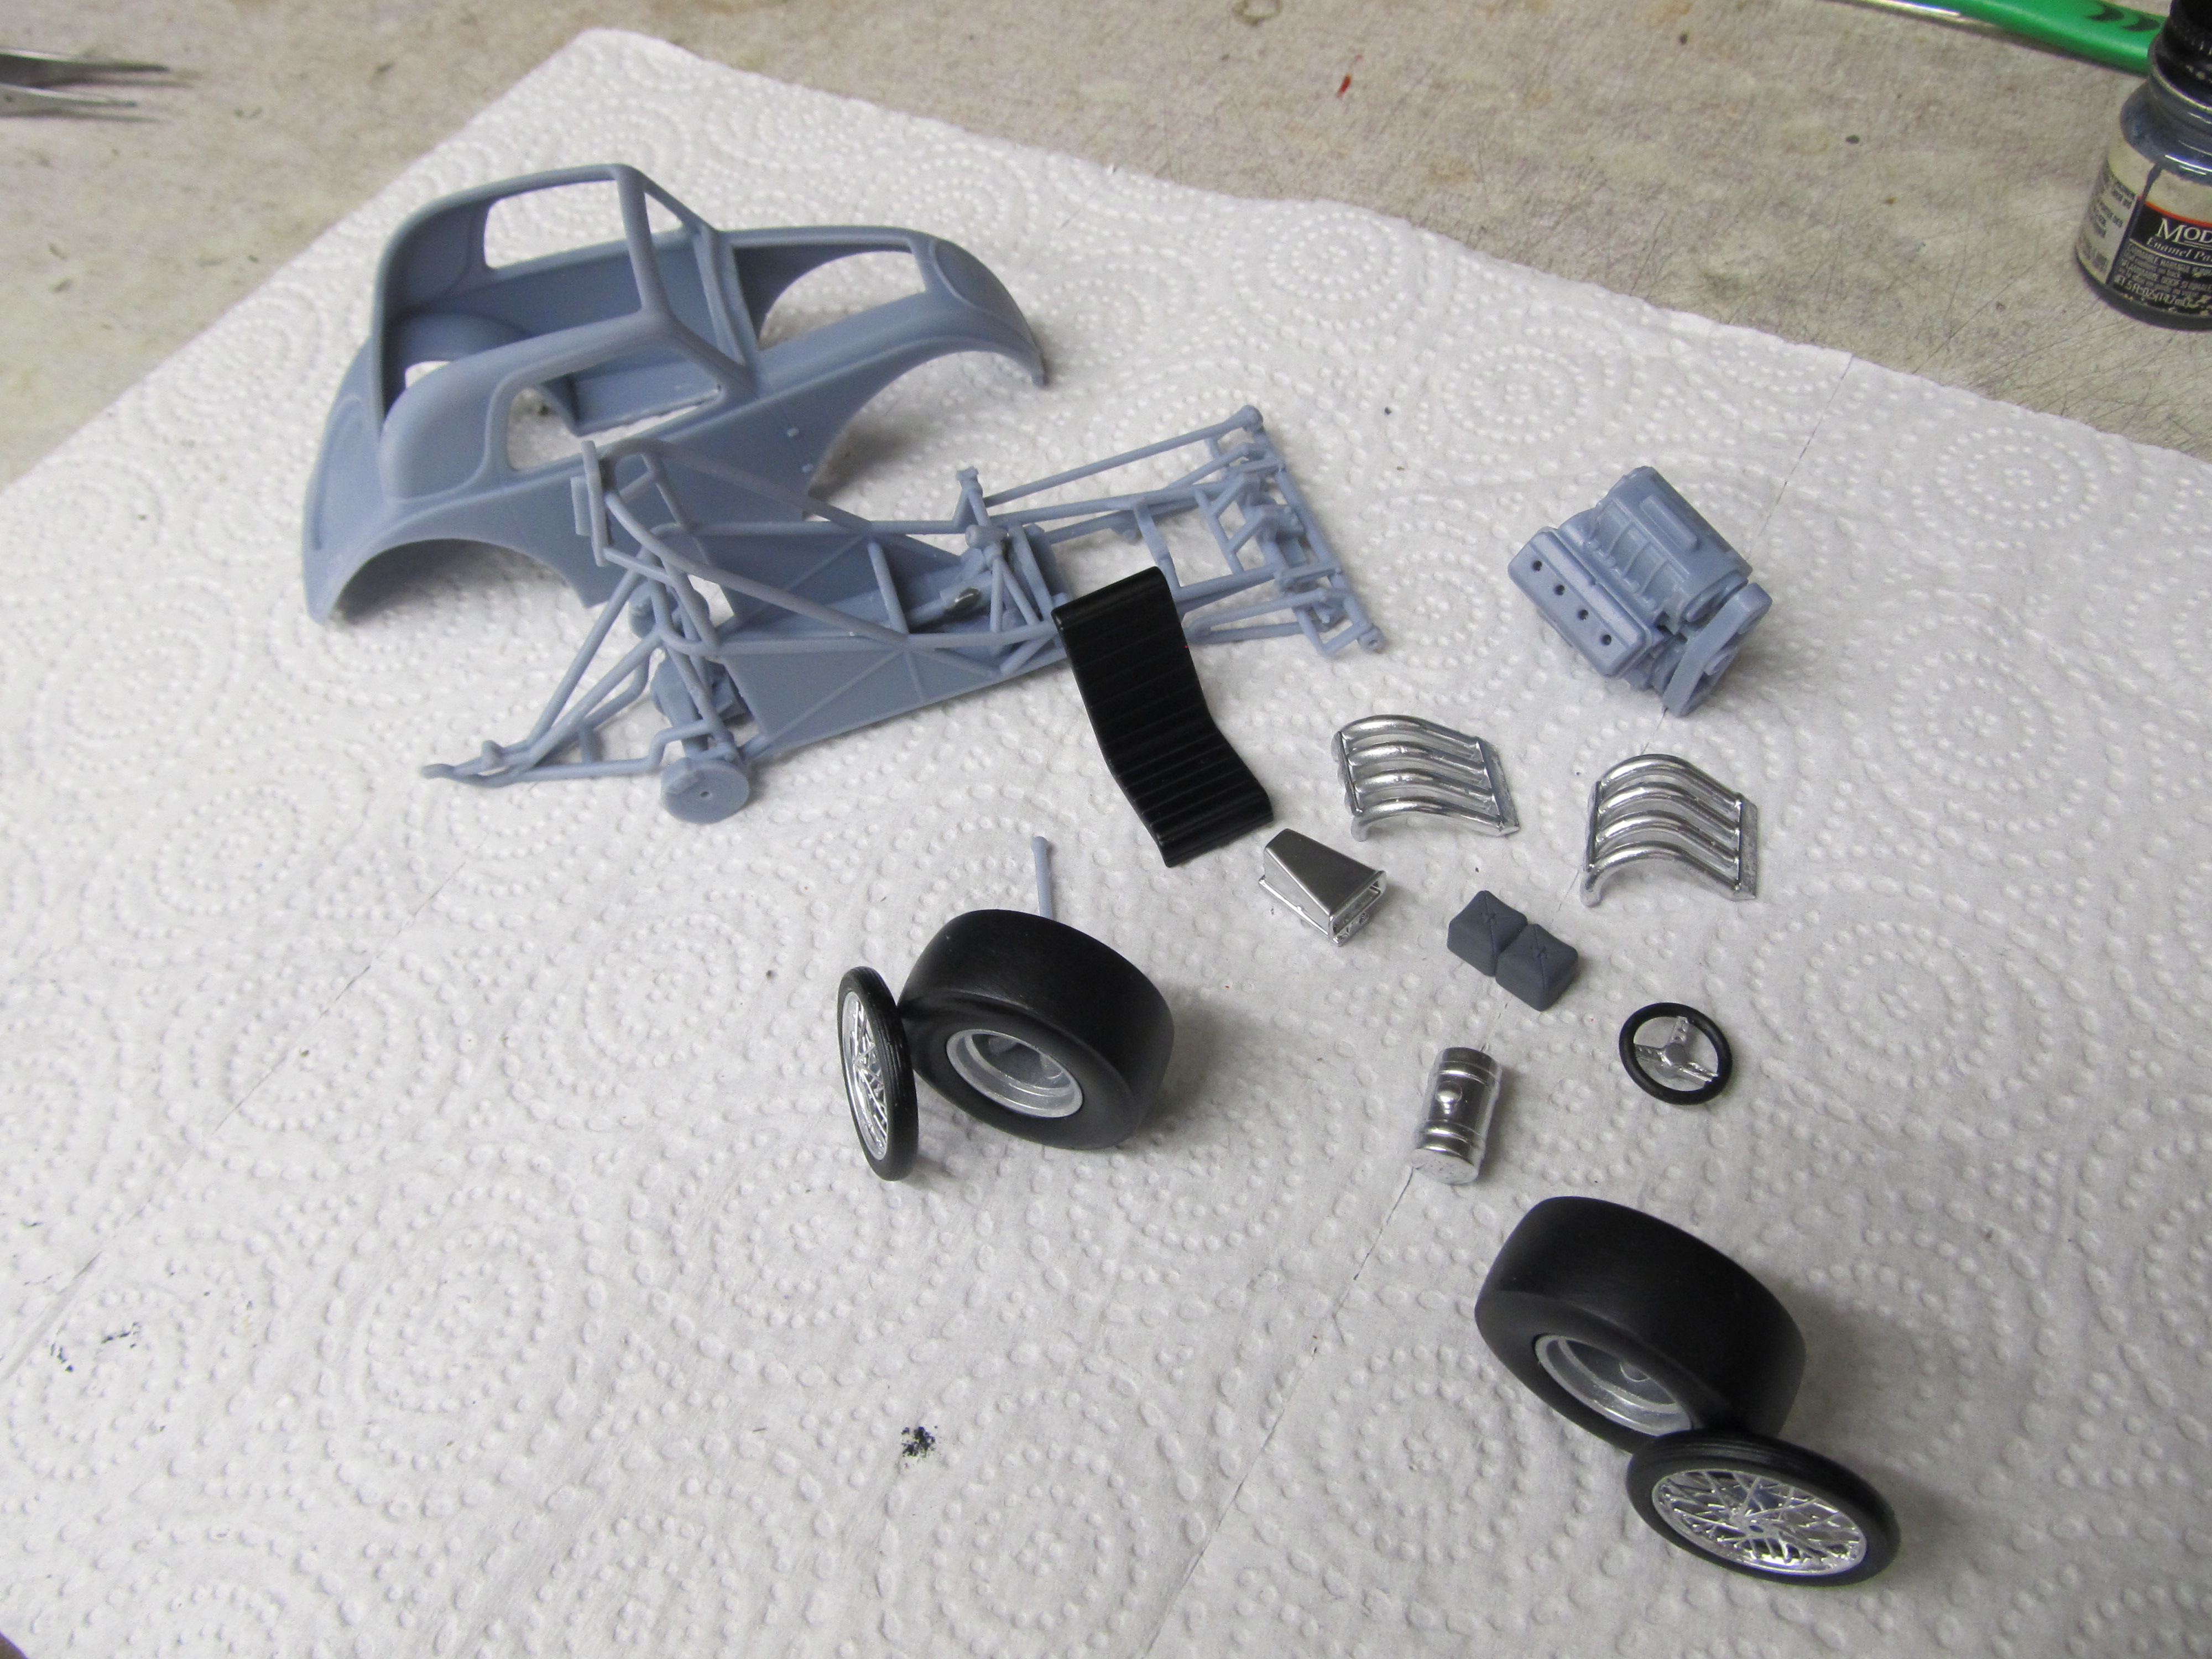
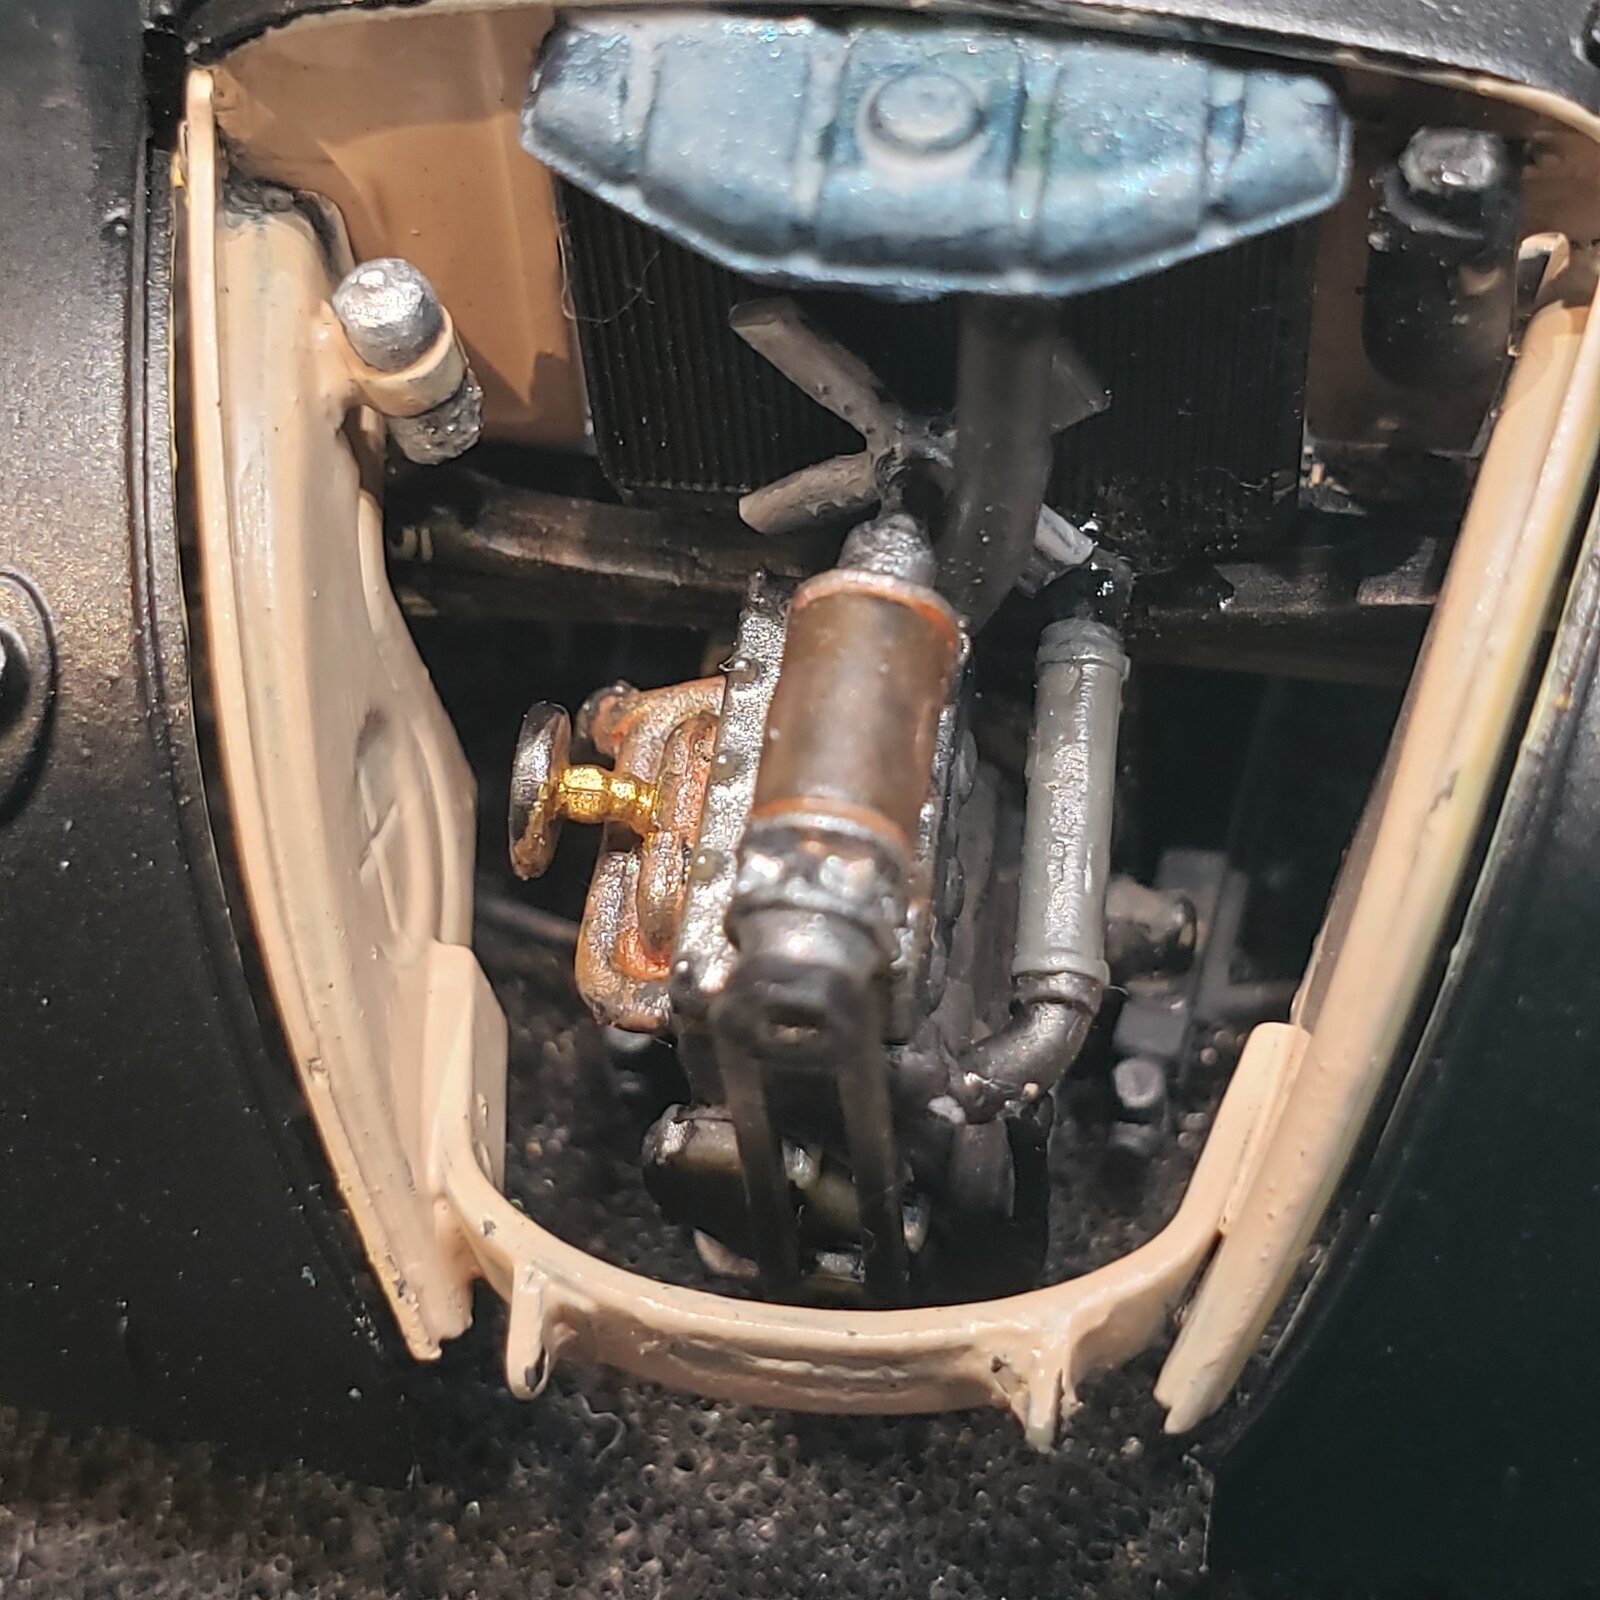
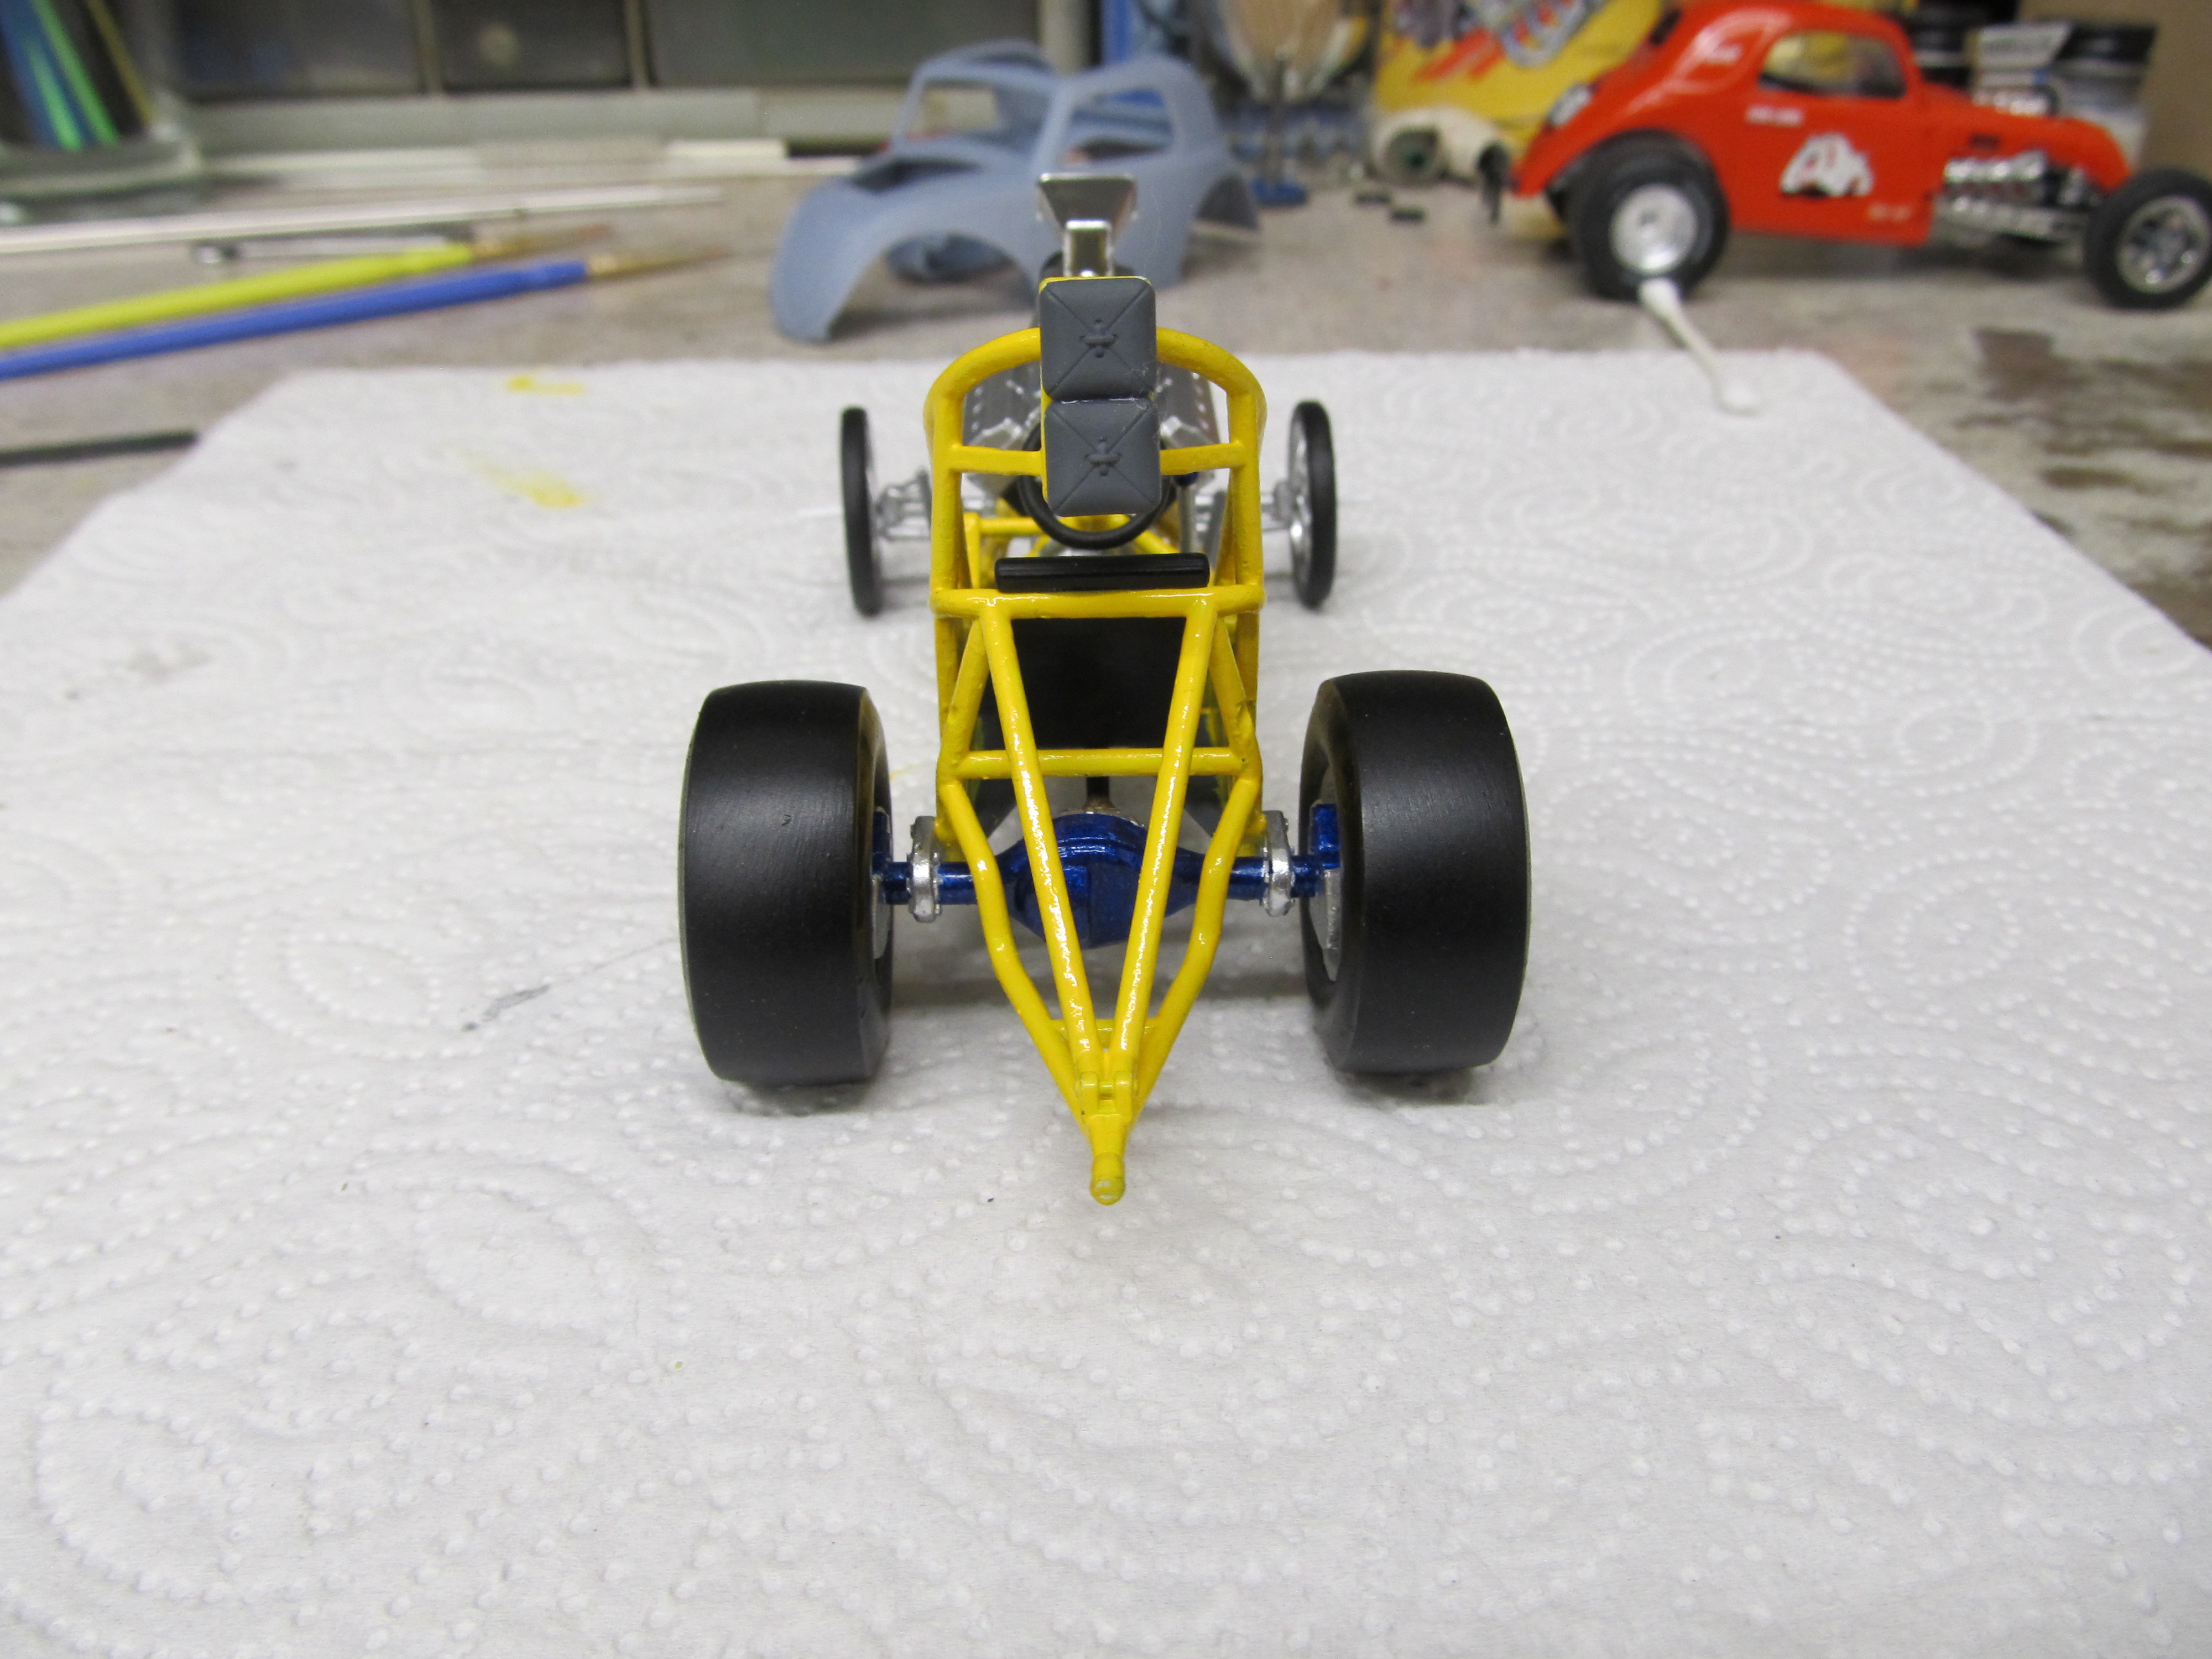
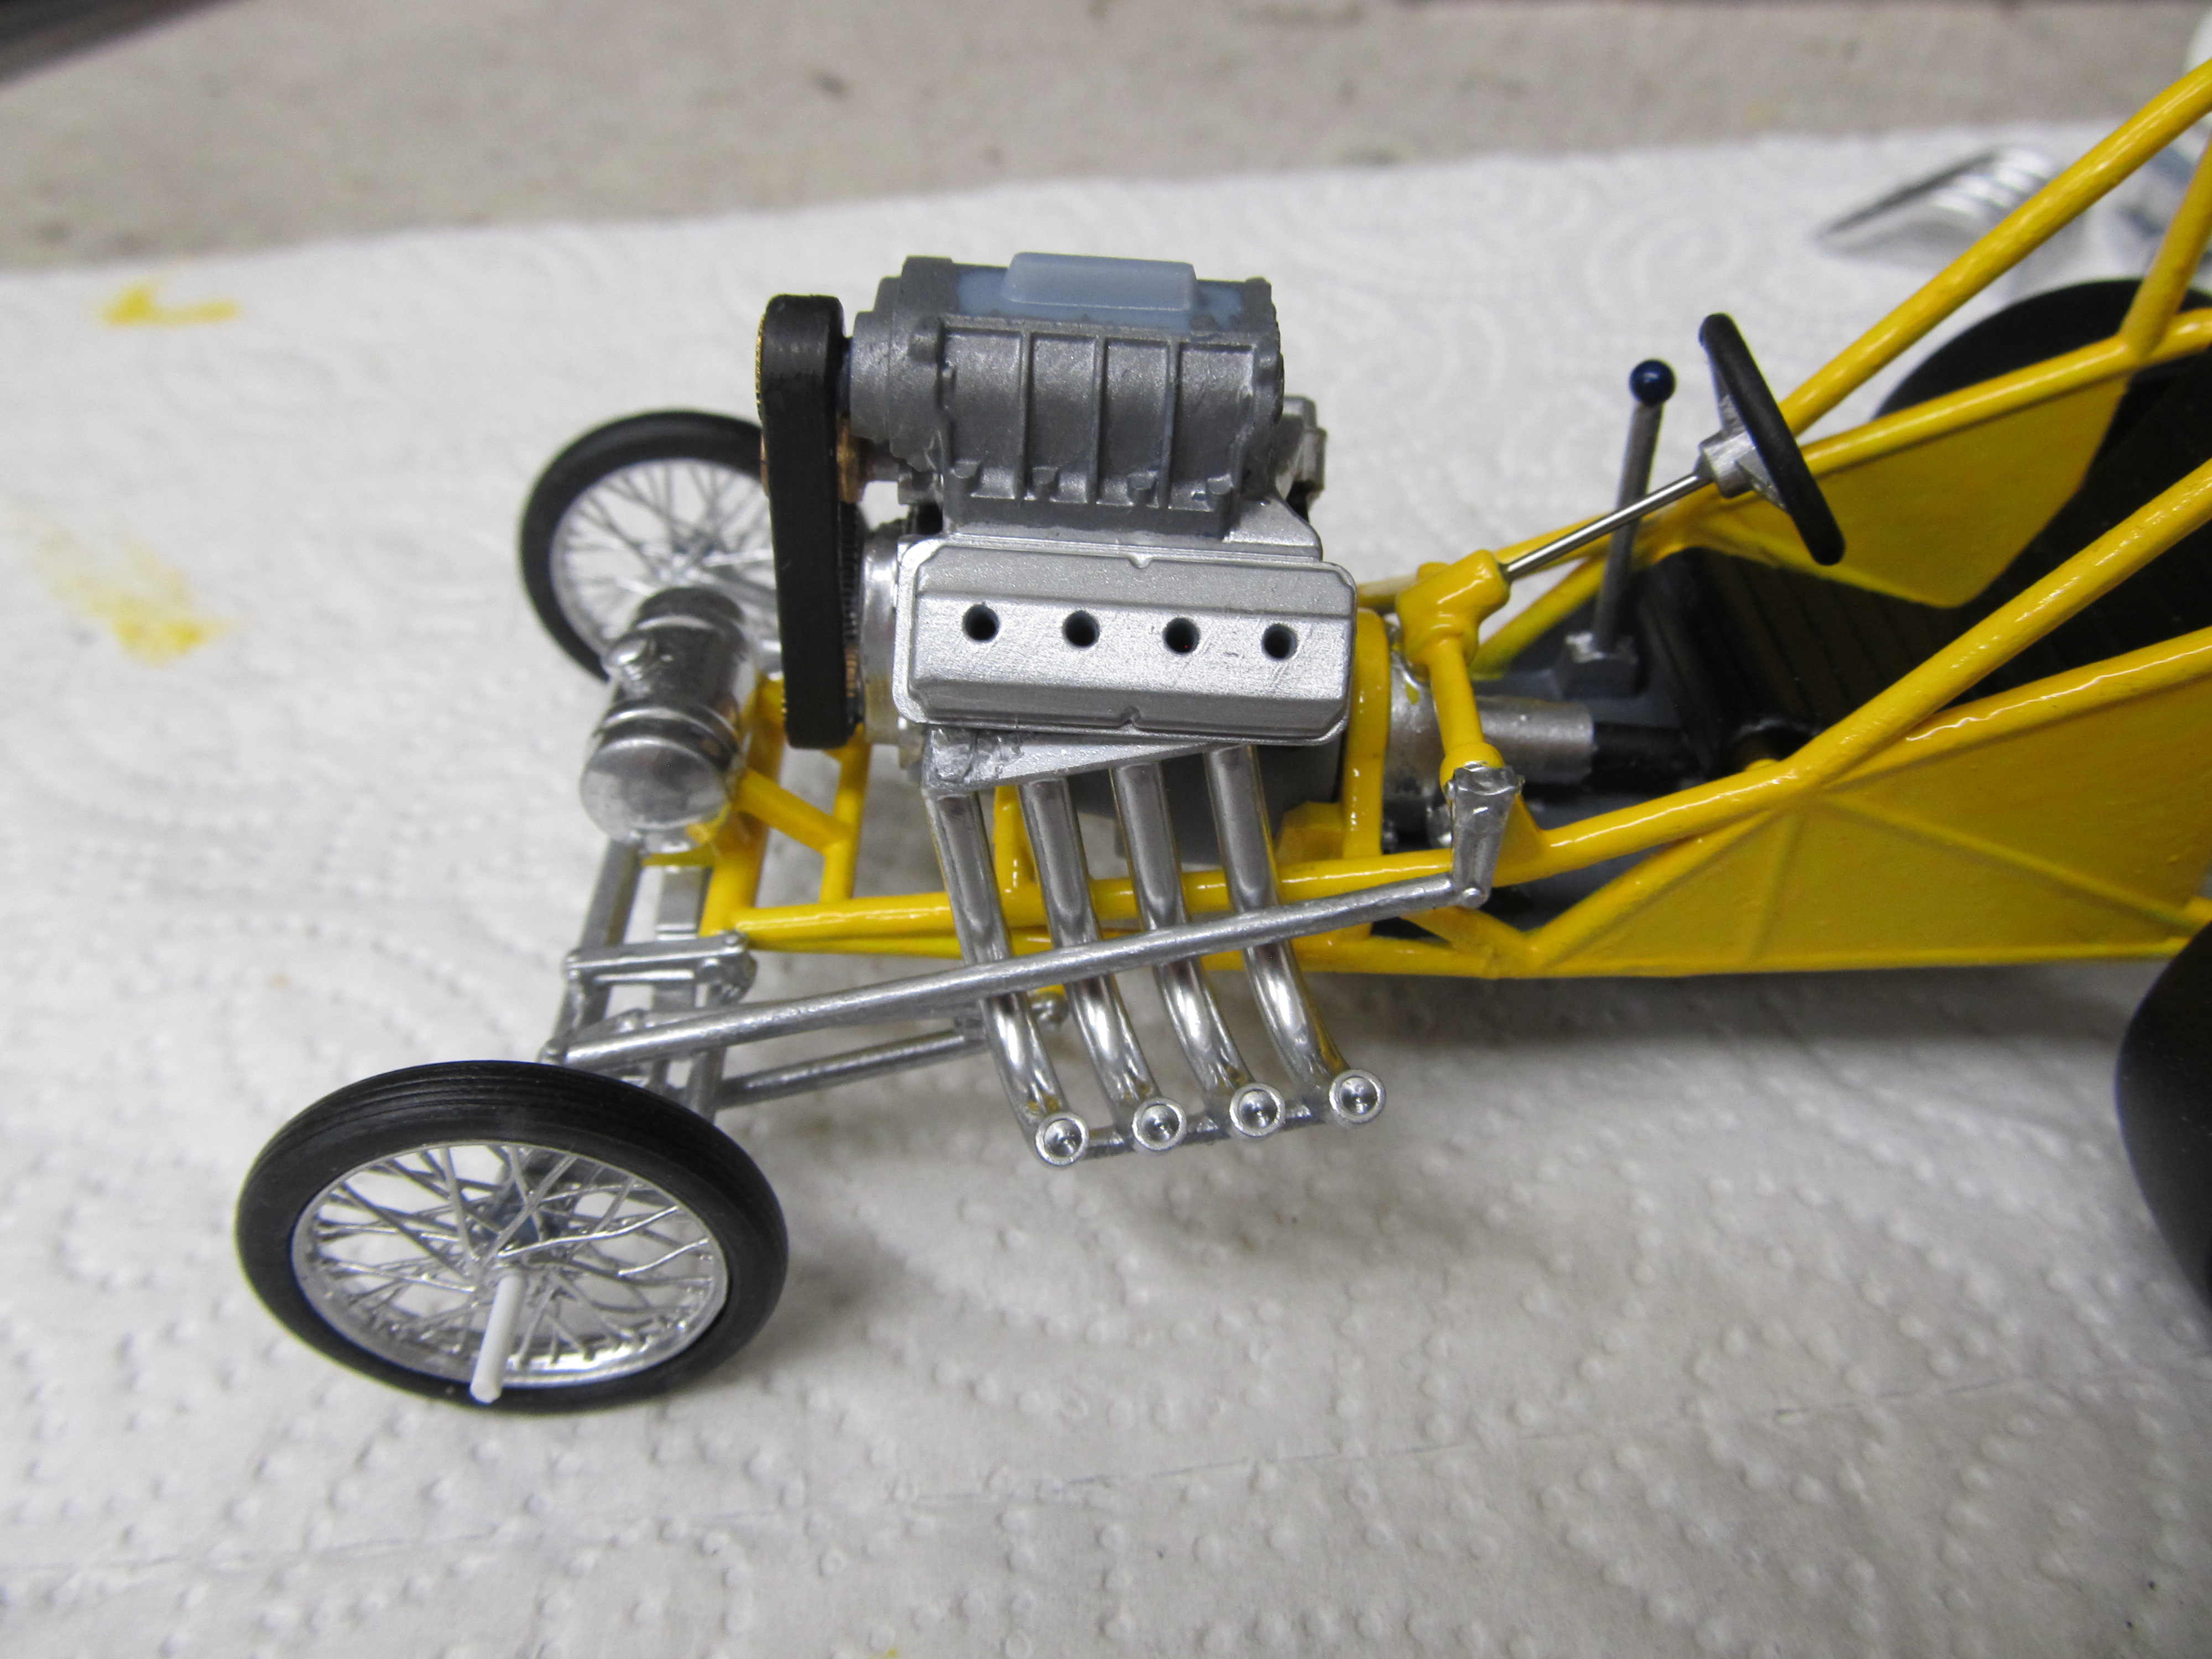
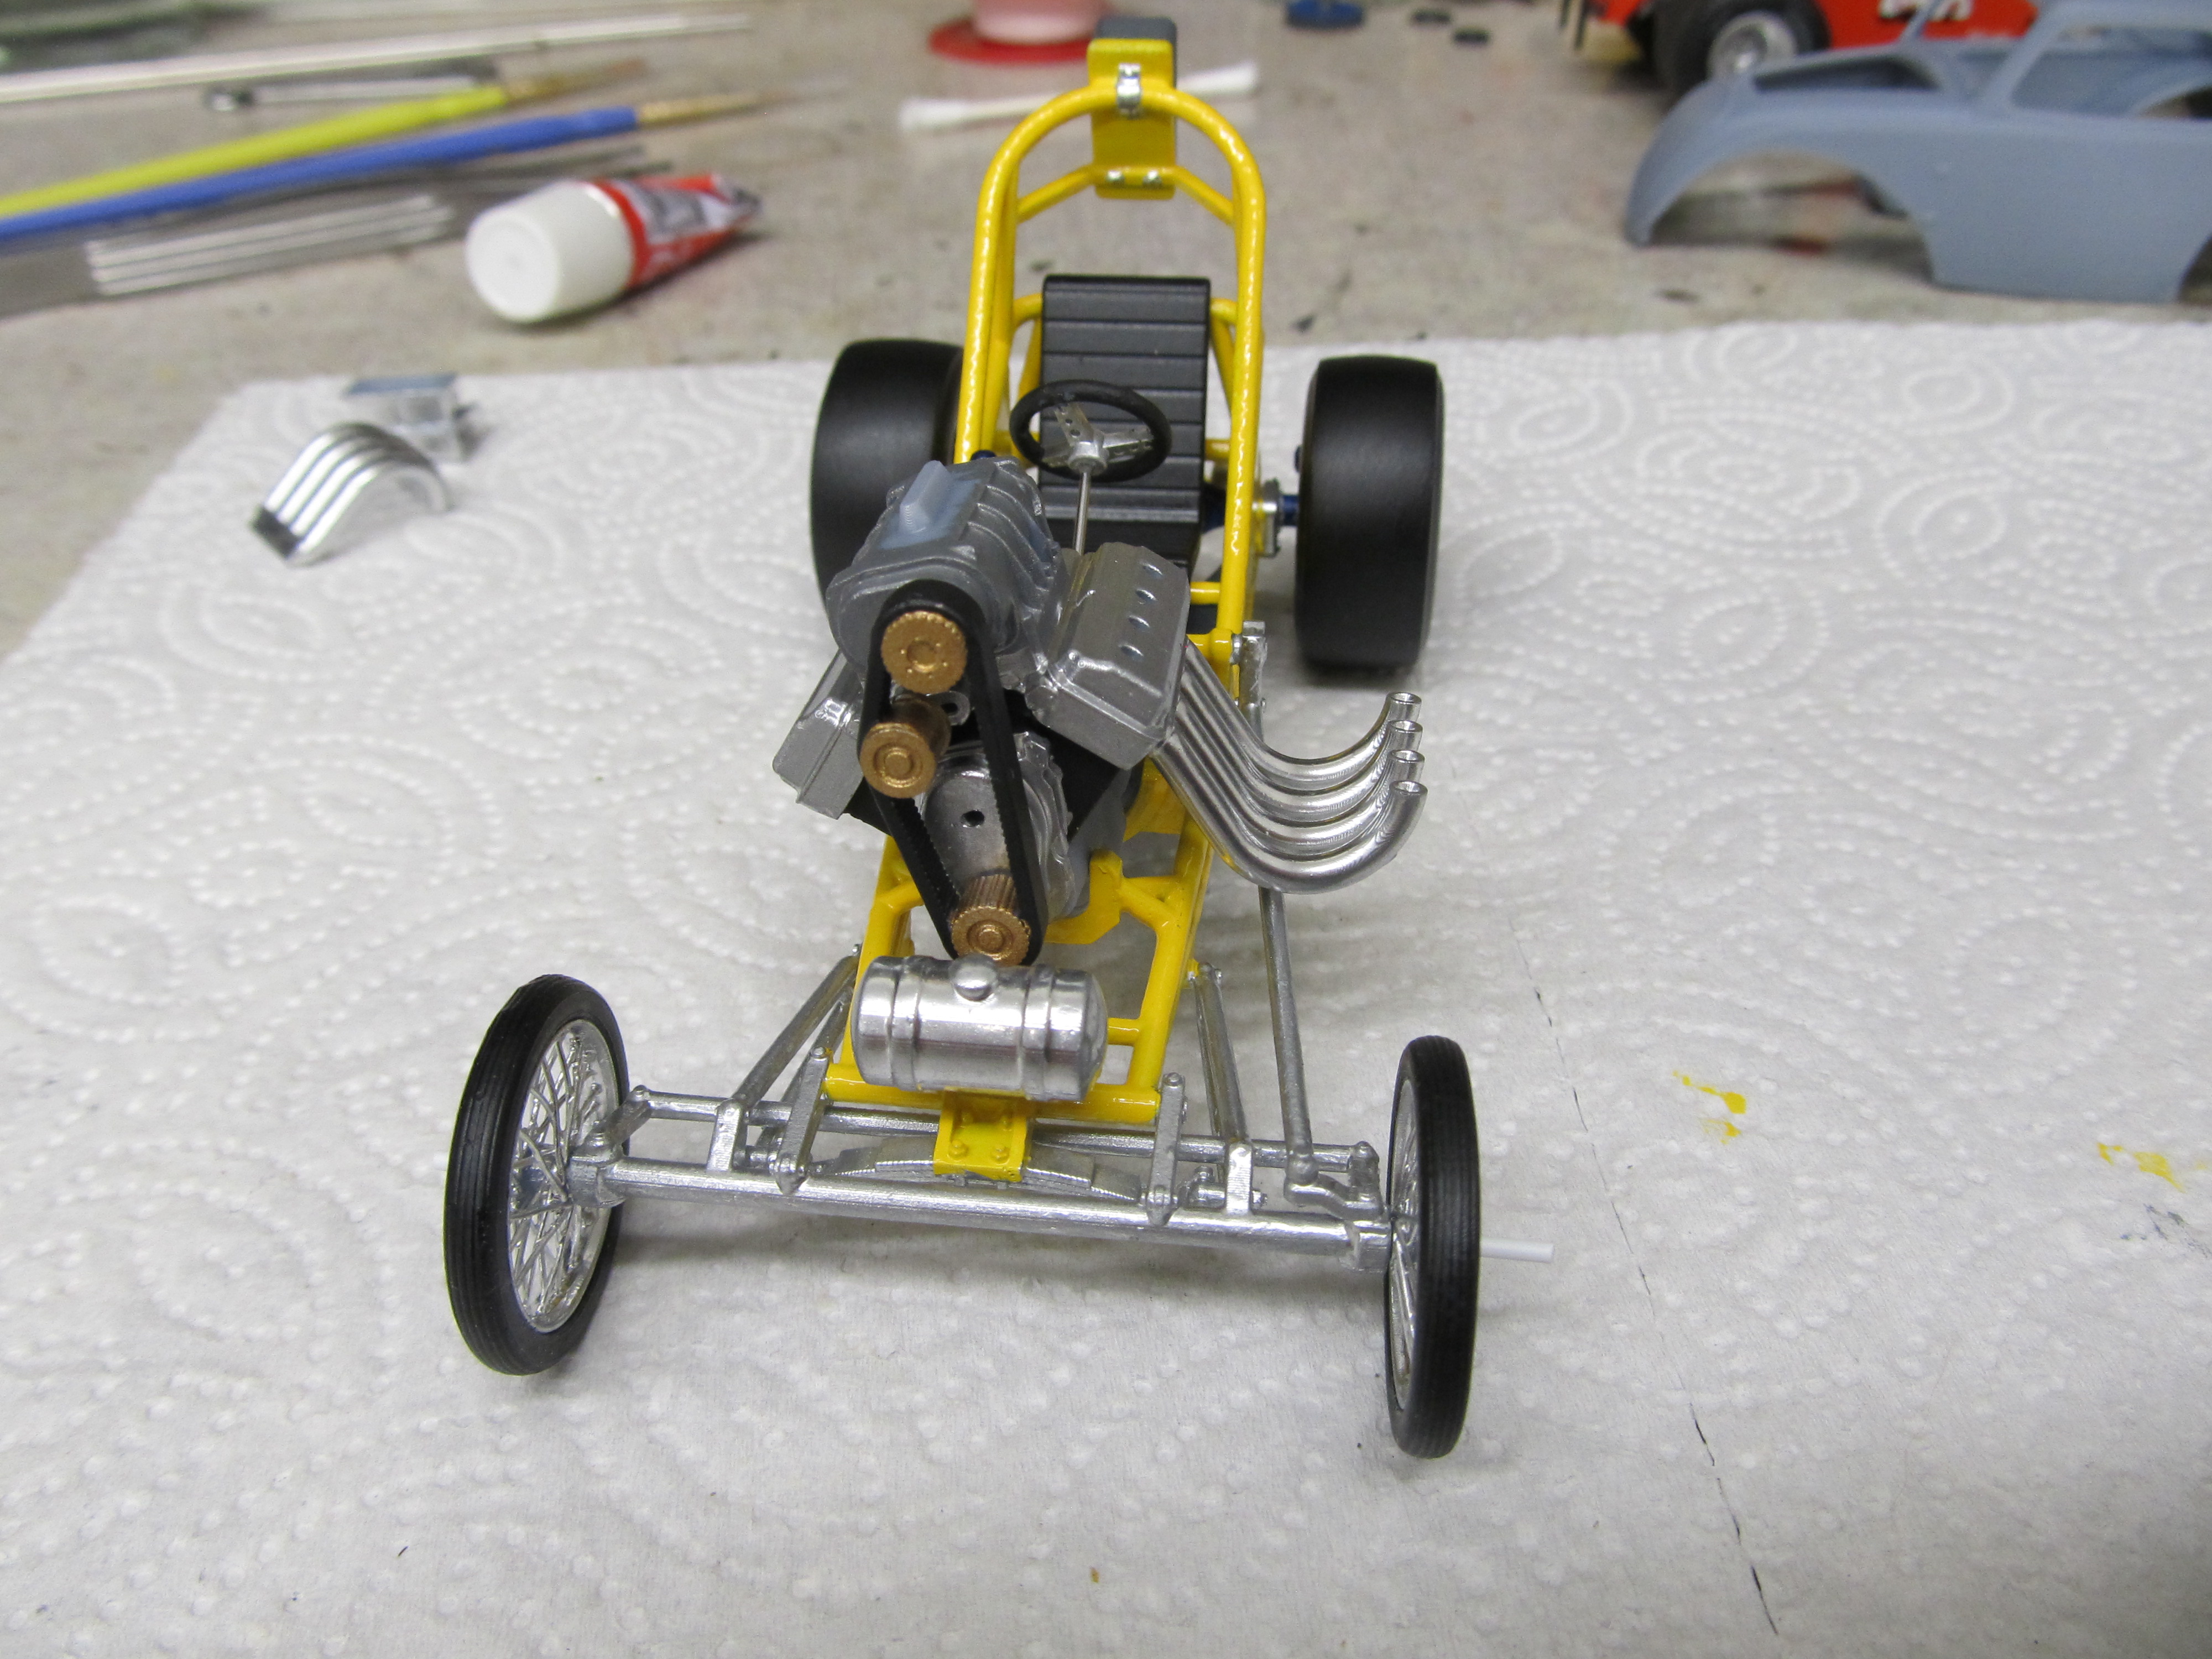
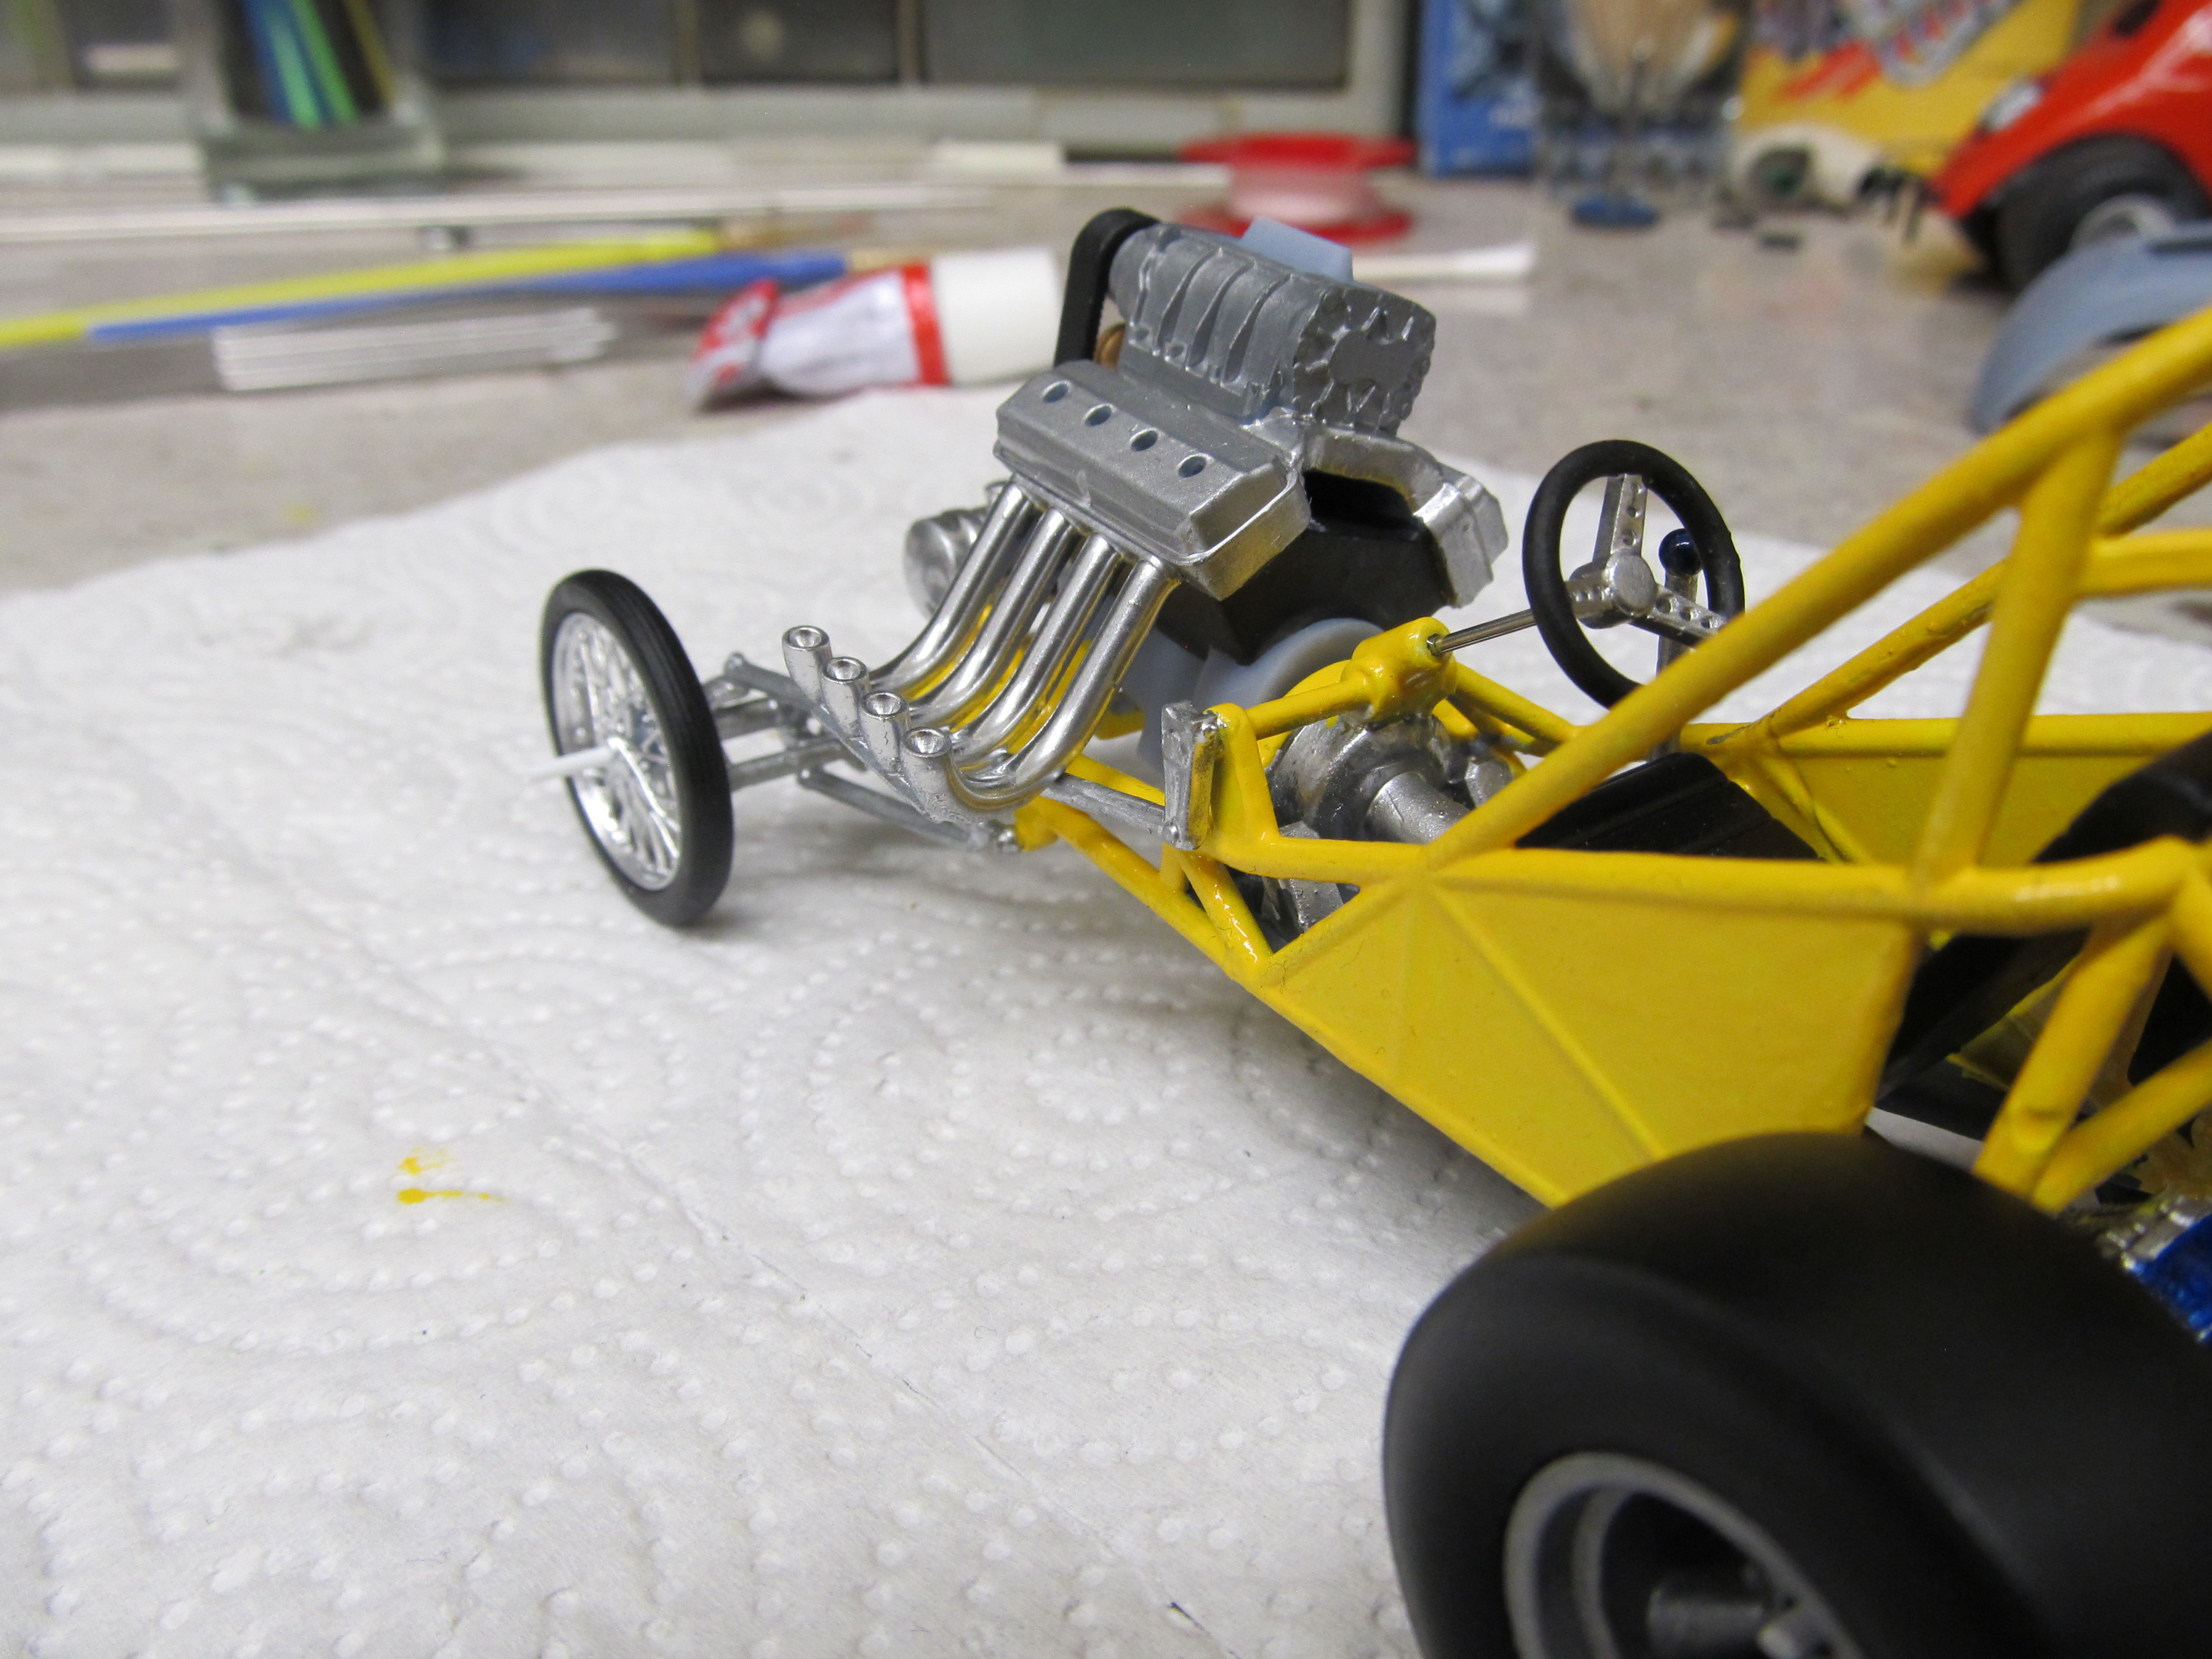
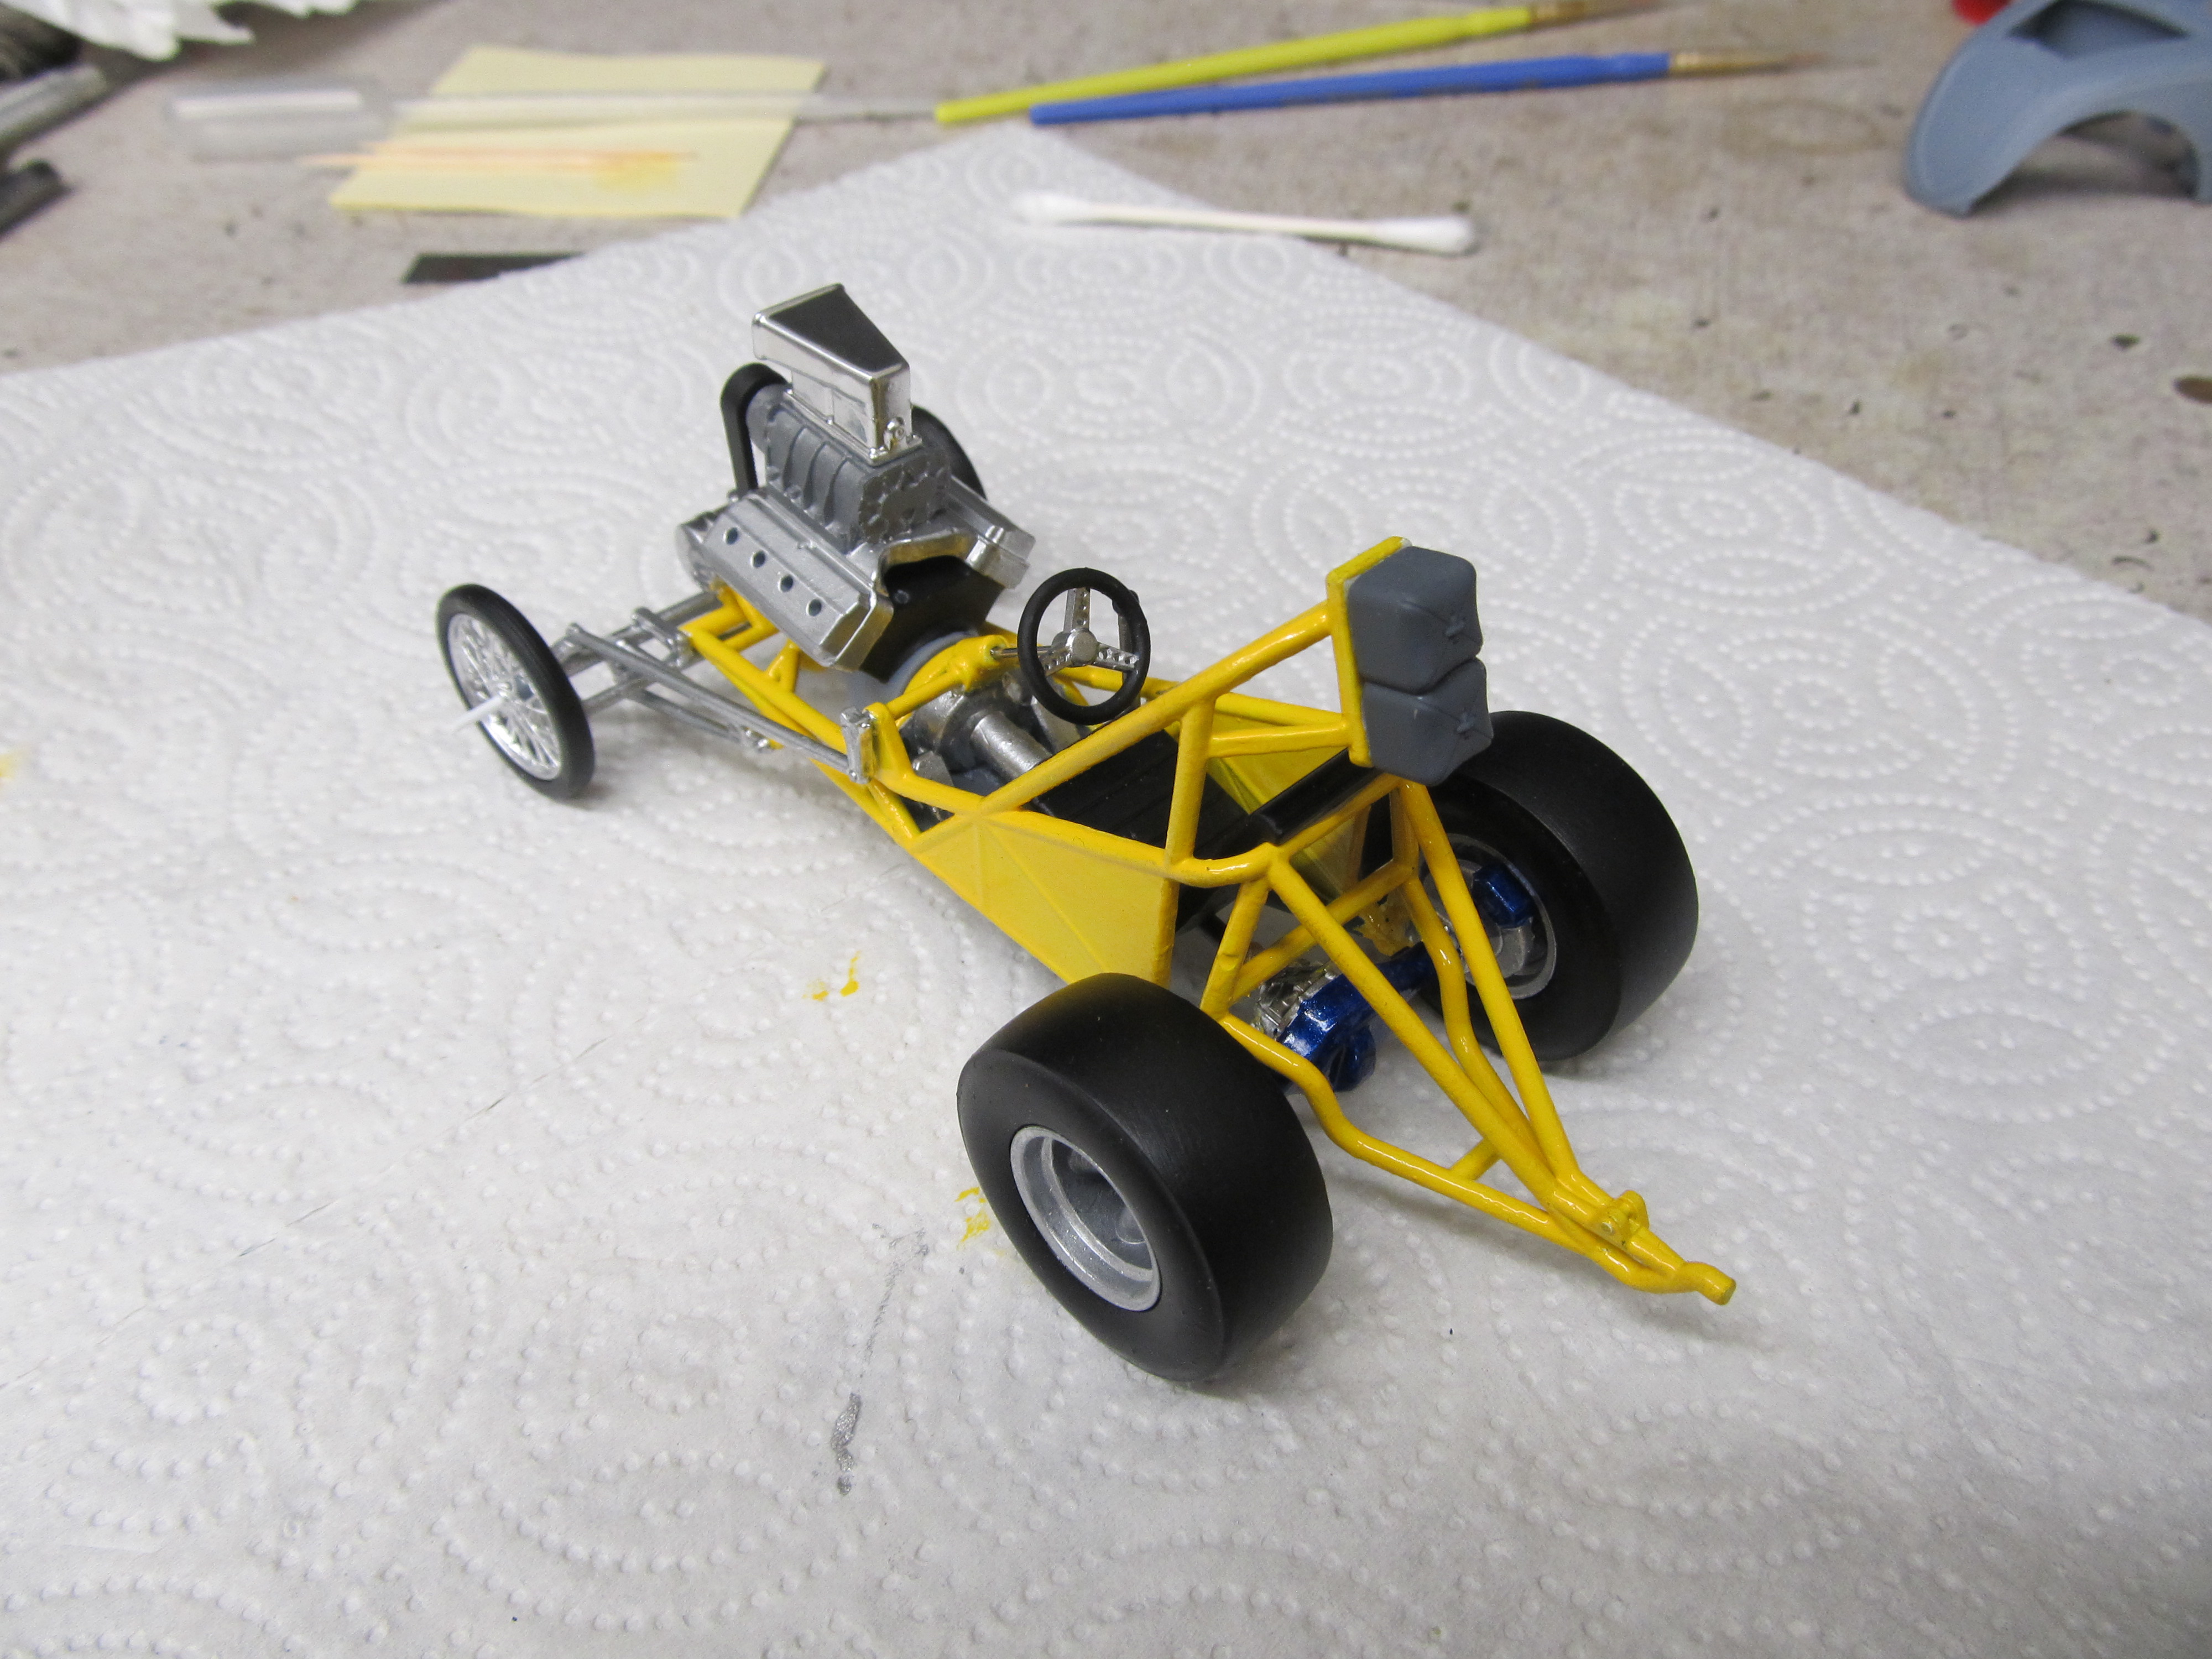
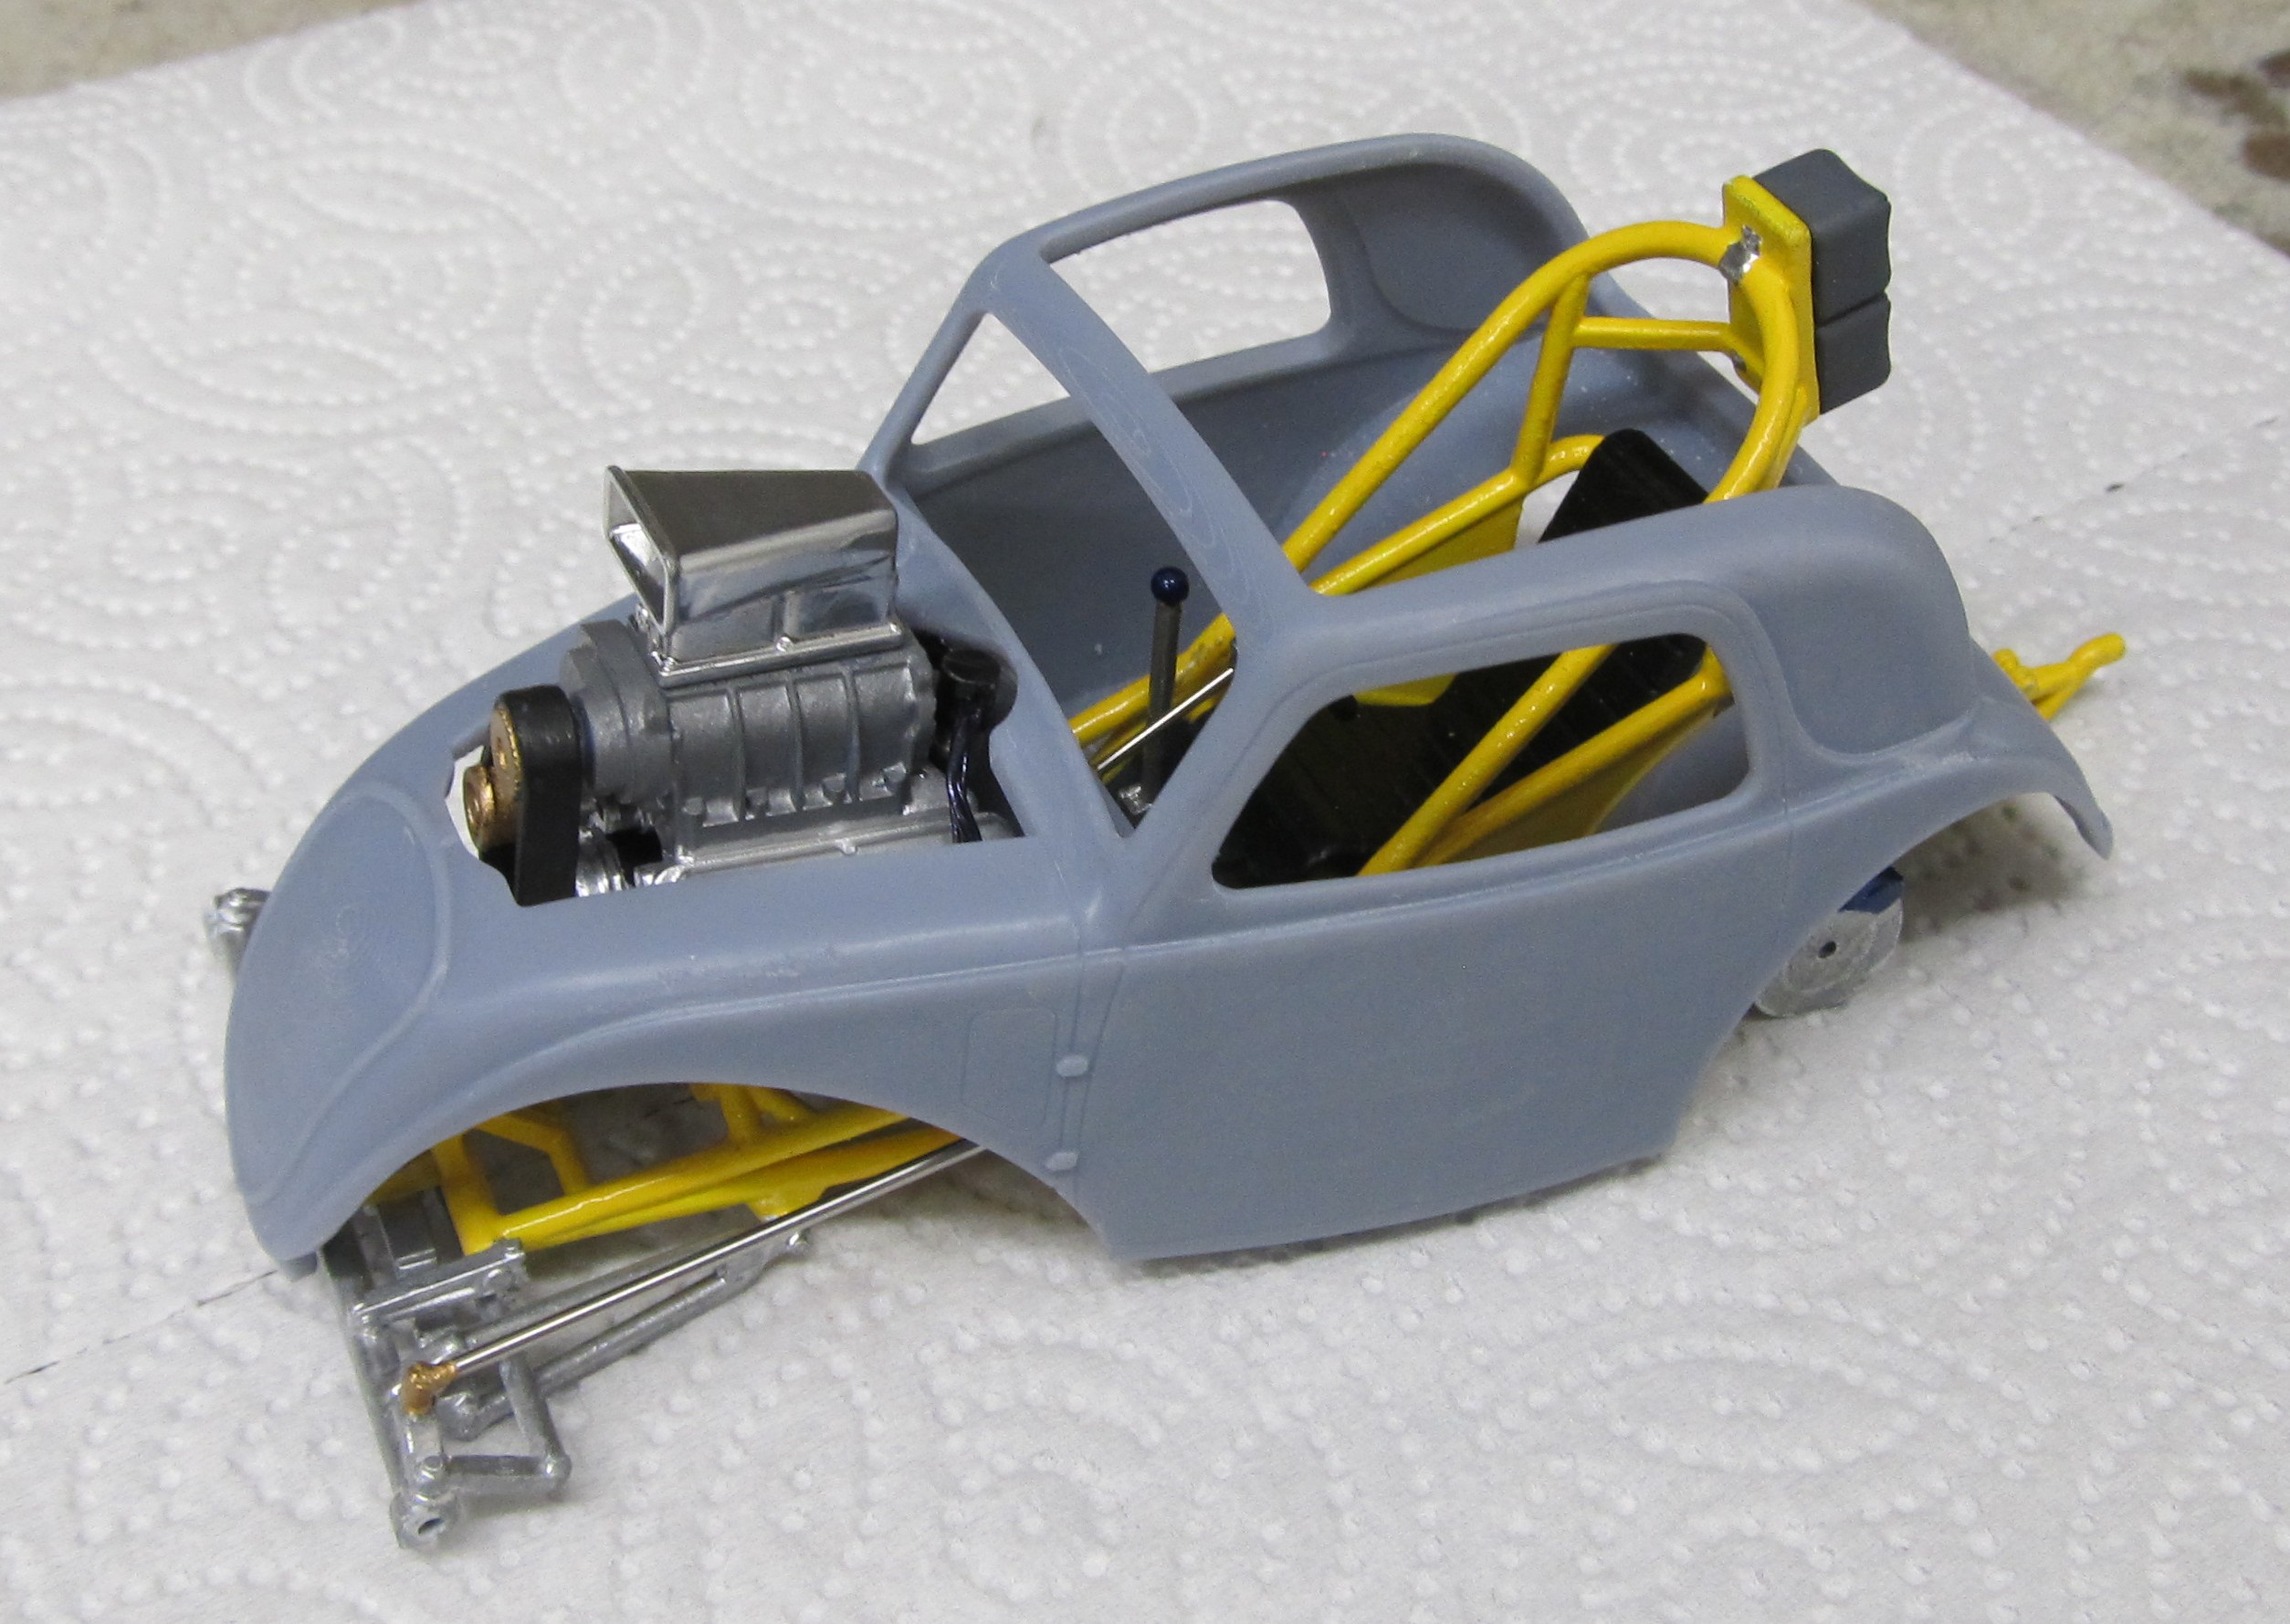
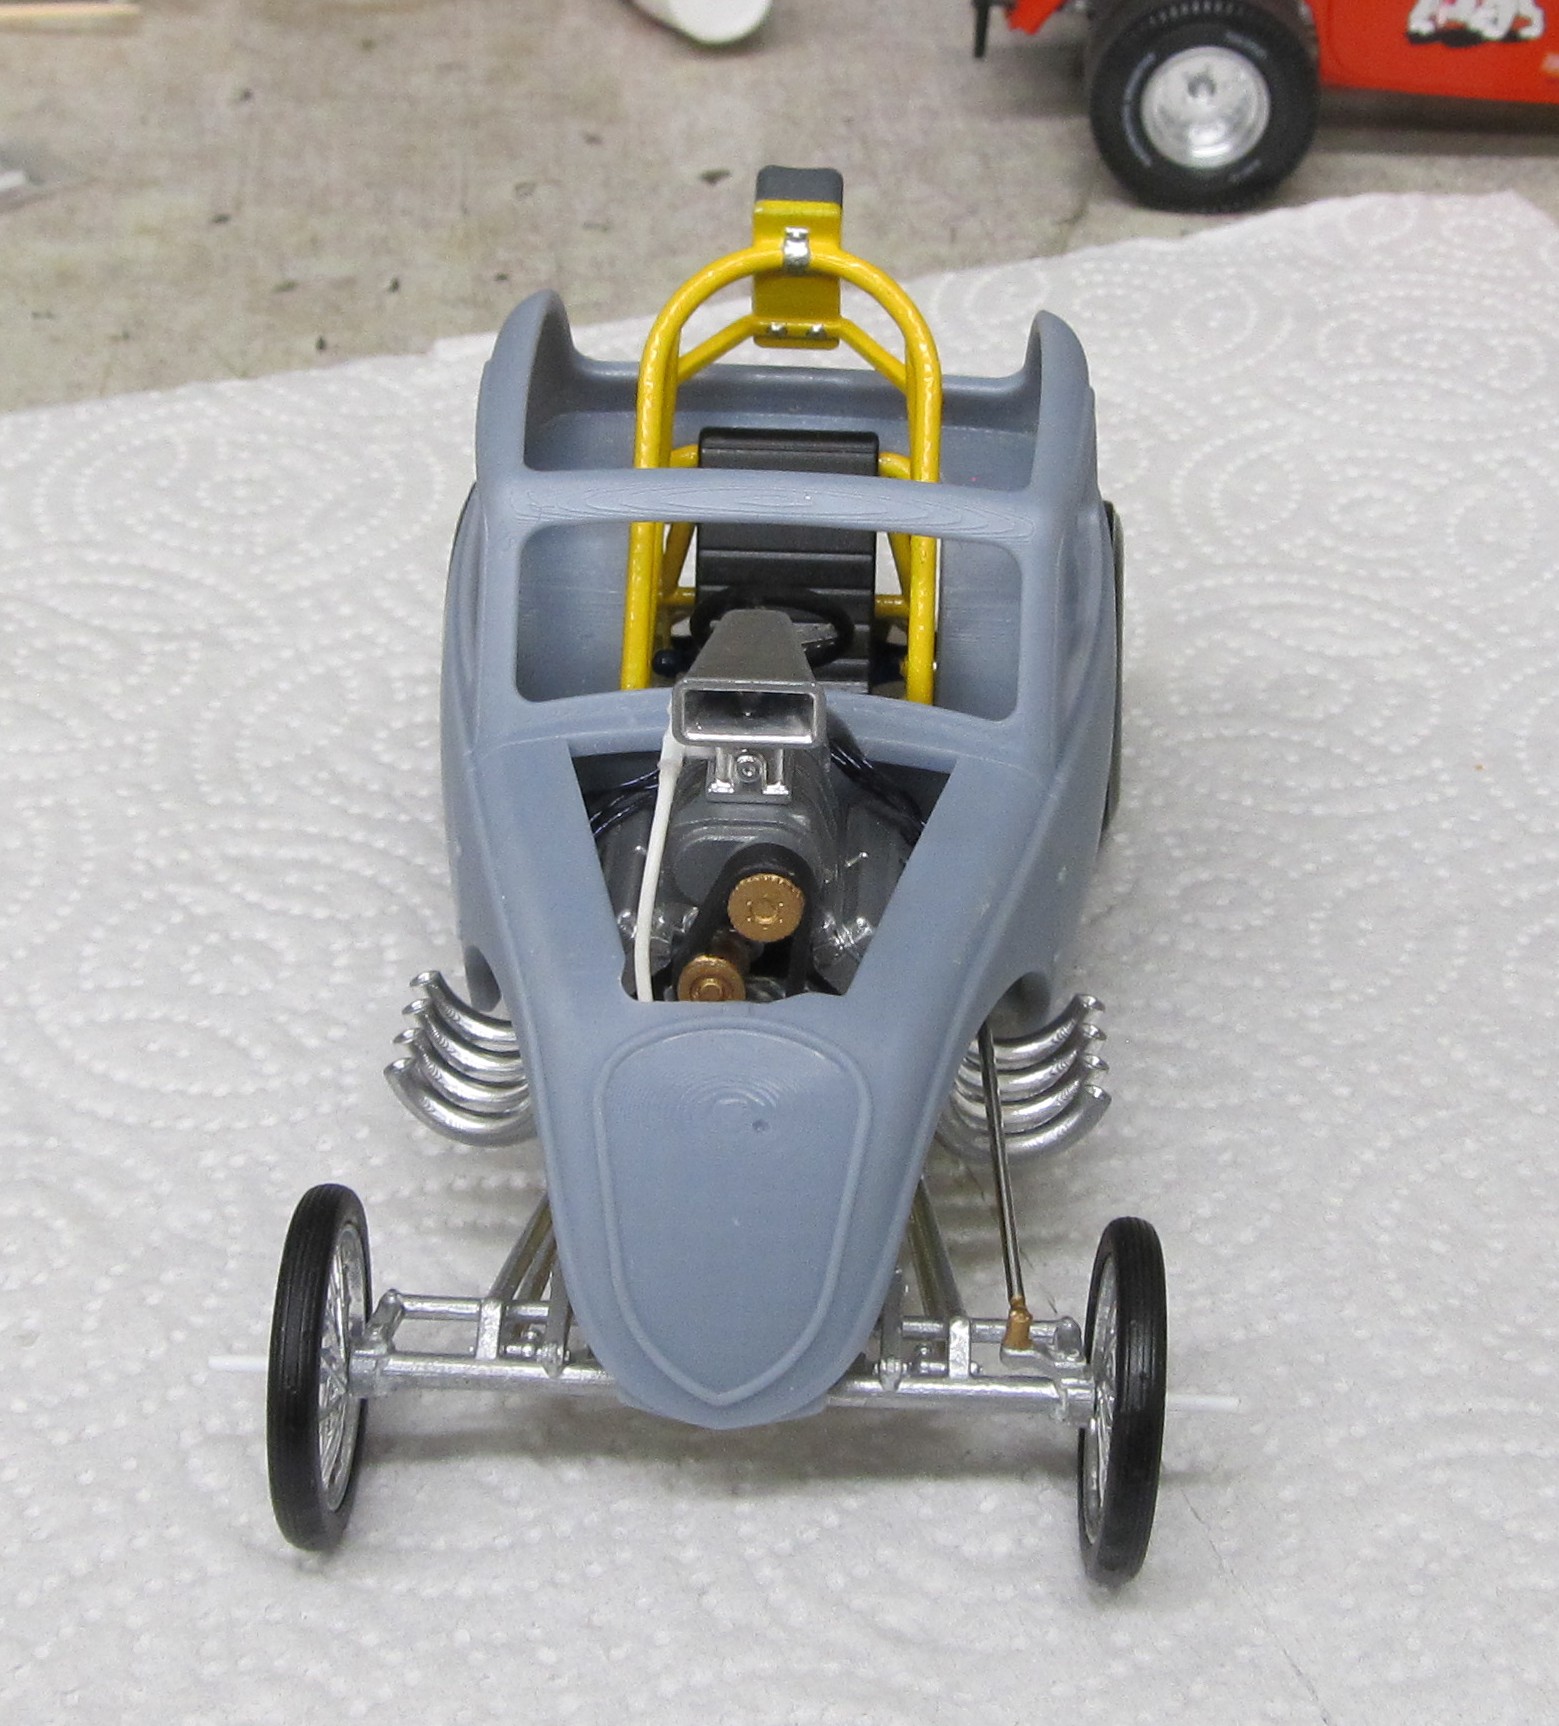
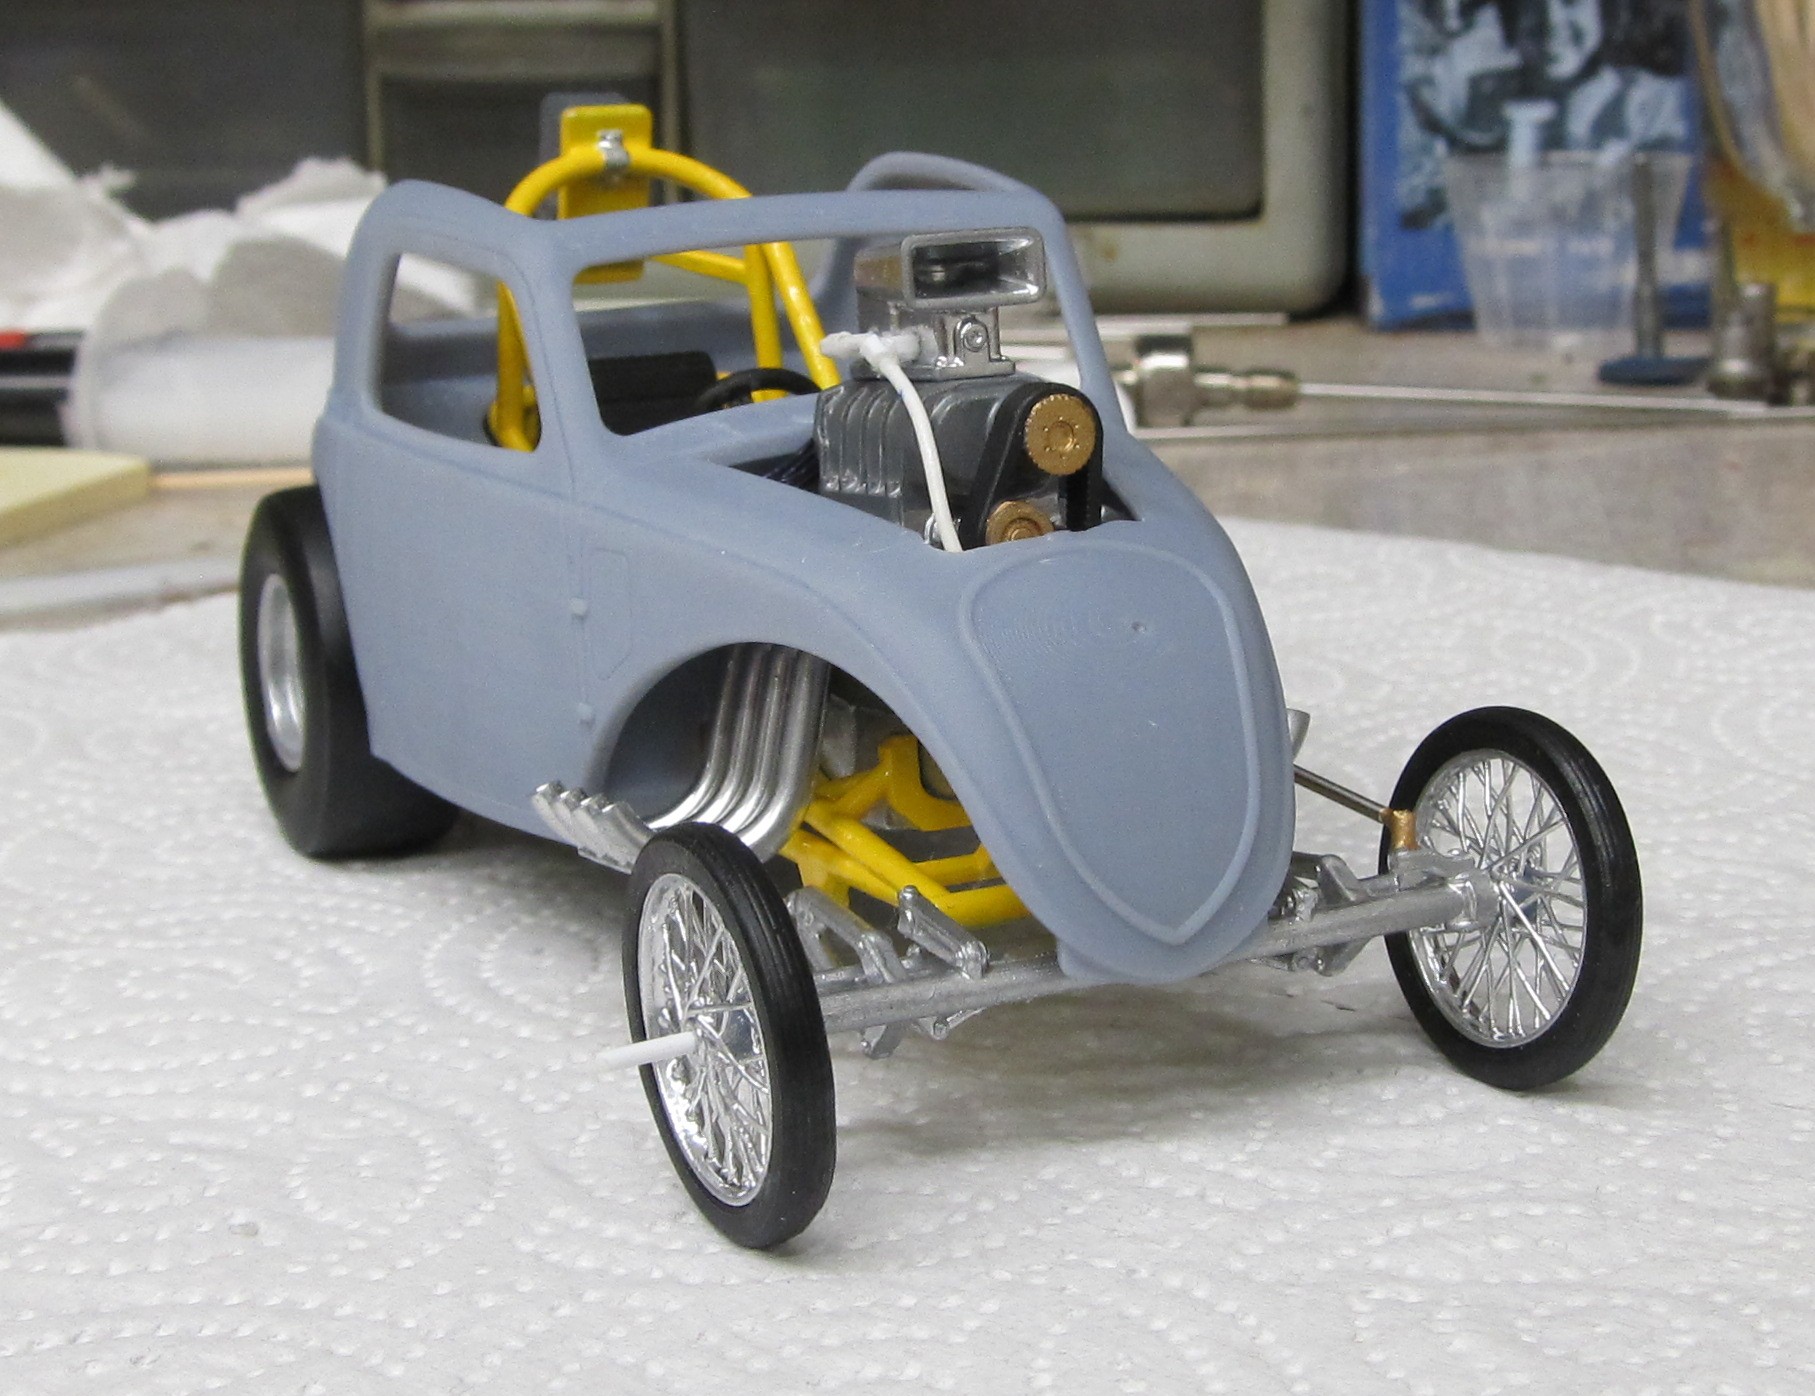
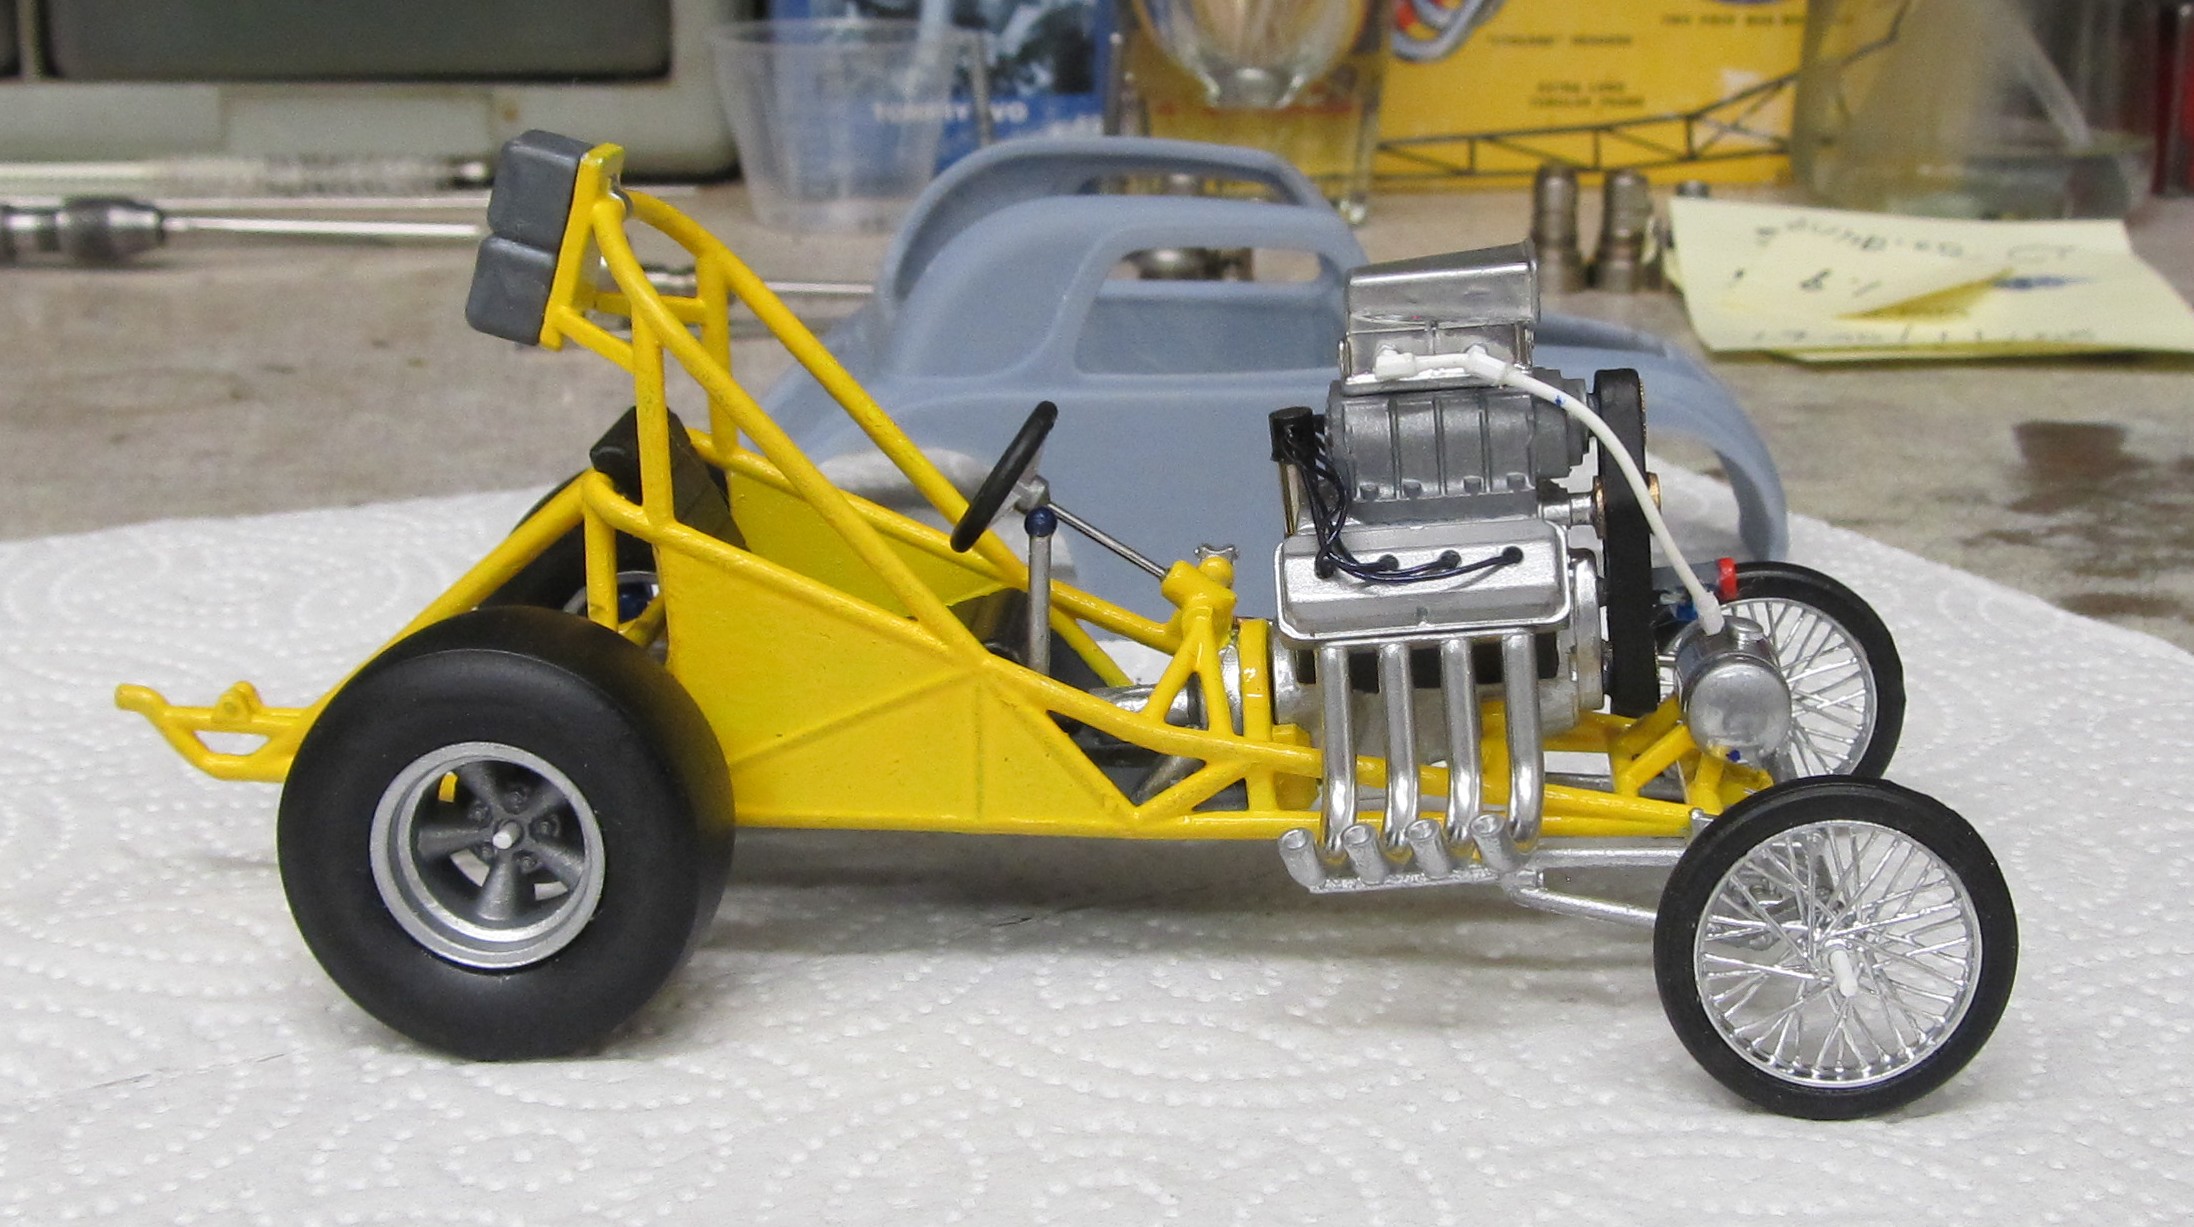
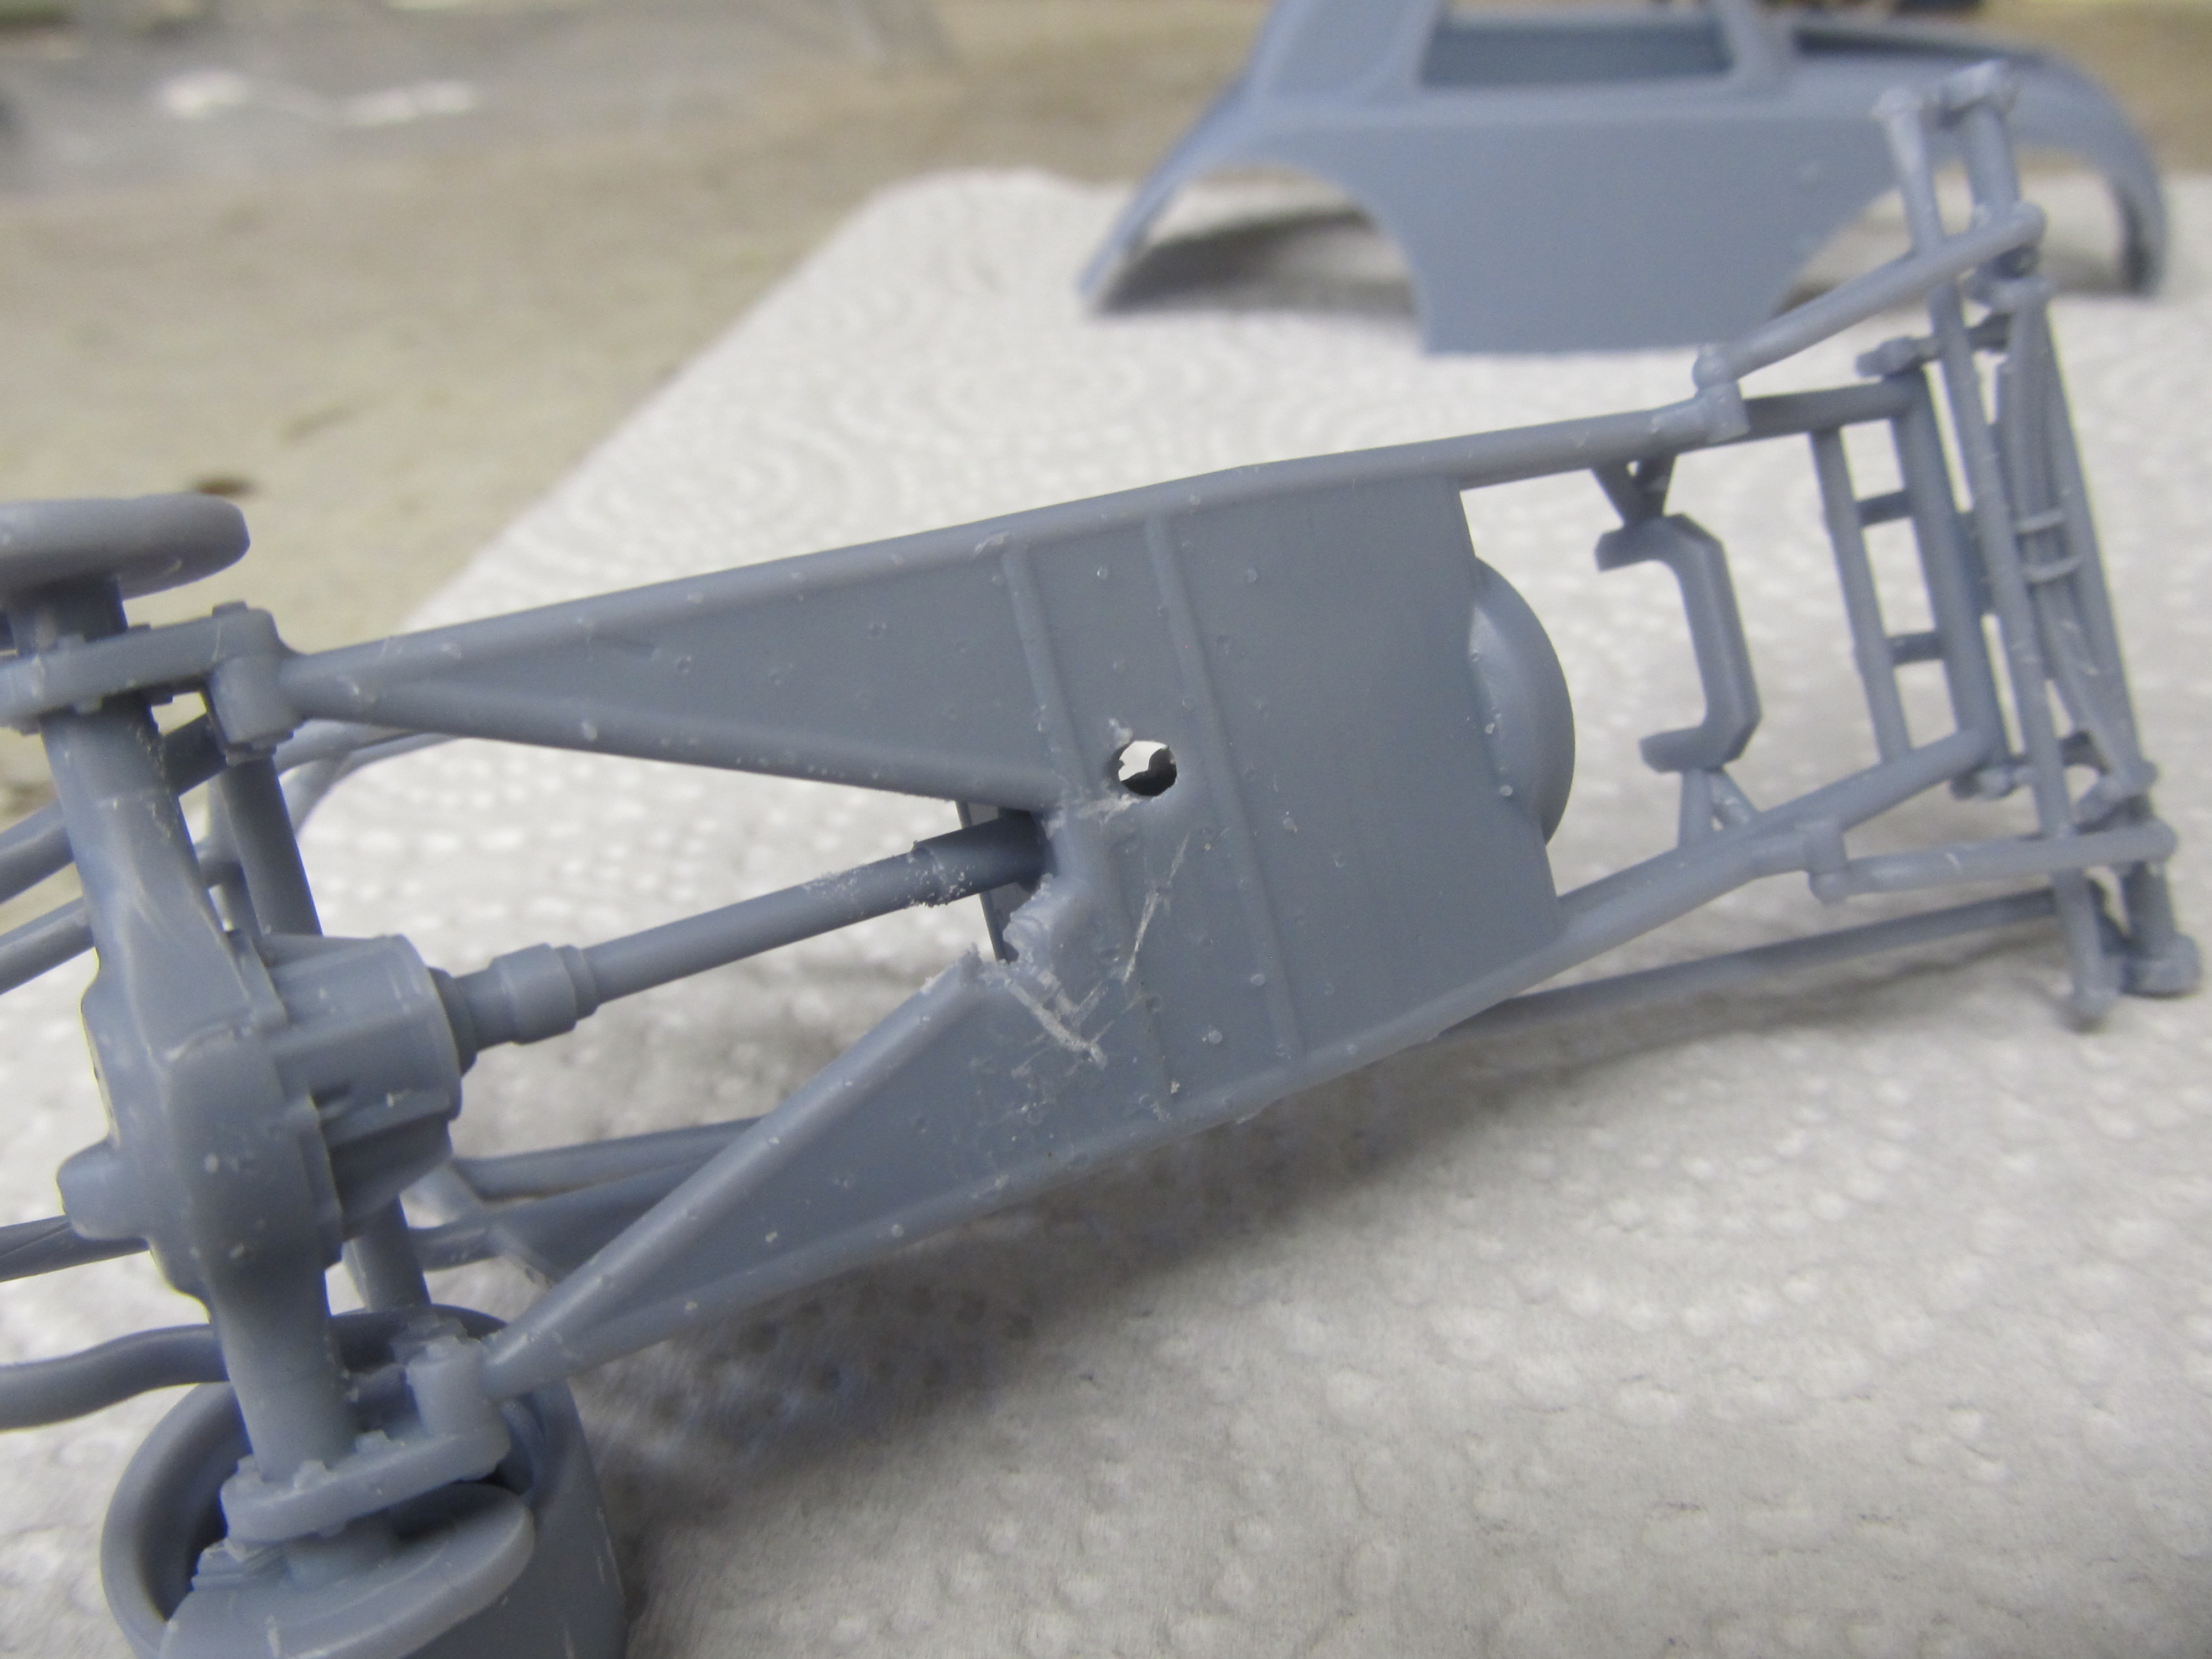
Ok here we go again another era for the Topolino altered. This would be a gen 2 car, purpose built chassis fiberglass body lighter and better tires and wheels, well almost, this one was still crazy enough to run wire wheels. The big Hemi still hadent come along yet so this one is still the 392ci mill. Not much building to do just a whole lot of paint and what little detailing there will be. Got a lot of fixing to do like closing a hole that looks like the car took a spear or something, and to figure out how to hold the wheels on, trying to drill the fronts may spell their doom, the spokes are only .4 mm thick. There is plastic that looks like a fingerprint with a hole in it right in the middle of the front grill. And the rear brake discs also looking like Marty Feldman's eyes, 🤣 they dont know what way they goin.
IMG_2708.JPG
IMG_2710.JPG
IMG_2711.JPG
IMG_2713.JPG
IMG_2714.JPG
IMG_2716.JPG
 
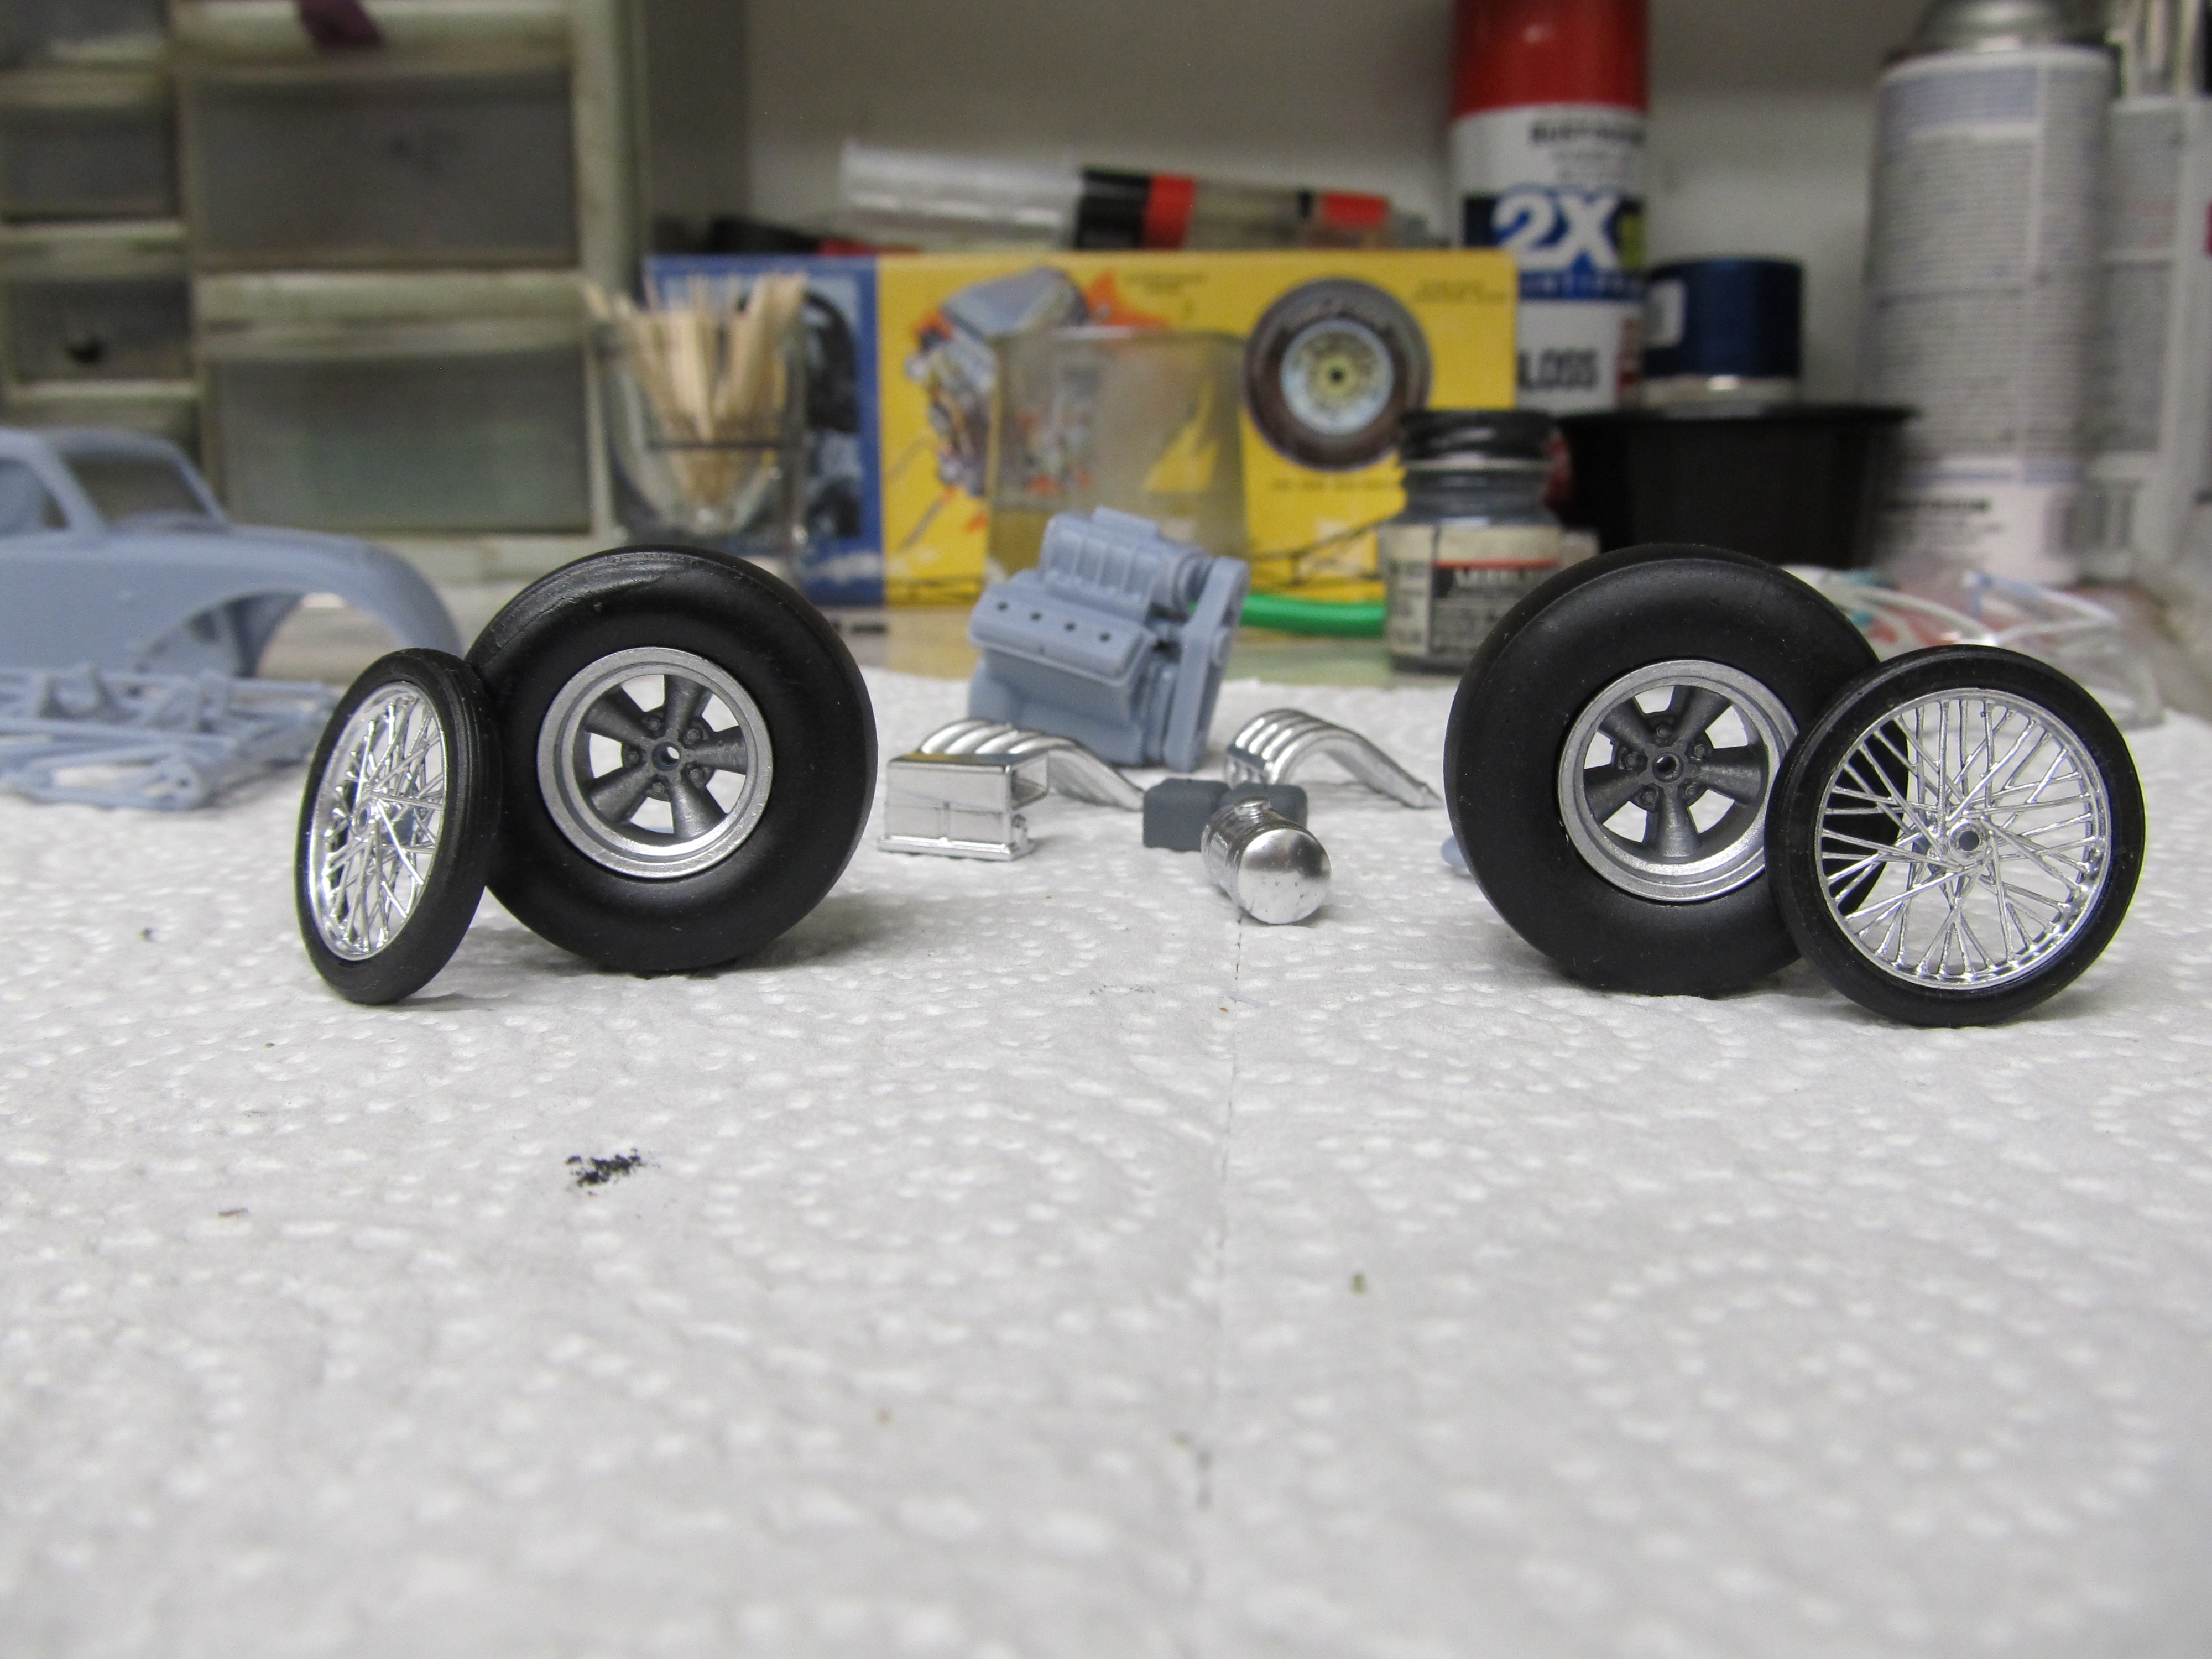
Yea they all have their problems but nothing that cant be overcome, i was able to clean out the supports between the spokes and only broke one end of one but paint will seal that back together. Im thinking i will glue them on with JB weld instead of trying to drill them to fit an axle pin in.
 
... Didn't have the nose job like Bully. 🤔
...and gets through the gate faster!
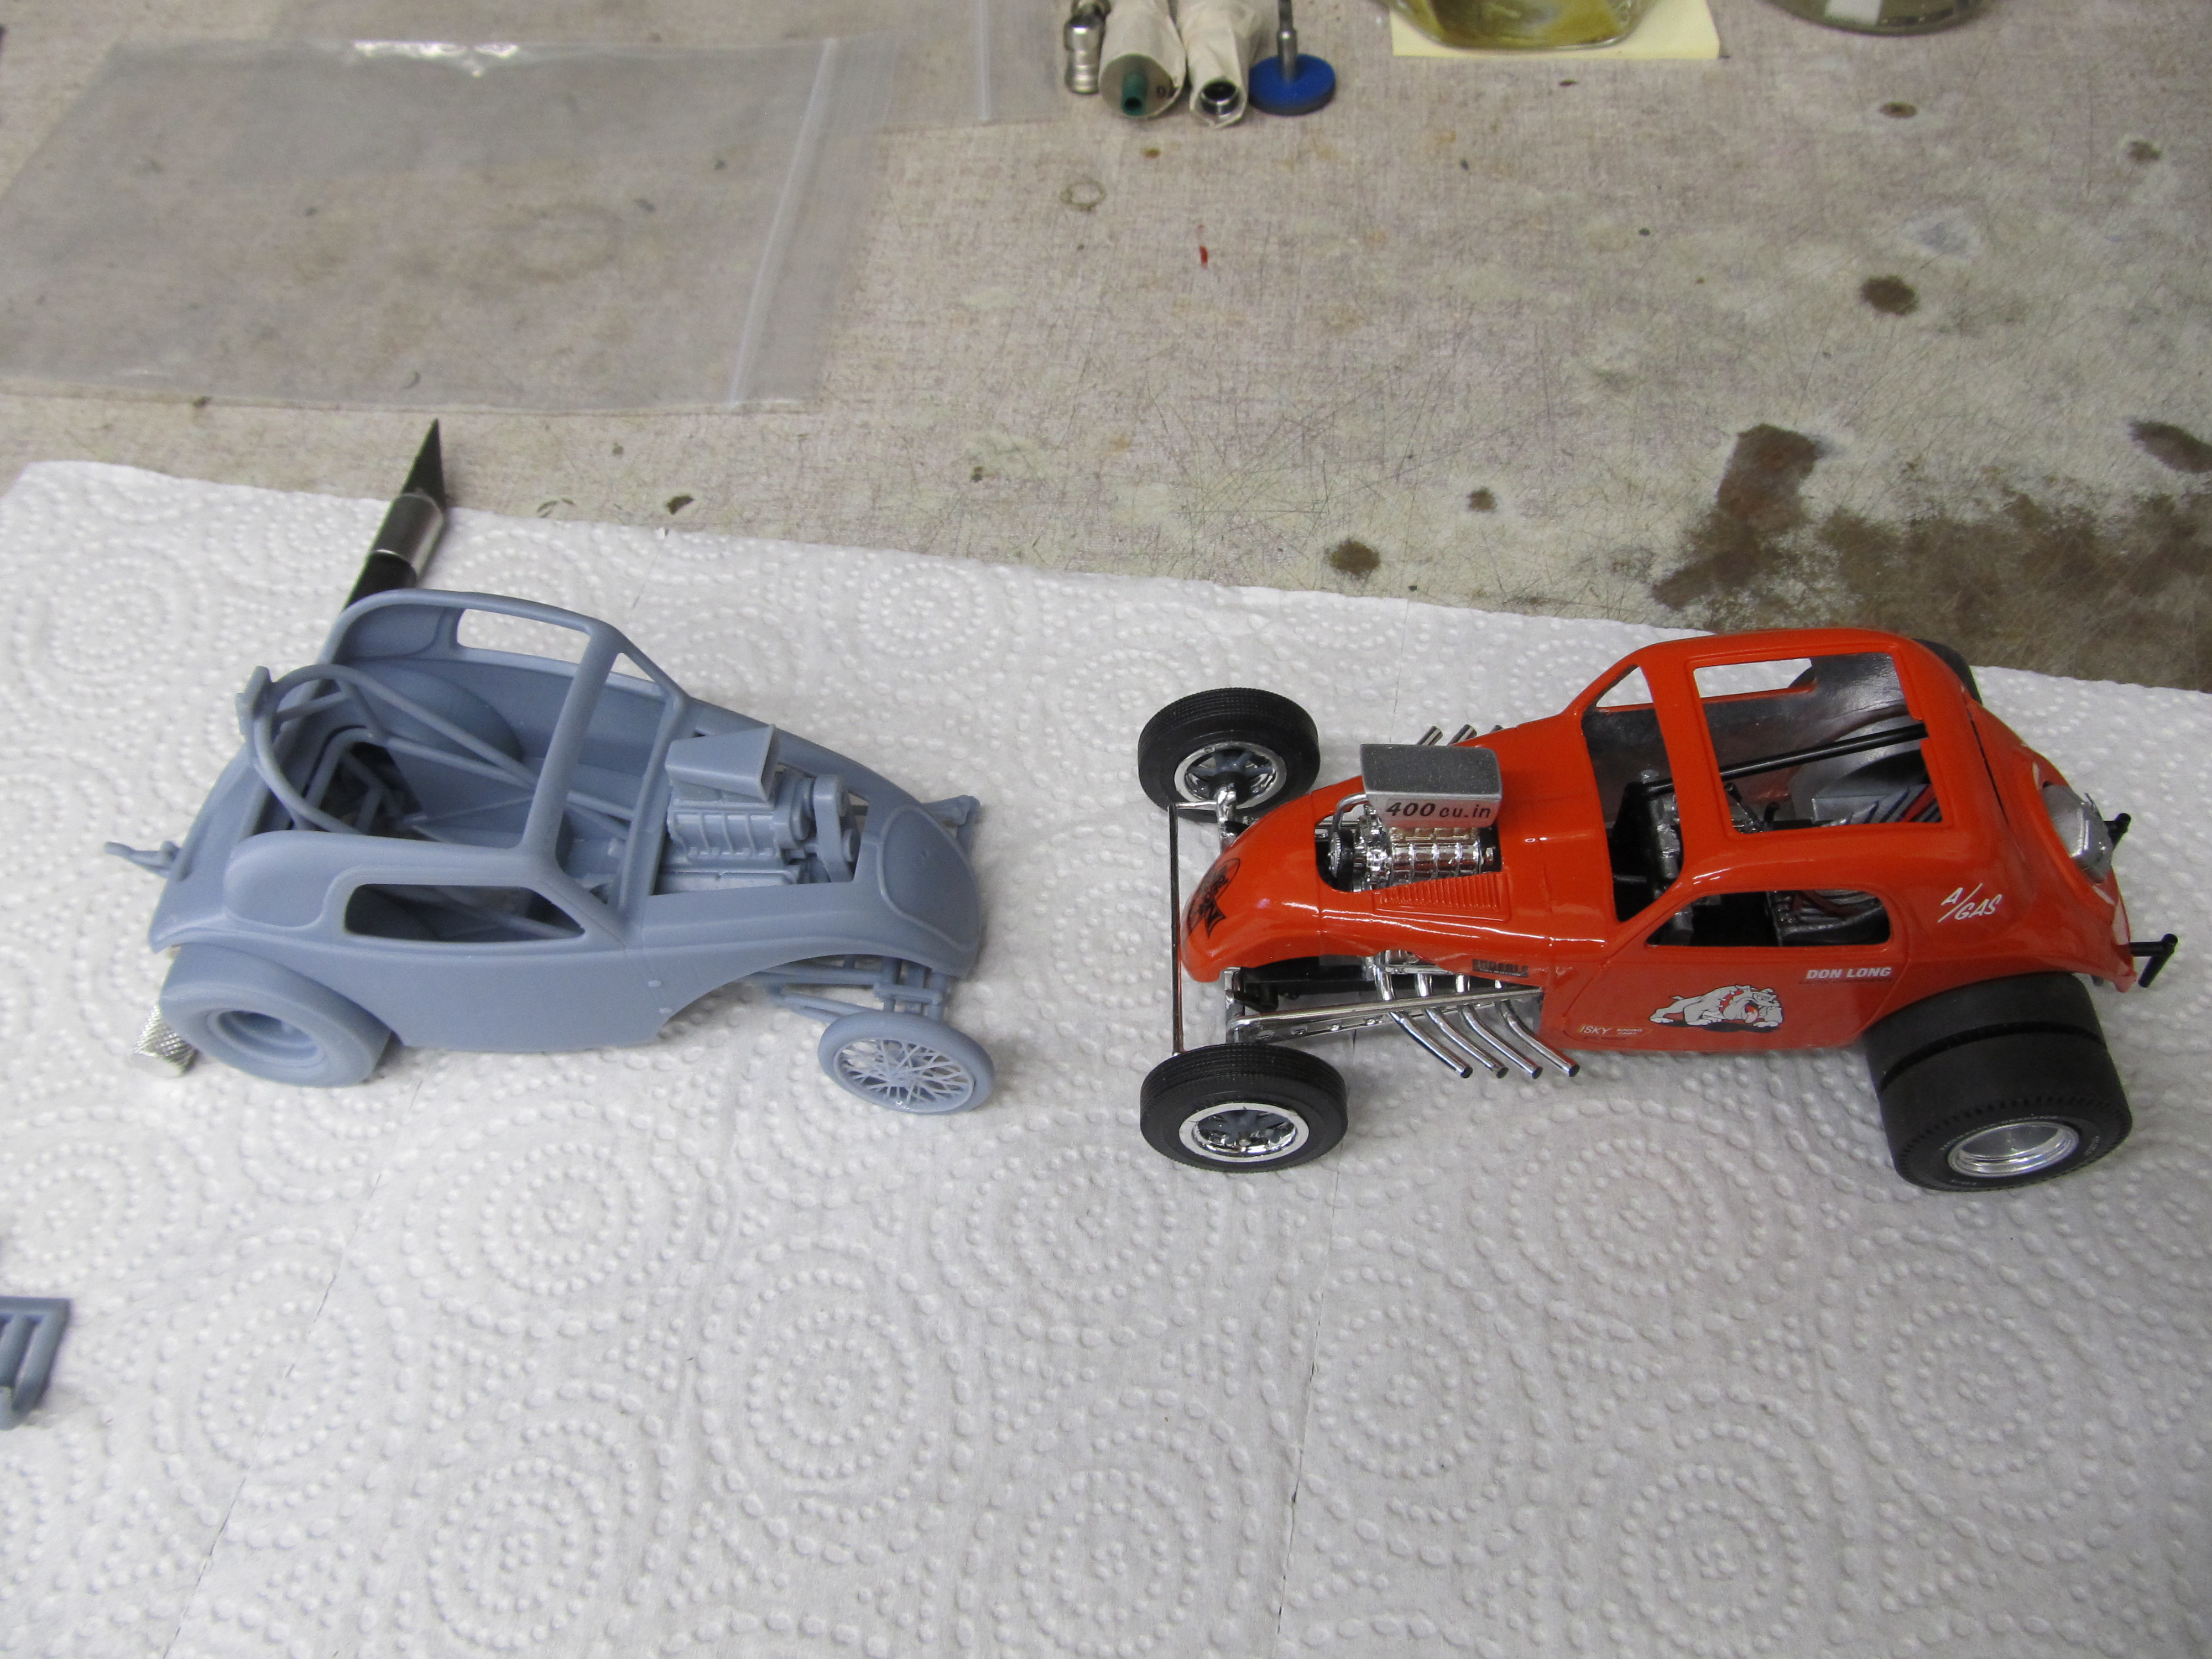
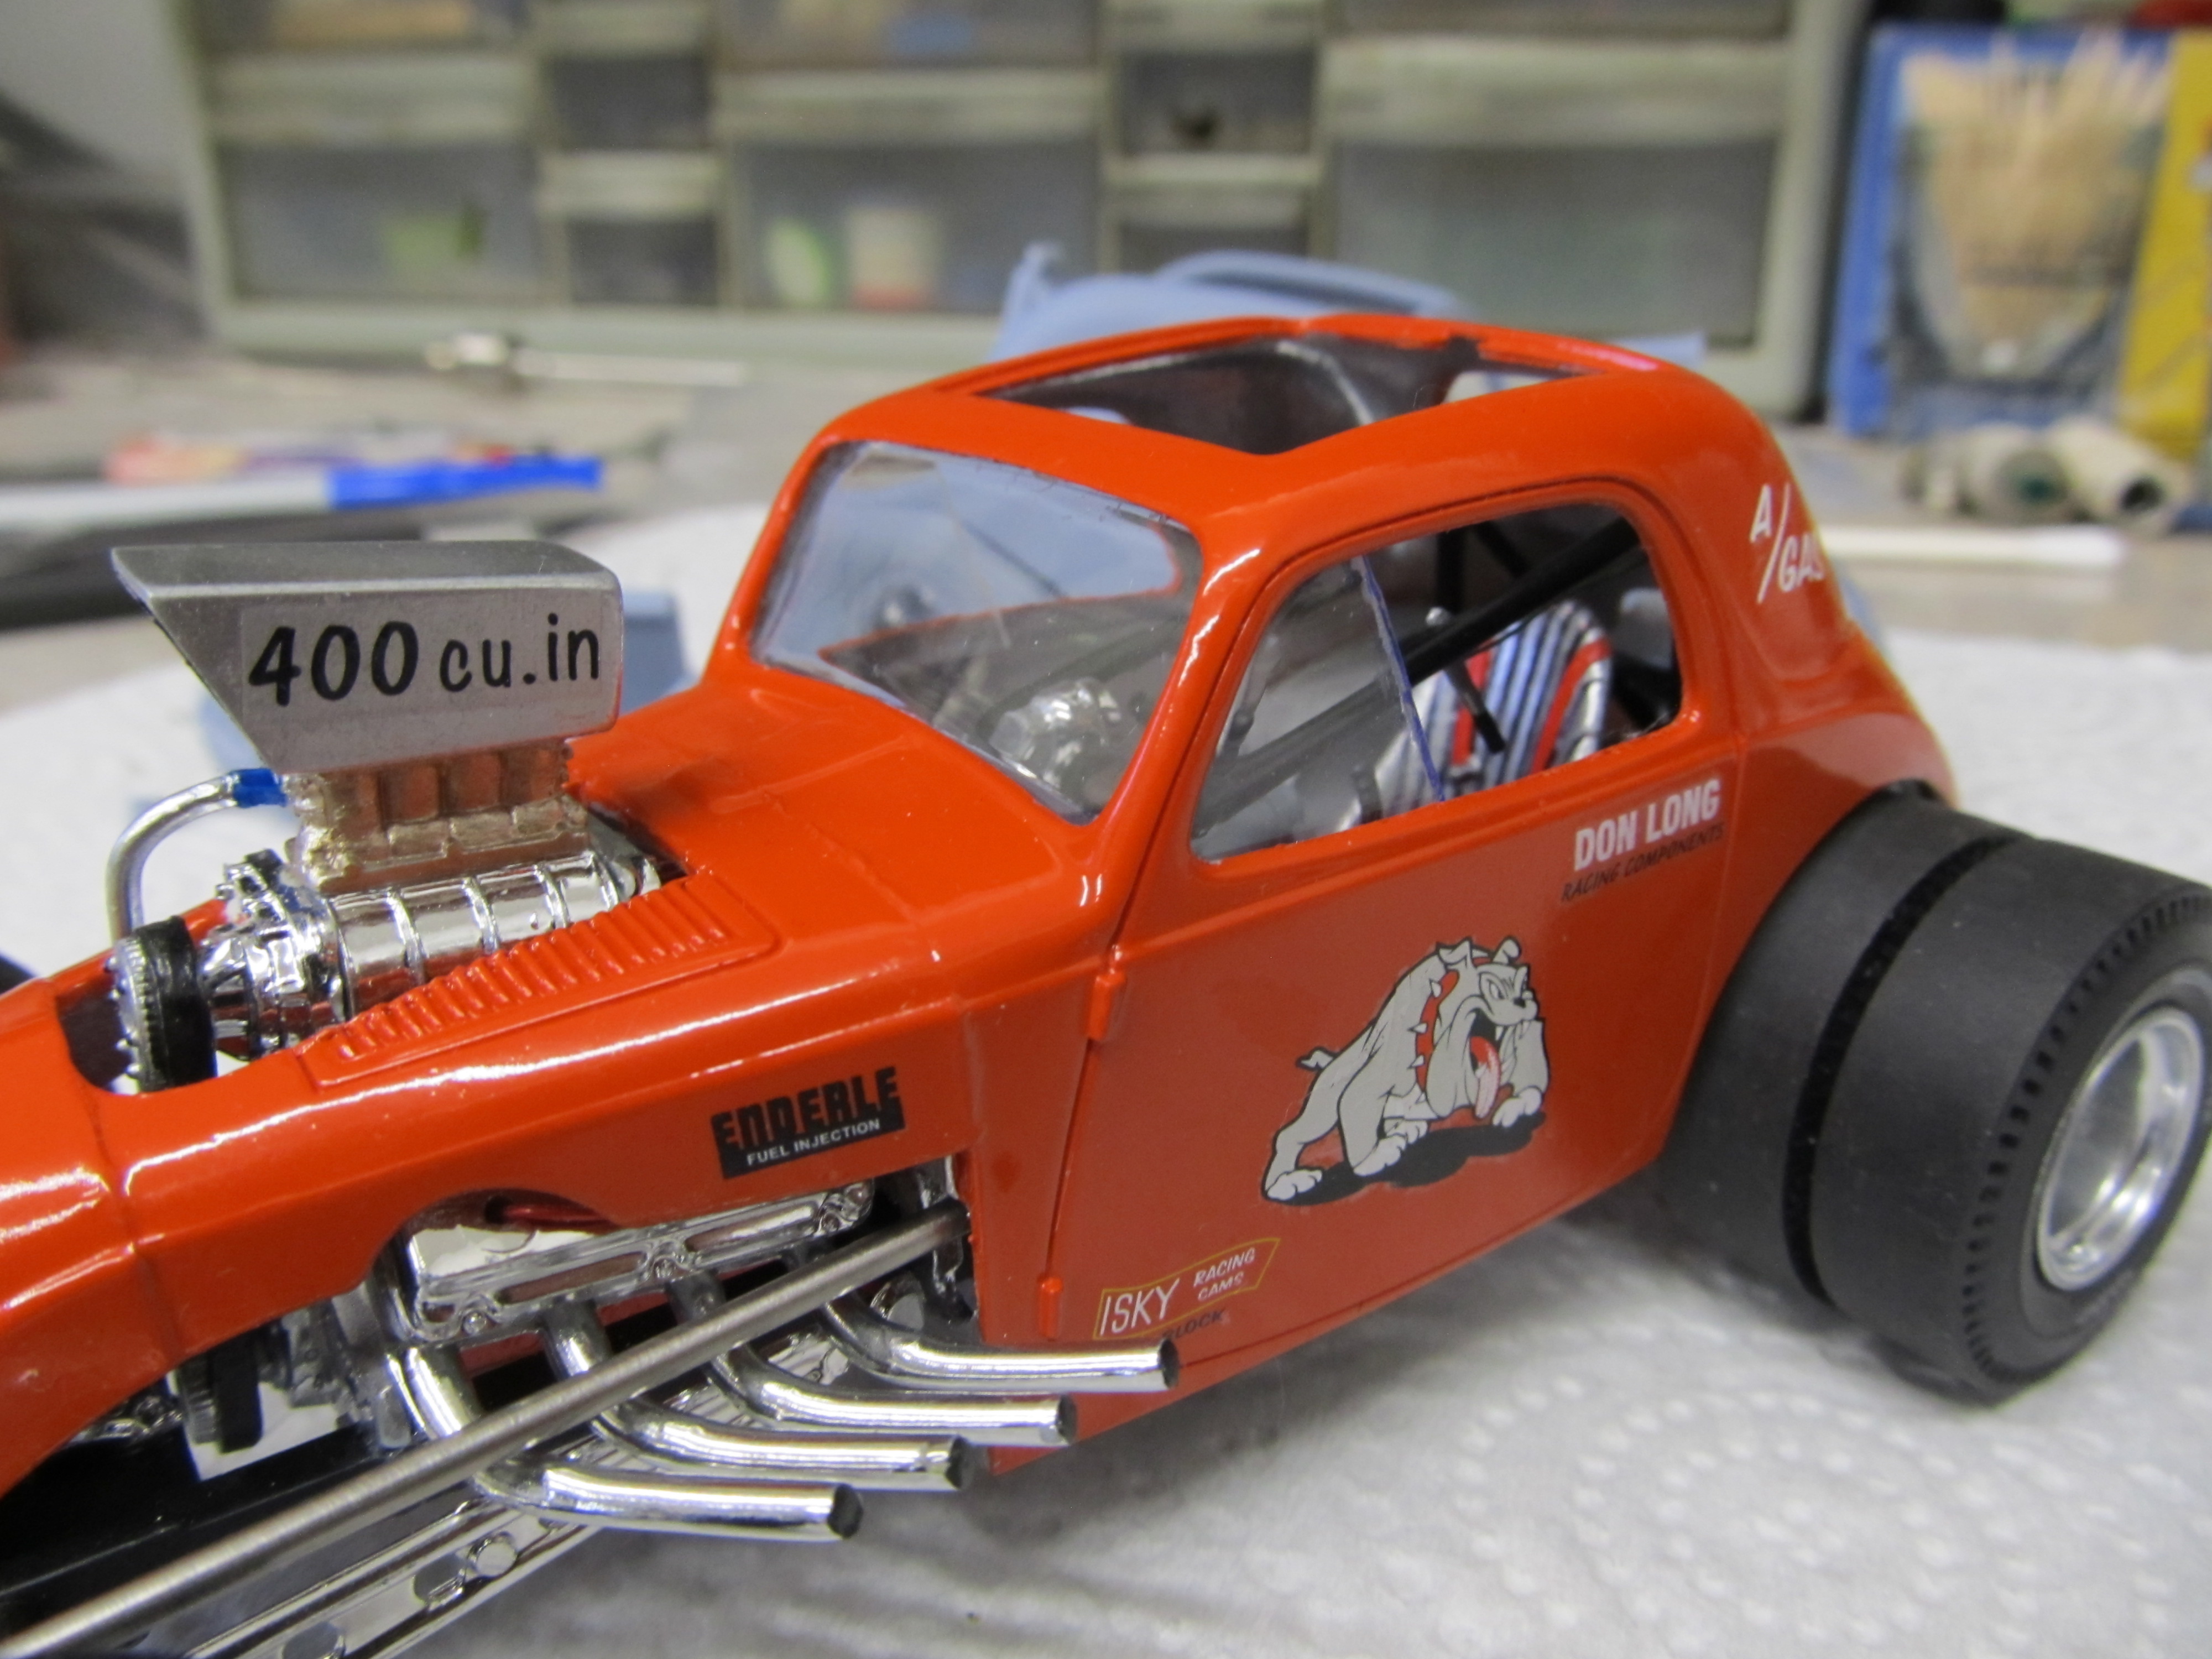
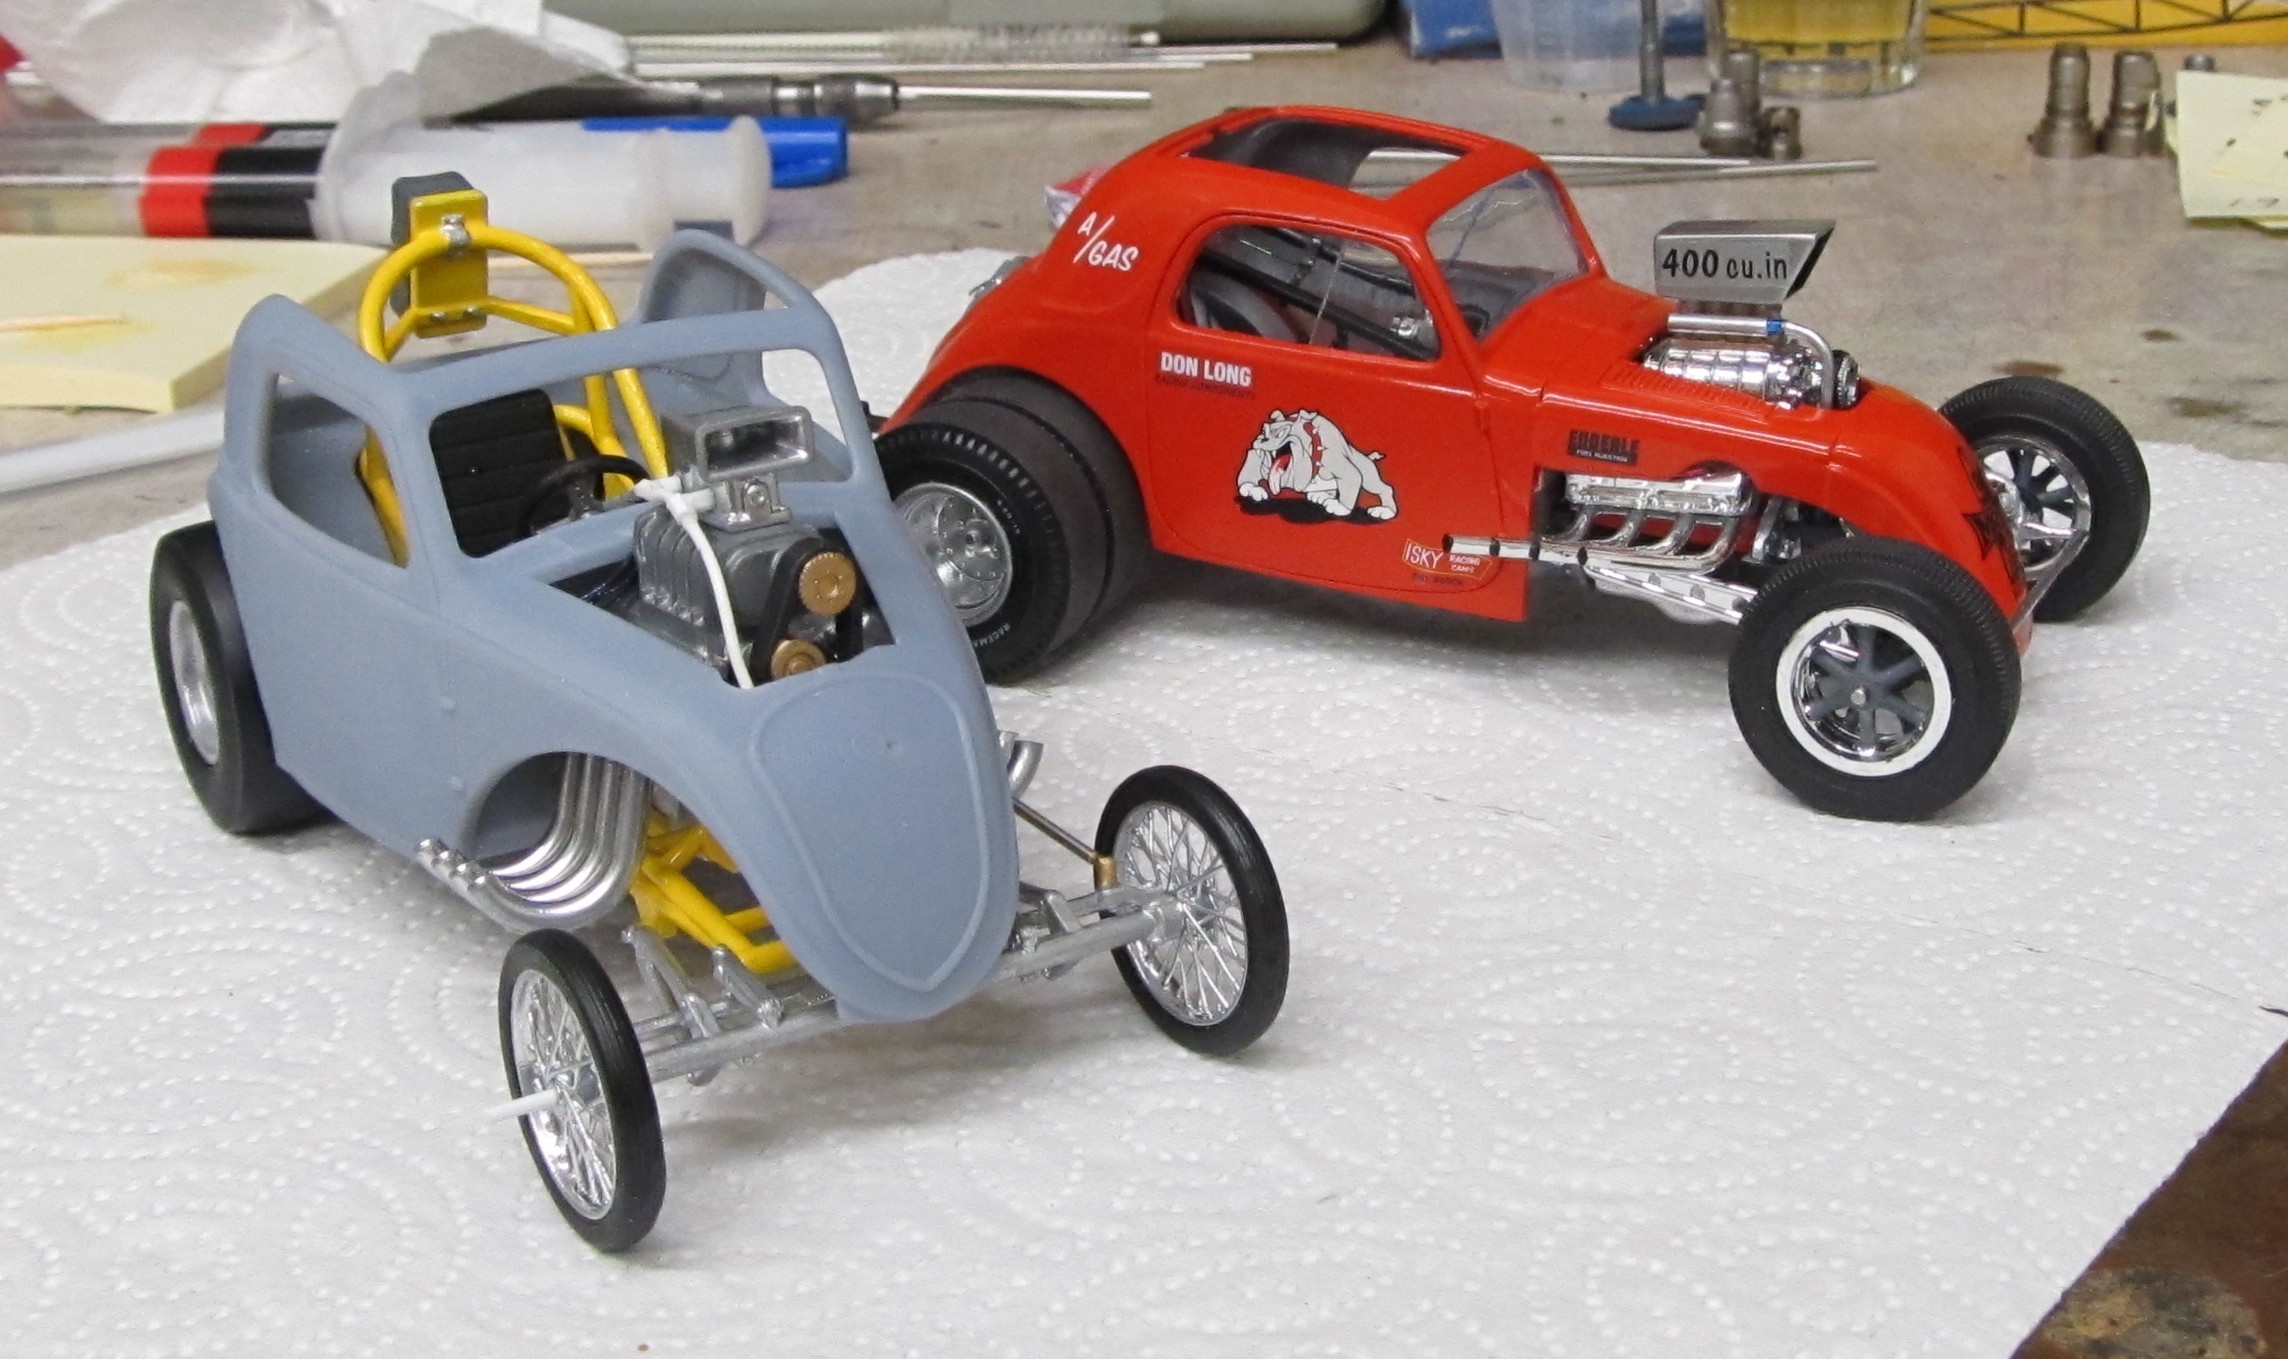
Little Bulldog would be a steel body of the actual car and the new one is some ones idea of a fiberglass replica.
The difference in the shape is good, showing how things progressed over the years. Im looking forward to how they will look side by side when its done. The color is going to be an issue on this one, i have a nice darker metalflake blue im leaning to. I put the wind screen in the bull dog, and cut it to make half side windows, forgot i was building a real model and have these things for it. 🤣
IMG_2734.JPG
IMG_2735.JPG
 
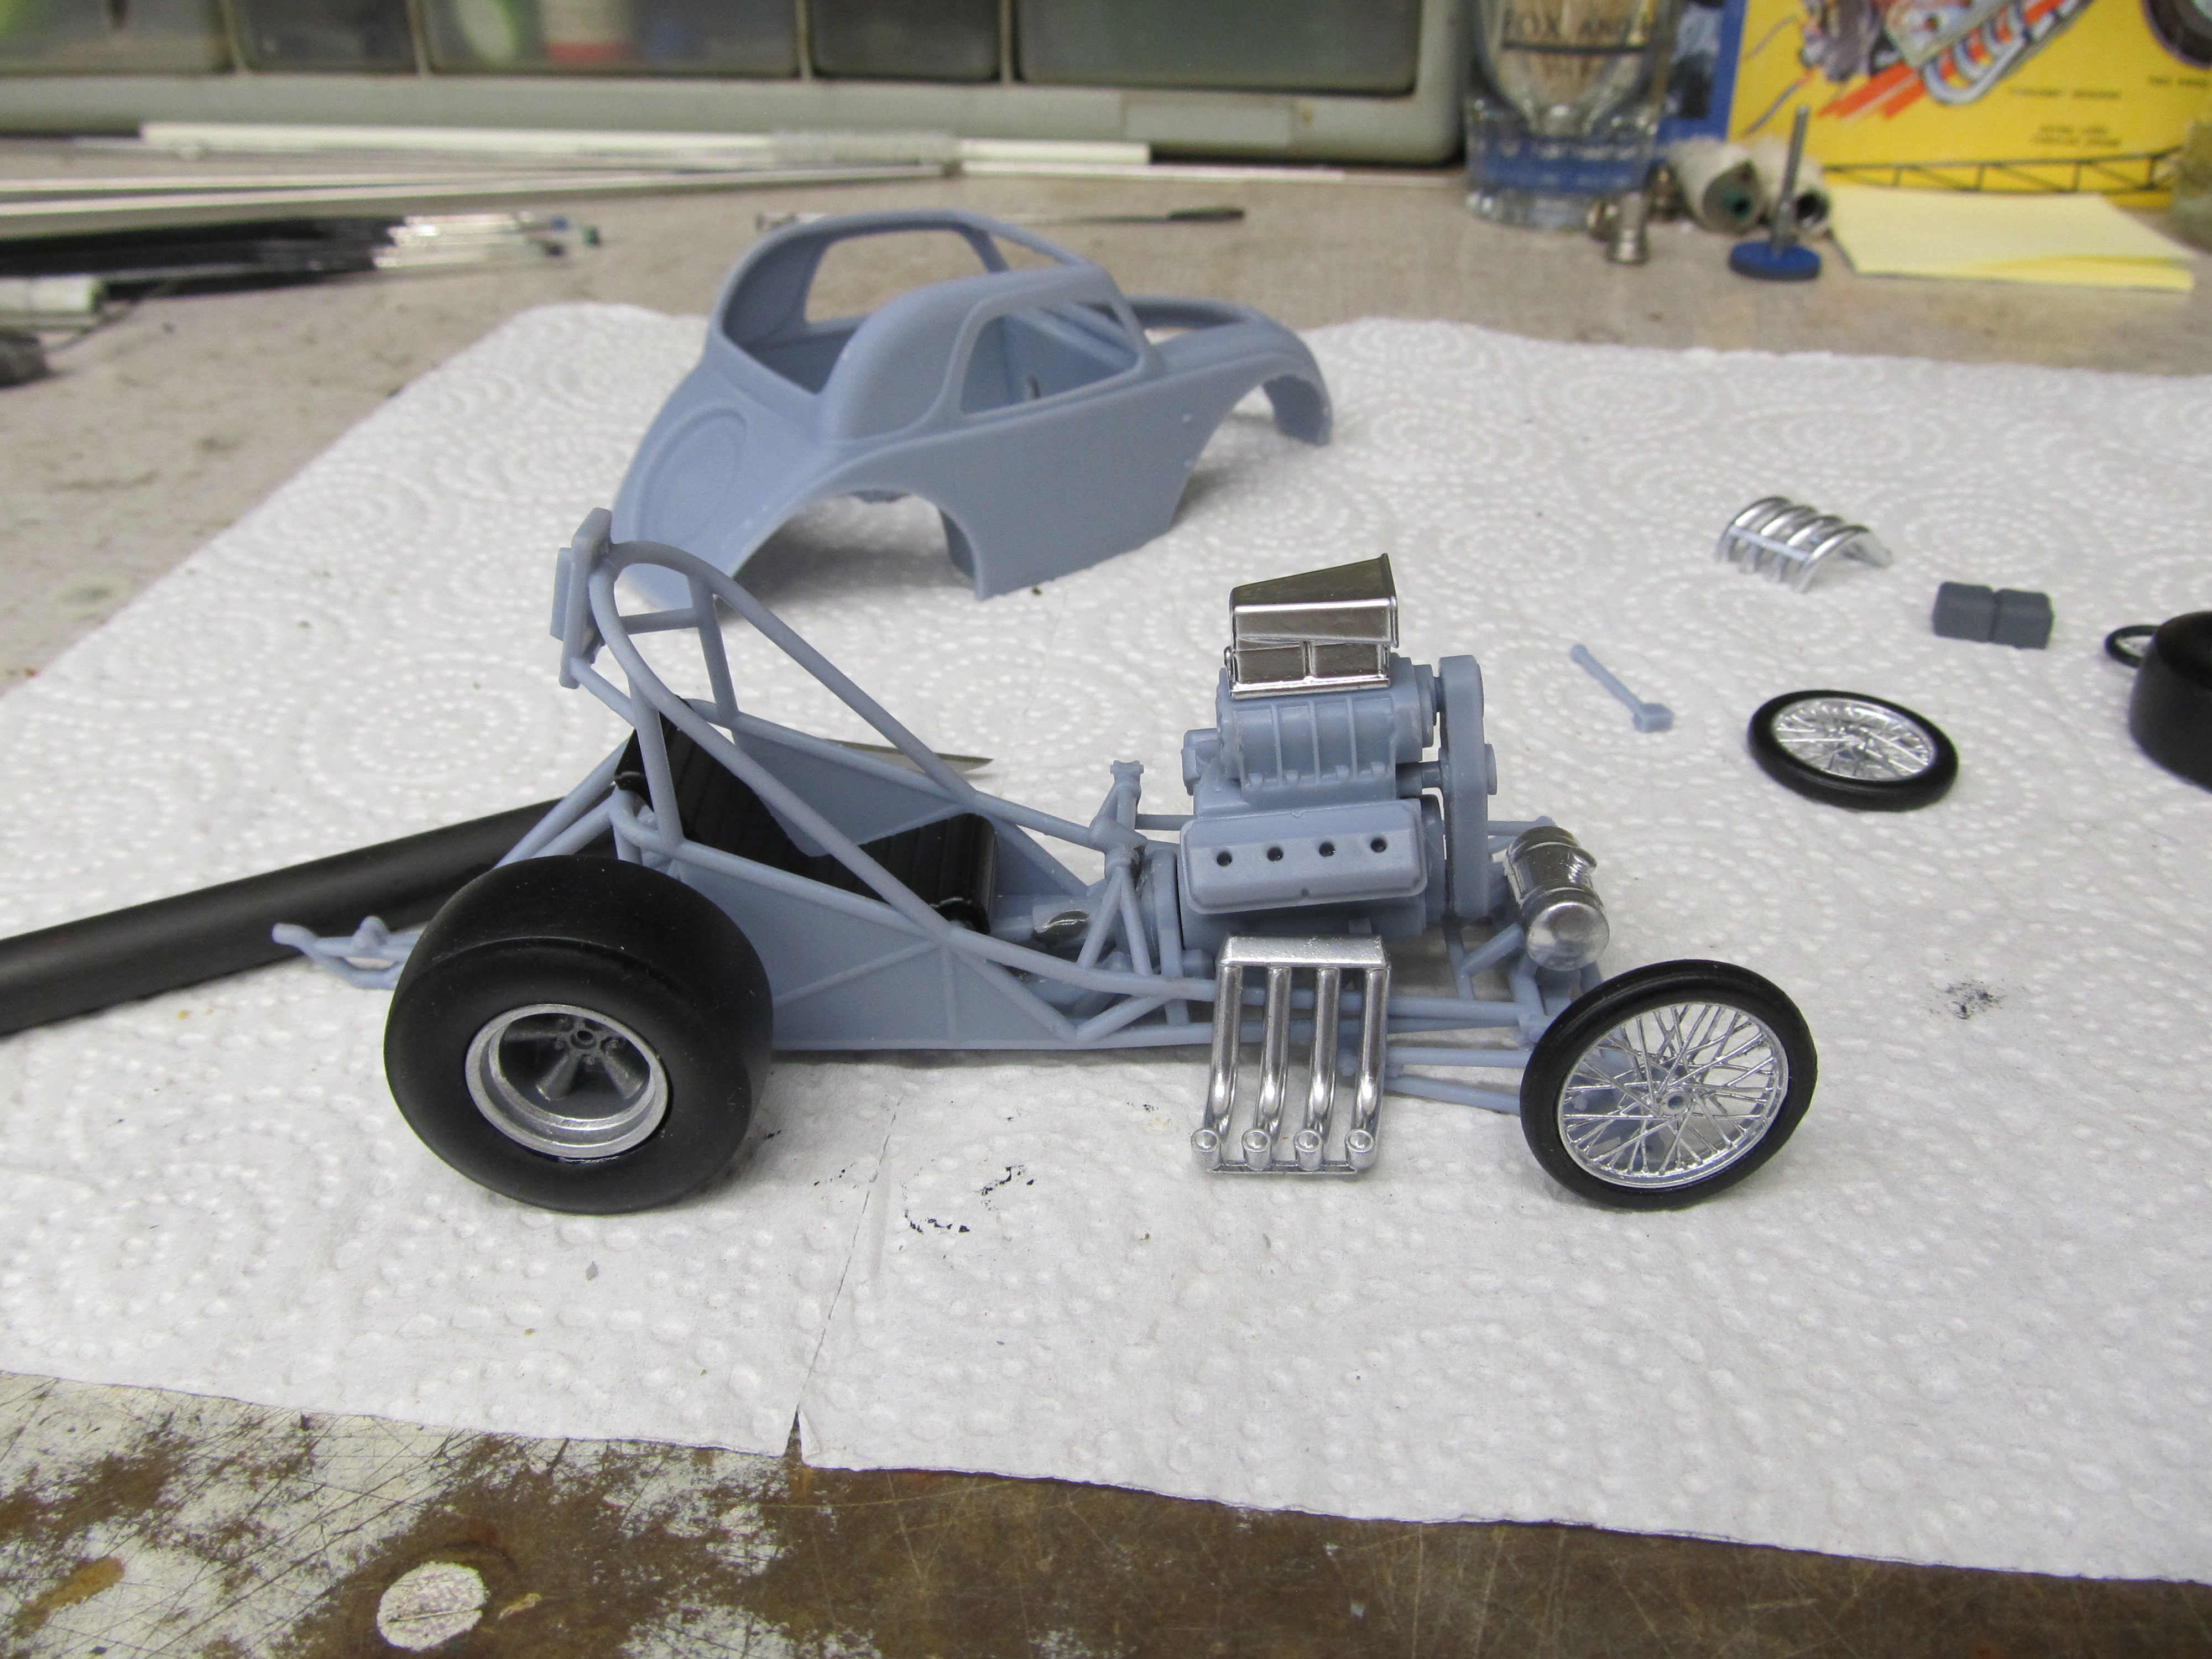
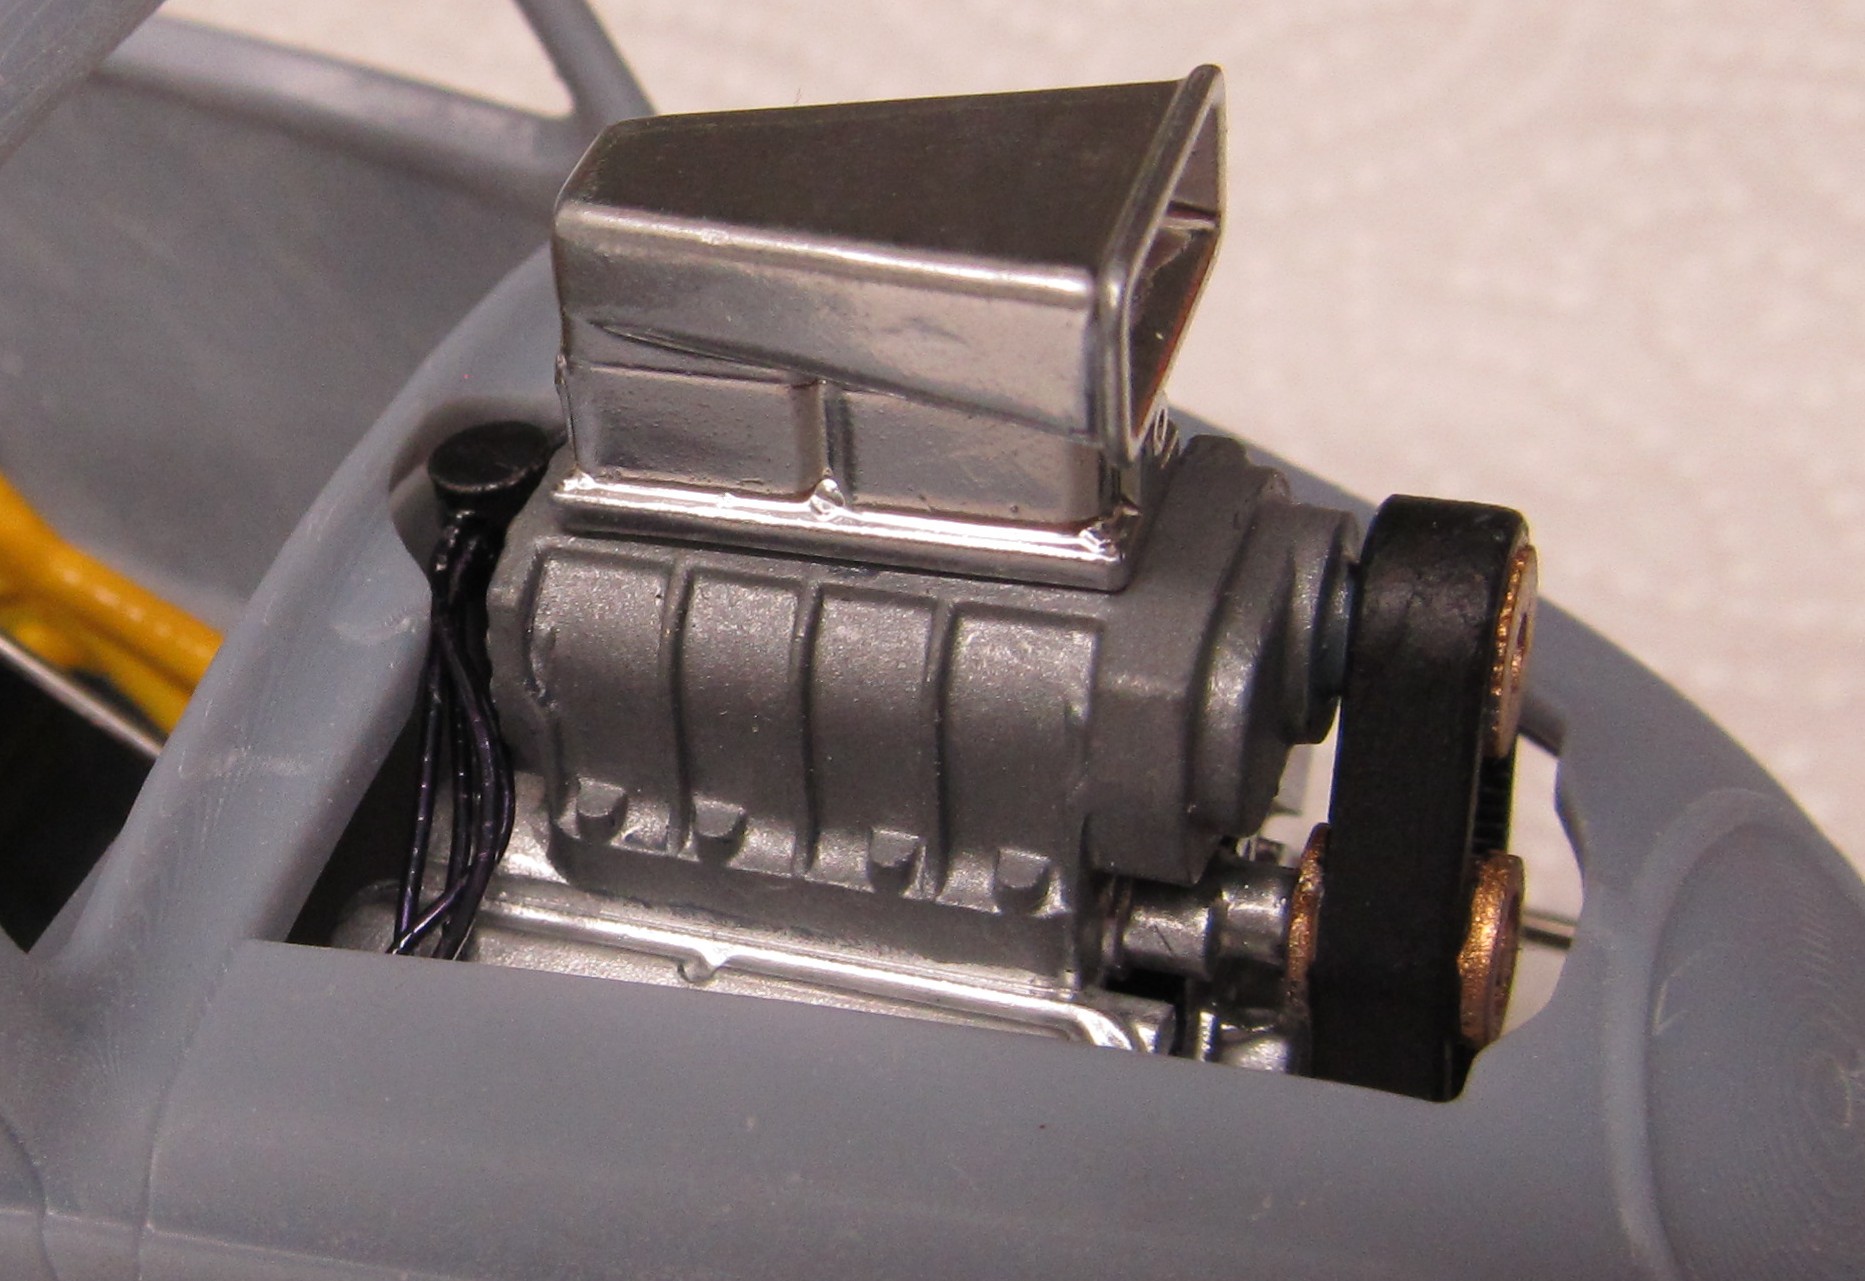
A little stand still till i get some paint to do the chassis and body, I want to paint the chassis yellow with metal finish inner body panels to contrast the blue body and black and metal finish parts. The 60s were all about wild looking paint jobs. I can still drill the engine for plug wires, fuel pump and magneto, make the mag and start some paint on the engine. The wheels came out nice.
IMG_2738.JPG
IMG_2739.JPG
IMG_2736.JPG
 
Love the chromed spokes!
They are very nice, just have to be super careful cleaning up the support nibs, small fine parts like this really like that Rustolium bright metal finish, Holz44 is doing the same belly tanker i did and using the moon wheel covers so i was just telling him how i get the best finish with it, in short it likes warm, like almost 80deg and the parts very dry and clean. Resin parts are strangely porus and need to sun dry or be put in a dehydrator for a bit.
 
Yea they all have their problems but nothing that cant be overcome, i was able to clean out the supports between the spokes and only broke one end of one but paint will seal that back together. Im thinking i will glue them on with JB weld instead of trying to drill them to fit an axle pin in.
Everything is salvageable
 
Everything is salvageable
Indeed, in fact i have two damaged 3d printed promod chassis with wheels and other parts i would like to find new homes for, they can be fixed, i just have no use for them. i will put pics in this thread tomorrow.
 
Hmmm... Around here humidity comes with the heat... Unless you crank up the furnace in dead of winter and watch your kneecaps flake off!
With your climate the best i would say for painting car finishes would be to warm the paint and the parts. I dont know what you have to work with i use a space heater, keeping parts and can 3/4 a meter away and low closer to the floor. Making the can warm to the touch about 110 deg, is plenty it ups the pressure making the spray finer so it covers more evenly.
 
...in case you are wondering why, besides loving your builds generally, I should be so interested in your Topolinos... Dunno if you saw it, but I had an Italian fling last year that I thoroughly enjoyed!
You might get a kick out of the build, and some of the source images and info about 'little mouse'.
Your welcome to post it here Barly, i dont mind guys posting pics, info and memories in my threads, it makes it all more interesting.
 
Thanks! If you click on the 'Italian fling' link text, it should bring you to my Topolino thread if you wanna take a look... Here is a pic from that build:

View attachment 183698
It was surprised and impressed at how they made use of the tiny engine compartment by putting the rad up and behind the engine!

Cheers!
I would imagine it worked ok with all that room in bonnet, and being it was mostly in england and central europe heat wasnt so much a problem.
 
Thanks! If you click on the 'Italian fling' link text, it should bring you to my Topolino thread if you wanna take a look... Here is a pic from that build:

View attachment 183698
It was surprised and impressed at how they made use of the tiny engine compartment by putting the rad up and behind the engine!

Cheers!
I remember this post from going through your media a bit after i came to the site.
 
That Bulldog looks great @RacerX . Tough lookin' car.

I've gotta say......I really like those 3D printed spoked wheels. WOW!!! I've been using Tru Wires from Miniscurtr8zing but these are most certainly a good option. Lookin' forward to seeing that other build up and running too.
 
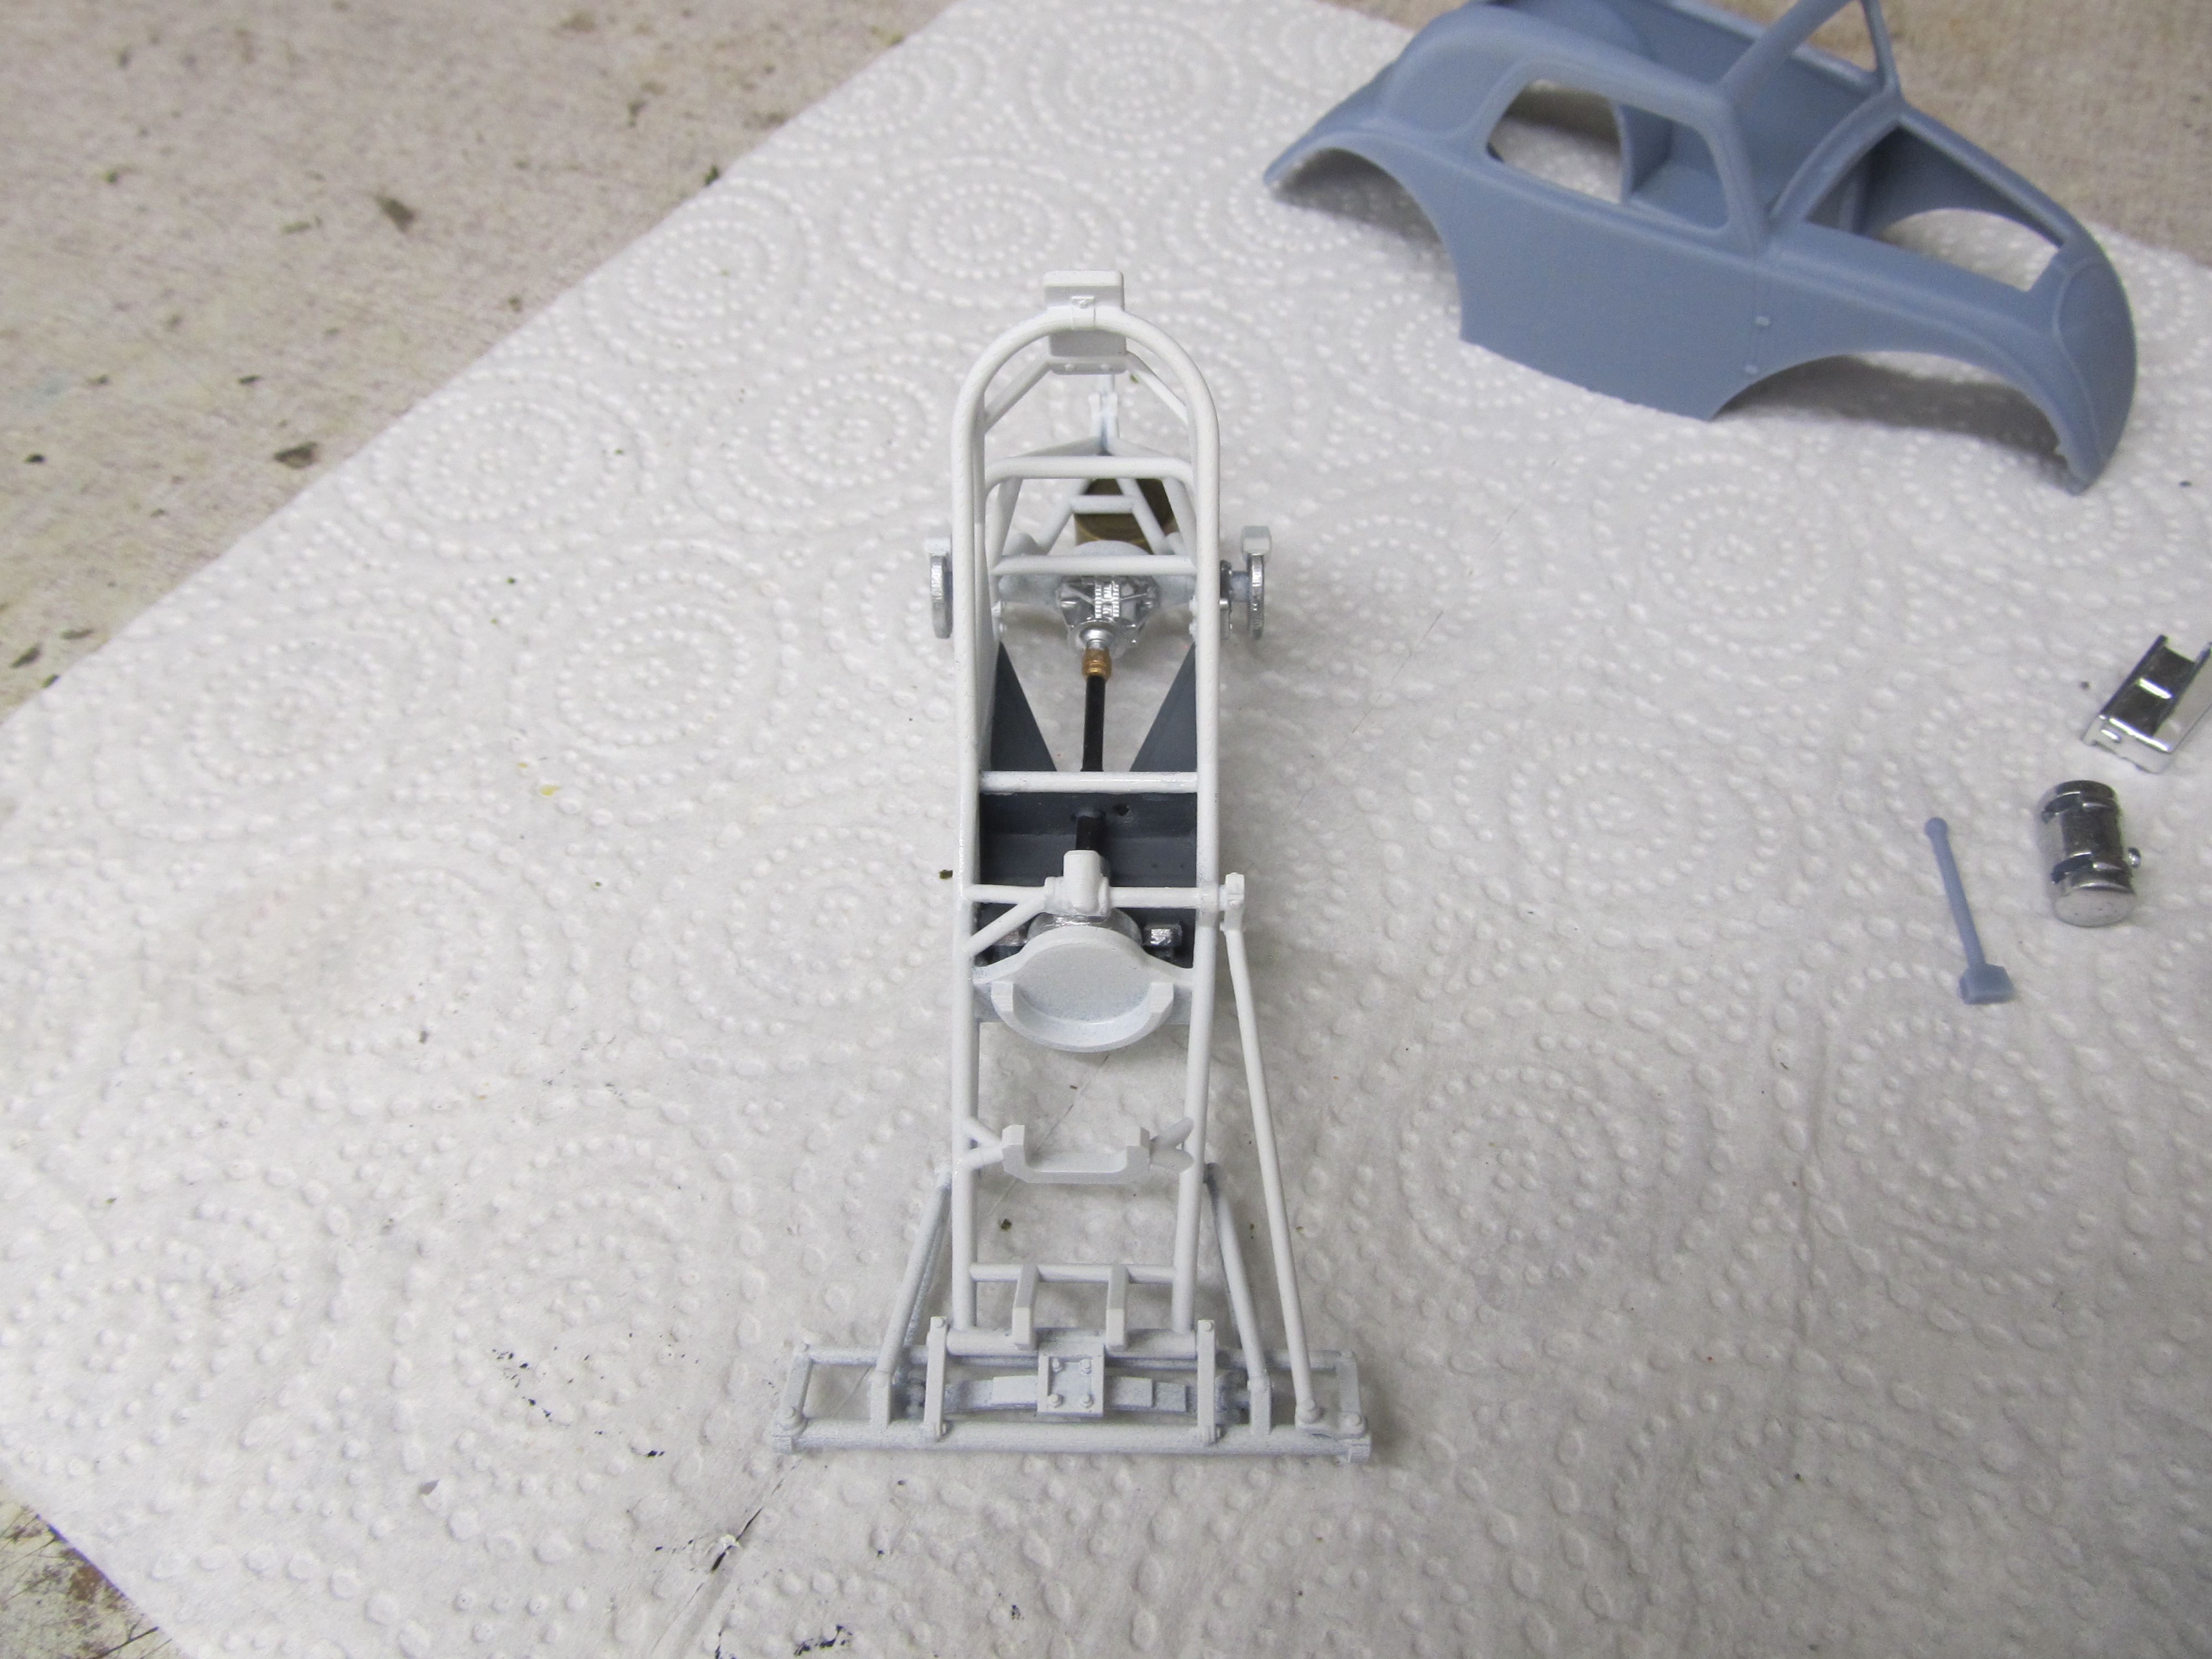
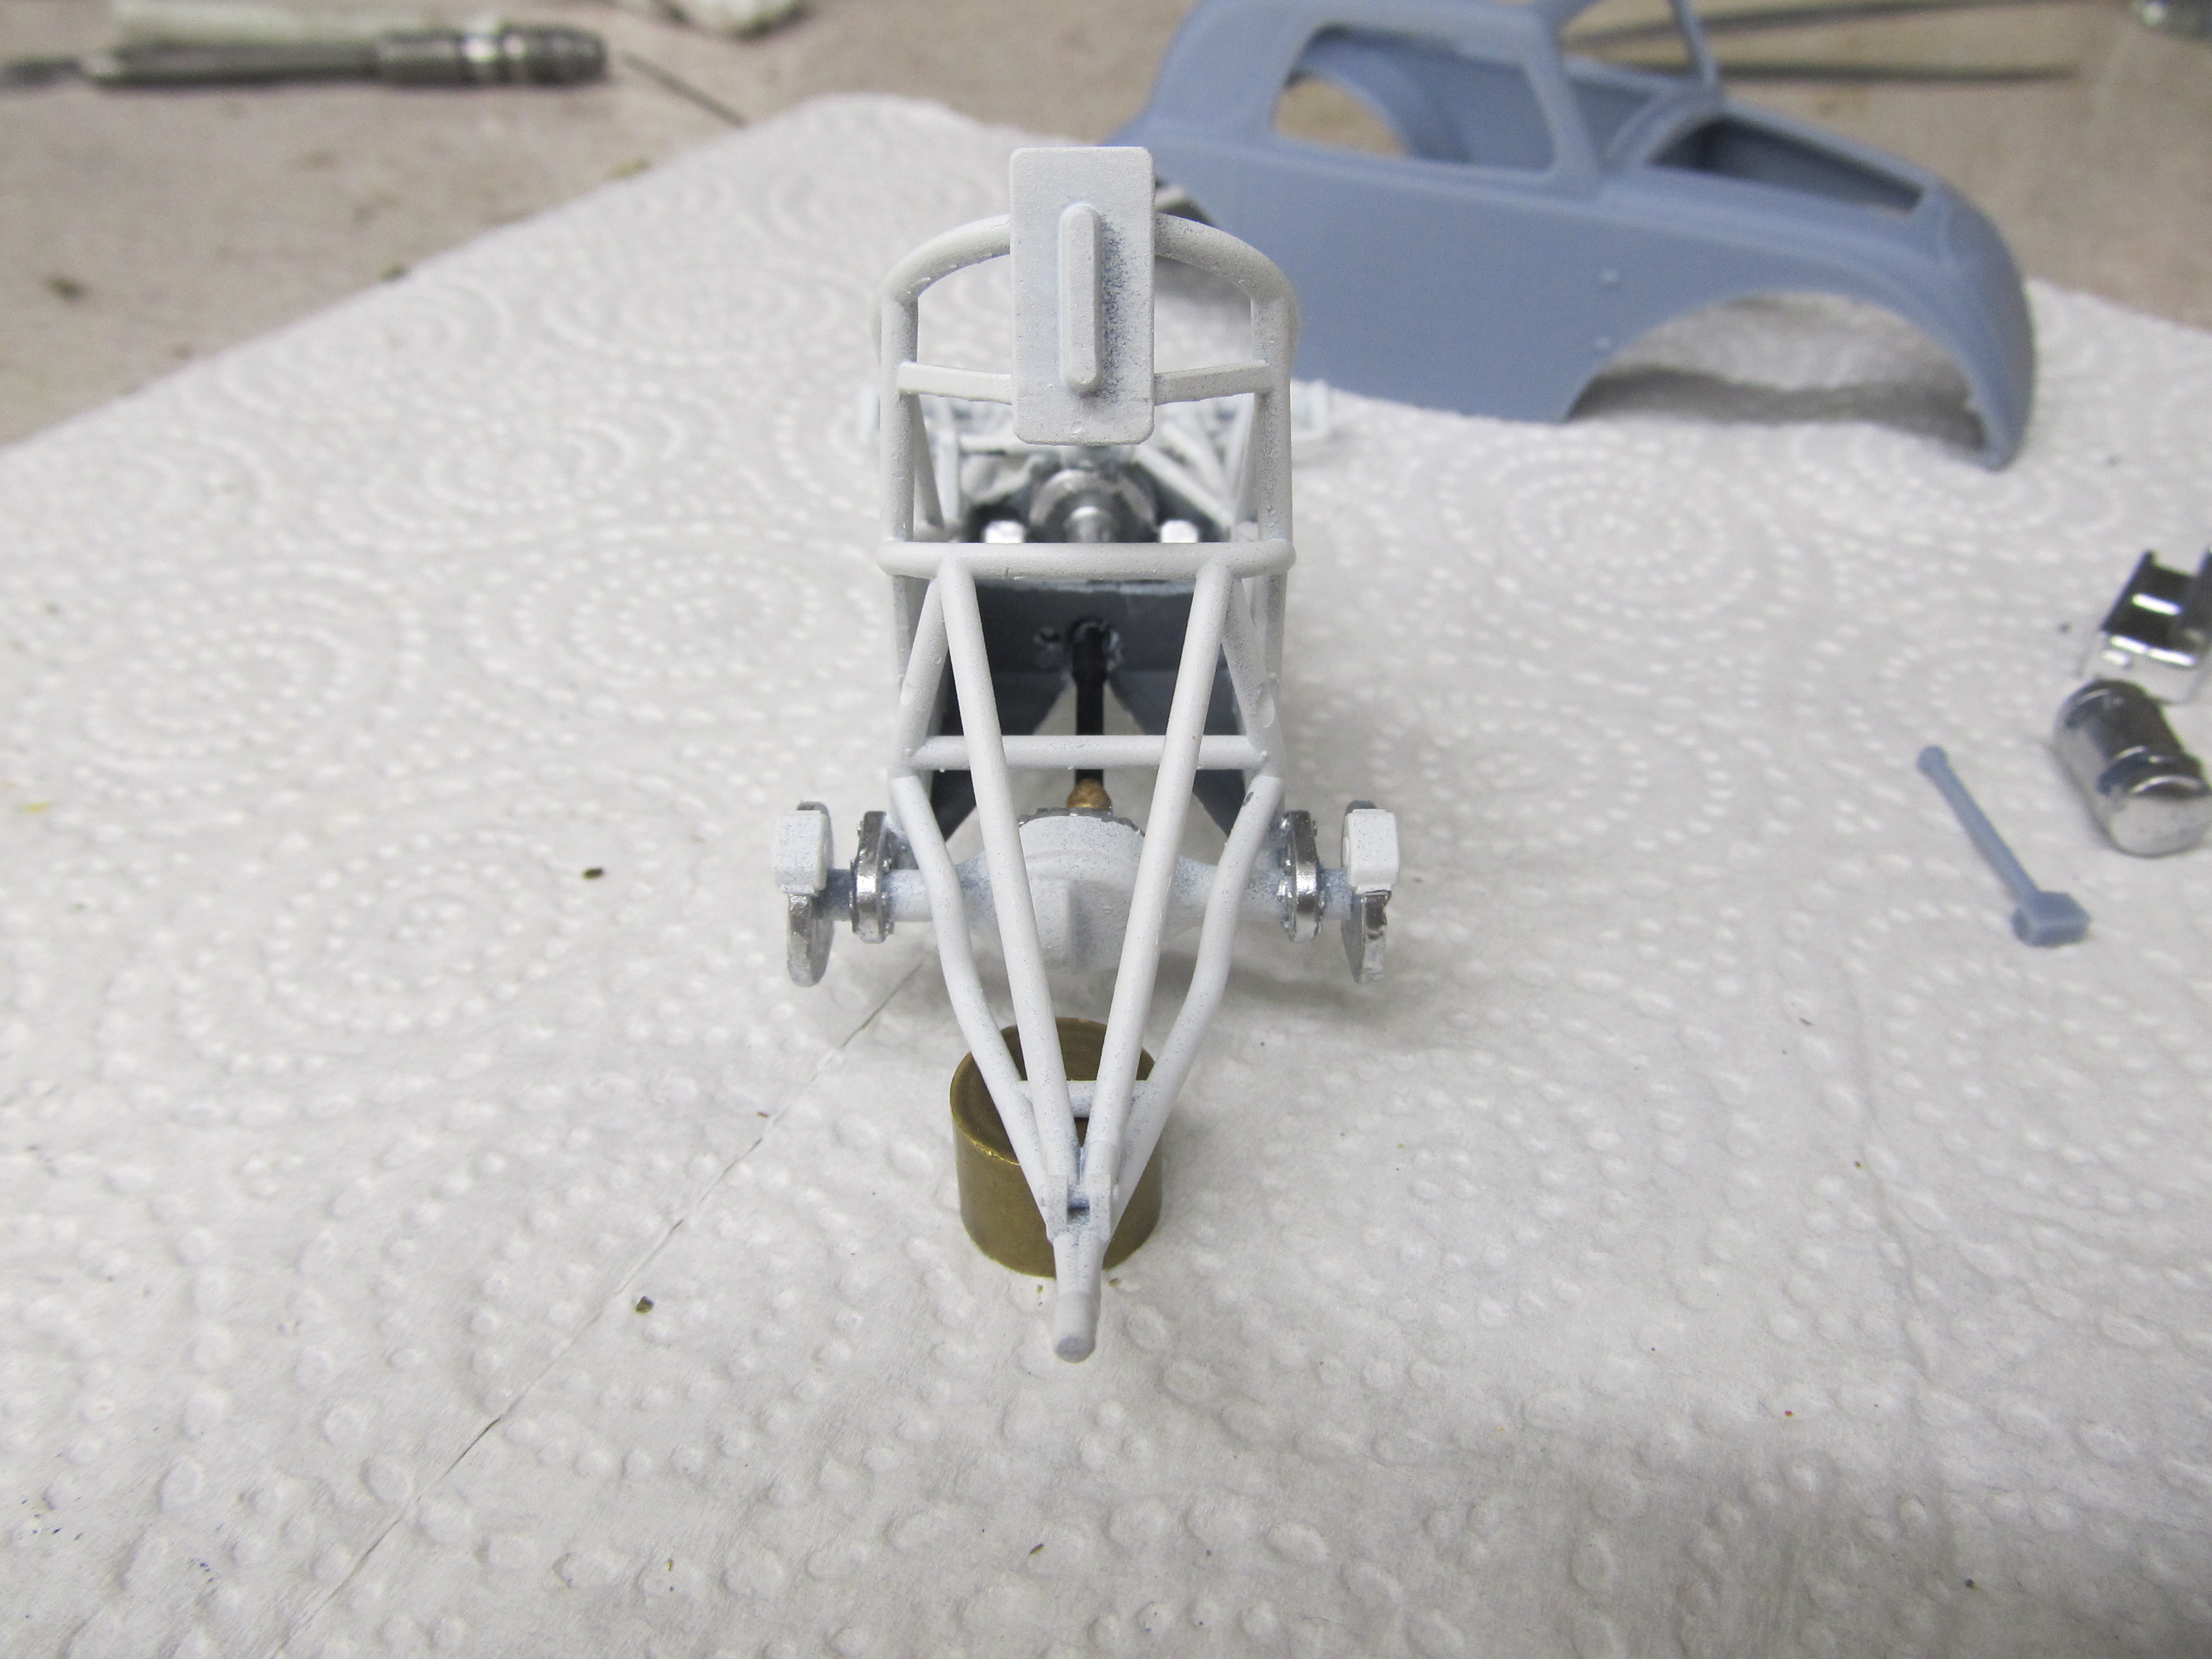
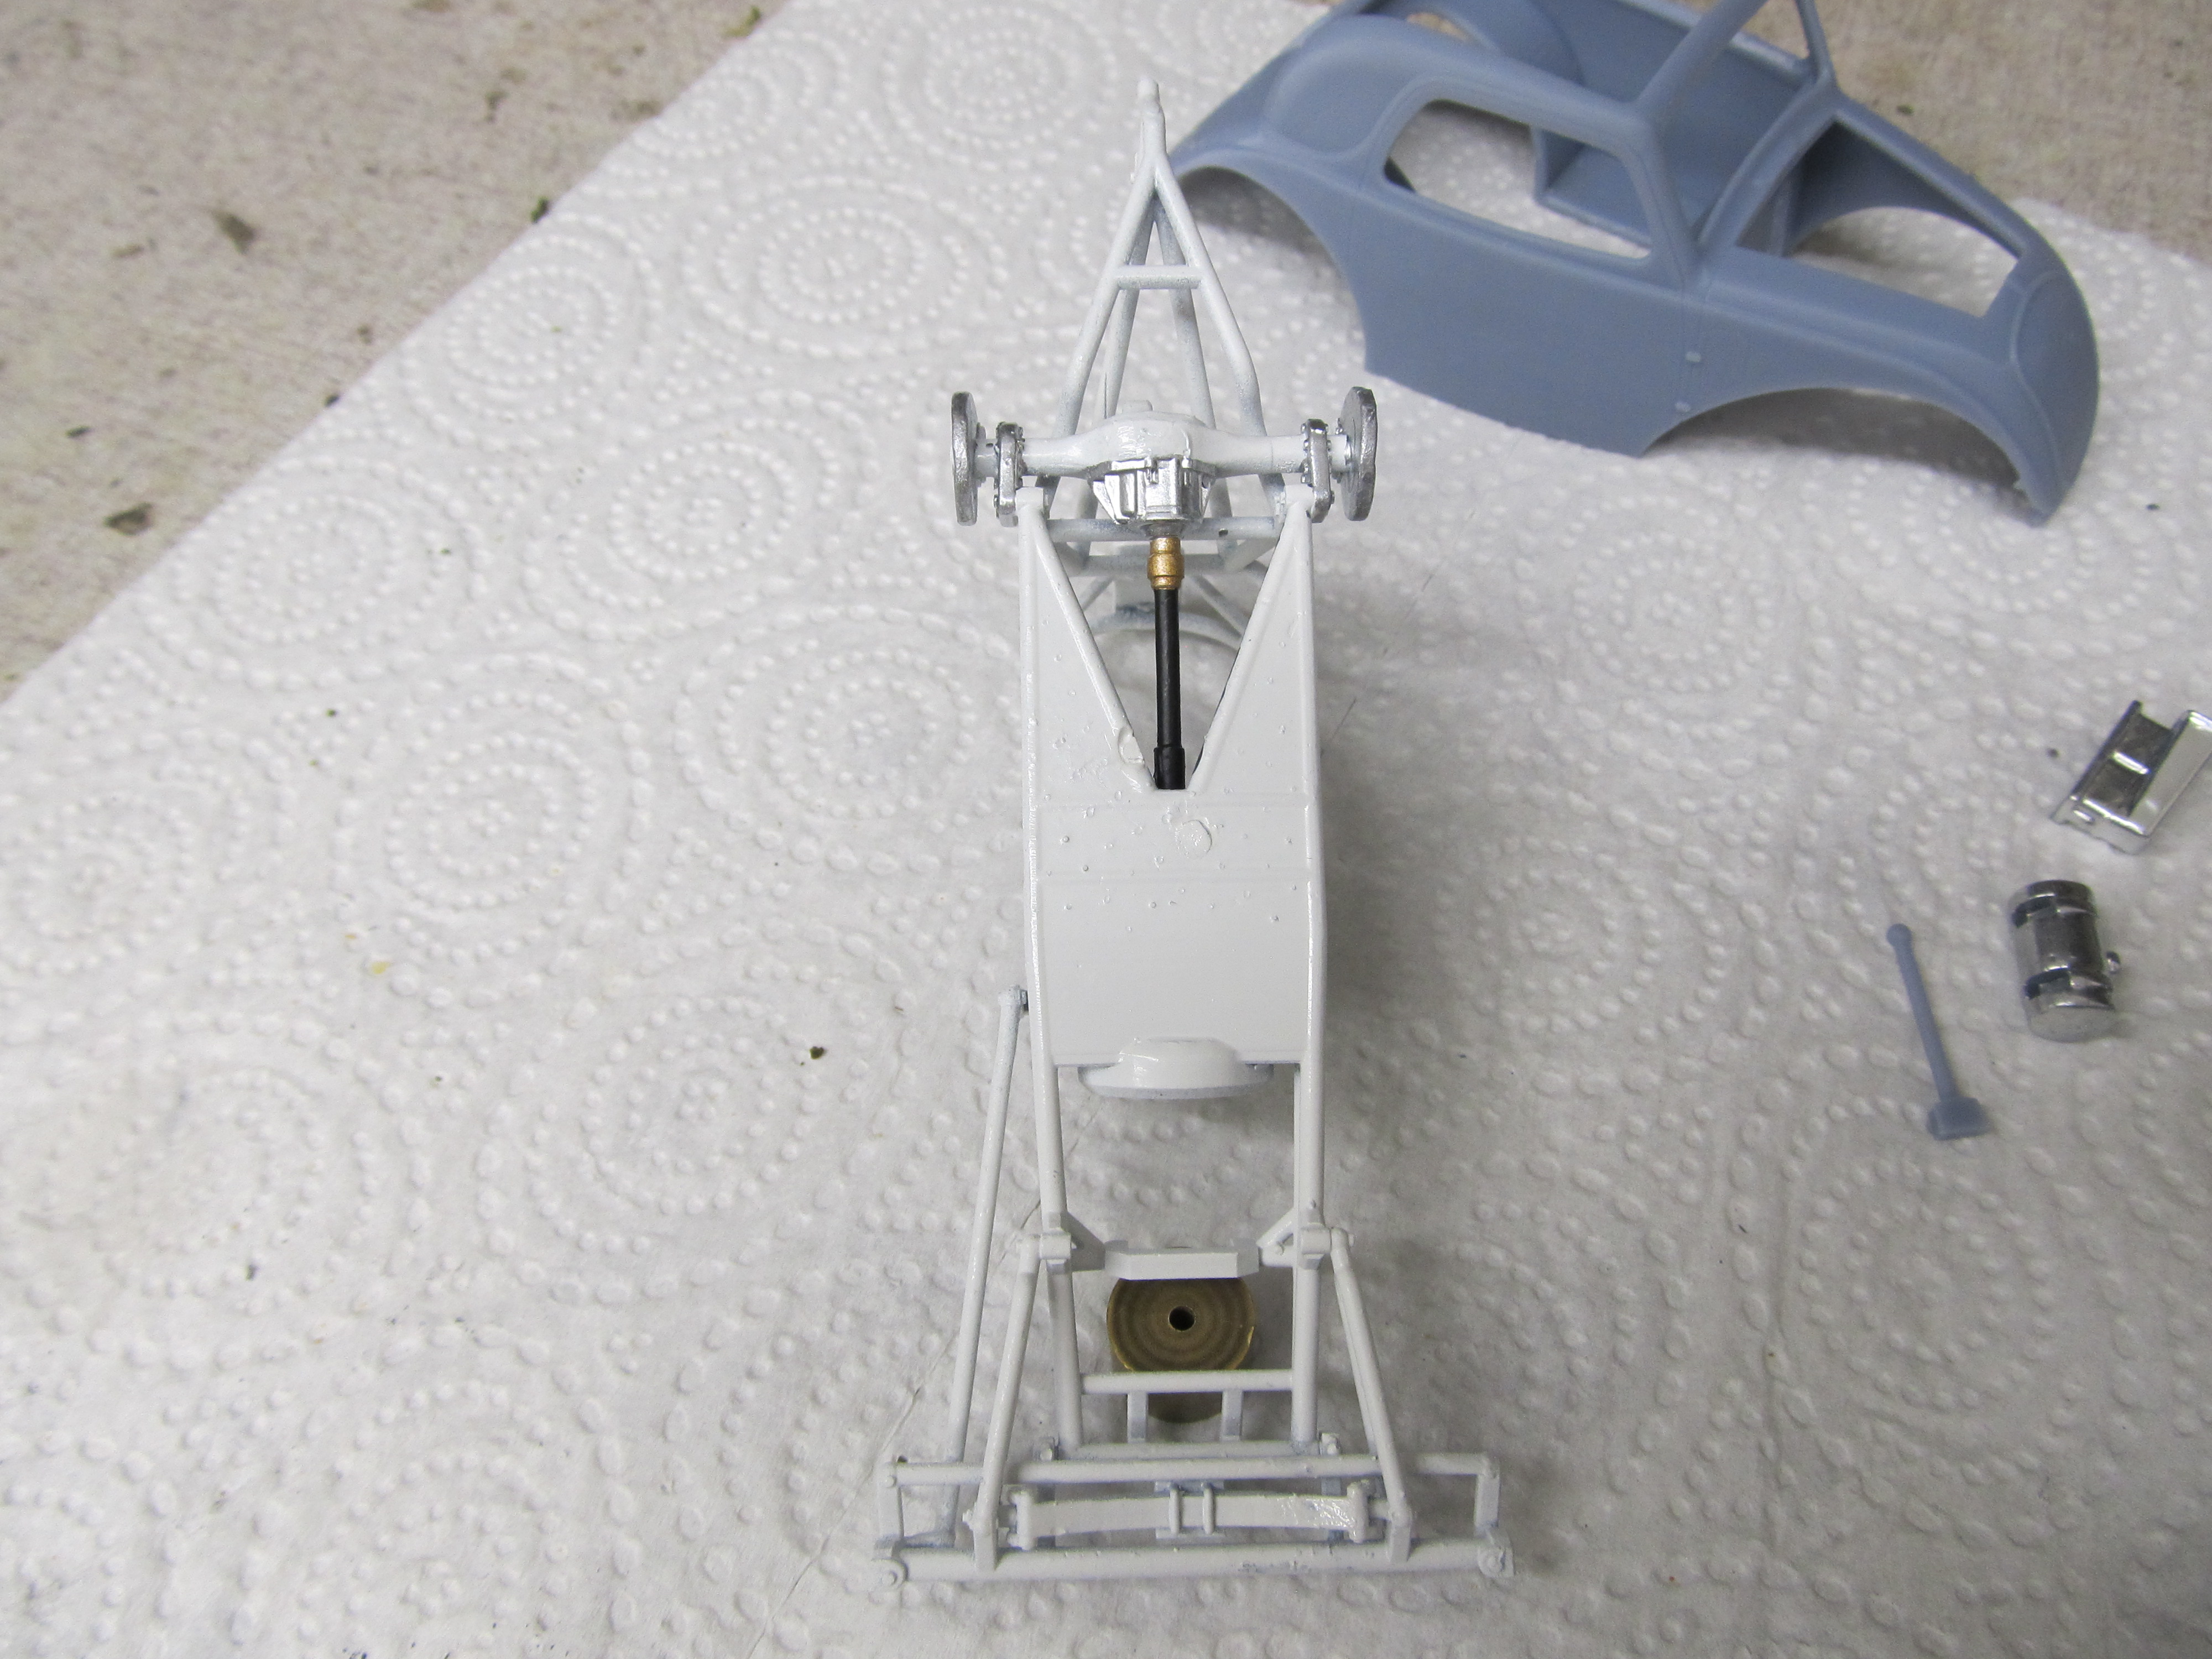
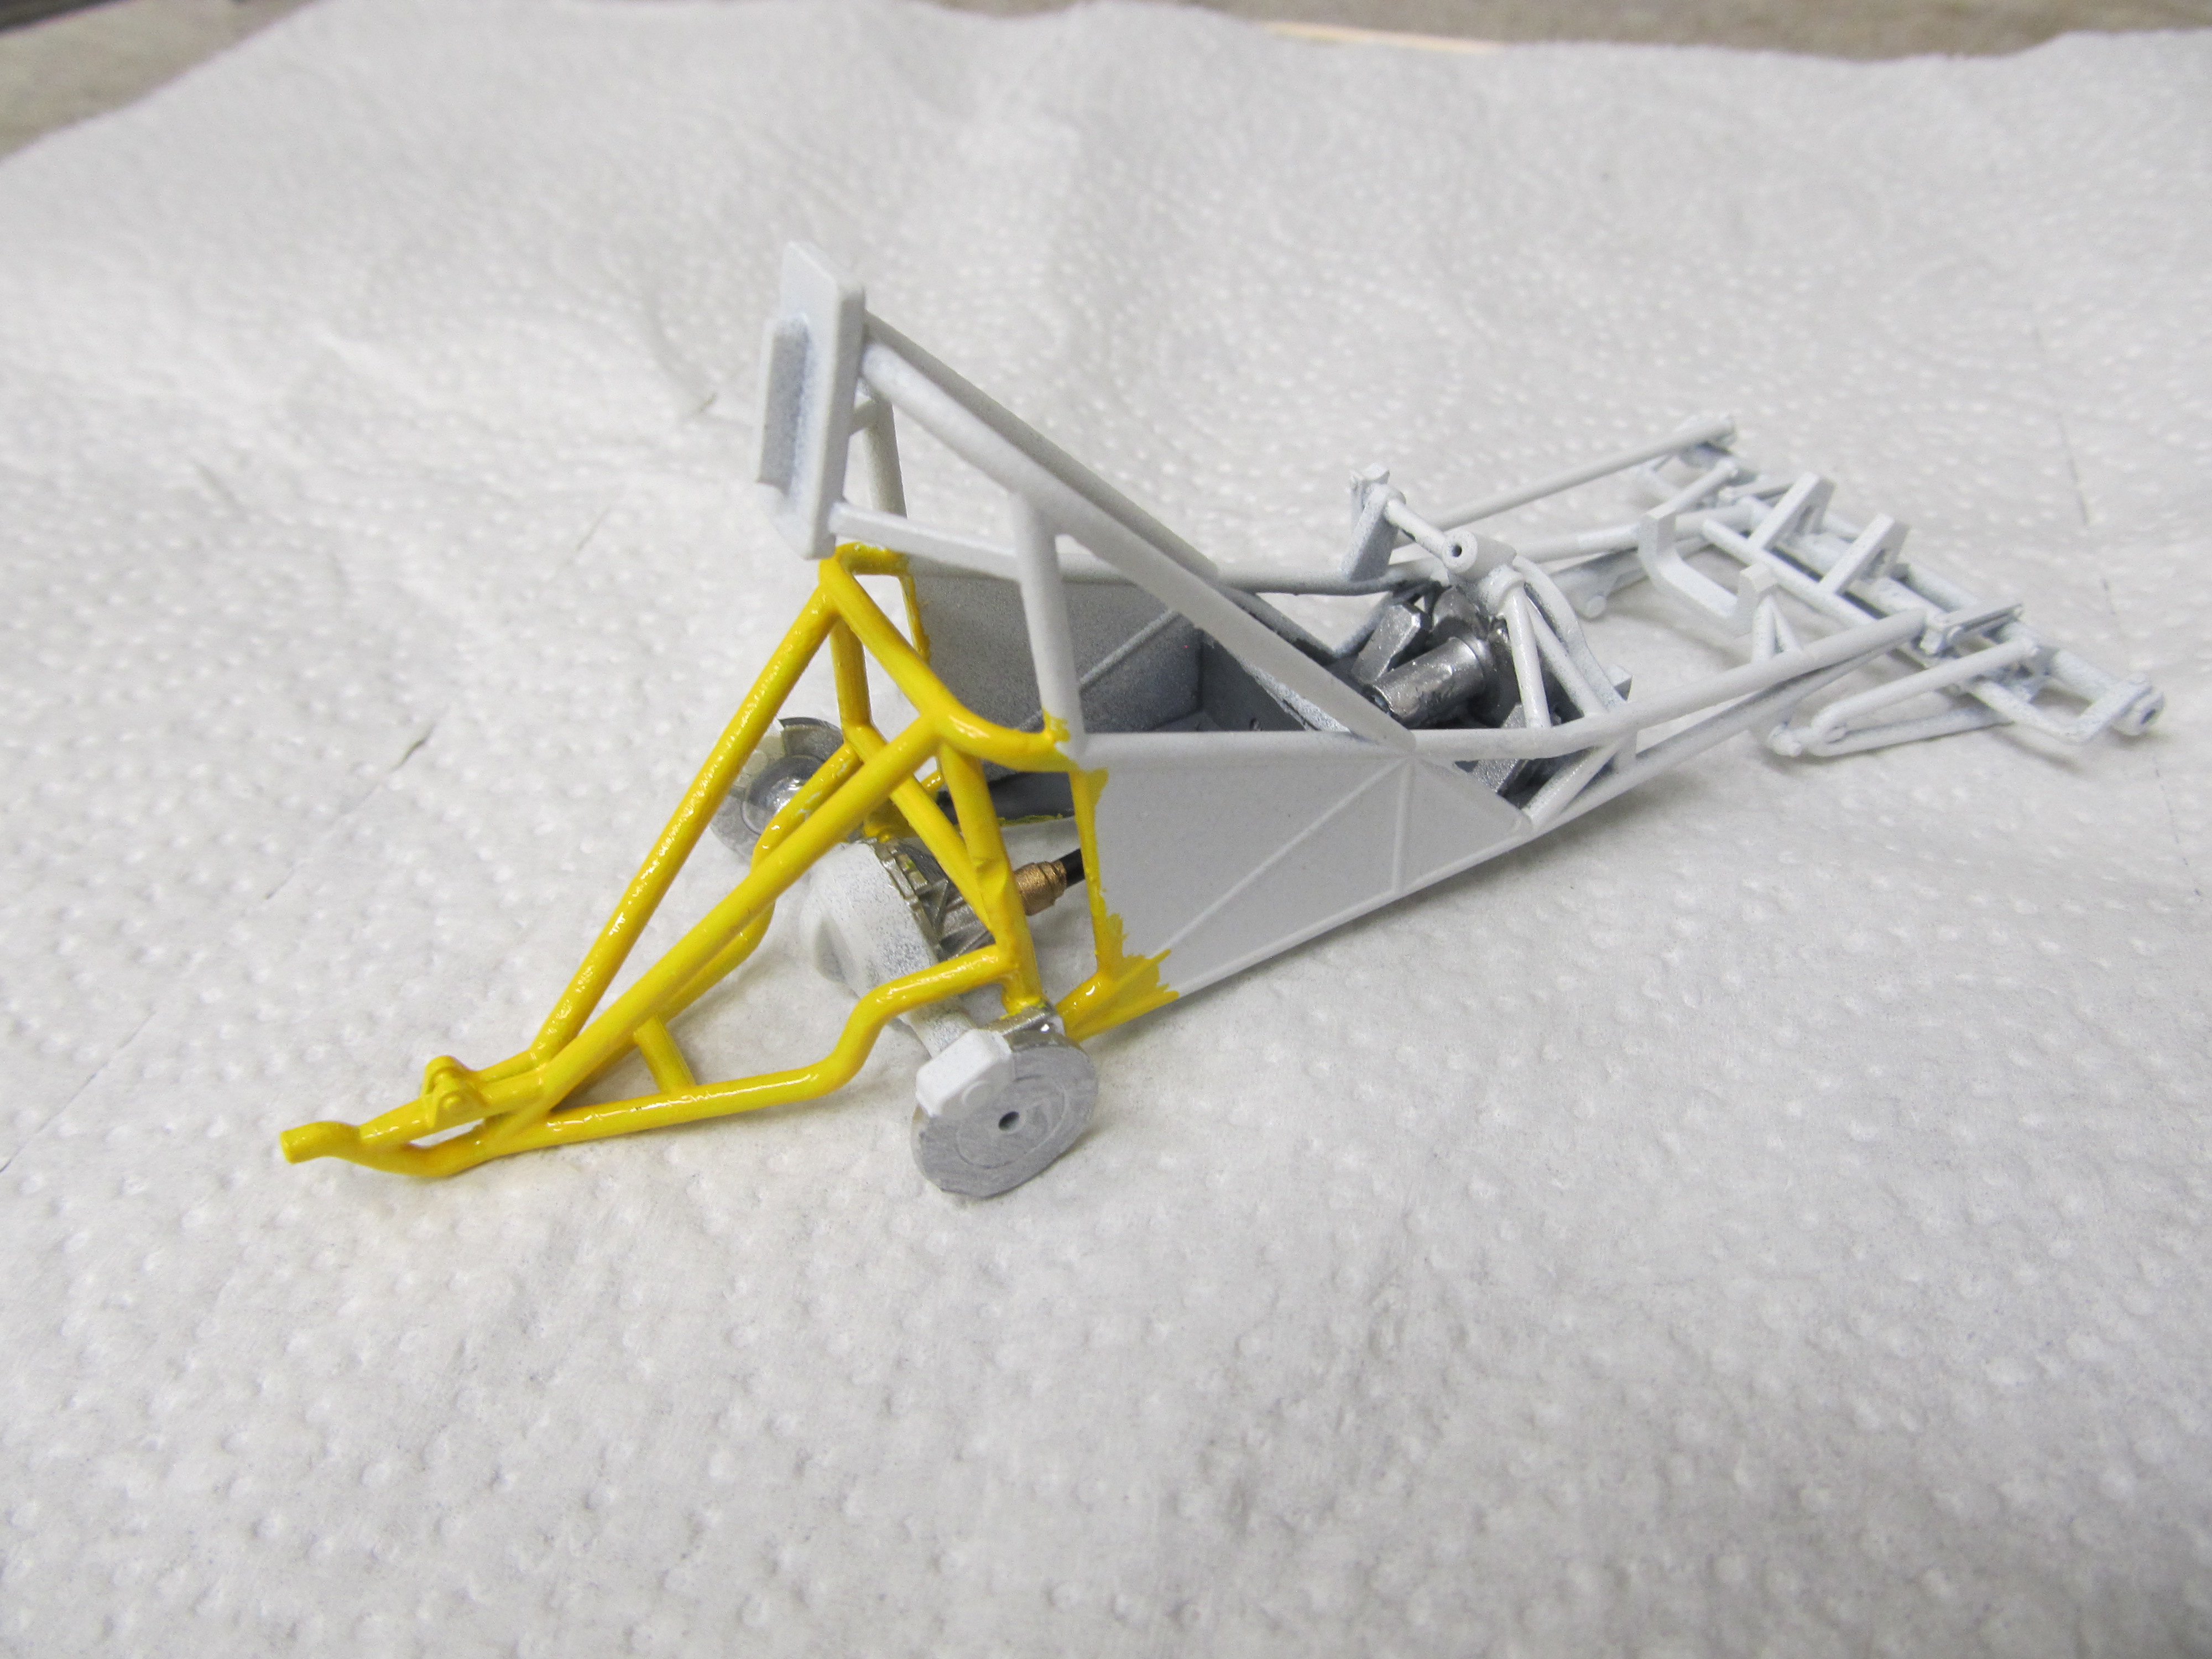
Shot the chassis in white so the yellow and other colors will cover better. It may need two coats anyway but so far its looking good. The dif housing will be the same blue as the body.
IMG_2749.JPG
IMG_2750.JPG
IMG_2751.JPG
IMG_2752.JPG
 
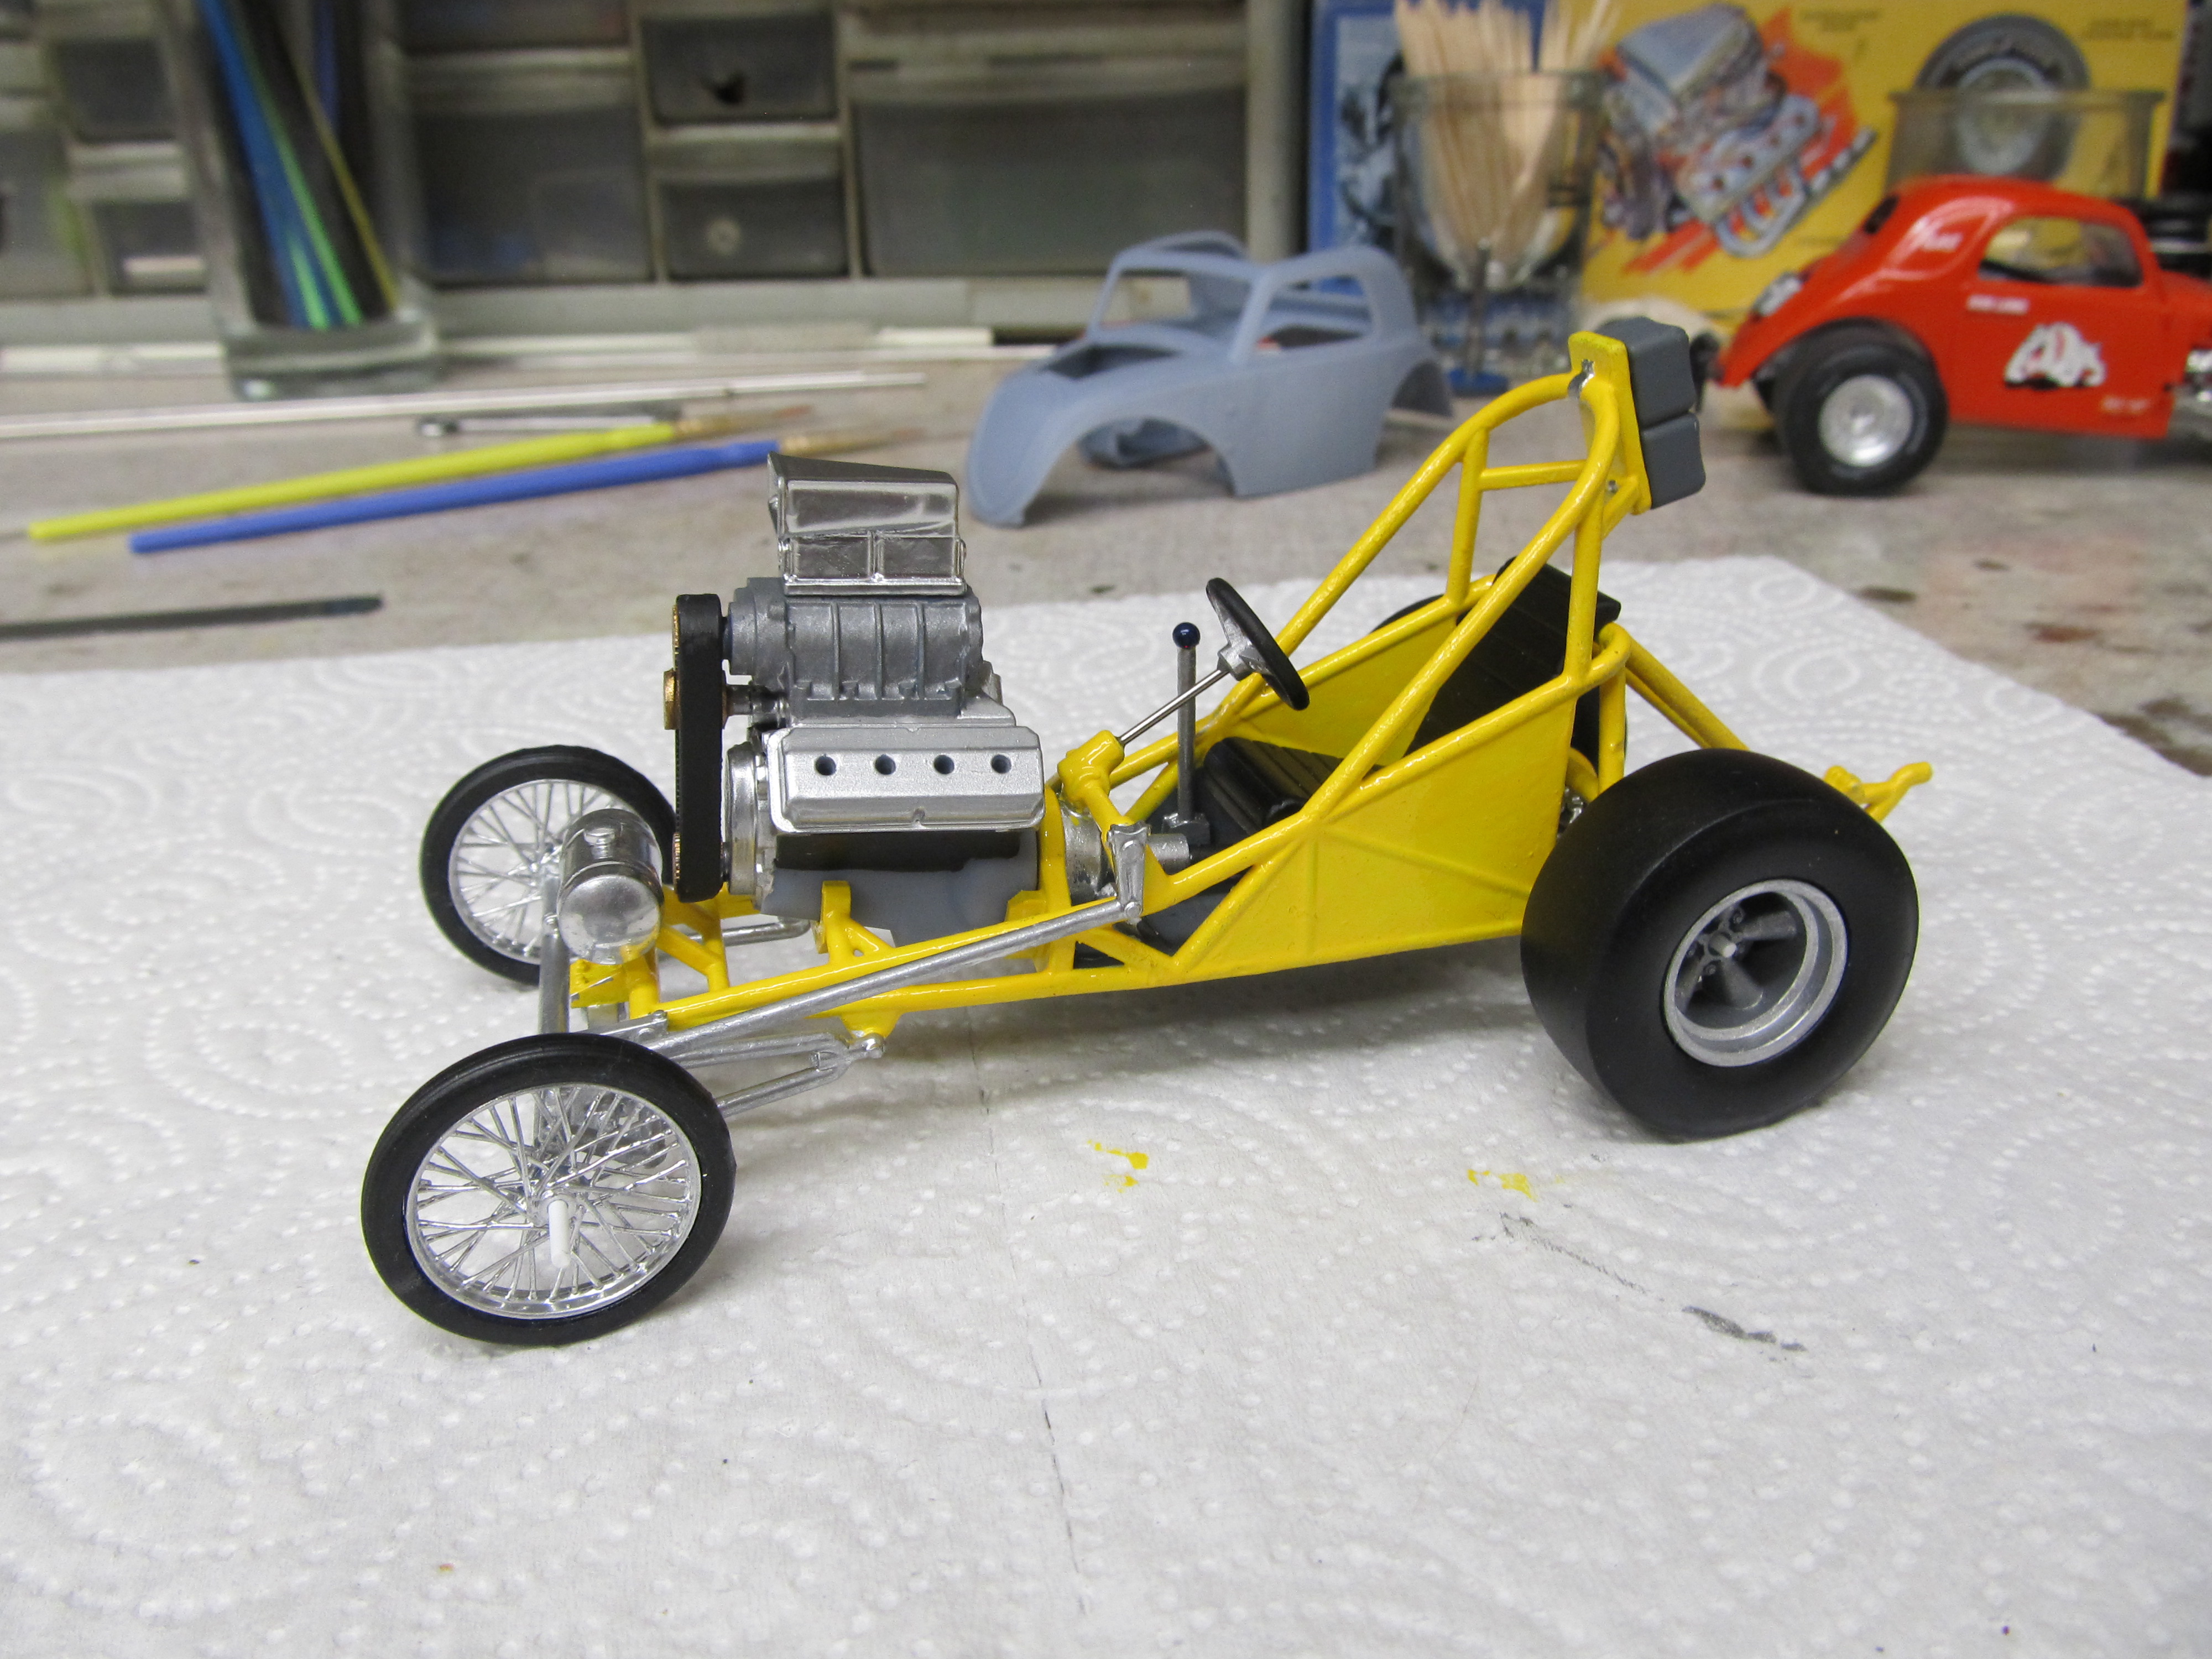
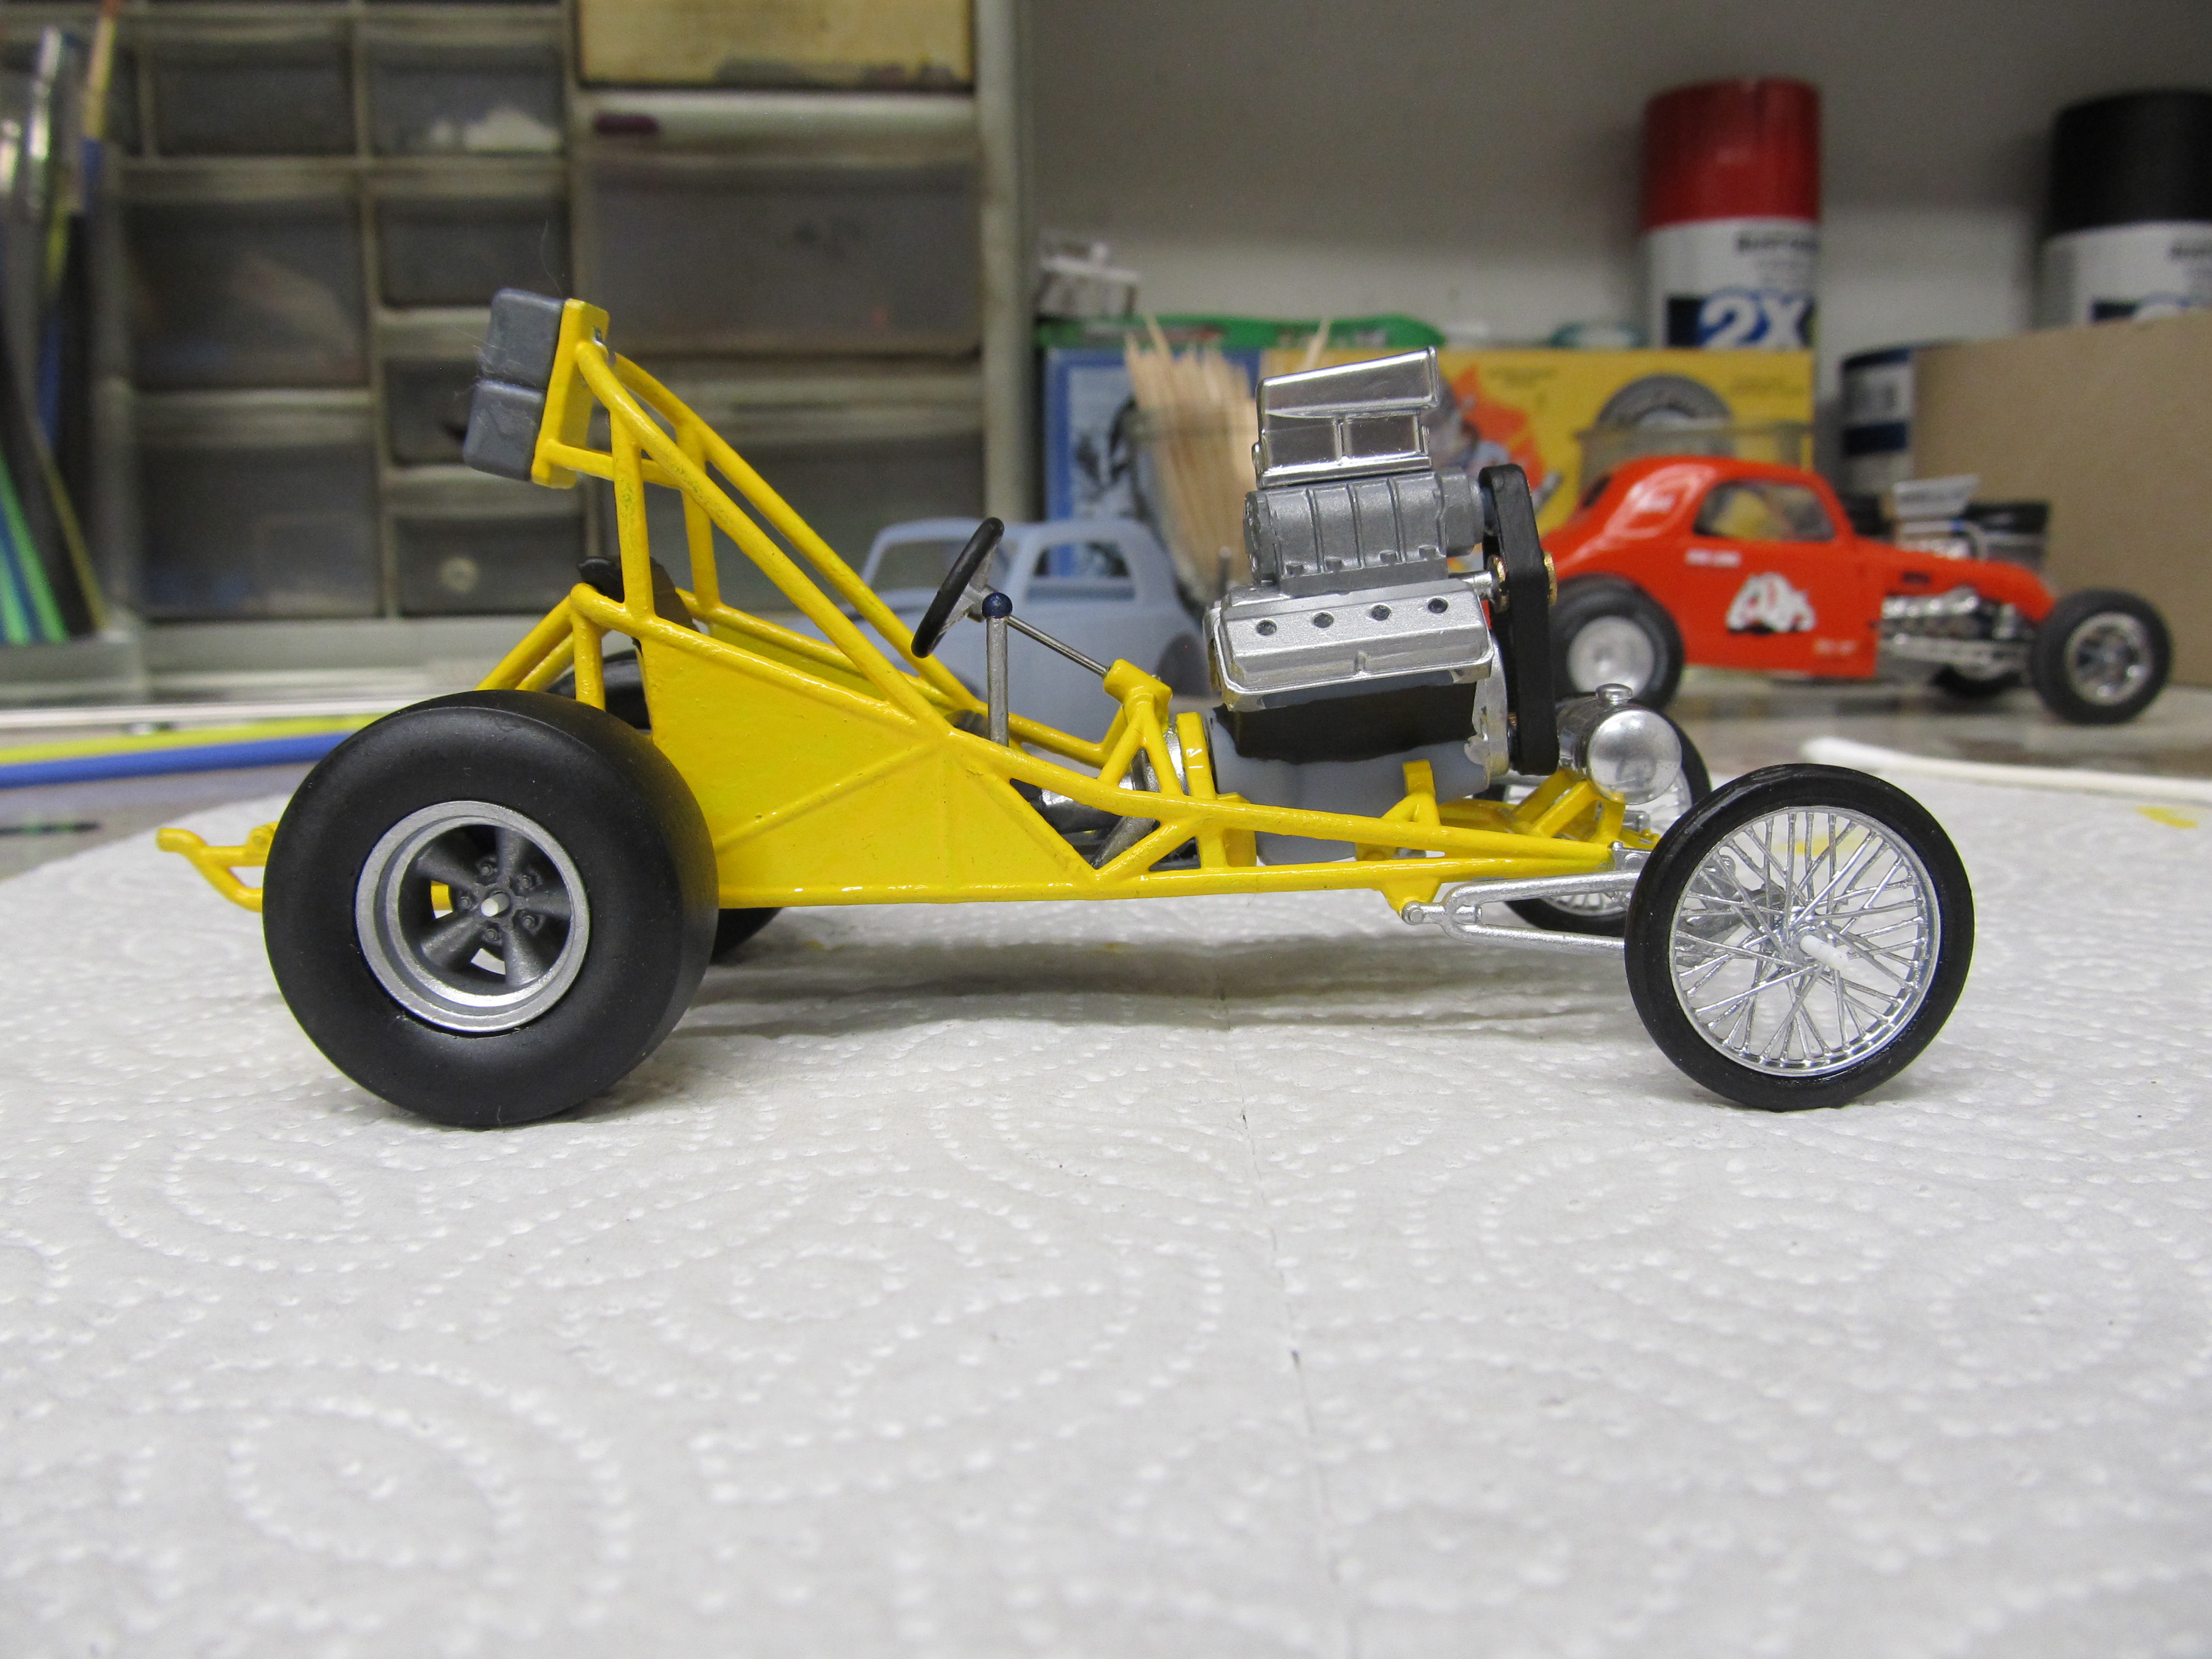
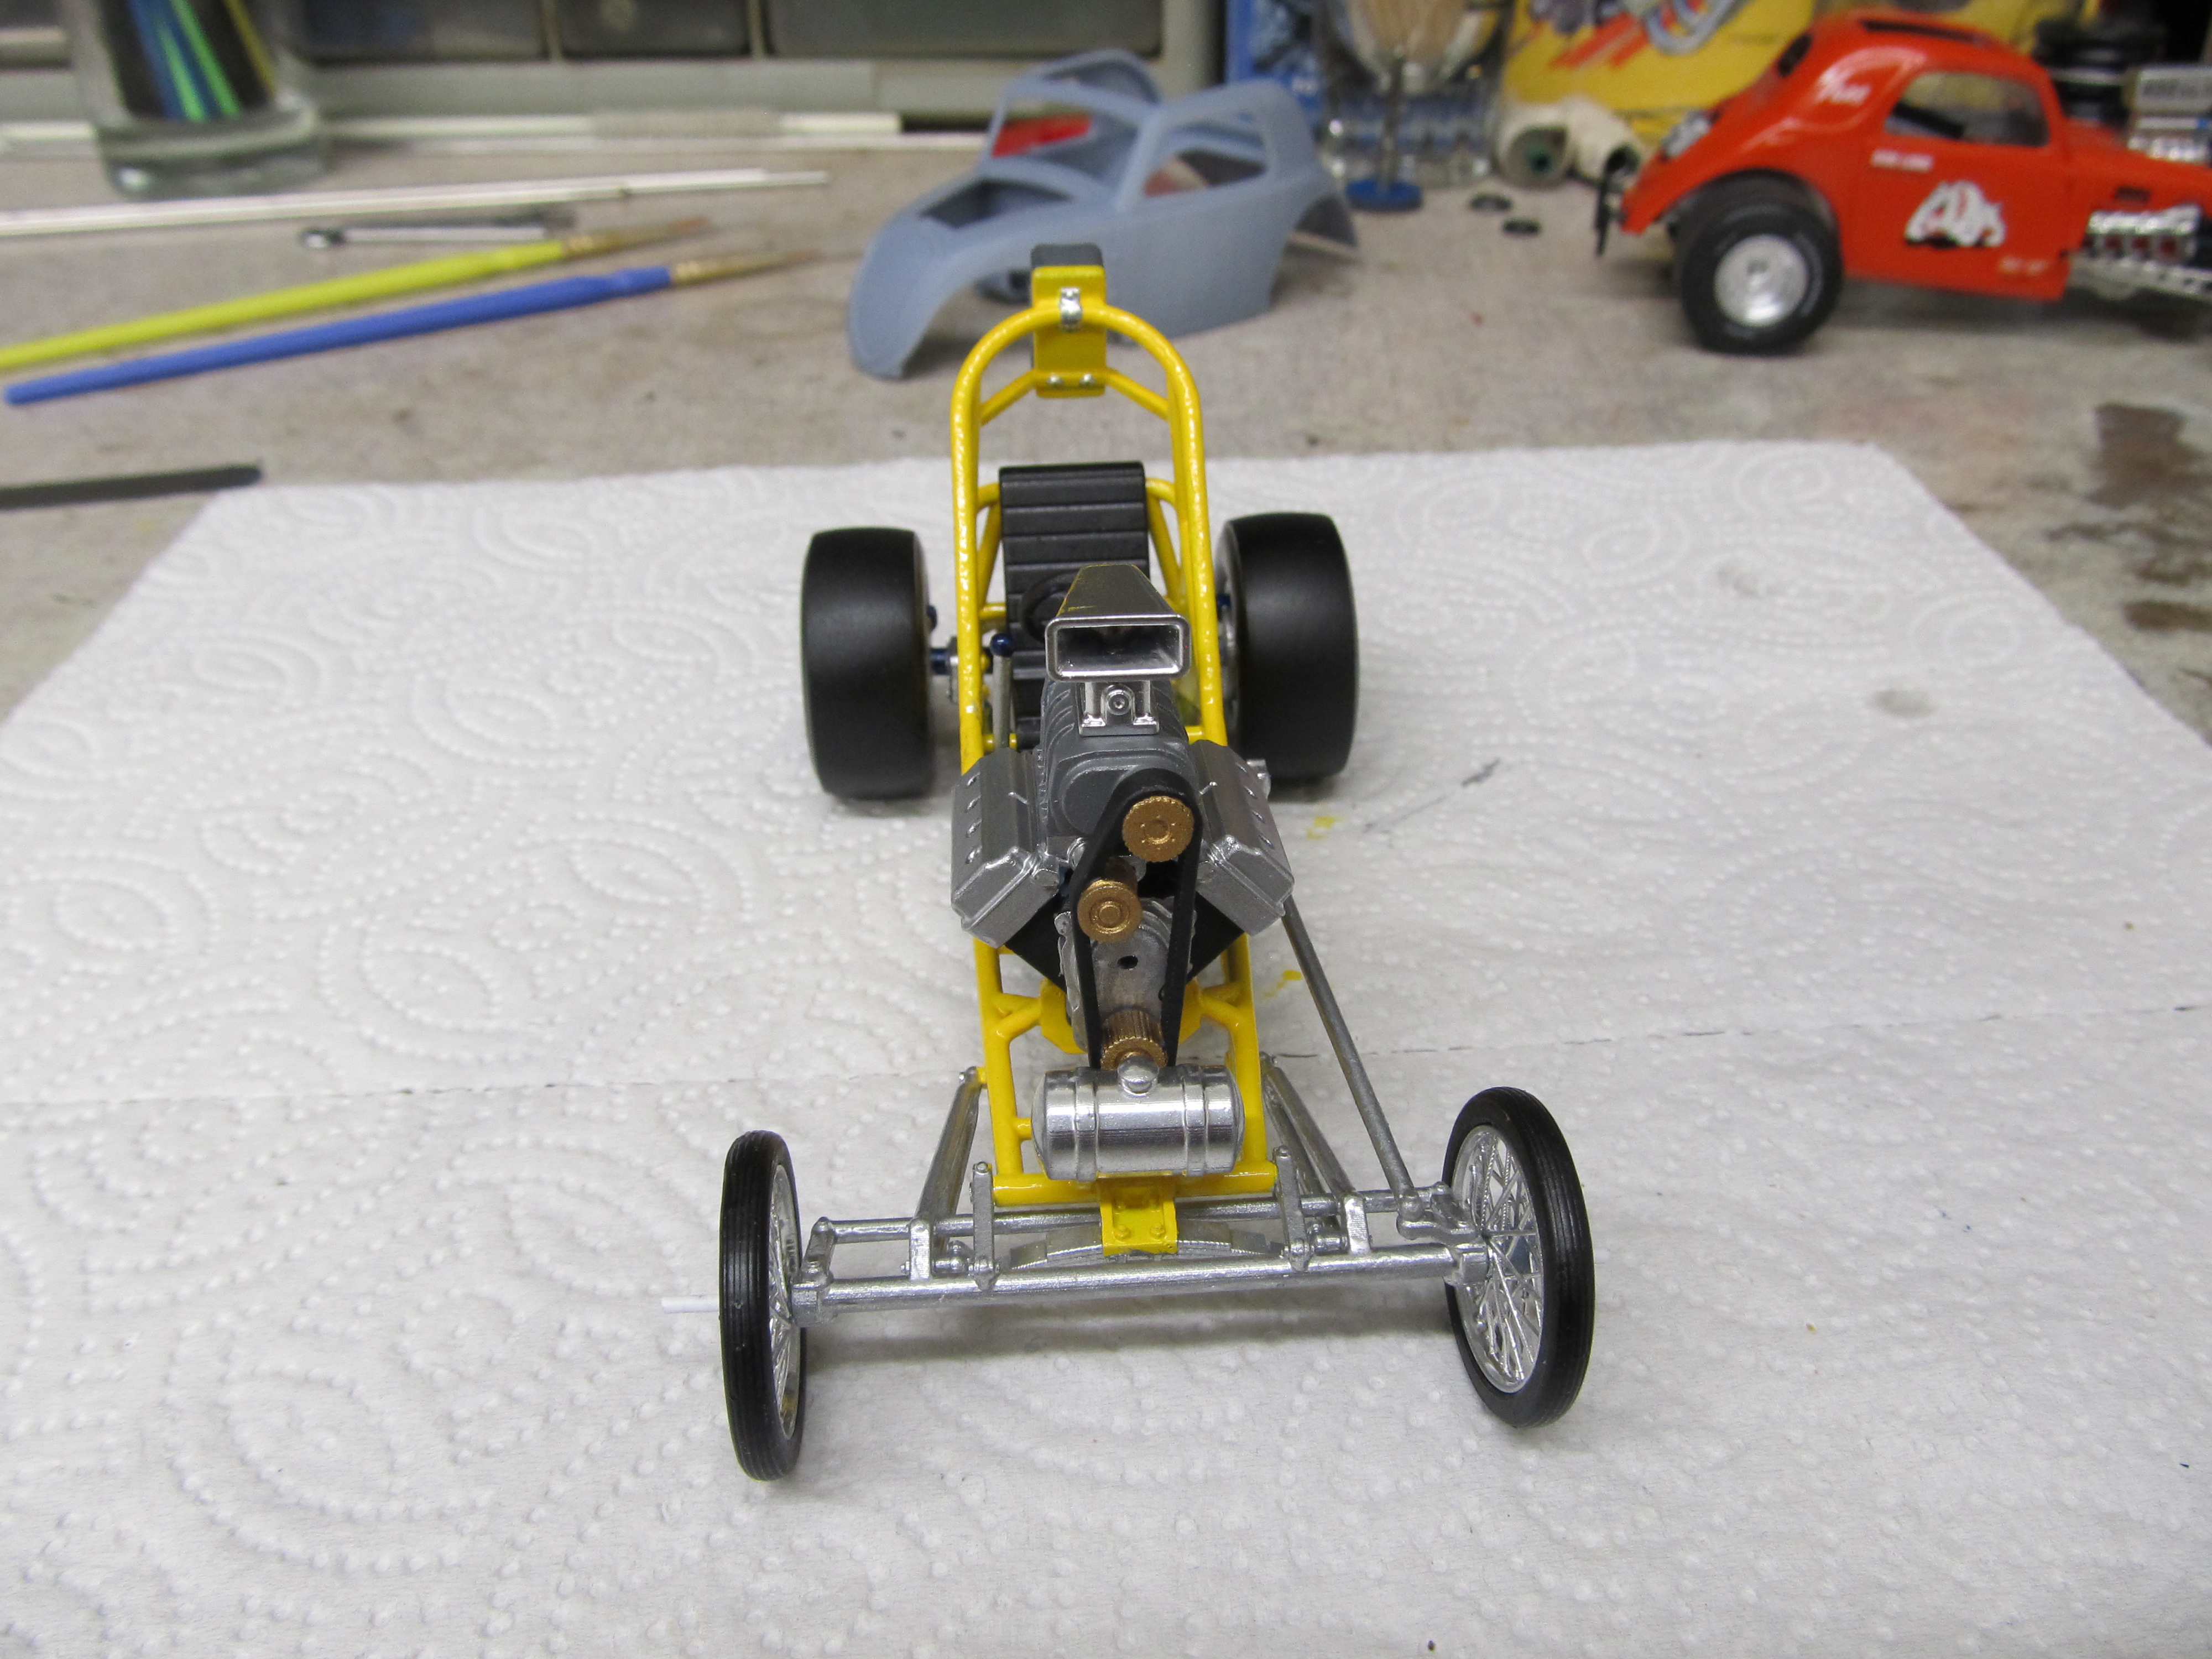
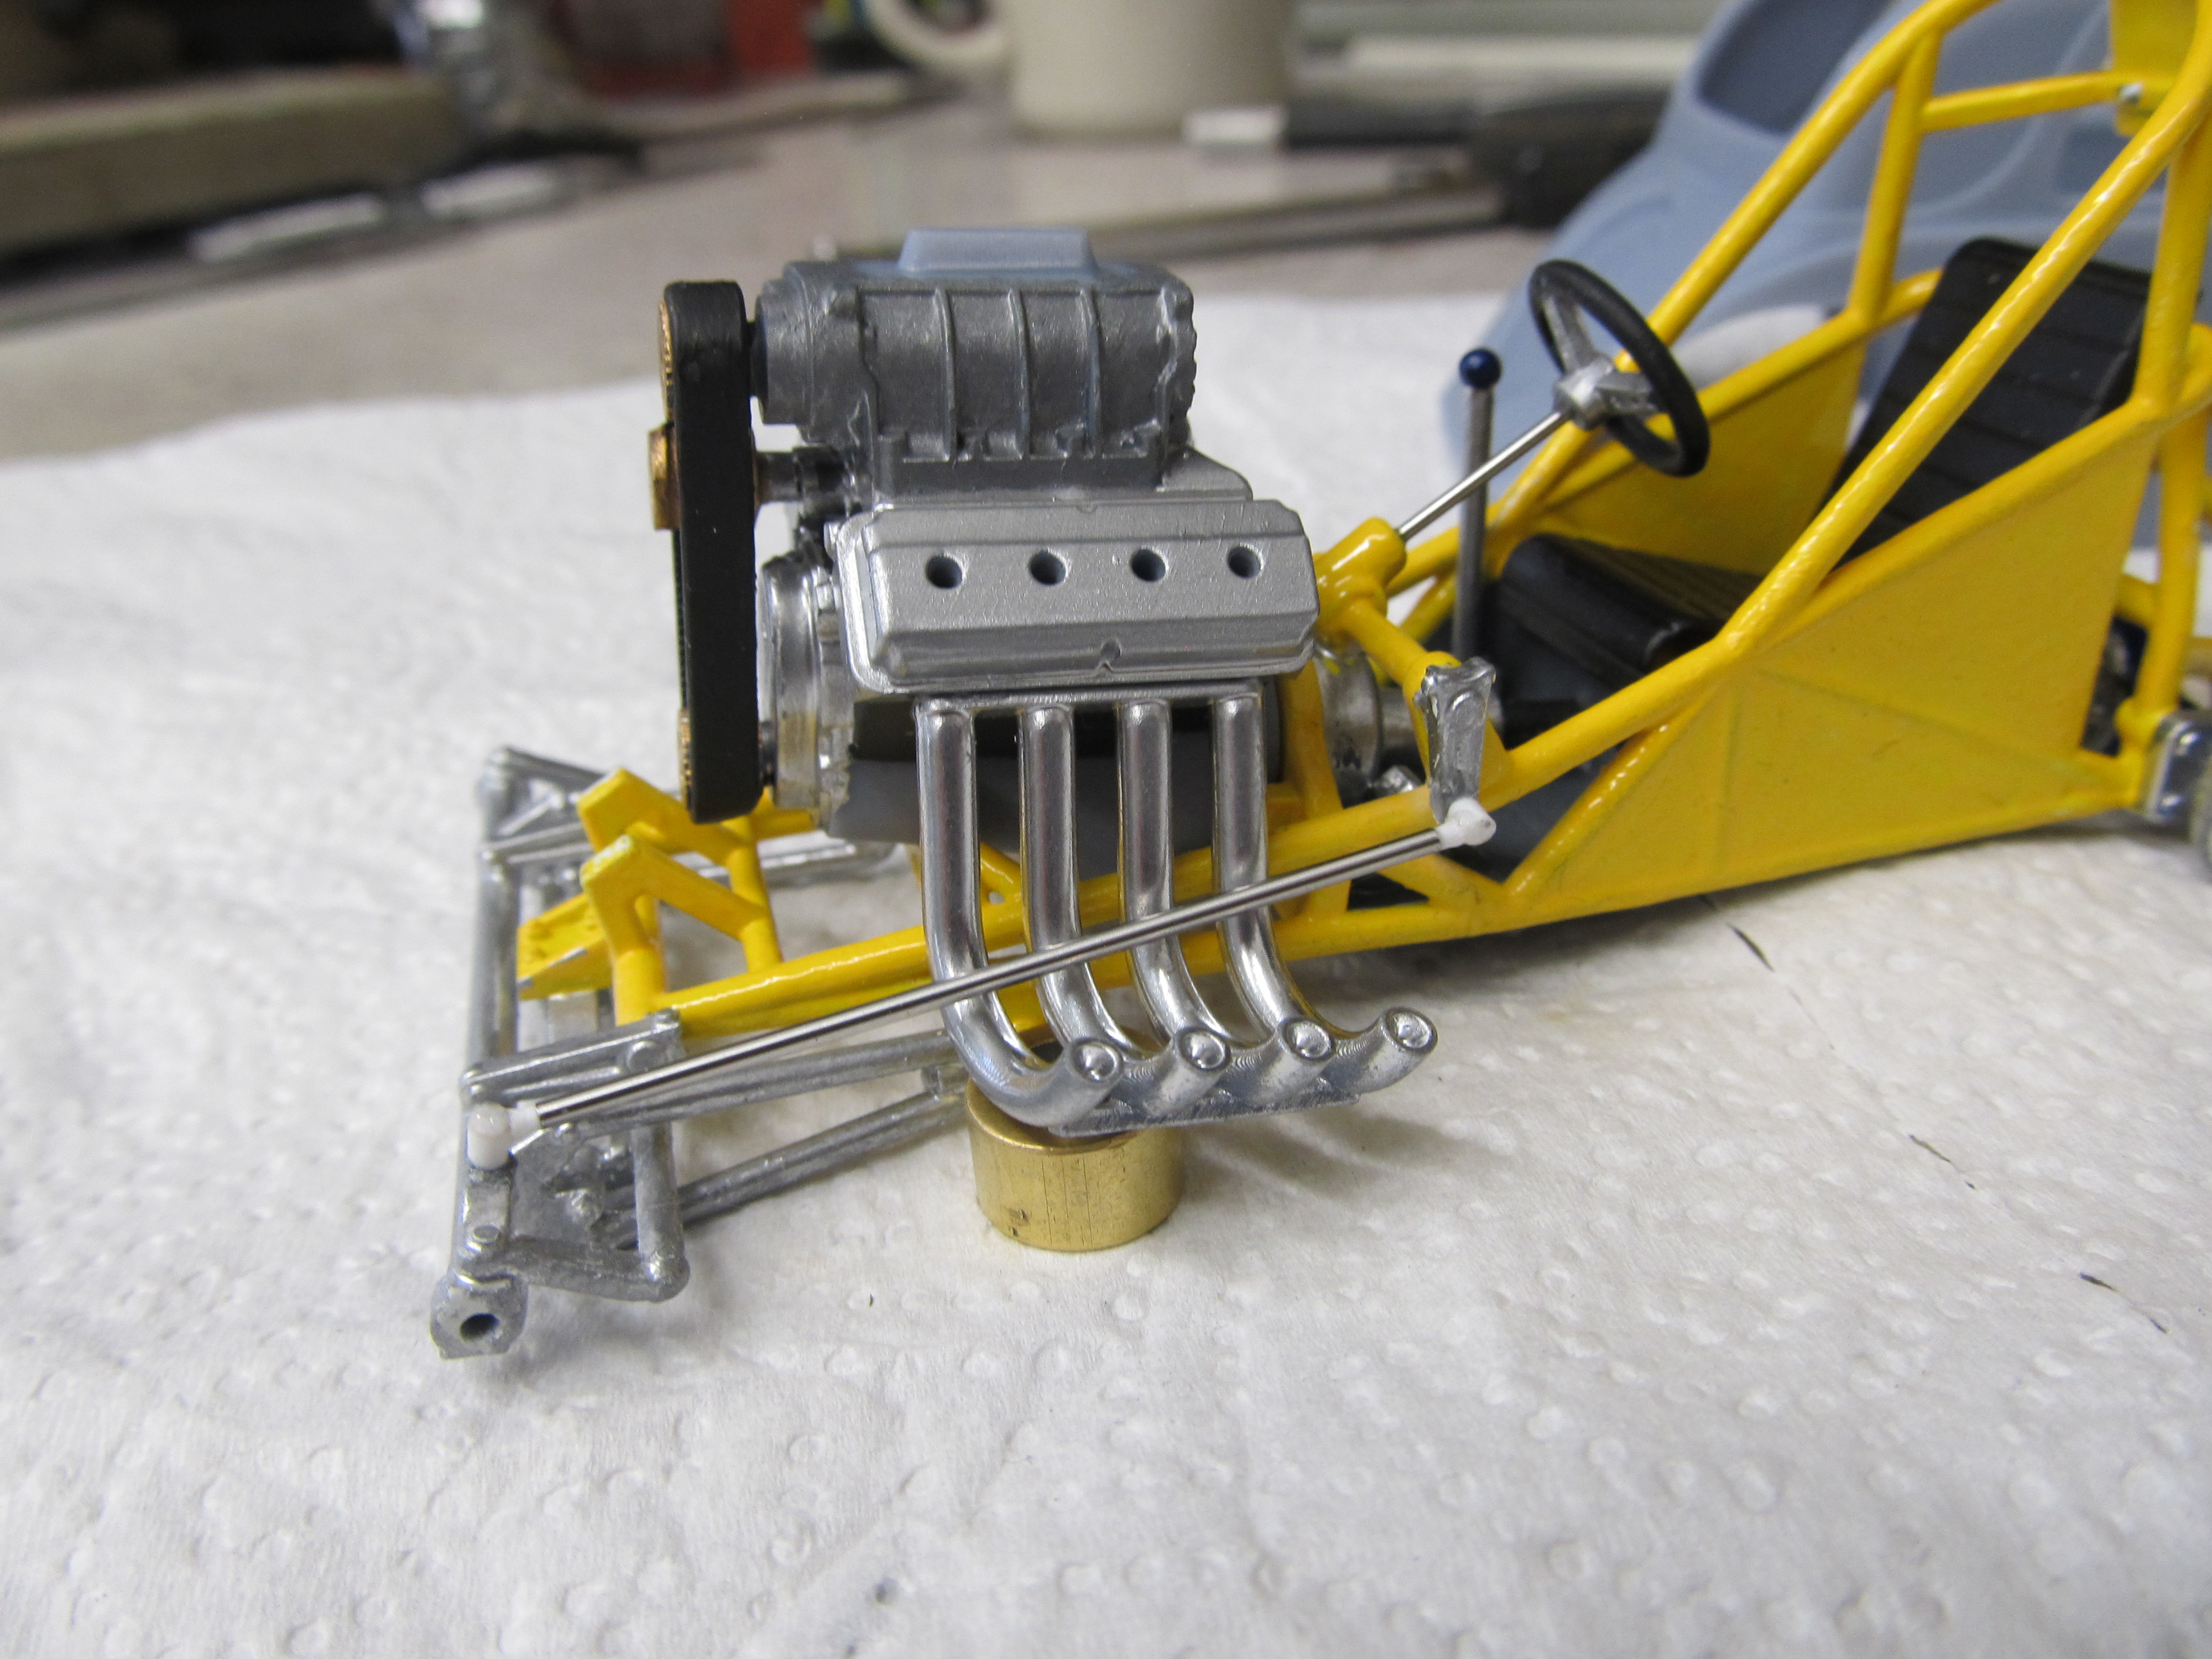
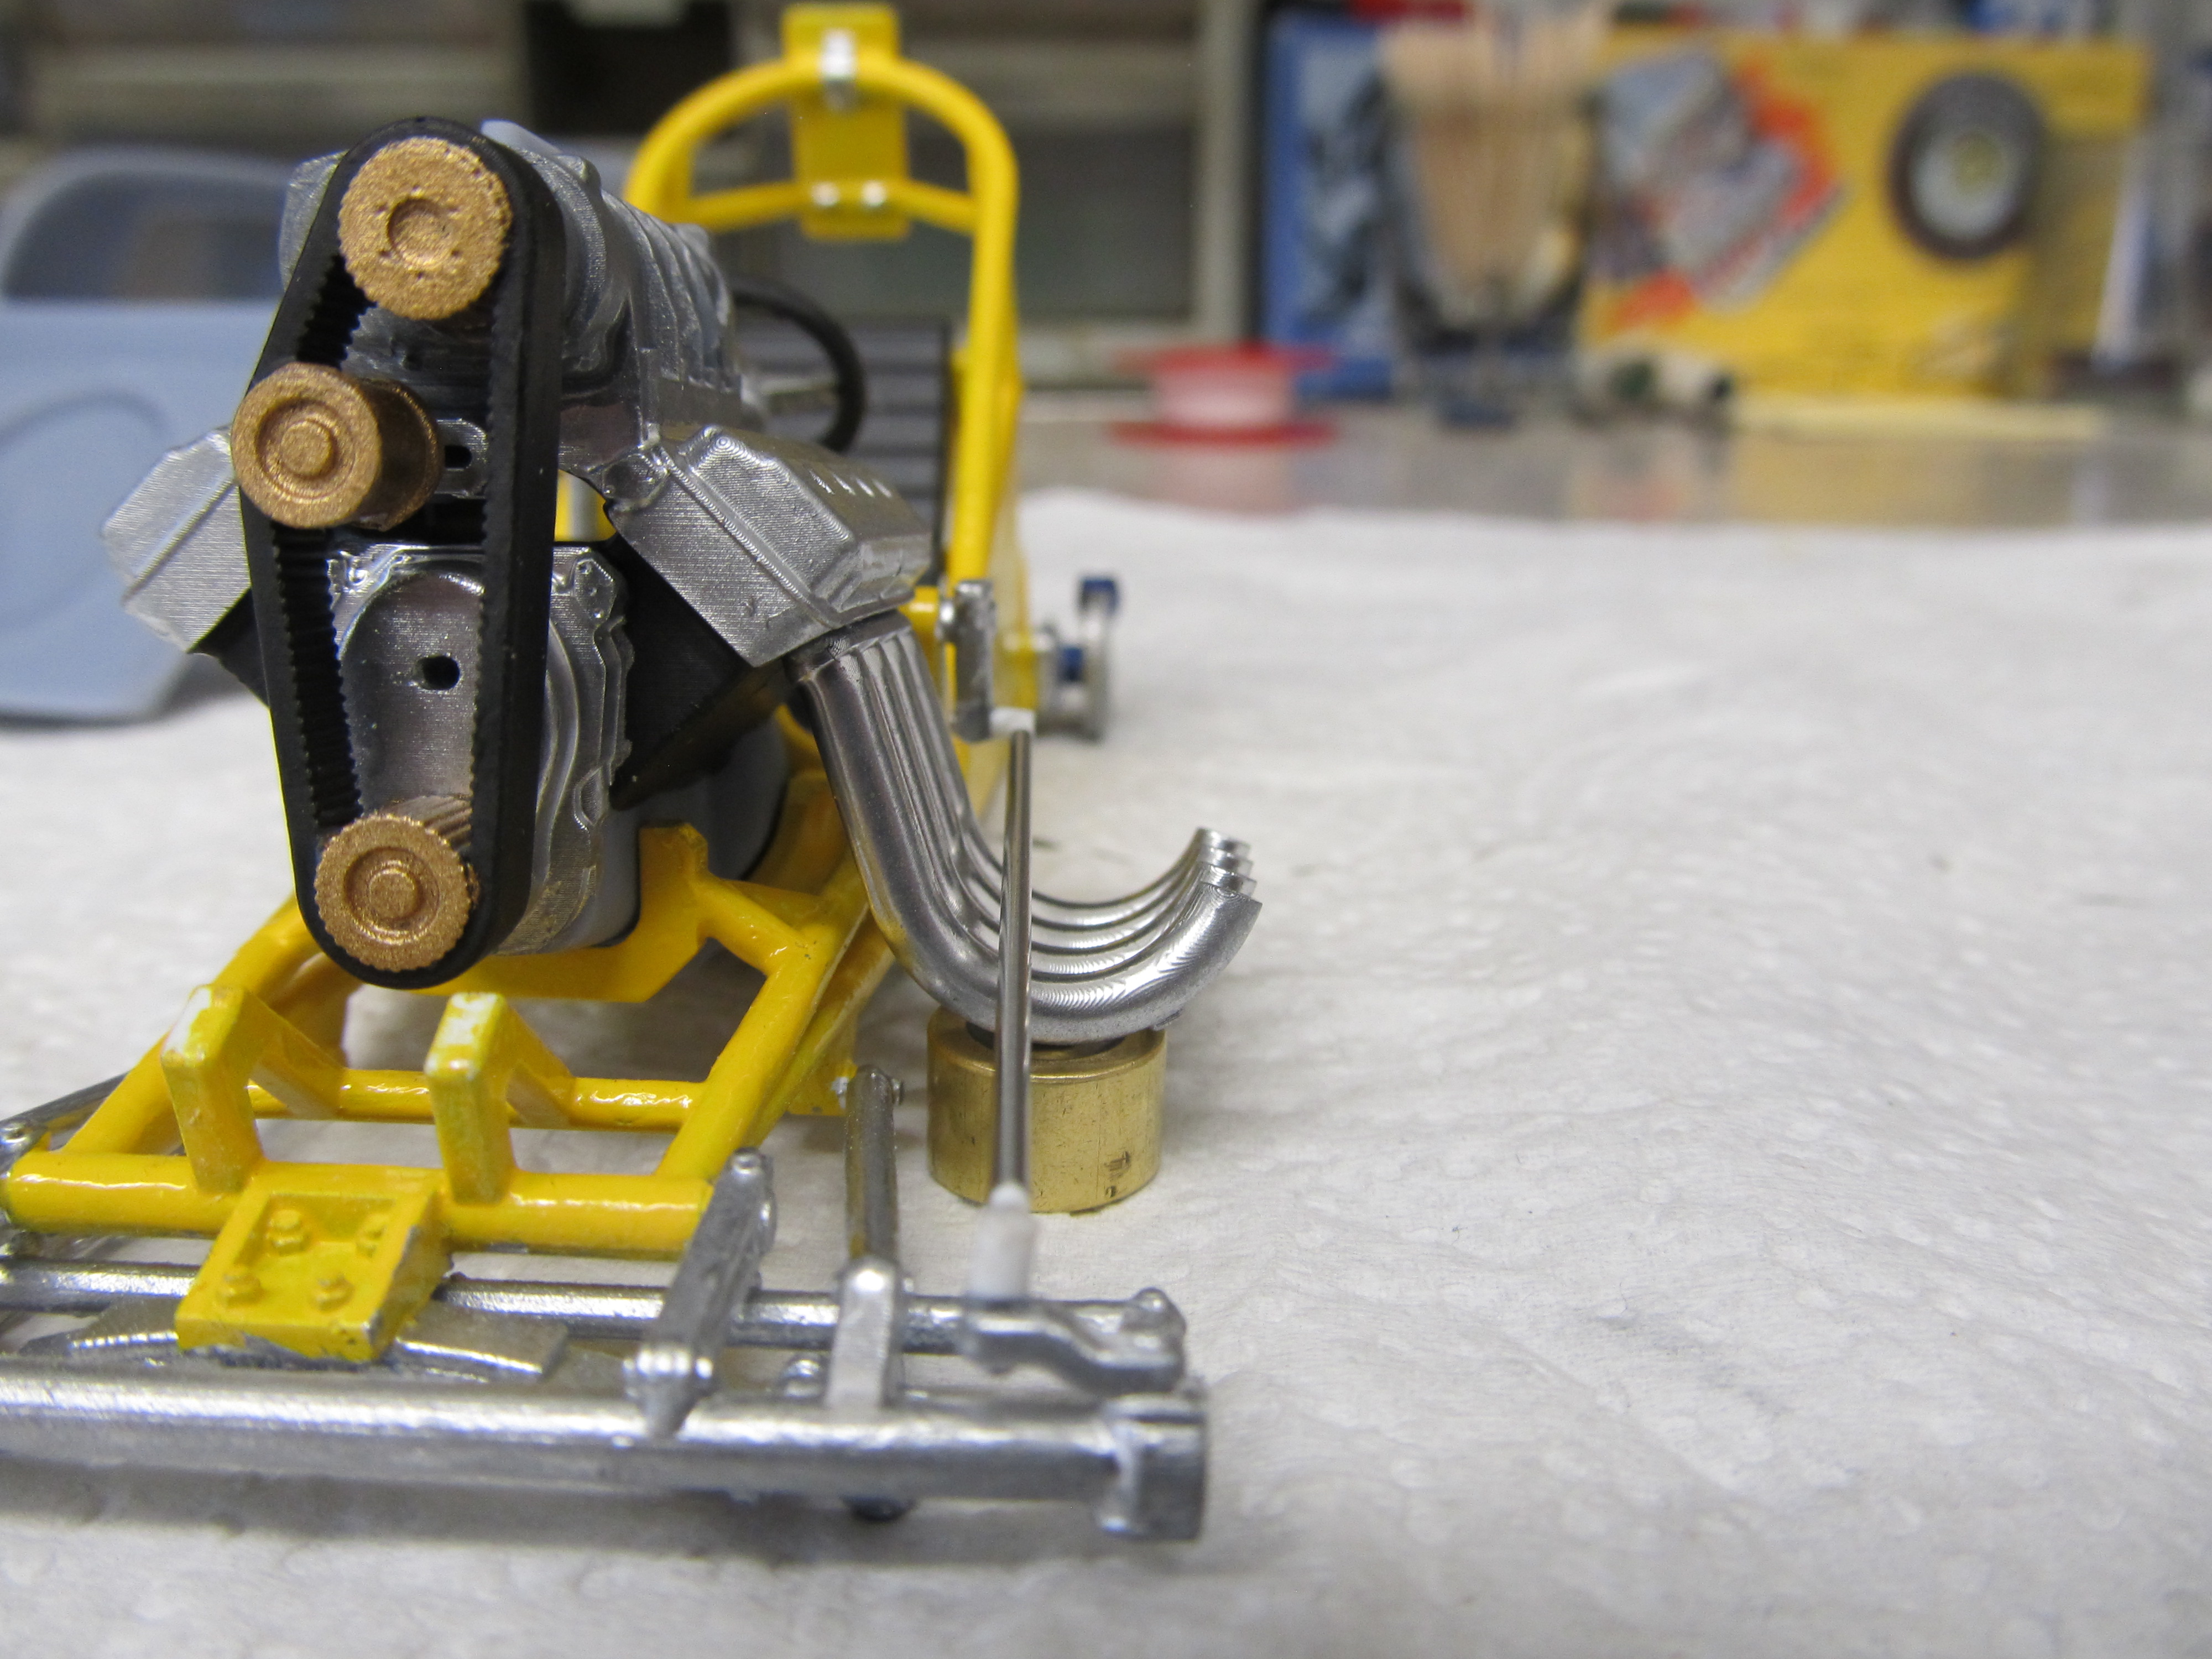
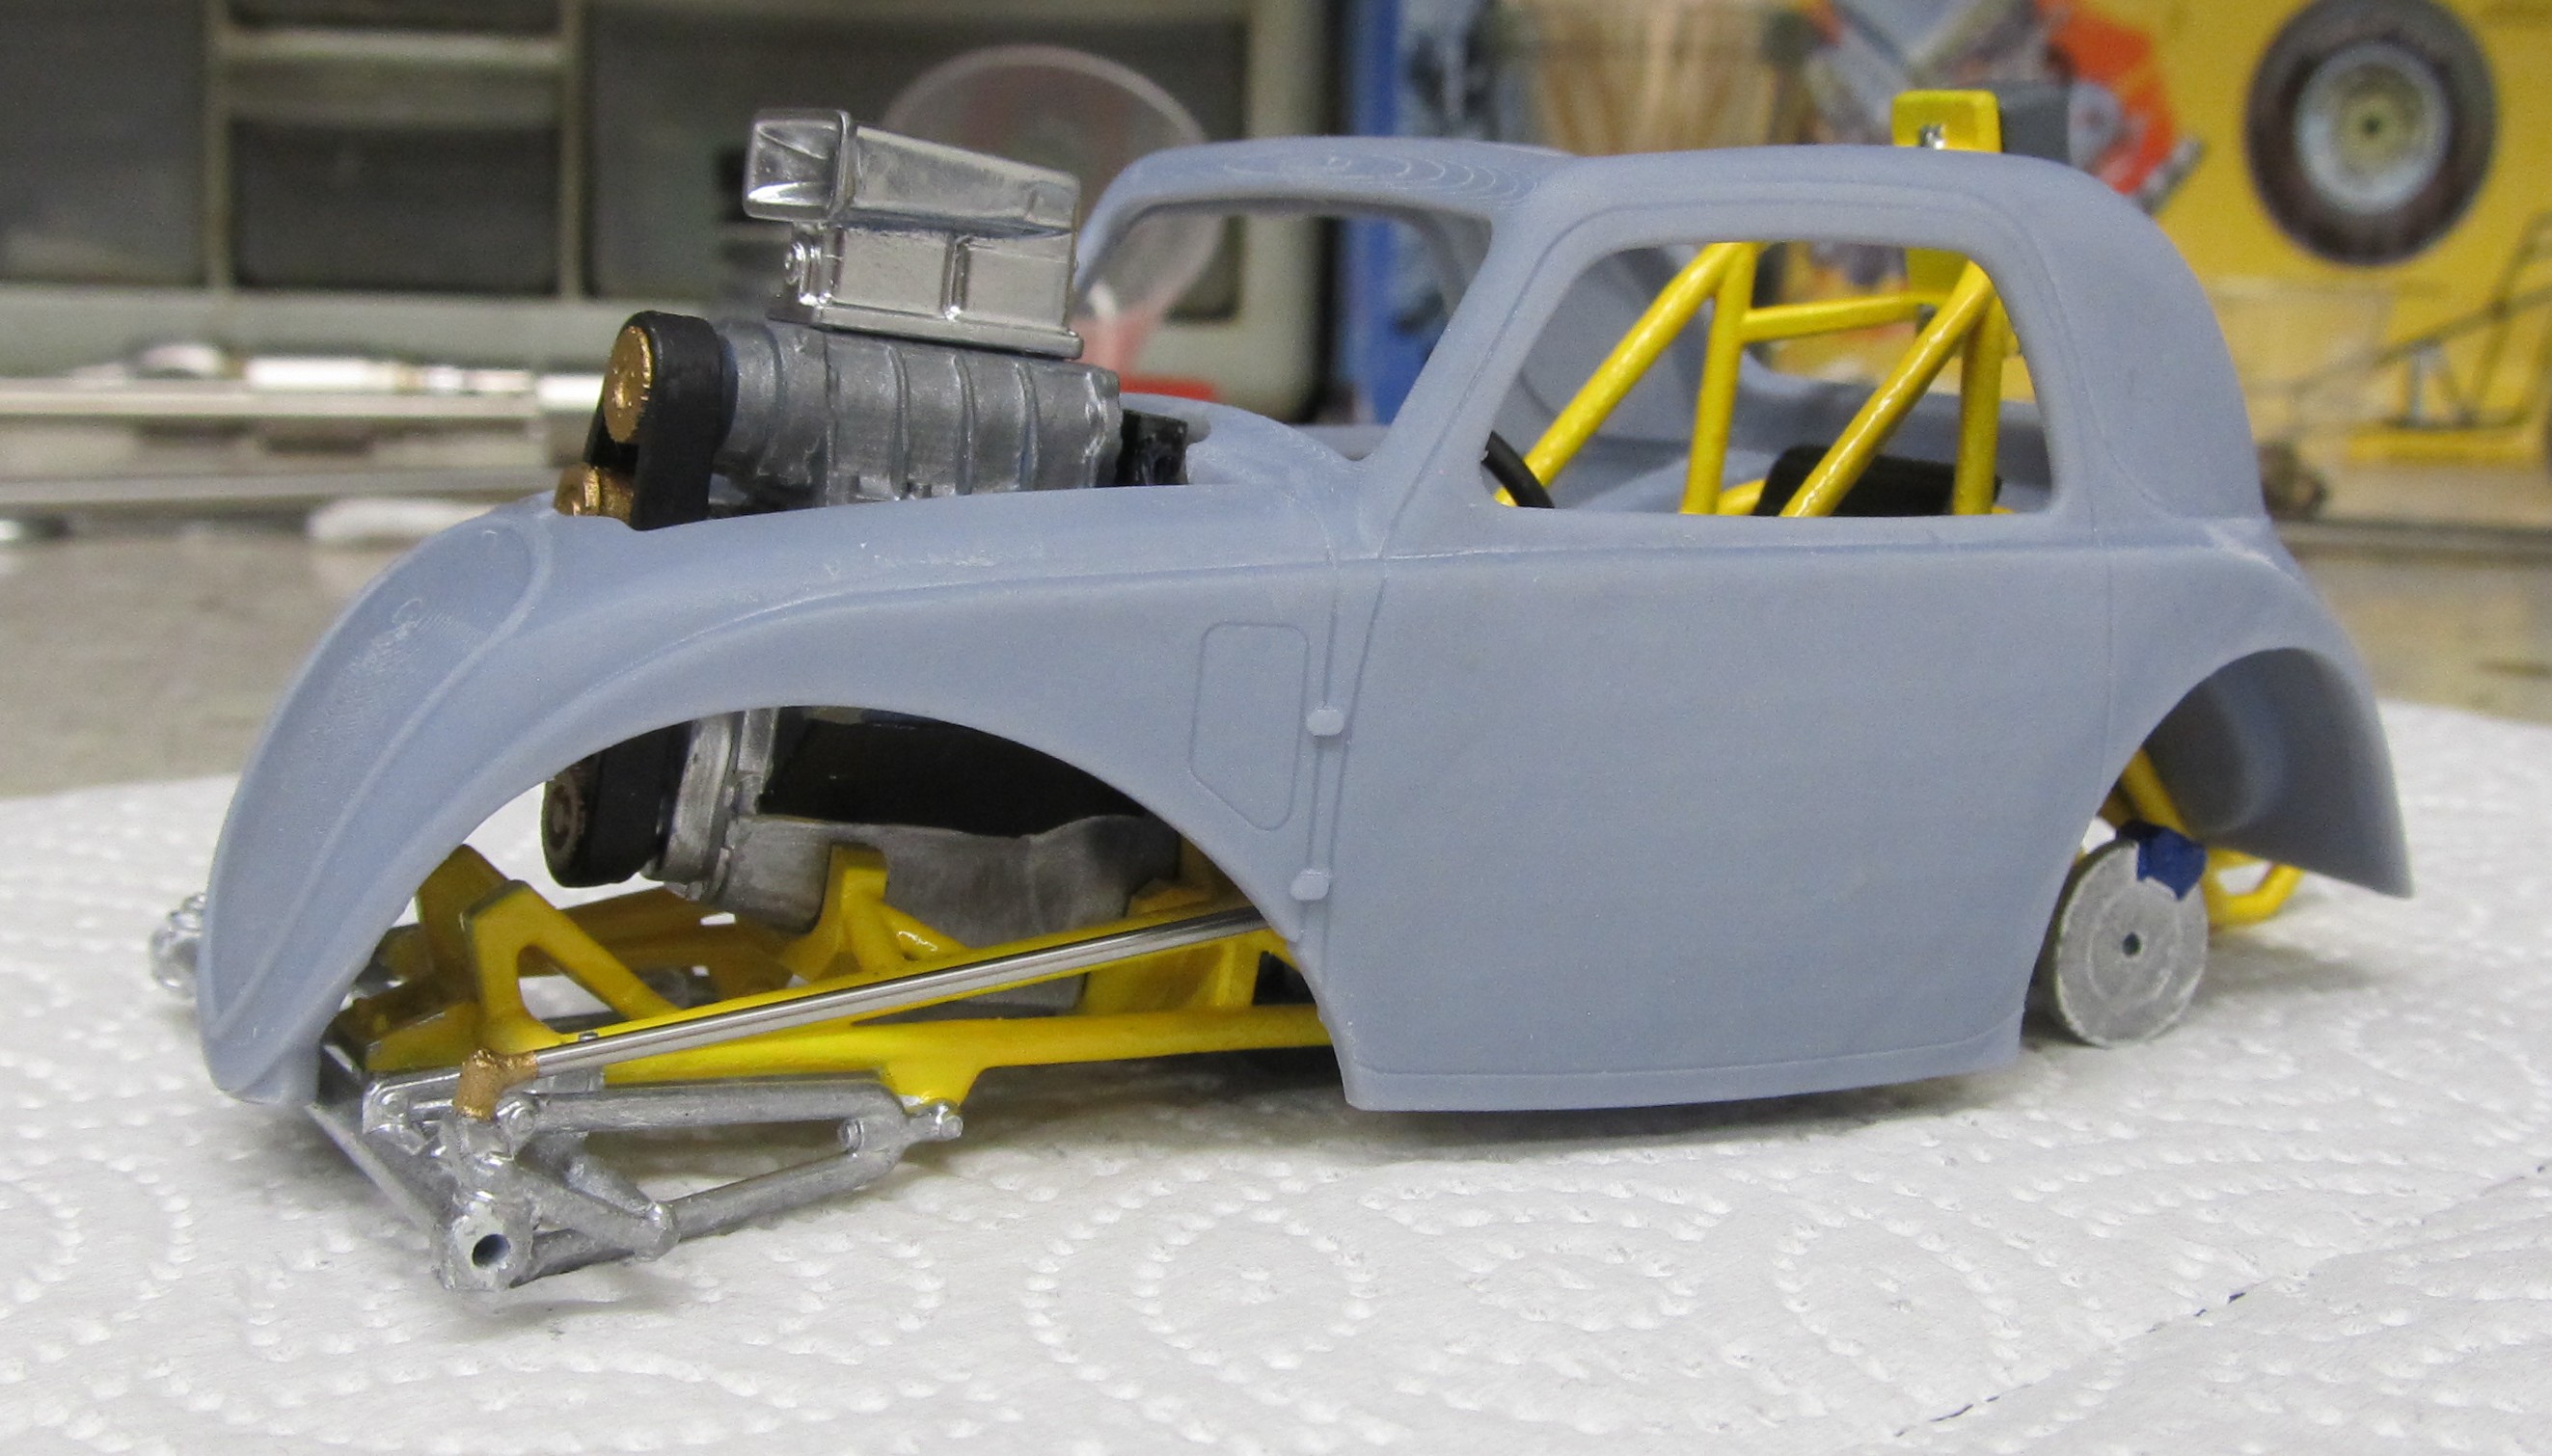
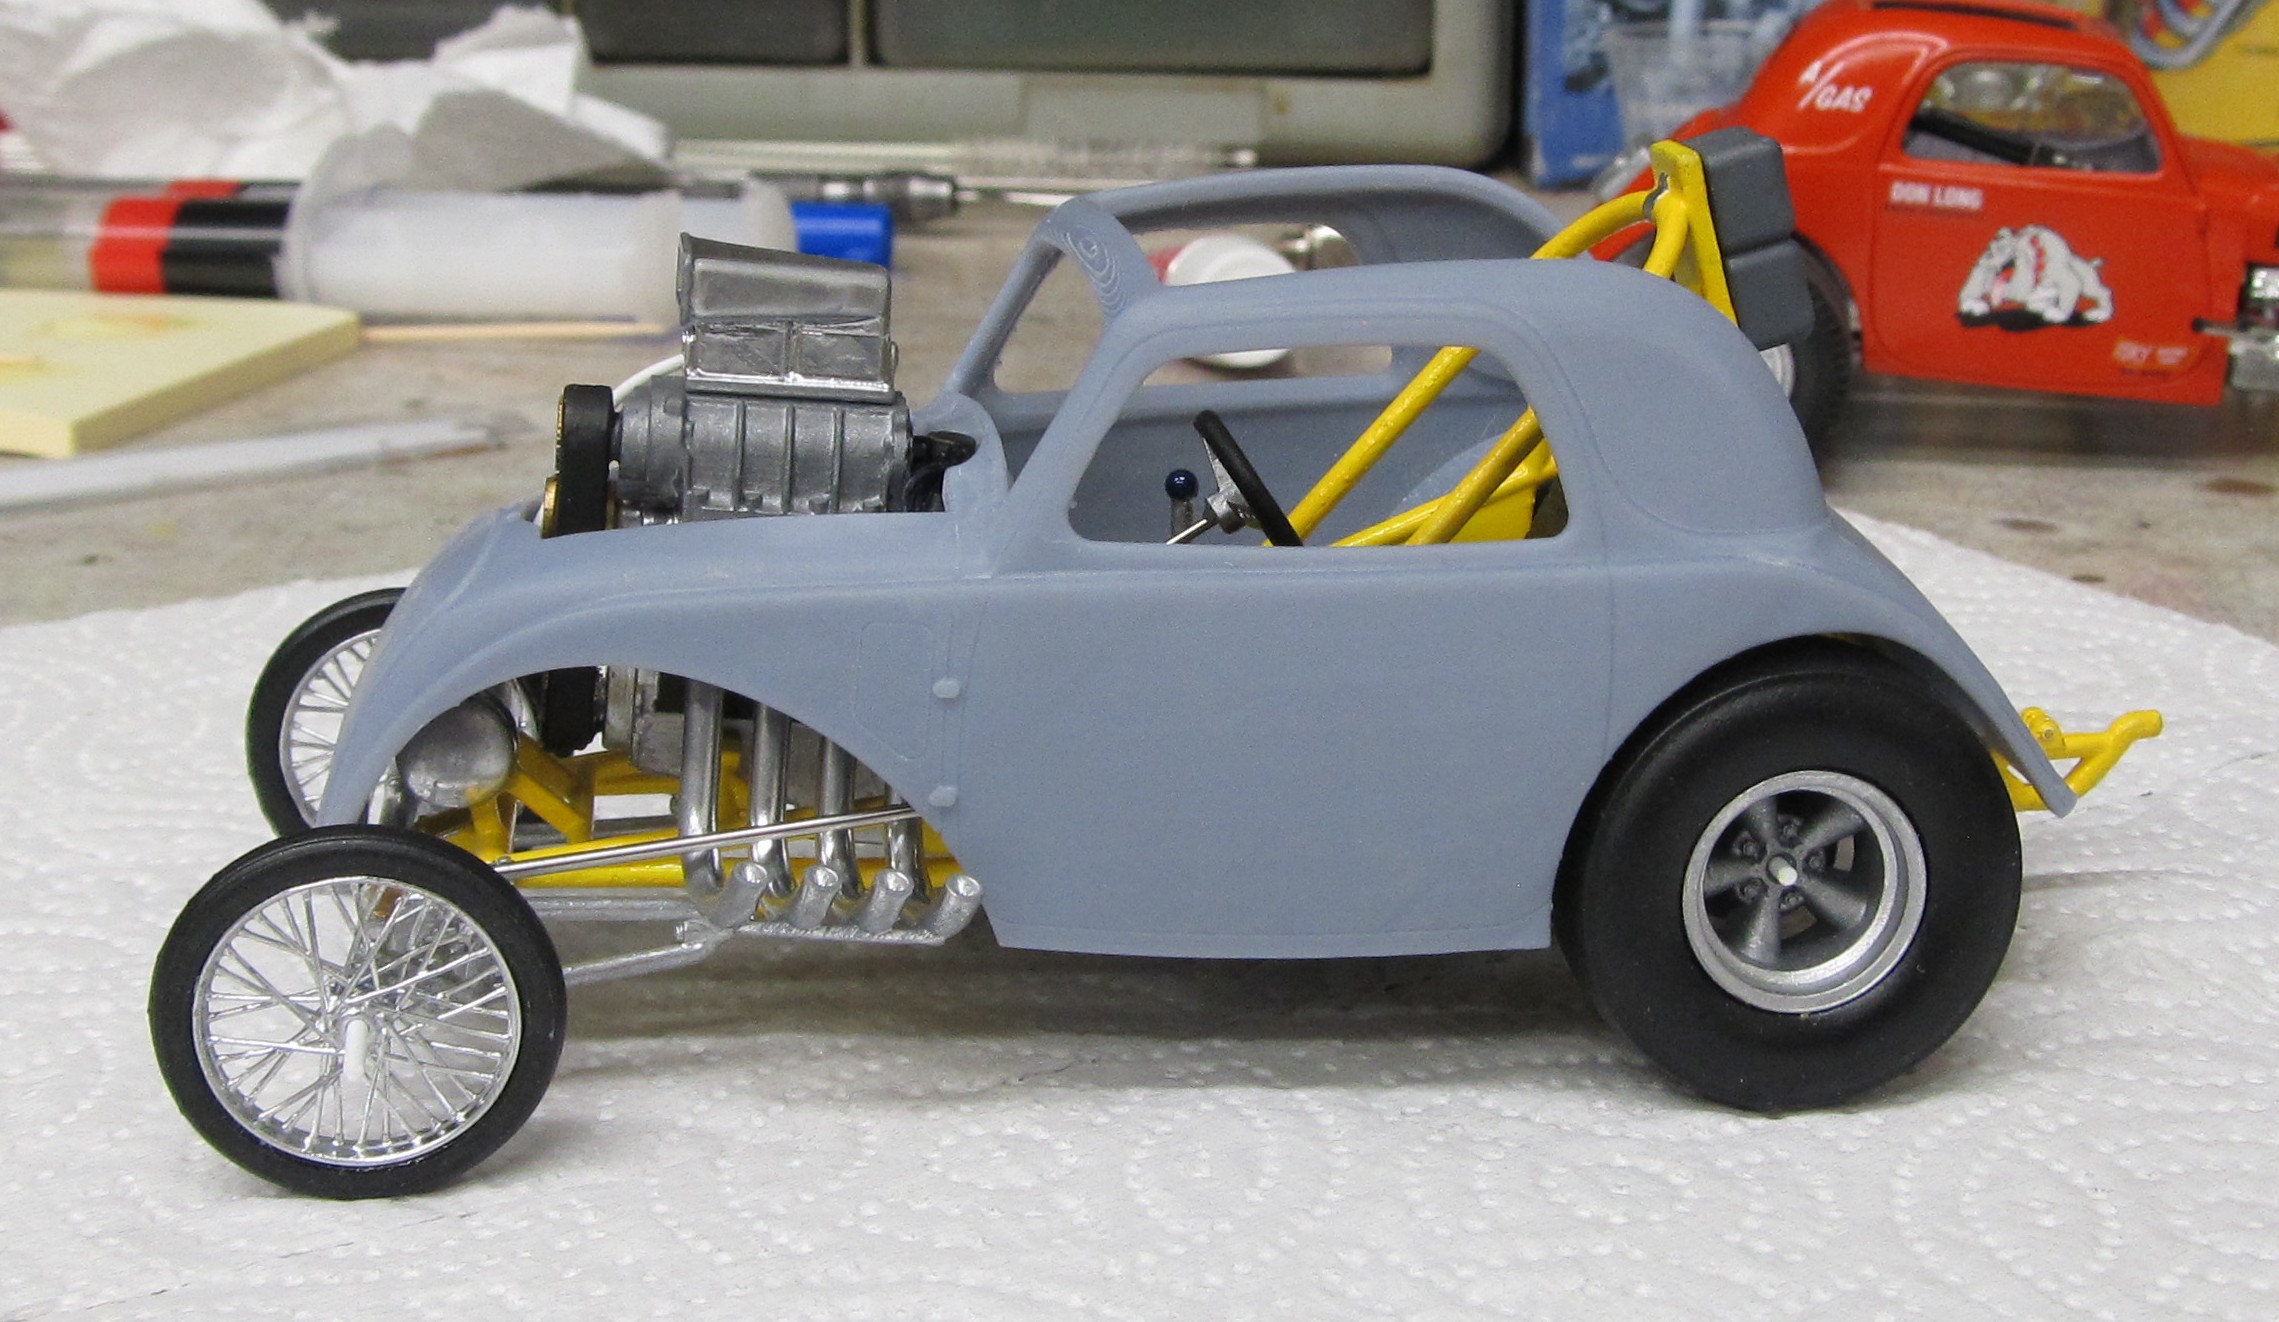
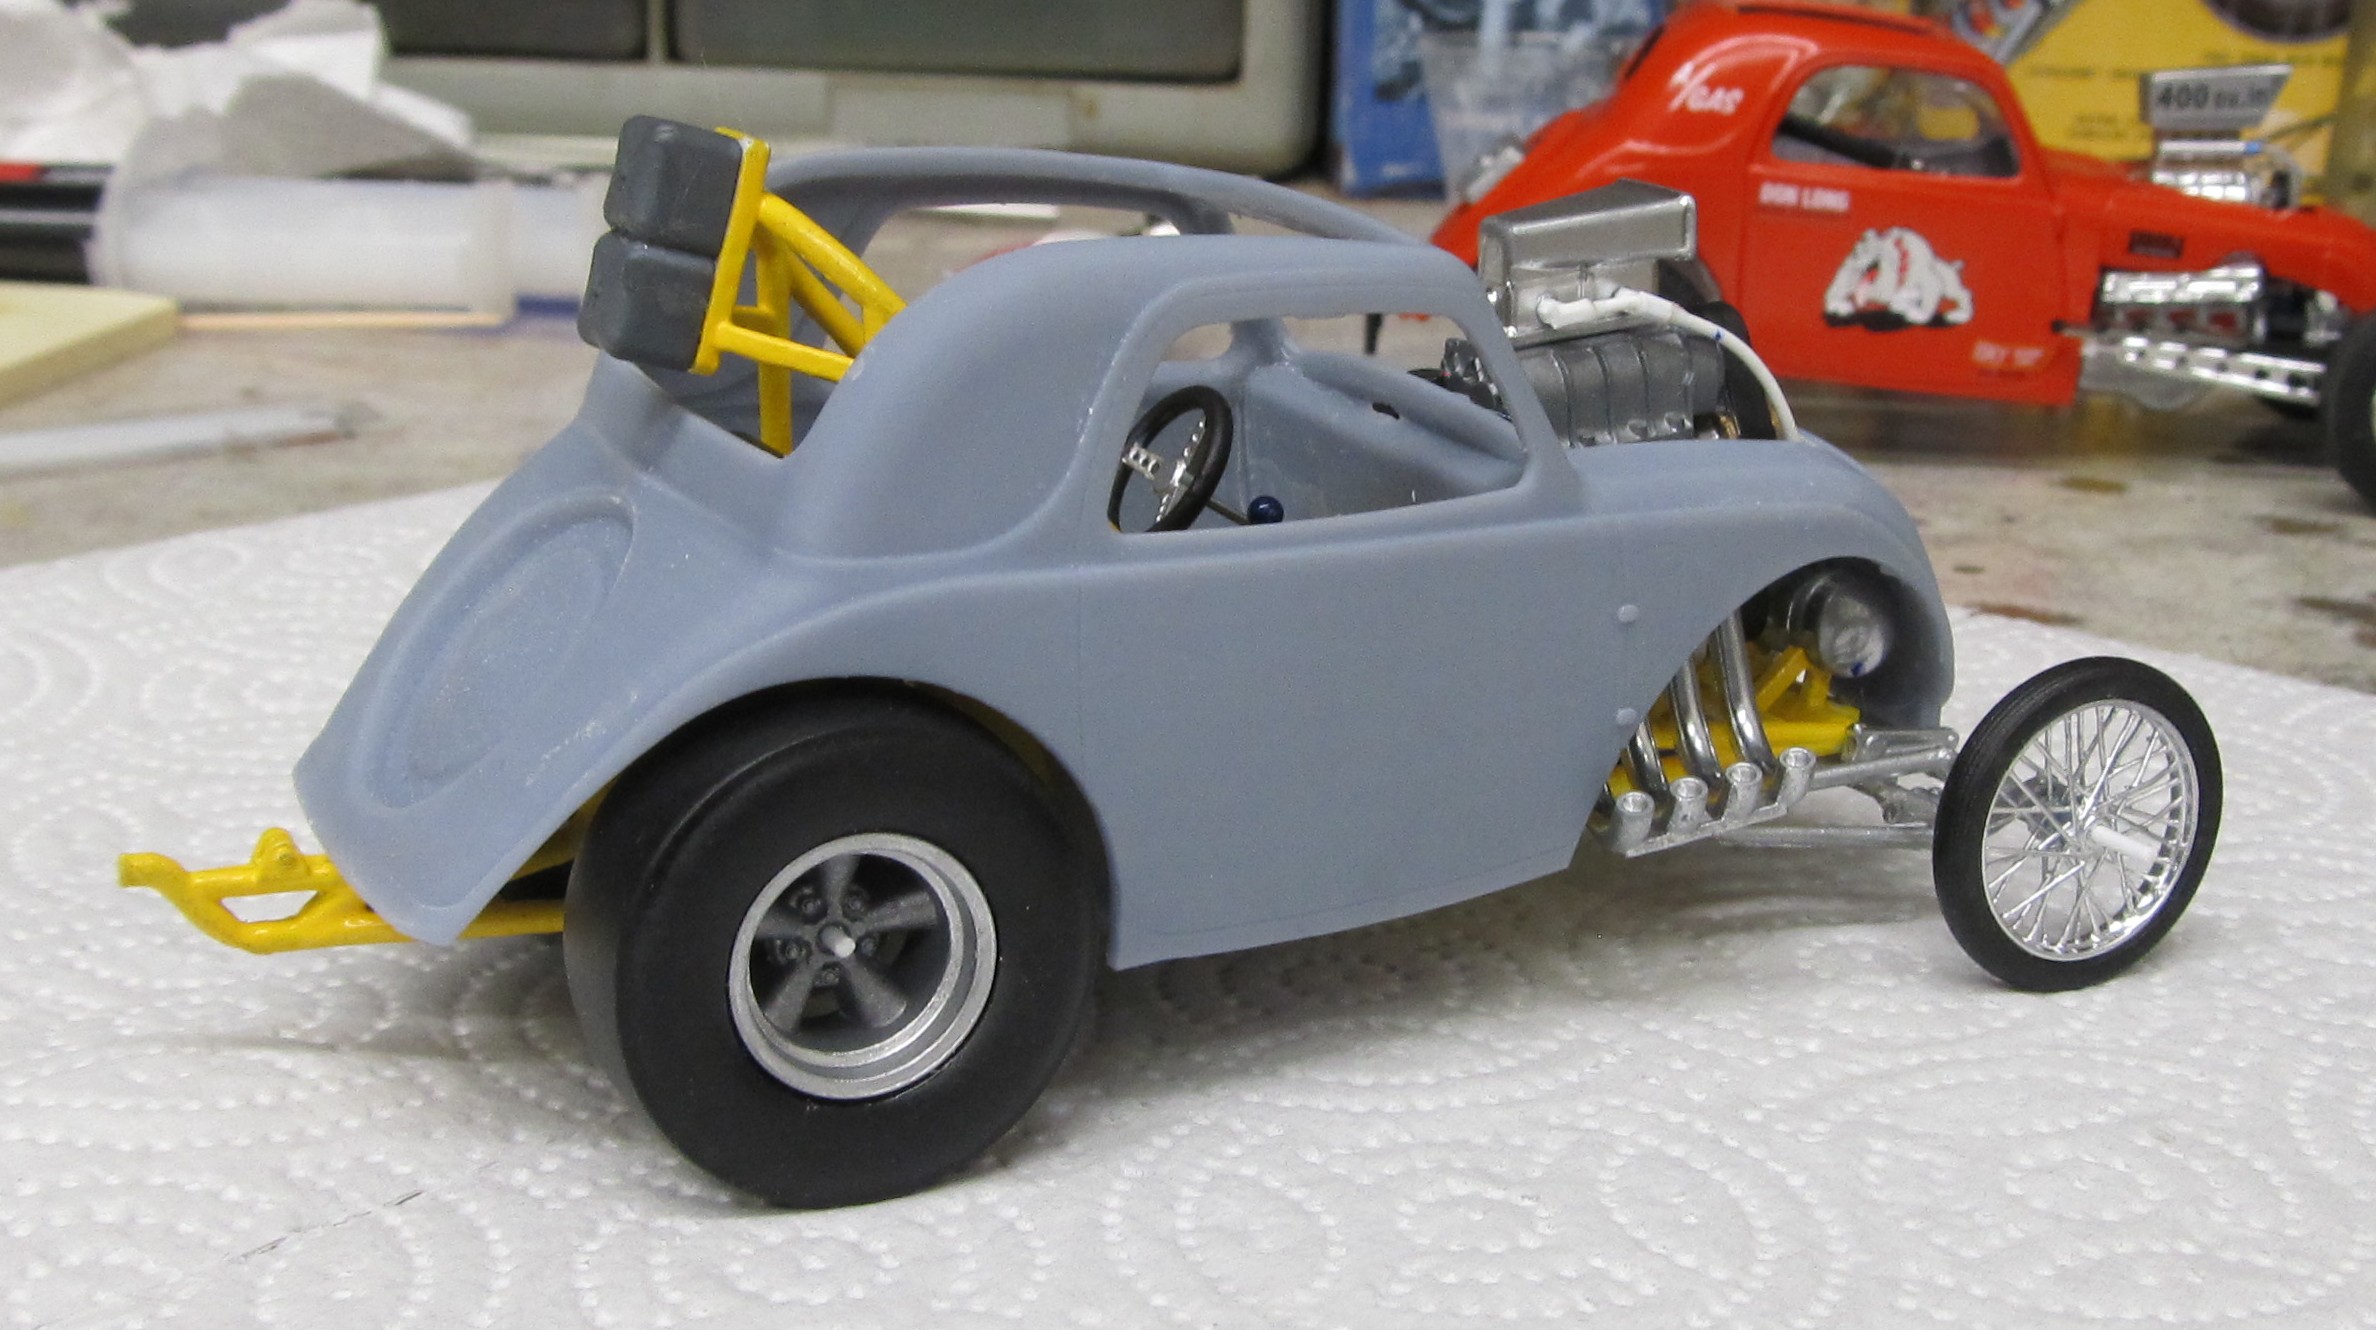
And so the love hate relationship gos on. Looking good even with most things hand painted, a few more of the usual details still to go before paint. Now the hate, but i could kind of see it coming, the steering linkage will need to be remade, cause it dont fit that way, and it sure dont fit that way, and now i wonder about the body fit to. I guess i will try sending the pics to Hooligan to see it they can adjust the STL to a low slung steering link.
IMG_2753.JPG
IMG_2754.JPG
IMG_2755.JPG
IMG_2756.JPG
img_2757-jpg.184207
IMG_2758.JPG
IMG_2759.JPG
IMG_2760.JPG
 

Attachments

  • IMG_2757.JPG
    IMG_2757.JPG
    2.2 MB
Last edited:
Problem fixed. New steering link half the diameter of the original and moved out 2mm at the pivot arm. The link shaft was trying to share the same space as the rear exhaust tube.
IMG_2761.JPG
IMG_2762.JPG
 
Almost ready for paint, fuel line from the tank to the pump and the chute release handle and cable will finish the little detailing im doing to this one.
IMG_2870.JPG
IMG_2871.JPG
IMG_2869.JPG
IMG_2872.JPG
IMG_2875.JPG
IMG_2873.JPG
 
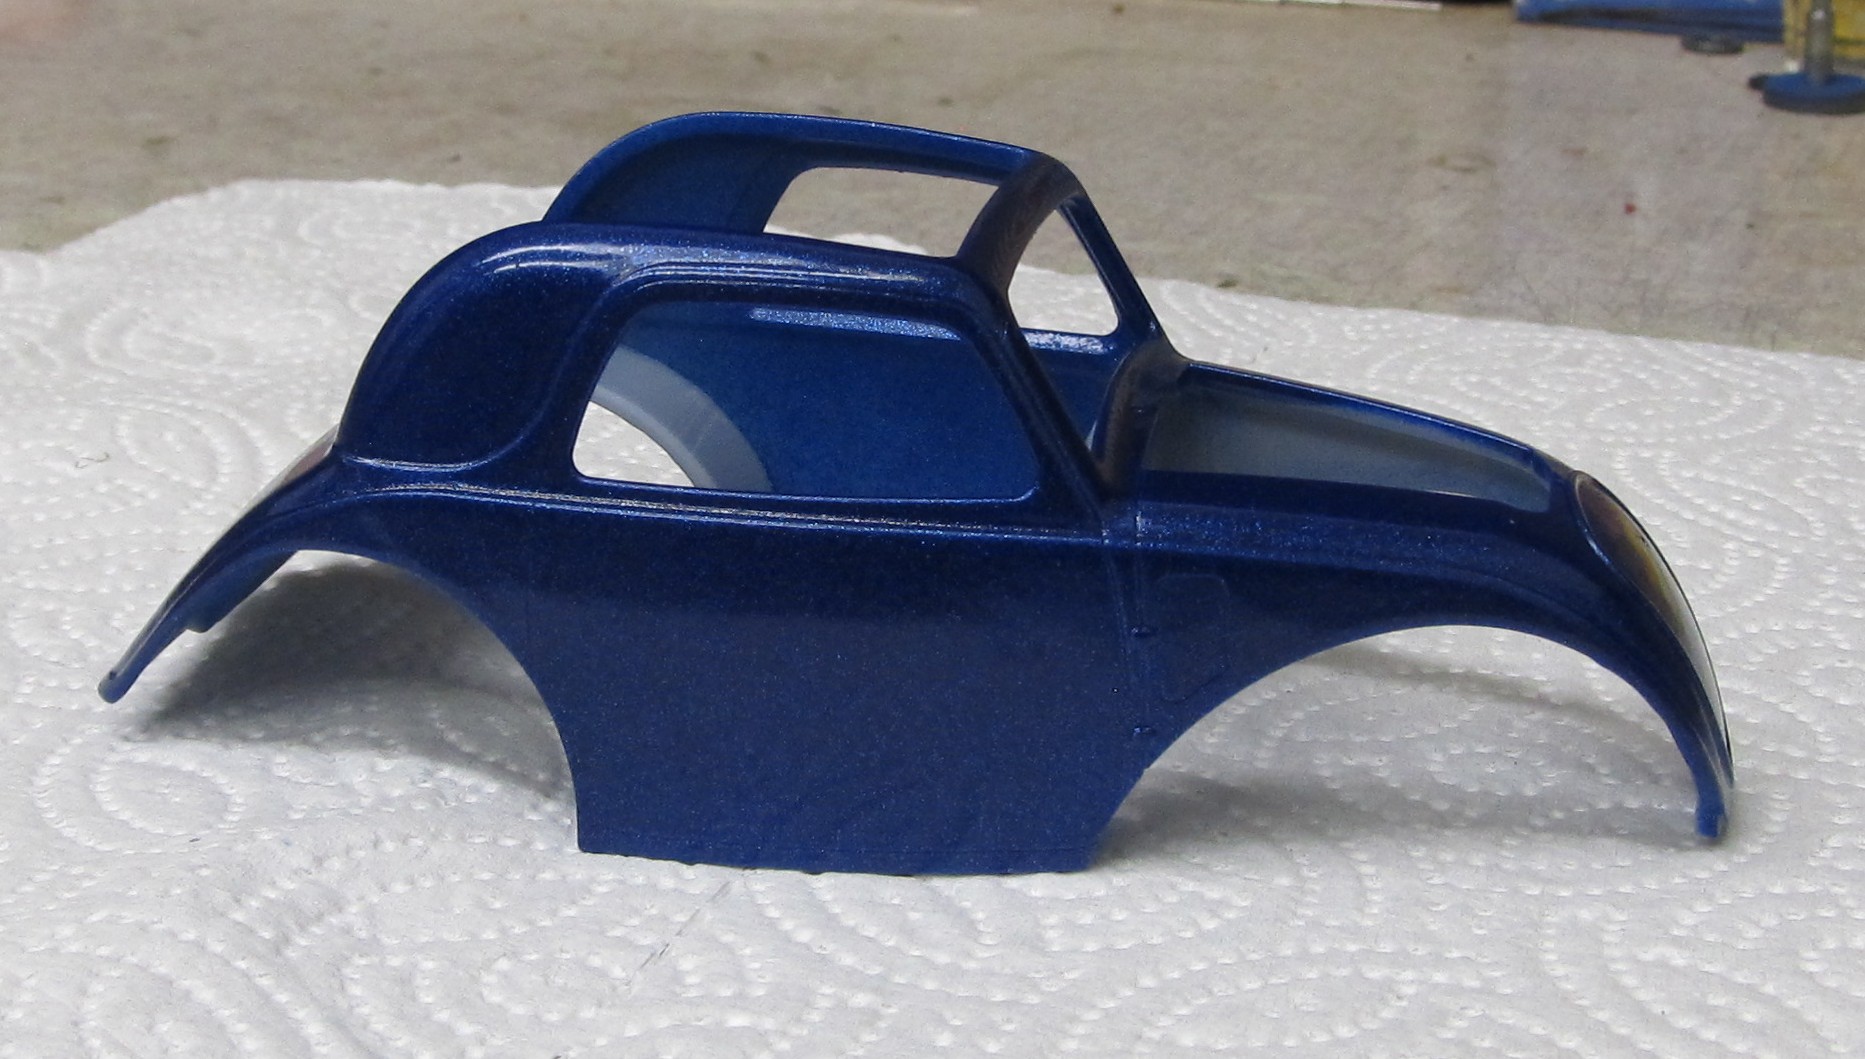
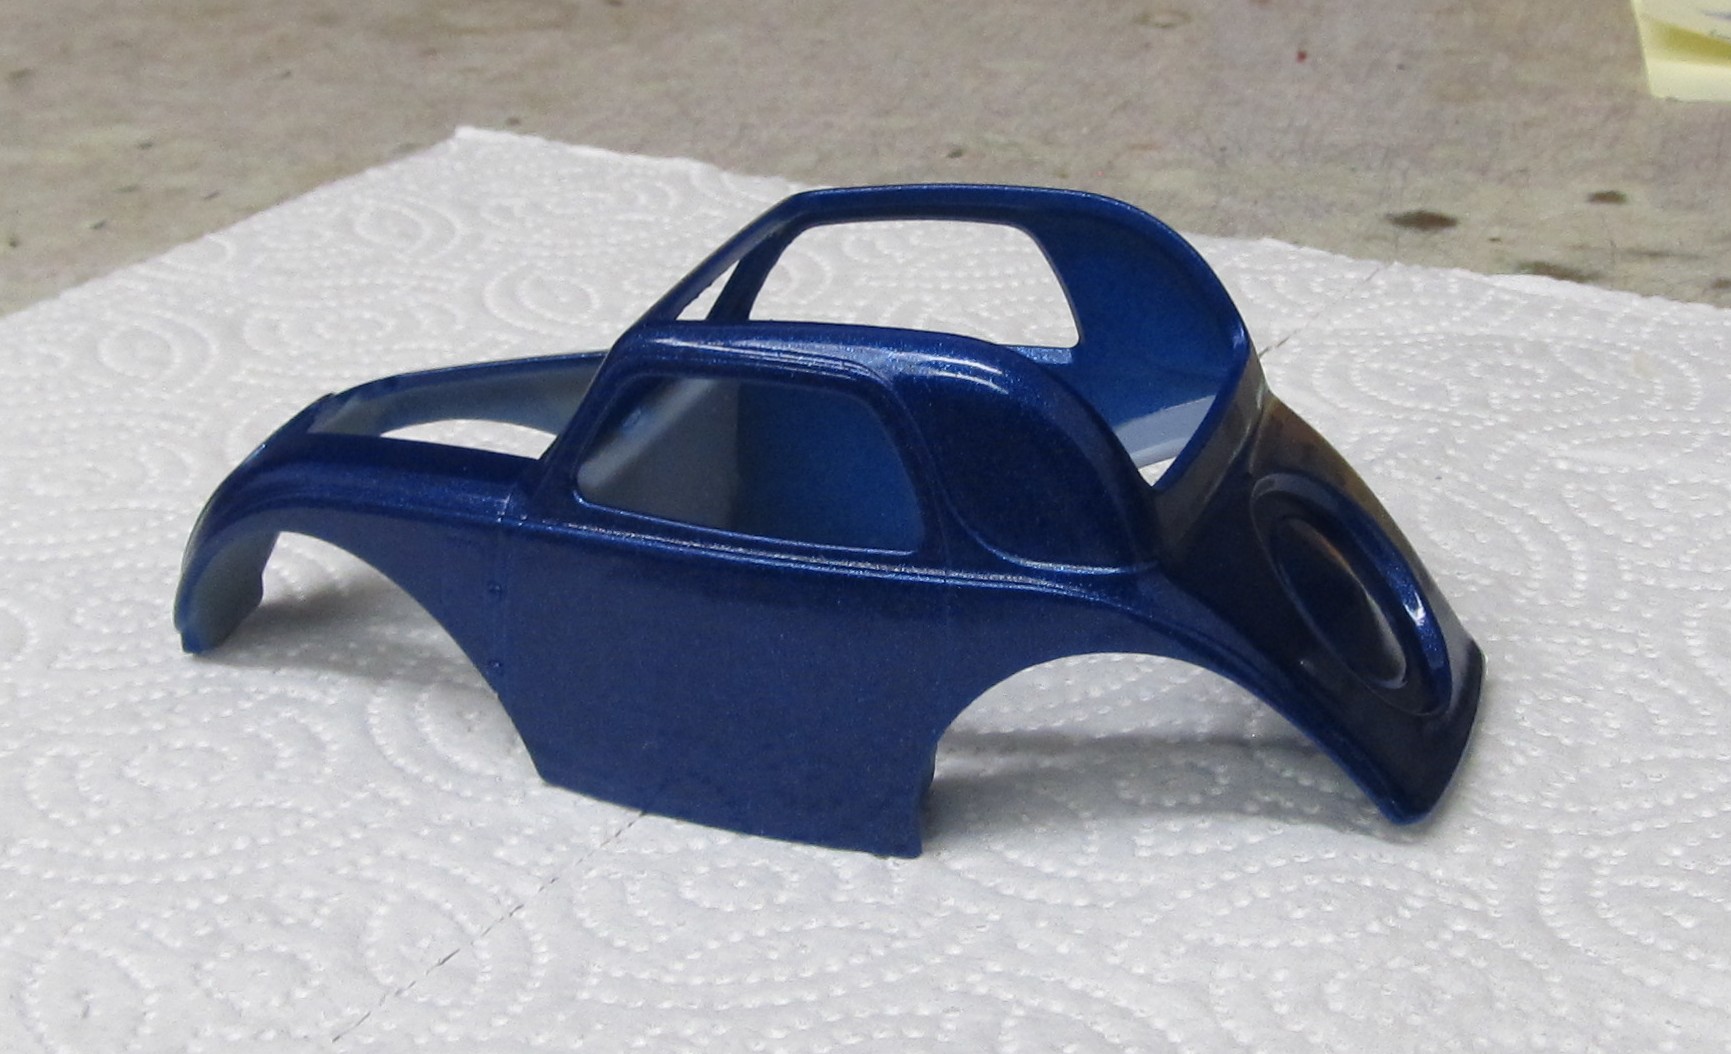
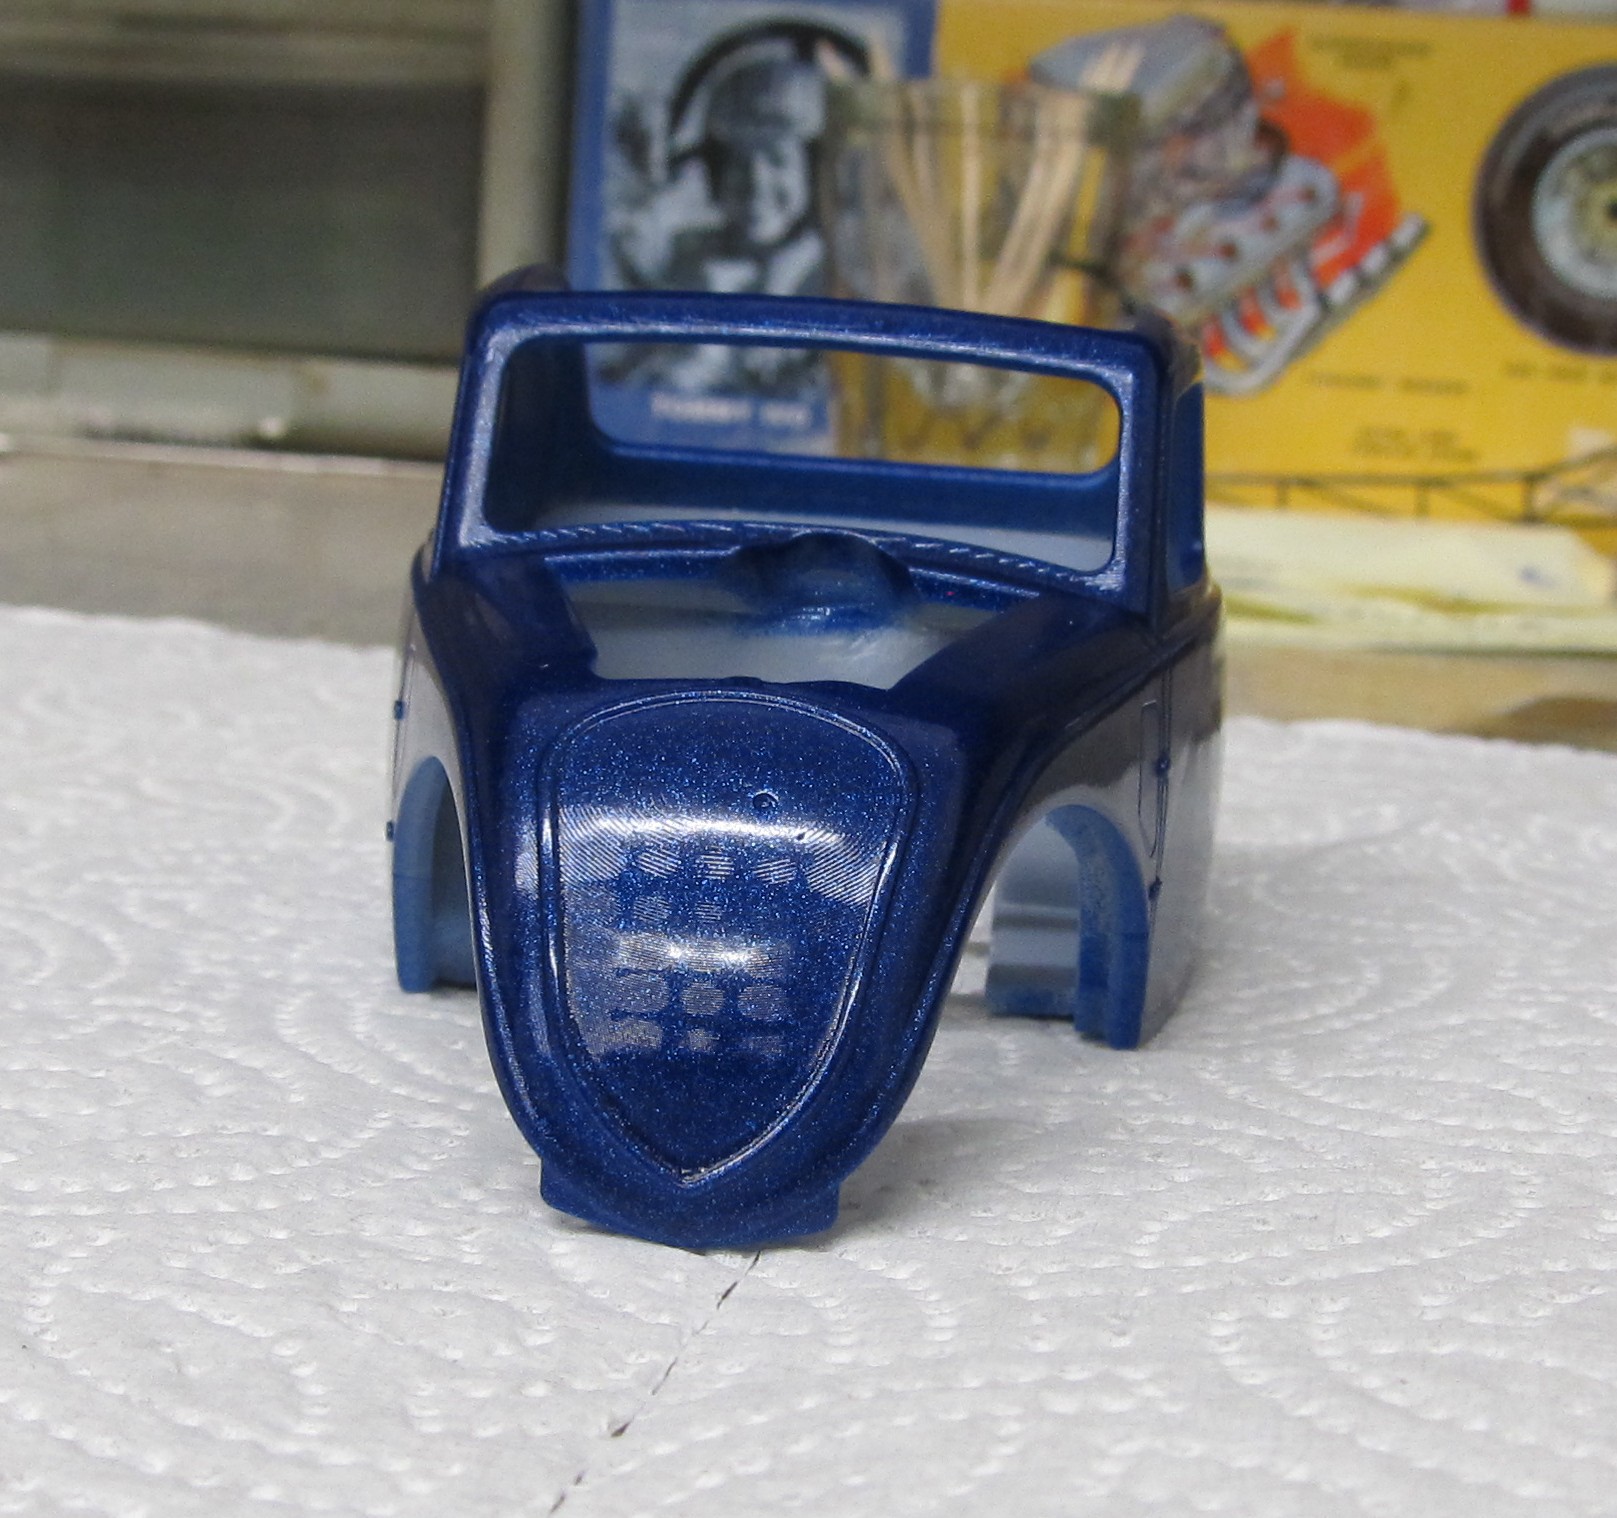
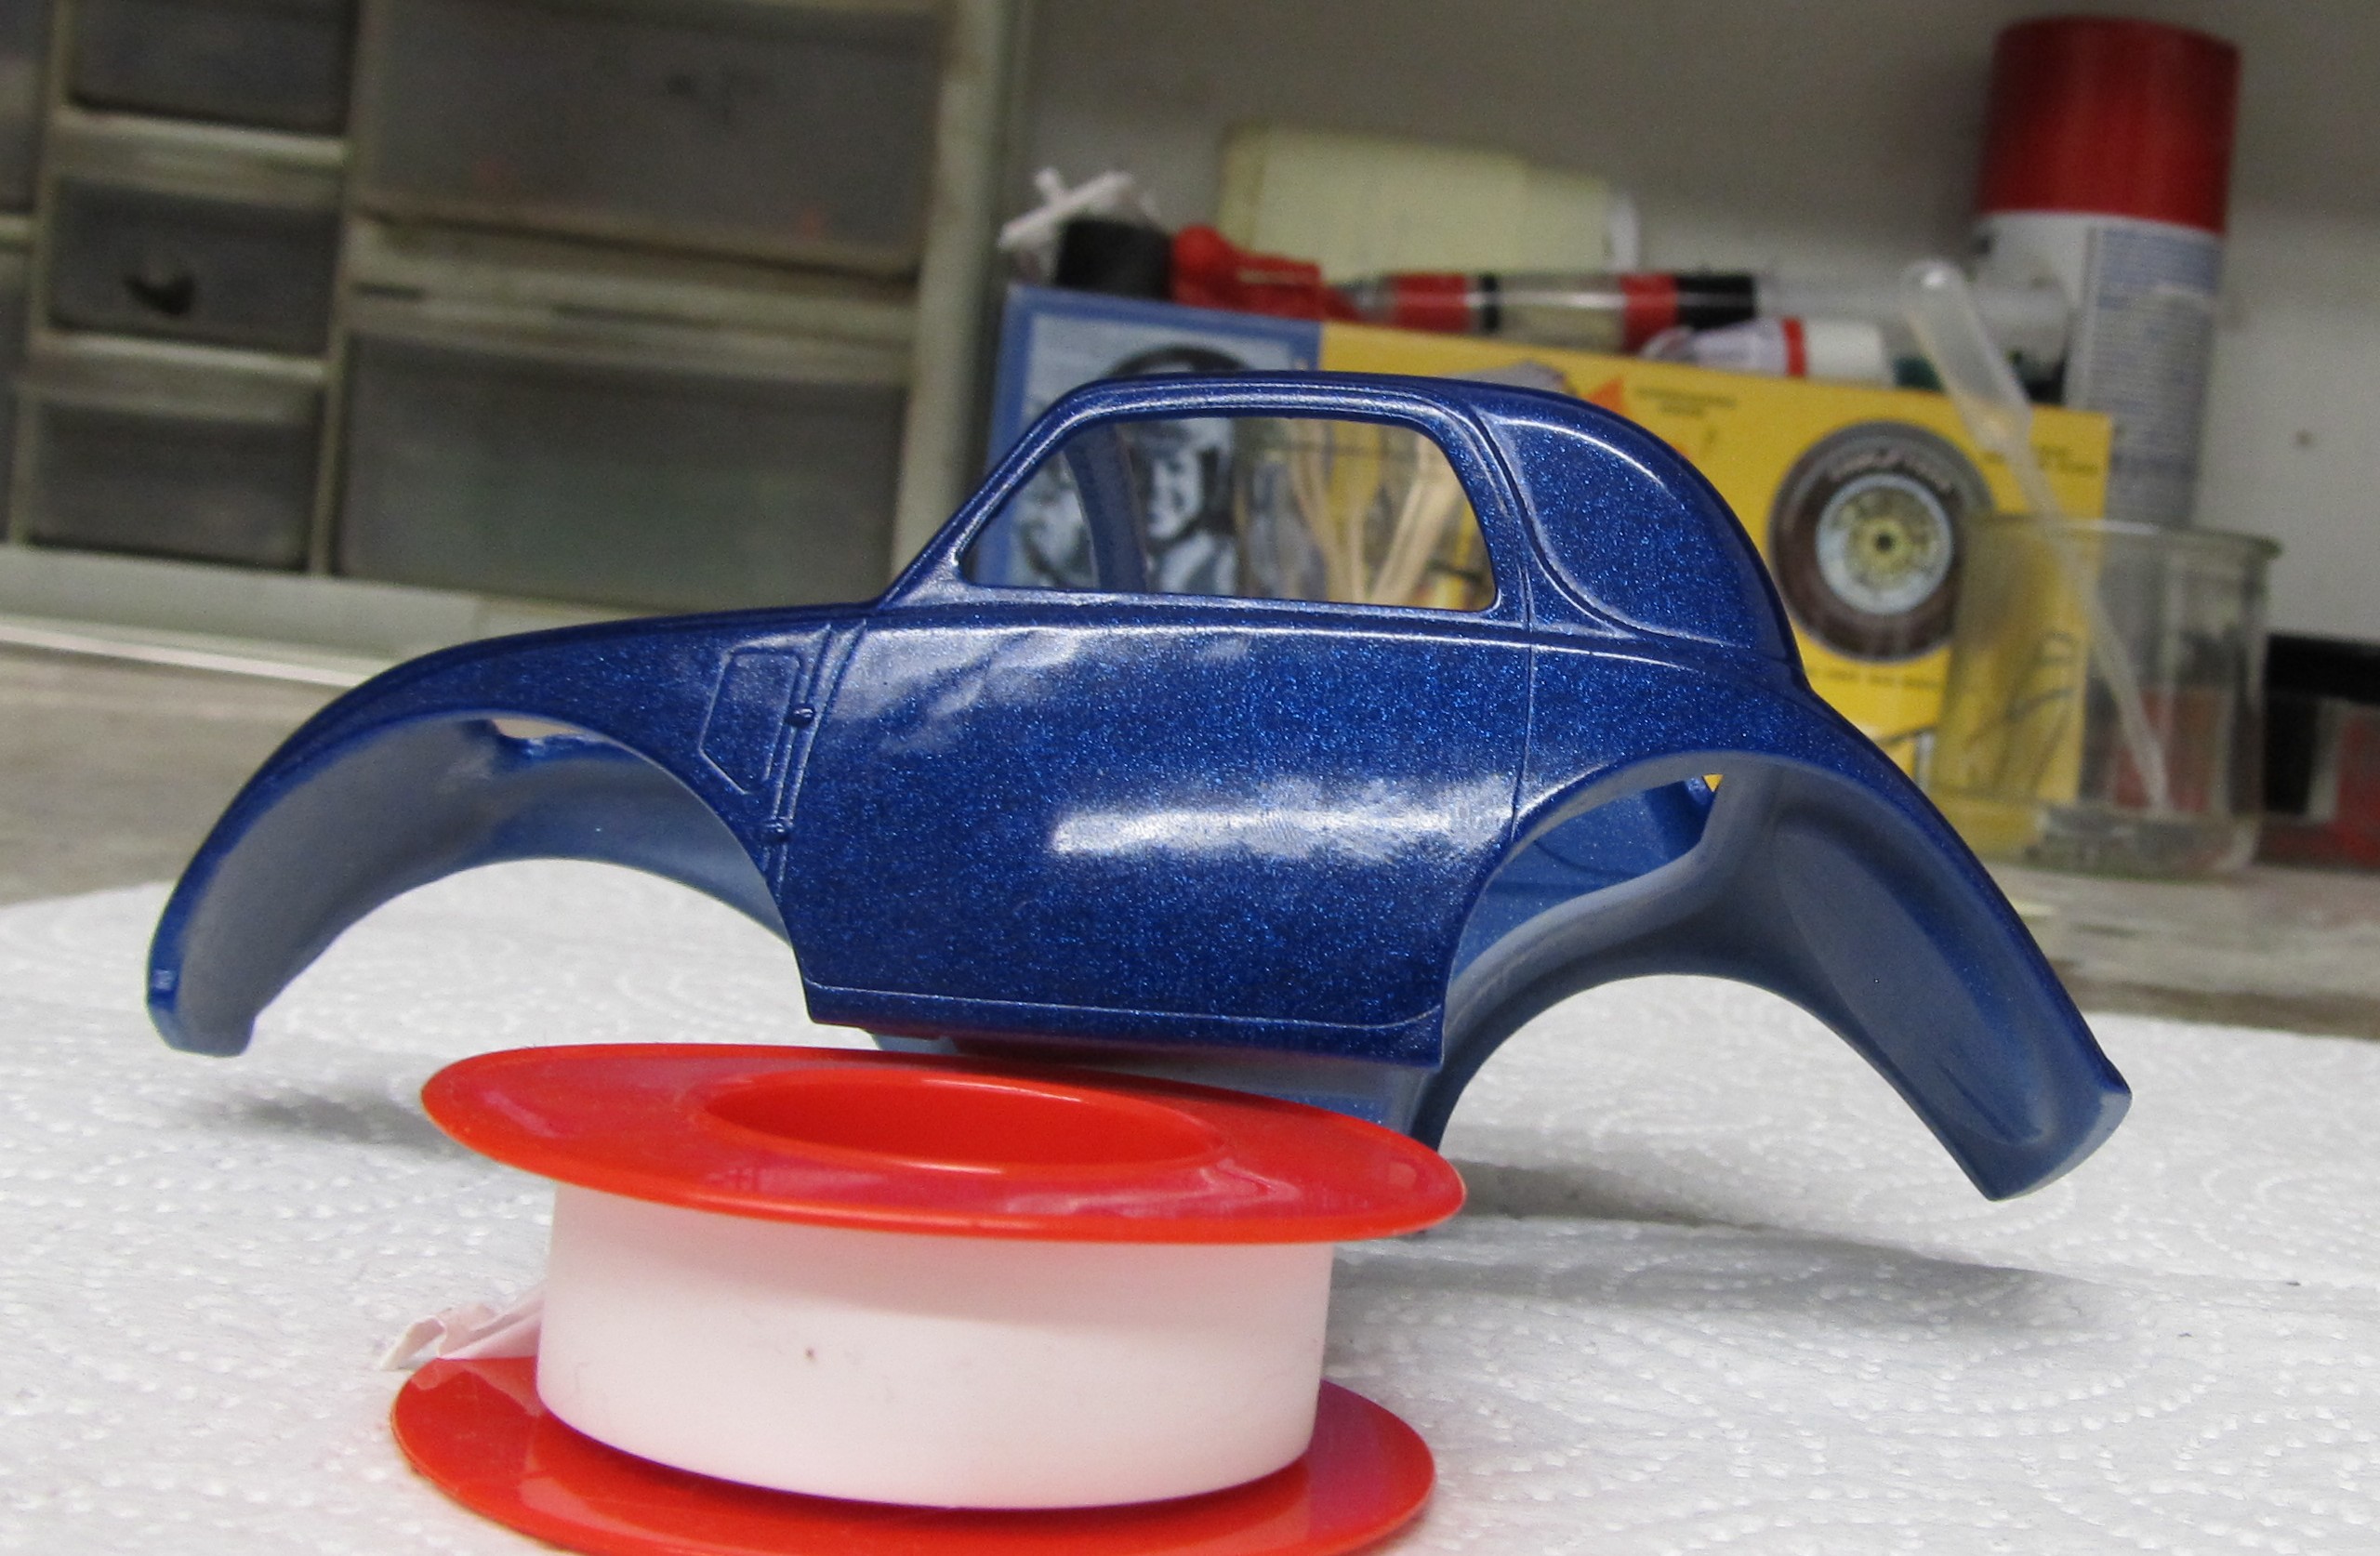
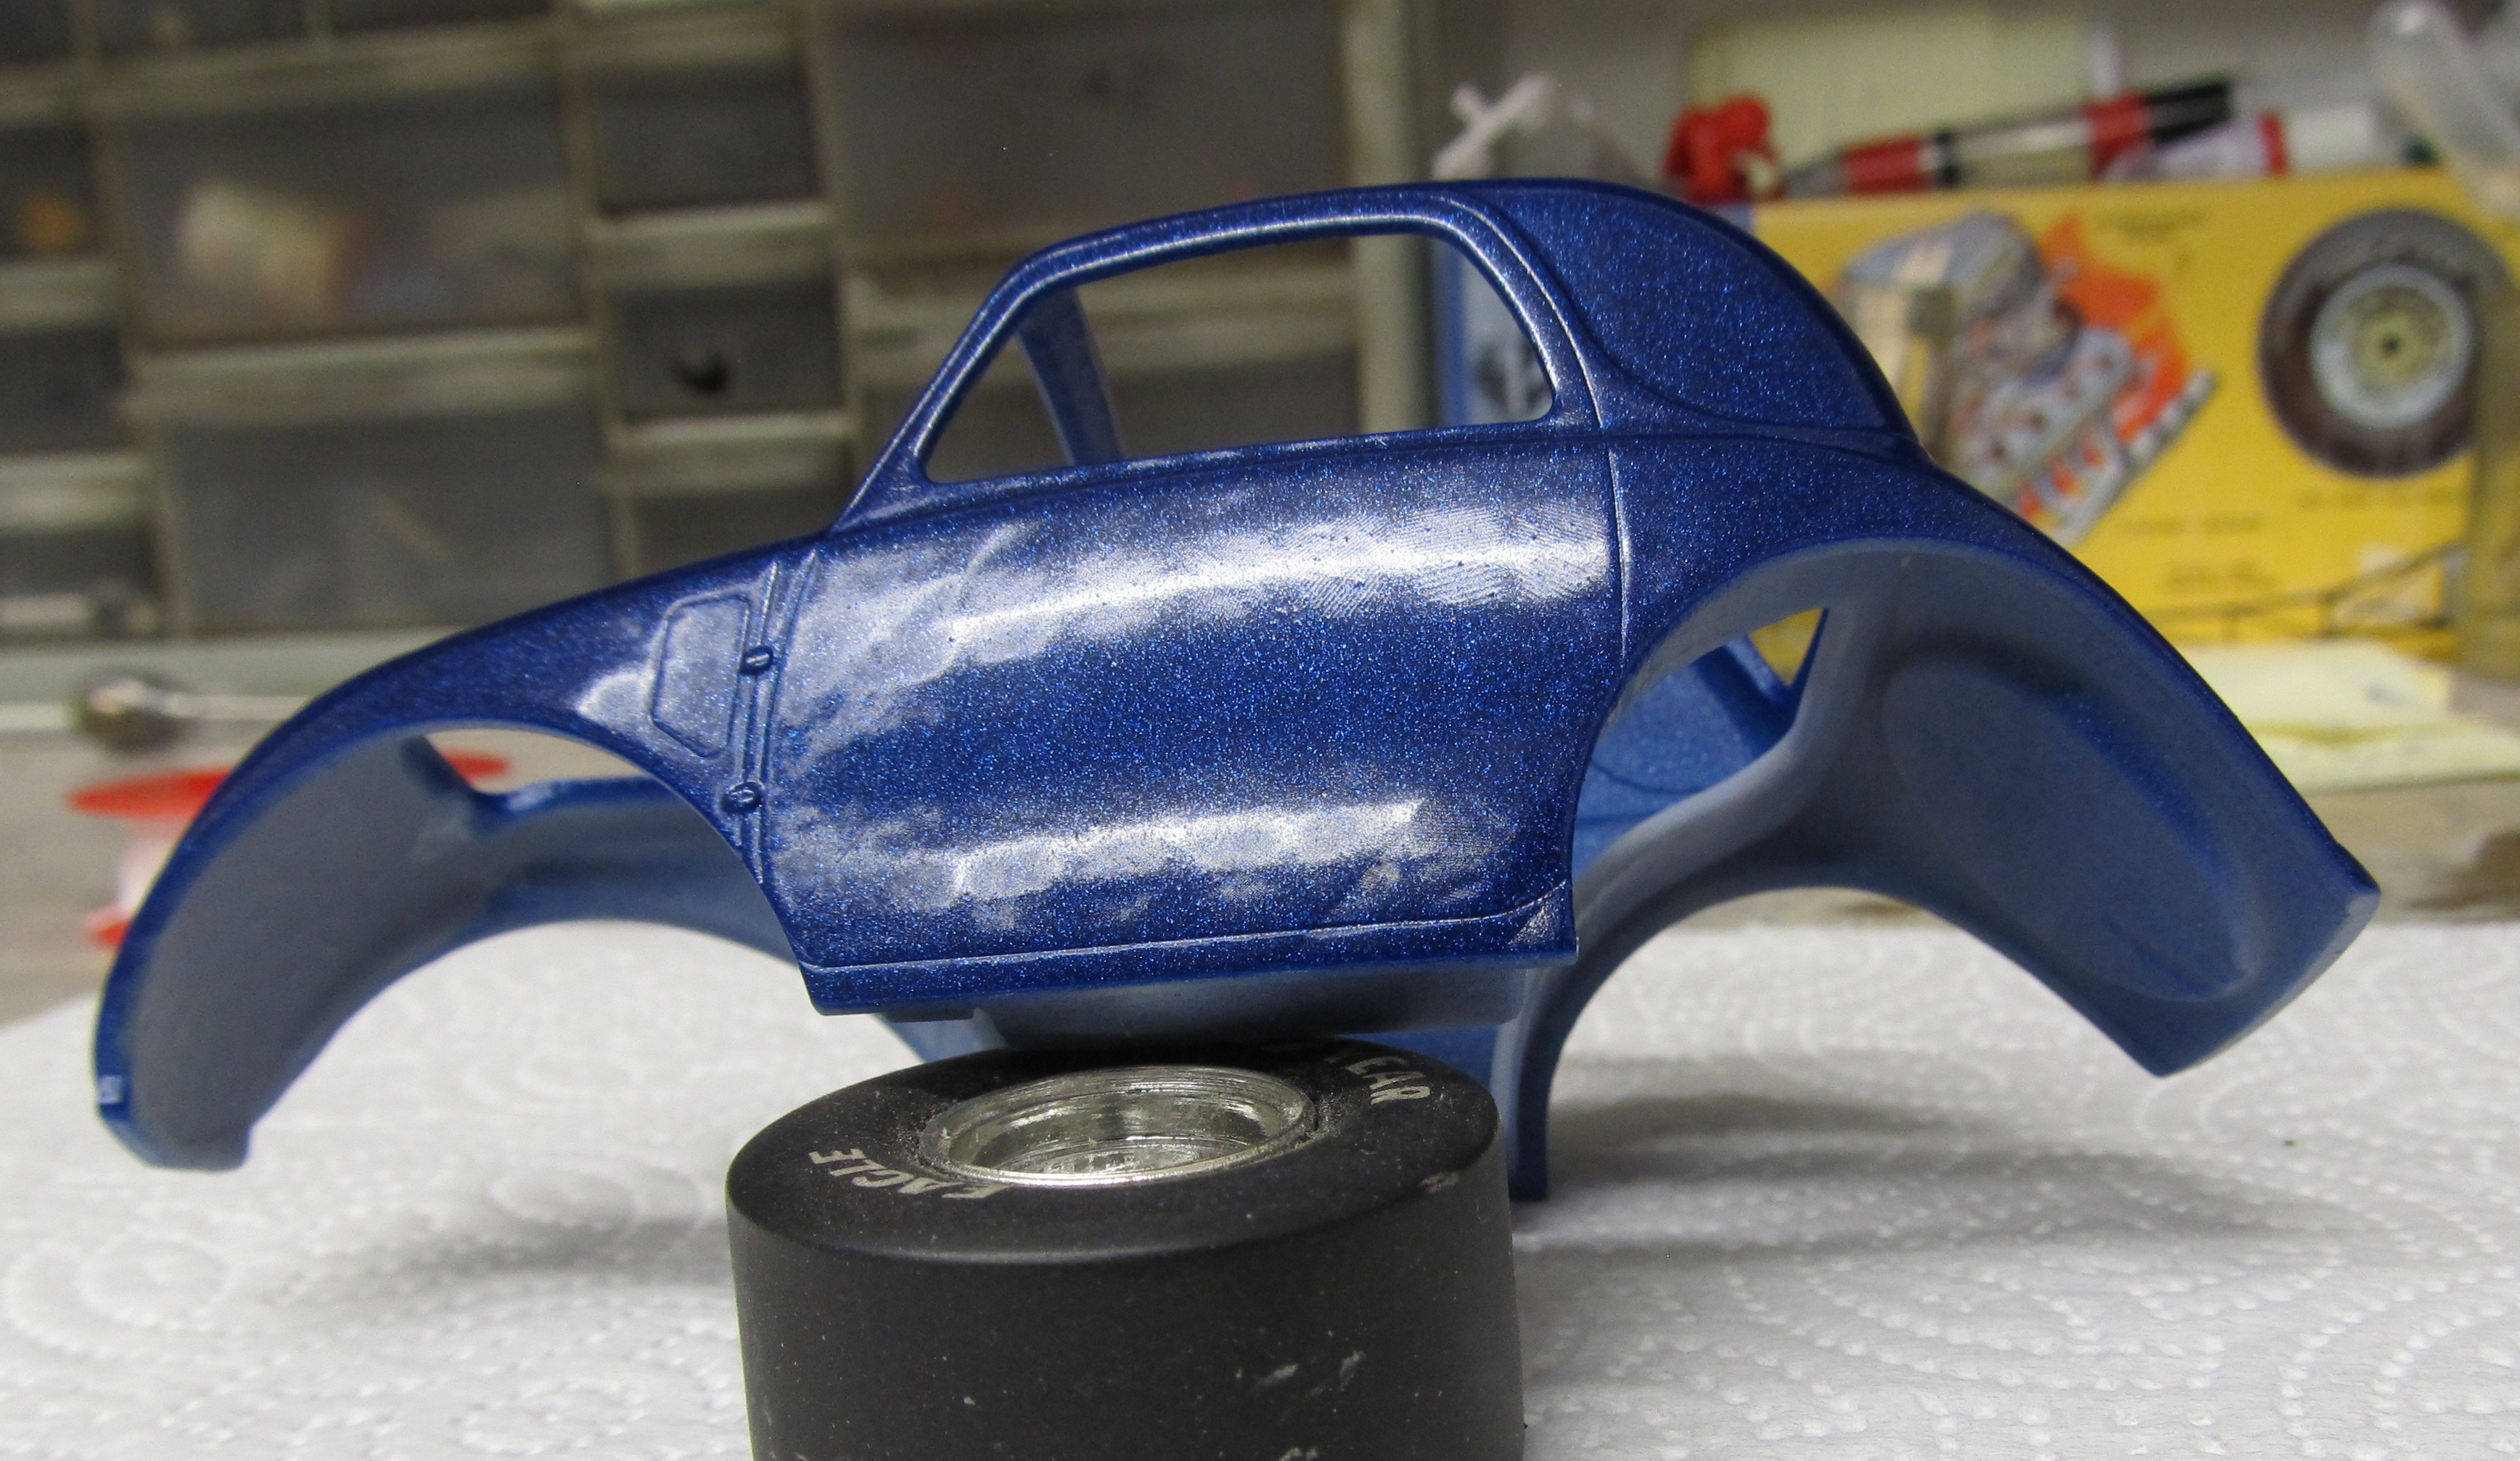
Well its painted. This body is a mess like i have never seen before, i dont know what the printing process is but it stinks, you can play checkers on the side of the car. as i sanded it a checkerboard grid showed up, everywhere. And no matter how much i sanded it didnt go away. So i gave it a go and it looked good till the paint dryed and shrank in, then even more nightmares showed up. I will most likely sand it a little again give it one more coat and take what i get.
IMG_2876.JPG
IMG_2877.JPG
IMG_2878.JPG
IMG_2879.JPG
IMG_2881.JPG
 
I hear ya, the topographic lines show up like fingerprints... I have had hard time with those as well...
With heavily weathered military vehicles it is less of an issue, but clearly a hurdle 3D printers need to clear to be taken seriously by exacting modelers like you!
 
Im use to the fingerprint looking lines but this grid of what seems to be harder and softer material is crazy. Paint jobs are the least of my worry's because they are mostly race cars, i get lucky on a lot of them,:rolleyes:🤣Most times the only prep i do on stock kit bodies is smoothing the mold lines and make sure things fit right, then i light sand to make sure the paint can get a bite, the paint color determines if i use an under coat, most times that will be Galaxy silver from dupli color. I really like this one coat lacquer from testors, it seems to lay down really nice, even on a crappy body.
 
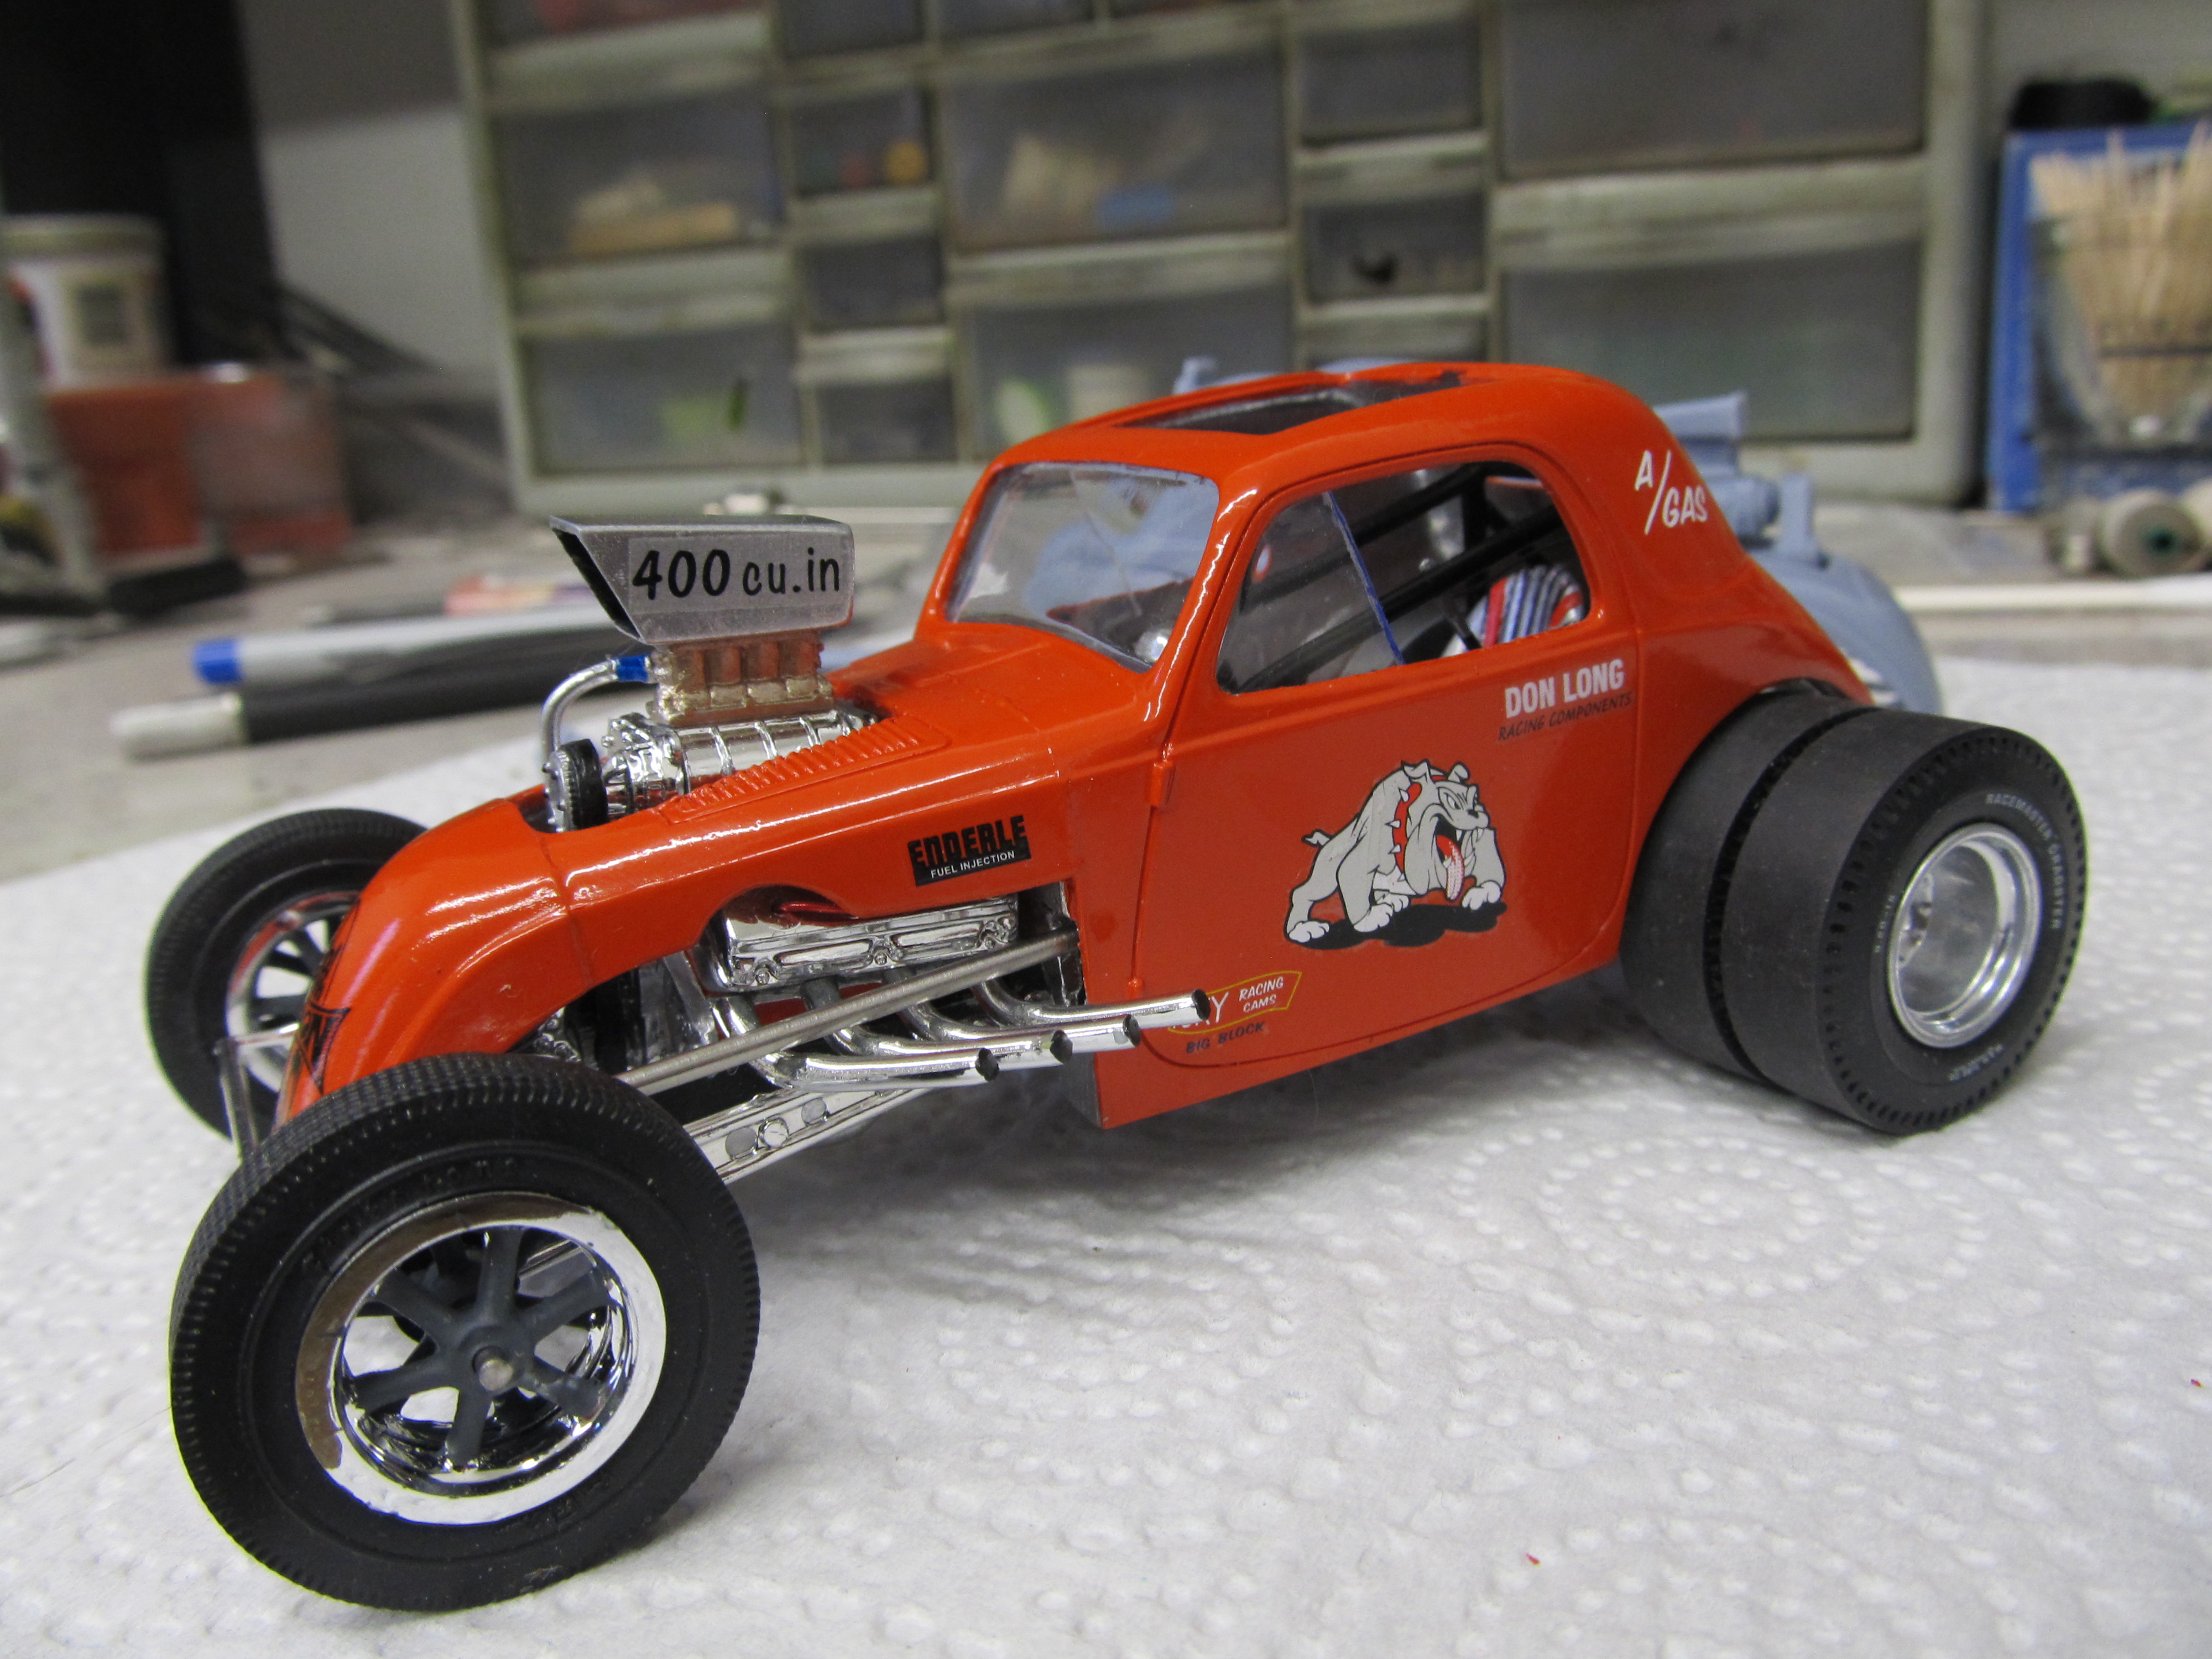
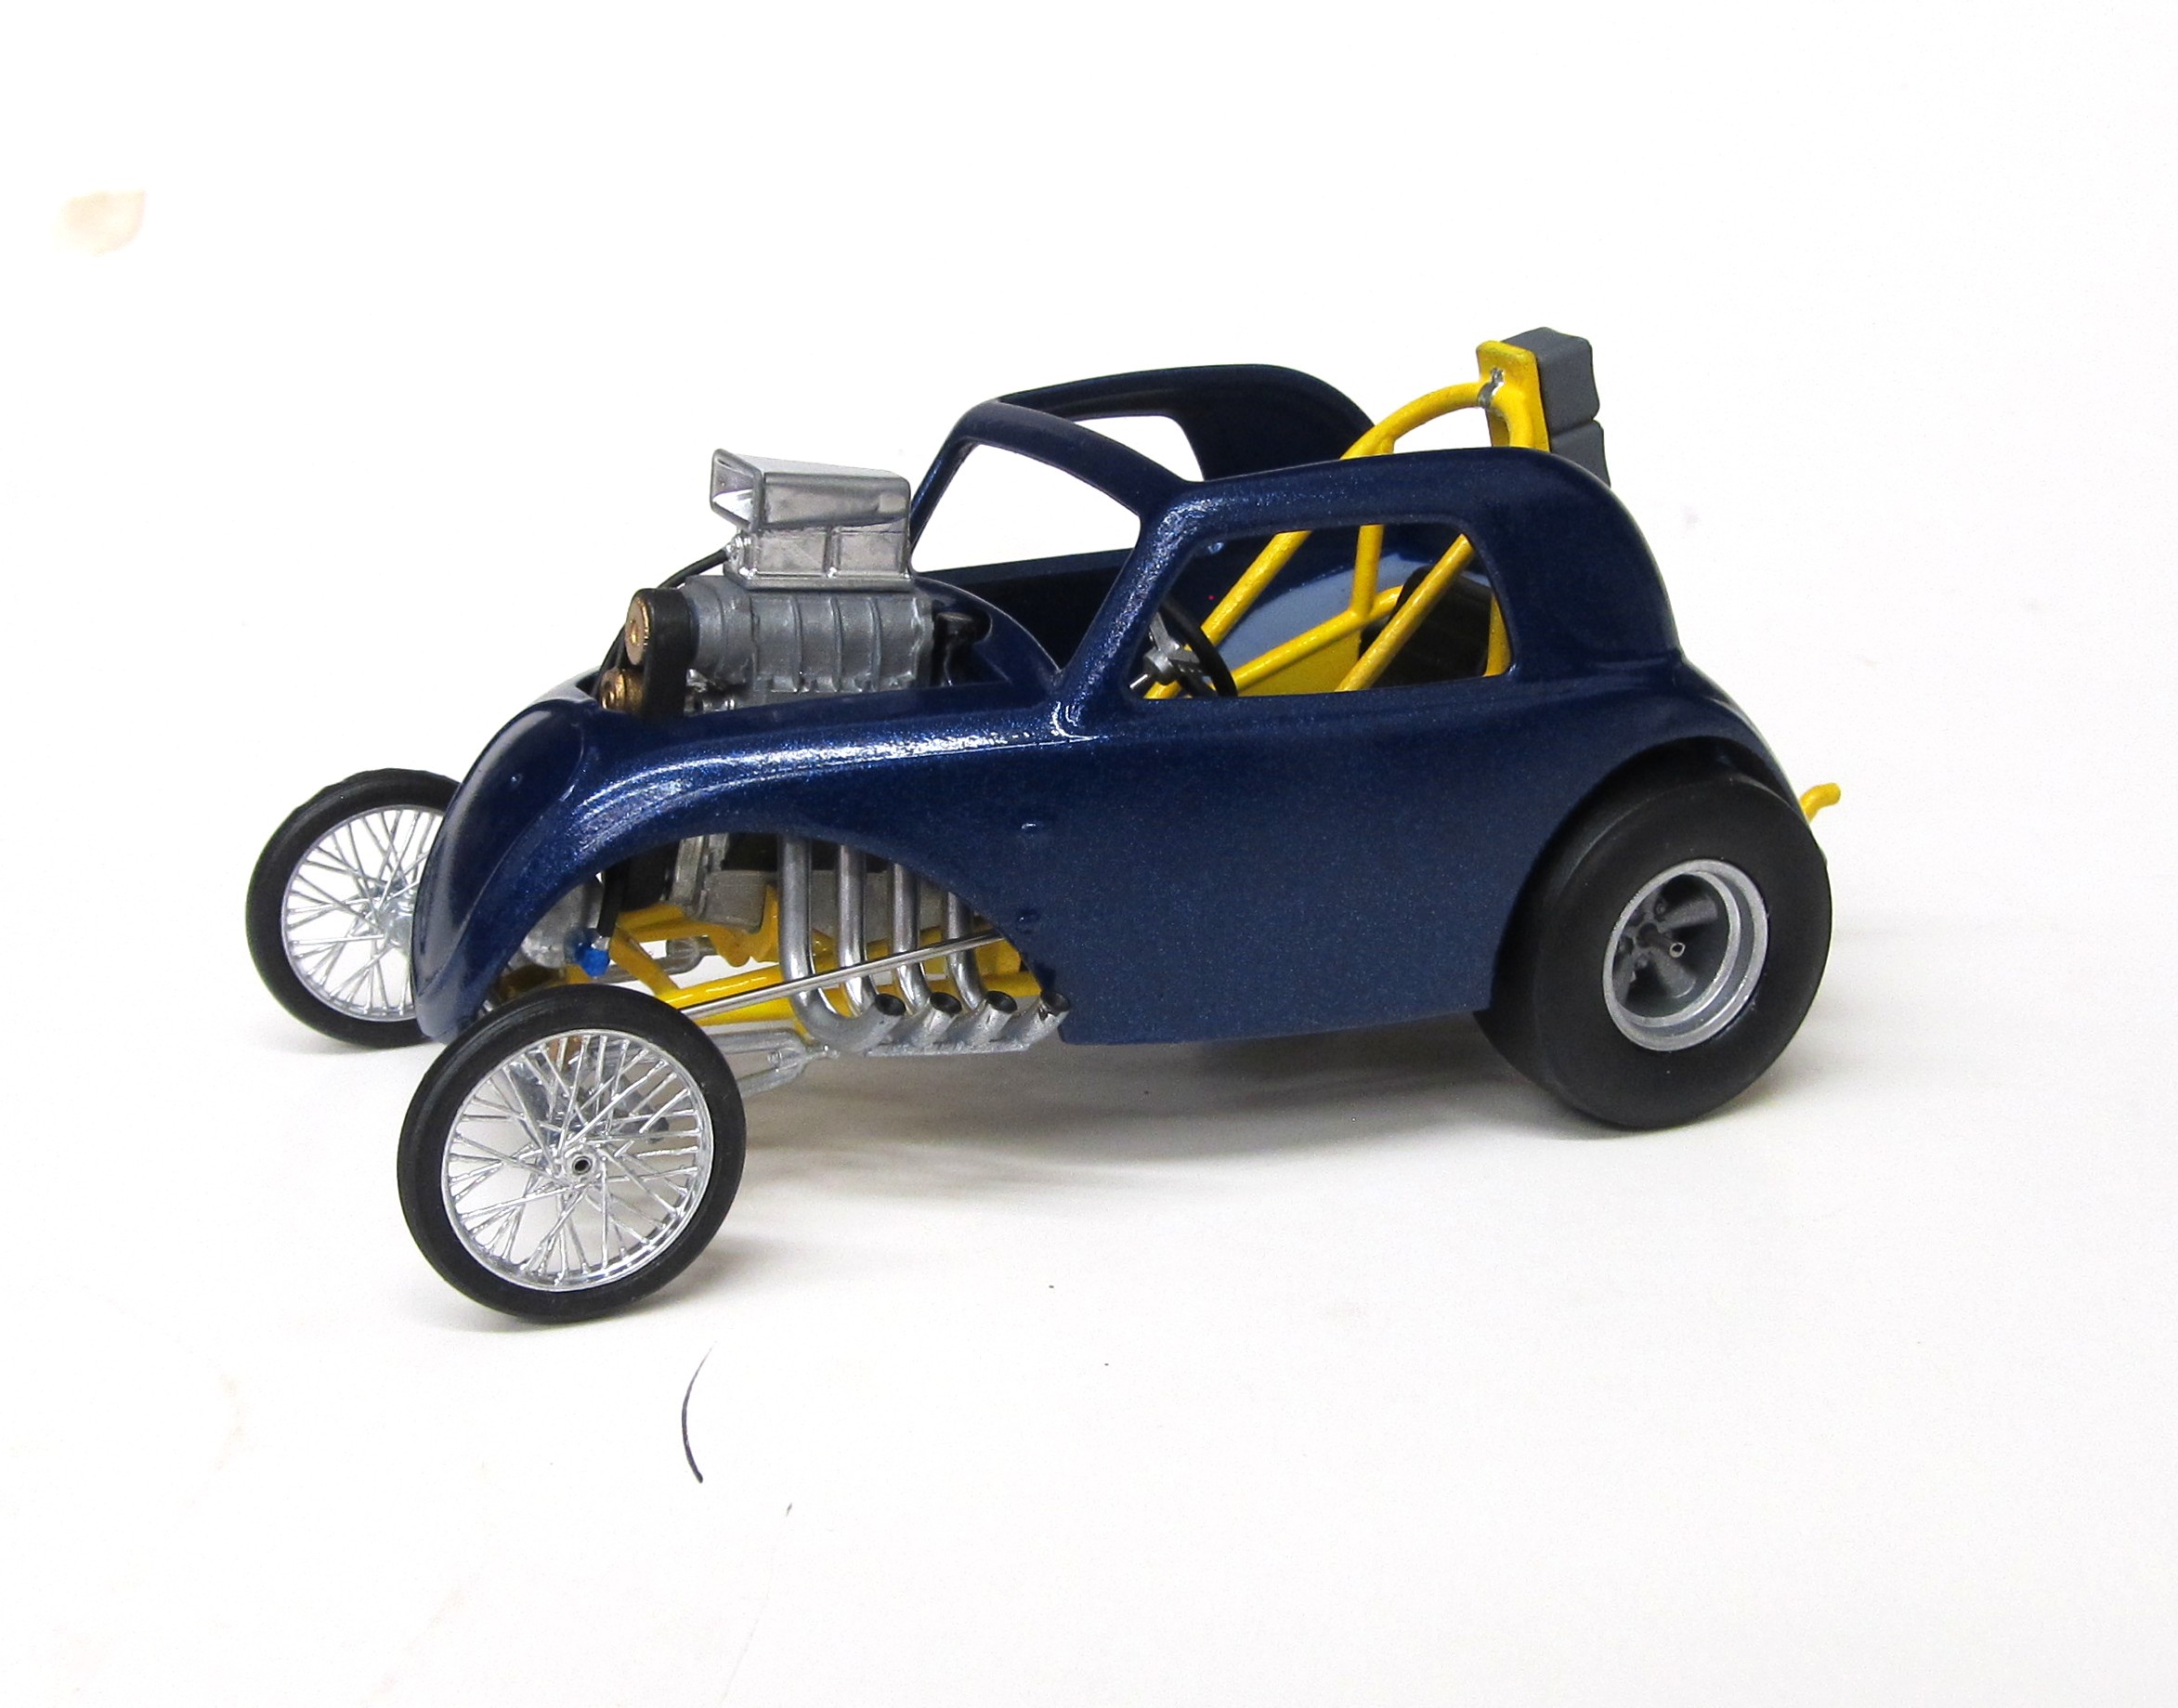
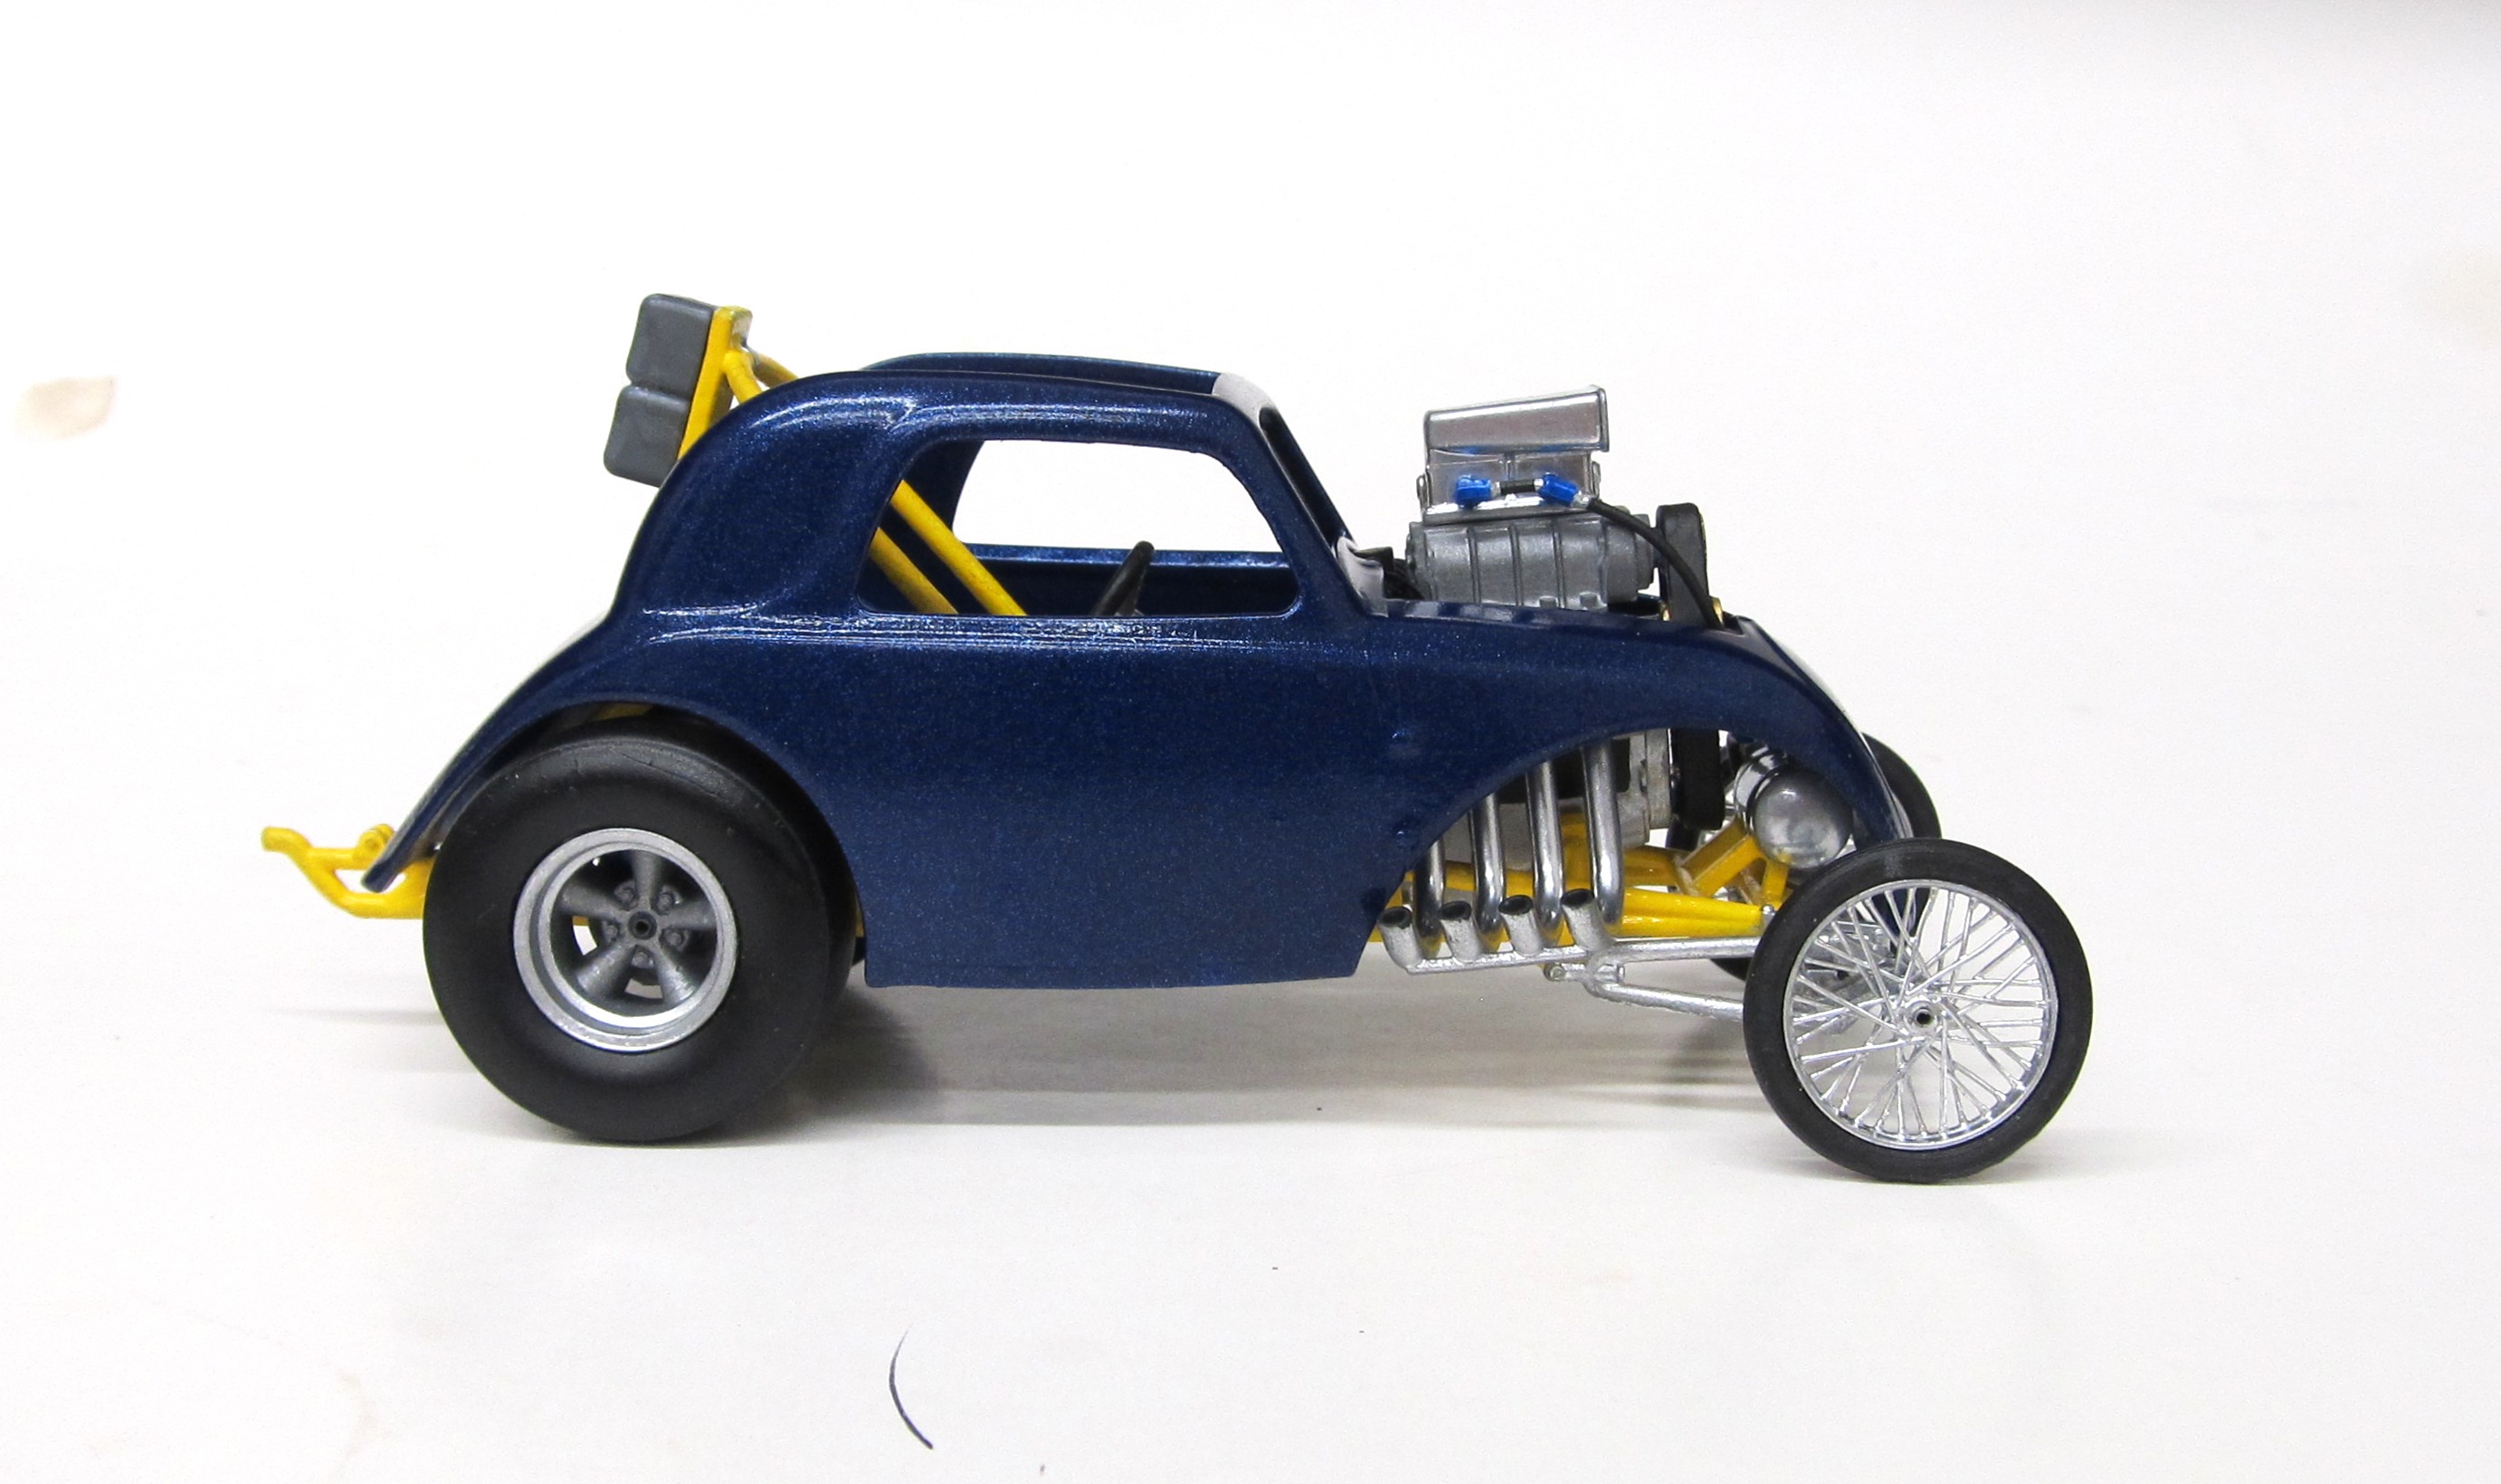
Last mockup before i start gluing on wheels and stuff. A little sanding and two more coats helped a lot but reshooting it two hrs later had its effect to, chicken skin. Two or three coats of clear will take care of that.
IMG_2884.JPG
IMG_2885.JPG
IMG_2886.JPG
IMG_2888.JPG
 

Latest posts

Back
Top