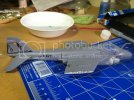
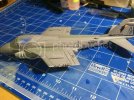
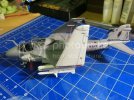
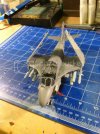
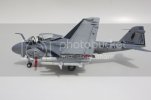
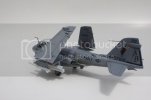
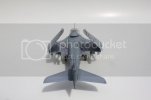
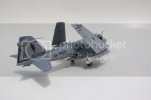
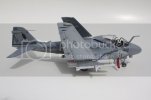
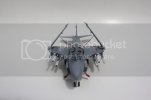
The first in, well, way too long

Such a sweet airframe. I have a Prowler on the queue for the end of the year with AM. Looking forward seeing this one come together. Don't worry about the preshading. Just the ever-so slightest hint of it about the panel lines is all your going for when you apply your base coat. Preshading does not have to look pretty or perfect....perfection in preshading is over rated. If it's there you've accomplished it.
 
Thanks, Glorfidel! Look forward to seeing your Prowler!

Last night, the decals started:

photo-2-9.jpg
 
Thats looking good :) I guess you're going with folded wings ? ...neat:)

Chris.
 
Thanks guys!! ;D It was a pretty busy week - I still made some modelling time, just not much forum time. I got the Future overcoat done, then did an acrylic based wash (MM Gunship Gray - I figured black might be too stark - with water and dish detergent):

photo-2-10.jpg

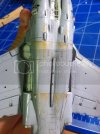
Then, for the first time ever, I tried some artists oils. I like the effect, and how easy it is to control. I took this picture with Raw Sienna, a close match for the oil that seems to leak out of various engine bay doors and drains on the underside of the Prowler (and therefore, I figured, the Intruder):

photo-3-4.jpg

I thought I'd use Burnt Sienna instead of black for other stains, which worked here (didn't take a picture though), but I think it may also be worthwhile to have some black on hand too in the future.
 
Looking sweet! Oils are fantastic for these effects. Many of the boys here are toying with the AK weathering products too. They behave in much the same fashion. Love the oil streaking, great touch.
 
JUST read about those in a year or so old issue of FSM (deployments also put me behind in magazine reading... ). I'll have to try those out.

Anyway, after the flat coat, I was able to get the exhaust effect I wanted with pastels:

photo-3-5.jpg
 
Nice work on the Intruder kolja. The weathering with oil paints and pastels is giving it a good used look.
 
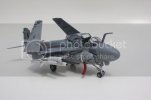
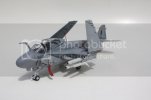
Thanks! I finished up late last night. I'll take some better pictures hopefully later this afternoon, but in the meantime here's a couple 'teasers' from before I went to bed...

photo-3-6.jpg

photo-2-11.jpg
 
Well done, you sure did a fine job. That Italeri kit really looks like it's fun to build.
 
Thanks! The kit definitely made for a nice way to ease back into it after a few years off!
 
As promised, here are the better pictures, from an honest to goodness camera:

IMG_1521.jpg

IMG_1520.jpg

IMG_1519.jpg

IMG_1518.jpg

IMG_1517.jpg

IMG_1516.jpg

IMG_1515.jpg

IMG_1514.jpg
 
Back
Top