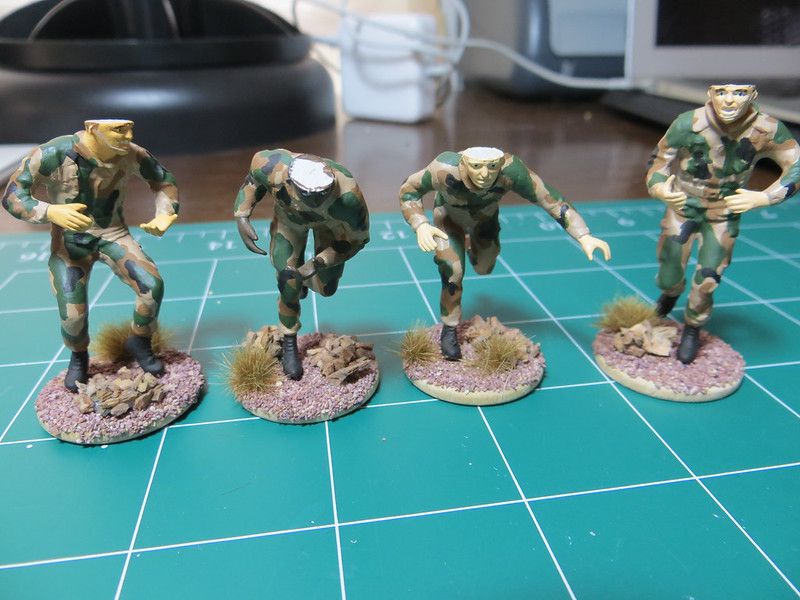
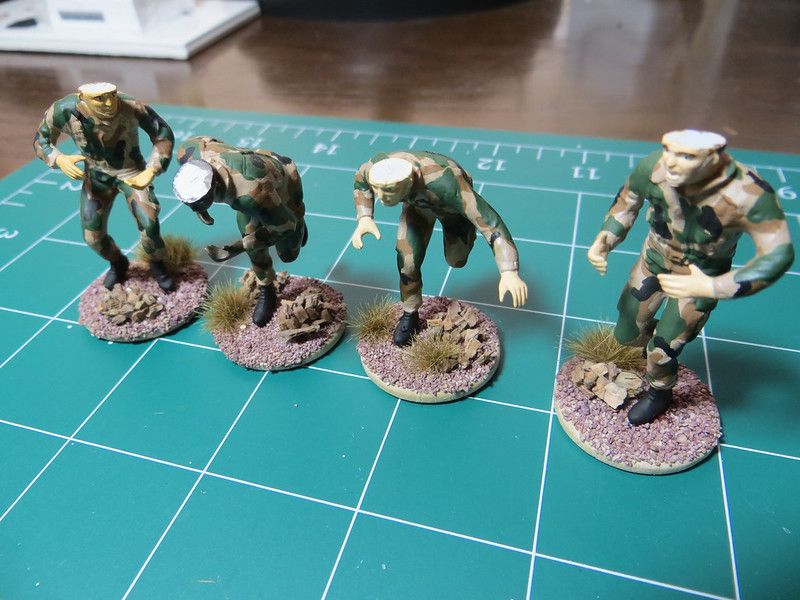
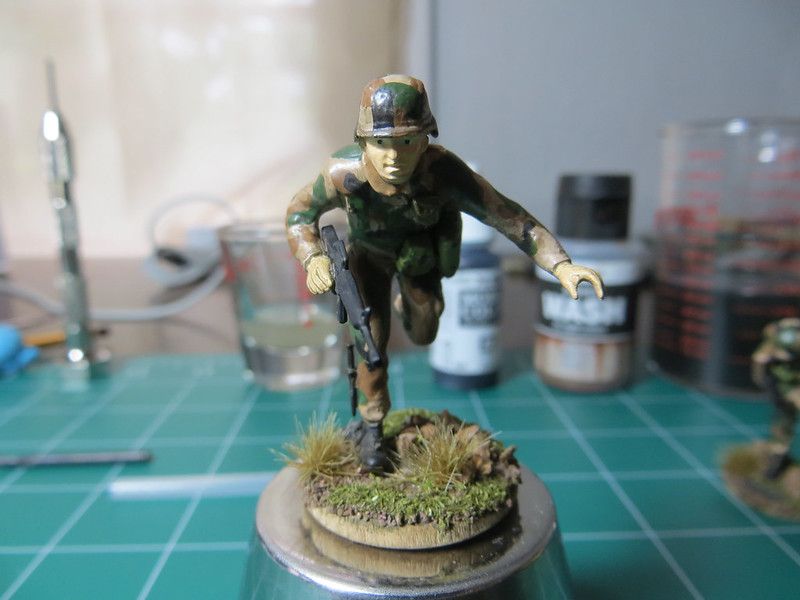
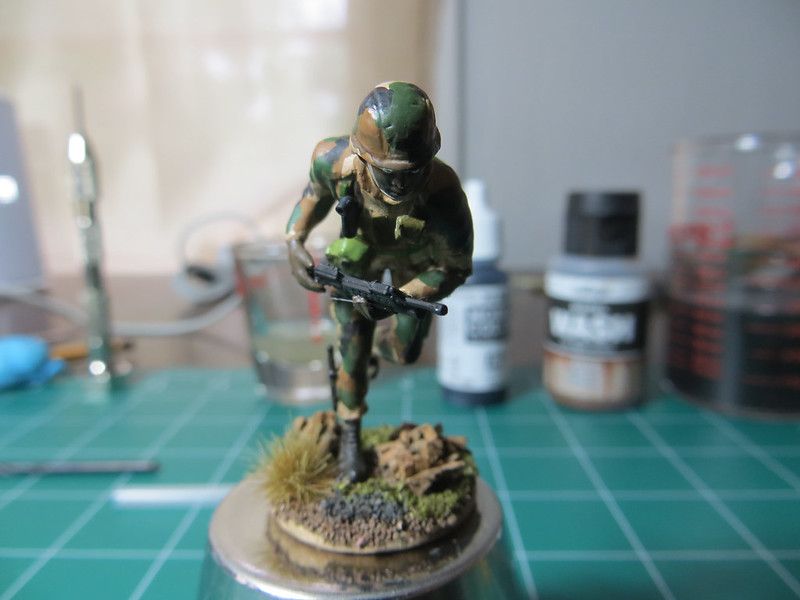
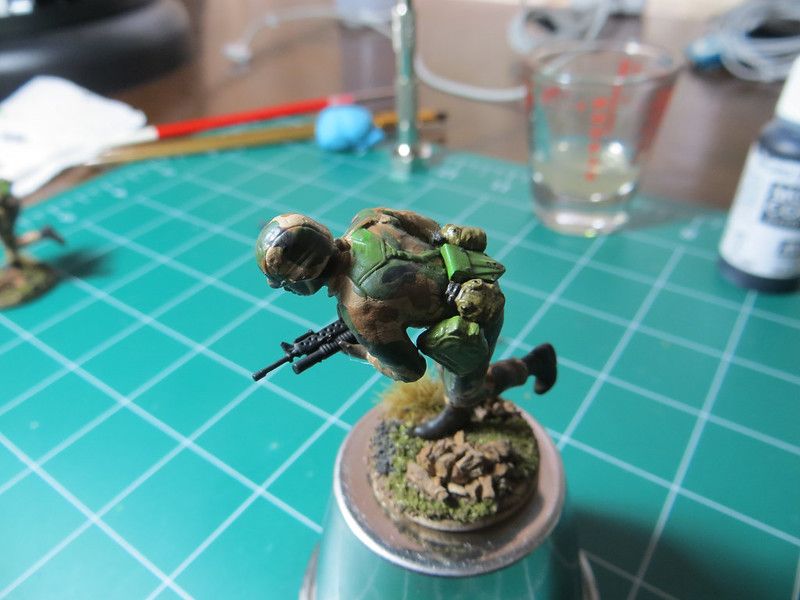
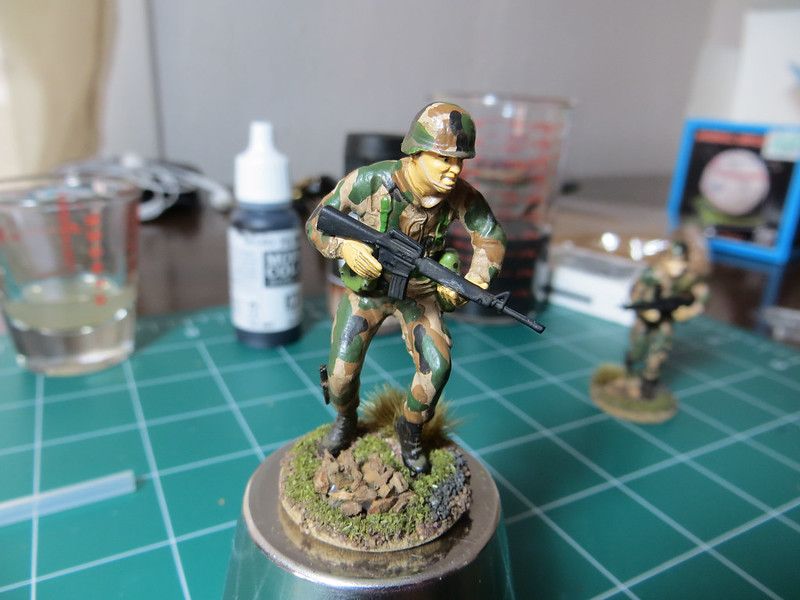
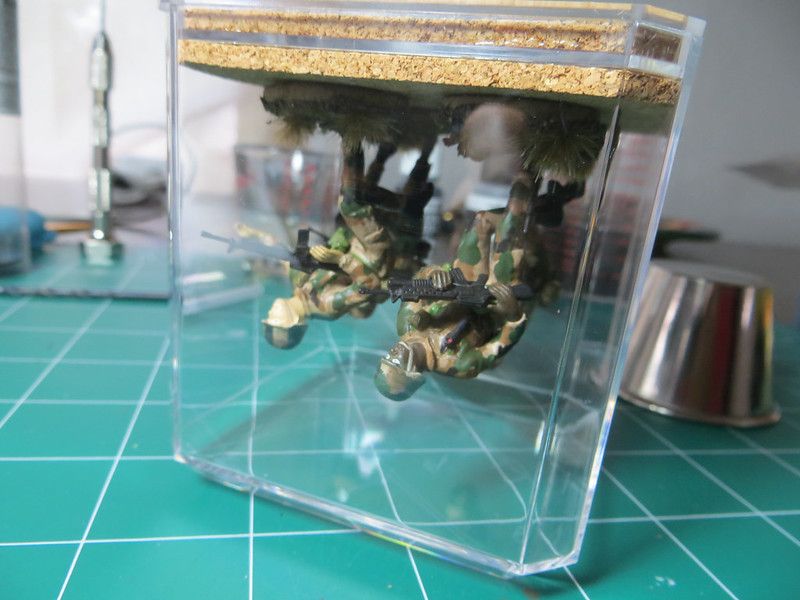
Tamiya US Modern Army Infantry 1:35.. My first work. (FINALLY COMPLETED!!)

Scale Model Addict - Model Tips, Guides, Tools & Tech, Tutorials, and Community

Help Support Scale Model Addict:

luisito8m

Well-Known Member
Joined
May 28, 2013
Messages
110
Hello guys,

Here I shall present my very first work, this is a Tamiya Set that consists of four army guys each with a unique main weapon and the add-ons for each are basically the same.

These are 1:35 figures, I plan to put a base for each of them with sand, rocks, grass, etc.

I'll try to update this thread at least once a week, since I am in engineering school and it definitely takes a lot of my time.

Definitely hoping not to mess this up, since I am making this project public. :P

All comments, suggestions, questions are definitely welcome!!

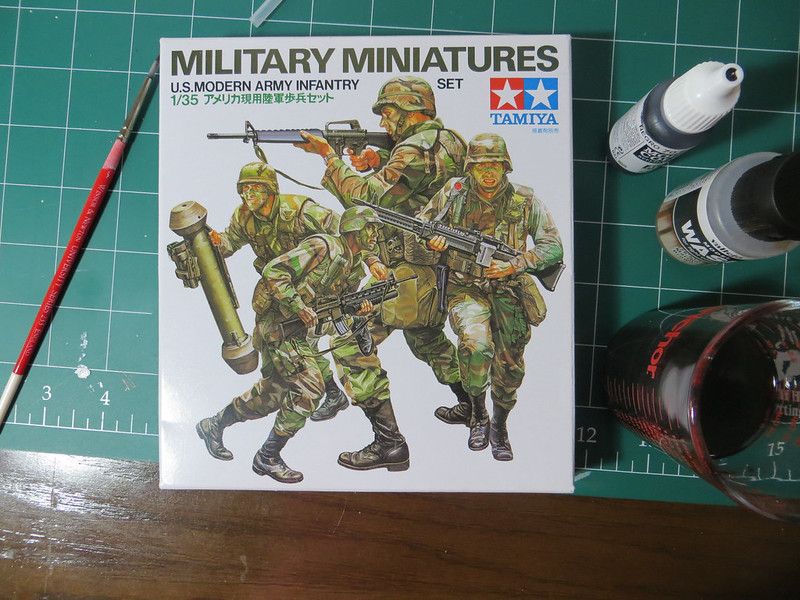
So this is the front of the box:
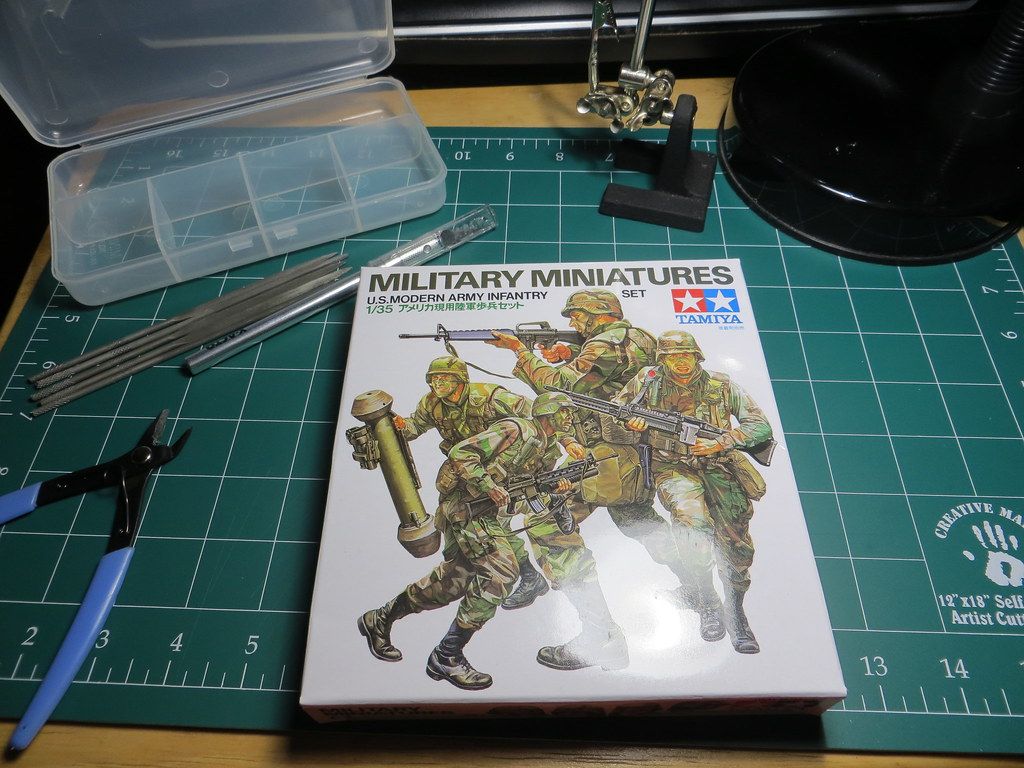
9164765226_2baf9f27c7_b.jpg


This is the back of the box, here I can see which parts to put together and which weapons and add ons each one has and where:
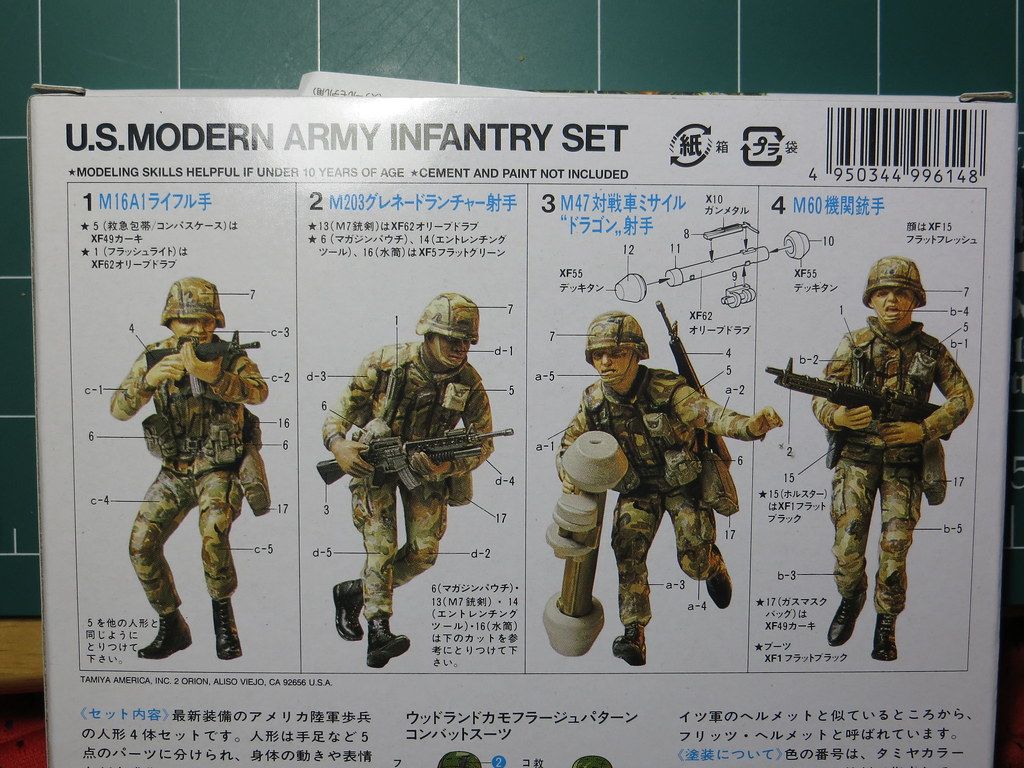
9164756510_19cd29ba6b_b.jpg


The brand new yellowish sprues, interesting color choice:
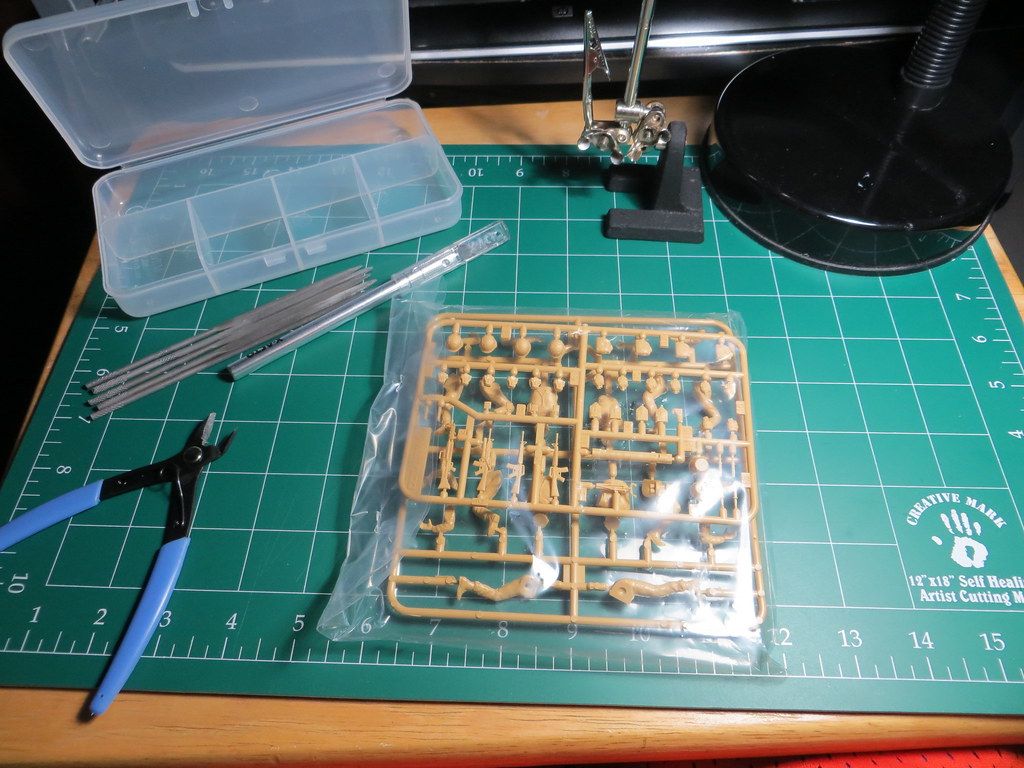
9164763494_5d2d62f72a_b.jpg


This one contains all the parts for the bodies:
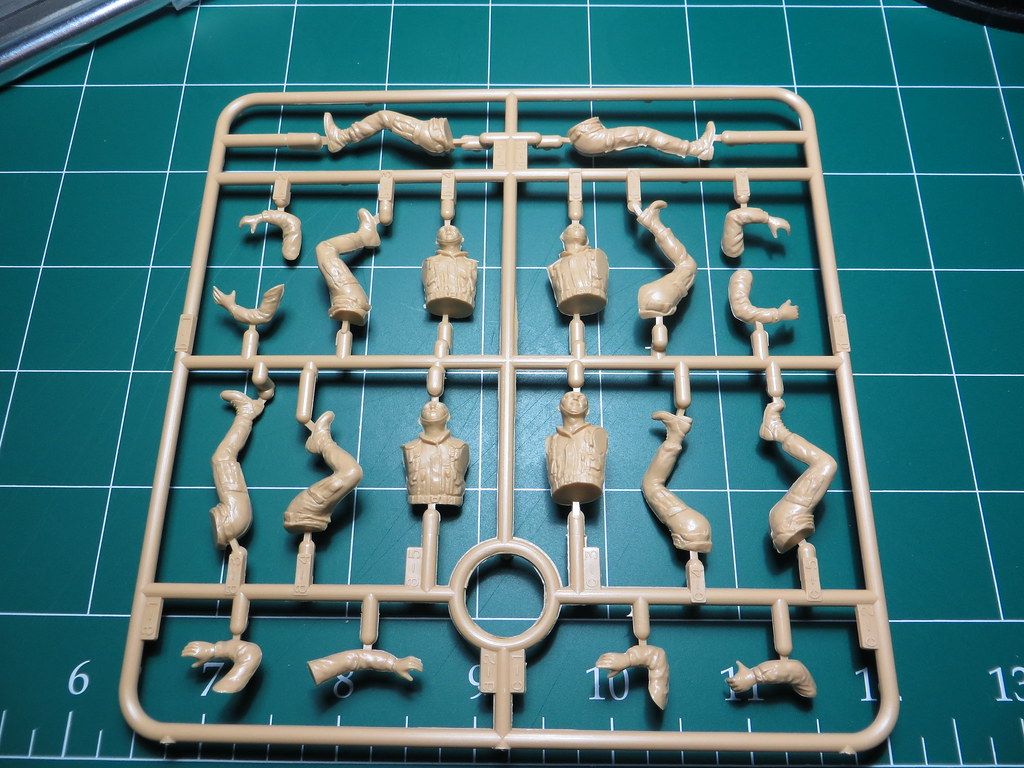
9164760260_145fb3d93b_b.jpg


This one has the weapons, pockets, knives, flashlights, gas masks, helmets, and what not:
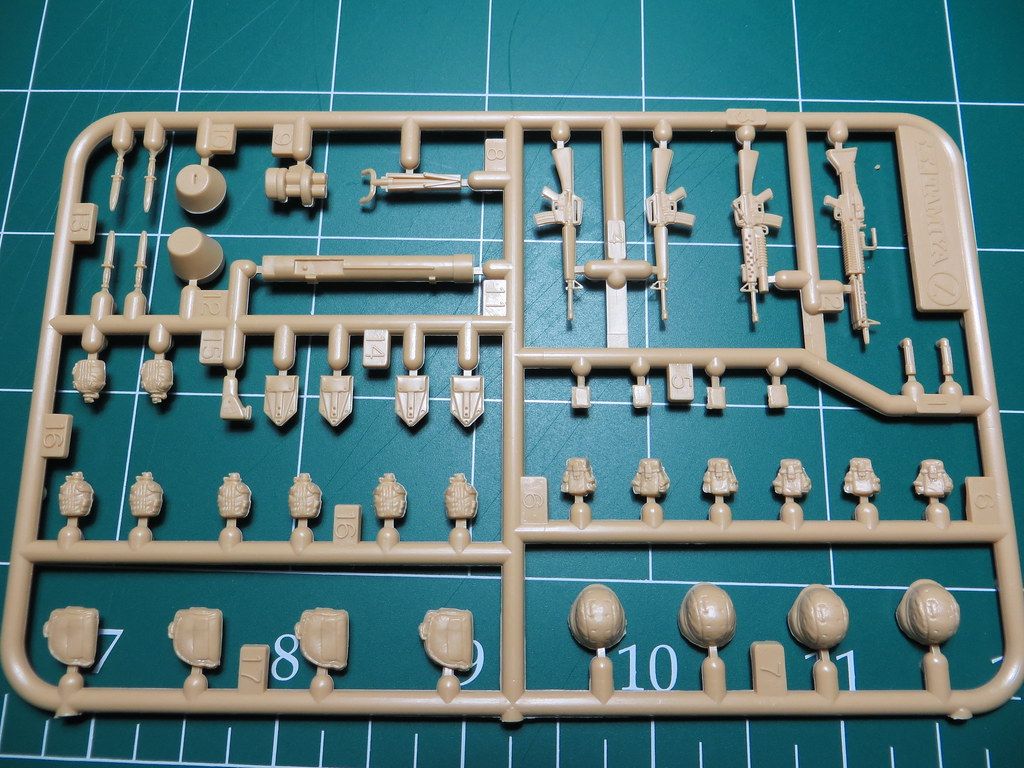
9164758494_ff18a80846_b.jpg


Lastly, I have removed the pieces for the four bodies, each one is made up of 5 different pieces. Will be removing the flash lines (is this the right term) a consequence from the molding dies. I am pretty sure this will take me some time, since every piece has them and they are quite noticeable.
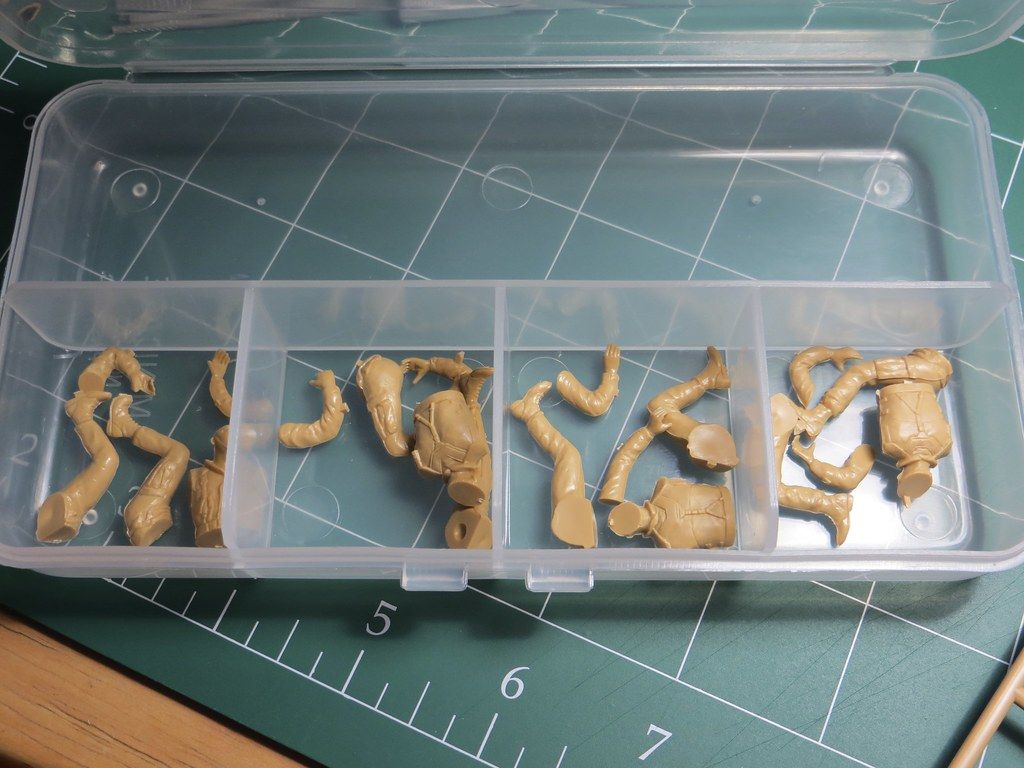
9164754816_624cd85957_b.jpg


Had fun figuring out how to add pictures to the thread. I thought it would be much harder.
 
Re: Tamiya US Modern Army Infantry 1:35.. My first work.

The brand new yellowish sprues, interesting color choice:
... Our New World Order

Had fun figuring out how to add pictures to the thread. I thought it would be much harder

lol , Hey Texan ! What photo-share you using ?
I'm still using Photobucket -- it appears to function well , though I still have occasional hiccups .

Good subject choice with the figures ------ we'll see what you're made of ;D

Keith
 
Re: Tamiya US Modern Army Infantry 1:35.. My first work.

Hey Texan !
What photo-share you using ?
I'm still using Photobucket -- it appears to function well , though I still have occasional hiccups .
Good subject choice with the figures ------ we'll see what you're made of ;D

Keith

I am using flickr, too me a while to figure out where to find the codes for the images but finally got it. I was going to use Picasa from Google, but I didn't want to download any software to my computer, so I went with flickr from Yahoo.

Luis
 
Re: Tamiya US Modern Army Infantry 1:35.. My first work.

Groovy ...
Glad to see you back in the fray ;)

..... I see the Engineer in you , with your impeccable setup , lol ;D
 
Re: Tamiya US Modern Army Infantry 1:35.. My first work.


Real nice set you got there,

built it a few yrs ago, and found it a real nice set to put together and paint up :)

looking forward to seeing them come together


shane.
 
Re: Tamiya US Modern Army Infantry 1:35.. My first work.

longlance67 said:
Real nice set you got there,

built it a few yrs ago, and found it a real nice set to put together and paint up :)

looking forward to seeing them come together


shane.

Any chance you still got it around? Would love to see it!

Luis
 
As an Amazon Associate we earn from qualifying purchases. Product prices and availability are accurate as of the date/time indicated and are subject to change.
Re: Tamiya US Modern Army Infantry 1:35.. My first work.


Luis,

sorry buddy their long gone now, im trying to think if they might lying around somewhere

ill have a look and get back to you :)


cheers,


Shane
 
Re: Tamiya US Modern Army Infantry 1:35.. My first work.

No classes tomorrow! Yay! ;D

Anyways, here is a nice update:

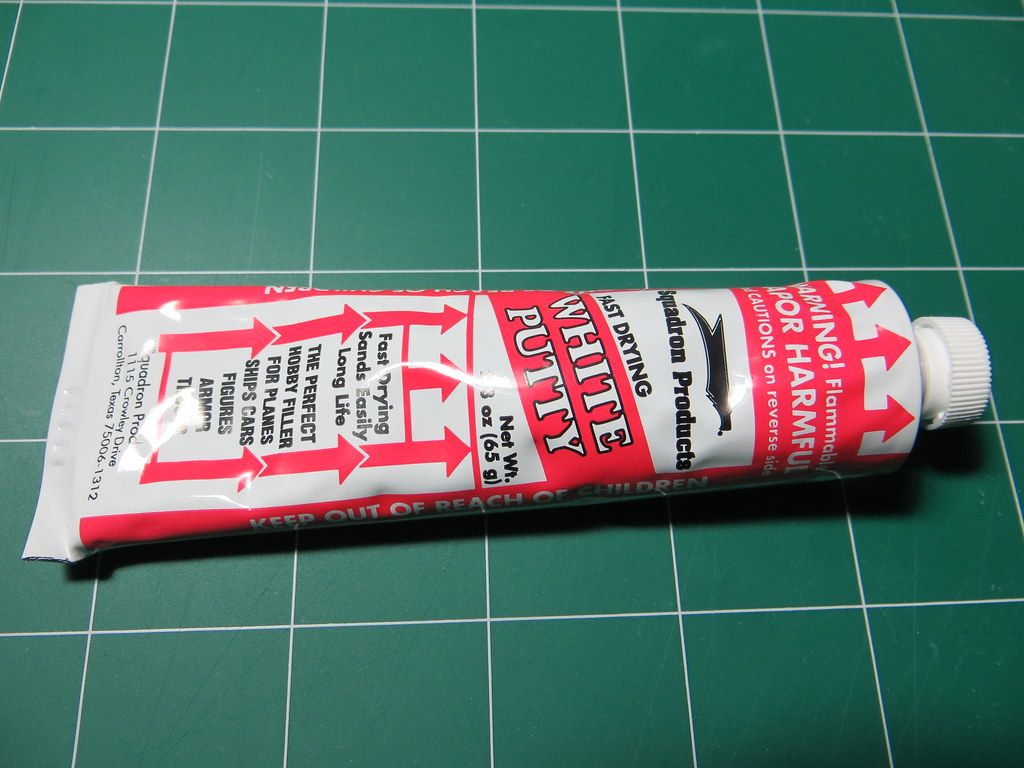
I am using Squadron Red Putty, I know this stuff is toxic if inhaled while sanding, but didn't know that it also has a negative affect on the skin, my hands were very dry for a couple of days. I know now that I must also use gloves!

9206300970_75e23ac462_b.jpg


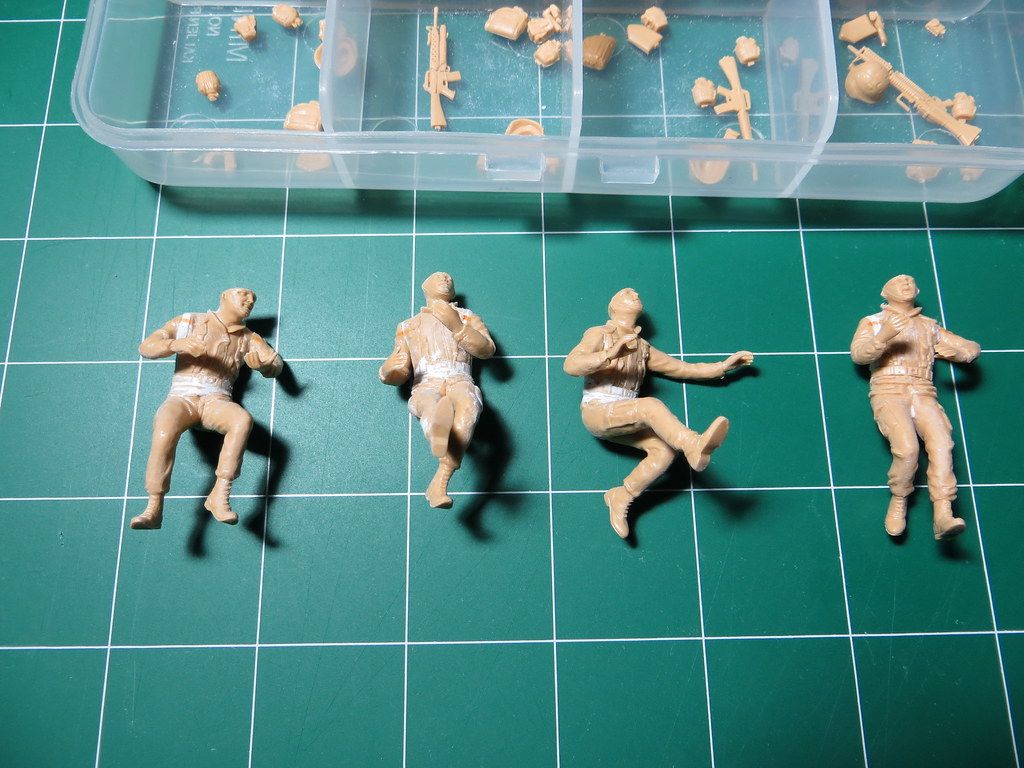
After putting them together using the Testors' Cement for Plastic, the red tube; I also added the putty between the gaps and also between the arms to create a bigger angle for the weapons to lie perfectly. The default angles are quite short.

I've not added the helmets because I want to be able to paint the face with great detail.

9206305932_6fbbc058d6_b.jpg


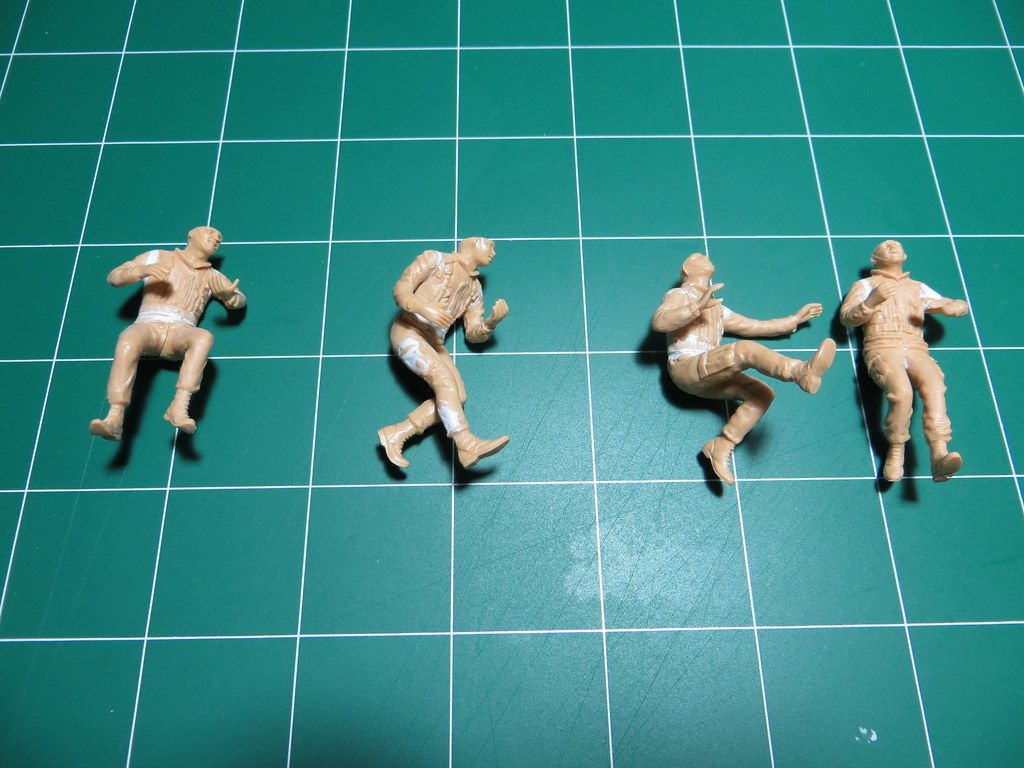
Here is a shot, after a sanding, more putty and a final sanding.

9203513223_1158169b79_b.jpg


Honestly, it was a bit tough to sand down on the tiny parts. I have learned that for next time, I should use some Tamiya 6mm Masking Tape to prevent the putty from reaching certain areas and do less sanding.

Temporal basing, priming and color base on the next update! ;)

Luis
 
Re: Tamiya US Modern Army Infantry 1:35.. My first work.

Saturday update!

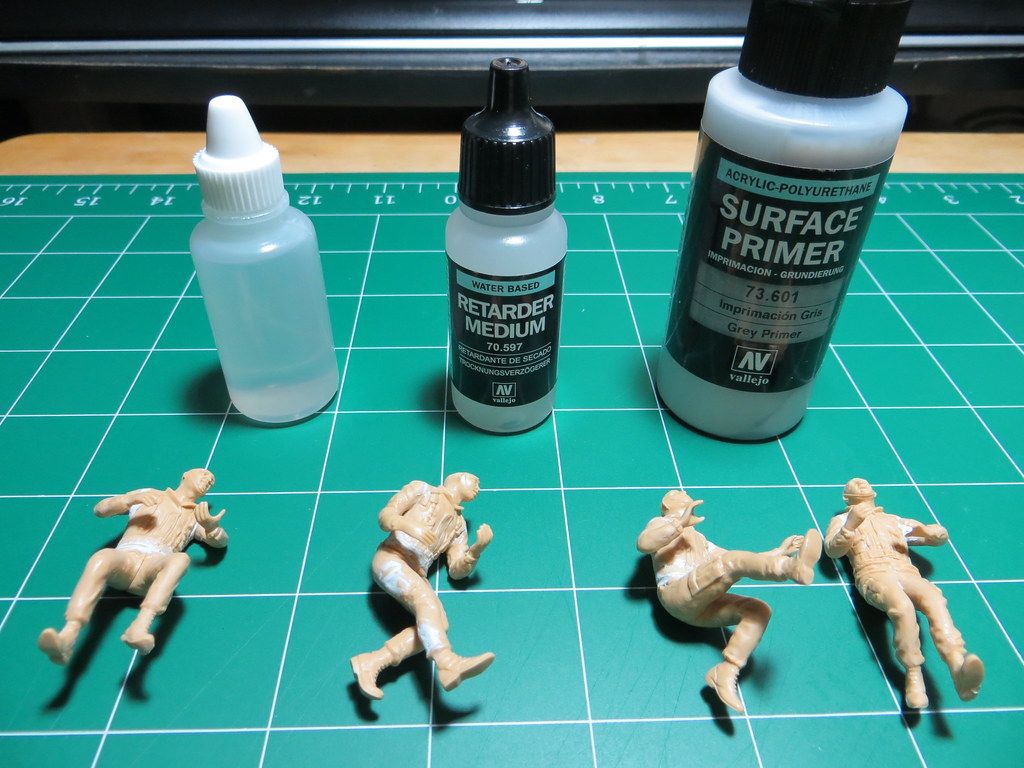
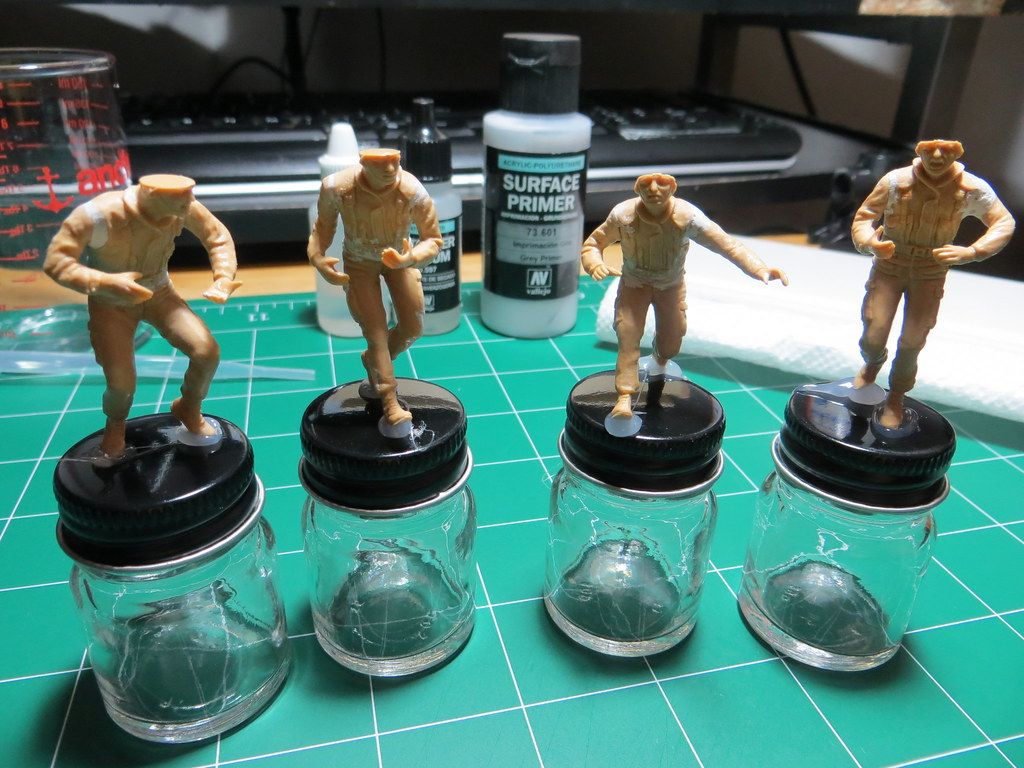
For the first time I will be using Vallejo Primer and Vallejo Retarder. No idea what to expect, hopefully everything goes well.

9206294514_719d005382_b.jpg


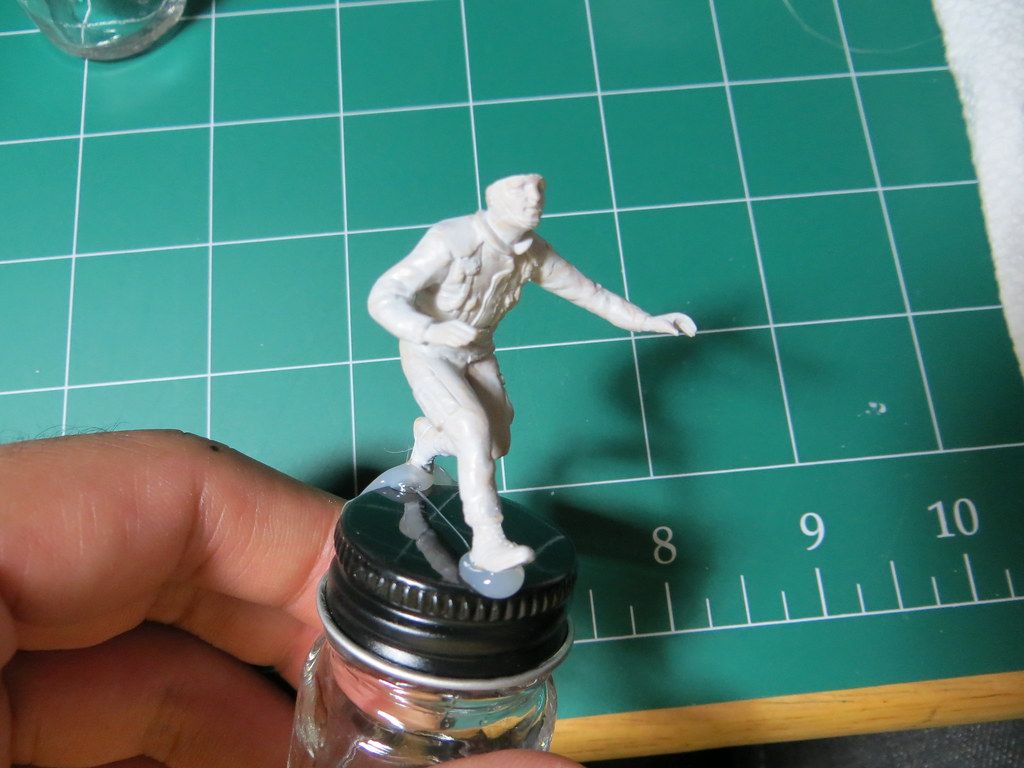
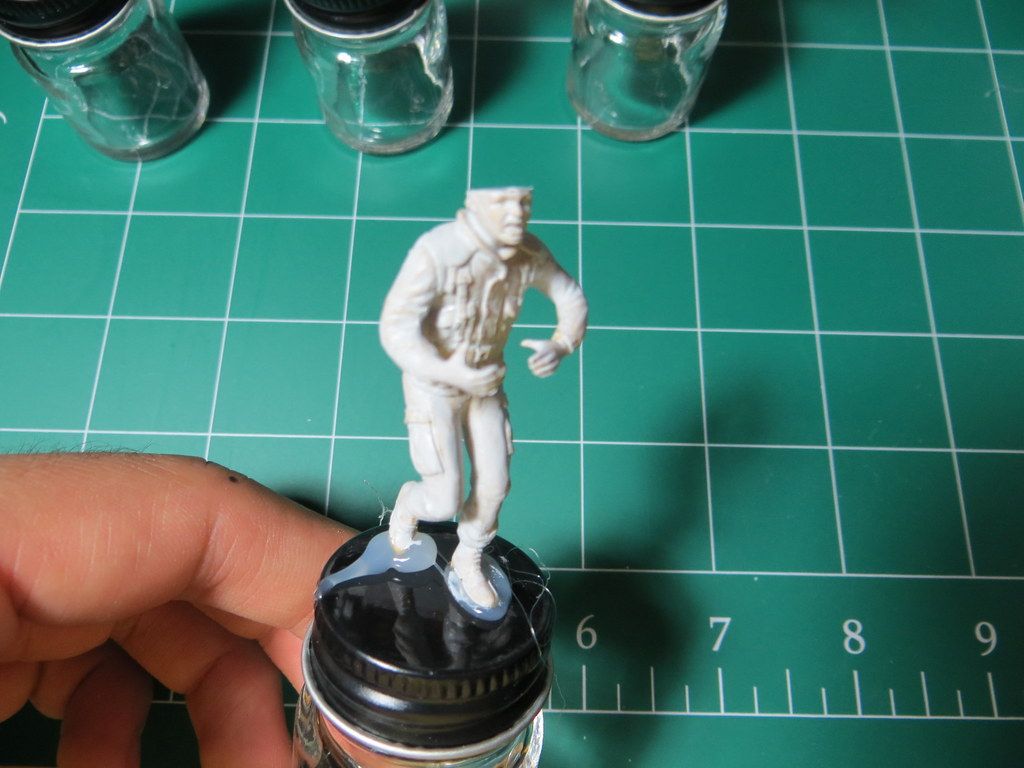
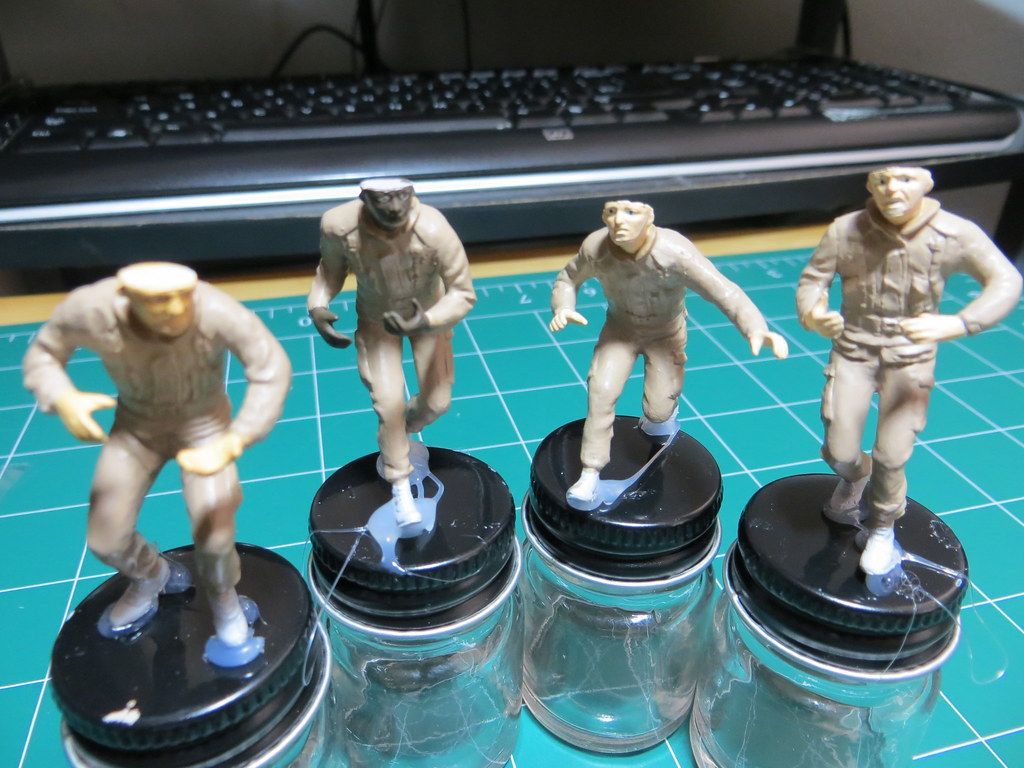
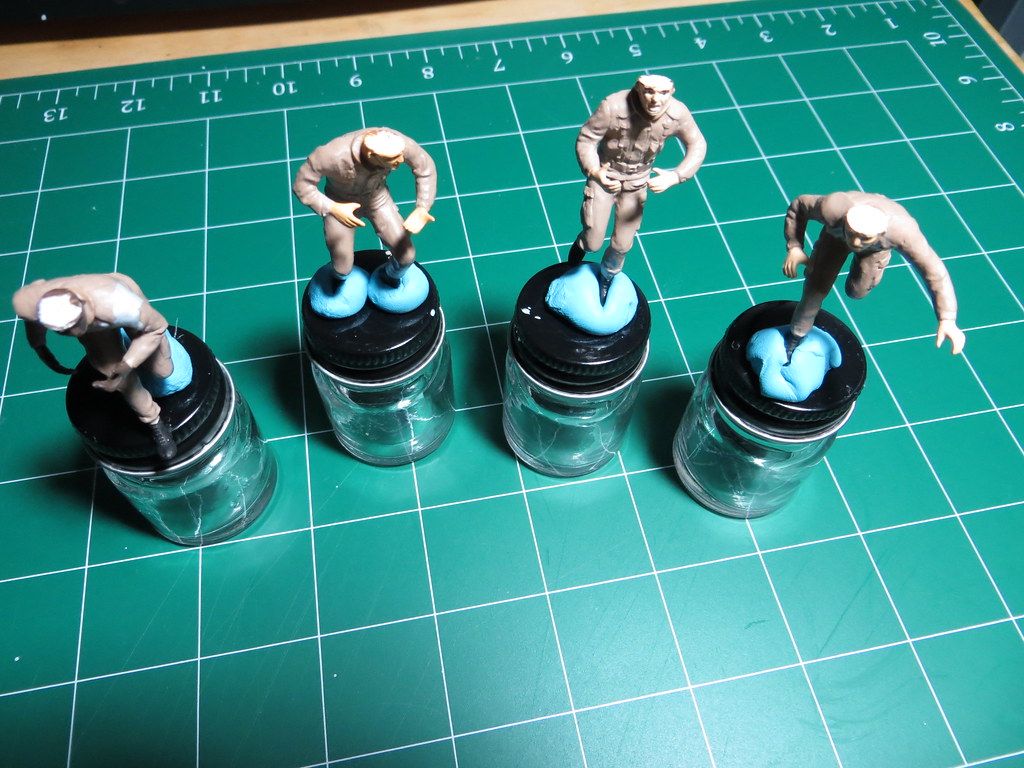
But first, order to start priming or any sort of painting, I am giving my figures a temporary base. For better holding purposes of course! My best guess, to use a hot glue gun to adhere them, as it turns out, may not be the best option, since everytime I remove them from the base, some of the primer strips off. And doesn't hold pretty good, but at least is what got me working as of now.

9206292968_338f2df5c8_b.jpg


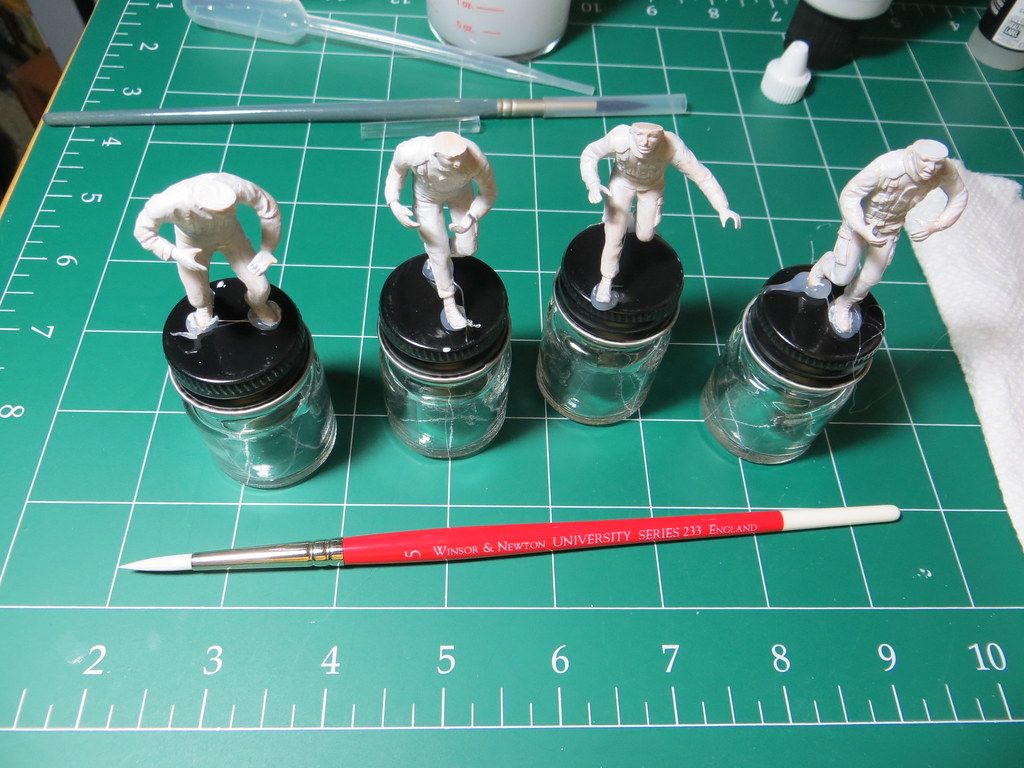
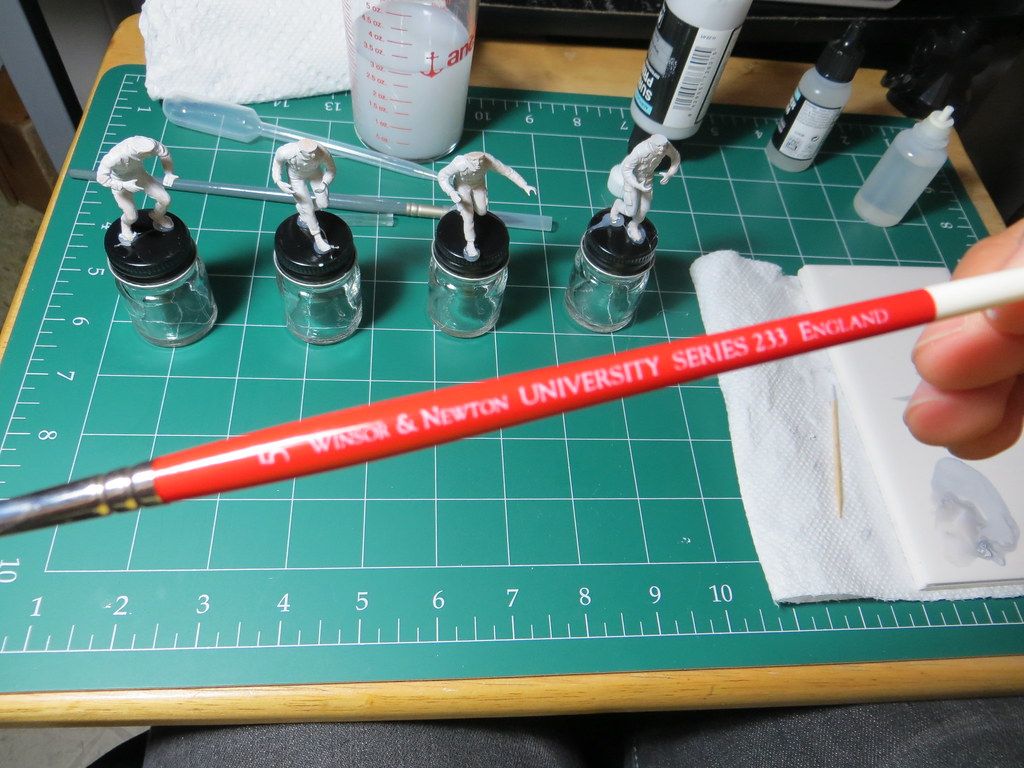
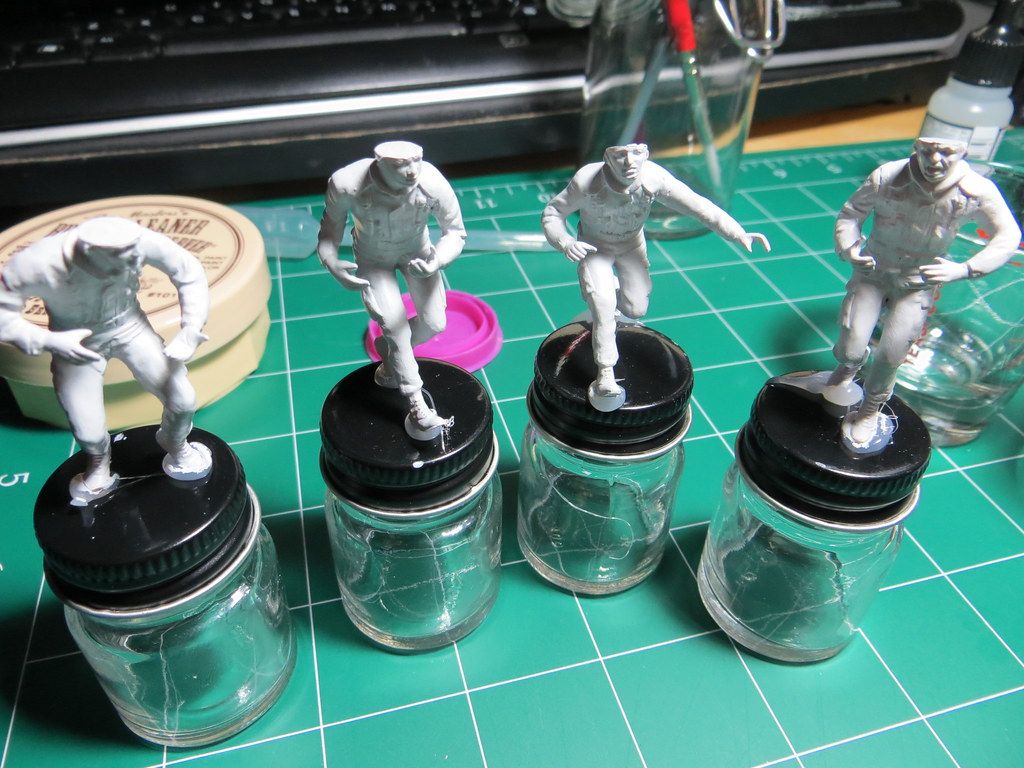
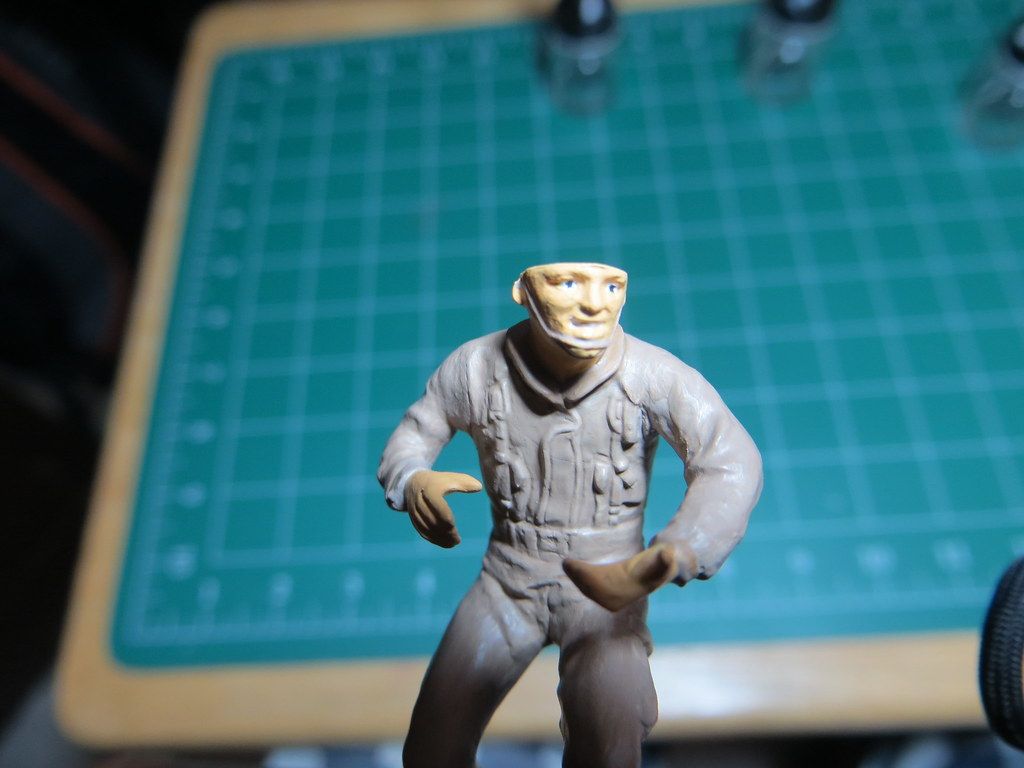
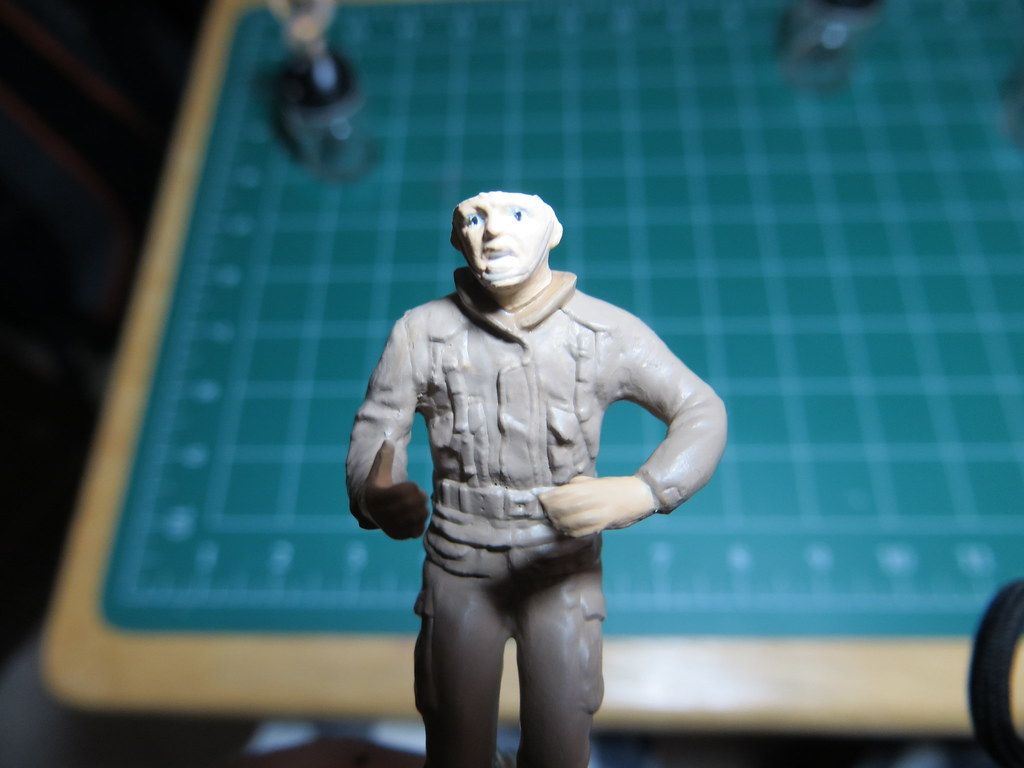
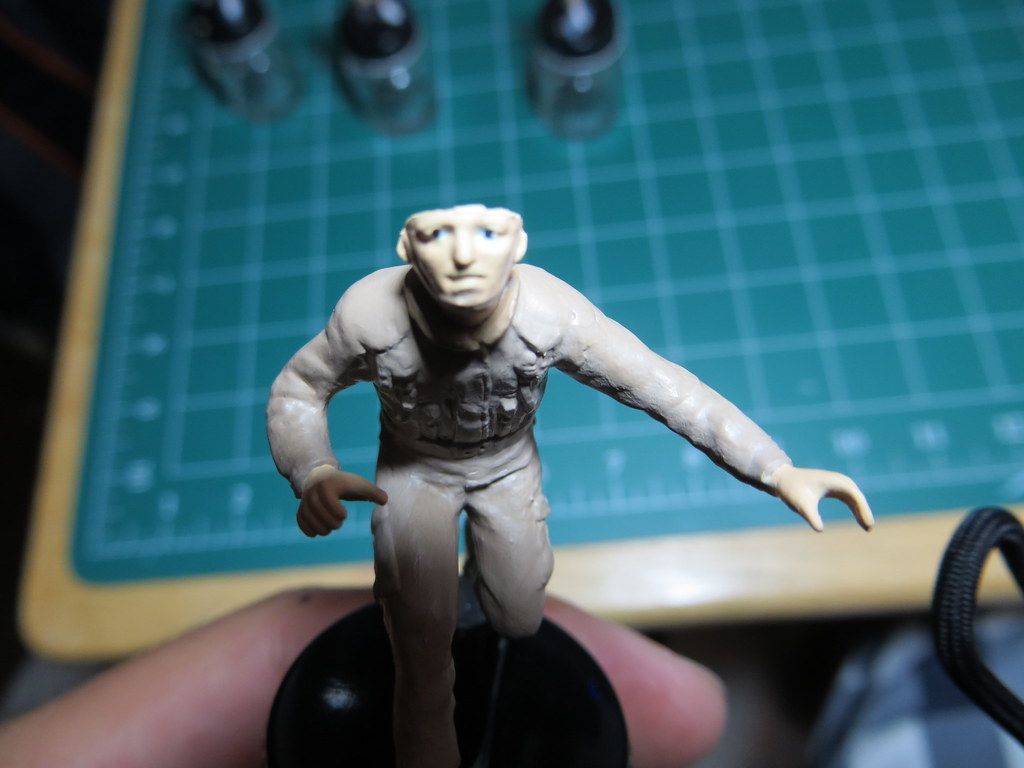
Now, this is how my figures look after the first coat of primer. The primer is very translucent at this stage, I am using thin coats.

9206290068_e6aaef3c2a_b.jpg


9203504697_b4b73bc73a_b.jpg


9203503219_7131a817c3_b.jpg


9206285510_665d4b2ab3_b.jpg


9203500441_2afc4507f9_b.jpg


I am using a Winsor & Newton University Series 233 Round Brush No. 5, this bad boy is synthetic and I am using it for the first time. Definitely love it, it has an insane amount of spring and keeps its point perfectly.

[
9206282874_a9ecf2d6c4_b.jpg


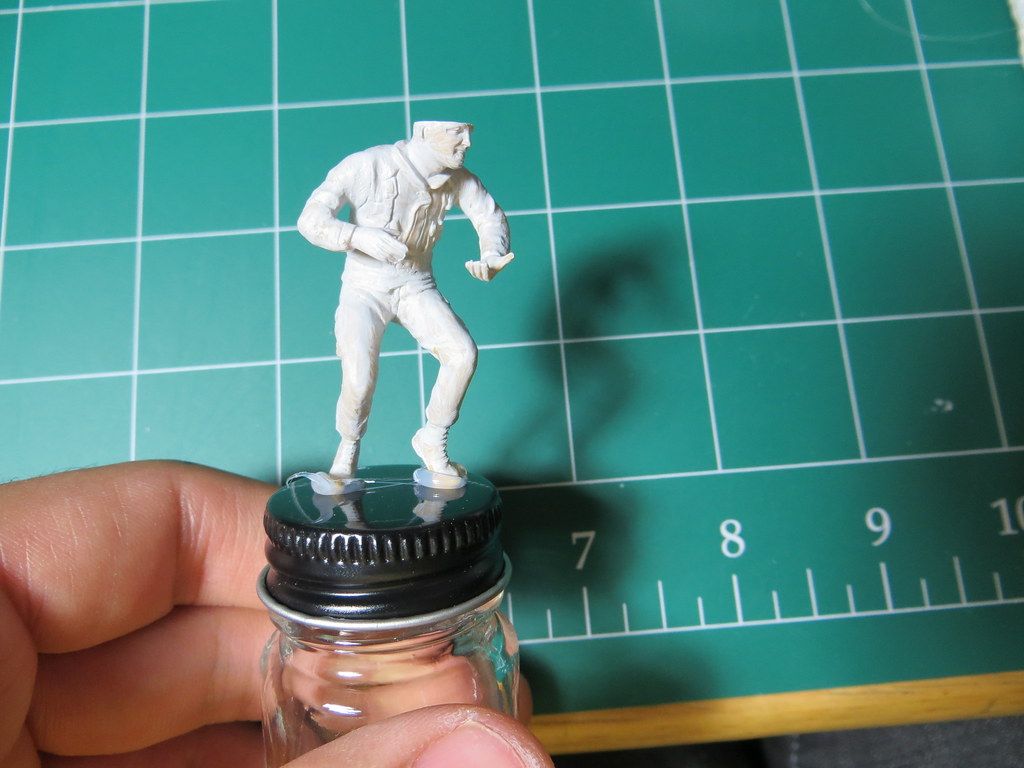
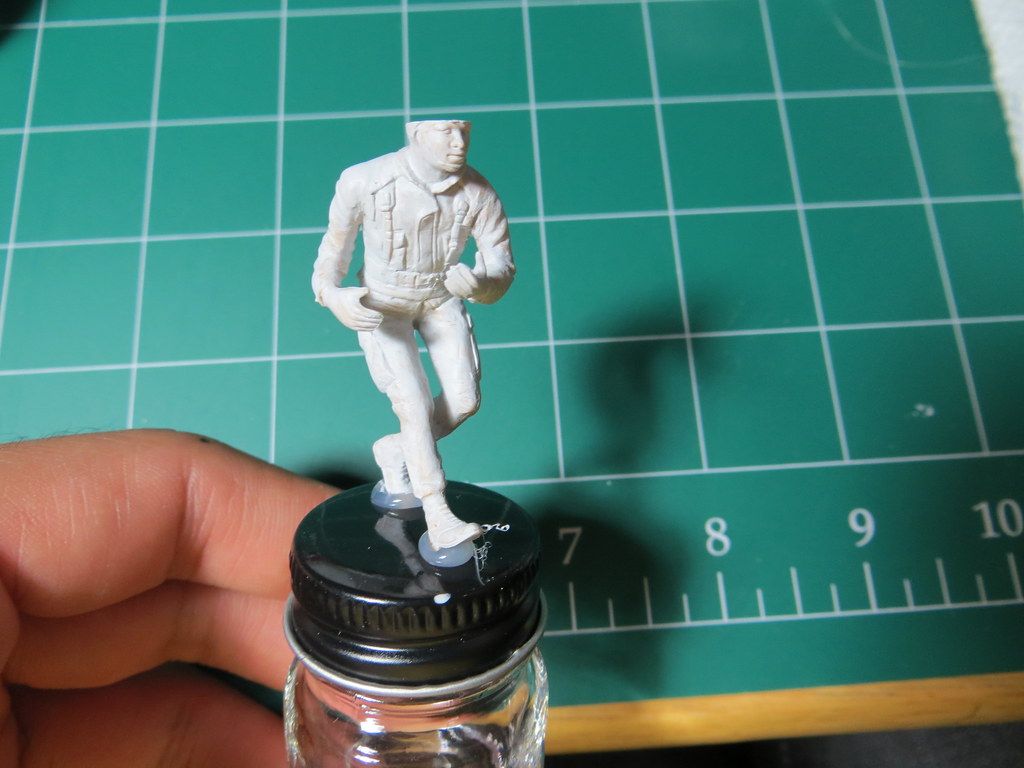
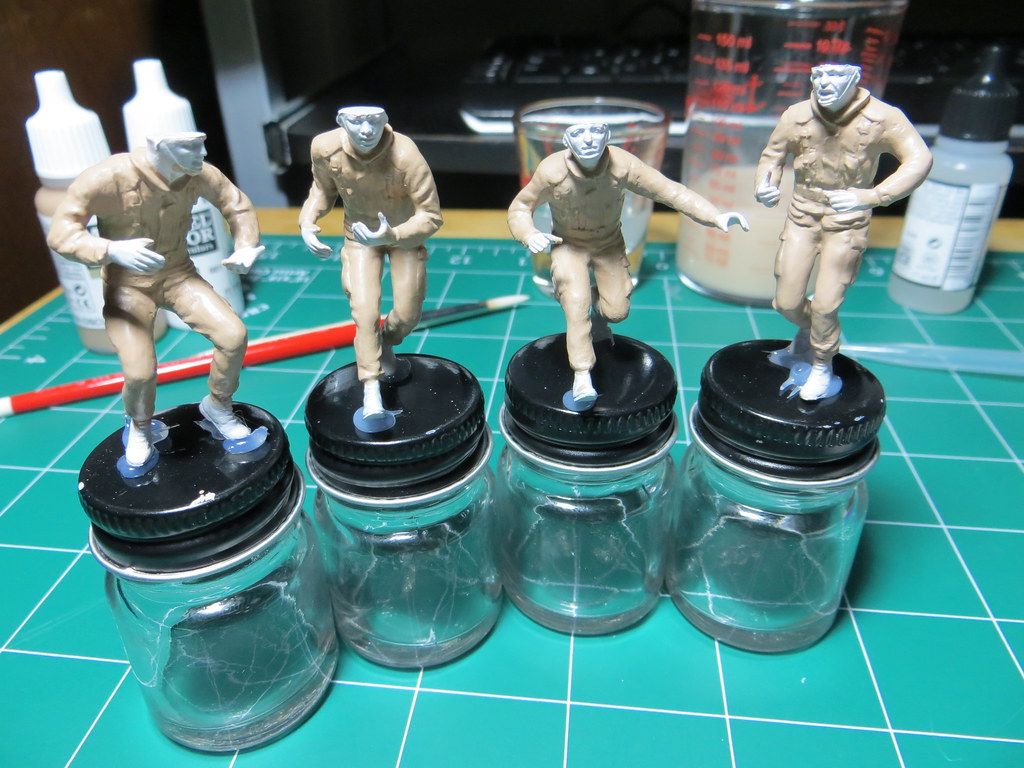
Finally, here we go after the third coat of primer. Even surface, even color and no traces of brush lines. The primer grabs into the figure very good.

9206281348_245e8d61ae_b.jpg


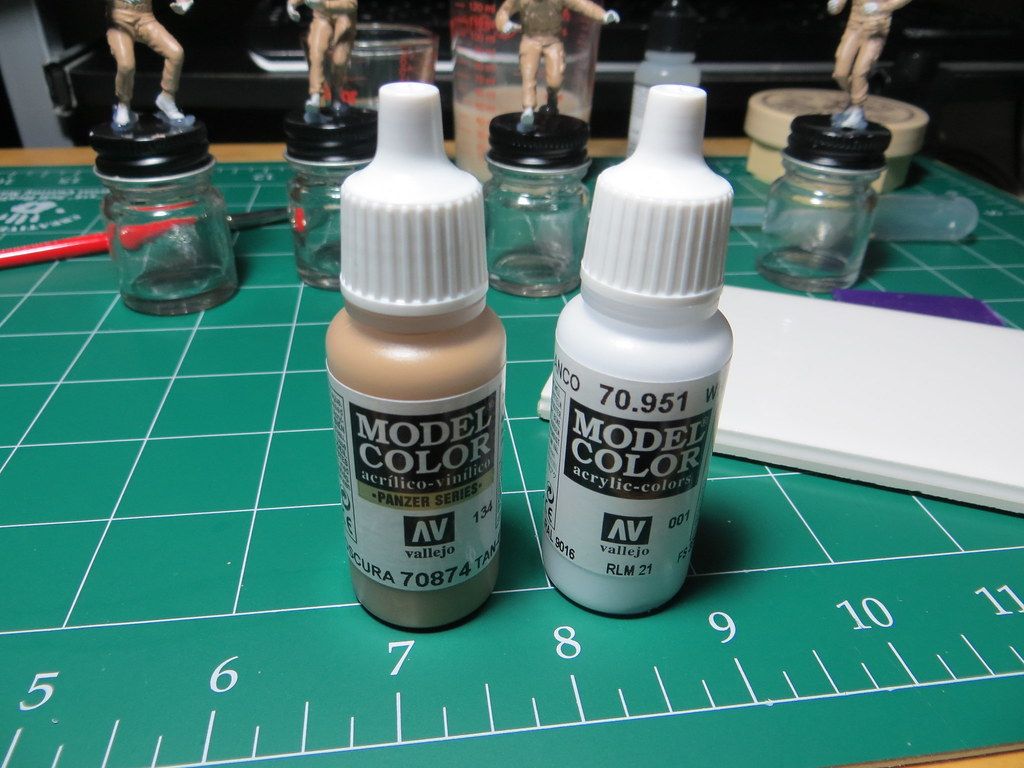
Lastly, I will add the base color, which is a mix of 2/3 Tan Earth (70.874) to 1/3 of Pure White (70.971). This color is the undercolor for the uniform as you can see it on the picture on the box. Painted with the same brush.

It was my first time mixing colors, took me a while to get the hang of it. The first couple of tries, I didn't get matching colors.

9206277972_06fb835d38_b.jpg


9206279642_7a9dca0ff4_b.jpg


Thanks for watching!
Luis
 
Re: Tamiya US Modern Army Infantry 1:35.. My first work.

Off to a very nice start here
 
Re: Tamiya US Modern Army Infantry 1:35.. My first work.

Time for an update.

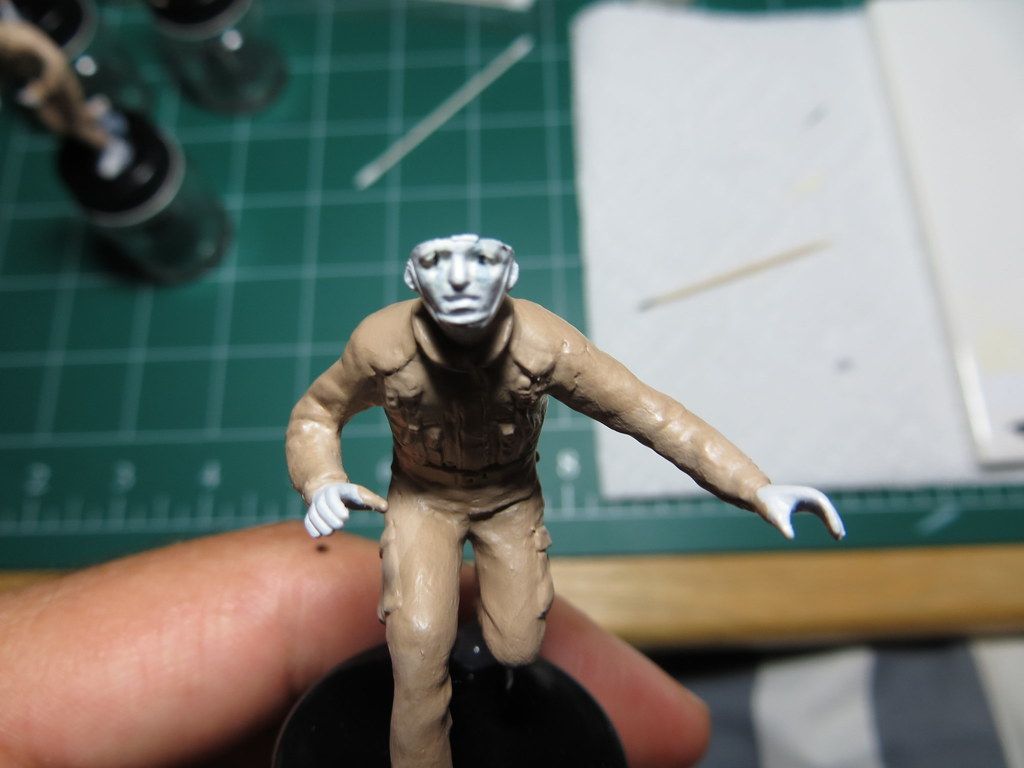
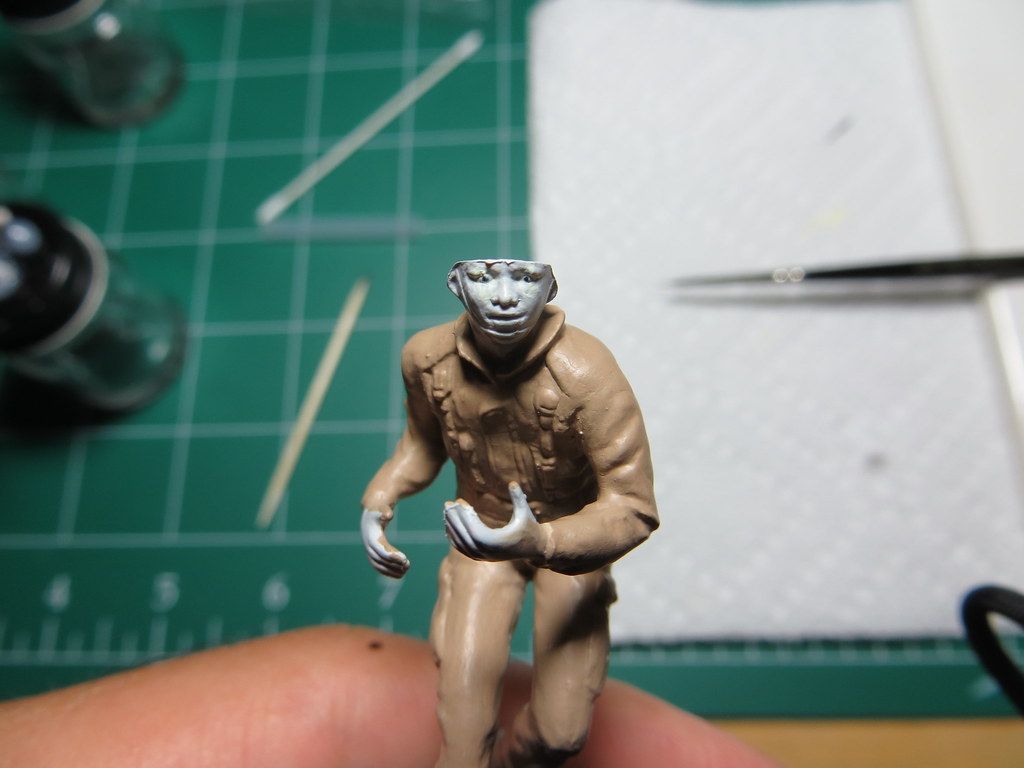
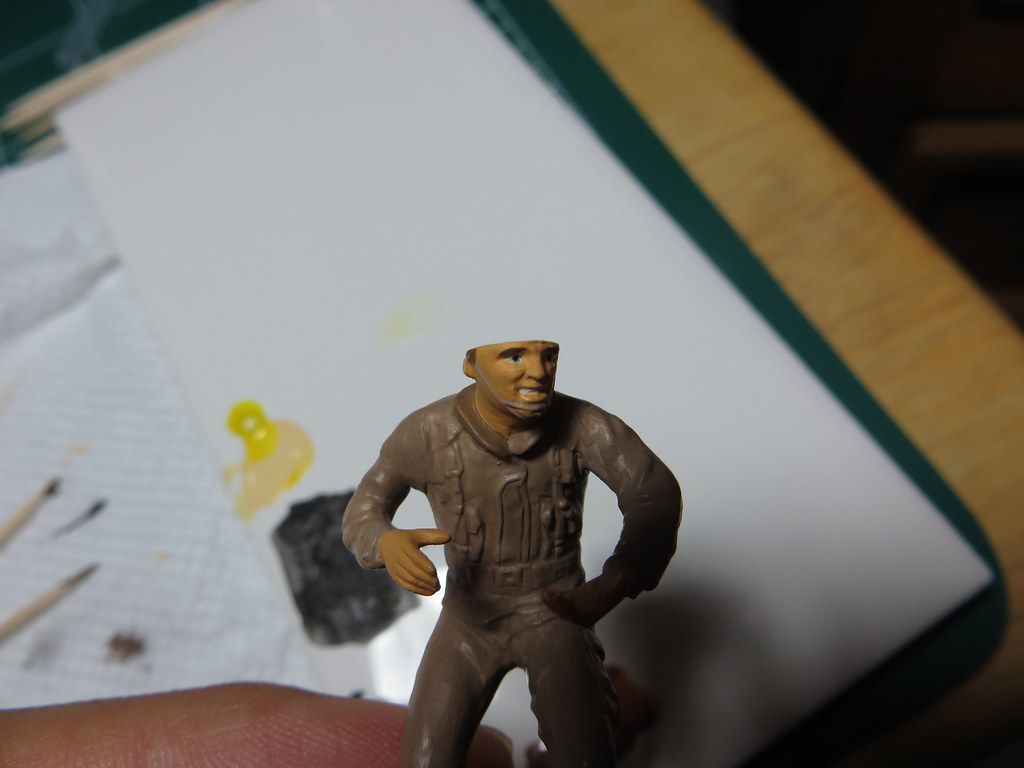
This time I paint the faces.

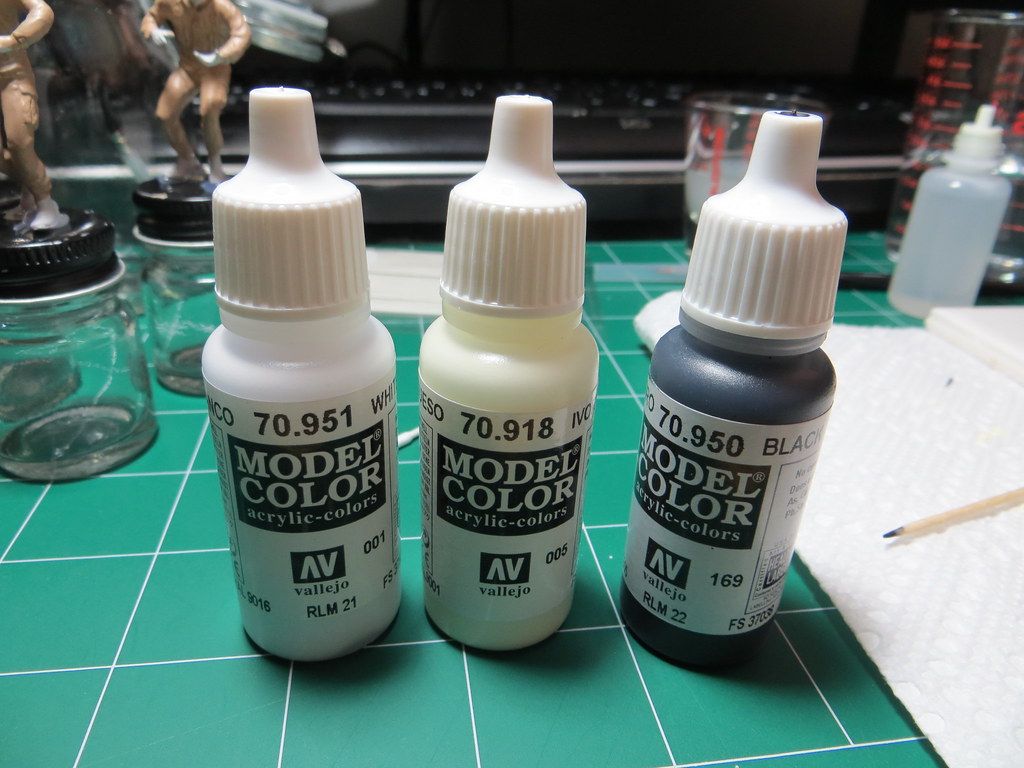
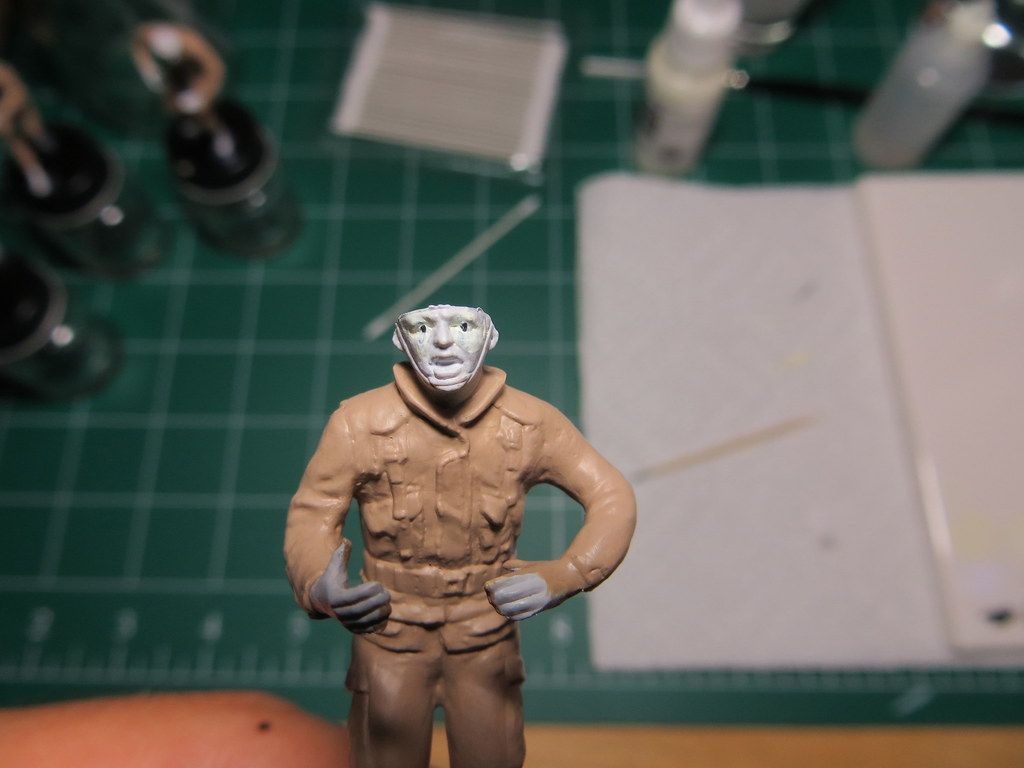
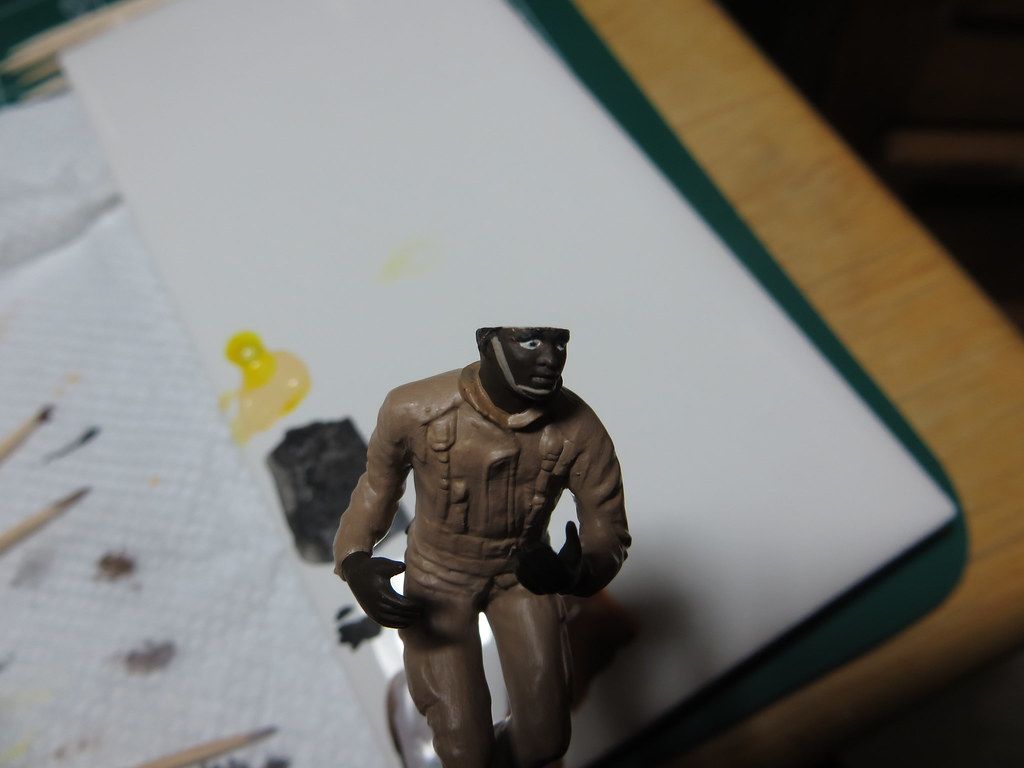
I started by using Vallejo Model White (70.951), Ivory (70.918) and Black (70.950). I decided to add the Ivory to the white base coat to make the eyes a little more realistic, I think pure white would look ridiculously fake. I traced a vertical for the pupils that was removed as I applied some white and then the base color for the faces. The hands are the color corresponding to the faces.

9253972048_1a058c4985_b.jpg


9251191819_b223917e70_b.jpg


9253975902_199c7a9306_b.jpg


9251194881_28a795e67c_b.jpg


9251196559_70aae7ef06_b.jpg


To my surprise, my Winsor and Newton Series 7 Kolinsky Sable No. 2 brush had a defective point. Called the company and they are sending me a brand new one. Yay!

9253968108_ea6ced9b42_b.jpg


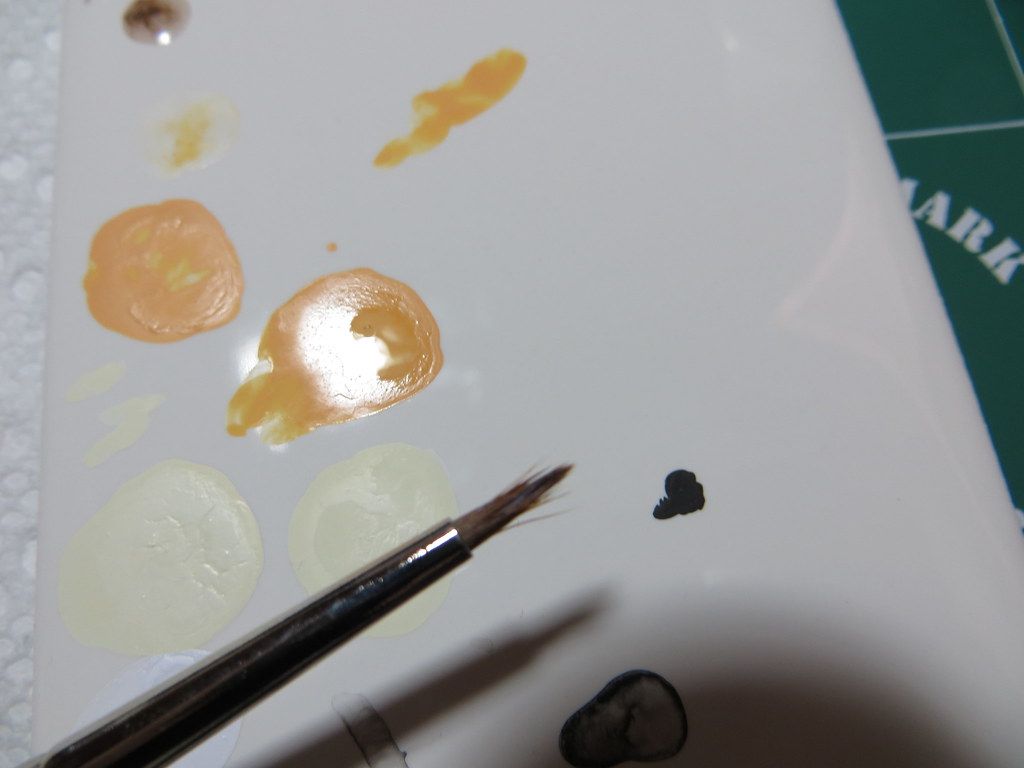
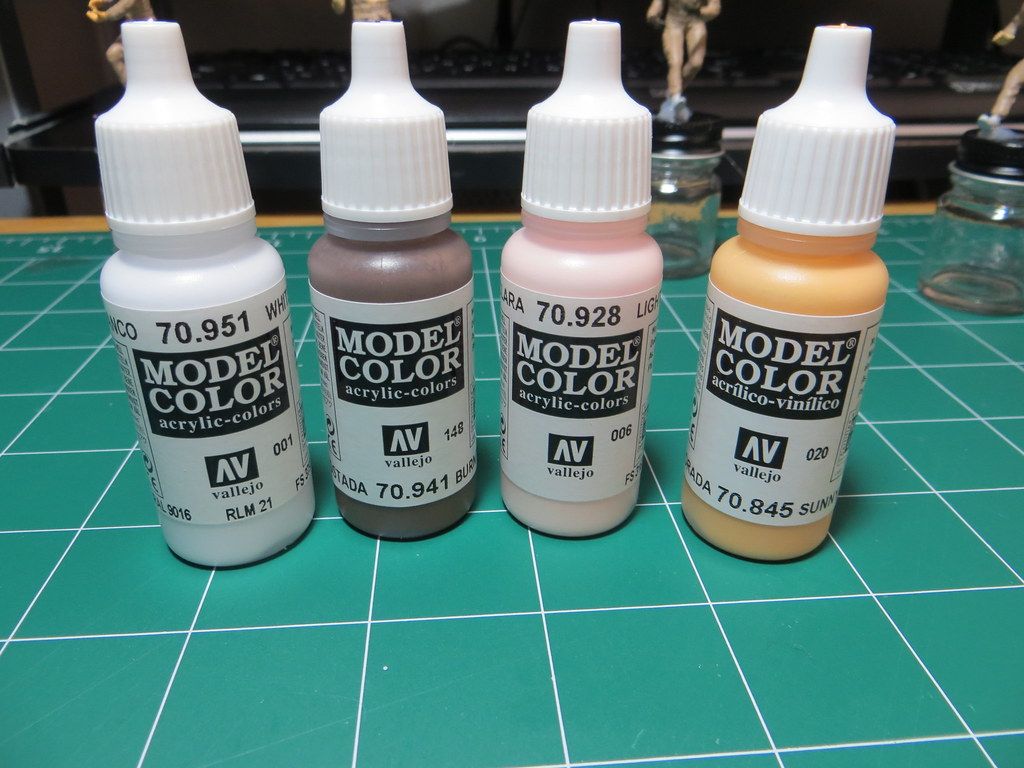
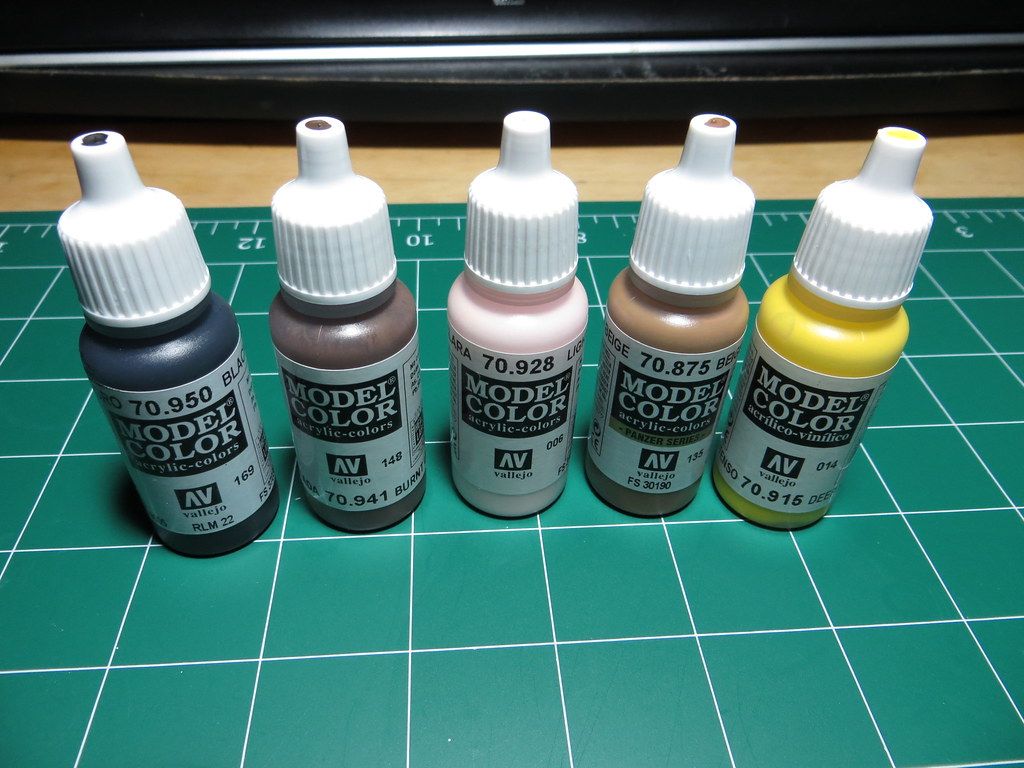
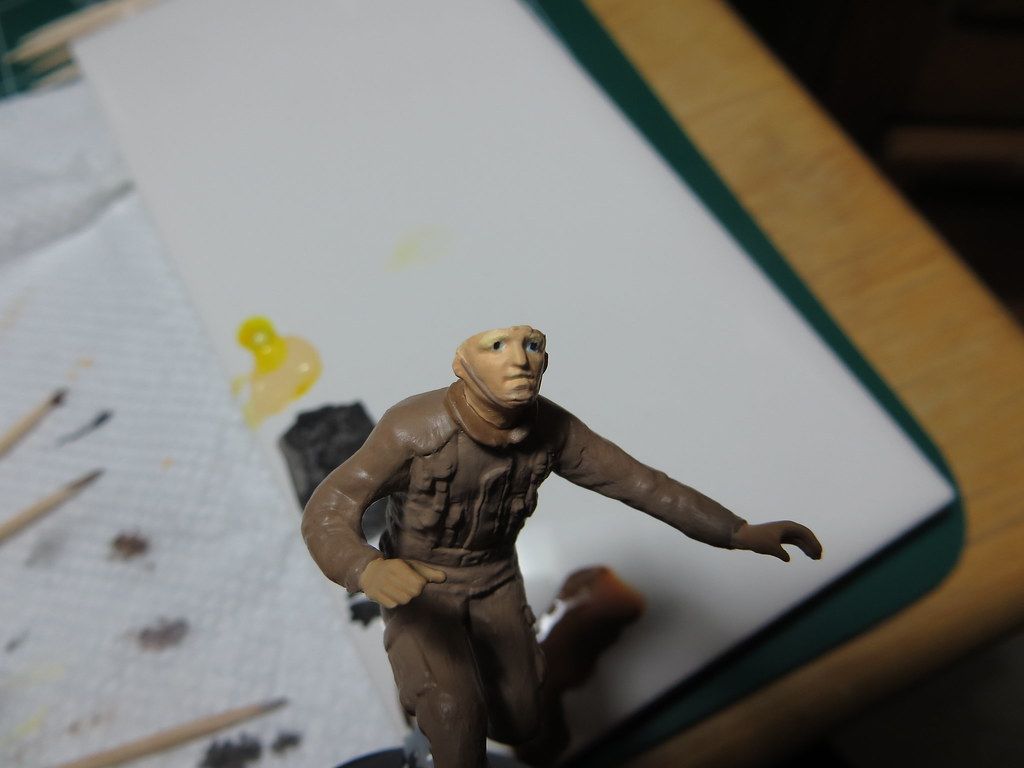
For the color of the faces I decided to have some variety, I used White (70.951), Burnt Umber(70.941), Light Flesh (70.928) and Sunny Skintone (70.845). I used a mix of those colors.

9253965006_fd66f0bba1_b.jpg


9251180629_979c3c10c2_b.jpg


9251178699_742c3fb36d_b.jpg


9253958428_2d3e32af77_b.jpg


9253956656_57aa2d2367_b.jpg


9251172813_f8366eb4c0_b.jpg


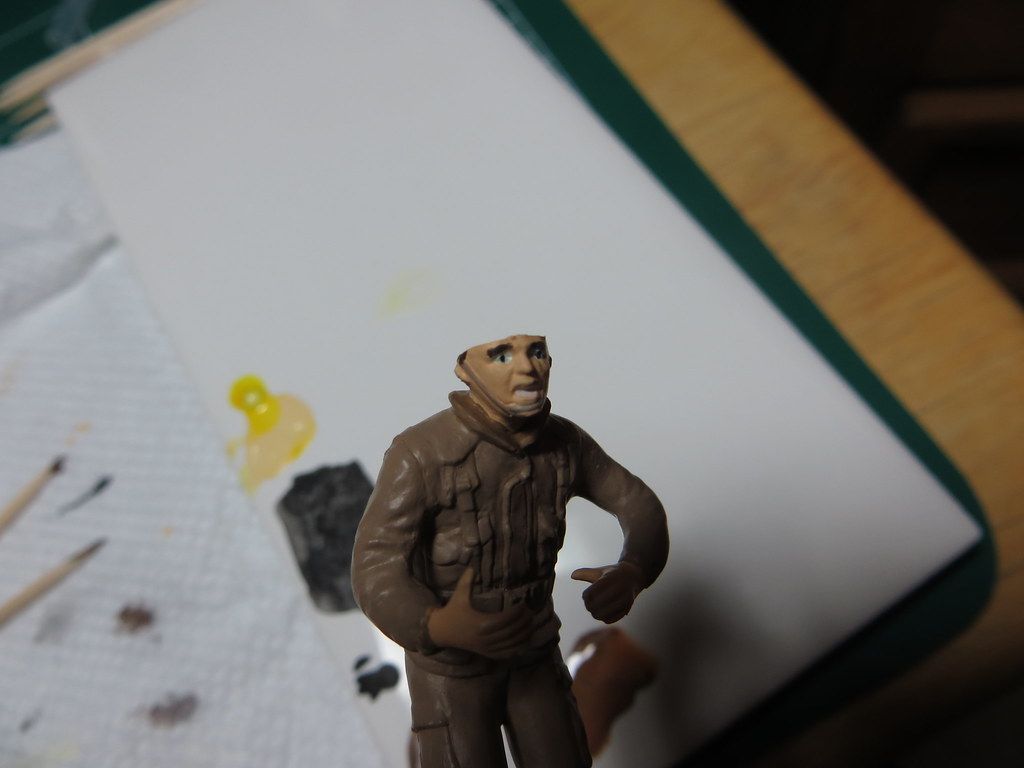
Lastly, I add the hair and the eyebrows. I used Black (70.950), Burnt Umber (70.941), Light Flesh (70.928), Beige Marron (??) (70.875) and Deep Yellow (70.915). I used a mix of those colors.

9267108424_ab62fe1440_b.jpg


9253933018_62dc3c7f9f_b.jpg


9253944758_408b81dd6d_b.jpg


9251168633_2cc7df1461_b.jpg


9251170533_389403d9ba_b.jpg


But, then.. "Mr. I want to jump off the working table" broke his arm when he hit the ground at terminal velocity. Just great!!!

9264329921_fceaf084f8_b.jpg


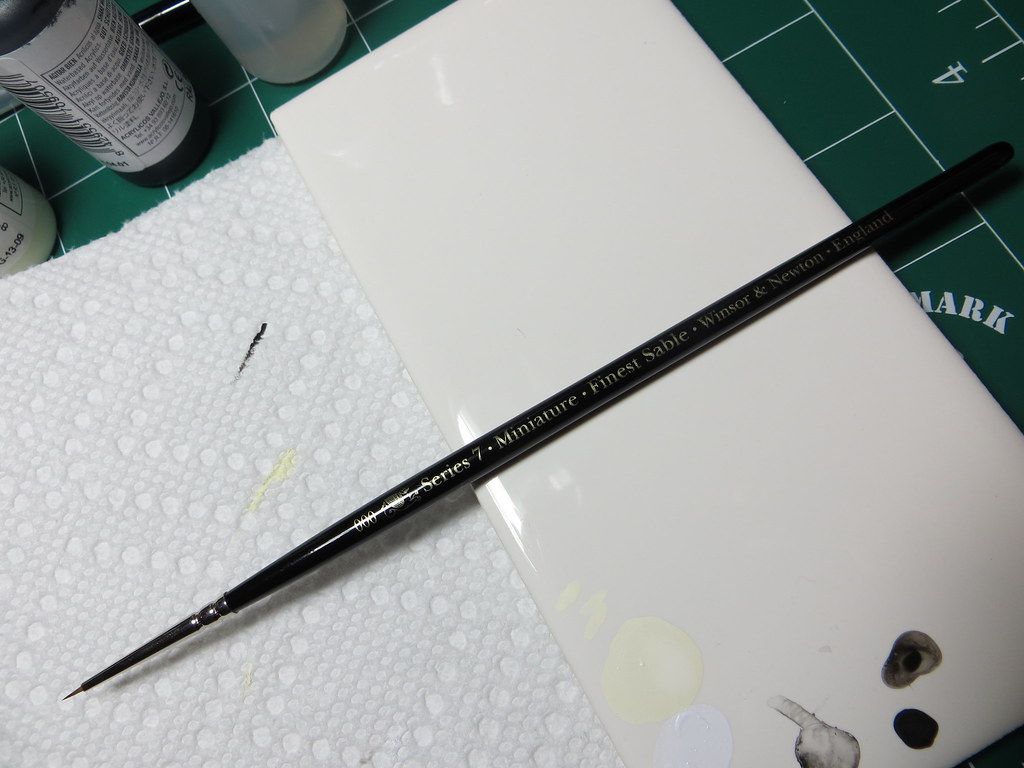
All the details on this update such as eyes, pupils, eyebrows, mouth, helmet cord, hair were made using a Winsor & Newton Series 7 Kolinsky Sable No. 000

9251198233_e345f67d97_b.jpg
 
Re: Tamiya US Modern Army Infantry 1:35.. My first work.

Update Time!

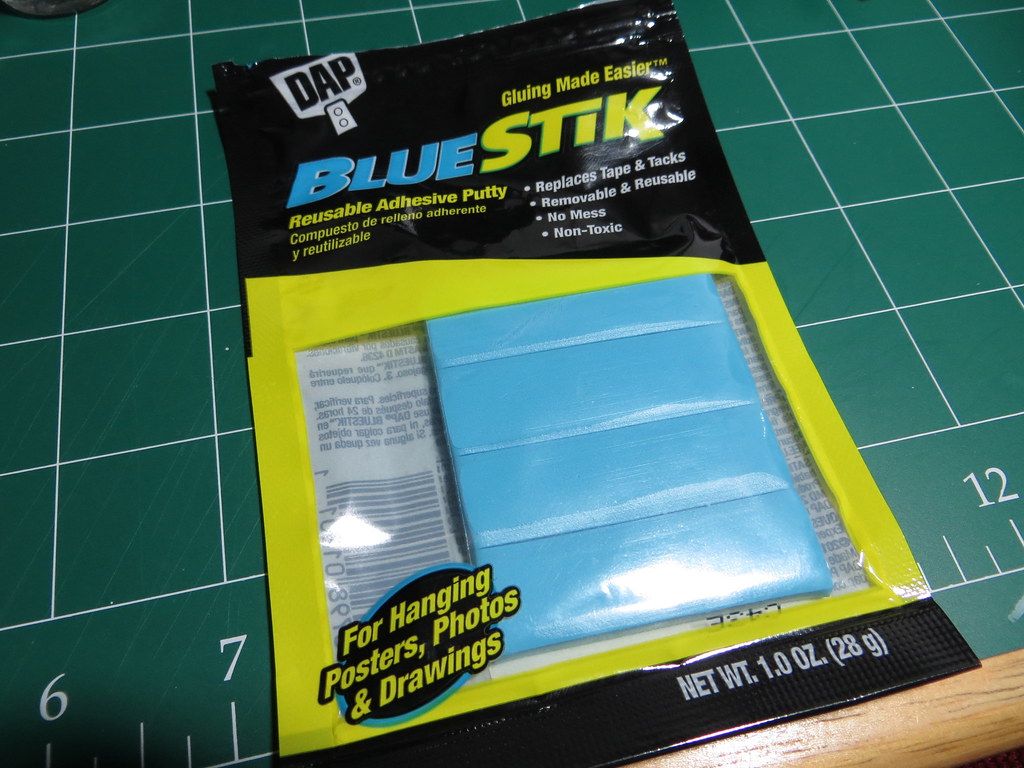
I have finally managed to get some post tack at my local Home Depot, I've found that most office stores do not carry this product as often as I would have expected.

9280669490_284d76fd46_b.jpg


And now I made the transition from hot glue to post tack, which I may say, it is a great improvement. The hot glue would snap of the bottle and strip down the primer from the figures.

9277880235_d76fd7586f_b.jpg


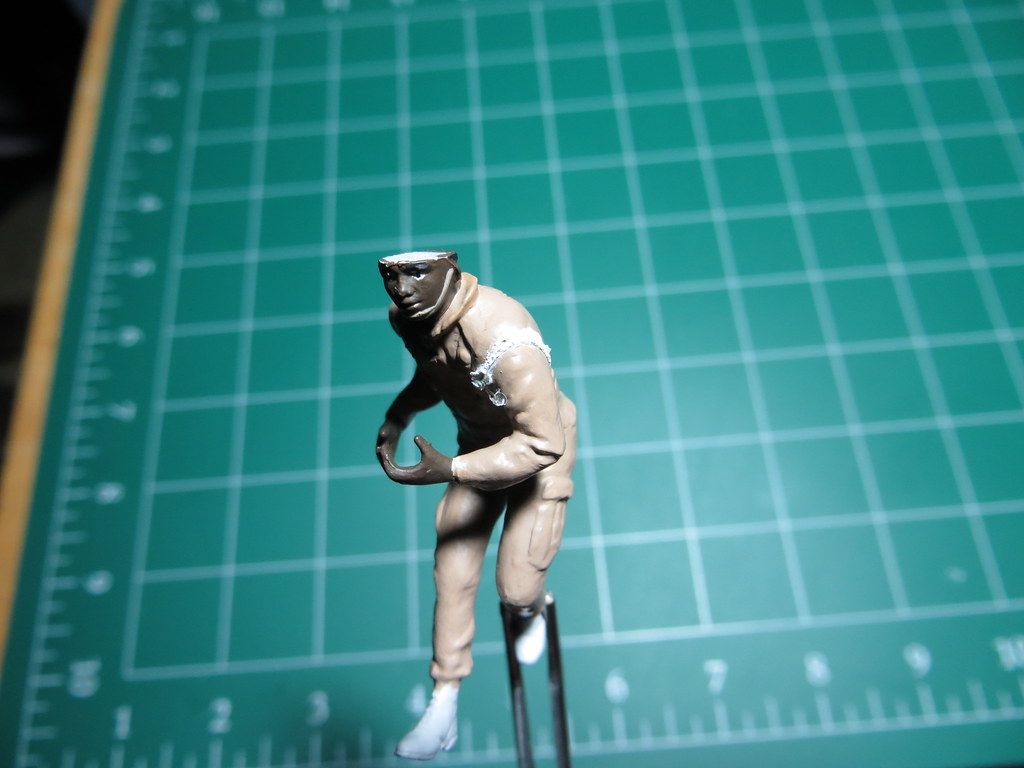
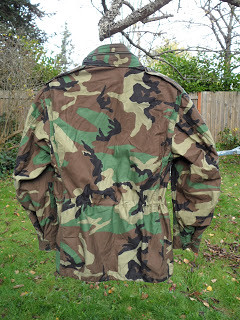
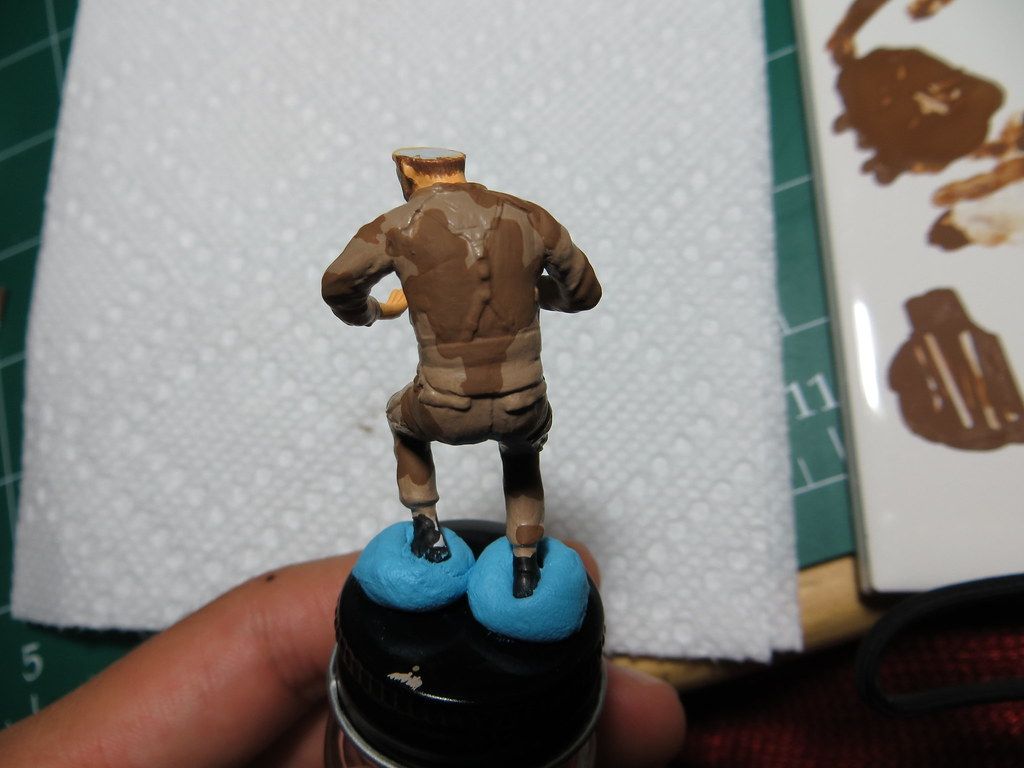
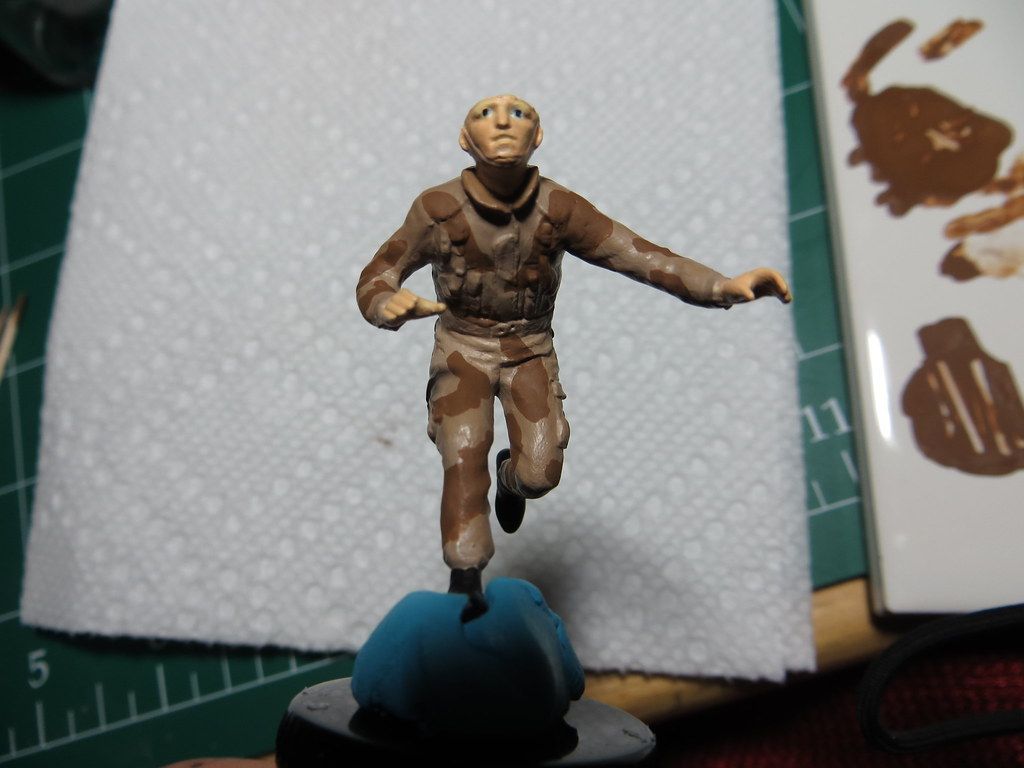
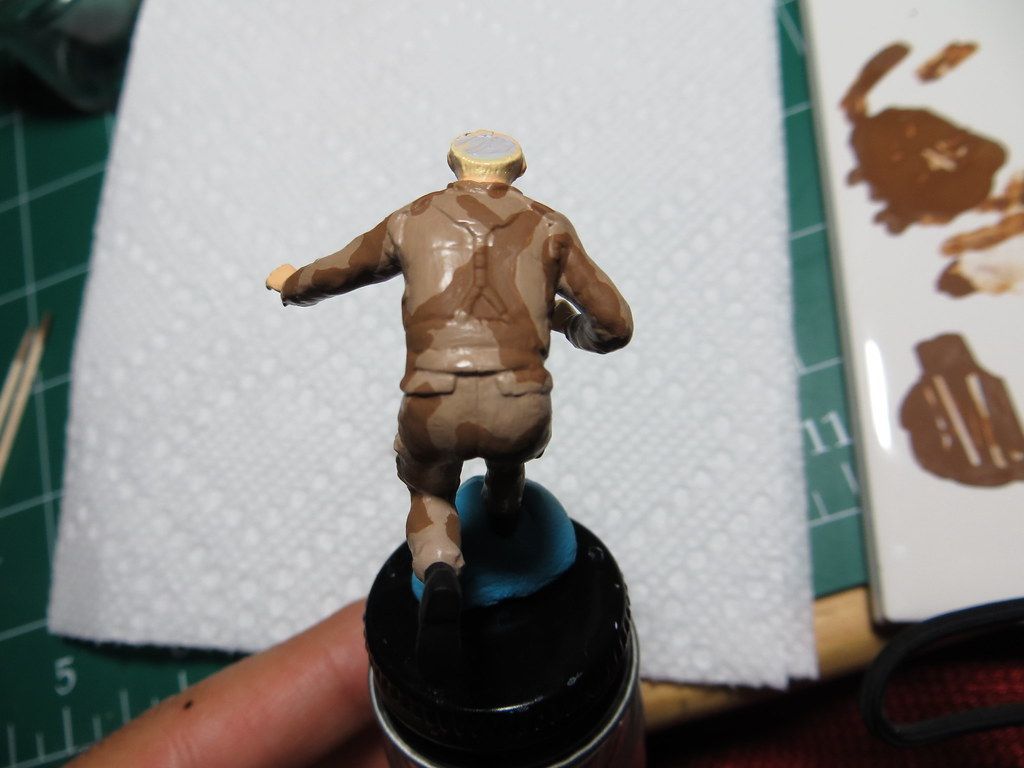
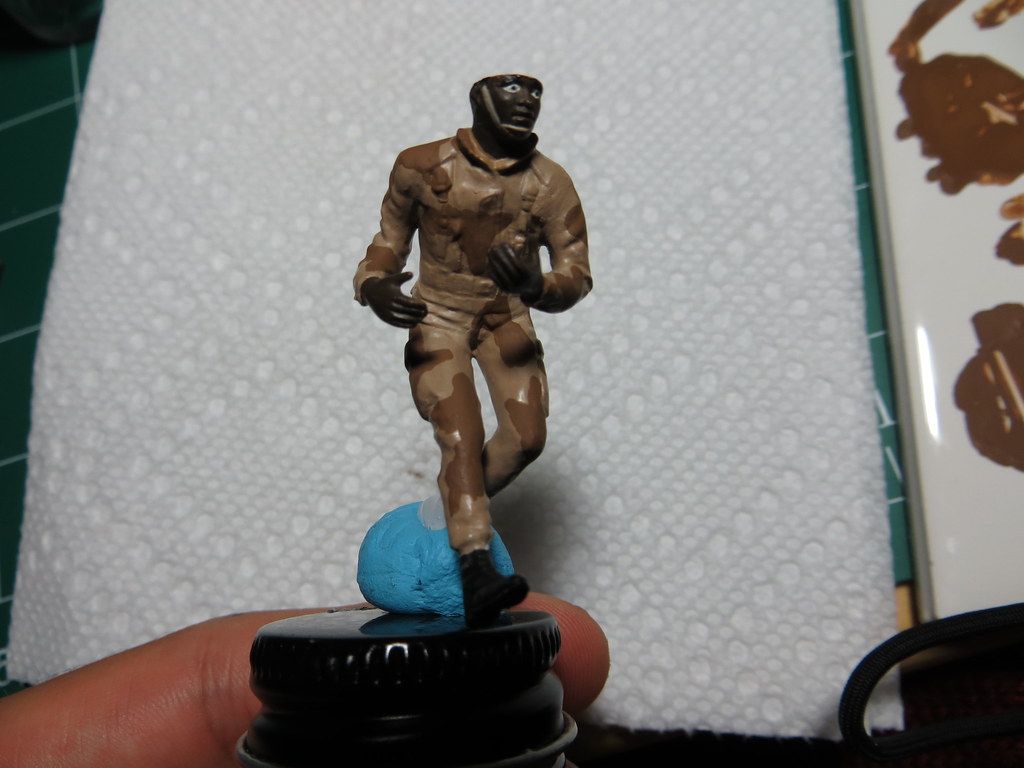
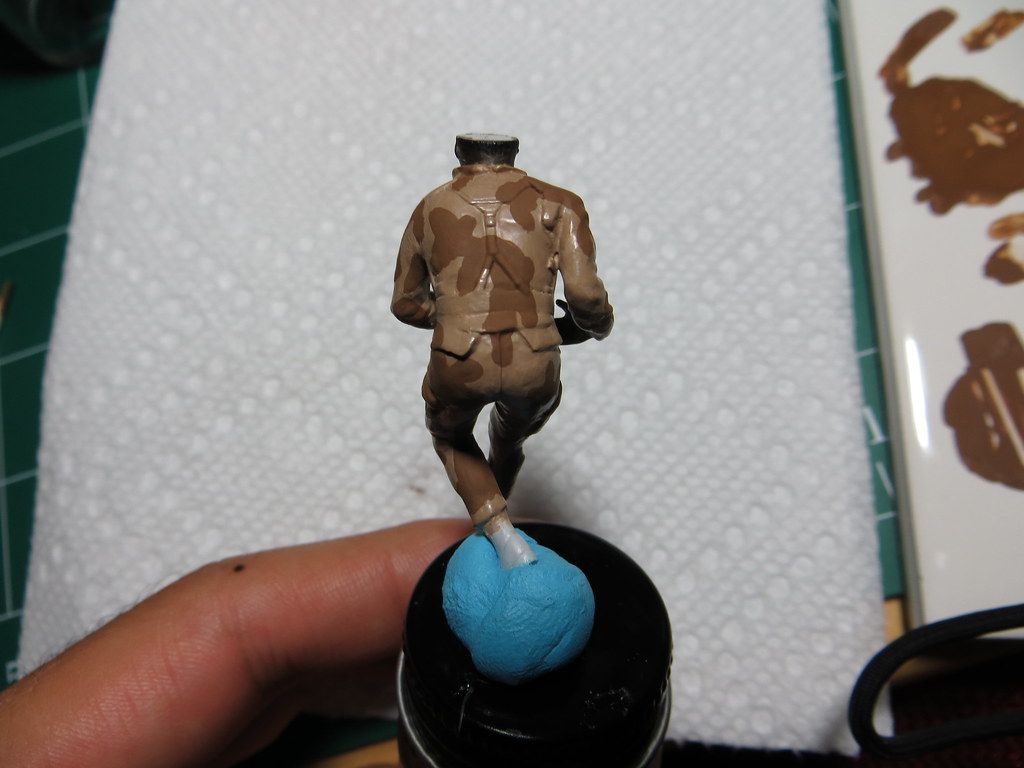
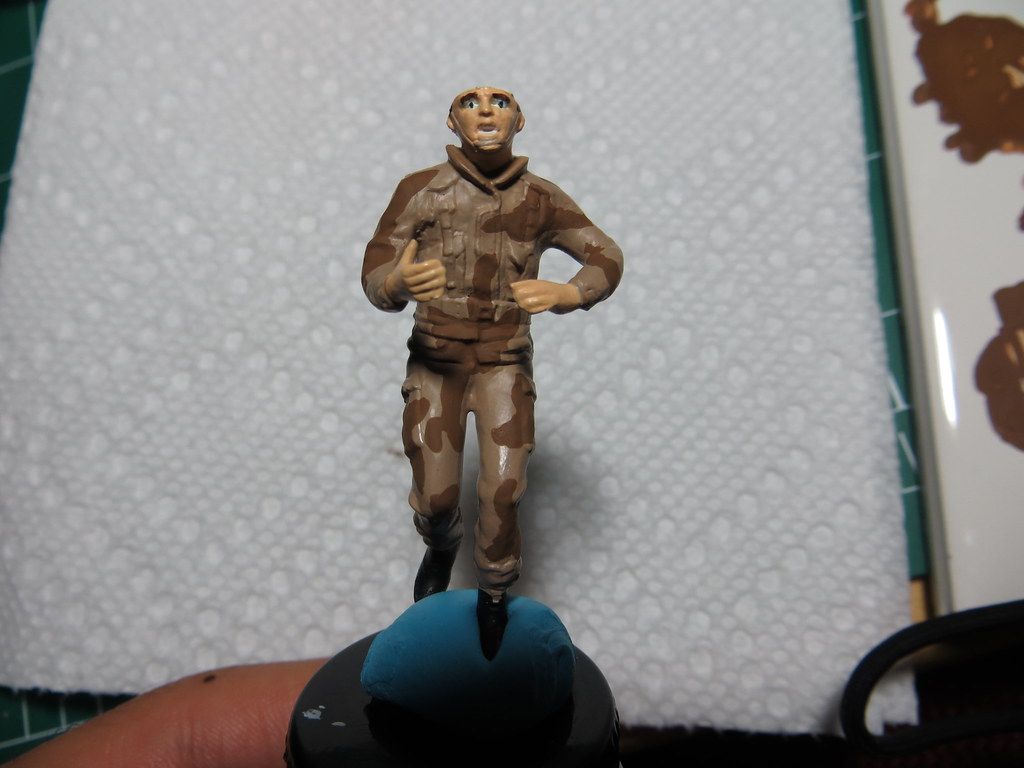
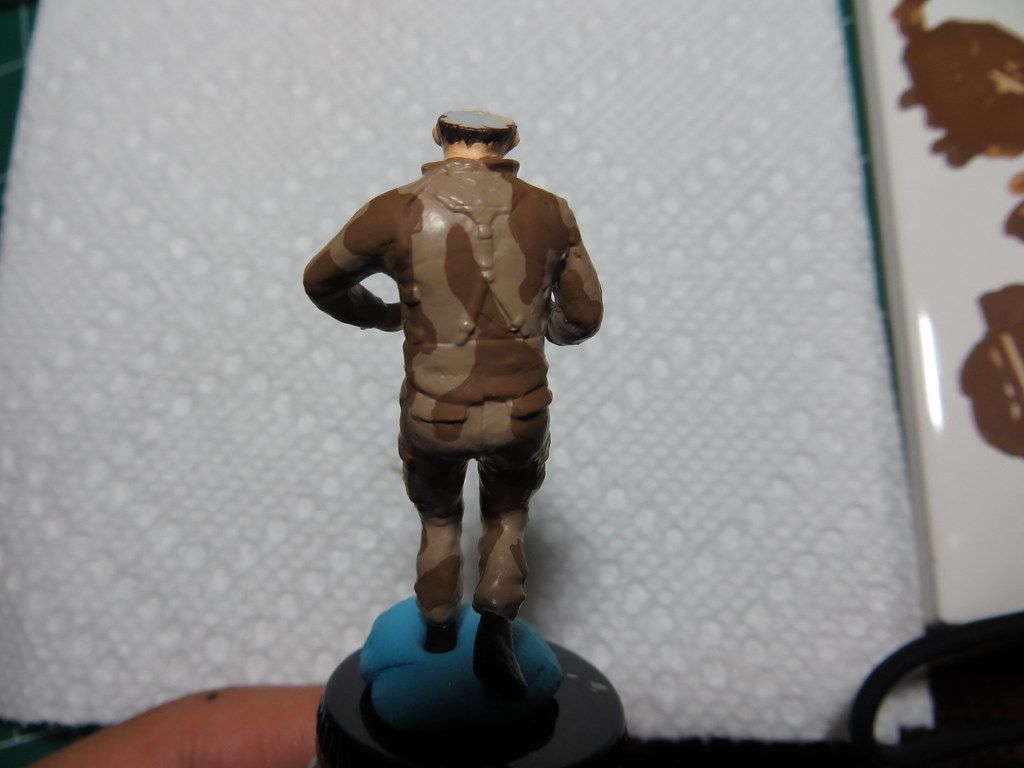
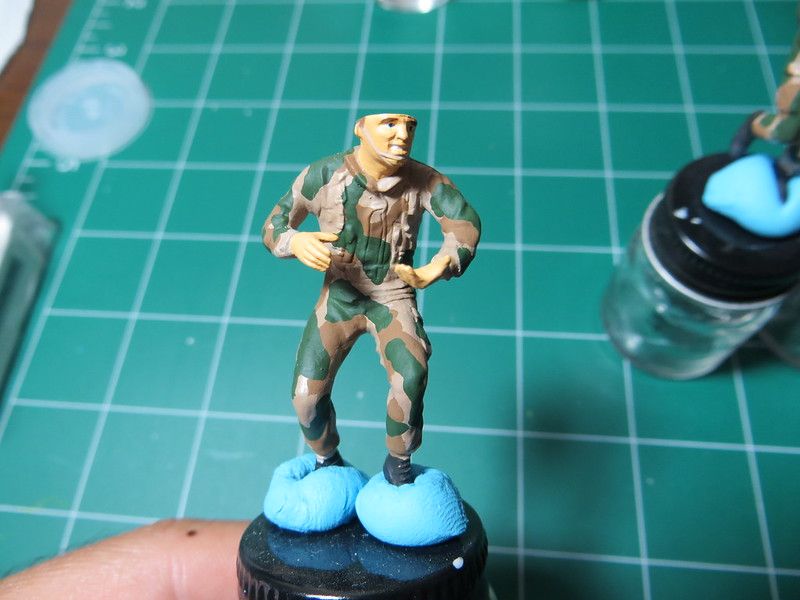
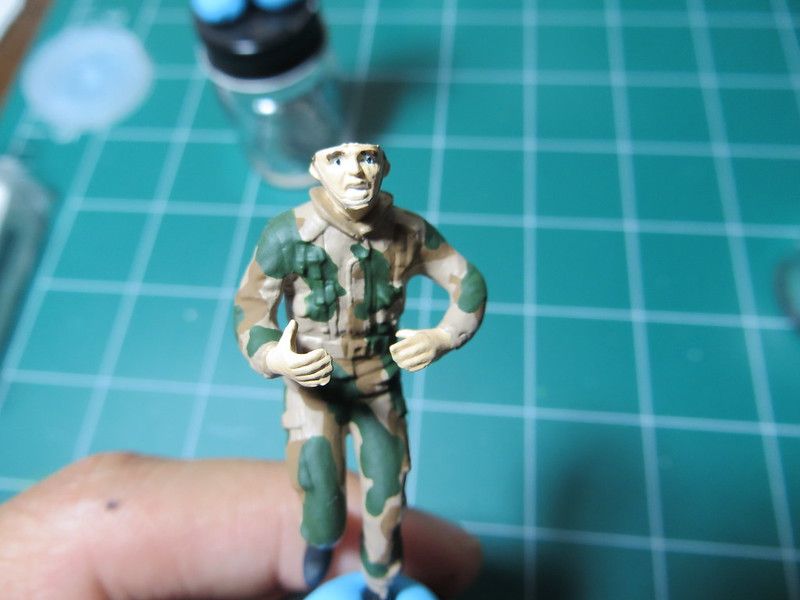
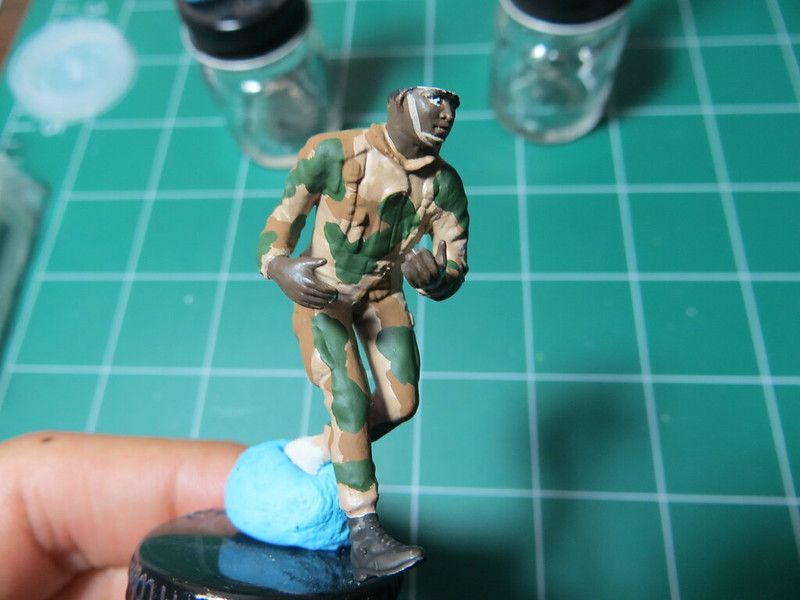
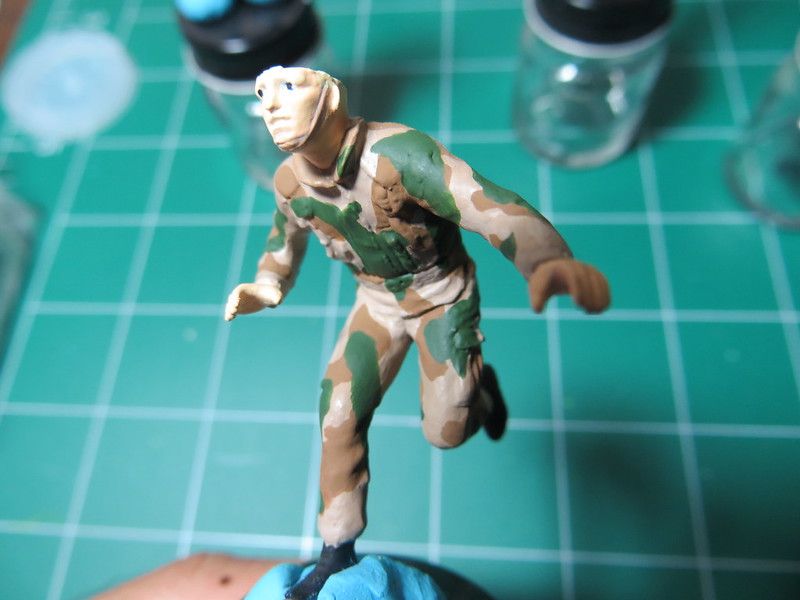
Now I have transitioned into paining the uniform. I have chosen to use a US Woodland pattern.

9329696958_db5d5718c1.jpg


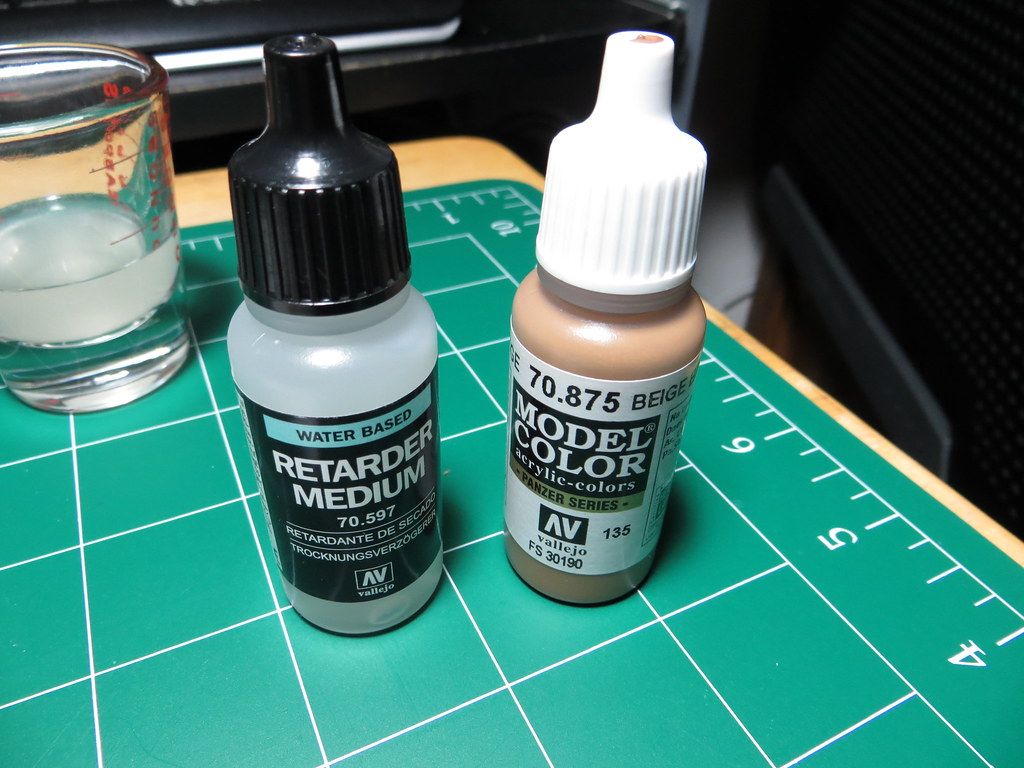
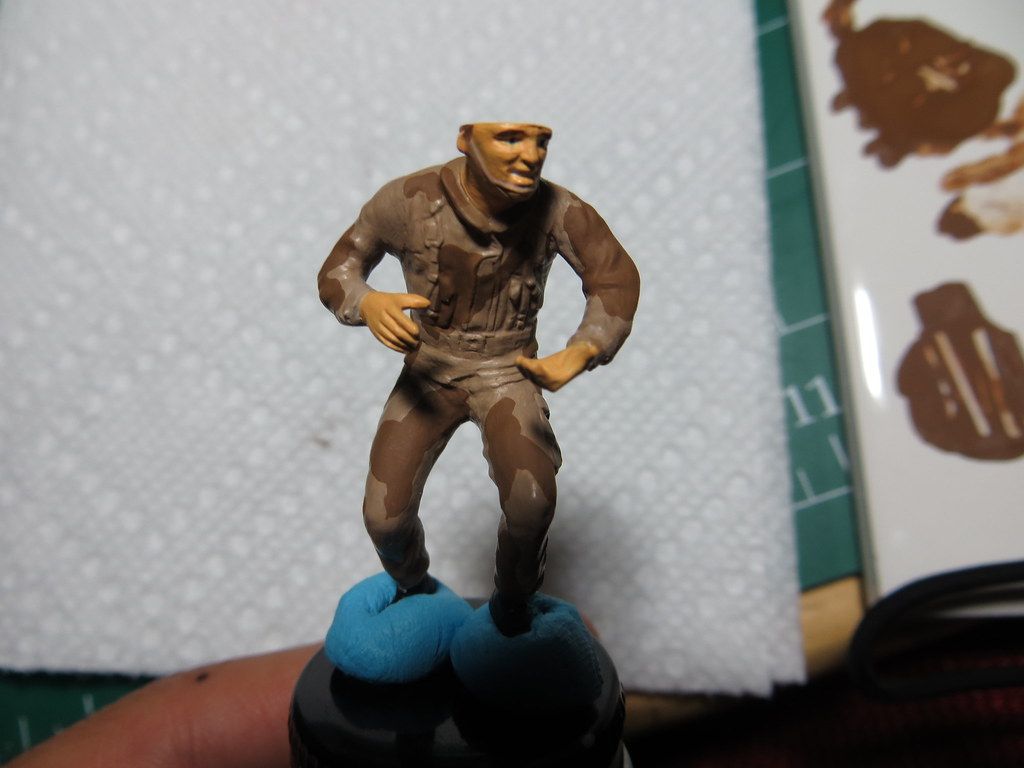
I used Beige (70.875) and giving a good try to the Retarder Medium (70.597). I have found that the retarder works pretty good, and extends the life of the palette's paint by at least 3 times if you were not to use it. I still need to figure out the appropriate ratio though.

9280623770_0486009321_b.jpg


9280632484_f50355d653_b.jpg


9277841623_60d634beaf_b.jpg


9280636252_87e919f59e_b.jpg


9277856939_18d1cee5d3_b.jpg


9277859791_1f86ba57f4_b.jpg


9280648546_da0b6a2a11_b.jpg


9277866093_ab9a35aa1f_b.jpg


9277869953_426c76fc78_b.jpg


On this update, all the work was done using a Round Brush No. 3.

It was a bit hard to paint the pattern while trying to avoid to look like if it was purposely made, creating a random pattern take some skill I may say.

Now I am set to finish up the uniform and start on the addons for the figures, which I have tried to avoid so far, the addons are so small that I need to figure out how to hold them for priming and painting.
 
Re: Tamiya US Modern Army Infantry 1:35.. My first work.

Hello guys!

Wow, it has been a long long time since I've updated this thread, I think it has been almost a year since I began with this thread.

School kept me away, but now I have finally graduated and have the summer off for myself. Definitely a great time to get back to the hobby and pick up the brush.

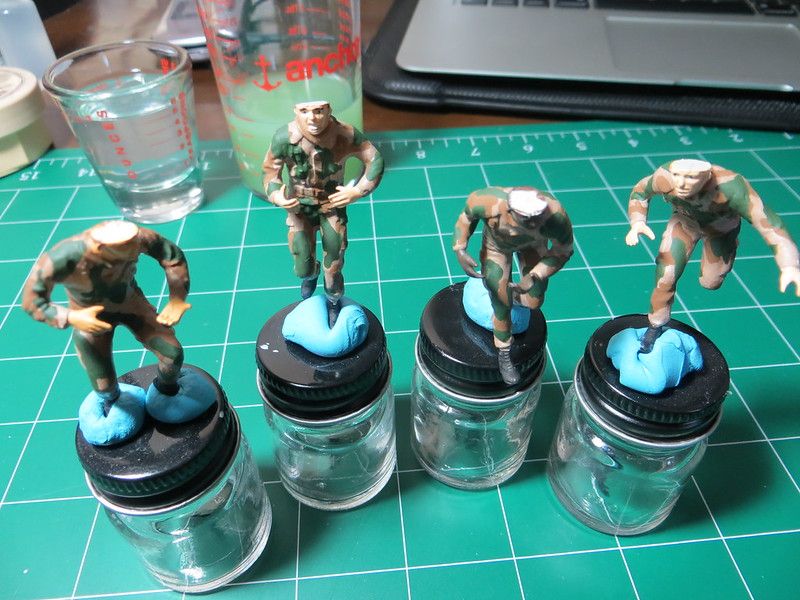
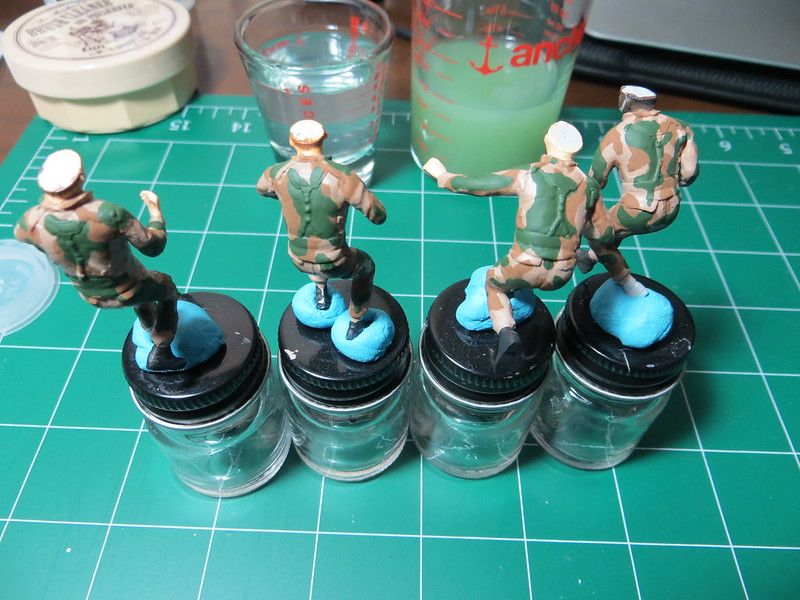
On this update, I have finalized adding the green camouflage to the miniatures. Here is how they look now:
14171777656_e6ac09d3f2_c.jpg


14008276610_eb62bd0058_c.jpg


14171775056_a763df9b83_c.jpg


14191625341_779a21395b_c.jpg


14171772946_1c55cf29d8_c.jpg


14008305777_6a1d5d71b9_c.jpg


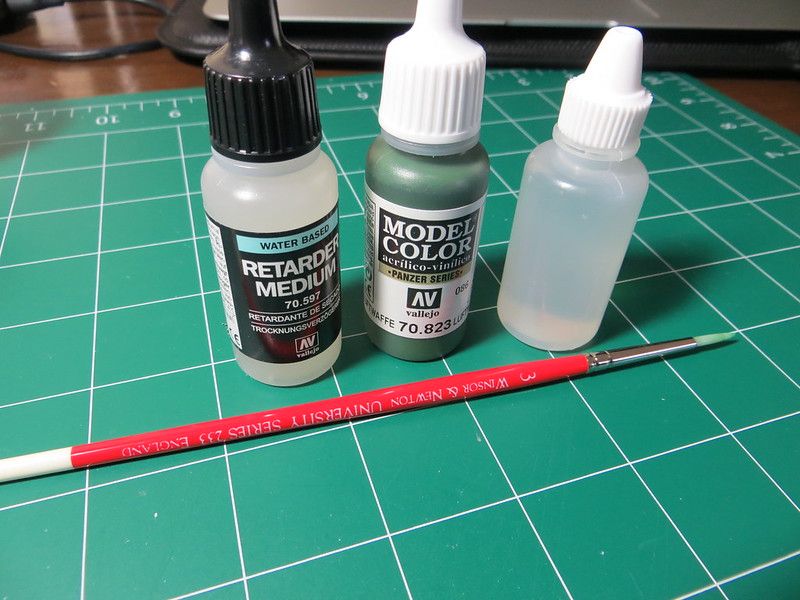
I used Luftwaffe Cam. Green (70.823) slighted diluted with water, and a little Retarder Medium (70.597), to prevent repaid evaporation and used my university Series 233 No. 3 Brush:
14008246748_f15151fbc3_c.jpg


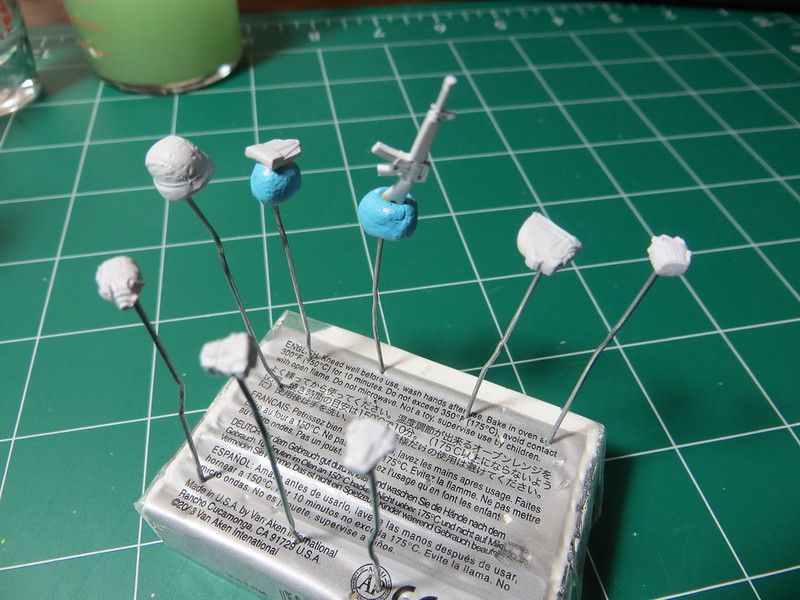
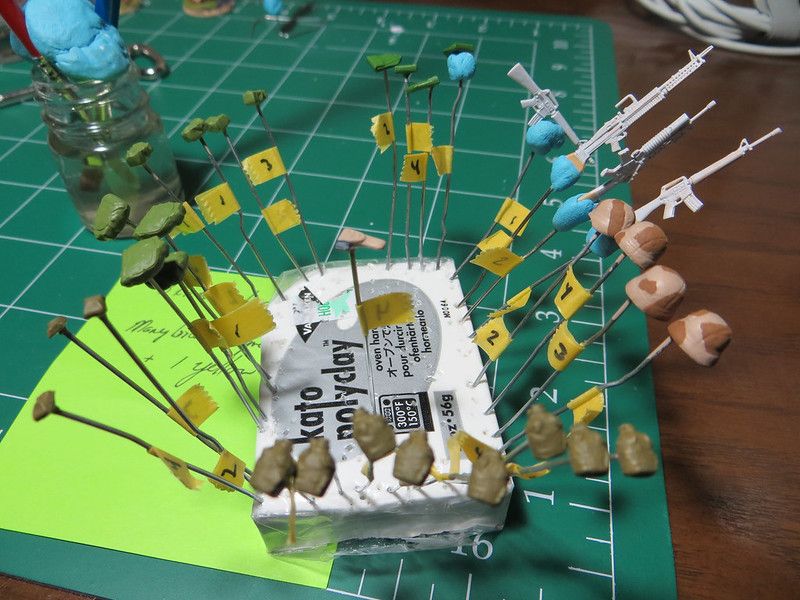
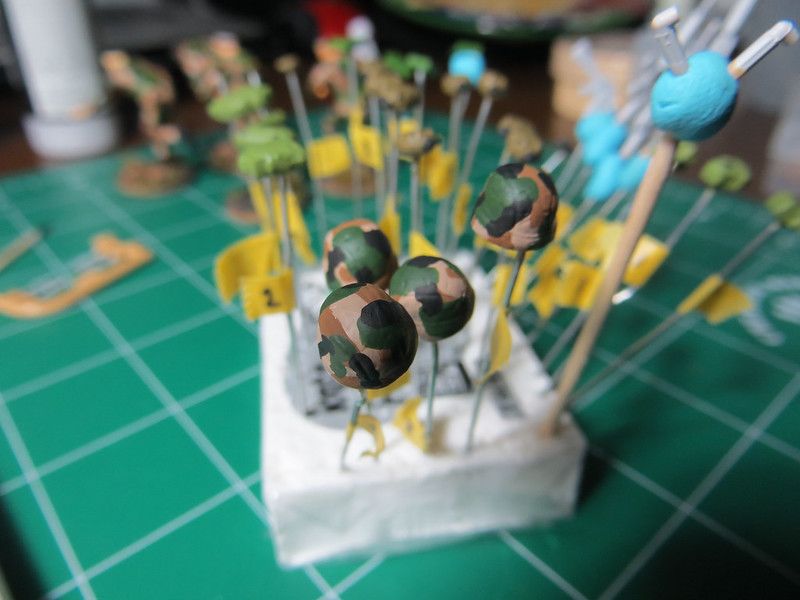
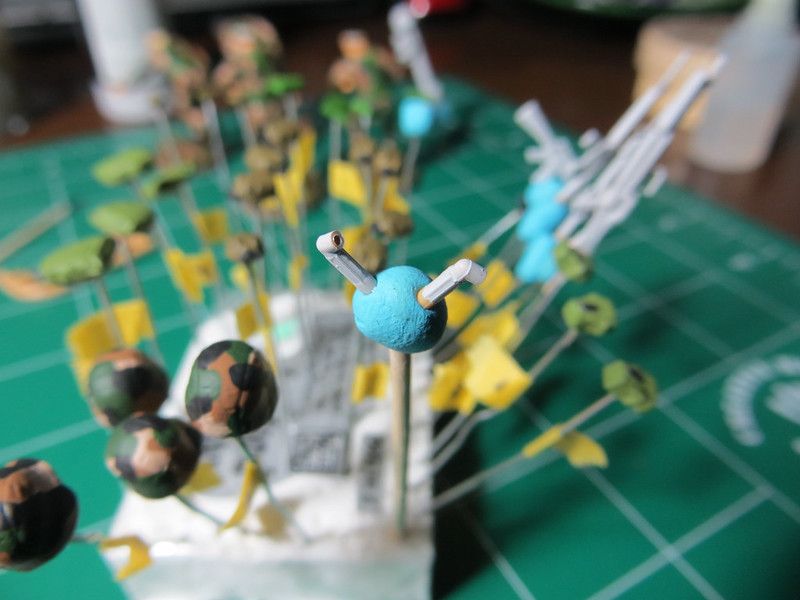
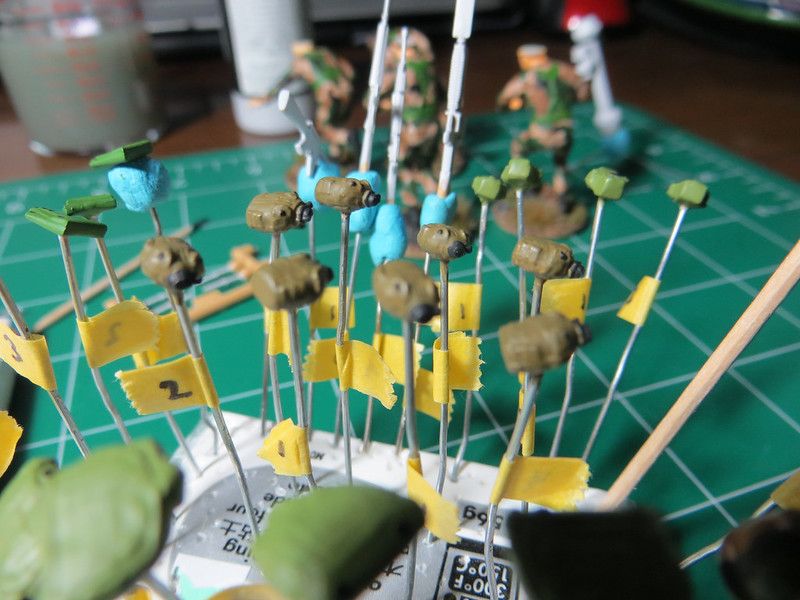
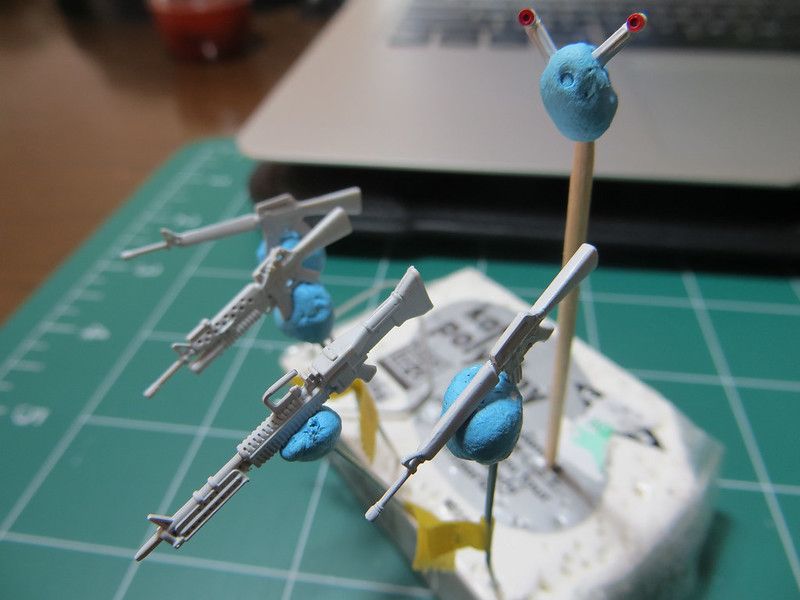
I have also started to prime the first set of accessories, the helmet, guns, water jogs, etc...

14008237379_0a02997a8f_c.jpg


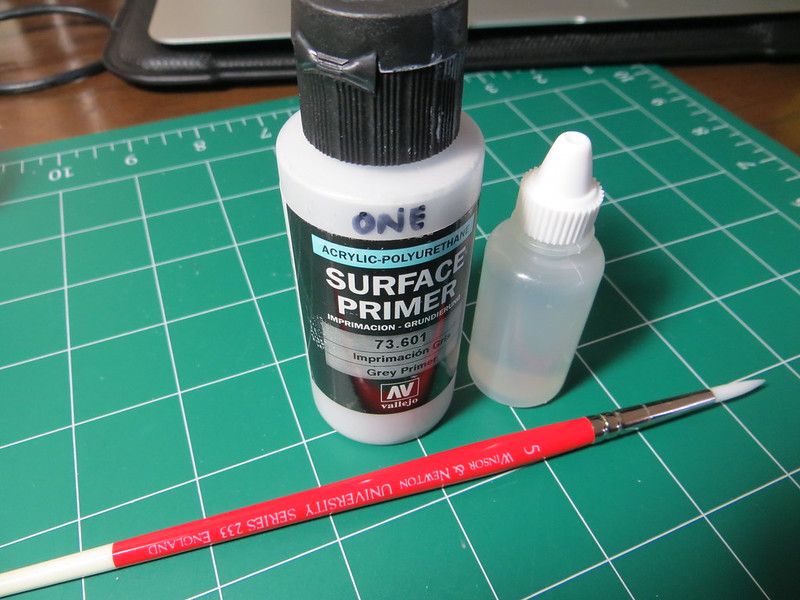
For that, I used the trusty Surface Grey Primer (73.601) with NO water added and used a No. 5 brush.

14192364952_9a807cd8f5_c.jpg


As usual, any comments,questions and critiques are welcome!

Thanks!

Luis
 
Re: Tamiya US Modern Army Infantry 1:35.. My first work.

The figures are getting into shape! ;D

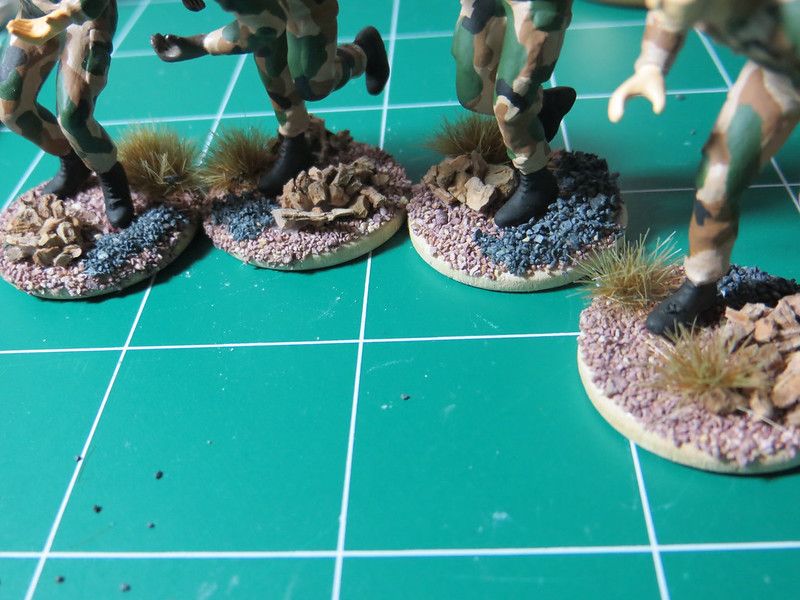
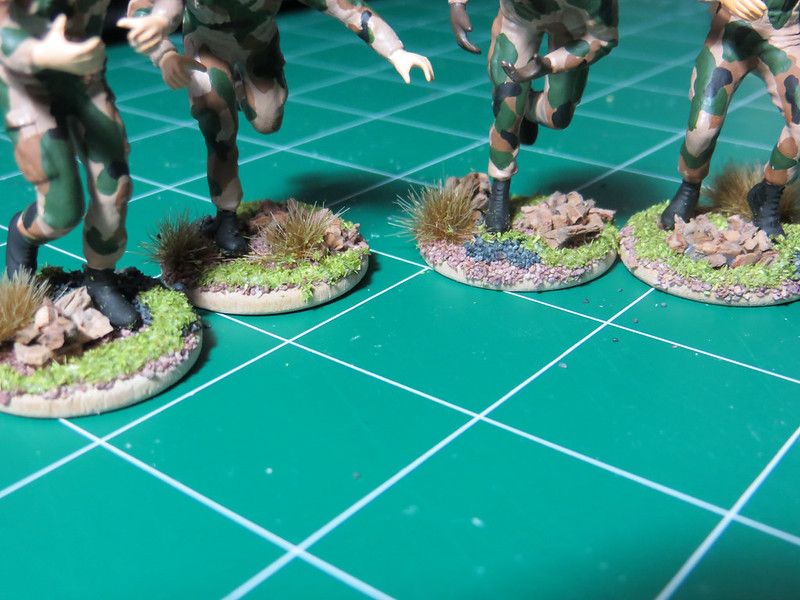
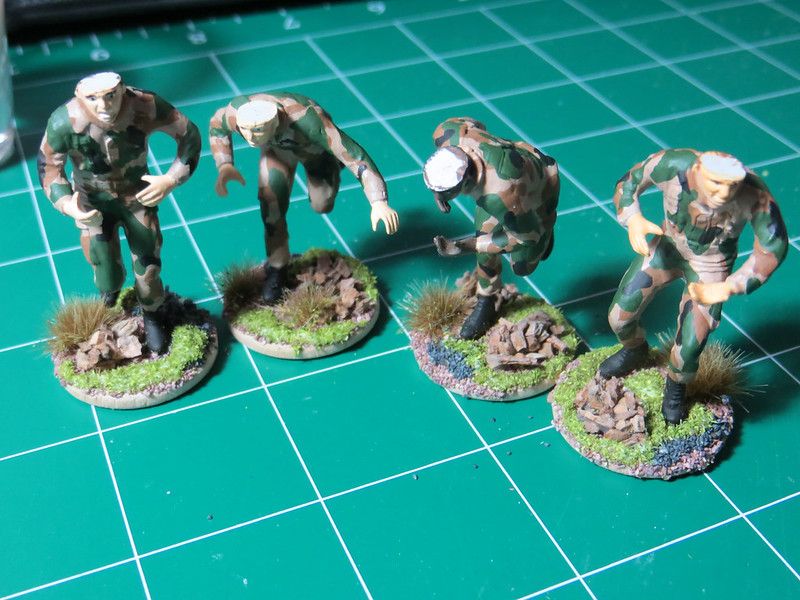
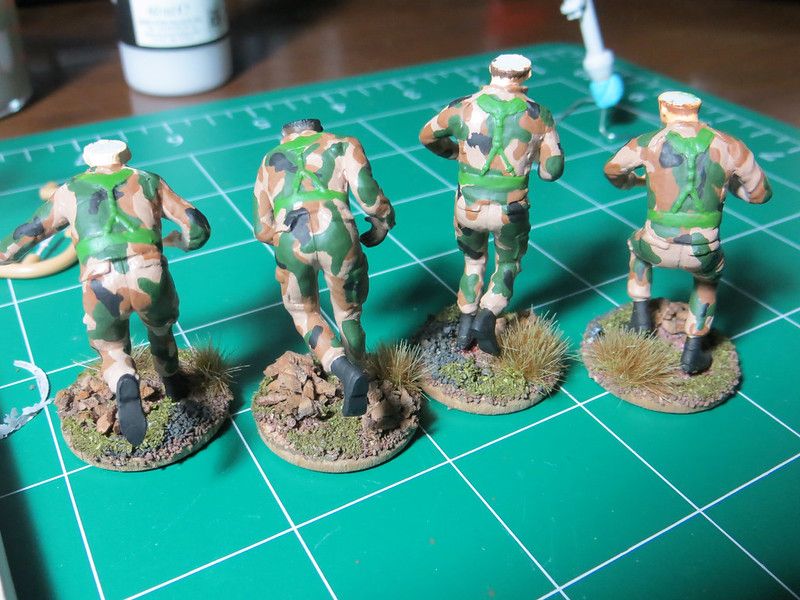
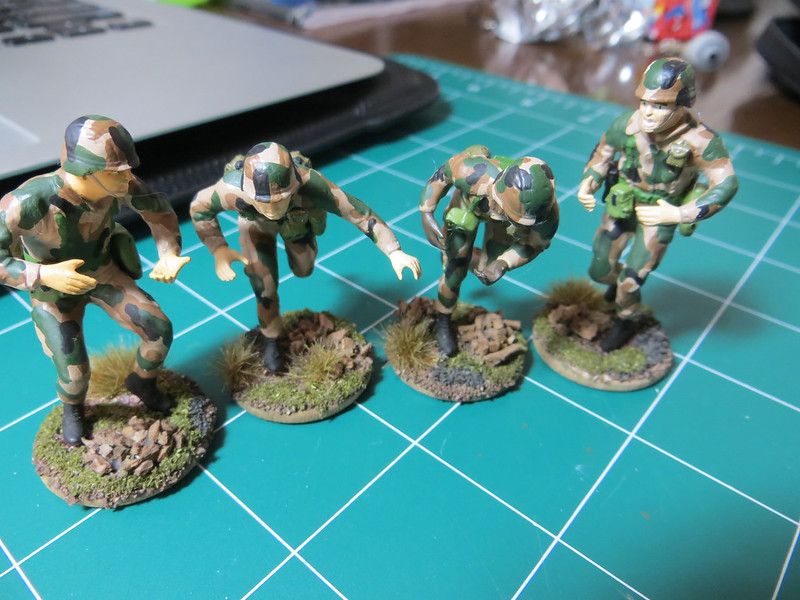
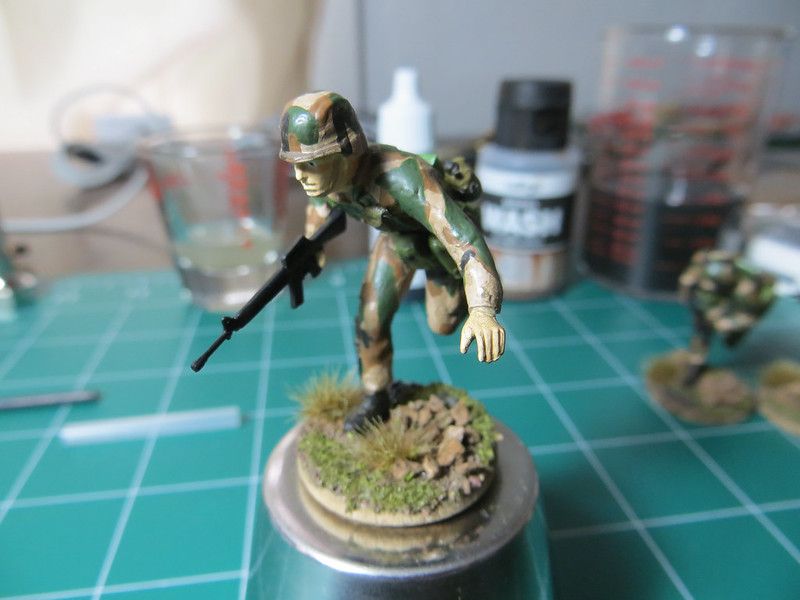
I have finished the uniform camo, I have retouched the green a little and added all black spots, as well as the boots and the basing.

14258210793_6a815320db_c.jpg


14214888236_364431404d_c.jpg


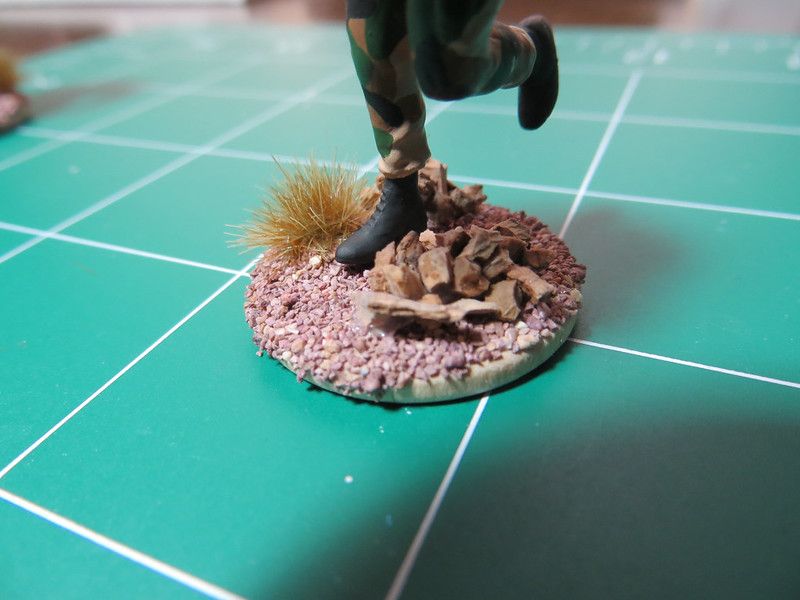
I am a little unsure about the basing matching the uniform, I may add some washes to the base and other green components. I would appreciate some input here. ;)

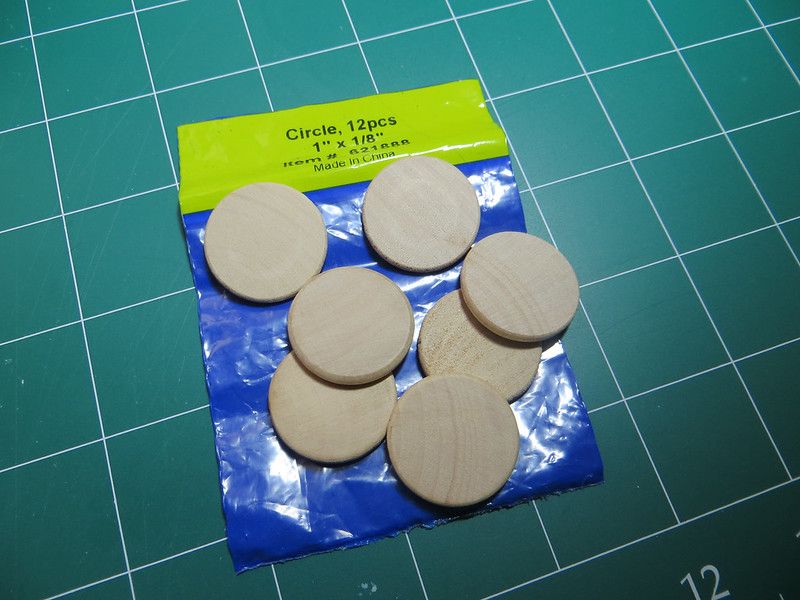
14214879876_db08488a17_c.jpg


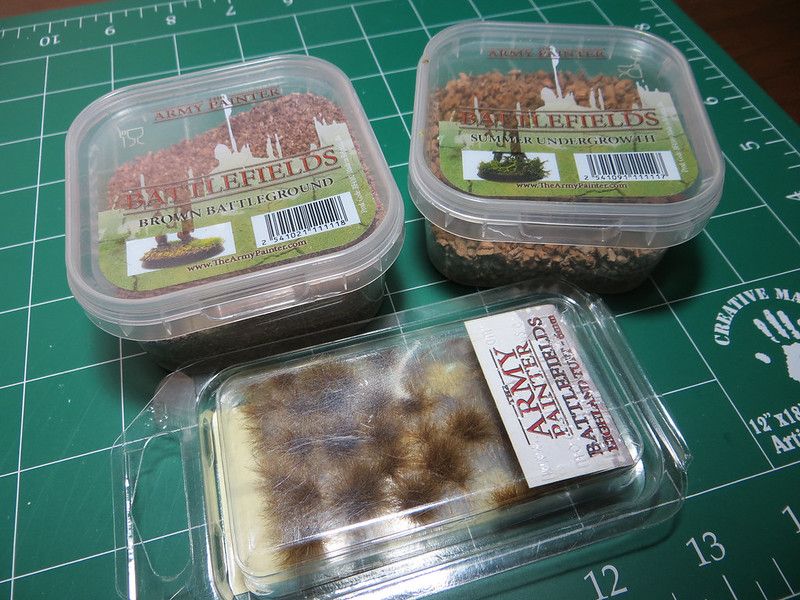
This is what I used for the base.

14051397759_bc228b1e48_c.jpg


14234721491_f4476a5233_c.jpg


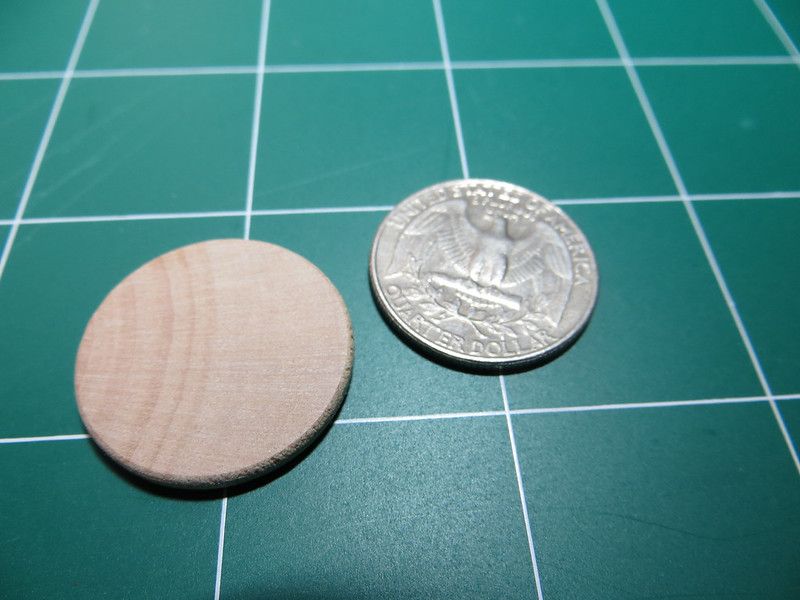
The bases are just about the size of a US quarter (:

14051393169_f786f46df1_c.jpg


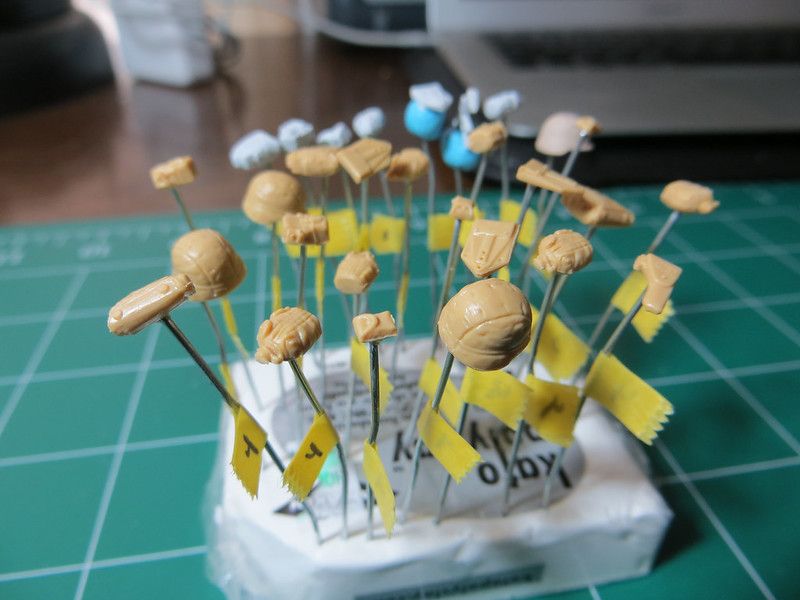
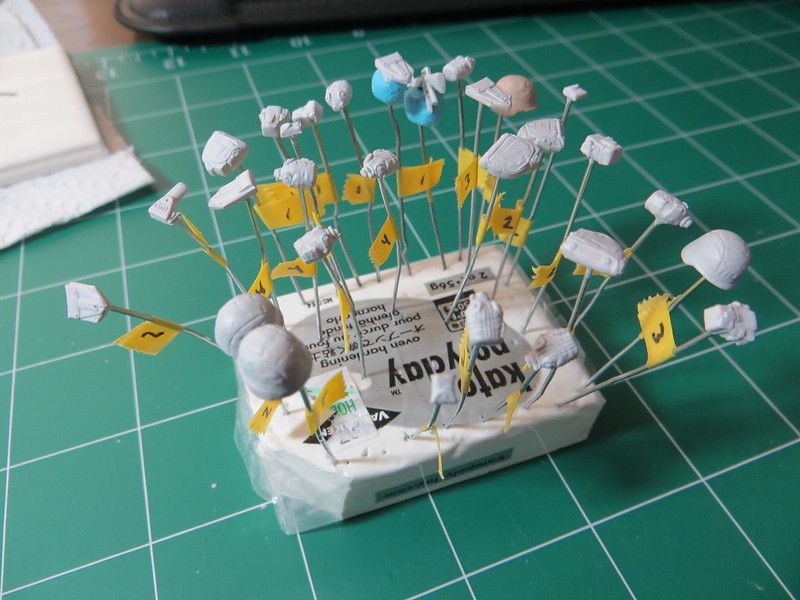
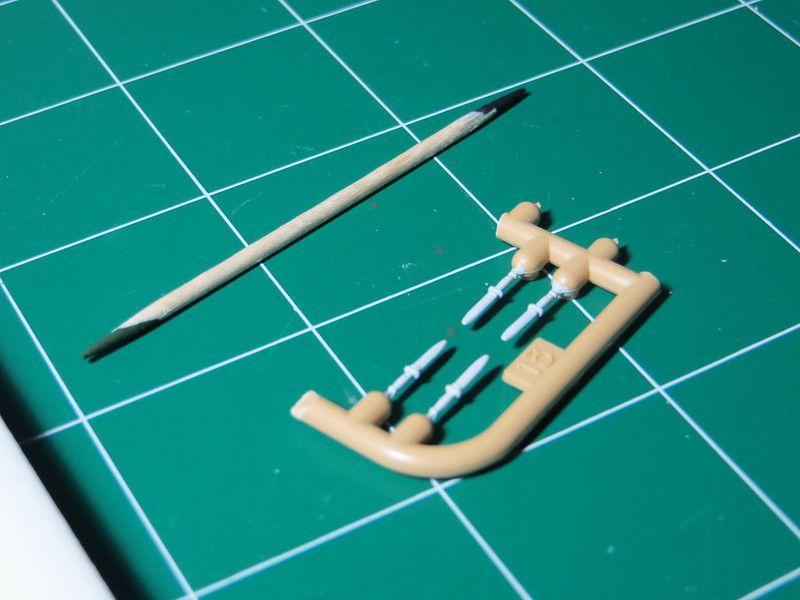
And lastly, I started on the accessories. They were a pain to prepare and remove the flash, specially when you got so many of them! and so tiny! :P

14051377149_c1b3eec332_c.jpg


Thanks for watching!

Luis
 
Re: Tamiya US Modern Army Infantry 1:35.. My first work.

As I mentioned on my last post, I didn't quite liked the color of the base, it didn't fit the camo of the uniform so I went ahead and added green & black.

14062715338_04108ce9bd_c.jpg


14246061061_83ebbcbcf7_c.jpg


This is how it looks at the end, I will had a brown wash to the base when the figures are done, it should bring everything together...

14249373135_83a042372f_c.jpg


I have also cover a lot of ground with the accessories.

14062779607_901da97b84_c.jpg


14246091691_3a5e968d00_c.jpg


14062811897_2a992dbe19_c.jpg


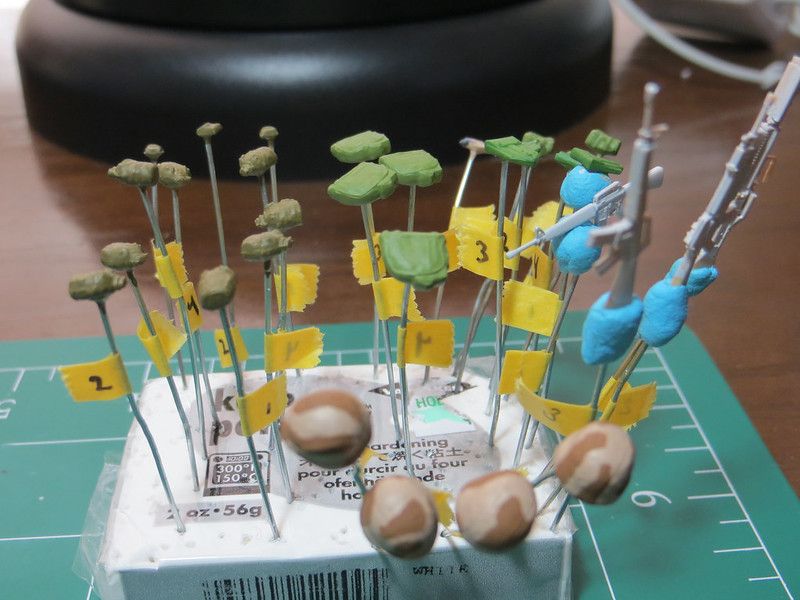
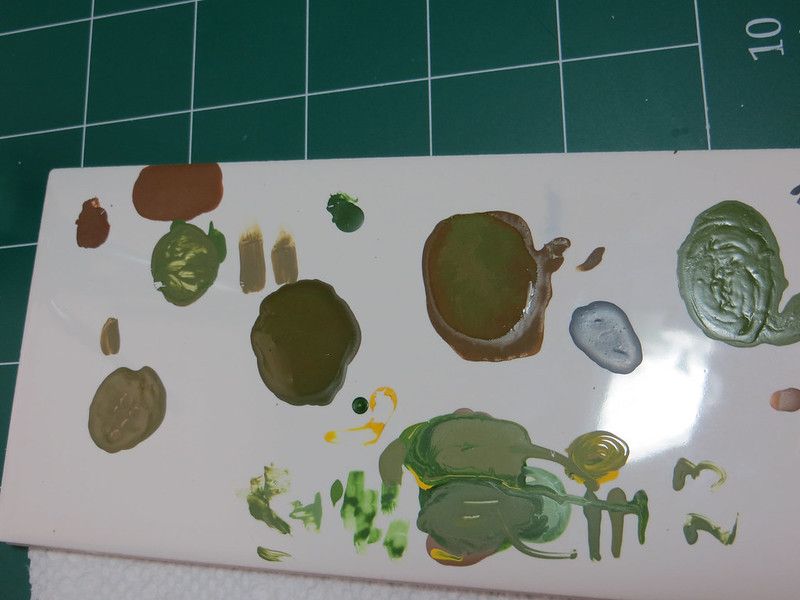
At most I have 3 different greens and no one gave me that olive-brownish military green that I wanted, so I experimented by adding yellow and browns to what I had..

14246083291_869fa2e564_c.jpg


Getting there.

14062774107_a0121f09fc_c.jpg


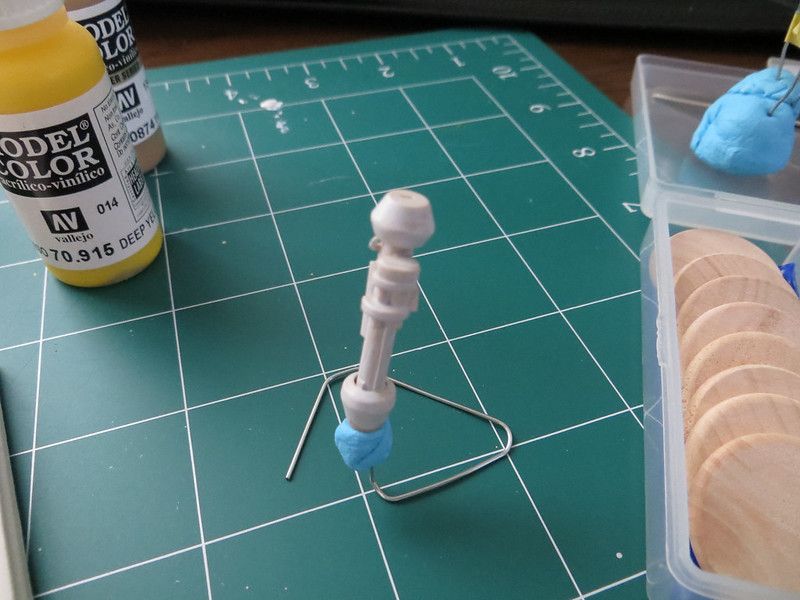
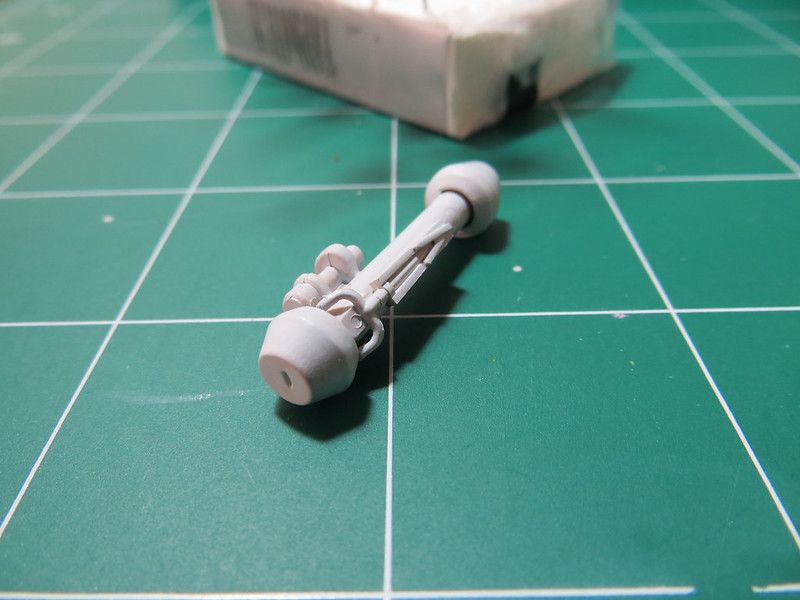
First primer coat for the bazooka.

14269566753_69c4c55d35_c.jpg


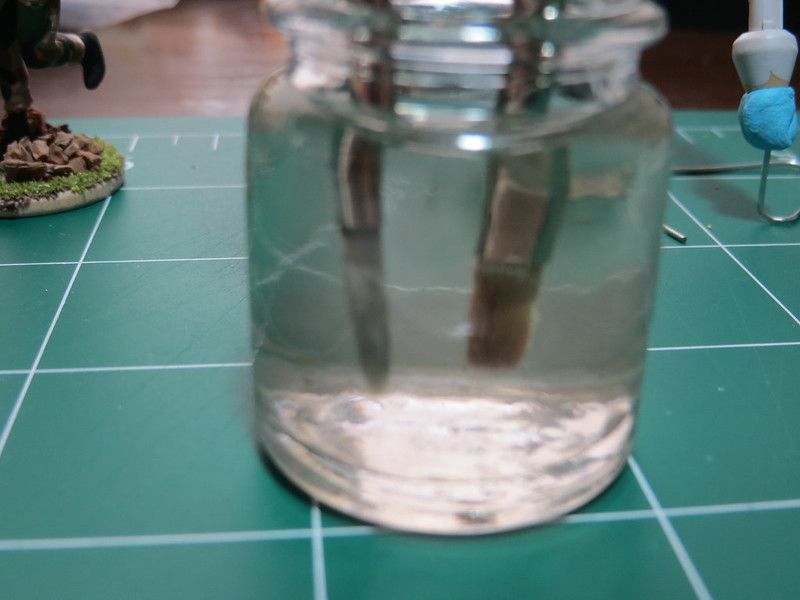
My most used brushes were showing build up at the ferule and were too stiff, so it was time for a heavy duty clean up. I used Winsor & Newton Brush cleaner, to be soaked for 24 hours. When I painted the boots time ago, the black paint stained the left brush, I hope this also removes that black stain.

14062723999_316421b1e7_c.jpg


Thanks for watching!

Luis
 
Re: Tamiya US Modern Army Infantry 1:35.. My first work.

Time for an update! ;D

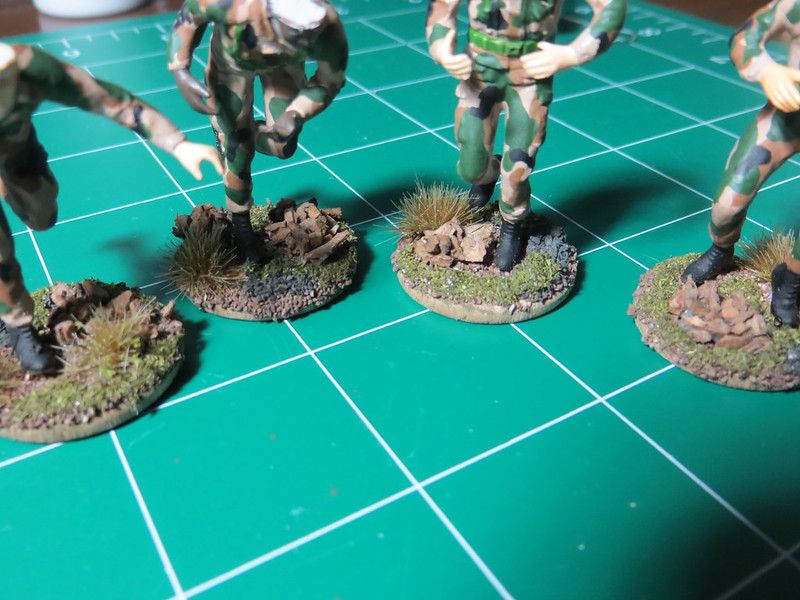
One of the things that I last mentioned was about the basing; I didn't quite like it because it was too greenish and didn't quite matched the environment for which the woodland camouflage is meant to, so I added some brown wash to it.

If you scroll back to a previous photo, you can see the huge difference.

14123412499_4cc7bd5b27_c.jpg


When I took the picture, the wash was not fully dry, I hope it doesn't change much.

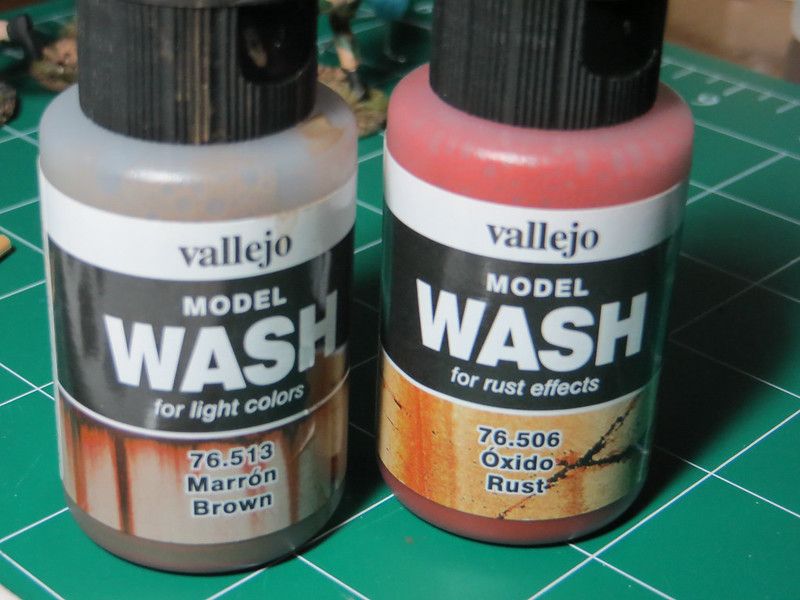
This is the wash I used (brown one):

14123452398_b1a97288ff_c.jpg


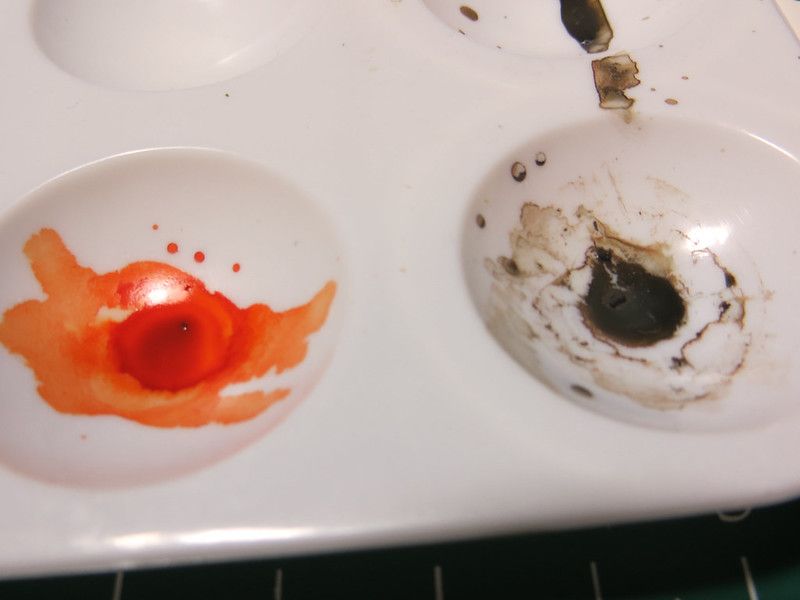
I was tempted to use the "Rust" wash, but after a quick test, I found out it was just way too orange and would completely mess up my project.

14308230042_a15113ae64_c.jpg


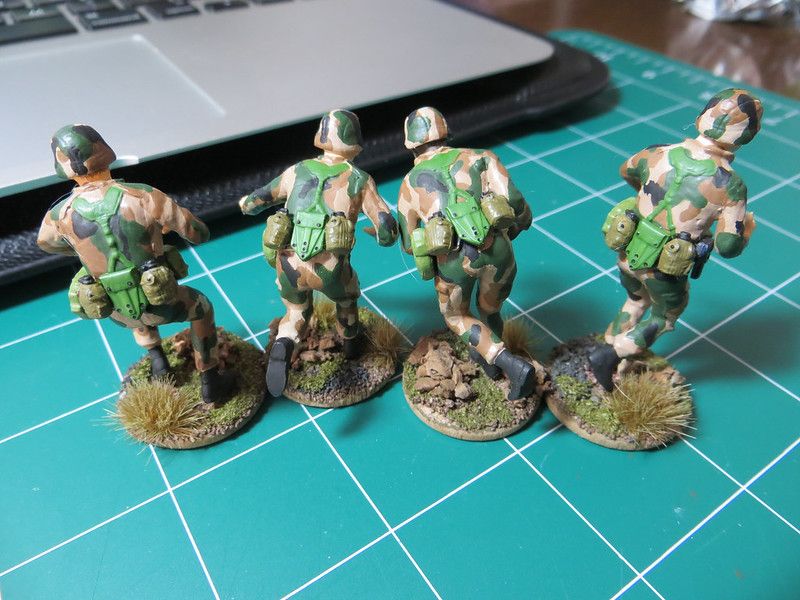
I also painted the straps/belts on the uniform, it still needs a second coat and detailed lines.

14330298273_7c32bb11bf_c.jpg


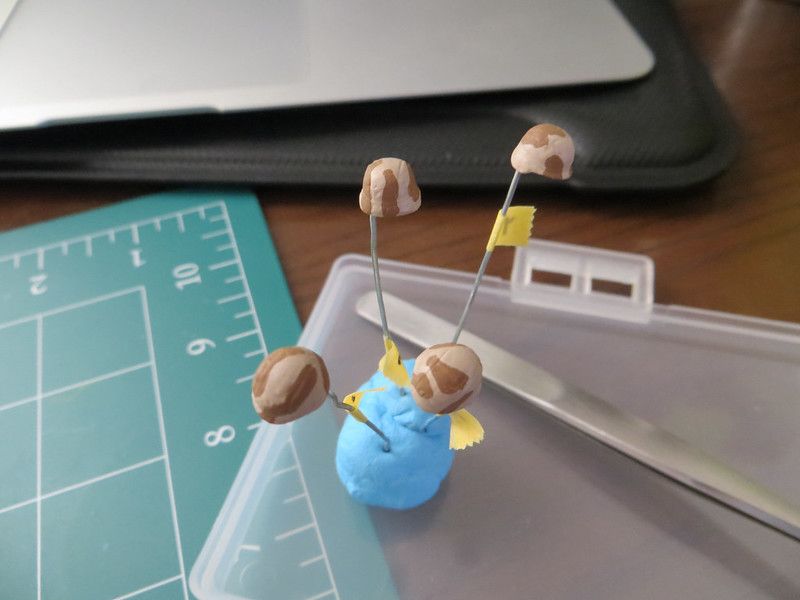
I also finished the helmets! ;)

14306746231_1550e26ee3_c.jpg


This little things are some sort of flash lights, the are no more than 3mm long and 1mm in diameter. So tiny!!

14123417969_67bc6d3d59_c.jpg


This ones are the knives, thinner than the above flash lights. I may end up just painting them in black.

14309503934_ff395fcb84_c.jpg


And lastly, I painted many details on the accessories!

14309517424_b1202f1a81_c.jpg


Thanks for watching!

Luis
 
Re: Tamiya US Modern Army Infantry 1:35.. My first work.

Brilliant. You must have some super steady hands
 
Re: Tamiya US Modern Army Infantry 1:35.. My first work.

WebbyNZ said:
Brilliant. You must have some super steady hands

Thanks! Just have to take deep breaths for the smallest details. ;D

Luis
 
Re: Tamiya US Modern Army Infantry 1:35.. My first work.

Getting very close to finish this awesome project! ;D

On this update, I am showing pretty much every figure at 95% completion.

I have added the helmets and accessories to the little guys.

14387918041_46089cdb19_c.jpg


14204629968_9eb9247fc7_c.jpg


14204630109_da70c59123_c.jpg


14204820097_dd92eee2f2_c.jpg


14204691870_568c8c84a5_c.jpg


14387913151_bc88d74e8b_c.jpg


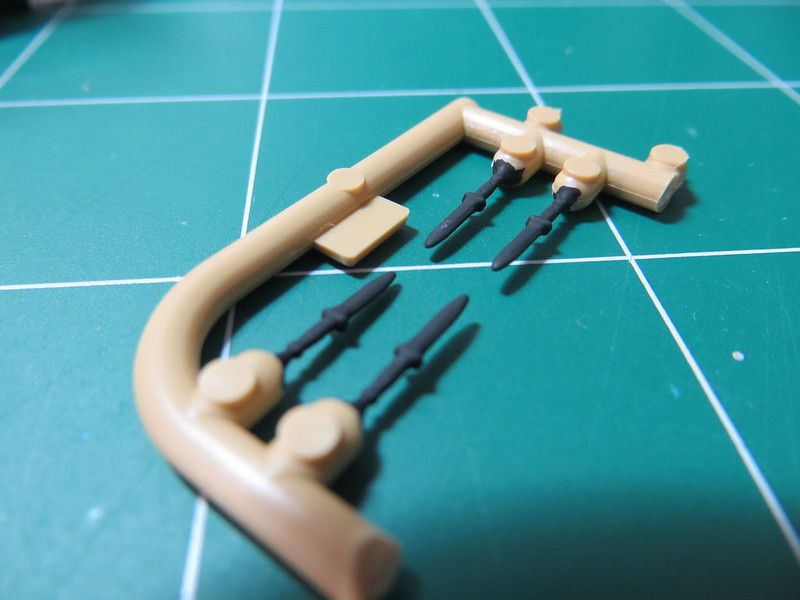
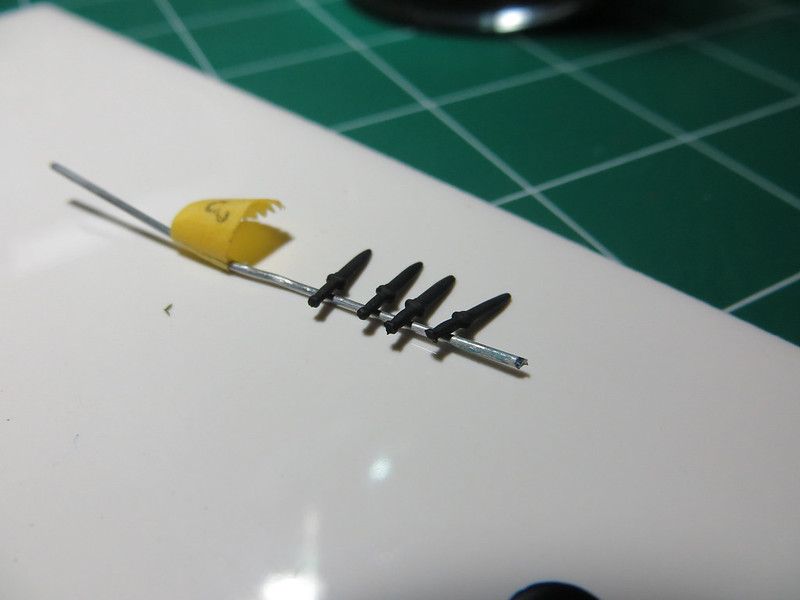
I was a little hesitant to prime and paint the knives while still attached on the sprue. I couldn't figure another way of holding the super small pieces. I am sure there are better ways.

14368146626_53d286f700_c.jpg


Thanks for watching!

Luis
 
Re: Tamiya US Modern Army Infantry 1:35.. My first work.

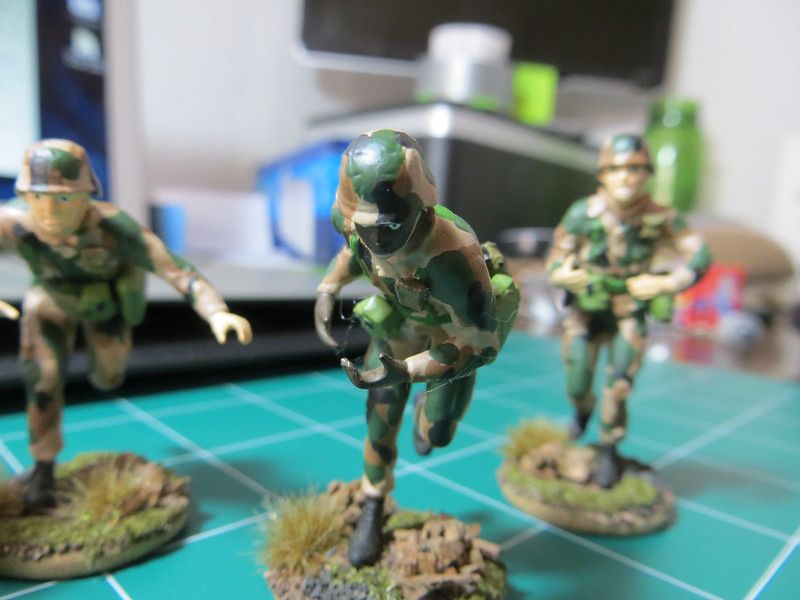
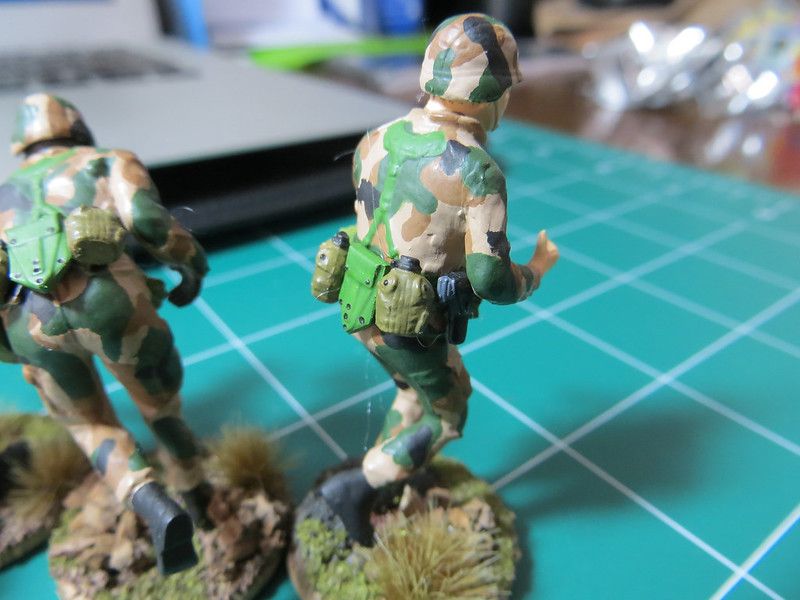
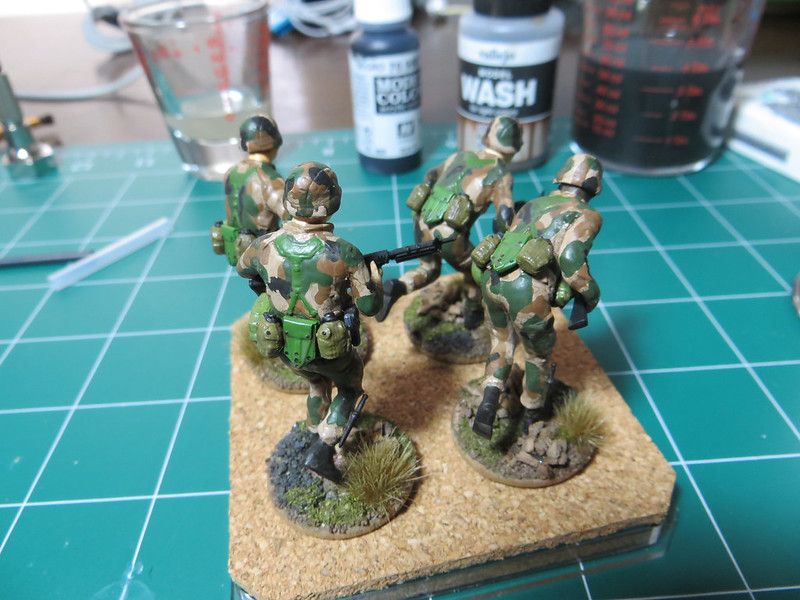
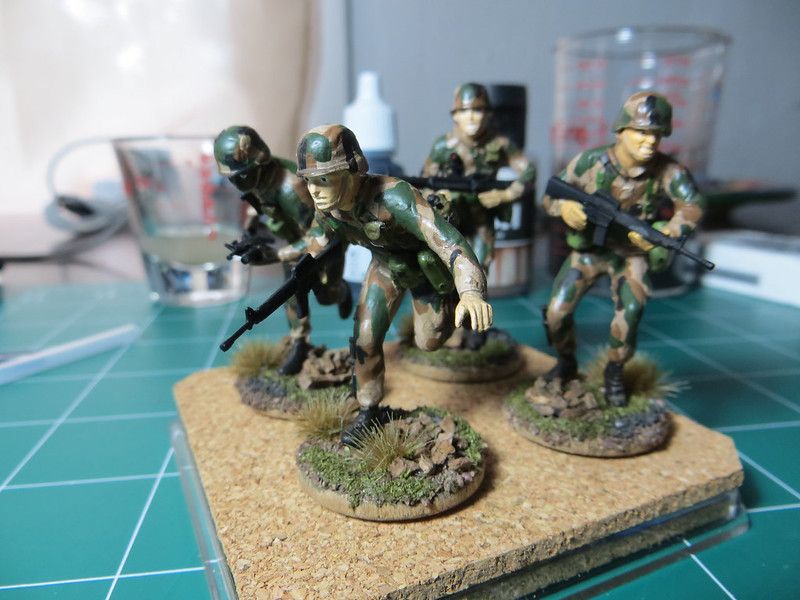
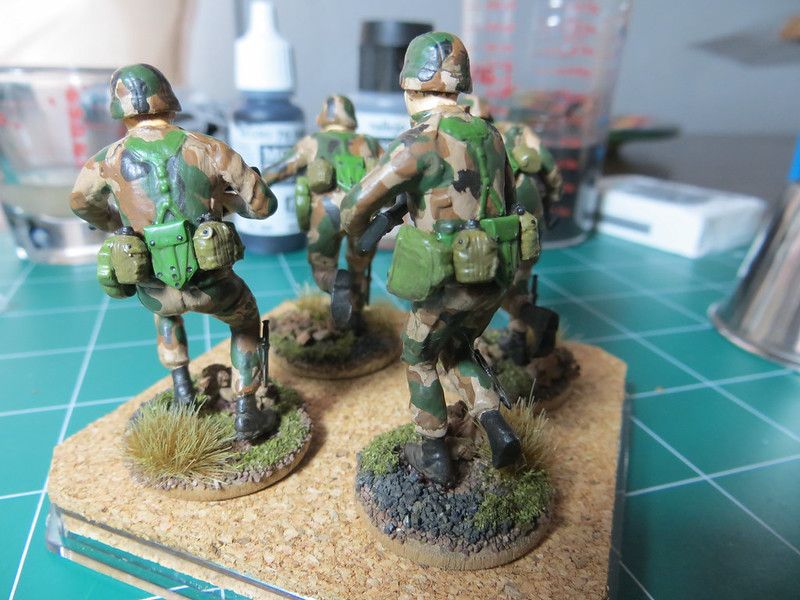
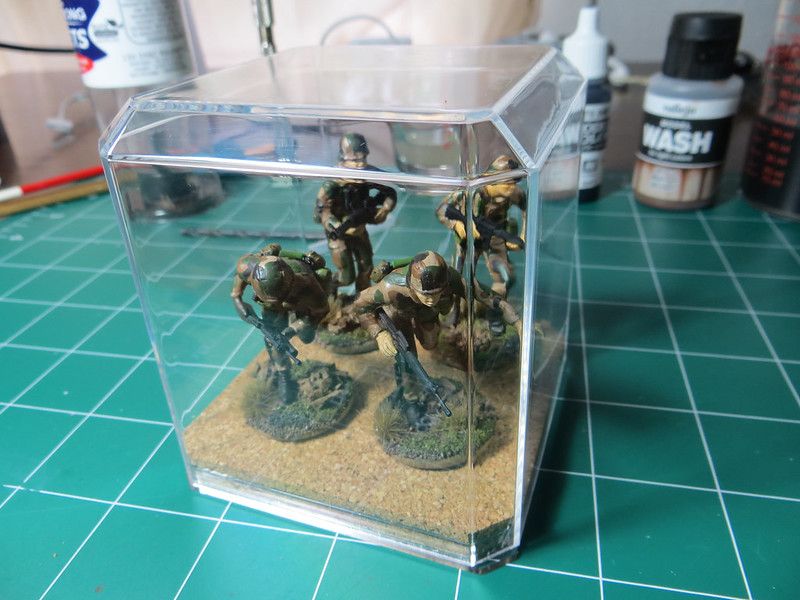
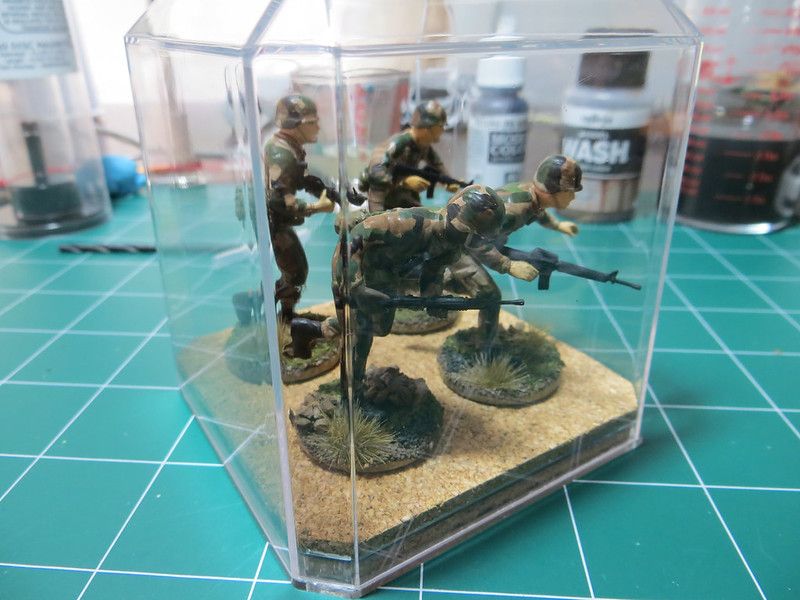
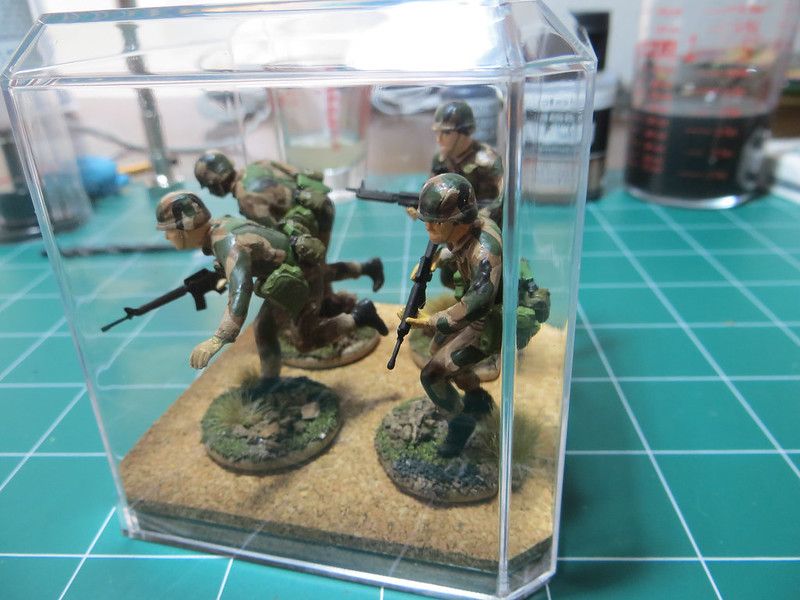
Hey guys, here is my last (ever) picture upload for this project.

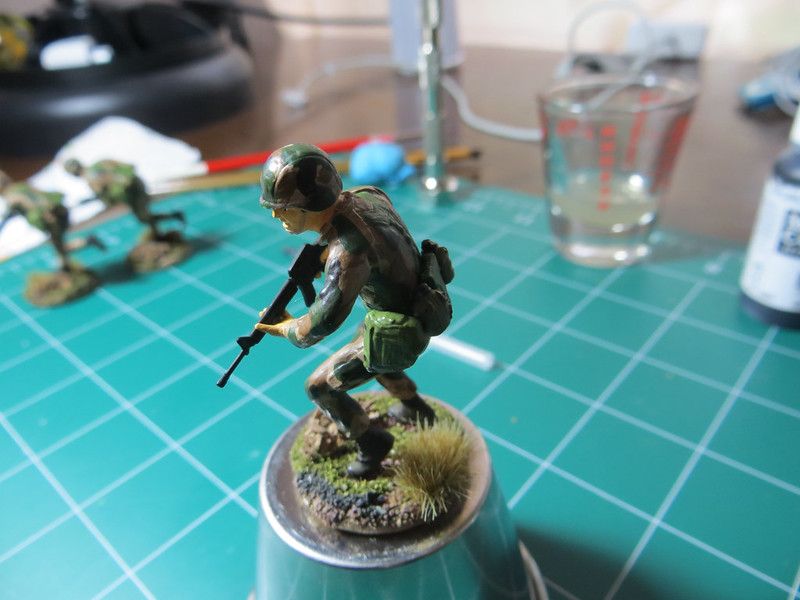
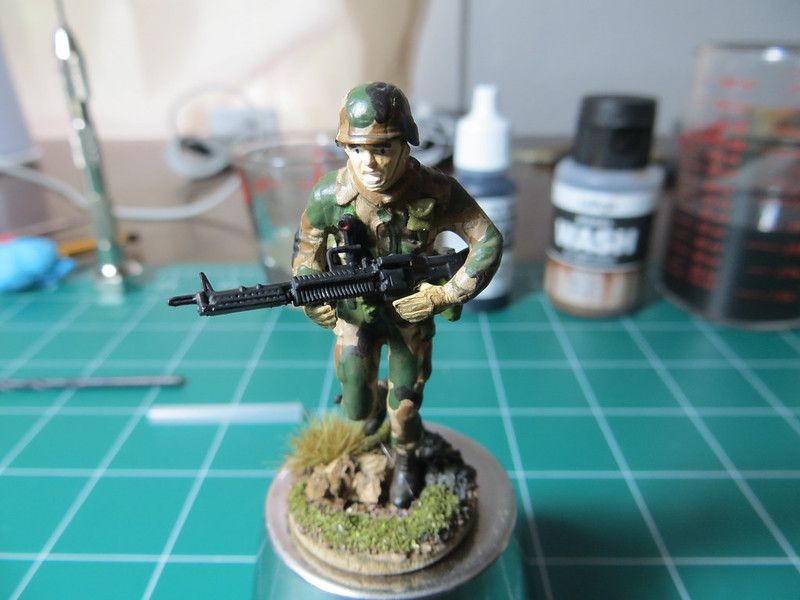
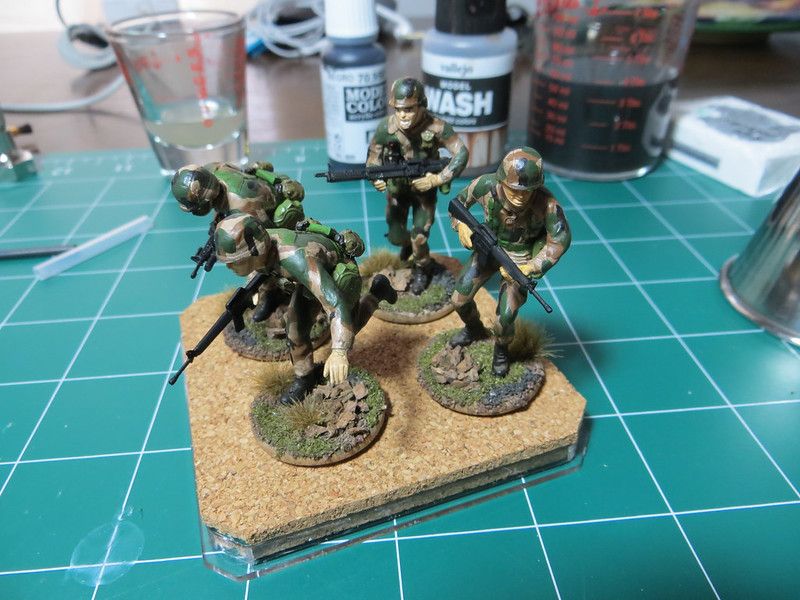
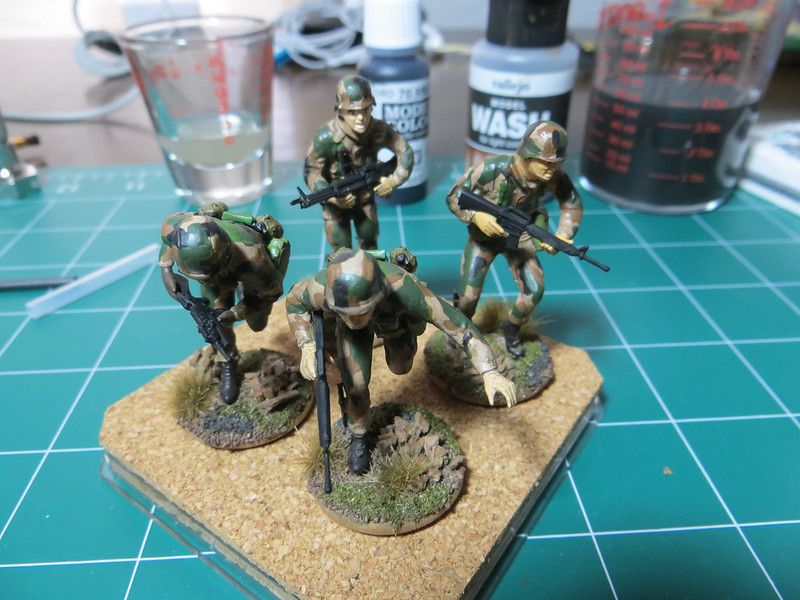
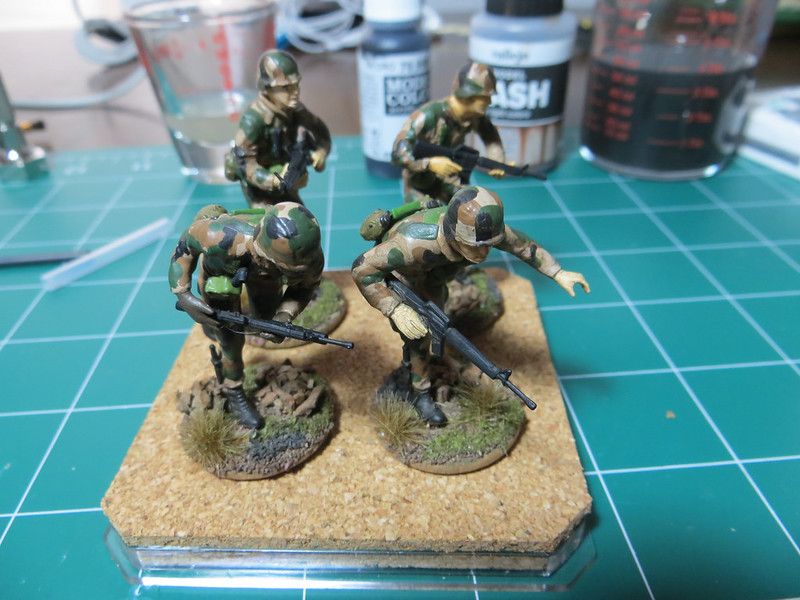
I have completed it, and quite proud of it. For being my first project in the hobby, I am pleased of how everything came out. It was a great experience, and although I didn't get much feedback, I want to thank everyone that stopped here to enjoyed my pictures and updates, this thread as many views, so hopefully it is because you guys really like it!

Here we go!


I took out the tiny knives out of the sprue after painting them black.

14503288906_437366ed4f_c.jpg


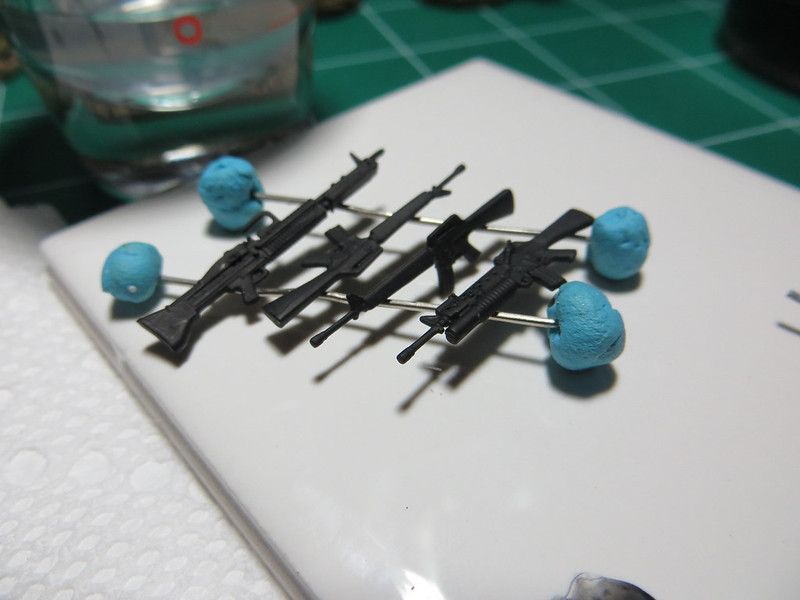
Same thing goes for the weapons, I painted everything on black.

14339748040_aa85bf4928_c.jpg


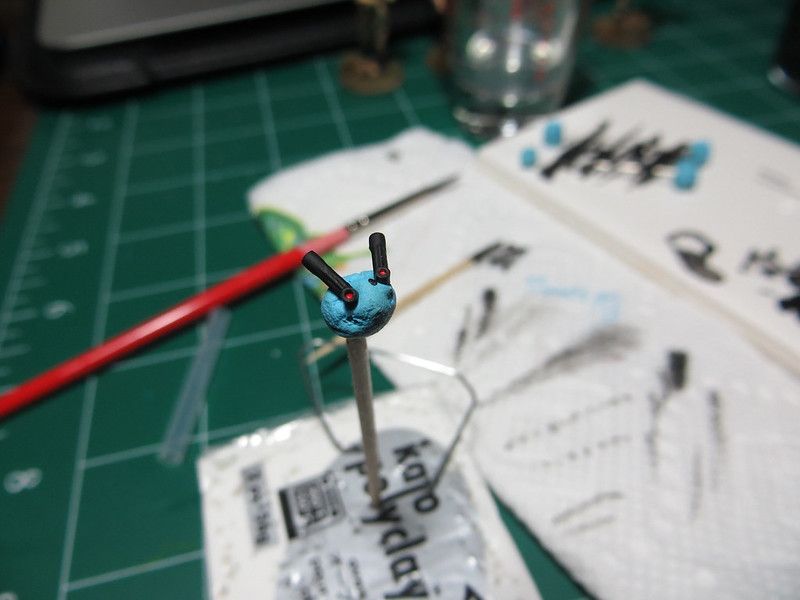
I don't think I ever uploaded how I painted the lamps, but I first added the red, and then the black. I figured that painting black first and red later would make things harder.
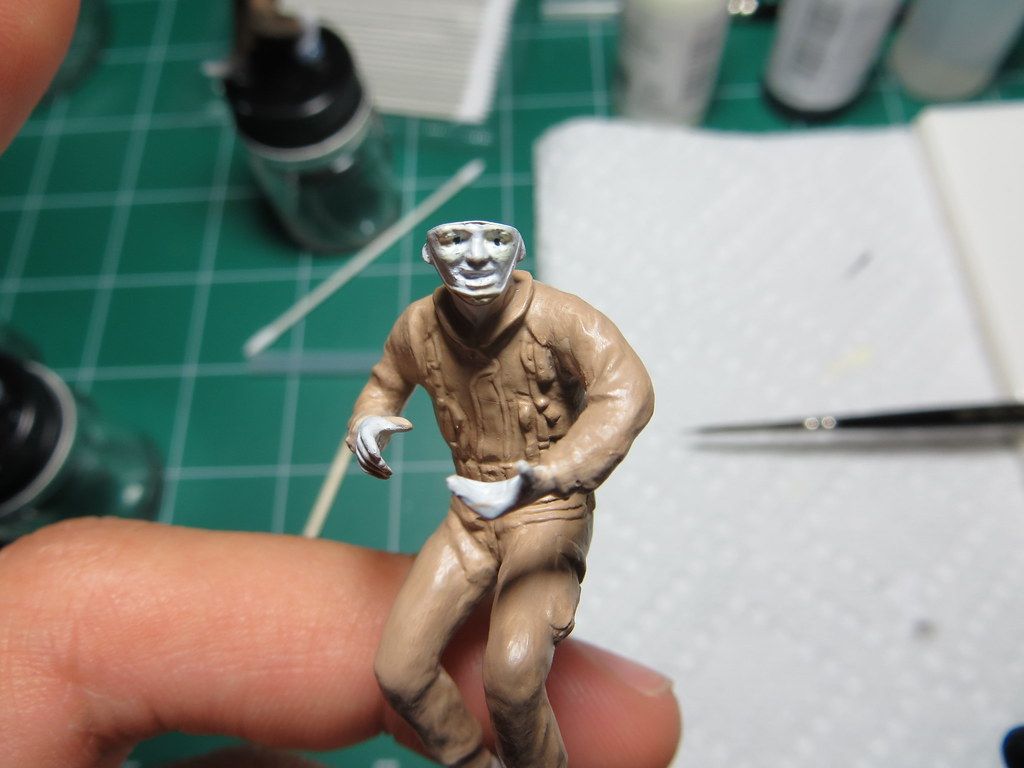
14526380145_b58bef08d8_c.jpg


All the figures were completely painted with a last layer of brown wash. Everything but the face.

14522994171_0ecf8301ba_c.jpg


14546509413_e99e2a0801_c.jpg


14525347162_46783b8ab4_c.jpg


14339804428_7092513c5b_c.jpg


14339769099_9b535cd844_c.jpg


14526360325_e4781fea0a_c.jpg


14522973391_cf00828164_c.jpg


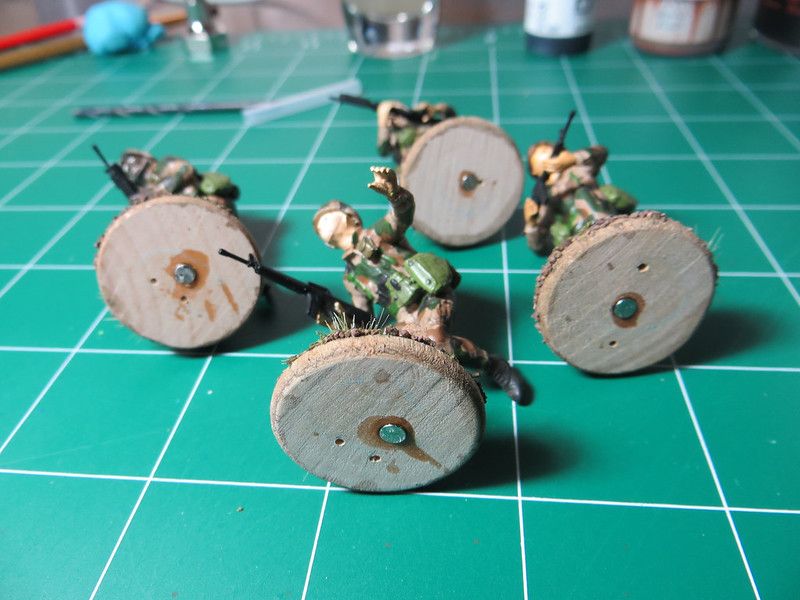
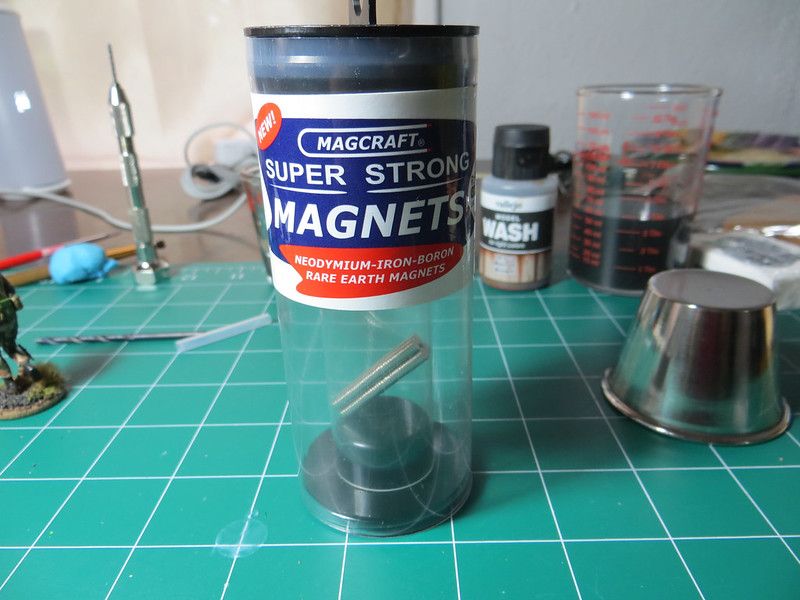
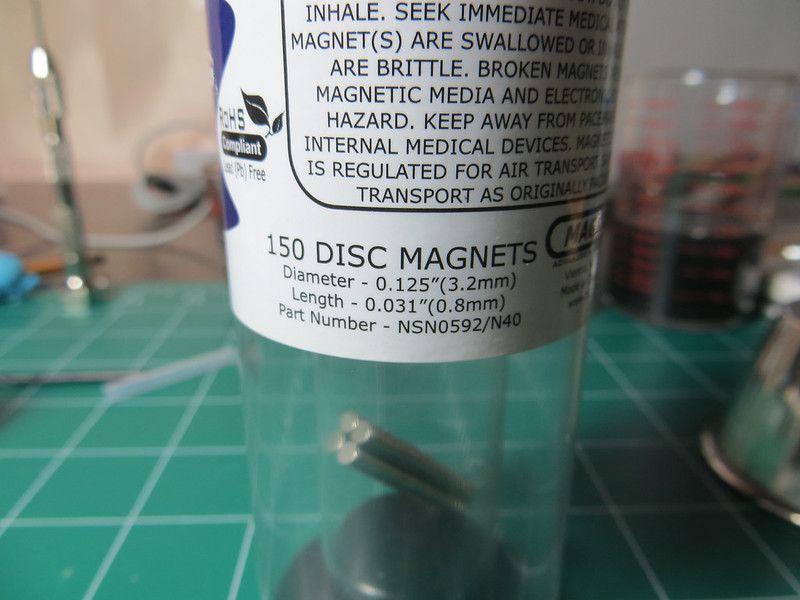
I also added very strong and tiny magnets to the bases of the figures.

14525329422_0c1004446b_c.jpg


If you ever need to magnetize a project, to either hold things in place, to add movement, or swap things like different weapons, I strongly recommend this magnets. Made in the USA, highest quality I have ever seen and ridiculously strong.

14503251626_8f78303244_c.jpg


Yeah! Quite tiny.

14339710330_f820faba86_c.jpg


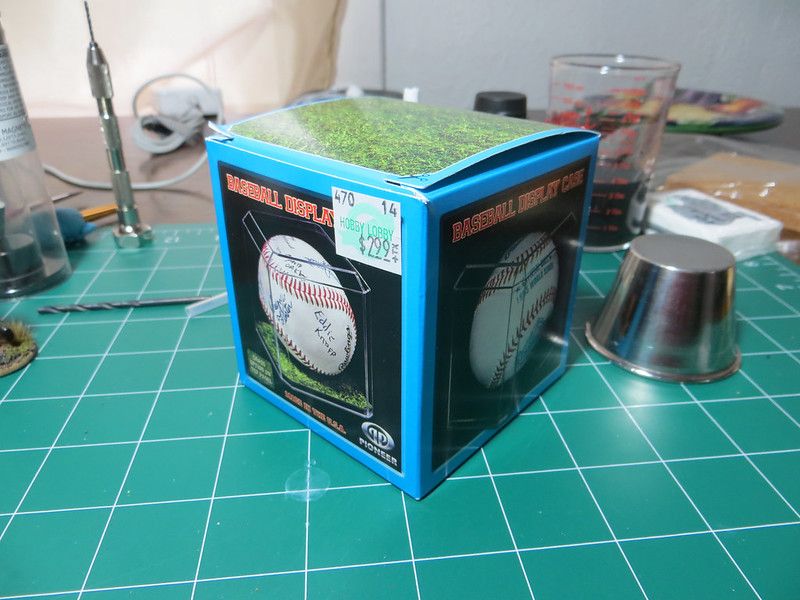
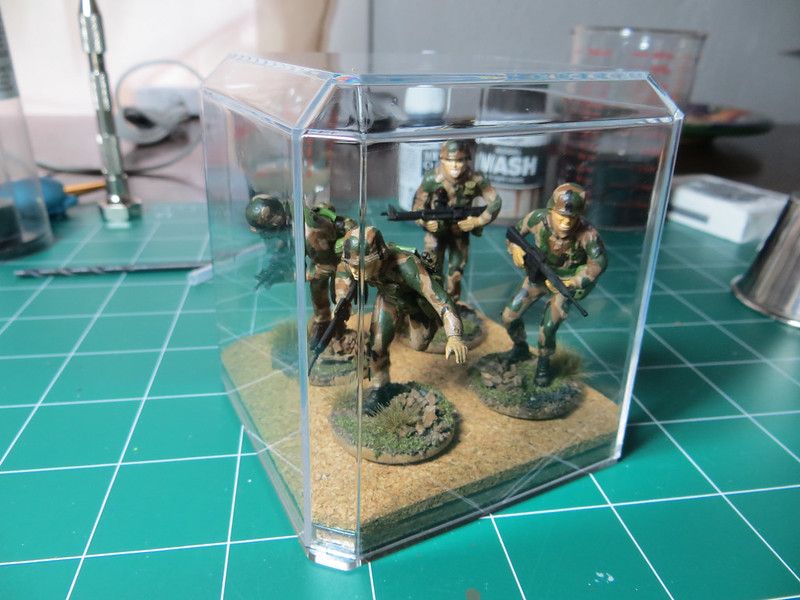
This is the display case I got for this project, I got it at my local Hobby Lobby store.

14339747649_d21859898e_c.jpg


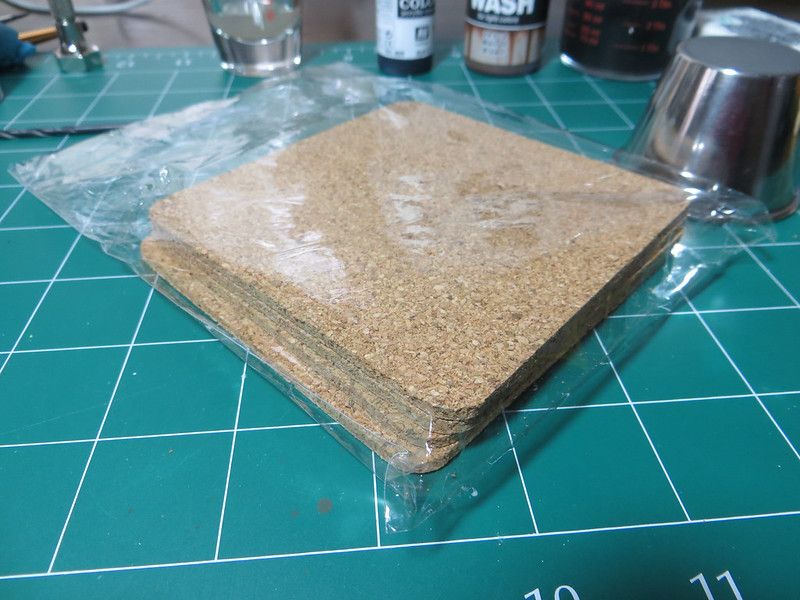
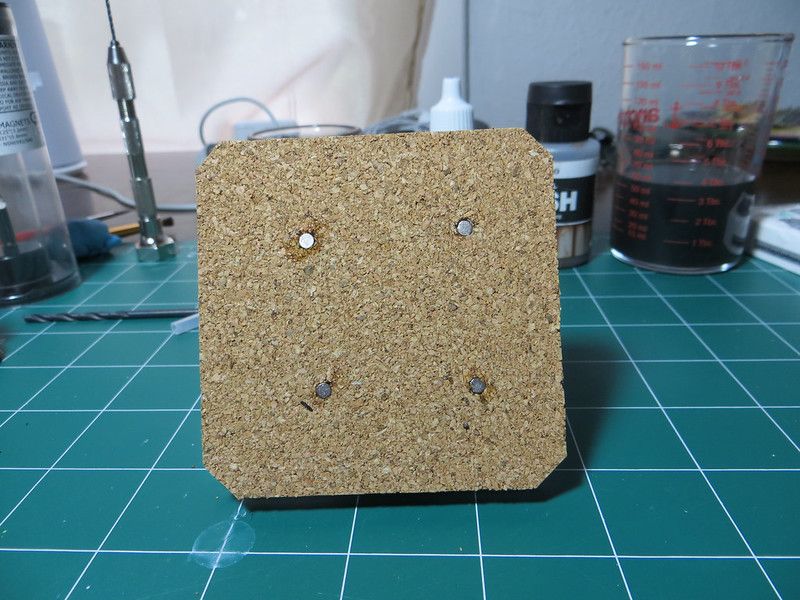
I also got some cork to add it to the display case.

14524902754_127d7d5a4a_c.jpg


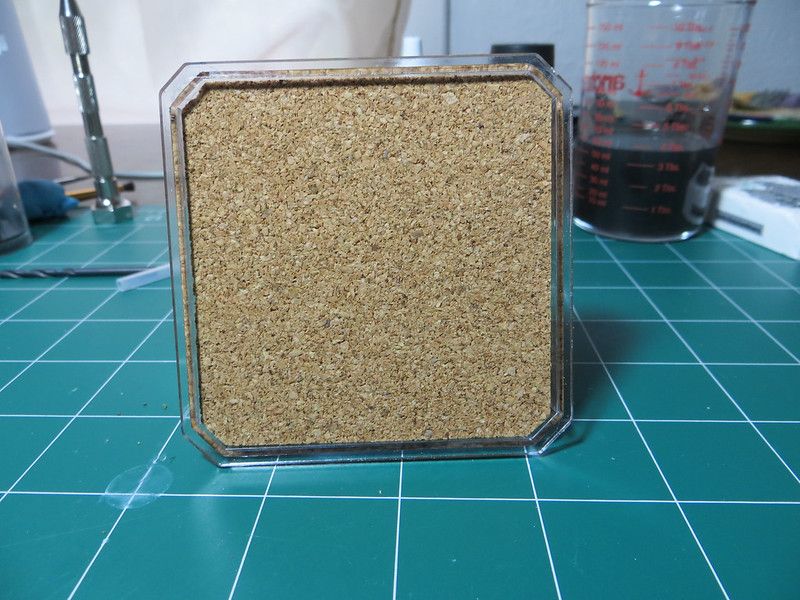
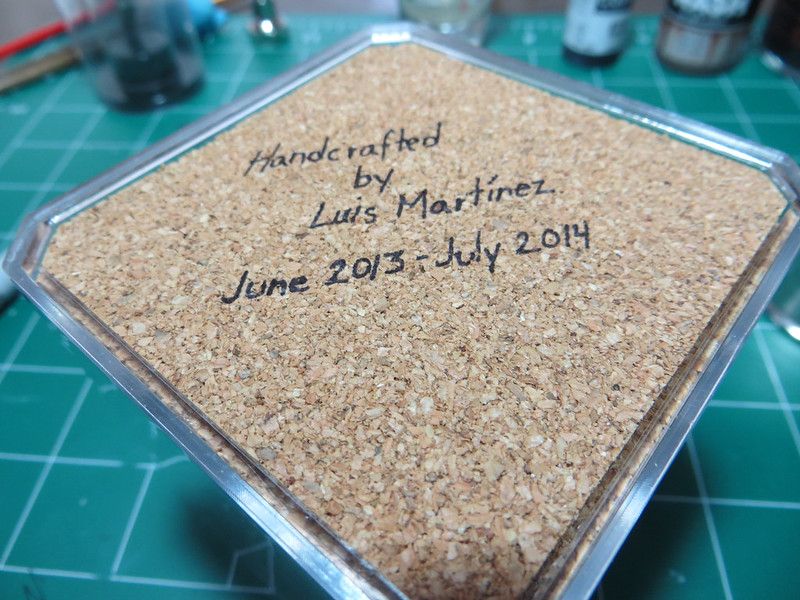
I cut to size the cork to add it to the bottom of the base in order to hide what I will be doing next, because the case is completely clear, from all sides.

14526333595_e8f5ea4403_c.jpg


I added magnets where the figures would be resting on the case's base. They are not evenly positioned because each figure needs different spacing.

14339763608_fc2c94f2d5_c.jpg


And so...

14526331775_ea6271160e_c.jpg


14339681230_71281b502c_c.jpg


14339751048_be1f31c9f6_c.jpg


14339673220_328750ee5f_c.jpg


14339870587_4e47e51d56_c.jpg


14339704839_c874f88c8e_c.jpg


Then we can close the case.

14339700499_f699f816f2_c.jpg


14339730168_b62dc986cf_c.jpg


14339690029_df7577a83d_c.jpg


14339844597_462d5d91aa_c.jpg


I meant to put July 2013 - June 2014, but I guess this works too... Haha.

14339725868_5a3f4b5a6b_c.jpg


Just for kicks, here is how strong each tiny magnet is. They can hold the weight of the figure.

14339708508_d22ee46113_c.jpg


14522881161_f4c0ec8922_c.jpg


Thanks for watching!

See you on my next project!!

Luis
 
Nice work. Figures are always hard to do. Tip on attaching them to the painting stand. Use a small amount of ca glue. Just a drop and then u can crack it off when done. Very nice work
 
noc5659 said:
Nice work. Figures are always hard to do. Tip on attaching them to the painting stand. Use a small amount of ca glue. Just a drop and then u can crack it off when done. Very nice work

Thank you! & awesome tip! why did't I think about that?! Haha. Sounds much easier.
Luis
 
Back
Top