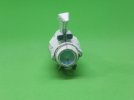
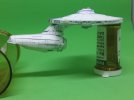
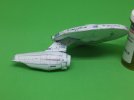
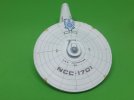
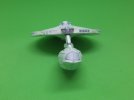
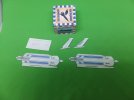
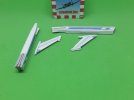
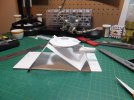
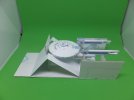
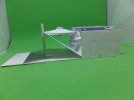
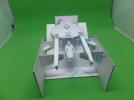
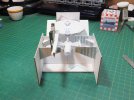
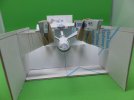
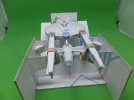
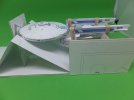
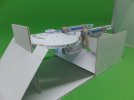
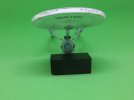
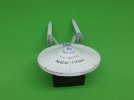
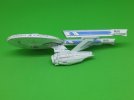
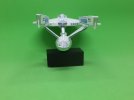
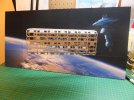
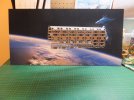
Startrek Space Dock with Refit 1/1700 scale Paper Model

Good evening.
An update on the Refit.
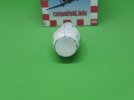
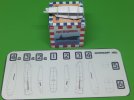
Working on the secondary hull, finished the framework.
Secondary%20Hull%204_zps14iuyuw6.jpg

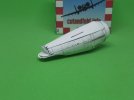
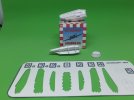
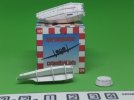
The next step was to assemble hull's skin. At this scale it is easier to work on the skin separately. Easier to compensate for any problems and the shape.
Secondary%20Hull%205_zpsjnoiuc0d.jpg

Secondary%20Hull%206_zps9mhfrdyz.jpg

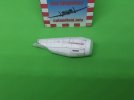
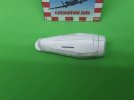
The completed skin is then applied to the frame and glued together at the top seam. The glue tabs at the front of the hull are attached to the front of the frame. The front extension piece that was previously assembled is the attached to the front of the hull. As well part of the hanger deck was installed and the filler for the bottom of the hull was installed.
Secondary%20Hull%207_zpsefdmci37.jpg

Secondary%20Hull%208_zpsvudssfss.jpg

Secondary%20Hull%209_zpsmwlz9fjl.jpg

Secondary%20Hull%2010_zpsnbwtl72d.jpg

Still a lot of work to do on the Secondary hull.

Thank you for following.
Questions and comments welcome.

Jim
 
Good day.
The bottom of the hull has been trimmed up to match the hanger deck, so when the filler piece for the fantail will sit square.
I cut out the filler piece that goes between the hull and hanger deck and found as i suspected it was too narrow.
Reprinted and cut a new one, this time making it about 2mm wider towards the inside. This worked out perfect and was able to trim off the excess after the glue dried. Then installed the hanger doors. Doing it this way gave it a slight overhang over the doors.
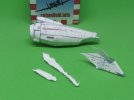
The forward sensor dish was then assembled, as were the forward docking and umbilical ports. the assembled dish was then attached to the hull and when dry, the docking ports were also installed.

Secondary%20Hull%2011_zps5udueayk.jpg

Secondary%20Hull%2012_zps5iz66tur.jpg

The next thing on the agenda was to assemble the photon torpedo bay. Now in order to get a more flush mount to the curvature of the hull, I did not install the bottom to this piece. Just the section the covers the bottom of the overhang of the torpedo bay.

Secondary%20Hull%2013_zps2jqzgafc.jpg

Secondary%20Hull%2014_zpsz410layt.jpg

The neck was a little fiddly, due to its complex shape, then it was attached to the torpedo bay.

Secondary%20Hull%2015_zpsdp3dnh9h.jpg

Secondary%20Hull%2016_zpsxcmtb4wy.jpg

Secondary%20Hull%2017_zps3asg7jq8.jpg

This completes the secondary hull. Now its time to mate it to the saucer section.

Hull%201_zpsymwglglj.jpg

Hull%202_zpscchnrcfn.jpg

Hull%203_zps4xbfwu8w.jpg

Hull%204_zps3allkrpp.jpg

With the main hull done, the next job will be the construction of the nacelles.

Thank you for following.
Questions and comments welcome.

Jim
 
Good evening.
With the long weekend and all it has been a slow week for model building.
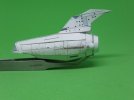
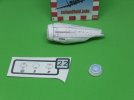
Did get all the assemblies for the Nacelles built.

Nacelle%201_zps6tlnvlro.jpg

Nacelle%202_zpssi62uxf3.jpg

In order to get a proper alignment of the nacelles to the rest of the ship, I decided to construct a jig to hold everything in place. That is mostly what I have been working on today. Not yet finished with it .

Nacelle%203_zpsdbqdatqr.jpg

May finish the jig tonight, maybe not.

Thank you for following.

Jim
 
Hi Patrick.

Yes this is the better way to go.
Trying to do these by hand would be just a nightmare.

Jim
 
Good afternoon.
Well, this afternoon, I was able to finish building the jig for installing the nacelles.
I'm happy with it so far. Have to let it fully dry before we install the nacelles and pylons.

Nacelle%204_zpsmkasmg2l.jpg

Nacelle%205_zpszrav3jdv.jpg

Nacelle%206_zpsgez9s1qt.jpg

Jim
 
Good afternoon.

More work on the Refit.
First installed the left Nacelle.

Nacelle%207_zpshryyhuuv.jpg

The procedure is actually simple with the jig. First glue one of the pylons to the hull. Adjust its position such that the skin flange is level with the jig's cross braces and let dry. When cured attach the nacelle and hold it in position with and elastic. Let the glue cure. When dry repeat process with the other Nacelle assembly.

Nacelle%208_zpszetaaabq.jpg

Nacelle%209_zps9iwss5eg.jpg

Nacelle%2010_zpsxsqicknx.jpg

Nacelle%2011_zpsj90hreop.jpg

When all is cured the ship was removed from the jig.
This is the finished ship.

Nacelle%2012_zpsirvkj25h.jpg

Nacelle%2013_zpshupntrio.jpg

Nacelle%2014_zpsinfxuhly.jpg

Nacelle%2015_zps0ralrwry.jpg

Will now move on to the next phase, the building of the shadow box.

Thank you for following.
Questions and comments welcome.

Jim
 
Thank you Patrick.
I'm happy with it.
Some of it will be obscured by the dock.

Jim
 
Good Evening.
With the Refit done, it was time to tackle the diorama.
I had purchased a 1'x2'x1/4" ply for the mounting back plane of the shadow box.
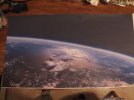
I found a HD image of Earth from orbit without a pic of part of the ISS in it, to use as a backdrop.
Placed the image into photoshop, to resize it to fit the back plane. This image was so large I actually had to shrink it to fit. Since this image was too large for my printer, I used the splice function to cut it into 6 pieces.
I did a rough quick print and reassembled the image.

Backboard%201_zpsopw2vzti.jpg

I then placed the back plane where I wanted it on the picture, and trimmed to the board. this was then taped to the back plane. This is only a temporary image, to be used for model and support placement. When done it will be replaced with the proper HD image. Better to make a mess on the rough image.
To mount the Dock I'm using 1/16" brass tubing and .032" brass rod, that fits into the tubing.
The rod is mounted into the side of the service deck of the Dock. A length of about 4mm is left outside the dock to mount into the brass tubing. The back plane was drilled to accept the tubing. They will be glued into place later.
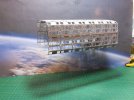
So here is the mock up and where I am at tonight. The dock is mounted on a slight 30deg forward angle.

Backboard%202_zps5zubyiqu.jpg

Still have to mount the ship into the Dock yet.

Thank you for following.
Questions and comments welcome.

Jim
 
Wow! This is going to look Awesome! I can imagine this looking like its floating in front of the HD image. 8)

Will you be putting any lighting in the box to eliminate the shadow of the space dock on the background picture?

It is a pleasure watching this progress.
 
Hi Hagoth, thank you.
Yes there will be lighting in the shadow box.
This shadows you see here are caused by my work light, which is over head.

Jim
 
Good Day.
There has been a lot of work into this project this week, into what appears to be little progress.
I have been working on the final matte for the backplane.
When looking at the image, I felt that it needed something to set it off and set the mood.
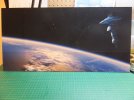
What I found was a CGI mesh of the Earth Space Station. You figure it had to be near by anyway.
The object was edited and sized to fit onto the top right corner of the matte, just behind where the Space Dock will be, but in the distance. Was happy with the result and printed out the matte on photo paper.
Then after trimming the pieces, started gluing them onto the backplane to form the whole matte.
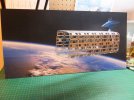
When dry, drilled out for the standoffs for the Space Dock.
The standoffs where then painted and glued into position.

Matte%201_zpssxw38lfg.jpg

Then slide the Space Dock onto the standoffs, to see how she looked.

Matte%202_zps9uhisdlj.jpg

Matte%203_zpsmmadjhv5.jpg

Matte%204_zpsluzo9e53.jpg

Still have to mount the Refit and start on the construction of the walls of the shadow box.

Thank you for following.
Questions and comments welcome.

Jim
 

Latest posts

Back
Top