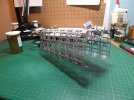
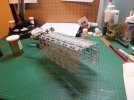
Startrek Space Dock with Refit 1/1700 scale Paper Model

Papermodder

Modeller in both Plastic and Paper Card
Joined
Jan 2, 2013
Messages
1,224
Hello all.
This is the project I've been working on since HoiHoi was finished.
A 1/1700 scale model of the Space Dock with a Refit Enterprise inside.
The completed model will be mounted in a shadow box and lit.

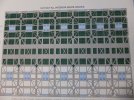
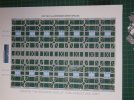
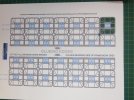
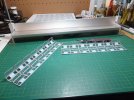
The parts, first is the Space Dock by Daves Cut & Fold.
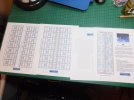
Start%201_zpsmb6ahdgo.jpg

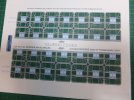
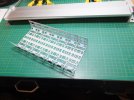
The the 1/1700 Refit Enterprise by Diego Cortes.
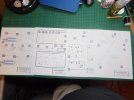
Start%202_zpsxoeol12h.jpg

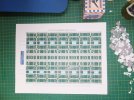
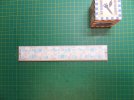
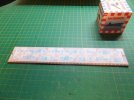
The first thing that had to be done was to create a sheet of the frame colour to laminate to the back of the frame sheets.
The colour was sampled in photoshop, then filled onto the blank sheet. These sheets were then laminated to the frame sheets and left to cure.
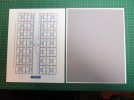
Start%203_zpswrszakzt.jpg

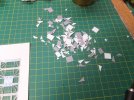
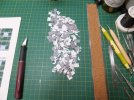
Then the job of cutting out of all the open spaces.
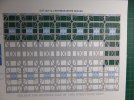
Dock%201_zps375alboz.jpg

Dock%203_zpsjvprch6r.jpg

Dock%202_zpszq19lx6a.jpg

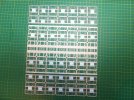
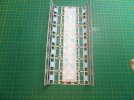
Main section of the dock cut out.

Dock%204_zpssjluat8u.jpg

Dock%205_zpsgx7rrskd.jpg

Am now starting on the side panels.

Dock%206_zpsb8omp5ff.jpg

It may seem like a lot of work, but it's more time consuming than anything else. They are all simple shapes for the most part.

Wanted to get this part out of the way before starting on the ship.

Jim
 
Definitely looks like a lot of work, but your results with these usually pays off
 
Thank you Patrick and Texastony.

Tony I just do it, and really don't think about it. I actually find the process quite relaxing.

Jim
 
It does take a while. The secret is not to try to do it all in one go, pace yourself.

Jim
 
Even though it feels like I have been cutting this thing out for ever. Tonight finished cutting out the side panels for the dock.

Dock%207_zpsgdcwwpdi.jpg

The fruit of my labour.

Dock%208_zpskaee1buh.jpg

Next up is to colour all the internal edges, then to cut the frames from the card.

Thank you for following.
Questions and comments welcome.

Jim
 
I certainly hope so. I have to come up with a suitable method to fold this.
The main reason I wanted the brake. Will have to do some test folds before committing.

Jim
 
Good day.
Update on the Star Trek Space Dock.

Finished colouring the inside edges of the framework, then cut the frames from the card and coloured the outside edges.

Dock%209_zpsi3fnjmb2.jpg

The next process will be the bending of the frames. Because of the delicate nature and how thin the members are. This is where the brake will be used. To try to fold these by hand could have been a disaster.

[youtube]https://www.youtube.com/watch?v=og31GFjJ30w[/youtube]

Some pics of the final folded pieces.

Dock%2011_zpsrj8cwj6j.jpg

Dock%2012_zps6rbtiqum.jpg

I'm very happy with how this turned out and actually how easy it made this process.

Thank you for following.
Questions and comments welcome.

Jim
 
Thank you Jake.

You just have to pace yourself and do a bit at a time.

Jim
 
Good evening.
With the folding of the frames for the dock, it is now time to assemble.
First, we have to assemble the operations deck for the dock. This is mainly a type of box fold with angular sides.
Upon test fitting, found that this piece need a reinforcing superstructure. With that done it was glued together.

Dock%2014_zpsldc6t3ol.jpg

Dock%2015_zps5xscozhc.jpg

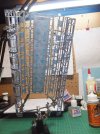
The completed assembly was then attached to the top inside of the main frame and left to dry.

Operations deck installed on to main frame.

Dock%2016_zpsrvv8rdpj.jpg

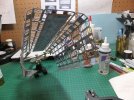
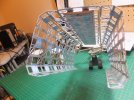
With that done it was now time to install the side frames. These were glued in place one at a time the help in a press till dry.

Here is the completed main assembly of the space dock.

Dock%2017_zpshk205ukw.jpg

Dock%2018_zpsngexqa8a.jpg

Dock%2019_zpsncka6ev1.jpg

Dock%2020_zps8dttv0iu.jpg

Dock%2021_zpszzihhcbl.jpg

I will now have to put this away for safe keeping while I start on the Refit.

Thank you for following.
Questions and comments welcome.

Jim
 

Latest posts

Back
Top