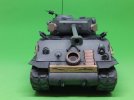
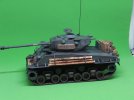
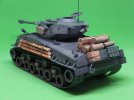
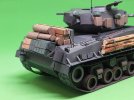
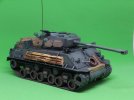
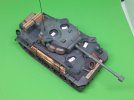
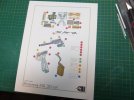
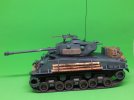
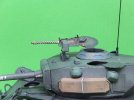
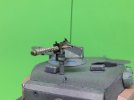
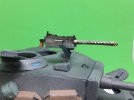
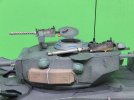
Sherman M4A3E8 "Easy Eight" Paper Model

Good afternoon.
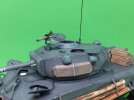
With the turret mostly done, I thought it would be good to start constructing and installing all the stowage.
Started with all the packs and rolls around the turret.
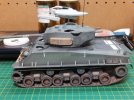
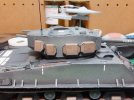
Stowage%203_zpsslin86hu.jpg

Stowage%204_zpsdotu43y5.jpg

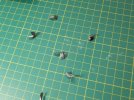
With those installed, moved on to the helmets. As built these come out rather squarish. To fix that I used a damping tool to round them out.
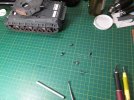
Stowage%201_zpsiahrtcj0.jpg

Stowage%202_zpstsfjlqox.jpg

These were then glued into place around the turret.
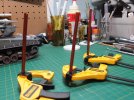
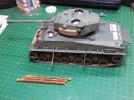
The next thing to tackle were the logs. The supplied ones just didn't cut it for me. Instead what I did was to cut lengths of 3/16" dowel. These were first painted with a coat of burnt umber and left to dry. Then coated with raw umber. When dry they were sanded with a 60 grit sanding sponge, to give them the look of a rough hued pine log. The ends were recut to give a fresh cut look and then glued in place with the supplied straps.
Stowage%205_zpssf5tsdgl.jpg

Stowage%206_zpsiz5ehqaz.jpg

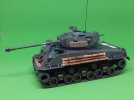
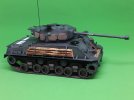
Today the hatches were constructed and installed. It was interesting that the outside half of the crew commander's hatch periscope was not included. This was easily remedied by reprinting the part and gluing it in place.
This is where she stands this afternoon.
Stowage%207_zpssnfembou.jpg

Stowage%208_zpsymgvgywr.jpg

Stowage%209_zpsawz6jhb6.jpg

Thank you for following.
Questions and comments welcome.

Jim
 
;D
can't beat the real wood -- those look great .

As far as all the colors on the card - is that all from the printer ?
 
Thank you Uru.

Except for the edge colouring, the colour of the card if what comes out of my printer.

Jim
 
Good day.
The last couple of days have been trying to finish up the rest of the stowage. This is rear stowage.

Stowage%2010_zpszhui3il3.jpg

Other than the rolls, which the glue tabs were cut off and edge glued, most of this was assembled as per the kit.
One of the rolls had to be modified inorder to make it fit properly and I added an attachment loop for the bucket, rather than just gluing it under the rack.

Stowage%2011_zps6macz3n4.jpg

Stowage%2012_zpsuhu0fmlh.jpg

Stowage%2013_zpsunytprw8.jpg

Stowage%2014_zps5si75aln.jpg

Stowage%2015_zpssdqqagkb.jpg

Stowage%2016_zps2wko1yzl.jpg

This finishes off the rest of the stowage.
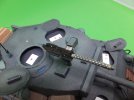
Now on to the 30 cal and 50 cal machine guns for the deck of the turret.

Thank you for following.
Questions and comments welcome.

Jim
 
Good evening.
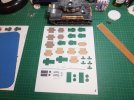
A short update tonight.
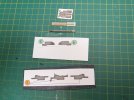
As I have mentioned before I am not to fond of the machine guns with this kit. They are too simplistic for my liking.
But In my inventory is a template for a browning 30 cal.

rowning%2030%20cal%20Machine%20Gun%201_zps1x7vqcoo.jpg

It is by Matt77, and is in 1/25th scale. It was easy enough to rescale to 1/30th. Now I only built the gun, as the mount with it is wrong for this application. So, I am in the process of designing the proper mount.
The gun was not too hard to build, and like how it turned out.

rowning%2030%20cal%20Machine%20Gun%202_zpszqk3yne9.jpg

When this one is done then on to the 50 cal.

Jim
 
Good day.
Yesterday was very constructive. I was able to finish scratching the mount for the 30 cal.
There was lots of reference material for the M37 mount but not this one. I was able to assemble enough material to make this mount. The mount itself is not that complicated, just wanted to get it's rough dimensions.
Was able to use the ammo box from the kit and modify it for my use. The ammo belt from the 30 cal. kit, does fit this box fine. The gun does not elevate, but does pivot on the pedestal.

rowning%2030%20cal%20Machine%20Gun%203_zpsvhicgyqa.jpg

rowning%2030%20cal%20Machine%20Gun%204_zpskloojhrk.jpg

rowning%2030%20cal%20Machine%20Gun%205_zpstwcoyk6j.jpg

rowning%2030%20cal%20Machine%20Gun%206_zpsz3zmpv37.jpg

rowning%2030%20cal%20Machine%20Gun%207_zpskvhl4mvq.jpg

rowning%2030%20cal%20Machine%20Gun%208_zpsv3k2x6fs.jpg

With the 30 cal. finished, now to move on to the 50 cal. For some odd reason there seems to be more info for it out there.

Thank you for following.
Questions and comments welcome.

Jim
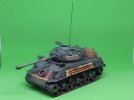
 
She gets another MG up top ?

What are the rectangles within the hatches , Jim ?
Are figs going there ?

Really cool stuff ! ;D
 
Hi Uru and thank you.
Yes she has 2 machine guns on the deck.
The rectangles you see in the hatchways are for the figures.
They will come after the 50 cal.

Jim
 
Oh man ,, very interested in seeing the figures .
I think that they must be the most difficult part

Cheers !
 
Hi Uru.
We'll soon see how difficult they are.

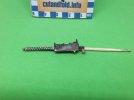
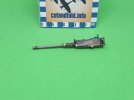
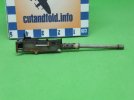
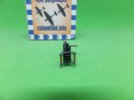
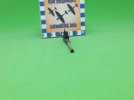
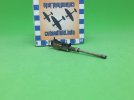
The last couple of days I have been working on building a scale replica of the Browning M2 30cal machine gun, to replace the simplified version that came with this kit.
Took the rcvr from the Matt77 30cal template and scaled it up to match the M2 at 1/30th scale.

Browning%20M2%2050%20Cal%201_zpsyjp87ahg.jpg

And scratch built the barrel, cocking handle, grips and shield.
The rcvr was built up and modified to match the M2.
The rest of the gun was then assembled and this is where I am at tonight.

Browning%20M2%2050%20Cal%202_zpsro1vpsja.jpg

Browning%20M2%2050%20Cal%203_zpsuowcsrrp.jpg

Browning%20M2%2050%20Cal%204_zpsq6csl2hj.jpg

Browning%20M2%2050%20Cal%205_zpsi715lawp.jpg

Browning%20M2%2050%20Cal%206_zpsbdcogmzx.jpg

Browning%20M2%2050%20Cal%207_zpsp0lfk3zb.jpg

Still have to design and build the mount yet.

Jim
 

Latest posts

Back
Top