Sherman M4A3E8 "Easy Eight" Paper Model

Papermodder

Modeller in both Plastic and Paper Card
Joined
Jan 2, 2013
Messages
1,224
Good Evening.
Time to start another build.
This time around I'm going for Armour. It's been 15 years since I've built a tank.
I have chosen to build the Sherman M4A3E8 "Easy Eight" from the movie Fury by Julius Perdana.
I wanted an easier build this time around. This is not the most detailed kit, but should be a fun build.

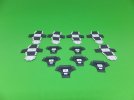
We shall start as usual with a pic of the parts sheets.
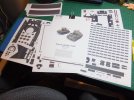
Sherman%20Start_zpsqkdysik6.jpg

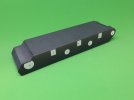
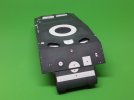
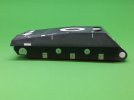
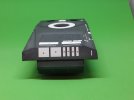
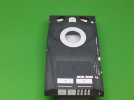
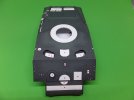
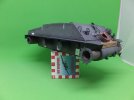
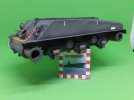
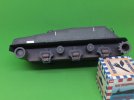
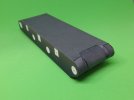
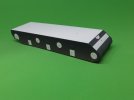
I've already built the basic chassis for this tank.
Assembling the area of the transfer case was probably the most difficult part.
Chassis%203_zpsl7zkzhjy.jpg

Chassis%201_zpsb82r1b72.jpg

Chassis%202_zpsucaohcib.jpg

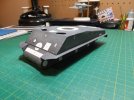
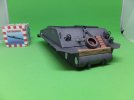
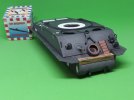
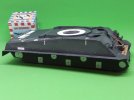
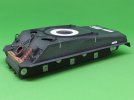
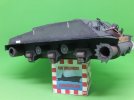
Tonight started work on the upper hull. I did reinforce the area around the turret ring. I thought it was too weak.
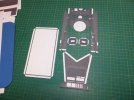
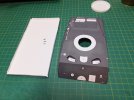
Hull%201_zpsyx8v52or.jpg

Hull%202_zpsxs3aiqu3.jpg

That's where I'm at tonight.
The worst part of this build will be the tracks, lots of pieces.
This should be by my standards a fairly quick build.

Thank you for following.
Questions and comments always welcome.

Jim
 
Yeah , I'm looking forward to seeing the tracks construction .

Cheers ;D
 
Yea Uru.
All the treads have to be built up and that will take a little time.

Jim
 
Good evening.

Over the weekend, was able to finish assembling the top main hull assembly.
I felt that the top of the hull was just too floppy around the turret ring. So added a ring of 1.5 mm card under the turret ring. That stiffened and squared it up tremendously. Then glued in place the bottom of the hull, trying hard to keep the hull square.
When dry the chassis was attached to the hull.

Hull%203_zpstgm56xbn.jpg

Hull%204_zpsz4s7ylvo.jpg

Hull%205_zpsvymikqwj.jpg

Hull%206_zpsjsazkpu1.jpg

Hull%207_zpskhnbc33d.jpg

Yesterday the fender skirts were folded and attached to the hull.

Hull%208_zpspk7rm8kl.jpg

To me, the skirts give the Sherman it's characteristic look and make the hull look like a Sherman.
On the skirts, where they curve down, I cut the glue tabs off of the flange that attaches to the chassis and edge glued it. Looks a lot better.
Today started working on some of the small details that attach to the hull.
Pics in the next post.

Thank you for following.
Questions and comments welcome.

Jim
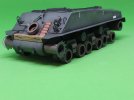
 
Good evening.
Here is an update on what I have been doing the last couple of days.
The guard rails have been installed onto the deck and I have been working on the front of the hull.
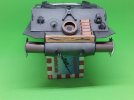
Got the convoy lights and the jumper box installed along with their guards, as well as the spare bogie and the traction board and tie.
I did not like the supplied gun cradle. That V had to go. I scratched something more representative of the round cradle mount and cut out the V.
Next change was what was suppose to be a 30cal on the front. It was too small in diameter and looked more like a rifle barrel. I replaced it with the barrel from Matt77's 30cal kit. Resized it to 1/30 from 1/25 and shortened it's length. Looks a lot better to me.
The last mod to date was to add the front tow plates under the transfer case, which were not present in this kit.

Hull%209_zpsr12hqnur.jpg

Hull%2010_zpsksktdszd.jpg

Hull%2011_zpsvbv4l99j.jpg

Hull%2012_zpsss5jangx.jpg

I like how the front end looks now.
Next up is to start to tackle the running gear.

Thank you for following.
Questions and comments welcome.

Jim
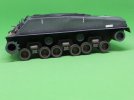
 
Good day.
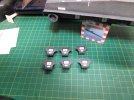
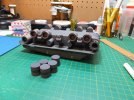
So far this weekend I have been working on the drive train, assembling the drive and idler wheels.
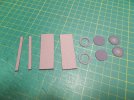
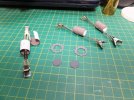
Another mod that has been done was for the rear idlers. They are only represented by their images printed on the chassis. I wanted something more physical, so from a copy of the chassis, the idlers were cut out and laminated to 2mm card. This gave a better effect than what was there.

Drive%20Train%201_zps4qxkx0qw.jpg

Drive%20Train%202_zps0gpwgrh8.jpg

Drive%20Train%203_zpsb7dbbkam.jpg

Drive%20Train%204_zpshkkzpxbx.jpg

Drive%20Train%205_zpsqp8qjvzs.jpg

Drive%20Train%206_zpsrvxwjbpj.jpg

Next up was the assembly of the suspension.

Drive%20Train%207_zps5svfmz42.jpg

Drive%20Train%208_zpsu4xtsffp.jpg

Drive%20Train%209_zpsgfkdzl8x.jpg

Drive%20Train%2010_zpsydshuthj.jpg

Drive%20Train%2011_zpscrrtgesk.jpg

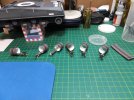
Today I have started work on all the bogies. These will take a bit of time.

Drive%20Train%2012_zpsabomxmc3.jpg

This is where I am at at this time.
Thank you for following.
Questions and comments welcome.

Jim
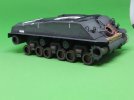
 
Not sure I understand the modification that you made on the idler wheels .

The originals had no volume - like the cylinders that you made ? ???

Noticing the front drives have only the teeth that are not engaged .
Looking forward to how the track is assembled .

Cheers !
 
Hi Uru.
There are three idlers along the back of the track at the top. In order to give them more presence I added the 2mm card to space them out away from the chassis.

Jim
 
Good day.
Update on the Sherman M4A3E8.
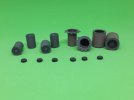
I've been working on construction and installing the bogies. These are mostly straight forward tube construction. Just removed the glue tabs and used butt end gluing. This is important for a smoother joint, plus the fact that each of these have an interior.

Drive%20Train%2013_zpsdyscifjd.jpg

Drive%20Train%2014_zps9qckio38.jpg

Here are all the bogies installed.

Drive%20Train%2015_zpshtq5edxh.jpg

Drive%20Train%2016_zpstmidpzyo.jpg

Drive%20Train%2017_zpsqqriizxs.jpg

With that part done it is now time to move on to the track.
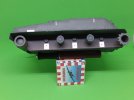
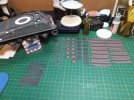
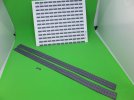
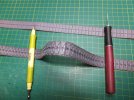
I laminated these different than what as expected. Rather than folding each track section onto it's self, I folded the pairs onto each other. When dry each of the links were scored along their pivots on both sides. The track sections were then cut out. Each link was then folded along the score line in both directions. What this did was produce a flexible track that did not distort each of the links.
Two sections of track were then butt glued, to create two full length track.

Track%201_zpsyckavjil.jpg

These were then test fitted and were found that one link in each had to be removed for a proper fit.
Before these track can be installed I'm cutting out a double card thickness of each pad to give a more 3D effect for the track.

Track%202_zps1culifjl.jpg

This is where I'm at.

Thank you for following.
Questions and comments welcome.

Jim
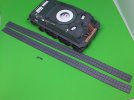
 
Pretty cool , but I was expecting individual track and paper pins and paper retaining nuts .... ;D

LOL
 
Thanks Uru.

It is possible but not with this model. I do have another model that does have individual track, maybe at a later date.

Jim
 
Good afternoon.
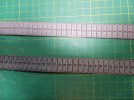
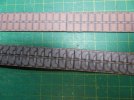
This afternoon I was able to finish installing all the pads to the links on one of the tracks. I thought to show you how they look.

Track%203_zpsdgbnhuem.jpg

Track%204_zpsb8zt8xok.jpg

Not difficult, just repetitive.

This image is just to show how they look flexed.

Track%205_zpsduoo07ec.jpg

Now on to the second one.

Jim
 

Latest posts

Back
Top