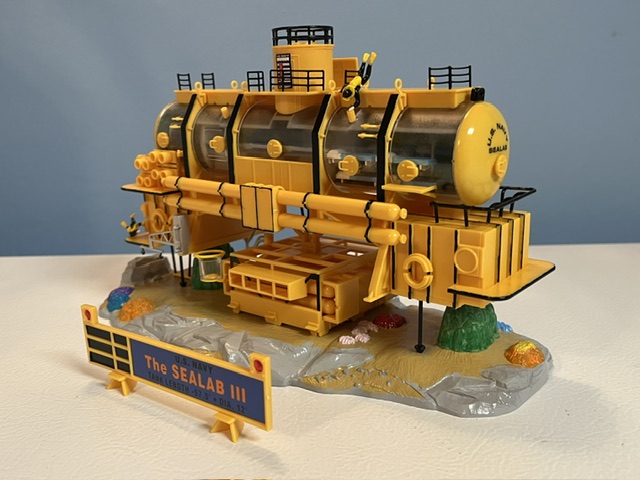
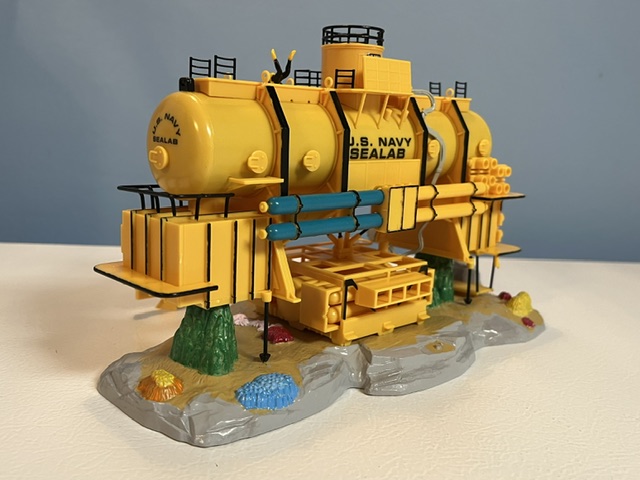
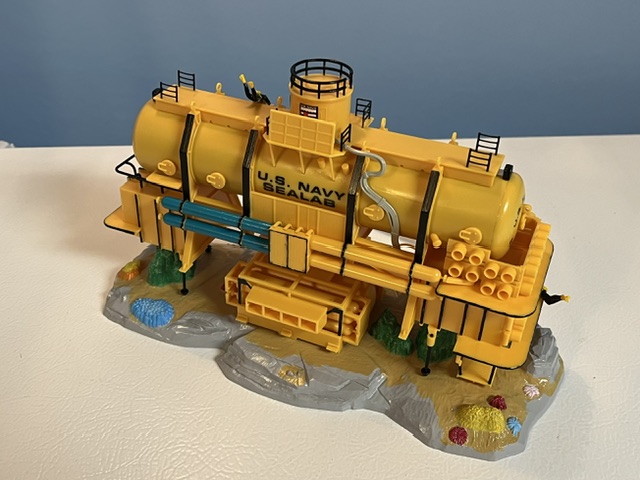
Sealab III, 1/93 scale, Doll & Hobby GA

Scale Model Addict - Model Tips, Guides, Tools & Tech, Tutorials, and Community

Help Support Scale Model Addict:

BigGiraffe

Well-Known Member
Bronze Member
Joined
Mar 9, 2026
Messages
50
City & State/Province
Warner Robins, GA
(This one doesn't exactly float, but this is probably the best forum for the kit?)

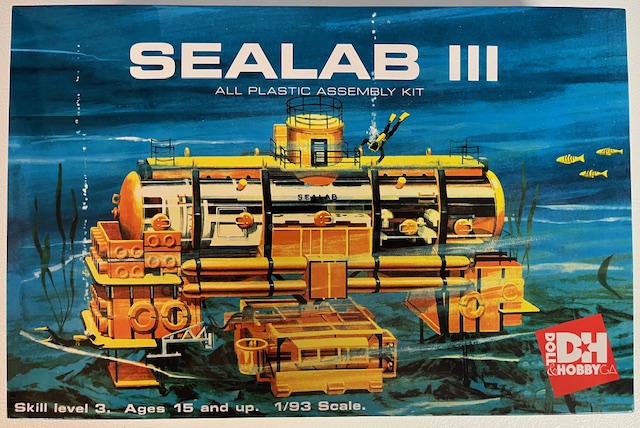
My brother had the Aurora Sealab kit when I was a boy. In recent years, I wanted to get one to build, but I found that Aurora had never reissued the kit, and apparently the molds had been destroyed. It was nice to see that Doll & Hobby had recreated the old kit -- Now we can get them for a reasonable price.

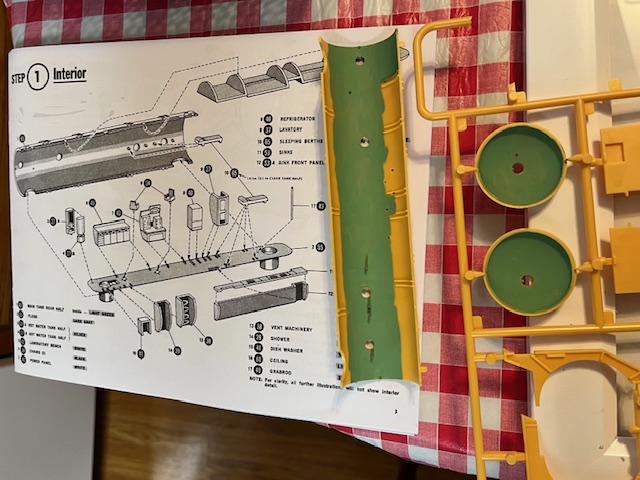
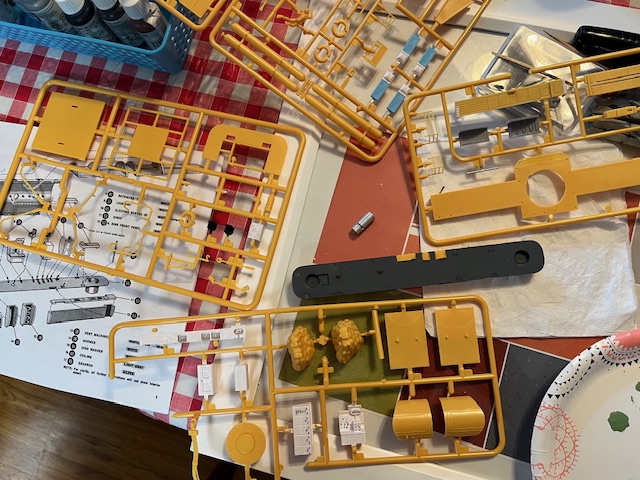
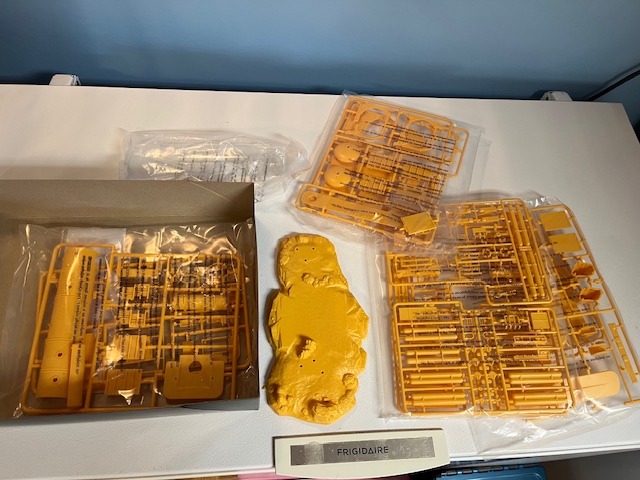
The kit is molded in yellow (except for the clear side panel). I am going to build this without spraying yellow paint over it, mainly to save me from having to clean all the seams where the glue needs to stick. But I'll finish up with a clear-coat and that will reduce the "plastic" appearance.

It looks like there will be lots of detail painting on the interior parts for the first part of assembly.
SL-00.jpg

SL-00b.jpg


Best regards,
Kurt
 
Glad to see someone posting about this kit. When I was a kid, this kit seemed like science fiction and a fascinating counterpart to all of the space kits on the market in the late '60s. I REALLY wanted one, but never had the cash (ok, ANY cash) to buy it. Later in life, I thought about this kit and wondered if I would ever come across one again. When D&H announced that they would be reproducing it, I was ecstatic! I constantly bugged the owner of the local hobby shop about when it would show up on the shelves and he always said he didn't know. Finally, after a couple of years, he said he would have them in soon and asked if he should set one aside for me. I said "of course" and bought the first one to come in. Although the kit is not the original mold, I was still excited to see what D&H produced and was happy that they kept the original Aurora box art. I will get around to building it, but I'm just happy to finally acquire one of my major "bucket list" kits.
 
Glad to see someone posting about this kit. When I was a kid, this kit seemed like science fiction and a fascinating counterpart to all of the space kits on the market in the late '60s. I REALLY wanted one, but never had the cash (ok, ANY cash) to buy it. Later in life, I thought about this kit and wondered if I would ever come across one again. When D&H announced that they would be reproducing it, I was ecstatic! I constantly bugged the owner of the local hobby shop about when it would show up on the shelves and he always said he didn't know. Finally, after a couple of years, he said he would have them in soon and asked if he should set one aside for me. I said "of course" and bought the first one to come in. Although the kit is not the original mold, I was still excited to see what D&H produced and was happy that they kept the original Aurora box art. I will get around to building it, but I'm just happy to finally acquire one of my major "bucket list" kits.
It DOES kind of fit into the science fiction or space area, doesn't it? The bottom of the sea was (is) like a new world!
Most of the models I built, back then, were airplanes, and later mostly airliners. By the time I started expanding to all the other subjects, this kit had disappeared. I didn't know the model was being recreated until I saw it online.
Kurt
 
Hello,
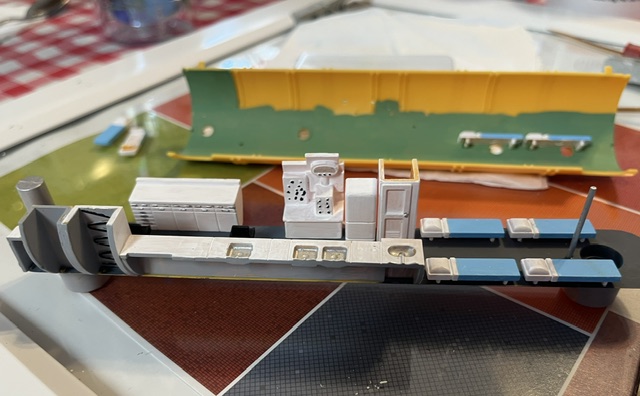
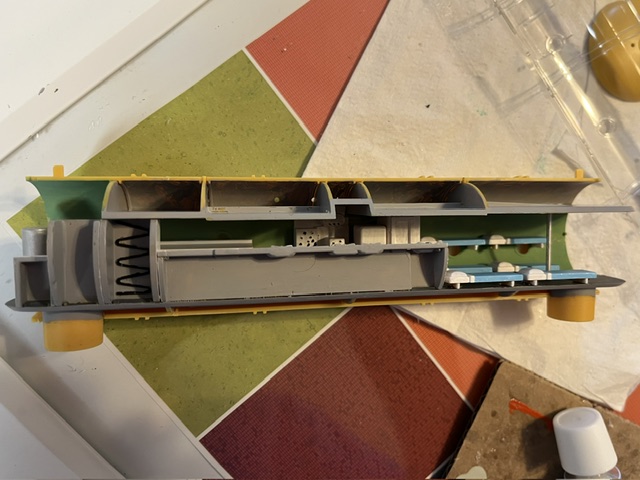
I've been working on the interior painting today. I could not find any photos of the actual Sealab III interior online, so I'm doing some things on my own. For instance, the instructions call for "Light Green" on the interior walls. Is that dark "light green", or lighter "light green"? I used "Sky Green" from Vallejo Model Colors, since I had it already:
SL-01.jpg


Other details are in this next photo. The white color basically took two coats, but up close doesn't look back for brush-painting. I am enjoying these Vallejo paints!
SL-02.jpg

This photo makes my floor look black, but really it is a dark gray you can easily tell from black in person. The paint suggestions only call out one color for each part, such as the sinks. But I painted the sink counter white, and the sinks are silver (lower left region of the photo... the sink counter is the long horizontal part). There is a "power panel" at the center bottom of the photo, also called out as "white", and I painted the knobs black.

Anyway, there is lots of room to do what you want on interior details. However, it will be covered by a clear side, so much of the detail work will be somewhat obscured, I do think. Therefore, I won't be spending too much time on small details, just enough to look decent. (I hope).

Best regards,
Kurt
 
As an Amazon Associate we earn from qualifying purchases. Product prices and availability are accurate as of the date/time indicated and are subject to change.
The interior parts are attached to the floor, and now I'm ready to glue the assembly into the solid side. The clear side goes on next.

By the way, at first thought there were 4 beds, but then realized there were a total of 8. I had to go back and paint the additional 4. It turns out there is a little (8) on the instruction sheet but my eyes missed it.
SL-03.jpeg


Take care,
Kurt
 
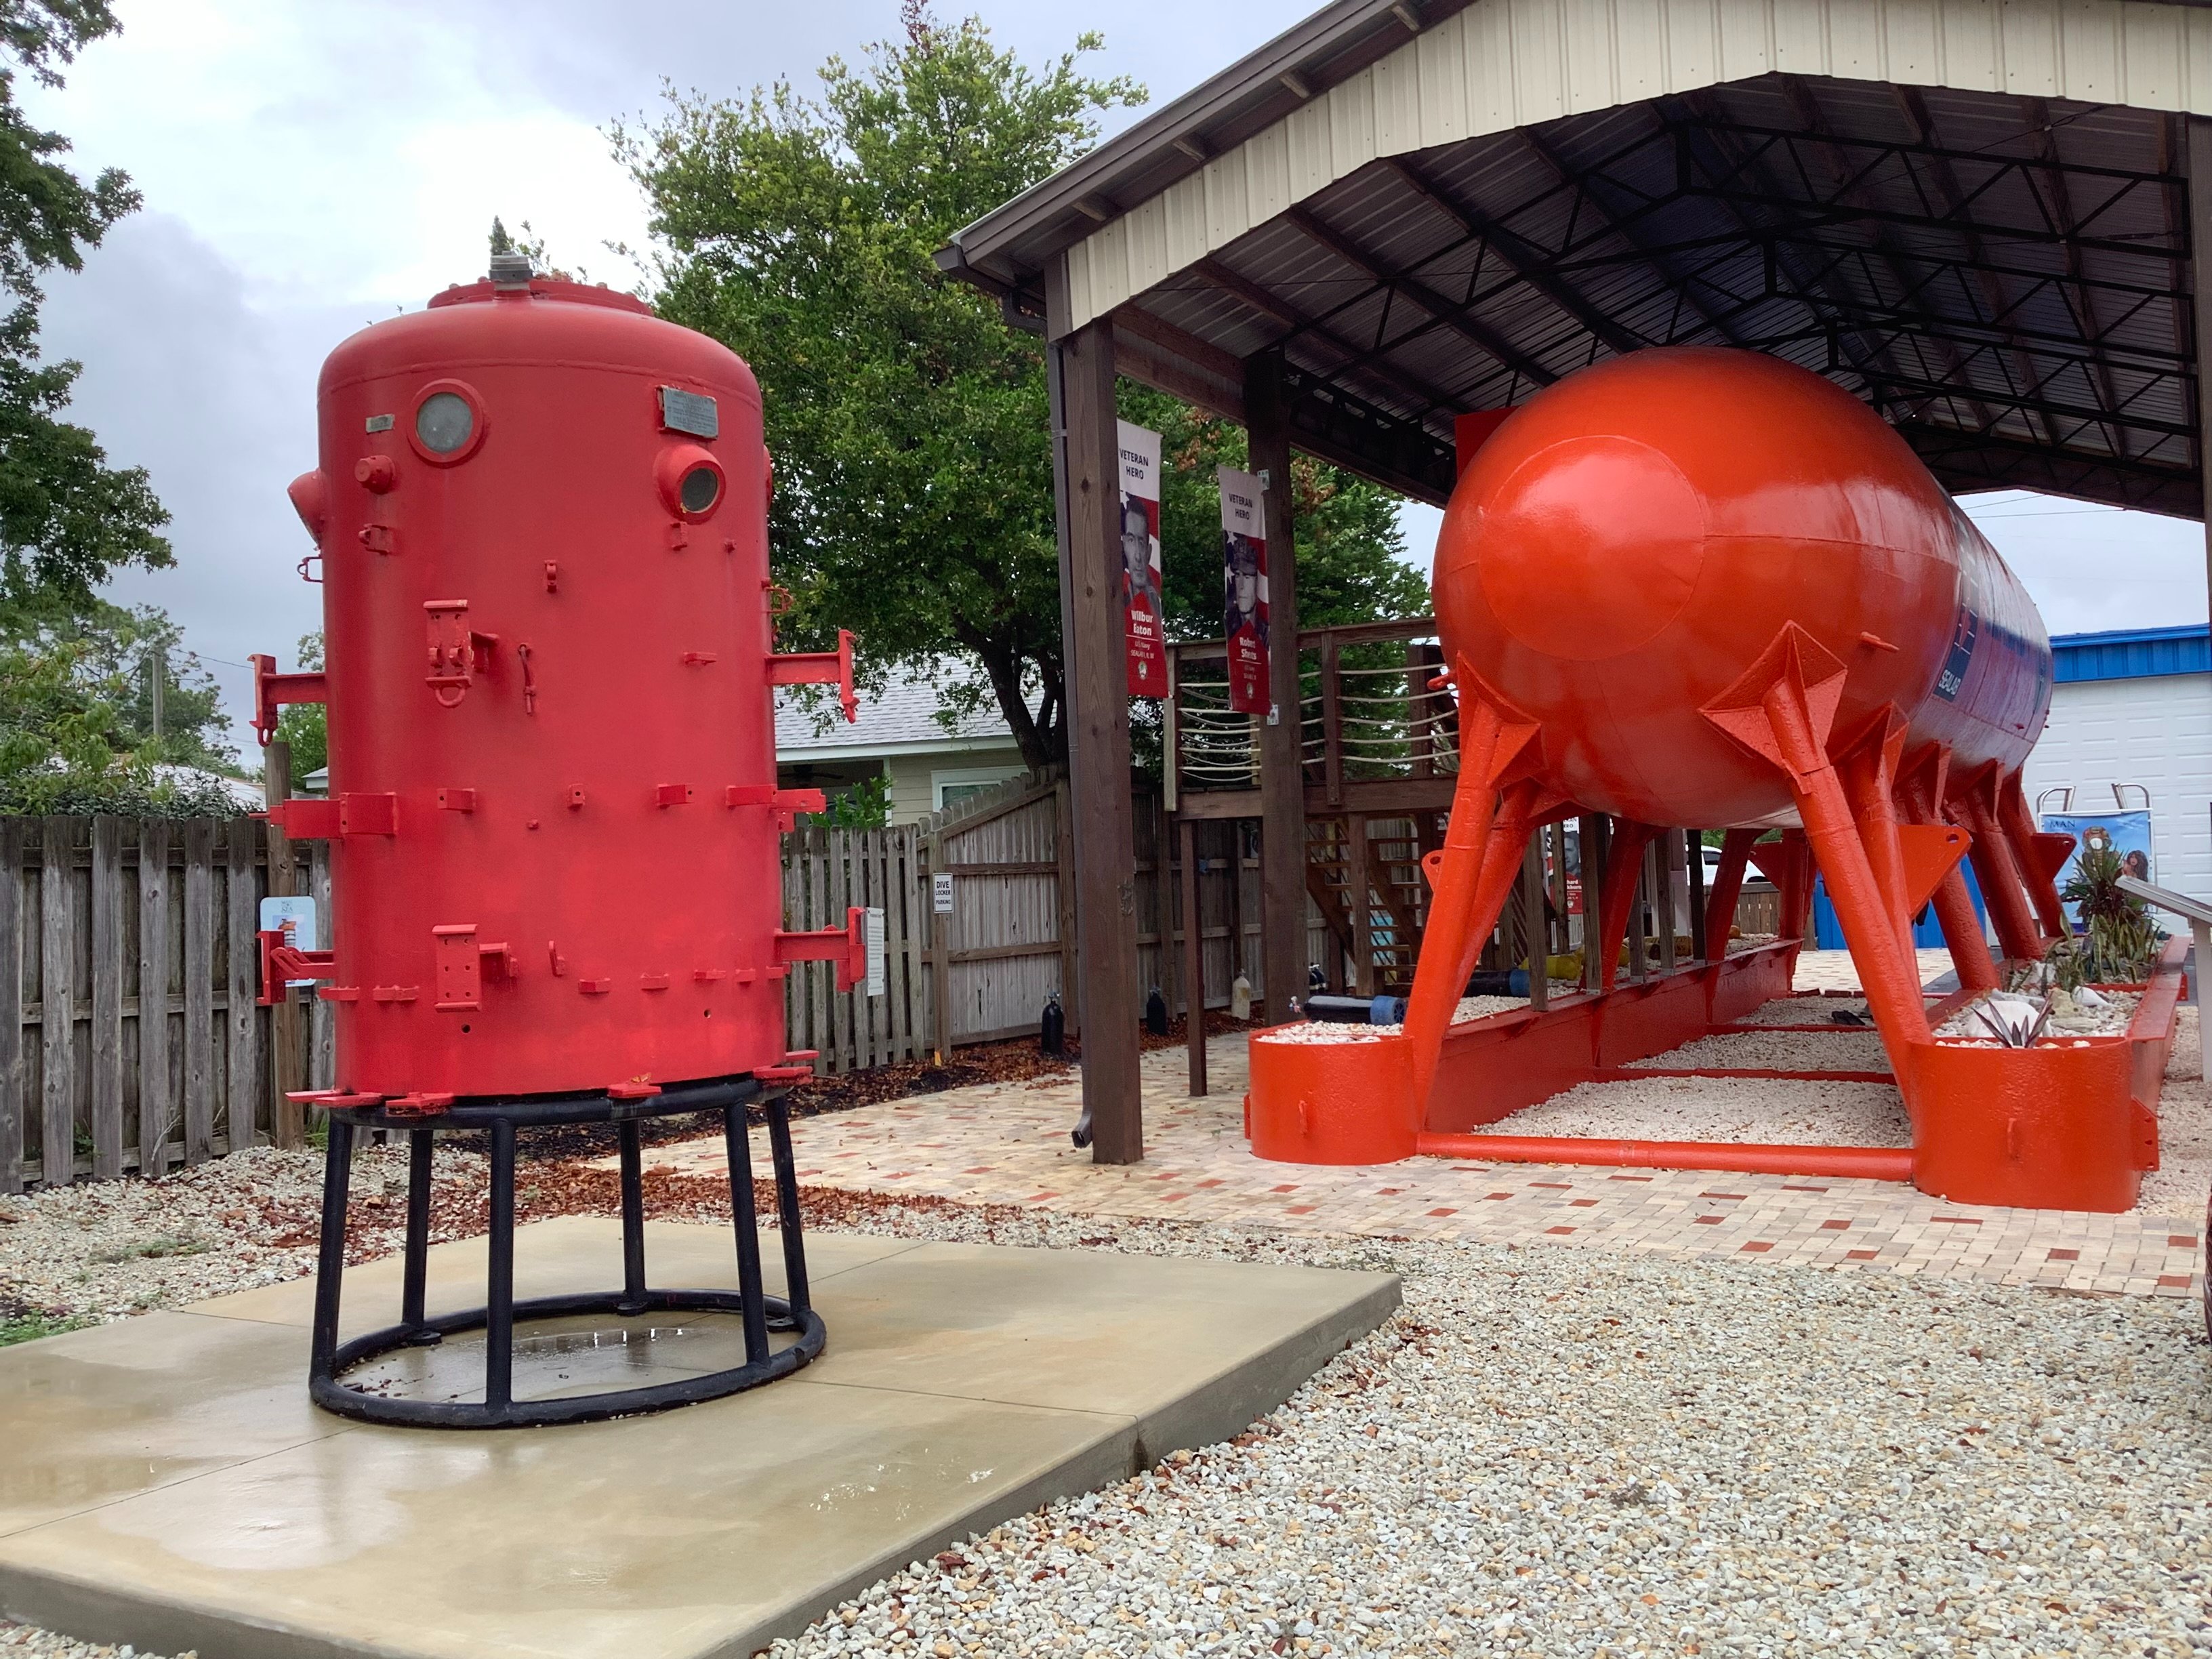
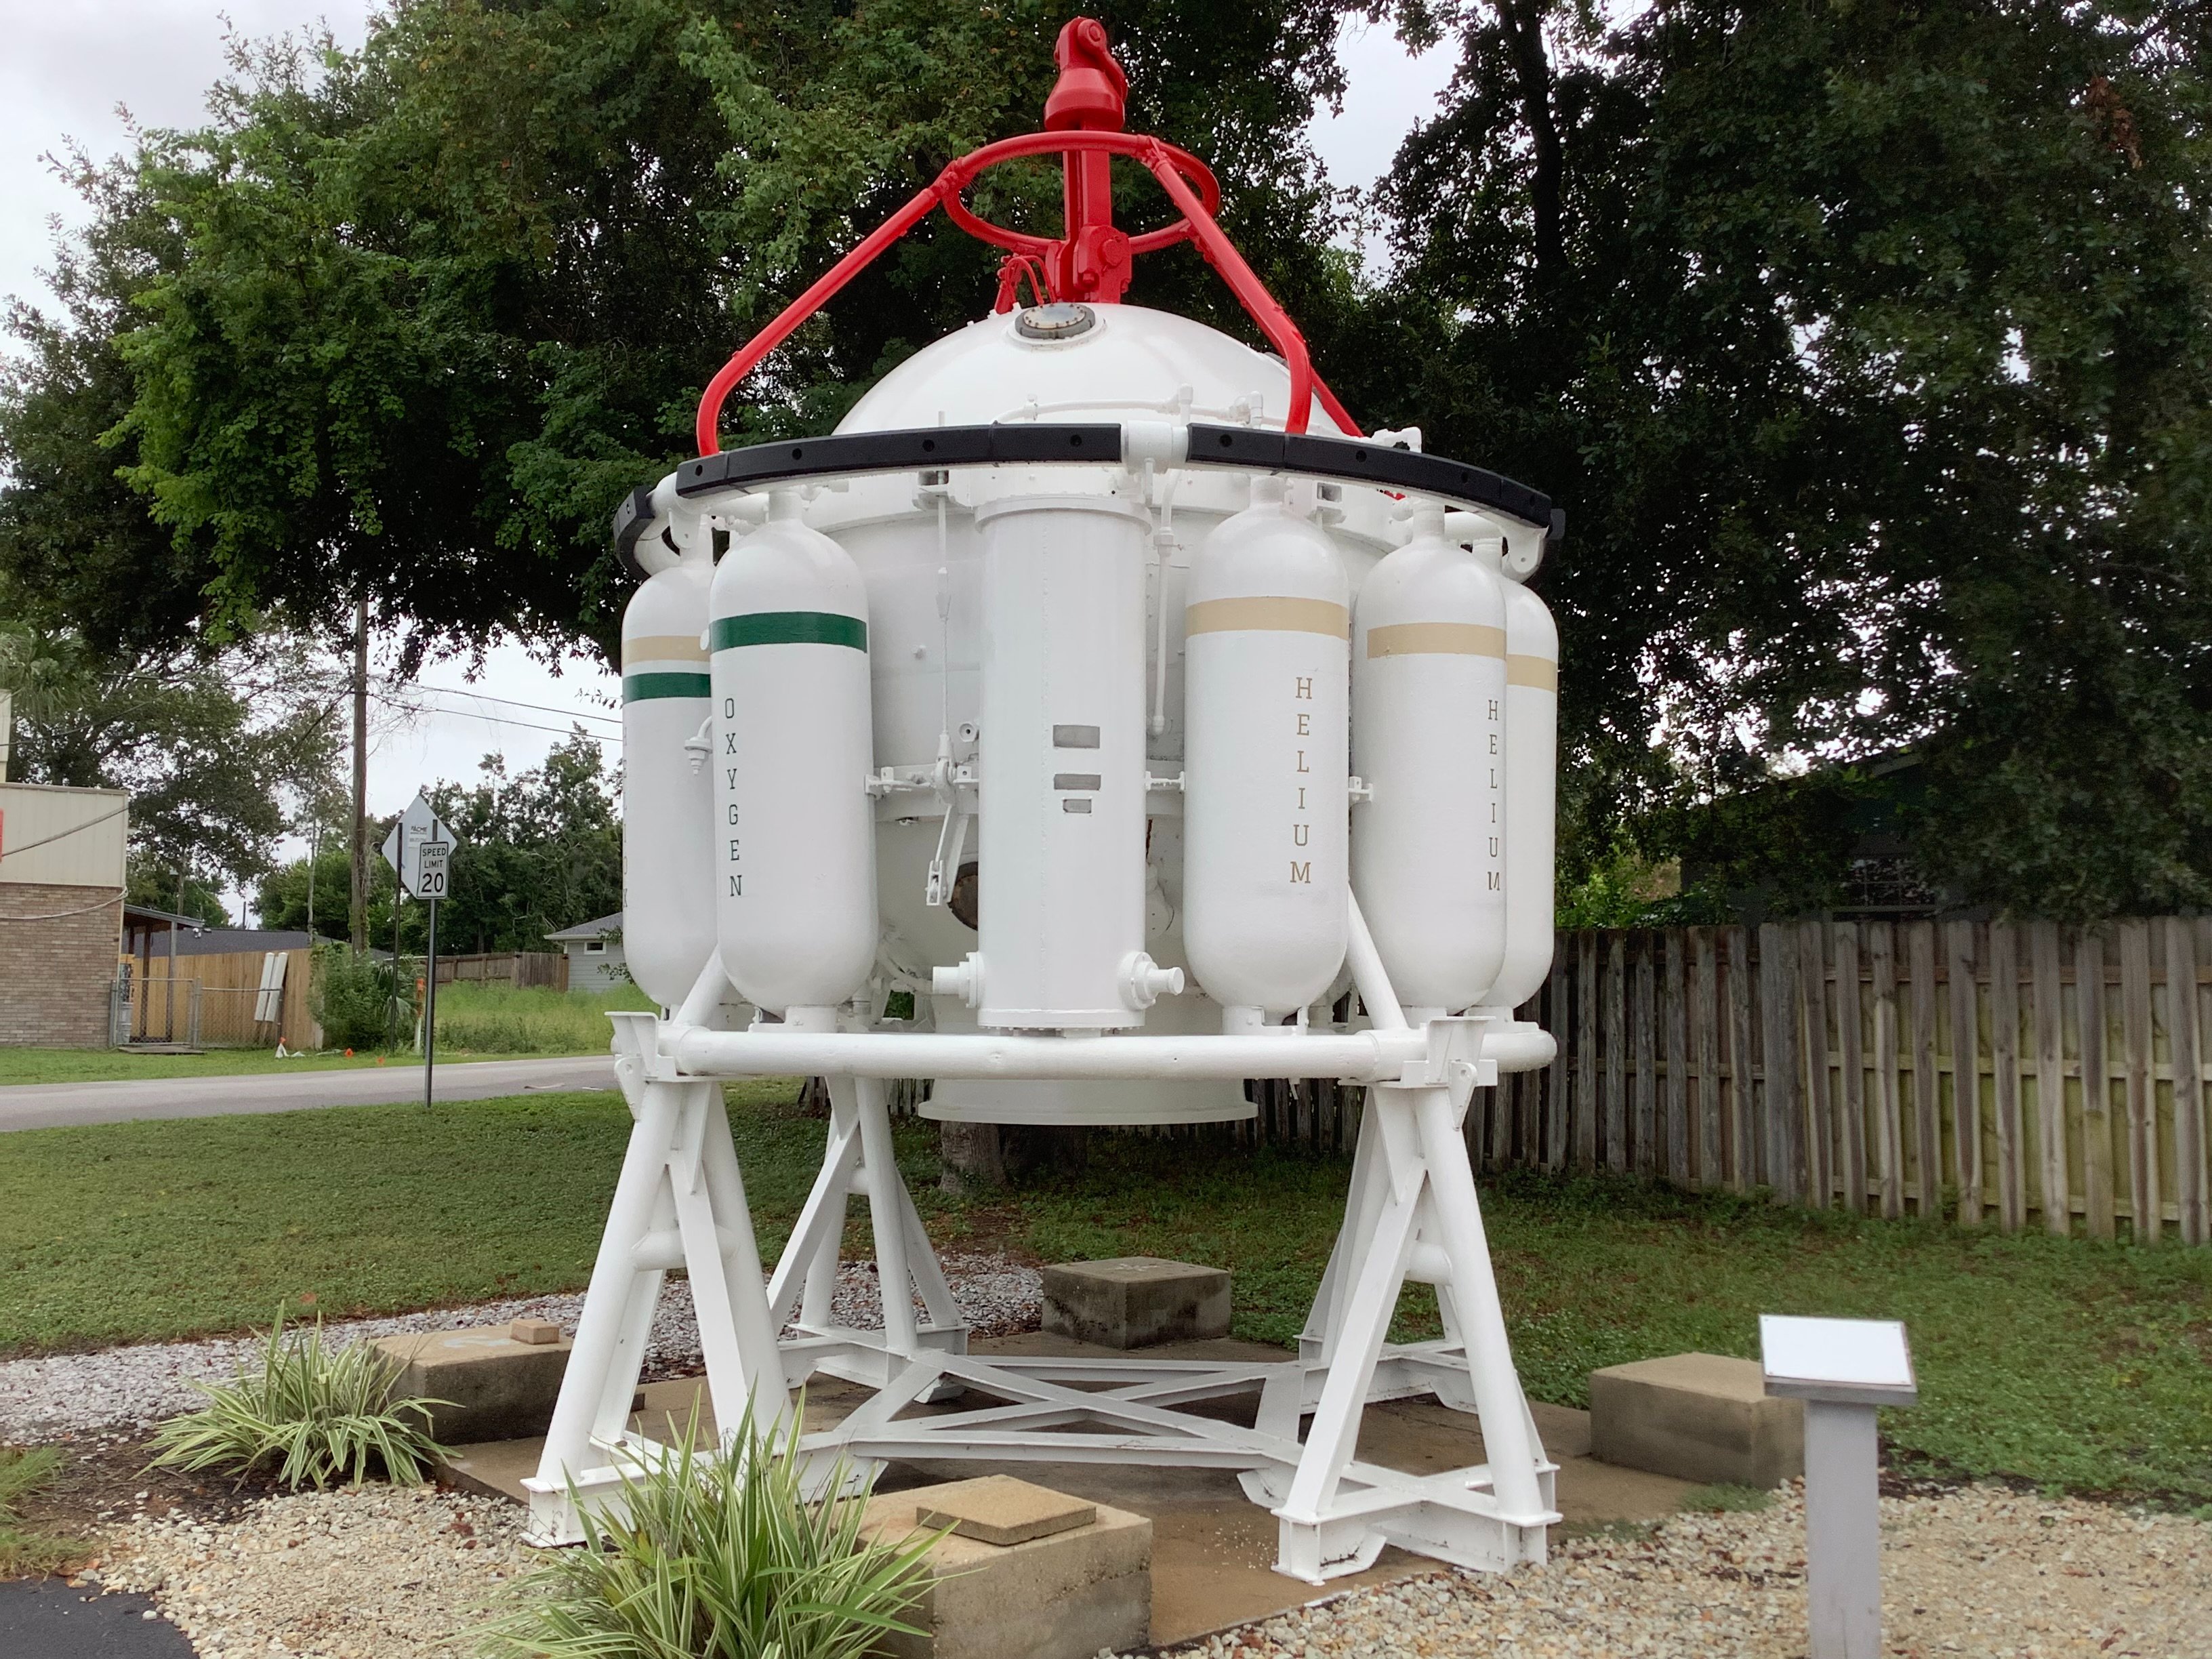
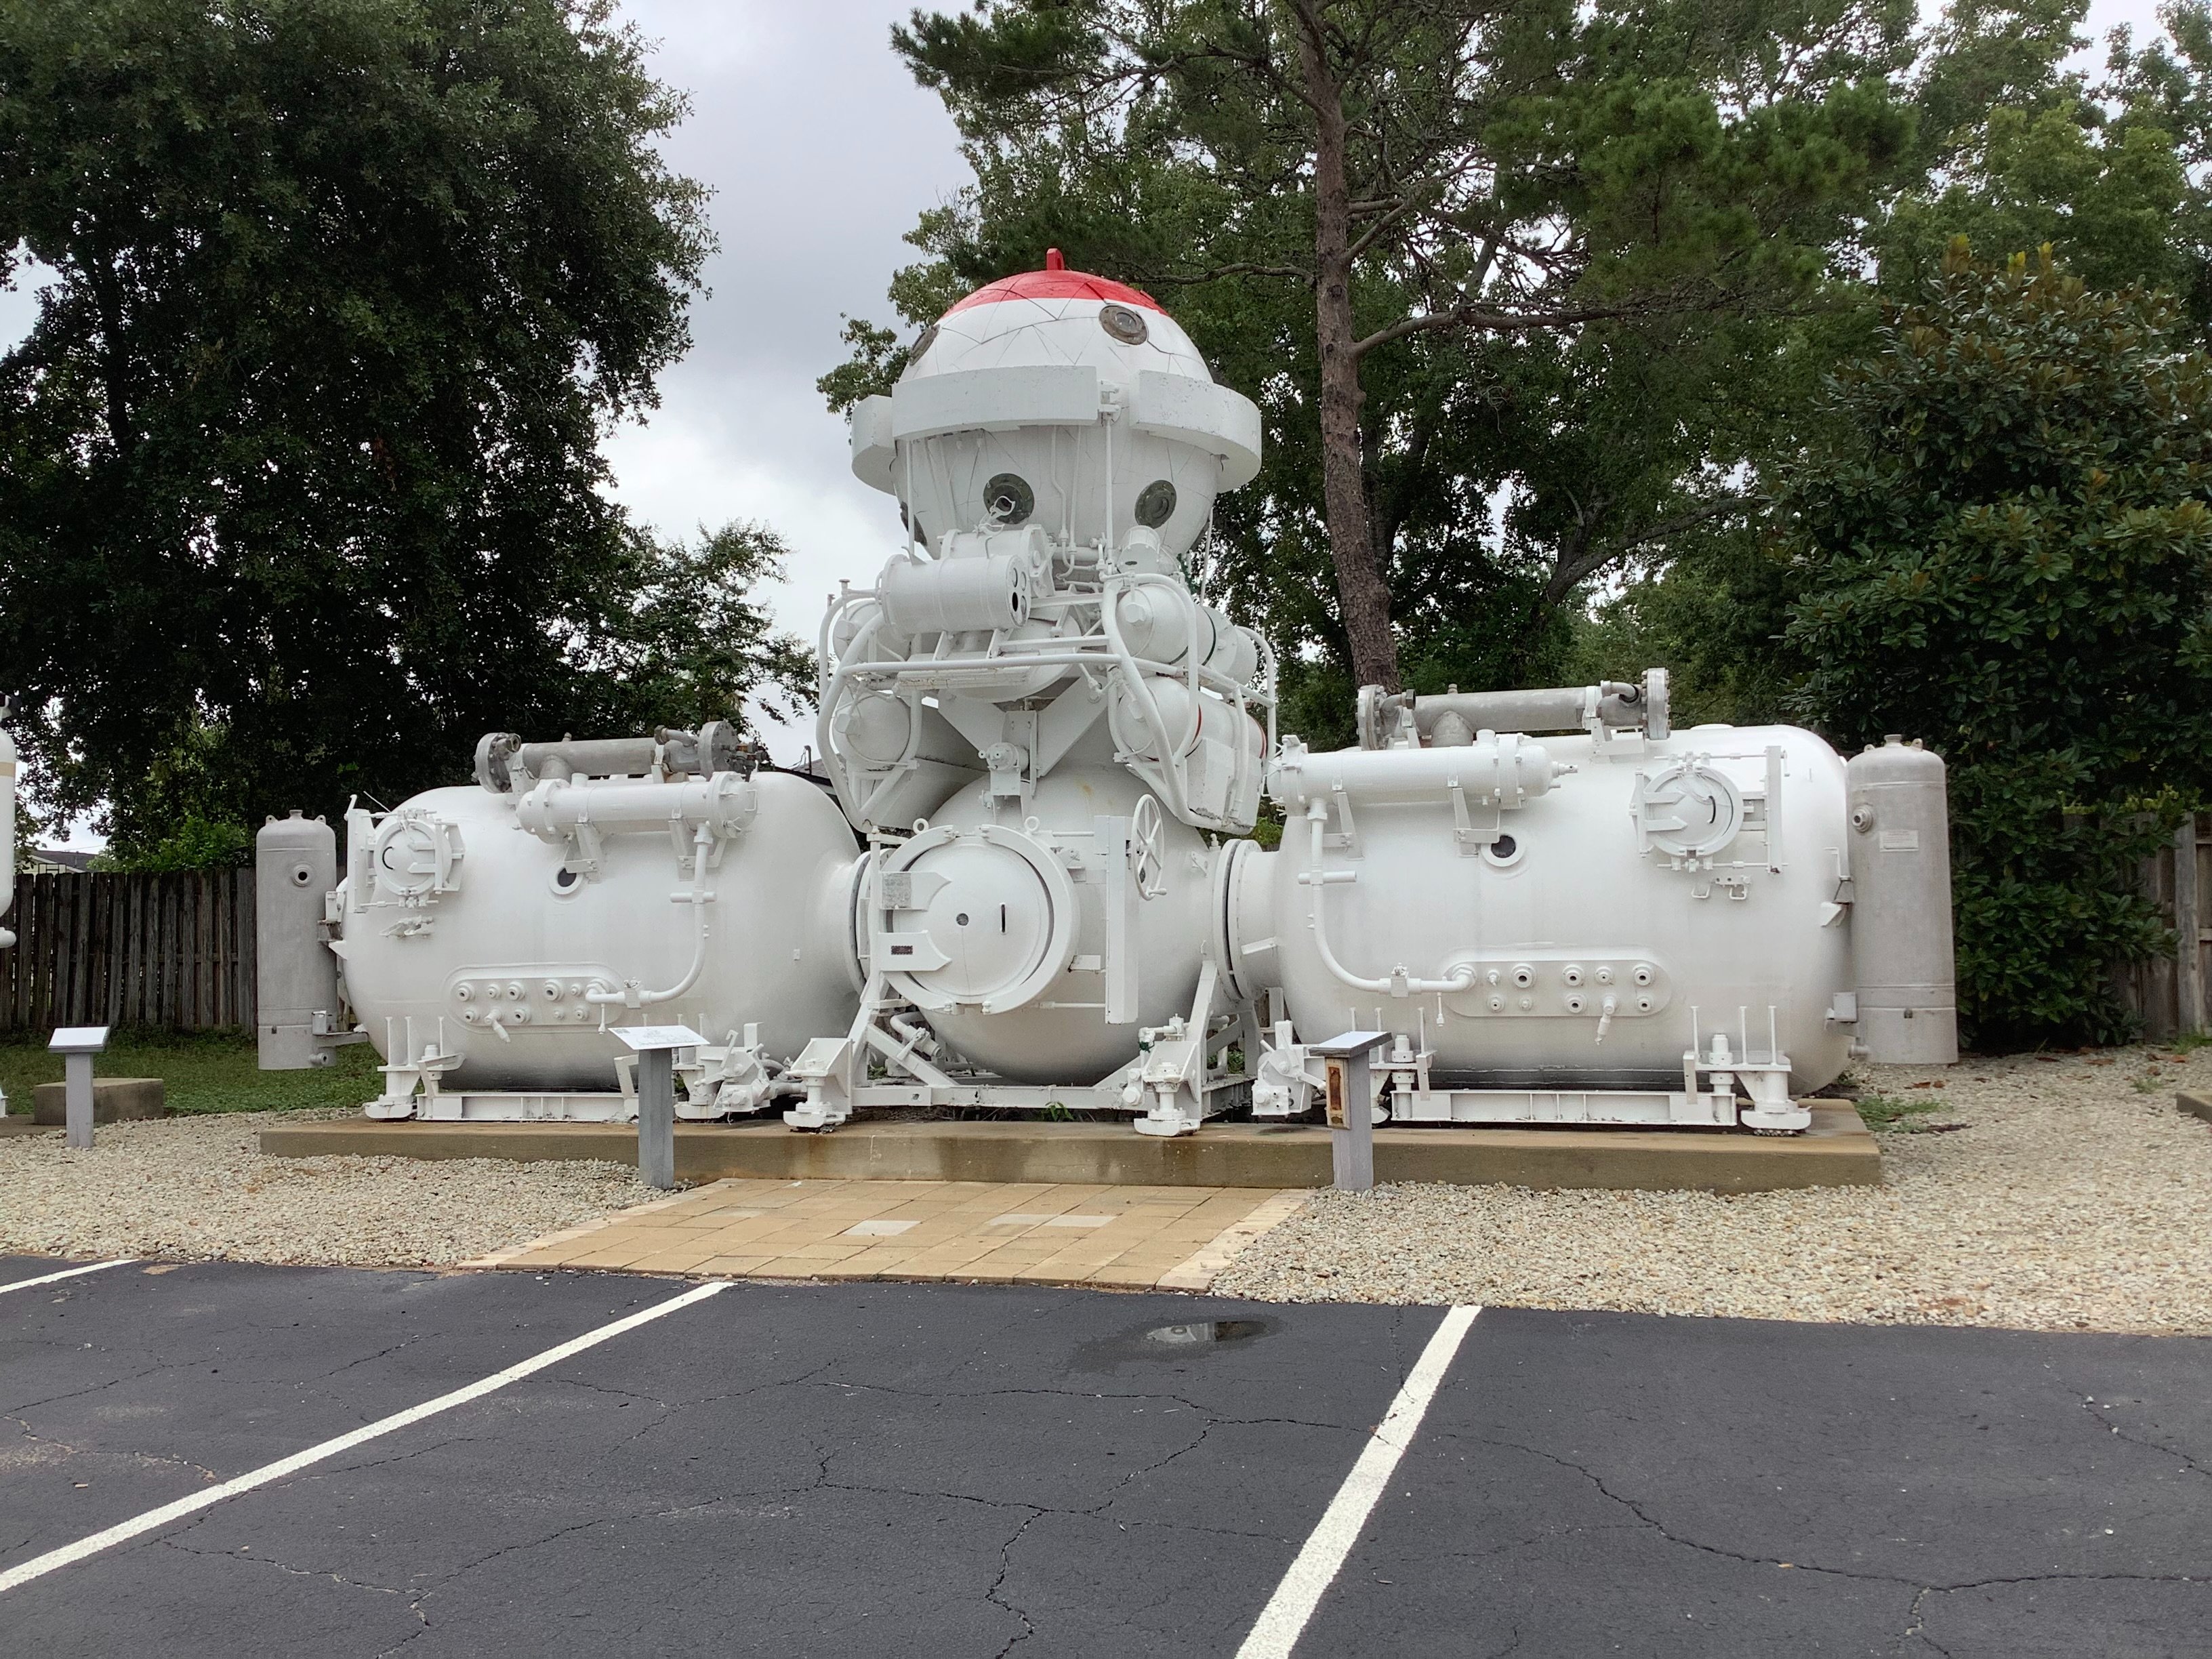
I visited the "Man in the Sea" museum in Panama City, Fl two years ago and they have one of the Sealab versions outside which you can enter and check out. Other habitat models are displayed inside. If you need additional references for painting, etc. I'm sure they can hook you up. Typically, the interiors are white to make the space seem larger.

IMG_0972.JPG
IMG_0971.JPG
IMG_0970.JPG
 
Here is the interior mounted into the "solid" side half. I have considered removing that long section of sinks adjacent to the beds so that more of the opposite side can be seen. Interiors tend to be like that -- So much ends up being hidden!

Based on an earlier reply that the interiors were painted white to make the space appear larger, I do think my green is too dark (the original Aurora directions, which look much like the directions in this kit, said the walls are light green). But, at this point, so little of the interior will actually show that I'm not going to go back and do it over...
SL-04.jpeg


Take care,
Kurt
 
Hello,
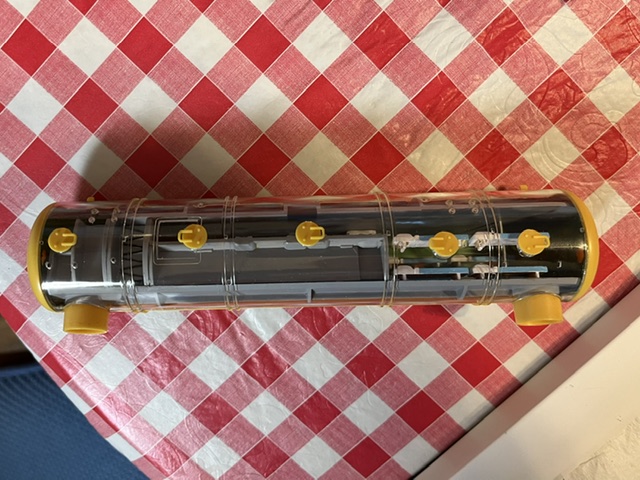
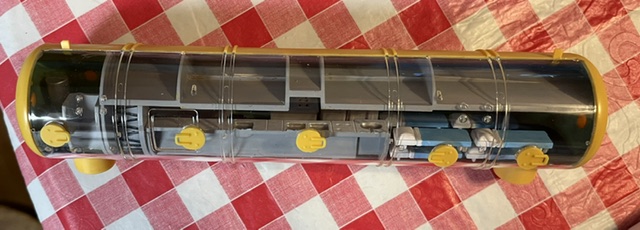
These photos show the interior completed with the clear side glued into place. Relatively little of the inhabitable part actually shows up... There would be a better view of the opposite side if the long section of sinks was left off. If I were going to paint a yellow-orange color over this kit, I would mask part of the clear section so the top empty space does not show (it's all gray on my kit). Still, it was fun to do the inside and have even part of it visible.
SL-05a.jpeg

SL-05b.jpeg


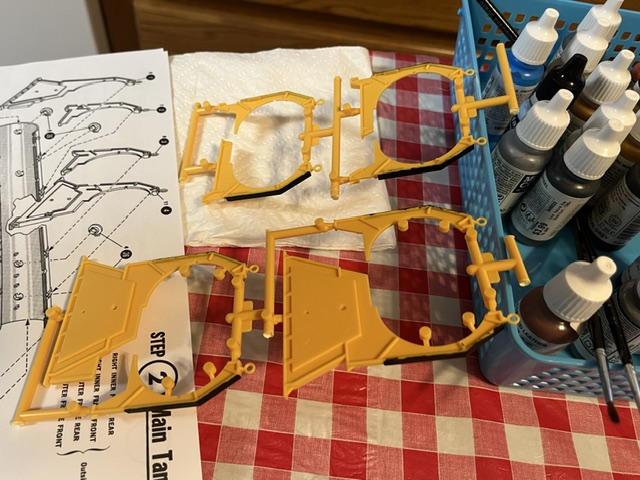
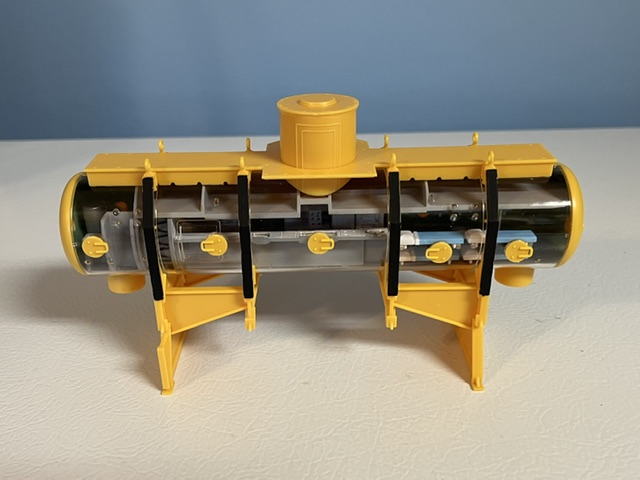
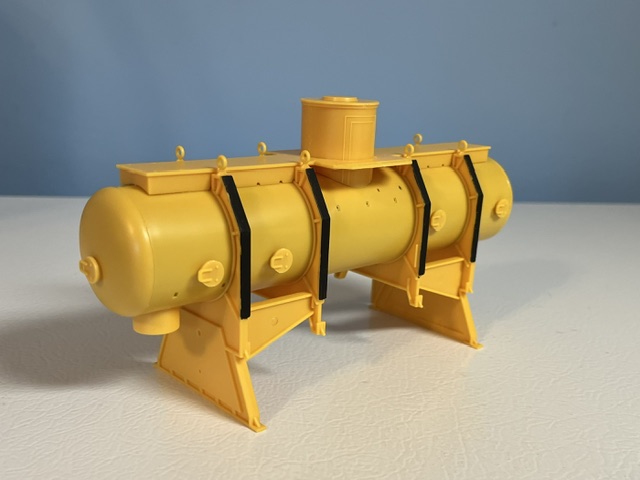
Next comes the support frames. It was hard to tell whether just the flat side of each frame it black, or the edges should also be black. Their photos of the built model show only the broader side in black, so that's what I did.
SL-06.jpeg


Best regards,
Kurt
 
Mr. Kurt, If I may, have you heard anyone compare this new Sealab to the original Auroura Sealab? There are parts from the original on a studio scale Star Wars models and many were hoping they were coming back.

Rob.
 
Mr. Kurt, If I may, have you heard anyone compare this new Sealab to the original Auroura Sealab? There are parts from the original on a studio scale Star Wars models and many were hoping they were coming back.

Rob.
Hi Rob, I haven't read about anyone doing a direct comparison. However, looking online, I have seen a photo of the original Aurora instructions and they call the scale "1/93". This is the same scale on the cover of this recreated kit.

The Doll & Hobby GA site says this kit was tooled to "faithfully replicate the original 1970 model." To me, "faithfully replicate" means you could basically swap parts between the original and new kit and they'd fit fine. The instructions look very much like the old Aurora instructions -- same style and type of figures.

I think there's a good chance the parts match the original, but I don't have access to the original kit to do a check on that.

Best regards,
Kurt
 
Thank you very much! It certainly sounds comparable.


Don't think much of that. There's not very many that COULD do that comparison.

;)

Rob.
I'm sure you did the same thing I once did... Tried to buy one of those kits? The cost was astronomical! Like you said, not very many could afford one anymore.

The instructions that come with the Doll & Hobby kit mention that Star Wars using the models is one reason the Sealab kits are so hard to find. That also leads me to think that this kit was designed to be just like the original Aurora kit... That certainly must have more "marketing" appeal!

Best regards,
Kurt
 
The frames fit nicely. (All parts have fit very well on this kit. Seams are pretty clean.) Here are views of the front (clear side) and back (solid side), so far. The clocking for the end cap showing on the solid side was very unclear, making it hard to decide which was top and which was bottom. The instruction sketch, from the original Aurora kit (I believe), shows the porthole toward the lower side. However, the photos of the built-up model, also in the instructions, show the porthole toward the top. I decided the old Aurora instructions were probably correct and that the porthole goes toward the bottom, more in line with the portholes on the side of the lab.
SL-07a.jpeg

SL-07b.jpeg


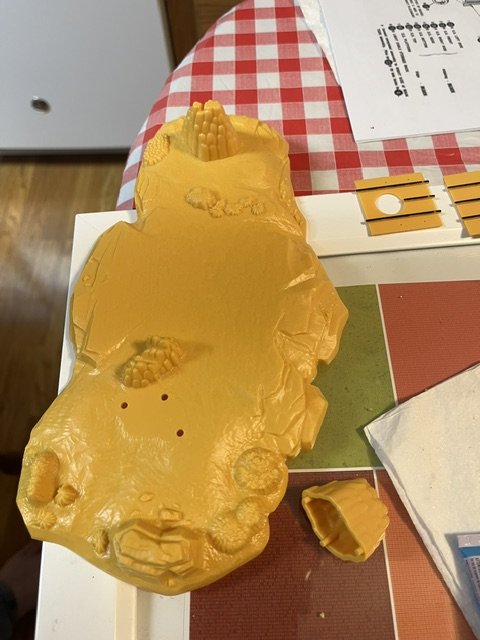
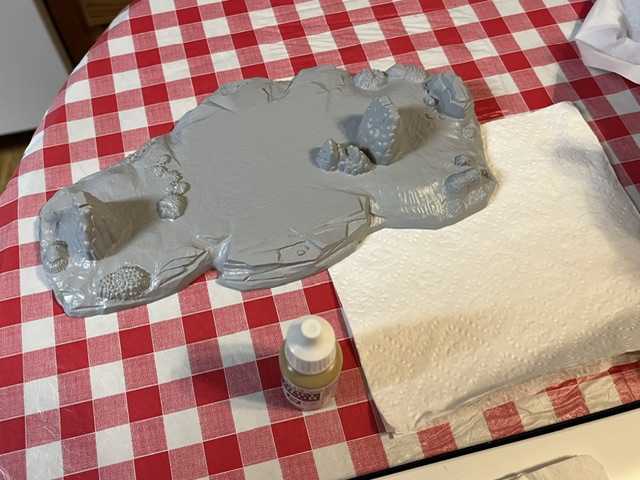
The next step is the base, since the sequence is to mount the lab onto the base now. I sprayed the base in Tamiya light gray primer, intending to cover the yellow. Later, I'll go back and paint details on the base, such as the plants and other sea life.
SL-08.jpeg

SL-09.jpeg


I went to the following step while the base dries thoroughly.

Take care,
Kurt
 
This is very cool, and coming along fantastically!
Great subject matter and very cool kit- I'm reasonably sure I built this as a kid?
Maybe I just really wanted it and never built it. Can't recall, but love the updates
Keep 'em comin please!
 
Hello,

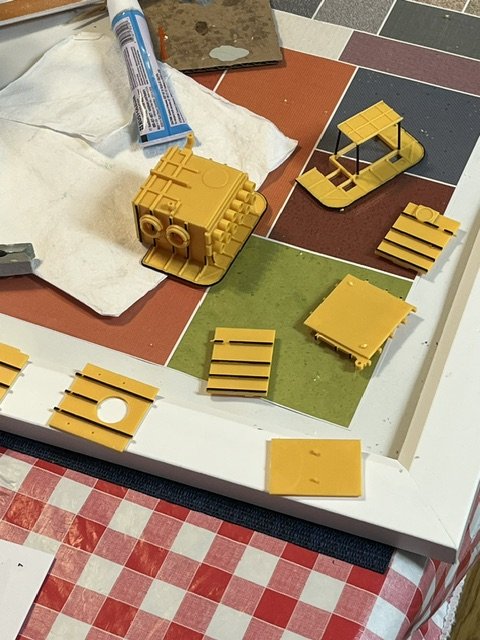
The "Diving Station" is assembled, along with its diving platform (which is upside-down since it's sort of fragile). The other parts are the "Observation and Storage" room.
SL-10.jpeg


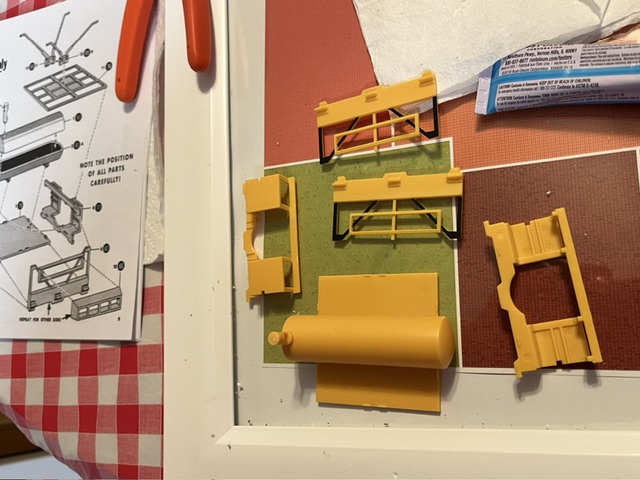
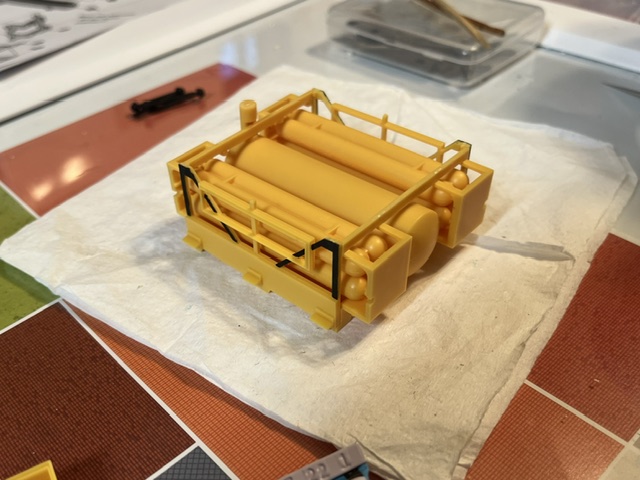
The next subassembly contains the lower tanks. The parts go together pretty quickly.
SL-11.jpeg

SL-12.jpeg


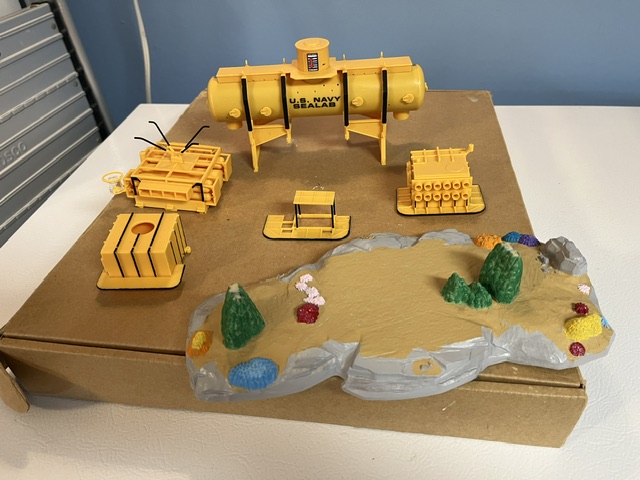
And here are all the assemblies, so far. I just finished painting the details on the base. I had some fun with the colors since most of the models I build don't leave alot of room for them. Also, I went ahead and applied the decals because it is easier to do them now than to wait until all the details are glued onto the model.
SL-13.jpeg


My plans are to spray the whole kit with Tamiya TS-13 gloss clear when it is assembled. Perhaps the glossy look is better for an "underwater appearance"? (I don't know, we'll see!)

Even though the base is ready, now, I'll go ahead and finish the "Side Tanks" before I glue everything together.

Thank you folks for all of the comments.
Best regards,
Kurt
 
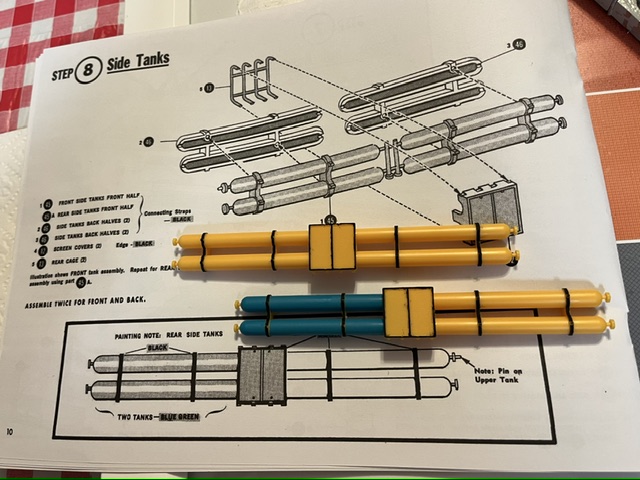
Continuing with the Side Tanks... The instructions say one long set of tanks is supposed to be "Part 45", and the opposite (rear) side is "Part 45A". There is no 45A in the kit, only two of the Part 45. I believe the different would be the small pin shown in the figure ("Pin on upper tank"). These tanks have a small pin (it's more of a "bump") on both ends, so would fit on either side of the lab.

Per the sketch, only the back side gets the pair of blue-green tanks.
SL-14.jpeg


Finally, I attached the lab to the base. It only balances on top of the two "plants" they use for support; not very strong. Gluing the four black stilts down helps a little.
SL-15a.jpeg

SL-15b.jpeg


Next step is adding details to the back (solid) side of the lab, including the Side Tanks just finished.

Take care,
Kurt
 
Mr. Kurt, If I may, have you heard anyone compare this new Sealab to the original Auroura Sealab? There are parts from the original on a studio scale Star Wars models and many were hoping they were coming back.

Rob.
The D&H kit is an exact copy of the Aurora original. As a matter of fact, a company called Mastrerpiece Models produced a resin copy of the Aurora kit which was used to clone it. It sold for 125 bucks. Unfortunately, Masterpiece Models no longer produces kits. They produced a line of extremely detailed Vietnam-era U.S. Navy monitors and brown water crafts.
 
The D&H kit is an exact copy of the Aurora original. As a matter of fact, a company called Mastrerpiece Models produced a resin copy of the Aurora kit which was used to clone it. It sold for 125 bucks. Unfortunately, Masterpiece Models no longer produces kits. They produced a line of extremely detailed Vietnam-era U.S. Navy monitors and brown water crafts.
Thank you!

Rob.
 
The details parts for the back side are complete.

The biggest single problem I had was attaching the gray cable that runs from the lower tank assembly up to the top tank. Procedure is to feed it between the main "hull" and the brace, then glue it to the lower assembly. However, I could not get my fingers under there to hold the slippery thing and get it pressed into its two holes (You can sort of see the lower end, down in the shadow). During the struggle, I knocked the lower tank assembly loose from the base (I'd only used a tiny amount of glue at each "foot", and that was sitting on the painted base). I ended up attaching the cable to the lower assembly, separate from the base, then feeding the cable up where it goes and re-gluing the lower assembly to the base (used Tacky Glue this time).

I also had a struggle with the side tanks. The end frames of the lab must have been just a little too close to each other so that the tabs on the side tanks didn't want to fit in without bowing out the side tanks (so the middle attachments to the lab wouldn't stay together). After much trimming, I finally just cut off one of the end tabs. My black and blue-green paints suffered from the conflict... I touched up some of the black and will just let my final gloss coat take care of the tanks (hopefully!).

Mostly, though, the parts on this kit have fit together very well.
SL-16.jpeg


Take care,
Kurt
 
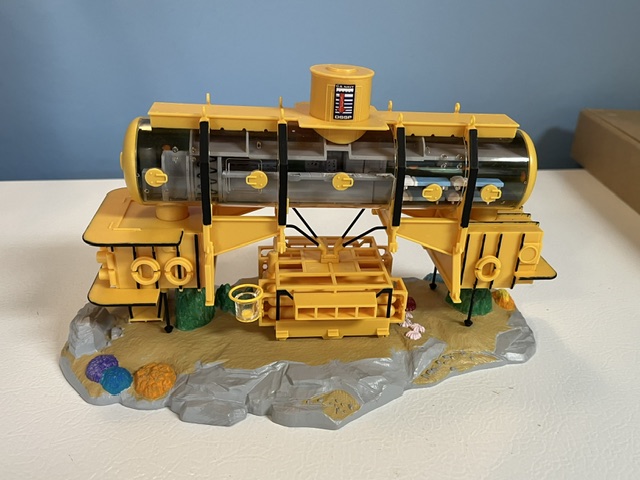
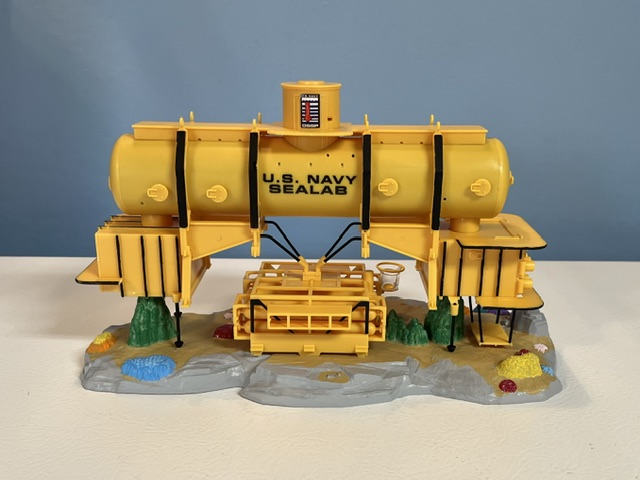
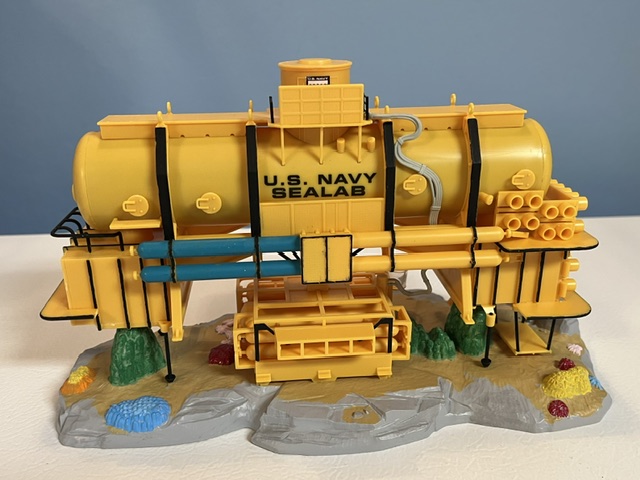
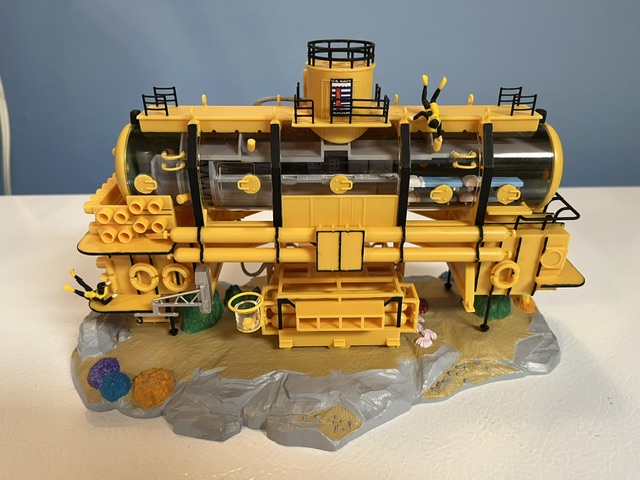
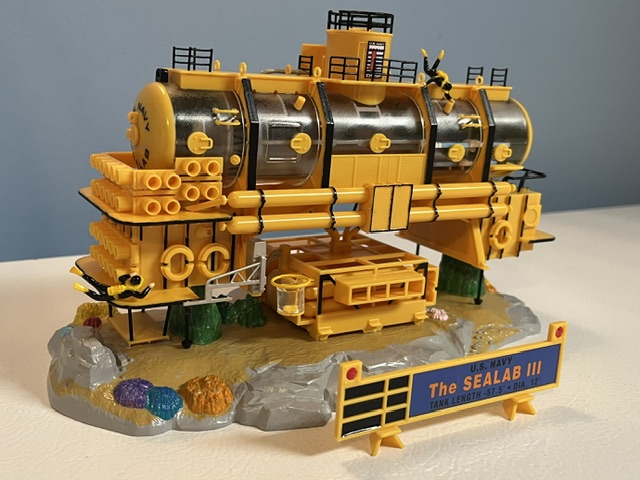
The weather was somewhat more cooperative and I gave the model its gloss coat of Tamiya TS-13 spray. The finish came out pretty good except there is a little "fog" over the clear side (the original plastic is very clear; almost like glass). But I've never tried to spray over a clear side before, so perhaps there is a coating more suitable. Anyway, I'm still happy with the appearance in person...

SL-Cmpl-FL.jpeg

SL-Cmpl-FR.jpeg

SL-Cmpl-BL.jpeg

SL-Cmpl-BR.jpeg


This was a fun kit to build! The parts fit very nicely. I'm very glad that Doll & Hobby took the time and effort to recreate the Aurora kit!

Best regards,
Kurt
 

Latest posts

Back
Top