Scratch building a T-47

Jamaicanmodels69

New Member
Joined
Apr 17, 2011
Messages
604
I decided to use the old mpc kit and make mine,
exactly 2x's bigger. Using just a hair under 2mm
HIPS (high impact poly styrene)

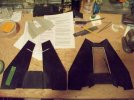
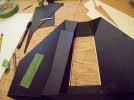
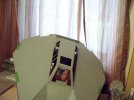
Started out mapping the hull and making
templates........
009.jpg
010.jpg
011.jpg
008.jpg
 
Then i sliced up my templates so they could
be used as working pieces, and traced onto
the styrene to be cut out.Then i began to build
the main hulls including sides and front section.
100_3152.jpg
100_3153.jpg
100_3158.jpg
100_3163.jpg
100_3164.jpg
 
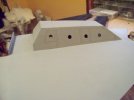
Then i started on the big boxes in the rear,
much easier to lay in the cooling fins on the
front plate before fitting rather than after, then
they are easily trimmed.

100_3168.jpg
100_3169.jpg

T100_3176.jpghe front boxes are done the same.....
 
At this point the speeder is a little flimsey
so i made the rear bulkhead just to sure it up,
the heat sink bank will attach to this eventually.
100_3178.jpg
100_3186.jpg
 
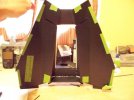
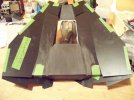
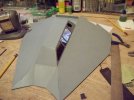
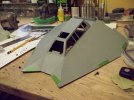
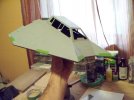
I started on the canopy and built it up
piece by piece on the speeder's main hull,
some how i got it "to tall" and had to mark
it off then dremel the sides down and slip
in a new roof. :'(
100_3266.jpg
100_3267.jpg
100_3268.jpg
100_3269.jpg
100_3271.jpg
100_3272.jpg
100_3273.jpg
 
Ok moving on to the bottom of the speeder.......
it took me three attempts to dial in in correct angles
for what i had in front of me, in regards to "my model".
But i just kept taking notes on what needed to be tweeked until it fit.
100_3190.jpg
100_3191.jpg
100_3192.jpg
100_3193.jpg
100_3194.jpg
100_3198.jpg
 
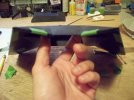
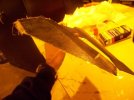
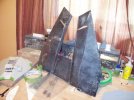
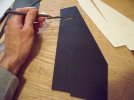
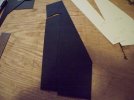
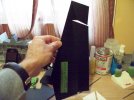
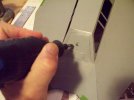
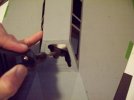
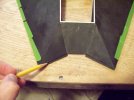
The bottom hull has to fit or fold into the bottom
of the top hull, to do this i made sure to cut lines
on the opposite side of the lower hull.these lines would not show
that were cut, but would allow for the plastic to fold and
at the same time leave a seamless joint, as the break
lines are on the opposite side. The key is to to cut them
just enough to fold but not snap.Before any folding could be done
this little shape you see in the 2nd pic had to be removed.
100_3199.jpg
100_3200.jpg
100_3201.jpg
100_3202.jpg
100_3203.jpg
100_3207.jpg
100_3213.jpg

Forgot to mention the break lines are filled with CA glue
after it is fitted properly into the top hull.
 
The lower hull was a bit long not a problem,
marked it and trimmed it off.
100_3205.jpg
100_3206.jpg
100_3216.jpg

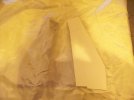
Ok the lower hull is all seams and that makes things a
bit flimsey .......but its not a weight bearing part so not
a great concern. But i was going to be handling it a great
deal so it was a concern none the less. So i decided to sand
away all the nasty glue in the seams, and lay in some fiberglass
mat and over it with Z-poxy epoxy.
100_3283.jpg
100_3284.jpg
100_3286.jpg
100_3288.jpg


Glad i did this because now its nice and strong,
and i dont have any concerns handling it. The glassed
side is the bottom and does not show no worries.
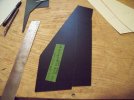
 
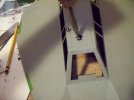
Ok time to let some light in the 47 ........
mark out the reference lines drill some pilot
holes and dremel away the rest, using a file
to finish up close. I wanted my canopy frame
to be a little thinner than the kit........this caused
a problem with the small quarter window at the rear,
and it's orientation with the rear box'es tab. I was
forced to cut the rear window a bit longer.....ah
thats not going to kill me or the model!LOL
100_3274.jpg
100_3277.jpg
100_3278.jpg
100_3276.jpg
100_3280.jpg
100_3281.jpg
100_3282.jpg
100_3279.jpg
 
Well thats about where i am at the rest of the
progression of the model will be current. I did
have to re-do the boxes (big ones) i have them
scribed and in primer but they still need the toe
steps built in.........coming soon! ;)
 
That is a superb scratch build, Jamaicanmodels69! And big too - my kind of stuff! Can't wait to see what you do with the interior.

8) 8) 8) stuff indeed.
 
Noddy4000 said:
That is a superb scratch build, Jamaicanmodels69! And big too - my kind of stuff! Can't wait to see what you do with the interior.

8) 8) 8) stuff indeed.

LOve your Avatar!!!! LOL
 
Jamaica ,

This is Awesome !! I agree with SCOTT. Great SBS !! Dyn-no-mite !! Great looking stuff Red Leader. I can't wait to see how this turns out !!
 

Latest posts

Back
Top