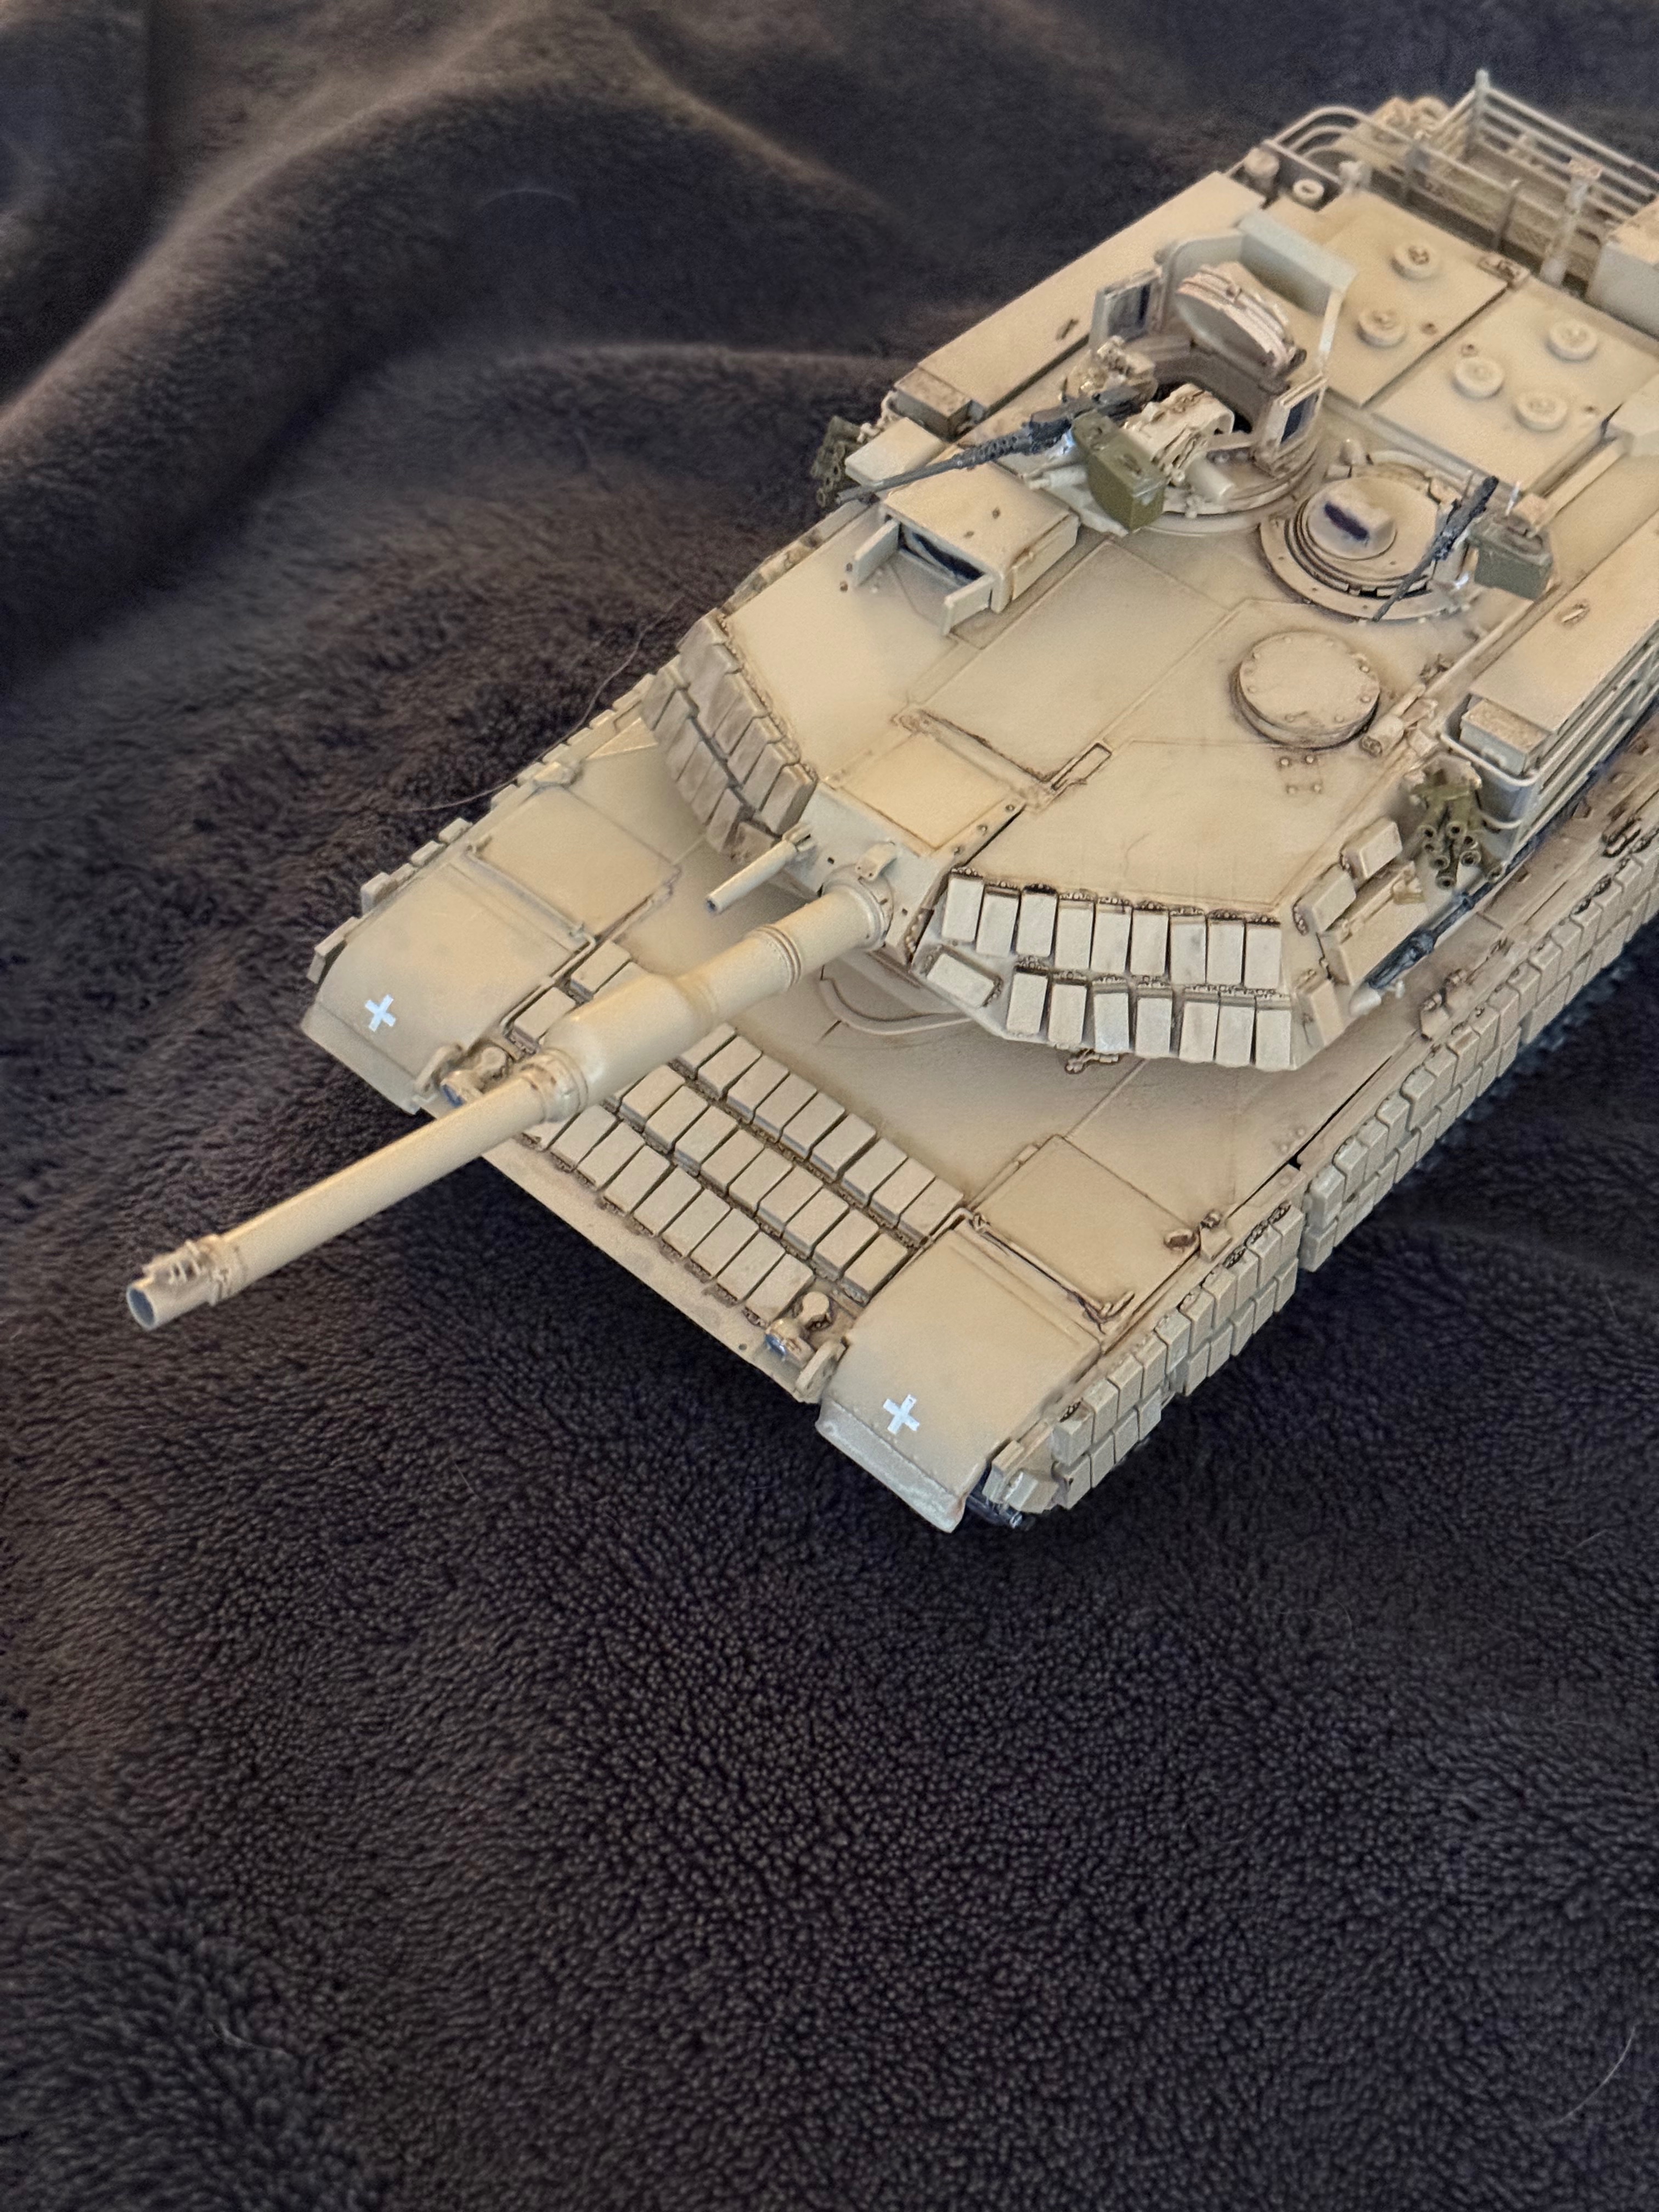
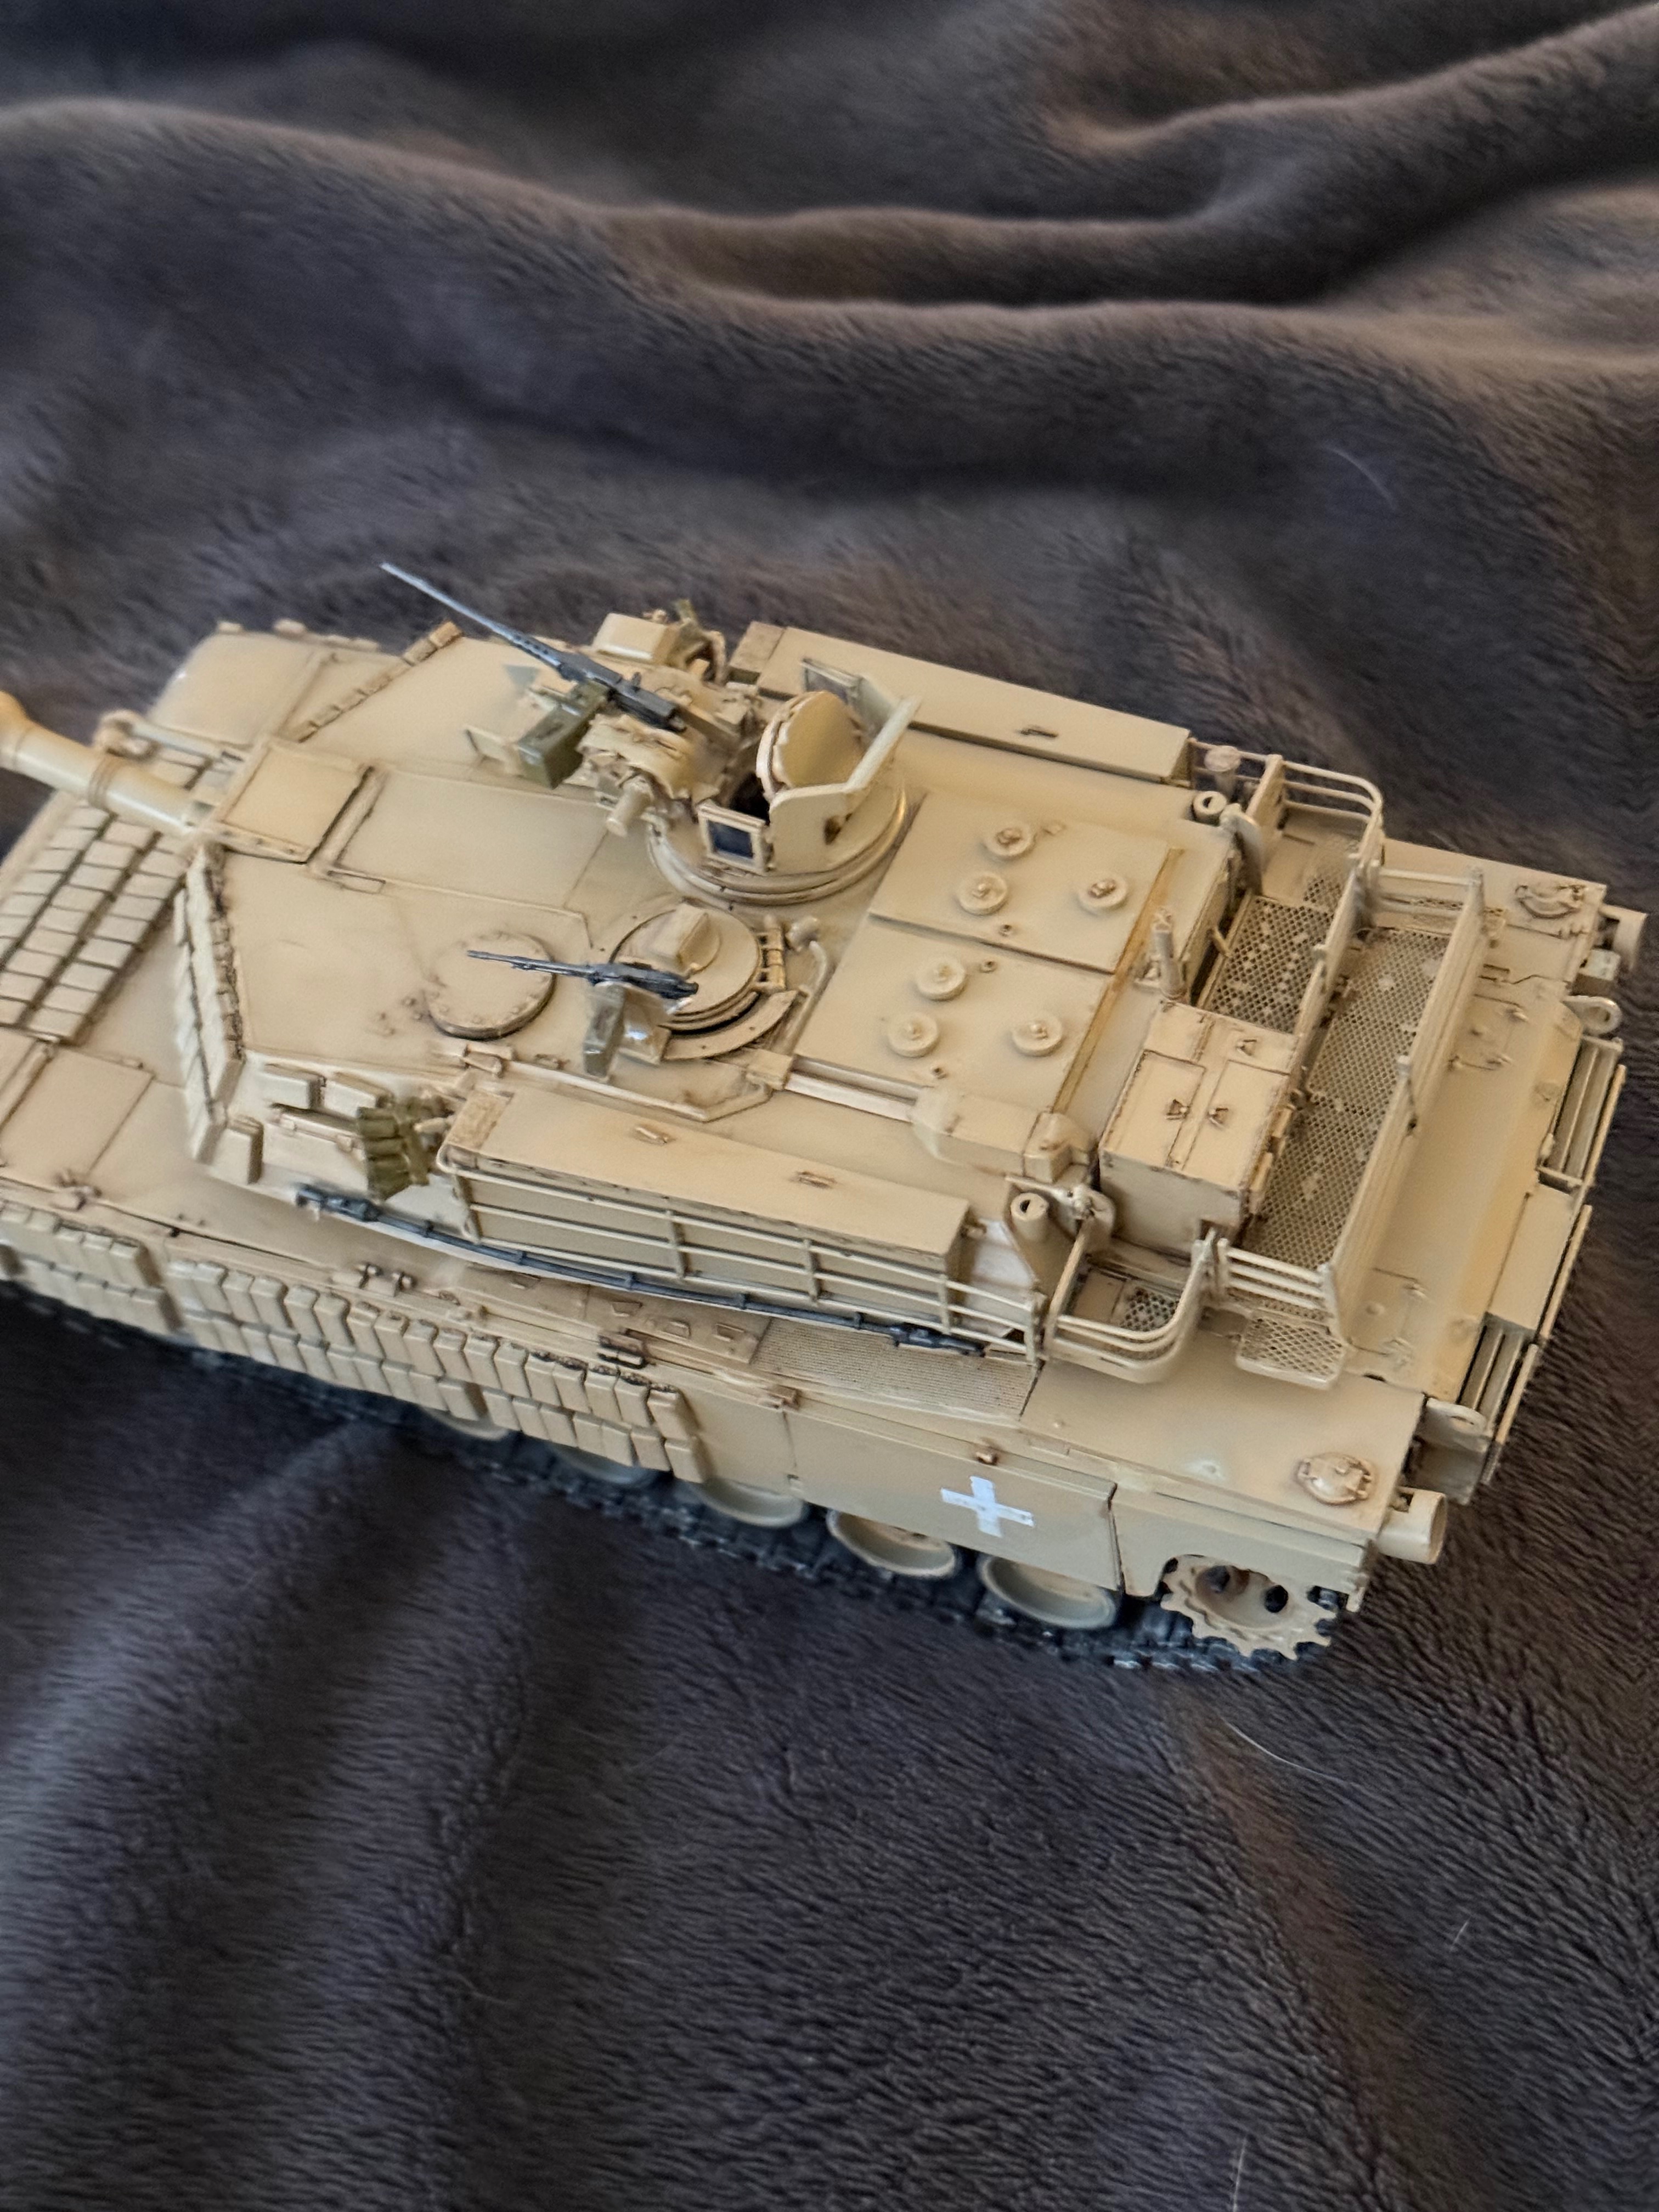
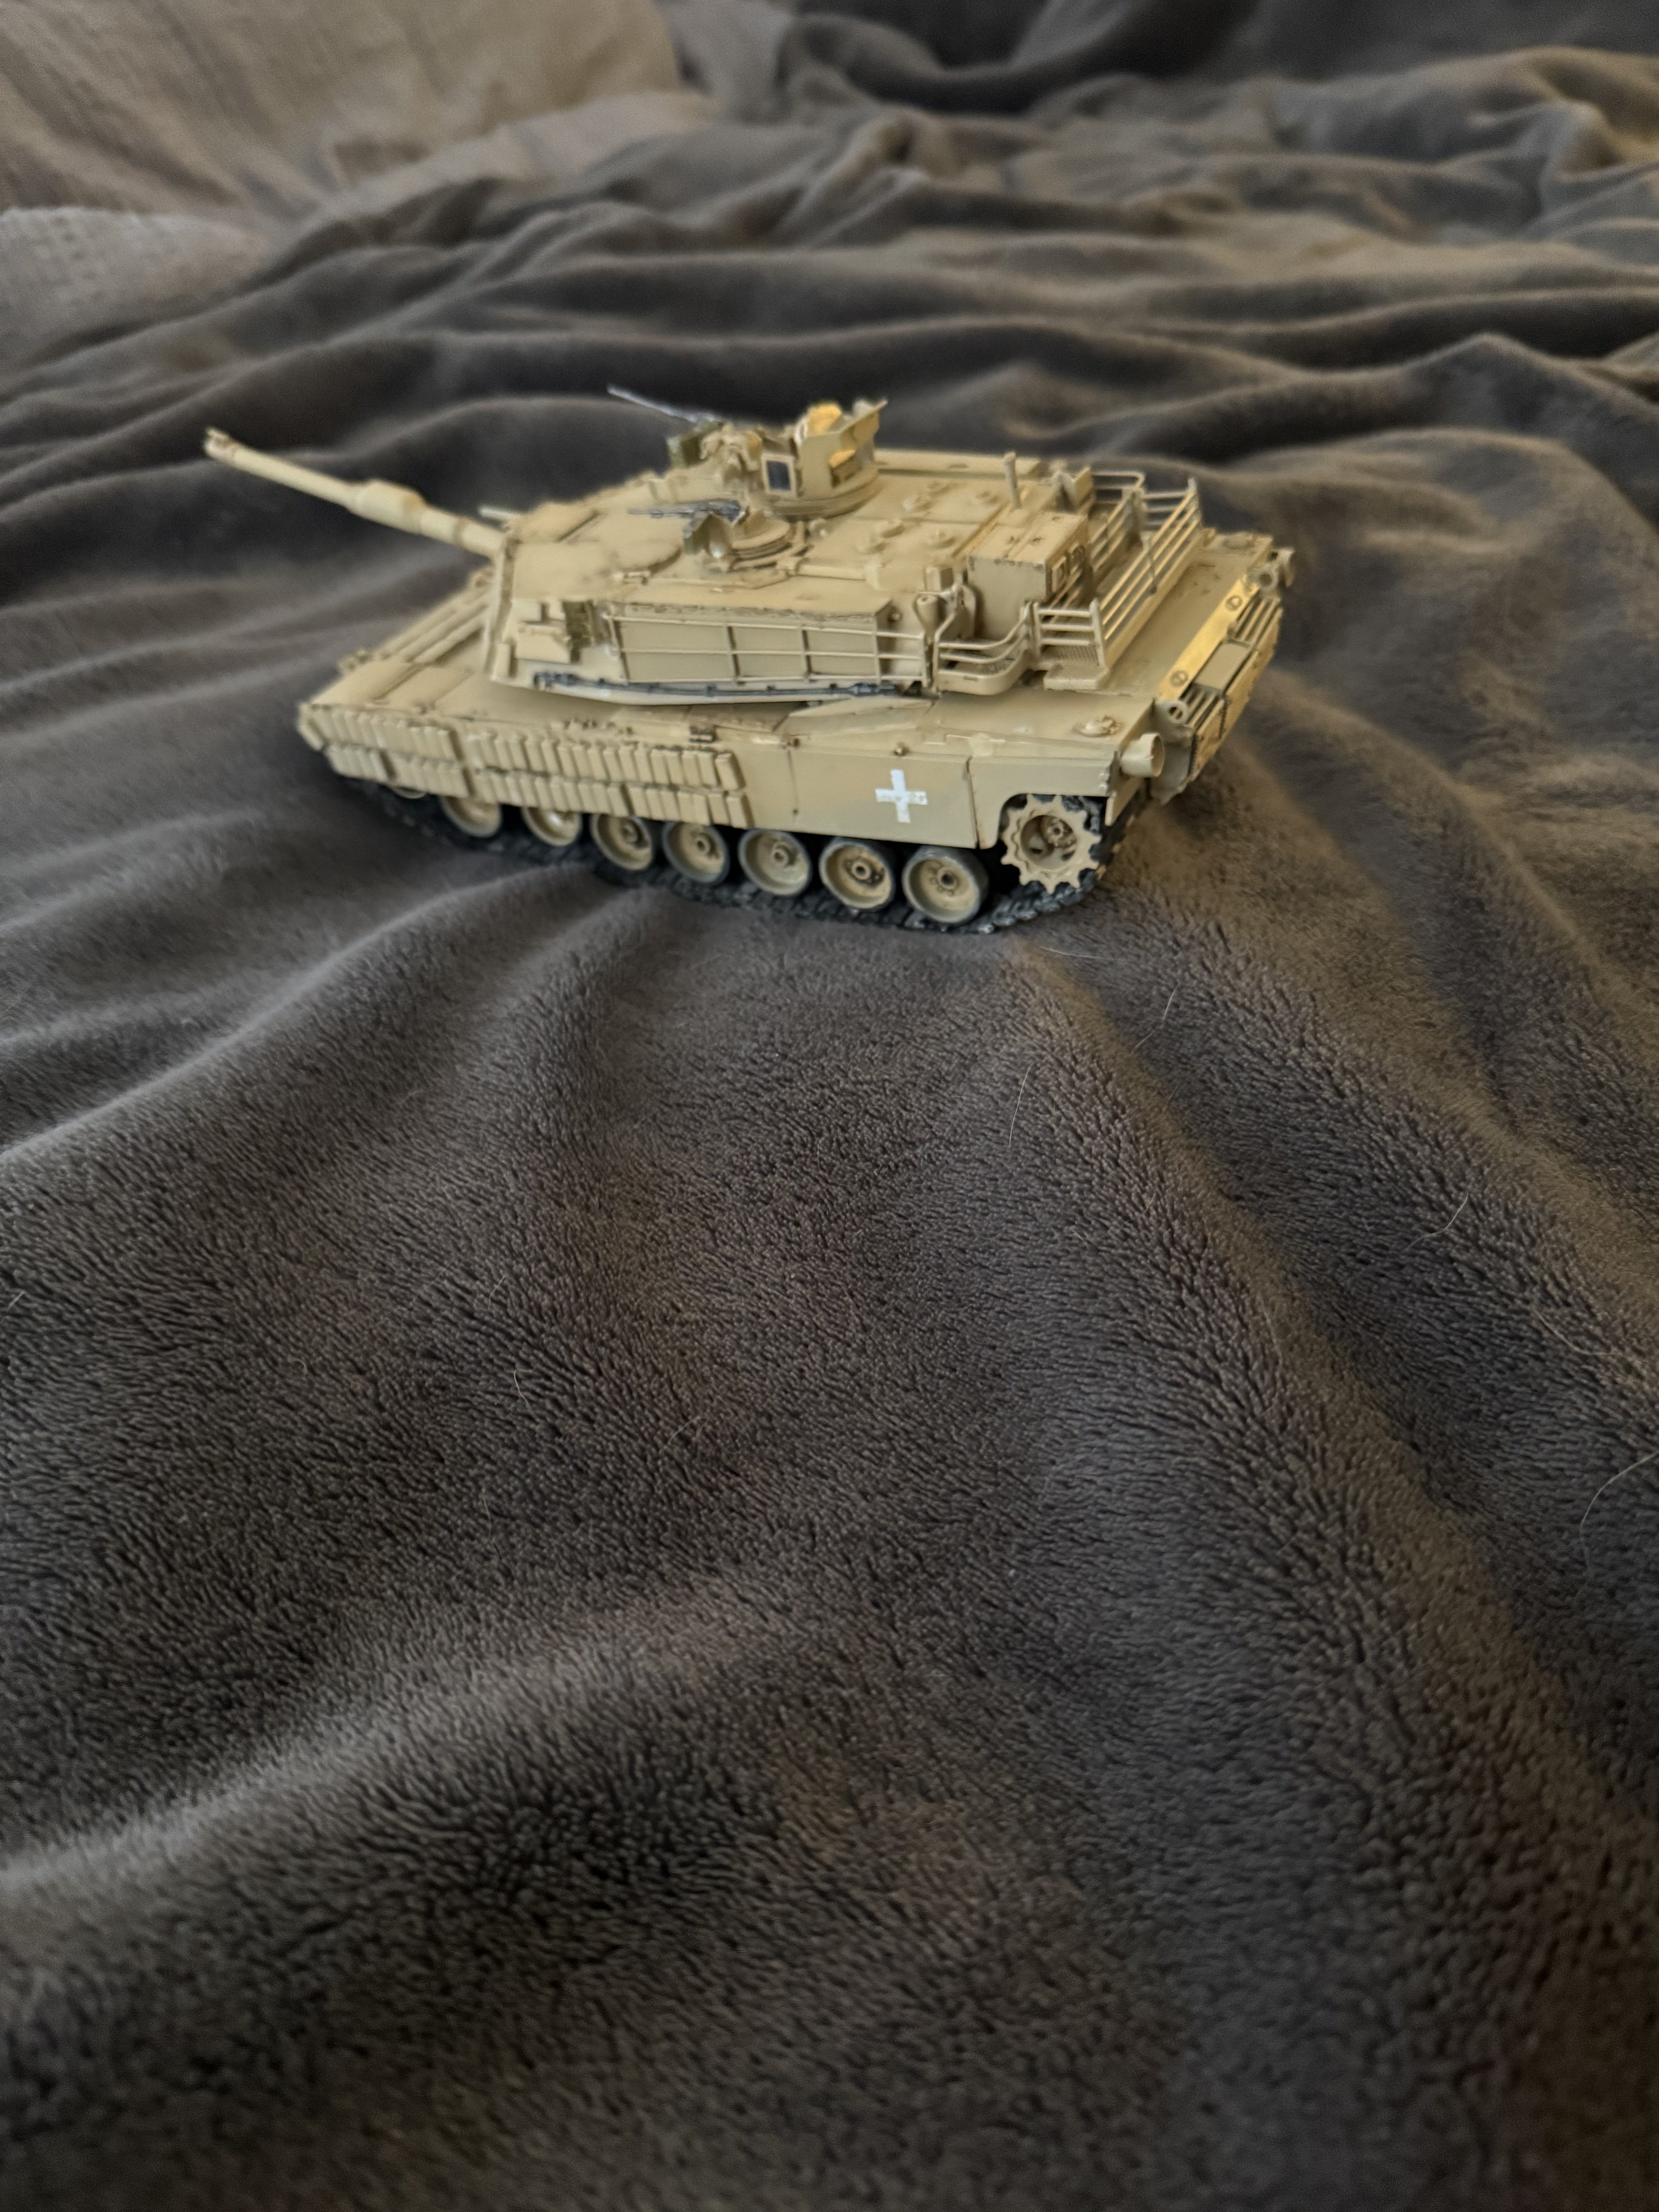
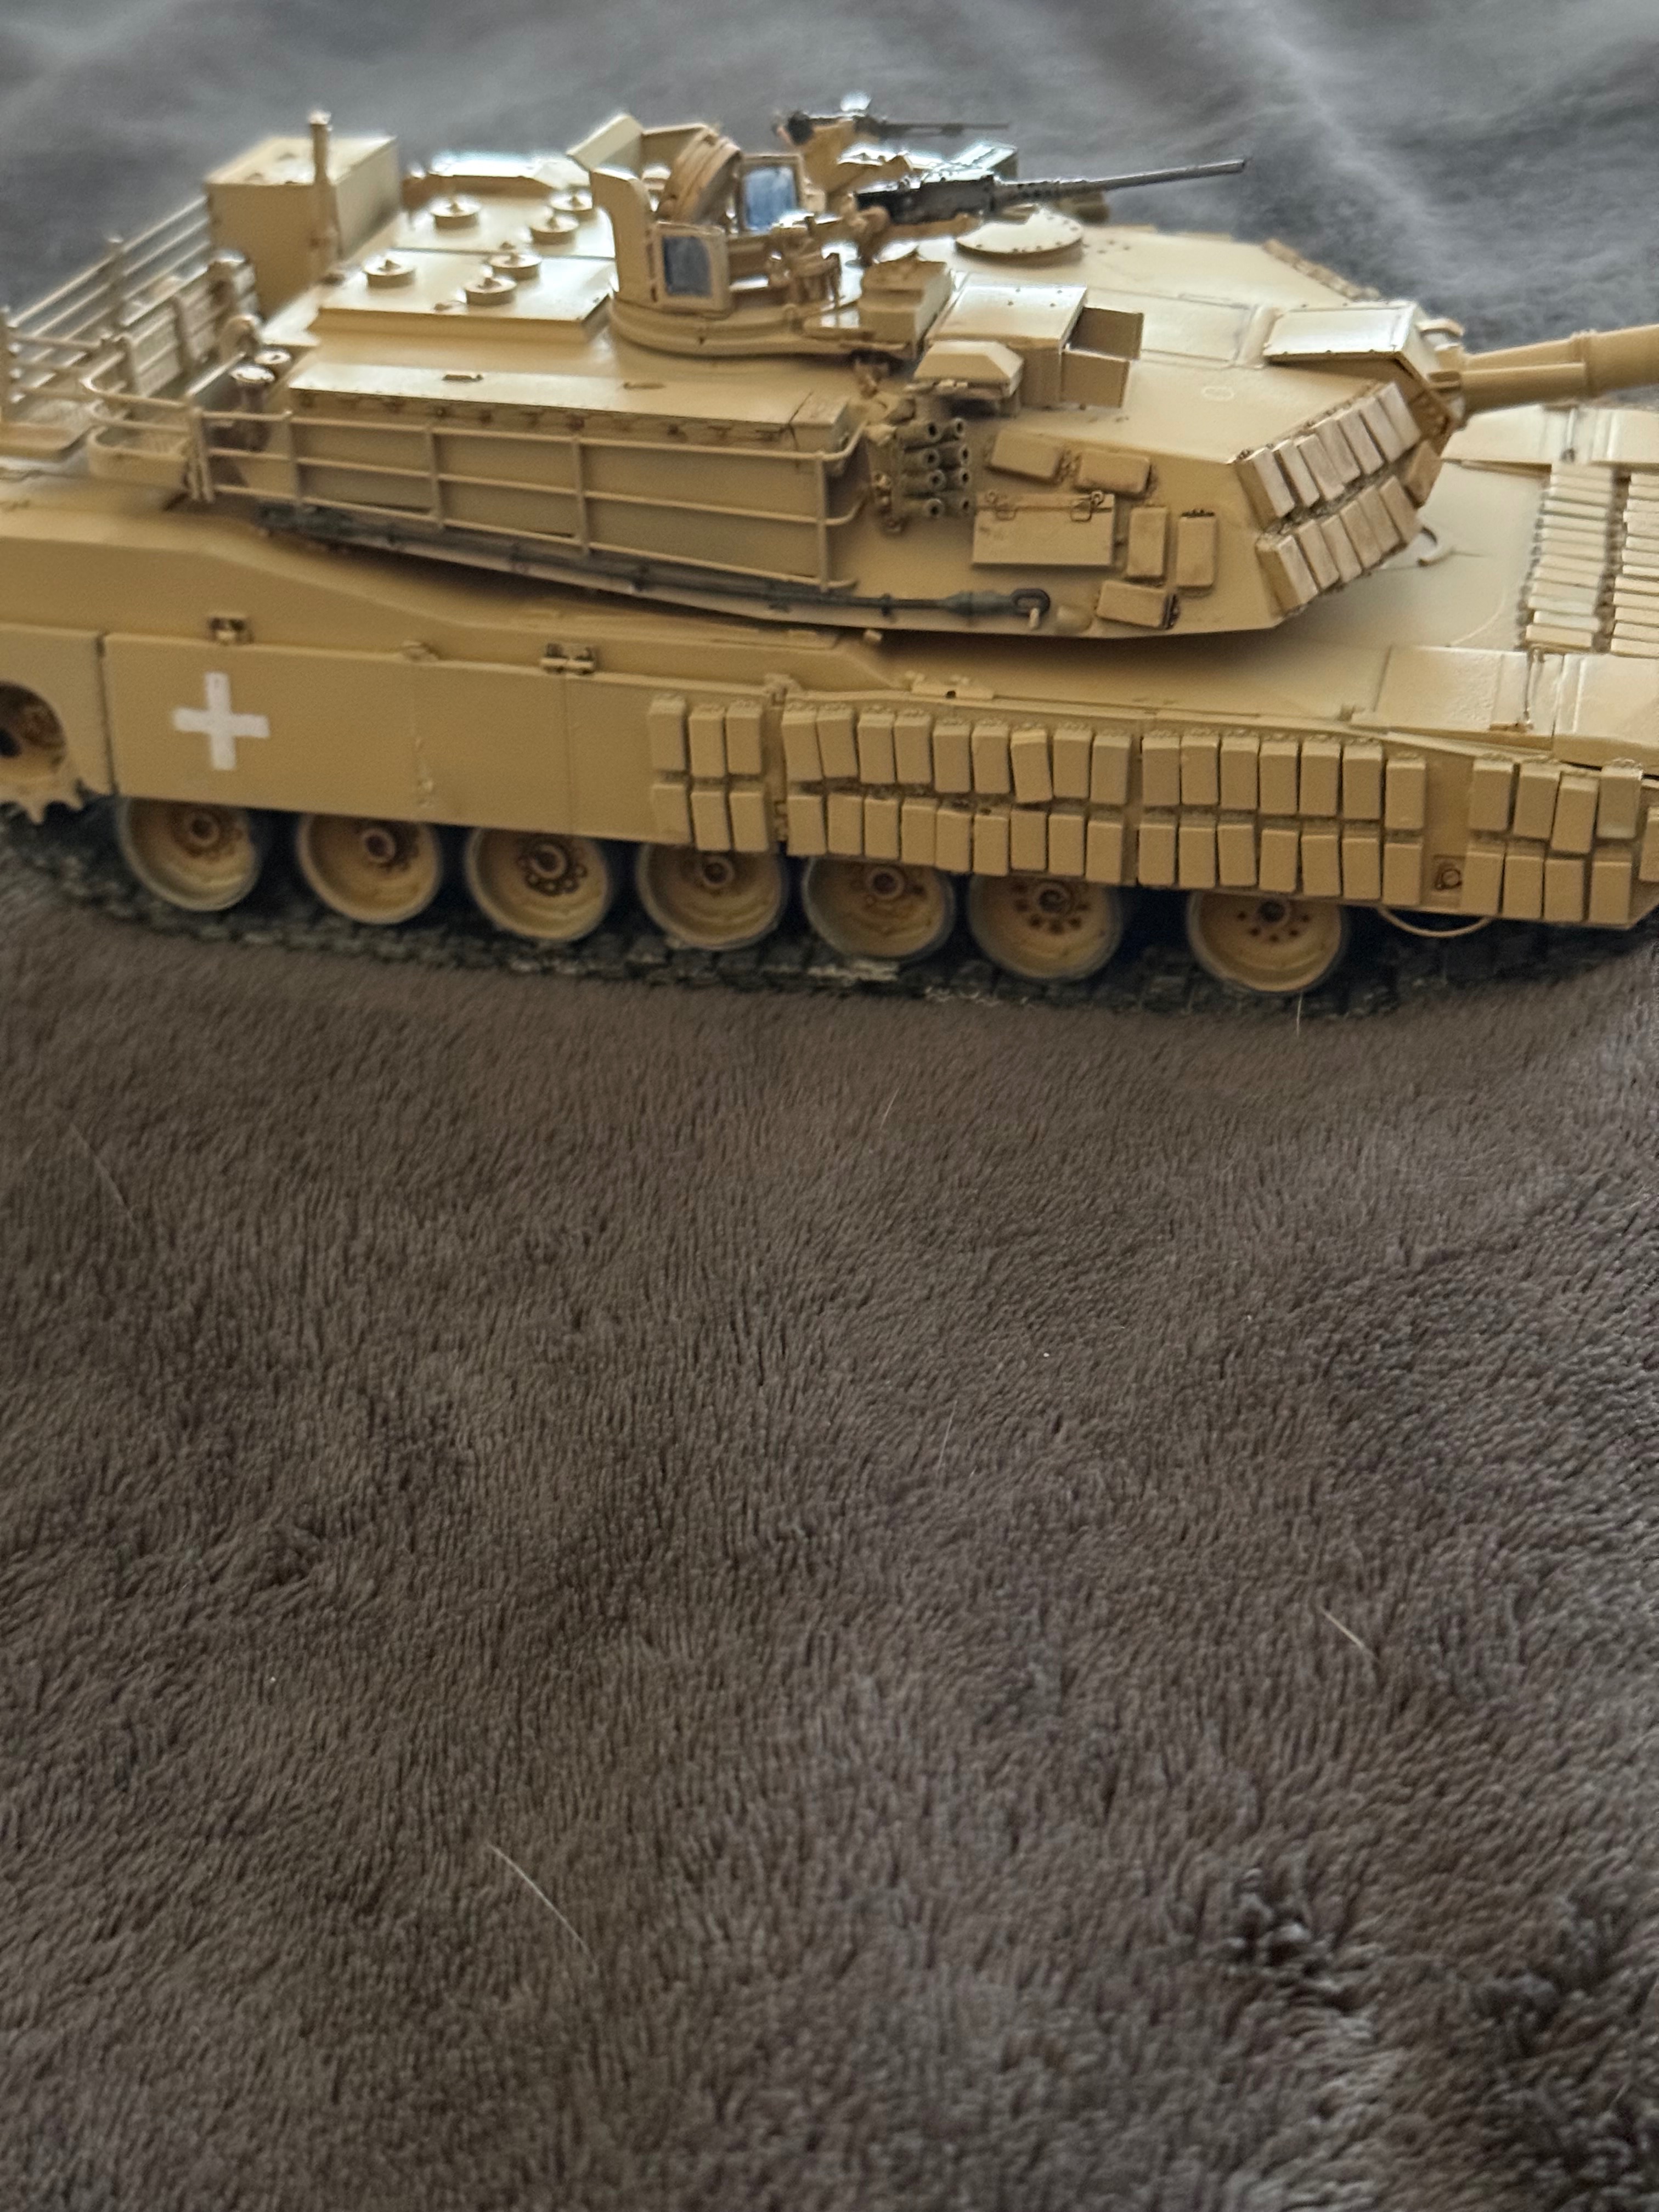
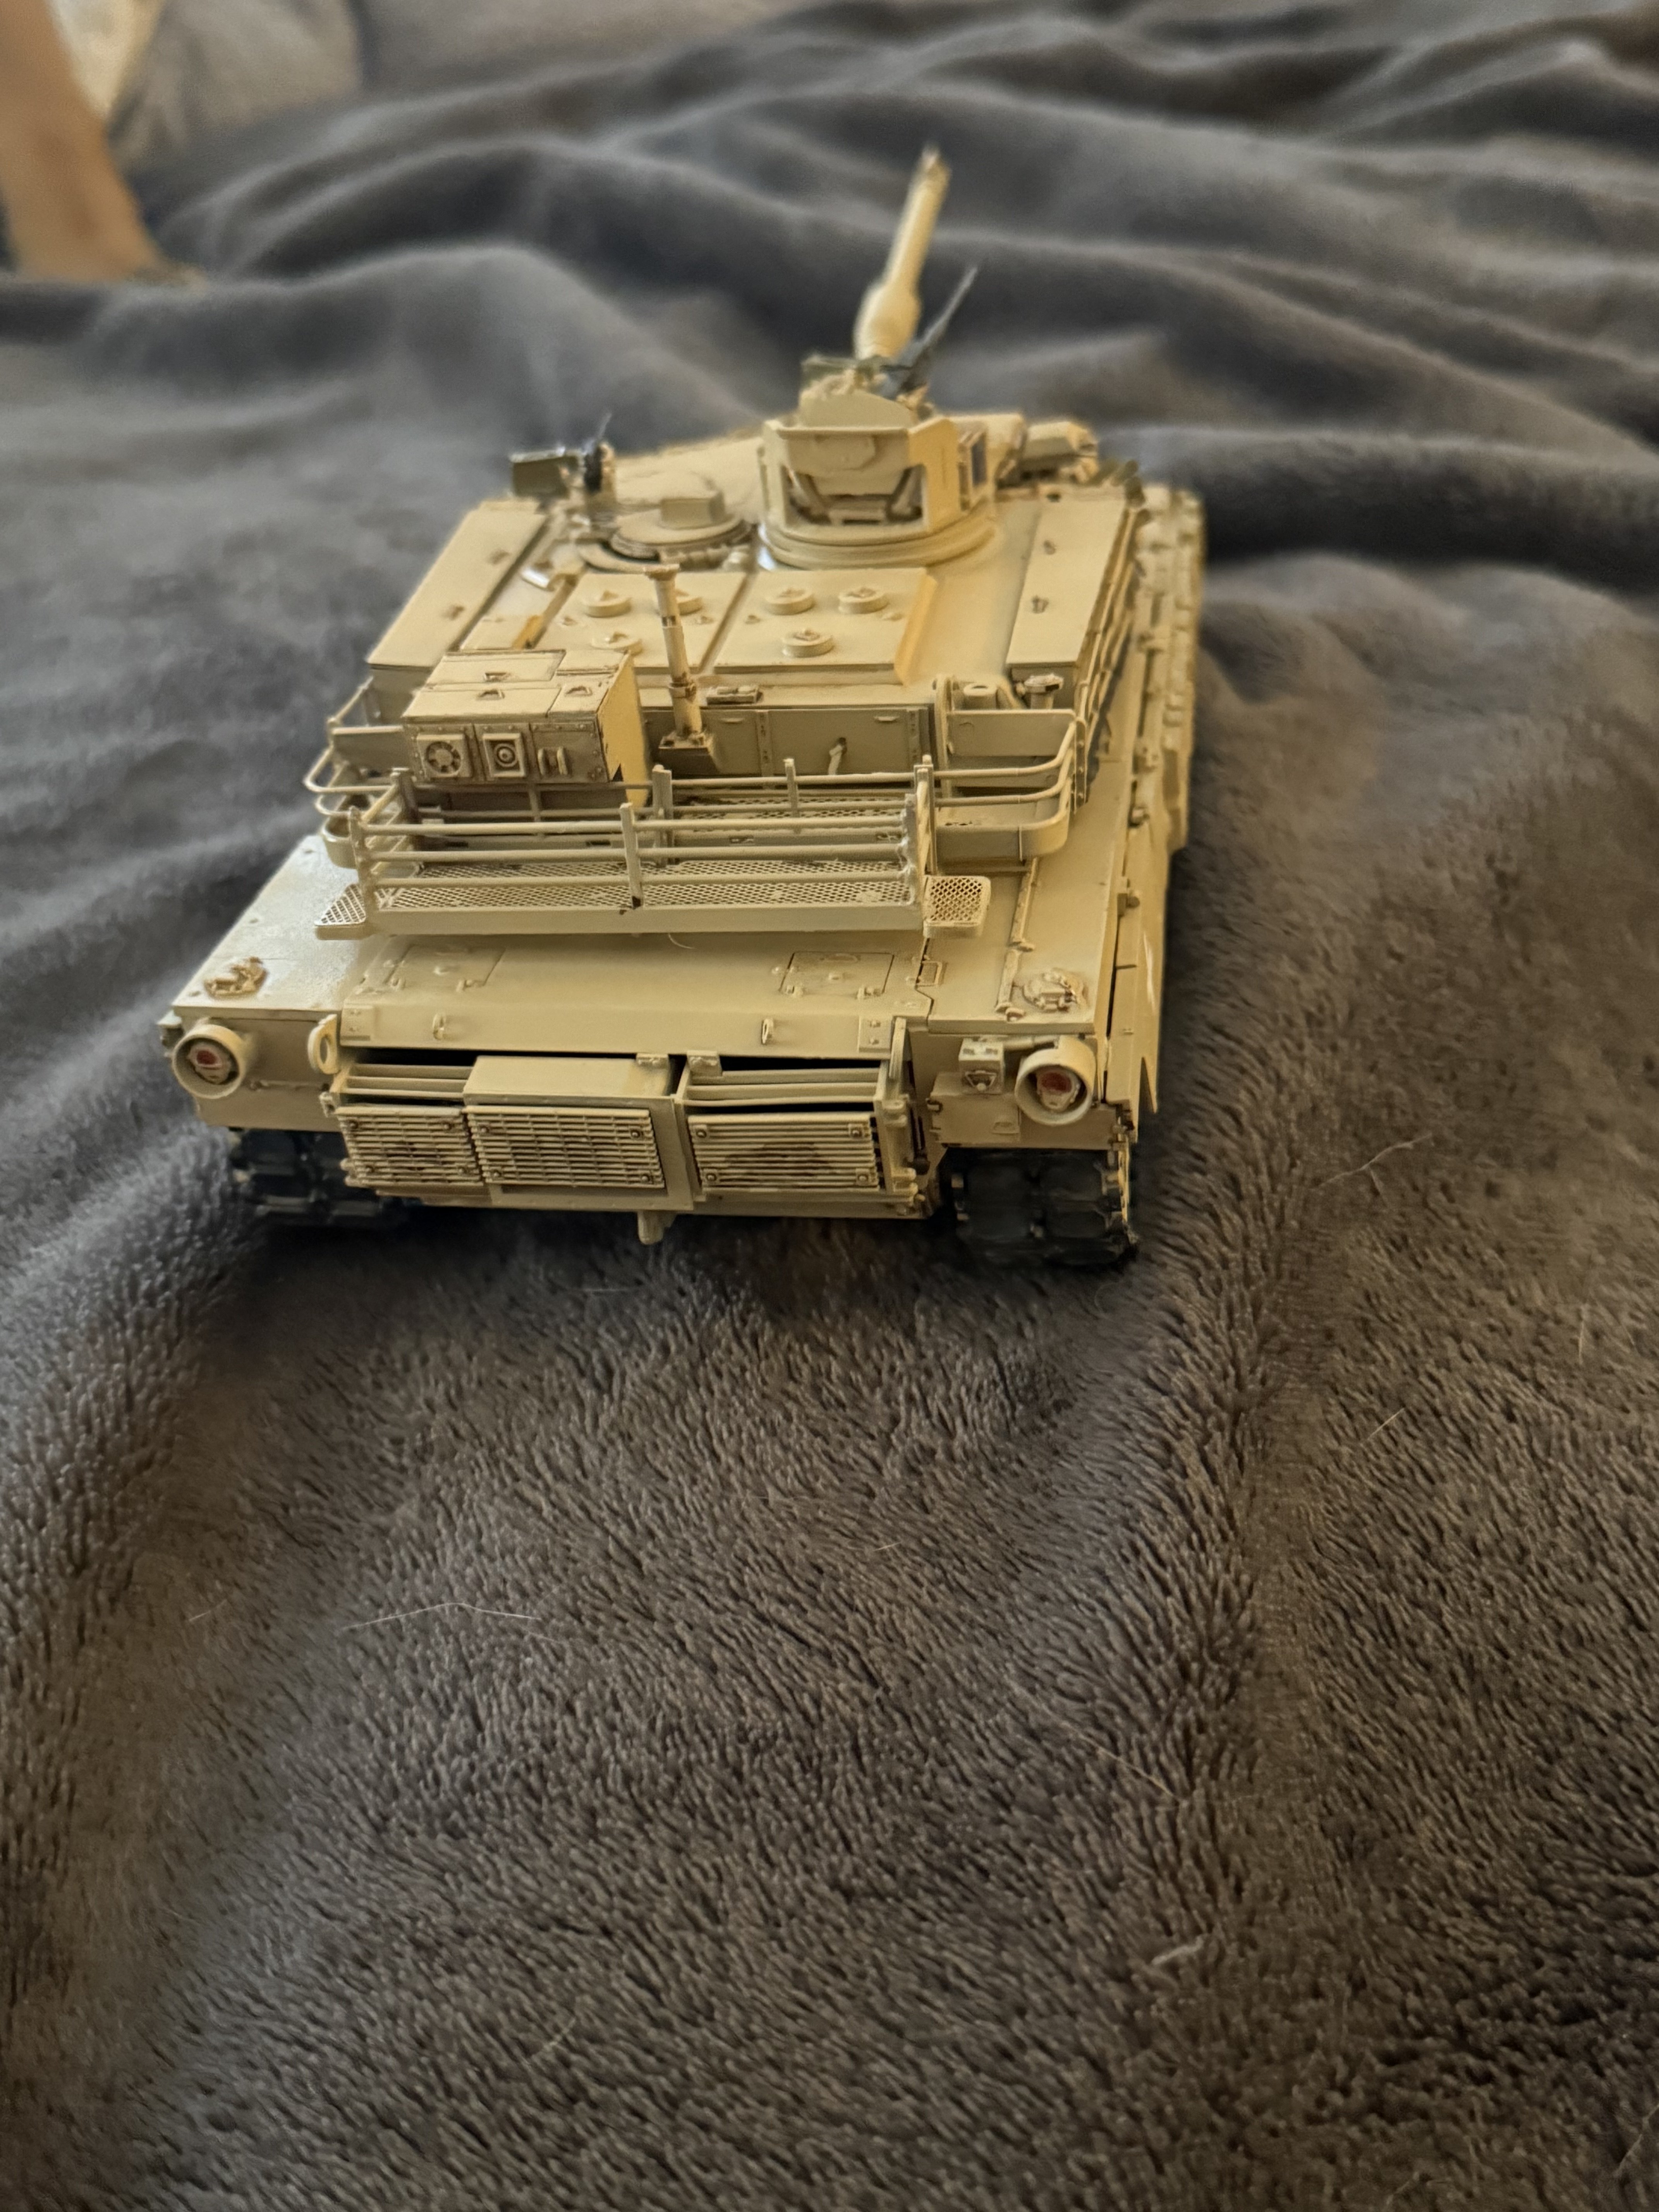
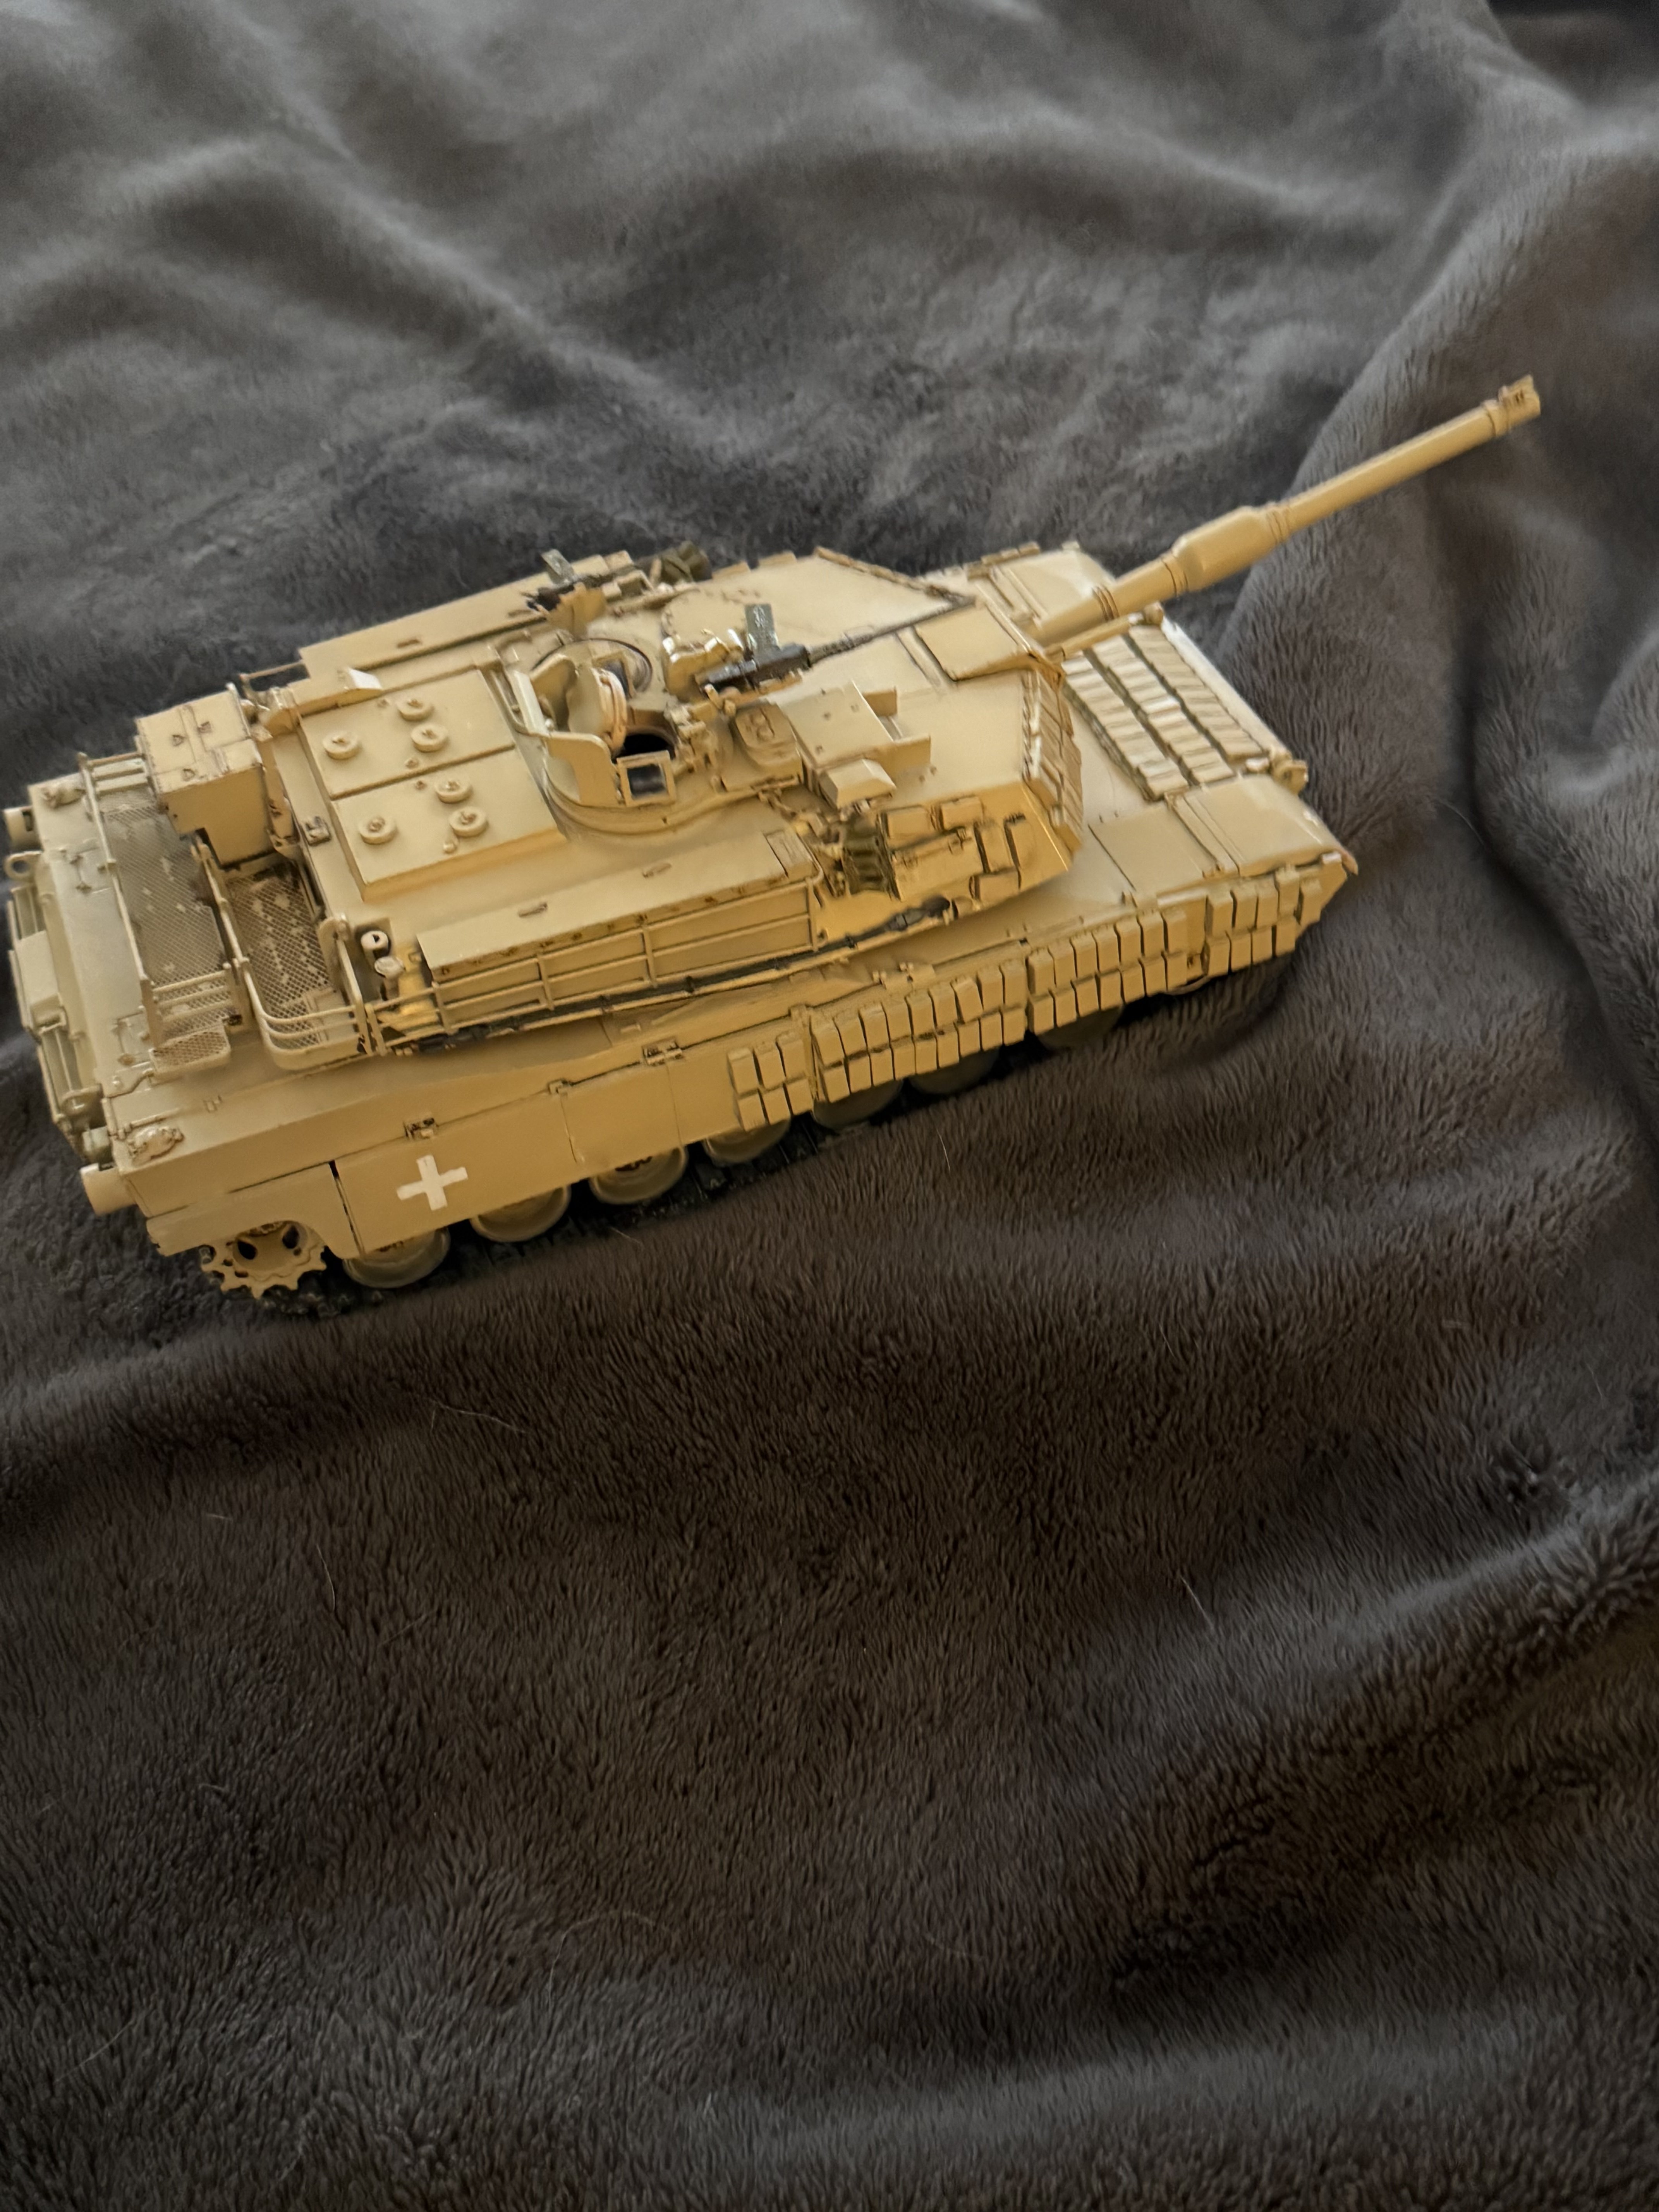
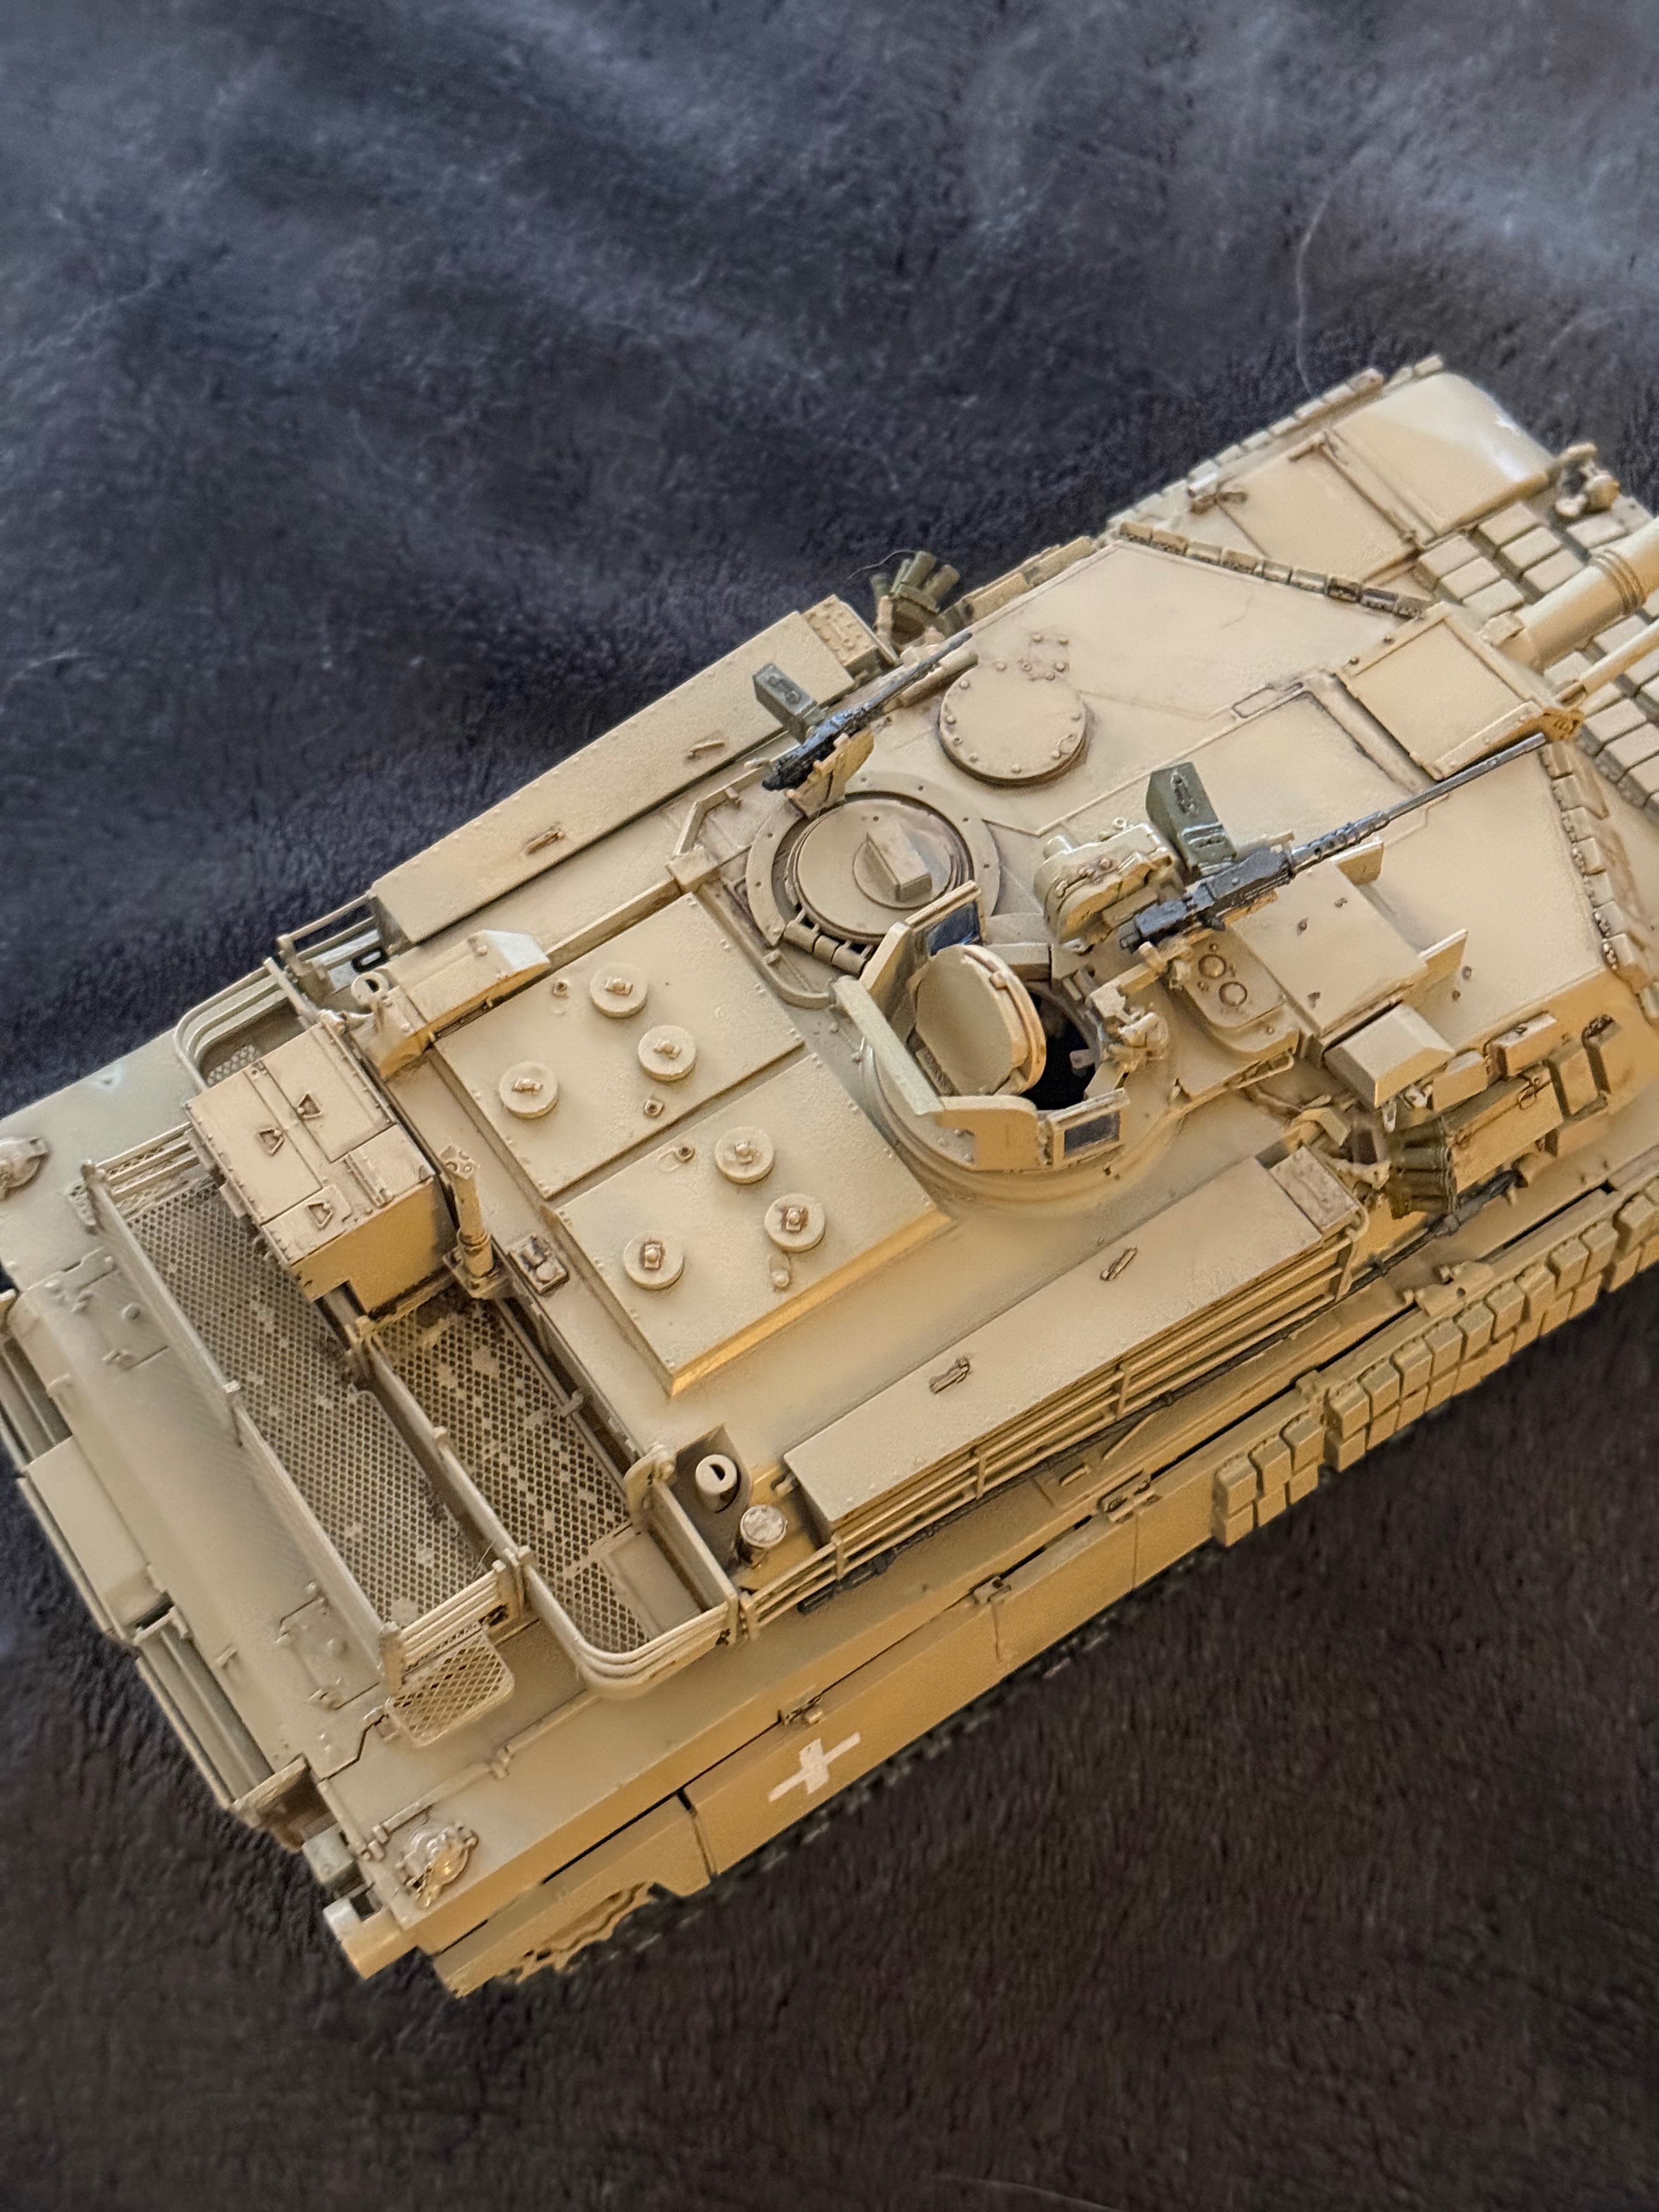
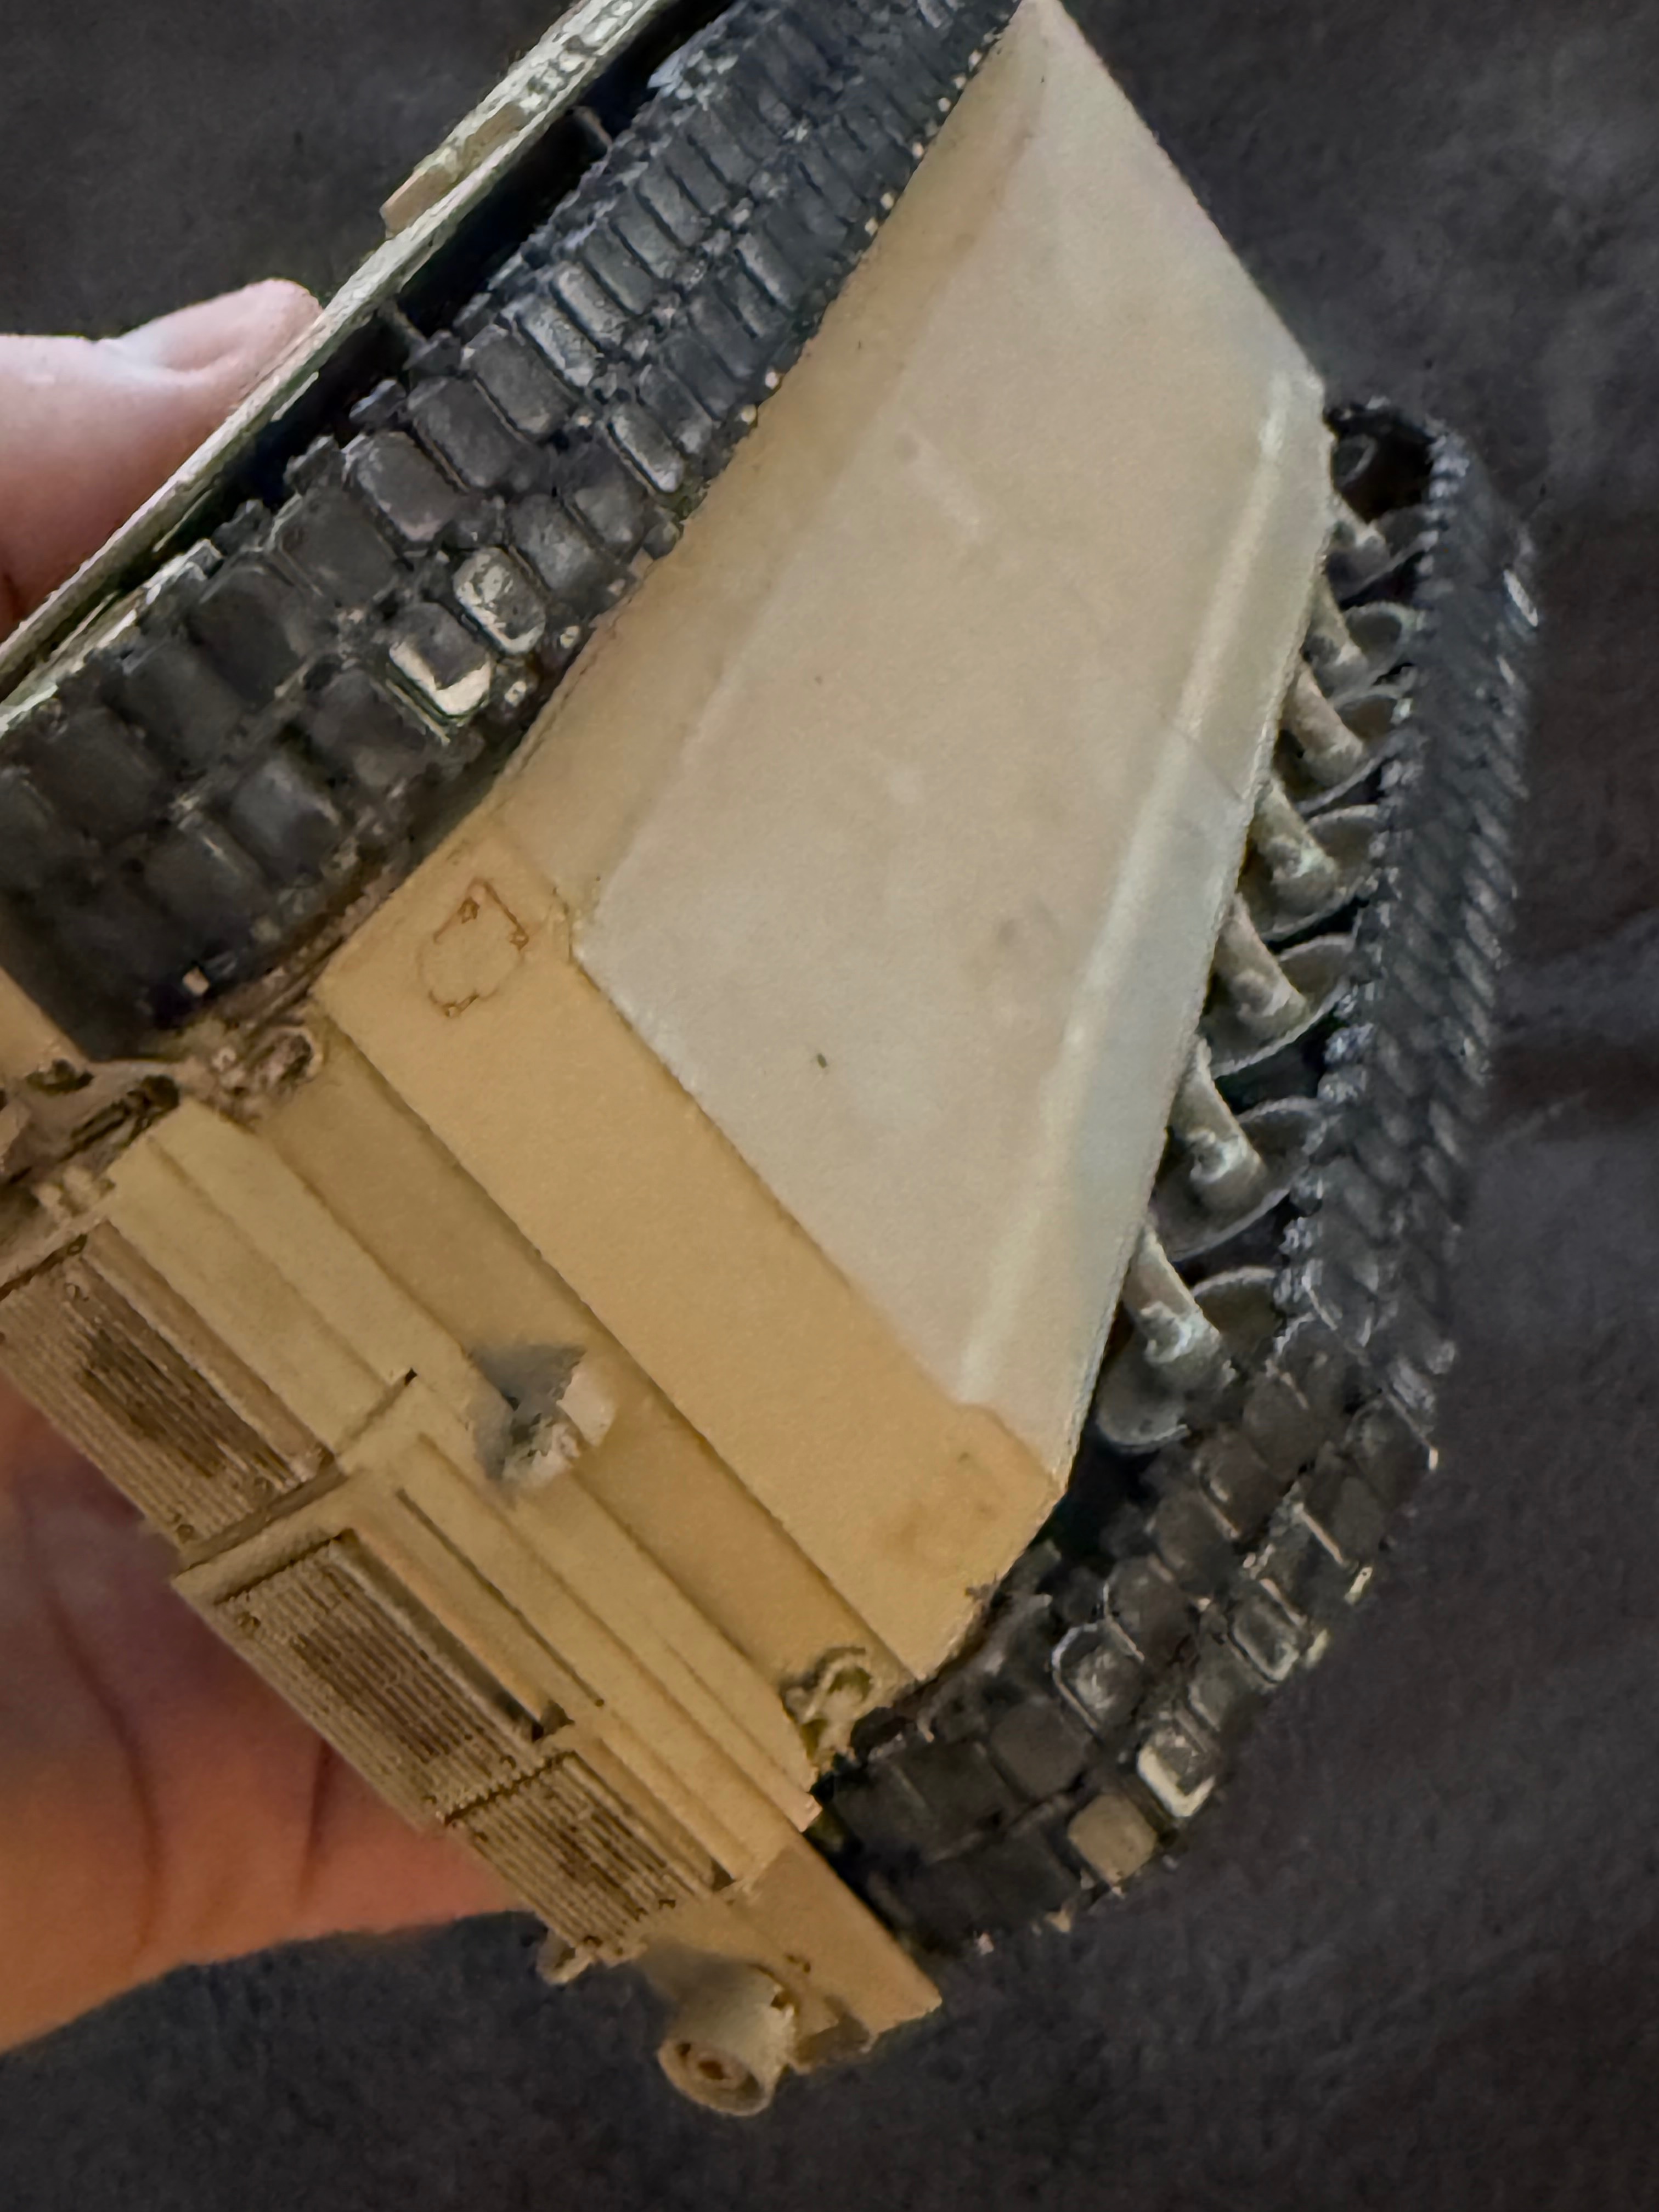
Ryfield m1A1 Abram’s Poland

Scale Model Addict - Model Tips, Guides, Tools & Tech, Tutorials, and Community

Help Support Scale Model Addict:

I don't want to hijack the thread- but to say this- My wife LOVES those 1000 piece puzzles.
I do too, even have a 2,500 peice one but that is pushing it. To relate to modeling I kind of like the high part count. I enjoy building these a great deal and something that takes 100 hours is just that much more fun than one I can do in an afternoon (Tamiya F4F/Spitfire to wit), I get less enthusiastic when I feel that the high count was not just for detail but for the high count though.

I mentioned the rear-view mirrors already. The ~750 parts in the tracks were NEEDED to make them behave like tracks, the mirror was in three parts because (I feel) the designers wanted it to be that way. Does that make sense?

I have a 1,750+ part ship in the closet that is intimidating, but most of that is PE which is as scary as the high count. AT least I'll get my money's worth with the time spent, similarly I felt (when I used to go see movies) like I got more out of a 3 hour movie than a 80 minute one for the same price :-)
 
ERA stands for explosive reactive armour. Reactive armour means the armour isn't "static" but consists of panels that can move in reaction to being hit, which will put more material in the way of the penetrator. ERA does this by having two plates of steel with a layer of explosives in between: when an ERA element is hit, the explosives detonate, sending the outer plate flying into the projectile or shaped-charge jet/slug that set it off. The main use is against the latter, as they work by "eating" their way through armour plate, so when the steel plate flies through the jet's path, the jet will keep cutting a hole in the same plate, creating an elongated hole. Meanwhile, the second plate moves in the opposite direction, then hits the tank's armour, bounces off that and rebounds into the path of the incoming jet as well.

View attachment 188699

There's also NERA, non-explosive reactive armour, which consists of plates fixed to mountings that will let them move when hit. That look somewhat like this:

View attachment 188700

This is a cross-section of the side armour on the M1 Abrams, at least for the basic M1 — it may be different on the M1A1 and later, but the principle is likely the same. You can just see the plates on this wrecked M1A2 in Iraq:

View attachment 188701

At the upper right, where the turret rear has been cracked open. The set of three plates on the engine deck is probably the inside of the turret front, but perhaps comes from somewhere else (the report that the drawing above came from, has the turret front armour censored).

And here's an interesting video of the effectiveness of NERA, even if they hid what you would have been able to see of its insides:


Very cool! Thanks for sharing. I figured you would know something!
 
I've only built one, and it is not even finished (so I am no expert), but I want to be sure I do not come off as being too negative, I tend to point out negatives more than positives.

The RFM kit I have is very well engineered, detailed, and molded. The instructions are as good anything I've seen other than maybe Kotare and Zoukei Mura, but they produce pamphlets not instructions. The only negative I have is that they are on the side of more tiny/fiddly bits than are needed. While my kit came with "workable tracks" they were not individual links but each link was 5 parts, times 76 (per side) times two! They went together VERY well once I learned the trick with help from this forum. They are also silky smooth and possibly the best I've ever seen. Here's what I wrote about the tracks.

This picture below is one example of what I mean by tiny parts and high parts count. The assemblies in this picture represent 43 parts off the sprues, including clear and PE. I built a Tamiya Spitfire that I think had that many parts total!

View attachment 188690
You did a good job with them!
 
@Ron2 , sorry for the tangent, but your perseverance in building a highly detailed kit is topical!

How about a 1000 piece jigsaw puzzle?
View attachment 188696
Not for me, but clearly there is a market for this sort of thing, and by extension, modelers who actually enjoy the assembly of a huge number of parts!
In UI design there are usability metrics around task completion. I wonder how the model kit manufacturers weigh that versus say, box art and shelf appeal (units sold) in evaluating the success of a product?
And I wonder if there exists a stat somewhere of how many kits bought actually get completed?!

Something tells me that the many bots scraping our forum are collecting that type of info among other things...
Like how many kits in a stash before saturation?
I hate puzzles! At least the types you're referring too. I once bought a puzzle for my wife and I to work on together- well actually two. It was her idea and I thought sure why not I like figuring out how things work, how to make something work. I came home with a 1000 piece puzzle- because I don't do puzzles and my wife laughed. I returned that puzzle for a 500 piece. We worked on it after work several times but I spent most of the time swearing vs the imagined wind down to my day and communicating with my wife. I think I lasted 3-4 nights and finally said I can't do this. My wife proceeded to try to finish with our daughter. In the end we discovered the puzzle was missing about a dozen corners and edge pieces!
 
As an Amazon Associate we earn from qualifying purchases. Product prices and availability are accurate as of the date/time indicated and are subject to change.
I do too, even have a 2,500 peice one but that is pushing it. To relate to modeling I kind of like the high part count. I enjoy building these a great deal and something that takes 100 hours is just that much more fun than one I can do in an afternoon (Tamiya F4F/Spitfire to wit), I get less enthusiastic when I feel that the high count was not just for detail but for the high count though.

I mentioned the rear-view mirrors already. The ~750 parts in the tracks were NEEDED to make them behave like tracks, the mirror was in three parts because (I feel) the designers wanted it to be that way. Does that make sense?

I have a 1,750+ part ship in the closet that is intimidating, but most of that is PE which is as scary as the high count. AT least I'll get my money's worth with the time spent, similarly I felt (when I used to go see movies) like I got more out of a 3 hour movie than a 80 minute one for the same price :-)
I agree the parts have to make sense. This kit had two pieces of Pe which folded into a small rectangular box. I could then snip off two rectangular tabs on the wheel skirts and replace them with the PE. All I could think is why?? In the end I left the plastic because it looked better and isn't going to pop off at some point.
 
You would be a good one for puzzle competitions, then :) I heard something on the radio about the national championships for teams here, and they have members with different roles: finding all the edge pieces, sorting them by colour, etc. You would probably fit fine as one of the people placing the pieces :)
 
I am calling this one done. I will do another RFM kit as I like the detail and fit of this kit. I have a ton of leftover parts which I guess is a characteristic of RFM kits. I need to work on my track work but it's getting better.
 

Attachments

  • IMG_7916.jpeg
    IMG_7916.jpeg
    2.7 MB
  • IMG_7917.jpeg
    IMG_7917.jpeg
    2.4 MB
  • IMG_7918.jpeg
    IMG_7918.jpeg
    3.1 MB
  • IMG_7921.jpeg
    IMG_7921.jpeg
    2.4 MB
  • IMG_7919.jpeg
    IMG_7919.jpeg
    2.5 MB
  • IMG_7920.jpeg
    IMG_7920.jpeg
    2.2 MB
  • IMG_7922.jpeg
    IMG_7922.jpeg
    2.4 MB
  • IMG_7923.jpeg
    IMG_7923.jpeg
    1.2 MB
like the detail and fit of this kit
Yes! Very nice job of building it too!
I think your colour variations along with light weathering add interest and volume to larger areas. Did you use washes?
As I am focused on a lot of North African vehicles, I need to learn how to make essentially monochromatic subjects interesting, especially when I start building larger armour.
 
Yes! Very nice job of building it too!
I think your colour variations along with light weathering add interest and volume to larger areas. Did you use washes?
As I am focused on a lot of North African vehicles, I need to learn how to make essentially monochromatic subjects interesting, especially when I start building larger armour.
I used AK lacquer CARC for base. Added a few white drops and then highlighted panels. Used oils to mix up a dark brown to hit panel lines and rivets with. Then i used Ak light European earth for dust effects. Base of metal for tracks, painted rubber black, hit it with a dark wash. I think I hit the wheels with a dark wash as well. Then used AK fuel stains around the fuel caps. Used my panel line dark brown mix for exhaust too.
 
I don't think it's anything crazy. My biggest problem with any kit is rushing into it and not taking the time to read the instructions through. Like I said I did some dry fitting, which I'm terrible at, and the assembly pictured I put together with slower glue because it was interdependent. I'm sure you'll be fine with Ryfield. (There's slop when I installed the axles so I made sure to put them all at the same angle- not a big deal.)

View attachment 173289
Bit of advice if you want it. Our first instinct is to get into the kit and start building. I have learned from decades of mistakes. My method now is to obviously open the box, drool over all the parts and then last thing at night lay back and go through the instructions, again and again and even night after night untill you have it in your mind. And then start building - you may even come across sections that you can build prior to what the instructions give you.
For example I have a Merkava MkIV on the bench and the first thing I did was to replace all of the rivets and add non slip texture, then the fatal mistake. I decided to cement the three parts that make up the lower hull as per the instructions, but completely forgot the exhaust outlet that has to be added first. Now if I had refreshed my mind and looked carefully again, then a dry fit, I would have realised that I could add the exhaust first and add the etch parts for it, then glue first one side to the hull top and then the second side which would have been not only a better fit once the belly pan was cemented, but would have saved me the trouble of carefully cutting up the lower hull along the now cemented lines. Moral of this tale, practice what you preach...
 

Latest posts

Back
Top