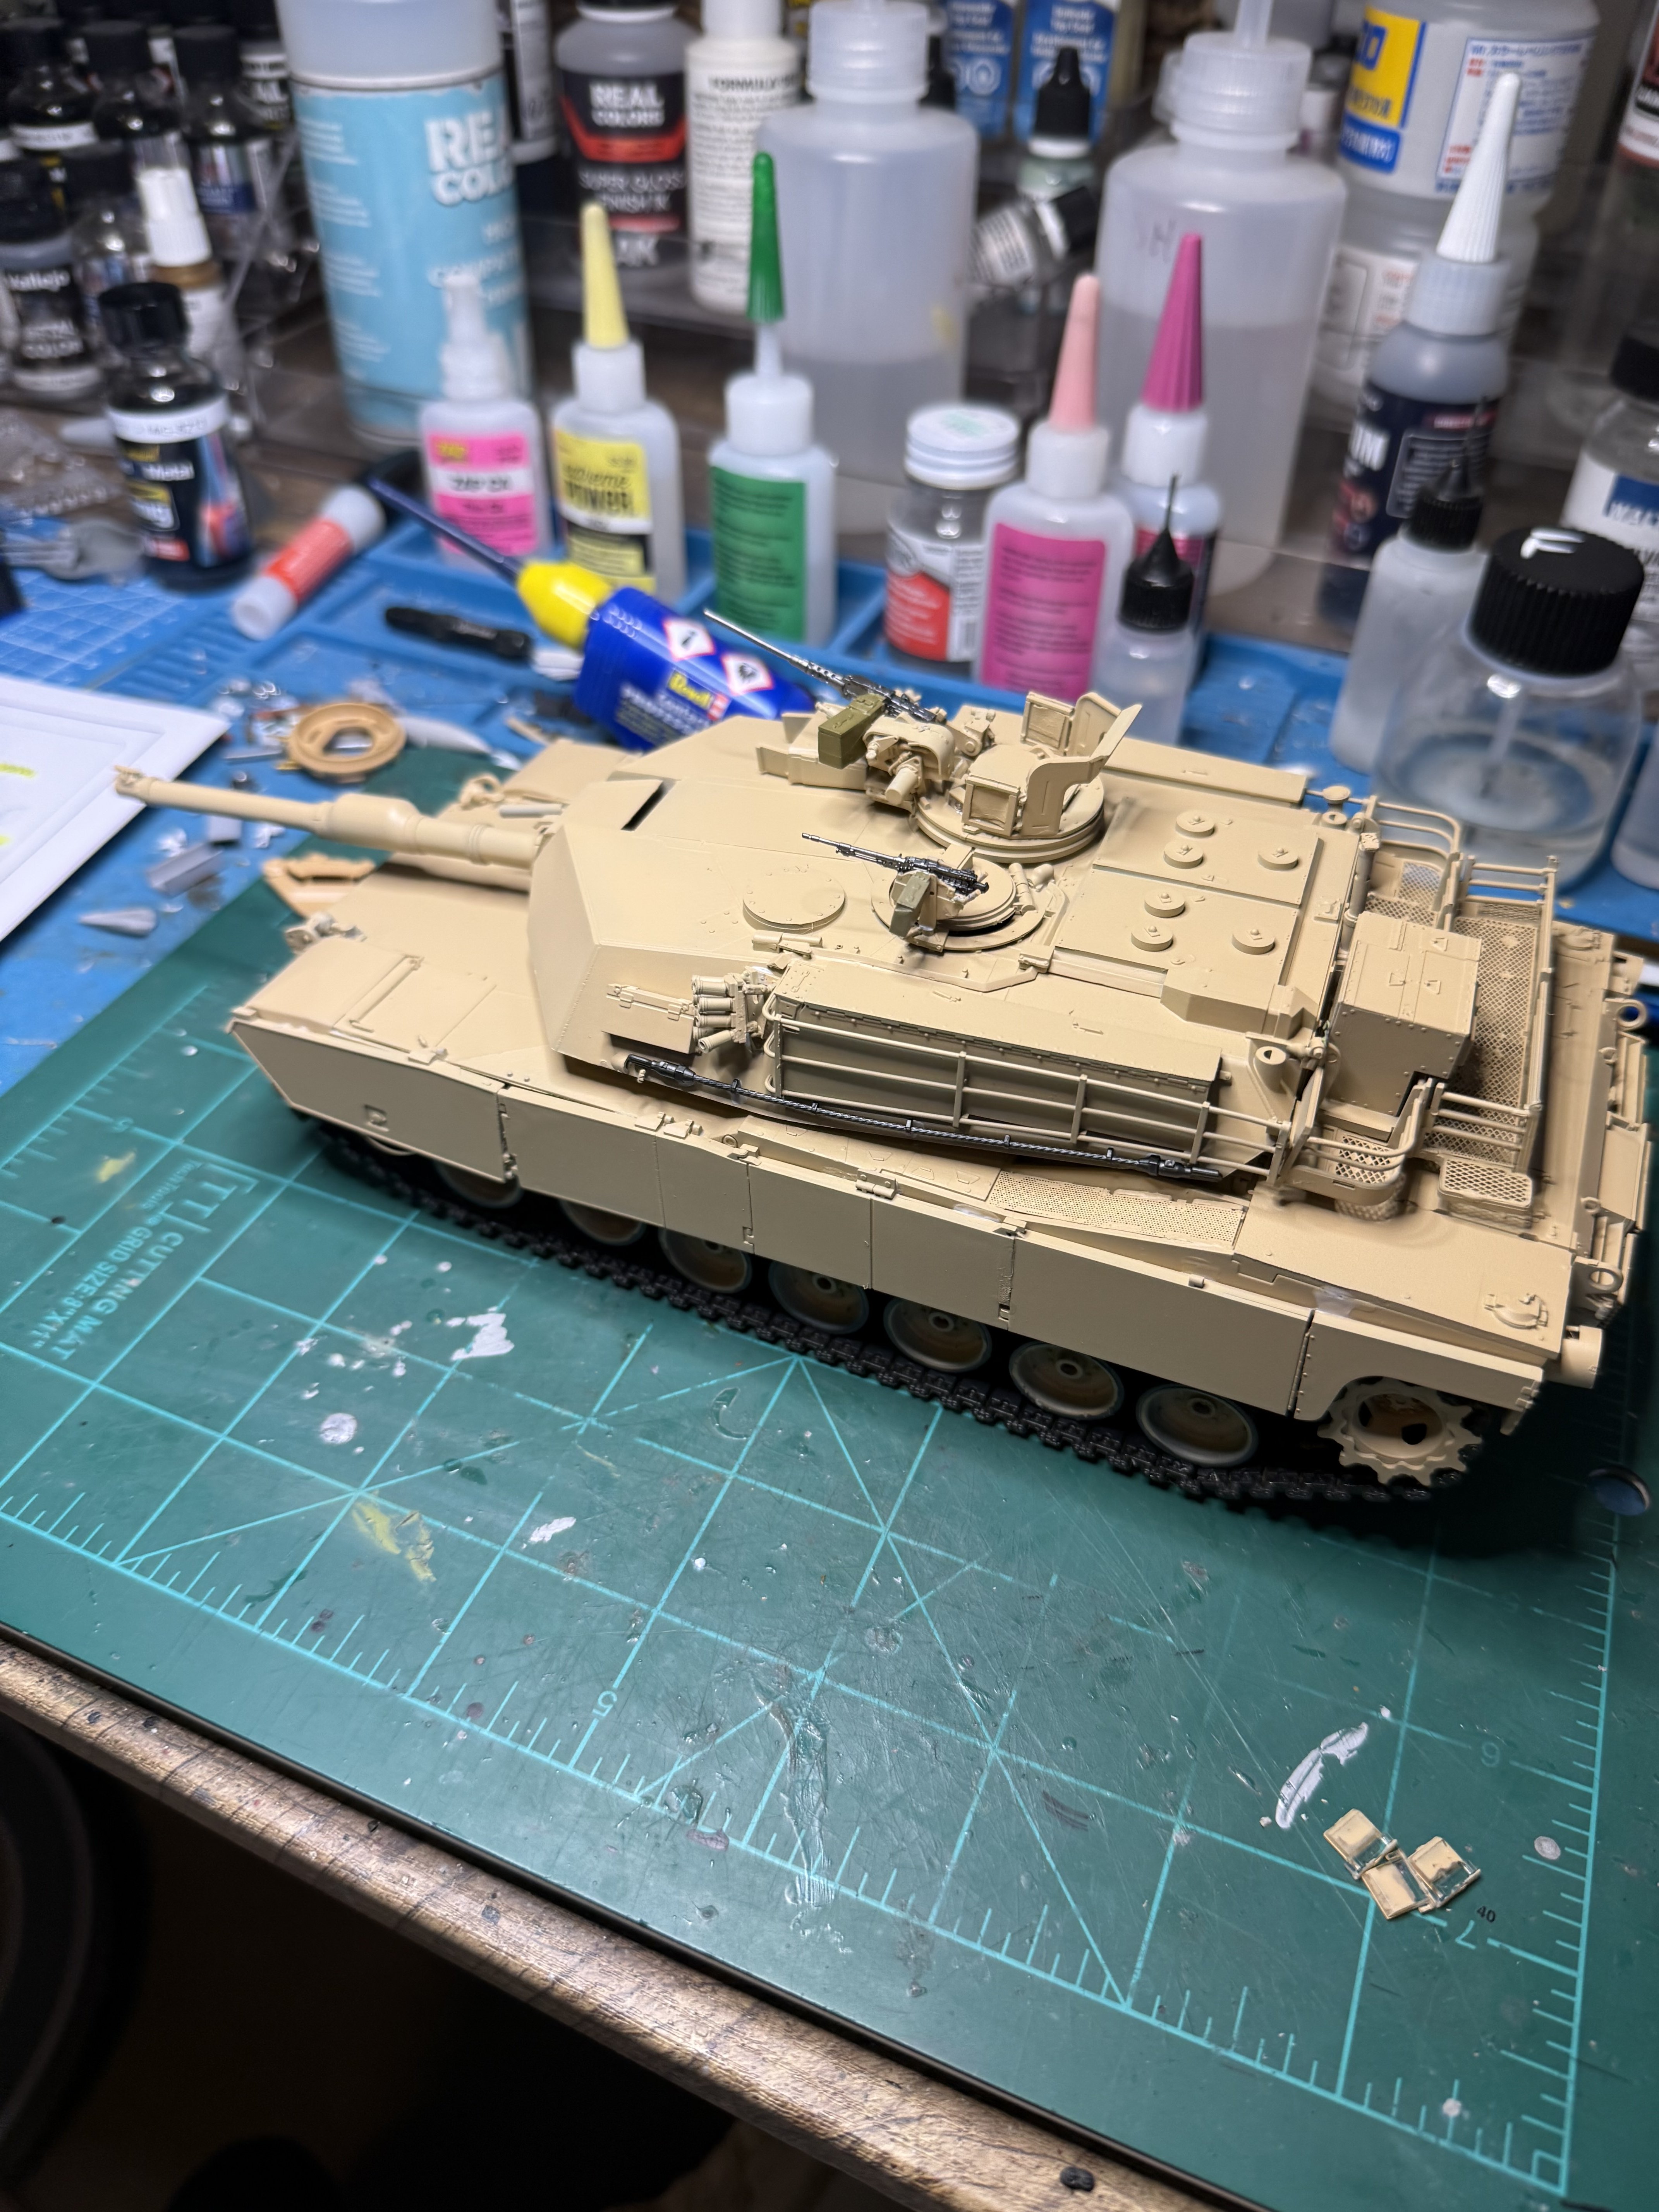
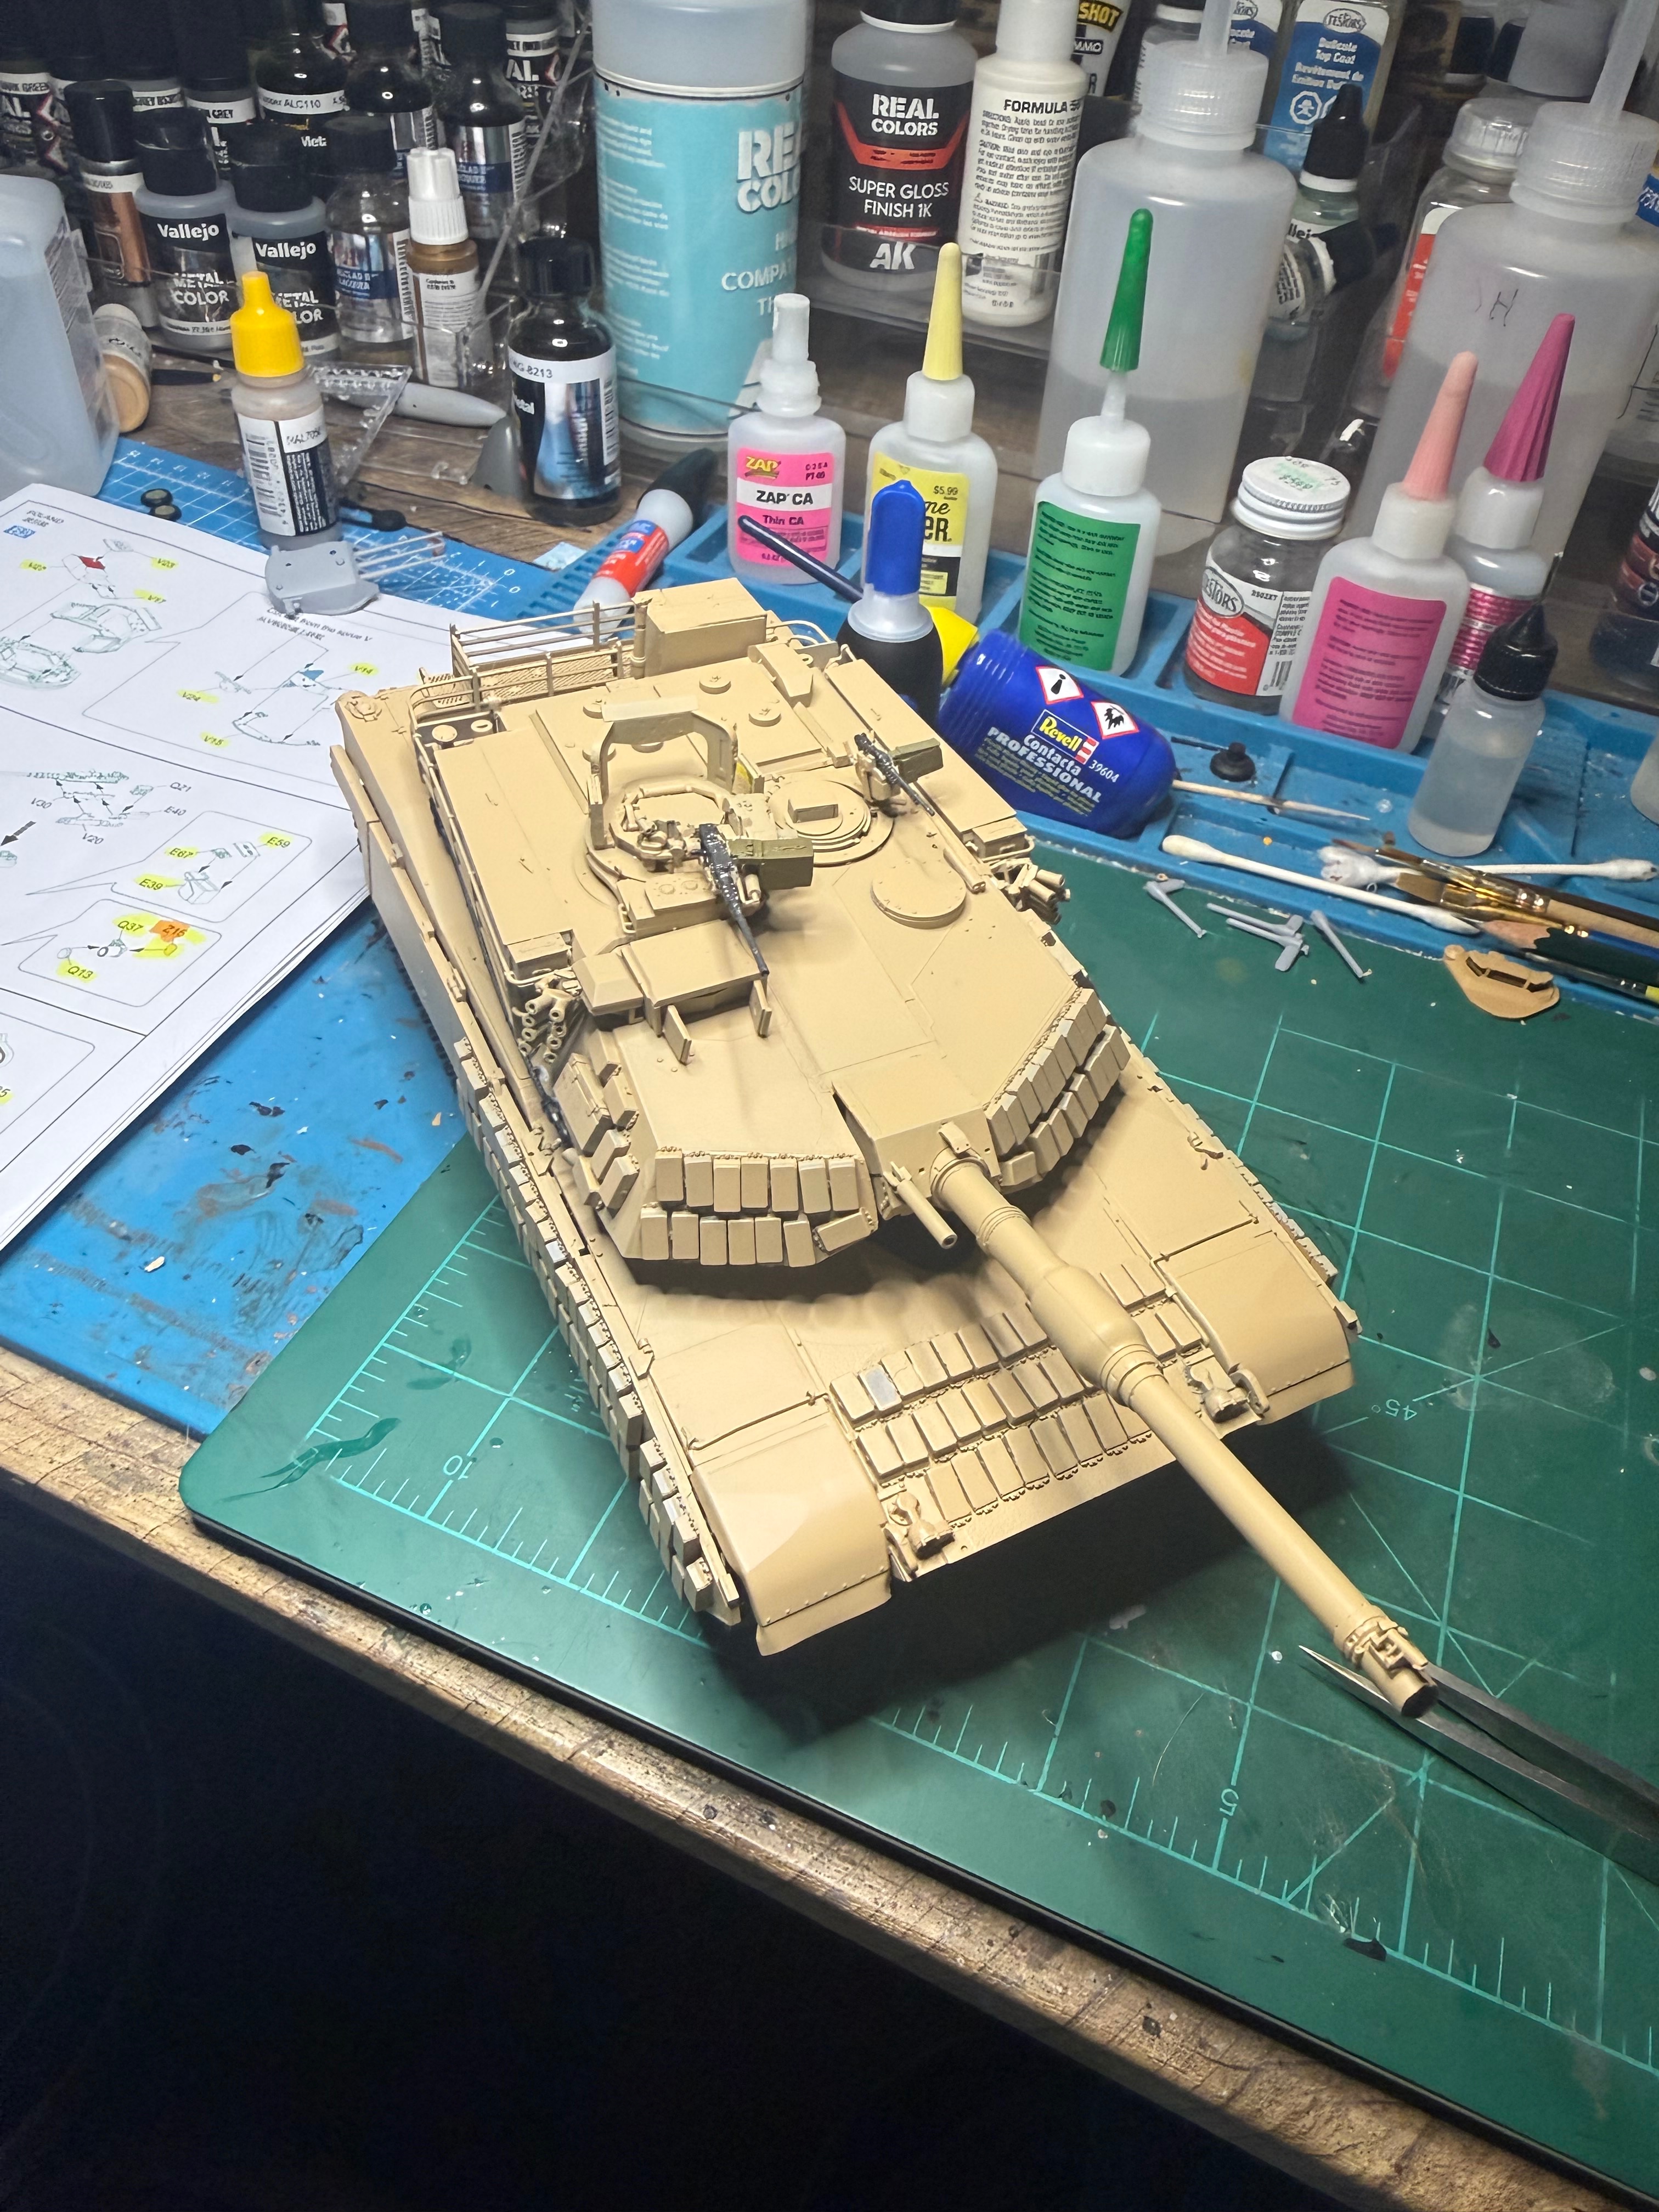
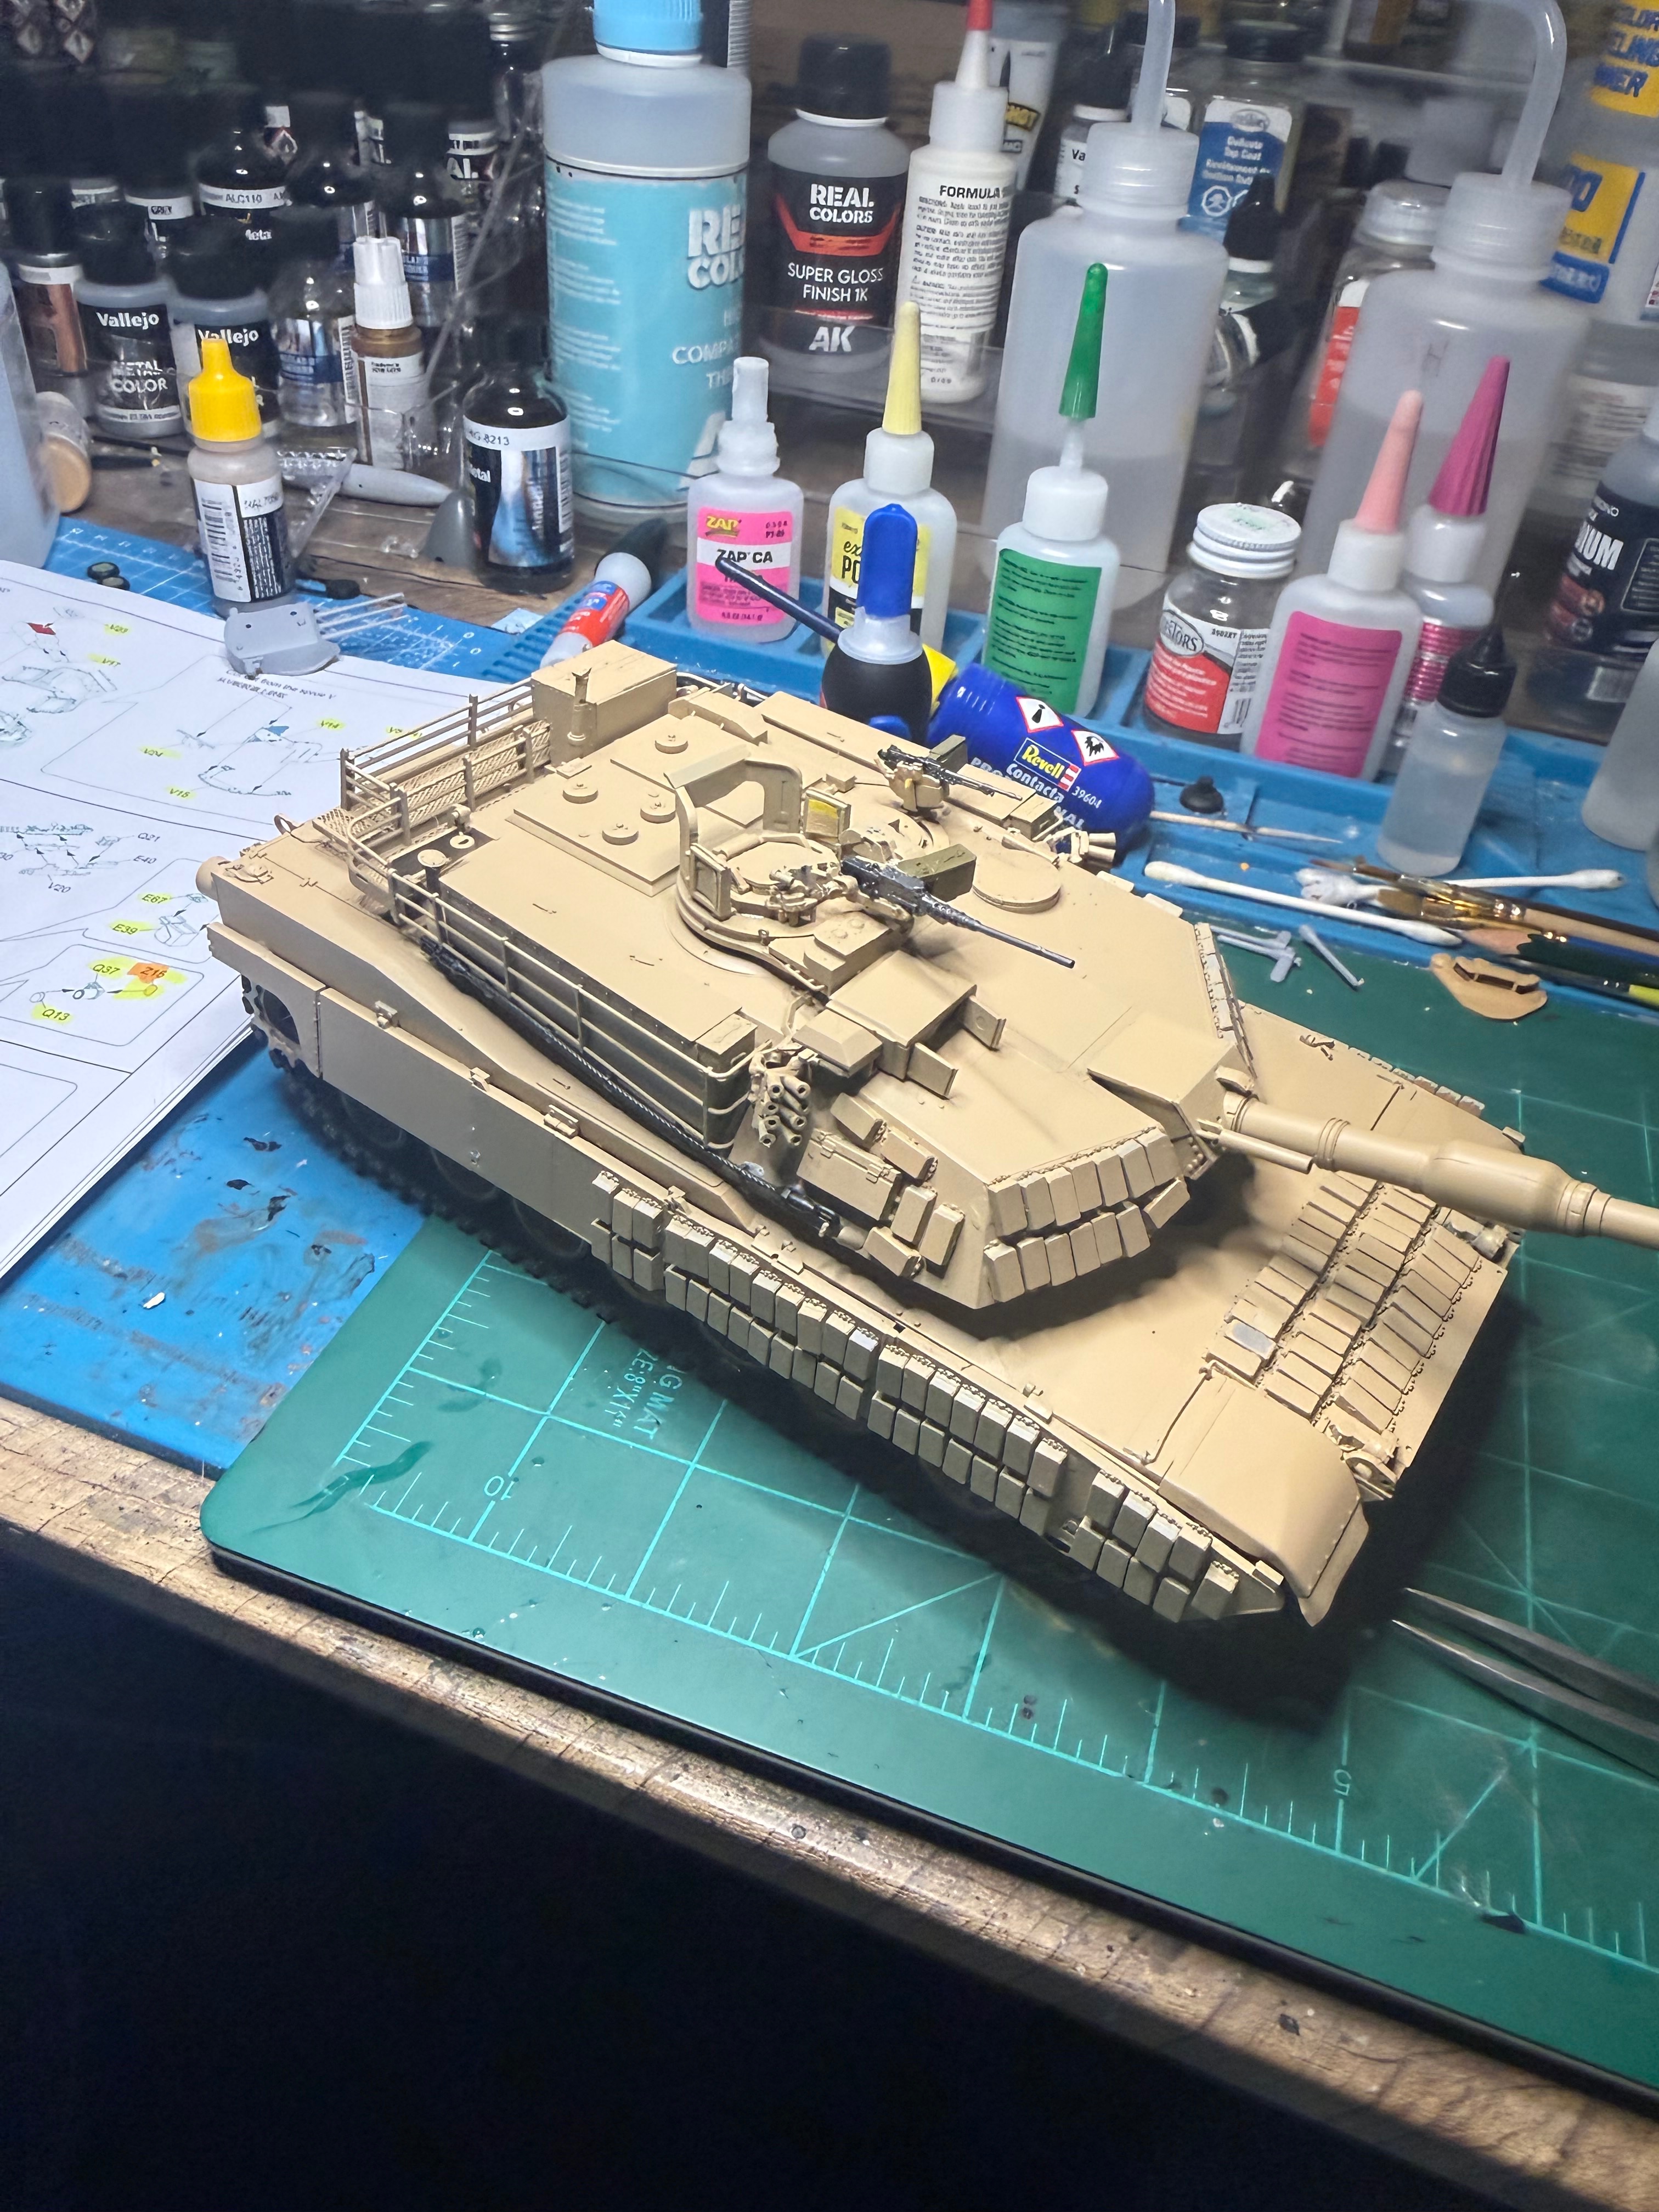
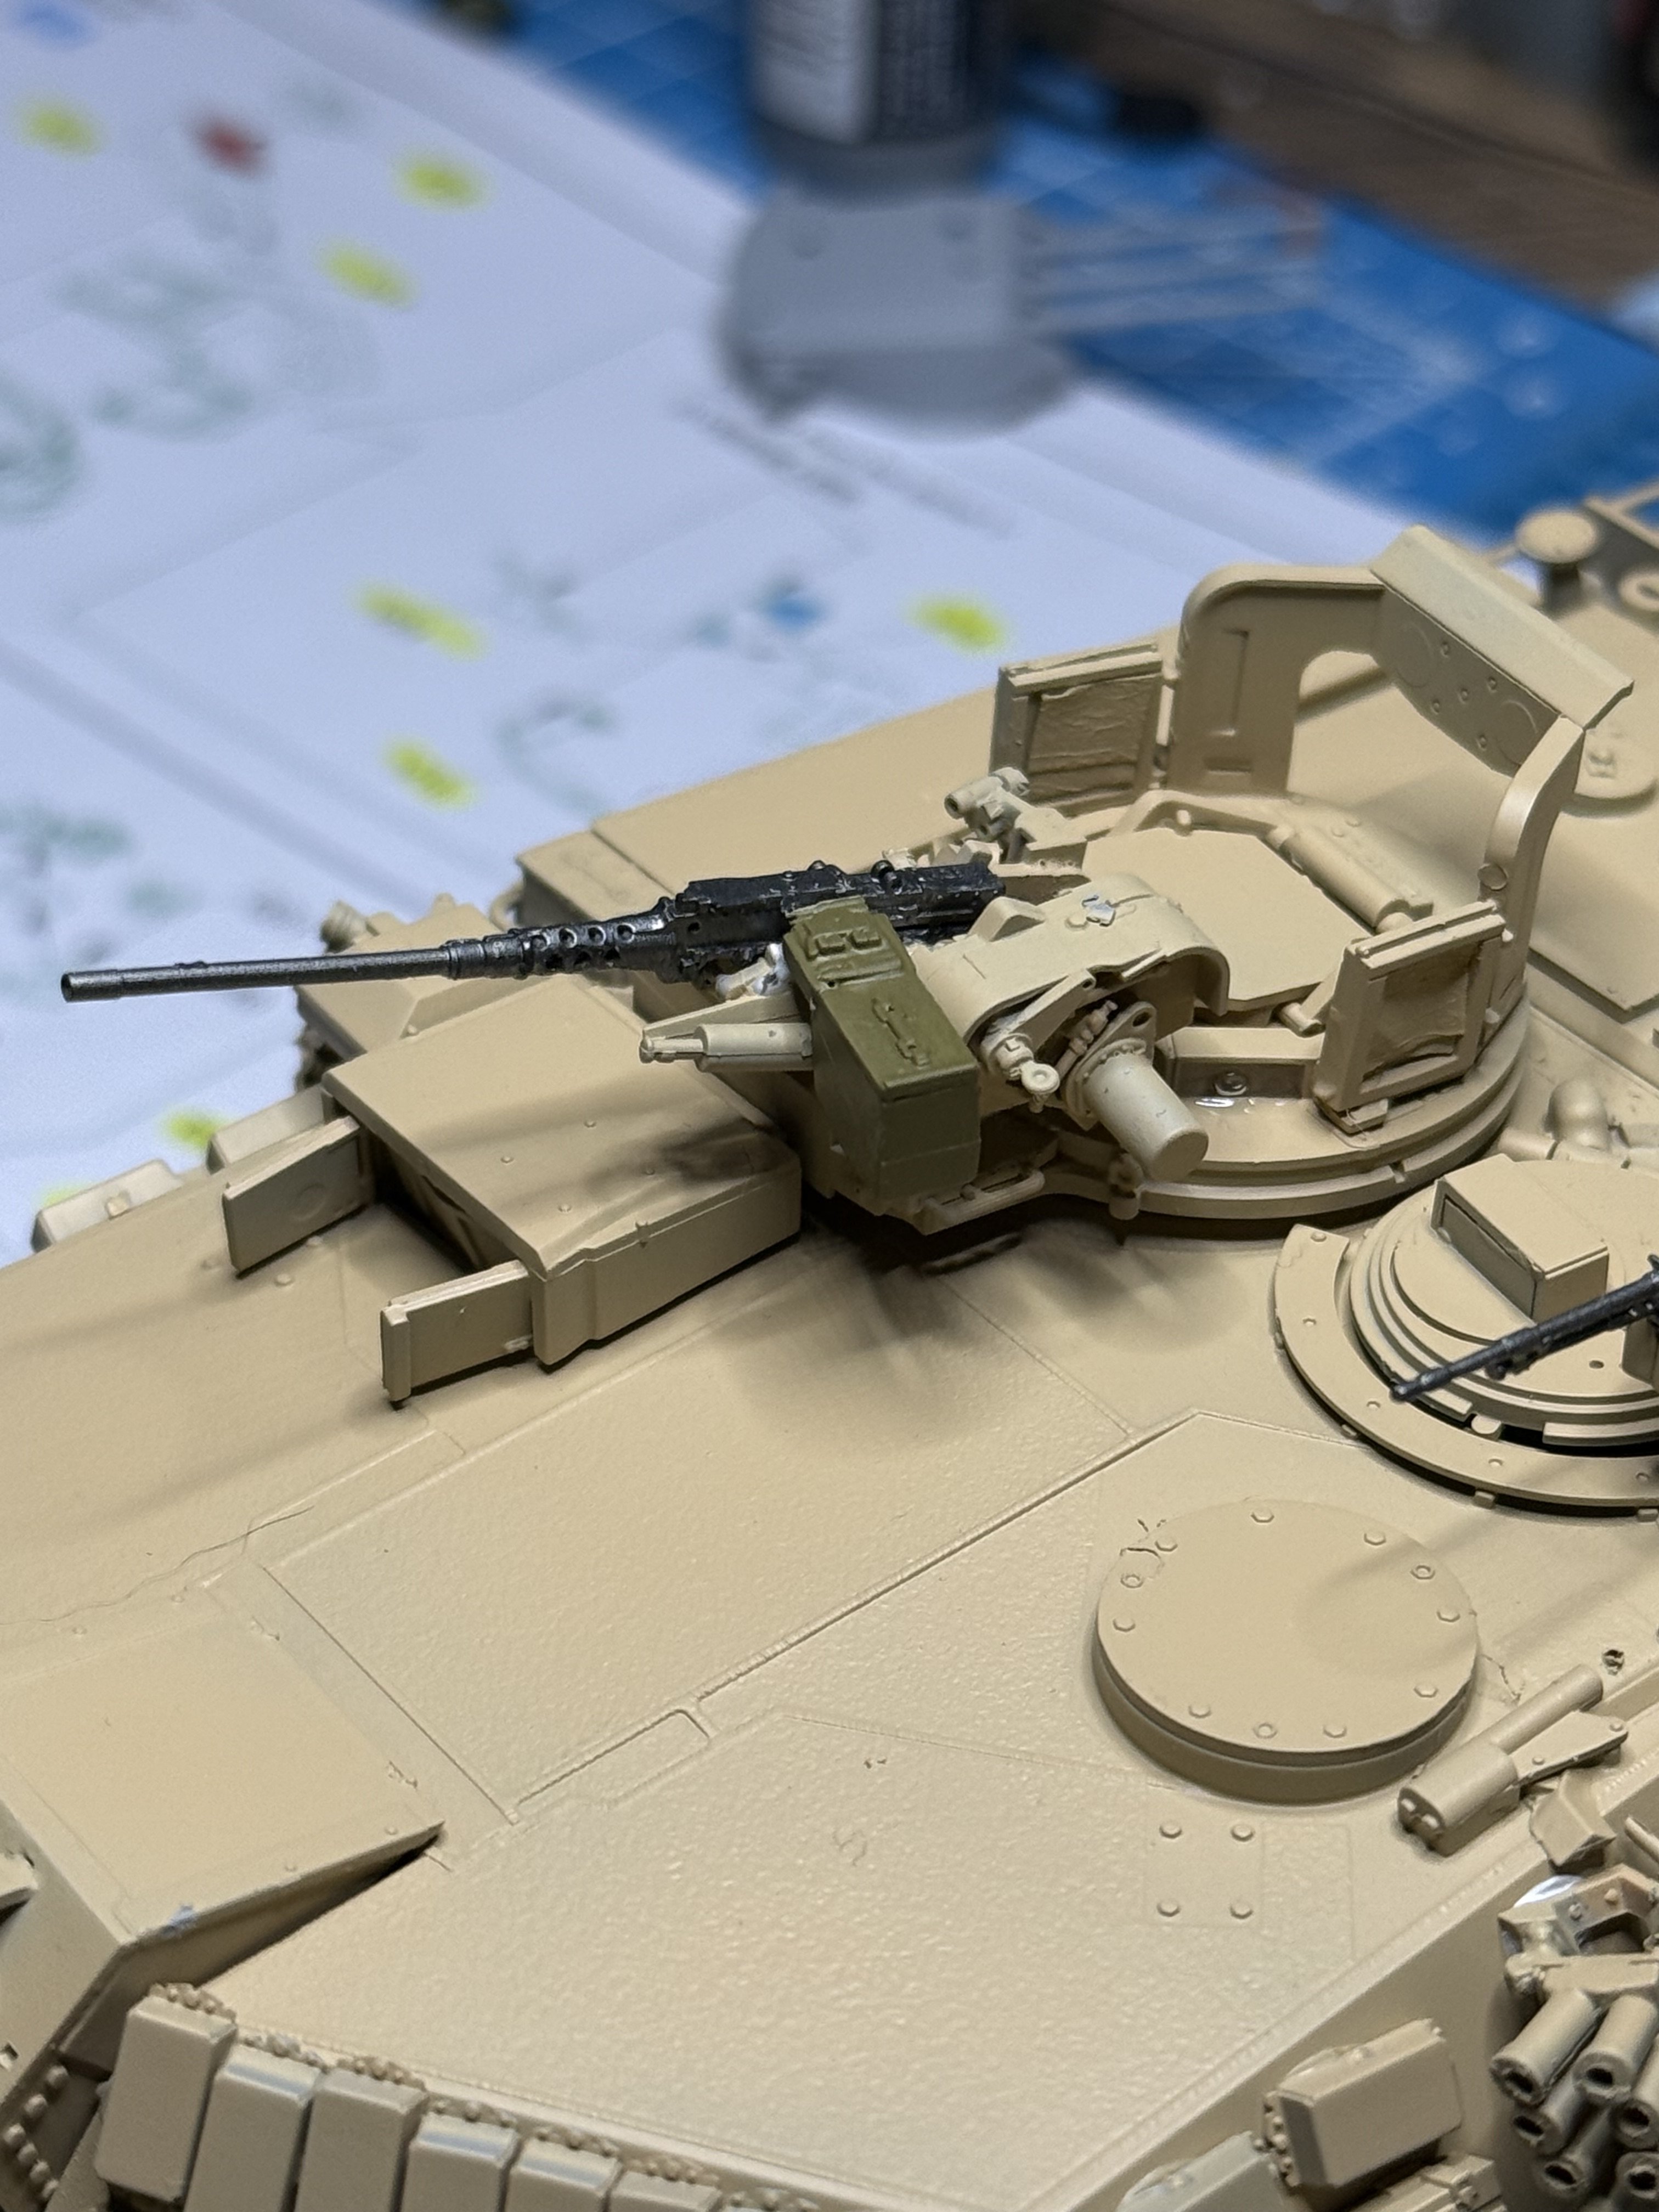
Ryfield m1A1 Abram’s Poland

Scale Model Addict - Model Tips, Guides, Tools & Tech, Tutorials, and Community

Help Support Scale Model Addict:

No I hold small parts while cutting off the sprue. My problem is grabbing these tiny pieces with my tweezers. The parts I lost were probably 1mm by 1mm. One was a small circle, like a gas cap- boing! Into the abyss.
I've had this happen several times. I've taken a good flashlight and hold it at about 45 degrees to the floor and most times the piece I dropped shows up. However, those pieces that take off from the tweezers like a NASA flight usually disappear.
 
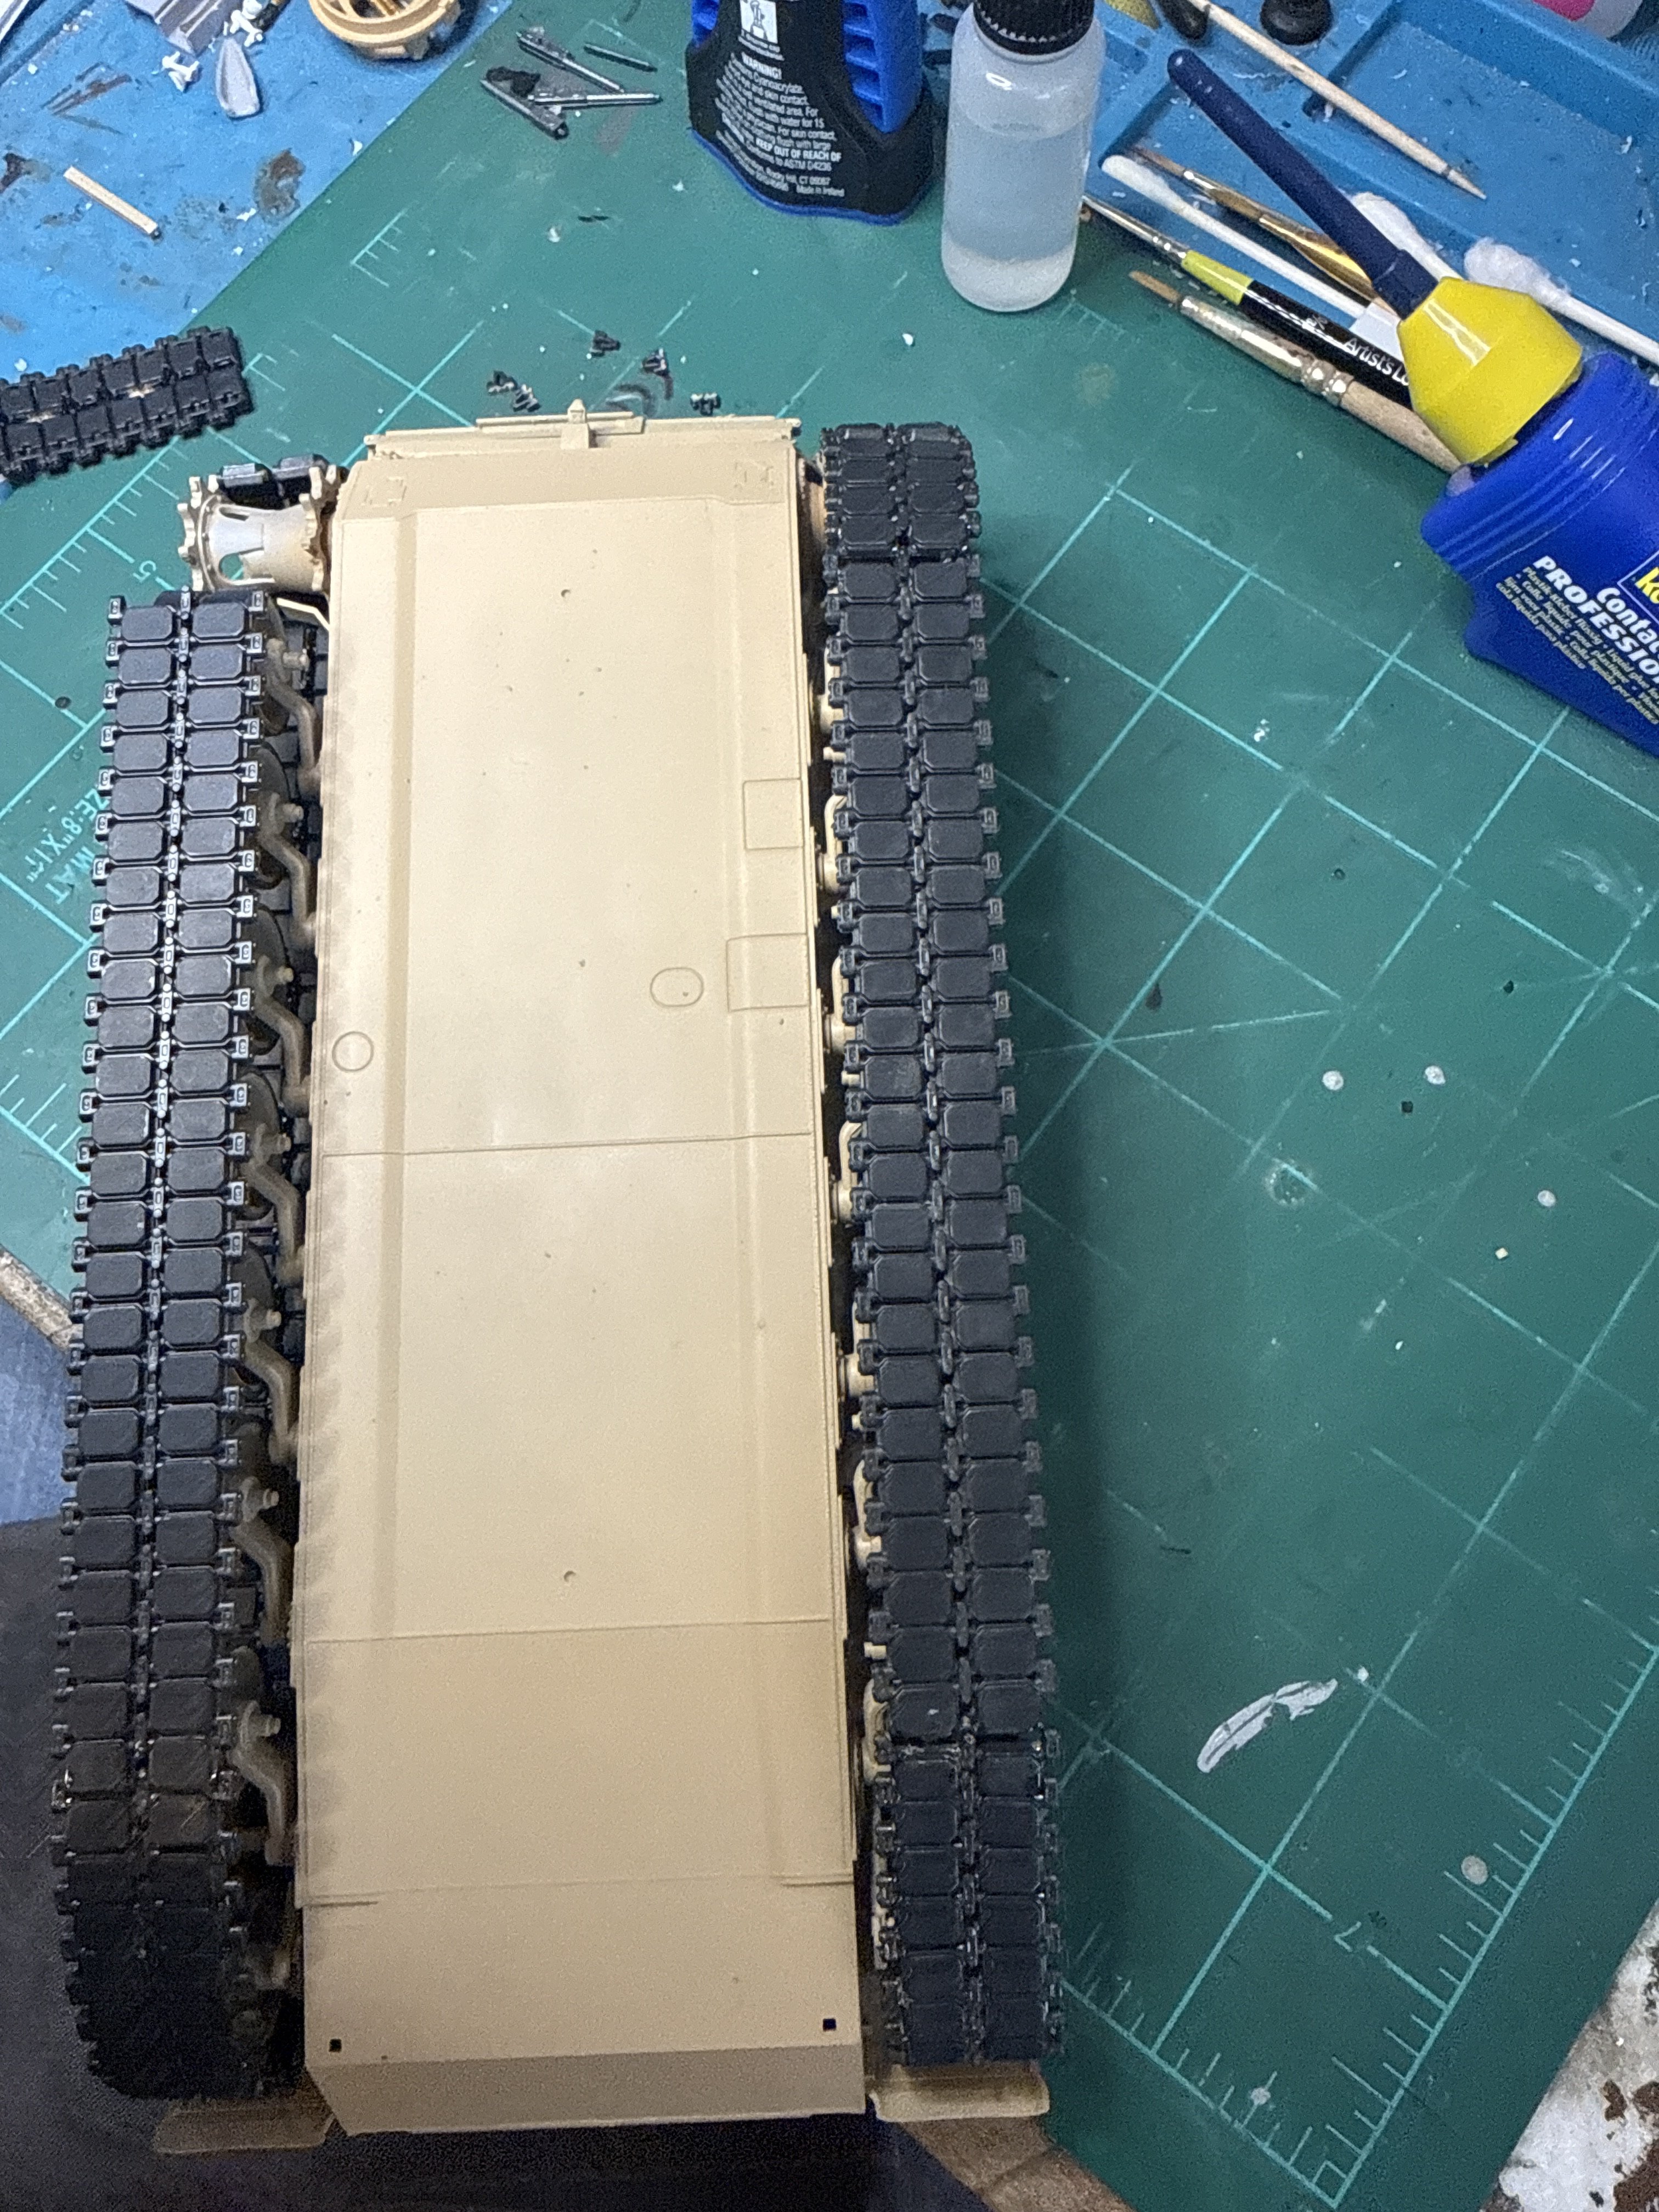
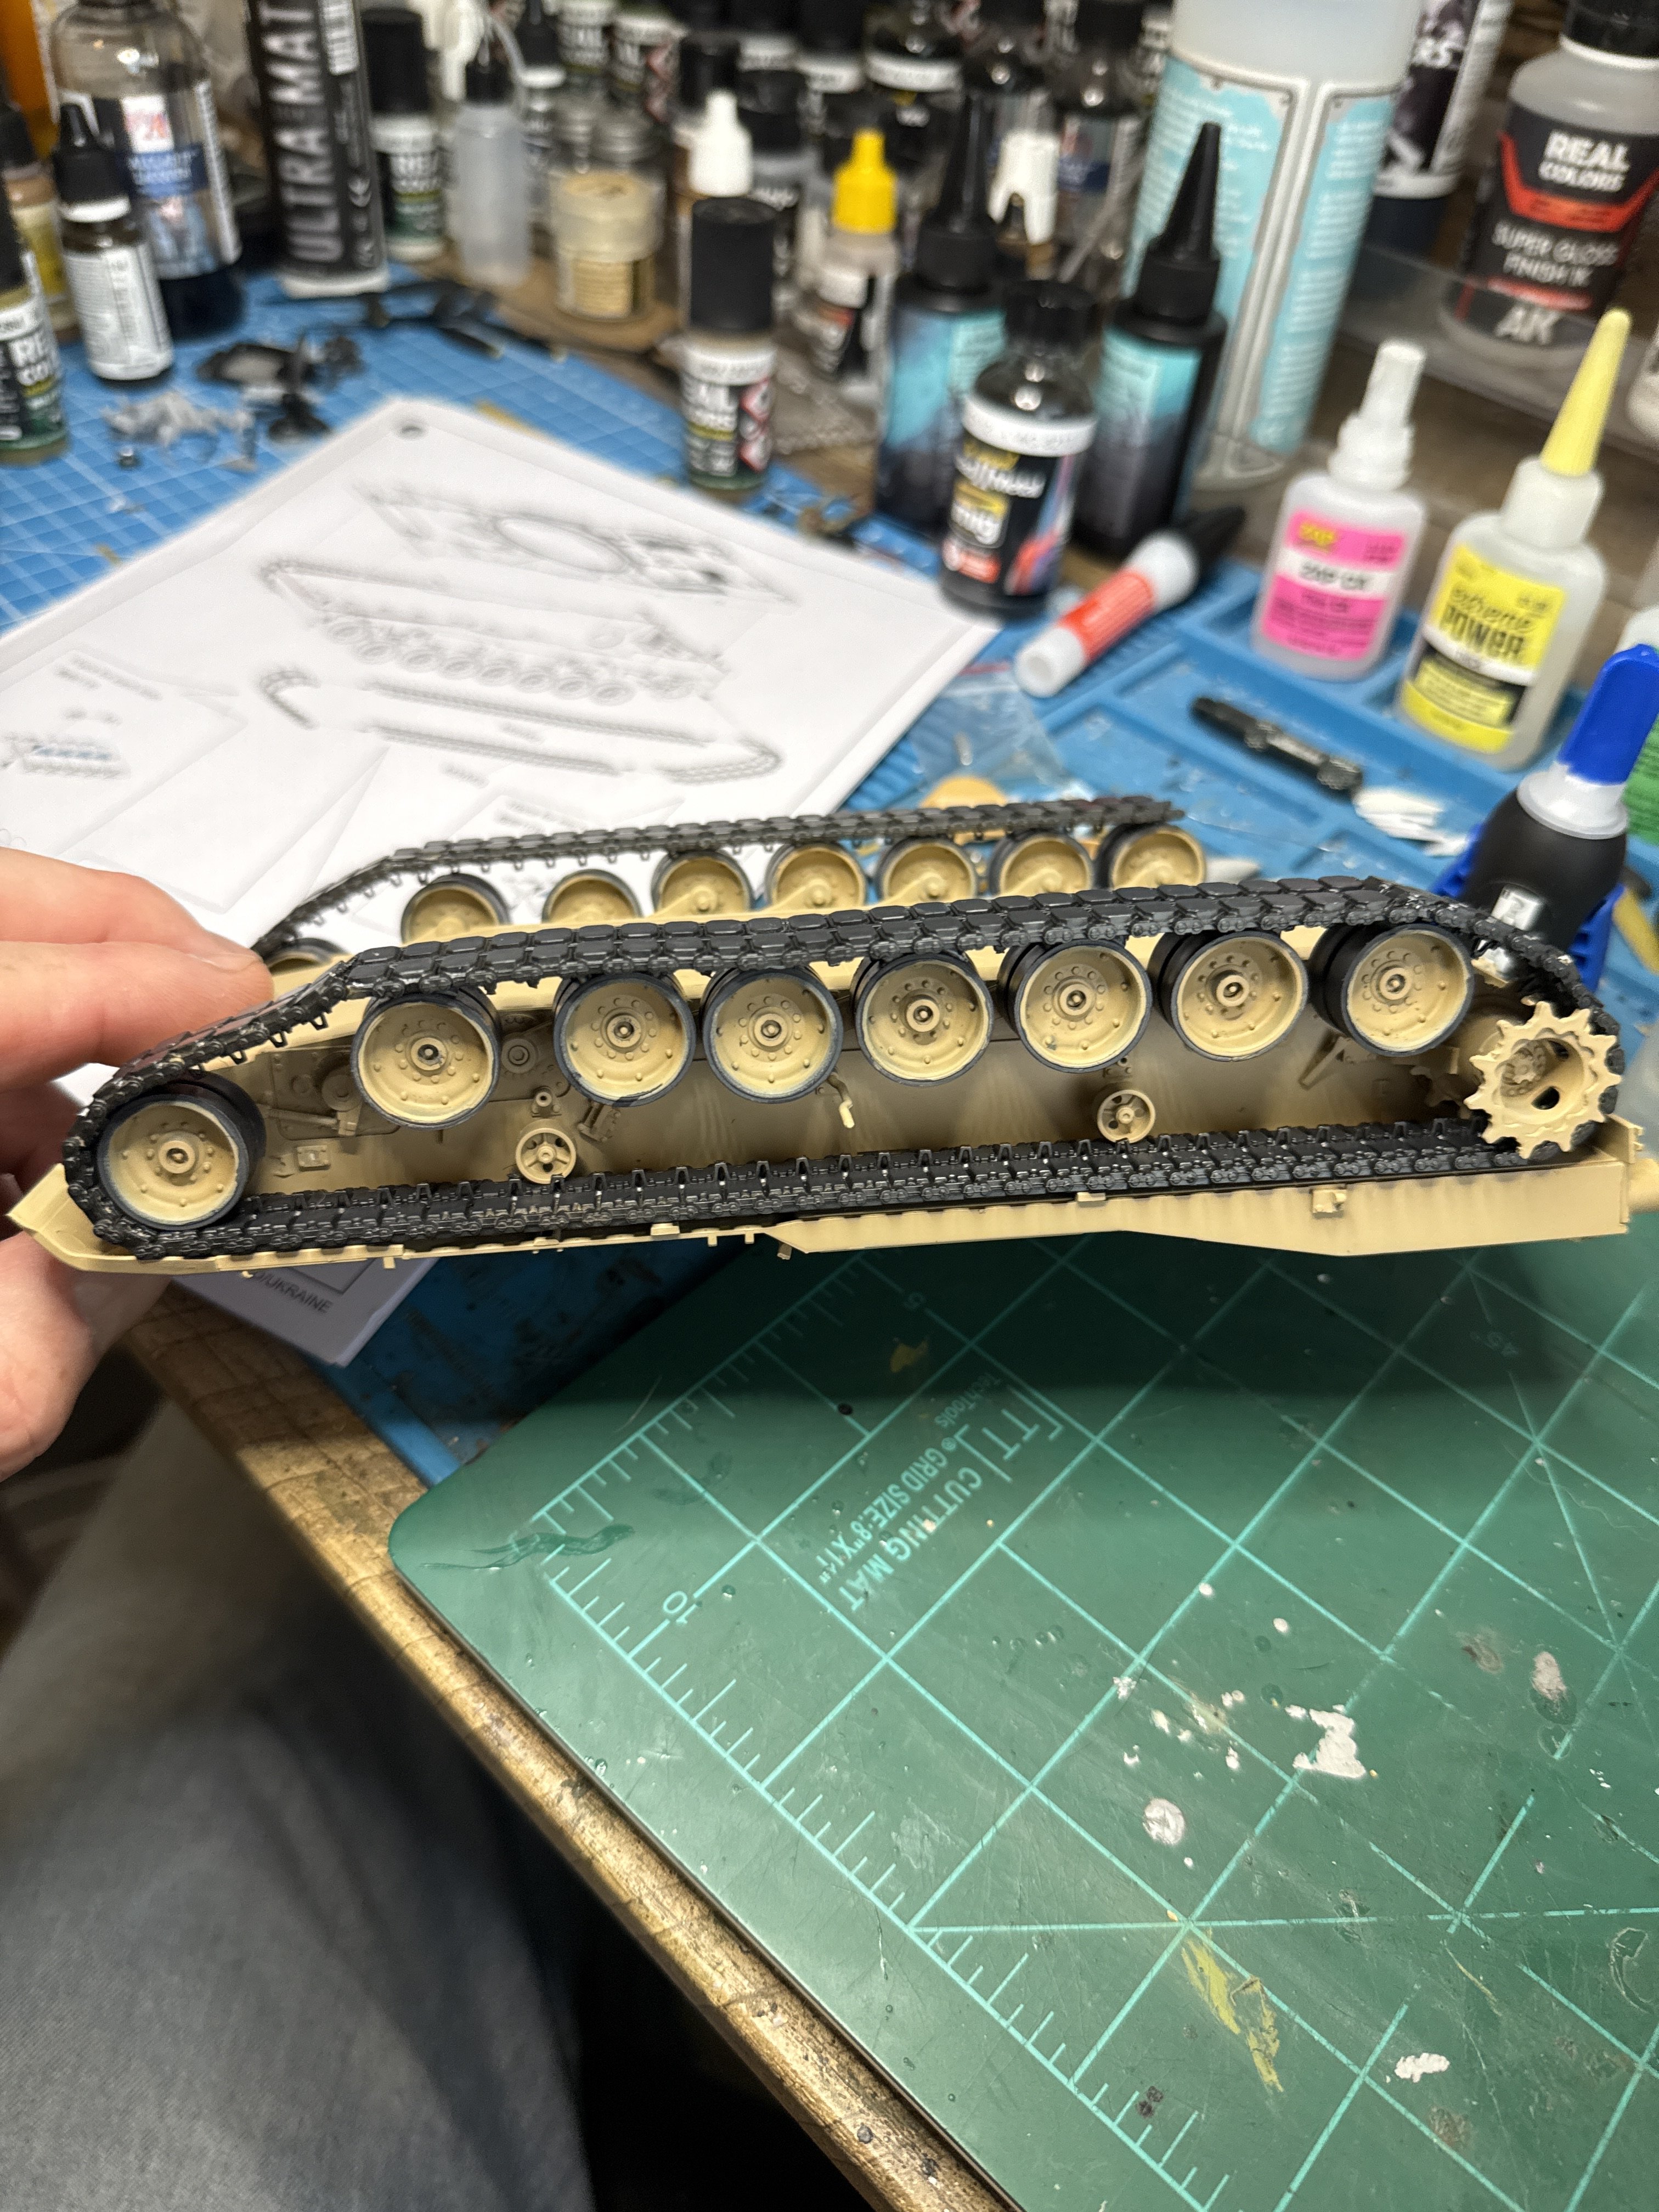
I need to watch some more vids of doing these types of tracks. Second side is better but I think they look awful. Some of the wheels didn't line up very well and I thought I had all the suspension parts locked in where they were supposed to be. I feel like tossing this.
 

Attachments

  • image.jpg
    image.jpg
    2.1 MB
  • image.jpg
    image.jpg
    2 MB
hmmm, haven't done enough tanks (one!) to suggest a fix other than CA uncure if you used CA... if it were going into a diorama there could be a strategically placed terrain bump and bend in the track.
I'm sure you'll think of something!
 
My tip for a model like this is always to just leave off the top run of the tracks, as it will be entirely hidden behind the skirting plates anyway. That way, you can ensure the visible part is tight around the wheels without the problem of the track possibly being slightly too long or too short.
 
My tip for a model like this is always to just leave off the top run of the tracks, as it will be entirely hidden behind the skirting plates anyway. That way, you can ensure the visible part is tight around the wheels without the problem of the track possibly being slightly too long or too short.
That surprises me coming from you. Interesting idea. The only thing is I'd like to get better with these tracks and lining up the arms and wheels. I've seen some guys not attach the suspension and arms to the body, glue them to the tracks and then install at the end as one unit. Have you done this method?
 
That surprises me coming from you. Interesting idea.

I'm surprised that you're surprised :) I generally don't bother adding things that will never be seen, especially with tracks that are a lot of work to put together. Here's how I did the tracks on my recent K2 Black Panther, for example:

143290-86345bdb1aa221ac55048098667c14de.data


Notice I also didn't bother to paint the part of the track that touches the ground :)

The only thing is I'd like to get better with these tracks and lining up the arms and wheels.
Lining up wheel arms is not usually difficult if you make sure the front and last are glued in the correct position. Leave the others off for now and let the glue dry. Then add the remaining arms and either place a ruler across the axles, that you can use to press them all into line with (resting on the front and rear axles), or set the model on a glass plate and push all the arms so they touch the glass. You can't use the plate if there are protrusions on the undersides of some of the suspension arms but not all of them, though.

I've seen some guys not attach the suspension and arms to the body, glue them to the tracks and then install at the end as one unit. Have you done this method?
No, because I suspect I will end up breaking the track as I handle it after the glue has dried, and I foresee trouble painting between the wheels and tracks.

My main reason for favouring workable tracks these days is because I can reach everything with paint and still fit the track properly to the model.
 
Last edited:
As an Amazon Associate we earn from qualifying purchases. Product prices and availability are accurate as of the date/time indicated and are subject to change.
My main reason for favouring workable tracks these days is because I can reach everything with paint and still fit the track properly to the model.
THIS!

I had one recently, maybe the Jadgpanther, where I could not paint the inside and rubber rims so I glopped mud in there and called it a day.
 
I'm surprised that you're surprised :) I generally don't bother adding things that will never be seen, especially with tracks that are a lot of work to put together. Here's how I did the tracks on my recent K2 Black Panther, for example:

143290-86345bdb1aa221ac55048098667c14de.data


Notice I also didn't bother to paint the part of the track that touches the ground :)


Lining up wheel arms is not usually difficult if you make sure the front and last are glued in the correct position. Leave the others off for now and let the glue dry. Then add the remaining arms and either place a ruler across the axles, that you can use to press them all into line with (resting on the front and rear axles), or set the model on a glass plate and push all the arms so they touch the glass. You can't use the plate if there are protrusions on the undersides of some of the suspension arms but not all of them, though.


No, because I suspect I will end up breaking the track as I handle it after the glue has dried, and I foresee trouble painting between the wheels and tracks.

My main reason for favouring workable tracks these days is because I can reach everything with paint and still fit the track properly to the model.
I was surprised because you seem very committed to accuracy and leaving parts of the model off is a bit contrary to that. I appreciate the tip which I should have thought of as a precious carpenter- "in line, plumb and level" that's a key component to building.
 
I was surprised because you seem very committed to accuracy and leaving parts of the model off is a bit contrary to that.
I am more often than not committed to accuracy, true, but I don't see the point in doing work that won't add anything to the model :) Better to put that effort into things that make a difference, IMHO.
 
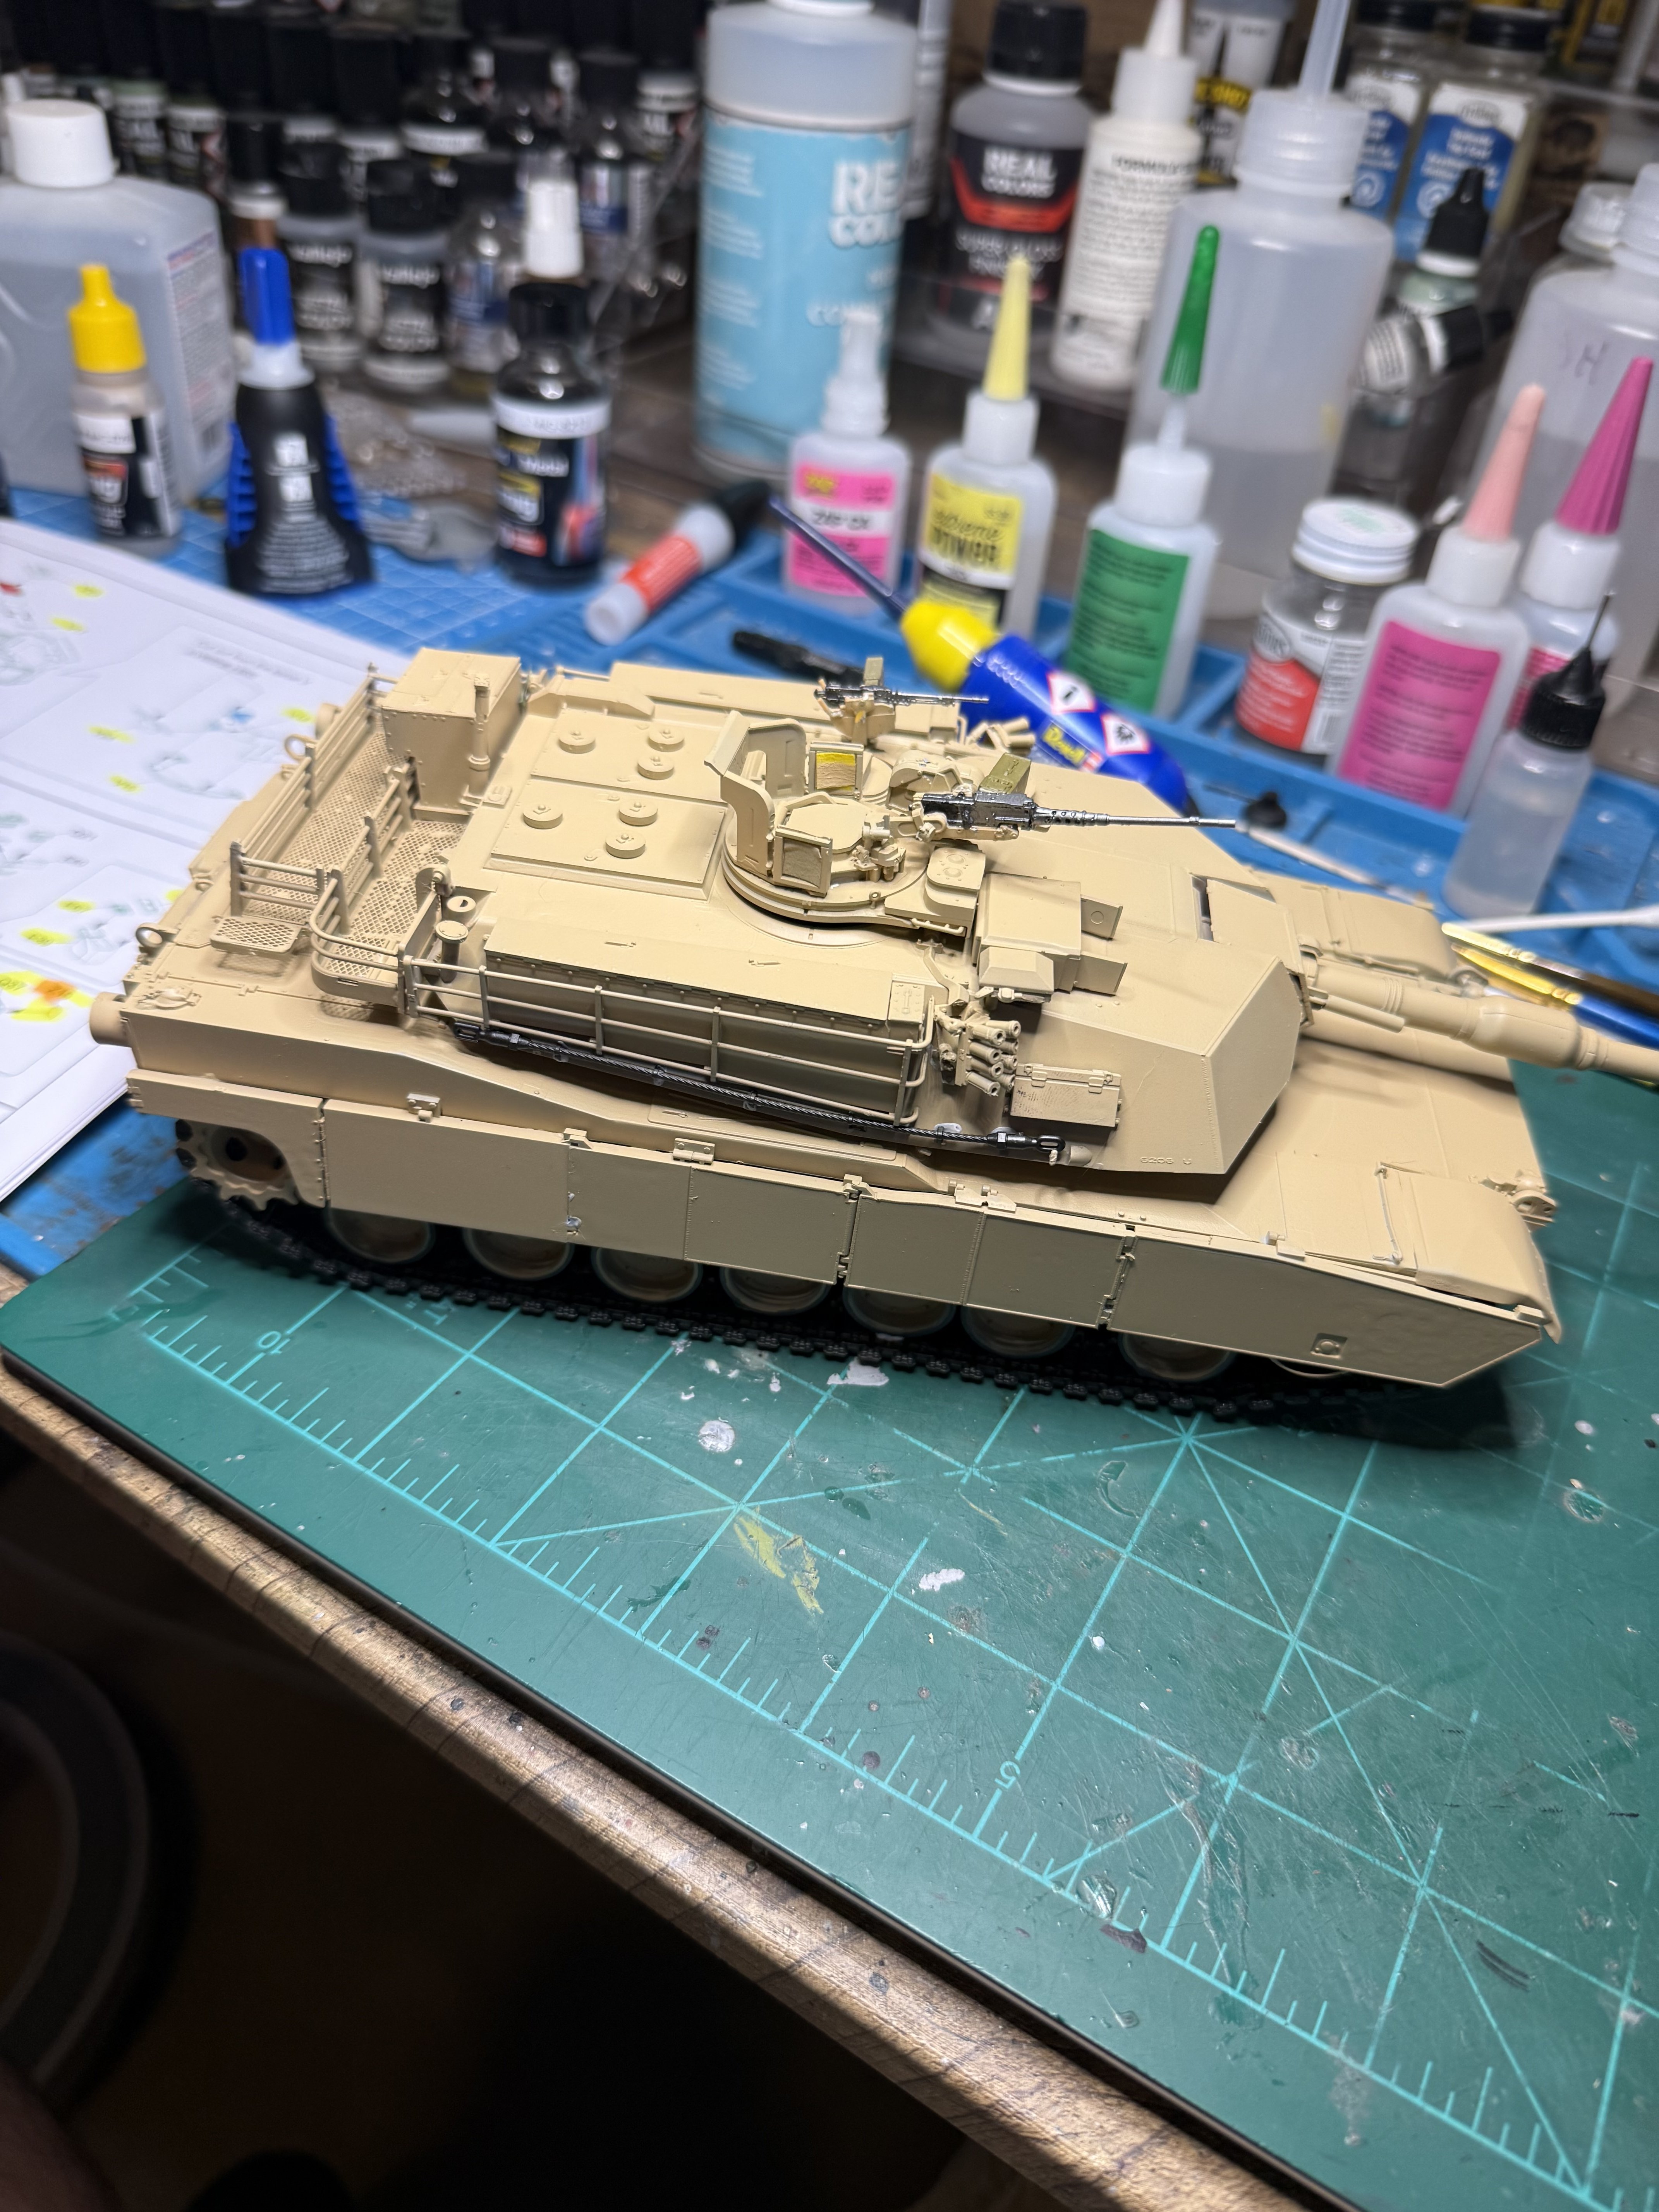
Getting closer. Been exhausted all week and haven't had much time for the bench.
That's looking really good Ron squared. I might even give tanks another try. I'm usually aircraft but I did build a tank once couple years ago. I have to confess that I don't know anything about tanks. All the little pieces and stuff you got to stick on I had no idea what they were for or what they did. But live and learn I'll give it another try one of these days. Maybe I chose the wrong brand of tank to build? Maybe I should have chose like a Tamia?
 
That's looking really good Ron squared. I might even give tanks another try. I'm usually aircraft but I did build a tank once couple years ago. I have to confess that I don't know anything about tanks. All the little pieces and stuff you got to stick on I had no idea what they were for or what they did. But live and learn I'll give it another try one of these days. Maybe I chose the wrong brand of tank to build? Maybe I should have chose like a Tamia?
I would definitely recommend a Tamiya tank. I've built five tanks, all Tamiya, and they have all been great to build kits.
 
I would definitely recommend a Tamiya tank. I've built five tanks, all Tamiya, and they have all been great to build kits.
Tamia? Okay. What about tracks? I hear a lot about you guys bitching about tracks and oh my Lord don't buy this kit because the tracks suck. So if you can add anything on that subject I would appreciate it. And I apologize in advance for hijacking your thread
 
Tamia? Okay. What about tracks? I hear a lot about you guys bitching about tracks and oh my Lord don't buy this kit because the tracks suck. So if you can add anything on that subject I would appreciate it. And I apologize in advance for hijacking your thread
Depends on the kit. Some of their kits come with rubber band one piece tracks. These are the easiest to use, and in my opinion for some tanks look just fine. However with a Tiger they don't conform to the road wheels and look stupid. The other types which you glue individually or in sections can be a pain, but they look the best. A little patience is all that is needed. Some Tamiya Tigers come with individual links and some come with the one piece. You have to check to see what the kit comes with.
 
Depends on the kit. Some of their kits come with rubber band one piece tracks. These are the easiest to use, and in my opinion for some tanks look just fine. However with a Tiger they don't conform to the road wheels and look stupid. The other types which you glue individually or in sections can be a pain, but they look the best. A little patience is all that is needed. Some Tamiya Tigers come with individual links and some come with the one piece. You have to check to see what the kit comes with.
Awesome buddy, thanks for the info! That's one of the reasons I joined. Cuz I need all the help I can get.
 
Looks great my friend- You're killing it, never know it was your "first" armor build.
The Gun Carrier is tempting me to build it.
Haven't built armor since I was kid... but the gun carrier is technically a vehicle, so kinda in my wheelhouse?
🤣
Keep the updates comin' please!
 
What about tracks?
Don't buy a kit with workable tracks as your first (or very occasional) tank kit, it's almost certainly going to put you off. Modern Tamiya kits tend to have what's known as "link-and-length" track, which is hard plastic and consists of longer pieces and separate links that you have to glue around the wheels. These look good but aren't very difficult to build — especially because this is Tamiya we're talking about :) But do make sure to follow the instructions because I've seen a good number of people getting annoyed with the tracks not fitting properly when the problem was clearly that they didn't do it as the instructions say :)
 
That's looking really good Ron squared. I might even give tanks another try. I'm usually aircraft but I did build a tank once couple years ago. I have to confess that I don't know anything about tanks. All the little pieces and stuff you got to stick on I had no idea what they were for or what they did. But live and learn I'll give it another try one of these days. Maybe I chose the wrong brand of tank to build? Maybe I should have chose like a Tamia?
I'd give Tamiya a try. You can probably pick up walker bulldog pretty cheap - actually if you go to Hobby lobby next week it will be 40% off so under $20. It's a good kit. It has rubber band tracks, don't know if that bothers you. I enjoy doing the tanks and I still don't know what half the parts are!
 
I'd give Tamiya a try. You can probably pick up walker bulldog pretty cheap - actually if you go to Hobby lobby next week it will be 40% off so under $20. It's a good kit. It has rubber band tracks, don't know if that bothers you. I enjoy doing the tanks and I still don't know what half the parts are!
Also, I made a simple jig for other track builds and it makes it easier but I'd avoid building tracks the first few builds. Some guys get all hyper about tracks- you can even buy metal linked tracks if you want to spend more money on tracks than the kit!
 
Looks great my friend- You're killing it, never know it was your "first" armor build.
The Gun Carrier is tempting me to build it.
Haven't built armor since I was kid... but the gun carrier is technically a vehicle, so kinda in my wheelhouse?
🤣
Keep the updates comin' please!
Is this for me? I've built a lot of tanks. This is my first RFM though.
 
Is this for me? I've built a lot of tanks. This is my first RFM though.
Sorry, misread the post- Mistakenly thought it was first armor, not just first RFM- ;)
Did inspire me to check out RFM though- so there's that. :cool:
 
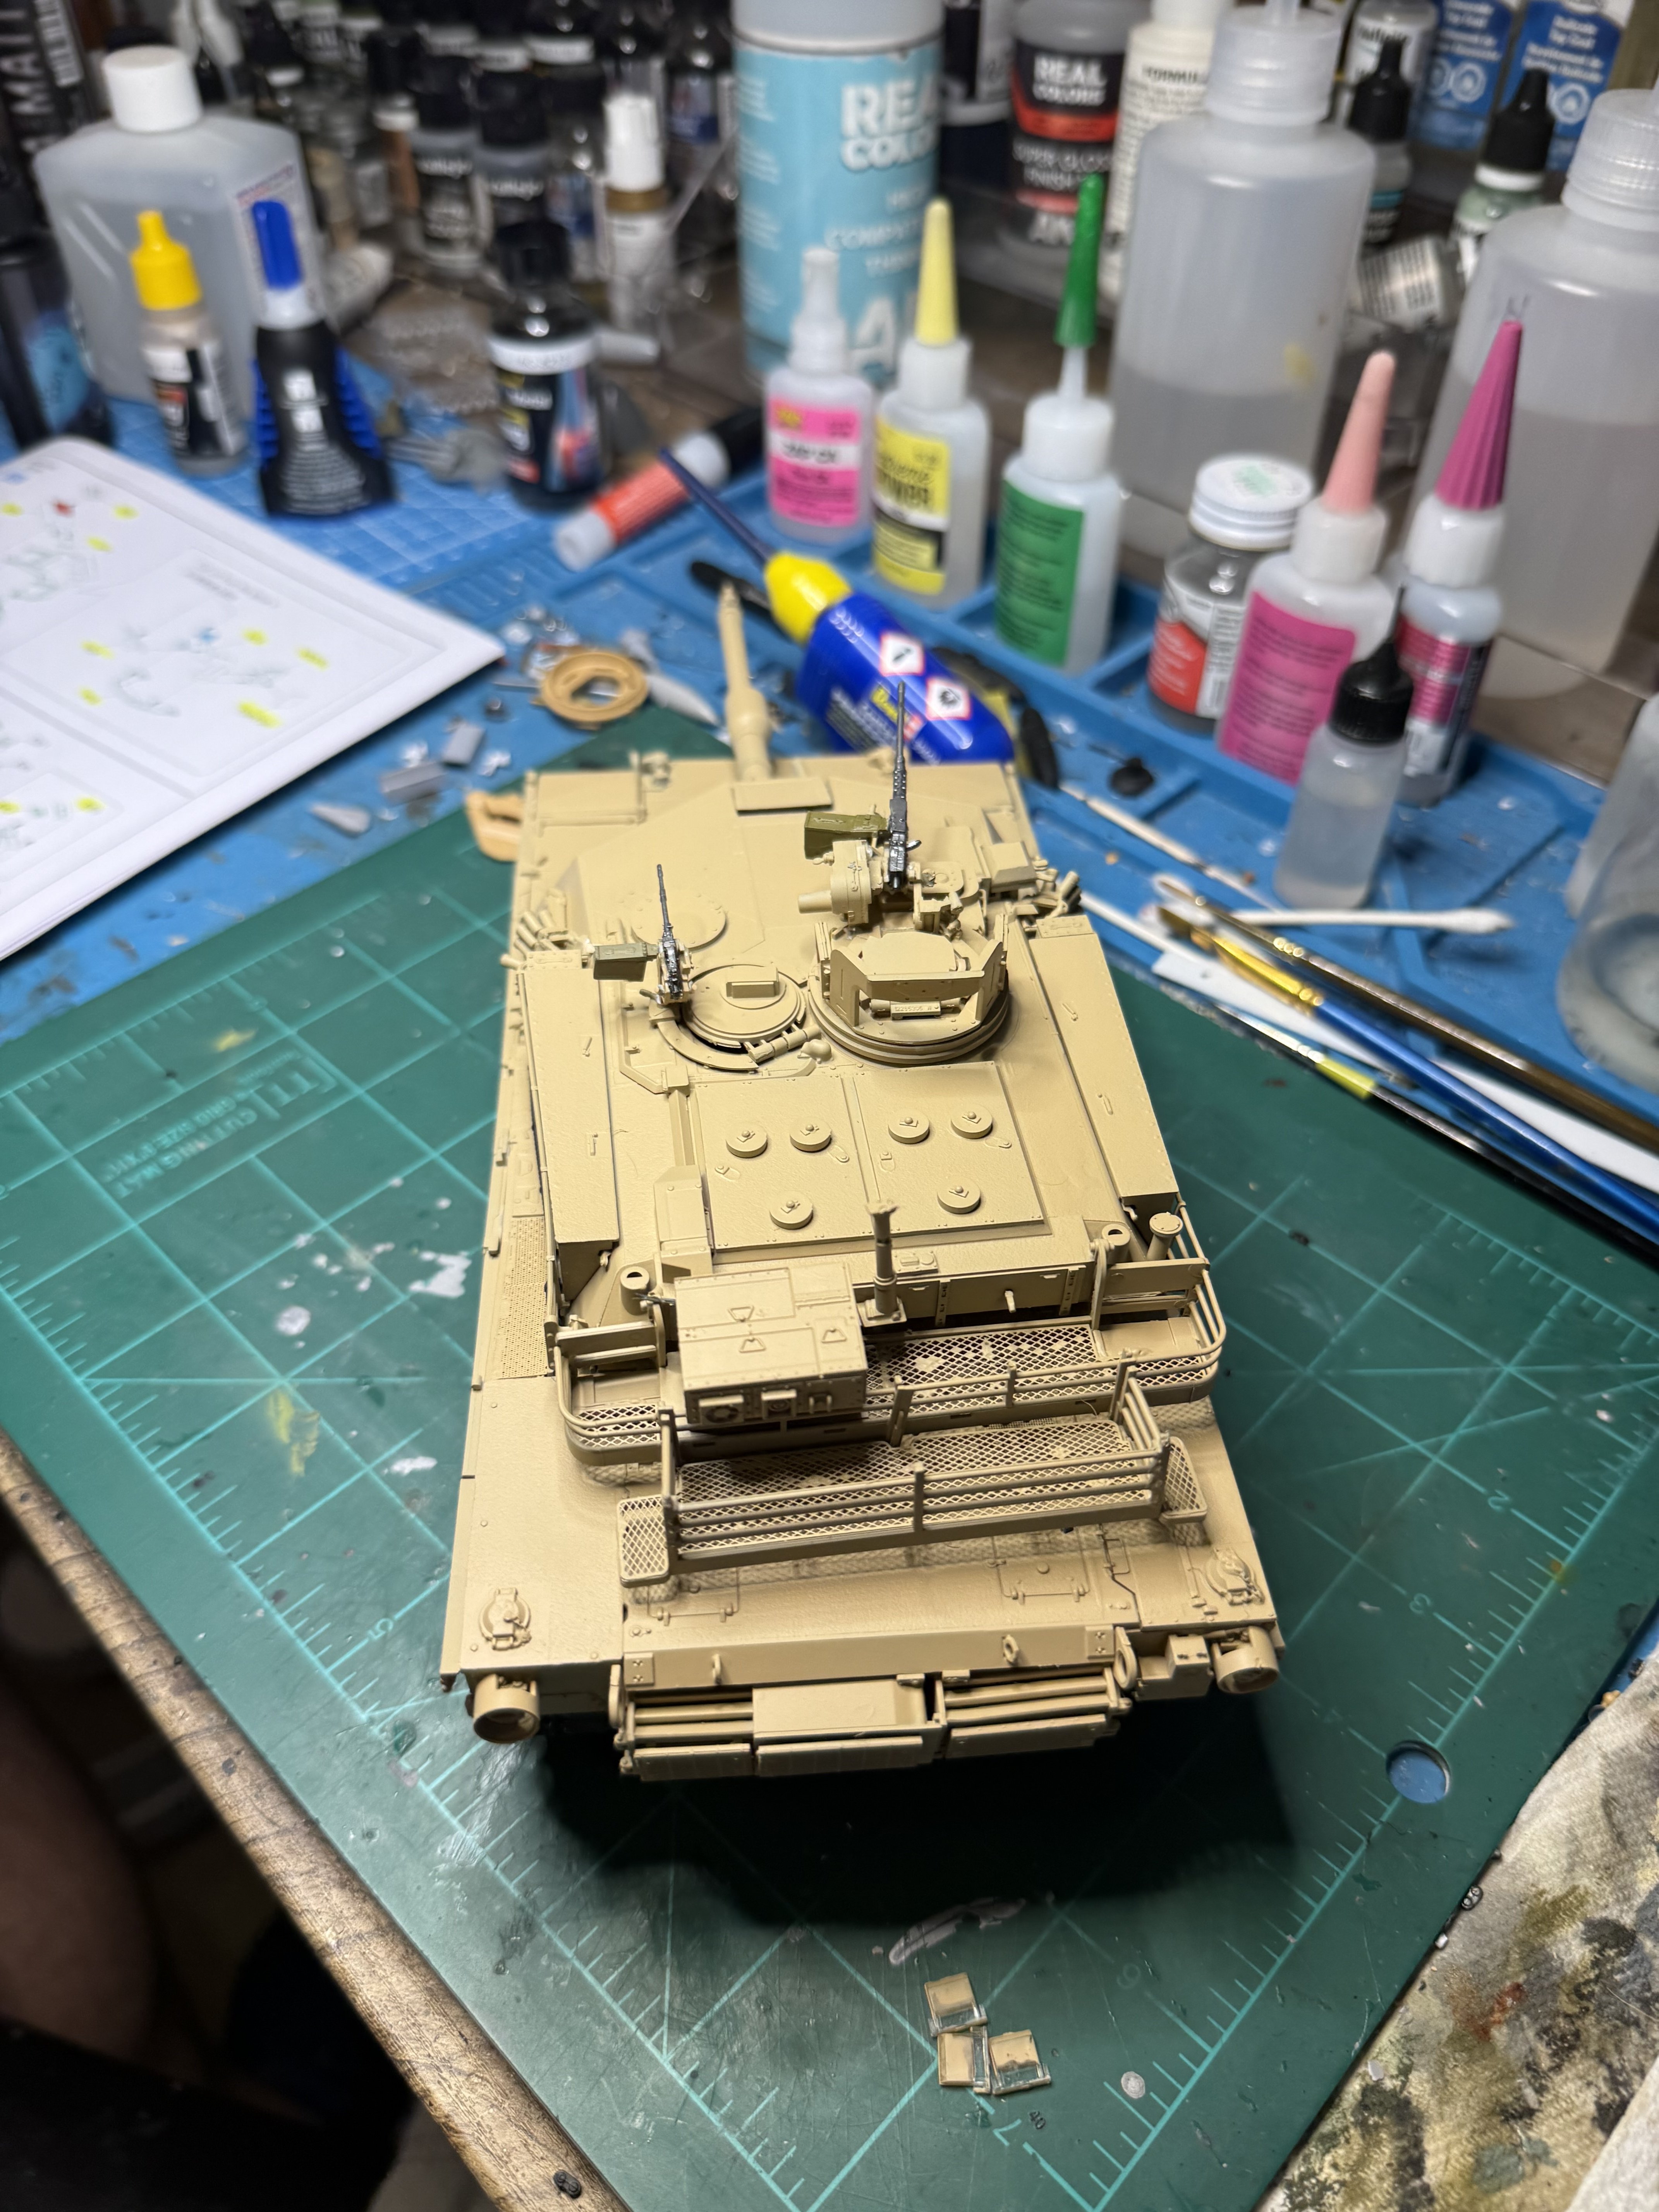
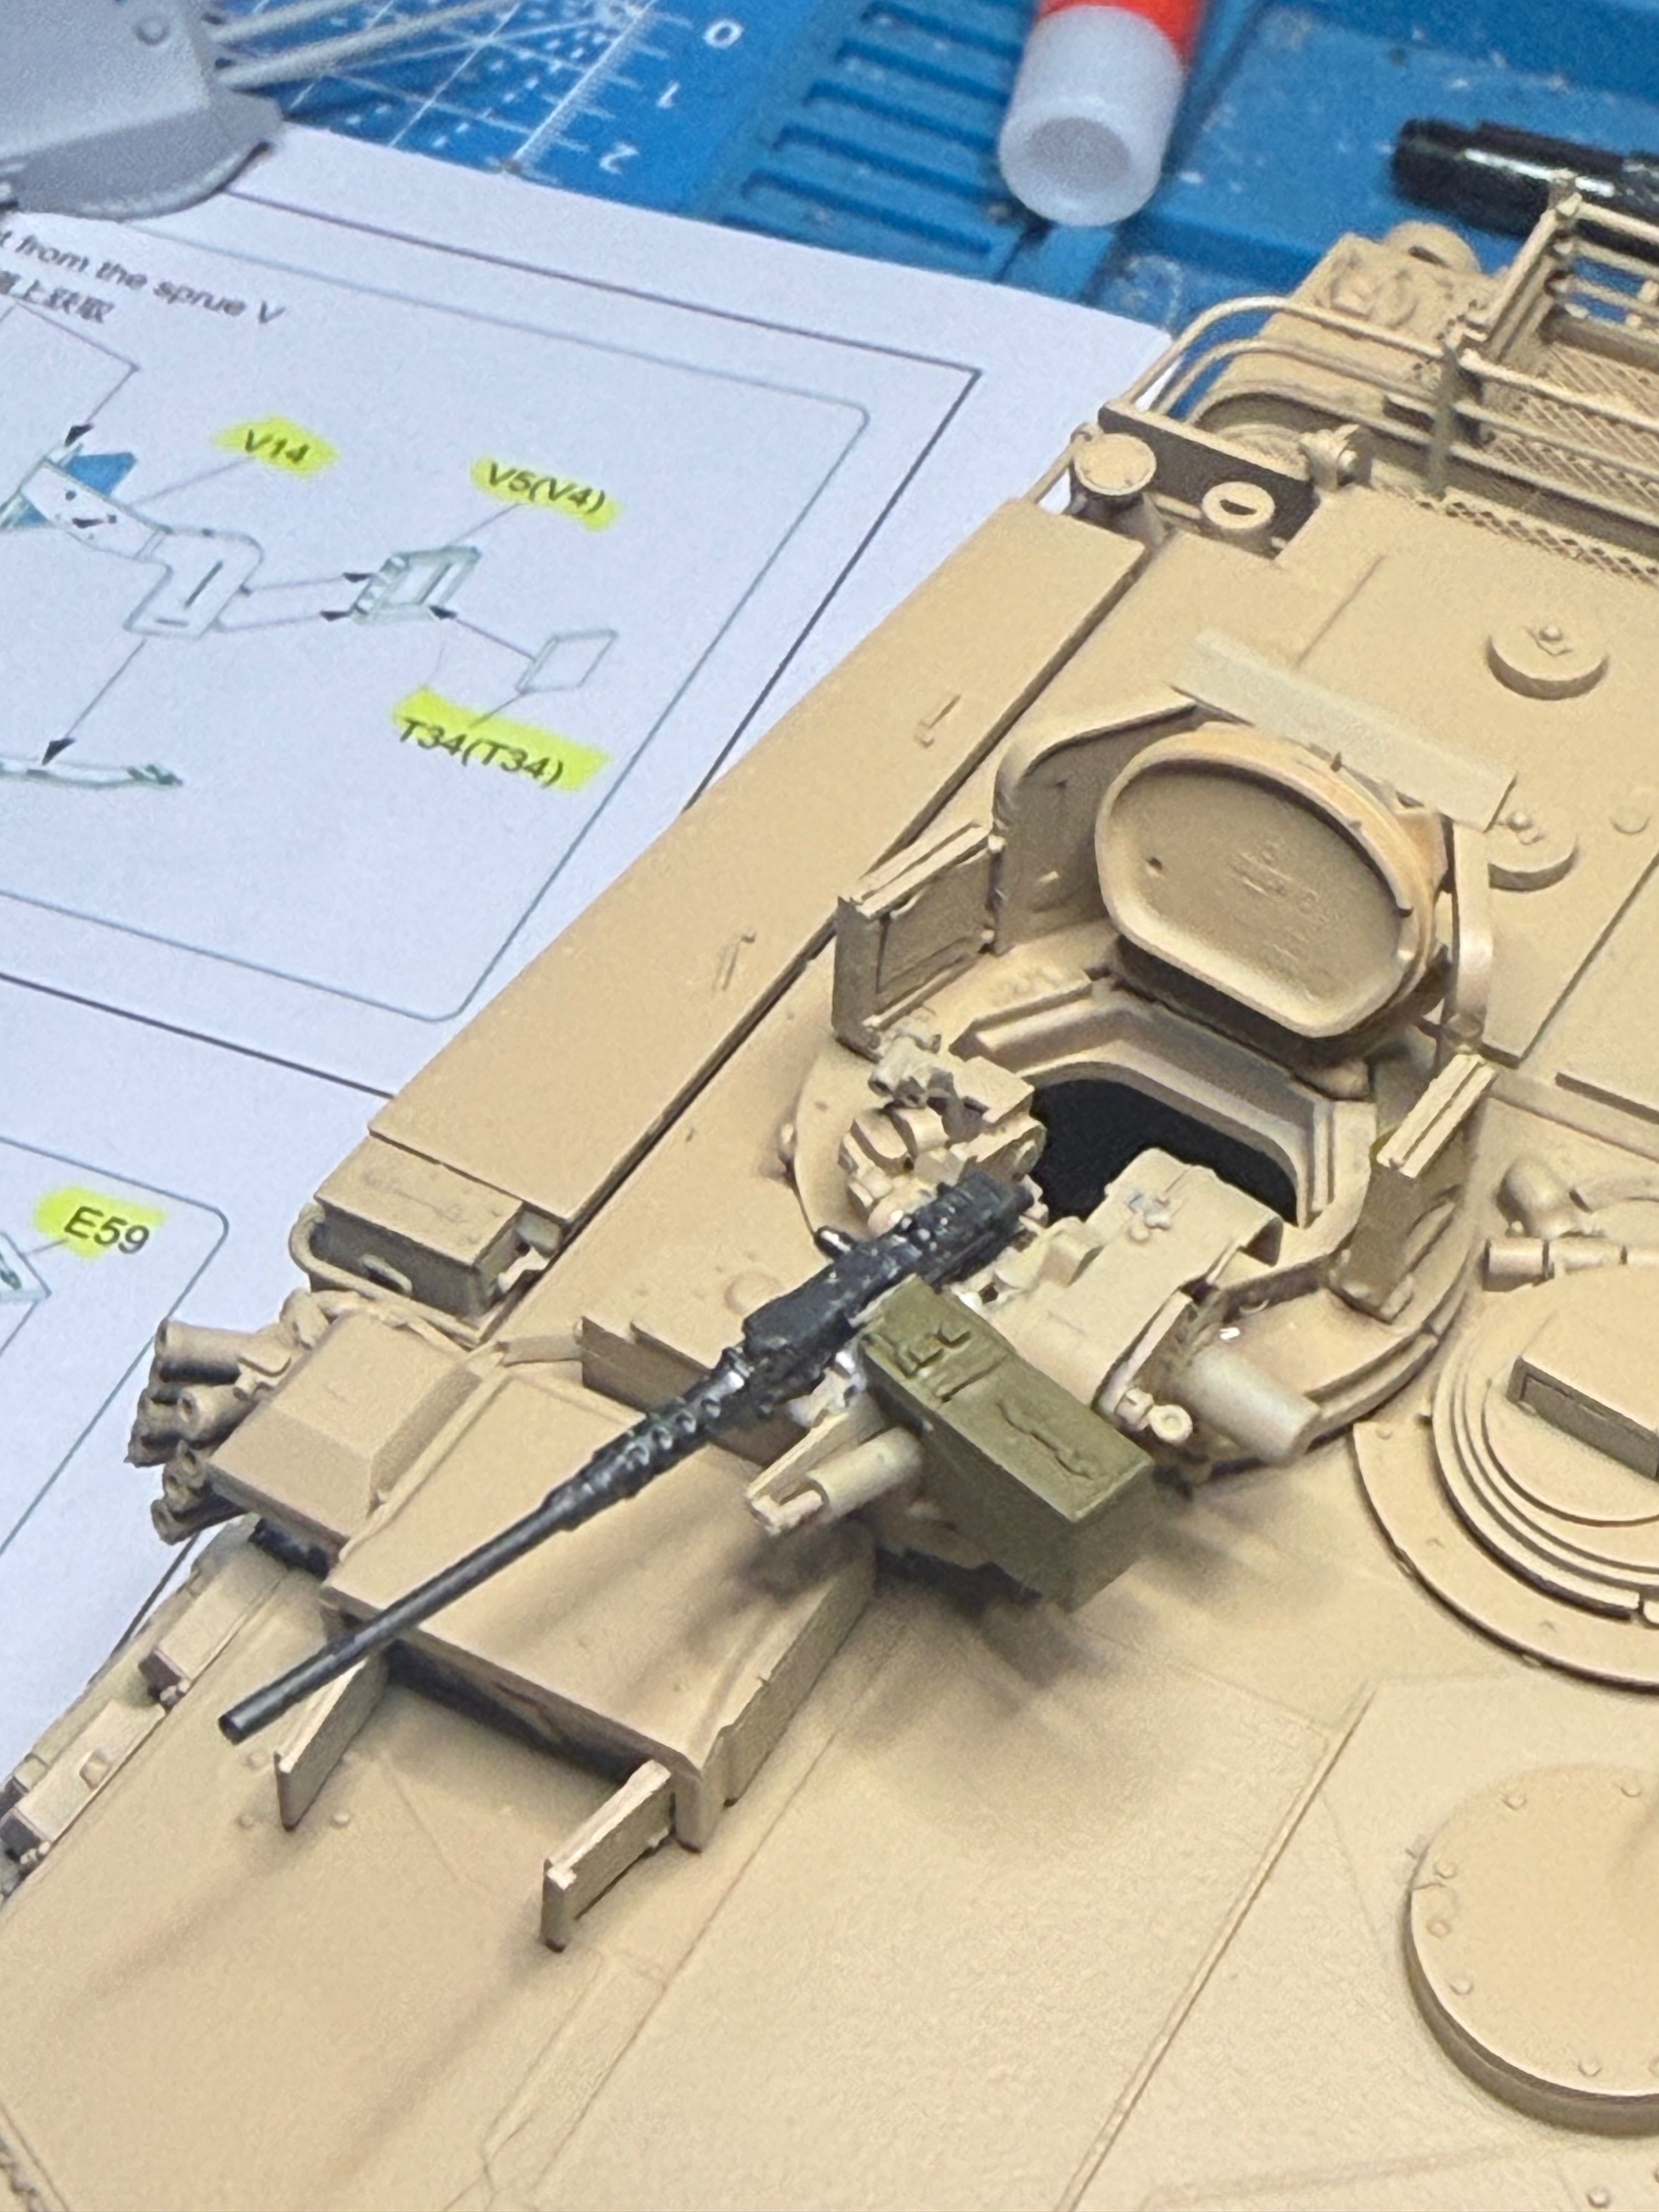
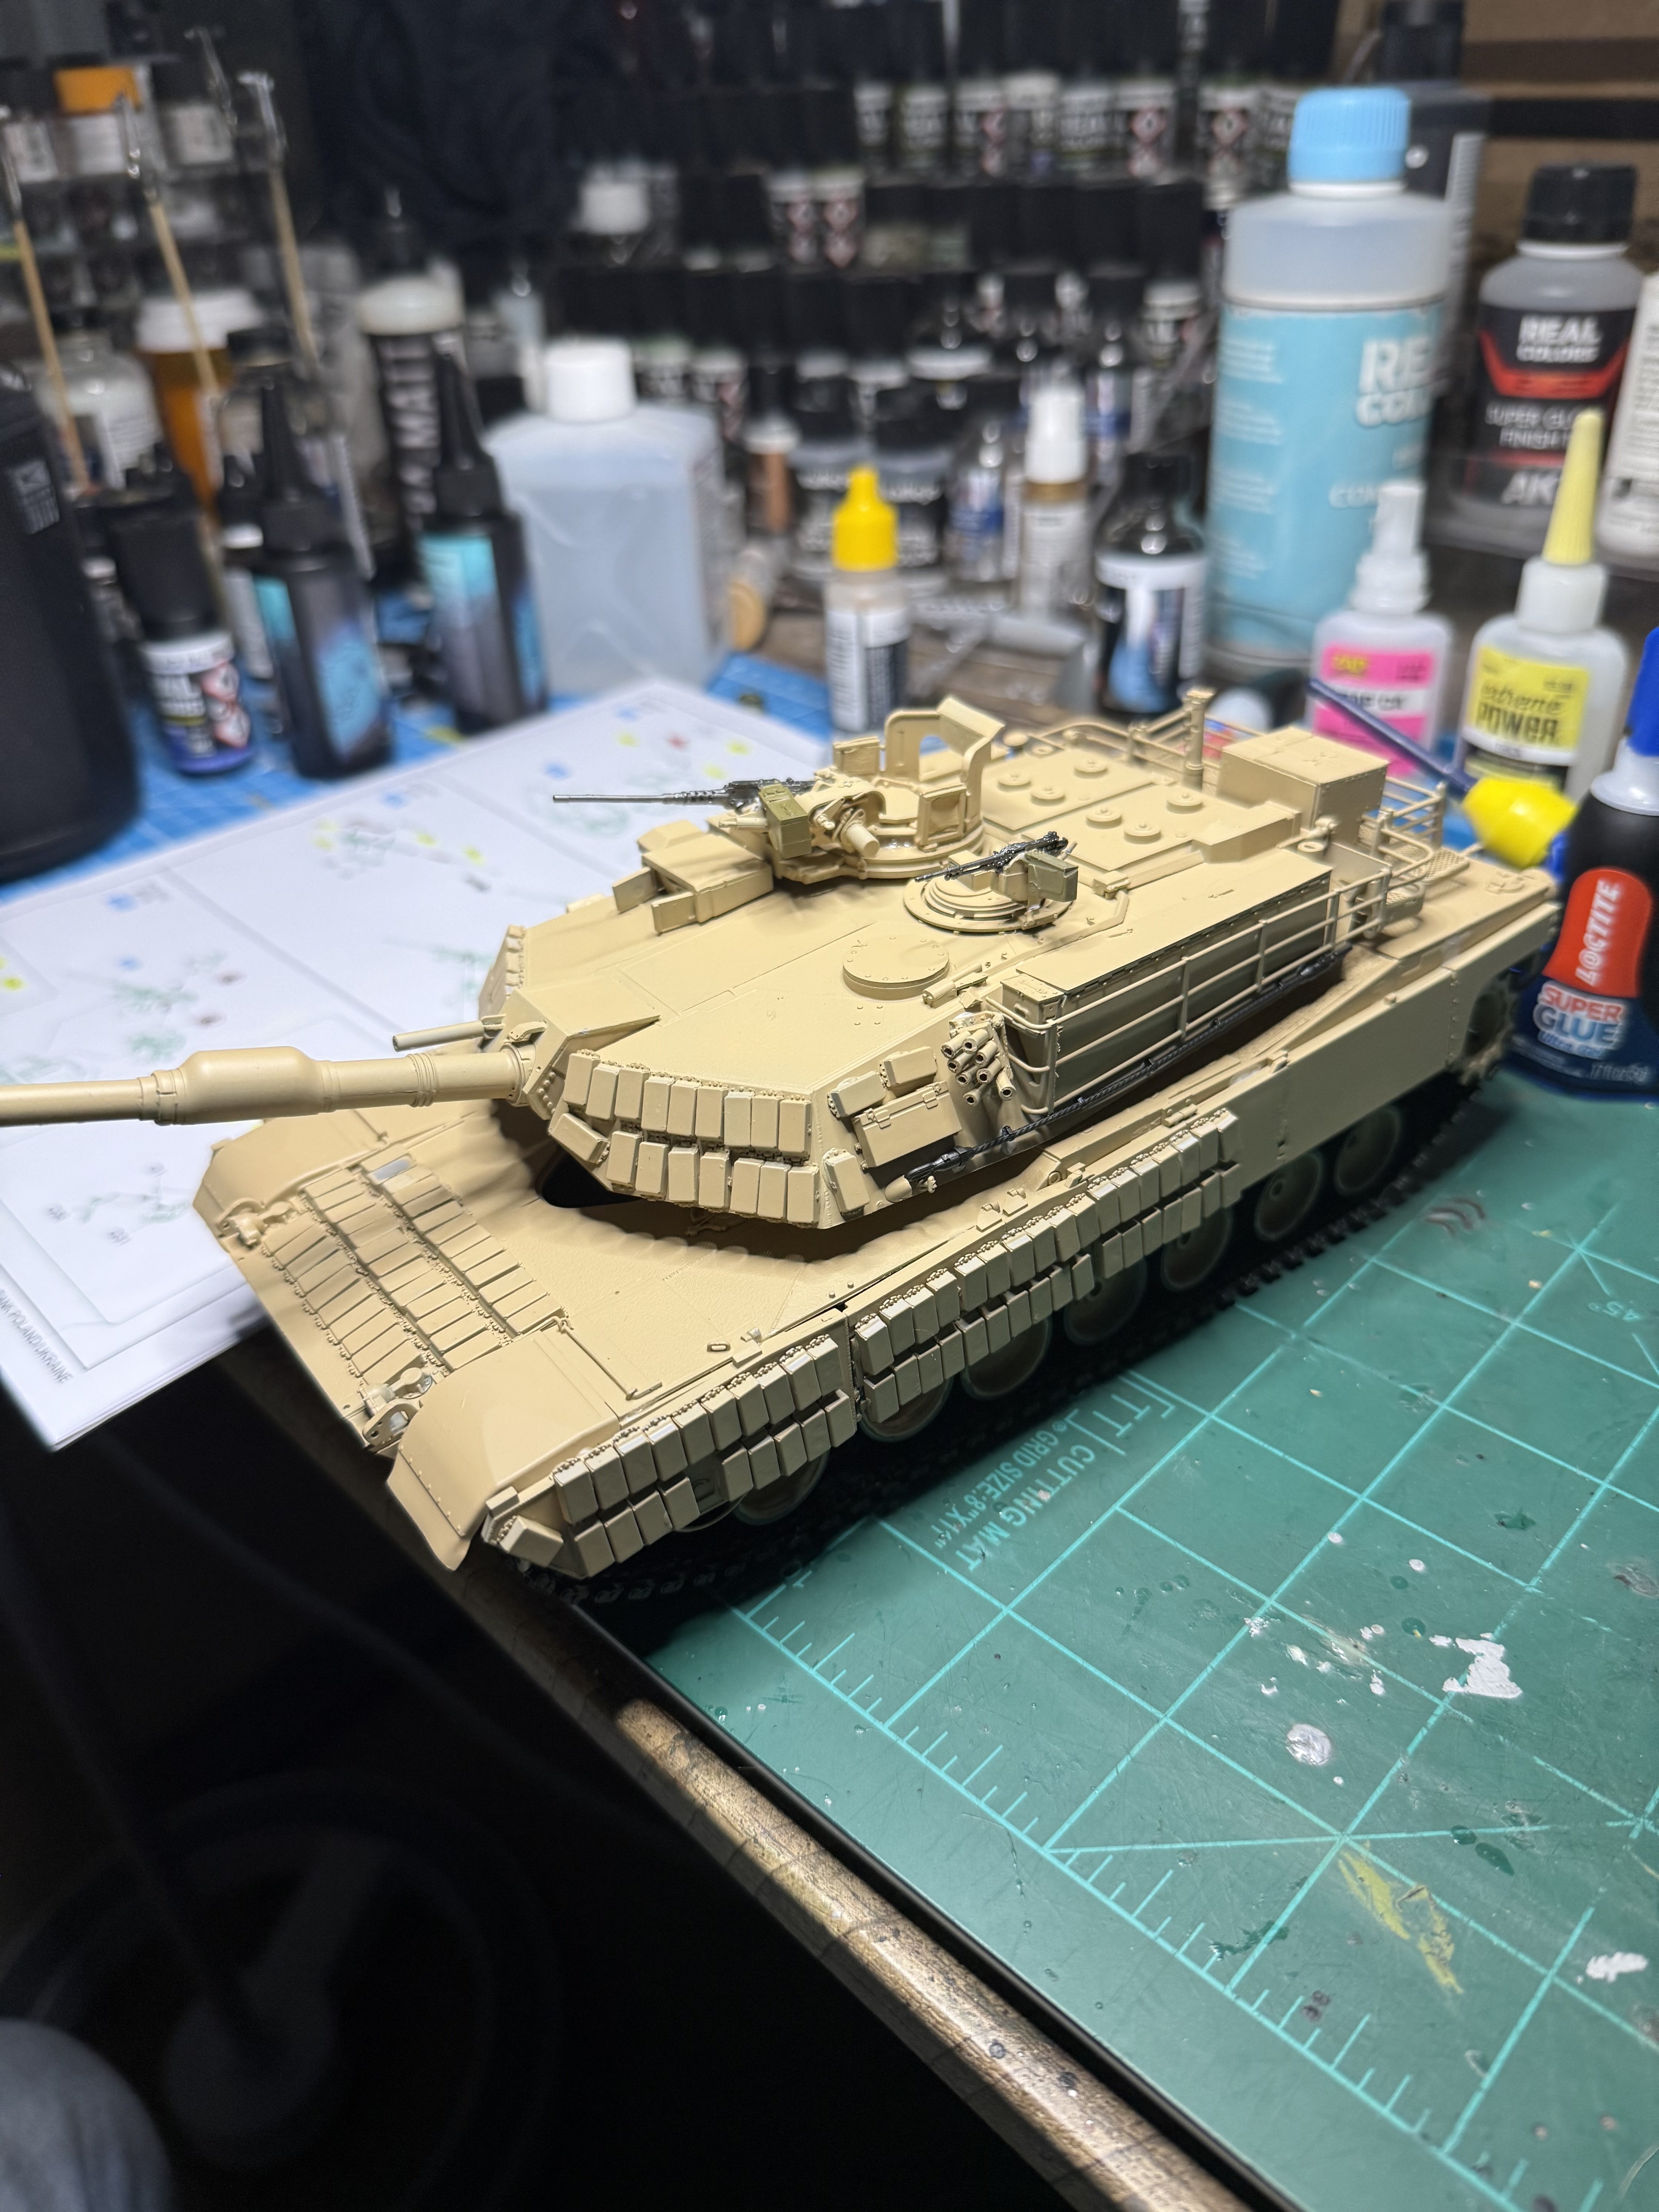
A little bit more. Applied the "EA bricks" , have not researched them I'm assuming it protects against blasts. Anyone know if these are generally straight and in line because mine aren't. I was thinking next time I may make strips of styrene as a backing in order to keep them aligned better.
 

Attachments

  • IMG_7857.jpeg
    IMG_7857.jpeg
    2.6 MB
  • IMG_7858.jpeg
    IMG_7858.jpeg
    2.5 MB
  • IMG_7860.jpeg
    IMG_7860.jpeg
    1.1 MB
  • IMG_7861.jpeg
    IMG_7861.jpeg
    1.8 MB
  • IMG_7859.jpeg
    IMG_7859.jpeg
    2.2 MB
Corre
A little bit more. Applied the "EA bricks" , have not researched them I'm assuming it protects against blasts. Anyone know if these are generally straight and in line because mine aren't. I was thinking next time I may make strips of styrene as a backing in order to keep them aligned better.
correction- ERA bricks and they do protect against rpg's and some missiles.
 
Did inspire me to check out RFM though- so there's that. :cool:

I'm going to try another RFM kit. Detail is really good.
I've only built one, and it is not even finished (so I am no expert), but I want to be sure I do not come off as being too negative, I tend to point out negatives more than positives.

The RFM kit I have is very well engineered, detailed, and molded. The instructions are as good anything I've seen other than maybe Kotare and Zoukei Mura, but they produce pamphlets not instructions. The only negative I have is that they are on the side of more tiny/fiddly bits than are needed. While my kit came with "workable tracks" they were not individual links but each link was 5 parts, times 76 (per side) times two! They went together VERY well once I learned the trick with help from this forum. They are also silky smooth and possibly the best I've ever seen. Here's what I wrote about the tracks.

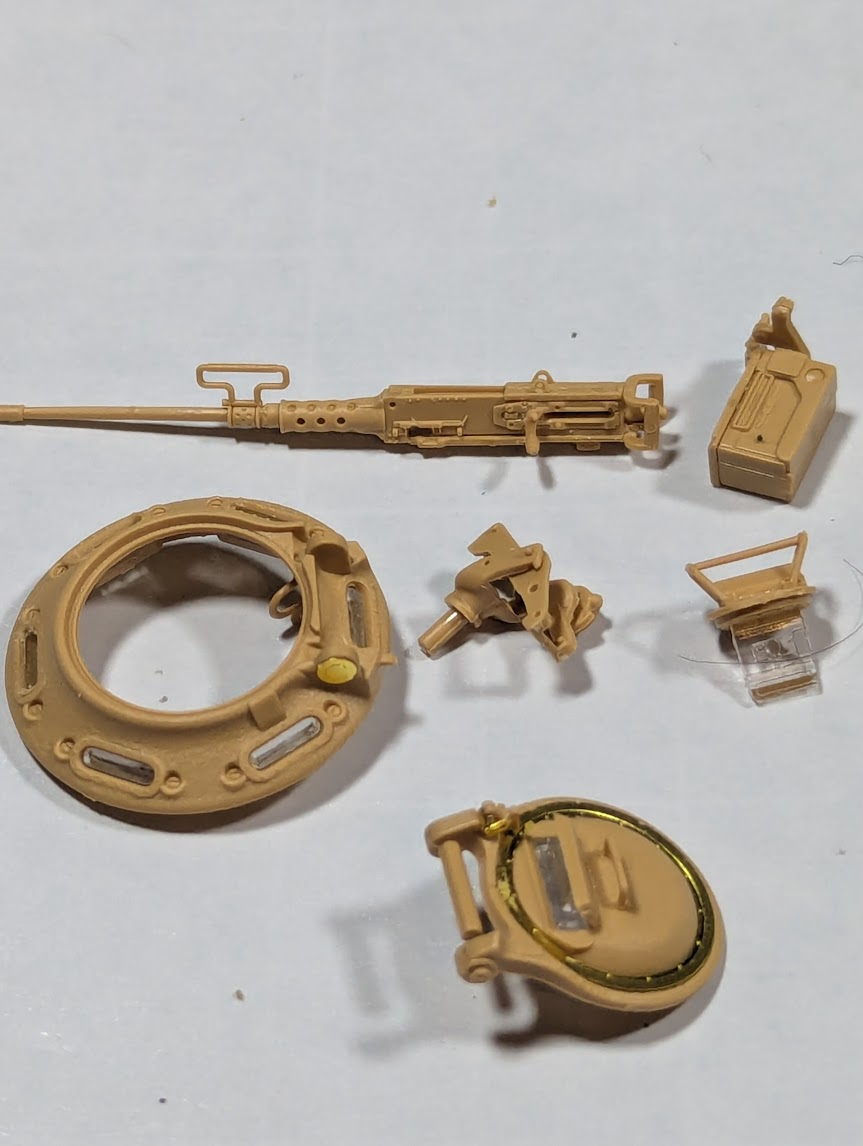
This picture below is one example of what I mean by tiny parts and high parts count. The assemblies in this picture represent 43 parts off the sprues, including clear and PE. I built a Tamiya Spitfire that I think had that many parts total!

1778253055069.png
 
I've only built one, and it is not even finished (so I am no expert), but I want to be sure I do not come off as being too negative, I tend to point out negatives more than positives.

The RFM kit I have is very well engineered, detailed, and molded. The instructions are as good anything I've seen other than maybe Kotare and Zoukei Mura, but they produce pamphlets not instructions. The only negative I have is that they are on the side of more tiny/fiddly bits than are needed. While my kit came with "workable tracks" they were not individual links but each link was 5 parts, times 76 (per side) times two! They went together VERY well once I learned the trick with help from this forum. They are also silky smooth and possibly the best I've ever seen. Here's what I wrote about the tracks.

This picture below is one example of what I mean by tiny parts and high parts count. The assemblies in this picture represent 43 parts off the sprues, including clear and PE. I built a Tamiya Spitfire that I think had that many parts total!

View attachment 188690
Insights and opinions from a build are incredibly valuable, and I certainly appreciate you sharing it.
Looking at your example, that does seem a bit daunting, 43 parts, including PE is.... well, I guess it is what it is.
I was looking at their wheeled vehicles and considering a build, I do like the Gun Carrier(s) and the like.
A high part count, along with very small pieces is both appealing and a bit intimidating, but having wrestled with some of the worse kits, (in my neophyte experience anyway) has given me some confidence, (false or otherwise) to maybe give one a try?.....
This is beautiful work, so thanks for sharing your insights and giving me loads to consider.
 
@Ron2 , sorry for the tangent, but your perseverance in building a highly detailed kit is topical!
that many parts
How about a 1000 piece jigsaw puzzle?
2492.png

Not for me, but clearly there is a market for this sort of thing, and by extension, modelers who actually enjoy the assembly of a huge number of parts!
In UI design there are usability metrics around task completion. I wonder how the model kit manufacturers weigh that versus say, box art and shelf appeal (units sold) in evaluating the success of a product?
And I wonder if there exists a stat somewhere of how many kits bought actually get completed?!

Something tells me that the many bots scraping our forum are collecting that type of info among other things...
Like how many kits in a stash before saturation?
 
@Ron2 , sorry for the tangent, but your perseverance in building a highly detailed kit is topical!

How about a 1000 piece jigsaw puzzle?
View attachment 188696
Not for me, but clearly there is a market for this sort of thing, and by extension, modelers who actually enjoy the assembly of a huge number of parts!
In UI design there are usability metrics around task completion. I wonder how the model kit manufacturers weigh that versus say, box art and shelf appeal (units sold) in evaluating the success of a product?
And I wonder if there exists a stat somewhere of how many kits bought actually get completed?!

Something tells me that the many bots scraping our forum are collecting that type of info among other things...
Like how many kits in a stash before saturation?
I don't want to hijack the thread- but to say this- My wife LOVES those 1000 piece puzzles.
 
correction- ERA bricks and they do protect against rpg's and some missiles.
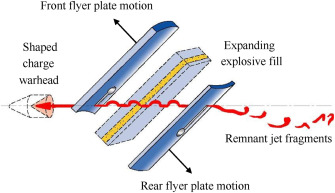
ERA stands for explosive reactive armour. Reactive armour means the armour isn't "static" but consists of panels that can move in reaction to being hit, which will put more material in the way of the penetrator. ERA does this by having two plates of steel with a layer of explosives in between: when an ERA element is hit, the explosives detonate, sending the outer plate flying into the projectile or shaped-charge jet/slug that set it off. The main use is against the latter, as they work by "eating" their way through armour plate, so when the steel plate flies through the jet's path, the jet will keep cutting a hole in the same plate, creating an elongated hole. Meanwhile, the second plate moves in the opposite direction, then hits the tank's armour, bounces off that and rebounds into the path of the incoming jet as well.

1-s2.0-S2214914724001144-gr1.jpg


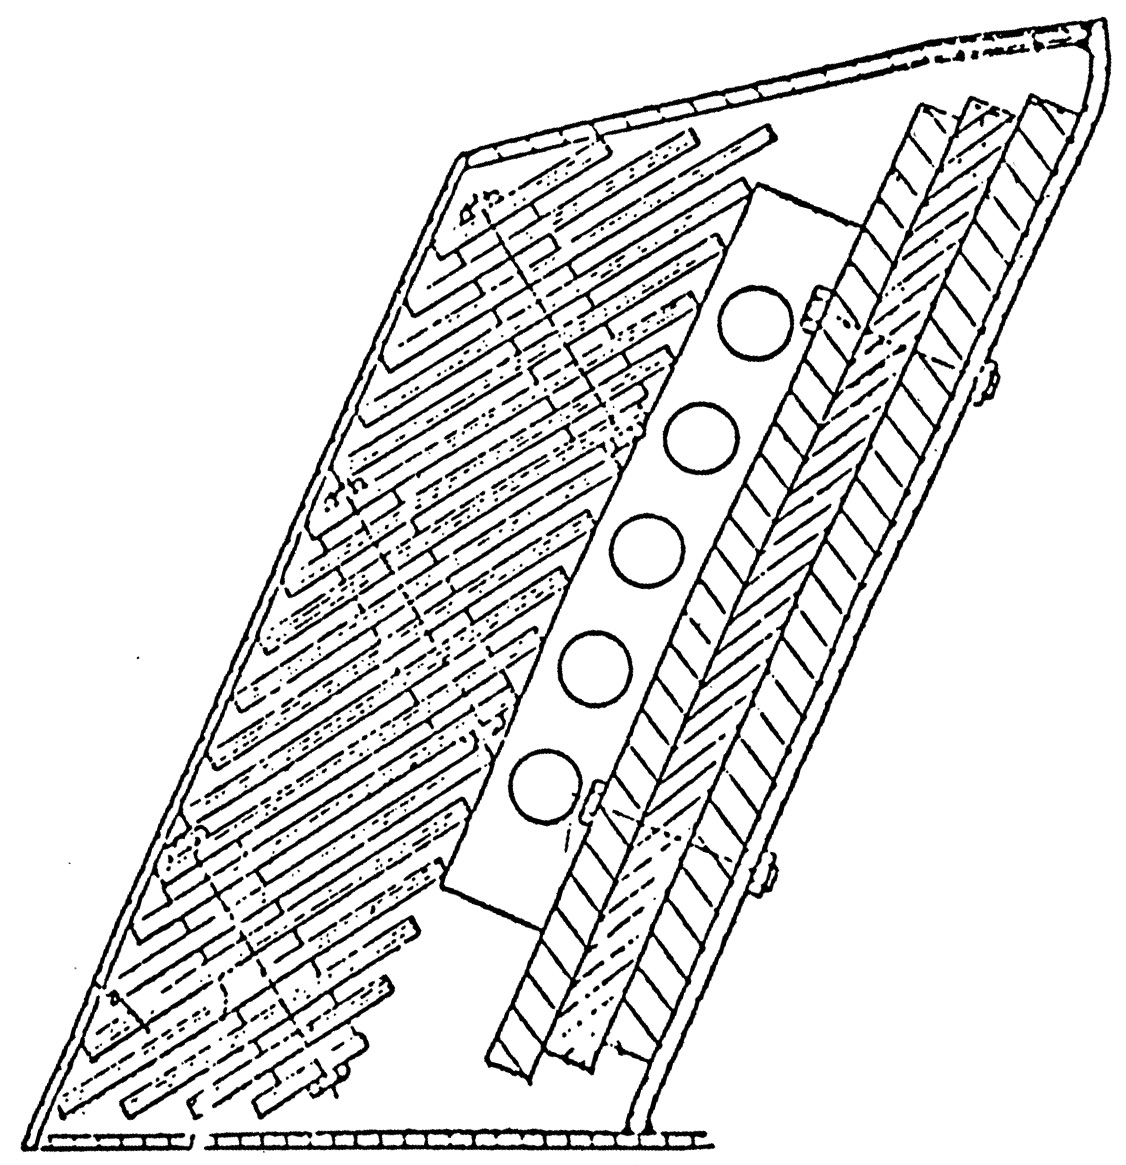
There's also NERA, non-explosive reactive armour, which consists of plates fixed to mountings that will let them move when hit. That look somewhat like this:

M1 Abrams turret side armour.jpeg


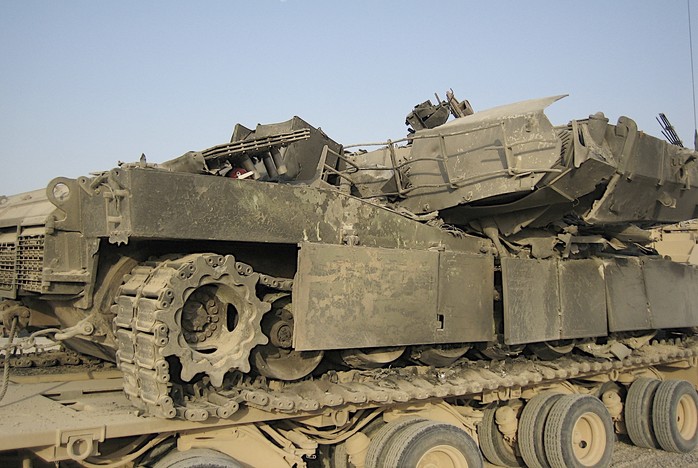
This is a cross-section of the turret side armour on the M1 Abrams, at least for the basic M1 — it may be different on the M1A1 and later, but the principle is likely the same. You can just see the plates on this wrecked M1A2 in Iraq:

Vernielde M1A2 Abrams.jpg


At the upper right, where the turret rear has been cracked open. The set of three plates on the engine deck is probably the inside of the turret front, but perhaps comes from somewhere else (the report that the drawing above came from, has the turret front armour censored).

And here's an interesting video of the effectiveness of NERA, even if they hid what you would have been able to see of its insides:

 
Last edited:

Latest posts

Back
Top