closethobbyist
New Member
- Joined
- Sep 16, 2023
- Messages
- 5
Hello All,
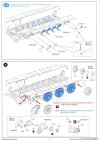
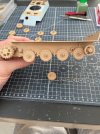
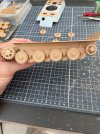
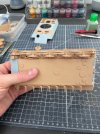
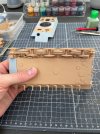
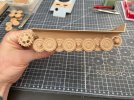
New to the forum and armour modelling in general, i come from mainly a fantasy / sci-fi modelling background so have some experience with building and handling different kits such as maschinen krieger but this is my first tank build. So far things have been going good and theres lots of helpful resources out there which have been helpful. I'm a little bit befuddled with the running gear on this Ryefield models panther ausf. F kit - Could someone tell me if this looks right?
The space between the wheels feels quite big and there doesnt seem to be any particular fit on the wheels, nothing snaps into place they are very lose and wobbly, if i tilt the model all the wheels would just fall off the torsion bars which make it difficult to test fit the wheels on both sides at the same time - is this normal, i feel like i may be missing something? I would prefer not to glue them in place for ease of painting but don't wants to get that far down the line and realise i've done something wrong. Any tips would be welcome please.
I've seen on Nightshifts videos on youtube he sometimes glues the running wheels togeather to create a single unit but thats still detachable for painting, which i thought would be a good idea but i cant do that here with the wheels being so spaced apart.
I'm currently working on the track links and wonder if those will help keep things in place or is this just the case with running gear until all is glued into place?.
Many Thanks for any insight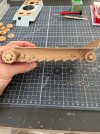


