Deadman Disciple
Member
- Joined
- Apr 28, 2015
- Messages
- 69
[youtube]https://www.youtube.com/watch?v=85xMiaxD3n4[/youtube]
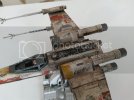
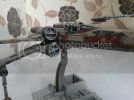
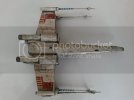
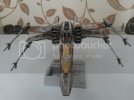
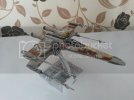
Well its been a while since my last model, so im starting my next kit, this time the Star Wars 1/72 X-wing from Bandai.
My wife bought me this along with the AT-ST last christmas for £16 each.
I started with the rear wing assemblies, very easy to snap together, once both assembled I primered them.
I then started on the cockpit area, again very easy to snap together, I painted the cockpit in Revell greyish blue, the seat in black.
I then decided to primer the hull parts & once dried I sprayed the white primer hoping to get the shade of whiteish grey I did with my Battlestar Galactica.
Unfortunately I went a couple of shades whiter than I wanted, but hopefully once weathered, im hoping they will come back down.
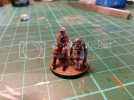
Then came the very intricate painting of the Luke Skywalker pilot & R2-D2 figures.
Painting the flight suit in orange, boots & gloves in black, vest in white, the chest contraption in blueish grey picking out the panels in various colours.
I painted the helmet in white & put the 2 tiny rebel logos on either side along with the red stripe with the warning stripes on the middle of the helmet.
Finishing off with orange for the goggles & flesh for the face.
R2 was only painted with some silver for his dome, I left the rest of him in the sprue white, placed the tiny decals on him & washed him with black wash & earthshade washes.
I then put the pilot inside the cockpit & put the dashboard in & put in all the cockpit instrument decals & washed the top of the dashboard to bring out the detail.
Then I assembled the wings into place sandwiched in between the top & bottom halves of the hull along with the cockpit assembly.
Finishing off with the various panelling pieces & nose, the X-Wing is all ready for decals & detailing.
Cheers,
Wayne.

