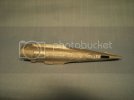
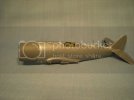
the Baron
Ich bin ja, Herr, in Deiner Macht
- Joined
- May 12, 2009
- Messages
- 2,026
Hi, all!
Here is the second of 2 P-47 kits I have in progress now (please see my other thread, "P-47D Razorback in progress"). This is another of my resolution builds, and this kit was also given me by my friend Brian. Finishing this, for me, is another way to remember a good friend, and someone who was a big ambassador for the hobby.
Here's where this kit was, when I took stock of my kits in progress and made the resolution only to work on these and no new kits in this year:
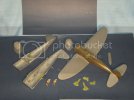
I had completed painting the cockpit and installed, and the engine painted and installed in the cowling, before letting it sit.
So, the first order of business was to check the fit and assemble the fuselage halves. The fit was pretty bad; there were ejector pin marks on the mating surfaces of both halves. There were no such marks on the razorback's fuselage halves, so they may have been introduced when the bubbletop master was developed, we'll never know.
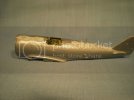
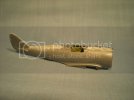
Anyway, I sanded those off (200 grit), and fit was improved. I worked from the nose to the tail, attaching a section at a time, trying to get as tight a fit as possible, to minimize the need for filling afterwards. Even so, the seams on the upper and lower sides were still pretty pronounced:
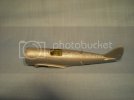
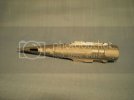
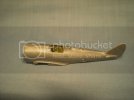
Basically, all along the length of the aircraft, and around the edges of the horizontal stabilizer and rudder, too. Here's the underside:
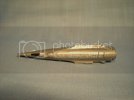
The next post will show some of the work to fill the seams...
Here is the second of 2 P-47 kits I have in progress now (please see my other thread, "P-47D Razorback in progress"). This is another of my resolution builds, and this kit was also given me by my friend Brian. Finishing this, for me, is another way to remember a good friend, and someone who was a big ambassador for the hobby.
Here's where this kit was, when I took stock of my kits in progress and made the resolution only to work on these and no new kits in this year:

I had completed painting the cockpit and installed, and the engine painted and installed in the cowling, before letting it sit.
So, the first order of business was to check the fit and assemble the fuselage halves. The fit was pretty bad; there were ejector pin marks on the mating surfaces of both halves. There were no such marks on the razorback's fuselage halves, so they may have been introduced when the bubbletop master was developed, we'll never know.
Anyway, I sanded those off (200 grit), and fit was improved. I worked from the nose to the tail, attaching a section at a time, trying to get as tight a fit as possible, to minimize the need for filling afterwards. Even so, the seams on the upper and lower sides were still pretty pronounced:

Basically, all along the length of the aircraft, and around the edges of the horizontal stabilizer and rudder, too. Here's the underside:

The next post will show some of the work to fill the seams...

