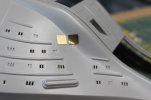
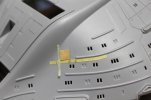
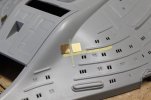
trekriffic
Well-Known Member
- Joined
- Jan 6, 2012
- Messages
- 1,024
This is the 1/677 scale 2009 Revell Germany USS Voyager kit. With printing in multiple languages.
This model will be lit so I have purchased the Paragrafix photo-etch brass set and a set of back lit windows panels from Outer Space Outfitters.
Model box front panel;
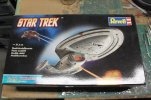
USS Voyager WIP Img - 001 by Steve J, on Flickr
Side panel with some nice closeup details of a completed build:
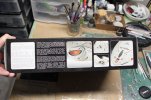
USS Voyager WIP Img - 002 by Steve J, on Flickr
Side panel with a history of Voyager and a smaller version of the cover art:
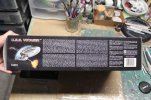
USS Voyager WIP Img - 003 by Steve J, on Flickr
Back panel with images of some other ships available for sale in Revell's Star Trek Voyager product line:
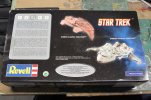
USS Voyager WIP Img - 004 by Steve J, on Flickr
What's in the box. Some big styrene in grey and clear and a decal sheet. Instructions are also included in multiple languages:
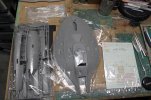
USS Voyager WIP Img - 005 by Steve J, on Flickr
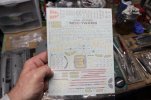
The decal sheet in quite extensive. This is a big improvement over the decals that came with the older Monogram kit or so I am told as I've never seen the Monogram kit's decals:
USS Voyager WIP Img - 006 by Steve J, on Flickr
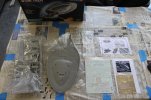
Parts laid out on my work table along with some aftermarket photo-etch and some foldies to place behind some of the window ports:
USS Voyager WIP Img - 007 by Steve J, on Flickr
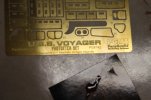
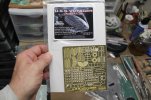
The Paragrafix photo-etch looks amazing as usual:
USS Voyager WIP Img - 008 by Steve J, on Flickr
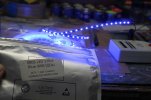
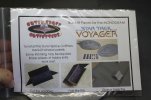
Back lit window panels by Outer Space Outfitters. I'll enjoy trying these out with various LED bulbs lighting them from behind to see what works best for optimal illumination:
USS Voyager WIP Img - 010 by Steve J, on Flickr
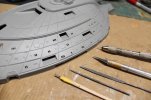
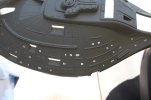
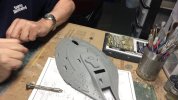
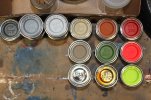
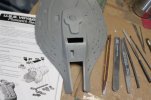
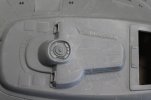
Time to start doing some drilling. I had to order some enamel paint tinlets (Revell brand) online which I should be getting by this weekend. So while I wait for my paints and a few other supplies I figured might as well jump in and start drilling/filing out the rectangular window ports. Think I'll start with the upper saucer. This is a good sized model:
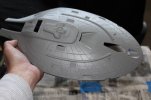
USS Voyager WIP Img - 012 by Steve J, on Flickr
This model will be lit so I have purchased the Paragrafix photo-etch brass set and a set of back lit windows panels from Outer Space Outfitters.
Model box front panel;

USS Voyager WIP Img - 001 by Steve J, on Flickr
Side panel with some nice closeup details of a completed build:

USS Voyager WIP Img - 002 by Steve J, on Flickr
Side panel with a history of Voyager and a smaller version of the cover art:

USS Voyager WIP Img - 003 by Steve J, on Flickr
Back panel with images of some other ships available for sale in Revell's Star Trek Voyager product line:

USS Voyager WIP Img - 004 by Steve J, on Flickr
What's in the box. Some big styrene in grey and clear and a decal sheet. Instructions are also included in multiple languages:

USS Voyager WIP Img - 005 by Steve J, on Flickr
The decal sheet in quite extensive. This is a big improvement over the decals that came with the older Monogram kit or so I am told as I've never seen the Monogram kit's decals:

USS Voyager WIP Img - 006 by Steve J, on Flickr
Parts laid out on my work table along with some aftermarket photo-etch and some foldies to place behind some of the window ports:

USS Voyager WIP Img - 007 by Steve J, on Flickr
The Paragrafix photo-etch looks amazing as usual:

USS Voyager WIP Img - 008 by Steve J, on Flickr
Back lit window panels by Outer Space Outfitters. I'll enjoy trying these out with various LED bulbs lighting them from behind to see what works best for optimal illumination:

USS Voyager WIP Img - 010 by Steve J, on Flickr
Time to start doing some drilling. I had to order some enamel paint tinlets (Revell brand) online which I should be getting by this weekend. So while I wait for my paints and a few other supplies I figured might as well jump in and start drilling/filing out the rectangular window ports. Think I'll start with the upper saucer. This is a good sized model:

USS Voyager WIP Img - 012 by Steve J, on Flickr
Last edited:

