- Joined
- Apr 29, 2024
- Messages
- 1,580

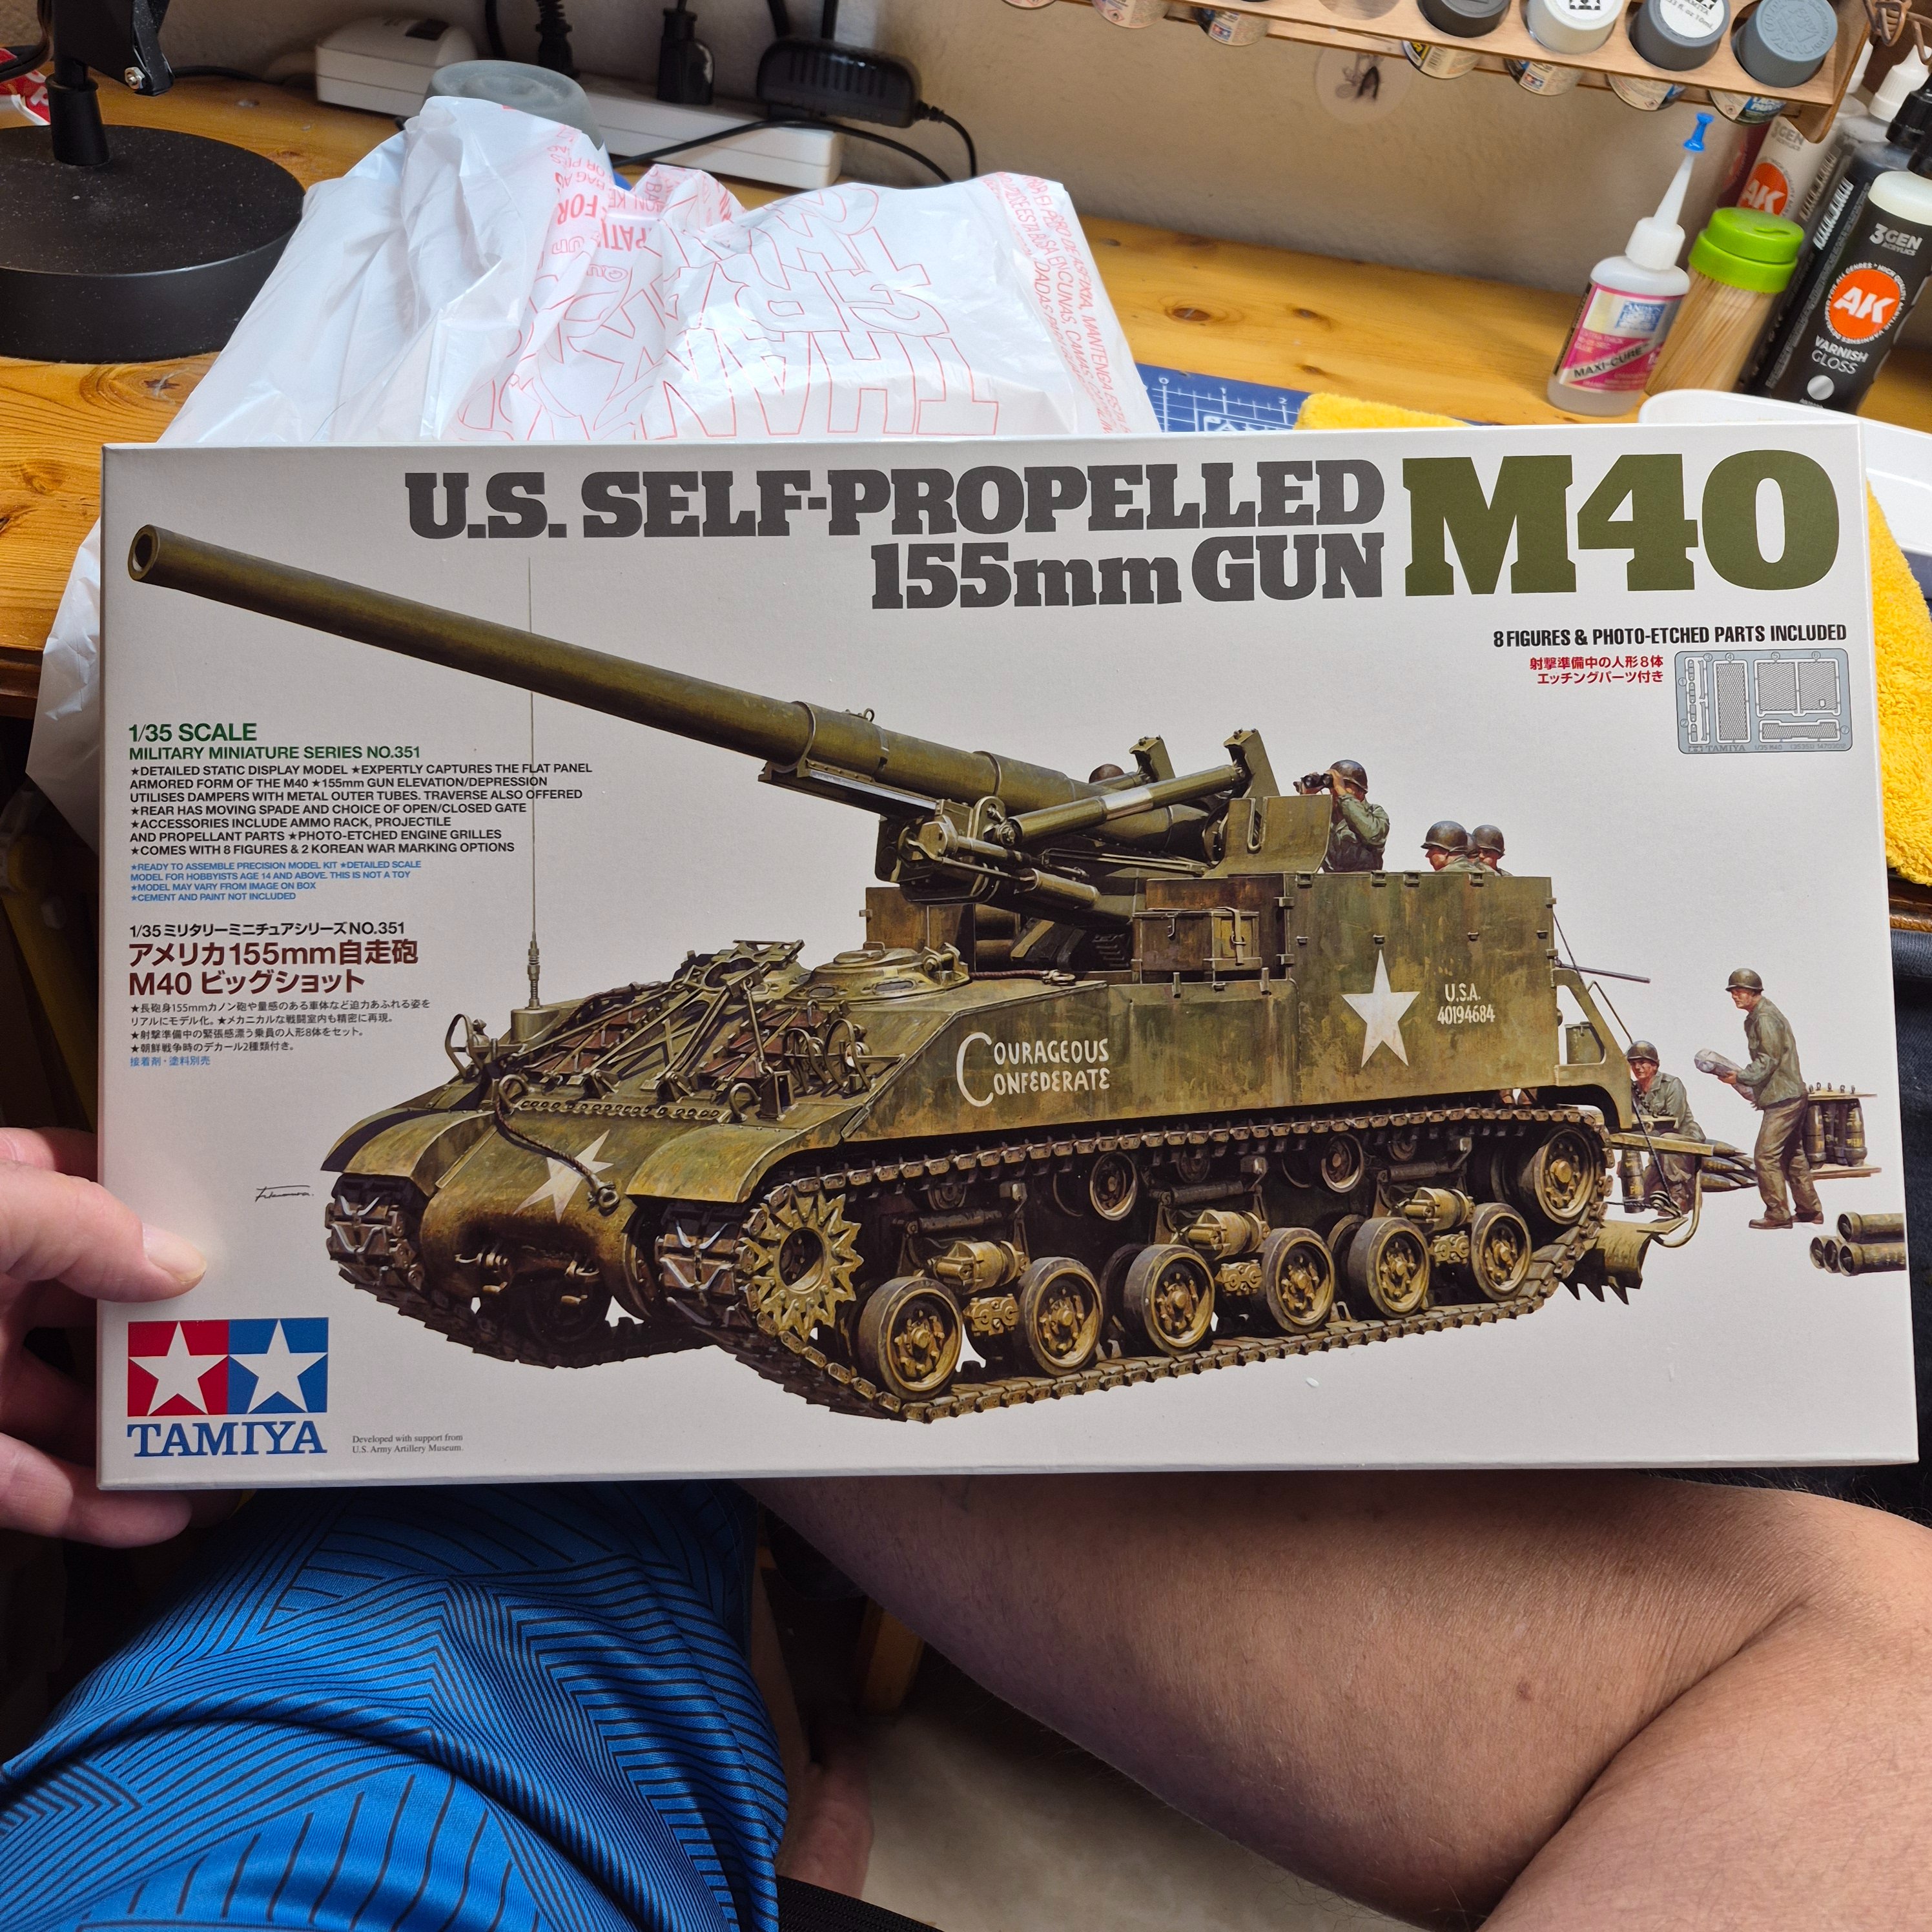
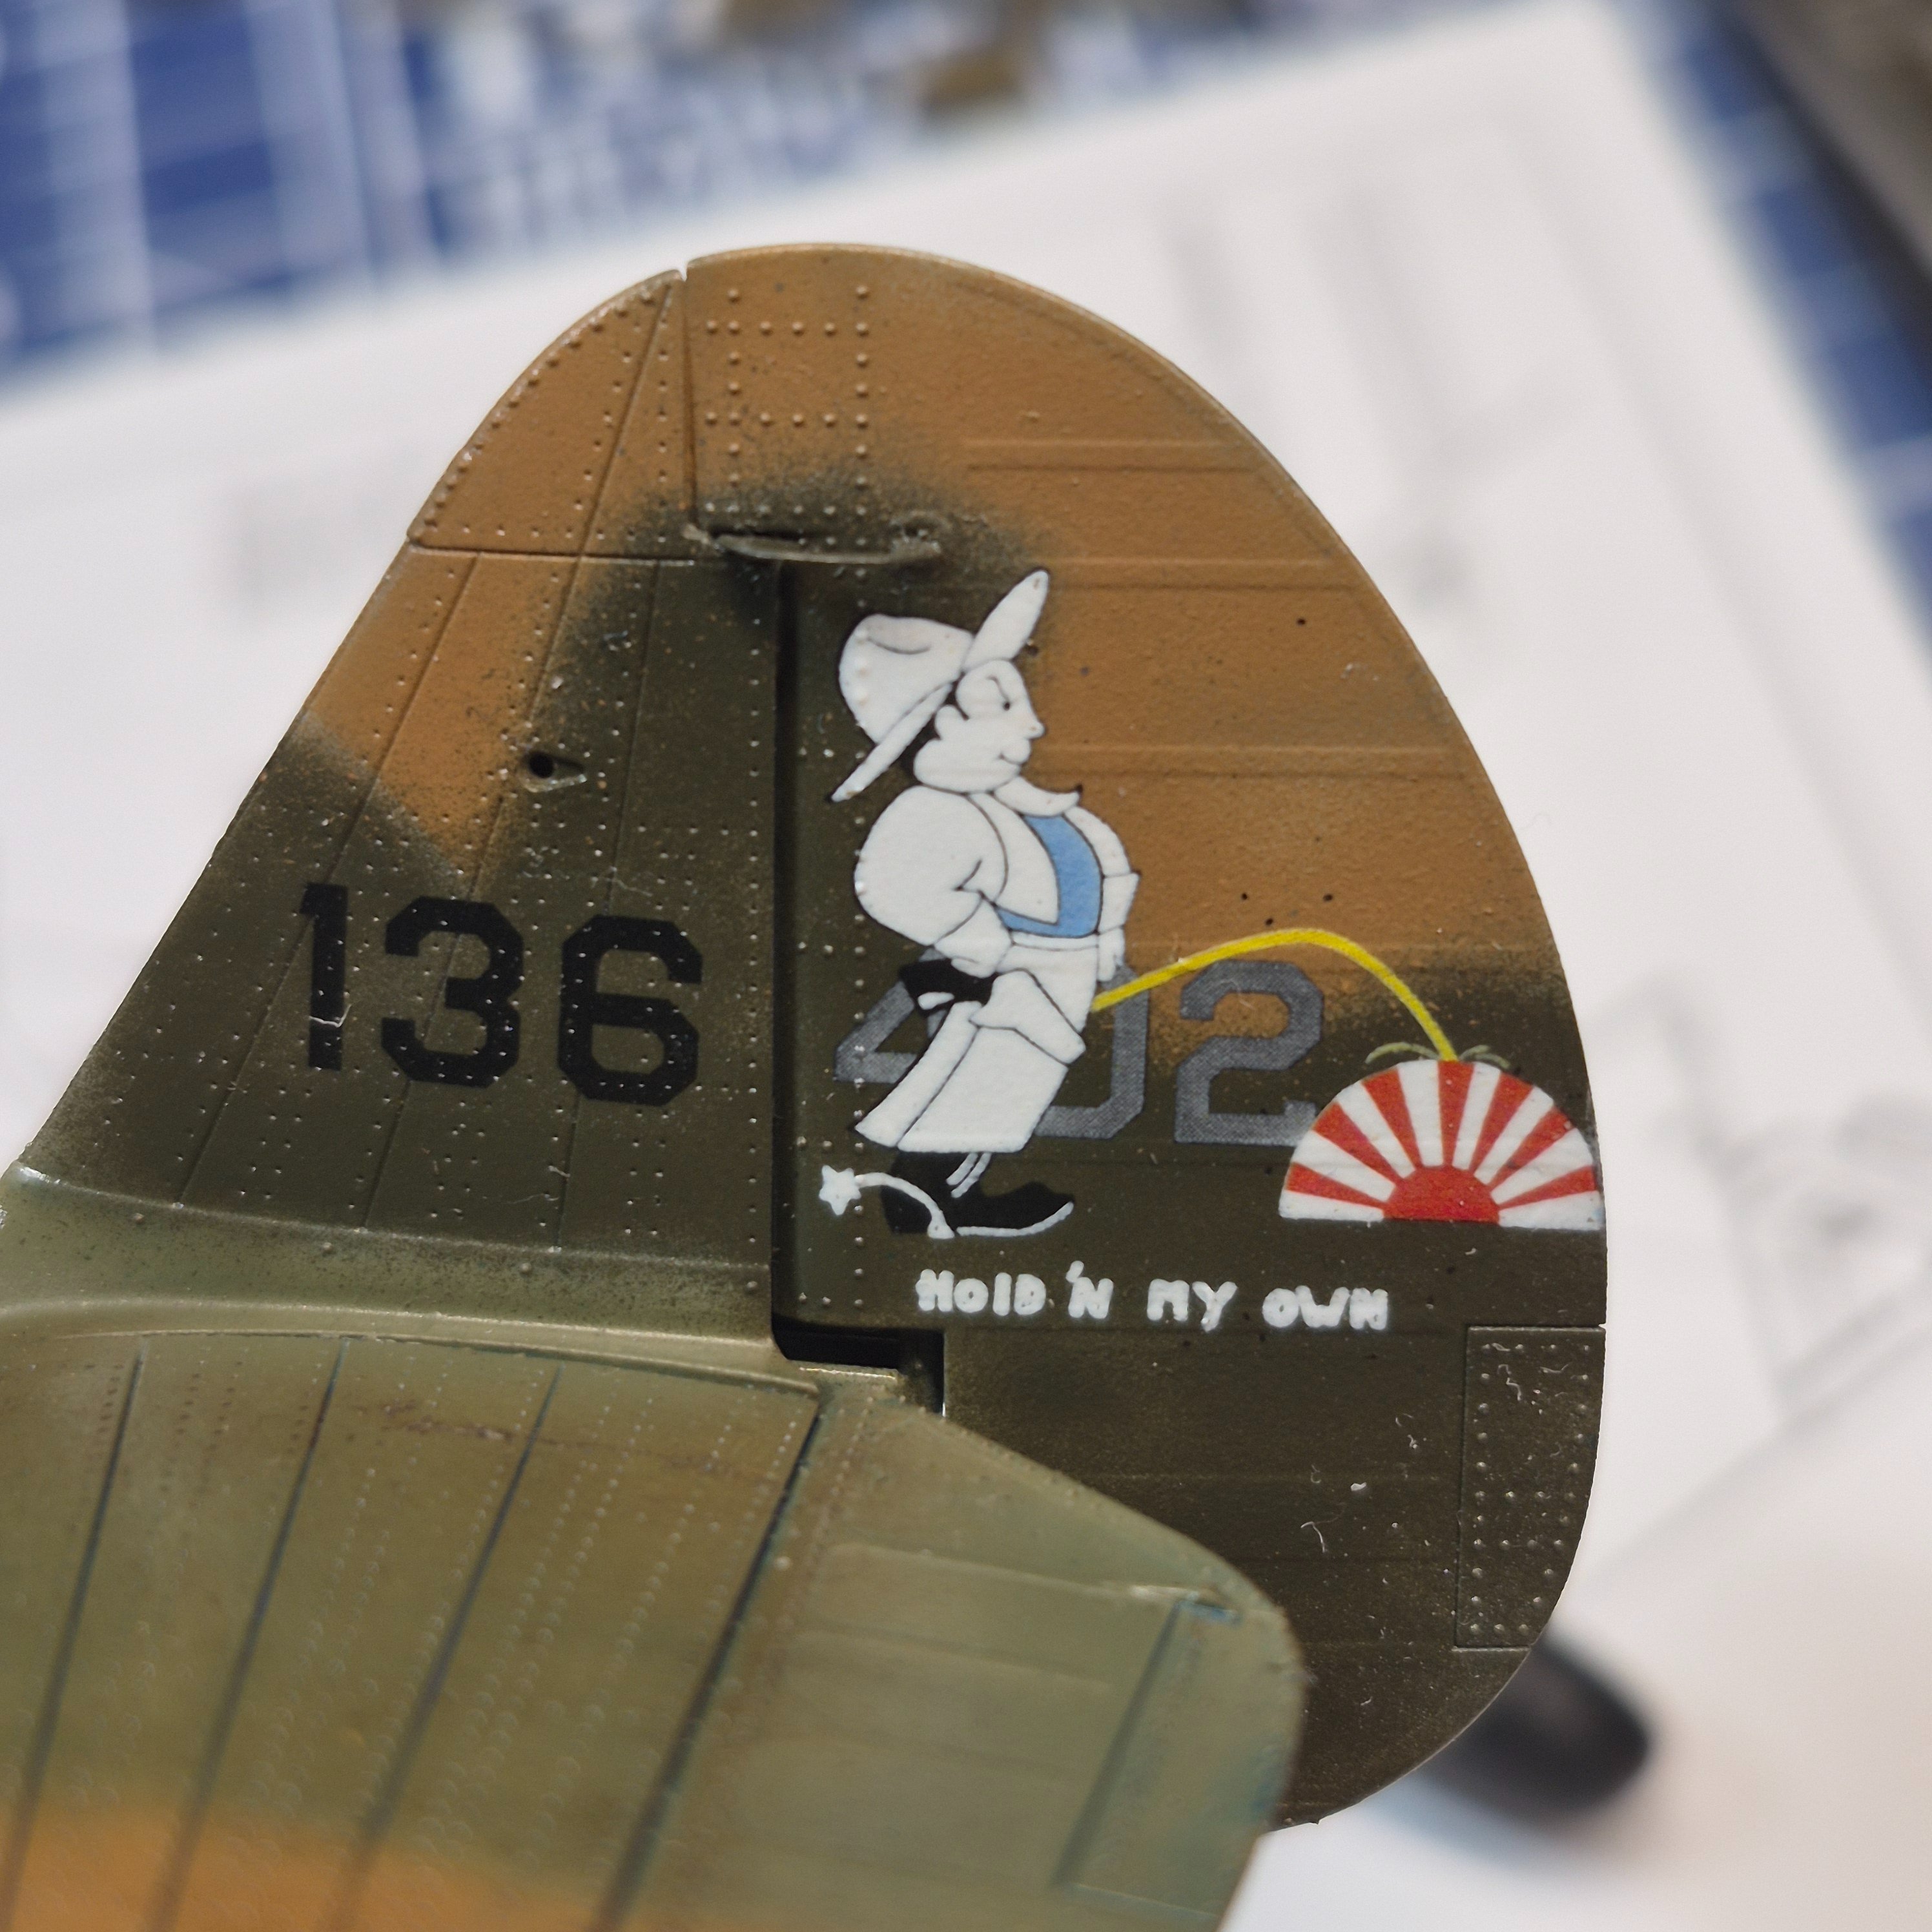
Why was it a "left turn"?I finished the left turn P40. You're welcome to comment all you want. Next up was a toss up between a Peterbilt and an old Ford panel truck. And then I saw this. Big smile
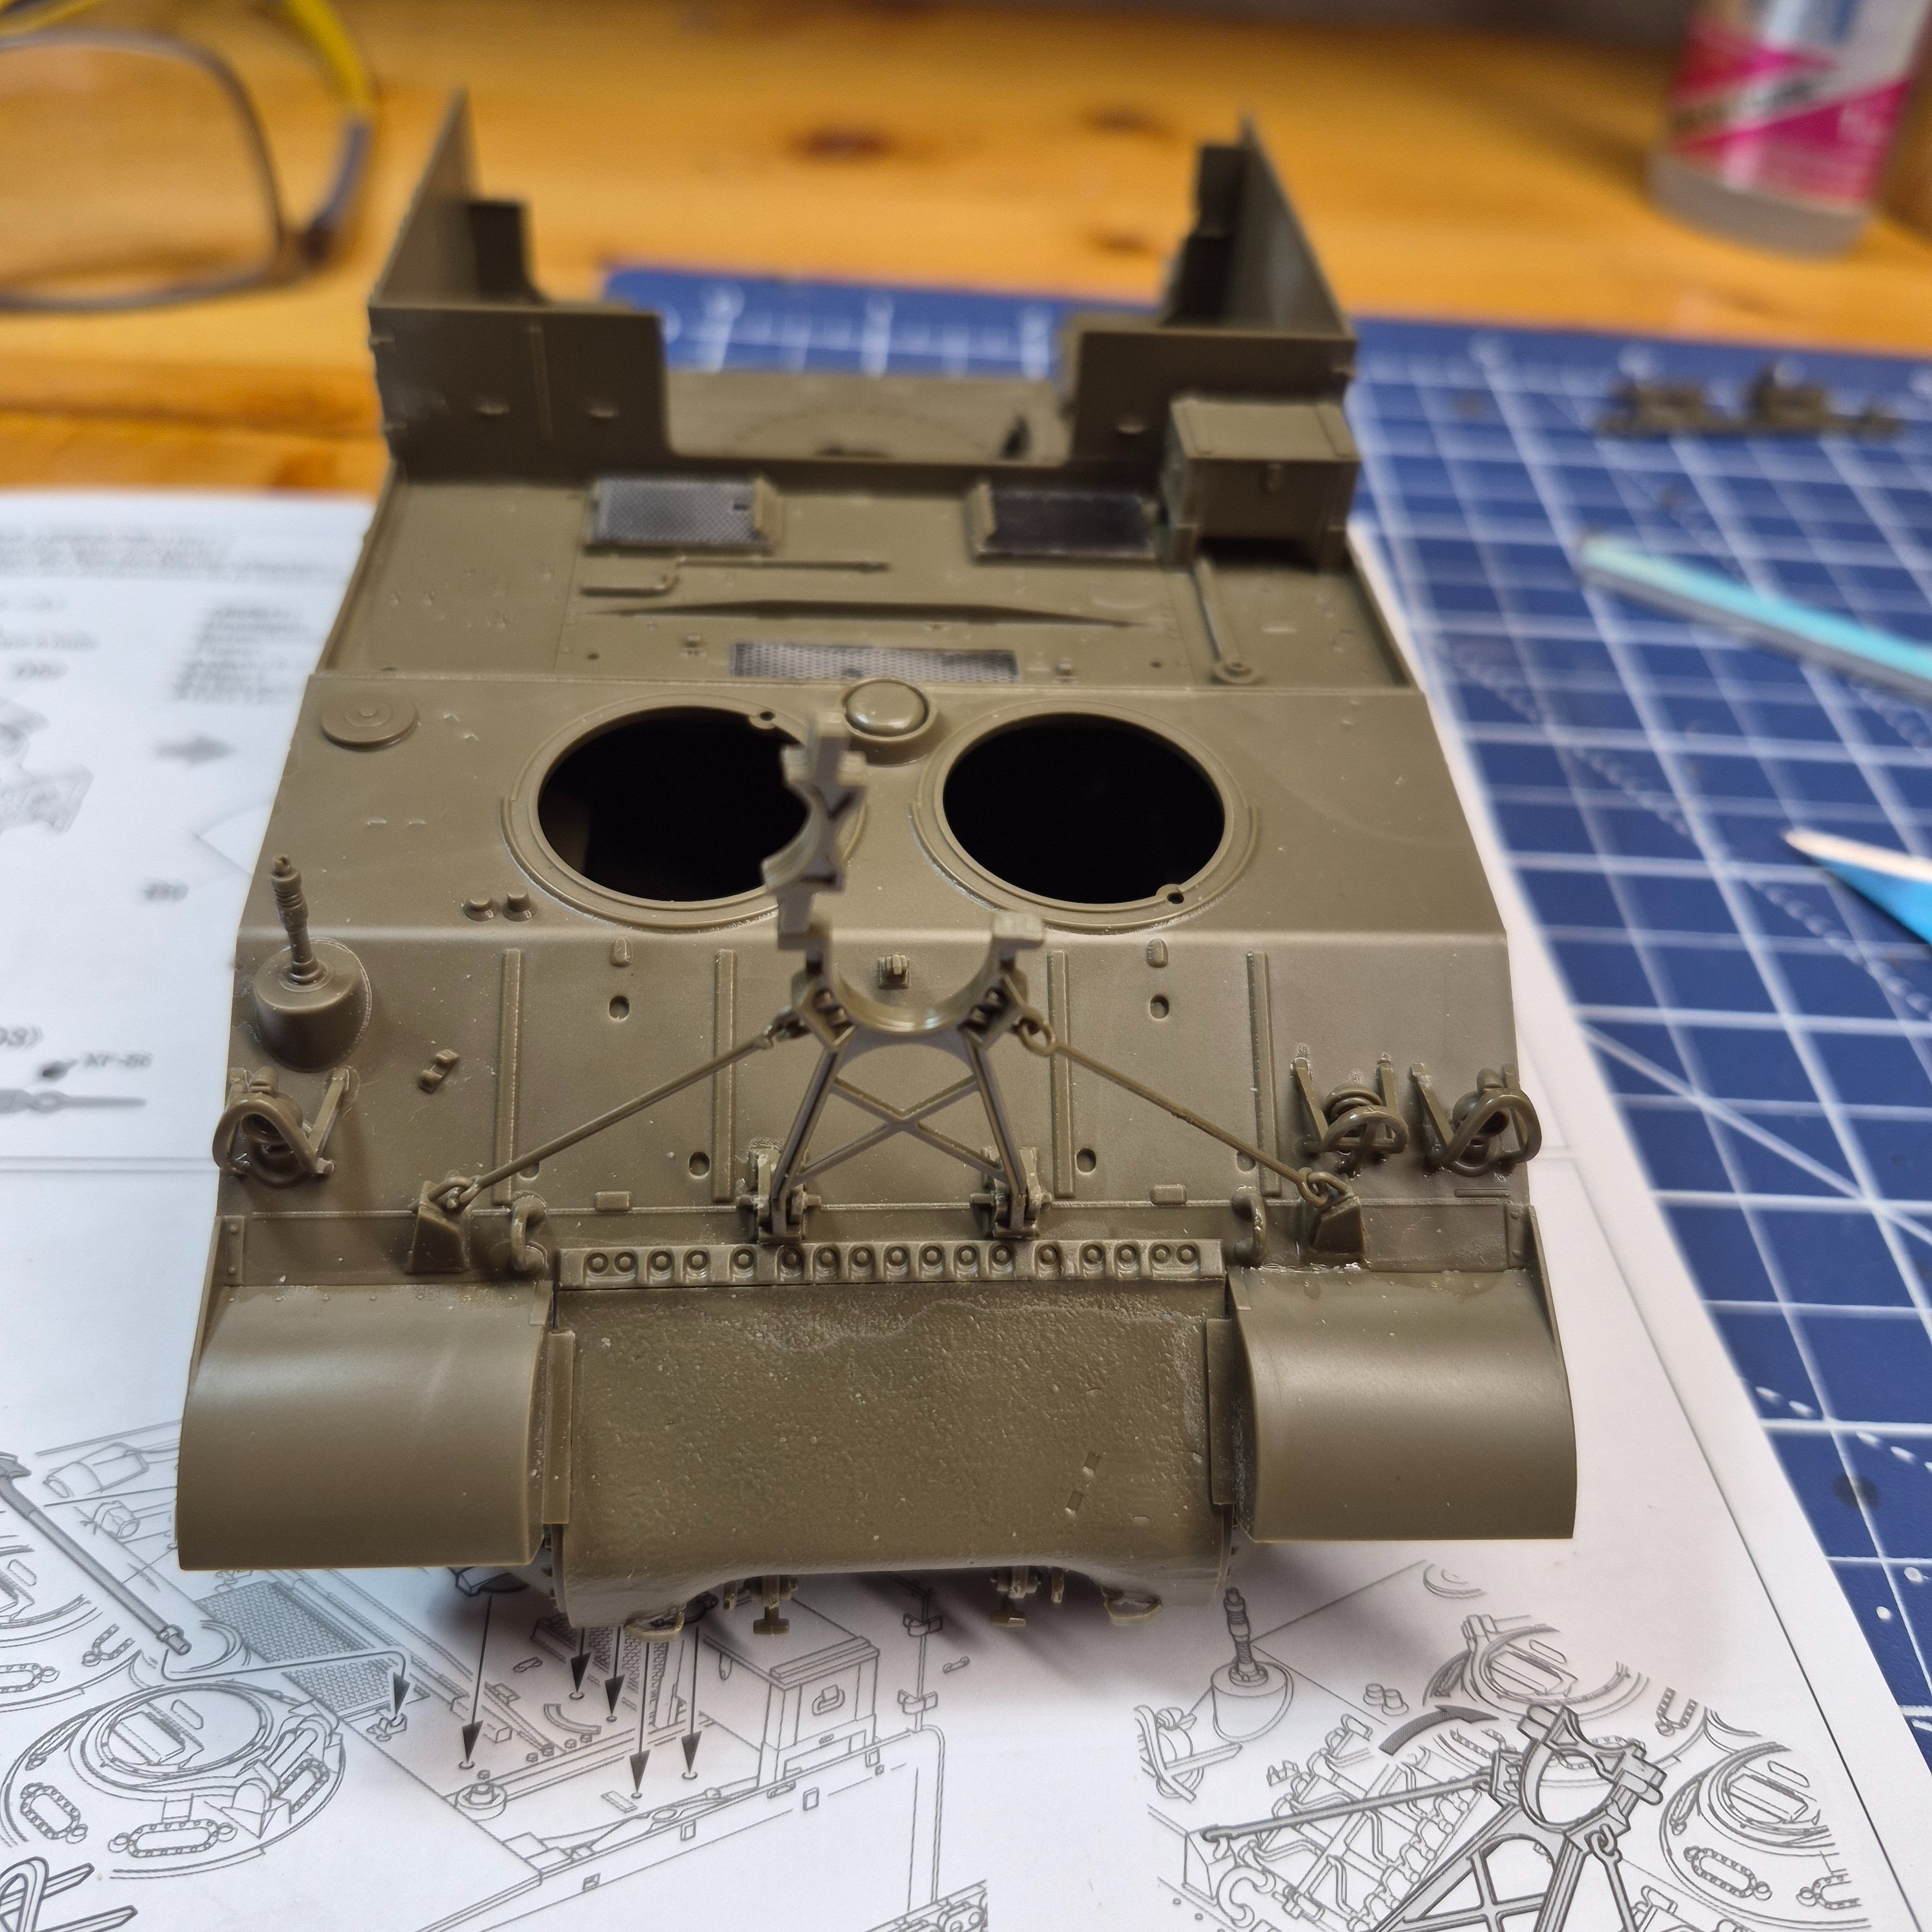
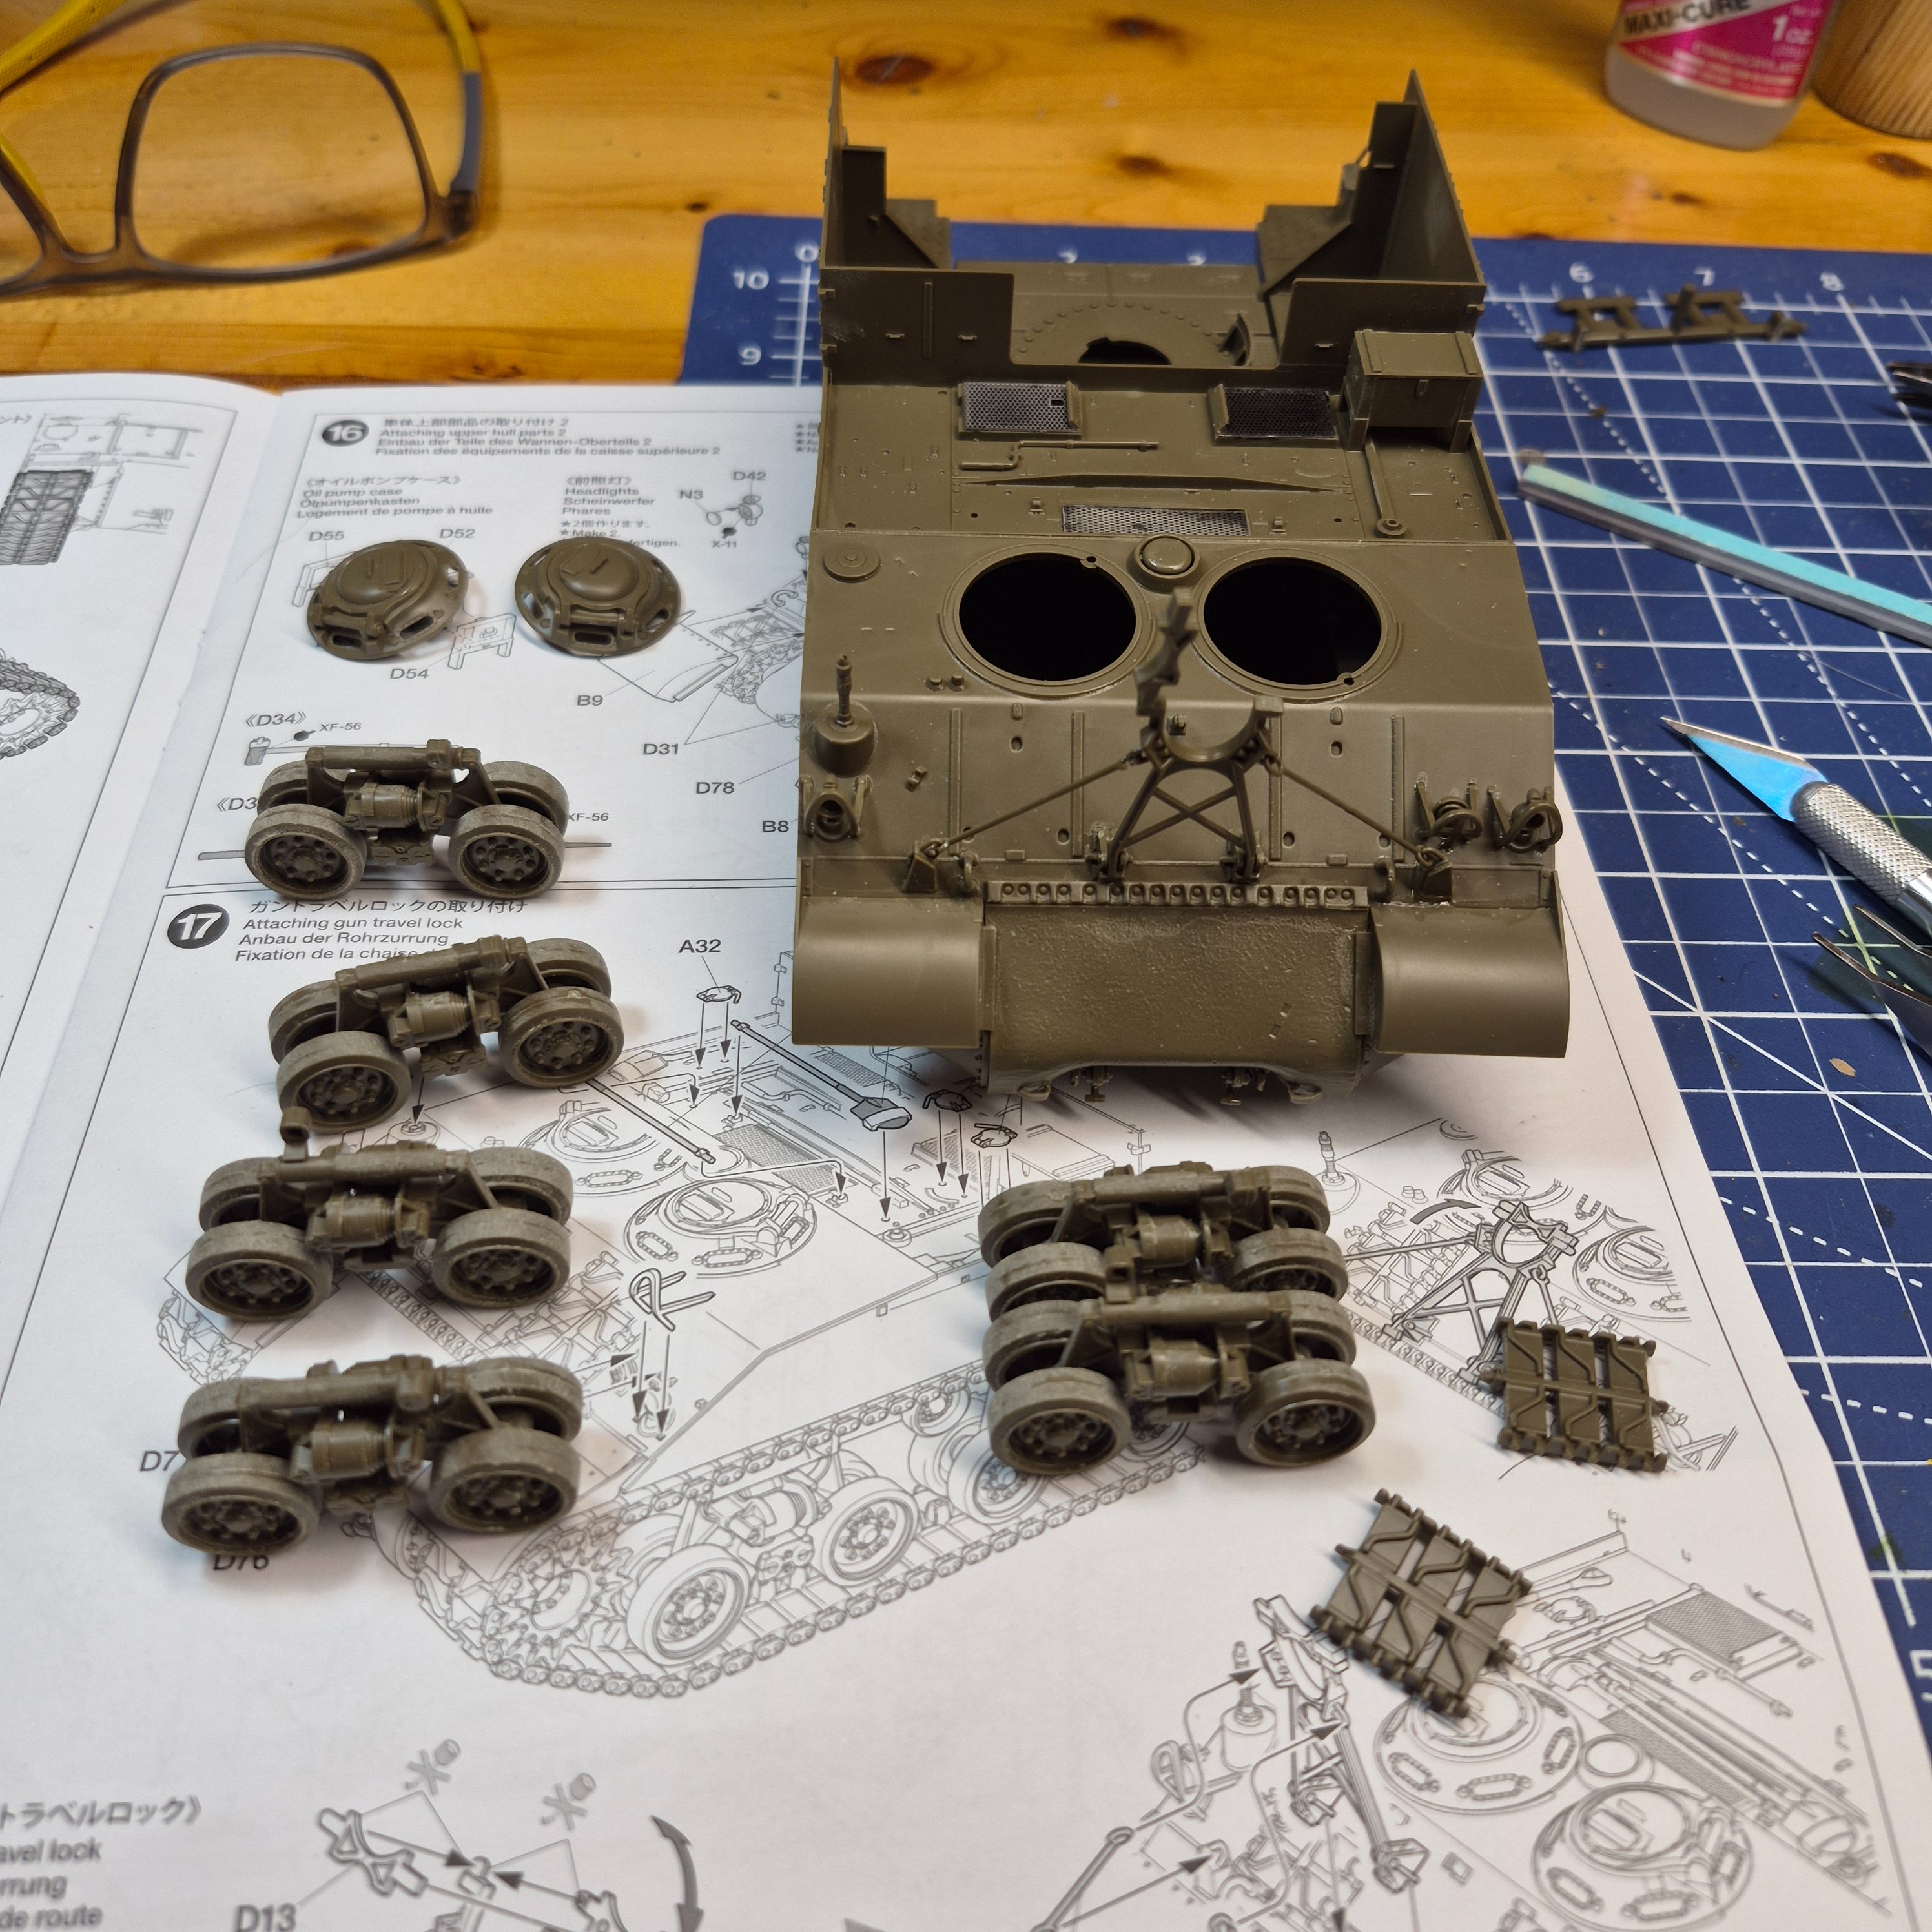
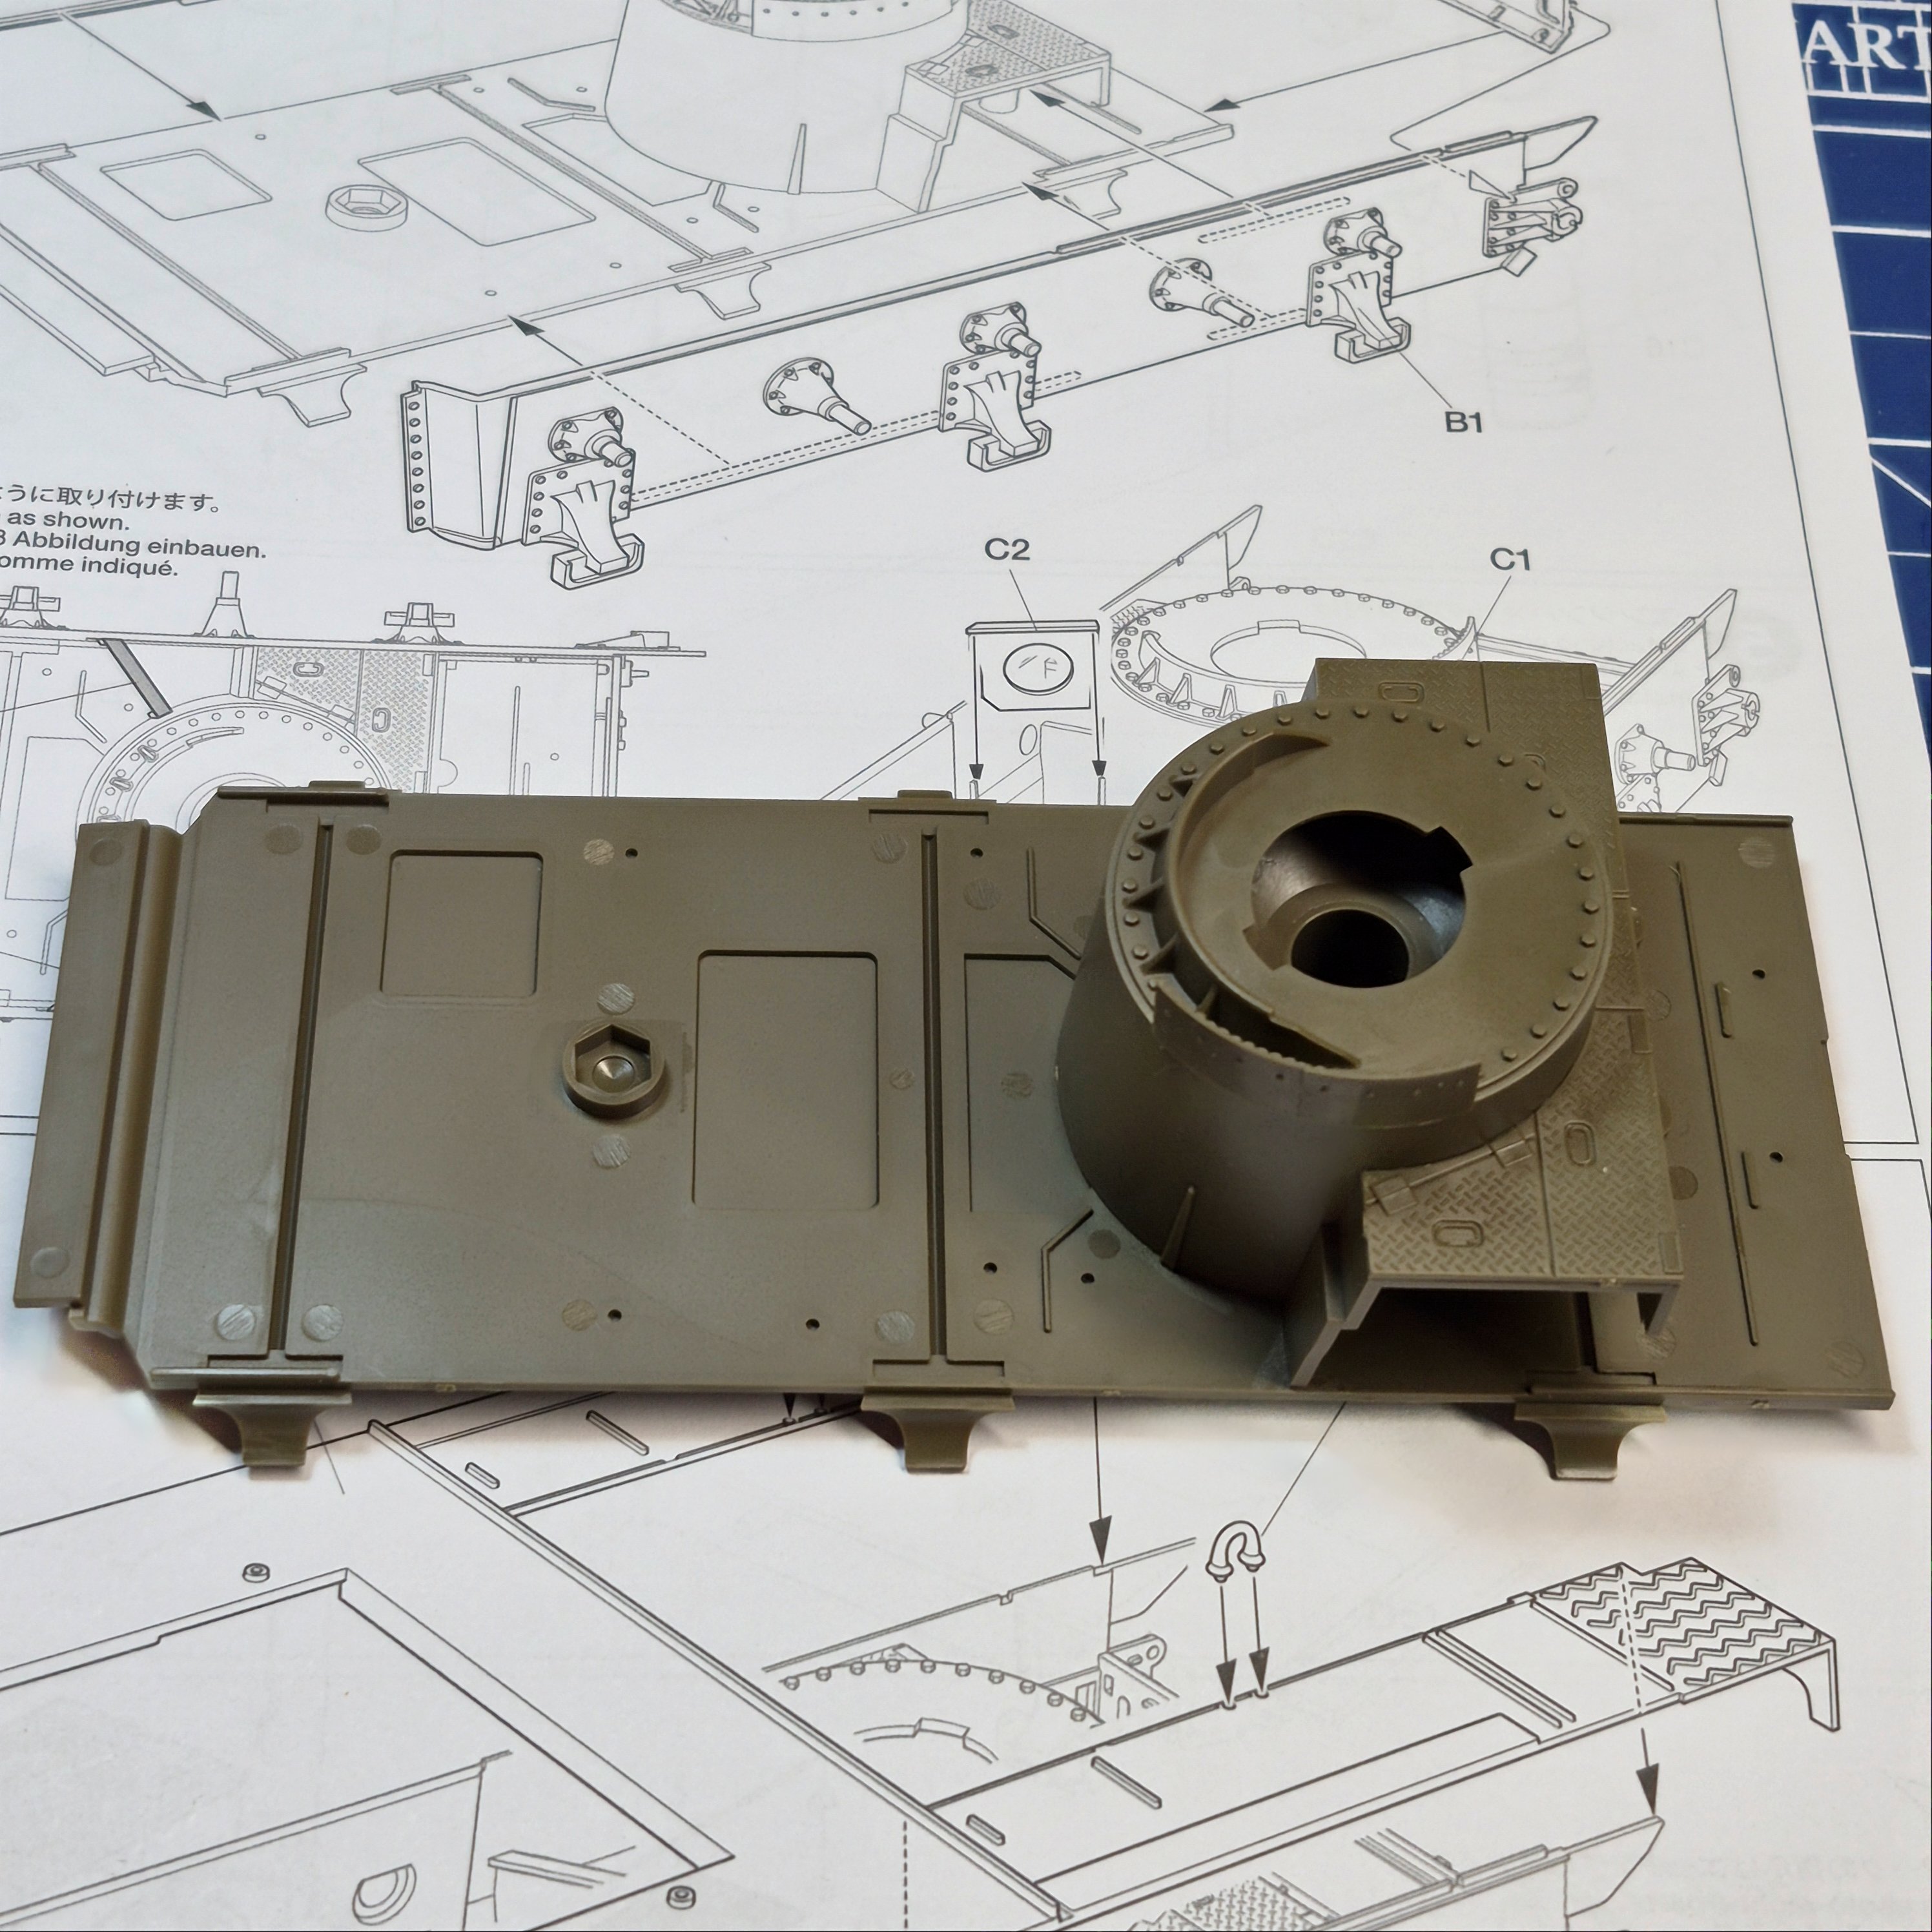
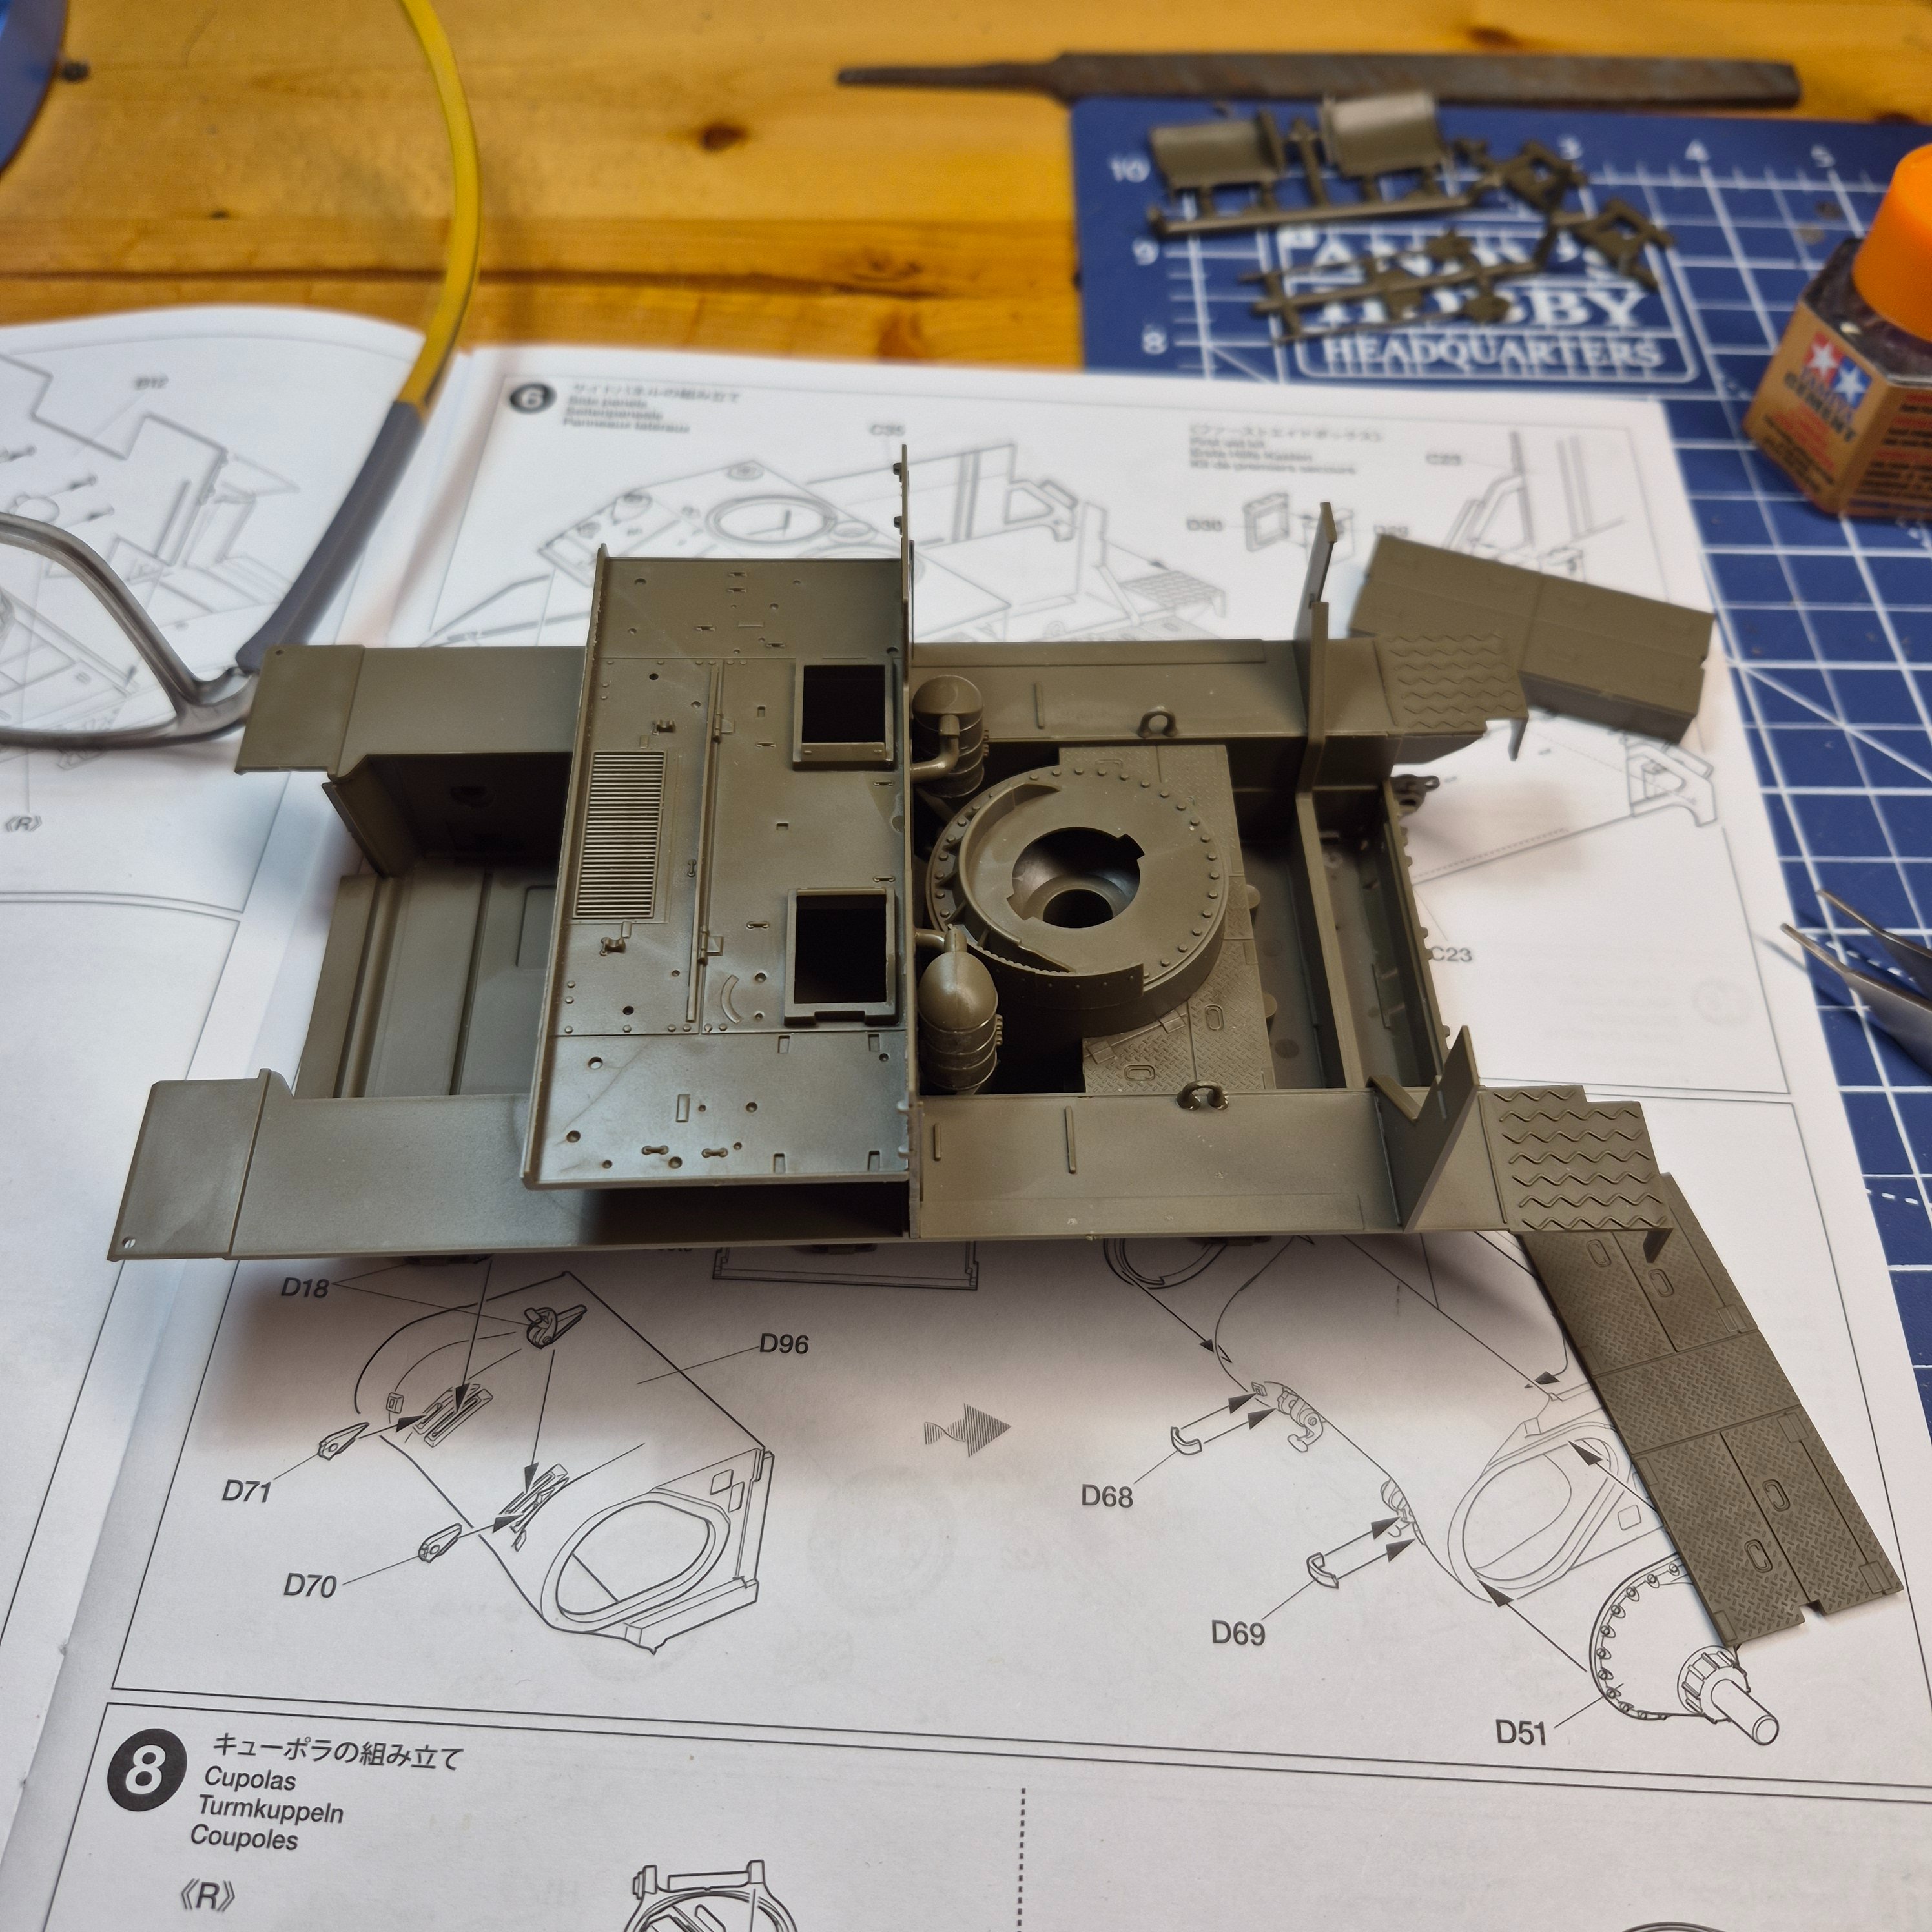
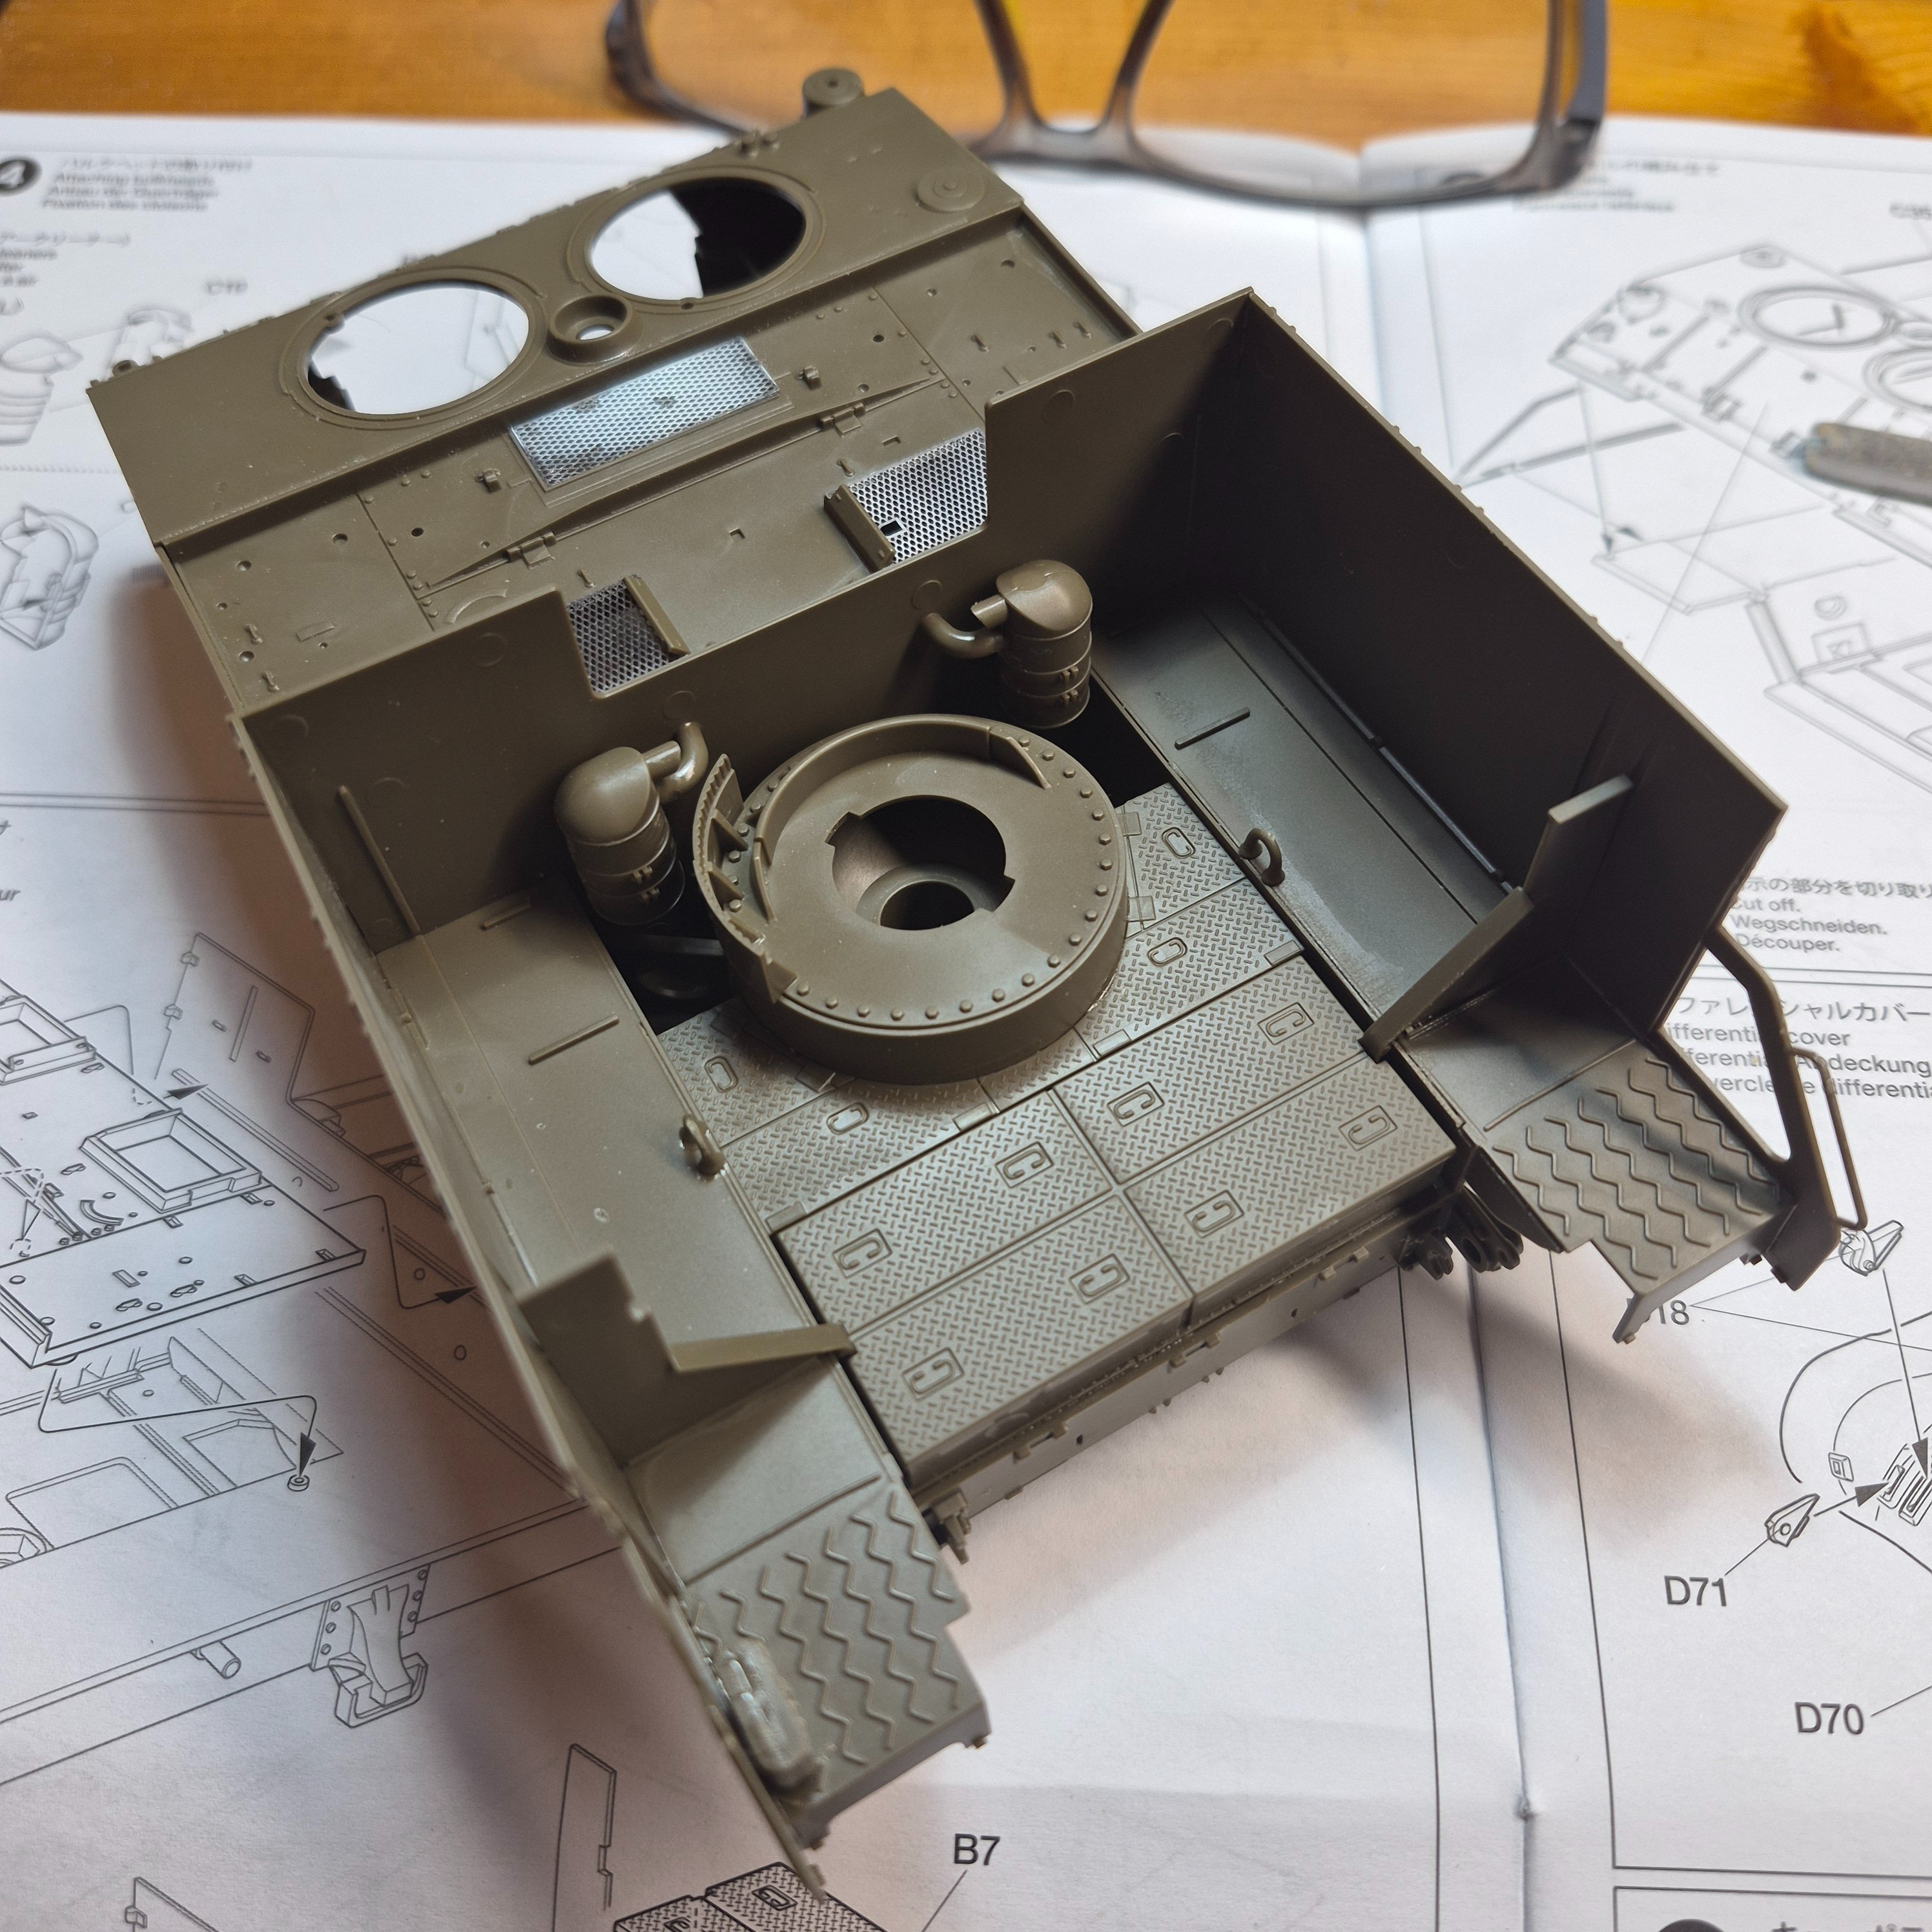
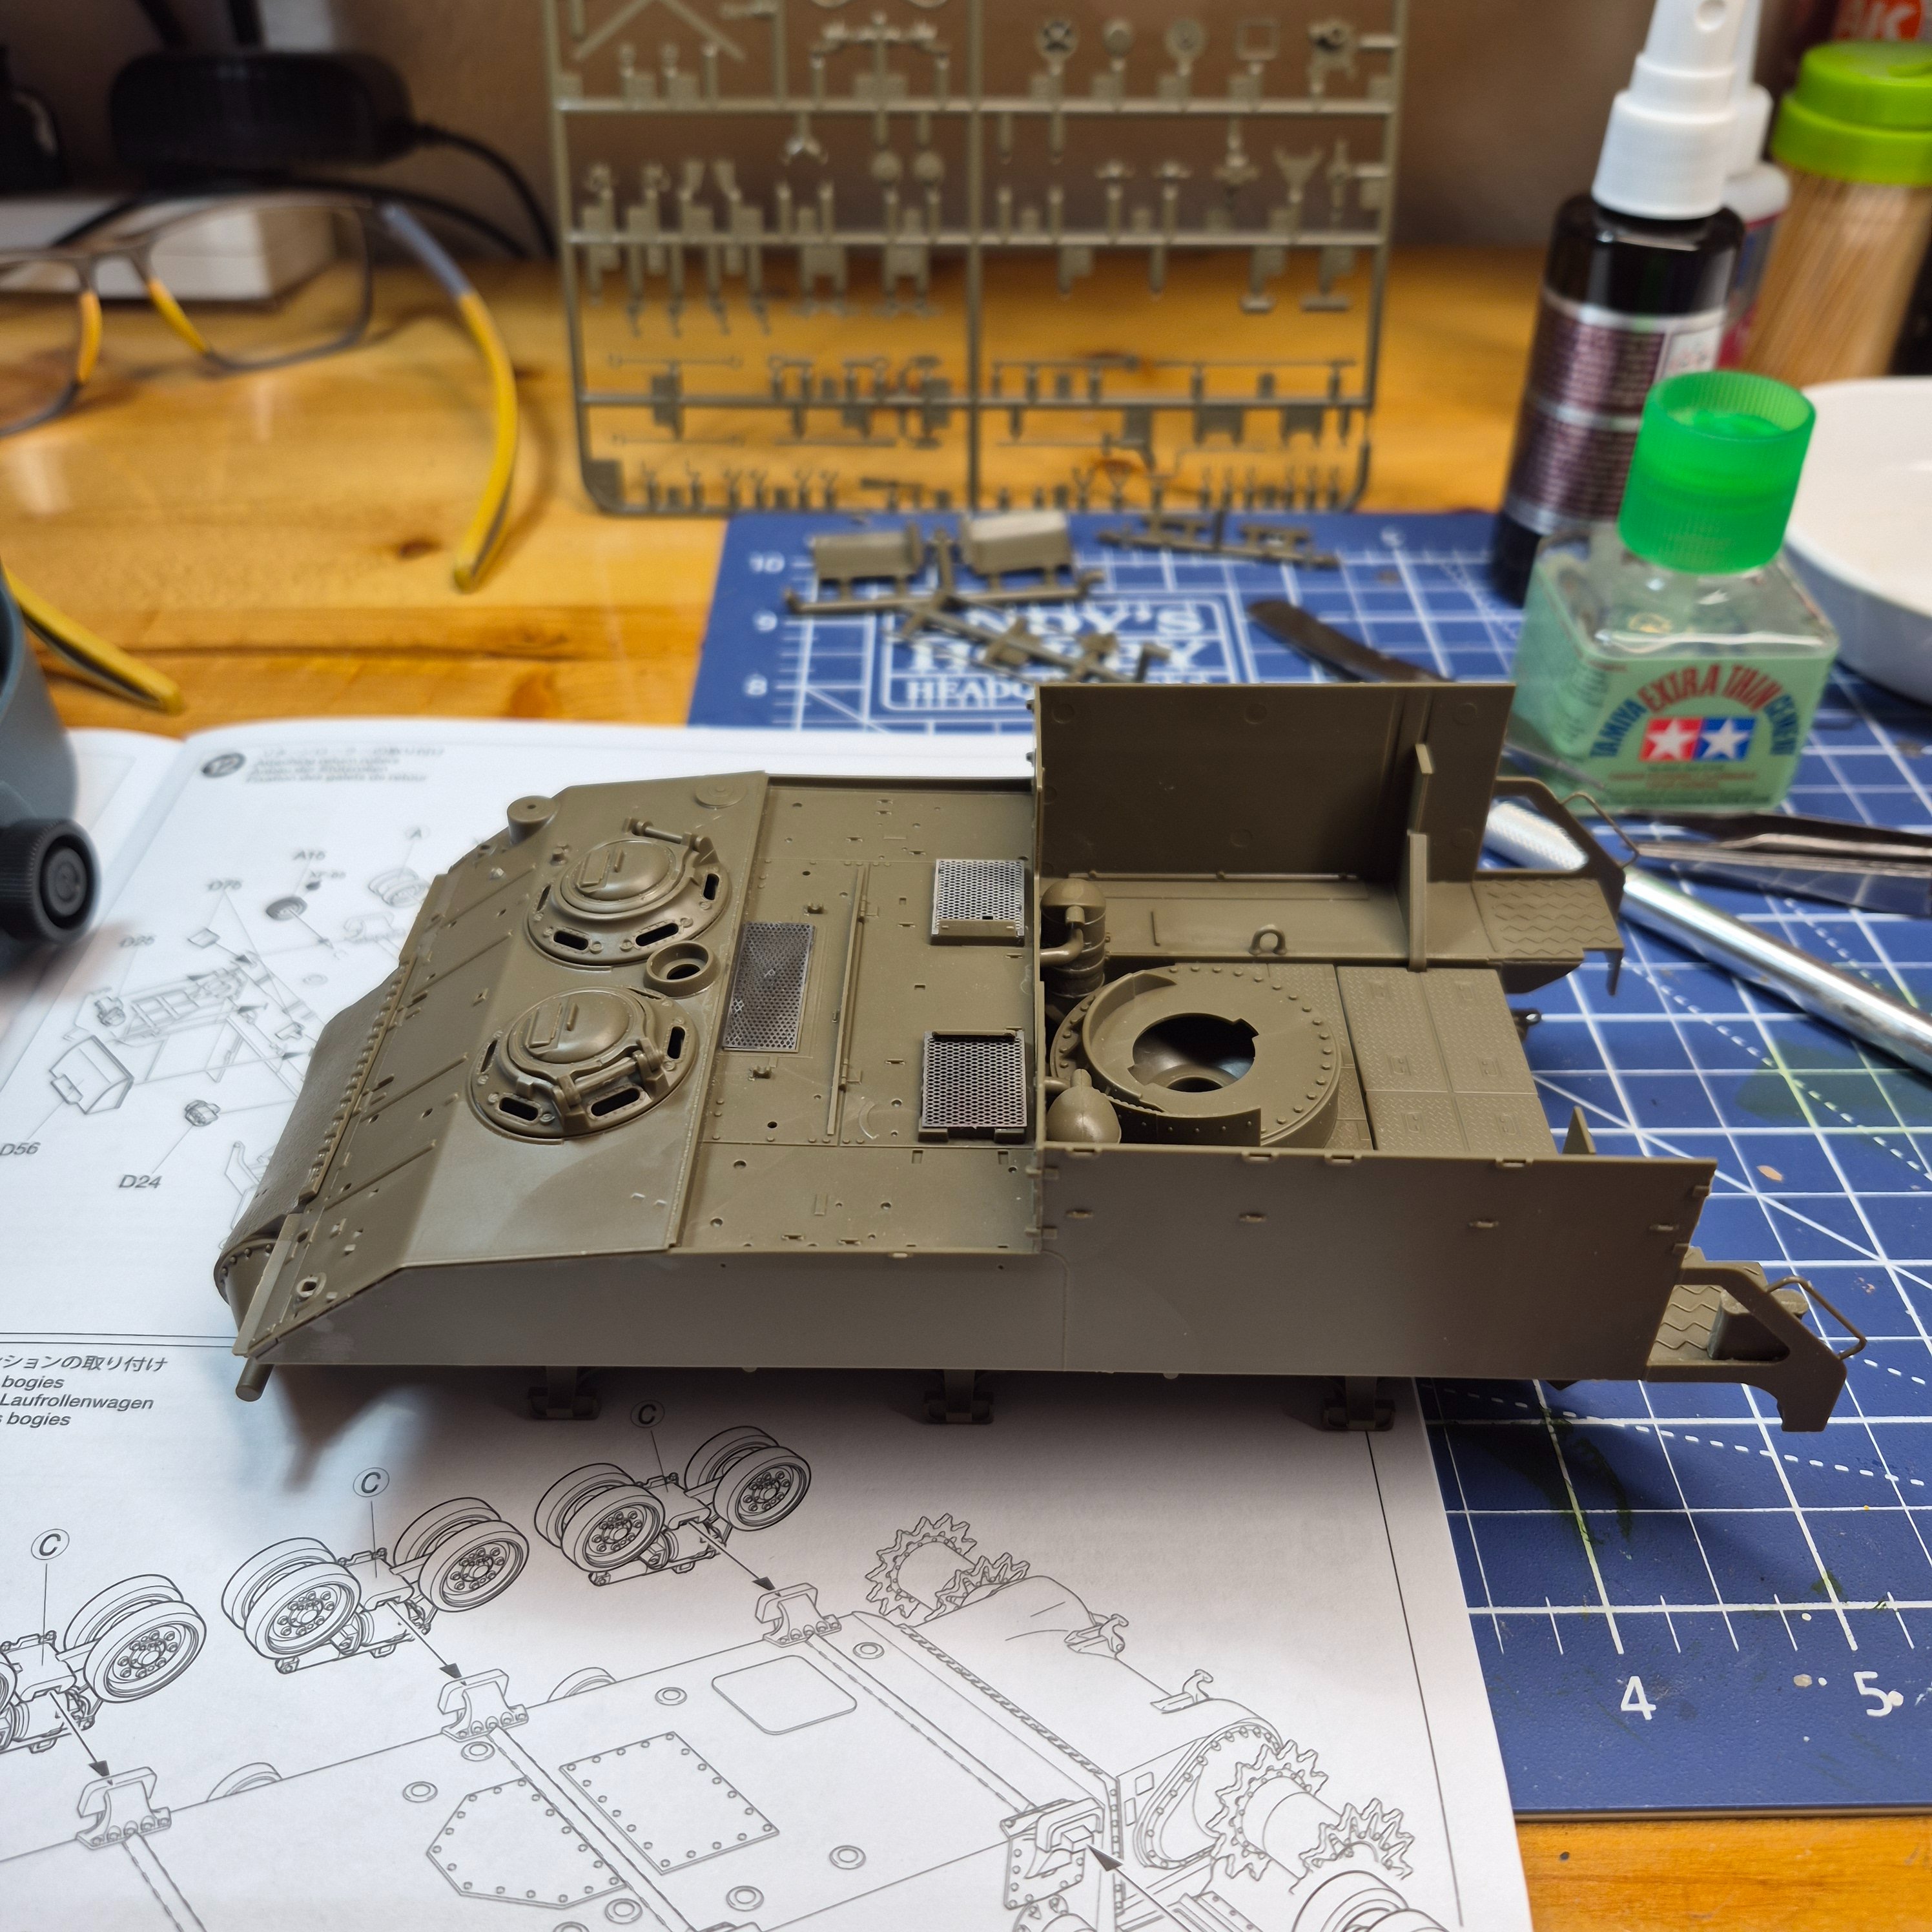
That very question was asked and answered if you look at the left turn only P40 build. But it has to do with the picture on the box. So I don't normally do armor. I did do a tiger tank a long time ago and I thought it was kind of chintzy. It wasn't a Tamia or nothing like that it was an off brand and it just I thought was flimsy. So I'm building this and I have the main body done and next I have to work on the suspension. But let me tell you this is so well engineered it is flawless. And sturdy. You can feel how well it's built. This is an absolute joy to build. I haven't added the clear pieces to the Coppola's yet. I figured I'd leave them unglued and get the paint done first.Why was it a "left turn"?

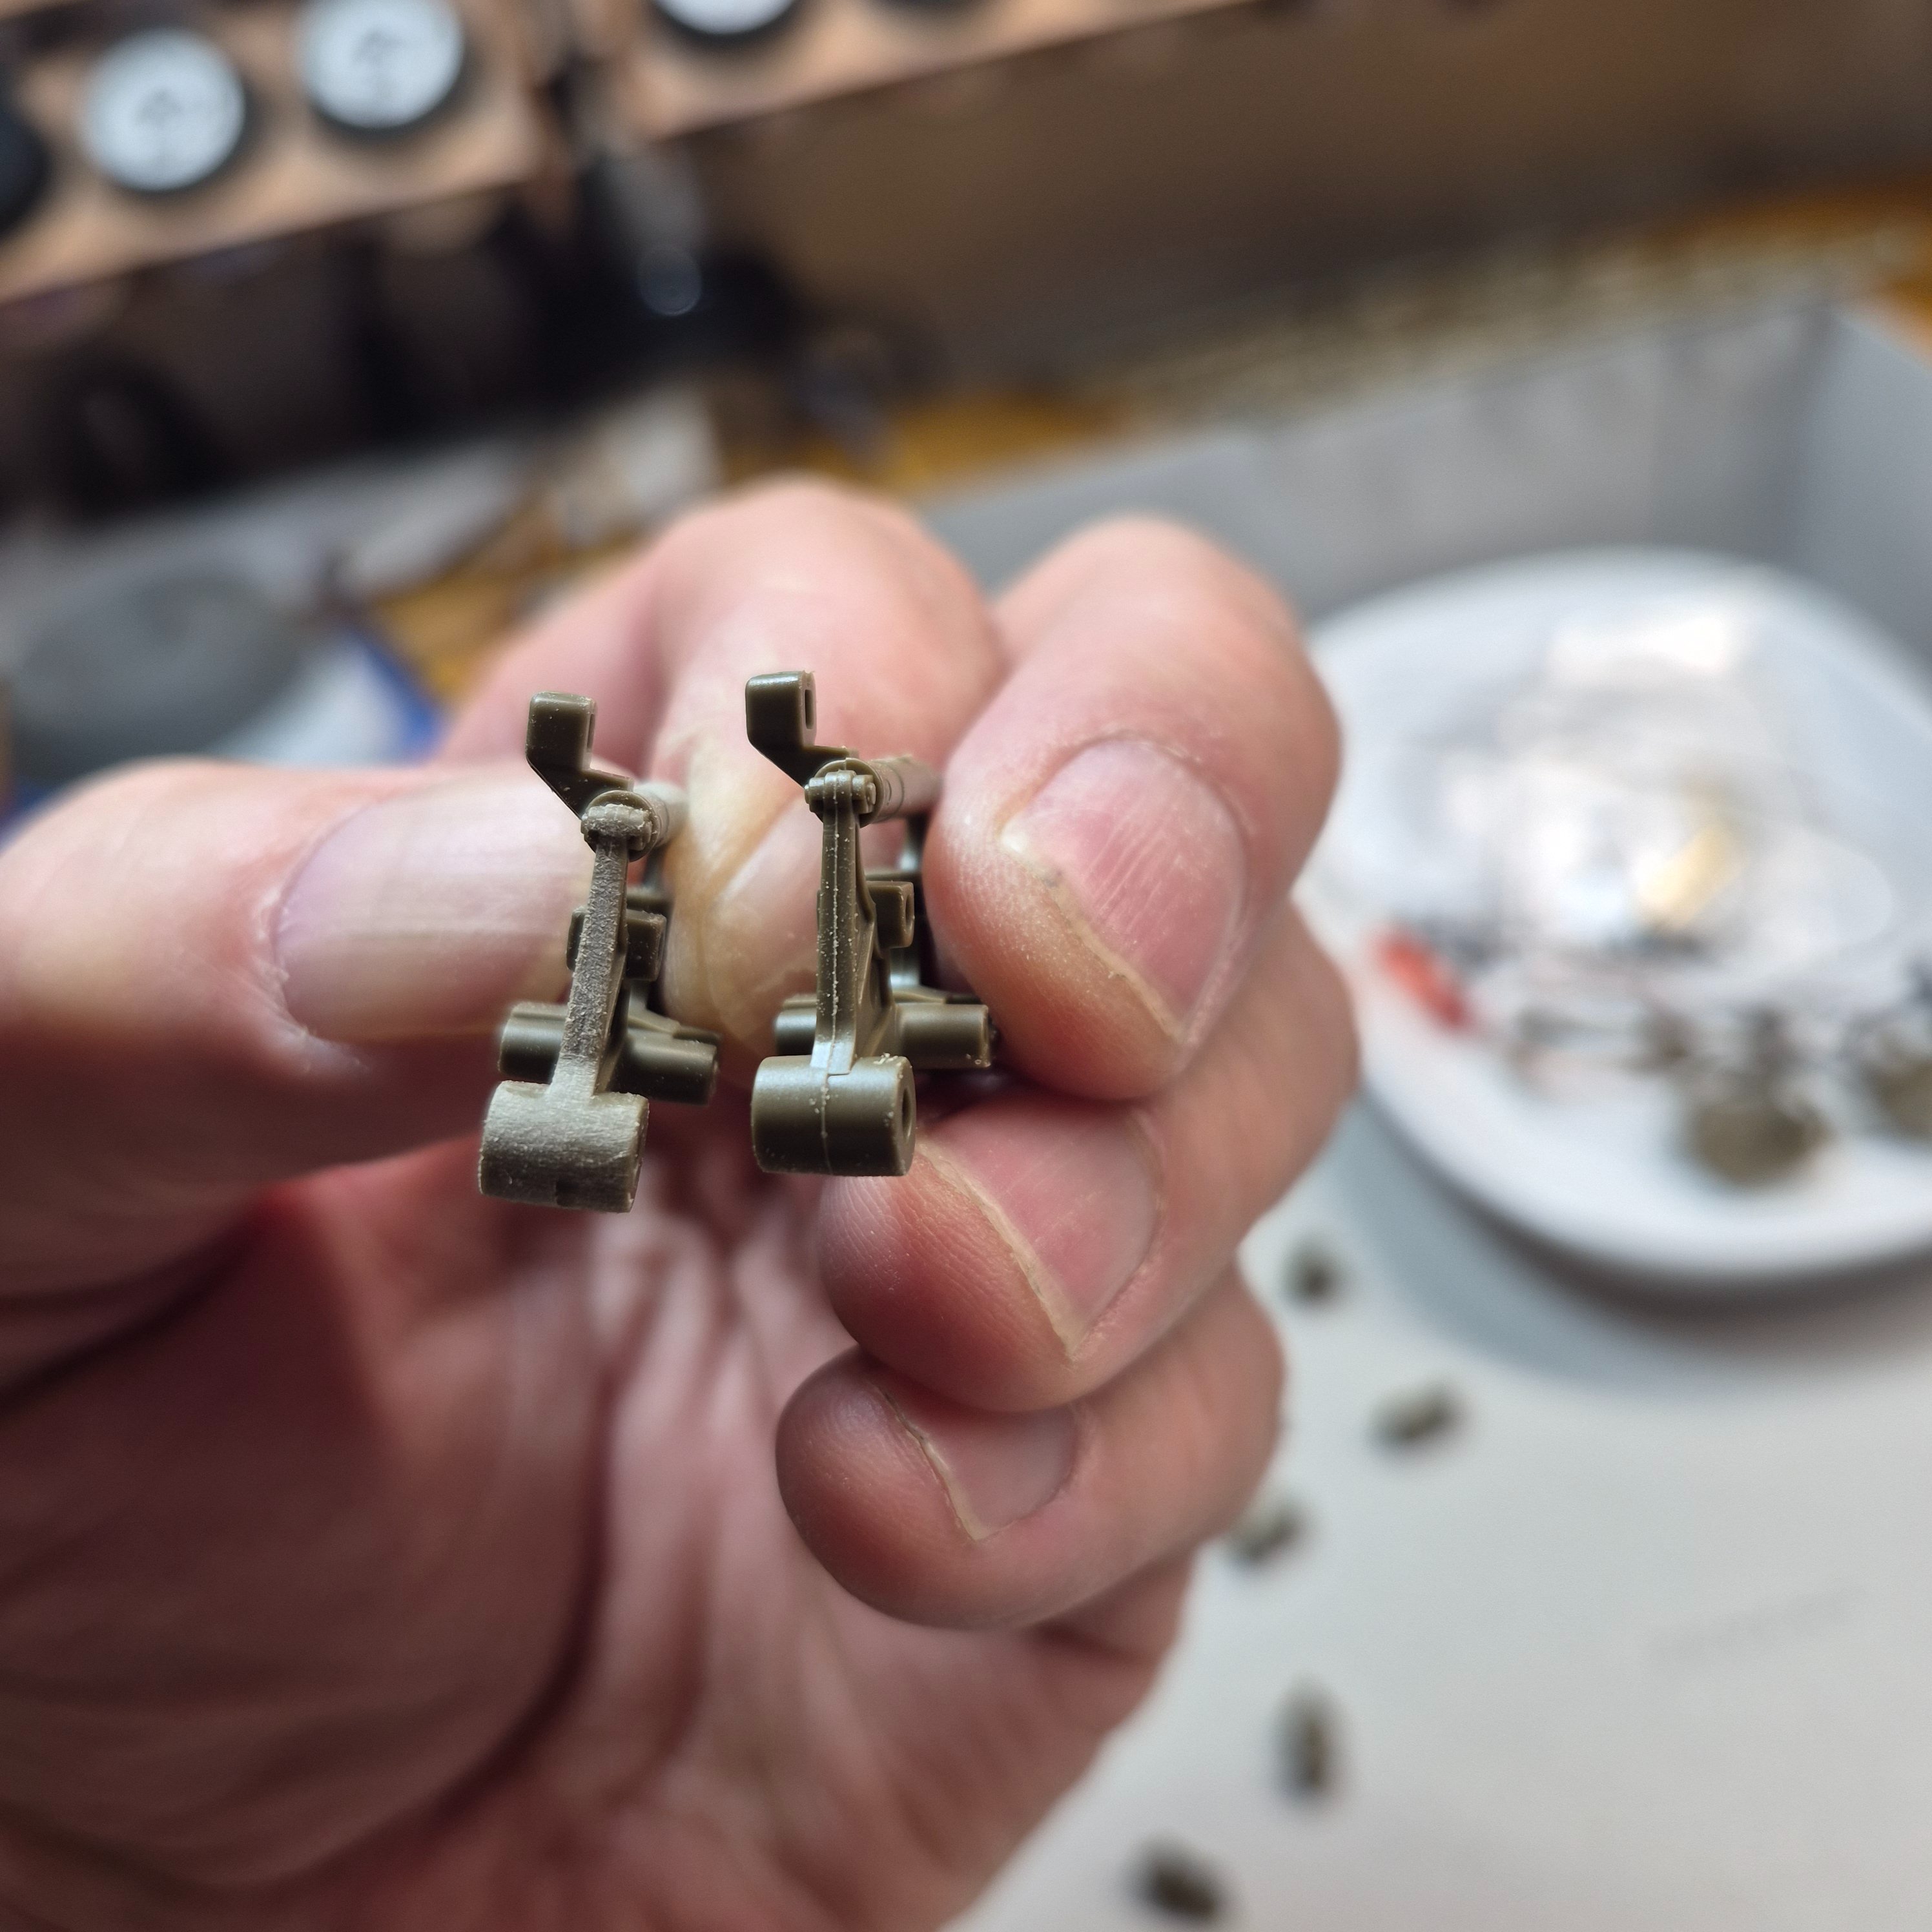
Okay, thanks. My thoughts exactly. Especially when I just bought a headband magnifier. Wow! Should have bought this a long time ago. Yeah the seam lines show up like a sore thumb with theseI would sand, or scrape with a hobby knife.
Leaving those bugs me on my builds.

I'd remove those lines too...get better but you also want to get faster
Oh yeah. Couple scrapes with the number 14. Get her done. And if I find sanding roughens it up too much and I want it smoother? A quick way to smooth it is put some Tamia thin on itI'd remove those lines too...
And for many situations like these parts, scraping can be faster... Sometimes just one draw of a scraper tool or edge of a knife blade.
I find sanding either is not as precise or it roughs up the surface, requiring even more sanding with a finer grit.

... I find that often, seams often end up in places that leave you second guessing, like these, or along shirt sleeves or trouser legs.there is a seam

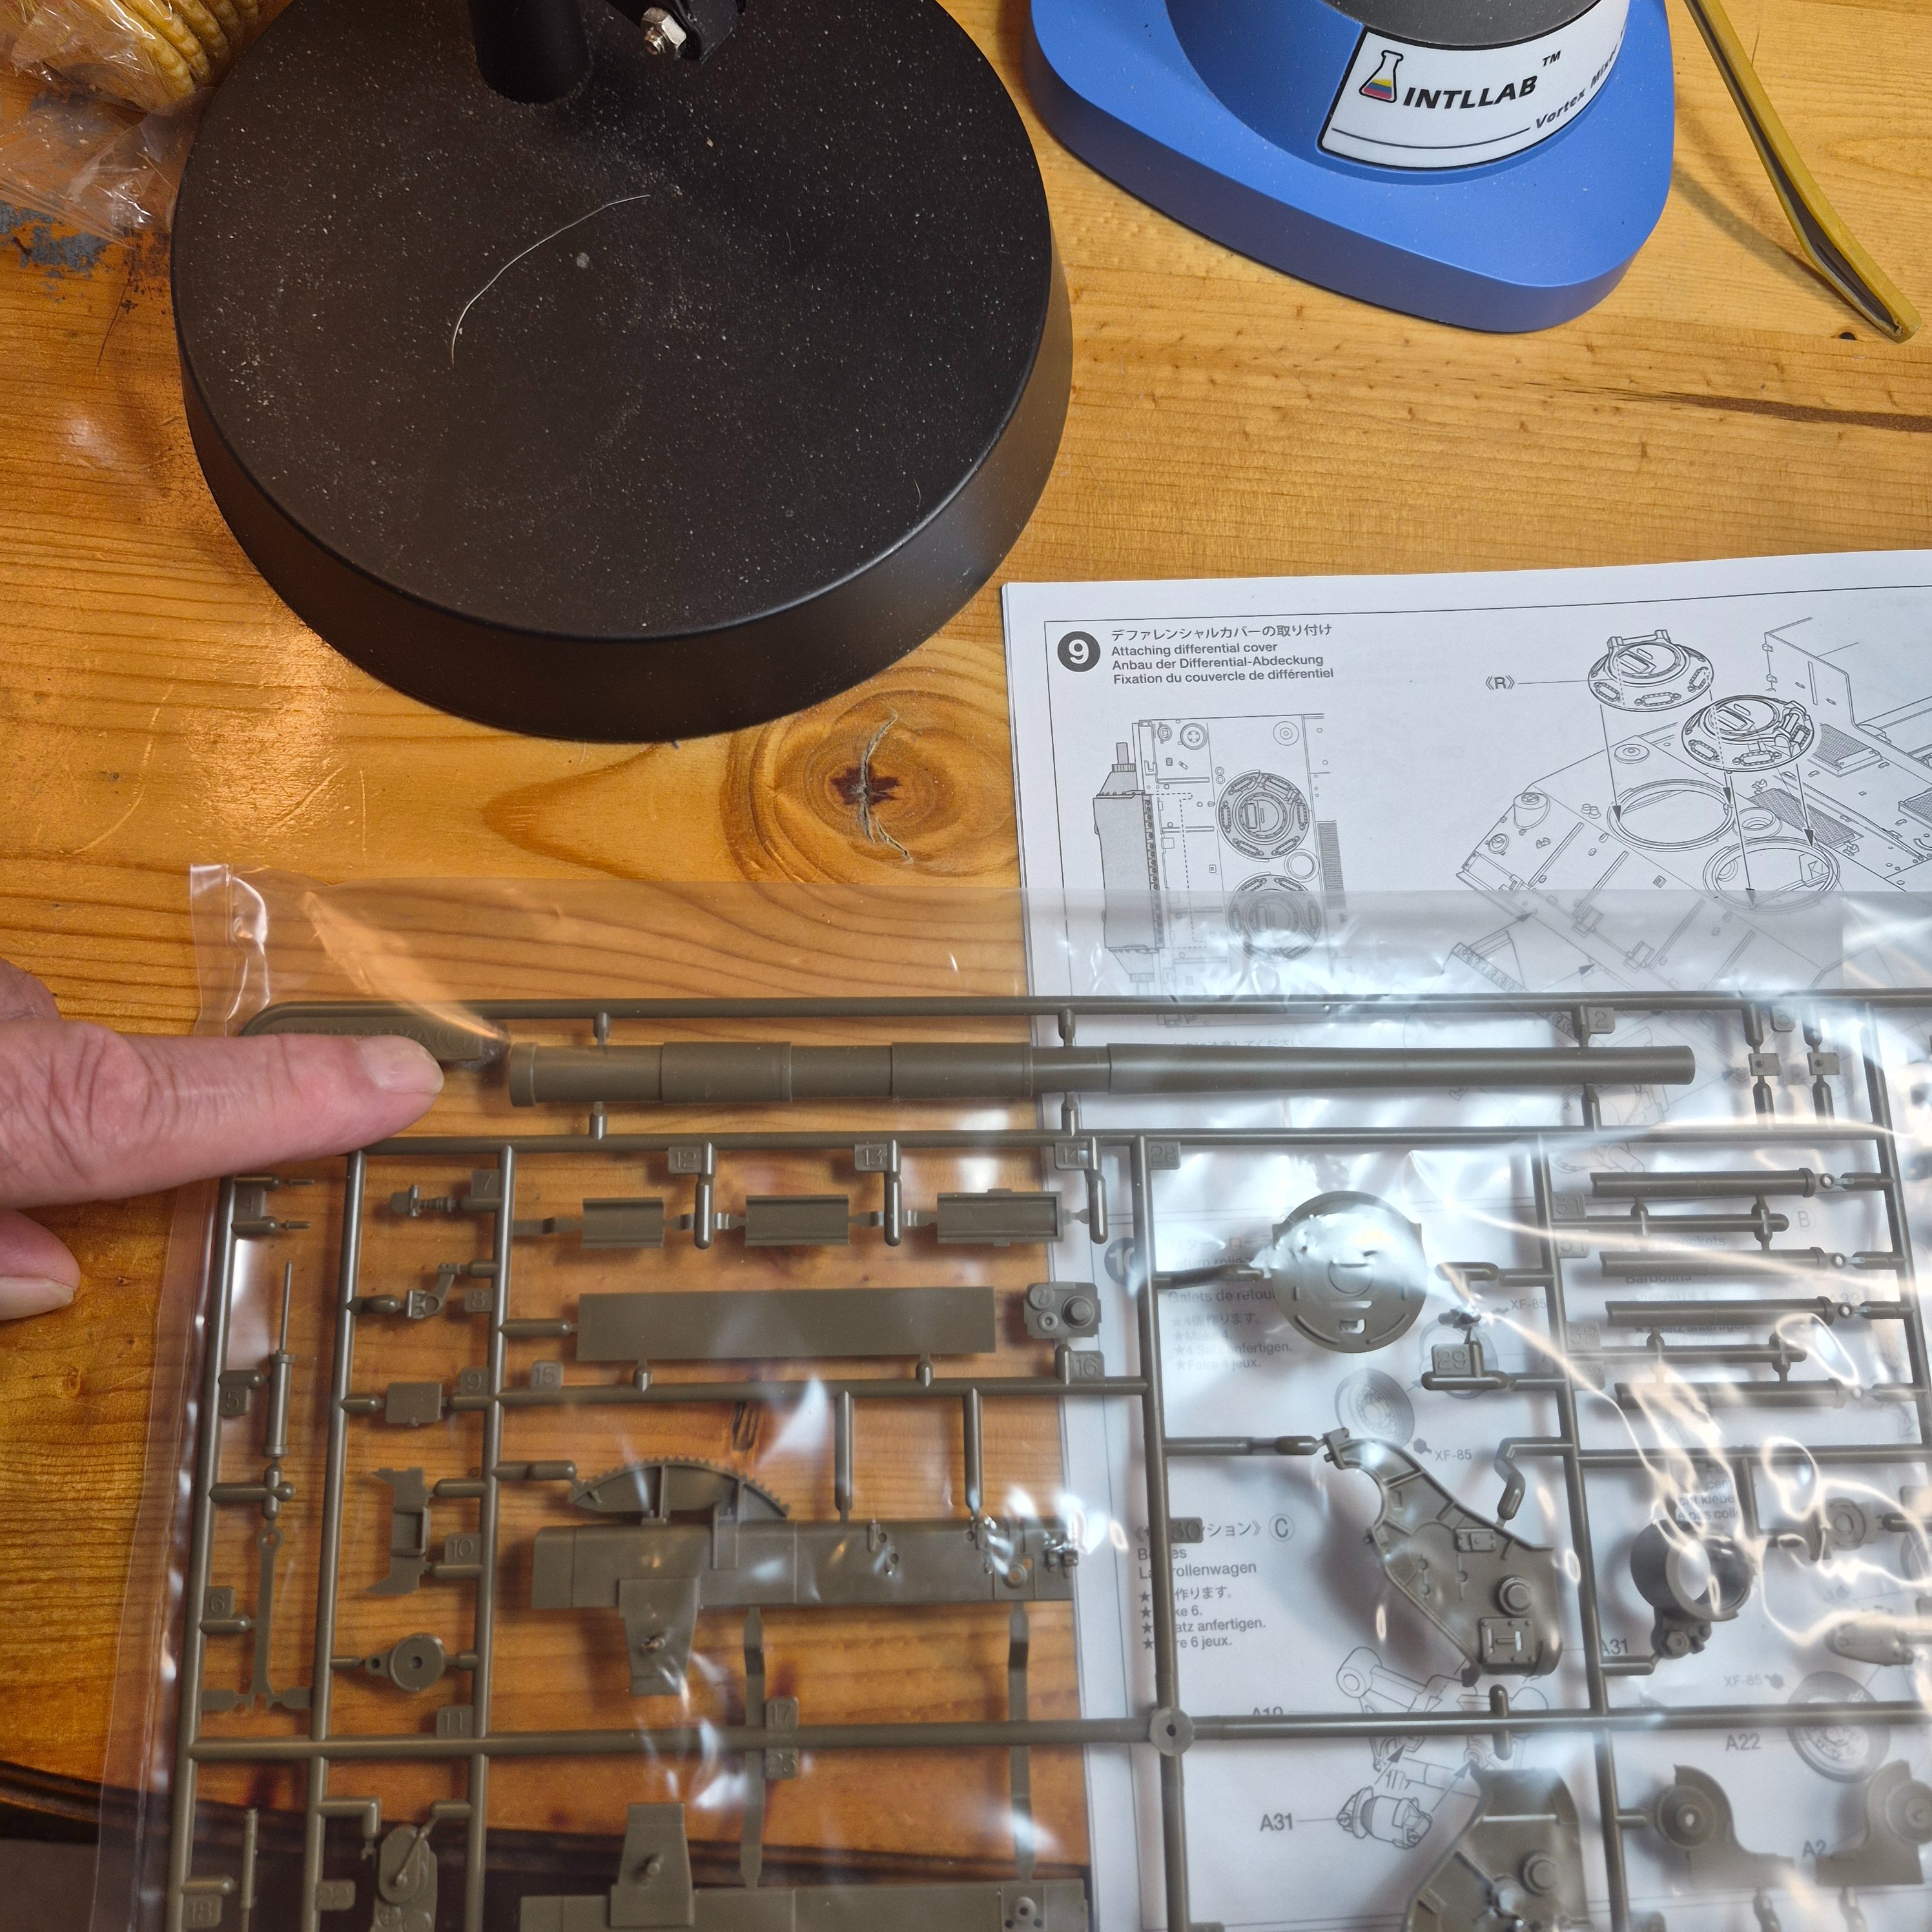
I might have you beat on the worst. I do not want to splurge $26 on a metal Barrel for this M40. So the Barrel in the kit comes in? You guessed it! Two long pieces.... I find that often, seams often end up in places that leave you second guessing, like these, or along shirt sleeves or trouser legs.
The worst
I'm with you on that one. I can make it look just finePlastic barrels are just fine, IMHO, as long as the pieces are properly (half-)round. If so, all you need to do is make sure they're properly aligned (rolling the barrel between your fingers while the glue is still wet is a good way) and then scrape or sand the seam when the glue is dry.

+1 for scraping.I would sand, or scrape with a hobby knife.
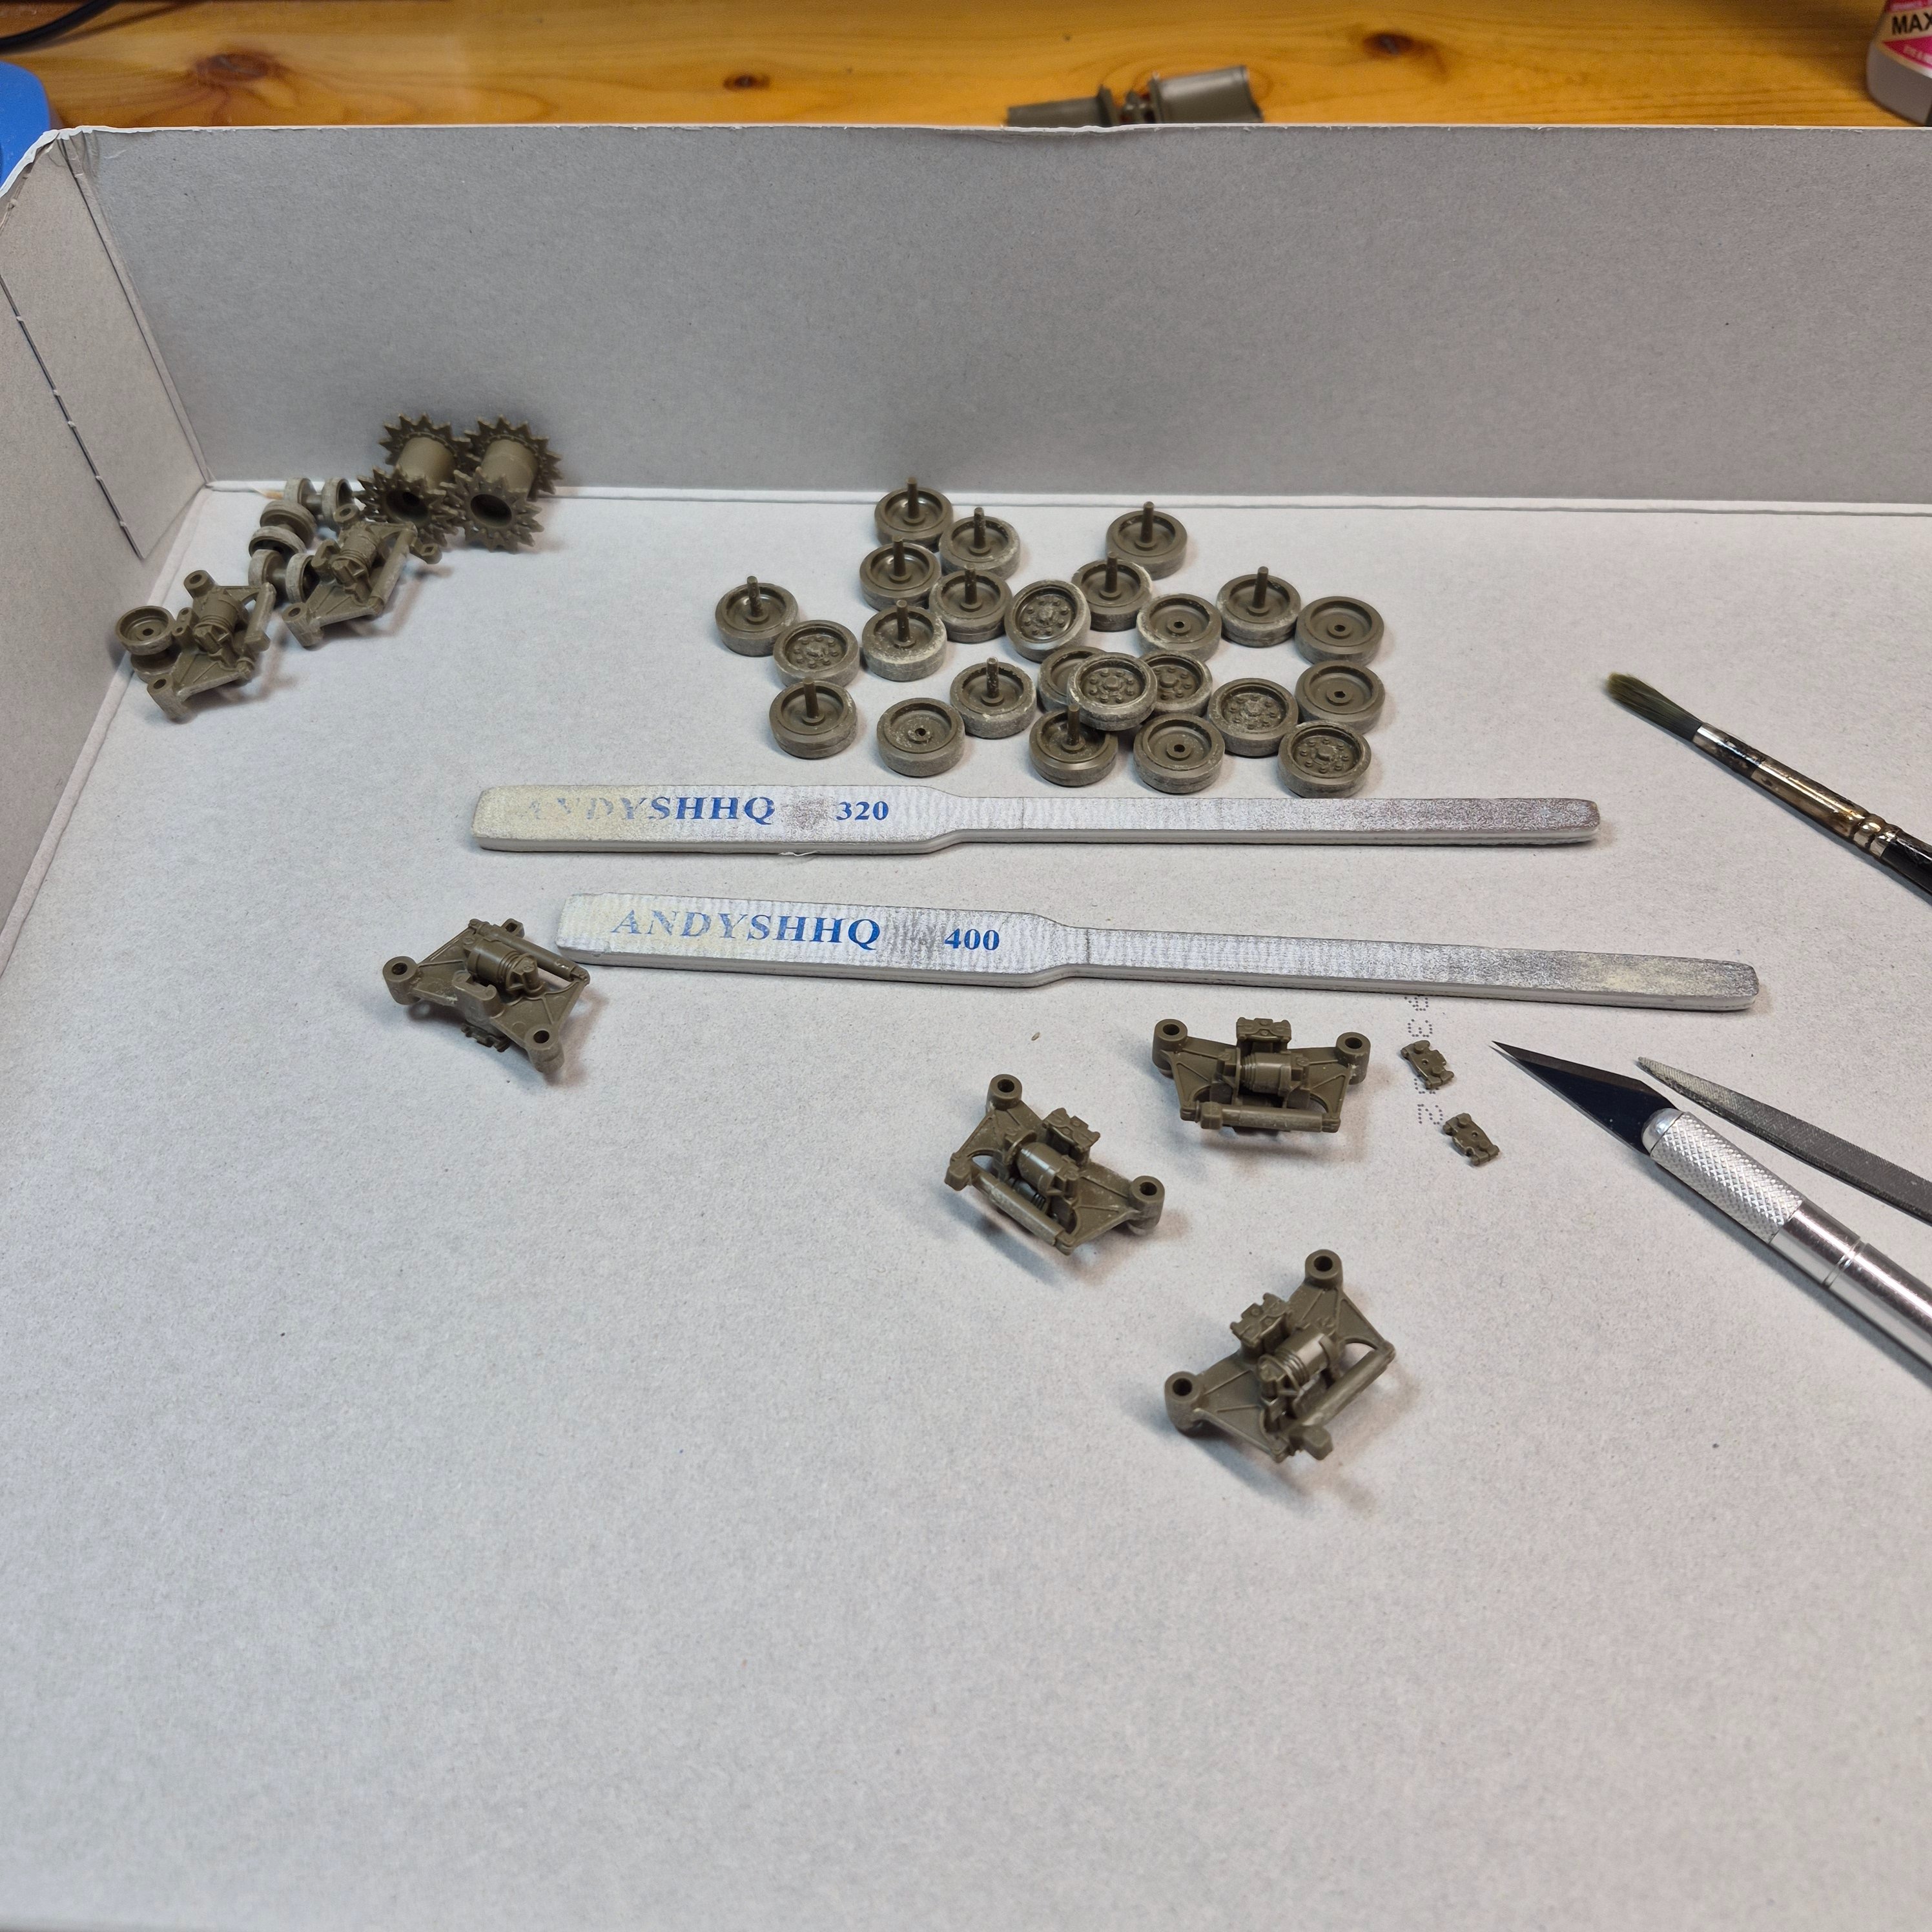
I try to remove all seams on every piece. Scraping first then a light sanding if necessary.Question. These are the bogeys for the suspension. Am I being anal for sanding these lines out? Is that what everyone does? Or does paint hide these and it's a waste of time? Just wondering cuz I want to get better but you also want to get faster
First use coarse sandpaper to make good progress, and once it's sanded down to where you want it, use finer sandpaper to get rid of the scratches made by the coarse type.Guess I should use less coarse material, but then it takes forever.
I find you still have to be careful using this method. I try not to use less than 300-400 grit.First use coarse sandpaper to make good progress, and once it's sanded down to where you want it, use finer sandpaper to get rid of the scratches made by the coarse type.
Yes. My favorite I use all the time is 400. If I need to get some Nubs down I have a 320. But that's as far down as I go. It is plastic after all. You can also smooth it out by applying a drop of Tamia thin. And also, if you want, you can texture the piece while it's soft like its cast.I find you still have to be careful using this method. I try not to use less than 300-400 grit.
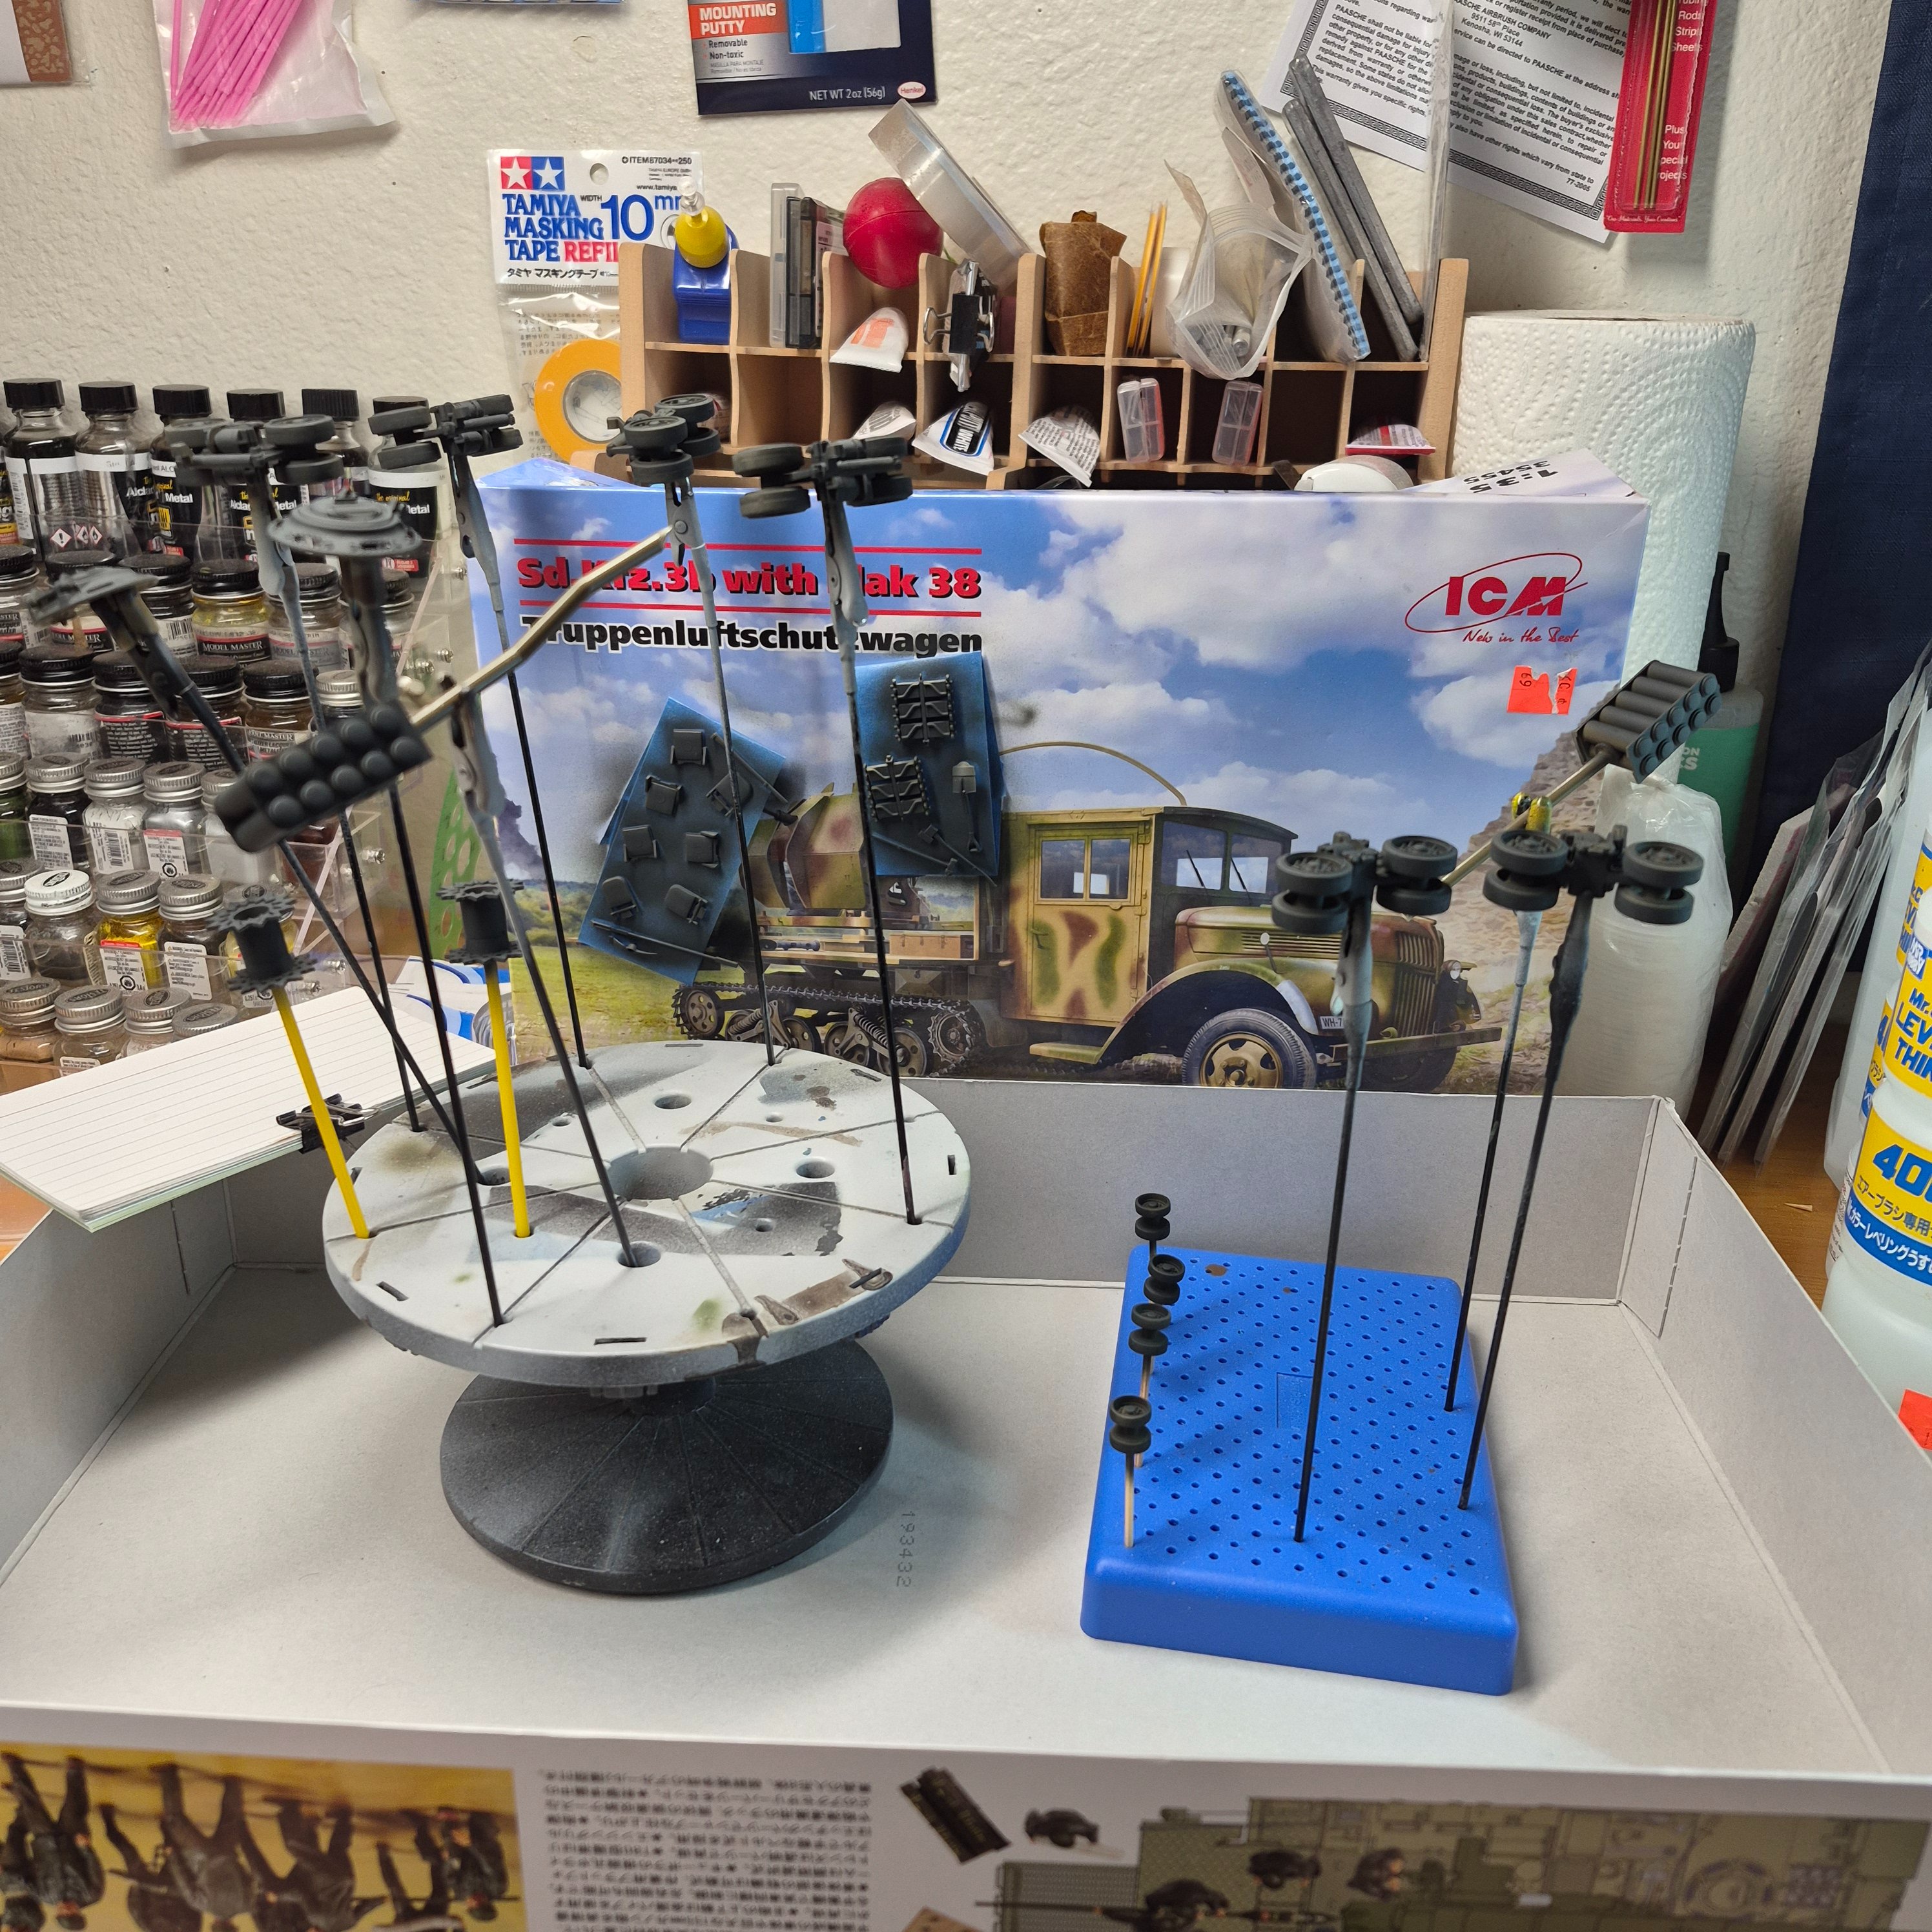
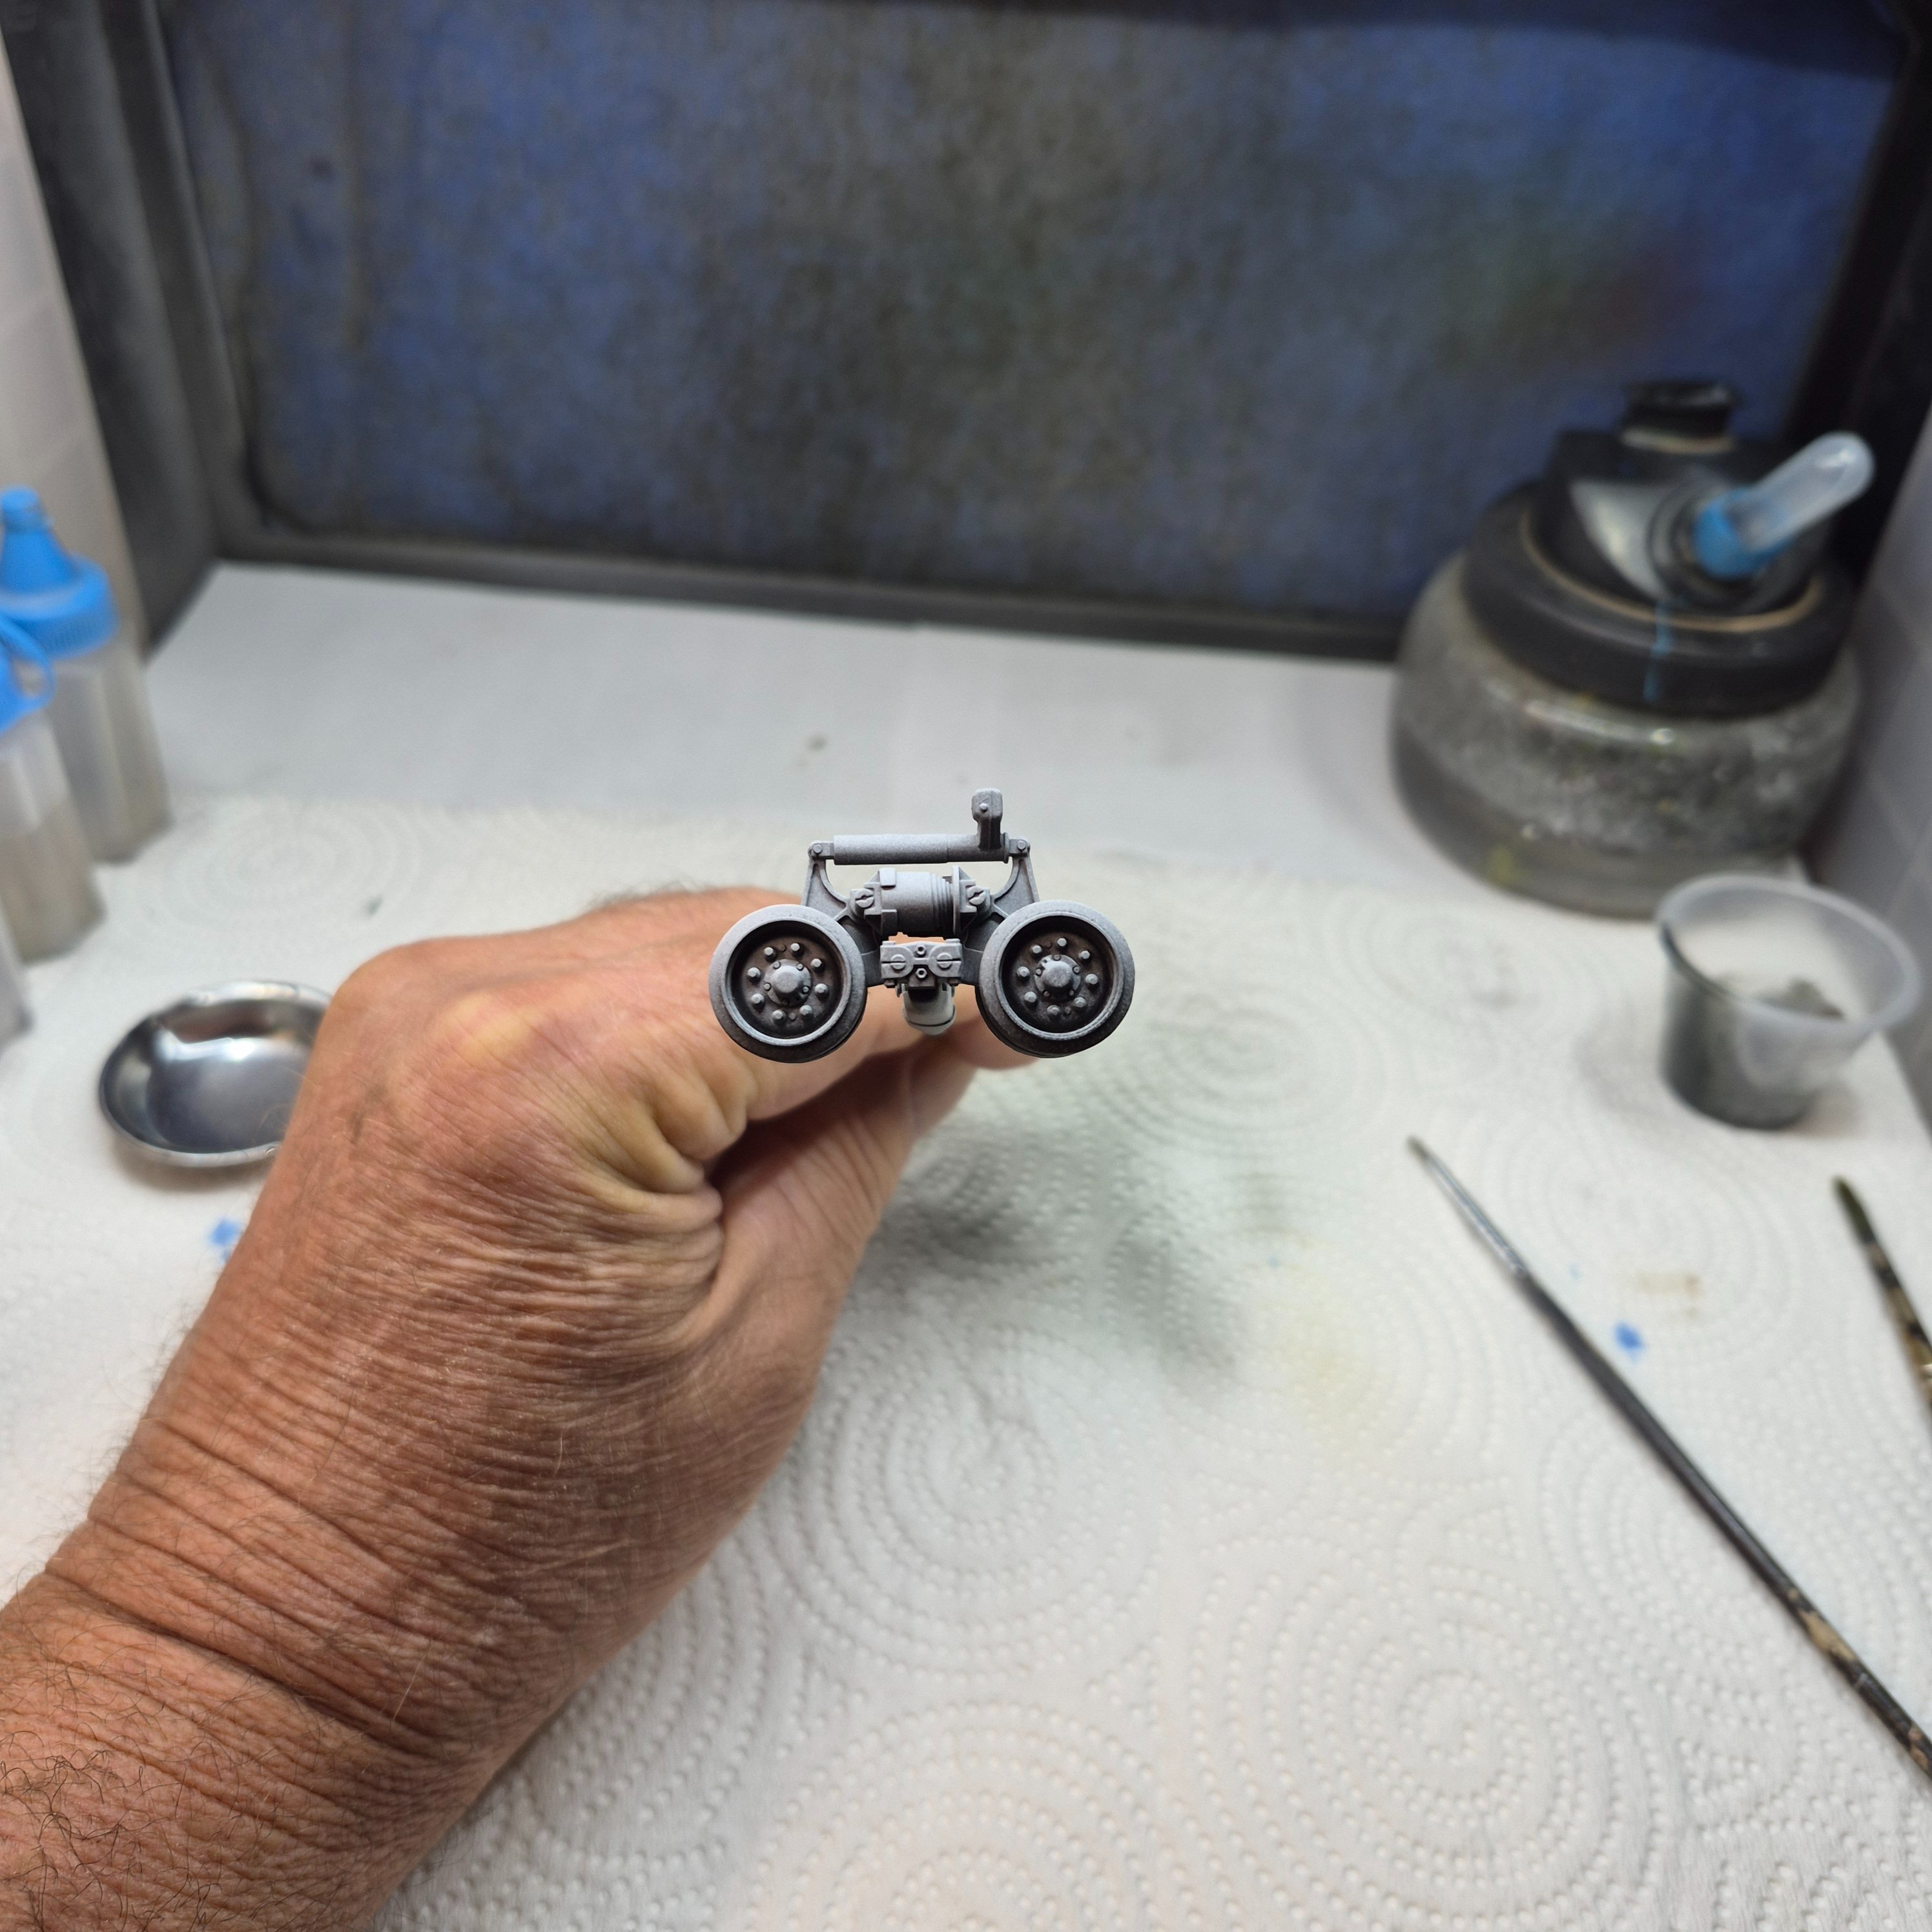
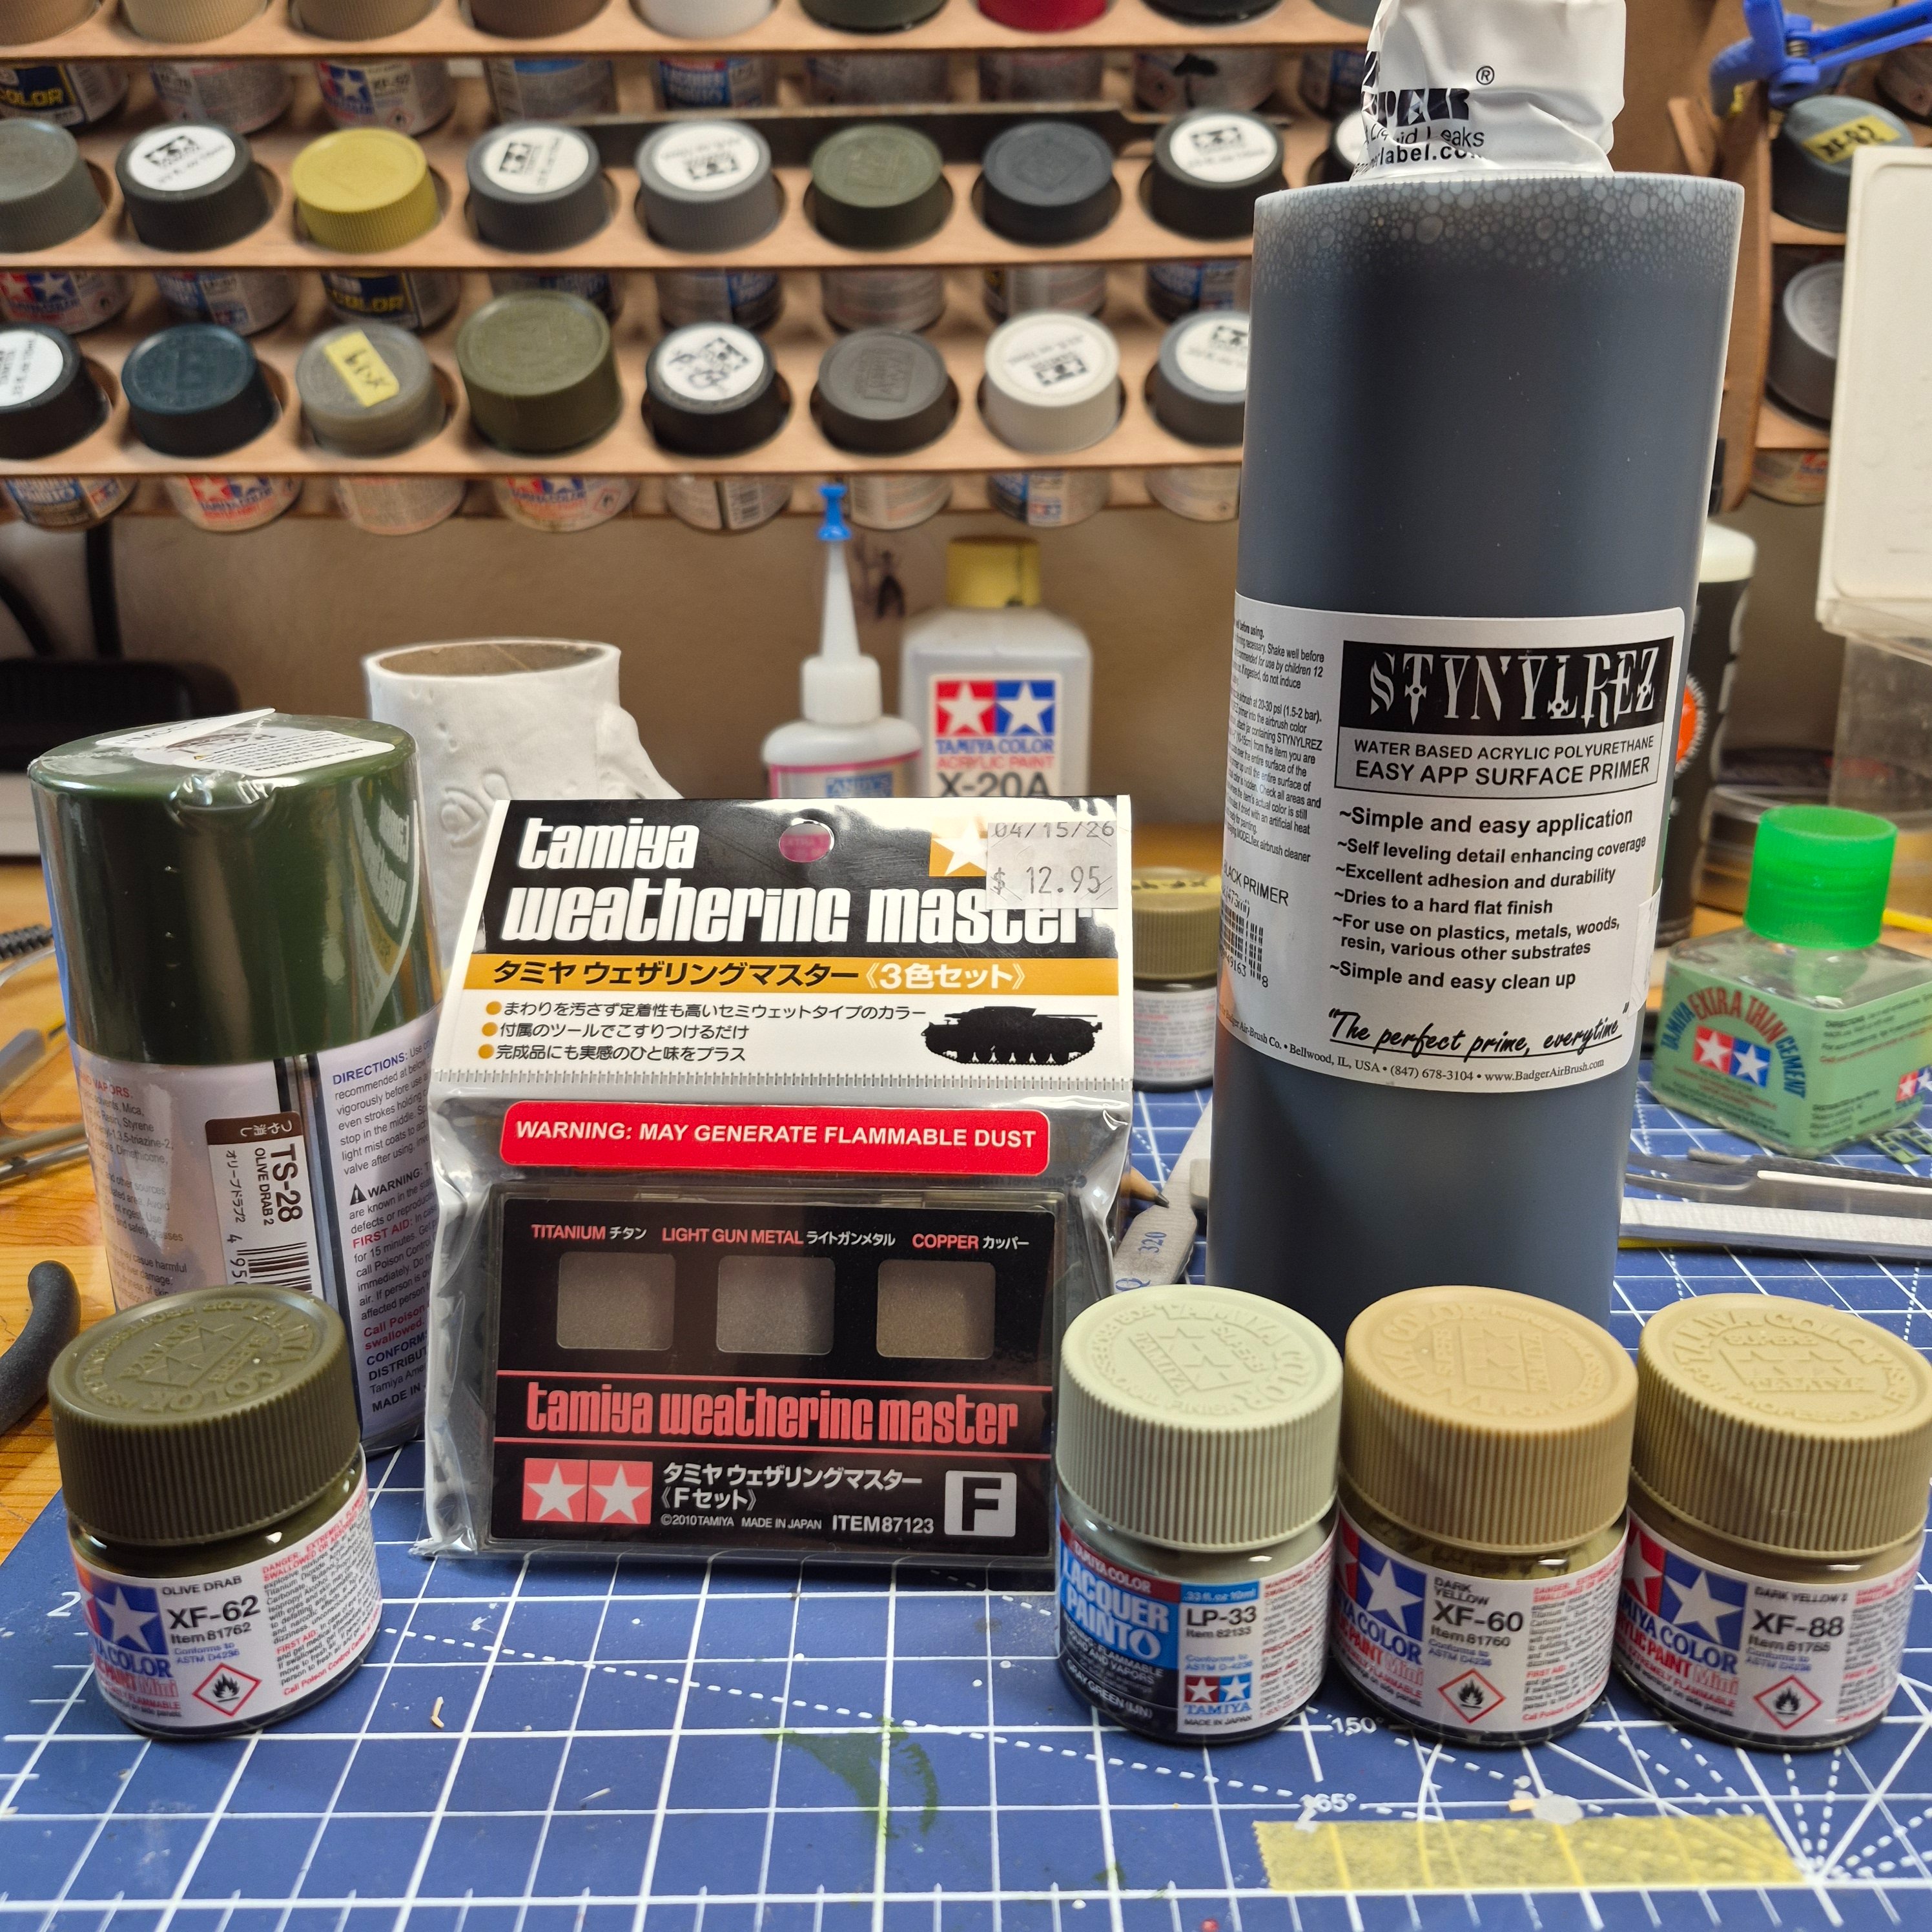
Okay. Makes sense. And that's what I do with my airplane builds so bringing that knowledge into armor builds should work out! Painting will be a bit different. I'm going to primer in black. Use white to shade then XF 62 olive drab for baseI fall into the camp of painting as you go along. I paint sub assemblies before installing. Sometimes you can see something you want to paint but can't get a brush in there once assembled.
.
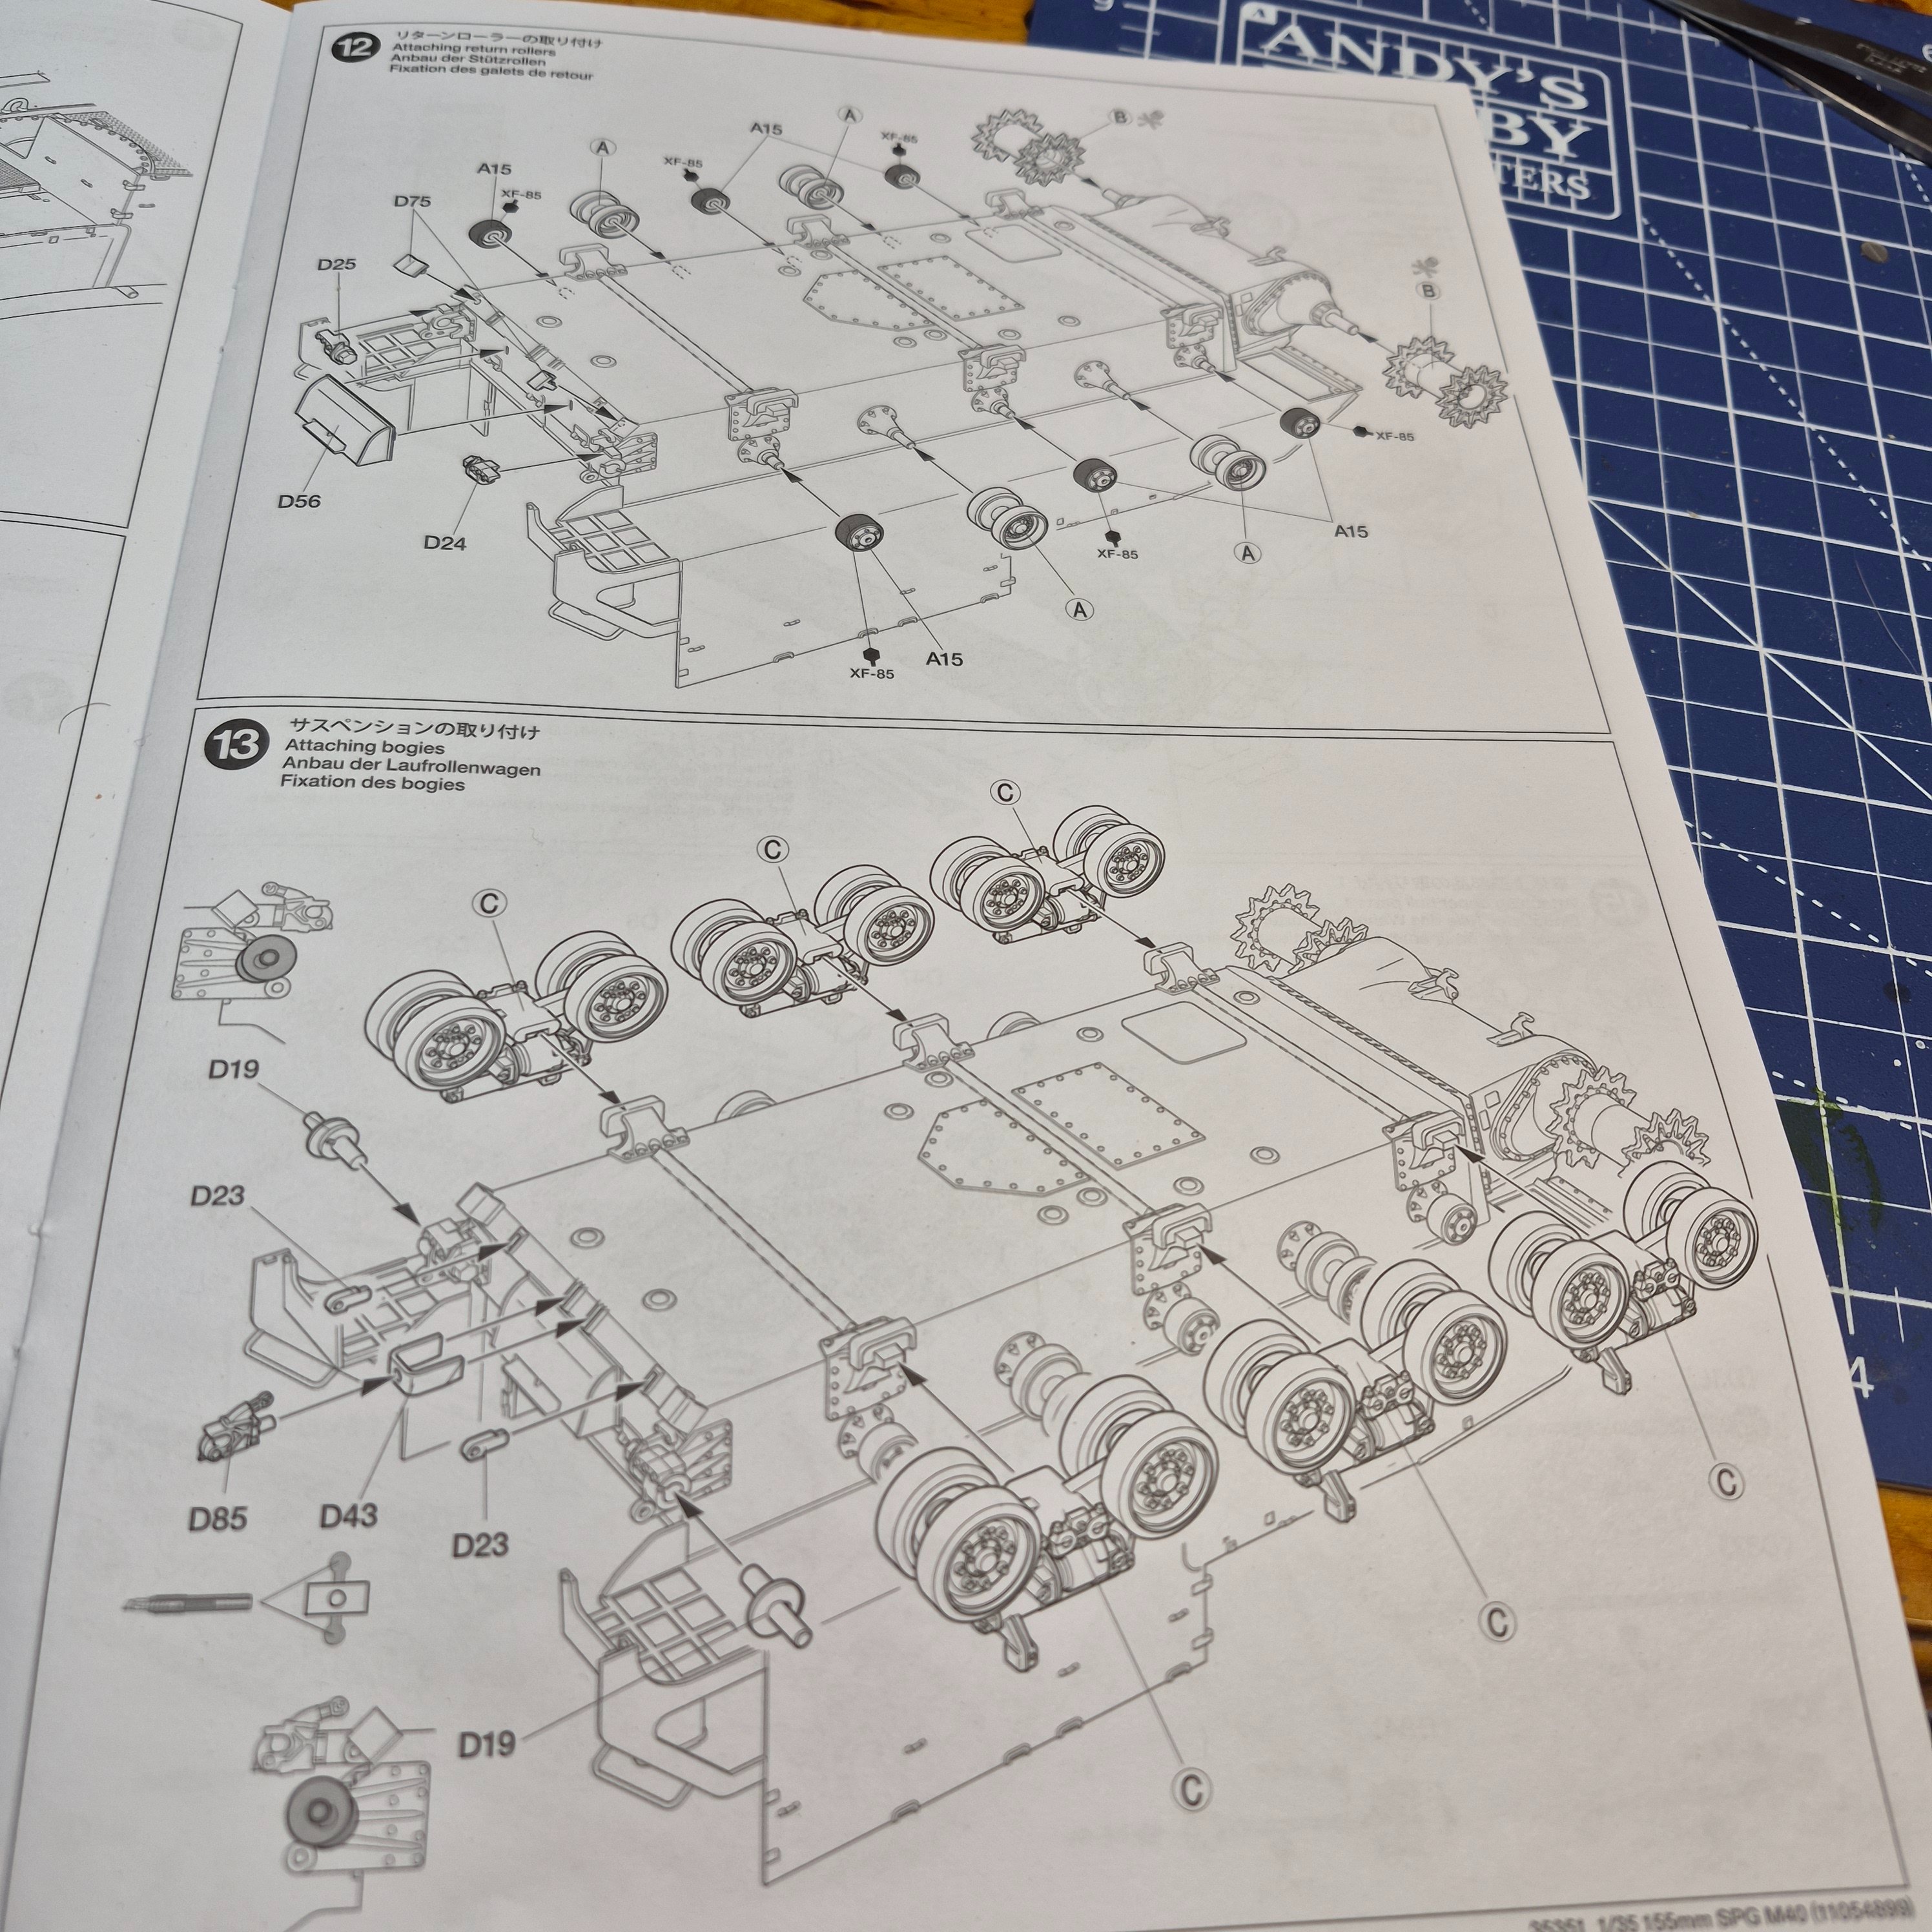
My method of painting Shermans (this is technically not a Sherman but its underside is very similar) is usually to leave the bogies, sprockets and idlers off until the very end. That is, I build the rest of the model, spray it in one go — rather than lower hull first, then continue building the upper hull, spraying that, etc. — and only then install the bogies.I think I should get the base color on the chassis before I put on the road wheels shouldn't I?
I'm right there with ya brotha! The disciplines do not always translate directly, but the languages overlapwhat I do with my airplane builds so bringing that knowledge into armor builds

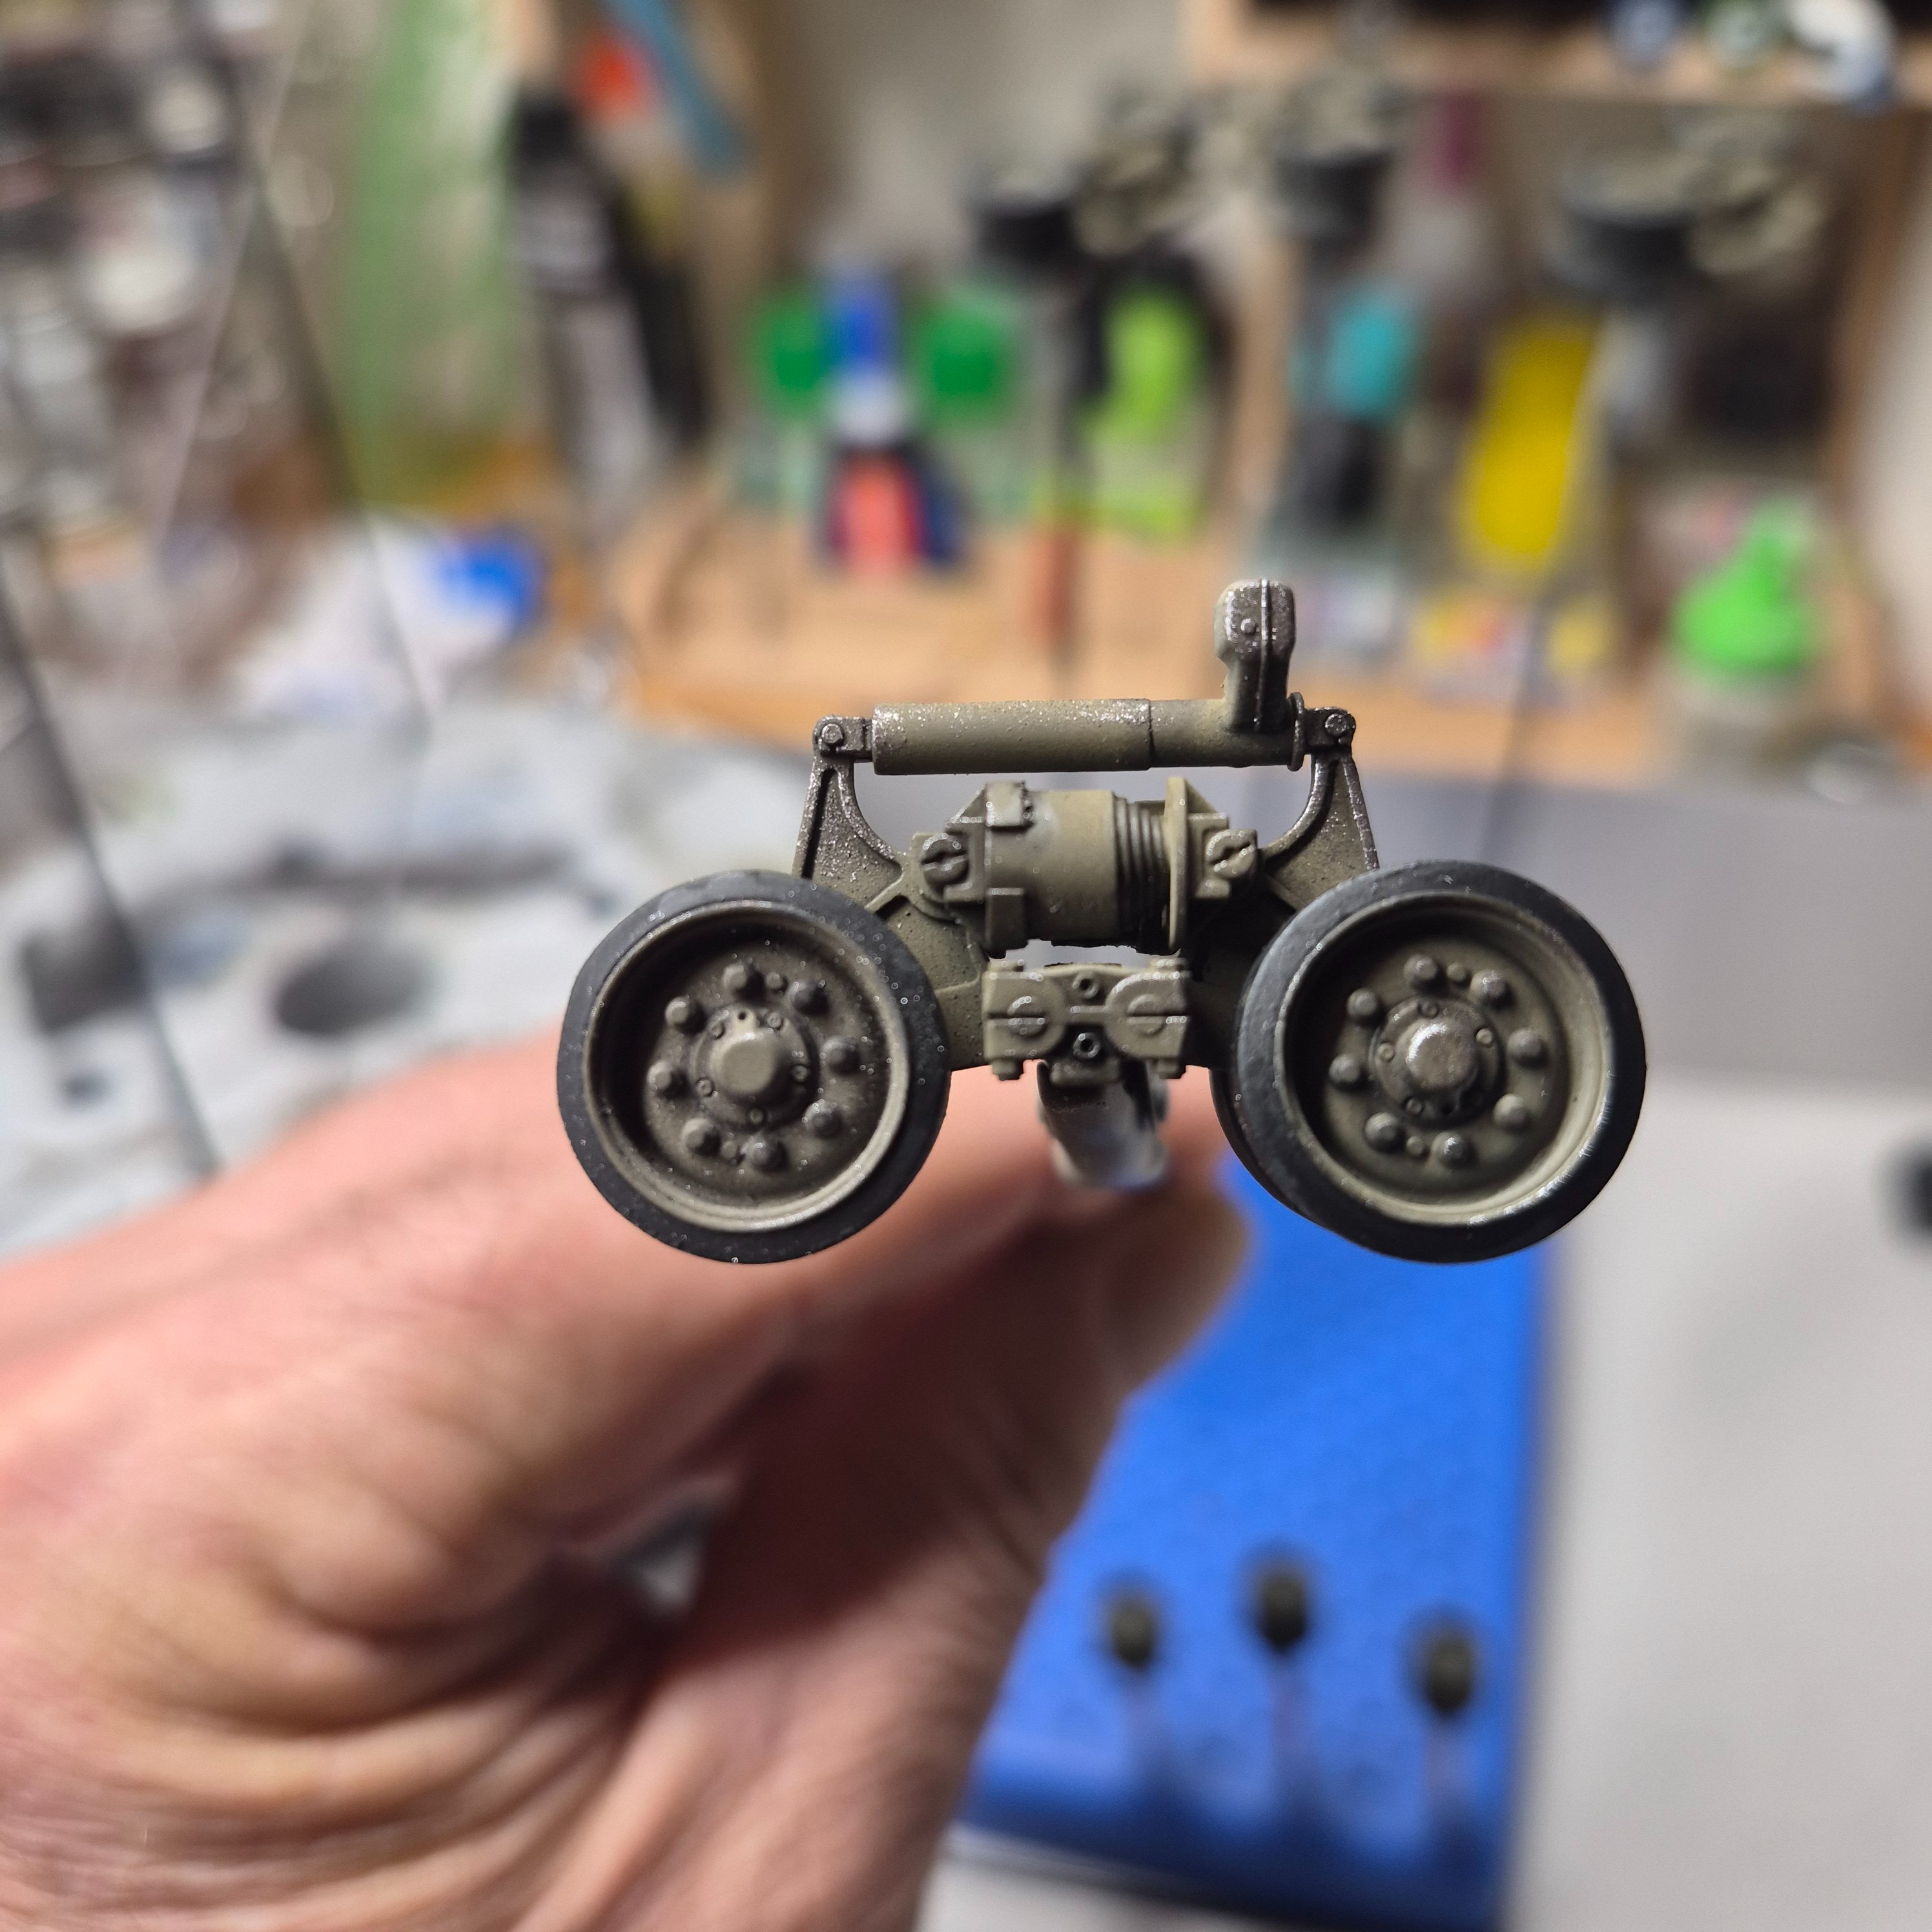
I like the shadows, turned out good!And some Shadows??
I'll try that next time or maybe even here in a little bit cuz I just got back from Hobby Bench. Needed to make a paint run.If you spray the bogies olive drab, then wash them with a darker colour and drybrush them with a lighter shade of OD, you'll see the detail pop out and pretty much instantly




![Pampers Sensitive Baby Wipes, Clinically Proven, Fragrance Free, Unscented, Water Based, Hypoallergenic, Multi-Use, Hand Wipes 336 Wipes Total (6X Flip-Top Packs) [Packaging May Vary]](https://m.media-amazon.com/images/I/41KLBHu9CAL._SL500_.jpg)