late entry m113 (Tamiya 35040)

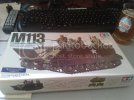
as promise here's a better picture of the Box:

2013-04-11165931_zps850026c4.jpg

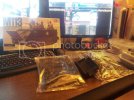
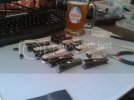
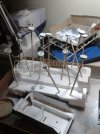
Spring is here, time to take out the clothepins! (Idlers, sproket & roadwheels):

2013-04-11165626_zpse0c83da0.jpg

So far, doing roadwheels on that one is much easier than the real thing!! ;D
 
Good start, but what yah drinking....I know that isn't actually Alpine in the mug, too dark for Alpine. Well that, and Alpine would actually ruin the mug! LOL
 
Elm City Hobbies said:
Good start, but what yah drinking....I know that isn't actually Alpine in the mug, too dark for Alpine. Well that, and Alpine would actually ruin the mug! LOL

Sam Adams Spring brew ;D
 
Drpepeprz said:
Elm City Hobbies said:
Good start, but what yah drinking....I know that isn't actually Alpine in the mug, too dark for Alpine. Well that, and Alpine would actually ruin the mug! LOL

Sam Adams Spring brew ;D

There yah go!! Got to get some of that myself, but the SWMBO says I spent too much money on beer last weekend in Halifax, so got to cool it for awhile.

Fine...I will just spend it on models instead!
 
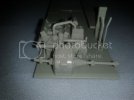
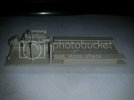
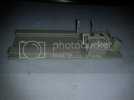
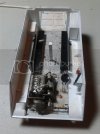
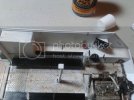
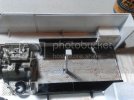
started on the interior today 8)

2013-04-14210414_zps086c935b.jpg

2013-04-14210449_zpsd18463f6.jpg

2013-04-14210503_zpsd0f09938.jpg

I was debating weather to paint the engine parts before or after gluing but i figured if i want to be done before the end of the contest i,d better get going!! Worst comes to worst, if I mess up the pain i'll just keep the engine bay sloced ;D


Been doing that while watching We Were Soldiers again..no I really want to make a Huey!
 
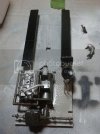
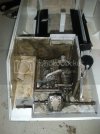
Been working on the interior, painting... :p
I'm not sure it'll even show but it's good practrice, god knows i need it!


2013-04-25162159_zpsa8a01aef.jpg

2013-04-25162152_zpsa2ecc606.jpg

Tried some weathering here...I think it still needs work! lol
 
I'm almost finished with the interior, I know that it's not perfect but for a first time i must say it looks WAY better than i expected (thx to all the good reading and video viewing i did on here ;D ;D ;D)

2013-04-29220302_zps71c4d17b.jpg

2013-04-29220520_zpsa3a603a4.jpg

2013-04-29220530_zps8a196e92.jpg

2013-04-29222538_zps93a6099f.jpg

2013-04-29222641_zpsc56382f1.jpg


Also prepped and painted the rubber part of the road wheels

2013-04-29224945_zpsa851eea3.jpg

Hope you like it! any tips welcomed!
 
Go to an art store and pick up a circle template.

Then just simply spray the rubber part, let dry, then using the circle template, find the right sized circle that is just big enough for the wheel part and spray the wheel color. Just make sure you mask off the circles on the template surrounding the right size circle, because no matter how careful you are, over spray always seems to find it's way around to the rubber.
 
Elm City Hobbies said:
Go to an art store and pick up a circle template.

Then just simply spray the rubber part, let dry, then using the circle template, find the right sized circle that is just big enough for the wheel part and spray the wheel color. Just make sure you mask off the circles on the template surrounding the right size circle, because no matter how careful you are, over spray always seems to find it's way around to the rubber.


TY! I will definatly try that on my next one!
 
Almost done, will post pics sometime this weekend...dont ask me what i did but i lost a sprue :eek:....I,ll still manage to finish with some imagination! lol
 
Drpepeprz said:
Almost done, will post pics sometime this weekend...dont ask me what i did but i lost a sprue :eek:....I,ll still manage to finish with some imagination! lol

That is usually the best way....
 
Dr. Nice build mate,

when it comes to losing parts i know your pain hahahaha
 

Latest posts

Back
Top