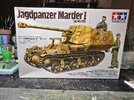
Jagdpanzer Marder I
- Thread starter GaryG64
- Start date
GaryG64
Well-Known Member
- Joined
- Sep 8, 2022
- Messages
- 2,555
- Joined
- Sep 4, 2022
- Messages
- 2,402
I'll have to look that up, others have done something similar, but I'm clueless.texture
Jakko
Well-Known Member
- Joined
- Oct 9, 2024
- Messages
- 1,082
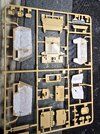
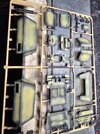
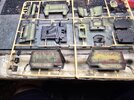
I'm not sure it's a necessary addition. This is rolled steel plate, not cast armour, and so would be fairly smooth. At the very least I would sand down the texture I see in the photos to make it smoother without losing it entirely, but if it was my model I wouldn't add it at all except on castings that don't have enough texture compared to the real thing.
GaryG64
Well-Known Member
- Joined
- Sep 8, 2022
- Messages
- 2,555
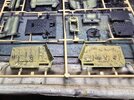
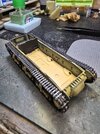
I got this idea from YouTube (Matlock Models.) I did a search for this model, and this is the one that appealed to me.I decided to add some texture to the operating bay.
I couldn't find my Tamiya putty so I had to use Perfect Plastic Putty which didn't work as well as the Tamiya brand.
I used this technique on a WWI tank after I learned how to on YouTube.
I was quite happy with the way that tank turned out.
View attachment 151545
GaryG64
Well-Known Member
- Joined
- Sep 8, 2022
- Messages
- 2,555
I've always painted as I go along, something I learned from my uncle at an early age.The longer I build models, the more I'm finding myself painting as I go, instead of painting the model after final completion.
Looking forward to this as well.
GaryG64
Well-Known Member
- Joined
- Sep 8, 2022
- Messages
- 2,555
That's kinda how I do it too. Of course I pre-paint most all of the parts for airplanes.These days, I might prime on the sprue, paint sub assemblies, final once over and shabing, highlights and weathering when all together...
Jakko
Well-Known Member
- Joined
- Oct 9, 2024
- Messages
- 1,082
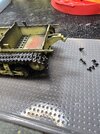
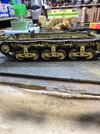
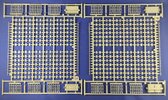
I hope those aren't glued down yet … The easiest way to get the ones around the drive sprocket and idler wheels to sit right is to push each link against the previous and then flow liquid cement between the link and the wheel, as well as between the links. Then just repeat for the others.
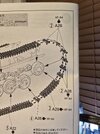
Also, I notice you're not following Tamiya's assembly order, which generally really does work best for their link-and-length tracks.
Also, I notice you're not following Tamiya's assembly order, which generally really does work best for their link-and-length tracks.

