It's finally happened !!!

Scale Model Addict - Model Tips, Guides, Tools & Tech, Tutorials, and Community

Help Support Scale Model Addict:

Teeny drill bit skates off part into finger tip.
Teeny blood sample anyone?

Very careful now, need those finger tips for guitar. Callus significantly limited the puncture!
That stings. Do you "mark" the hole location with an awl or other pointed tool? That usually prevents the drill bit "walking."
 
That stings. Do you "mark" the hole location with an awl or other pointed tool? That usually prevents the drill bit "walking."
Oh yeah. Always.
I have a pointed scriber that works very well.
That time I must have pushed a little too hard, or gone off perpendicular, who knows.
And when its the end of a barrel, it doesn't have to skate very far!
Basically, off the rim.
 
Oh yeah. Always.
I have a pointed scriber that works very well.
That time I must have pushed a little too hard, or gone off perpendicular, who knows.
And when its the end of a barrel, it doesn't have to skate very far!
Basically, off the rim.
Whenever I have to drill something like that, or a small part, I clamp it in padded vice jaws. Most I'll lose is a drill bit, and maybe do some putty work on the part. Speaking of which, I'm about to drill out the gun barrels on the 1/32 Hasegawa P-40E. The OD is correct, but the ID is too large, and they are about 1/16 inch too long. That's going to be tedious. Then I'll sleeve the correct ID hypo tubing inside.
 
Tried that, seems my hands work together to maximize precision...if one moves, the other compensates.
Except when it doesn't …:oops: I know what you mean—decades of work under a microscope, and I do that too, but not when drilling to any depth in a small part. My manual dexterity is fine—unless the arthritis kicks in. At 74, that situation is not going to get better, so I'm learning to adapt.
 
As an Amazon Associate we earn from qualifying purchases. Product prices and availability are accurate as of the date/time indicated and are subject to change.
...somebody said: "decant some paint"...
Great idea!

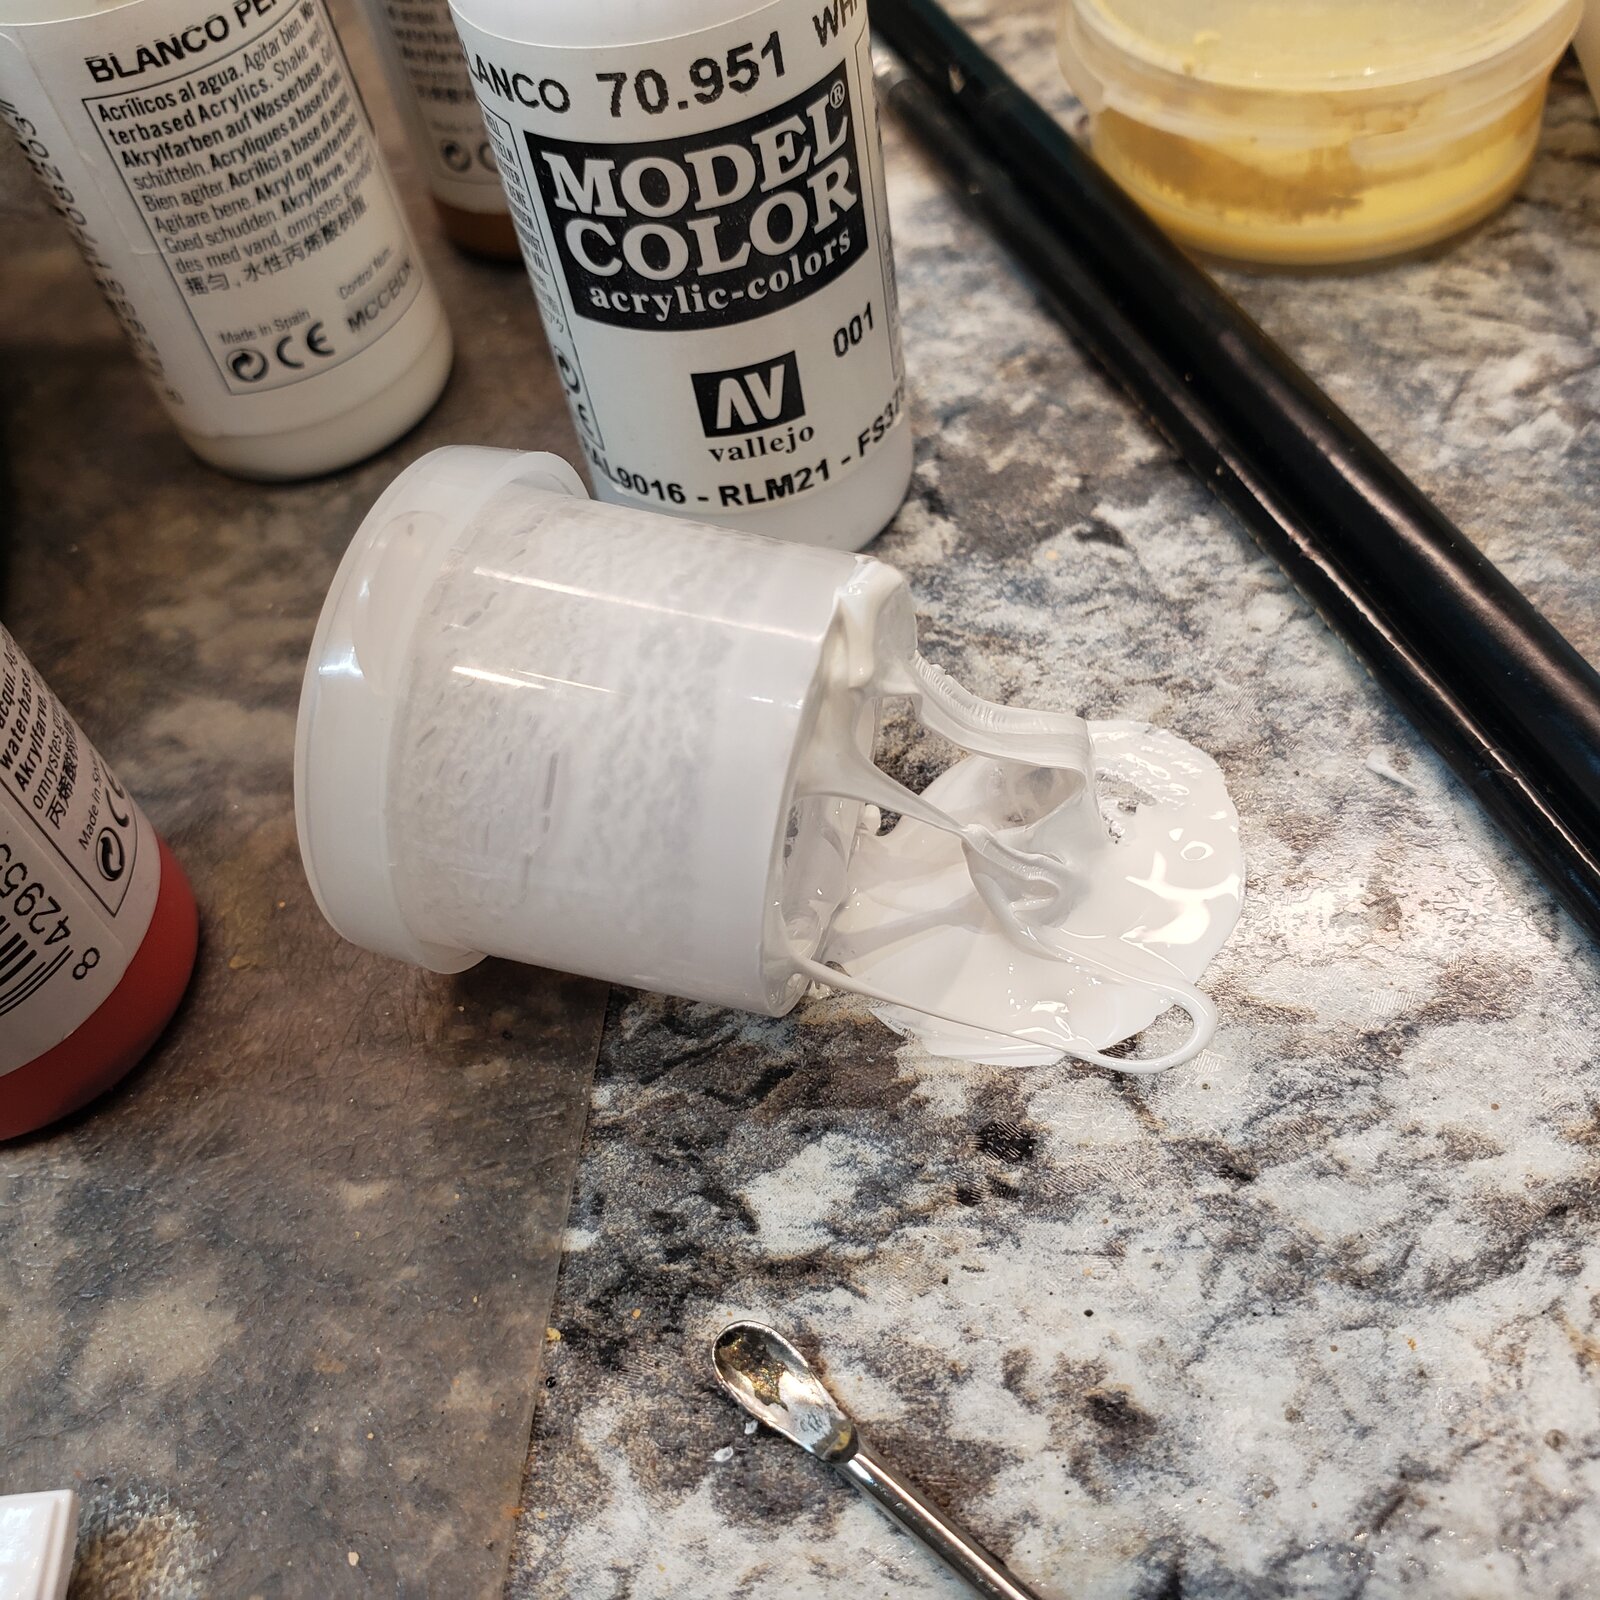
I need to touch up some white on my Mini. Spray a bit into a sealable mini jar. Should've been a glass jar.
6 hours later... Burnt right through the bottom!

20250723_203222.jpg
 
...somebody said: "decant some paint"...
Great idea!

I need to touch up some white on my Mini. Spray a bit into a sealable mini jar. Should've been a glass jar.
6 hours later... Burnt right through the bottom!

View attachment 154142
Aerosol paints (rattle cans) frequently contain solvents that will attack many plastics. That isn't why they are used—their purpose is to make it possible to keep the paint stable and sprayable, and perform properly on the surface to which they are applied. If they are aggressive to some plastics, it just means better adhesion—usually.

I don't recommend this process. At least when I was in the industry, the most common propellant in spray cans was highly flammable, as are some of the co-solvents used to keep the paint stable in the can with the propellant. I understand doing it for a tiny amount of touch up, but if you must, proceed with extreme caution.
 
If they are aggressive to some plastics, it just means better adhesion—usually.
It can also cause them to leech pigment out of the plastic, depending on the kit manufacturer. This is not normally a problem, but can be if you try to kill two birds with one stone by using white primer to, for example, paint a white tank interior or as the base colour for a UN vehicle.

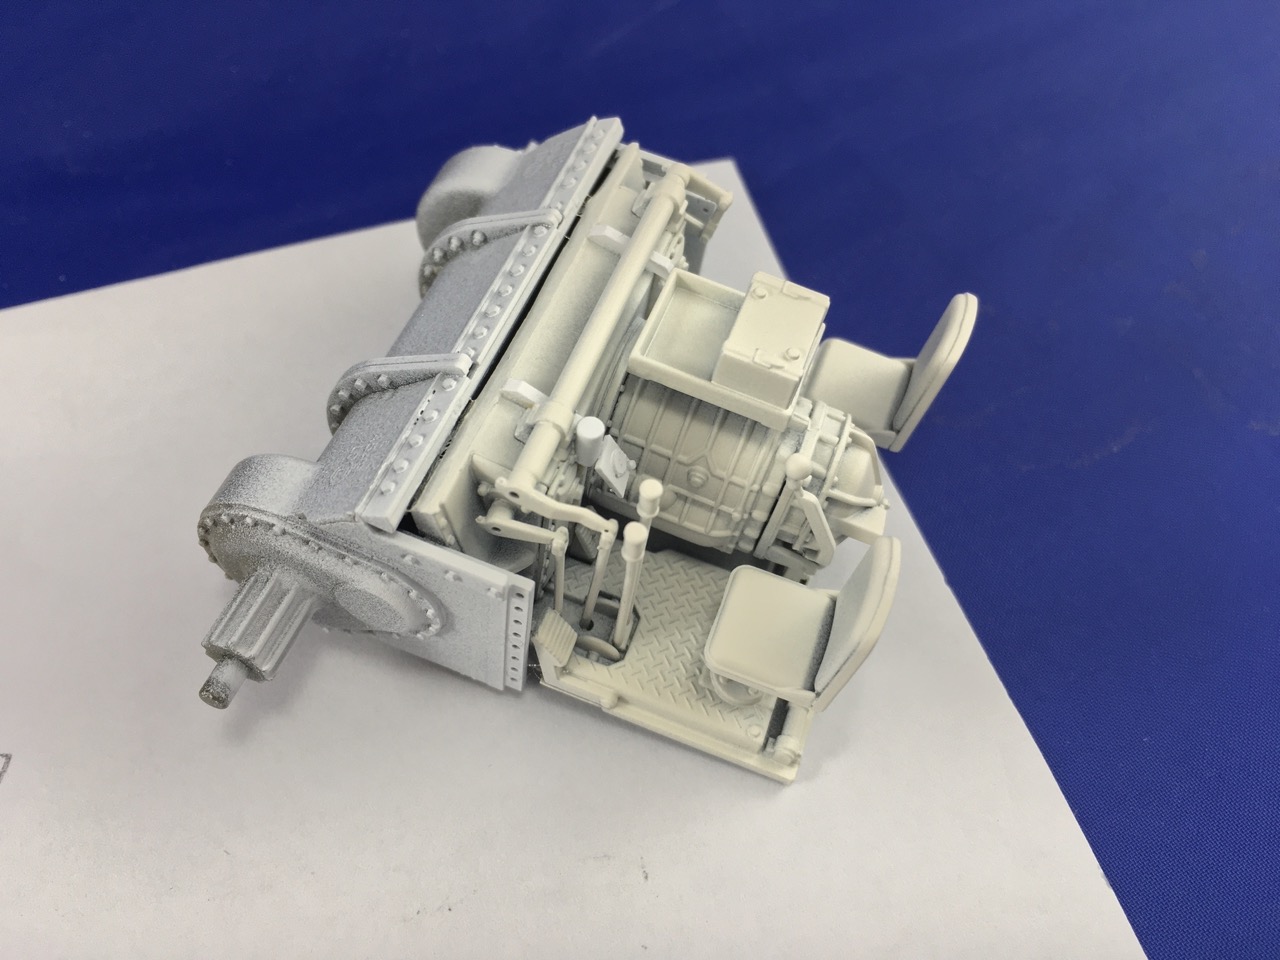
IMG_6123.jpeg
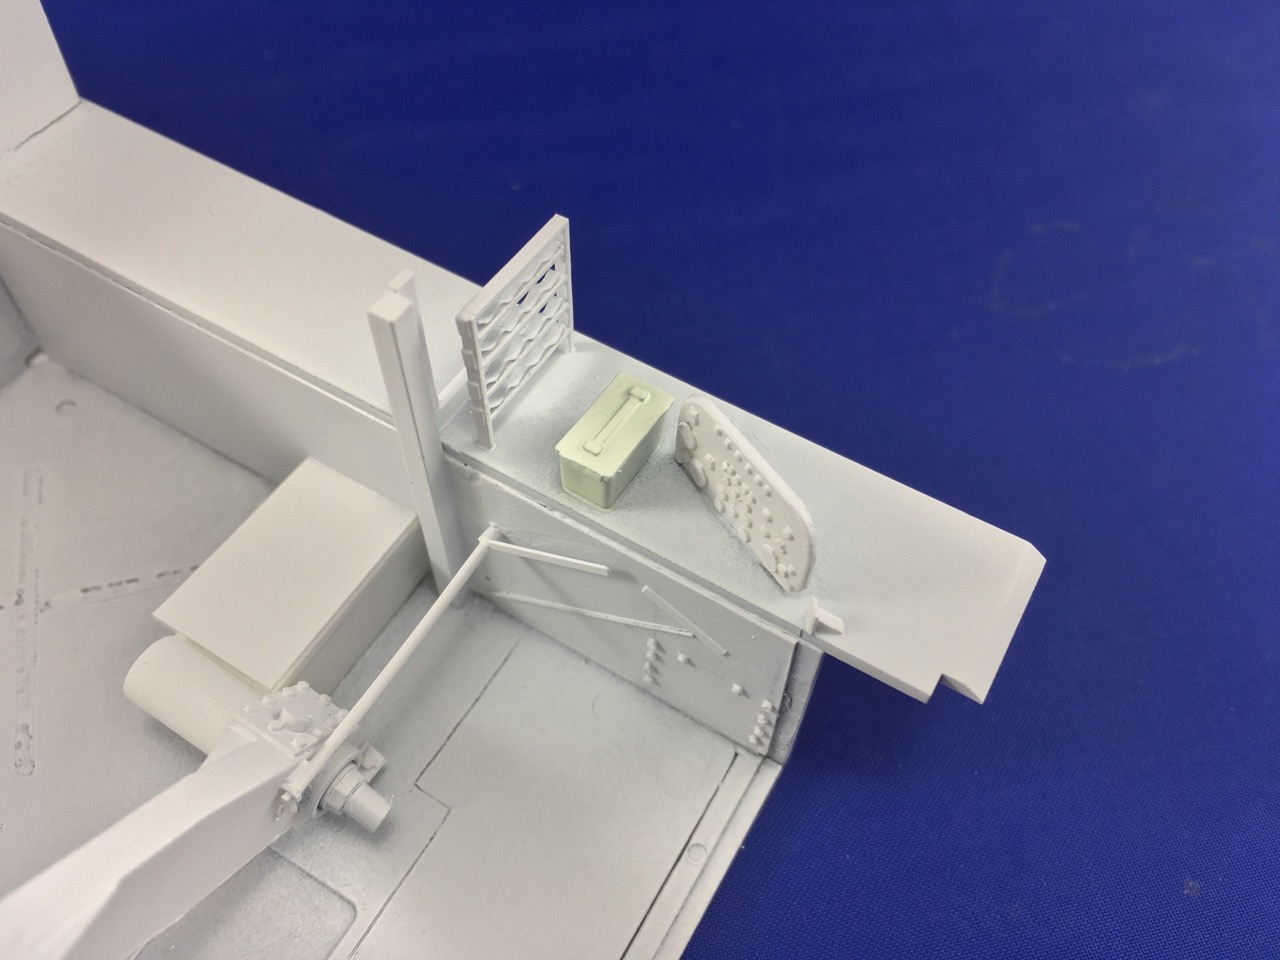
IMG_6124.jpeg


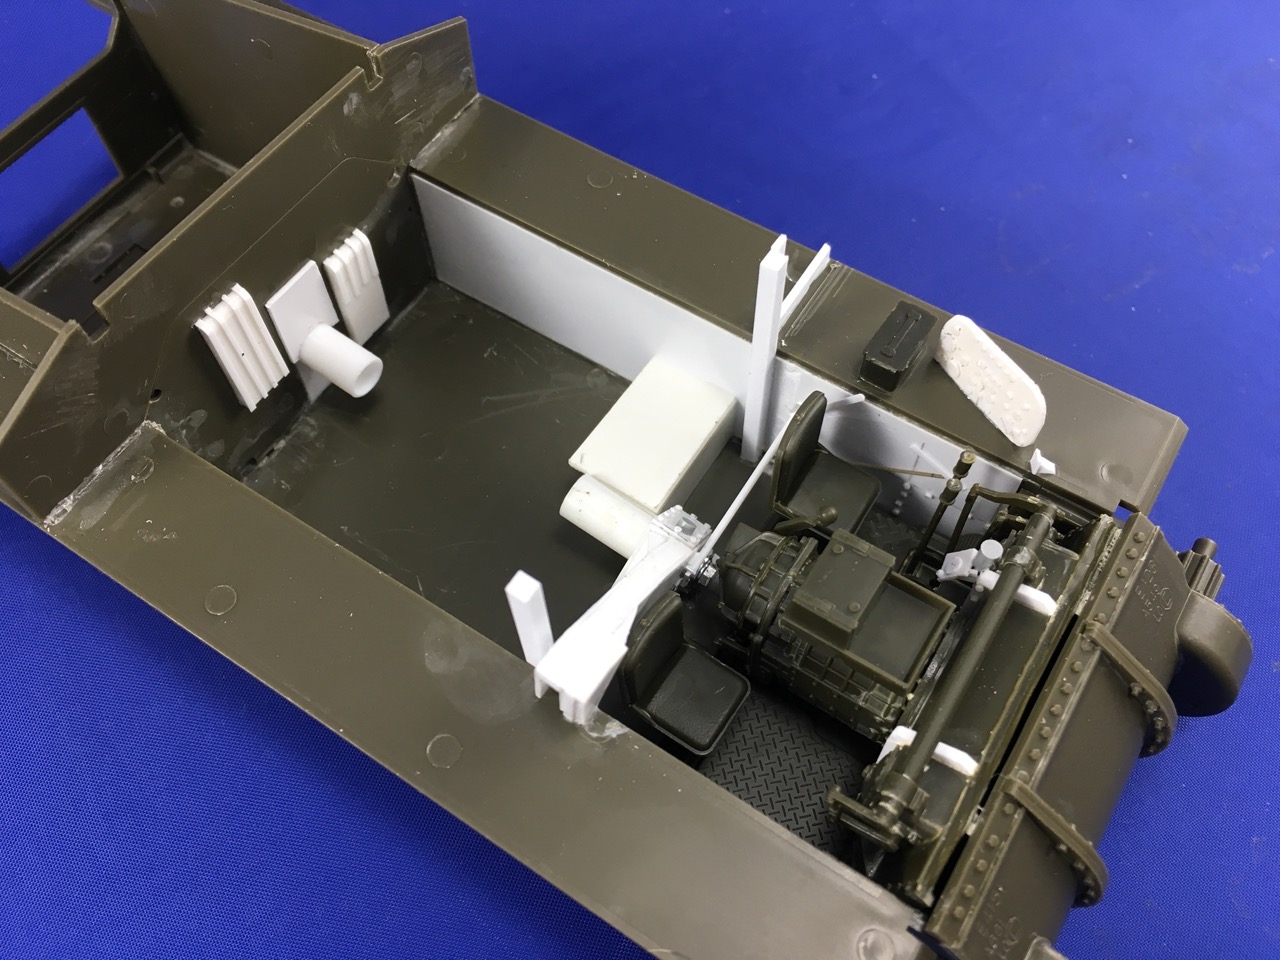
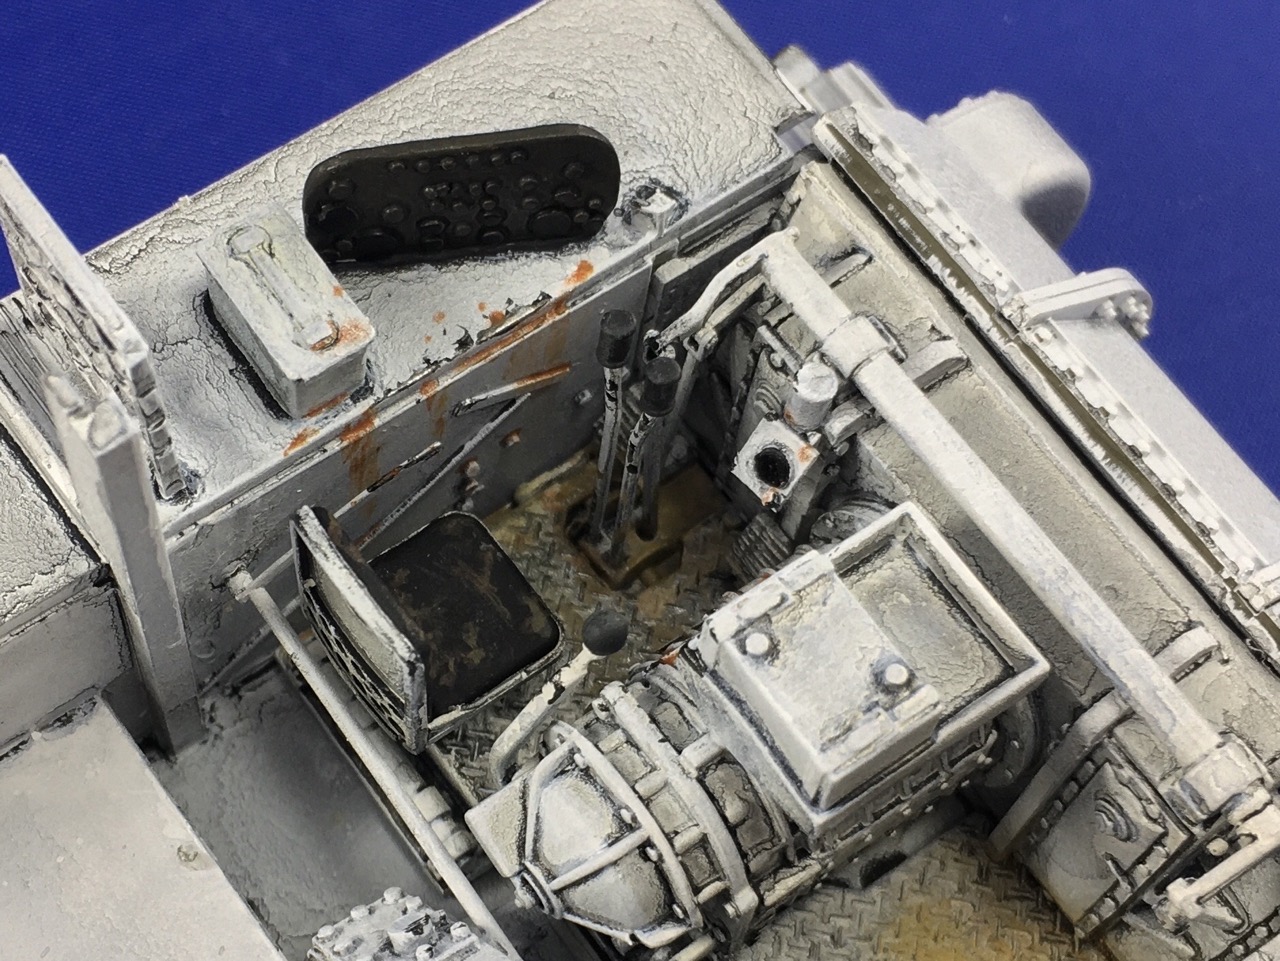
These photos are of an Asuka Sherman tank into which I grafted a driver's position from an Academy M36 tank destroyer, as well as scratchbuilt a bunch of stuff. Here are the same bits unpainted:

IMG_6039.jpeg


The white paint is Vallejo primer from an aerosol can. As you can see, the dark green parts of the Academy interior and the Italeri box next to the instrument panel are distinctly pale green, but the medium green parts (which are Asuka) ended up just as white as the white plastic card. This is not because the paint didn't cover well enough, it's because the paint drew pigment out of the plastic. I first noticed this happening 20+ years ago with white car primer on a Tamiya M113 that I had put single-link tracks in black plastic on. After spraying, the whole hull was pale green but the tracks were white, so the primer did cover as it was supposed to. But my first thought was that it hadn't, so I added a second coat, which didn't really solve the problem, just made it a bit less. IIRC I had to put four or five coats on before the vehicle was the UN white I was after.

On the Sherman, I ignored the pale green because the whole interior was supposed to be dirty and rusted, so it didn't show under all the other painting:

IMG_6130.jpeg


However, for a good, white colour you would want to overspray the primer with normal white paint.
 
Last edited:
I had a SS mixing ball in a bottle of Tamiya black panel liner. When I shook it, the bottom blew out of the bottle and sent black liner all over my bench, walls, project and clothes. I guess those square bottles aren't as strong as they look.
That is good to know! I've use them in many other bottles, still do, but never the square Tamiya ones. Think I'll keep it that way.
 
I guess those square bottles aren't as strong as they look.
Neither are round ones. Do not add steel mixing balls to glass jars!

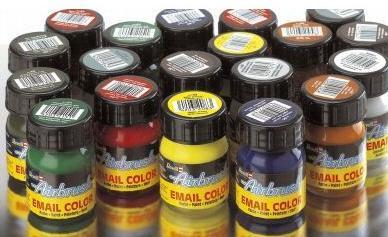
Around 20, 25, 30? years ago, Revell (DE) had a line of airbrush-ready enamel paints that came in glass jars with a mixing ball already inside:

airbrush-coulor.jpg


I used those a fair amount, for brush-painting more than spraying, in fact, but at some point, one came apart in my hands as I was shaking it. Paint all over the place, but luckily nowhere important because the bottle stayed mostly together due to my hand being over it — and I even managed not to cut myself on it :) A few months later it happened again, so from then on the very first thing I did when I opened a new bottle was to fish out the mixing ball.
 

Latest posts

Back
Top