hide and seek

Dark Kyp

Active Member
Joined
Nov 27, 2011
Messages
714
Here is the topic for my first diorama.

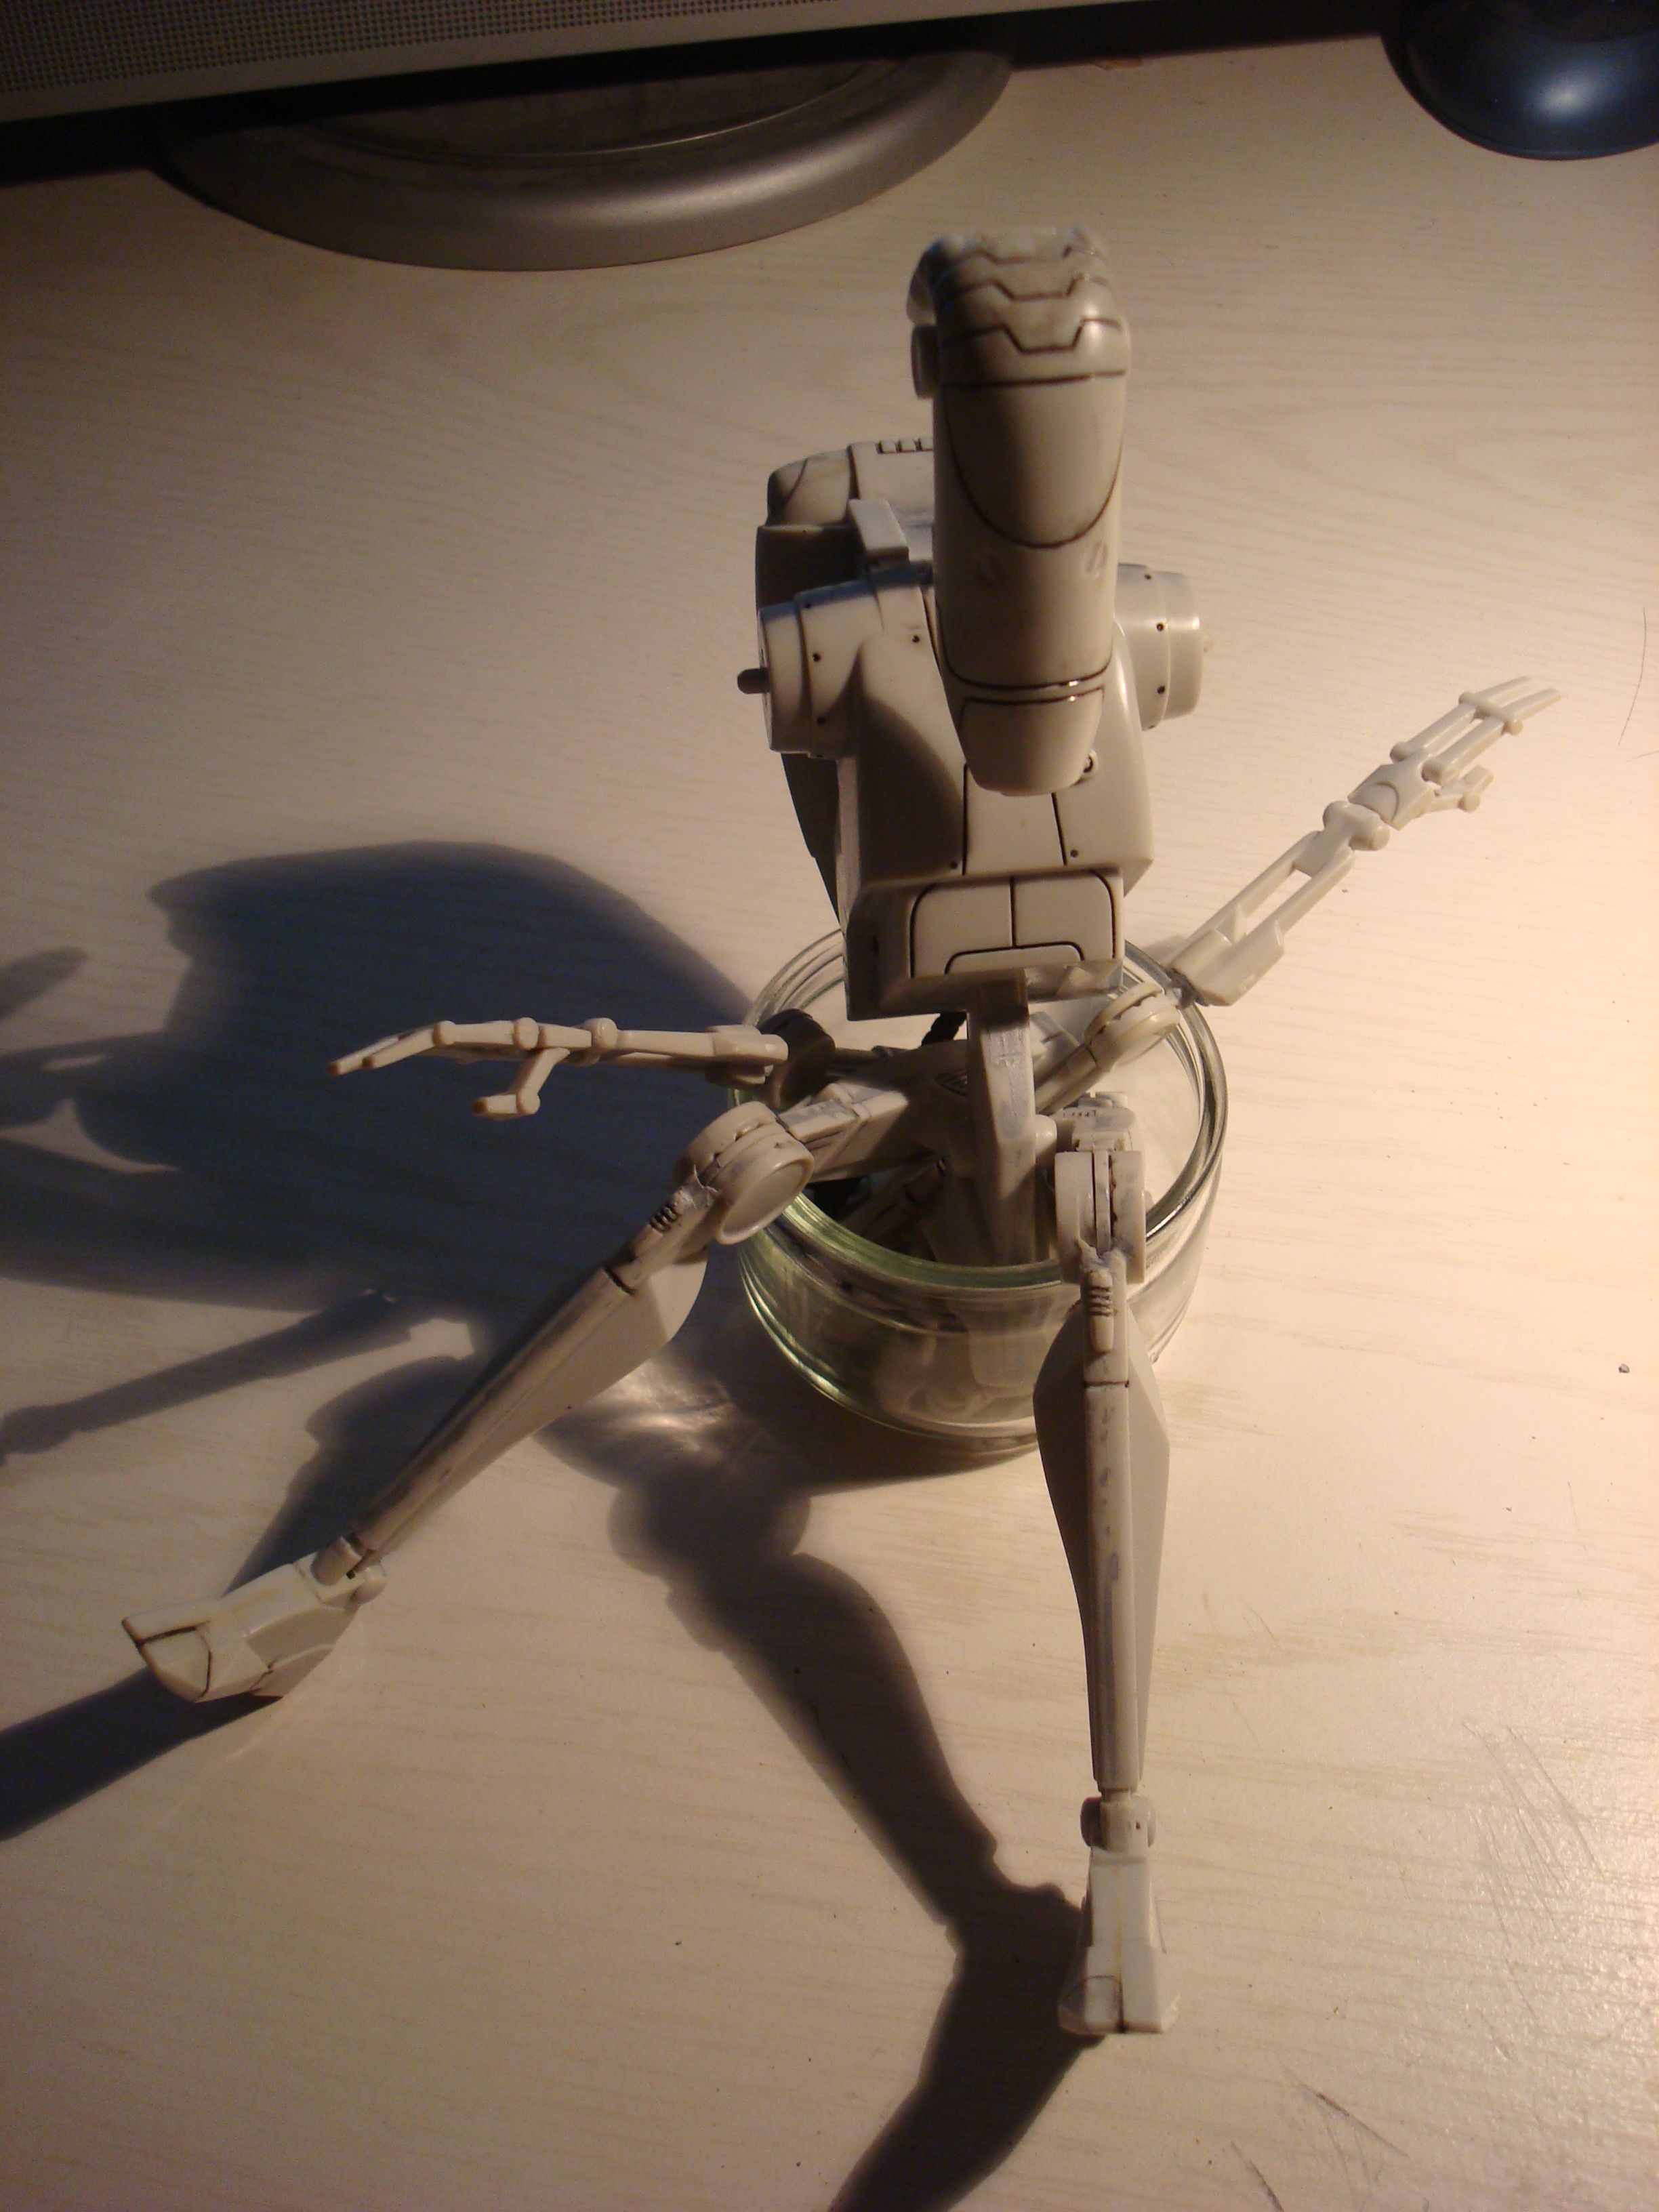
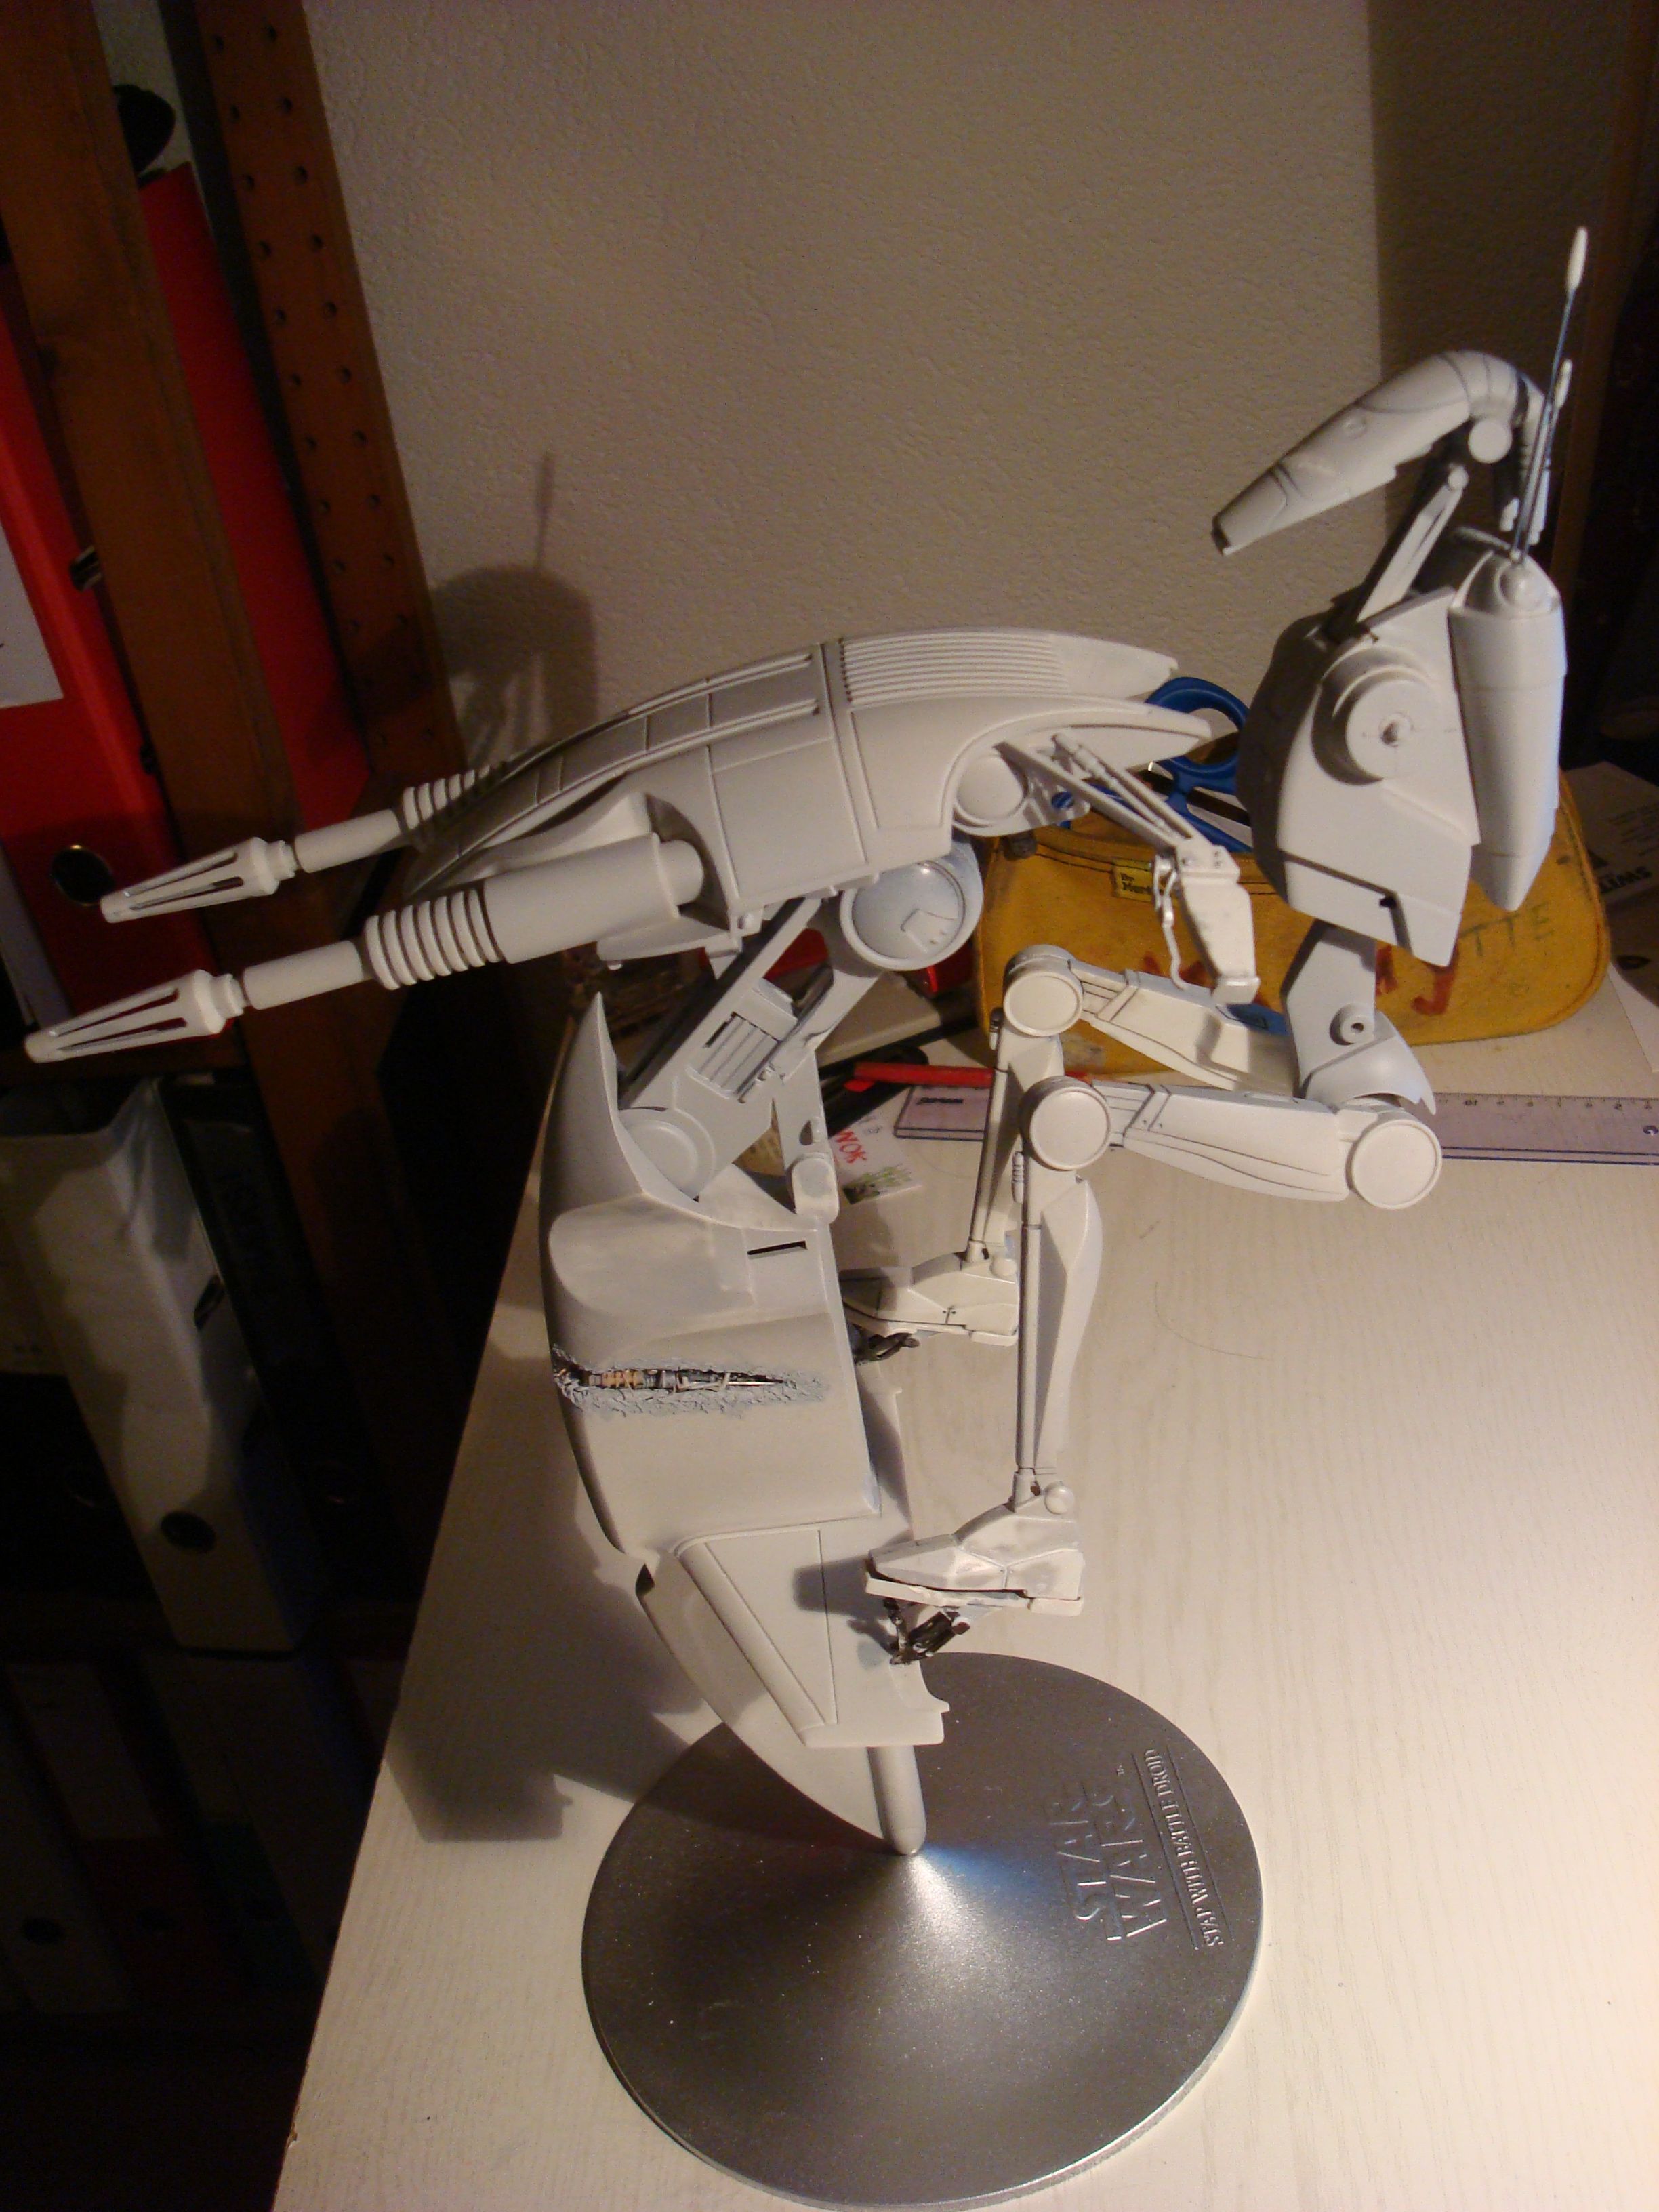
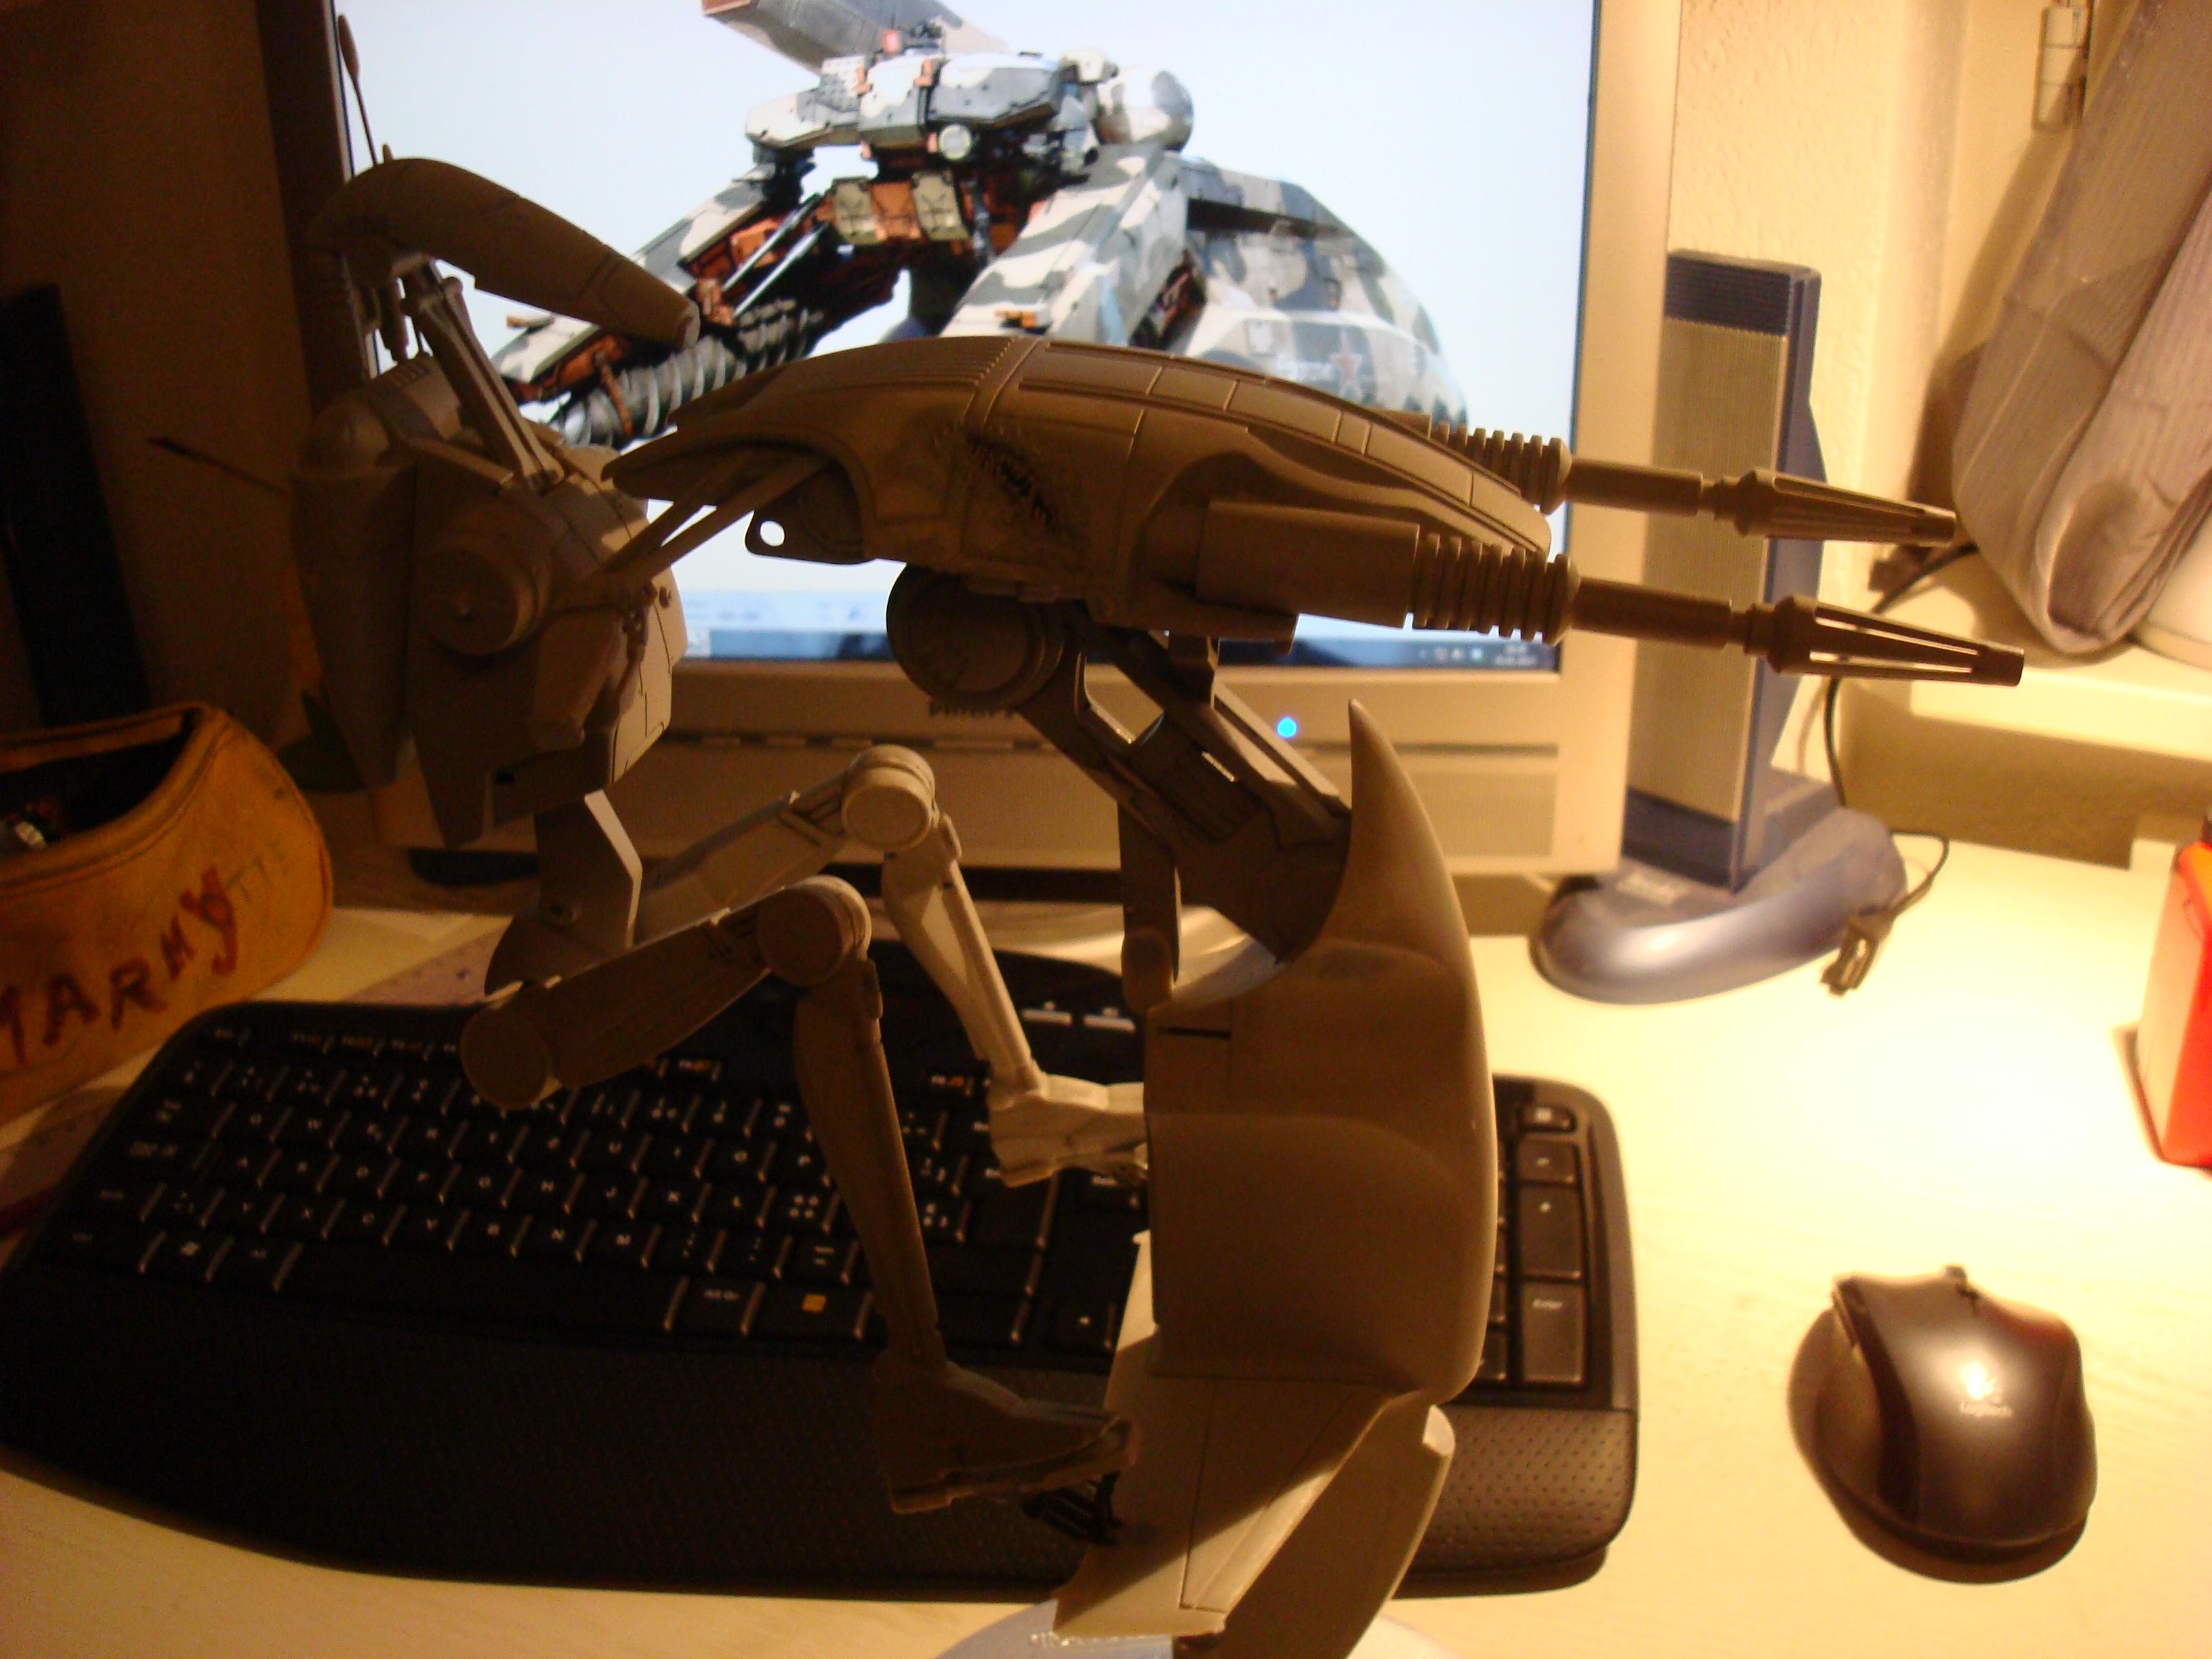
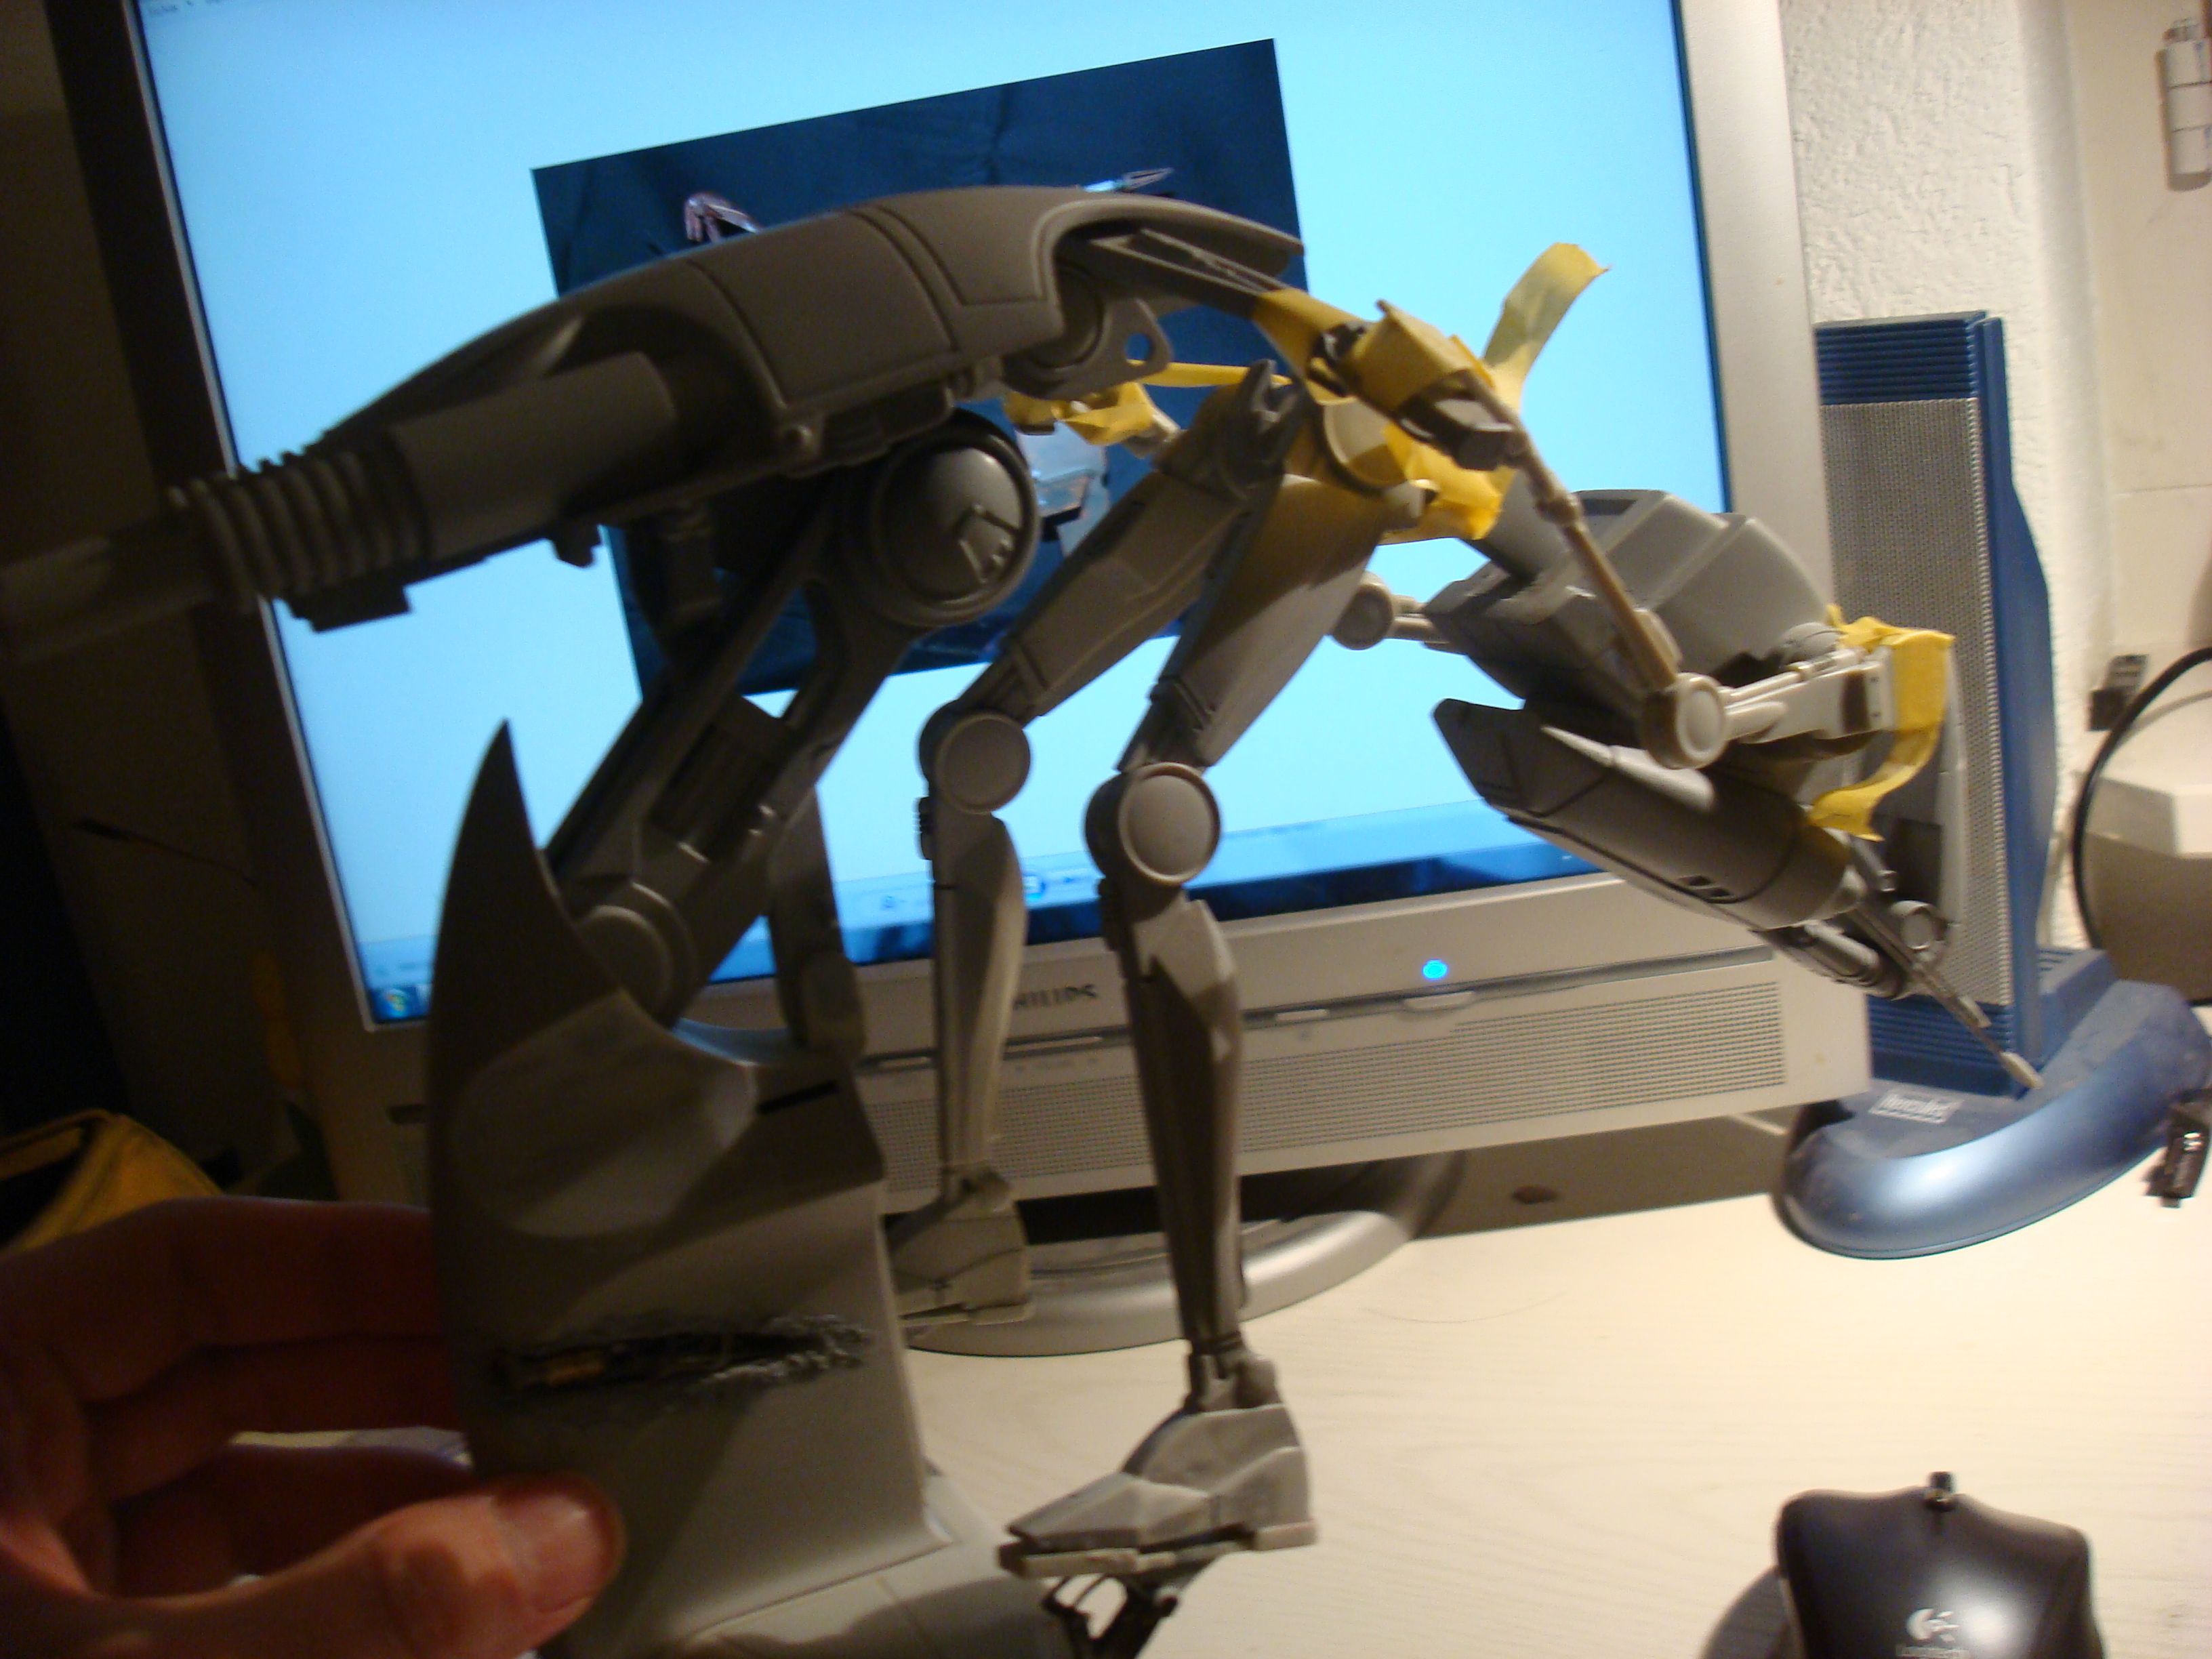
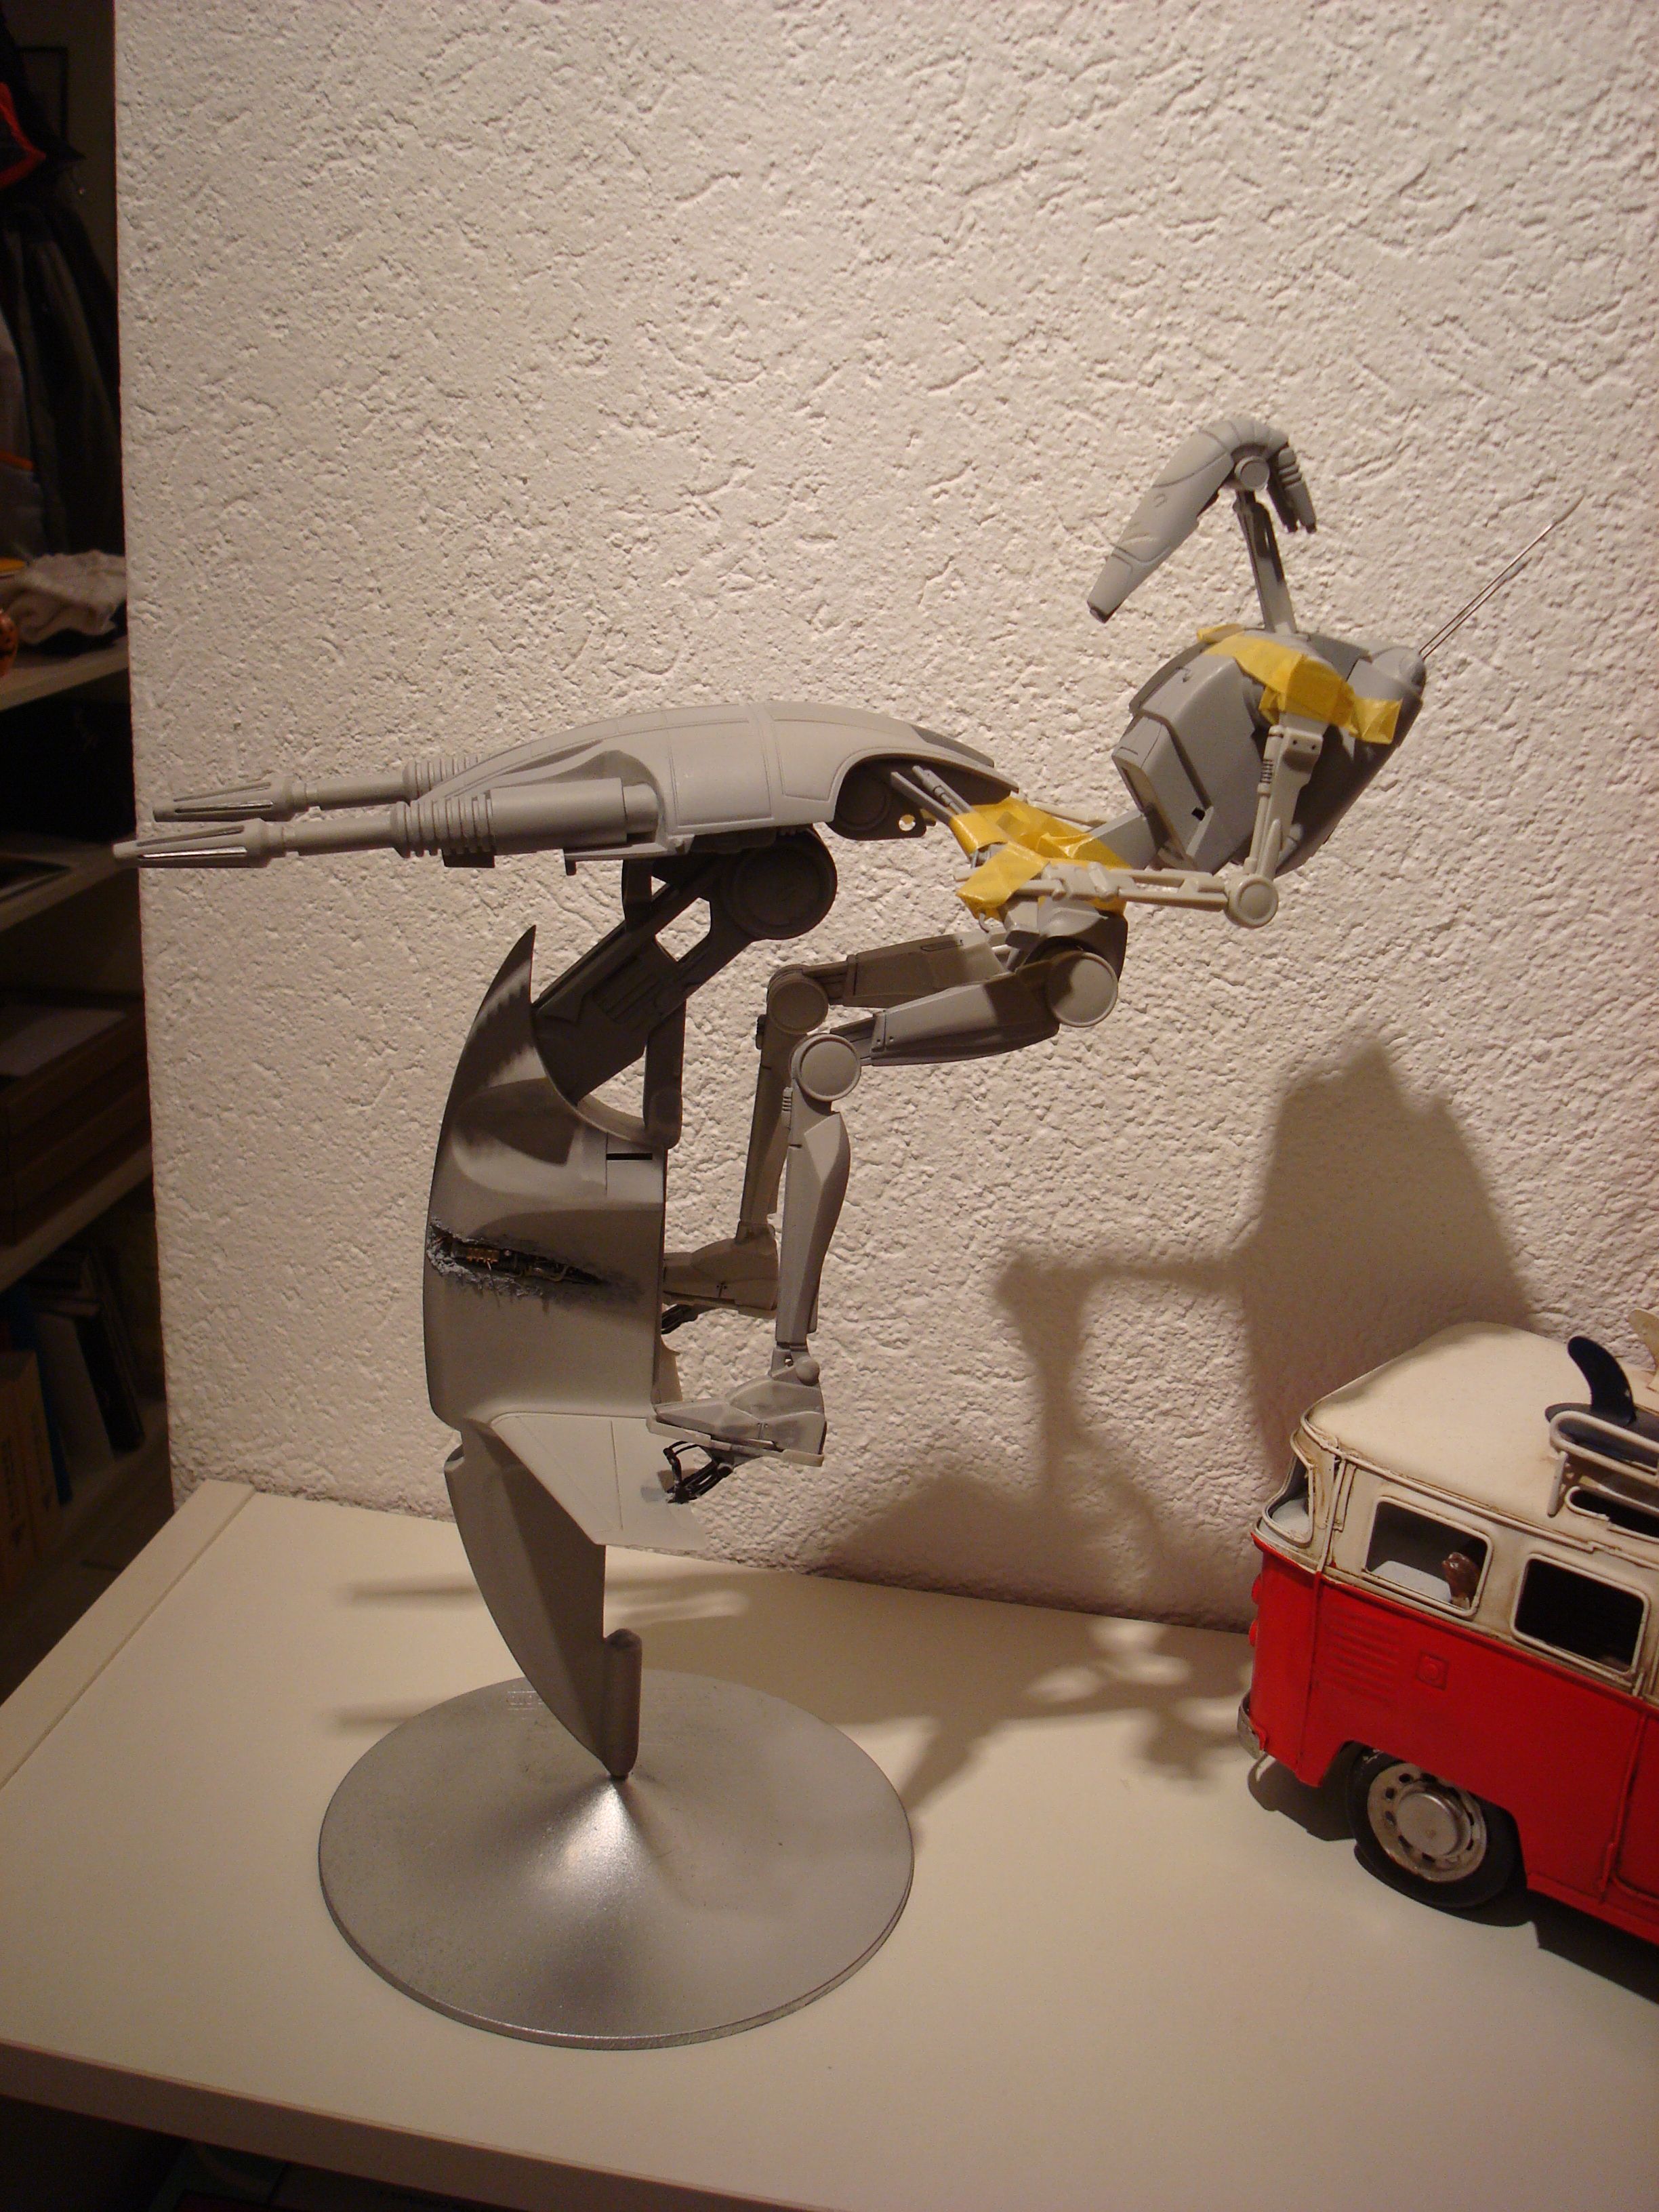
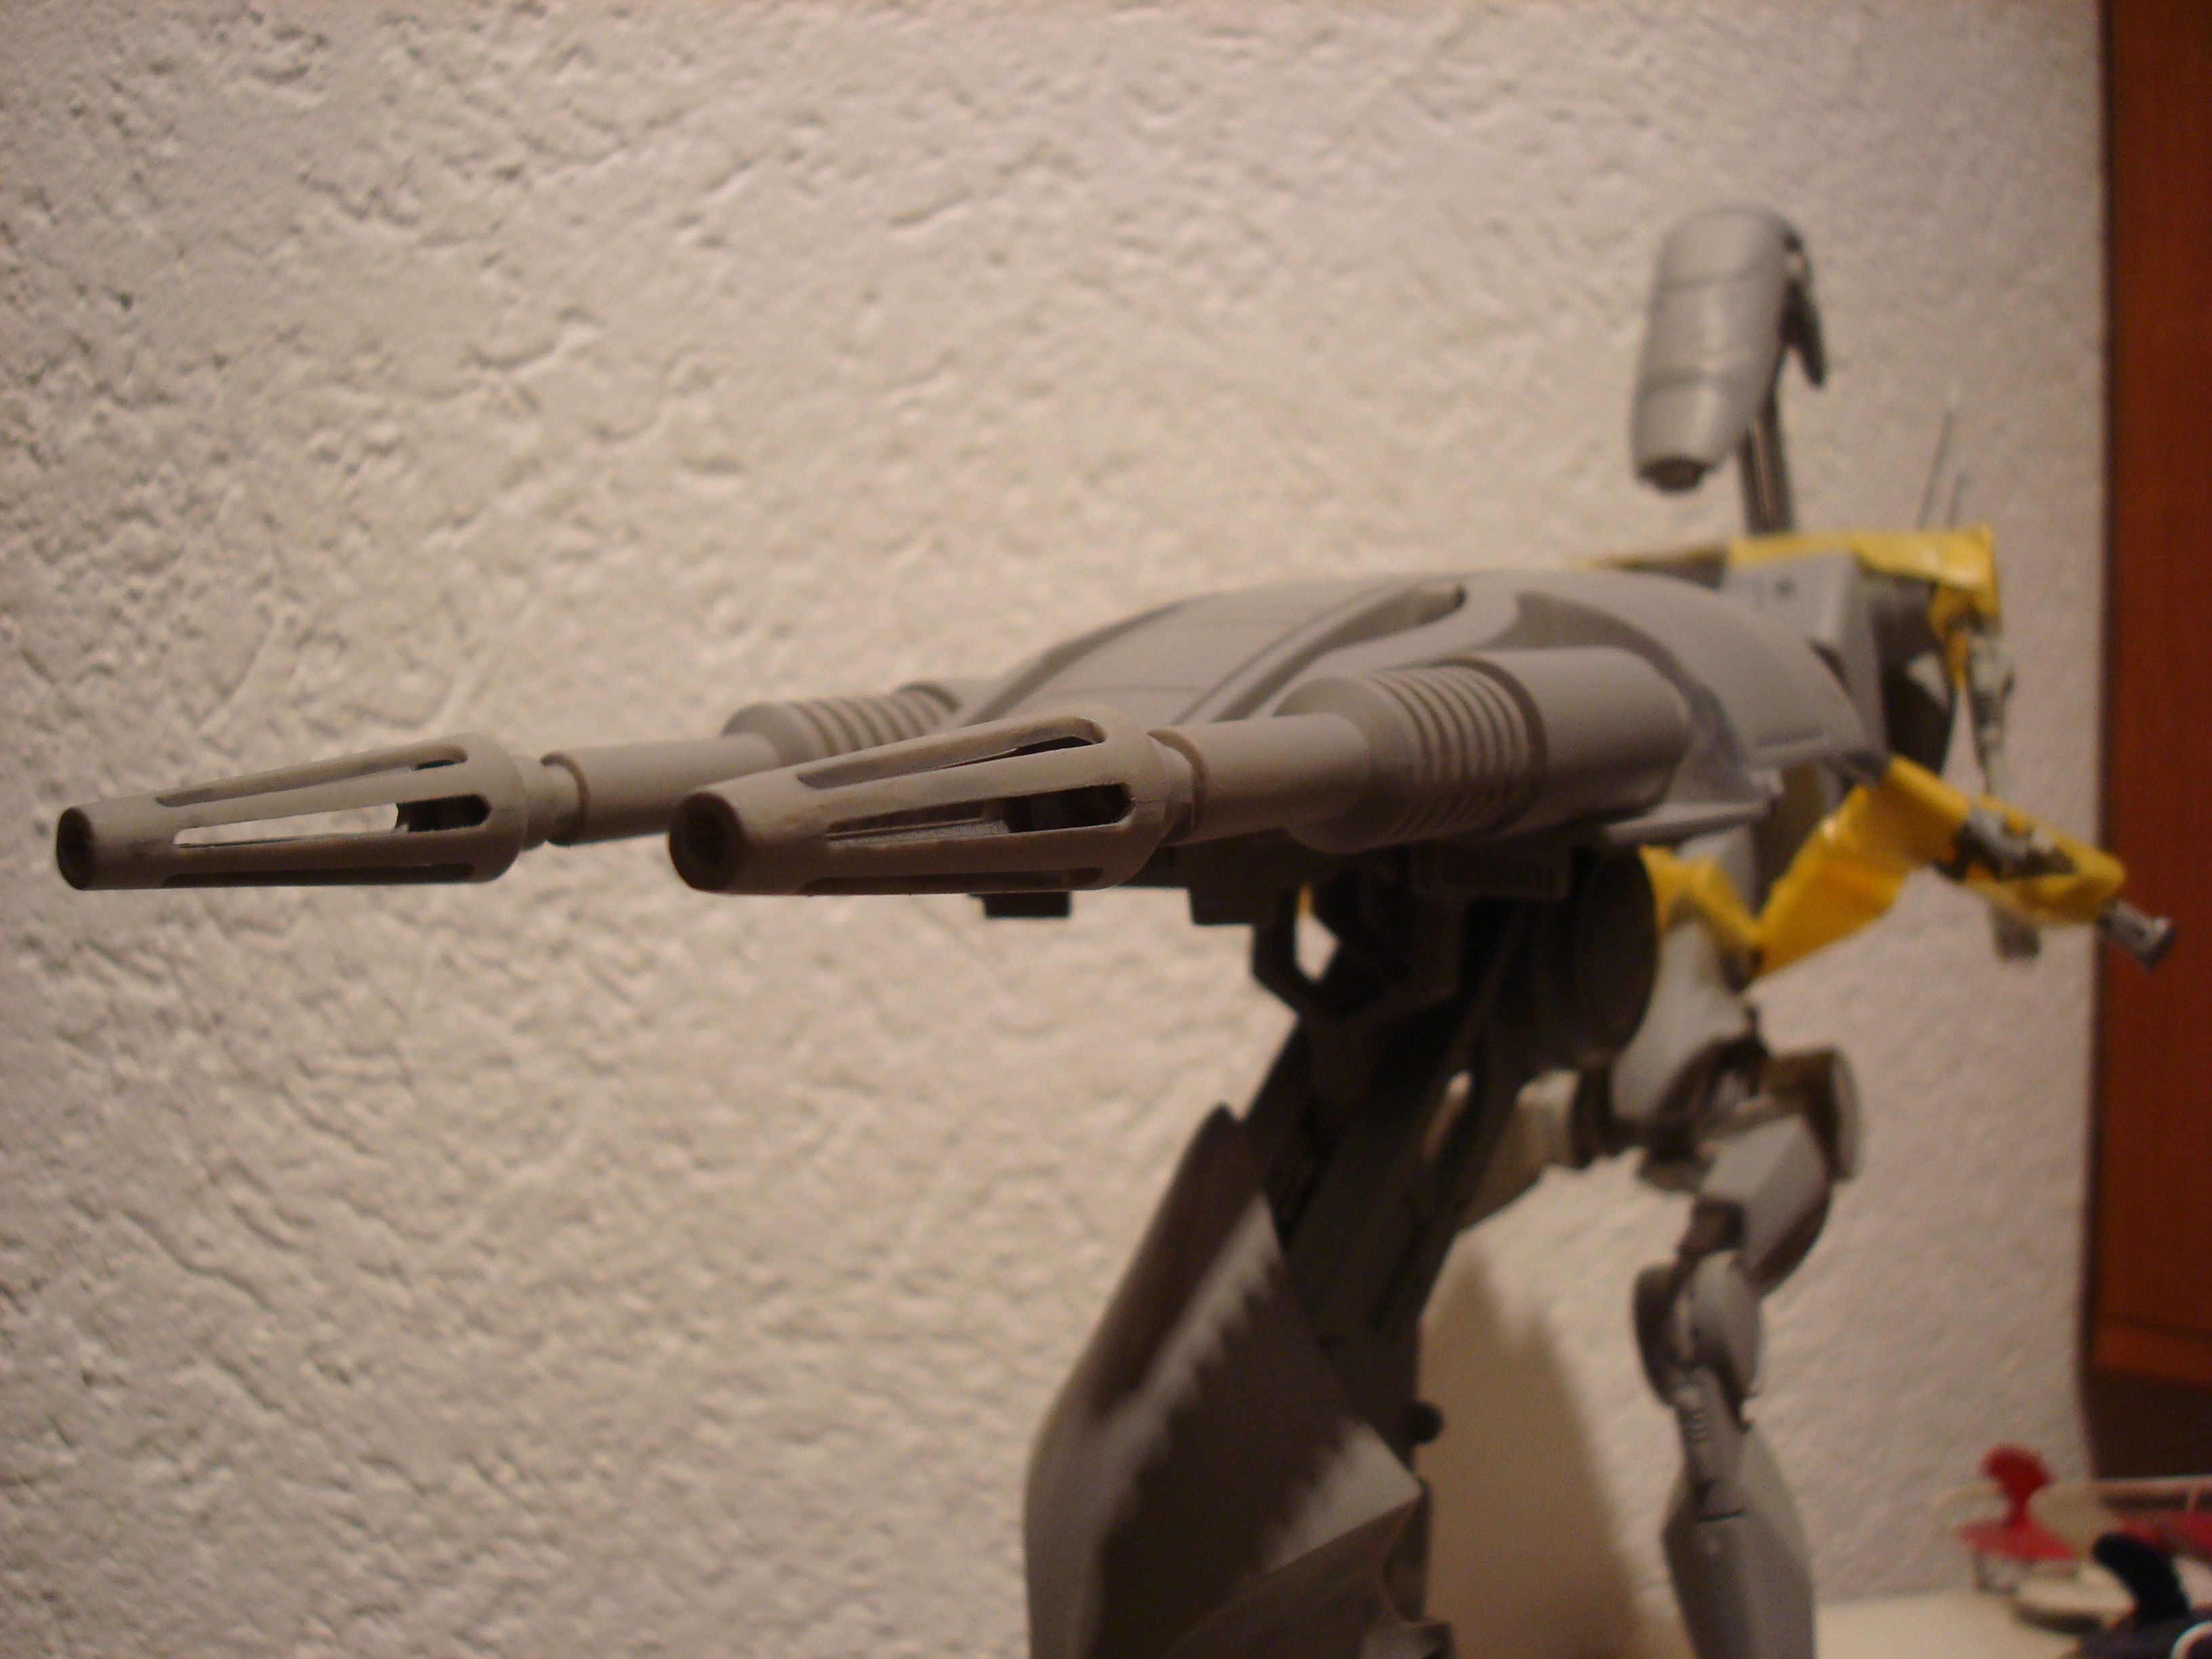
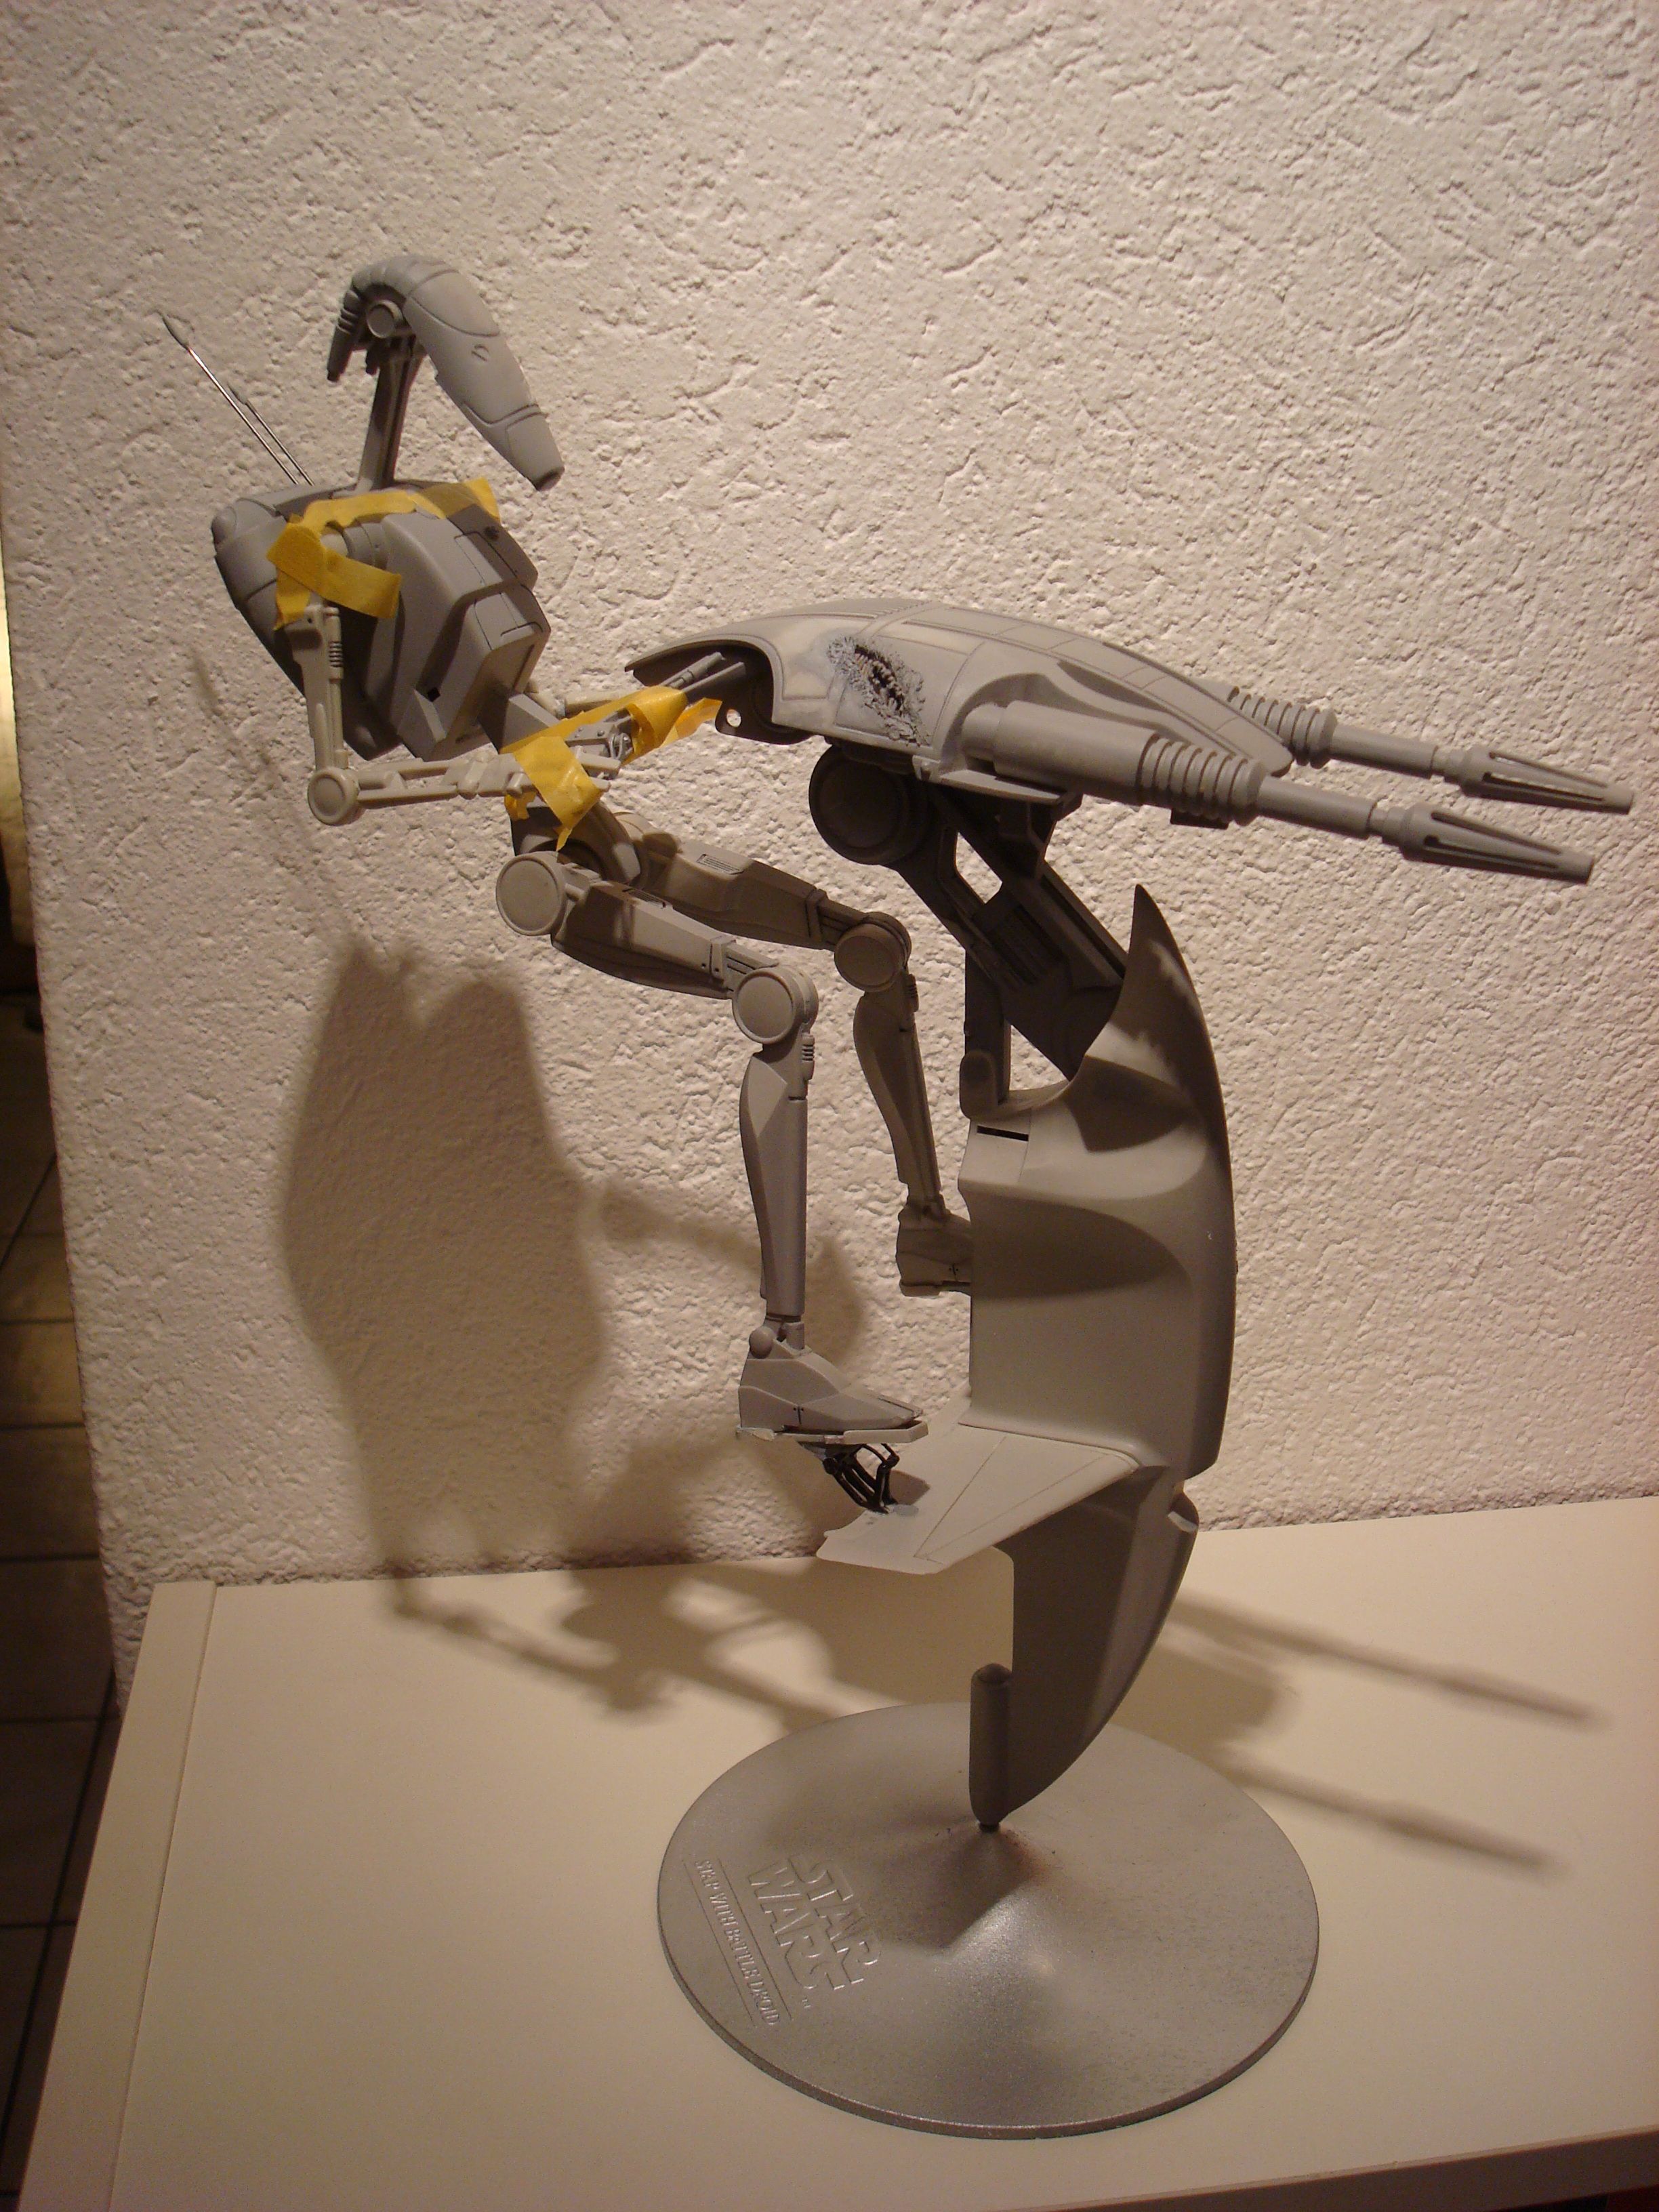
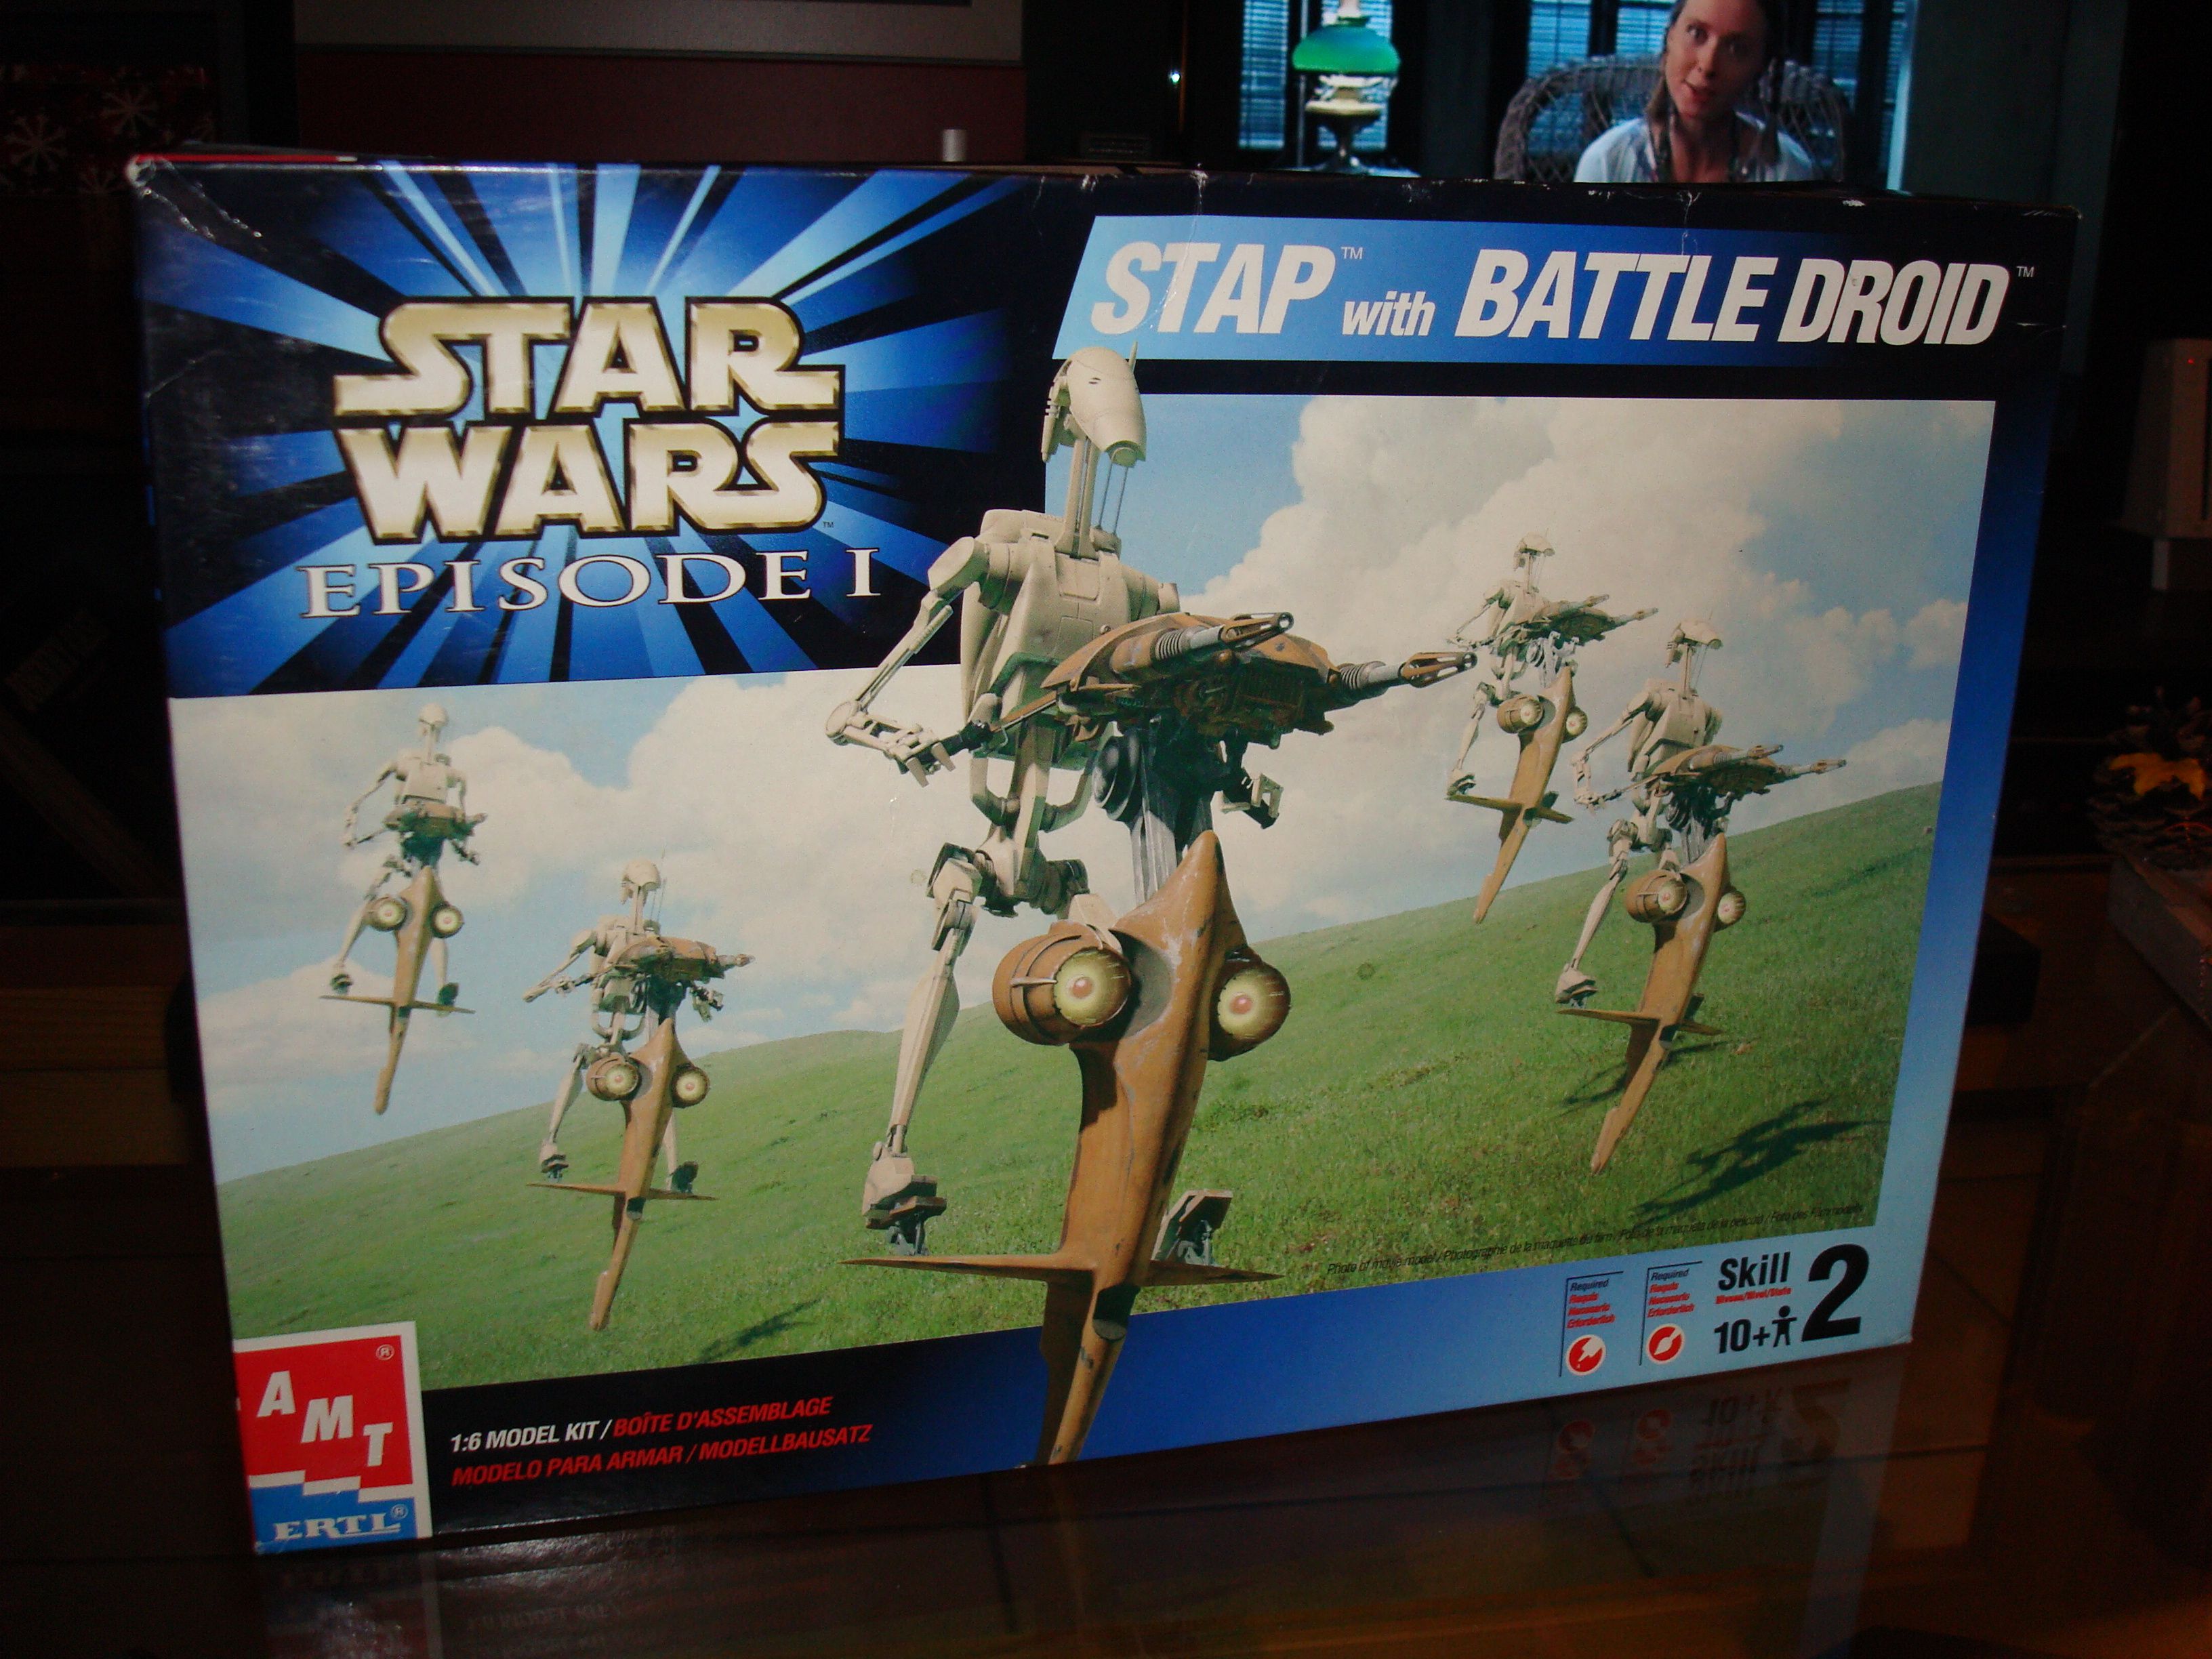
It will be a scene incuding a trade federation droit on STAP and a clone trooper.

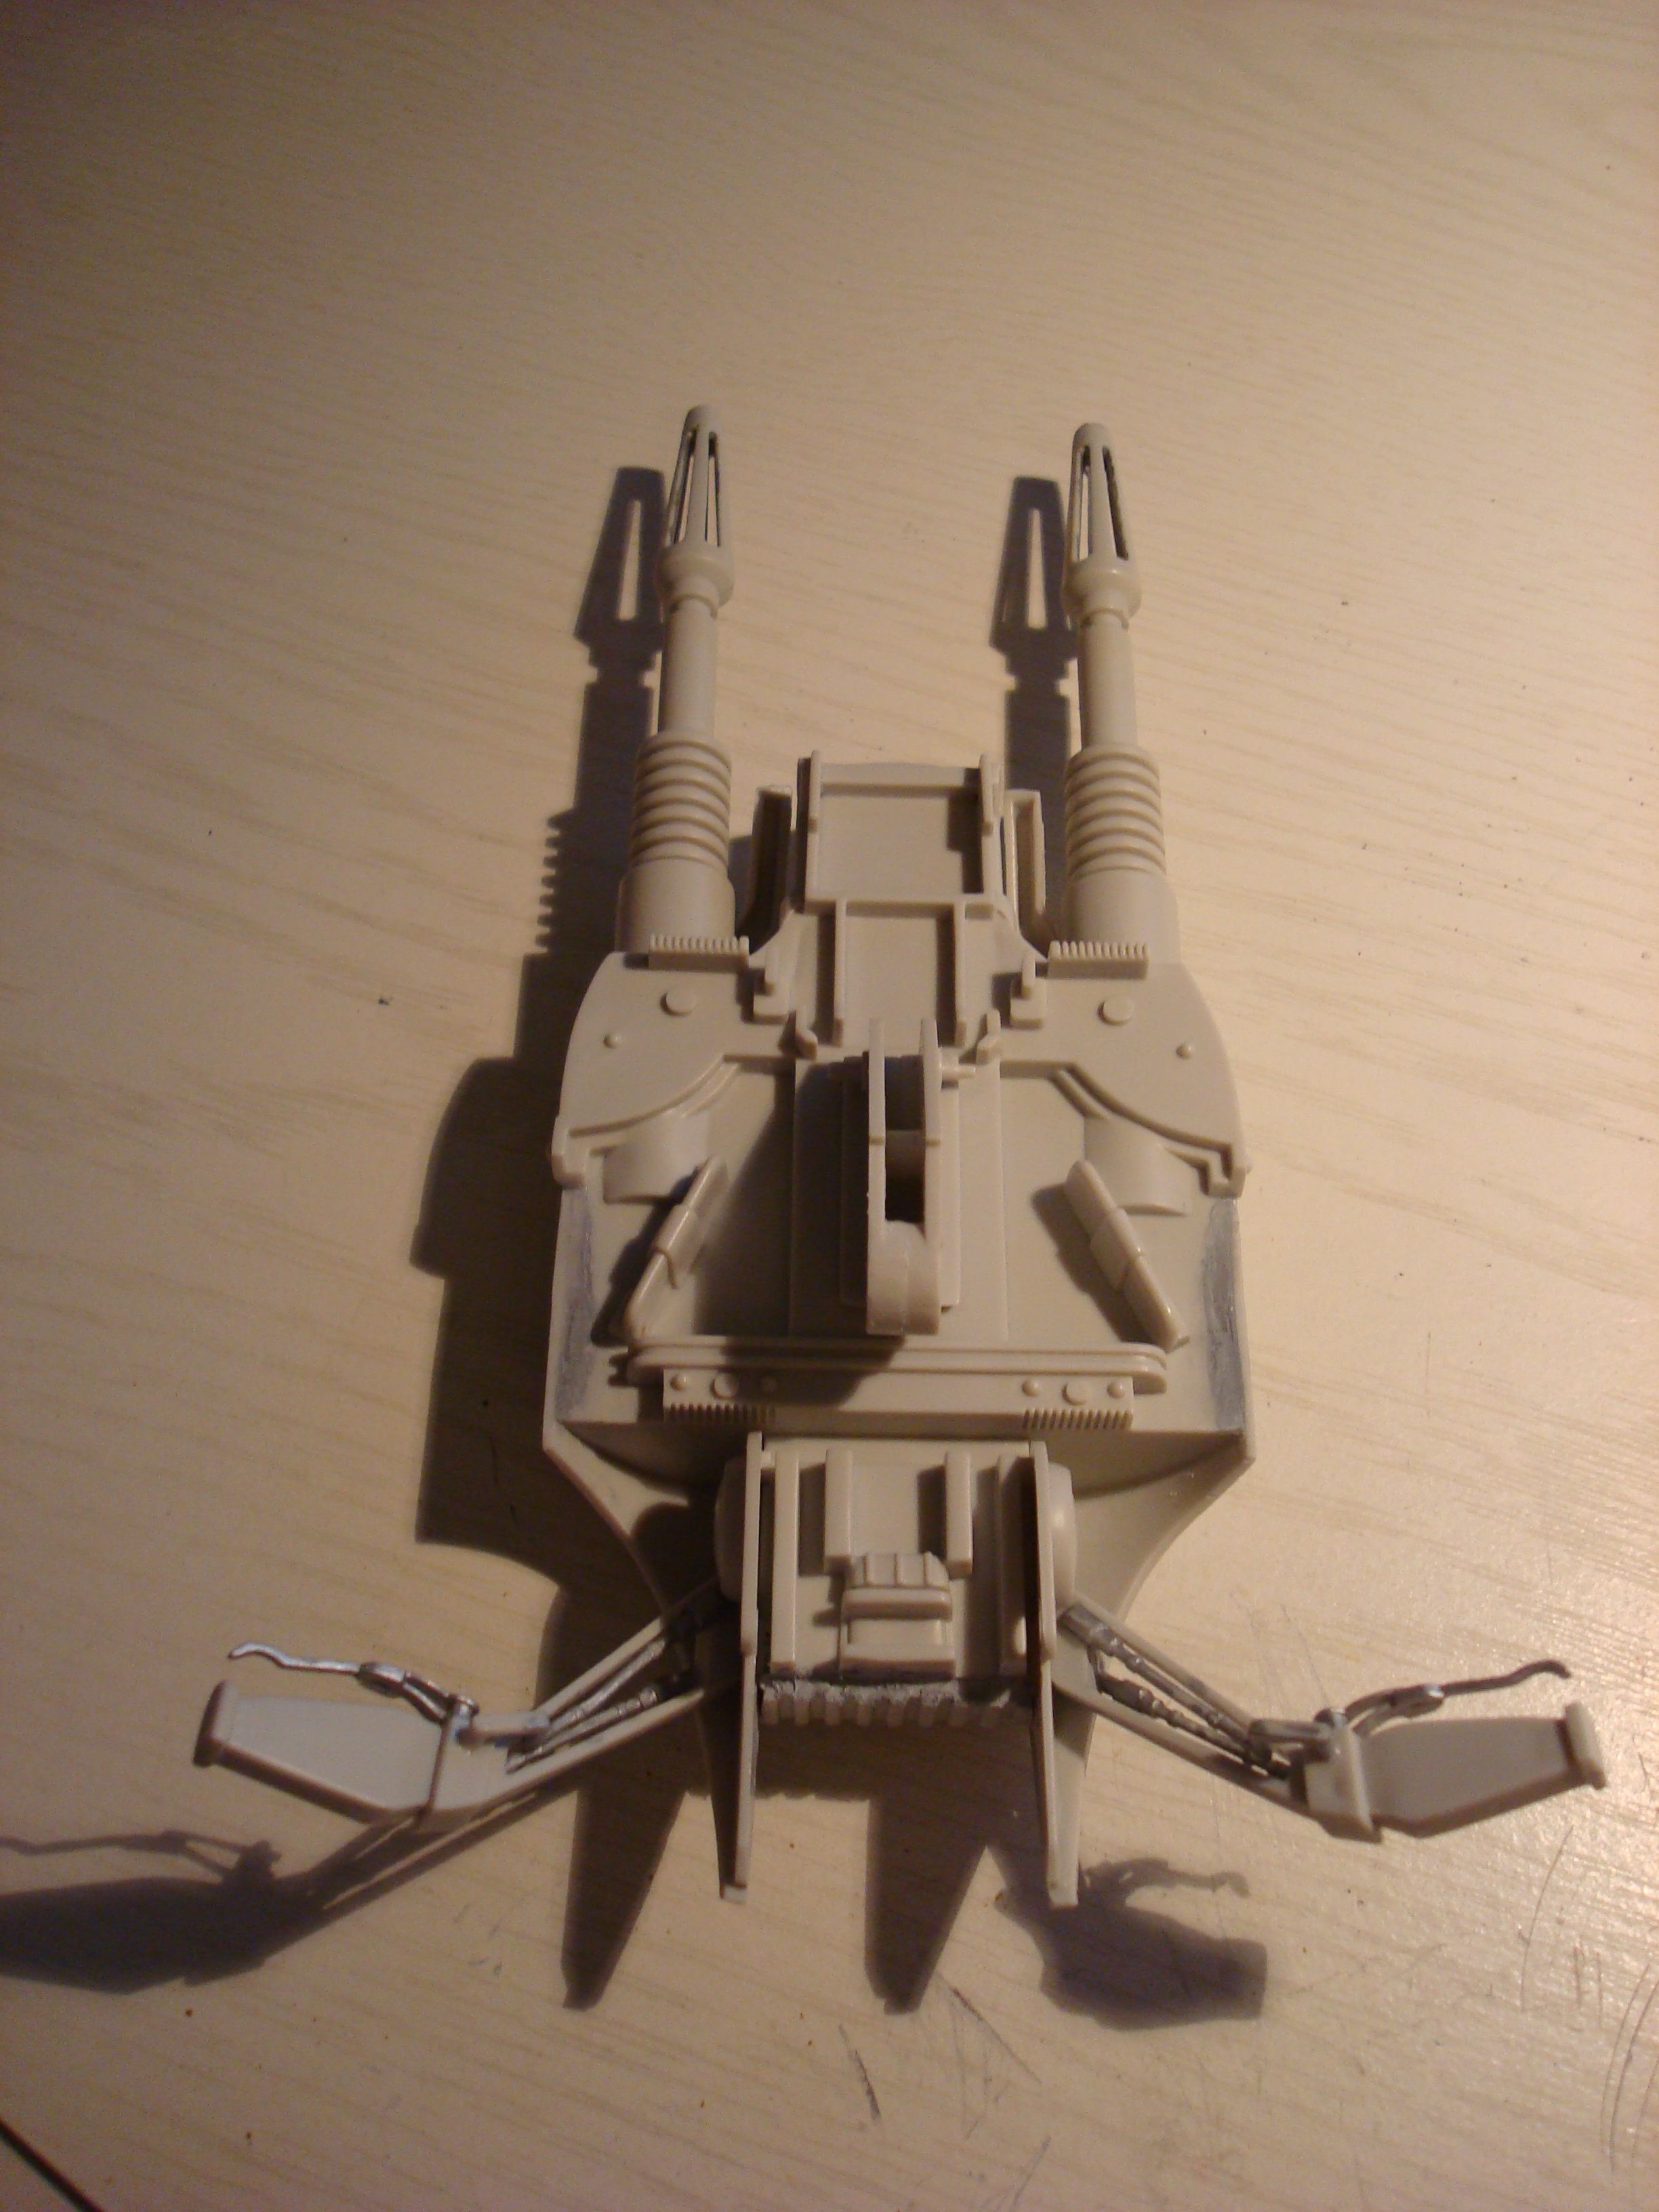
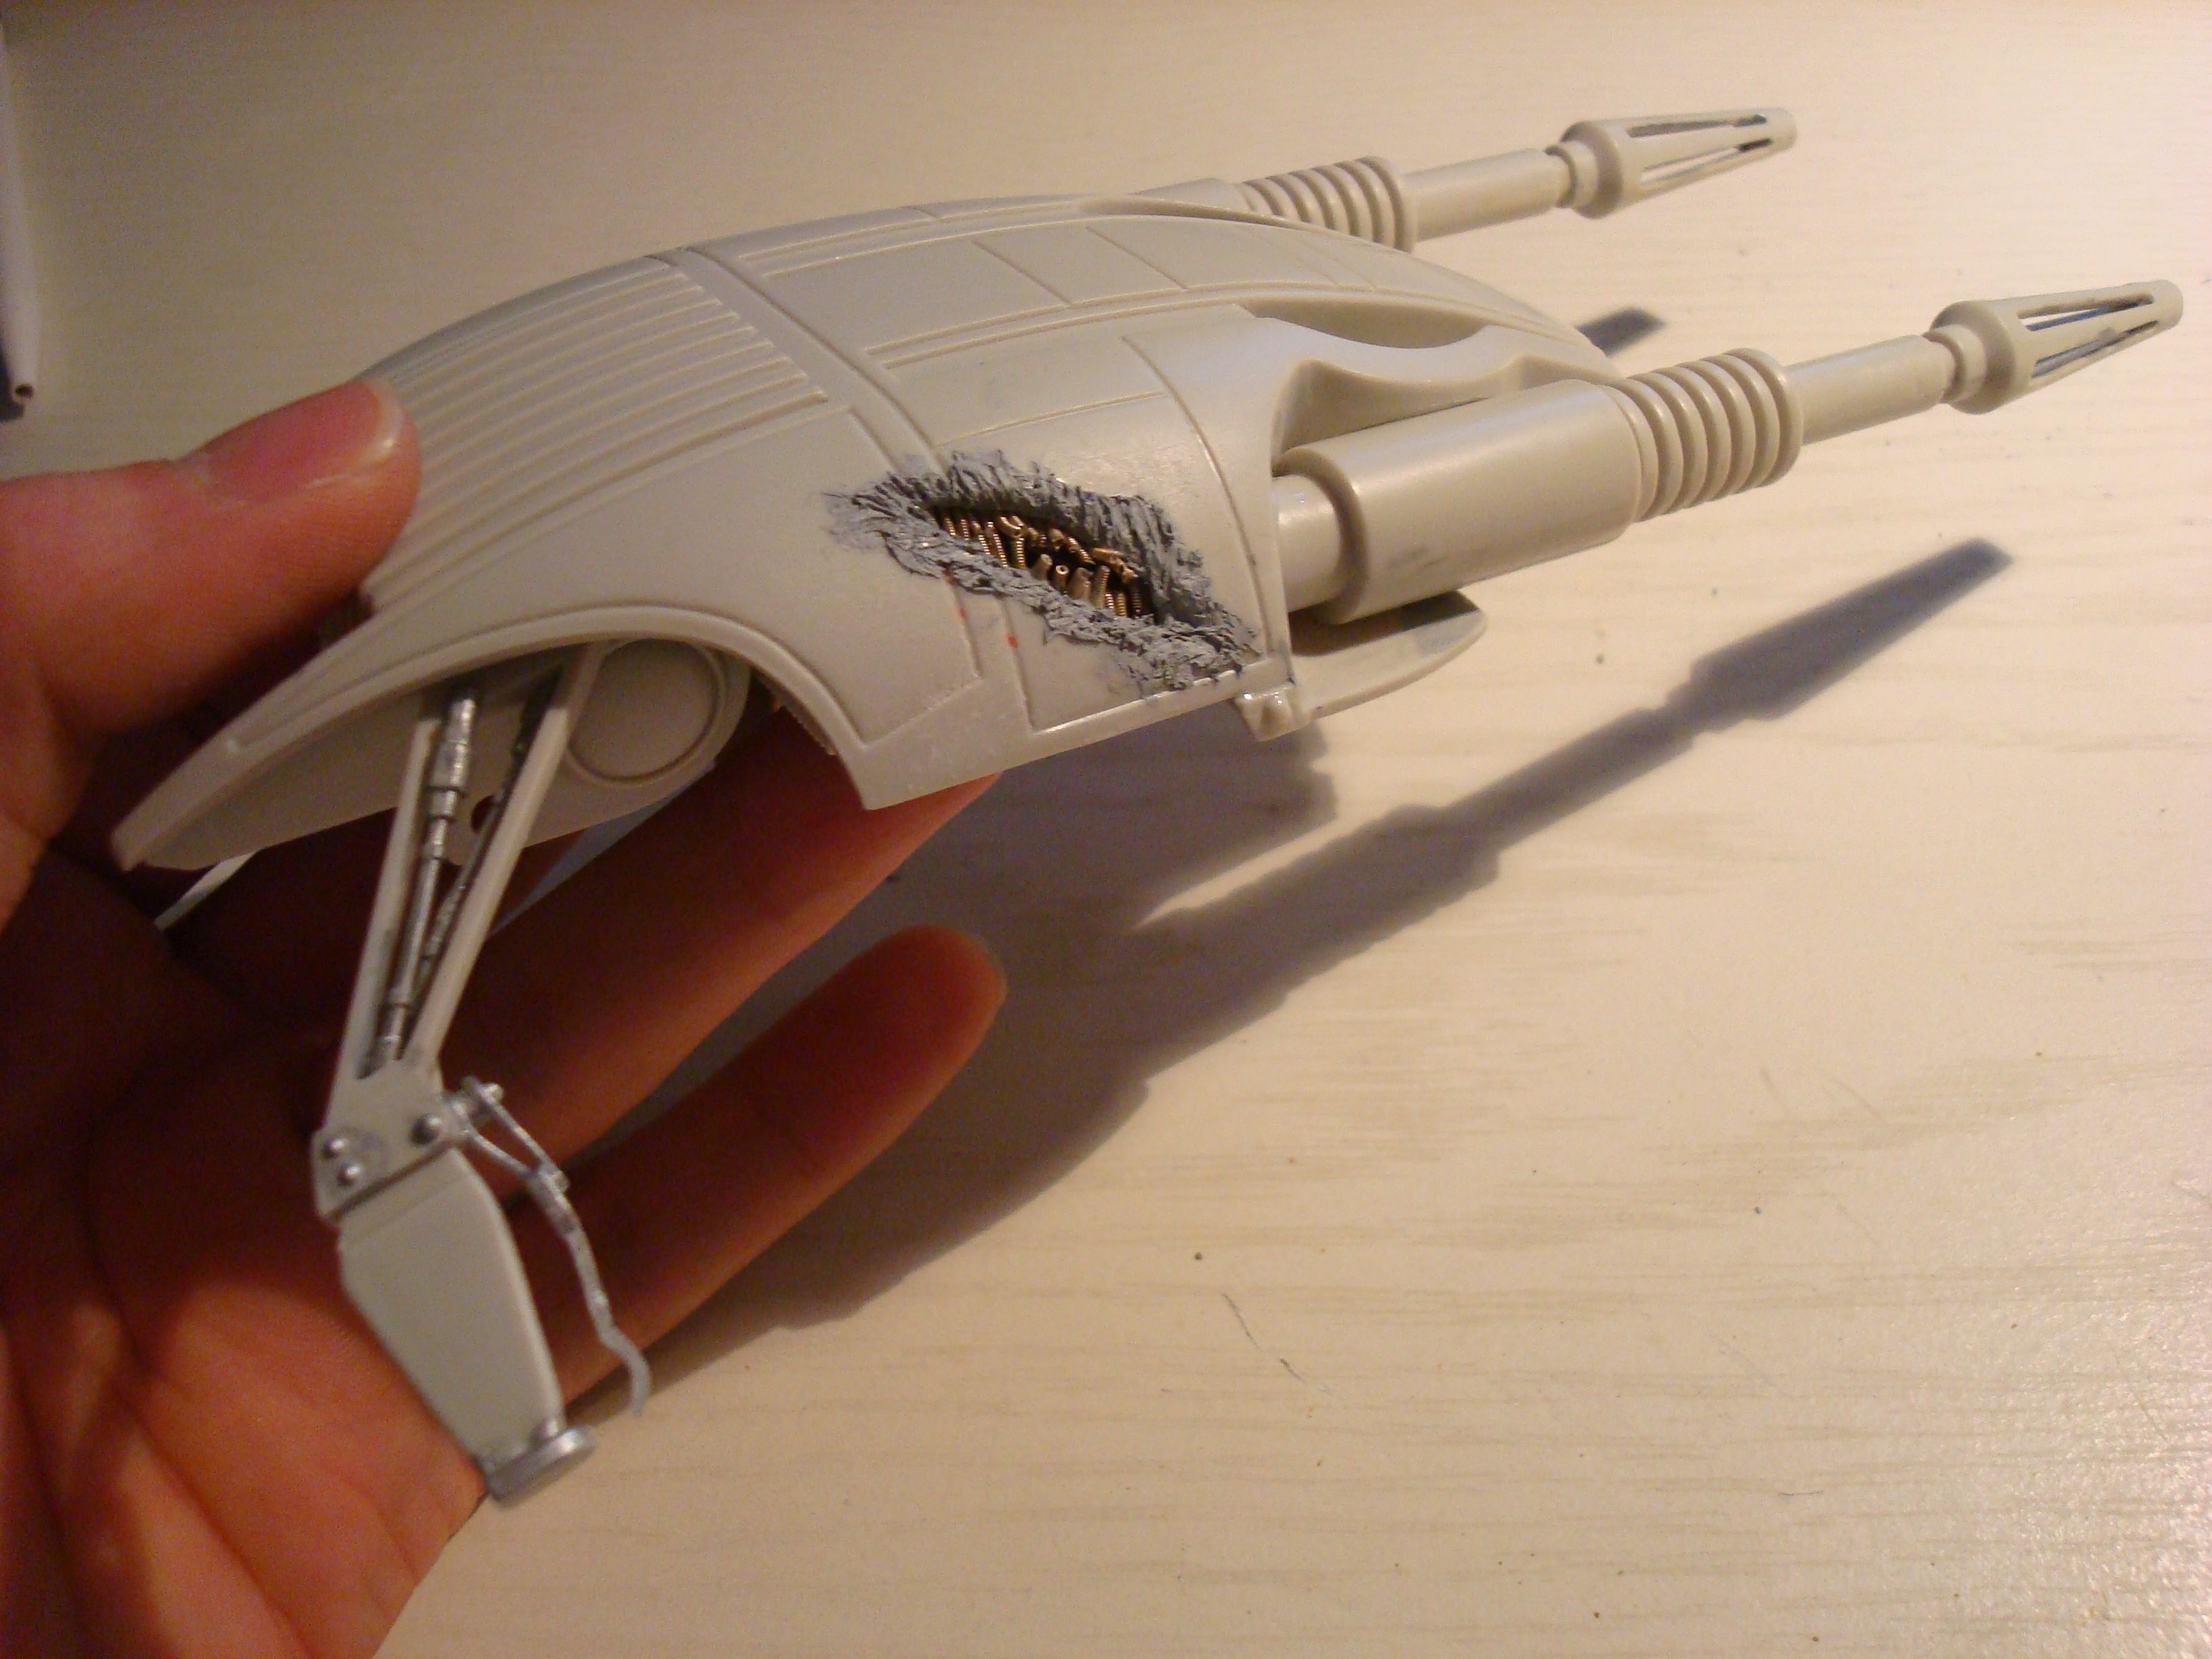
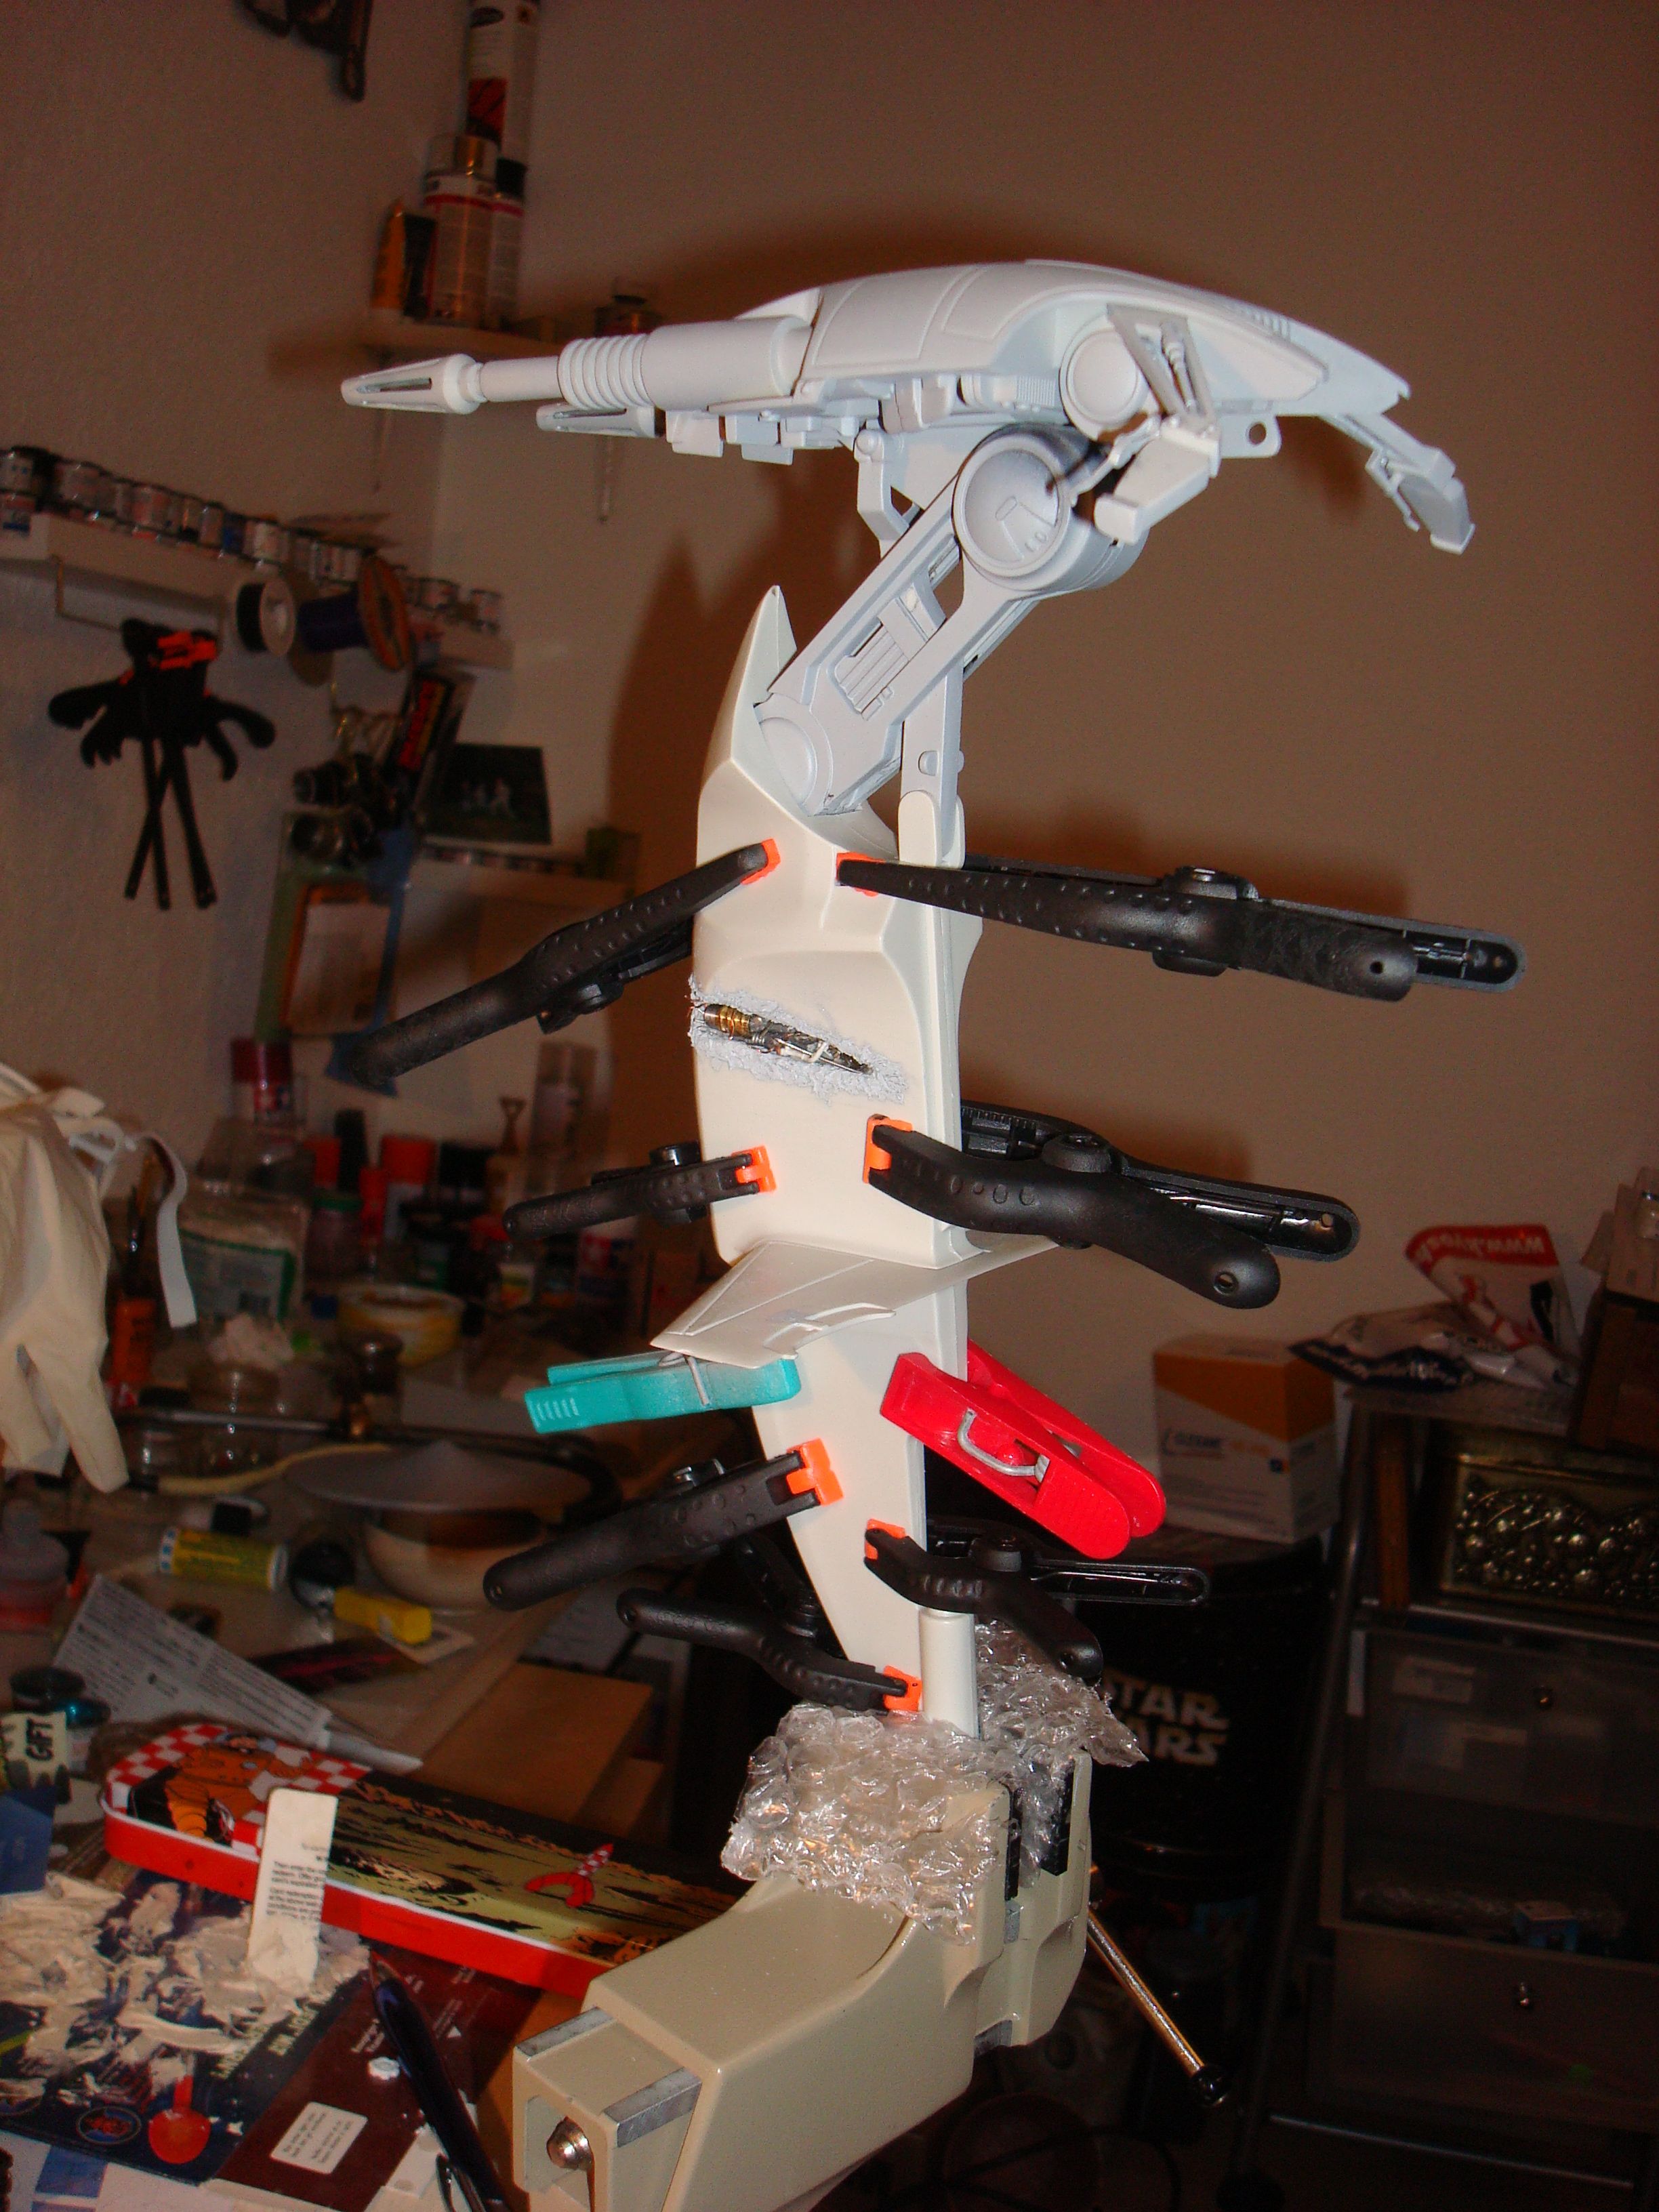
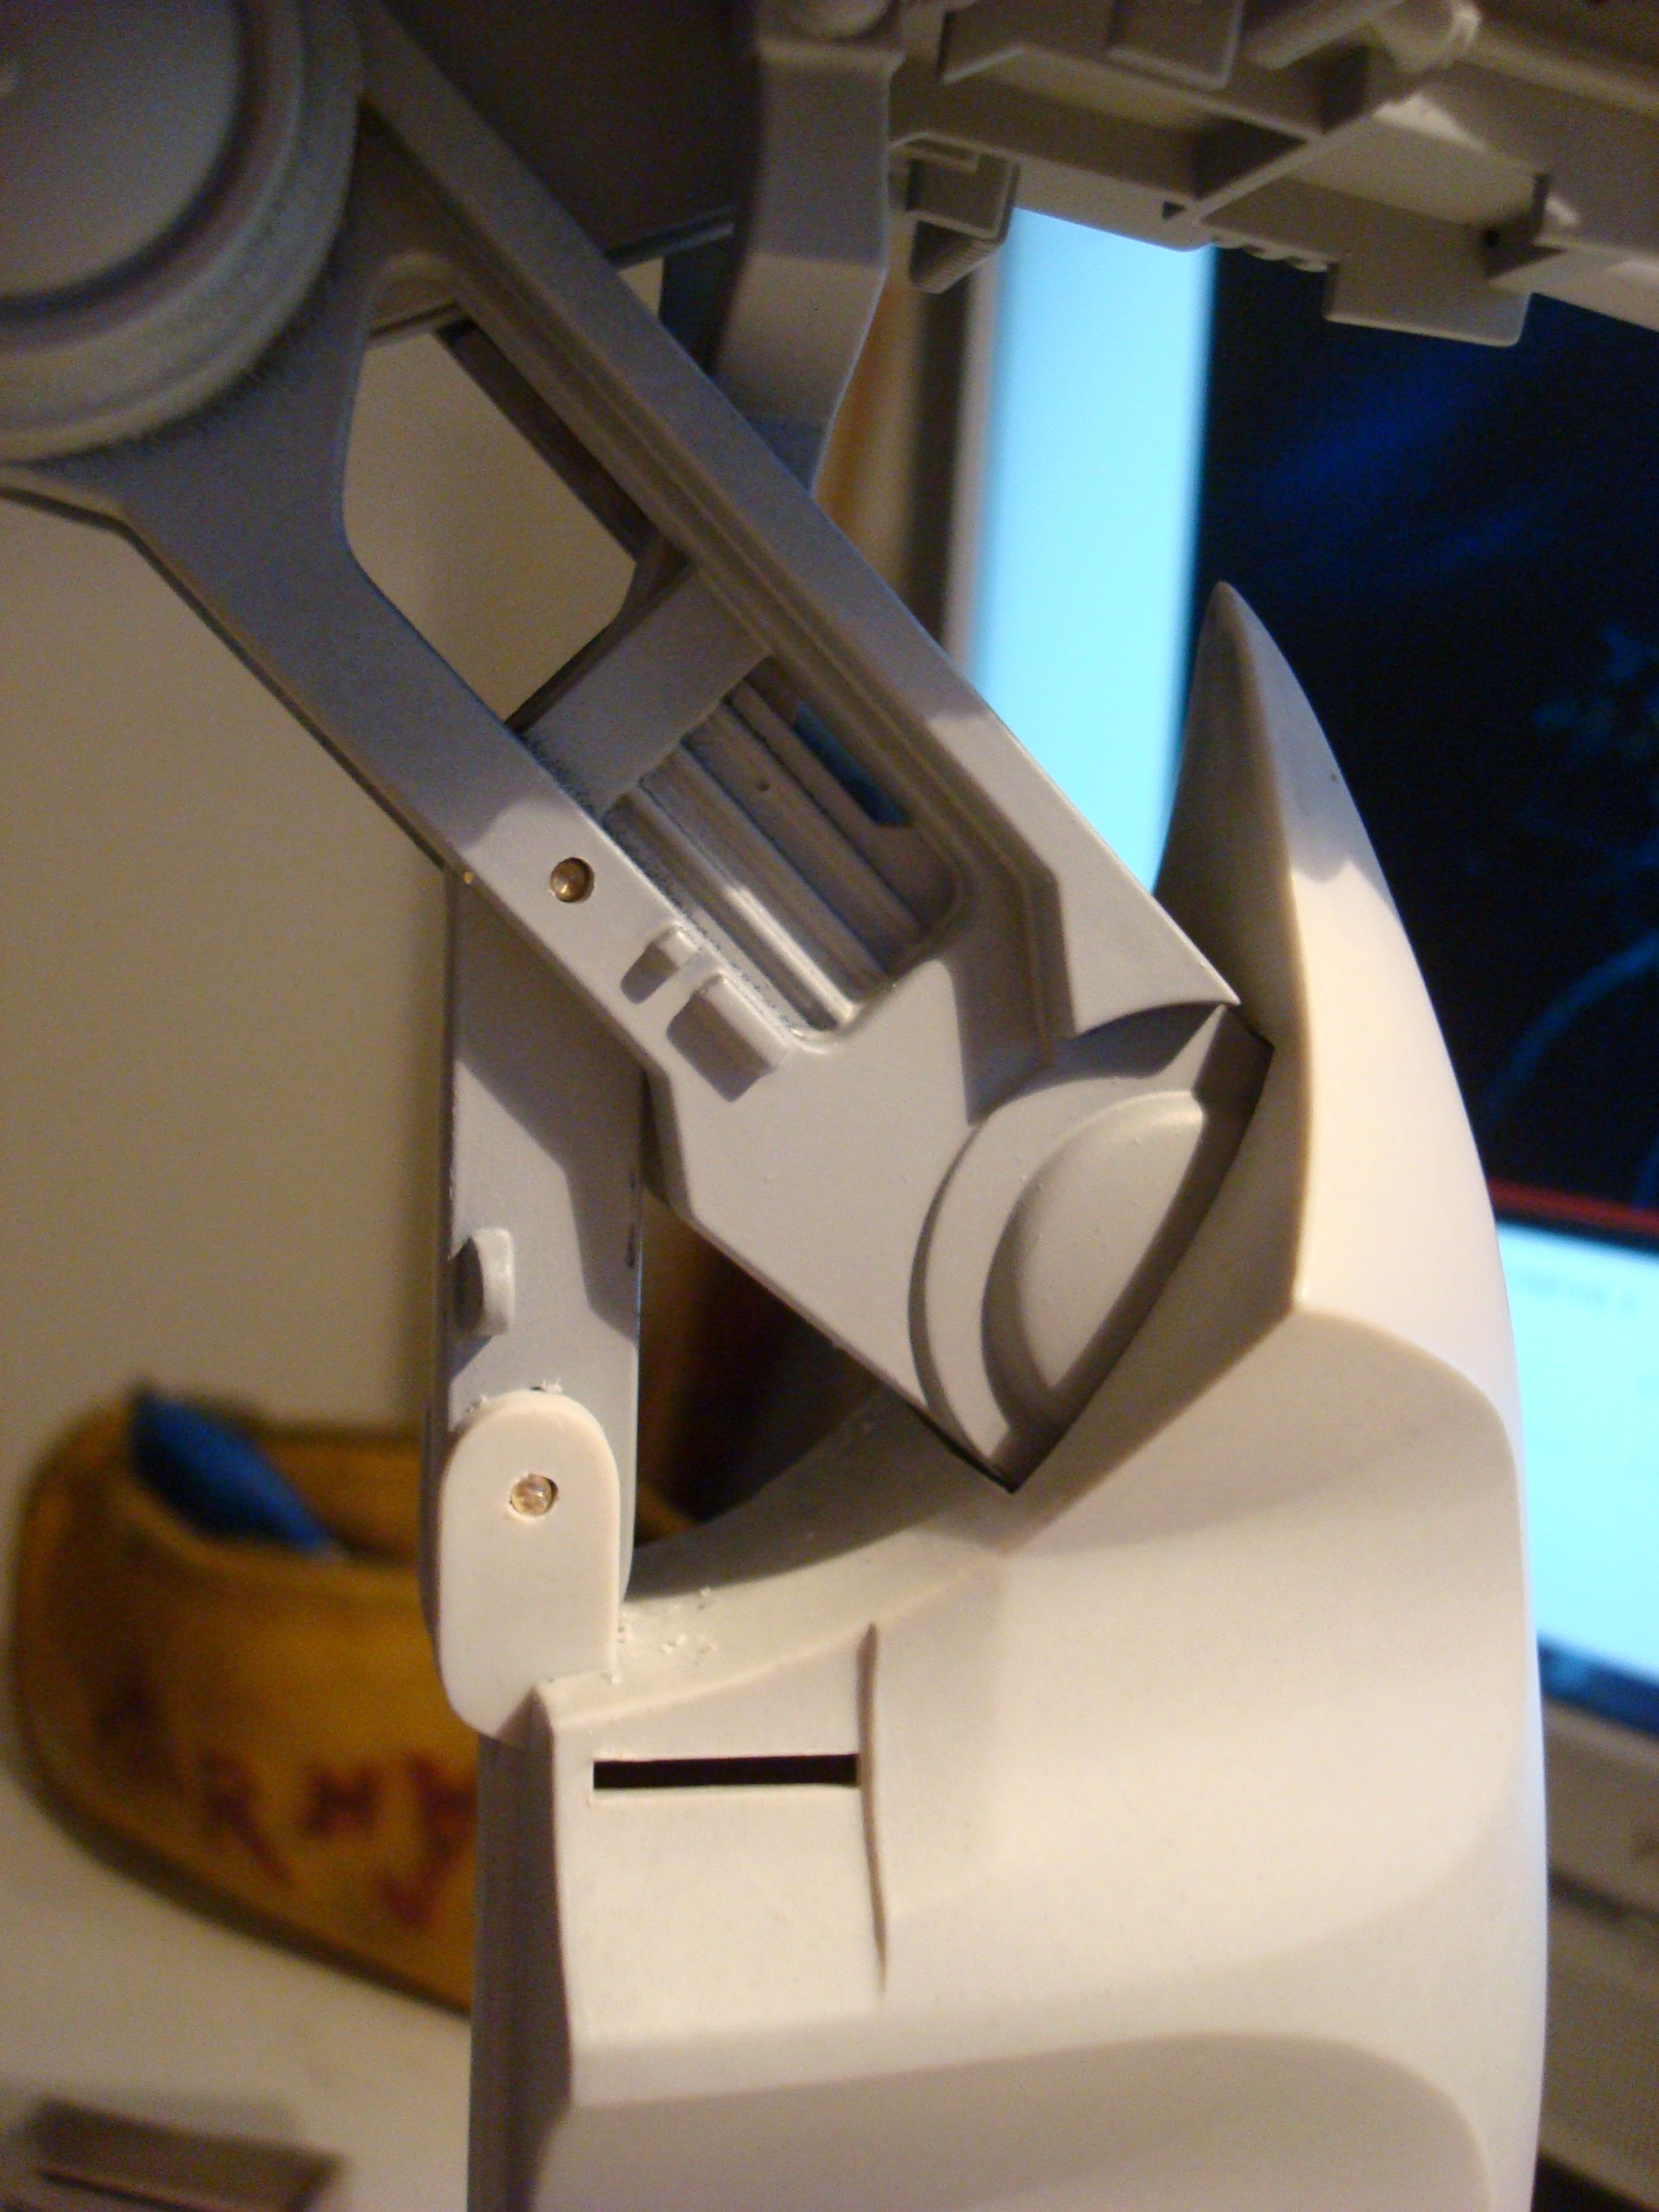
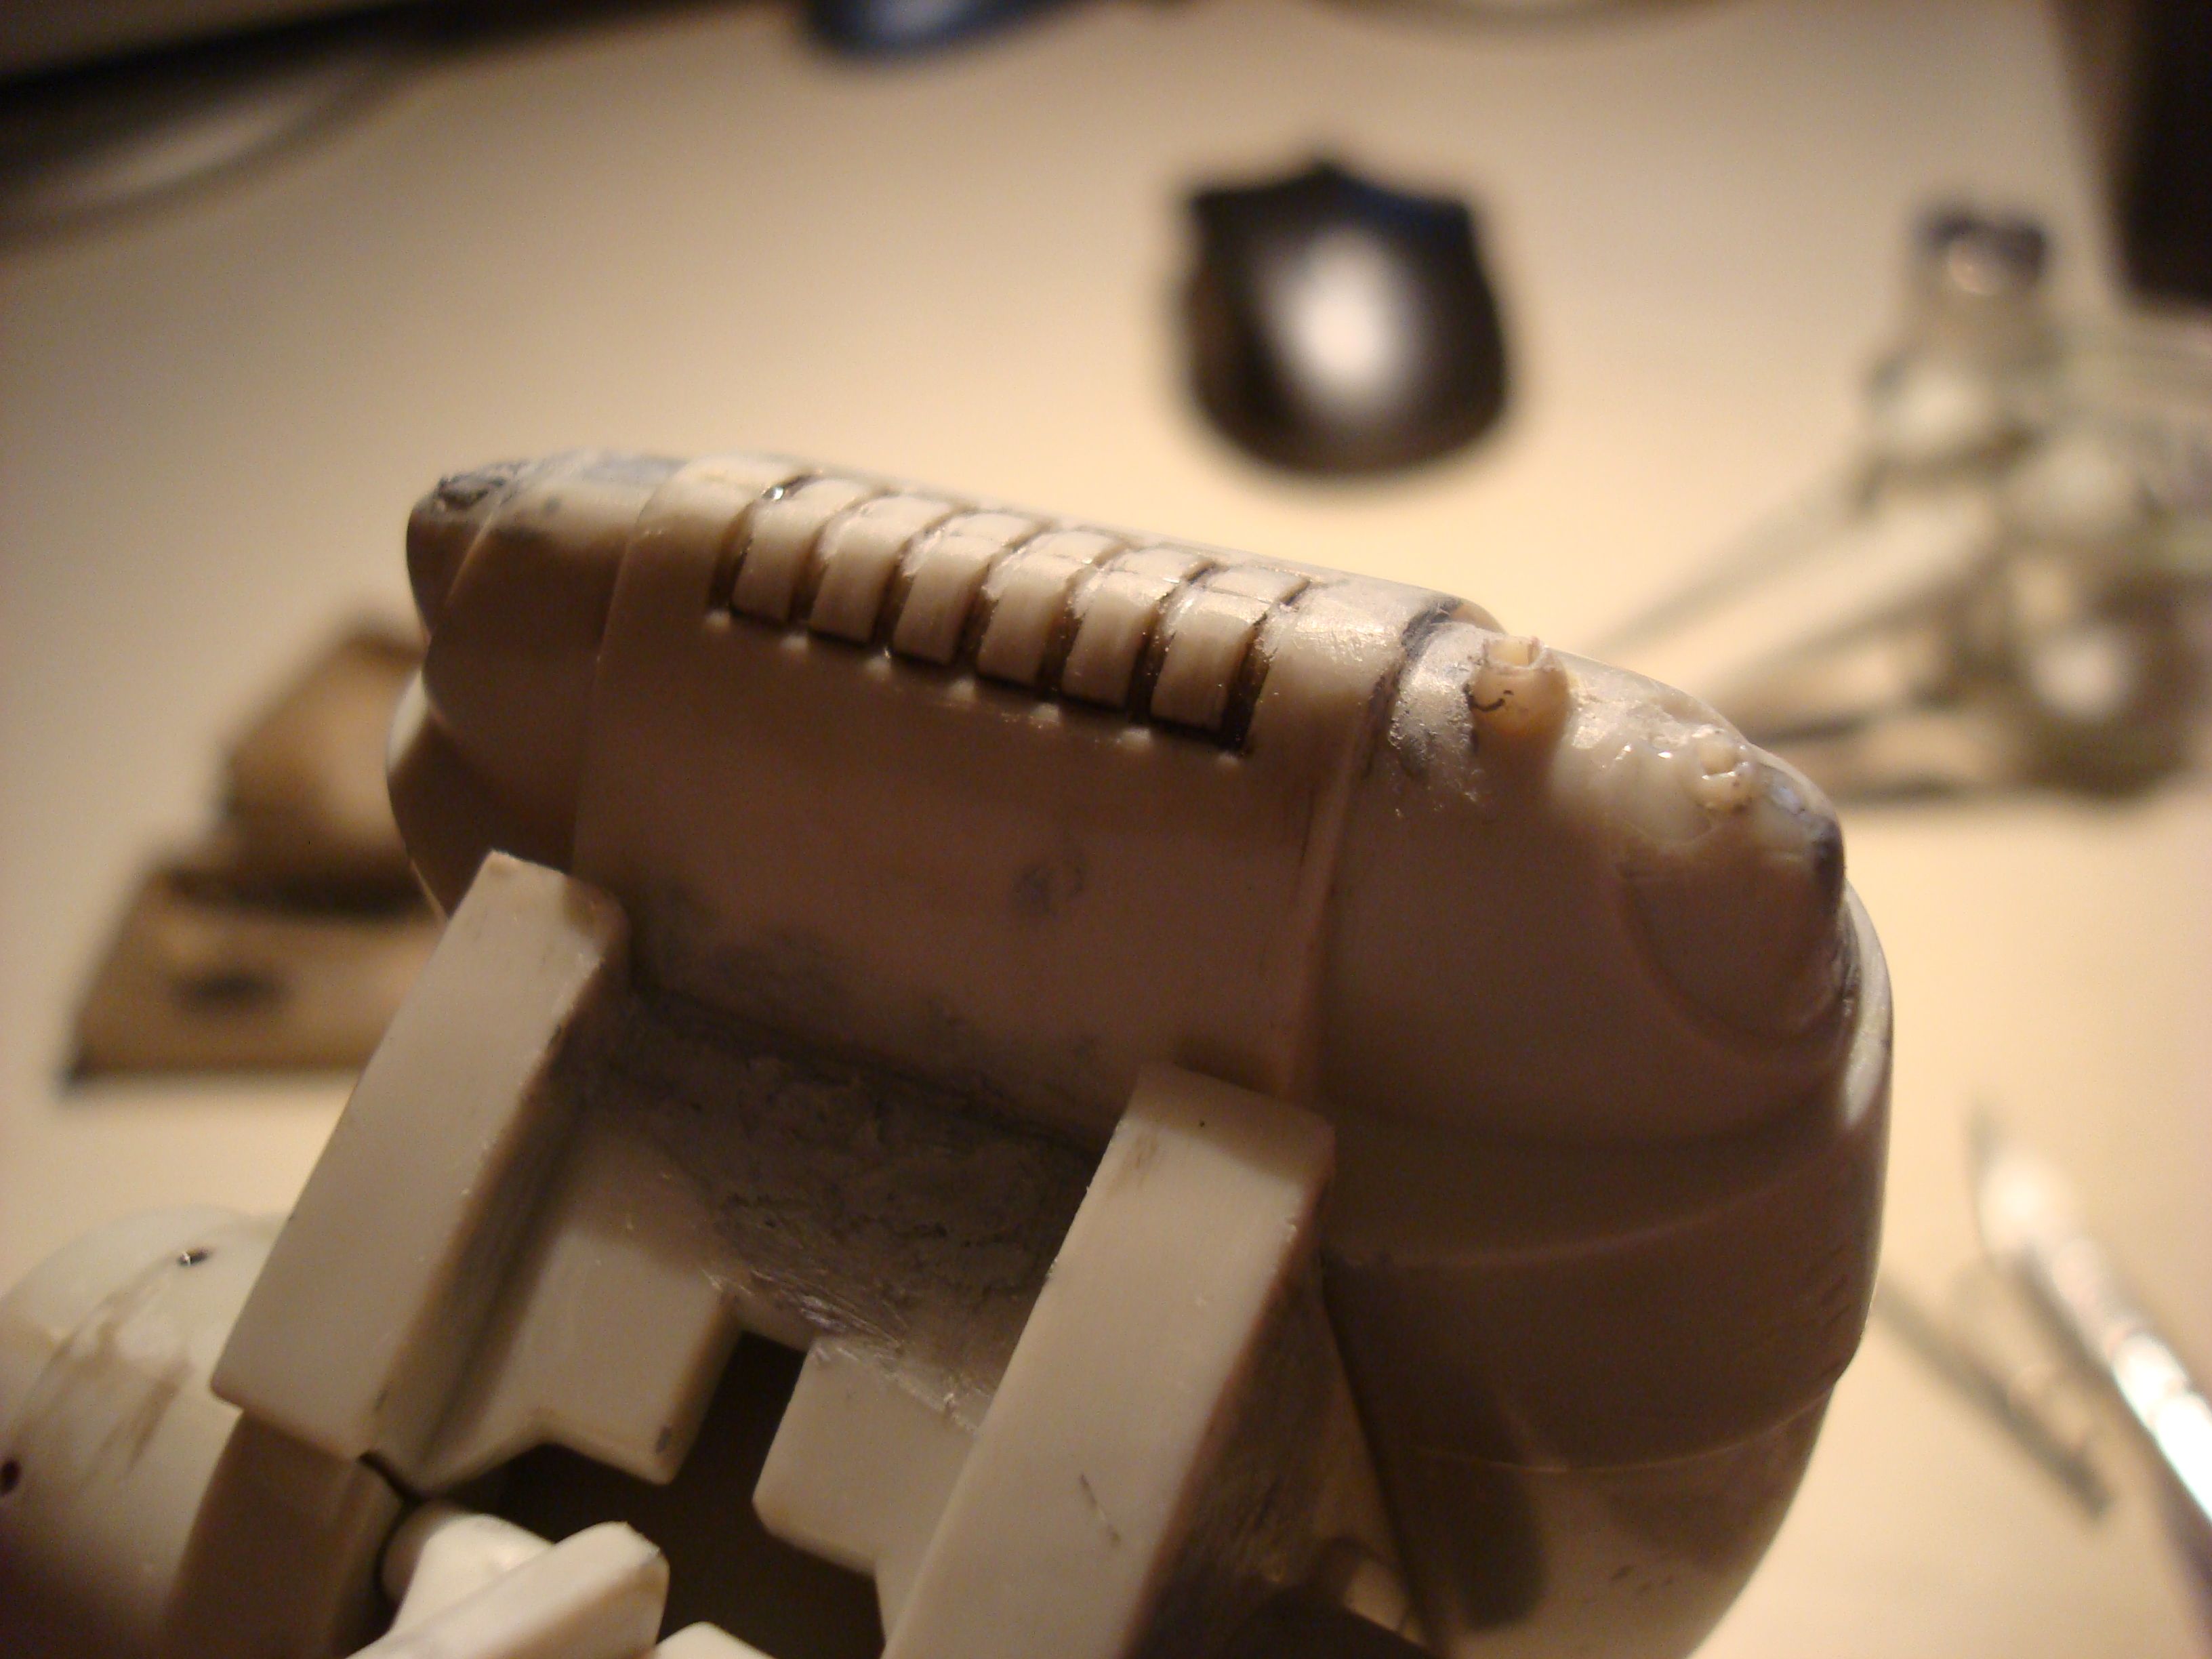
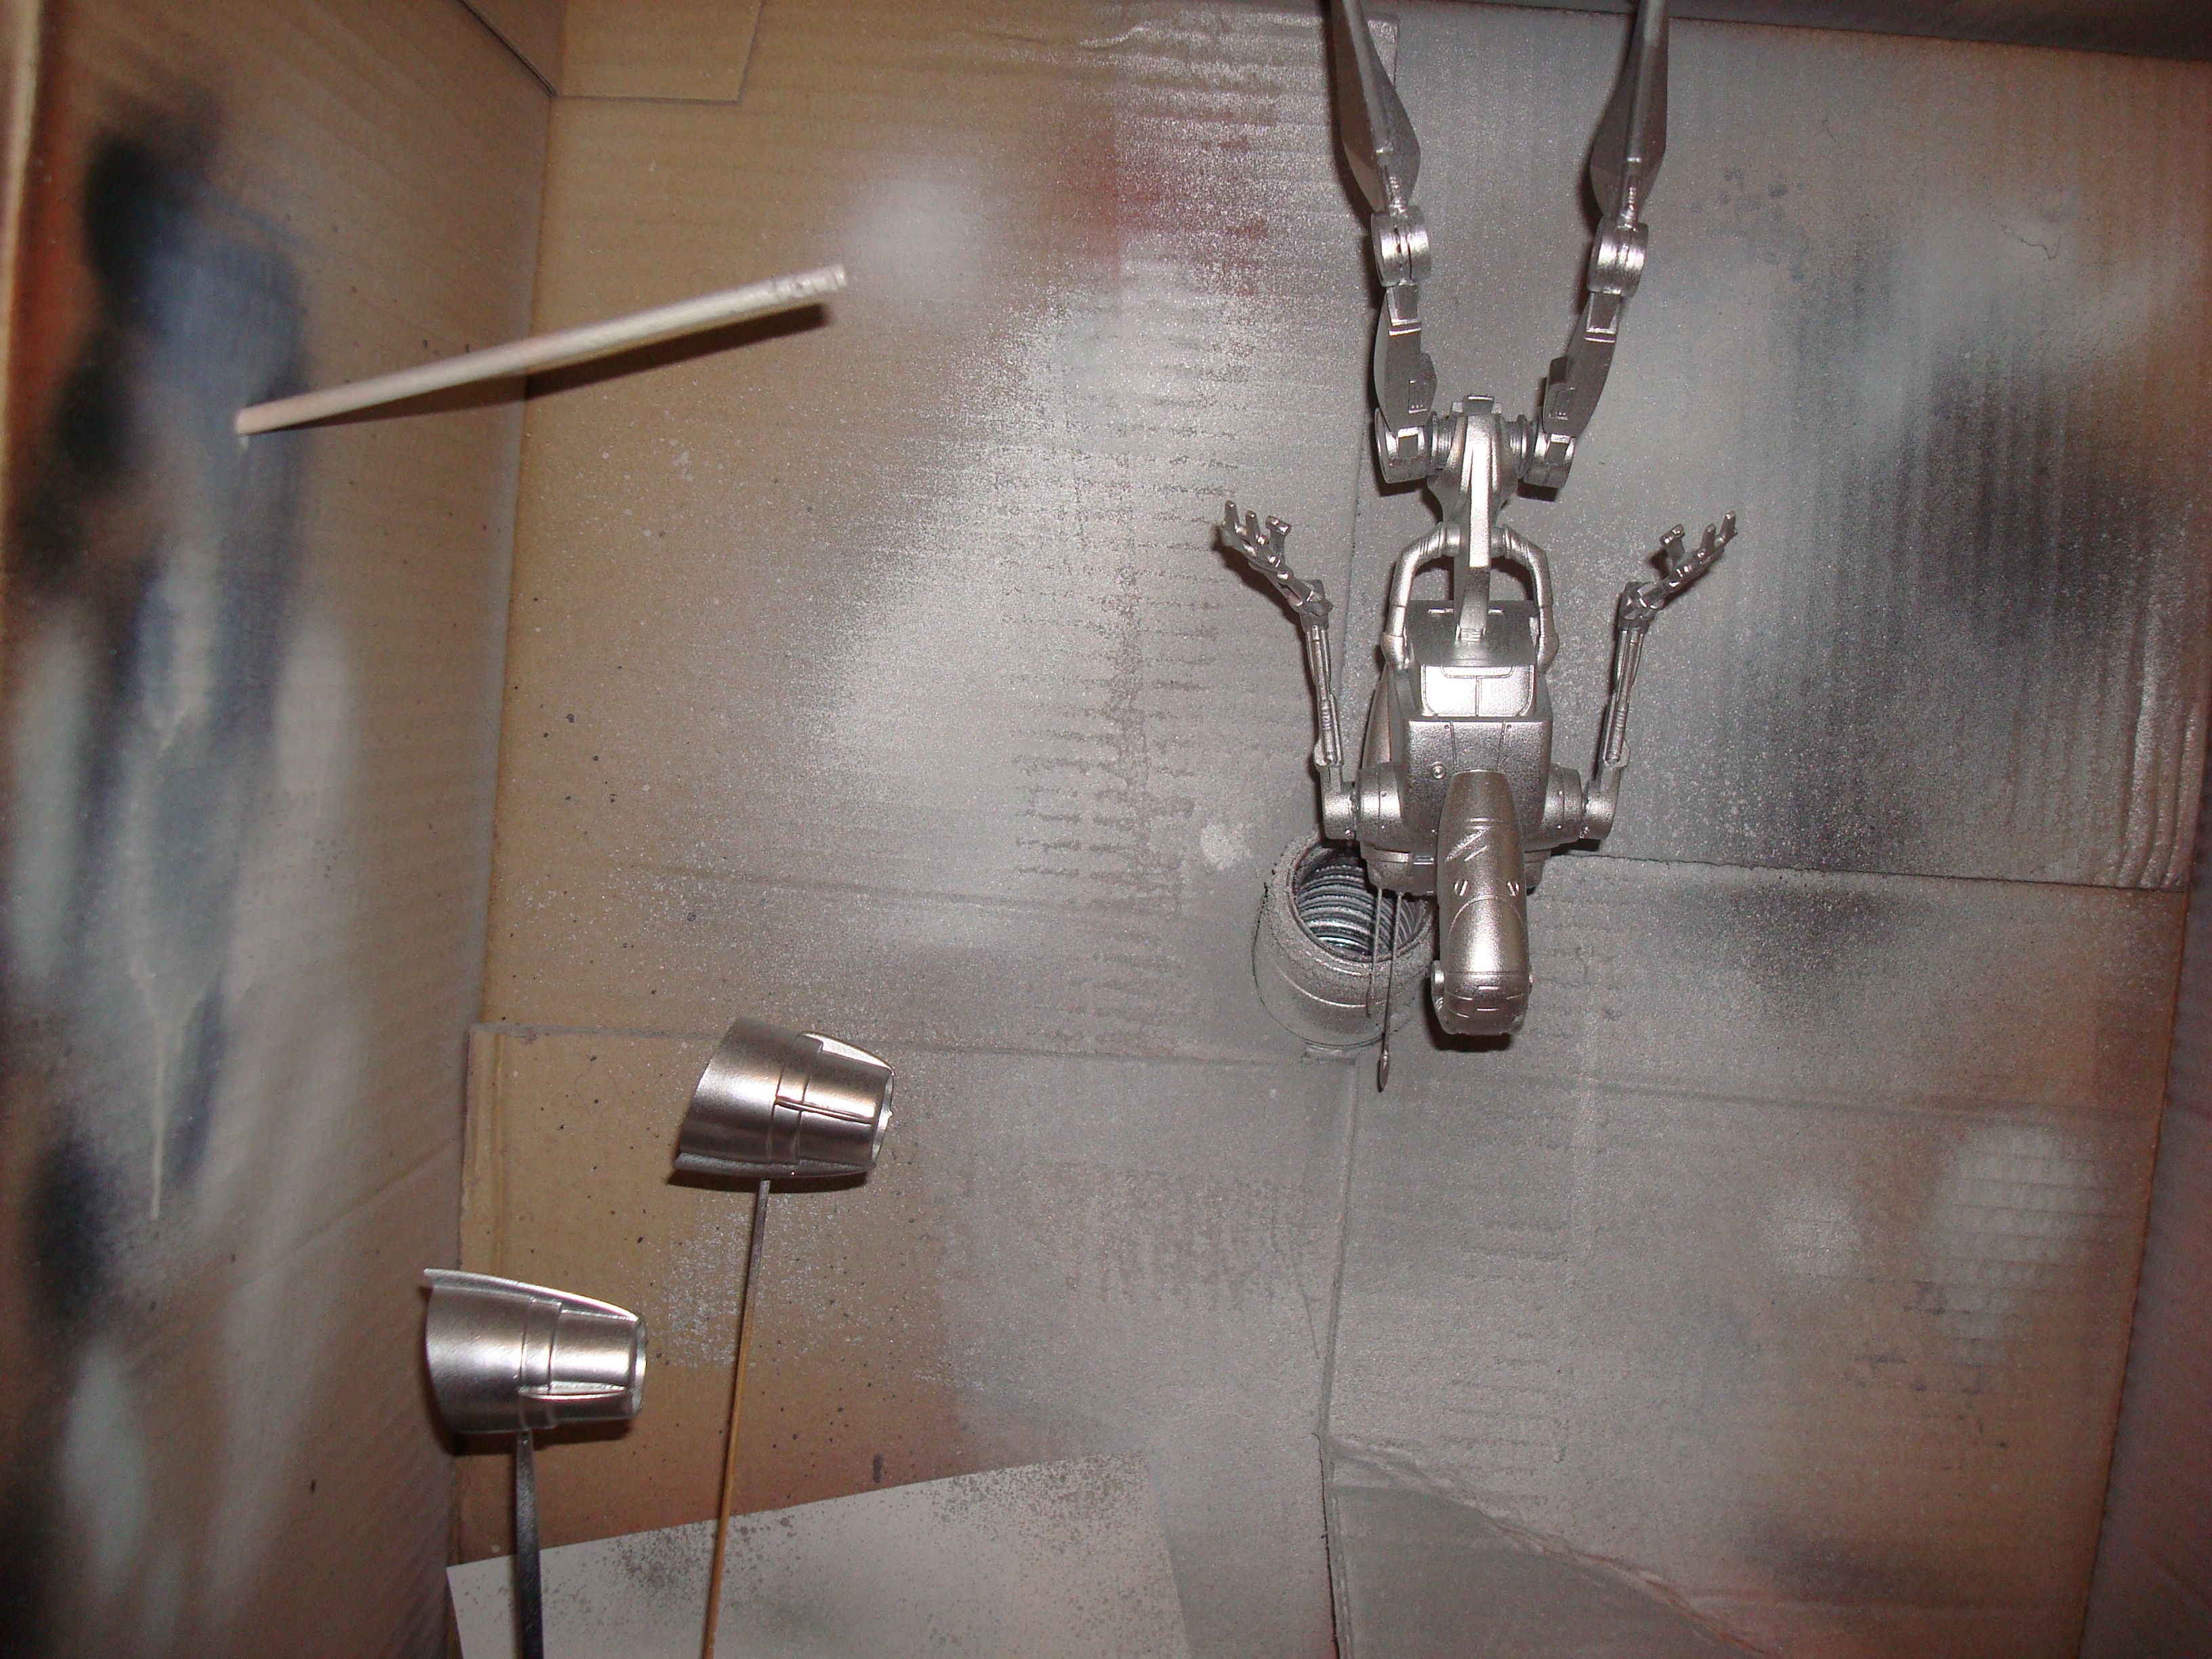
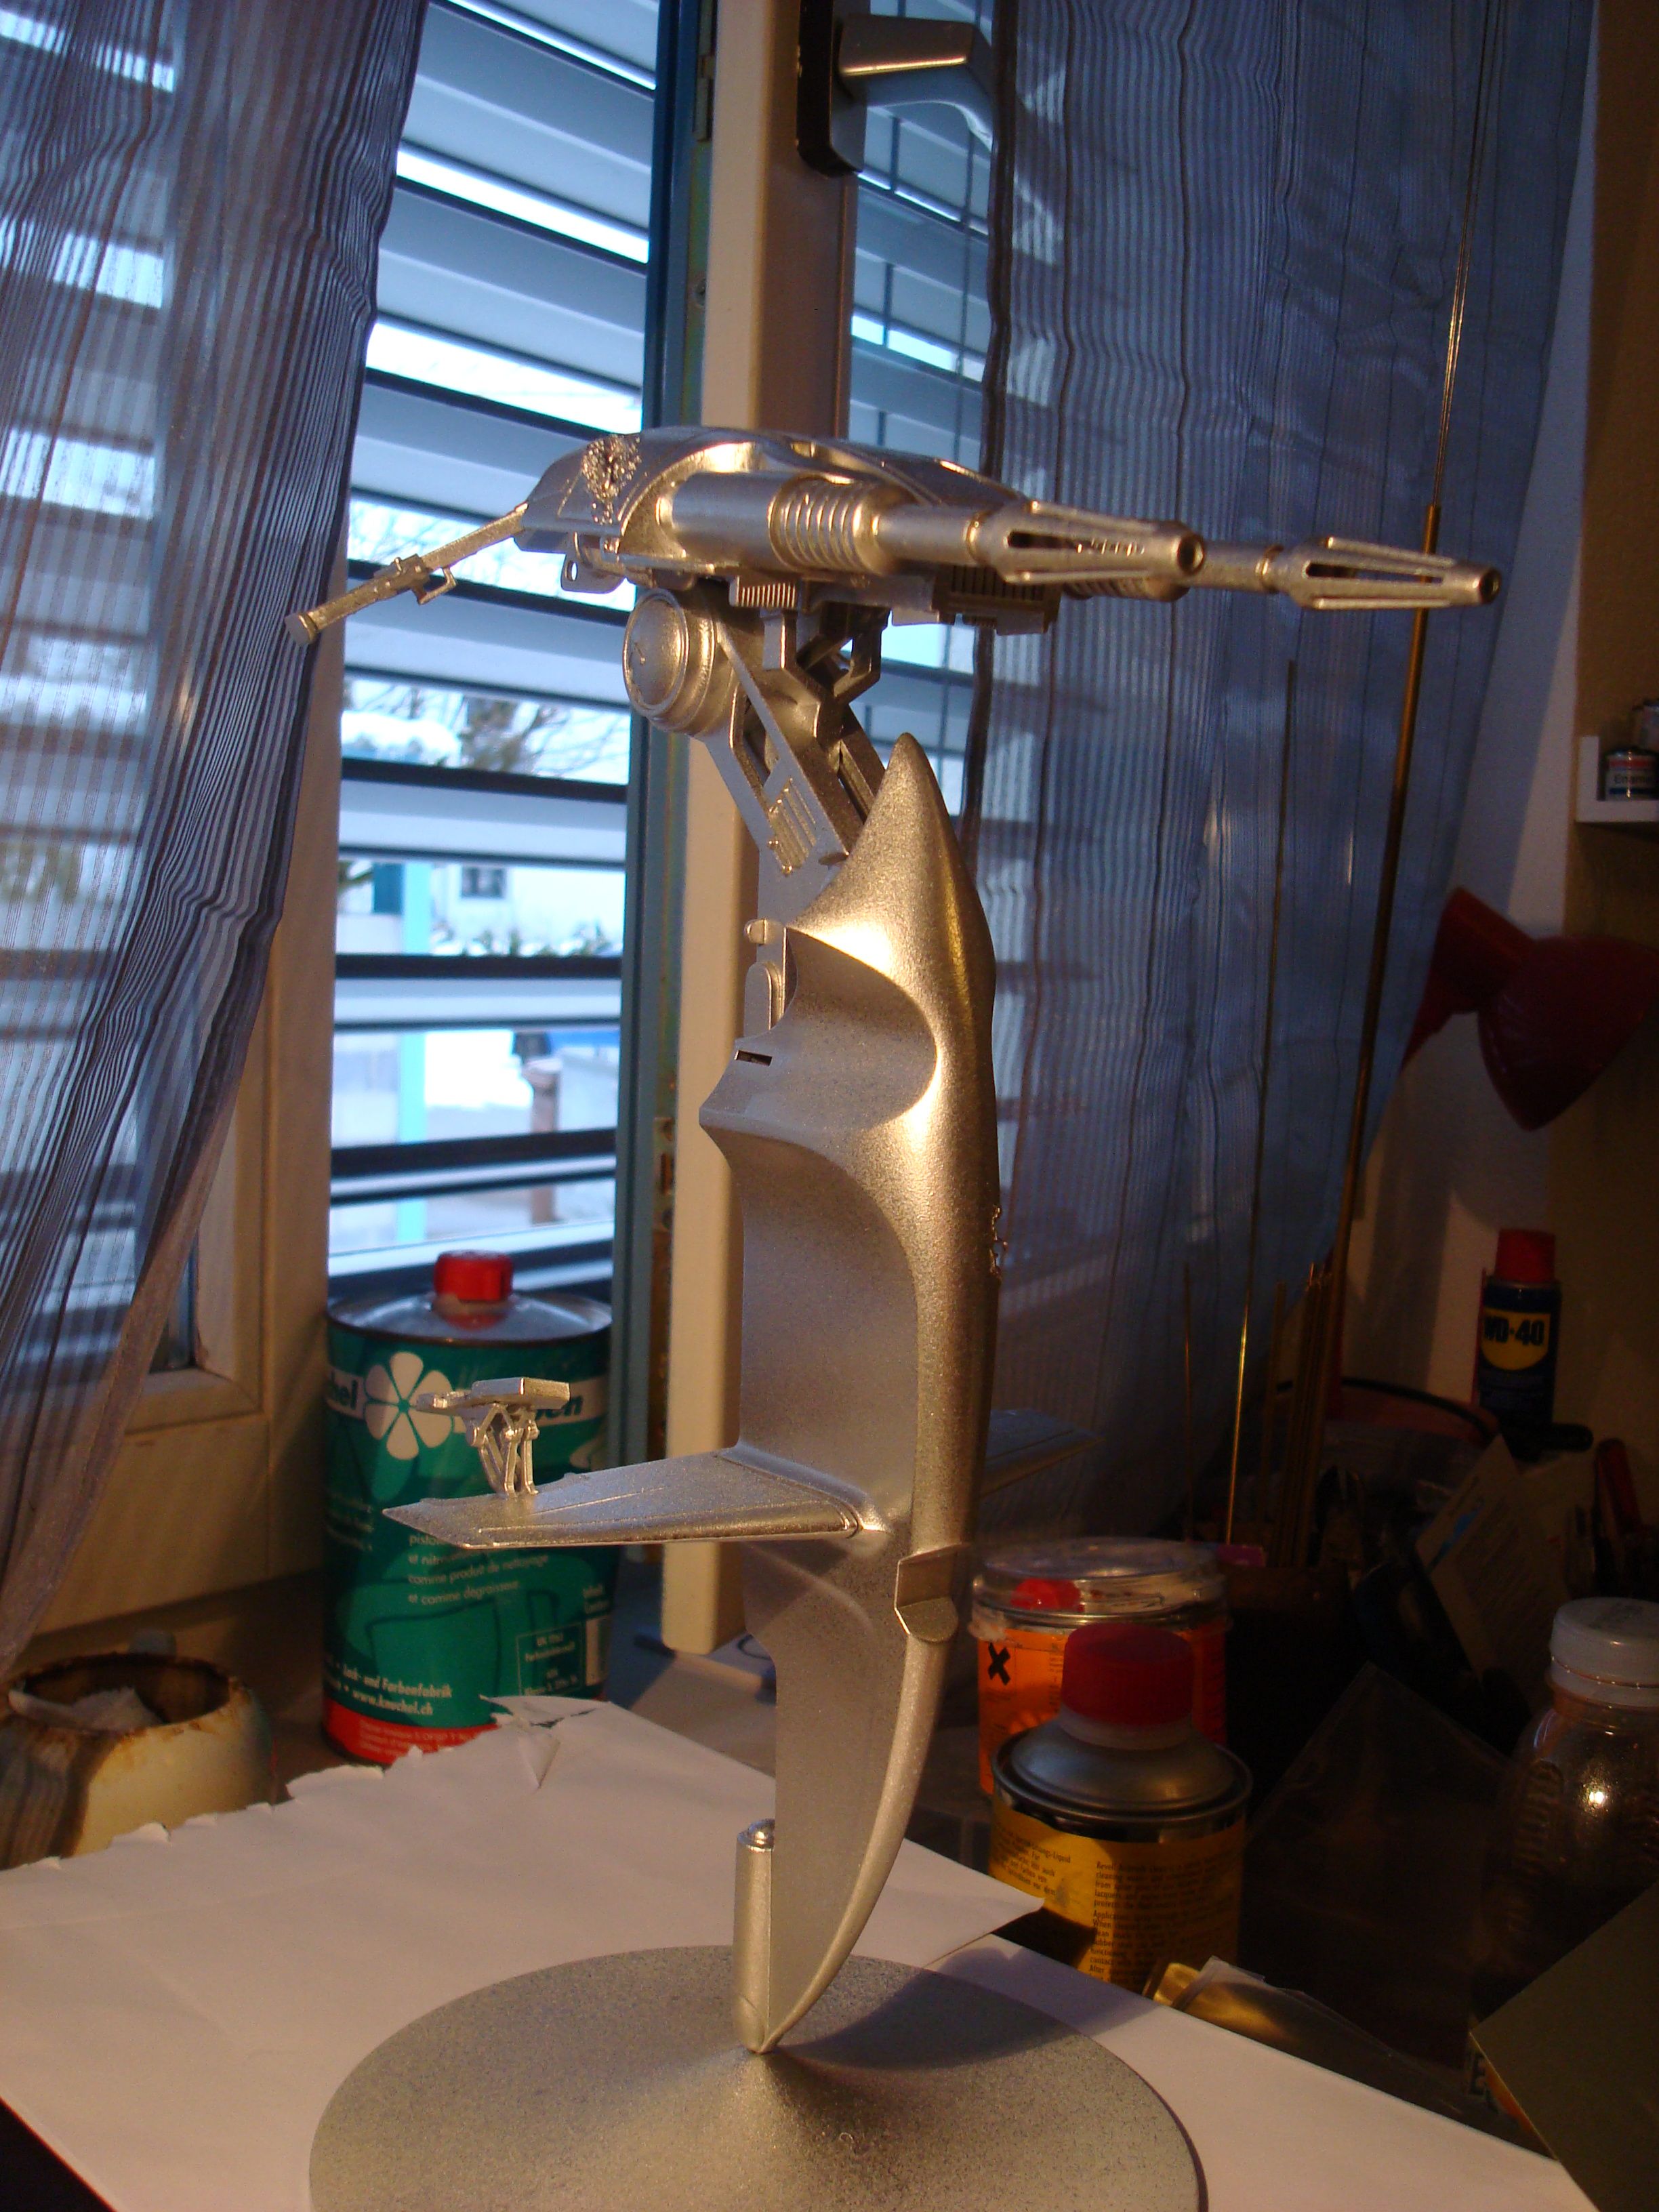
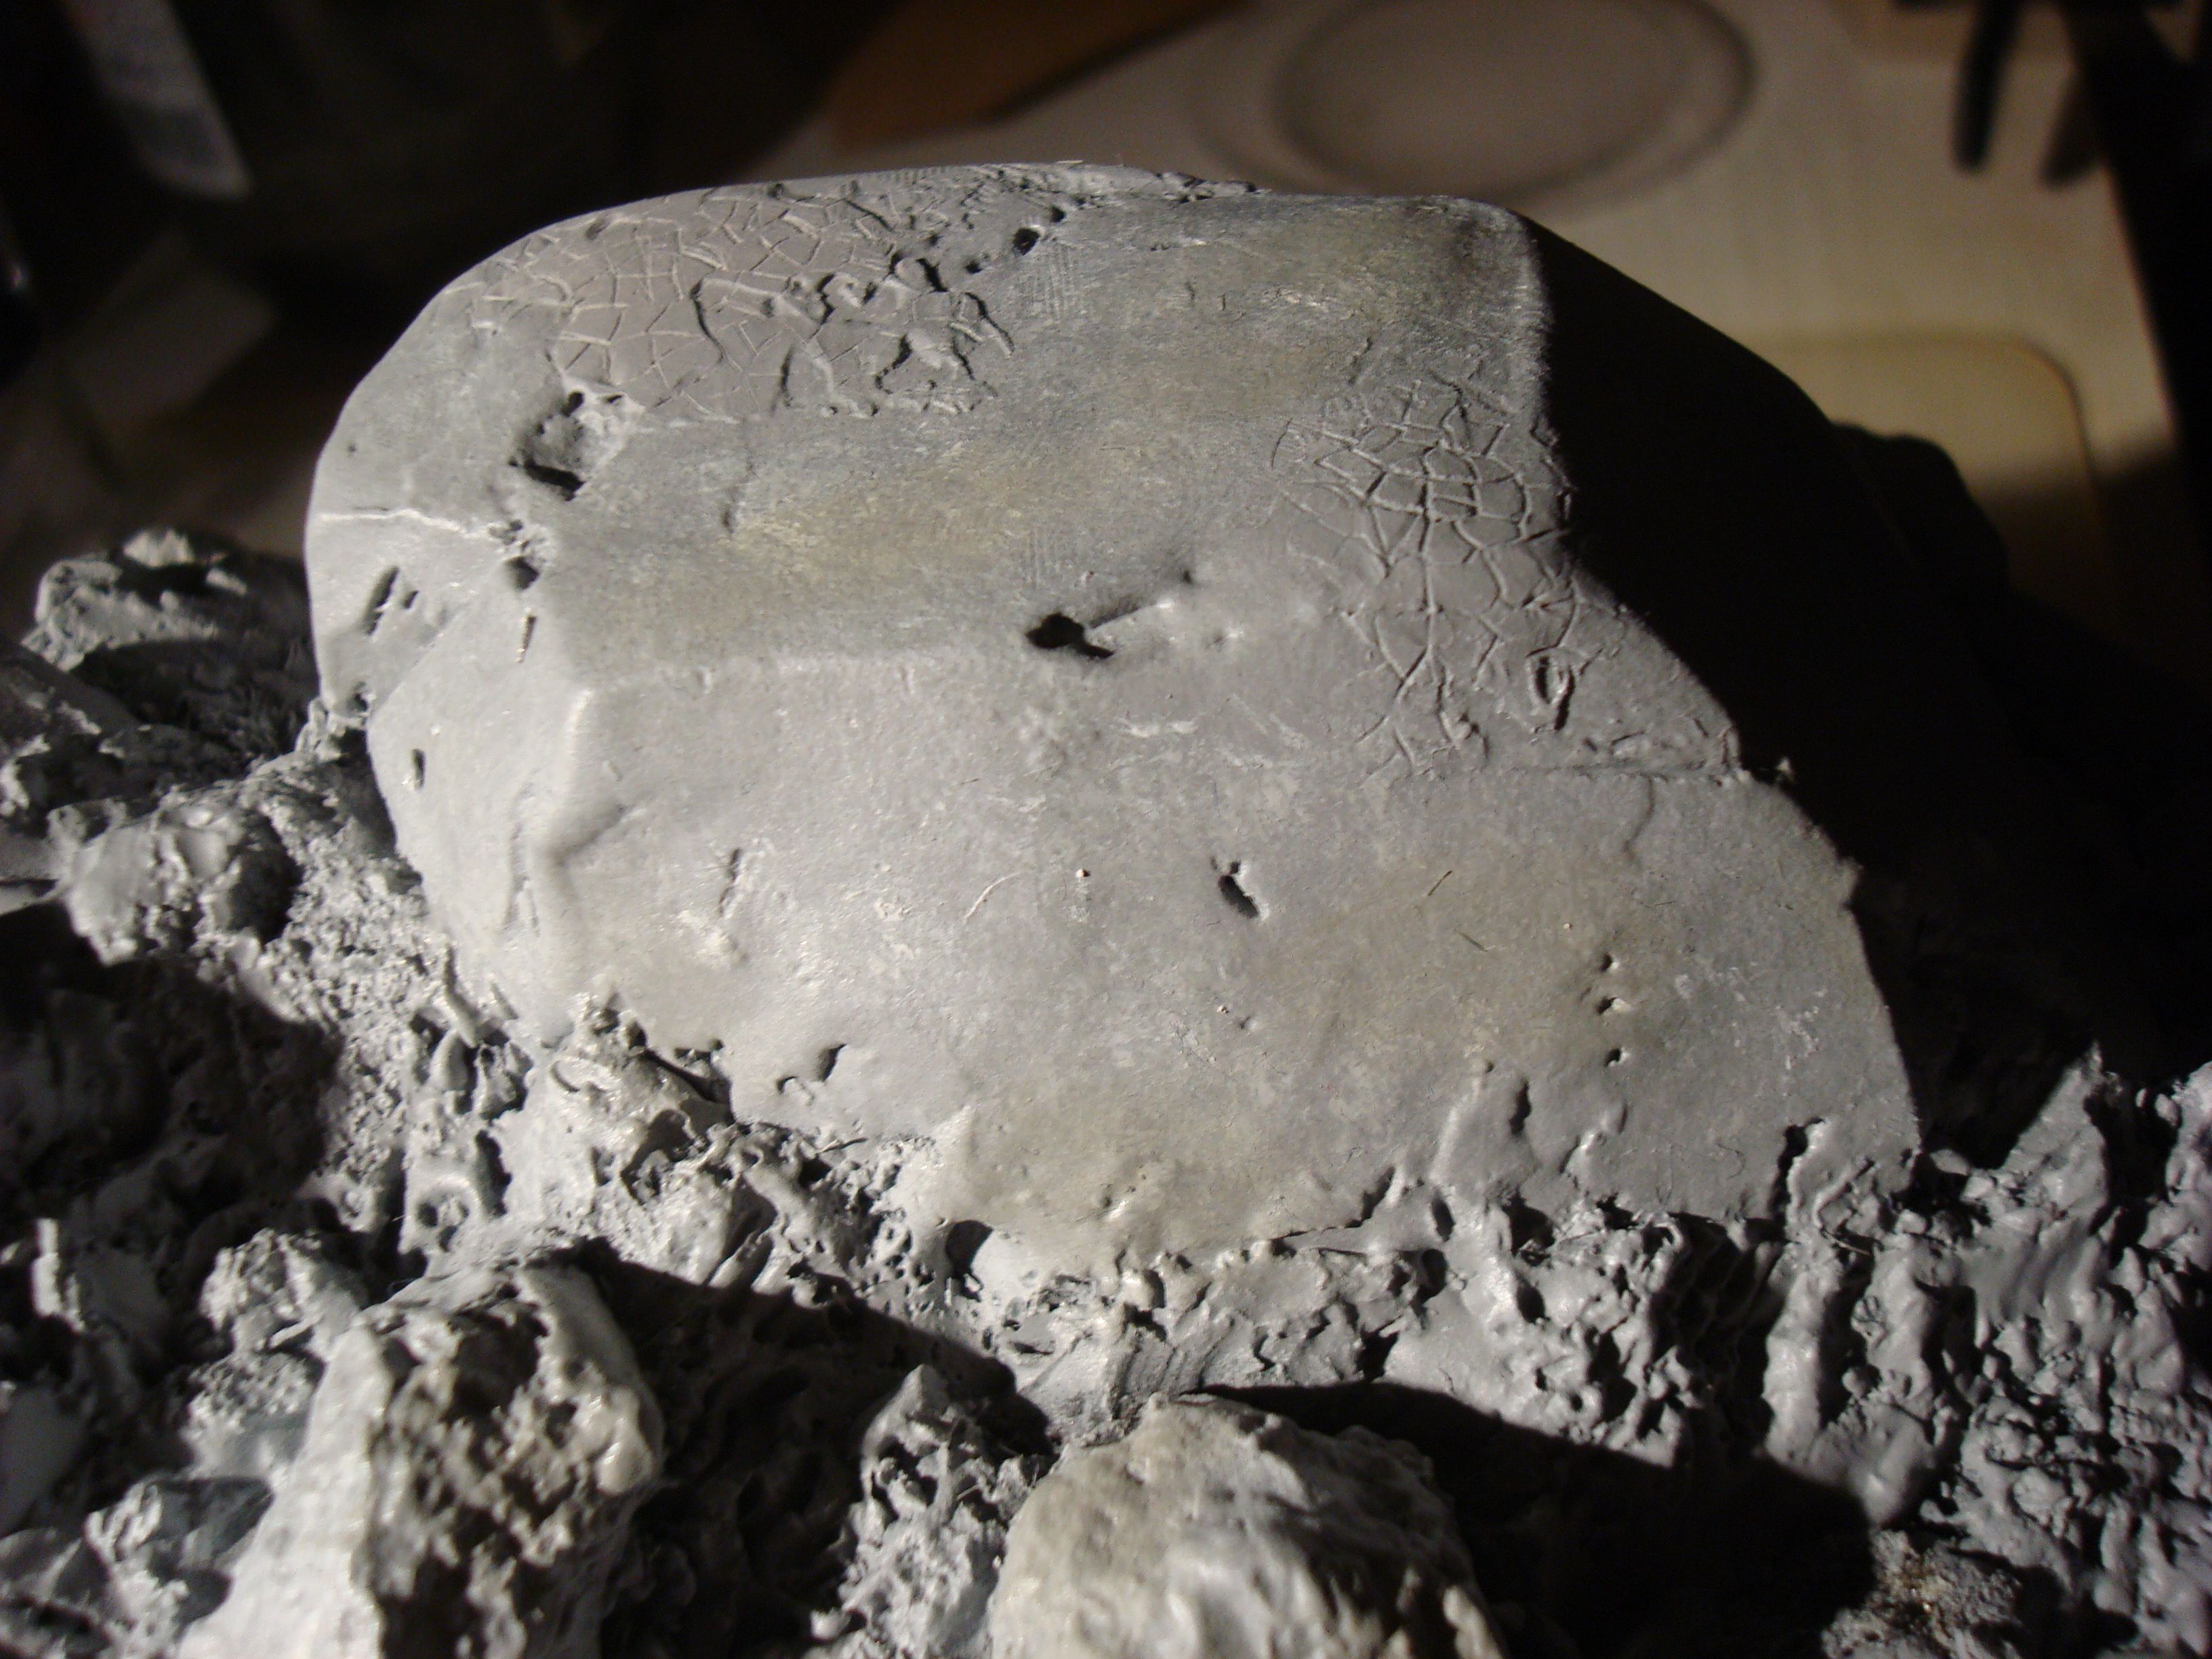
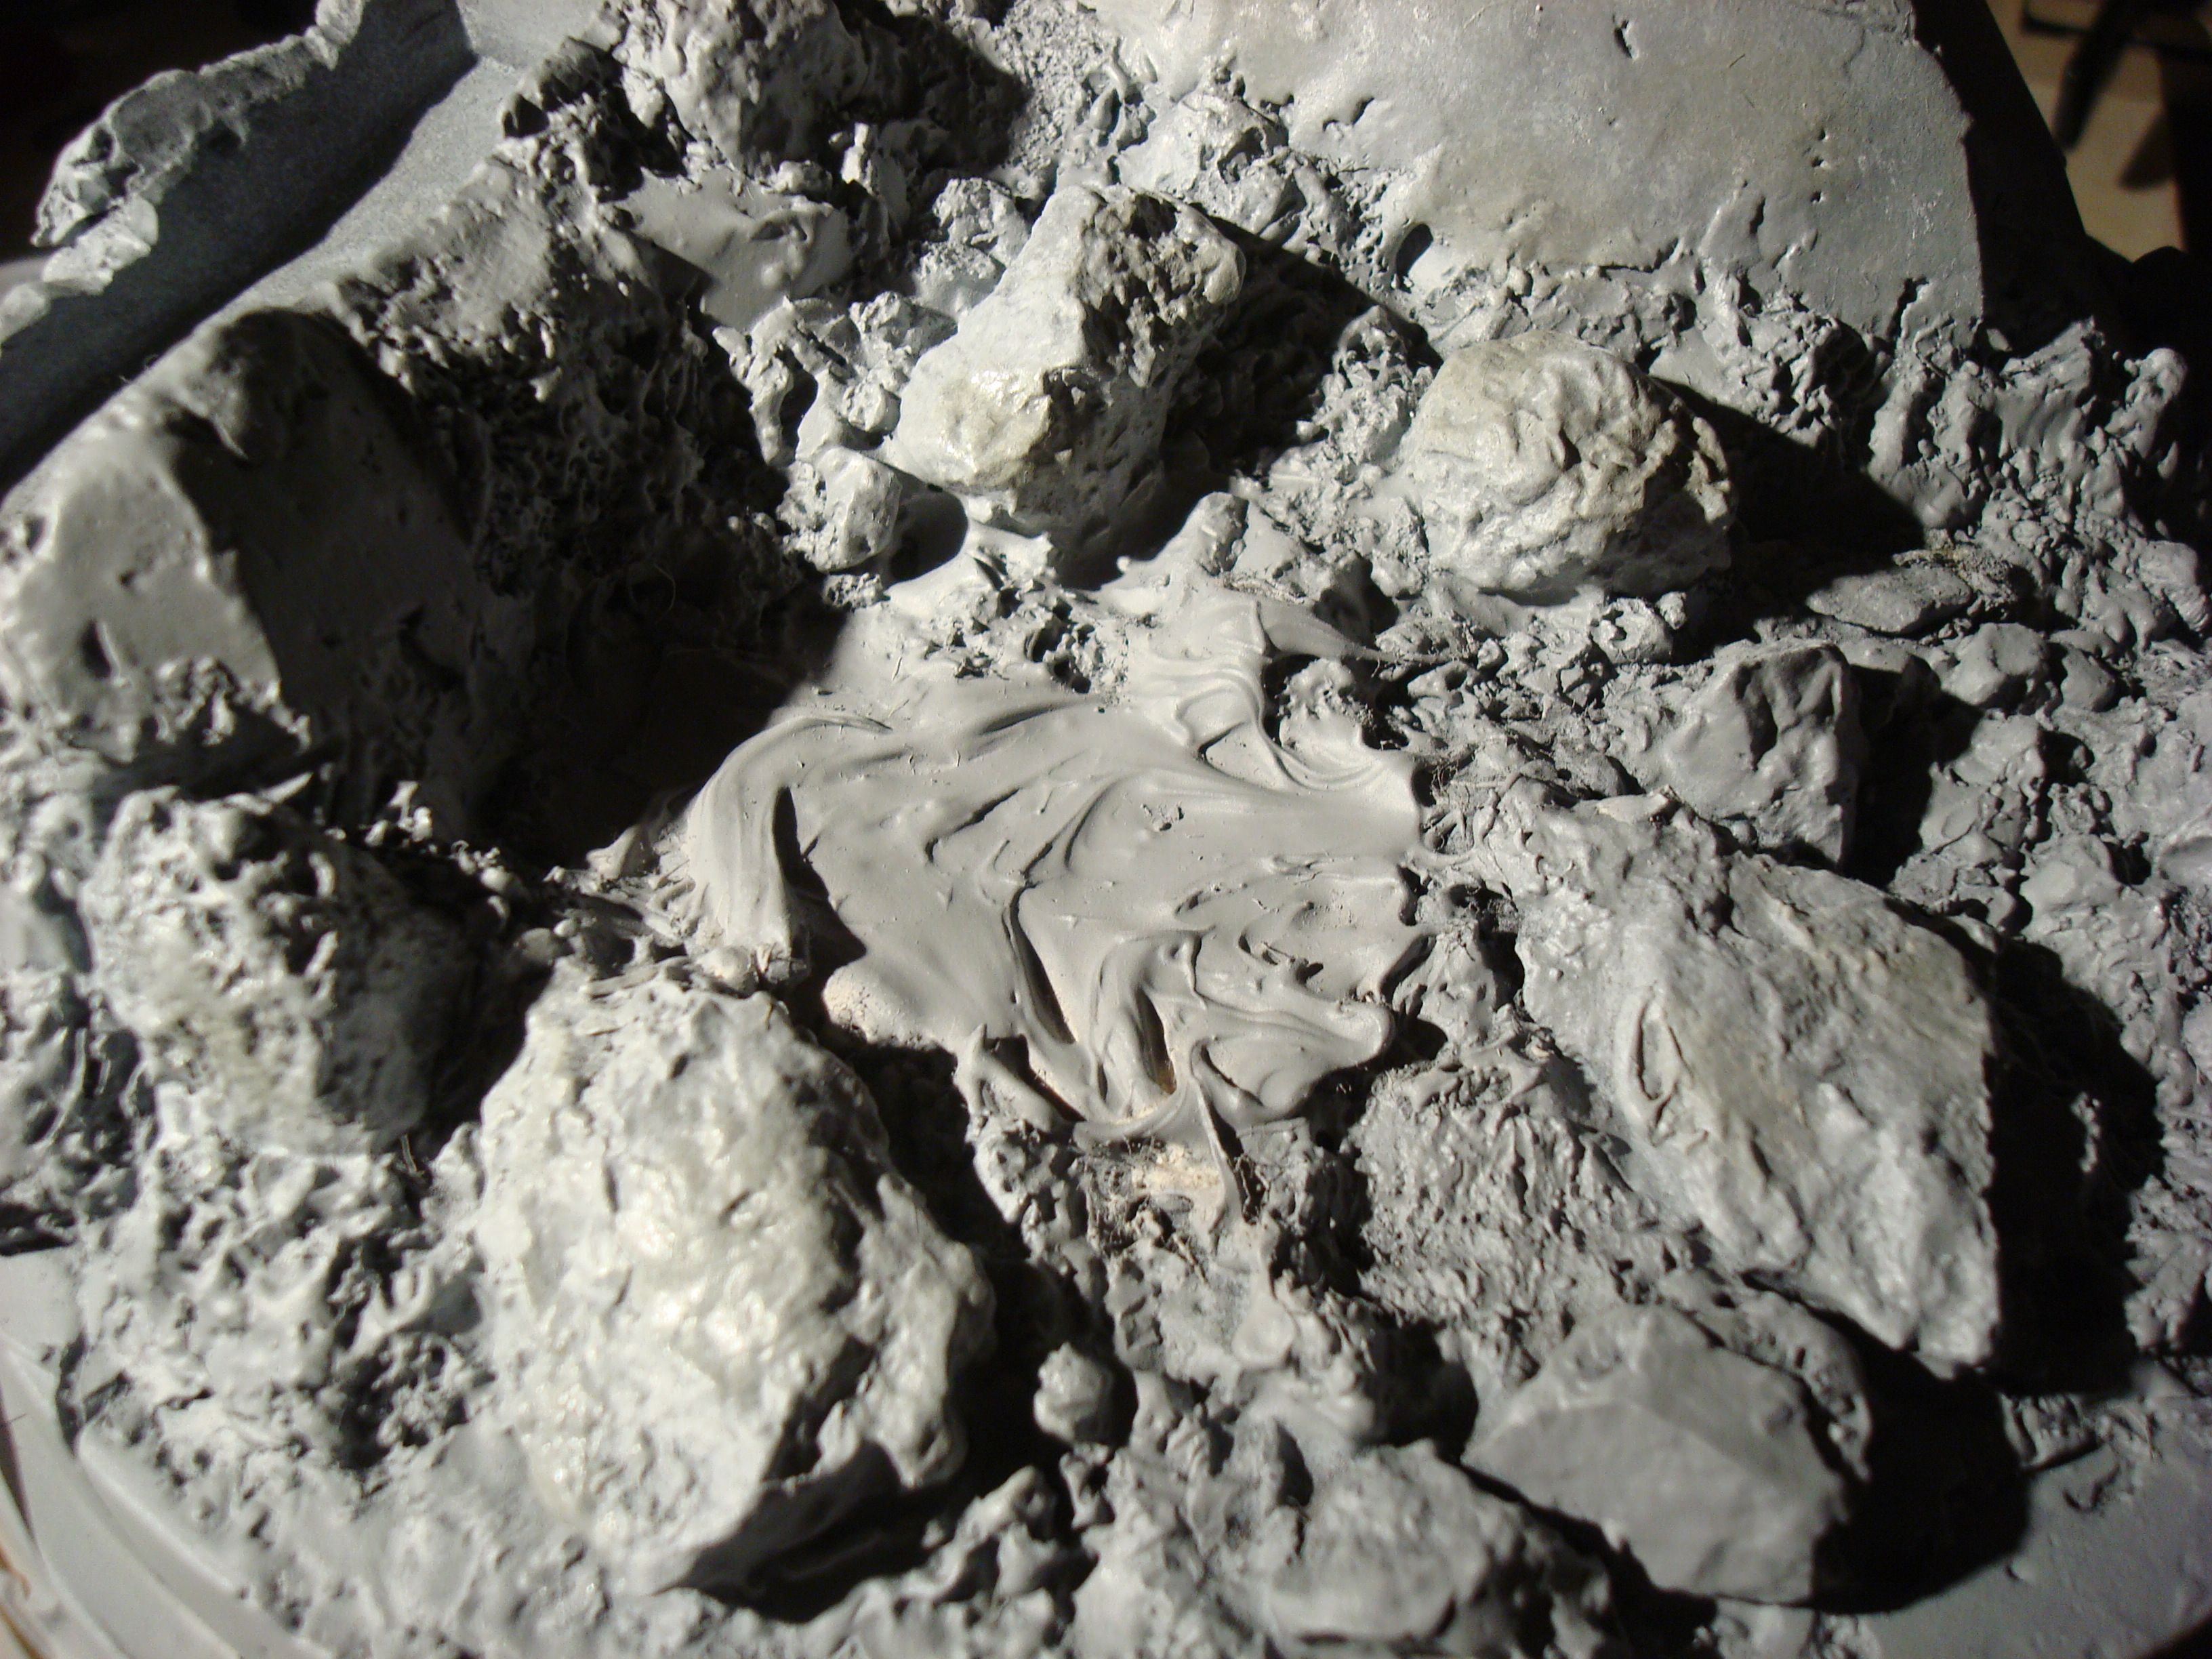
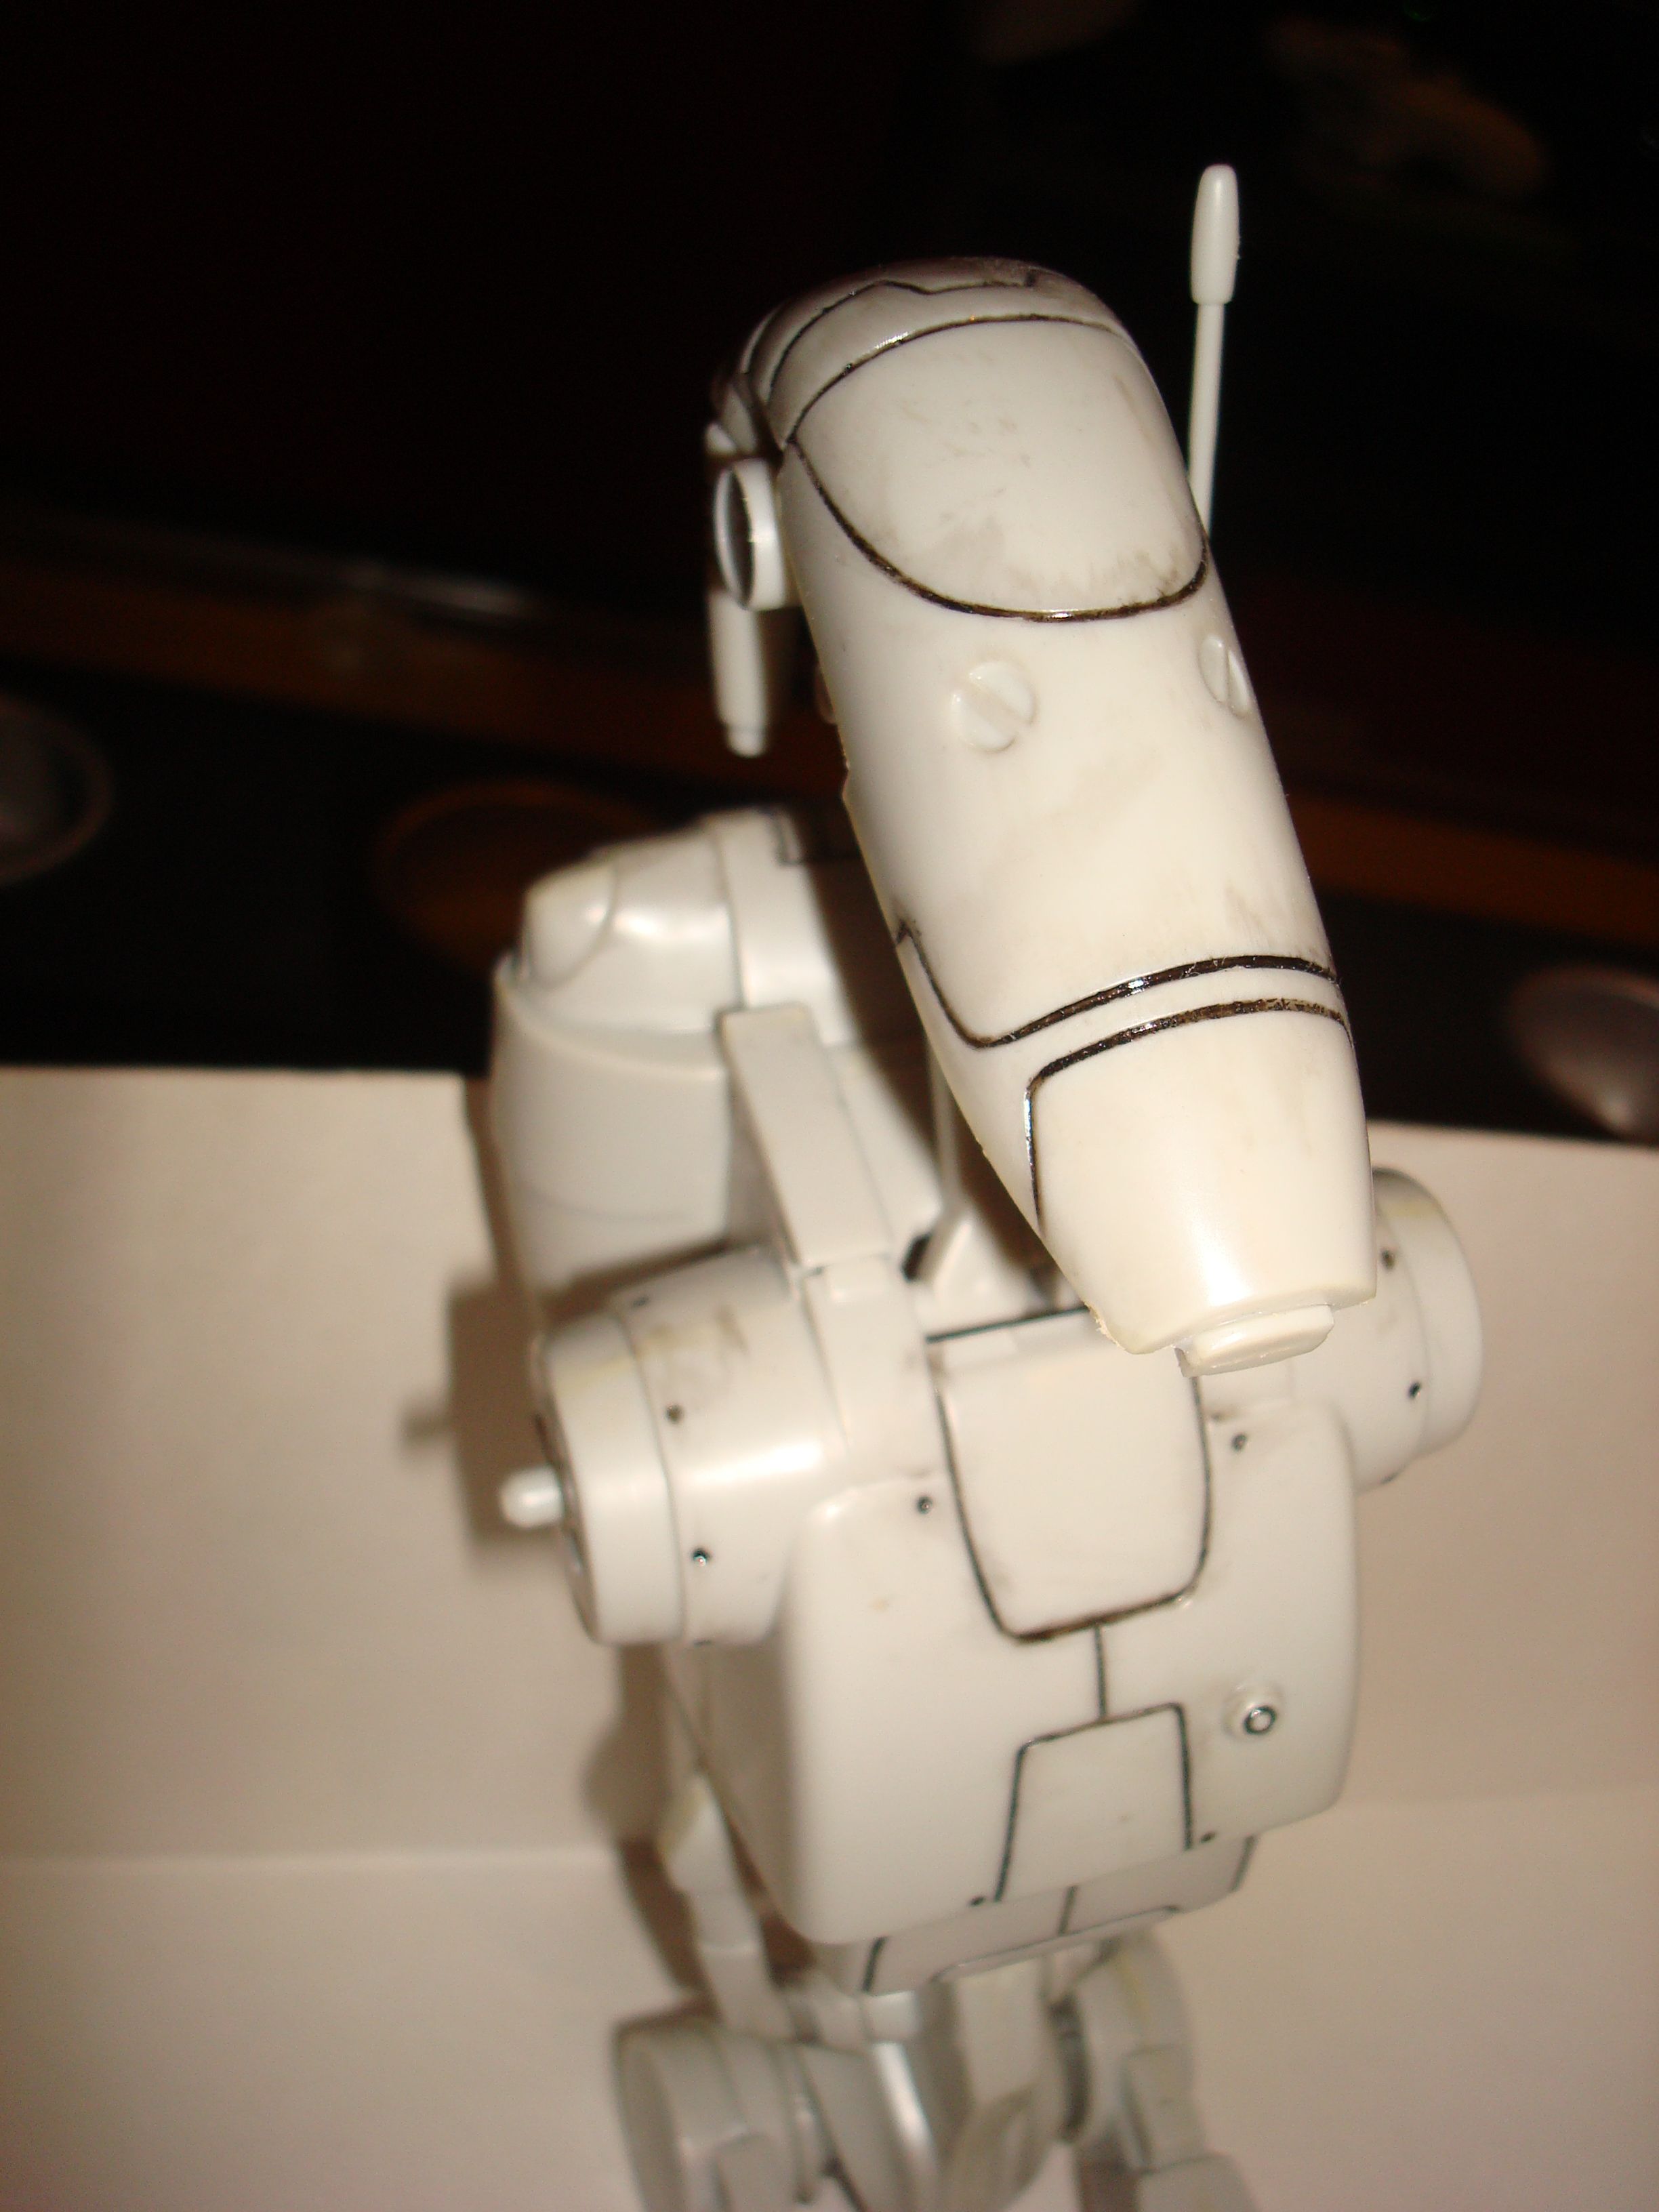
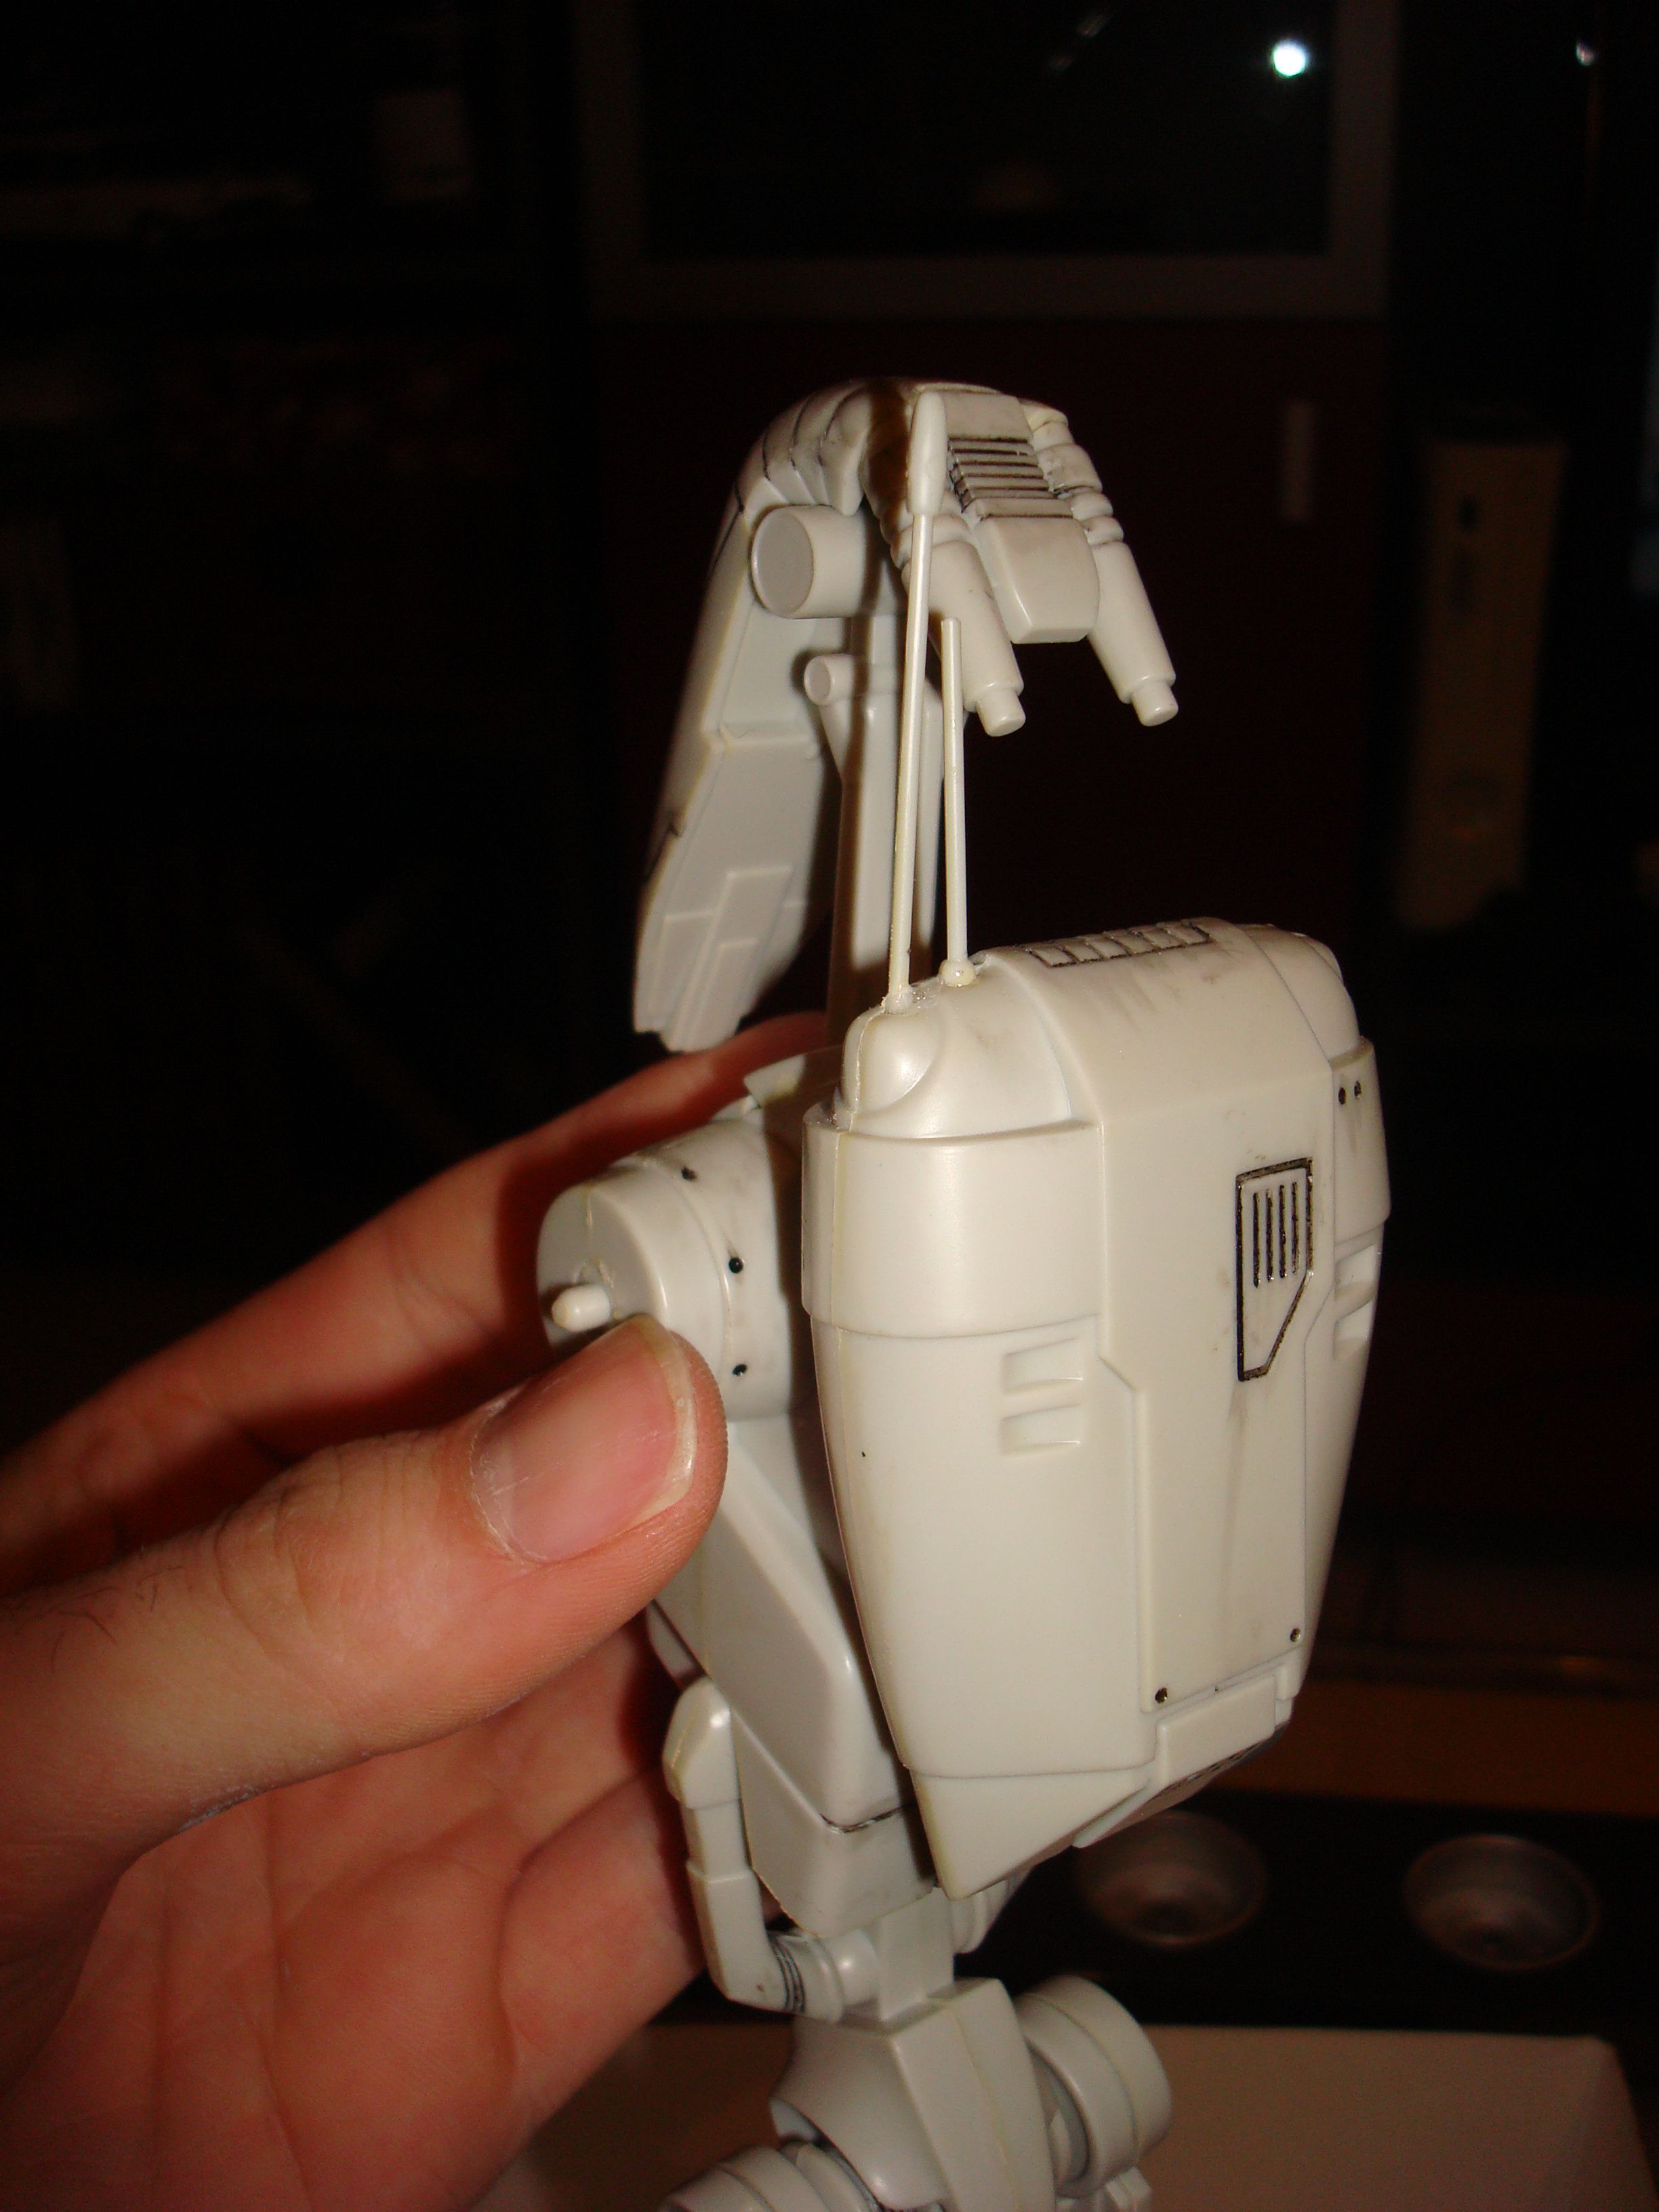
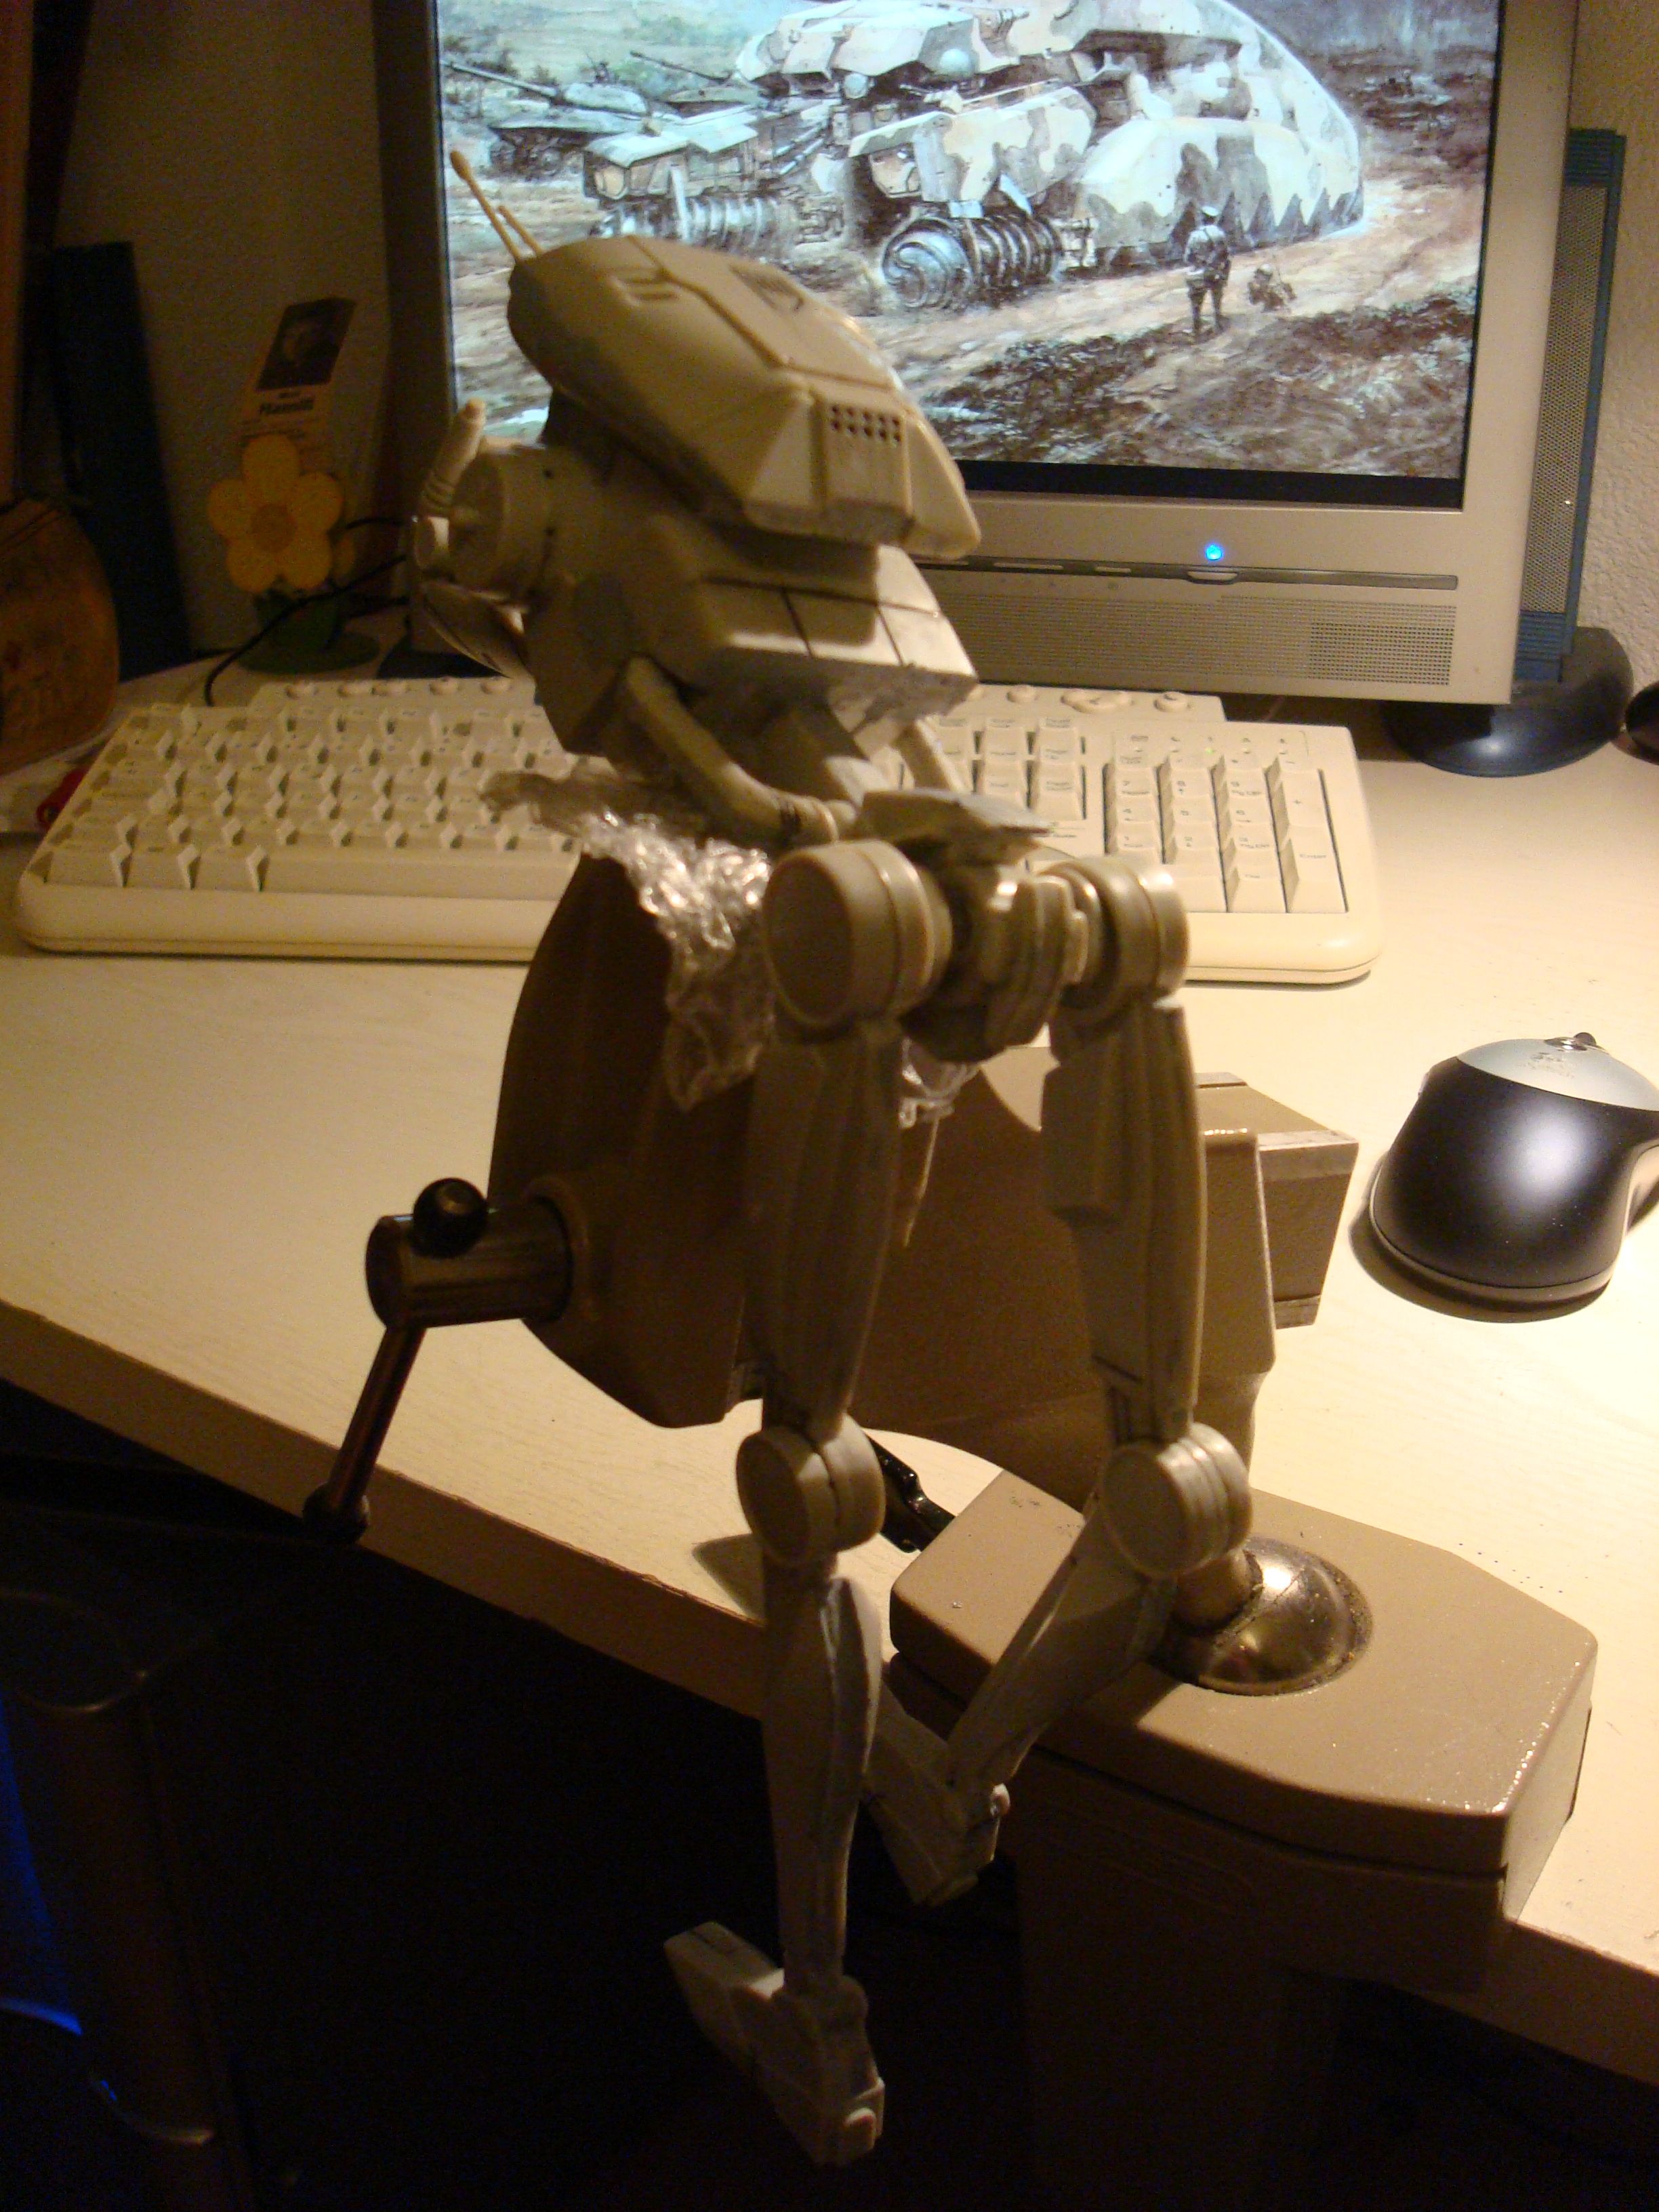
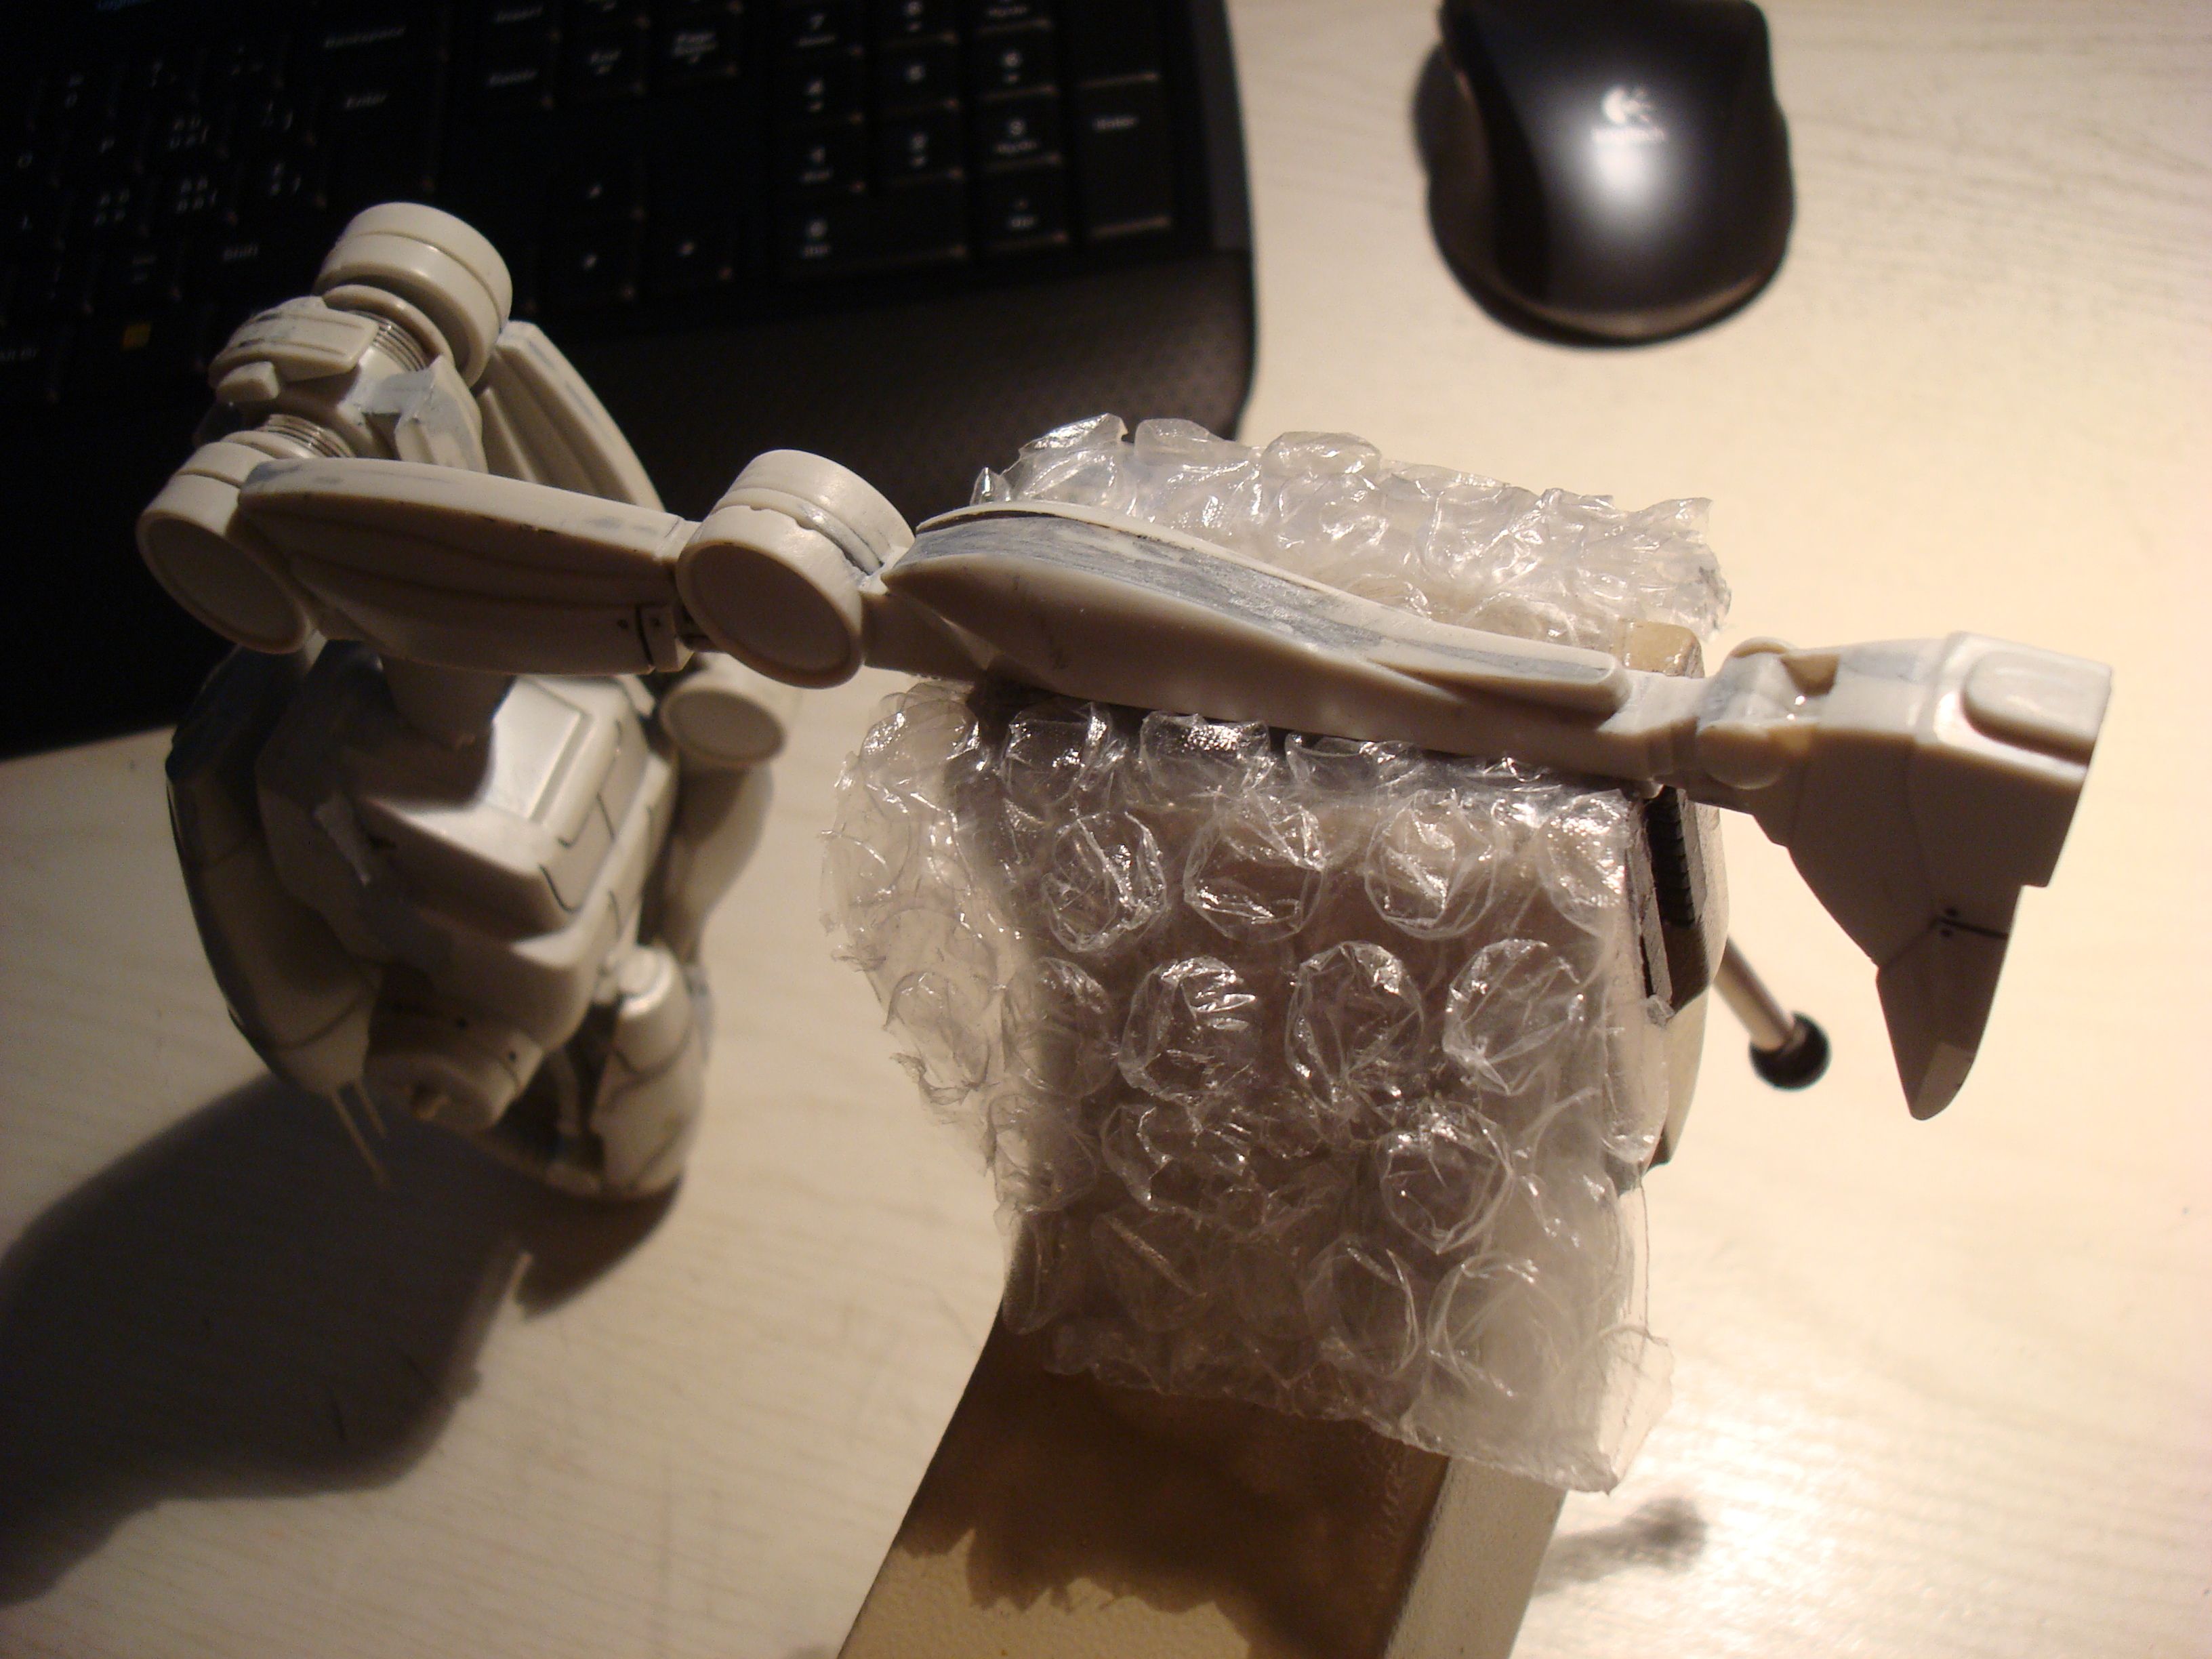
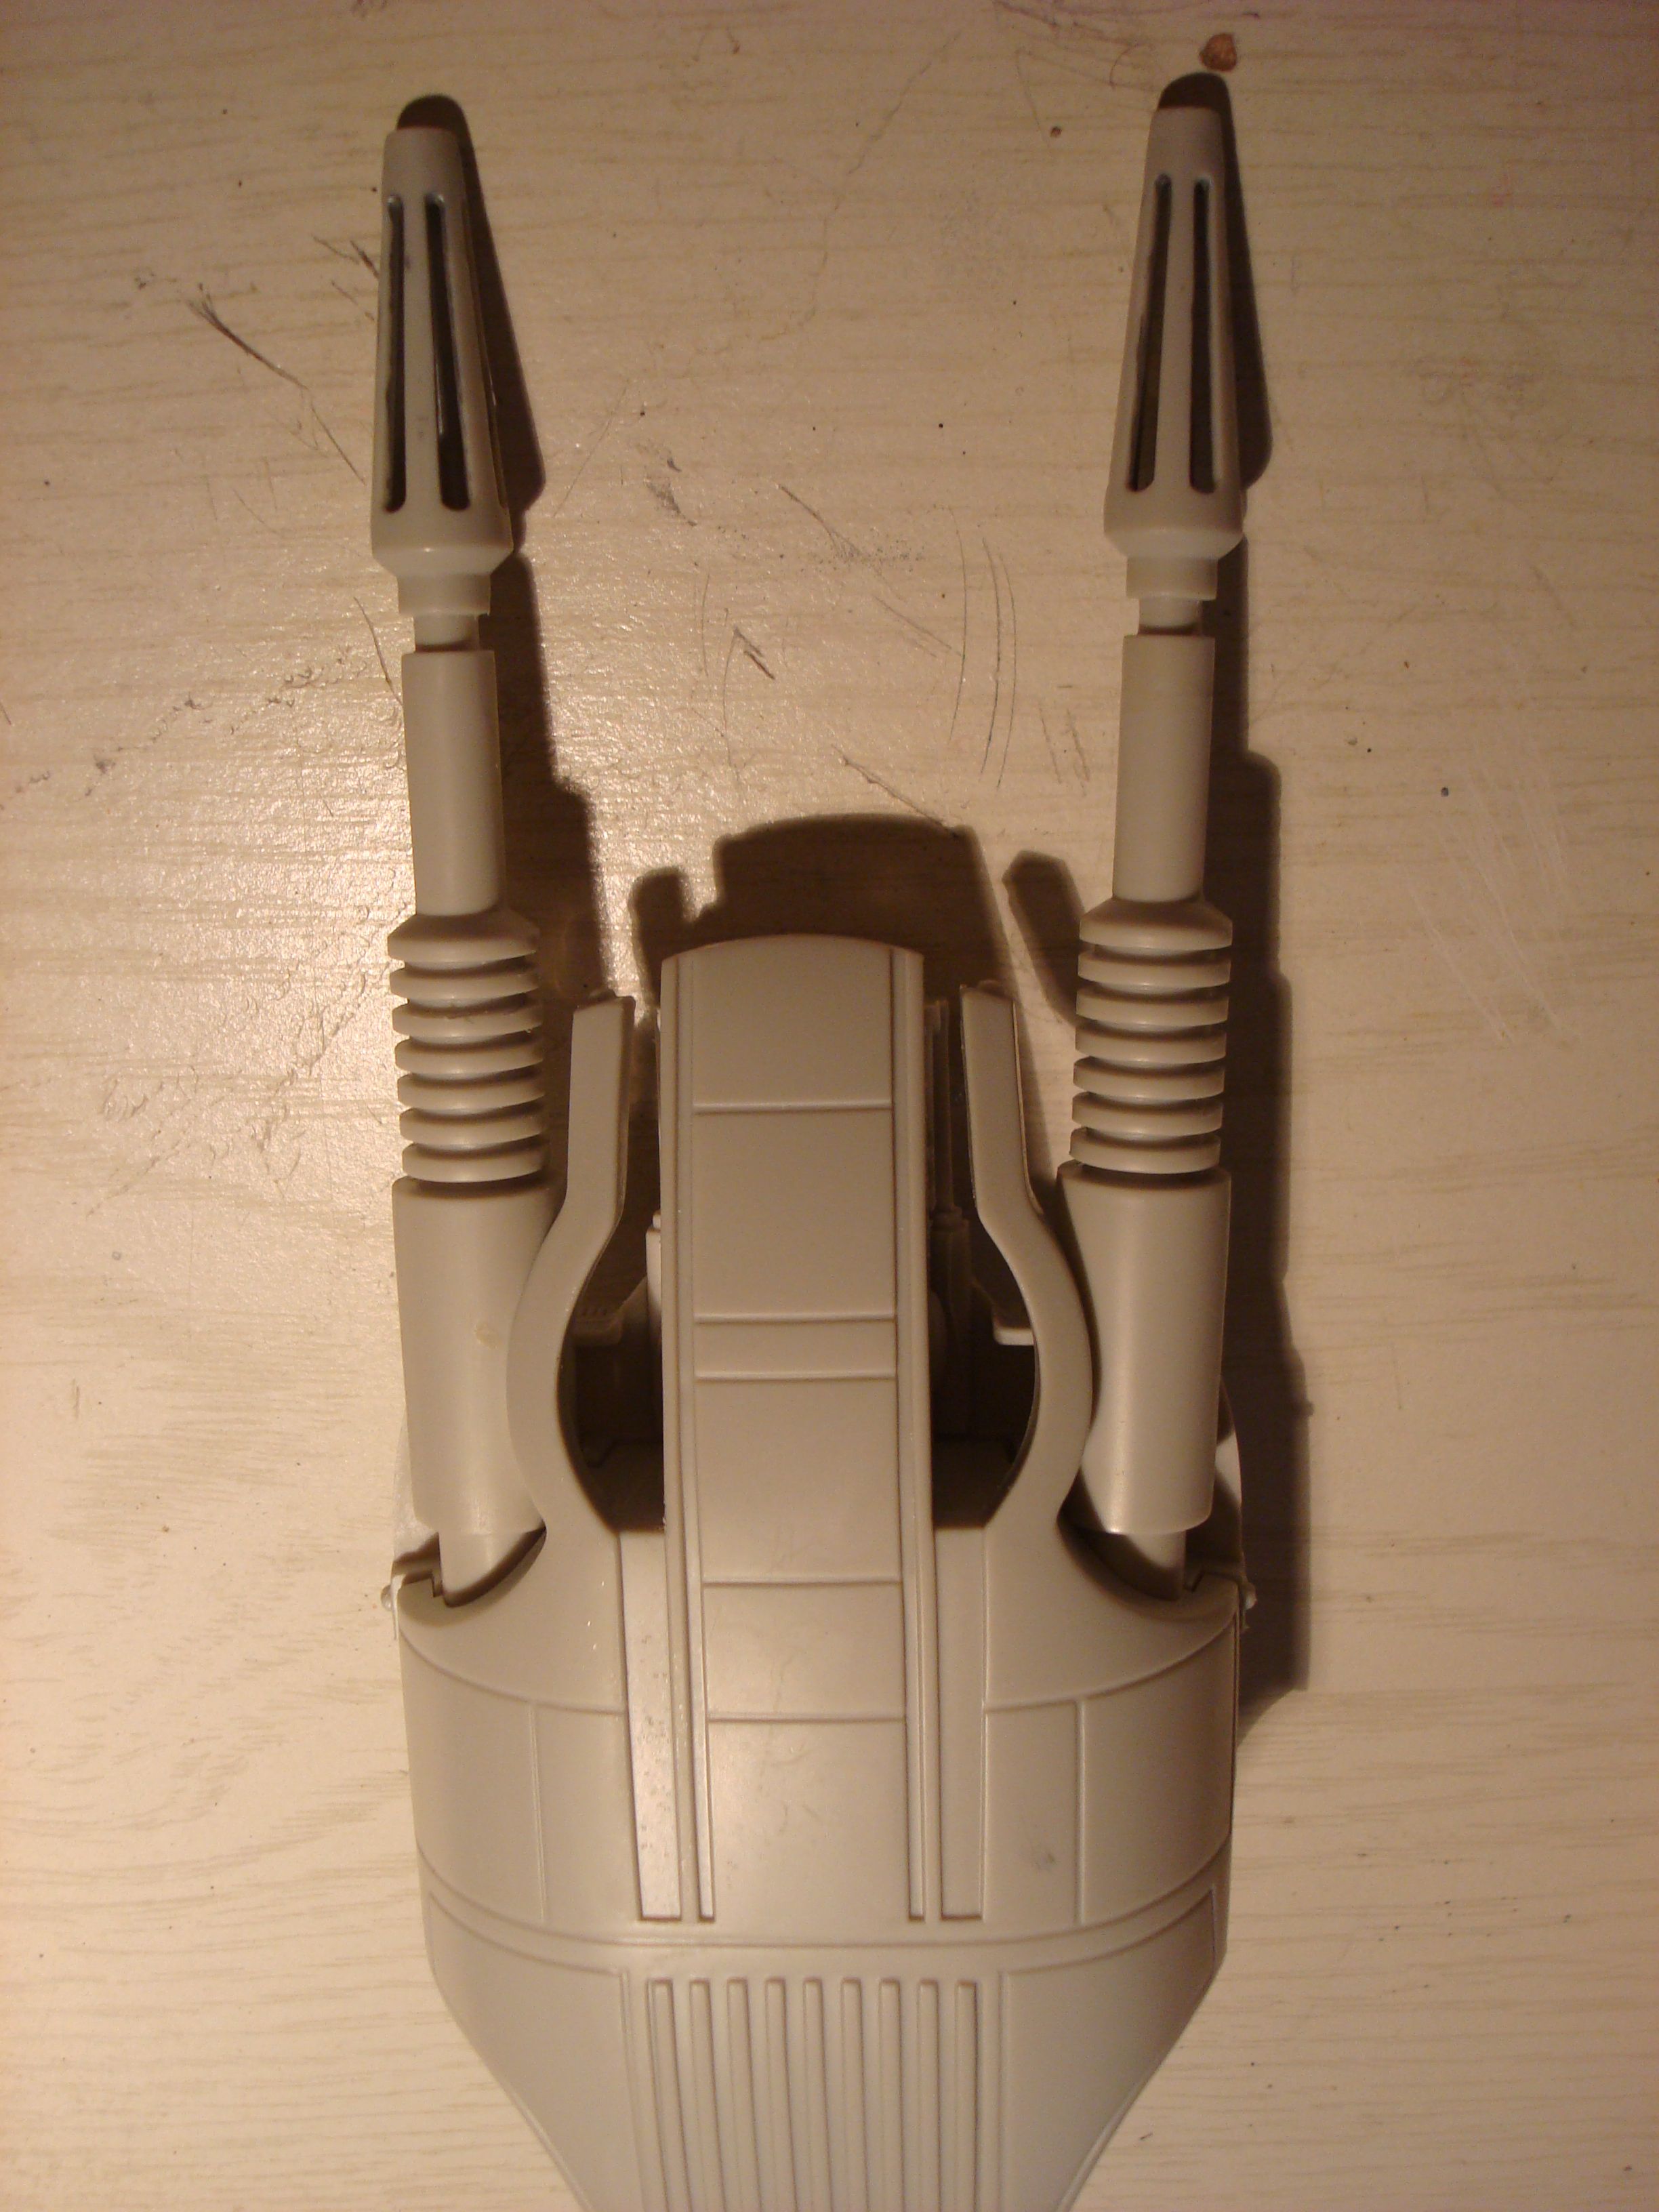
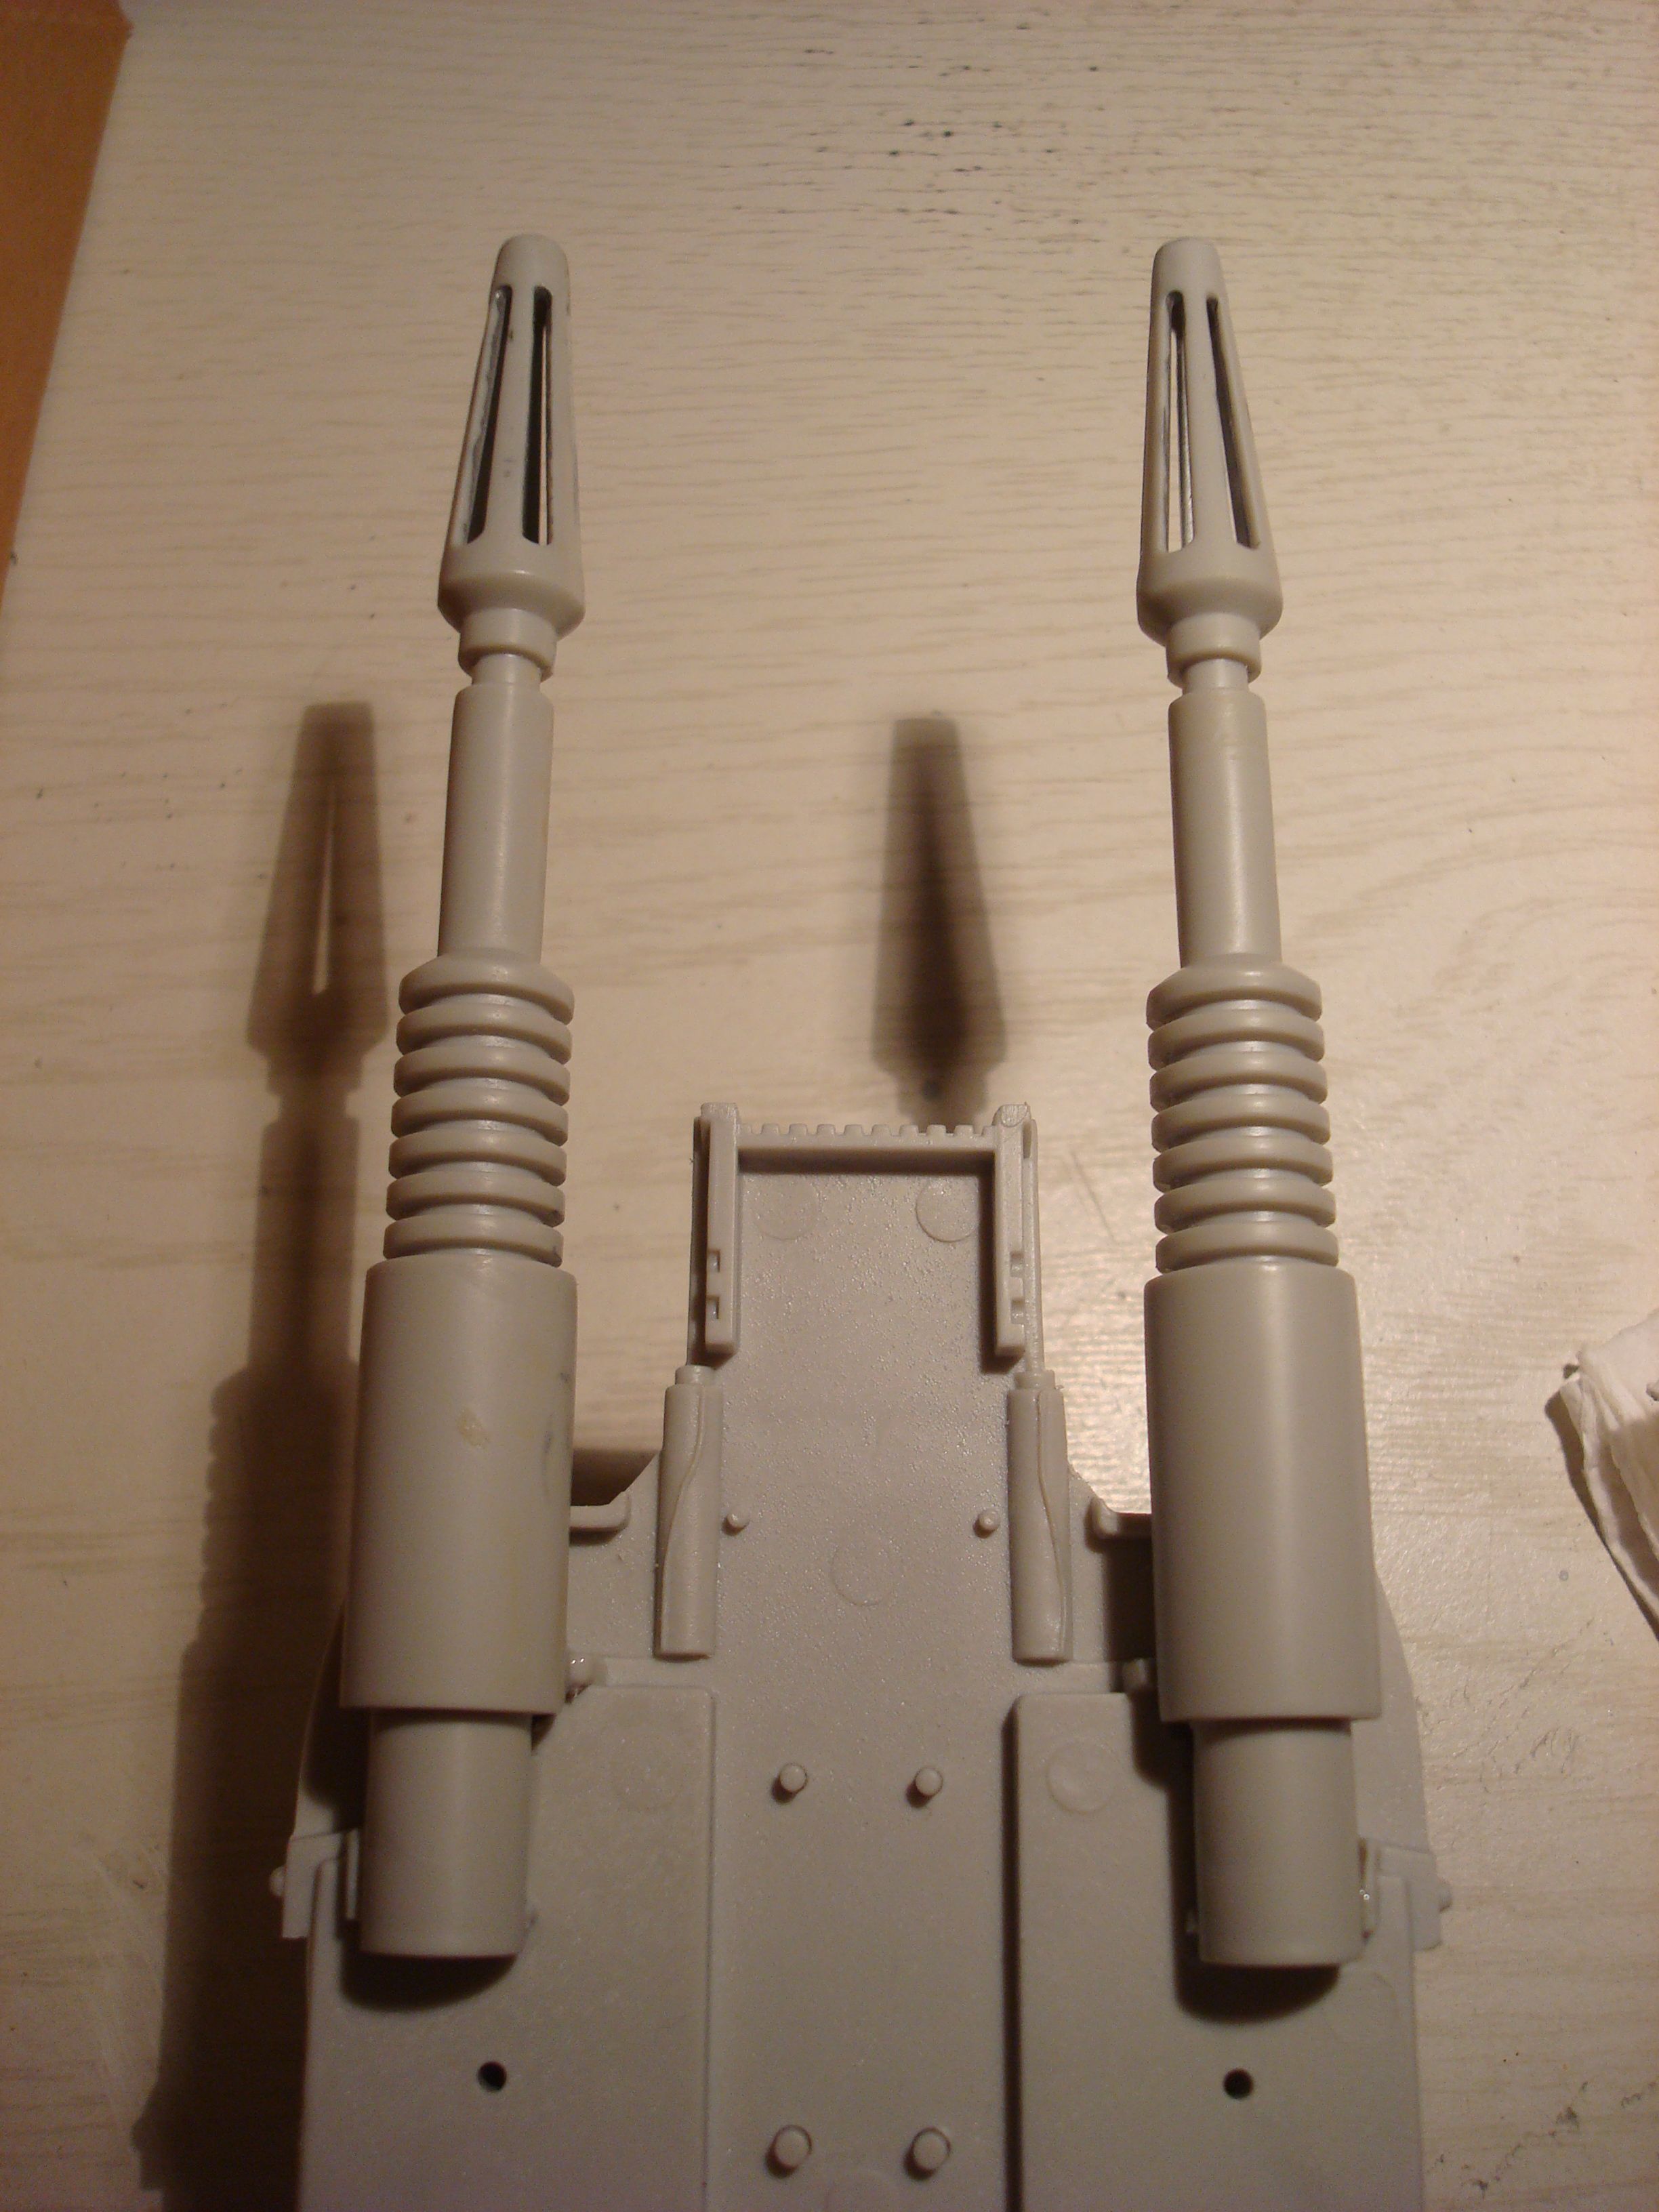
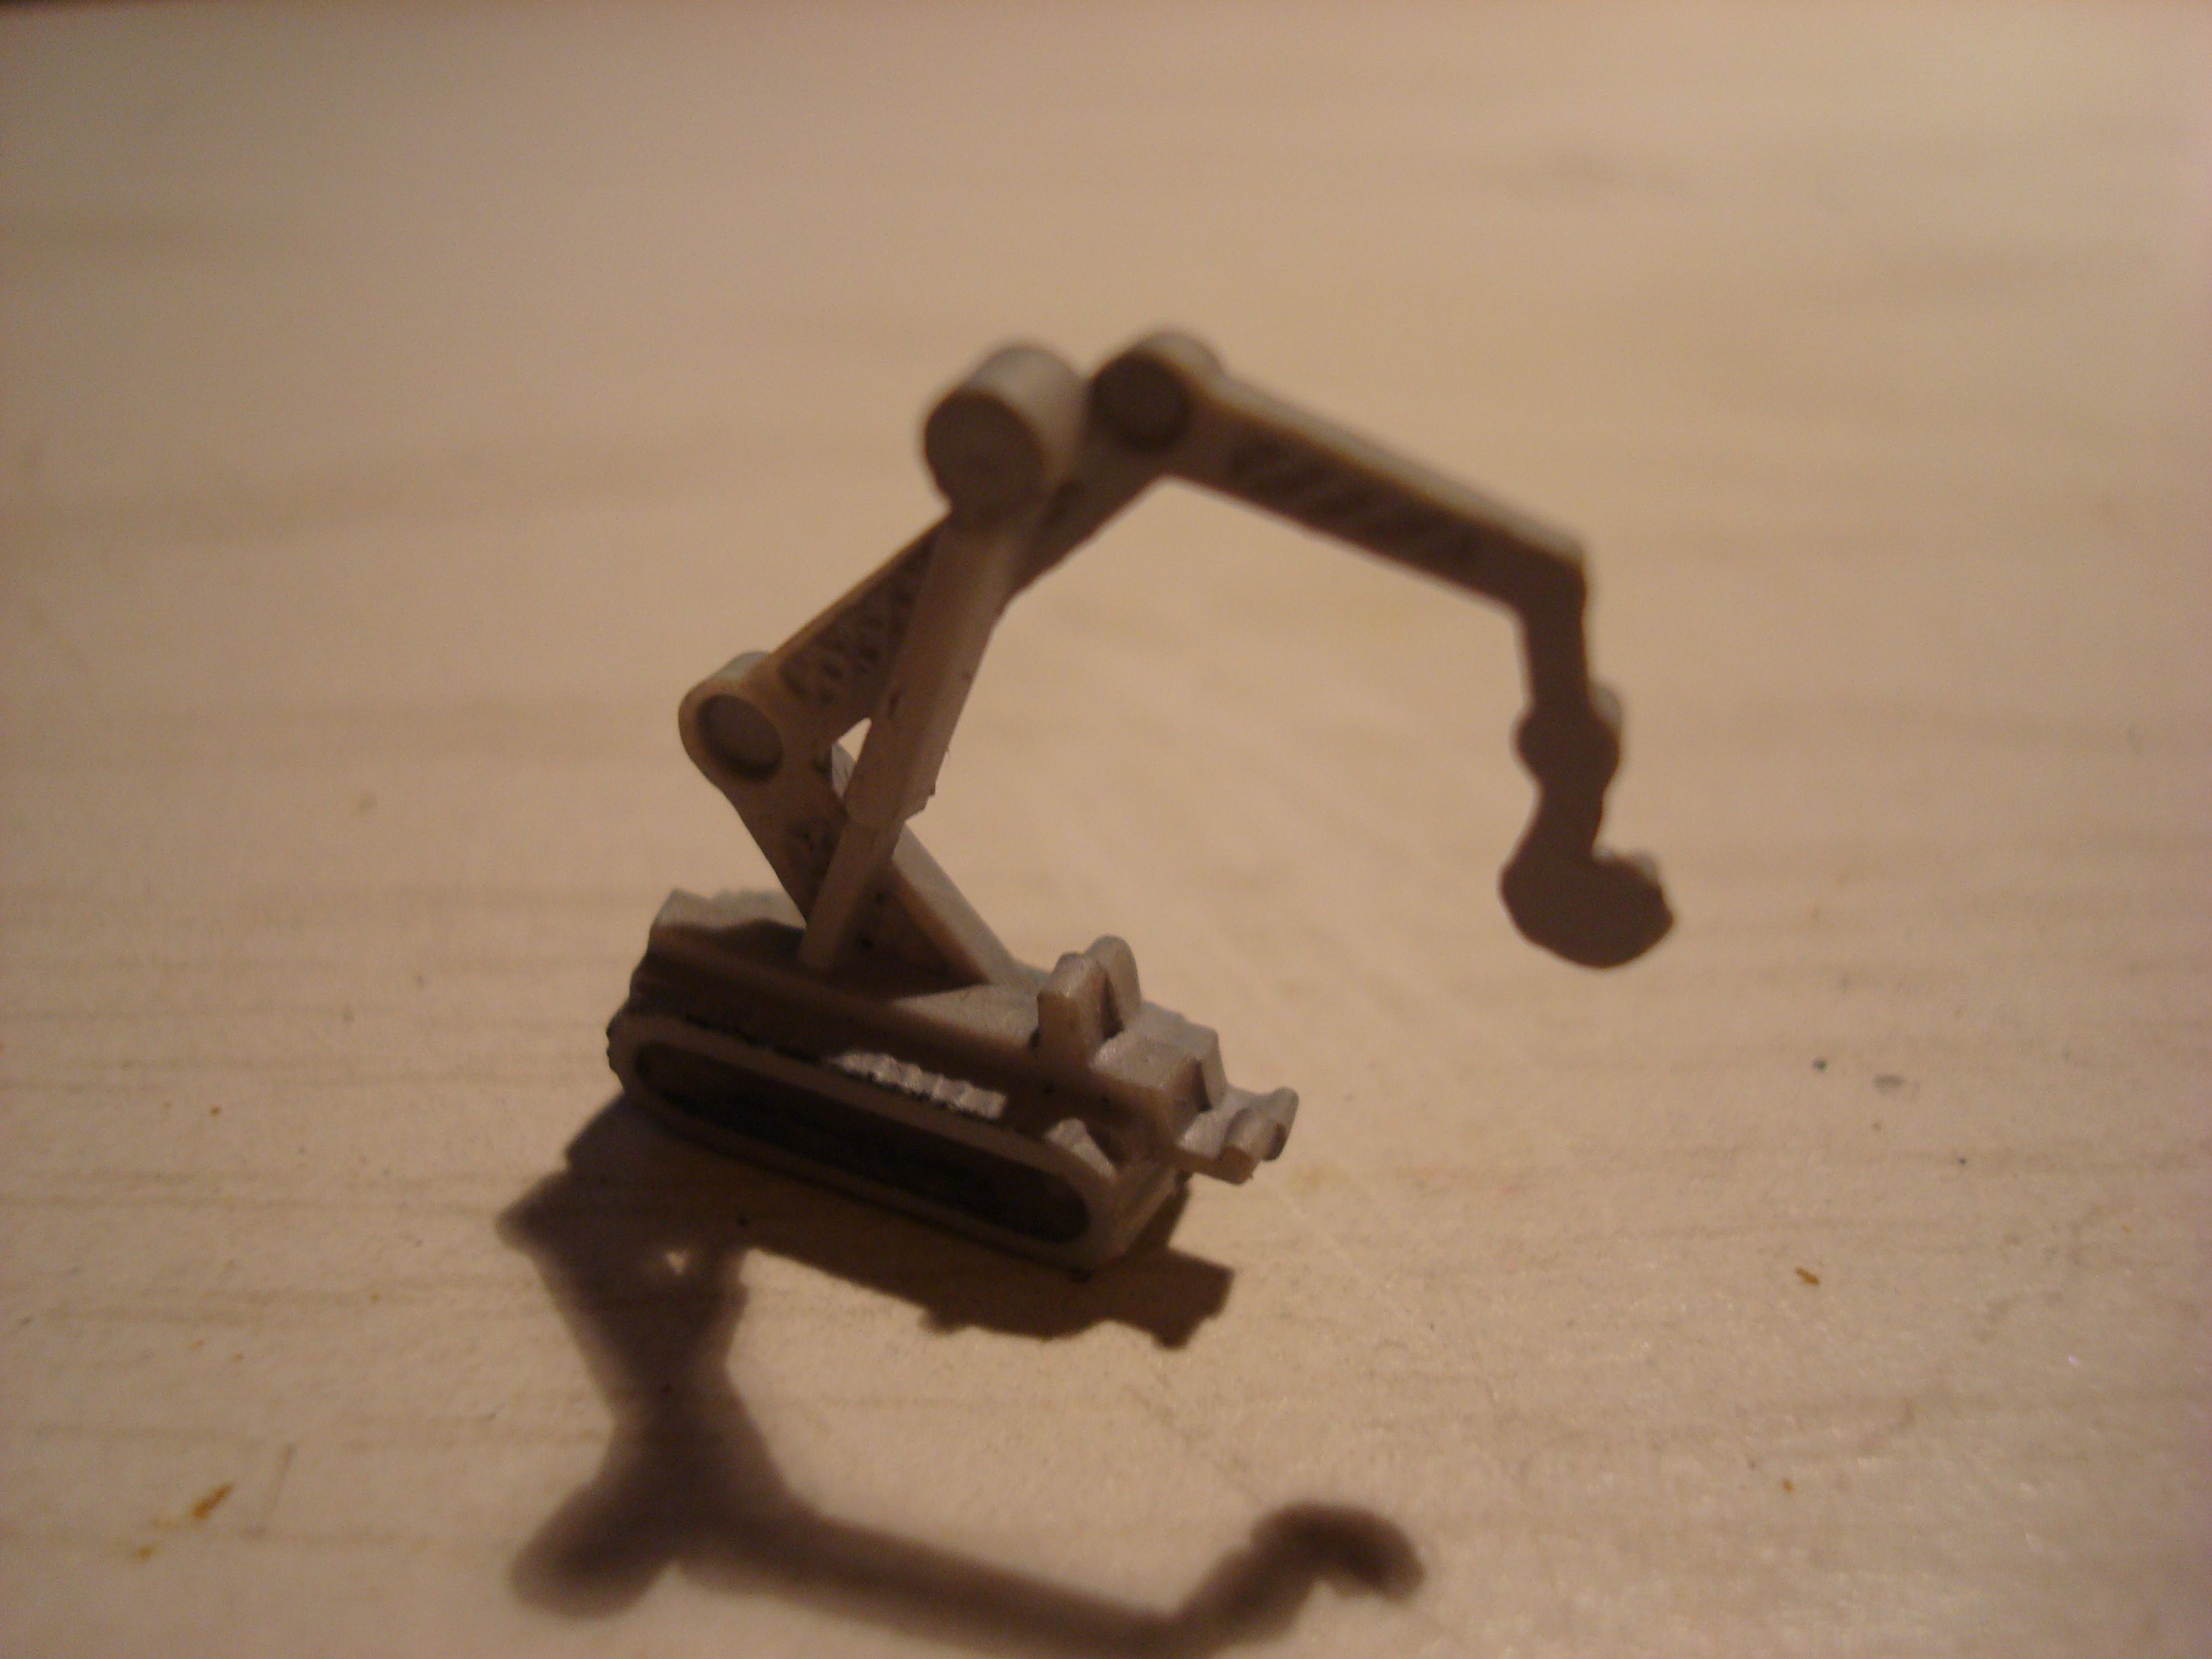
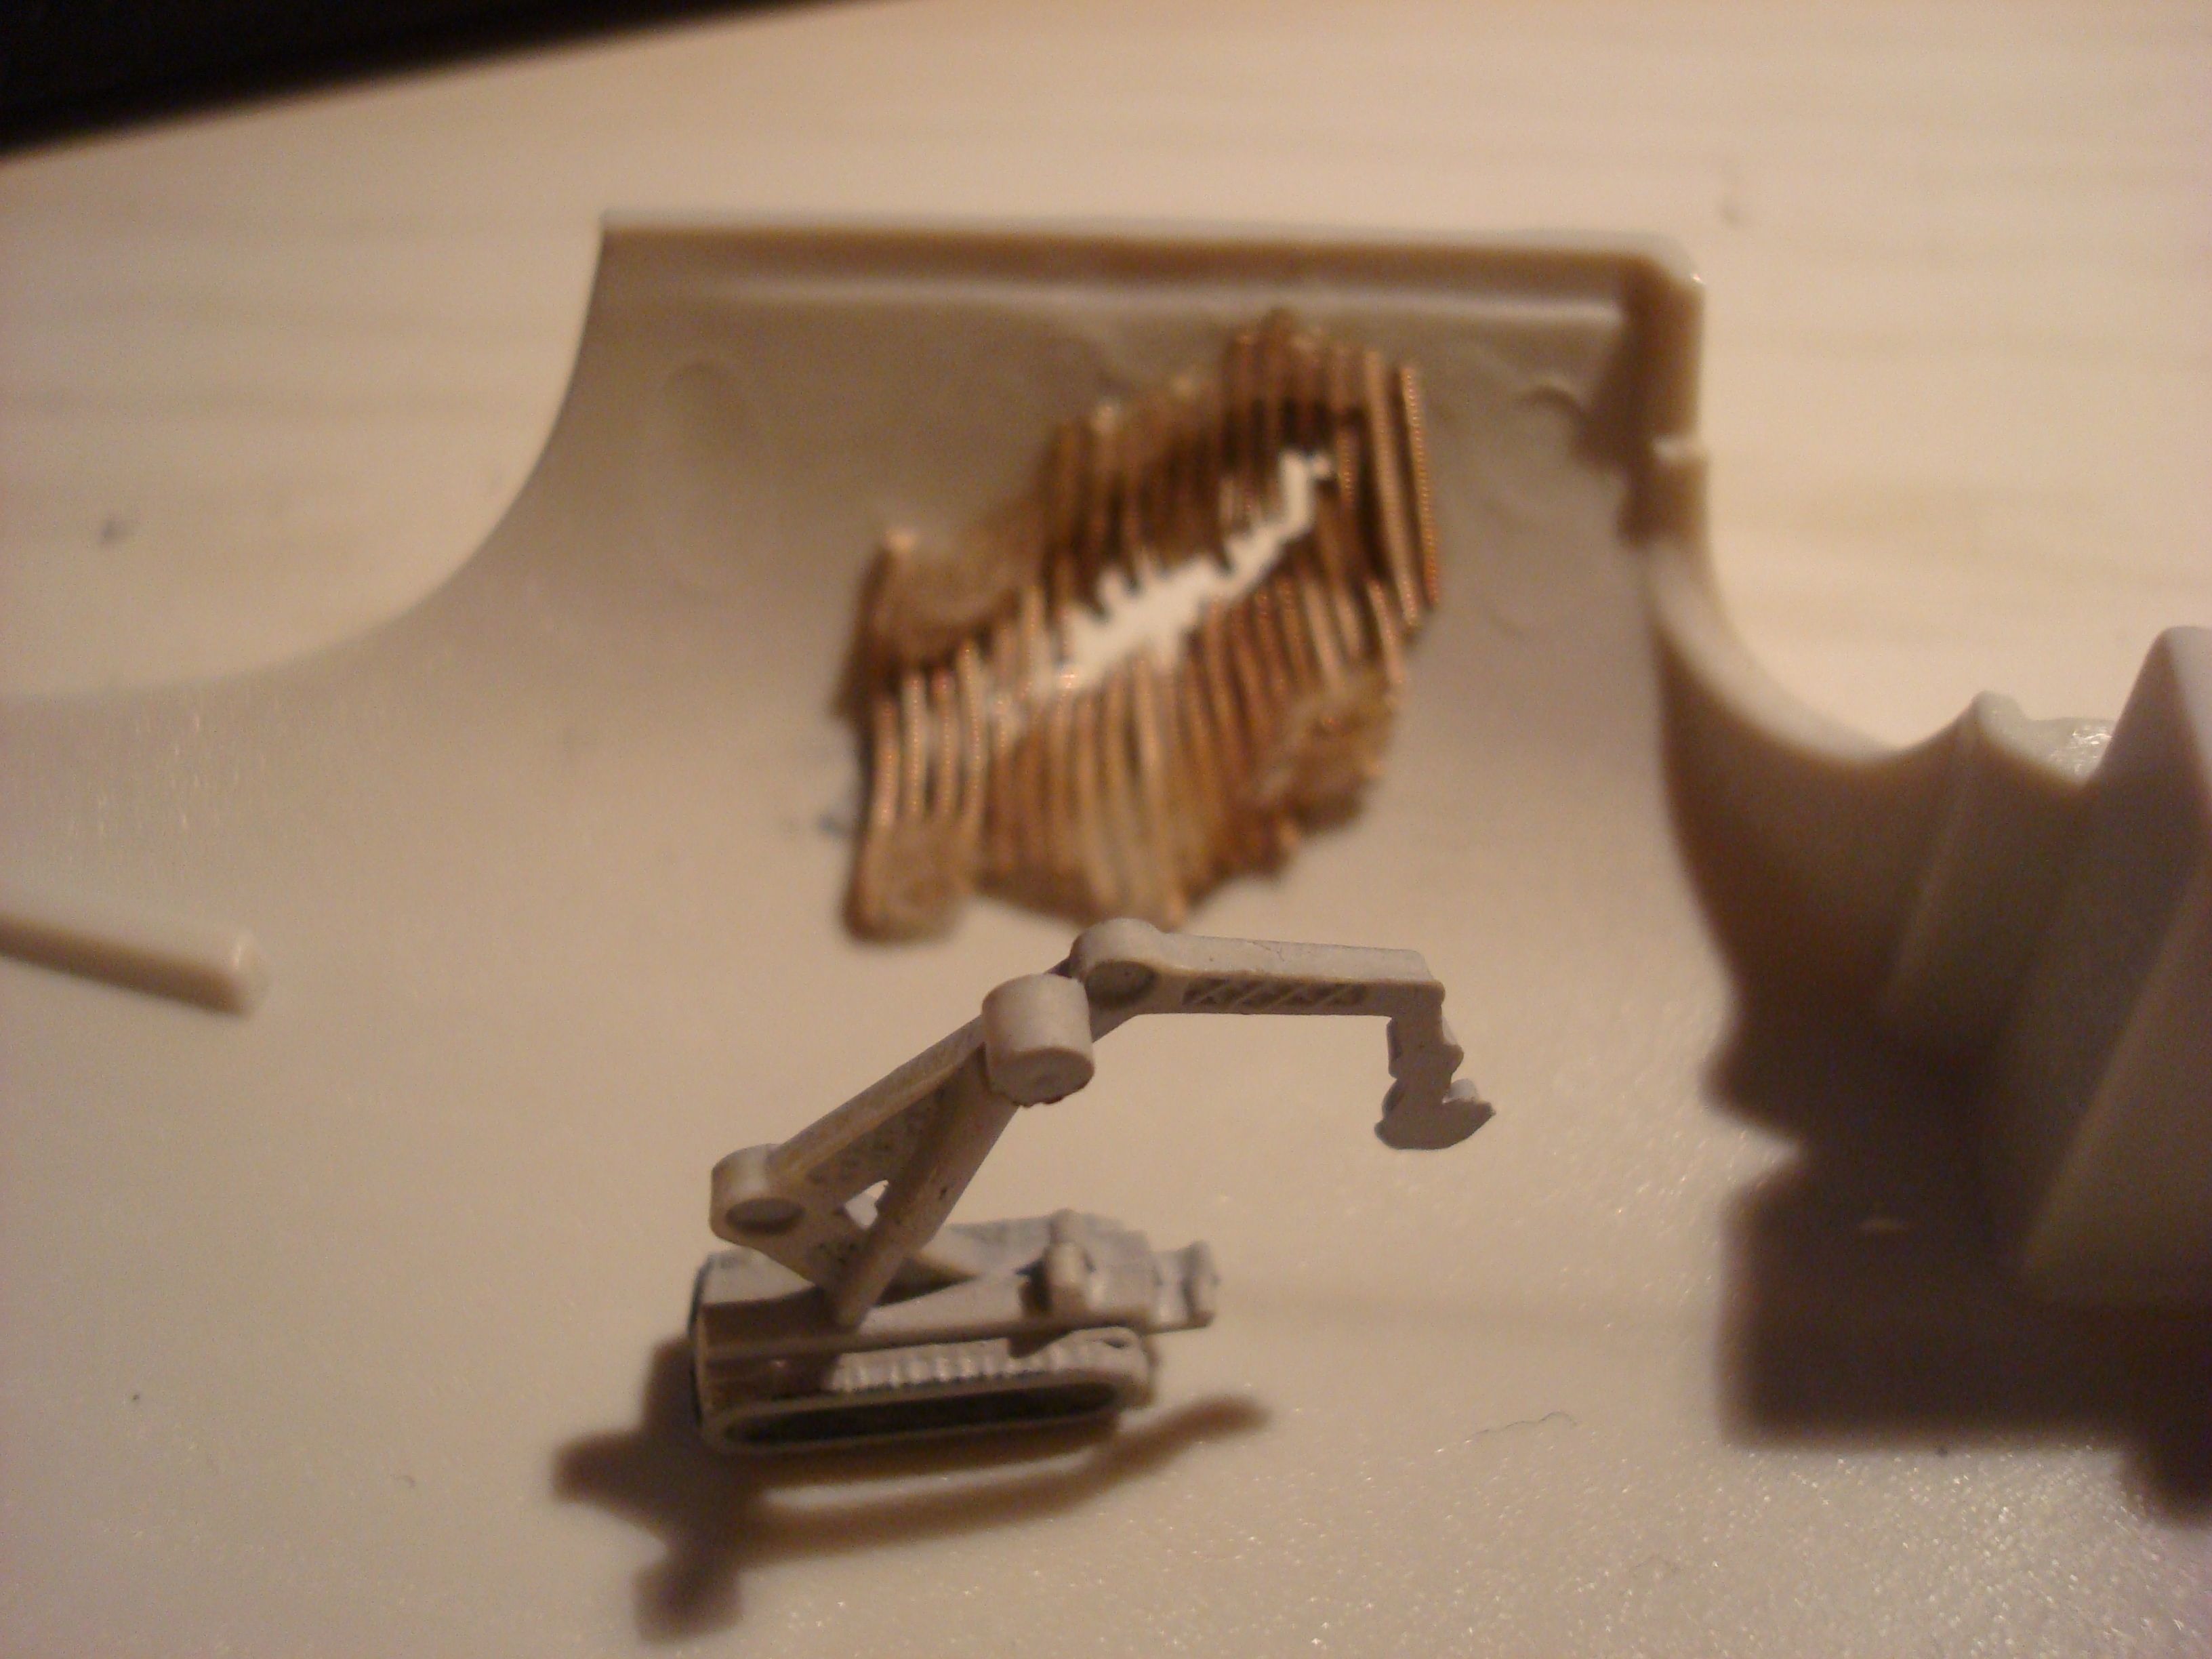
For the droid, I'm going to use a model I started 5 years ago. The model is the AMT 1/6 scale droid with stap.

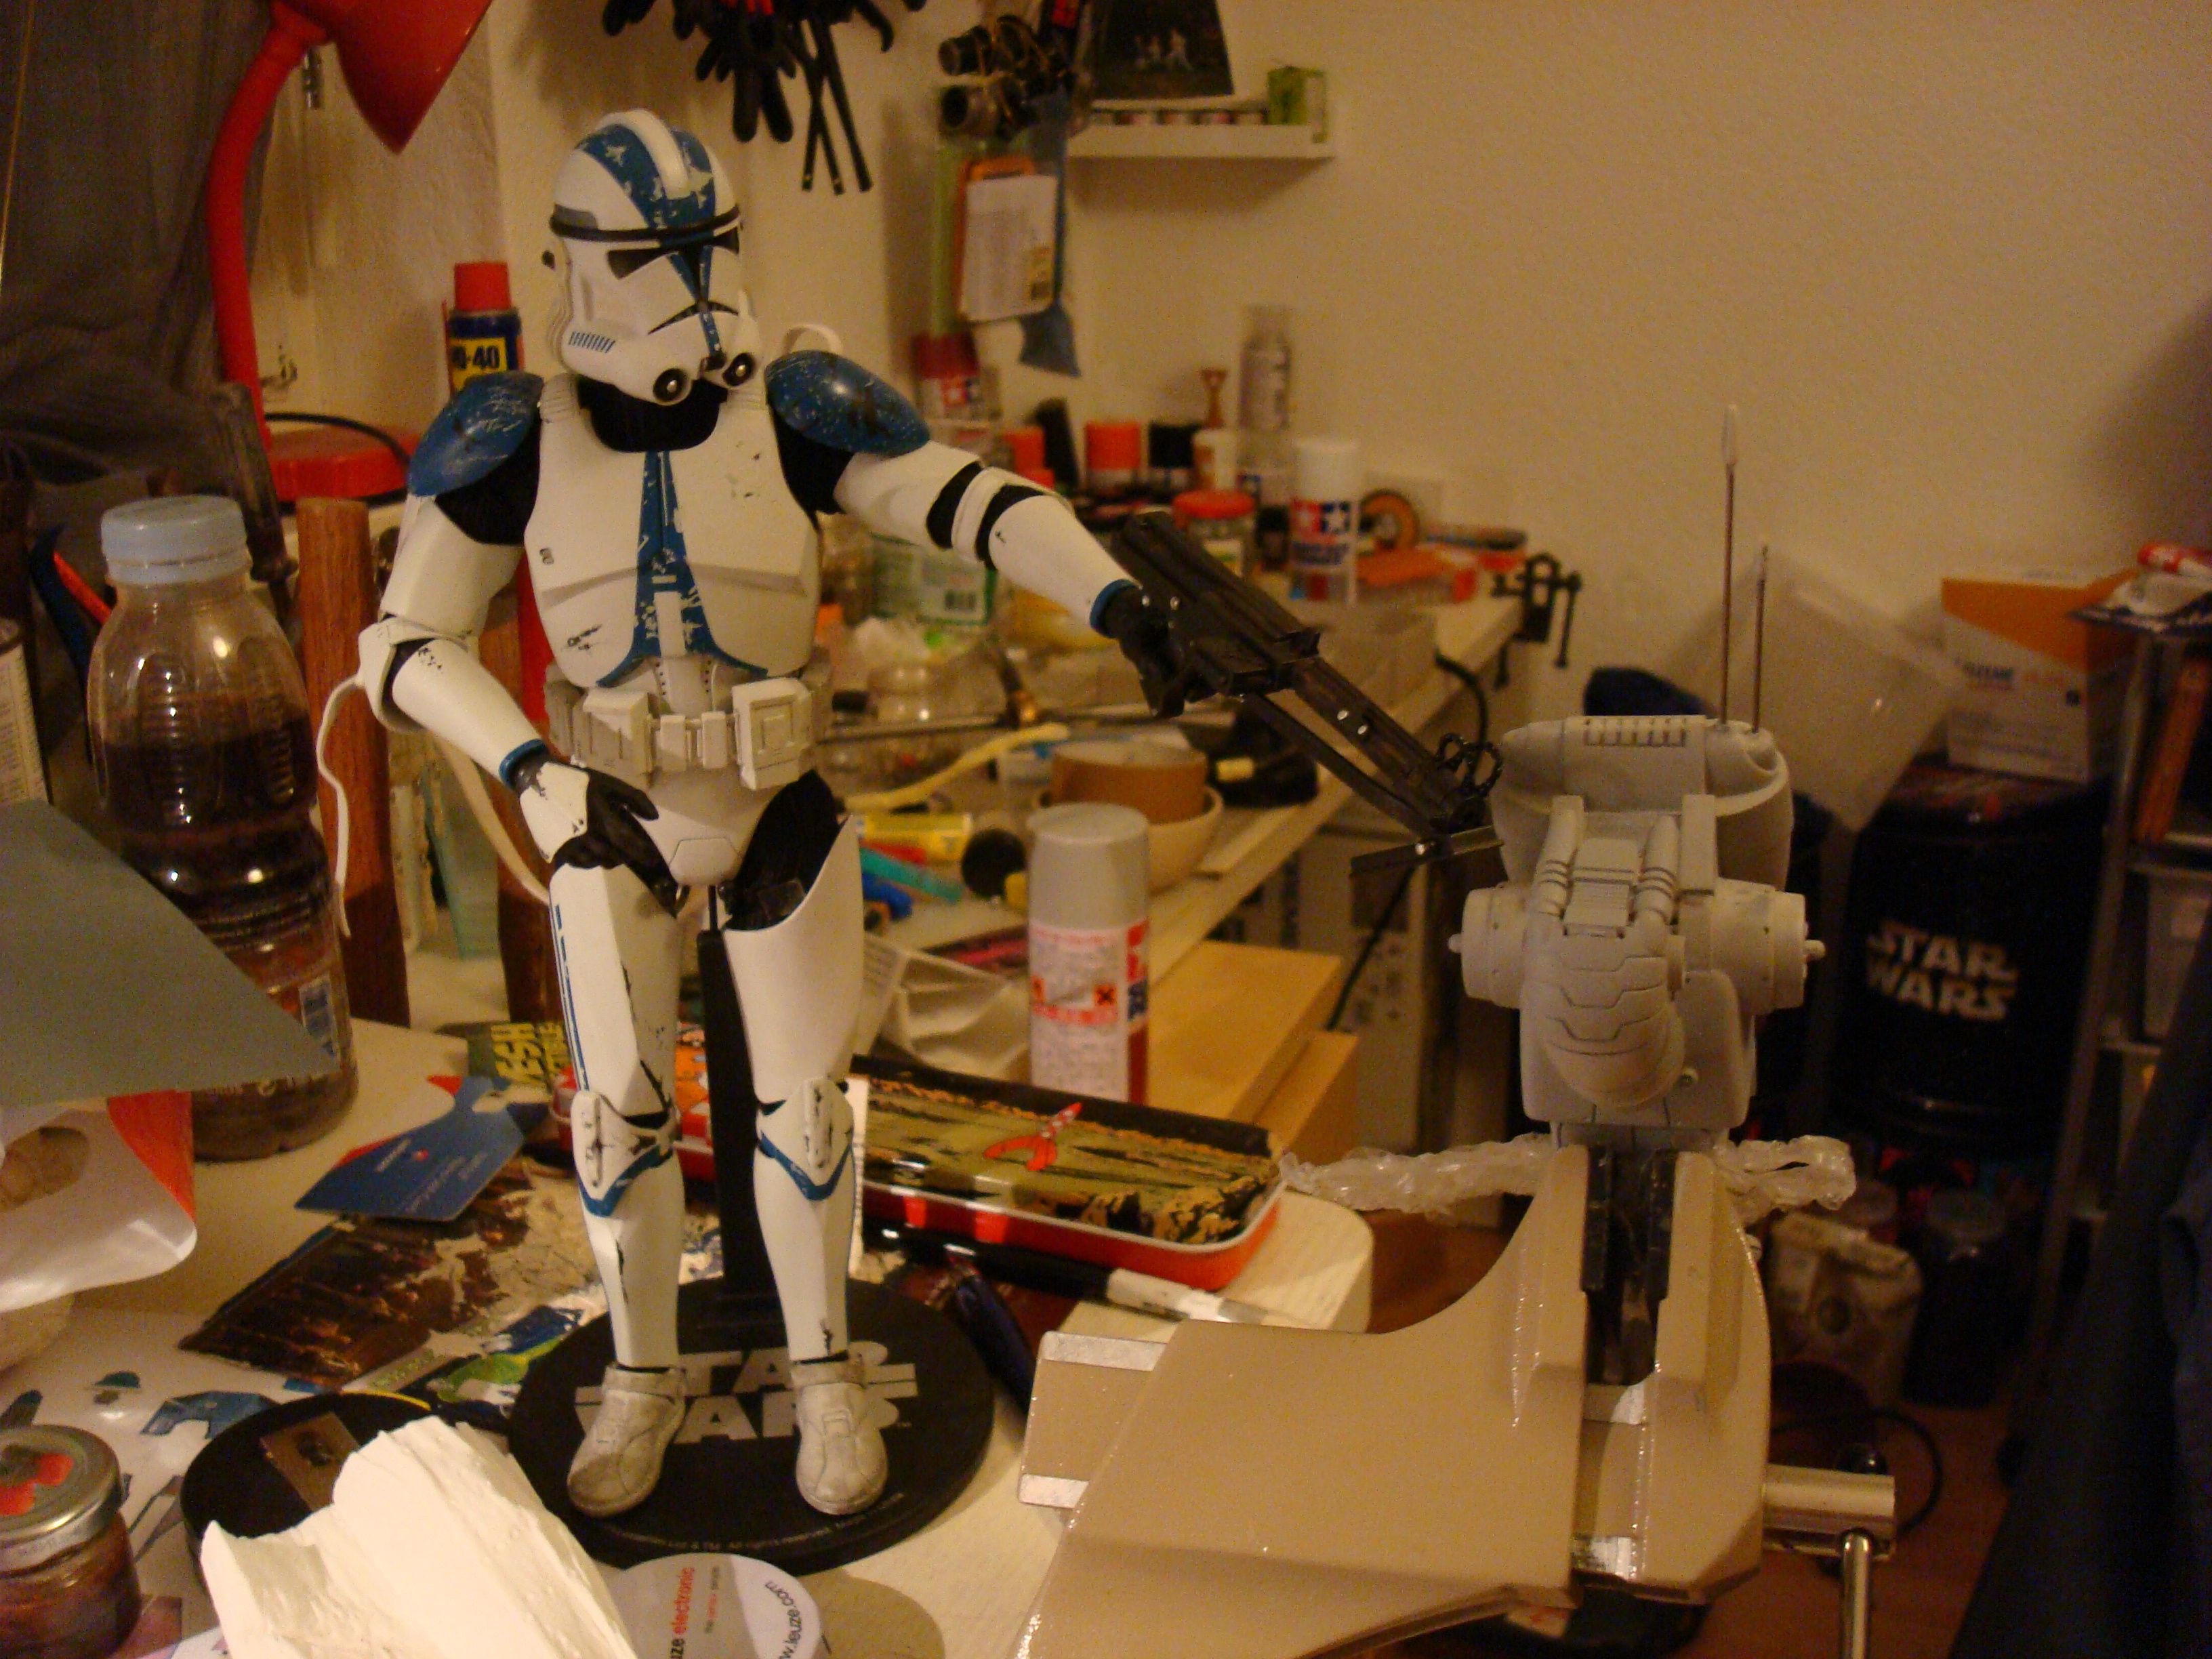
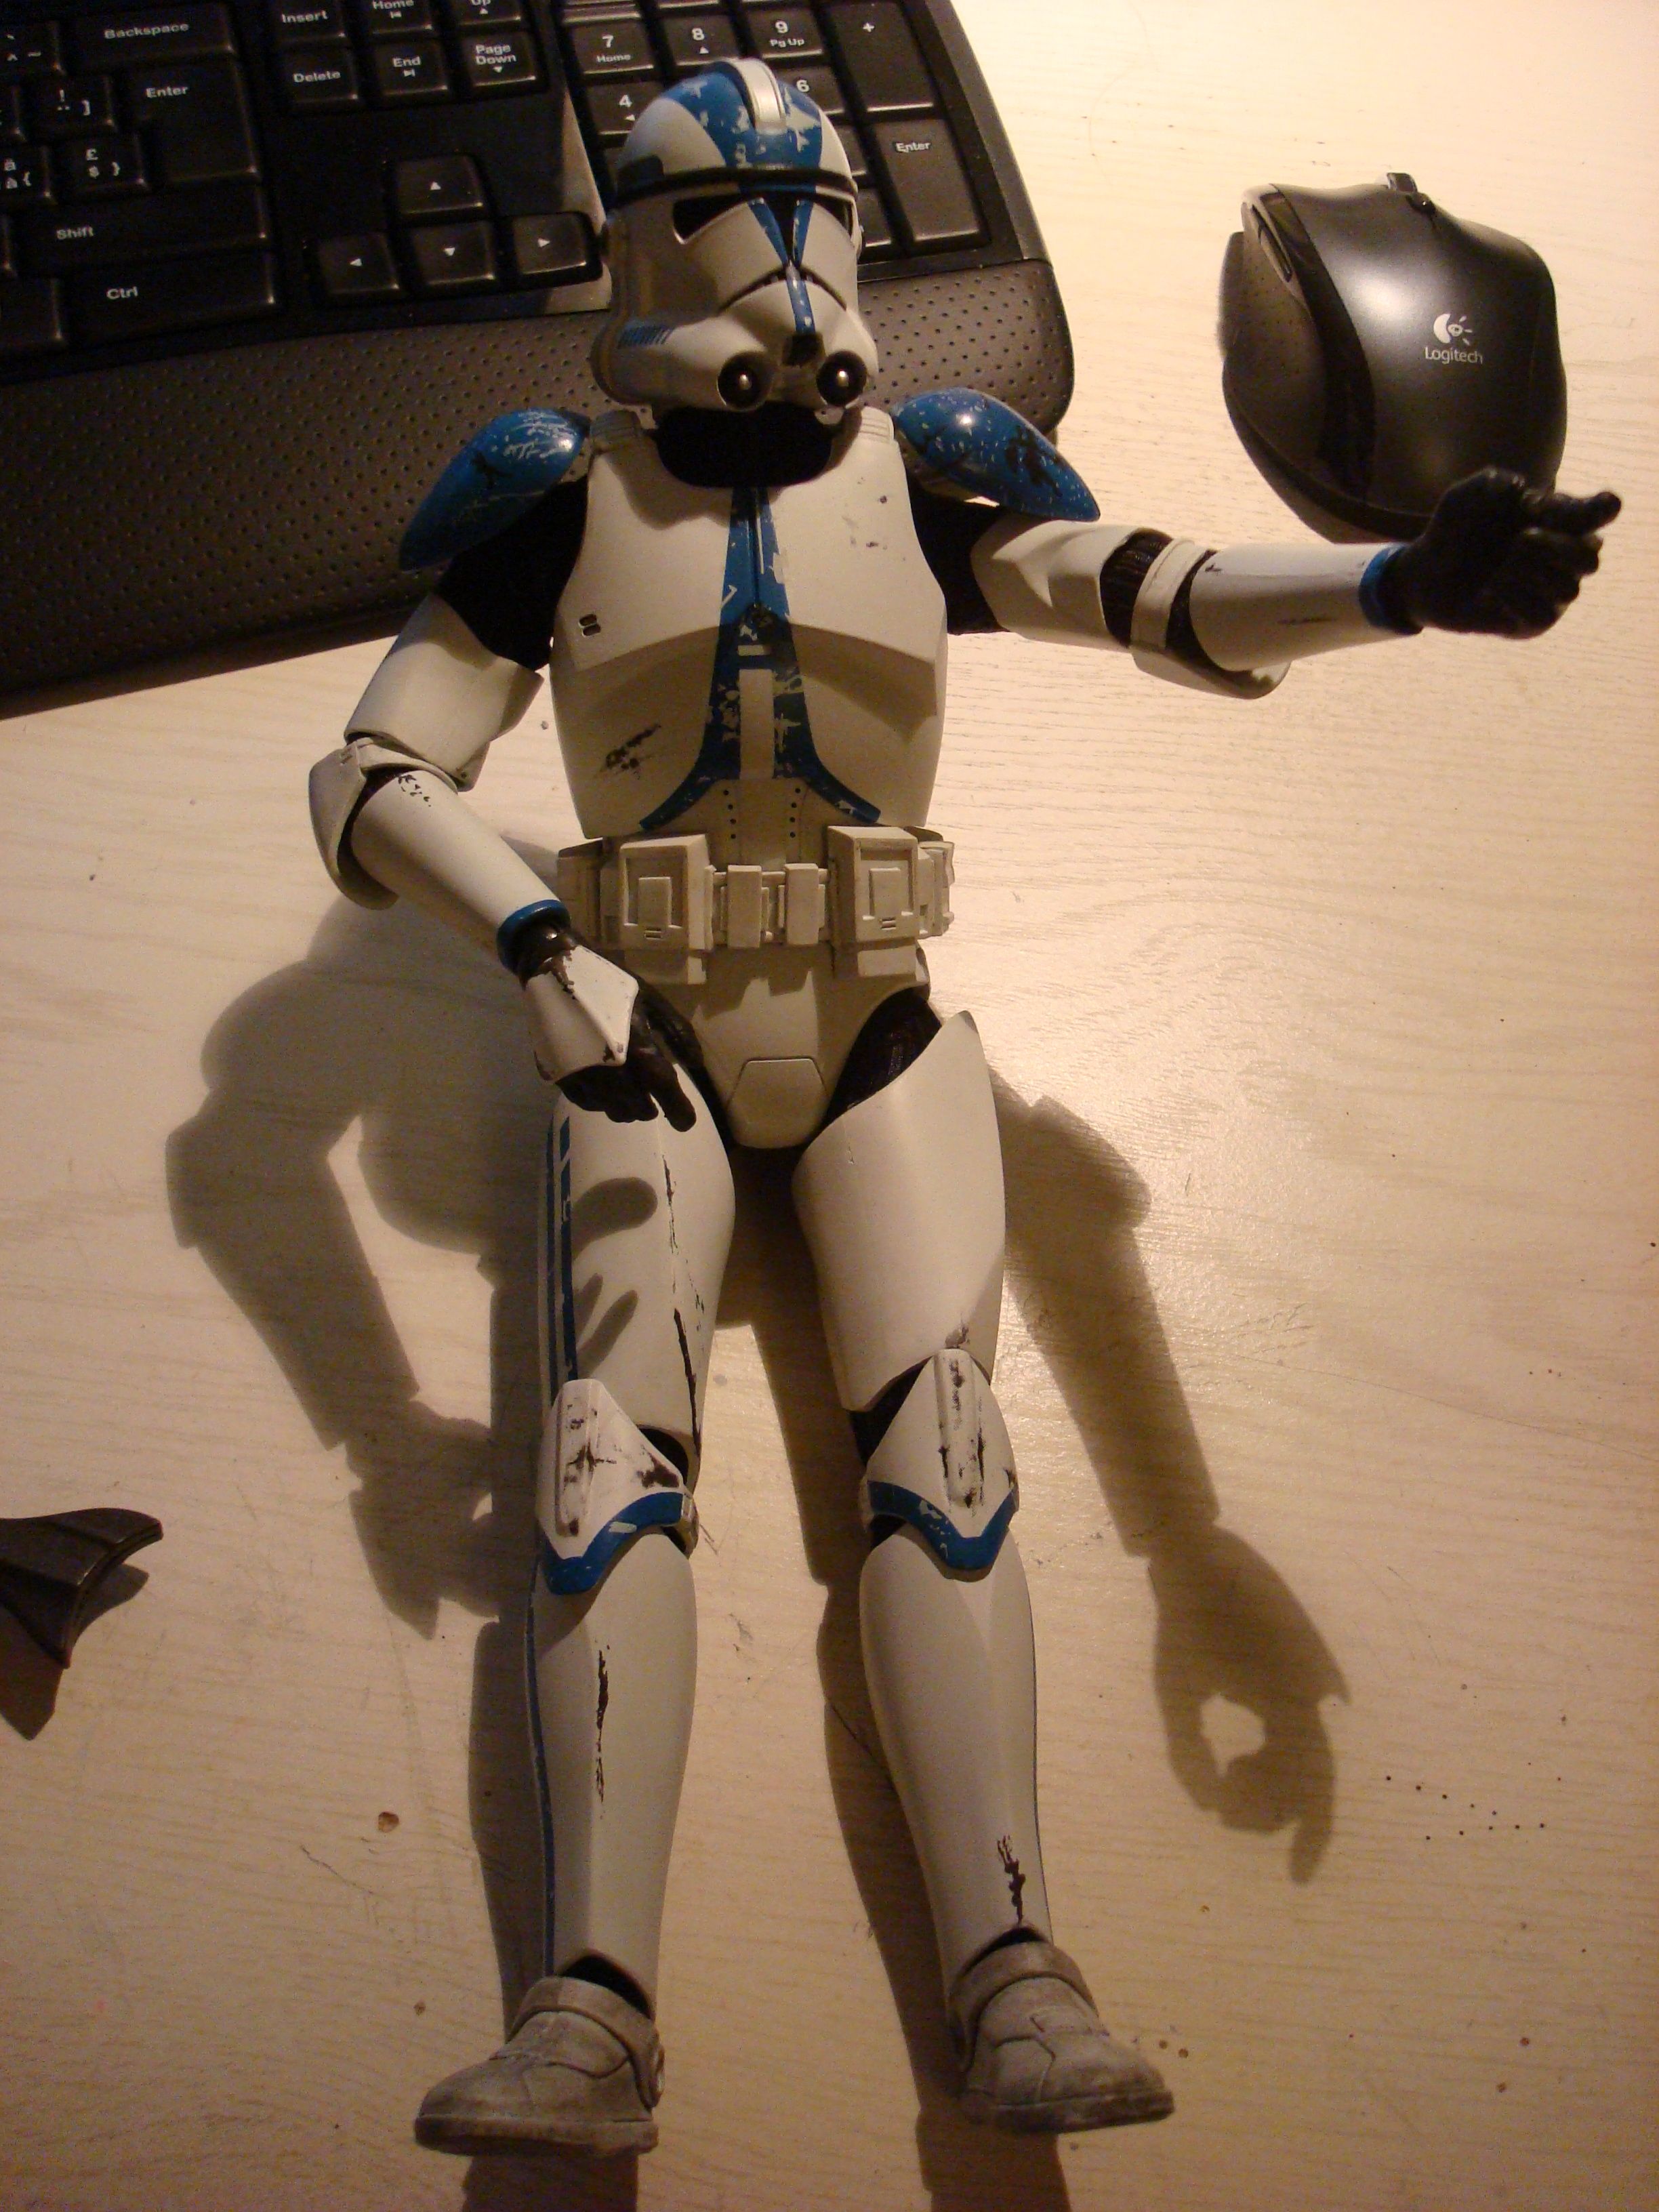
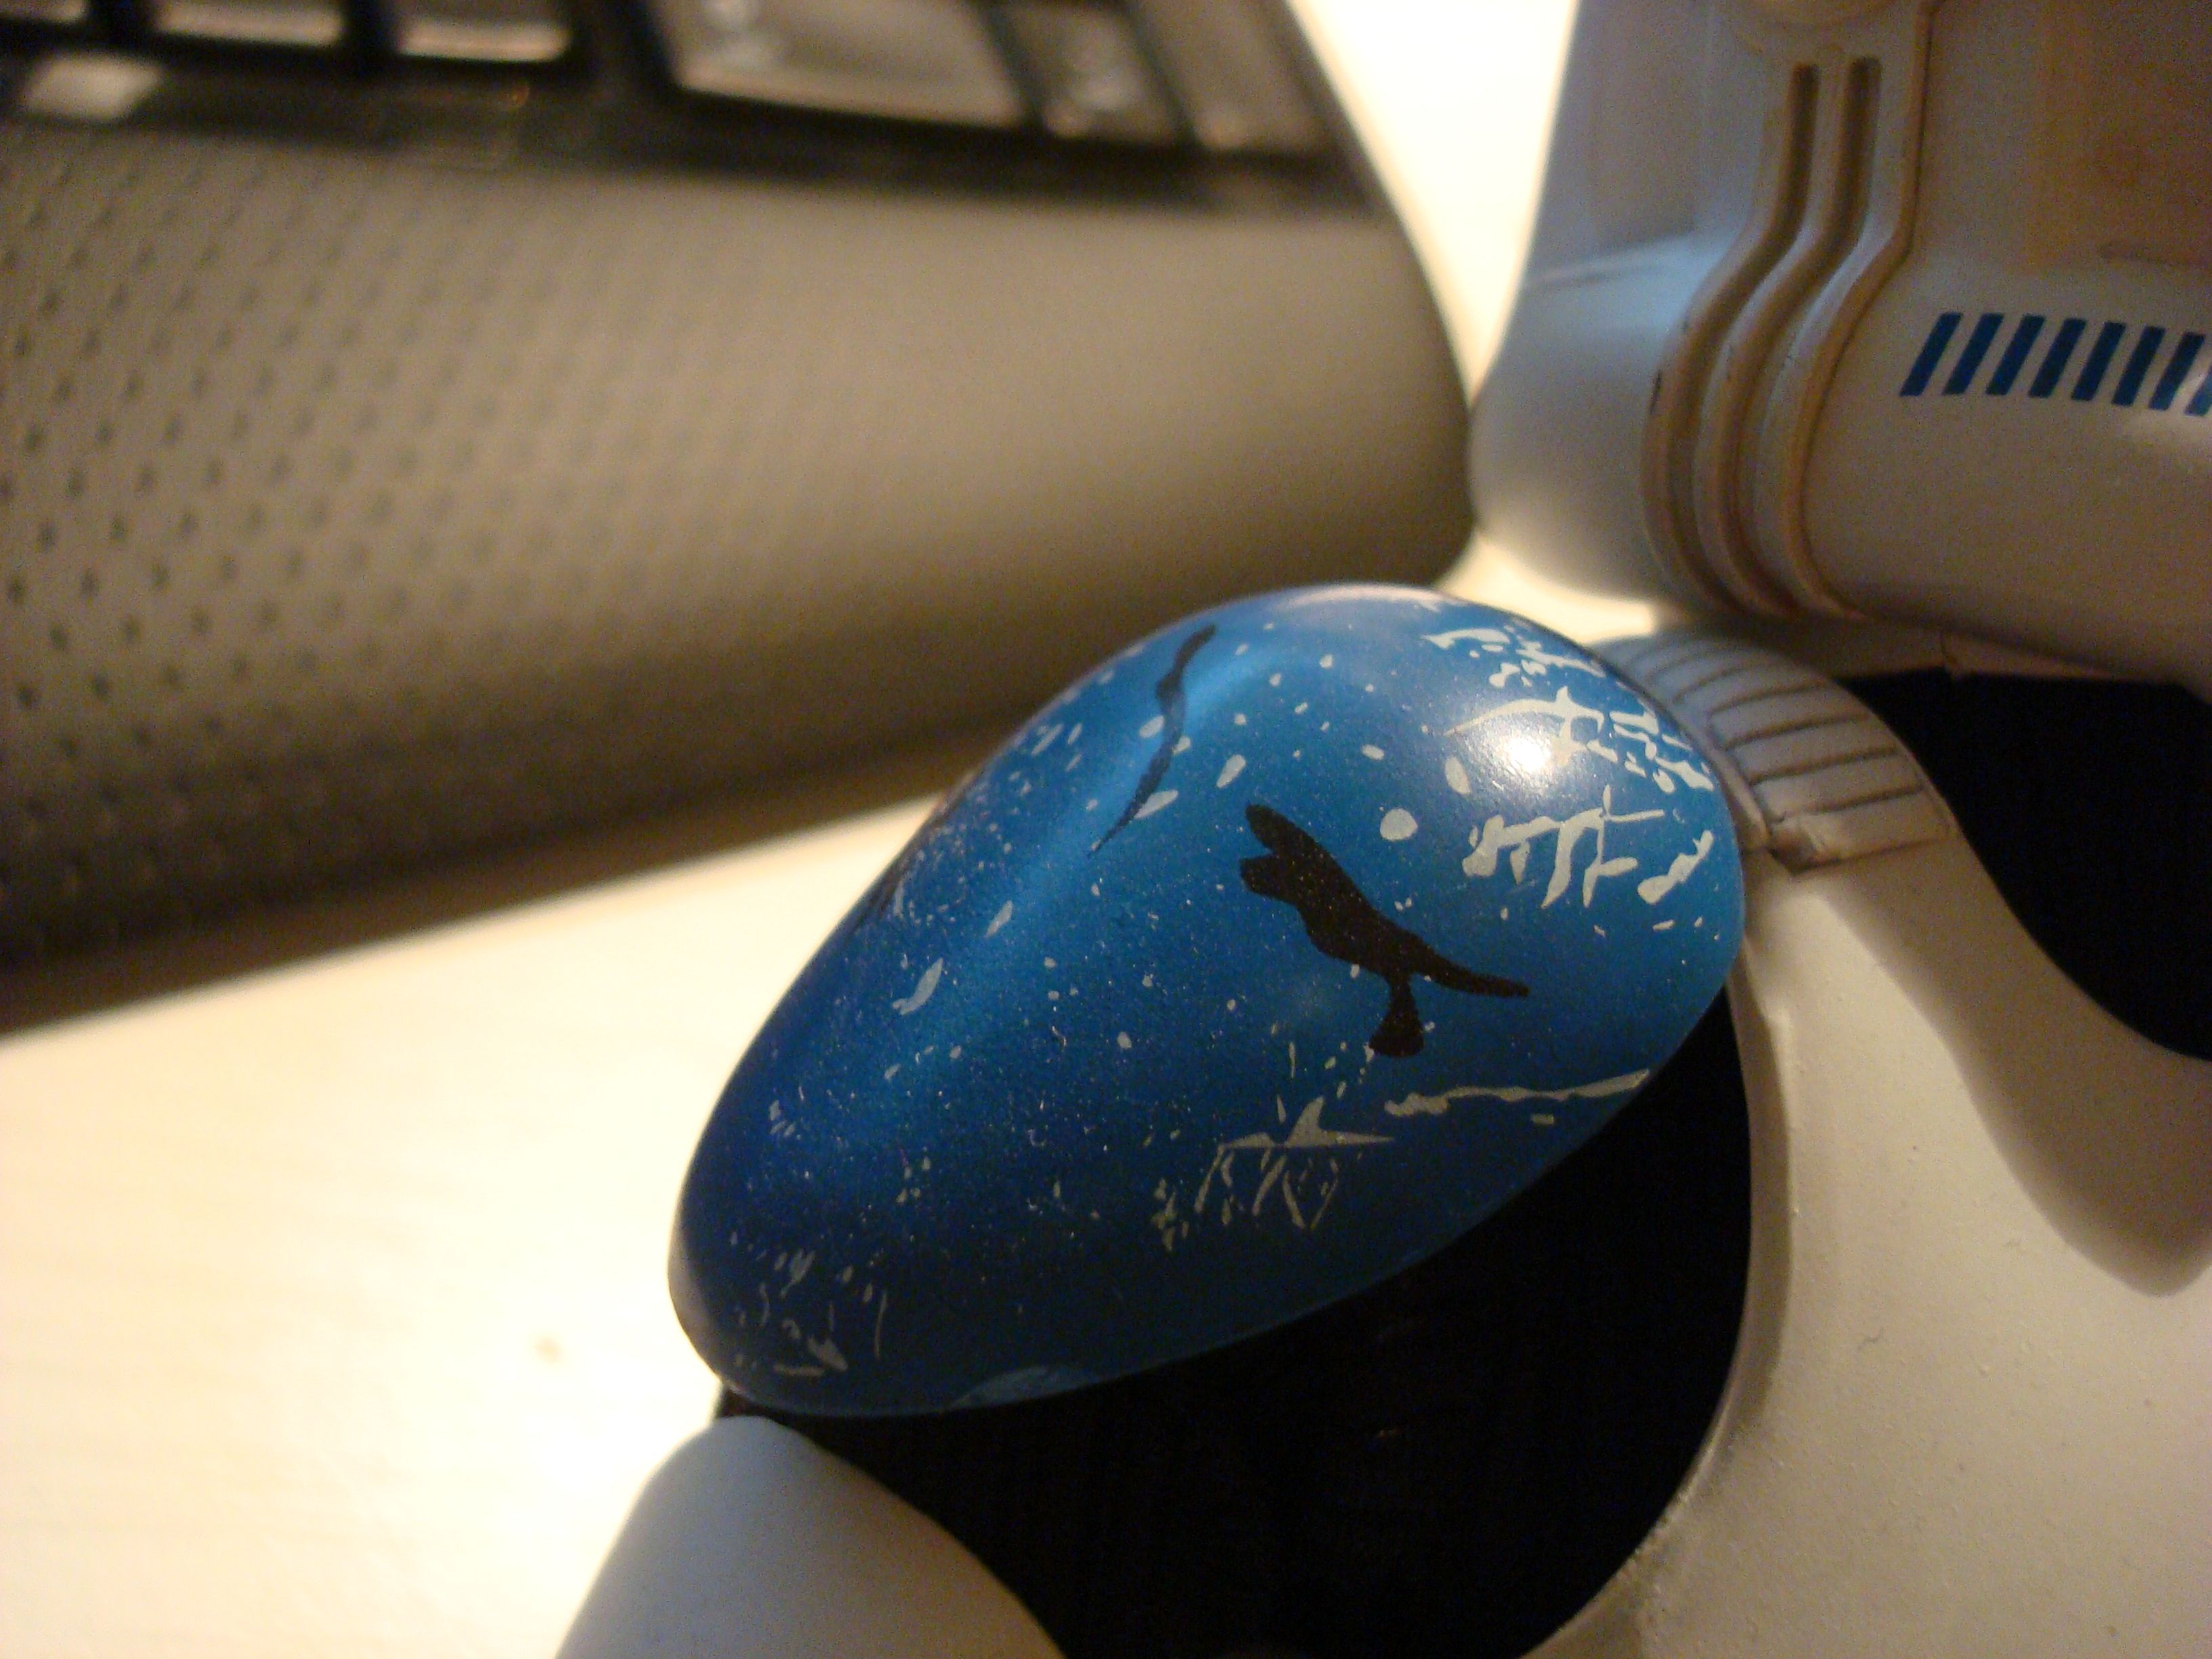
The clone is a hot toys one, which is qoing to be weathered. So it will be possible to change the diorama story by changing the clone position! ;D


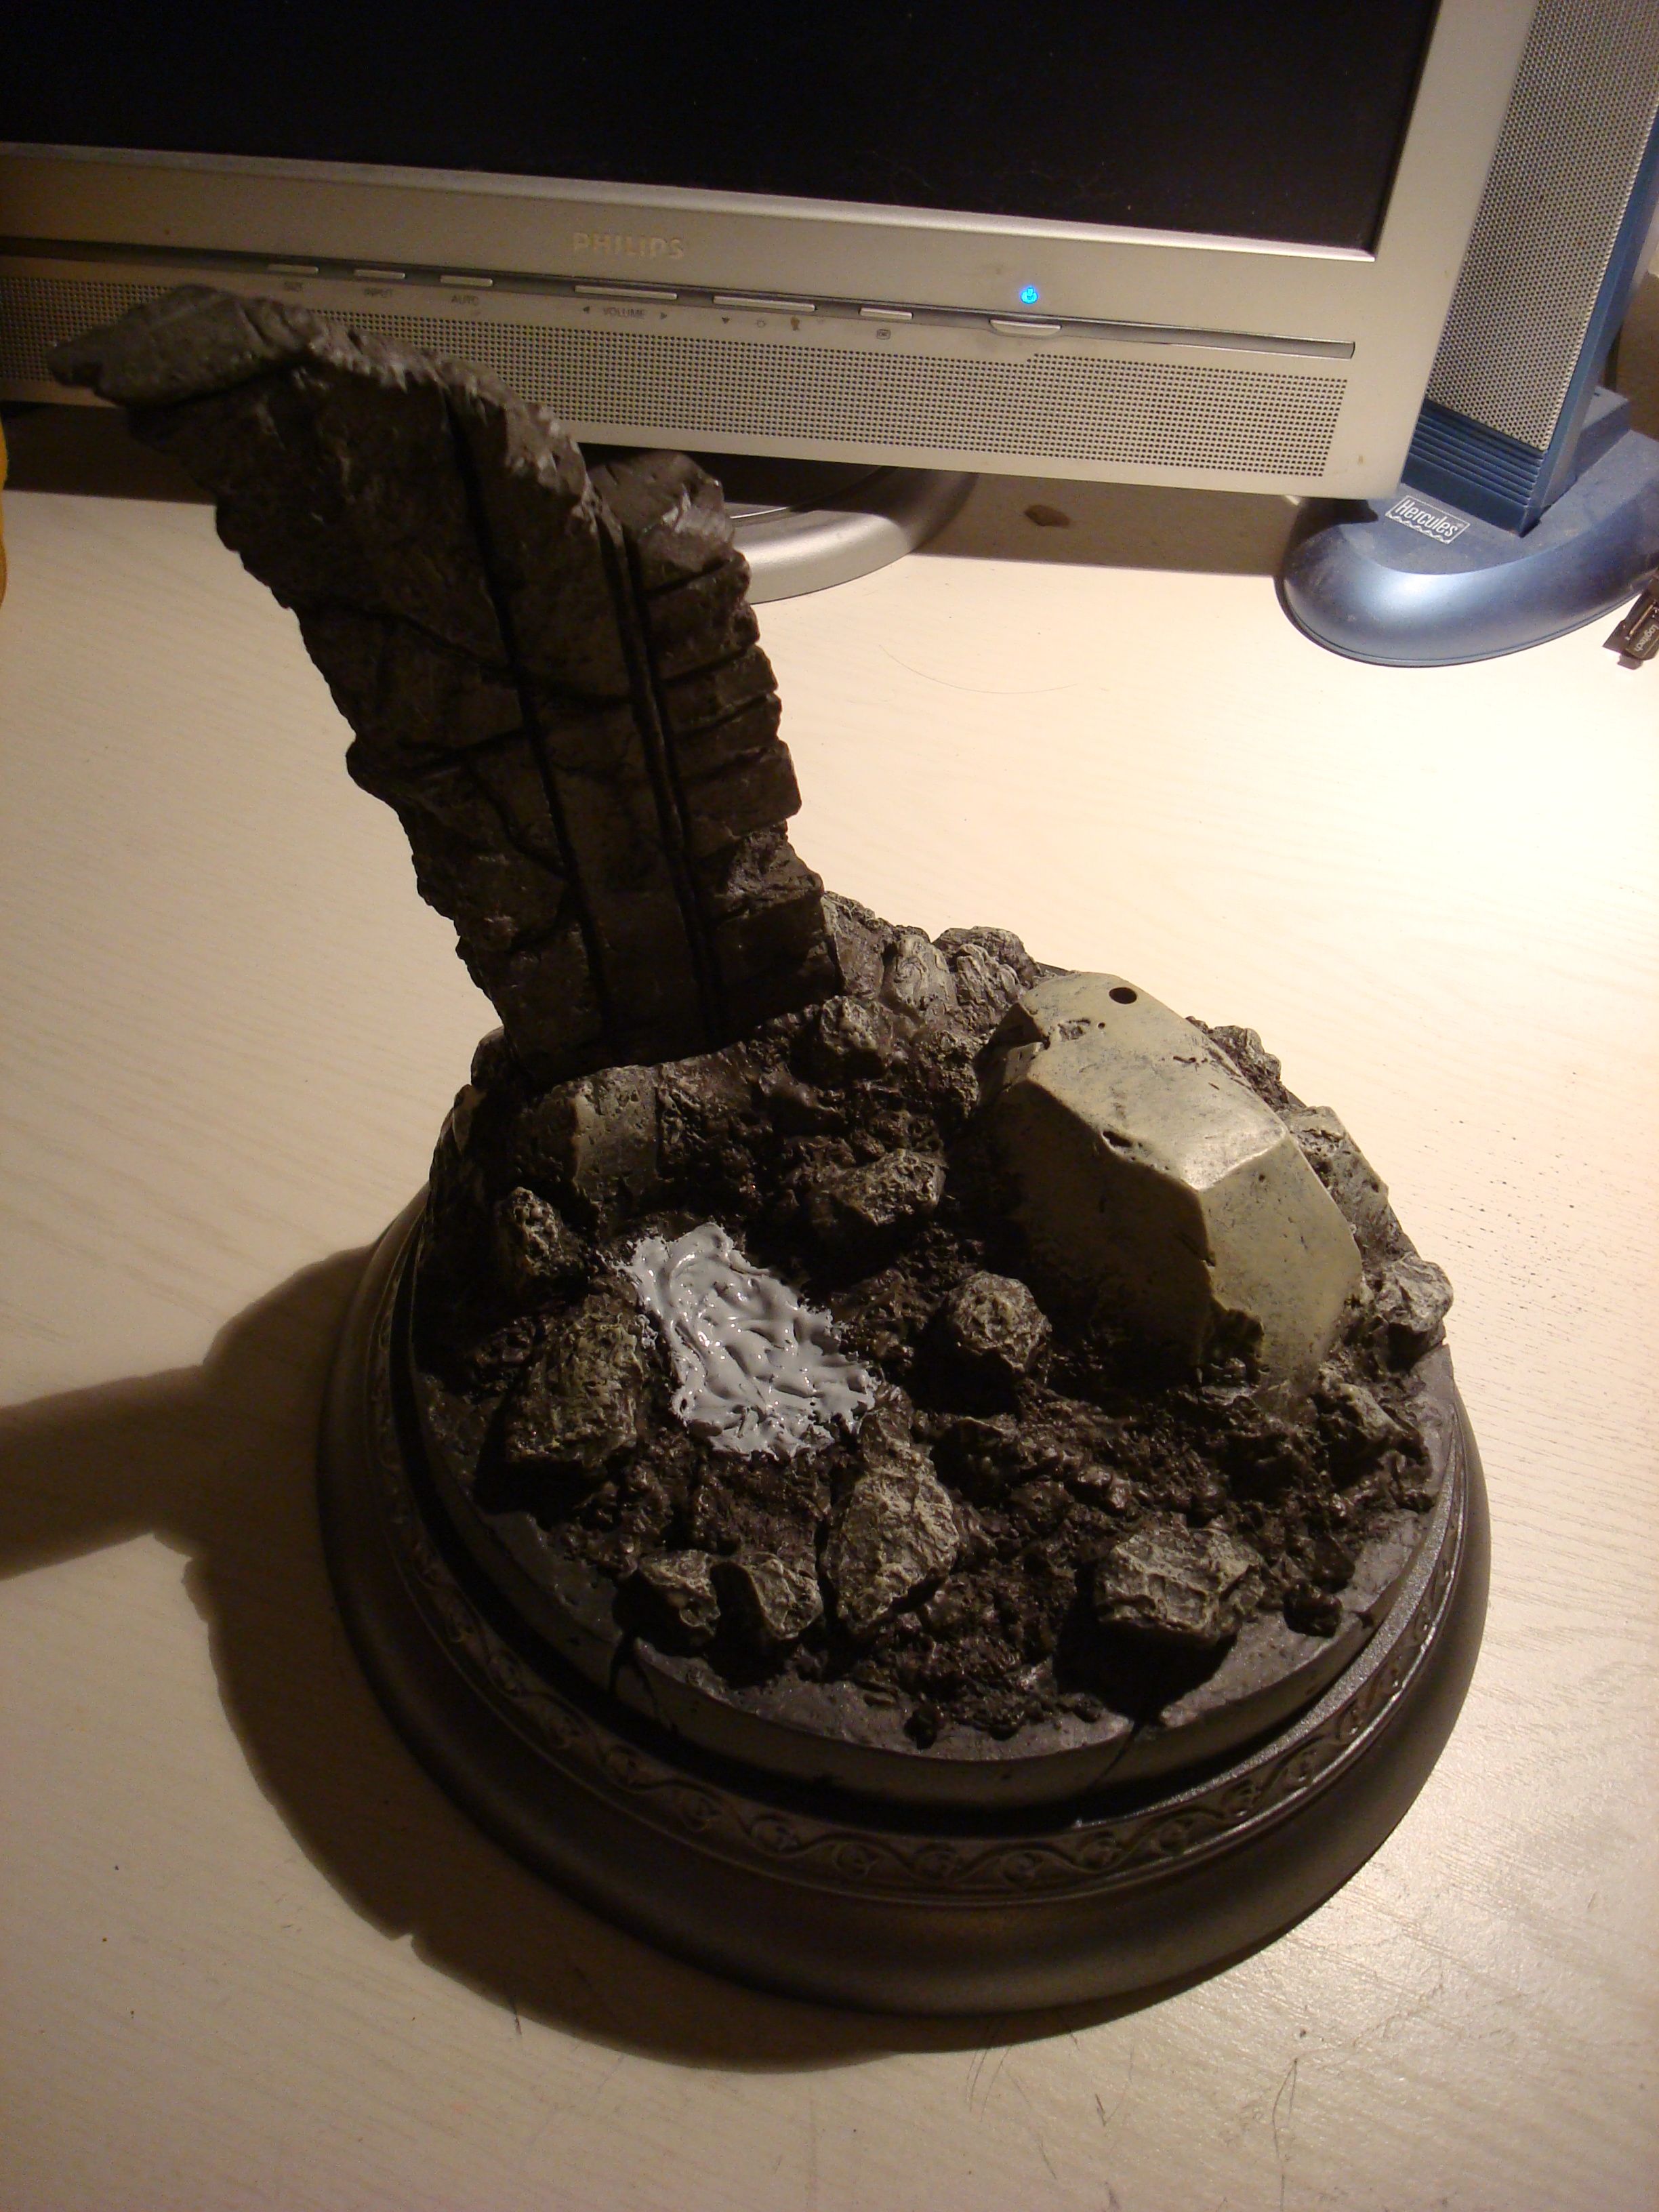
Here are the first pics of the droid:

dsc01040u.jpg


dsc01041qy.jpg


dsc01042g.jpg


dsc01043l.jpg


http://img69.imageshack.us/img69/112/dsc01044e.jpg/img]

[img]http://img26.imageshack.us/img26/4966/dsc01045k.jpg

dsc01046co.jpg


dsc01049z.jpg


dsc01050d.jpg


dsc01051yw.jpg


dsc01052uw.jpg


dsc01053pz.jpg


dsc01054t.jpg


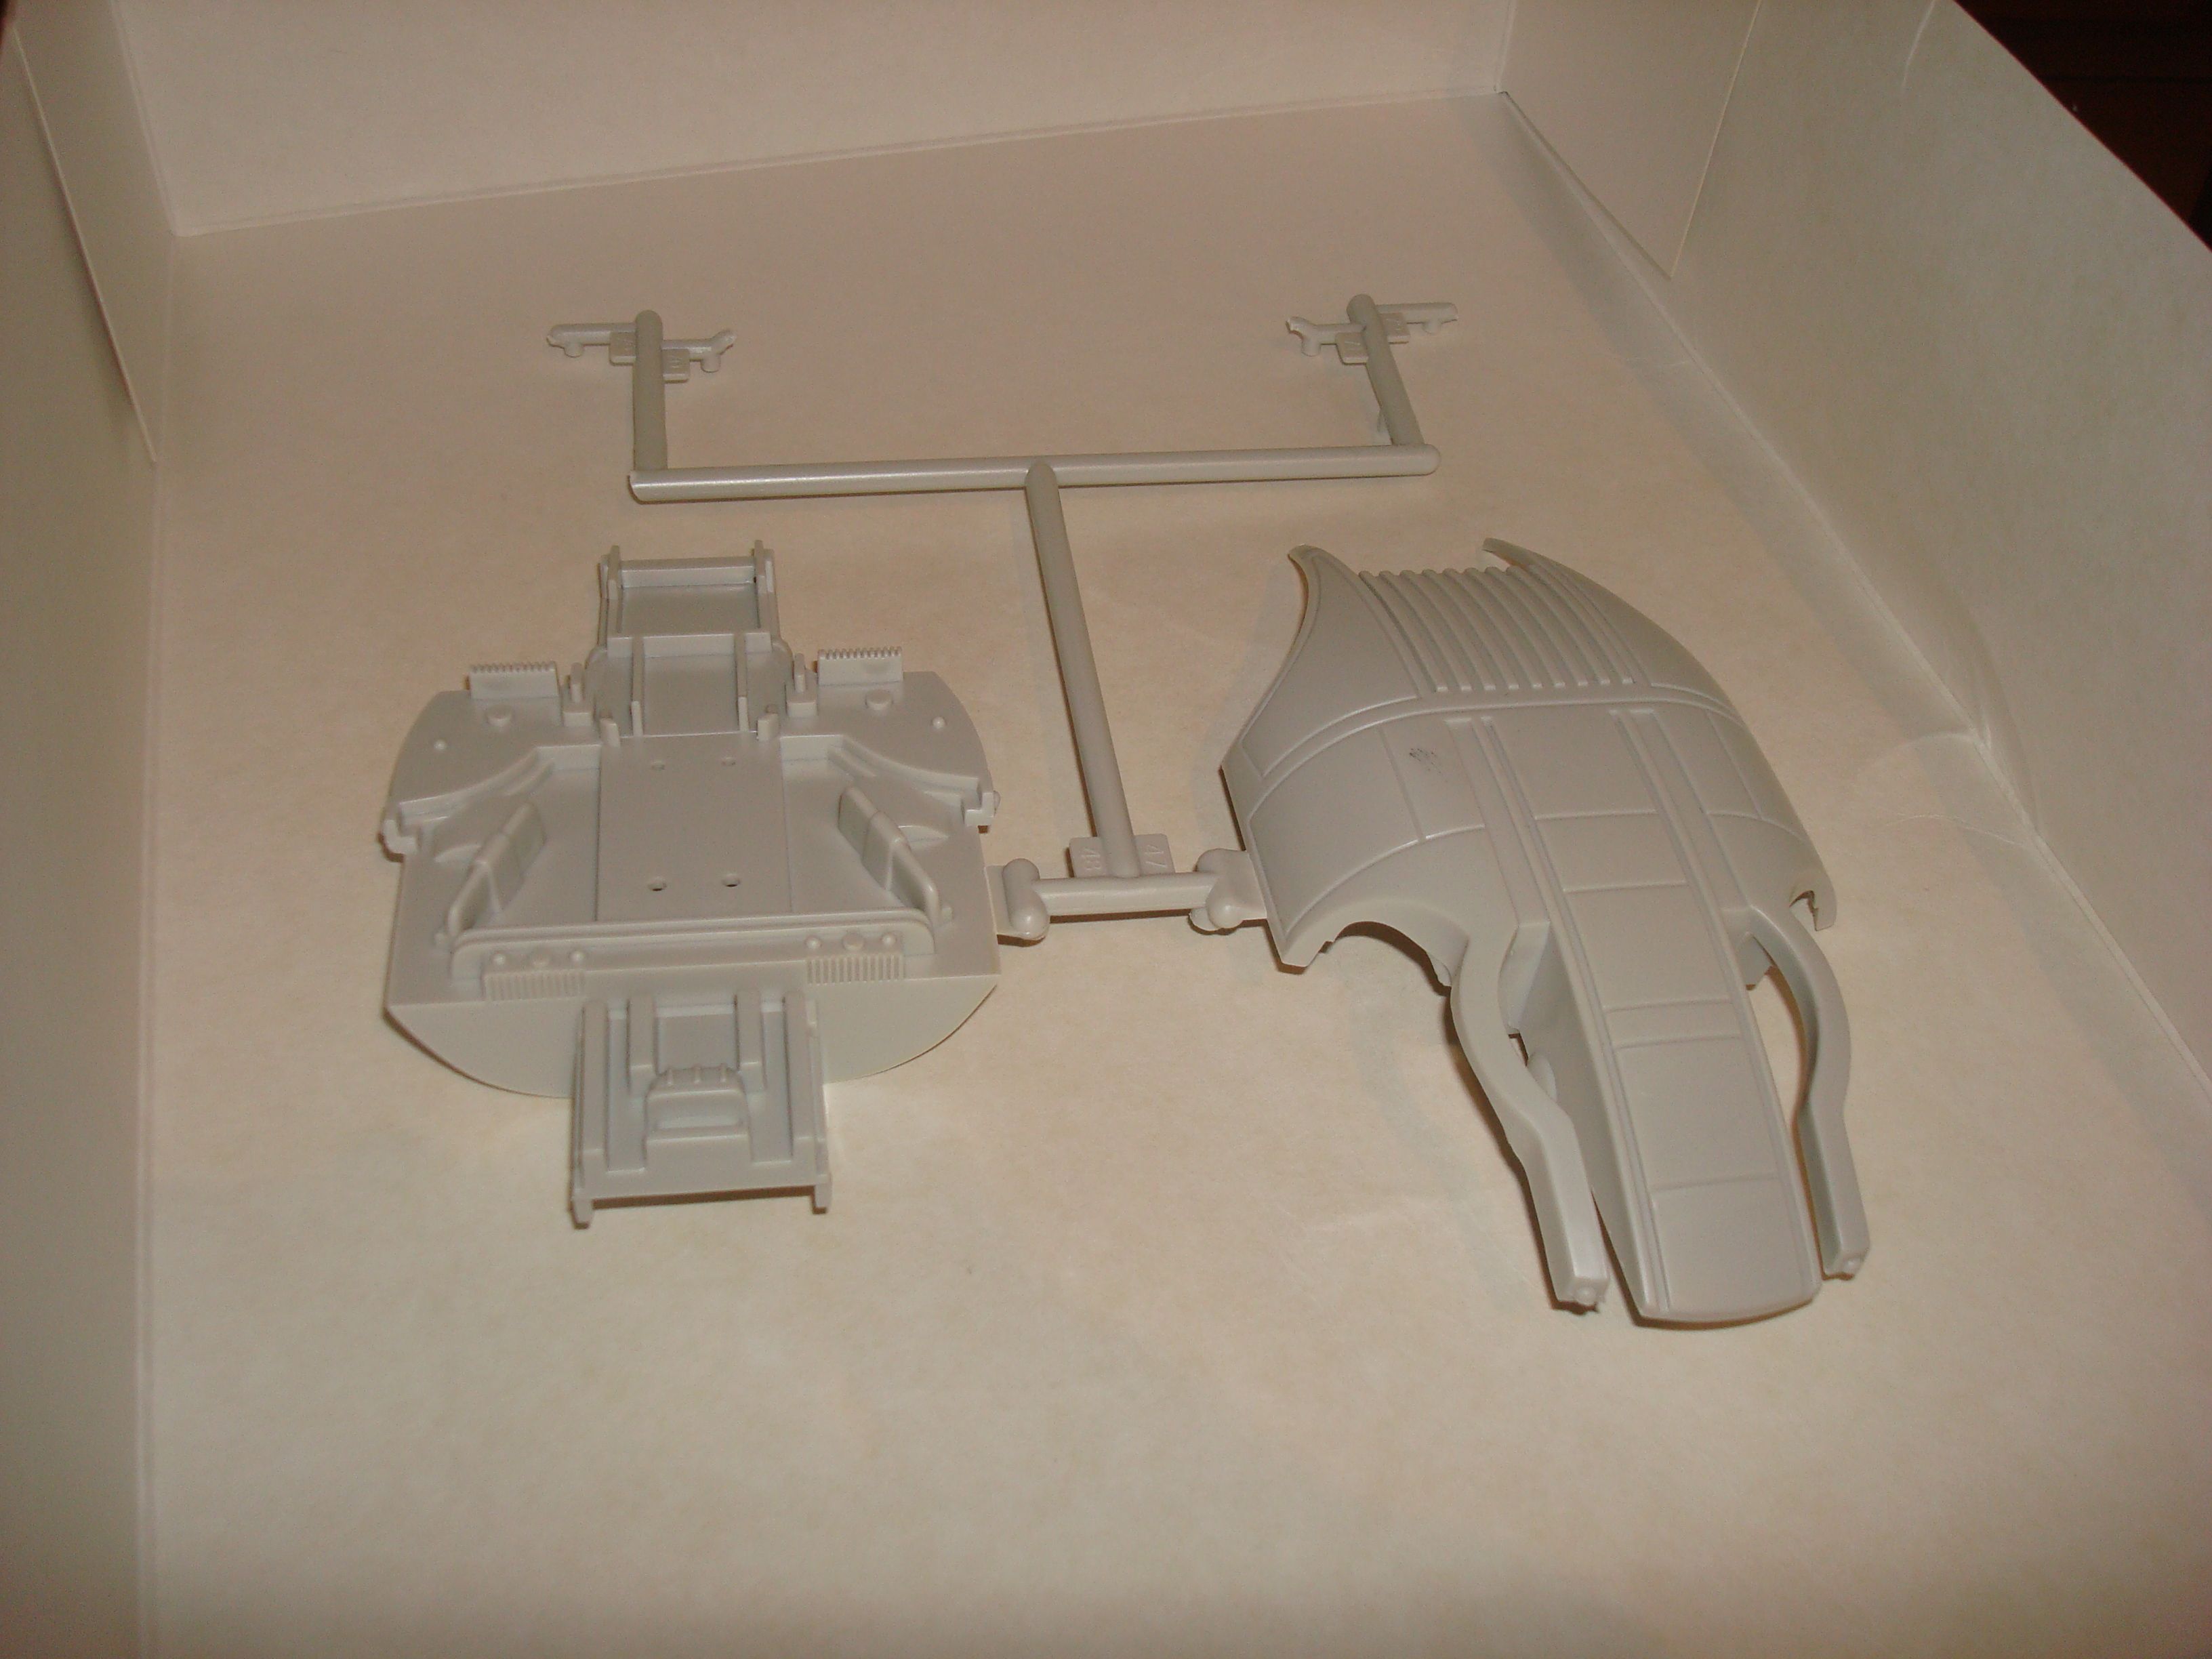
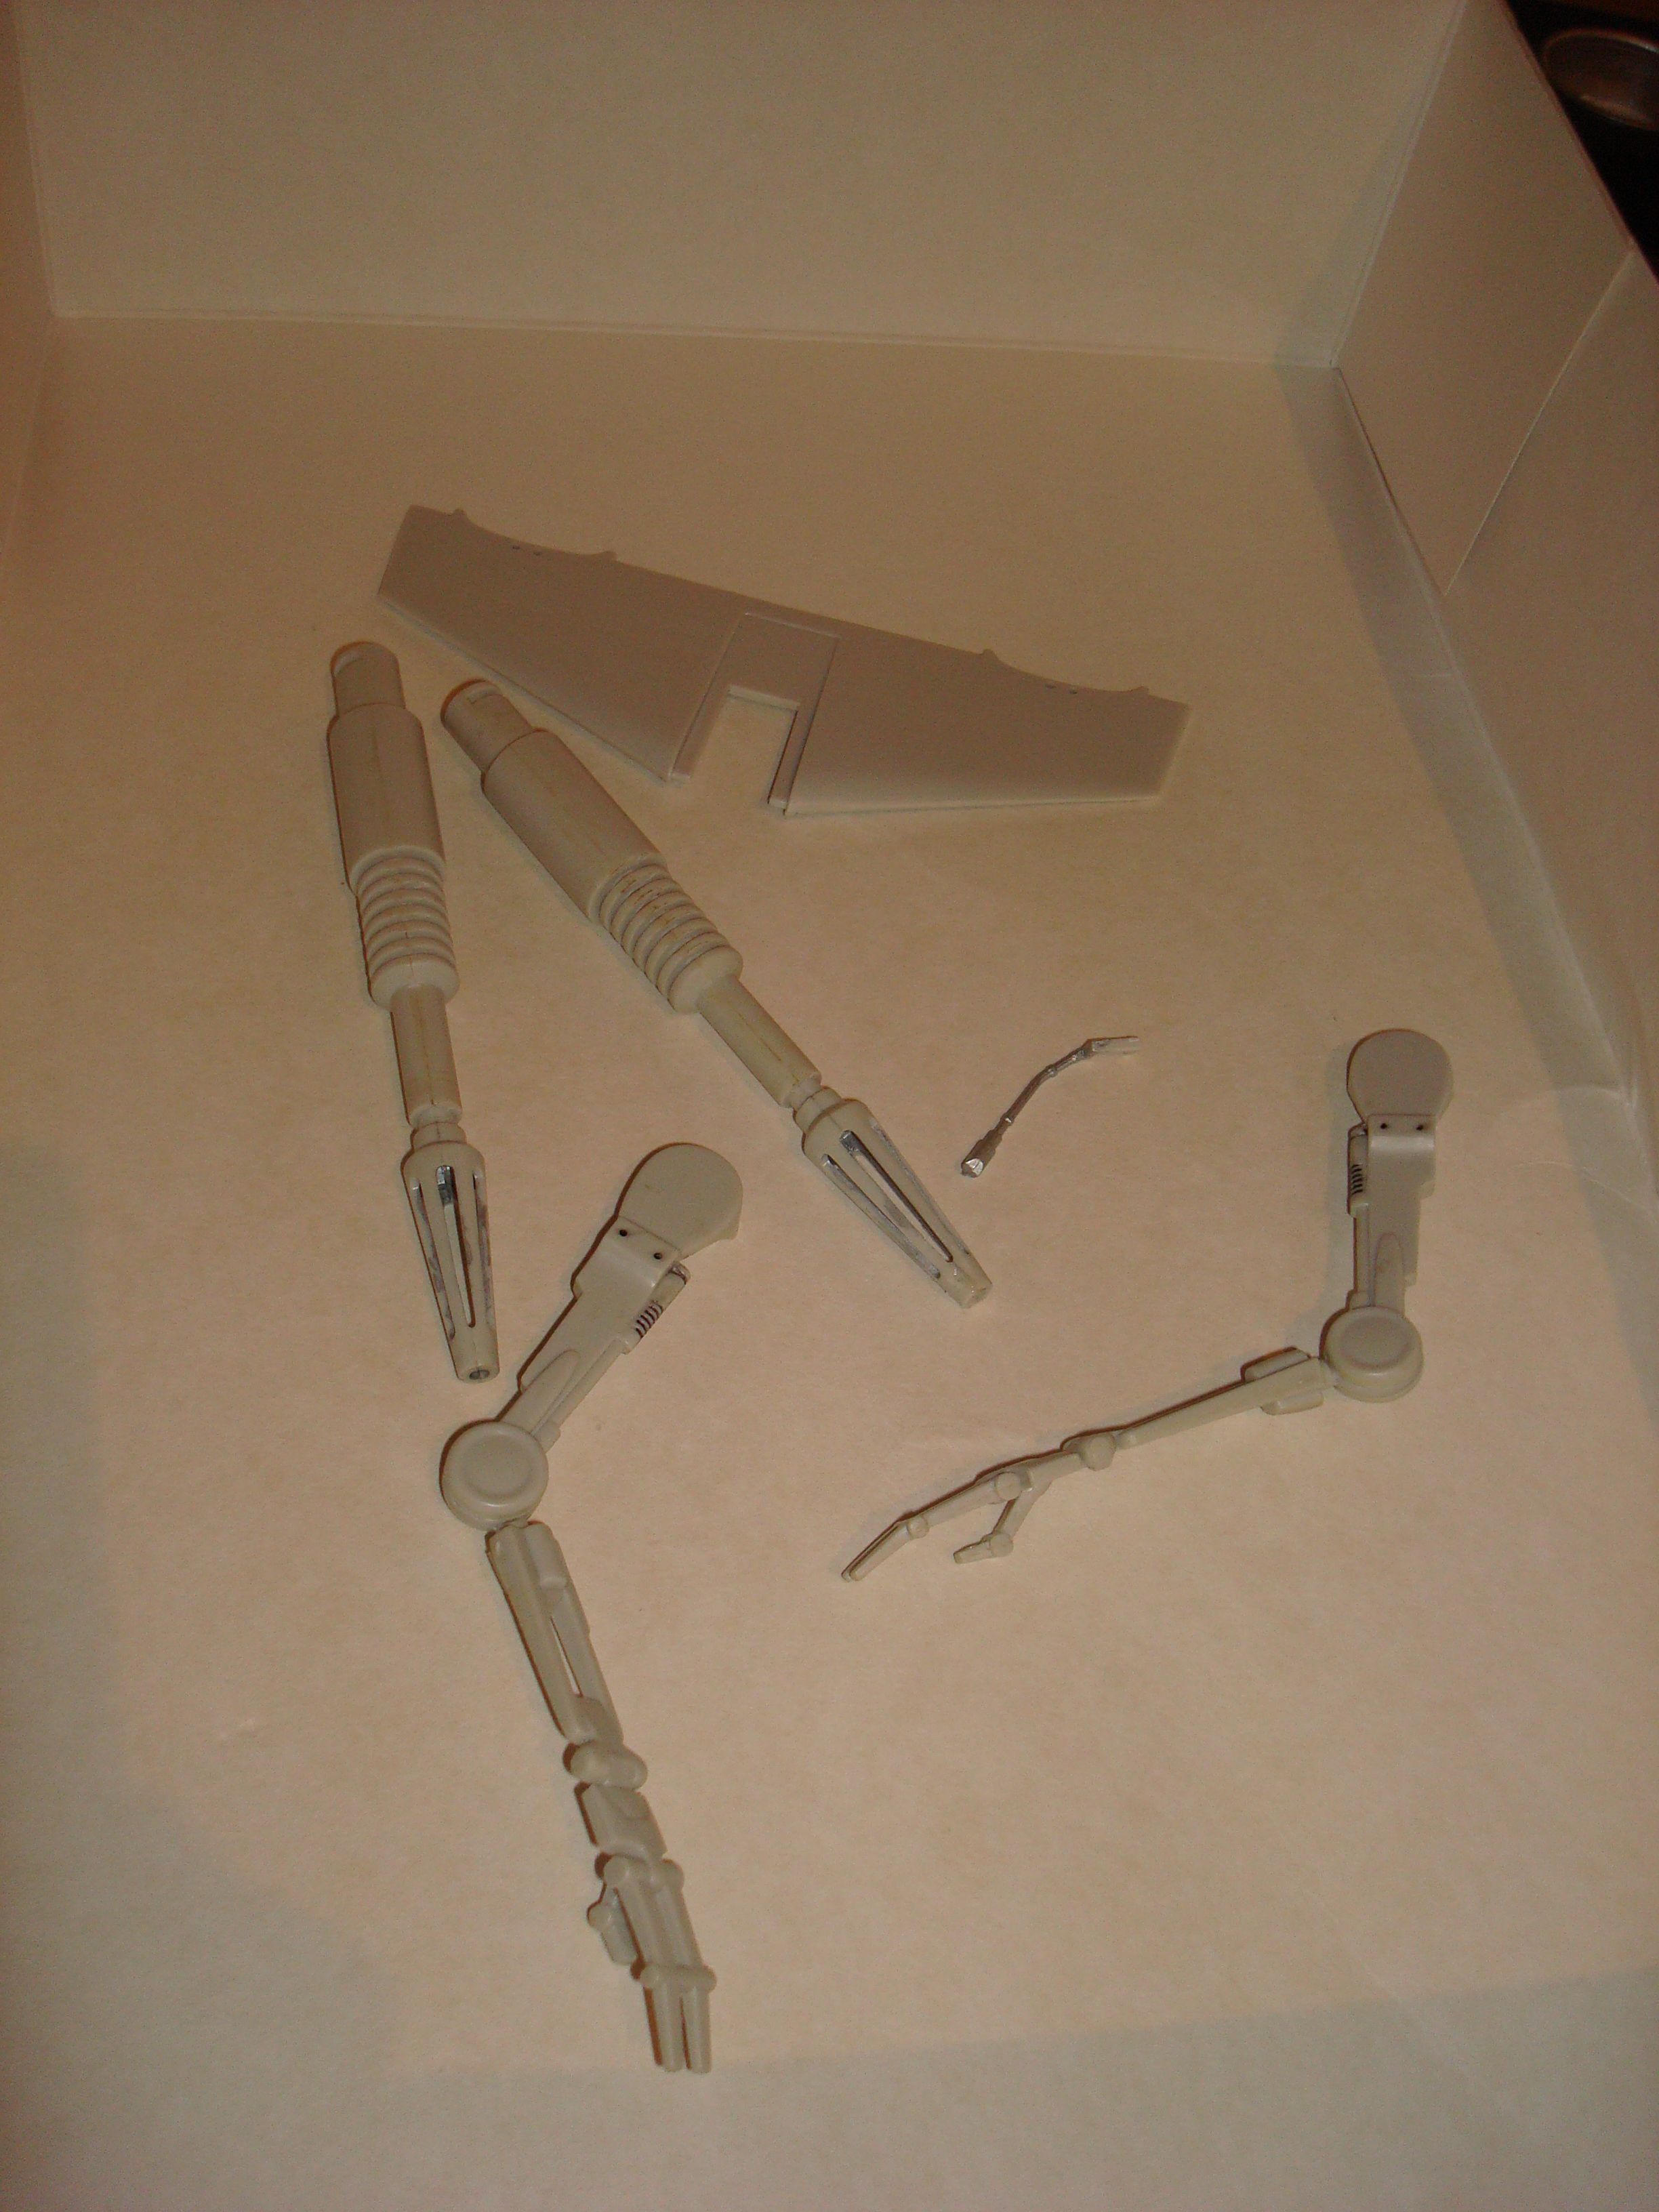
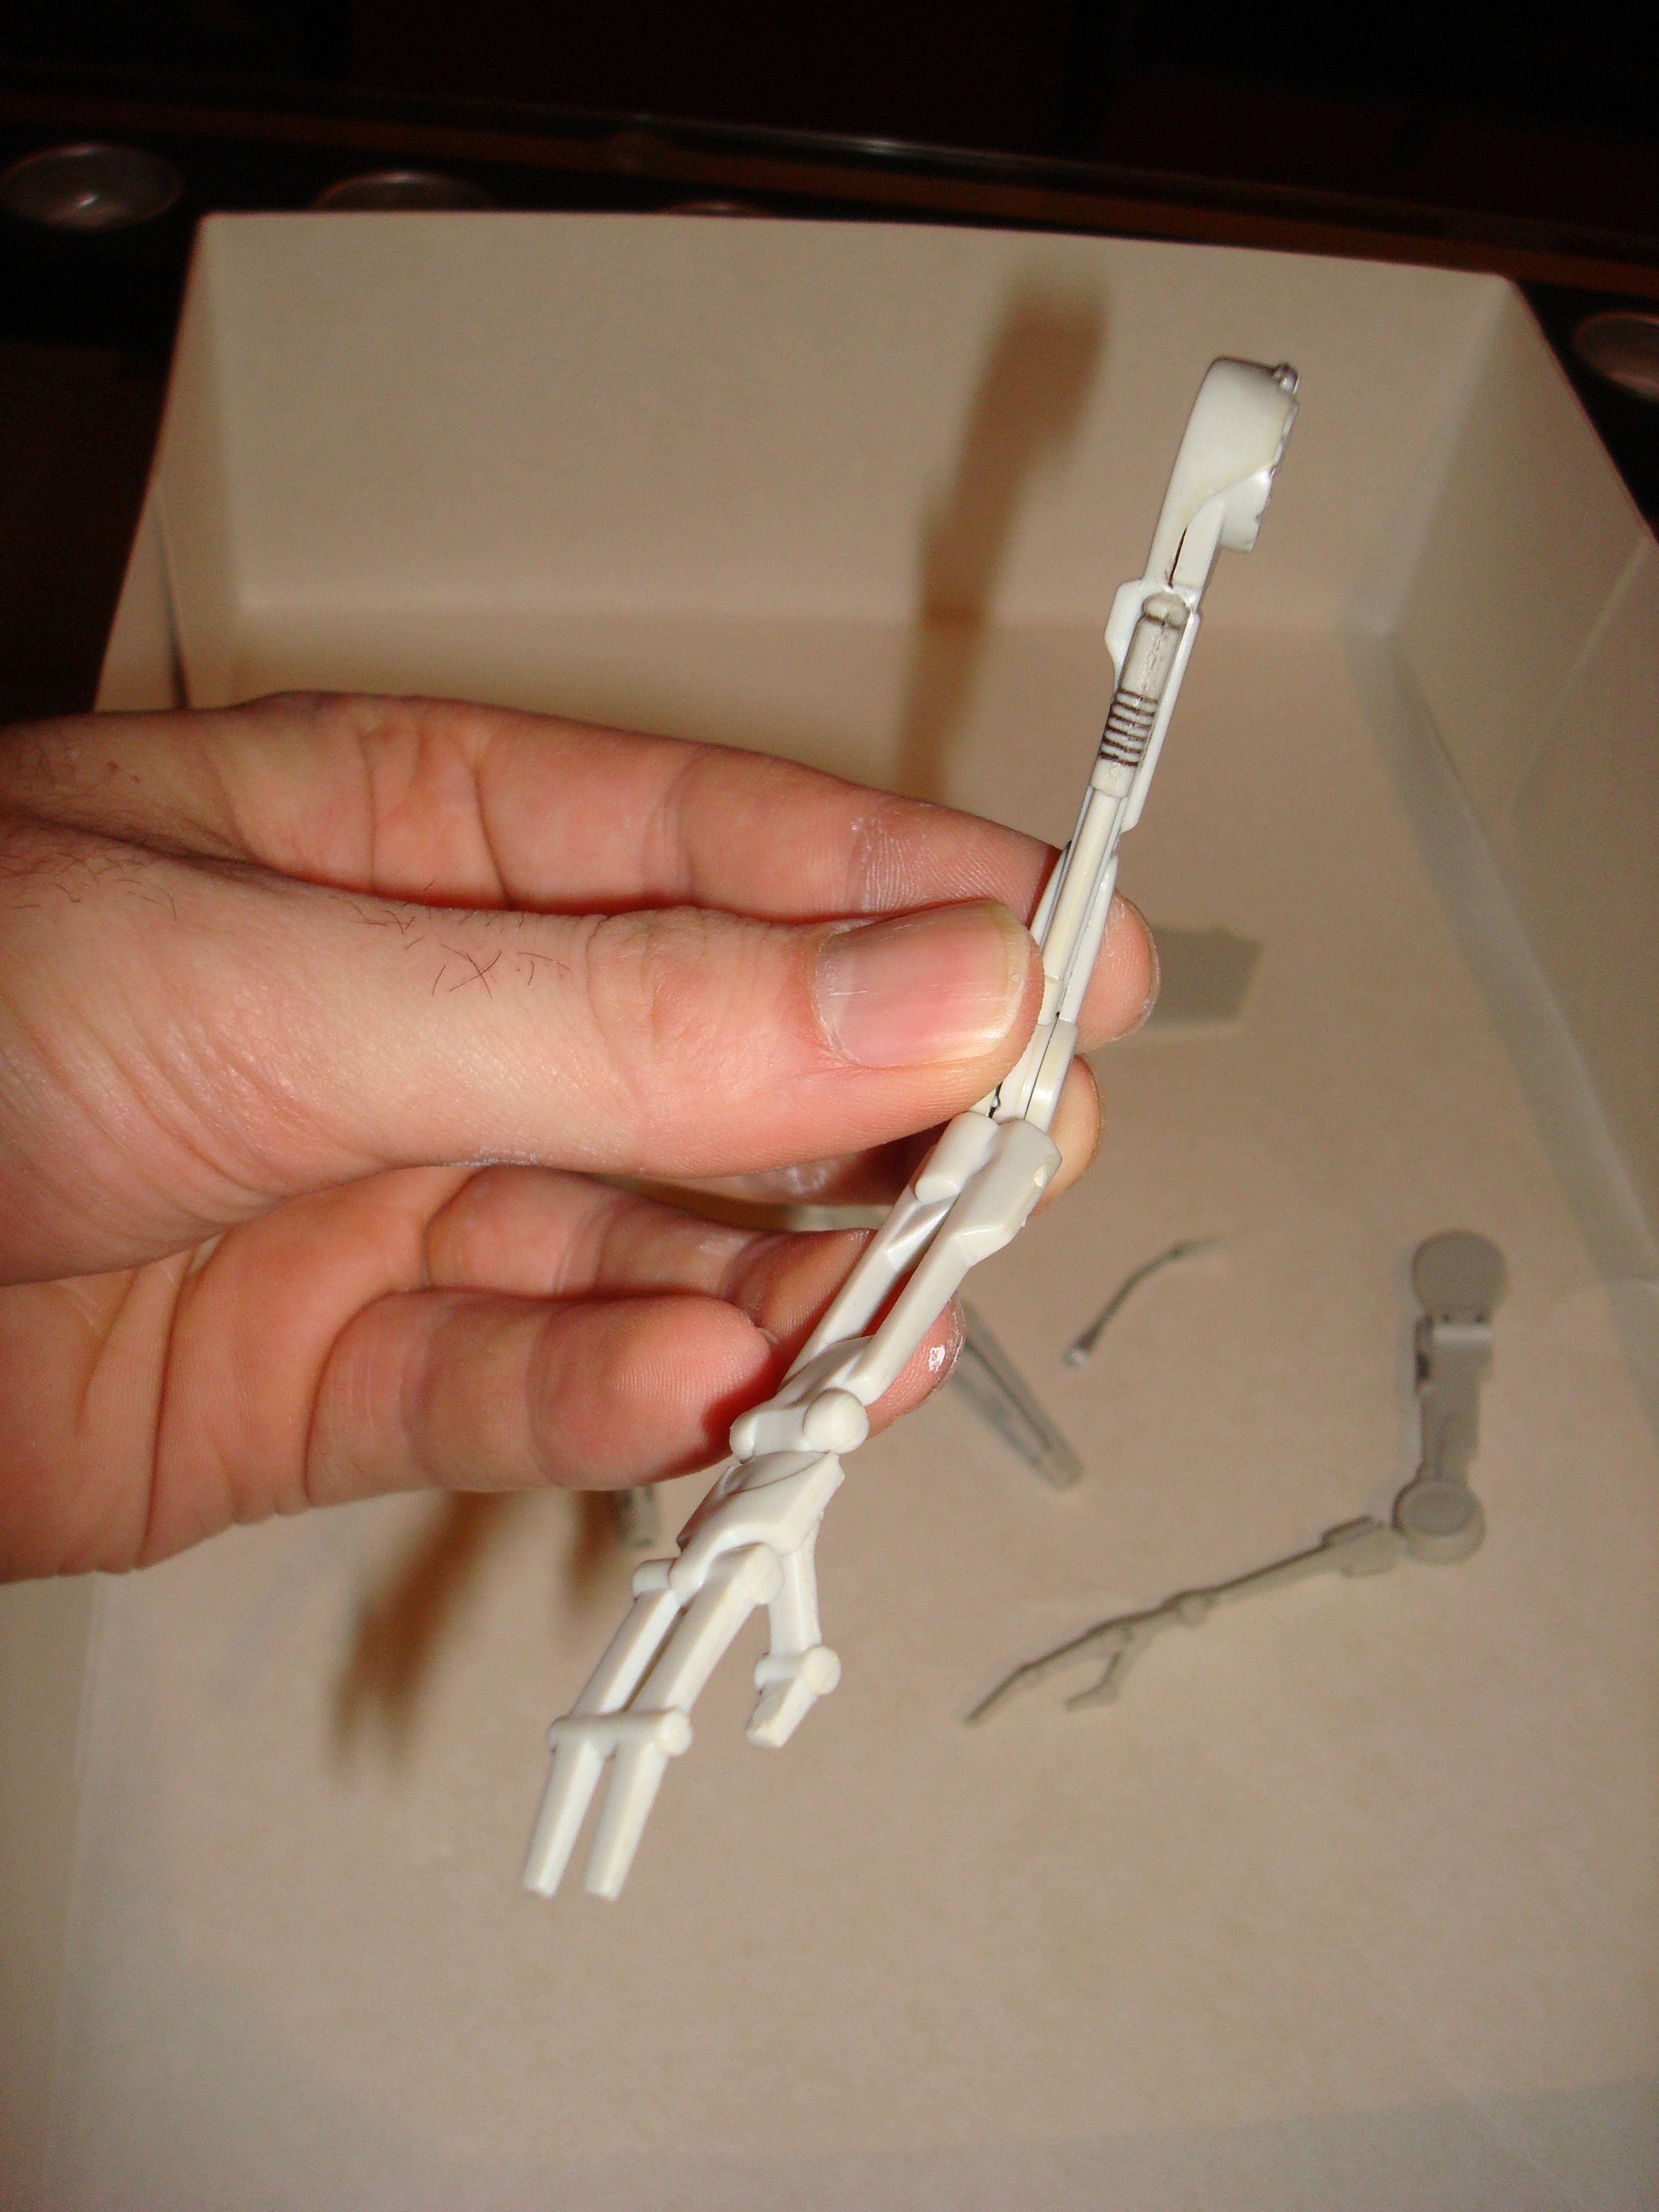
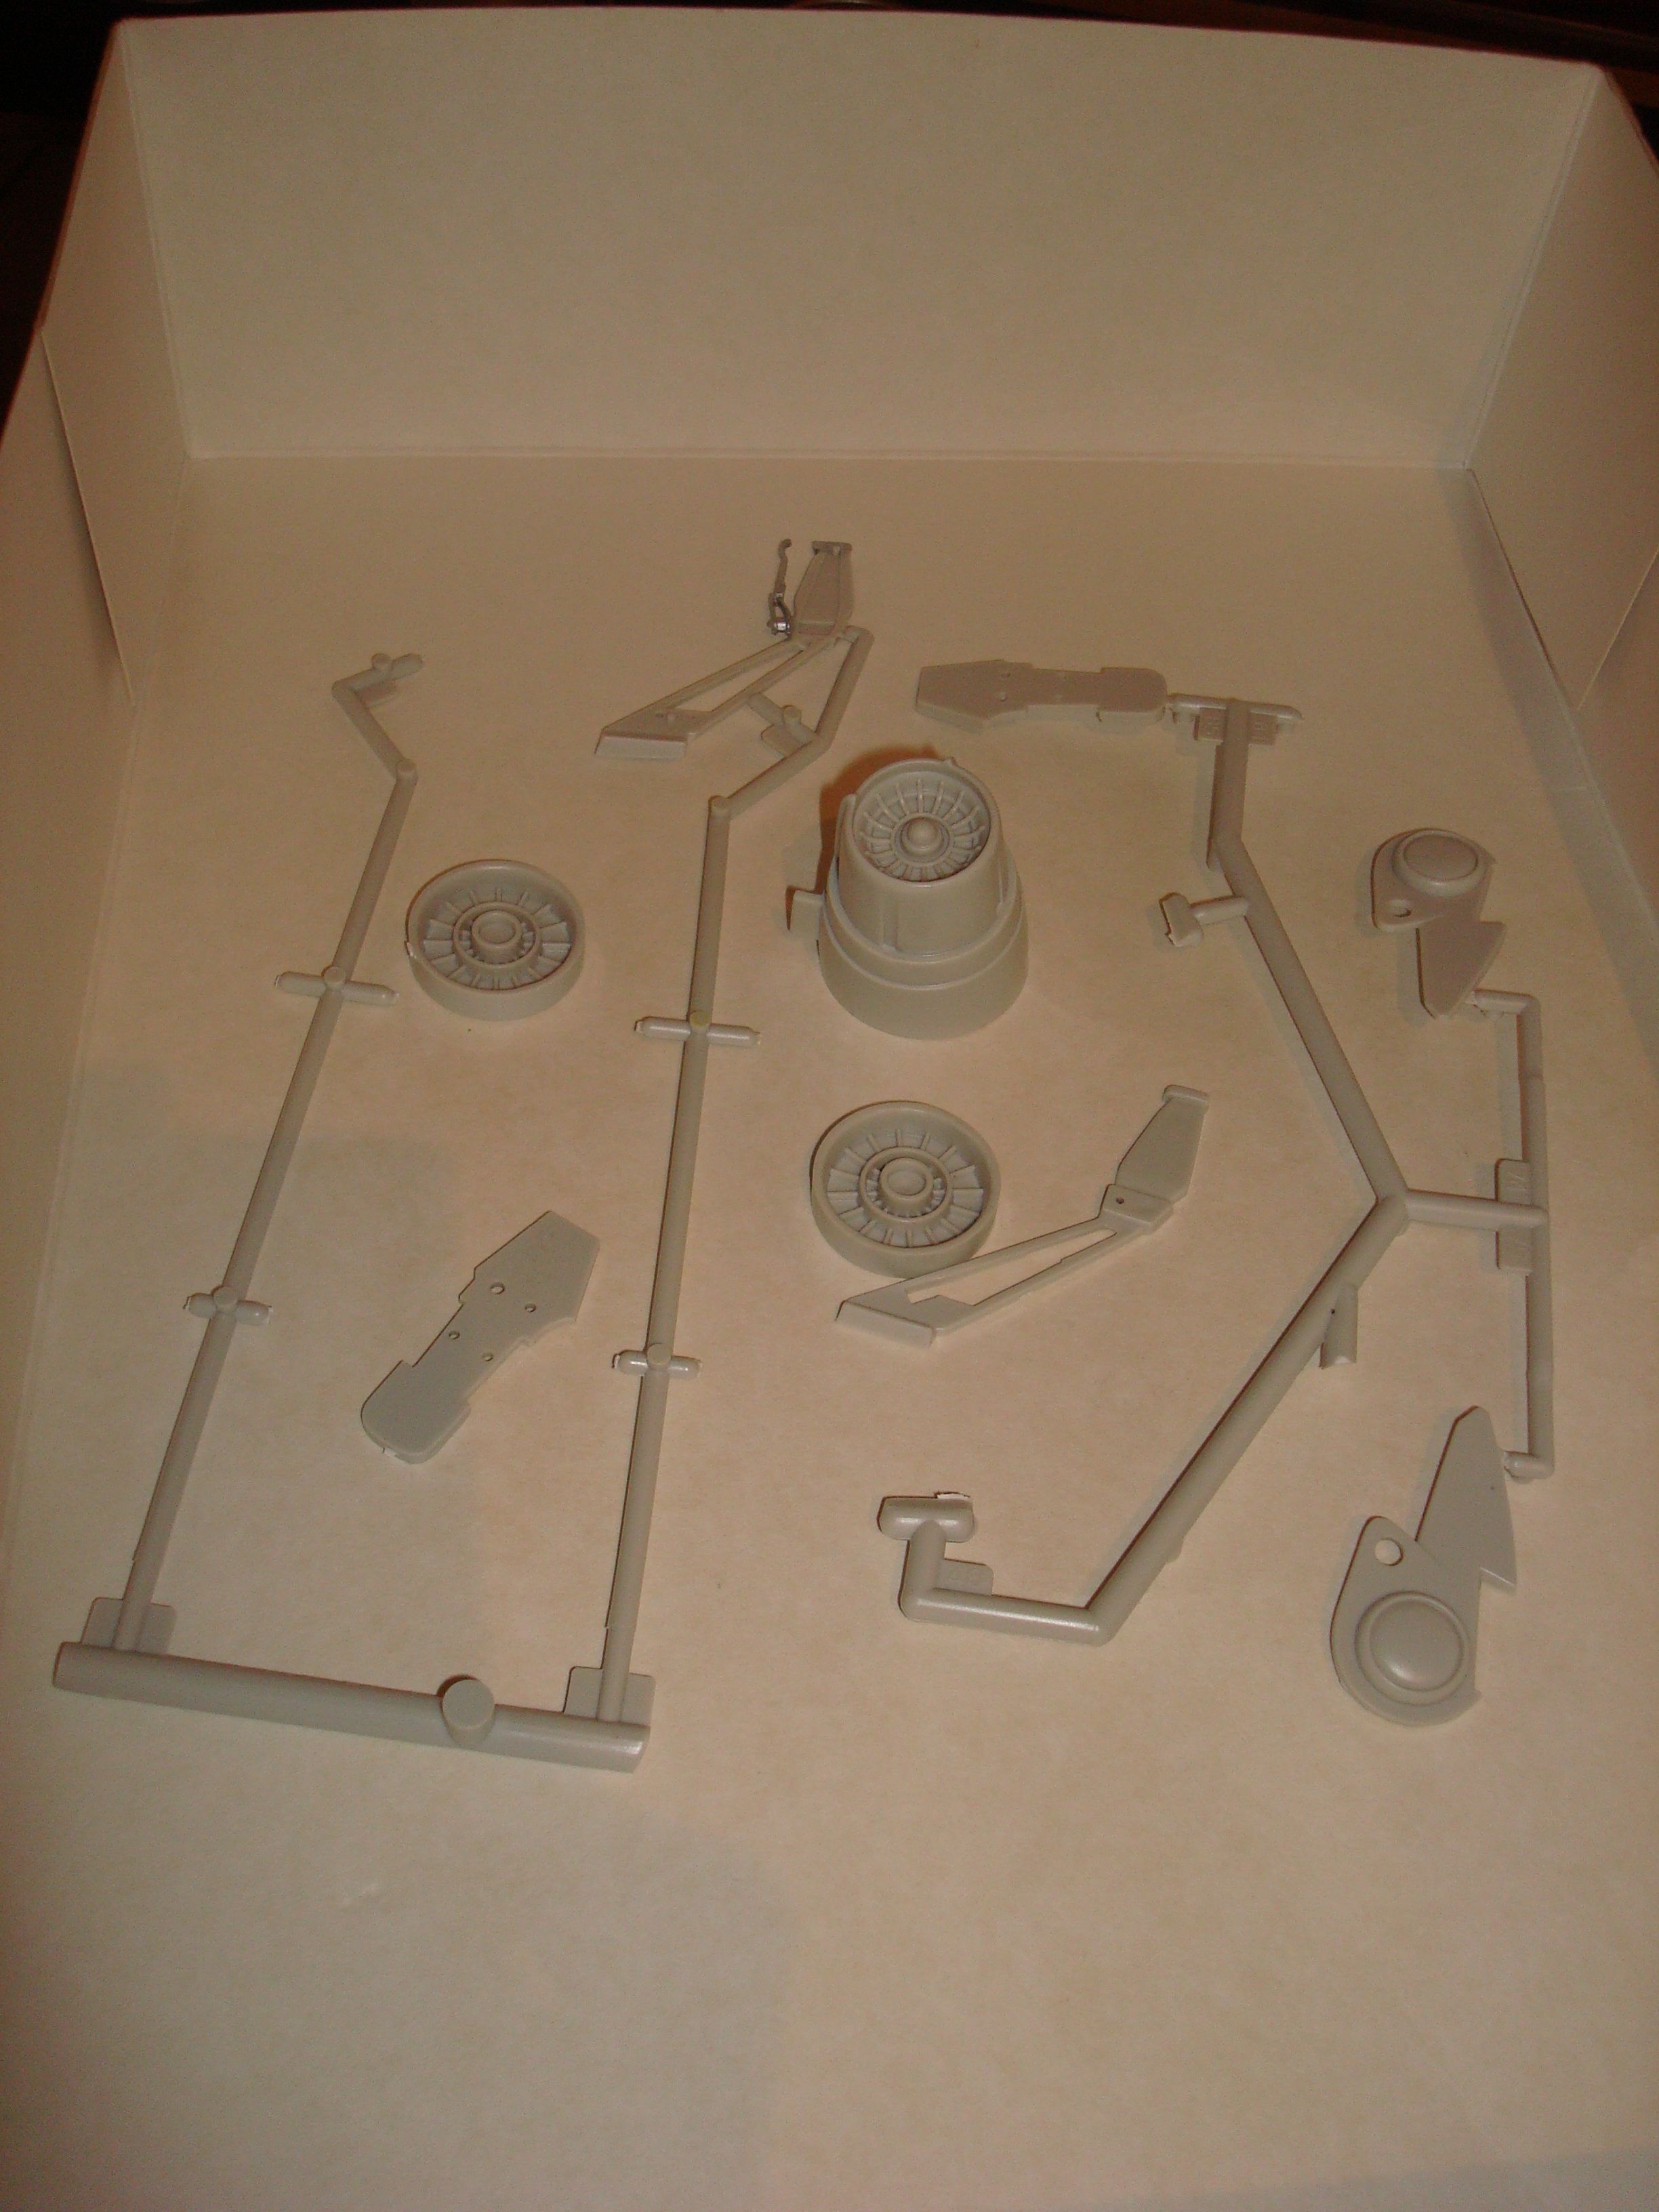
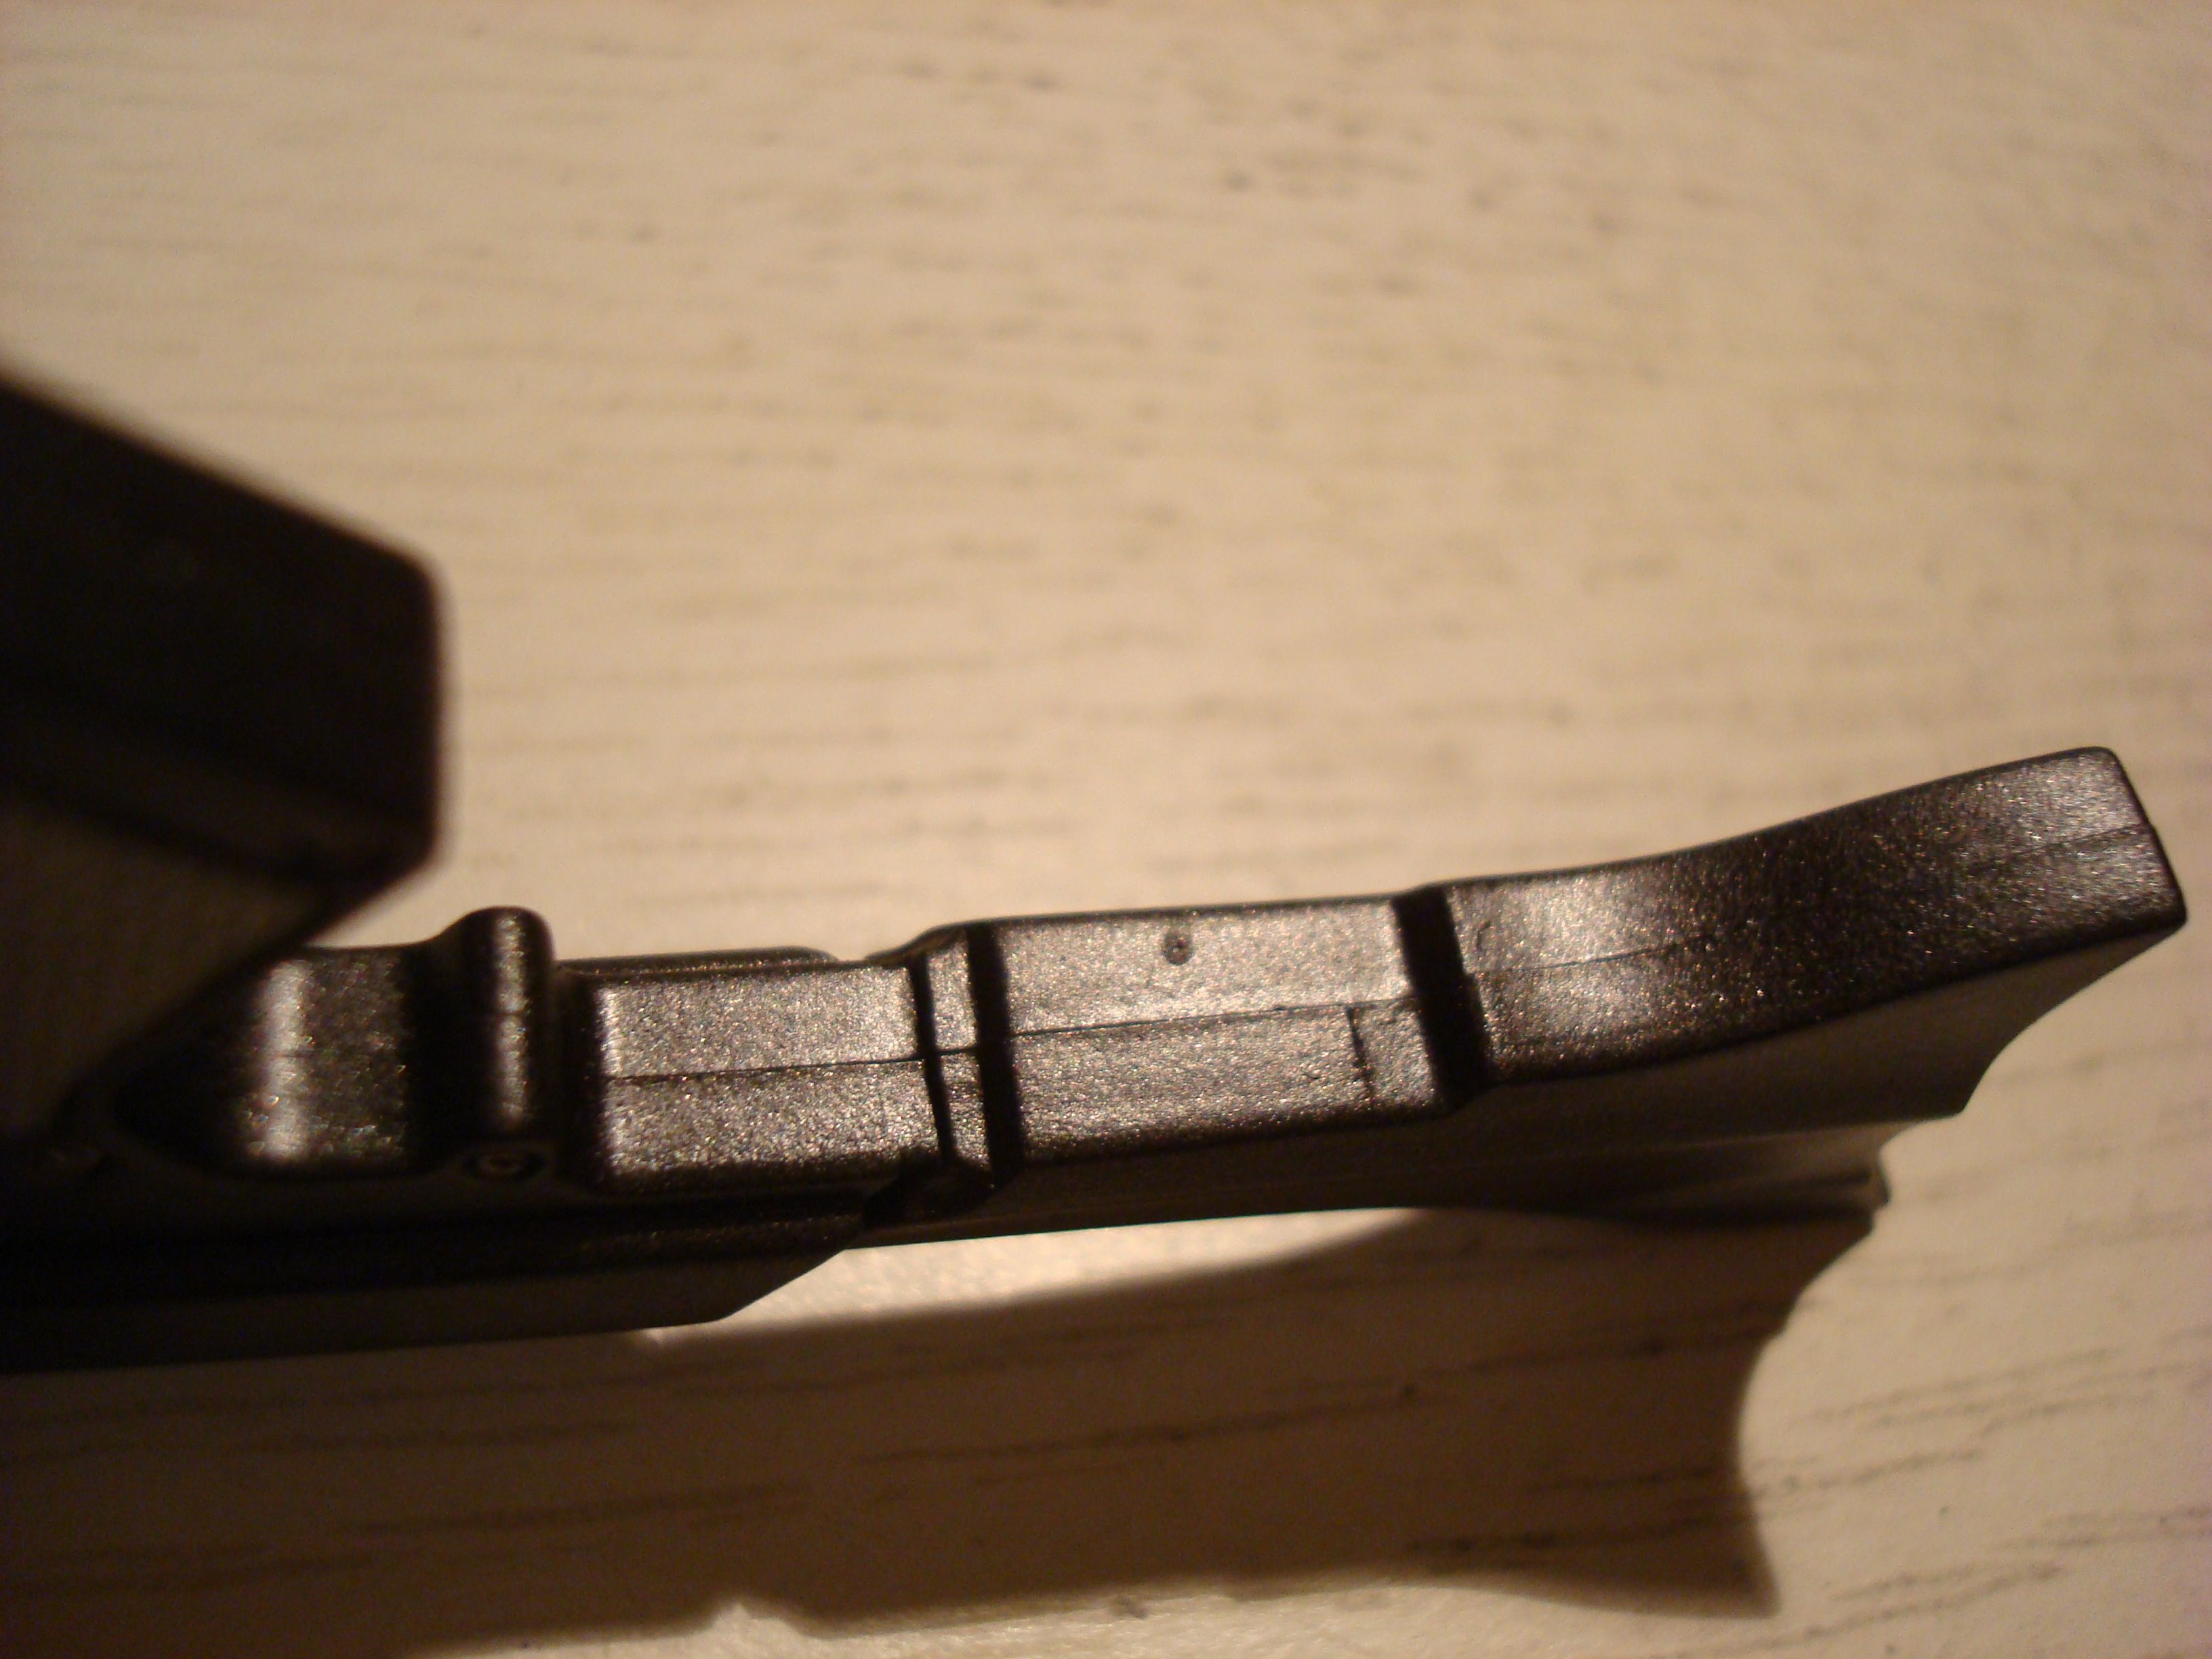
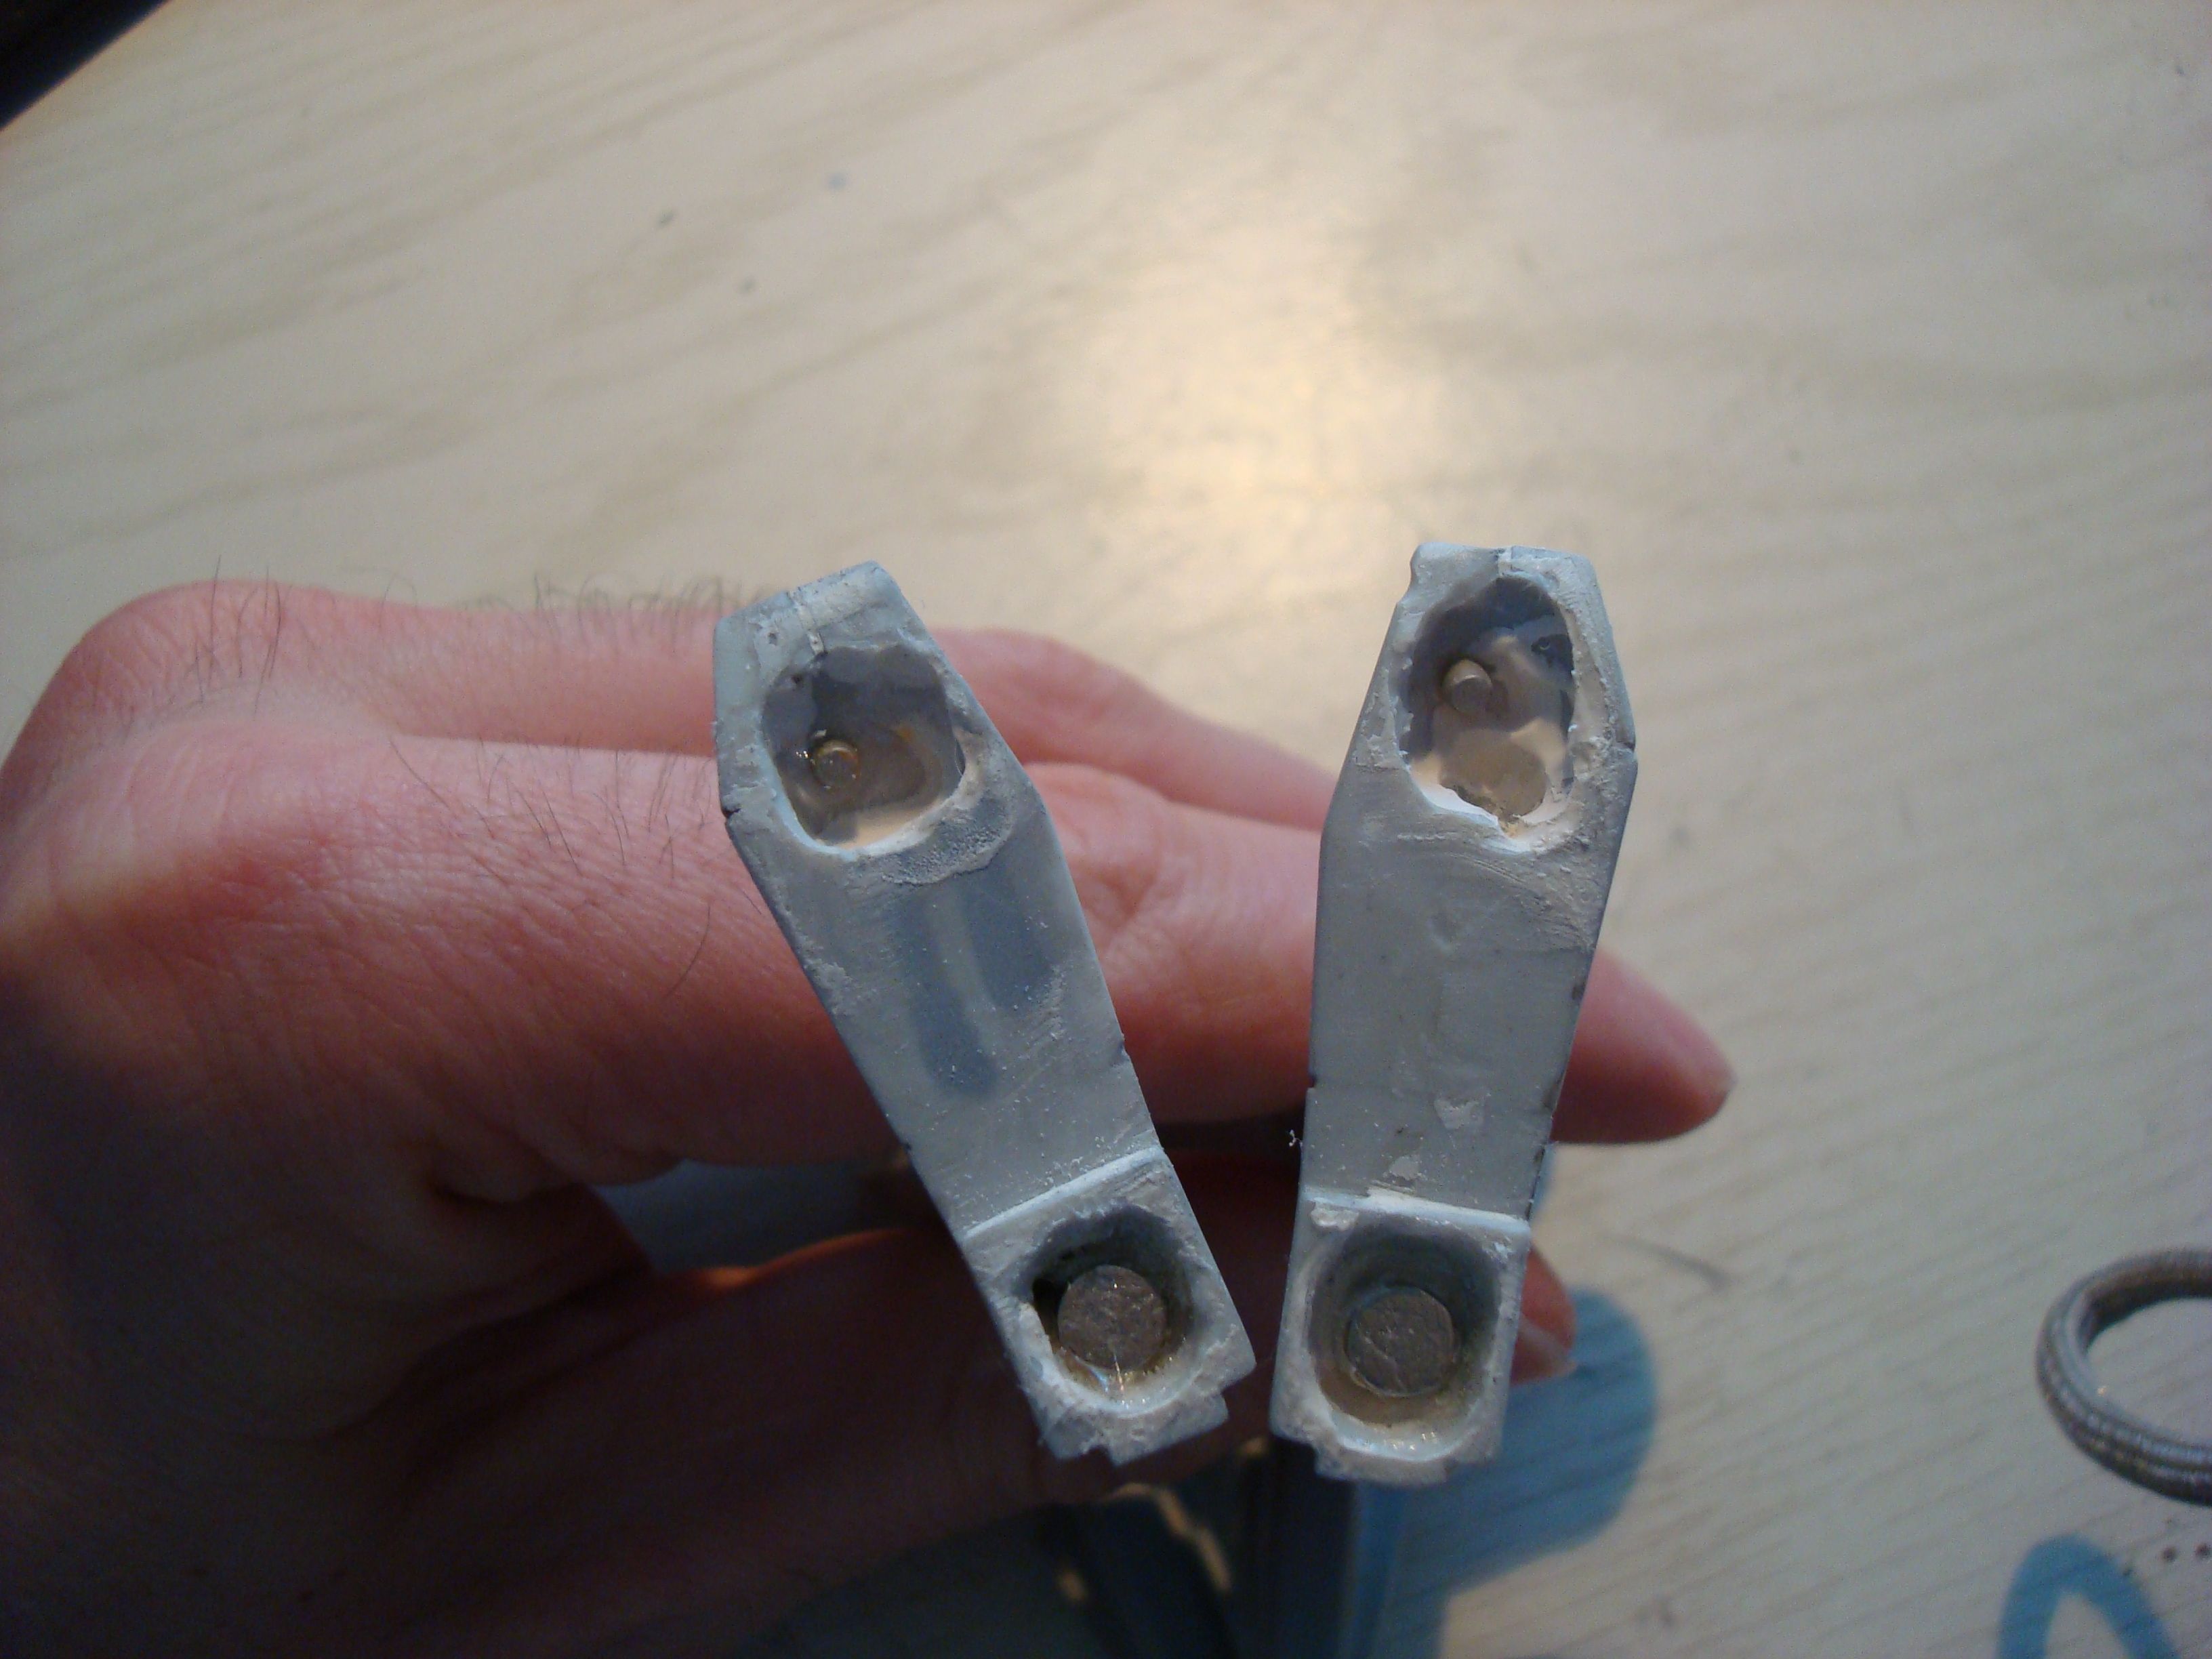
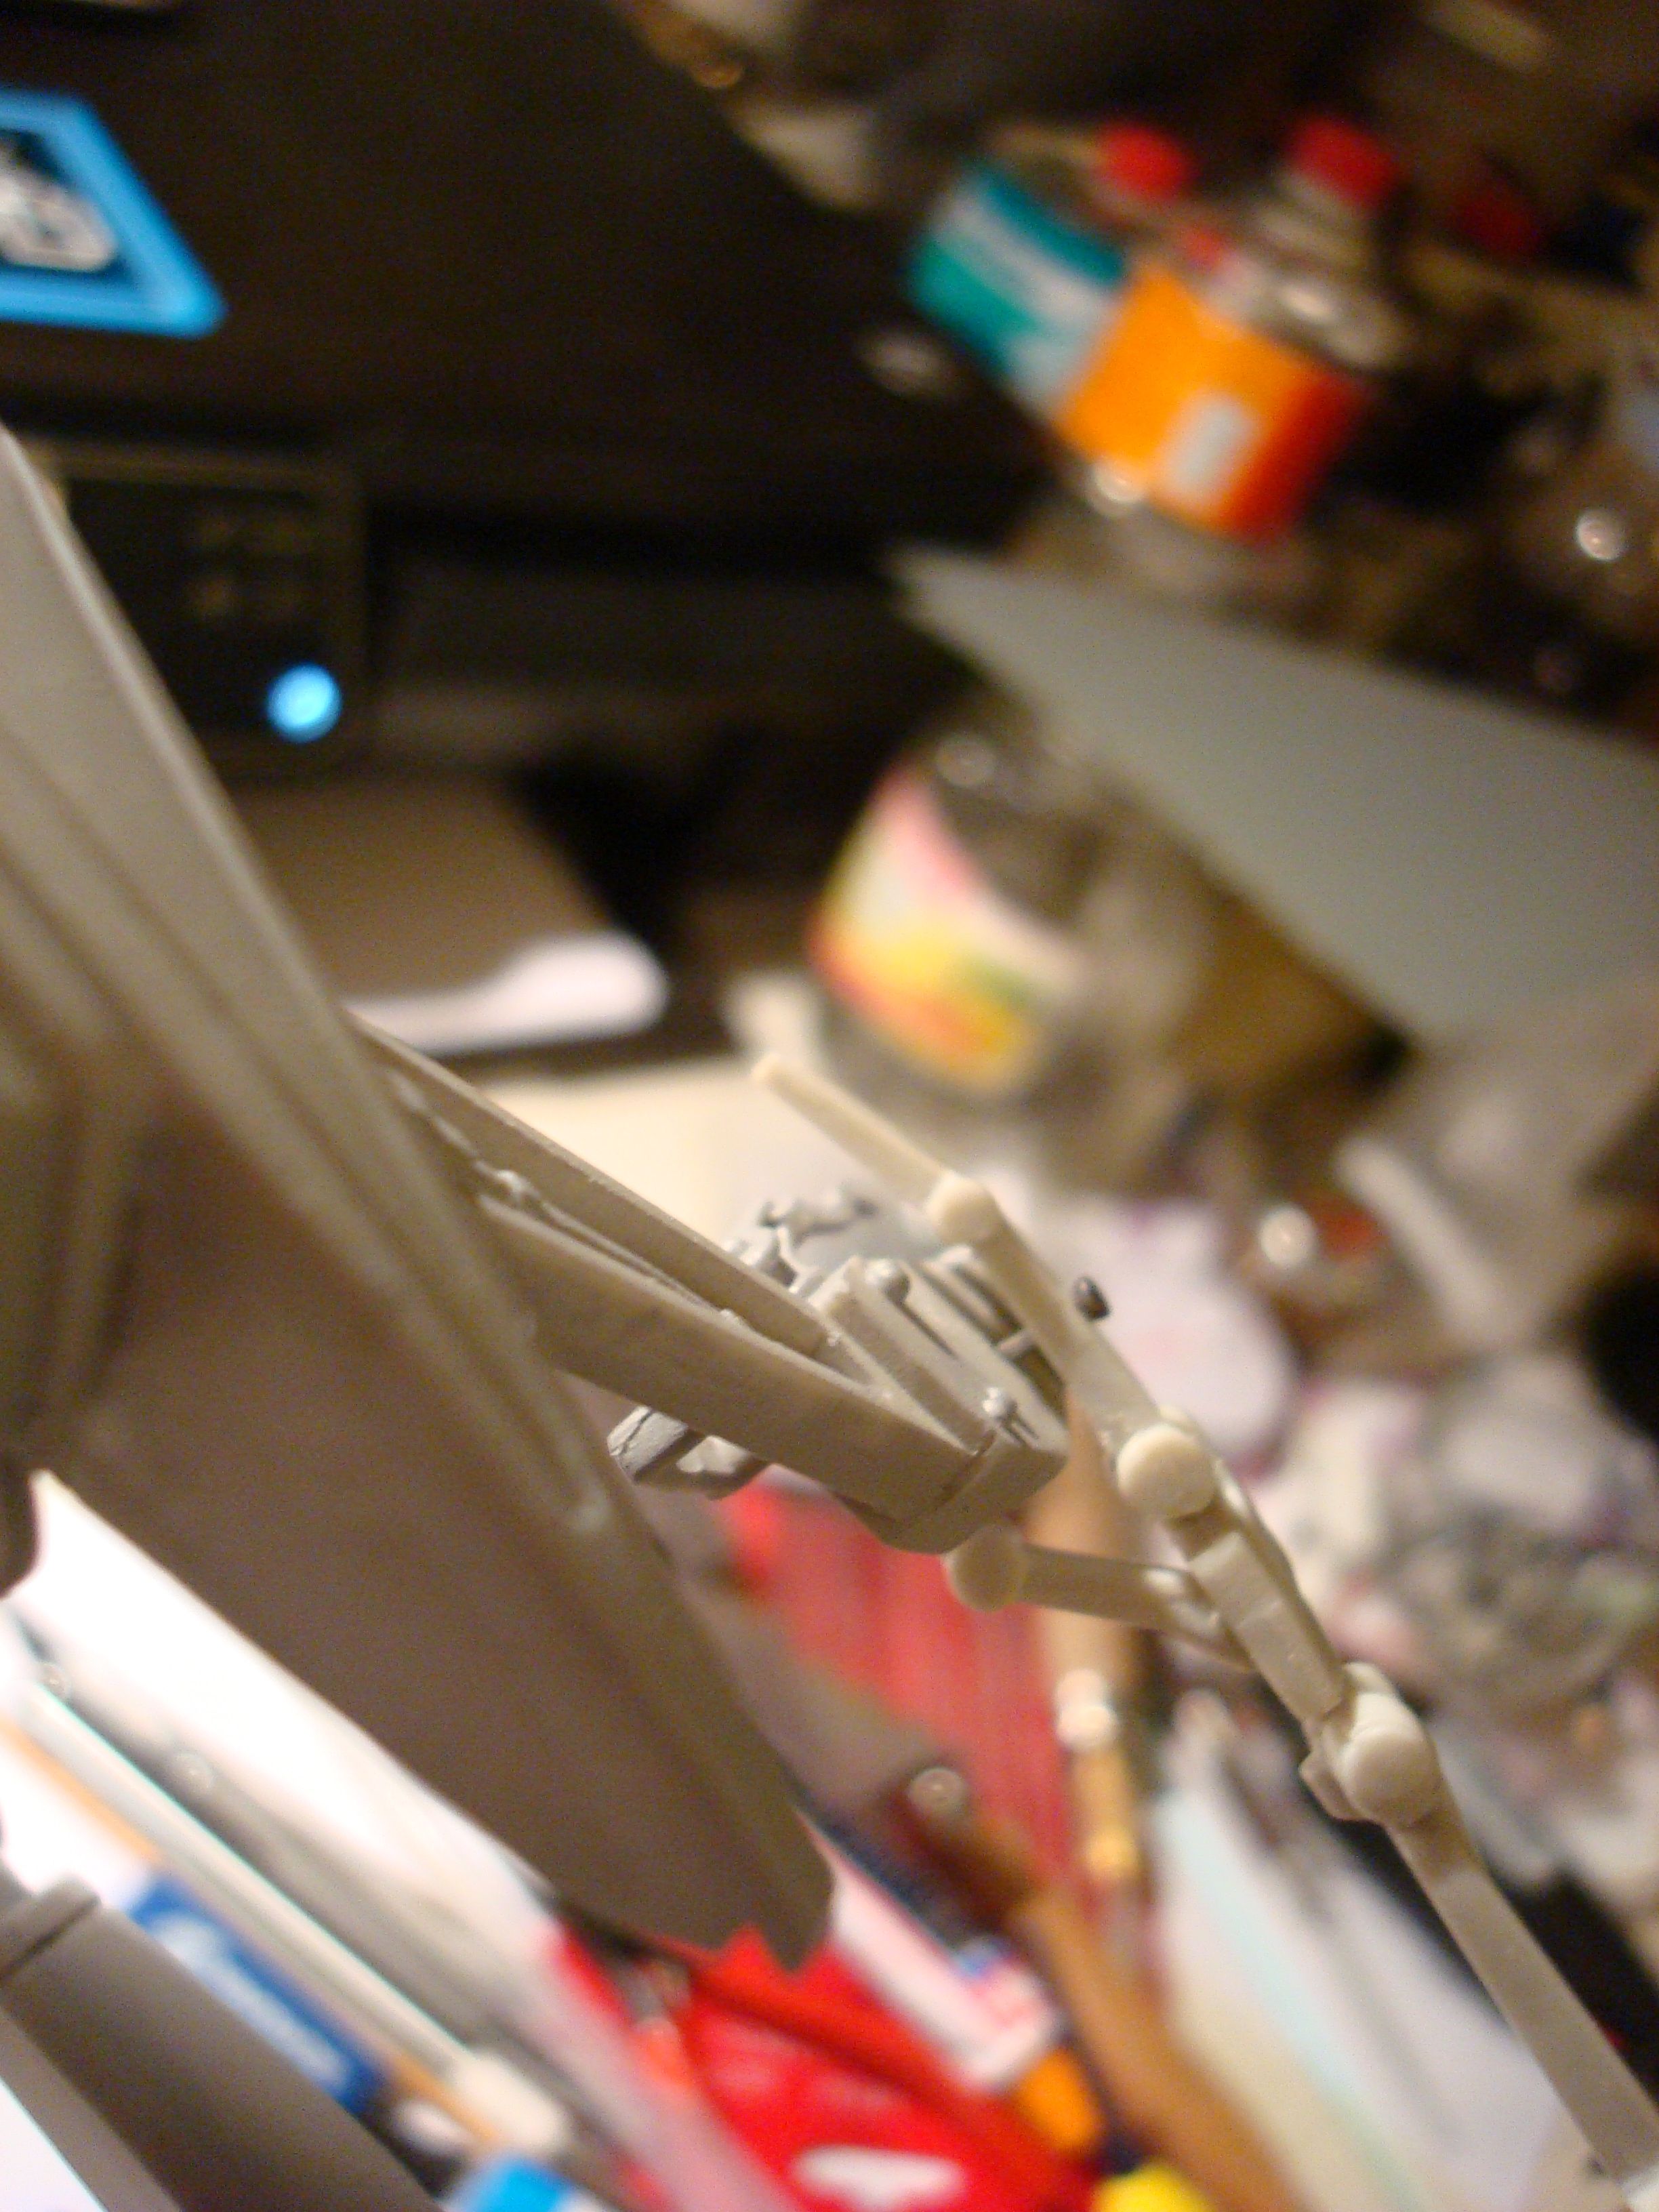
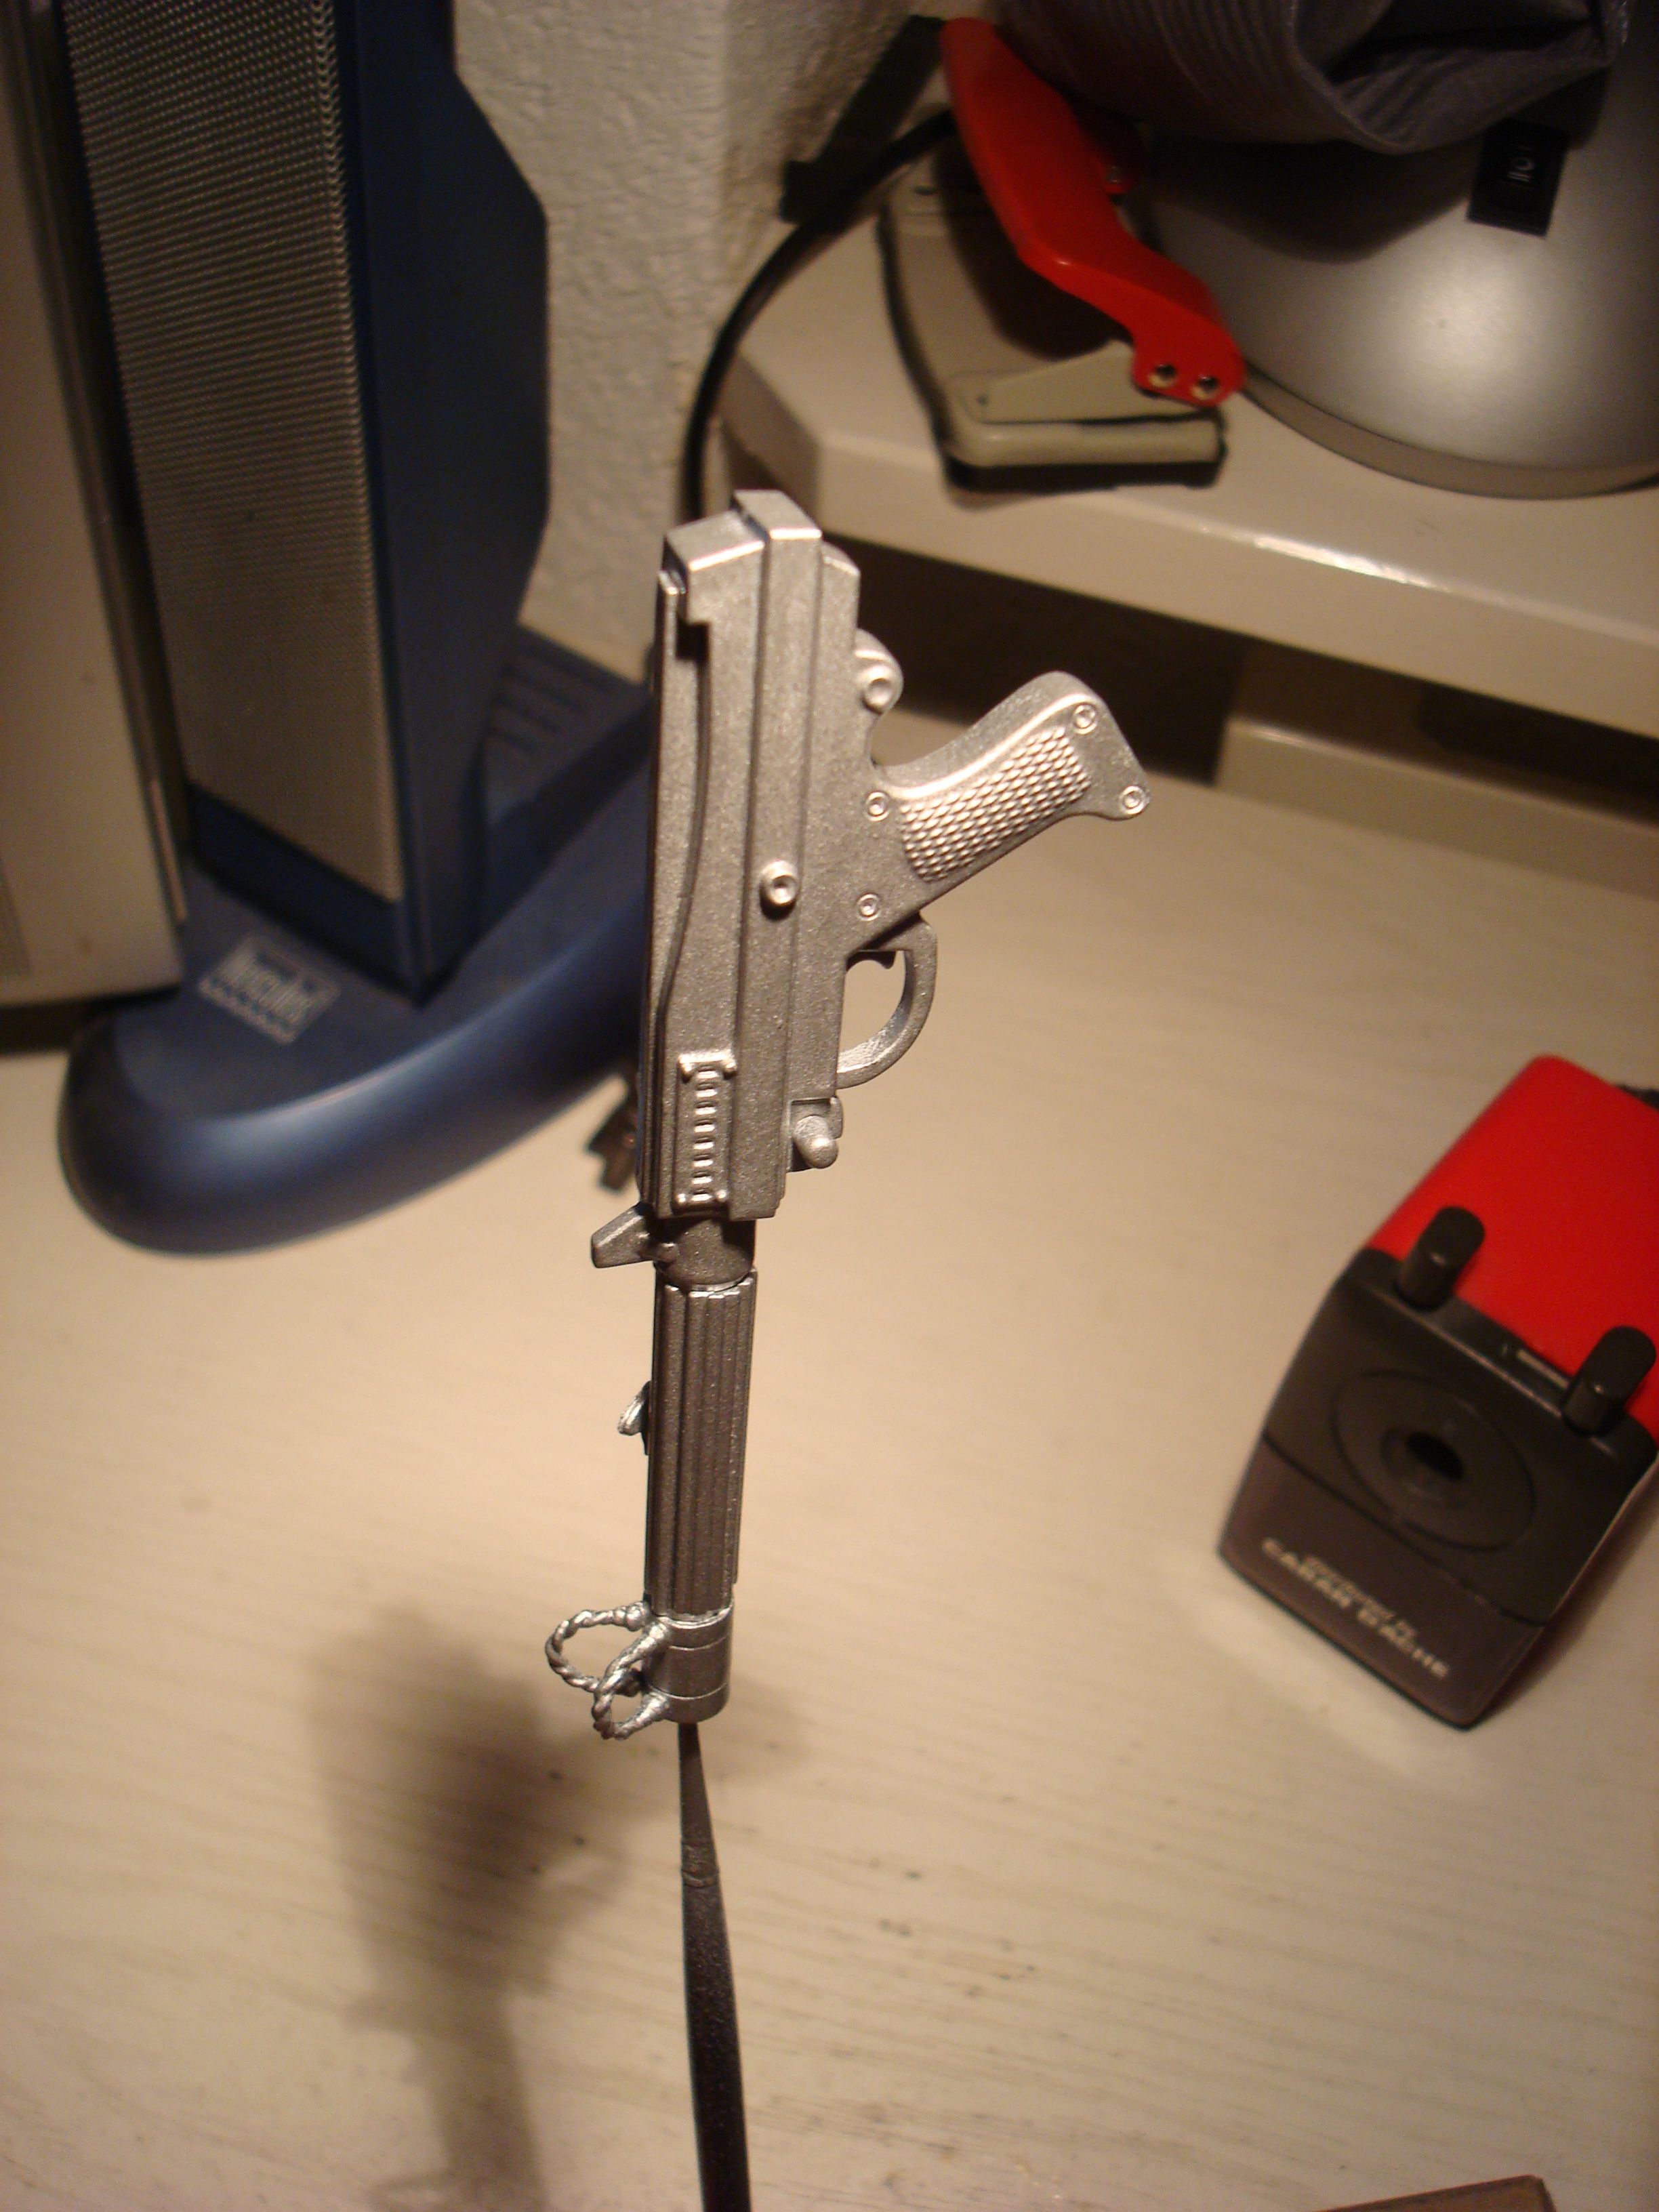
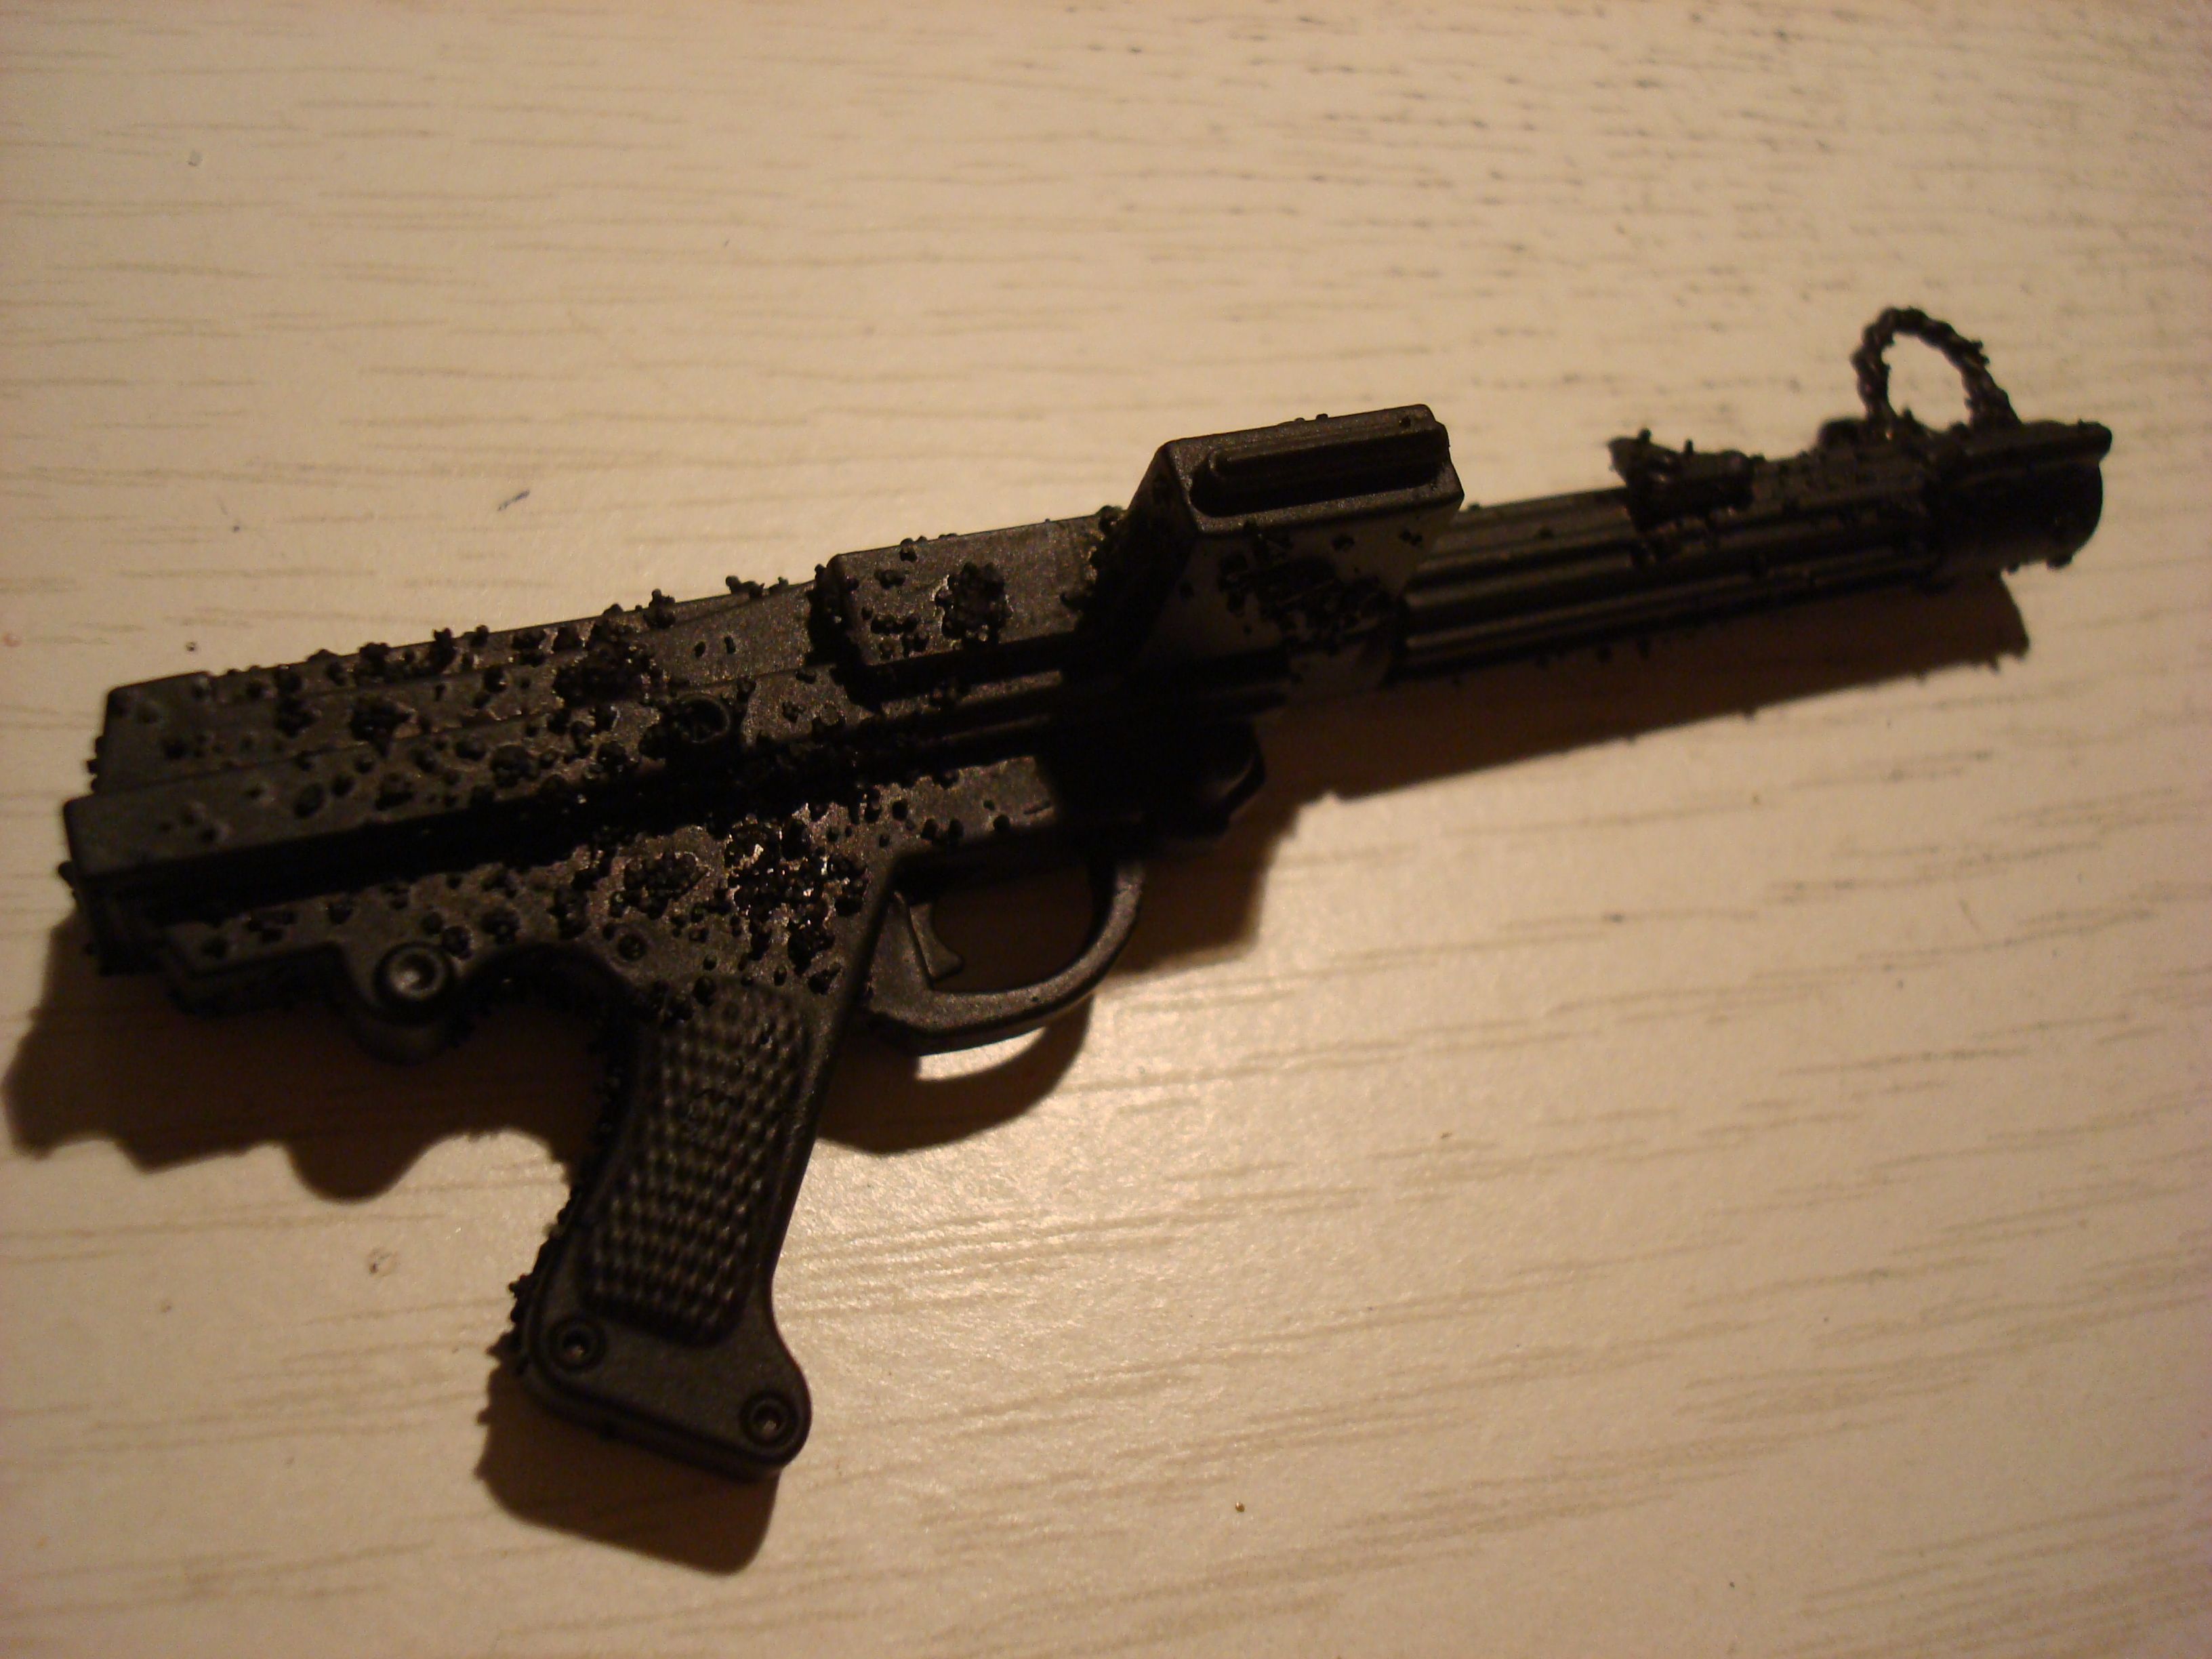
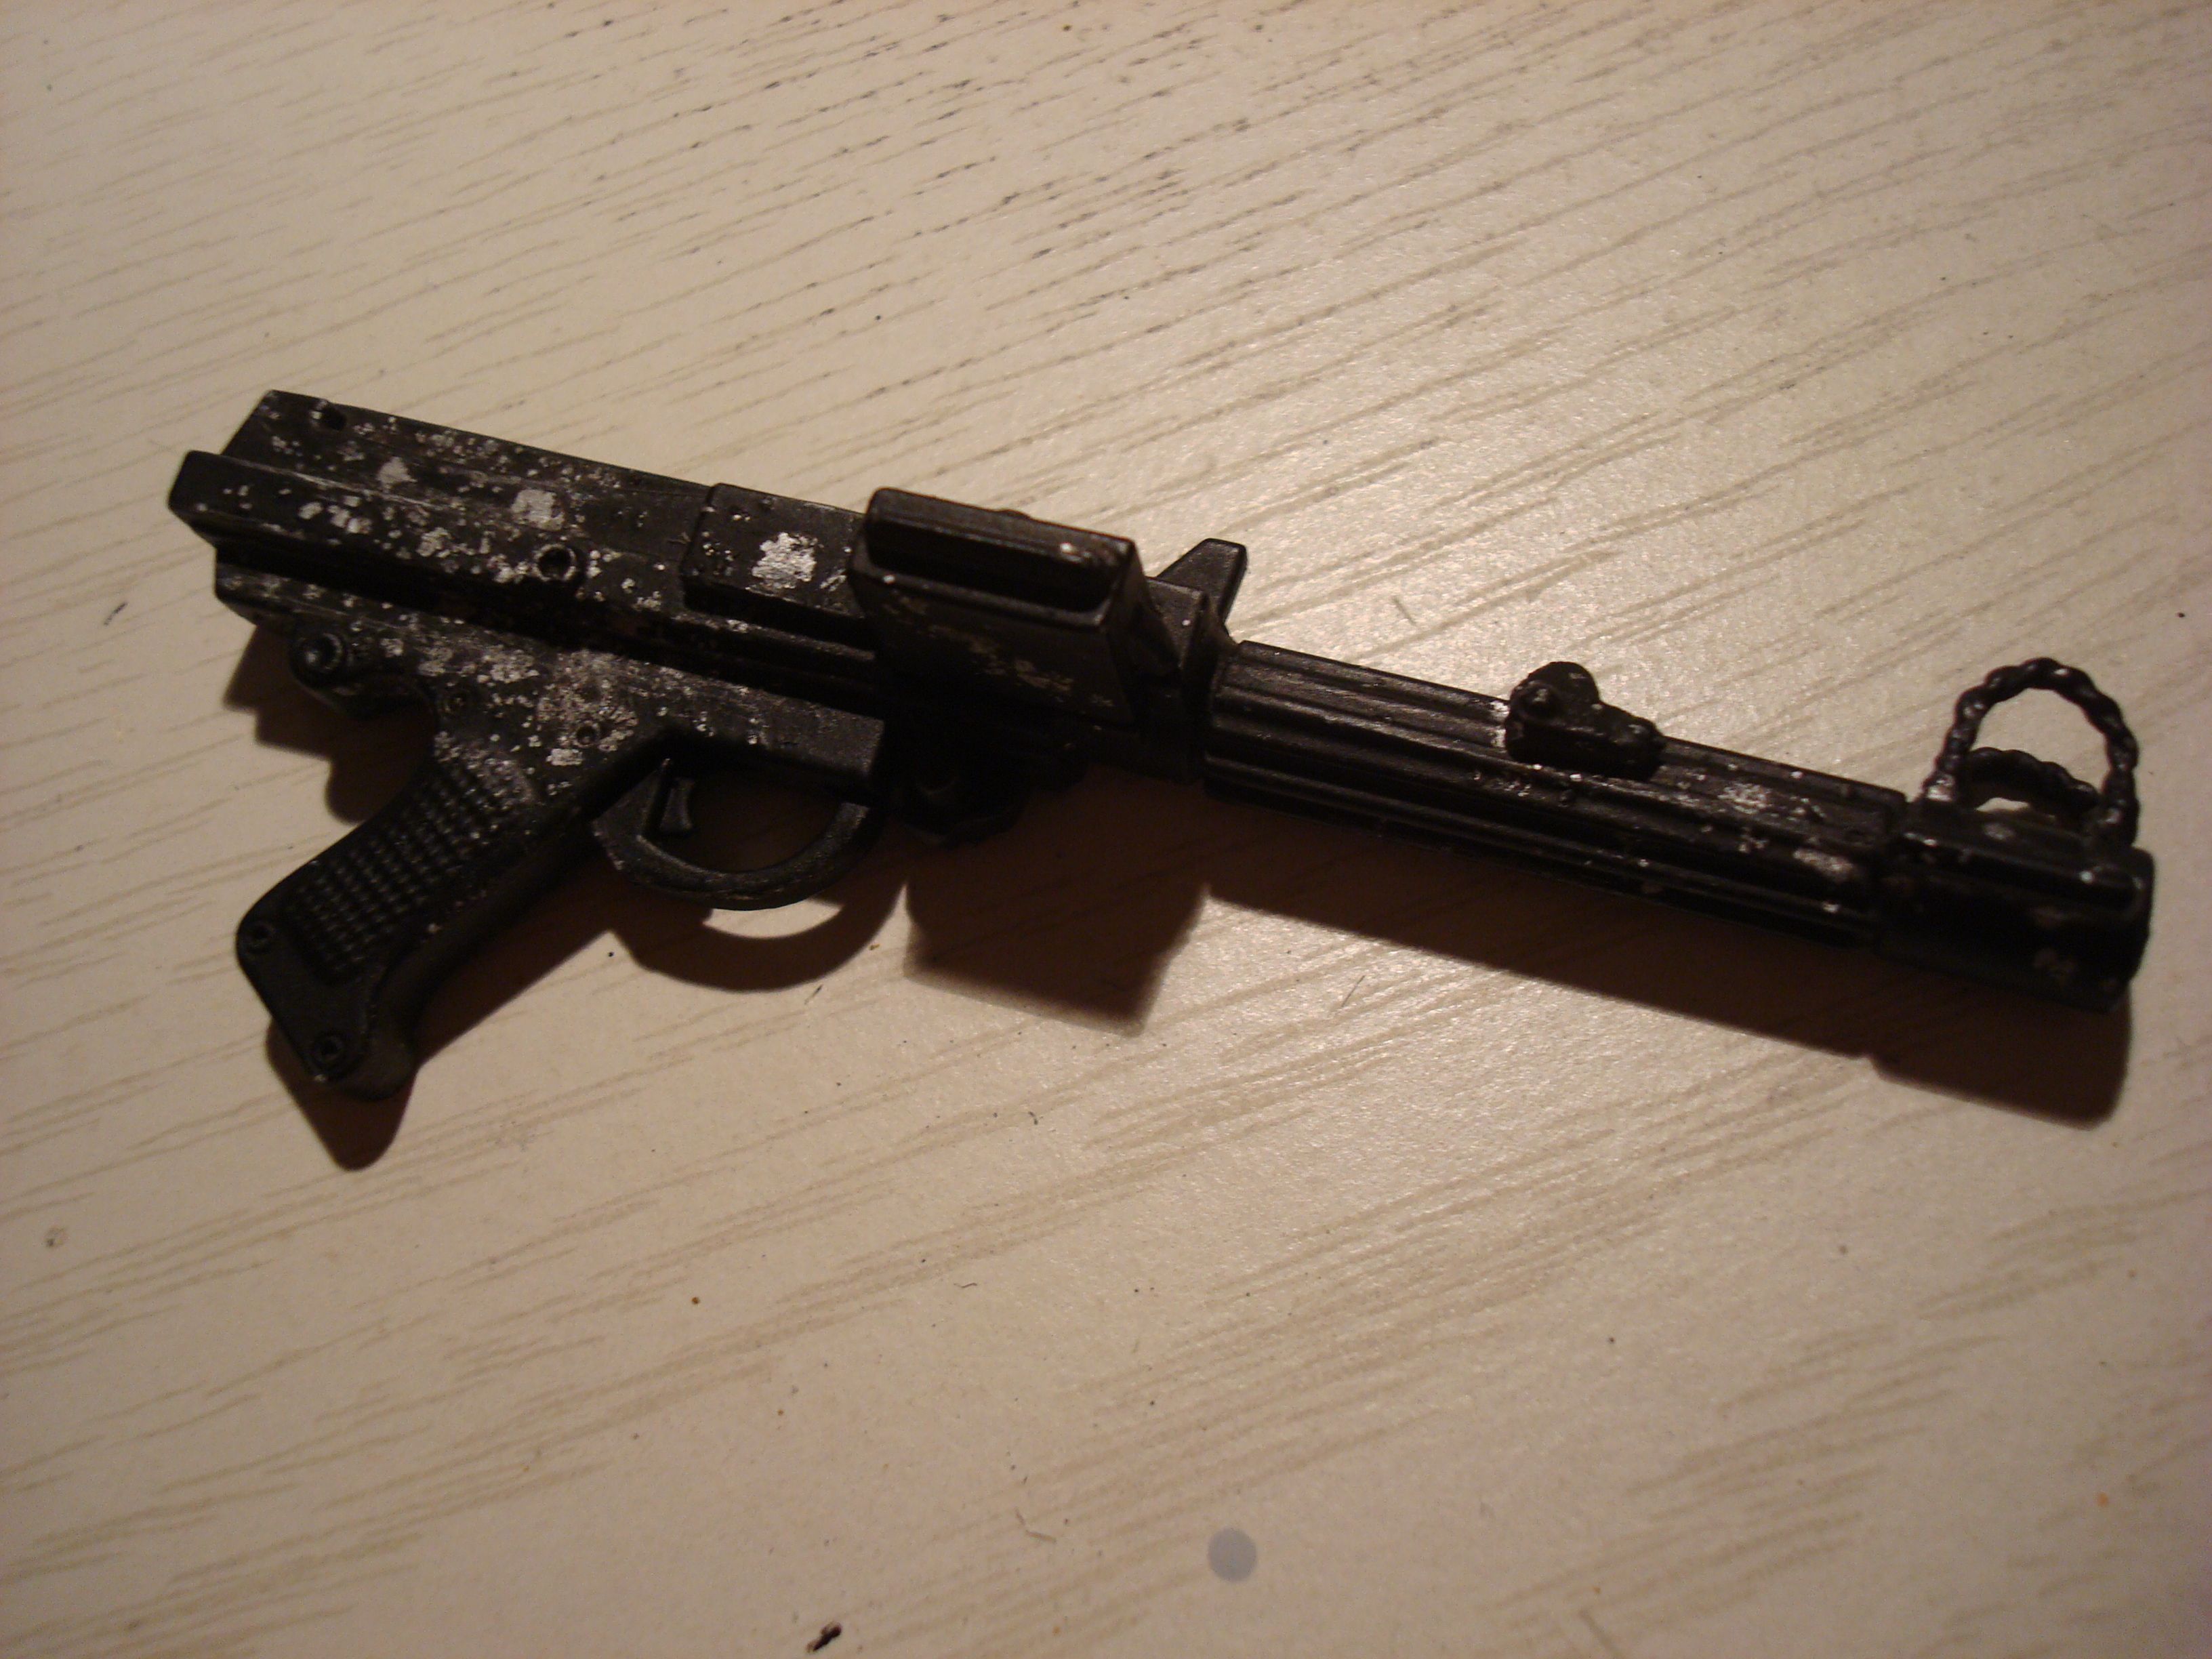
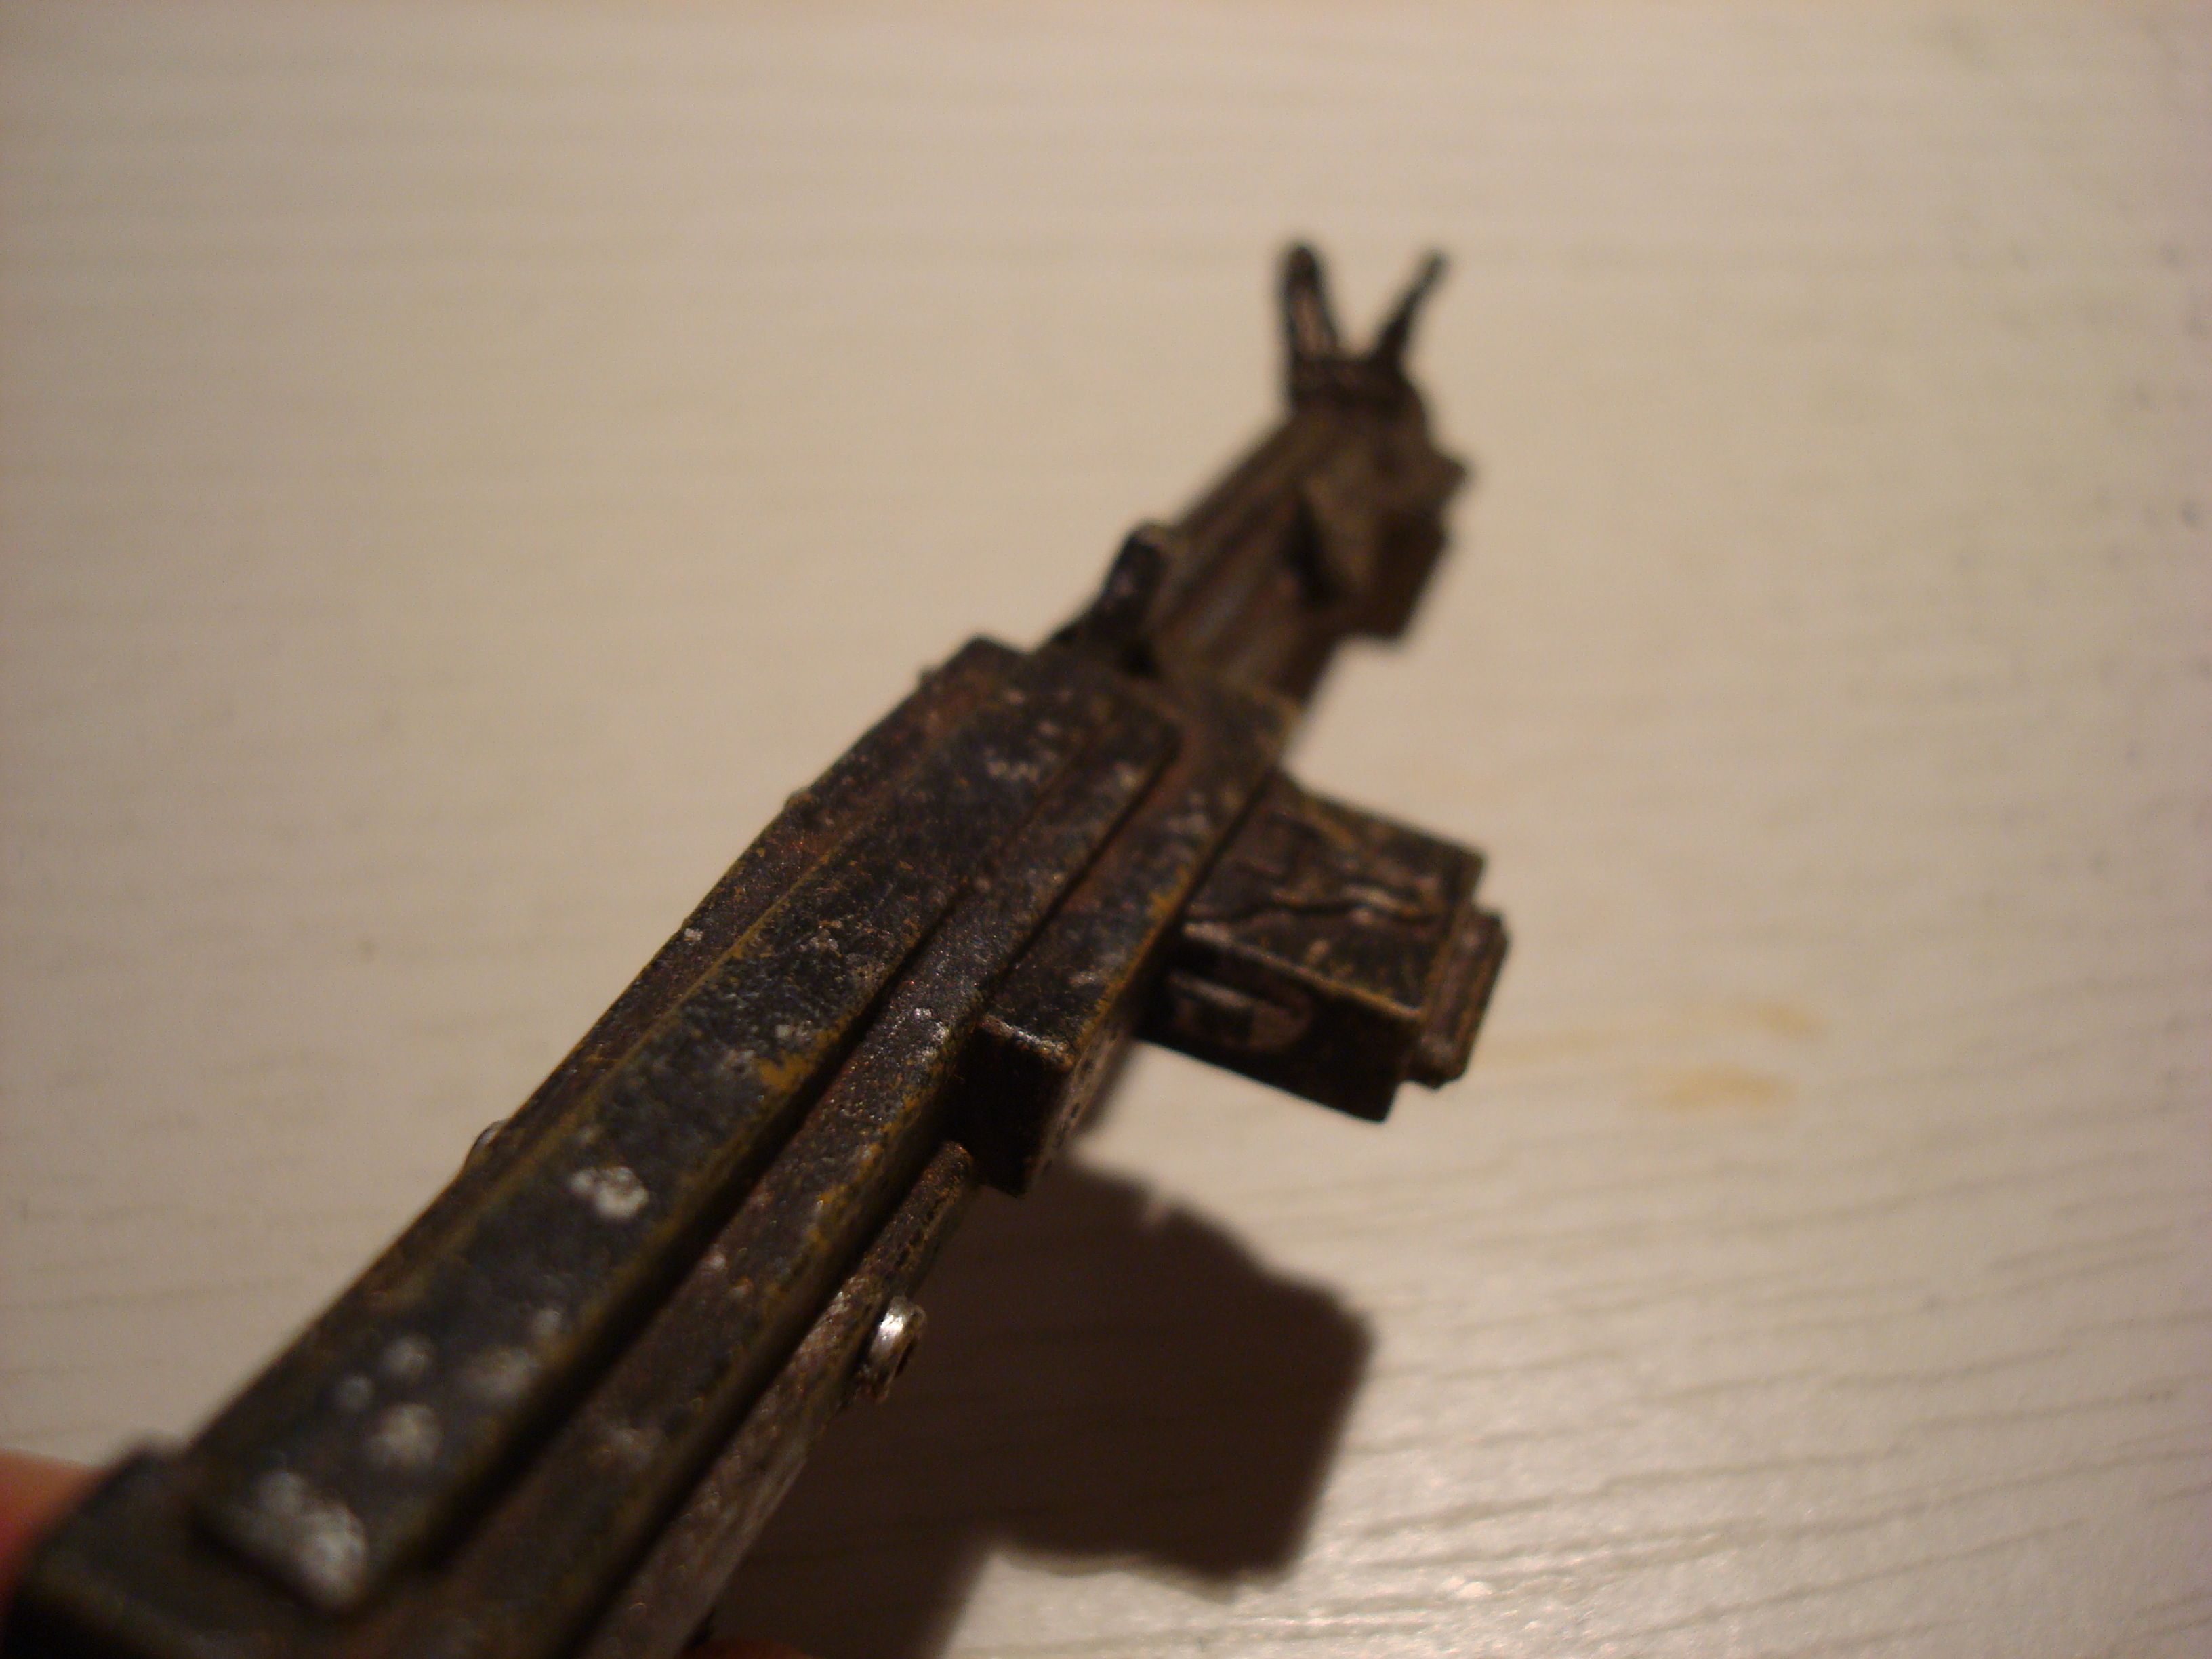
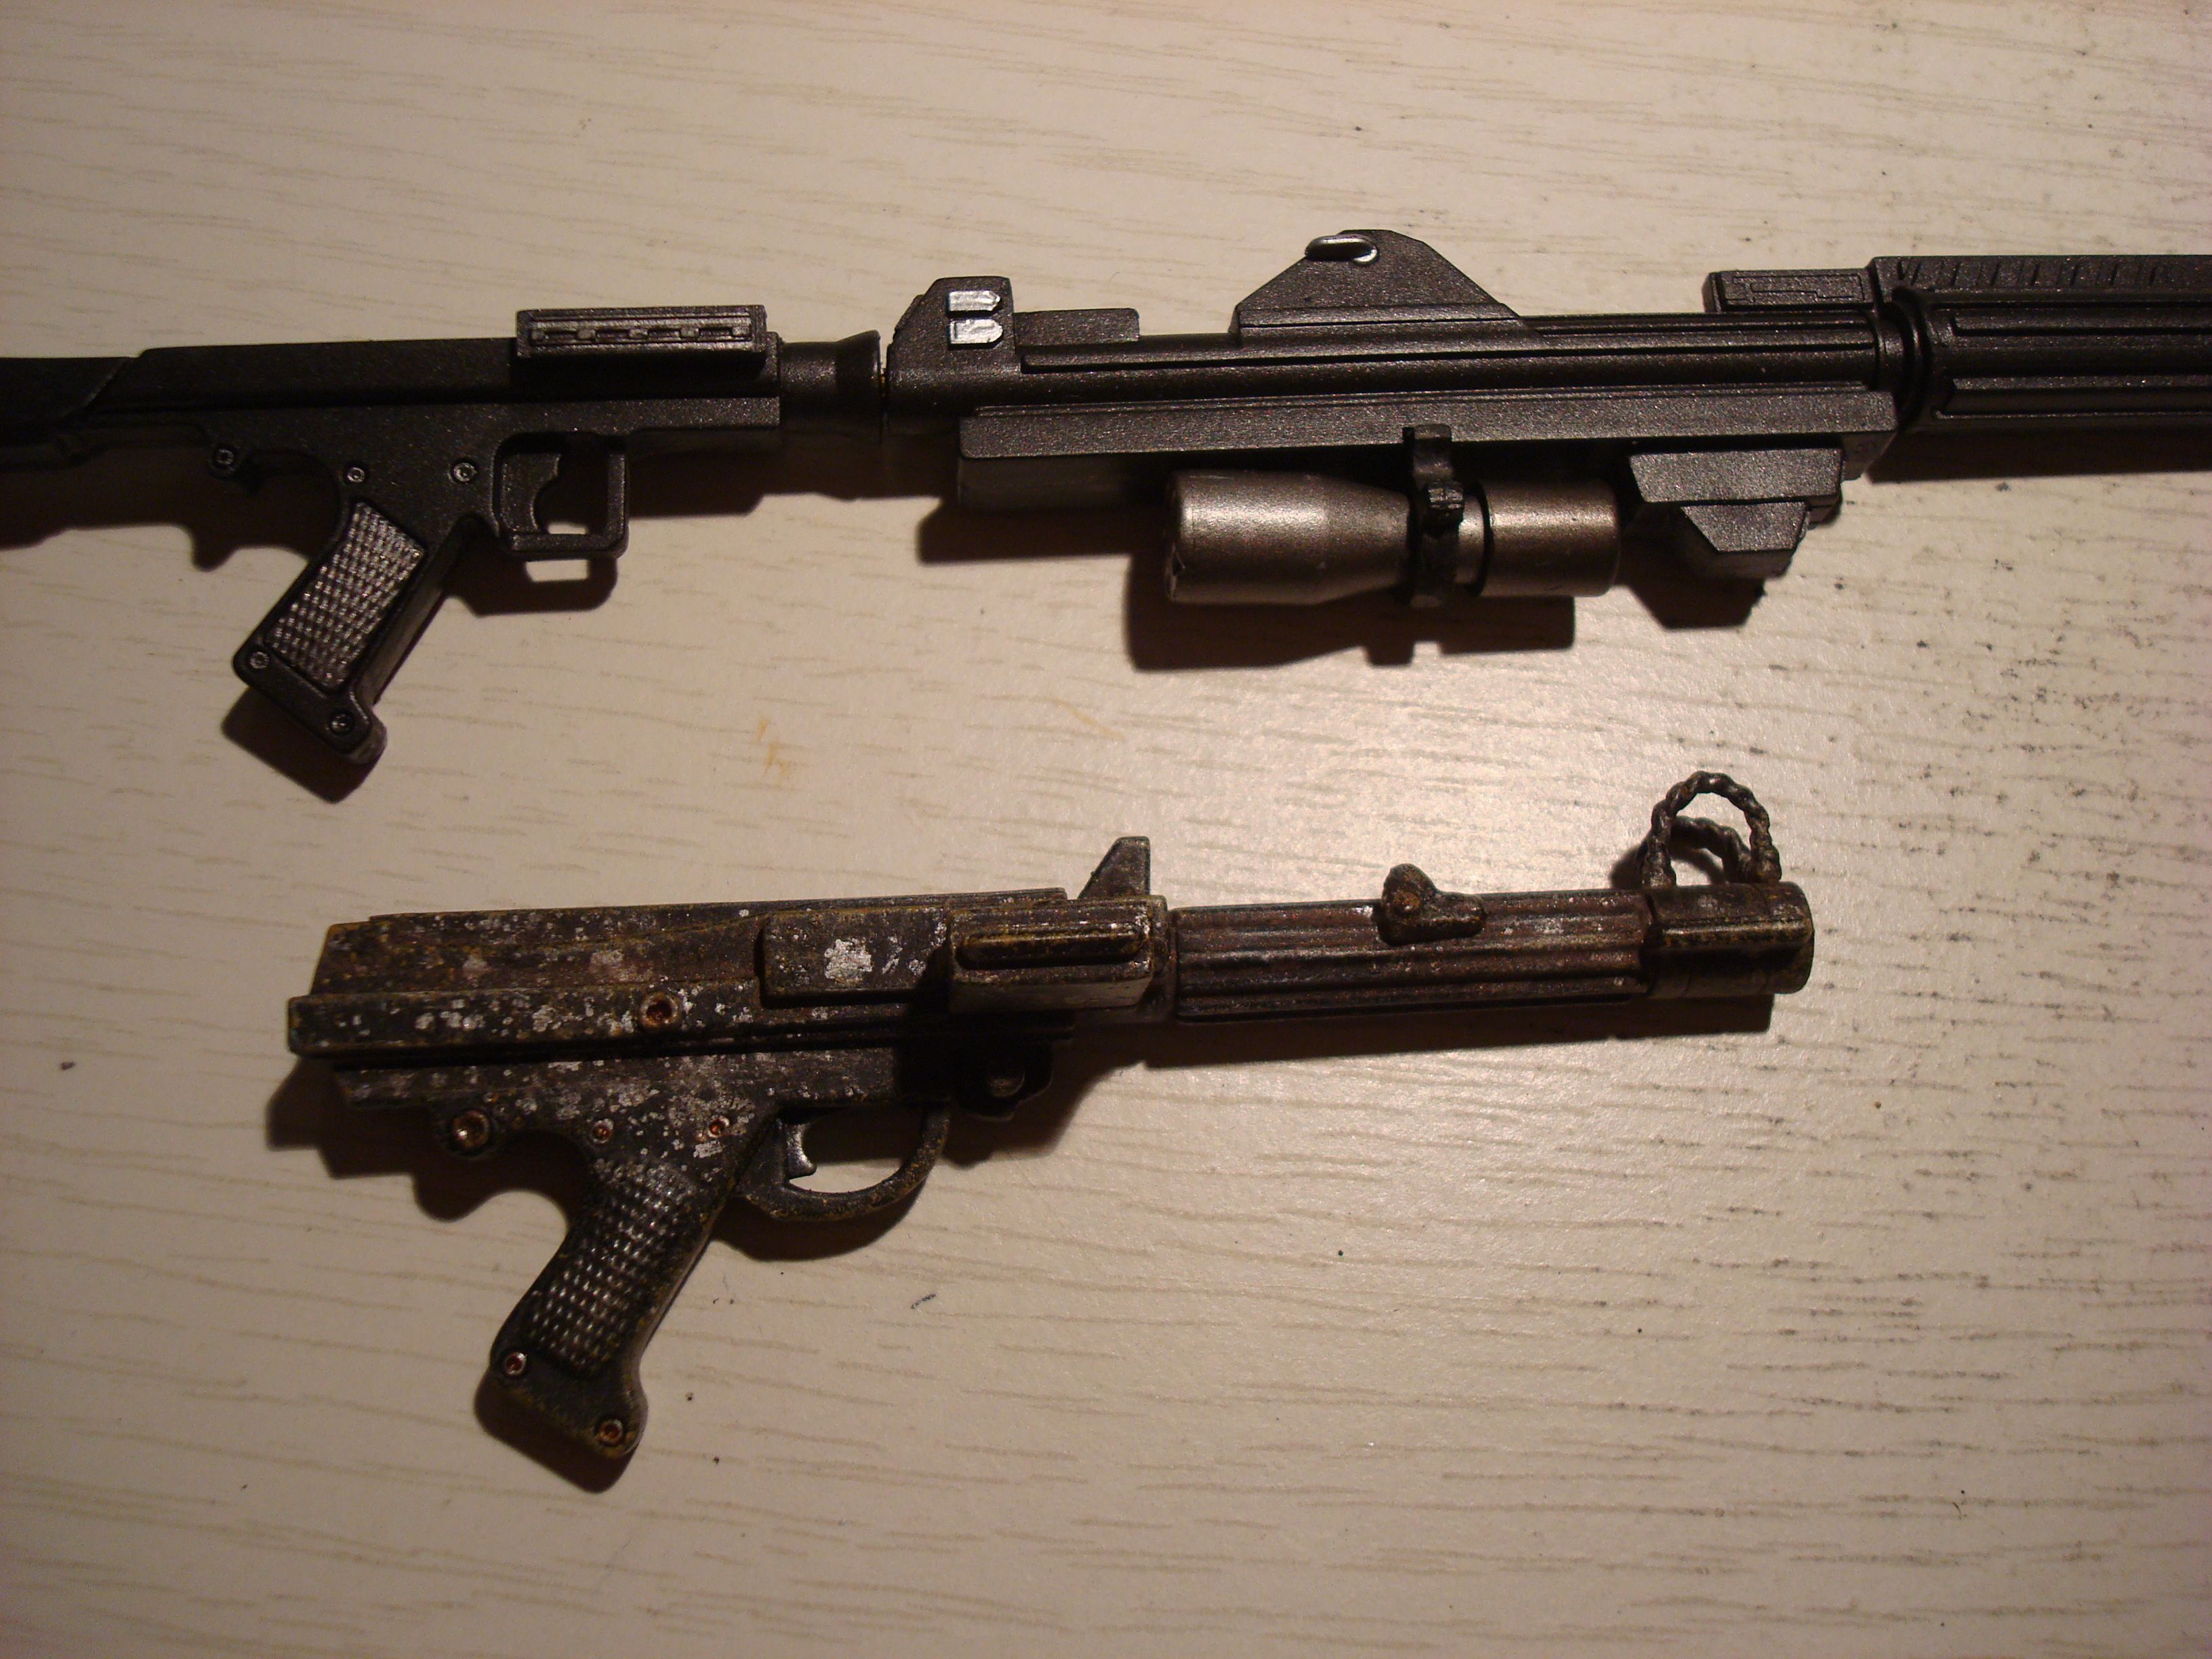
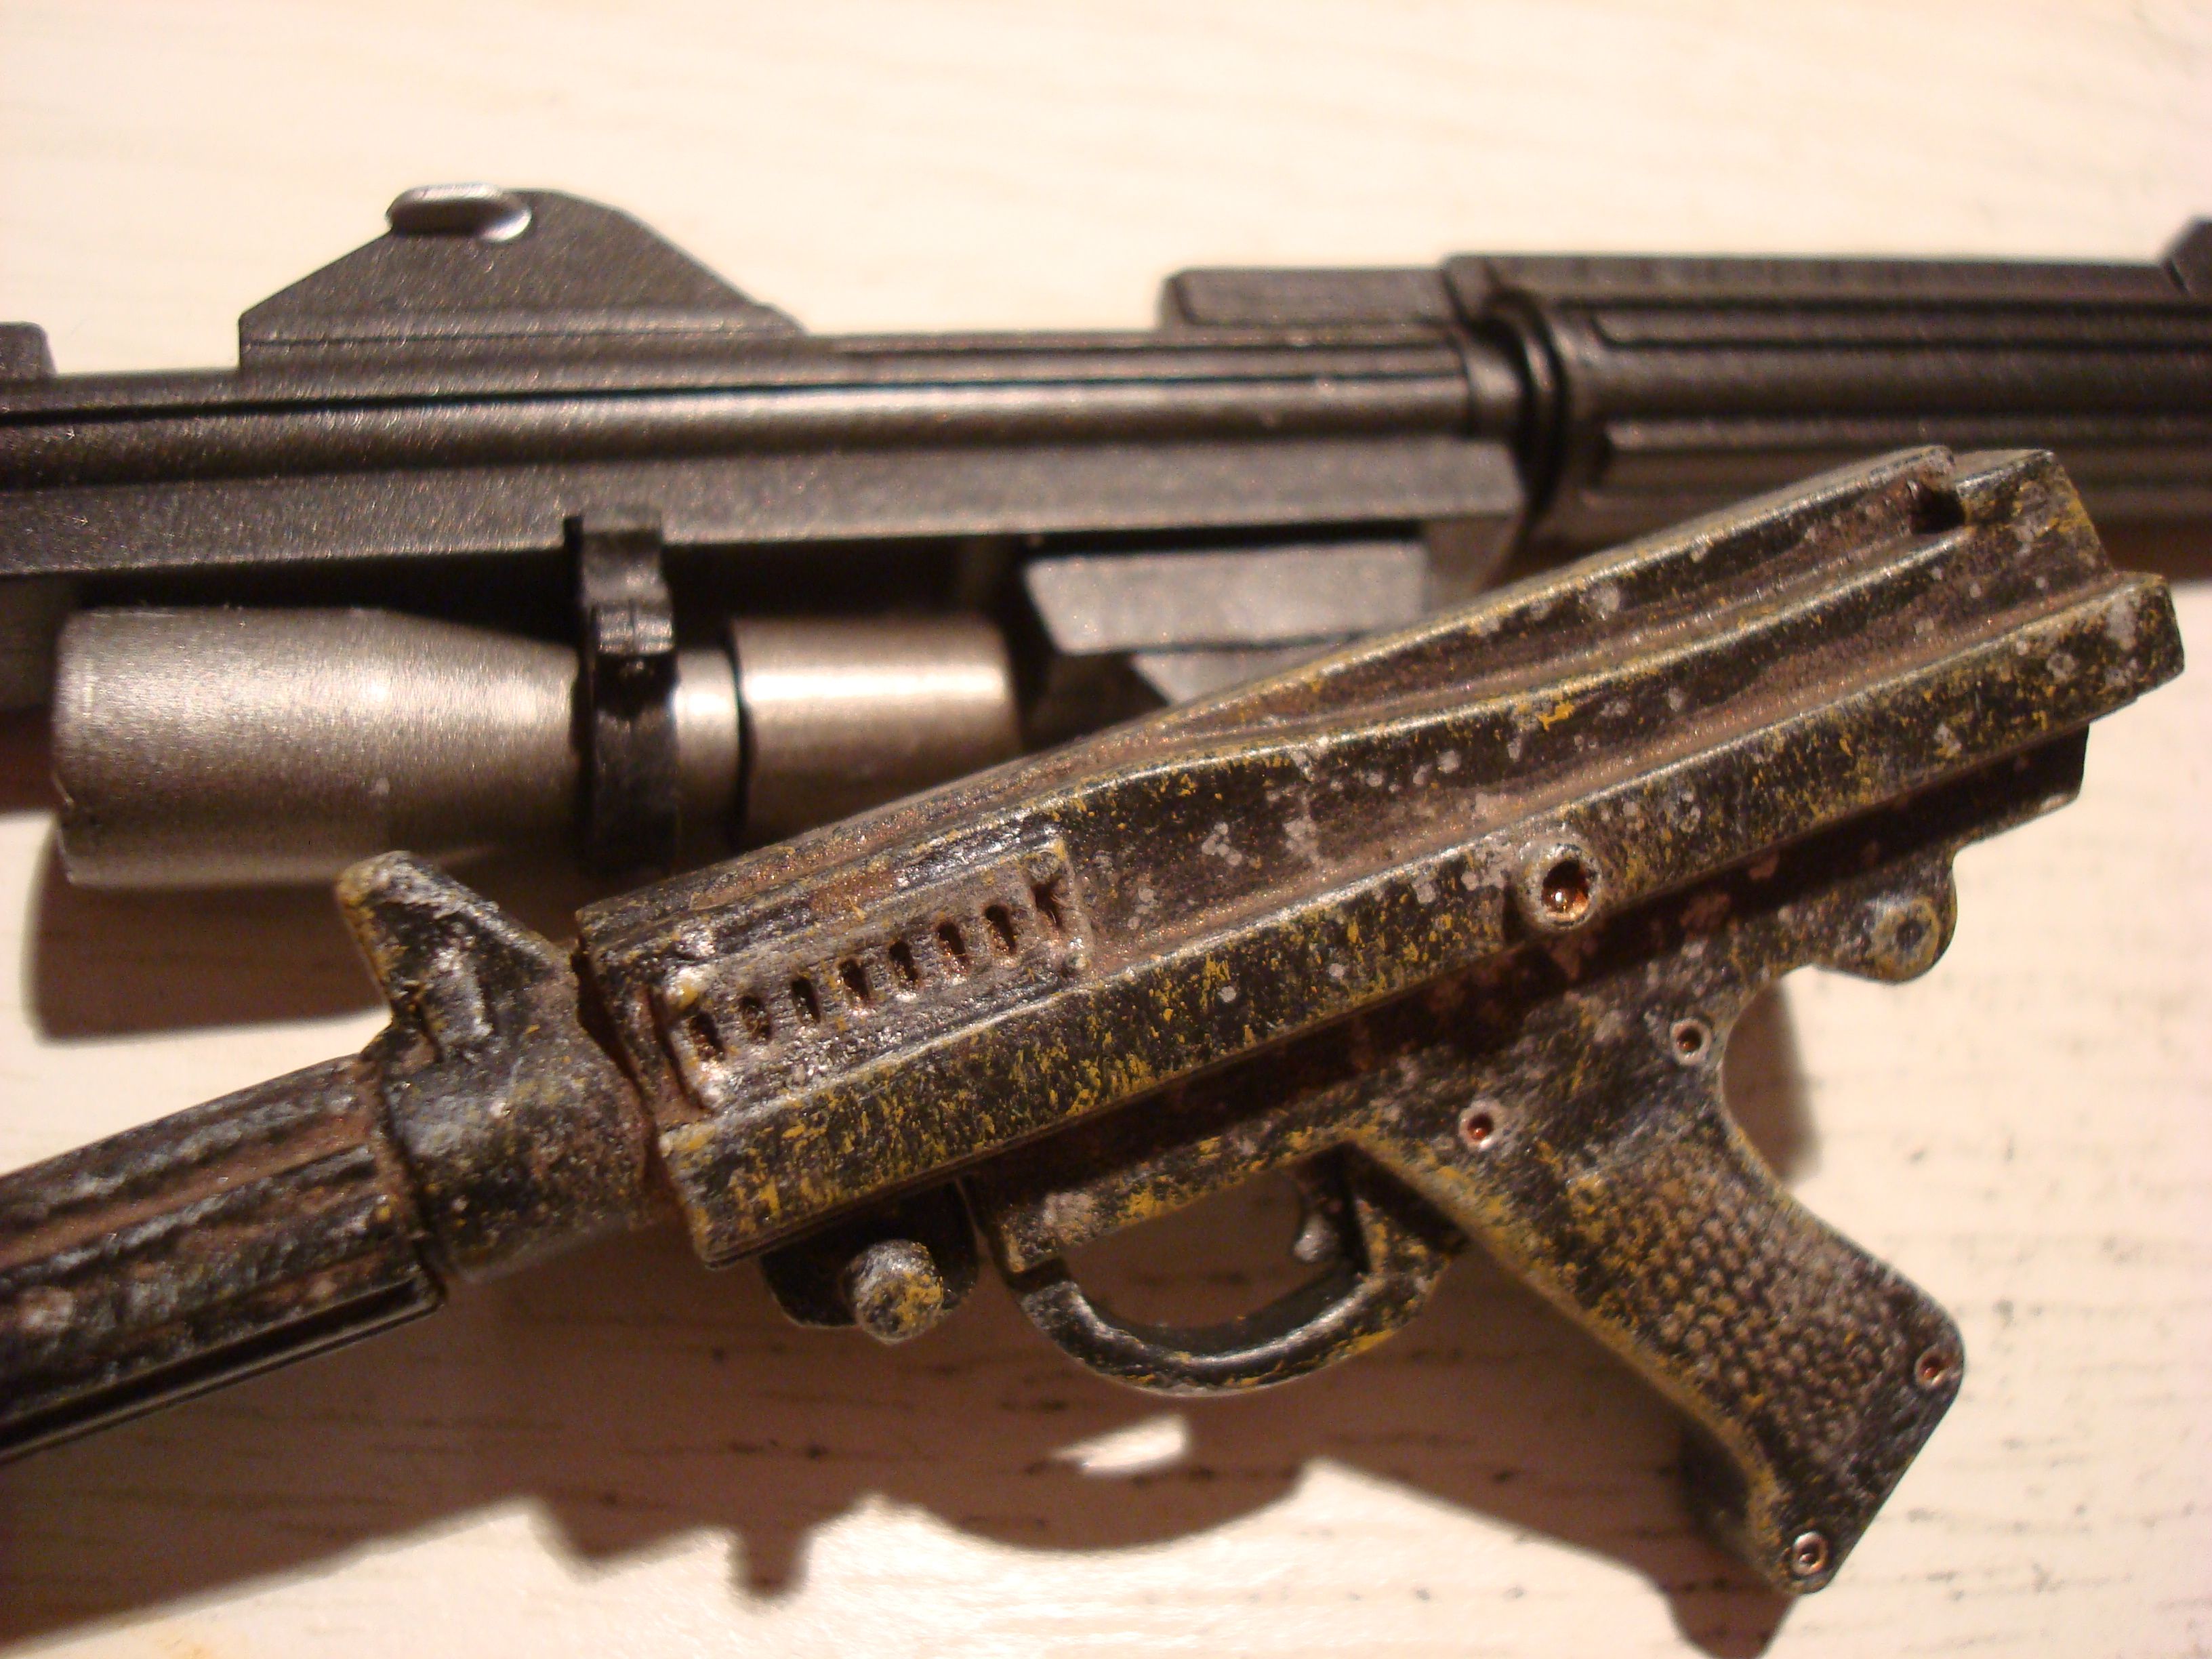
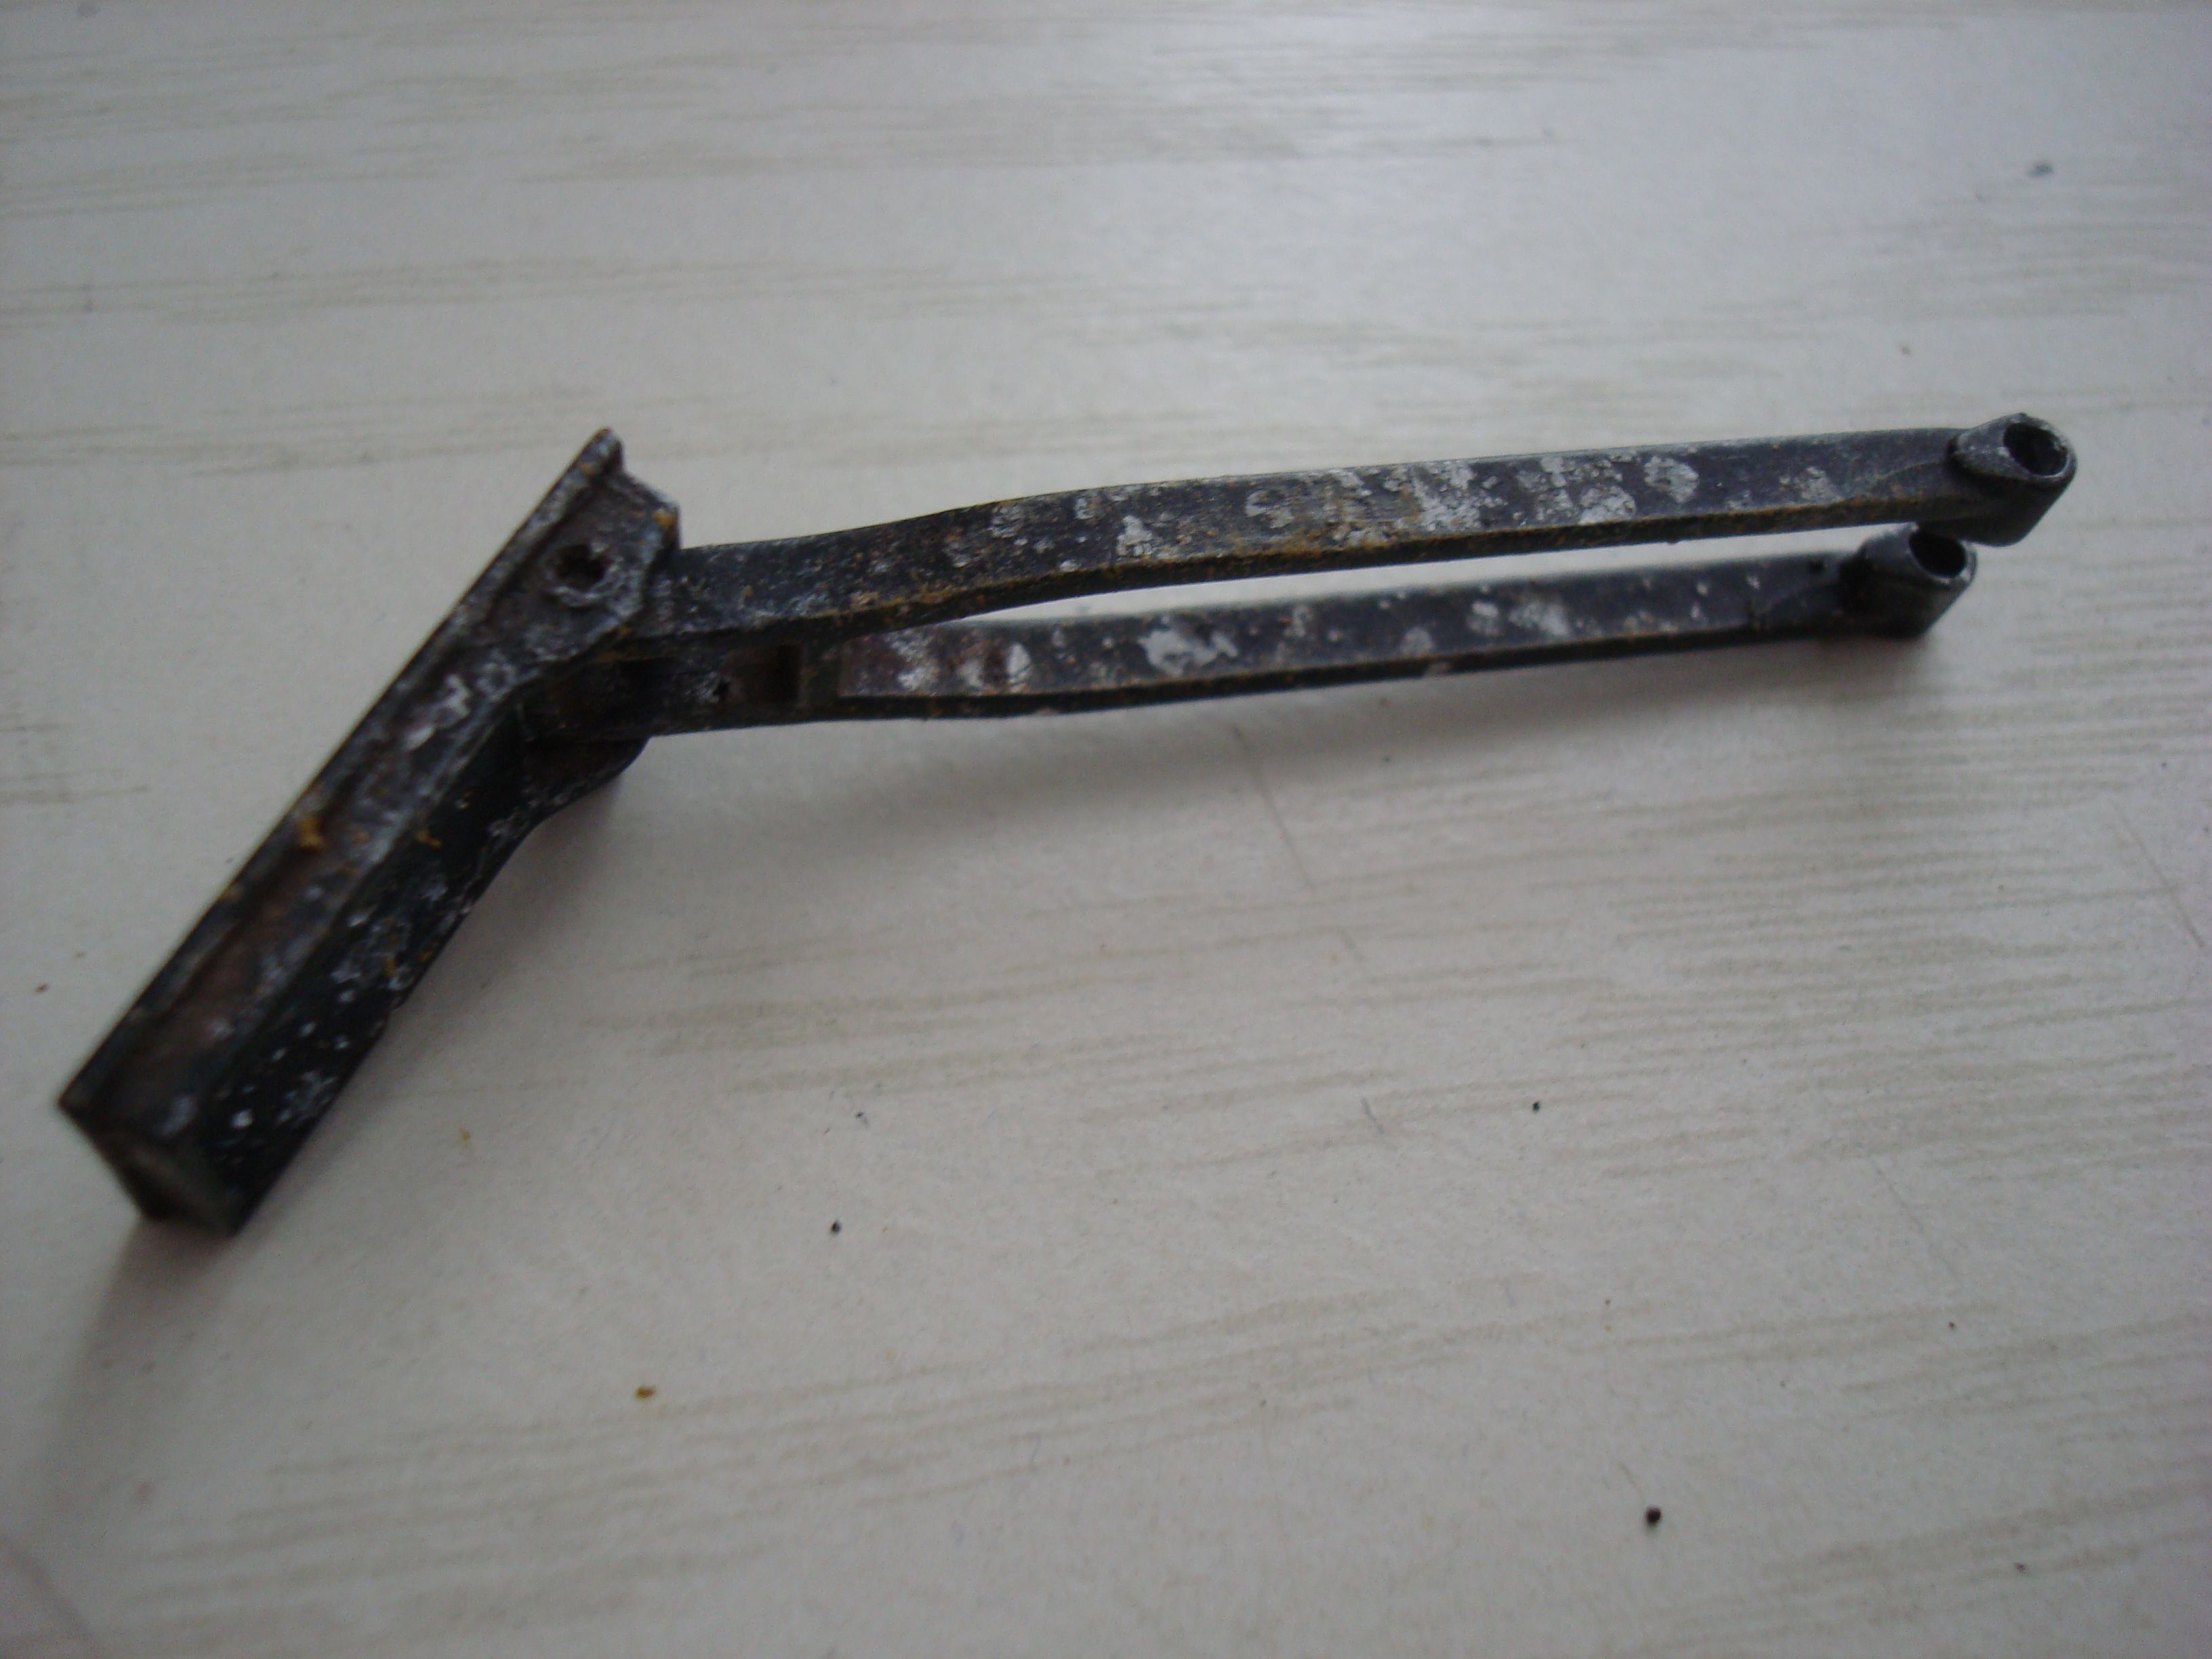
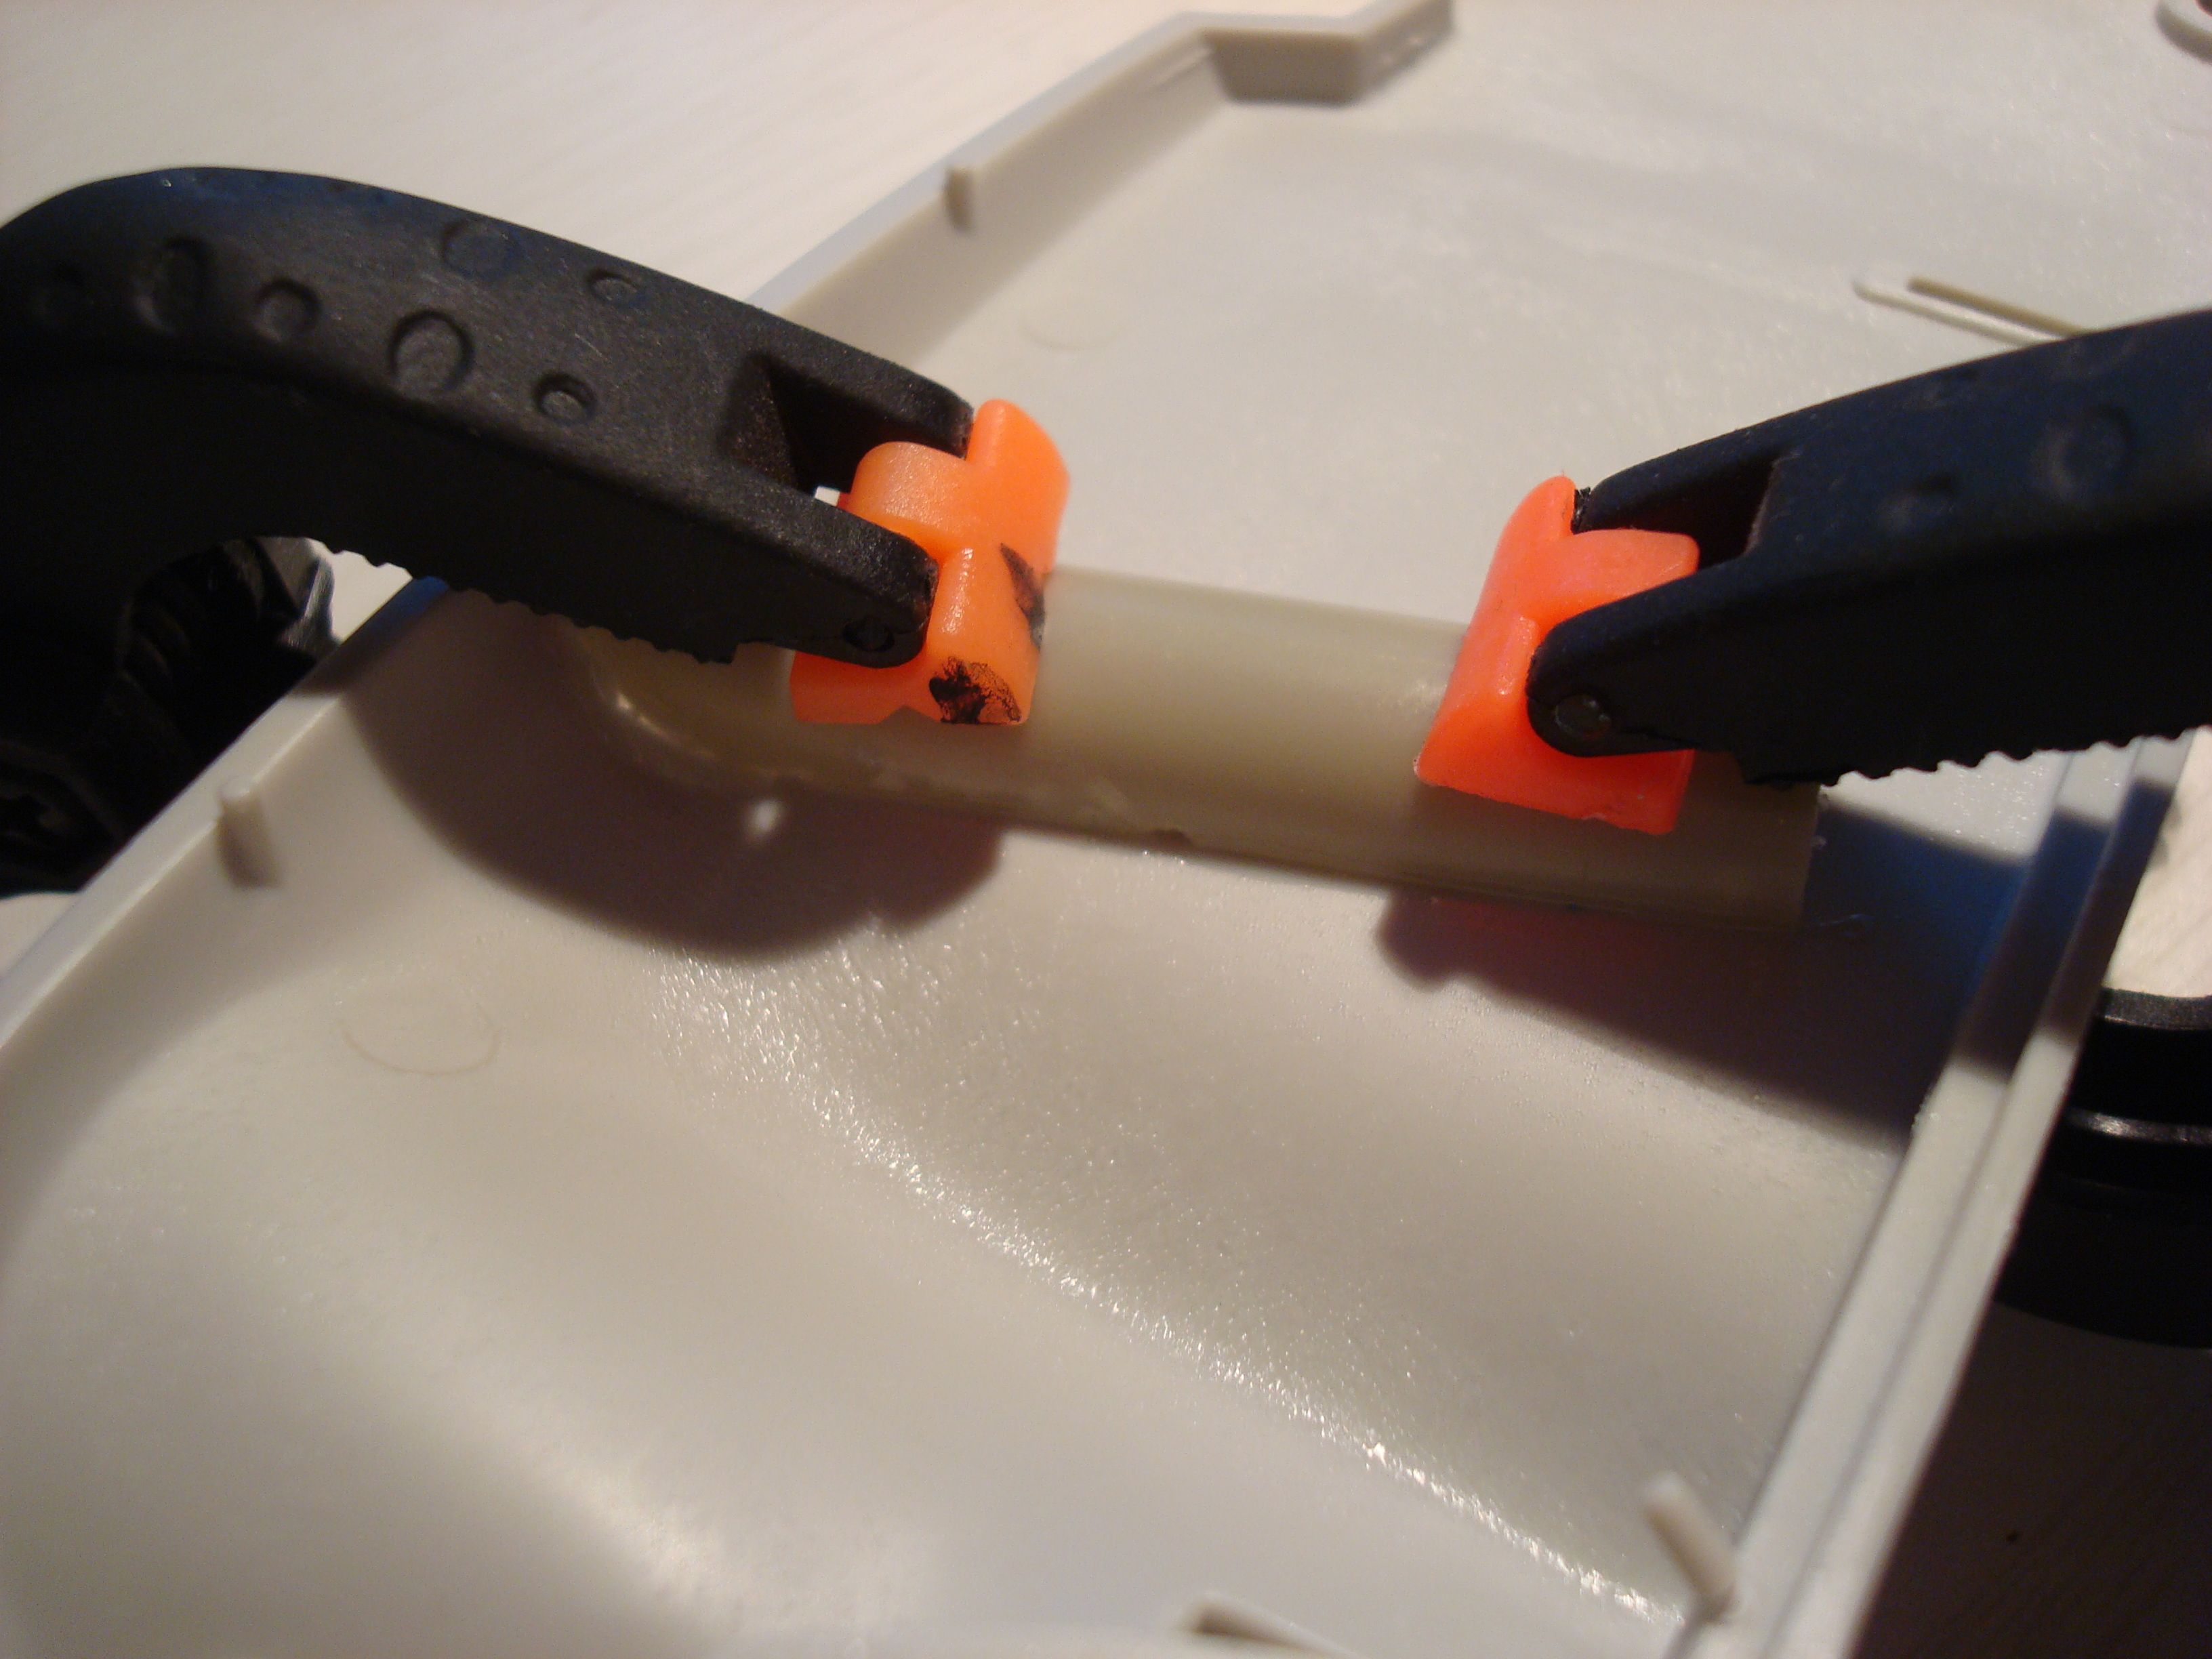
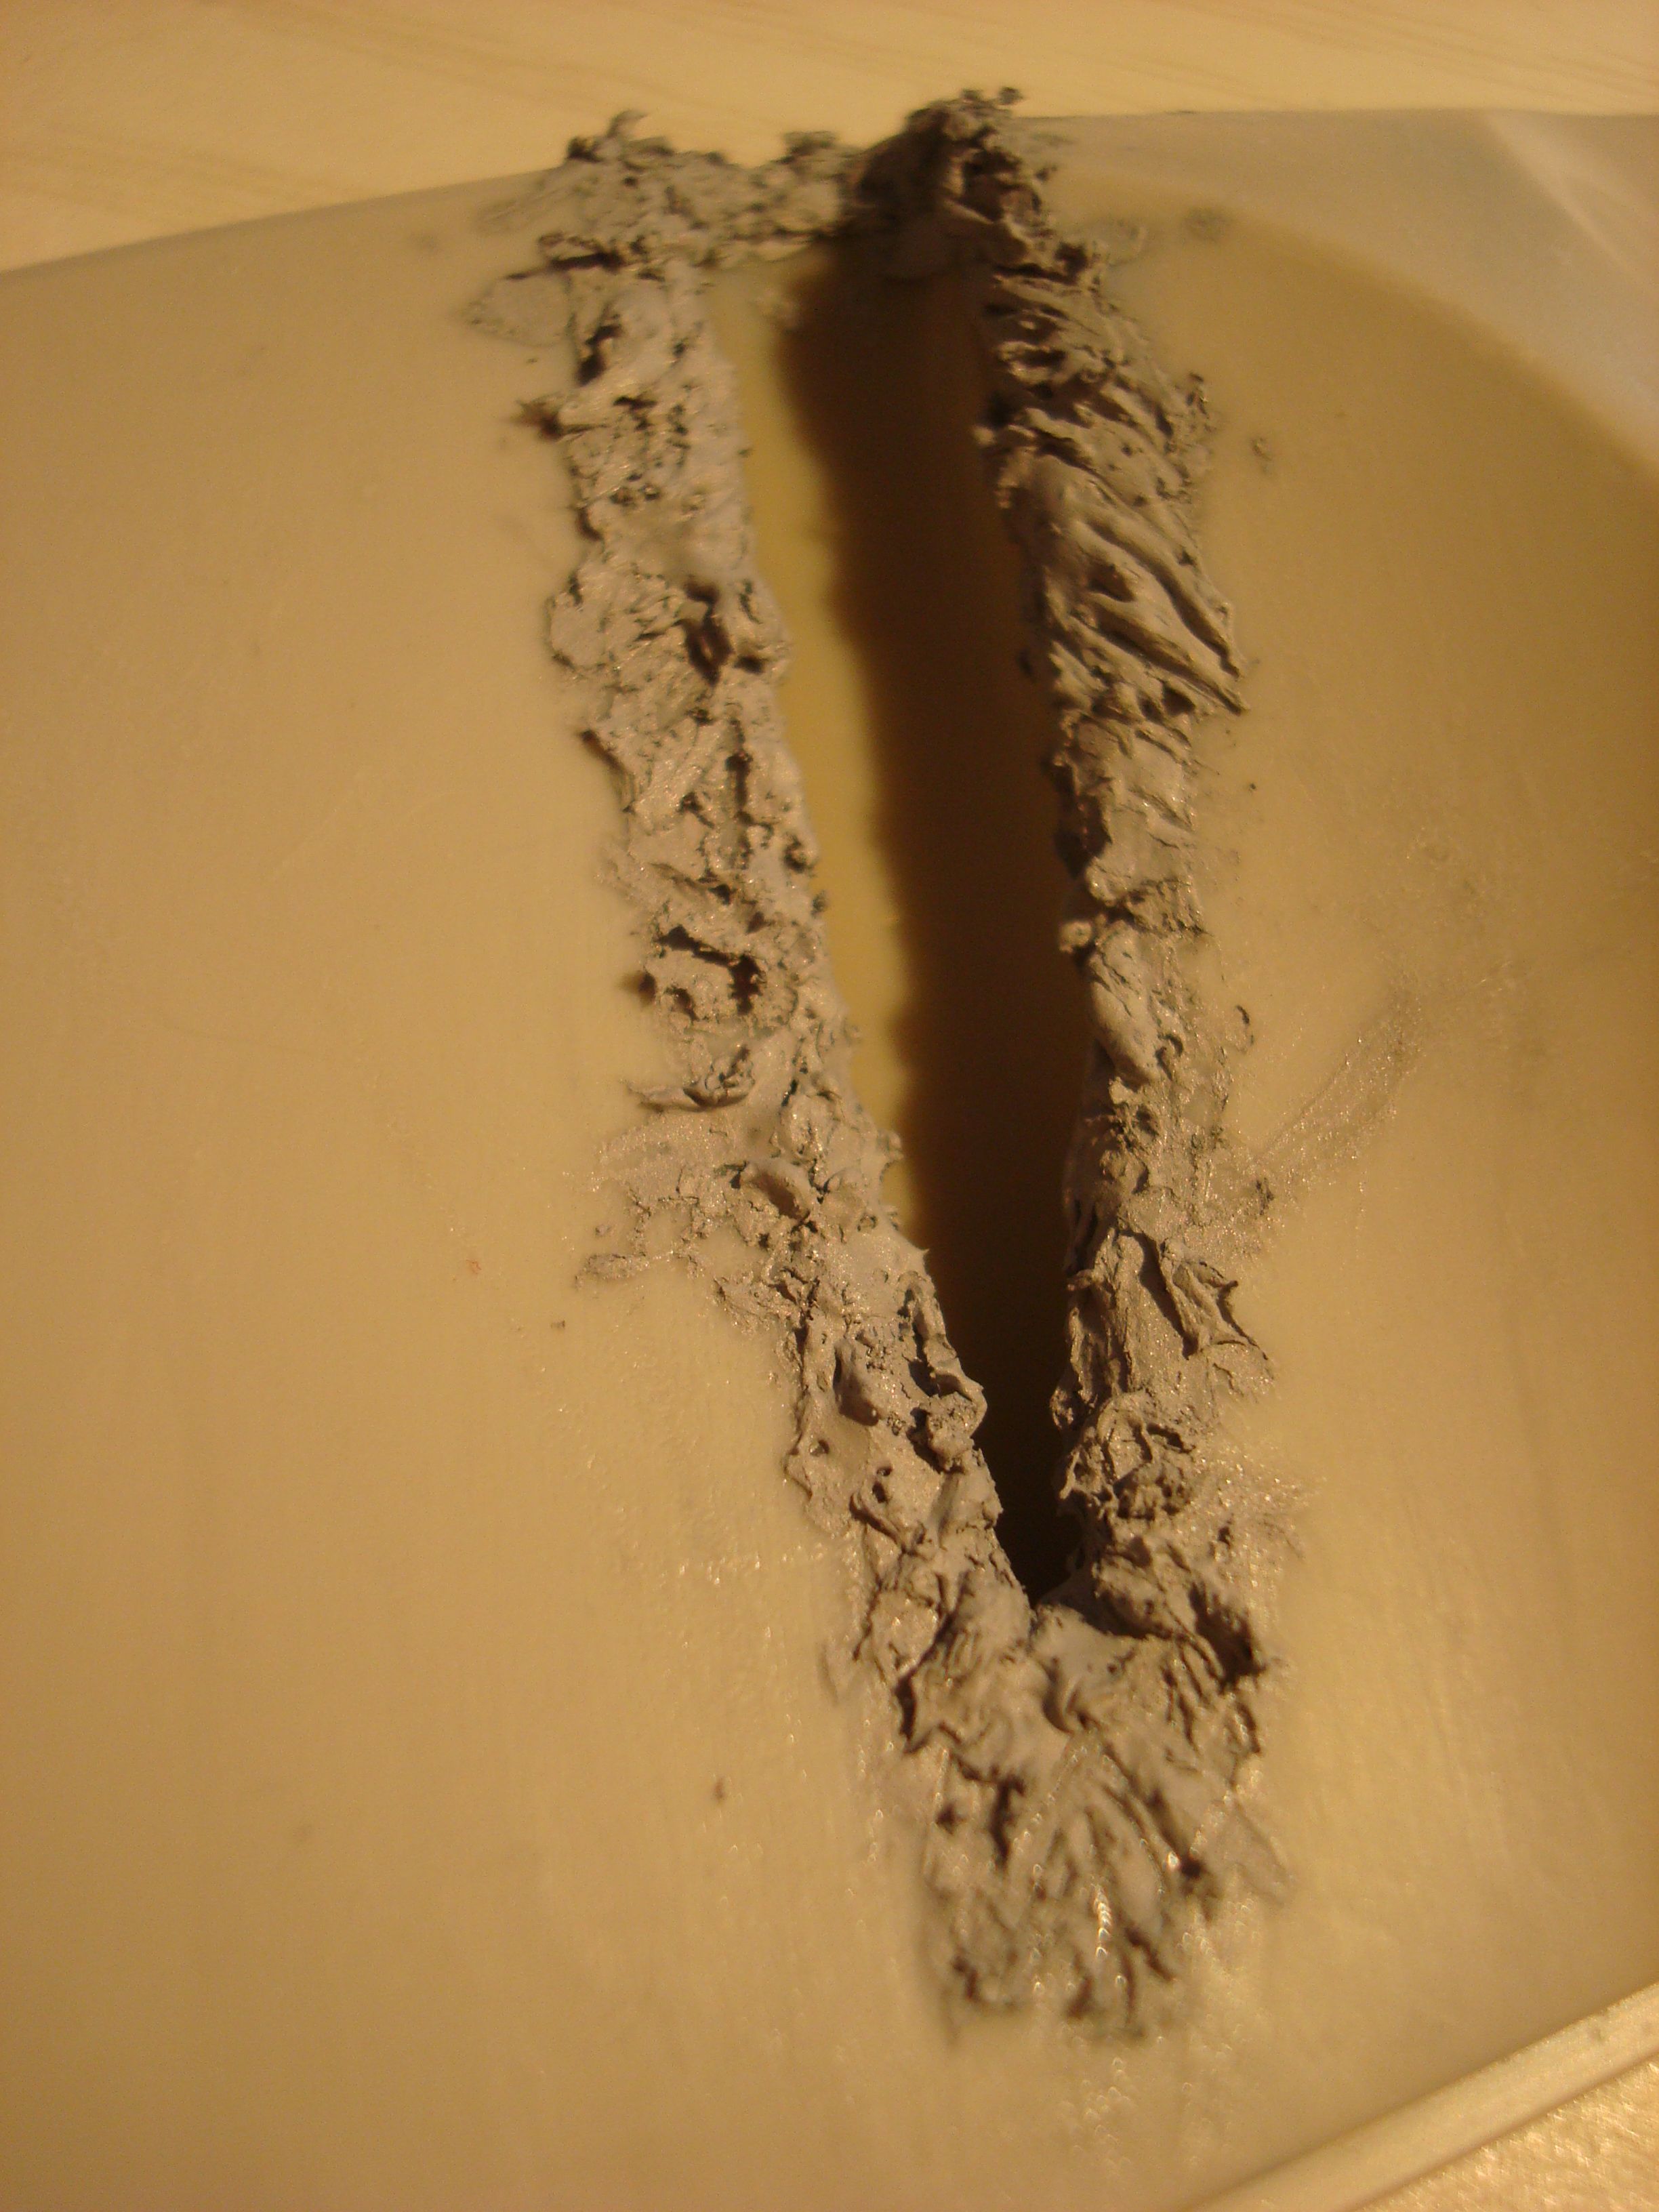
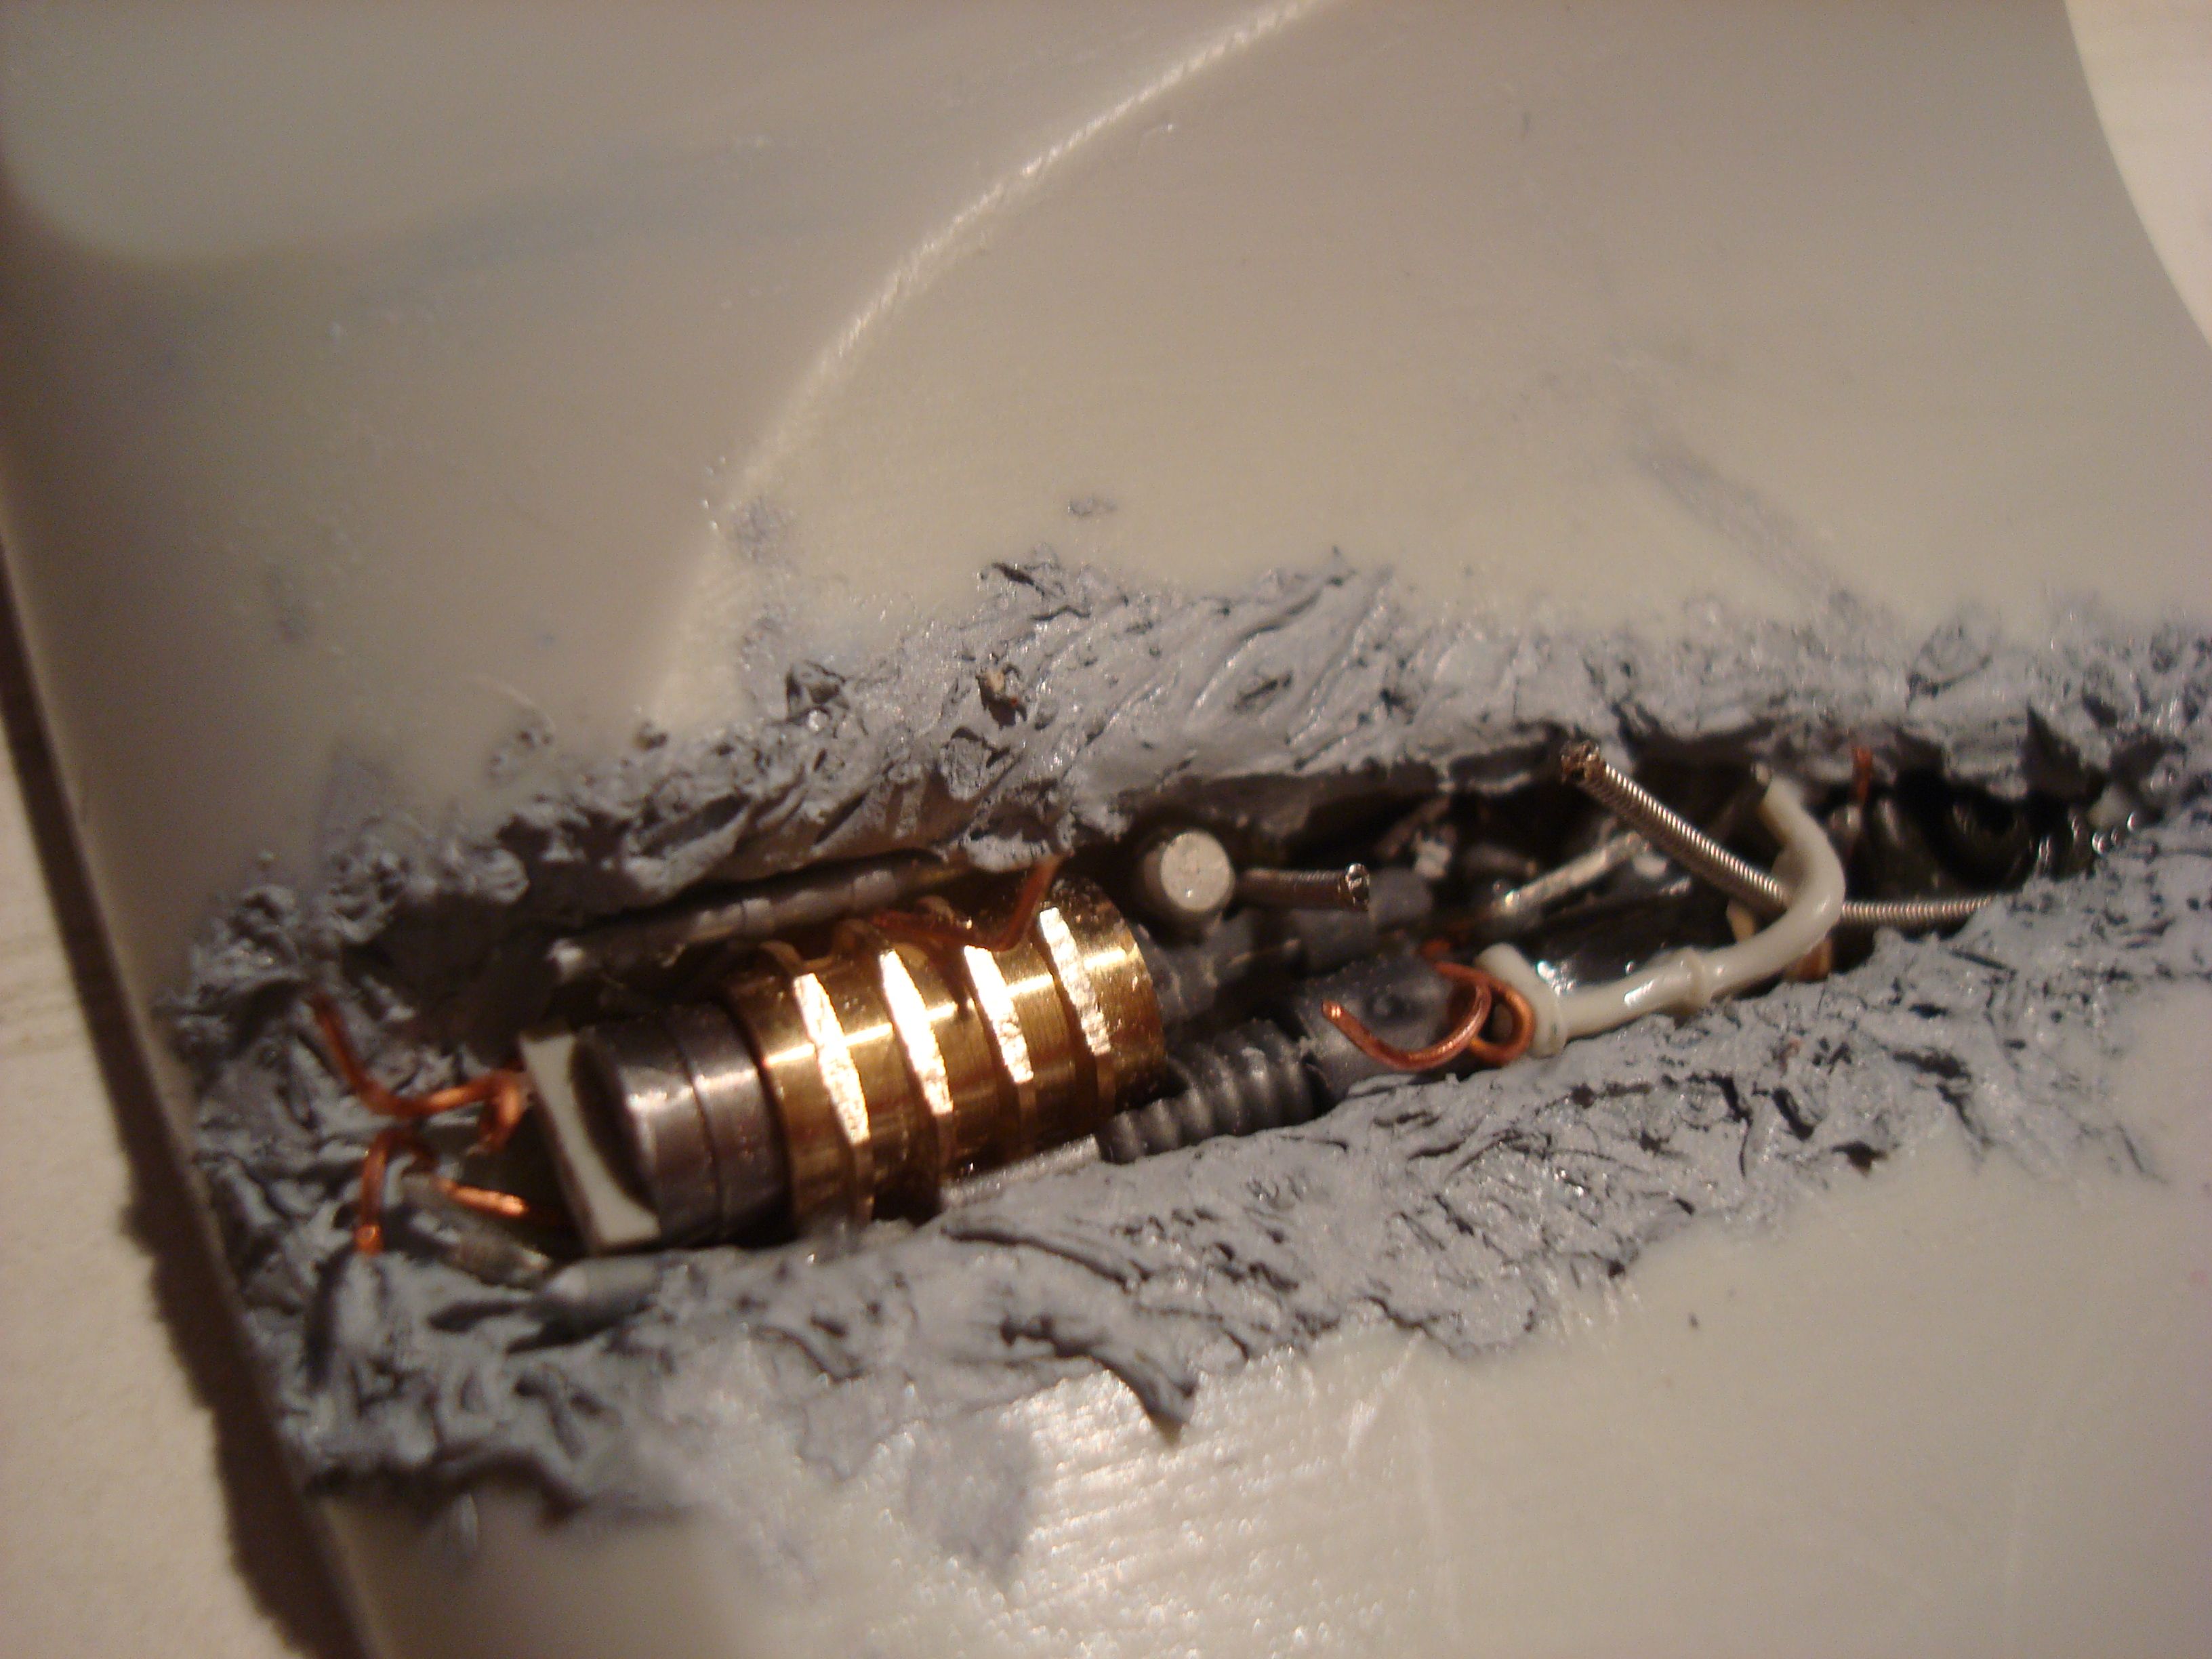
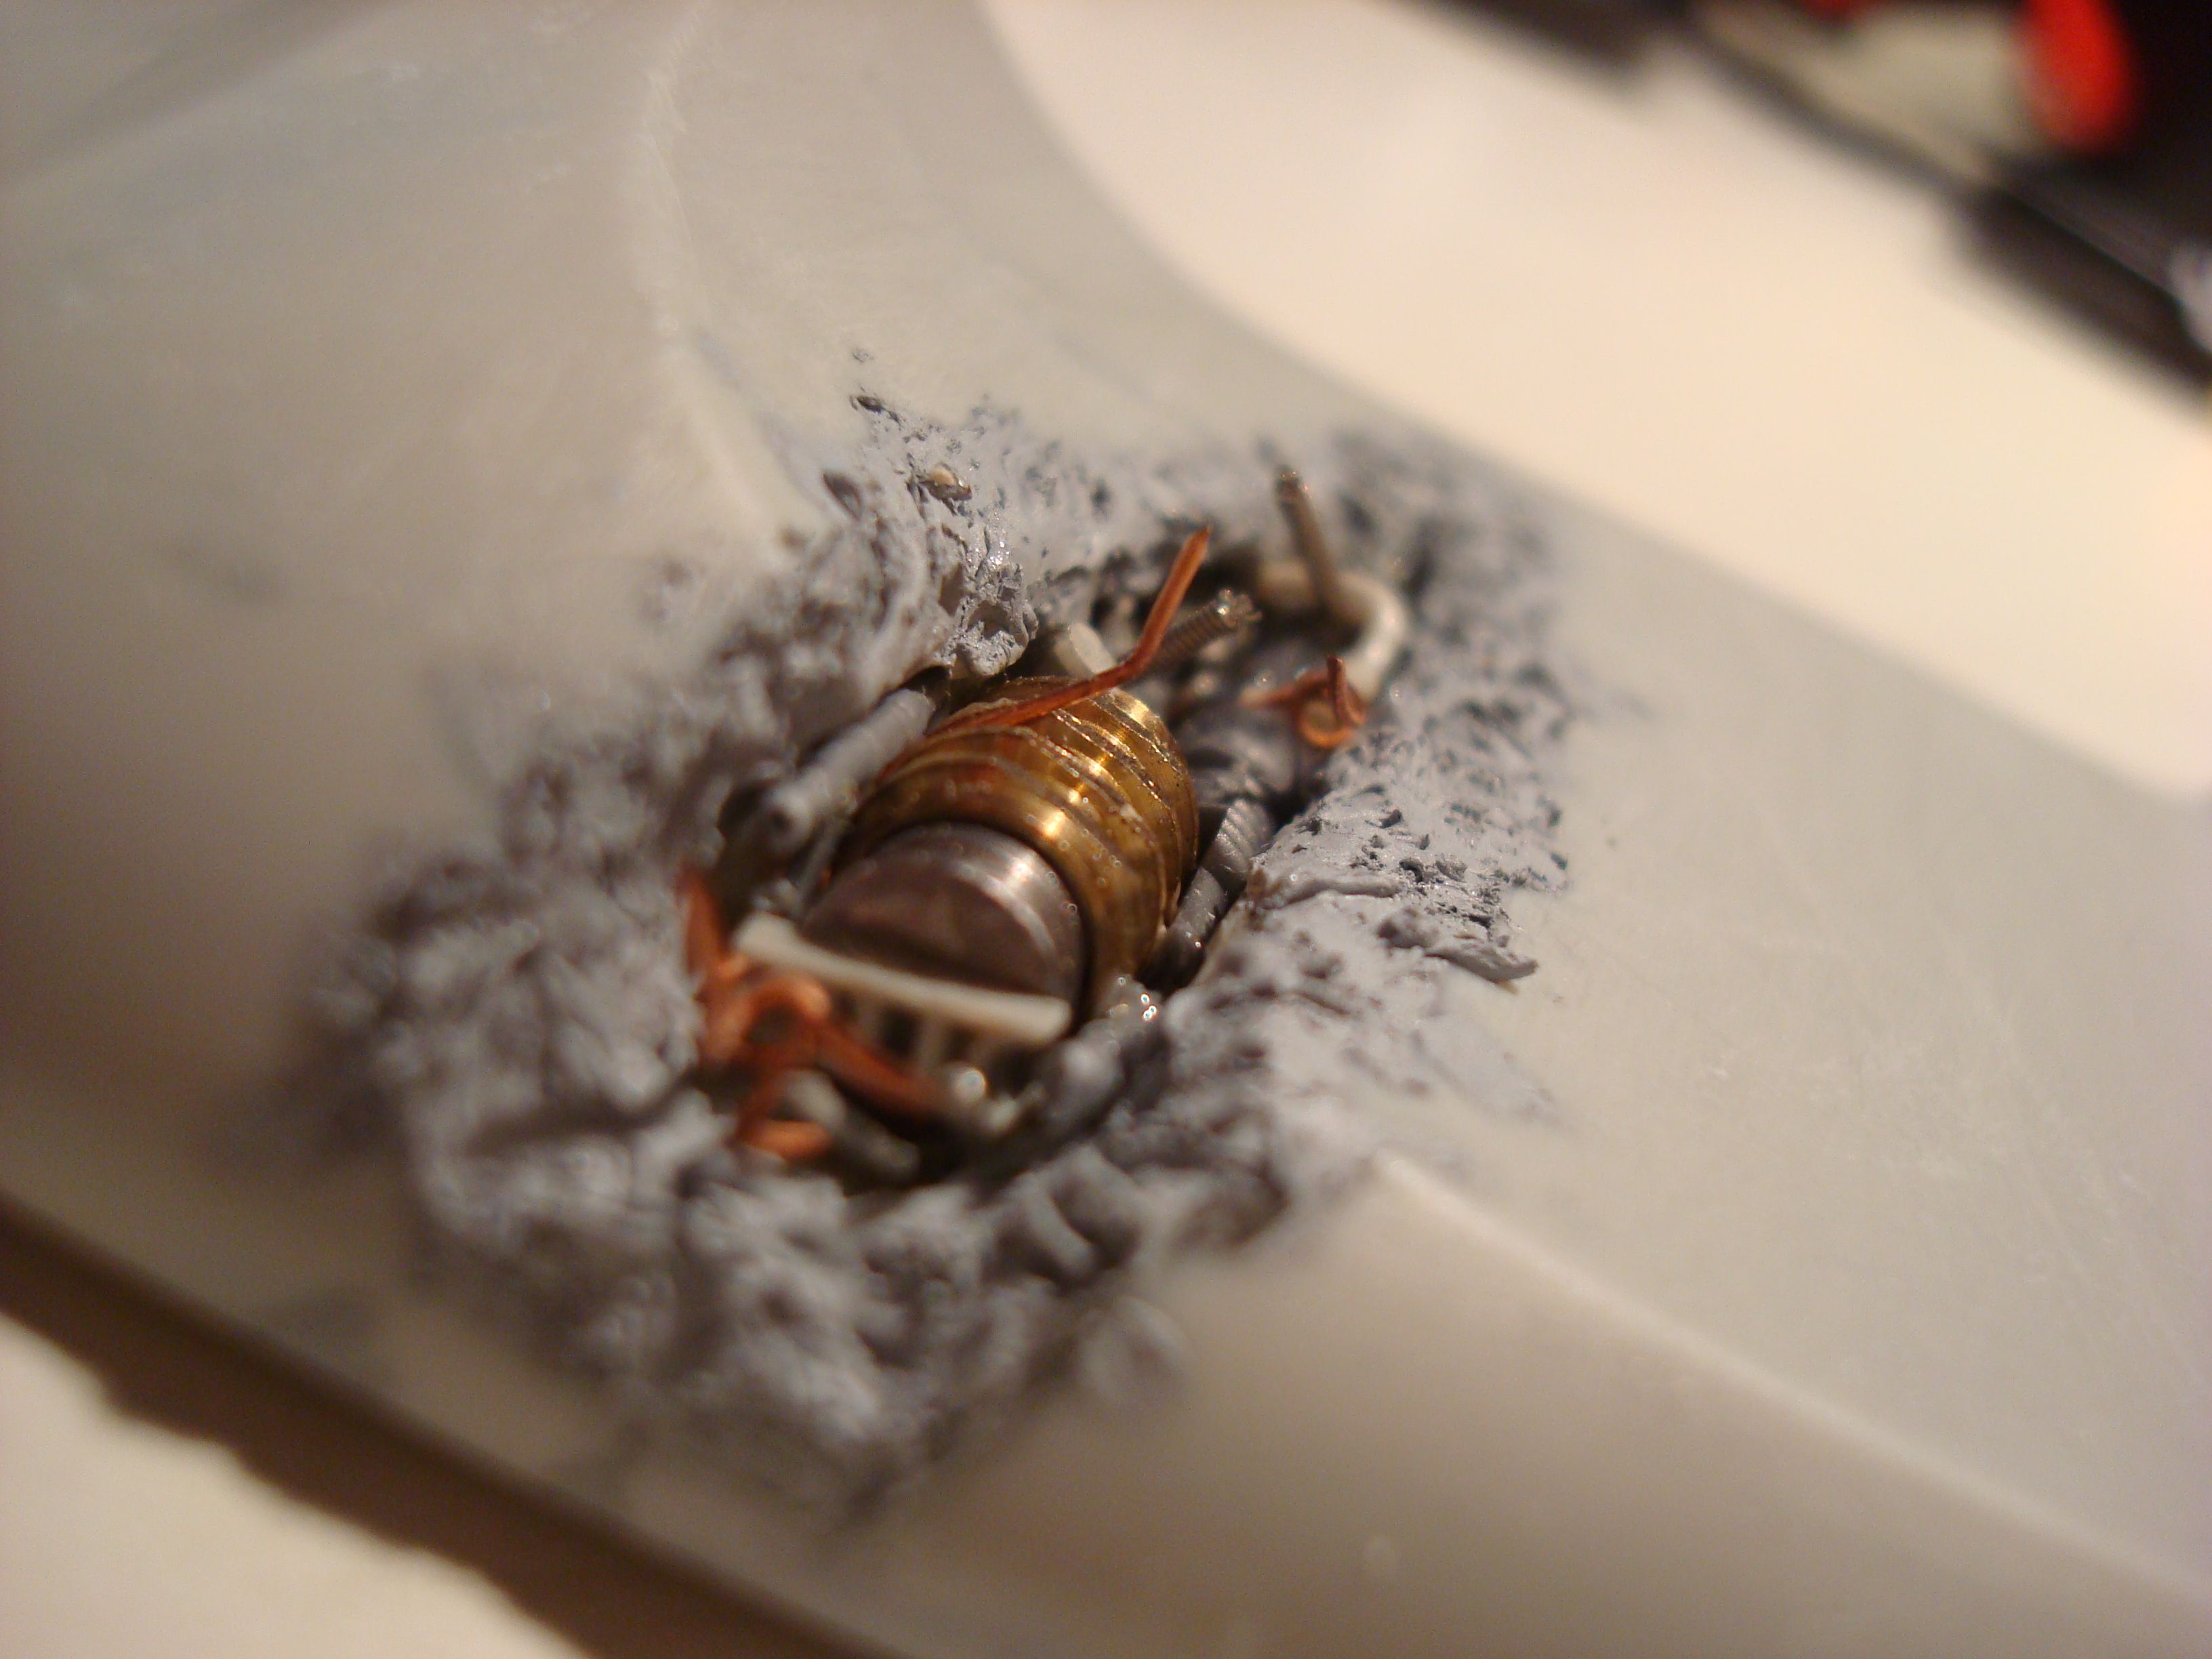
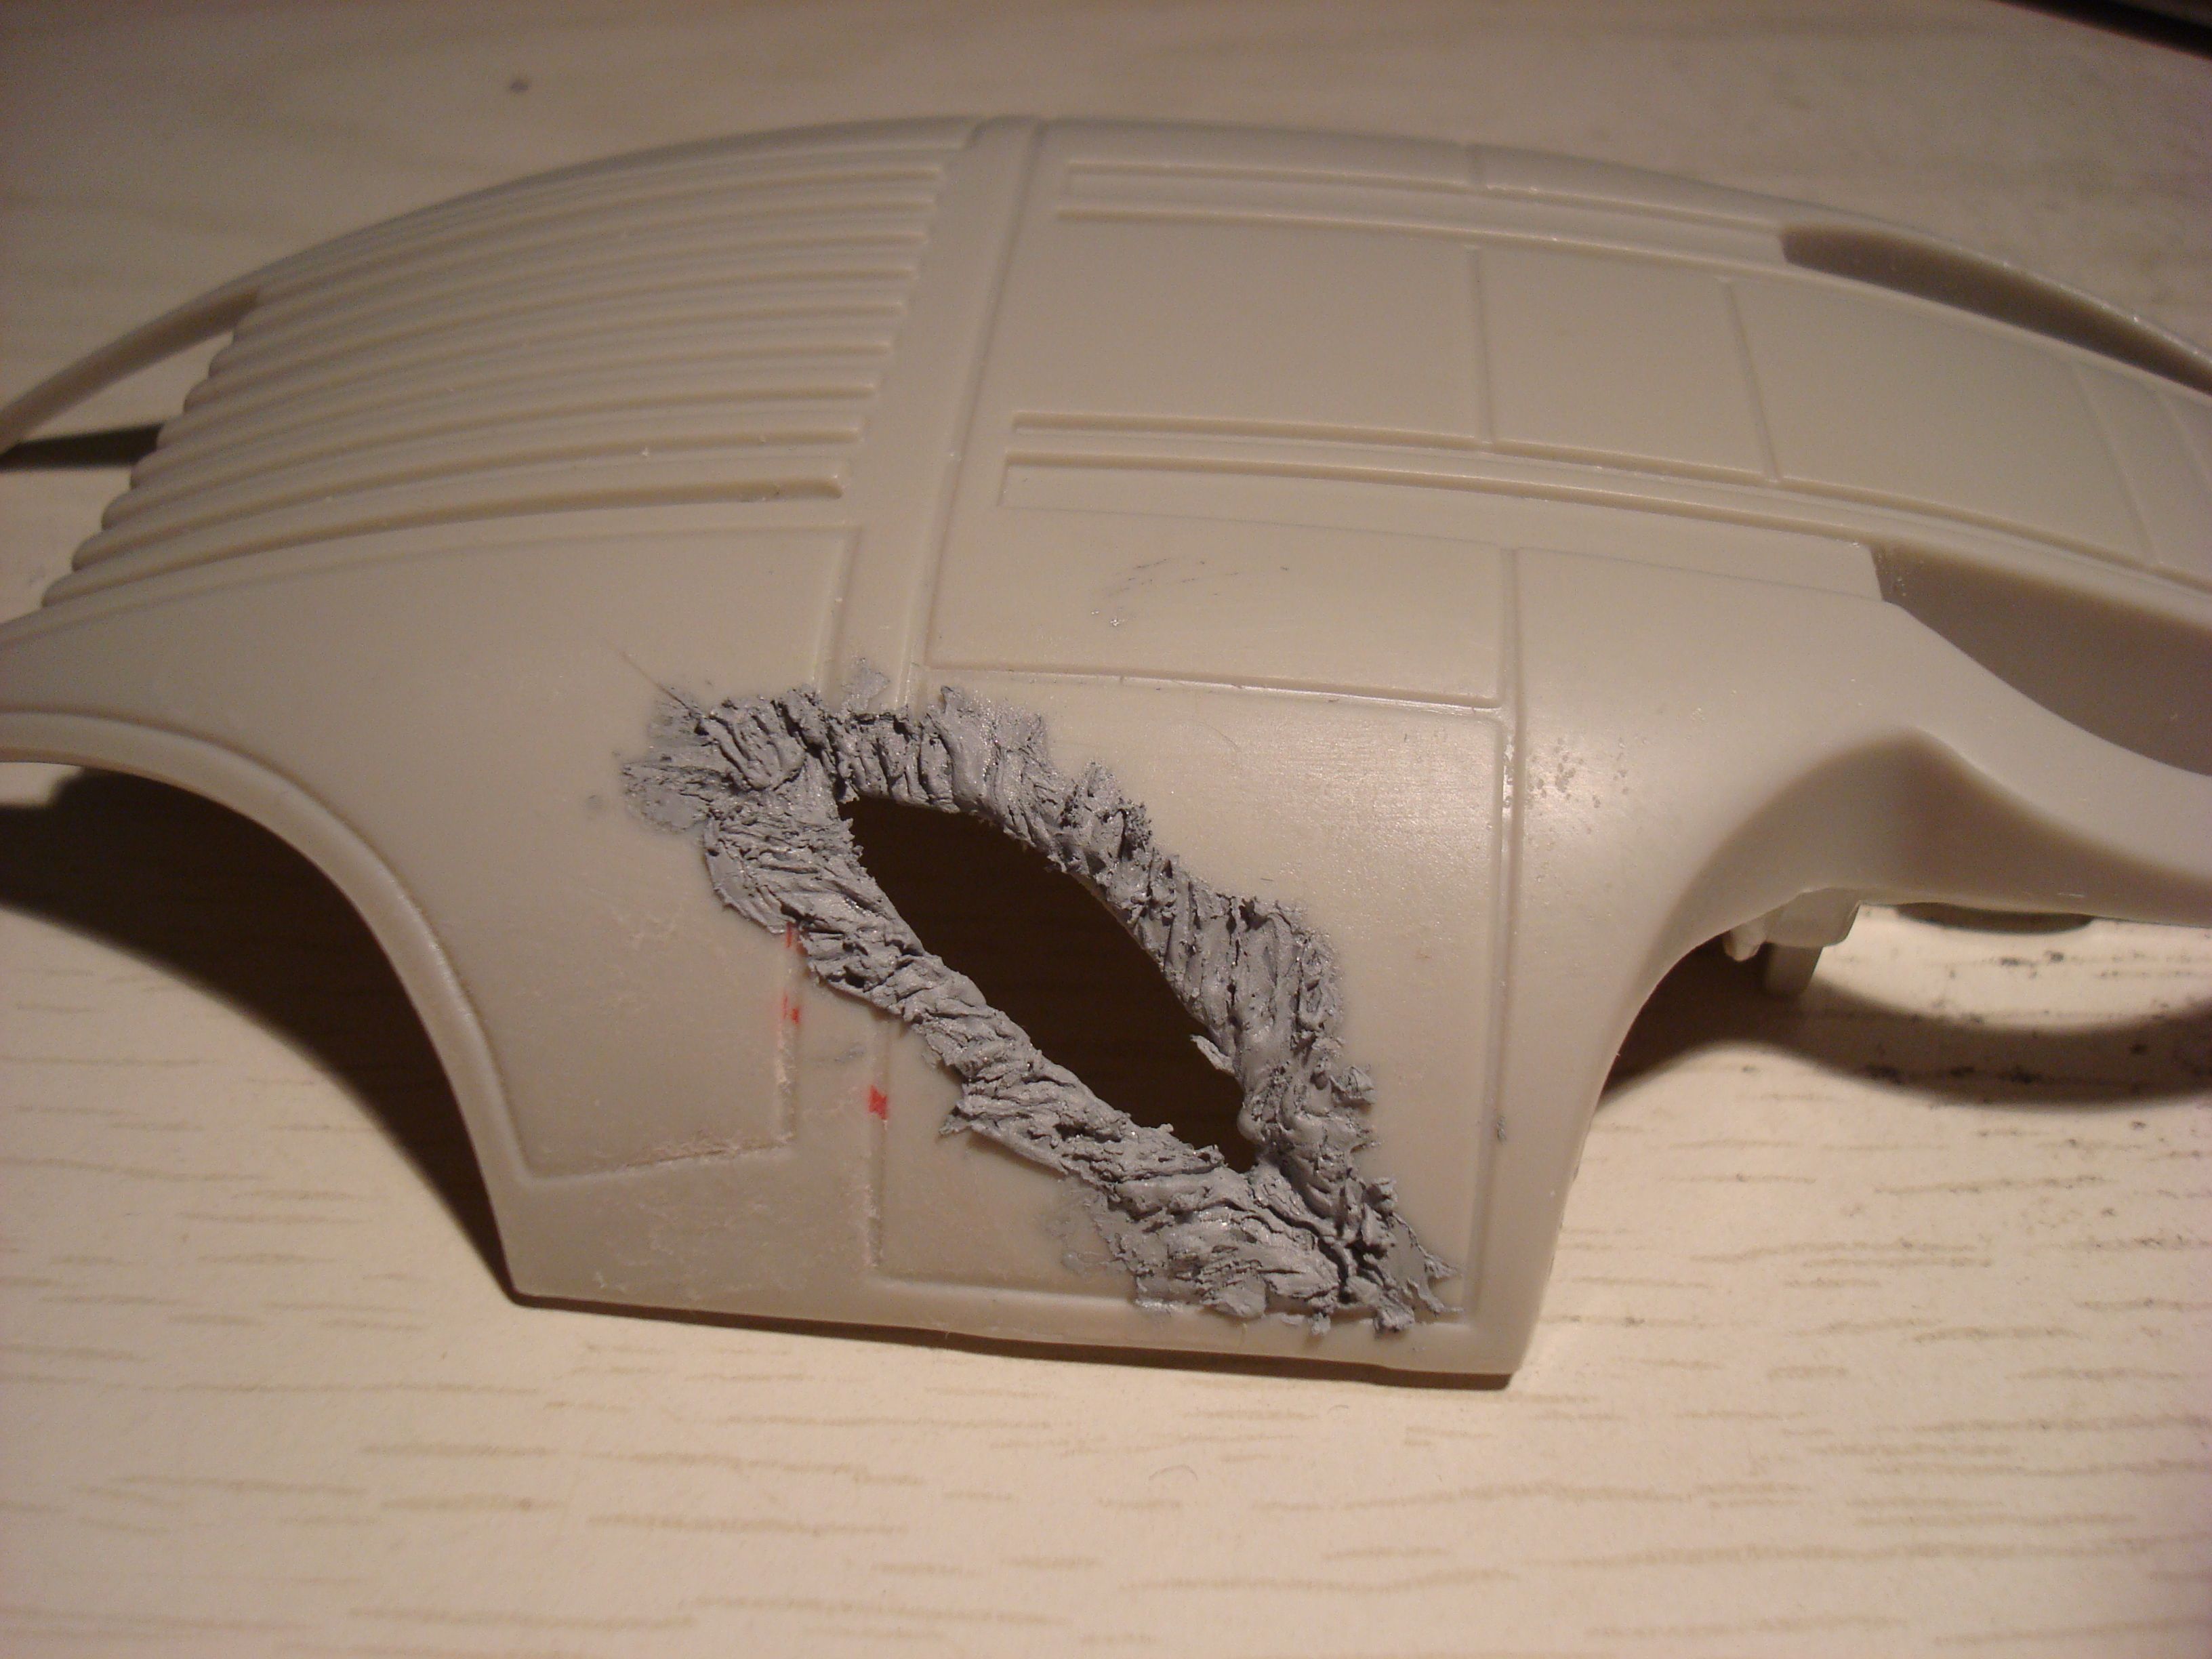
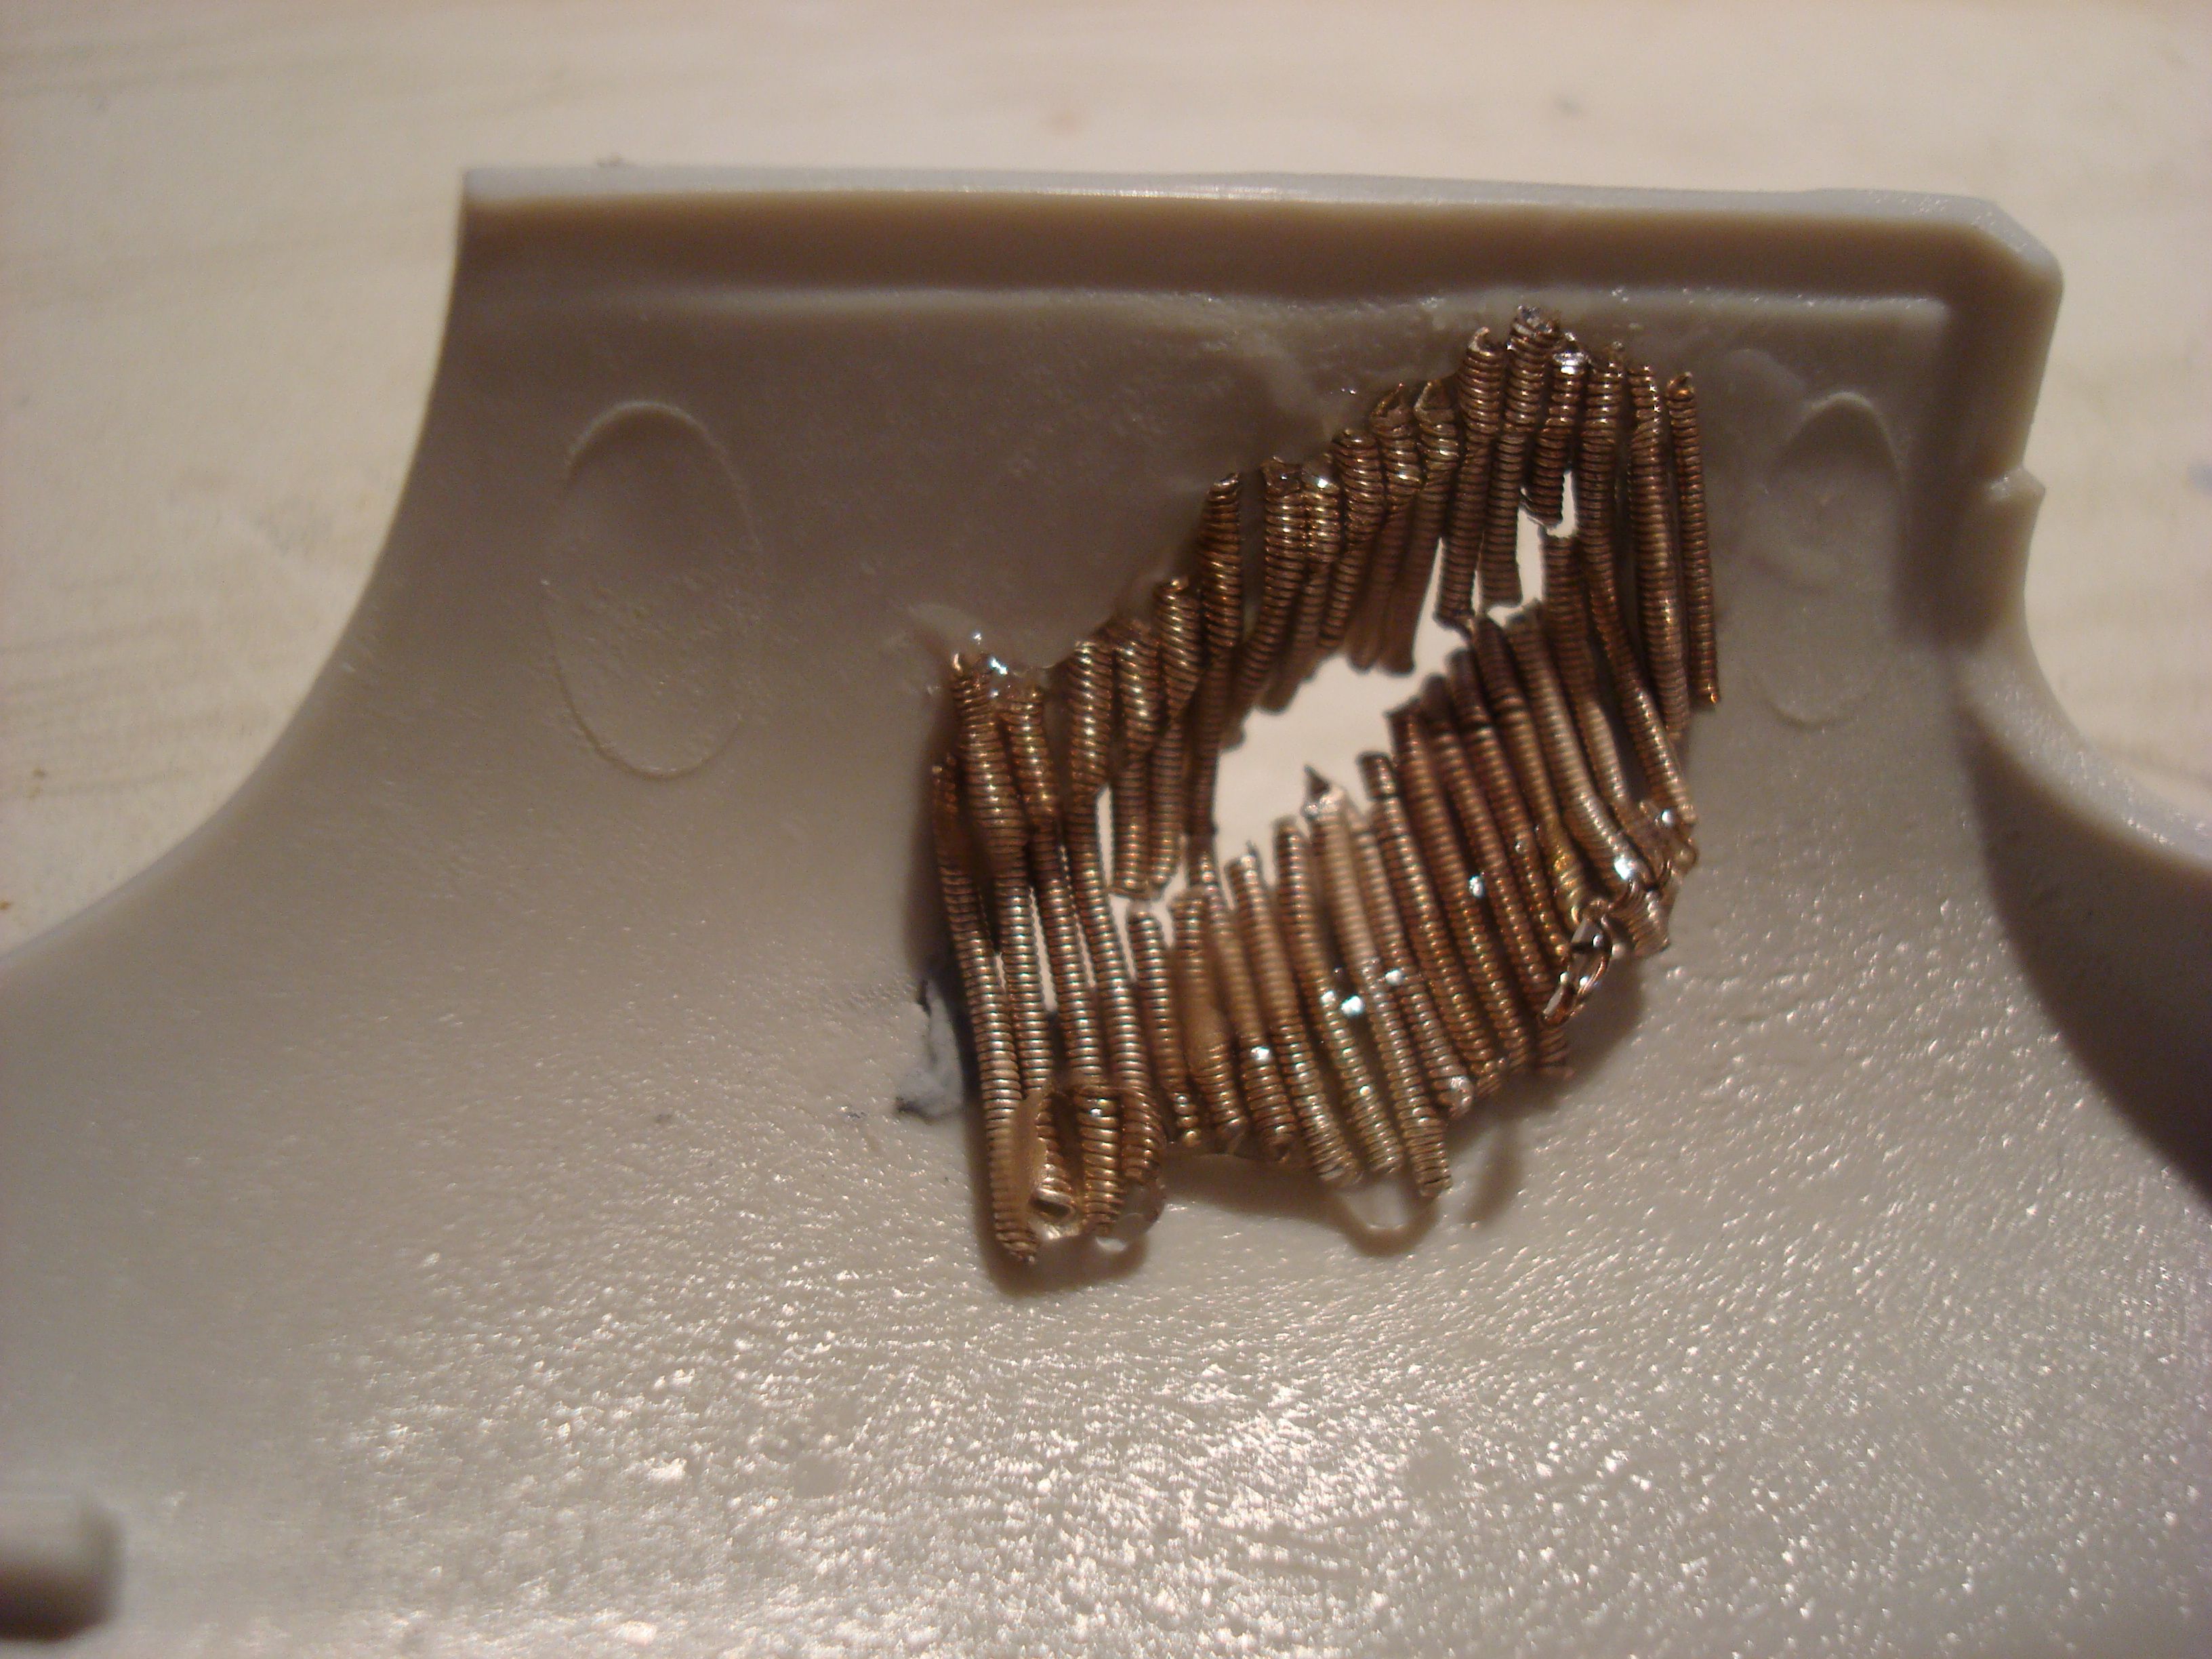
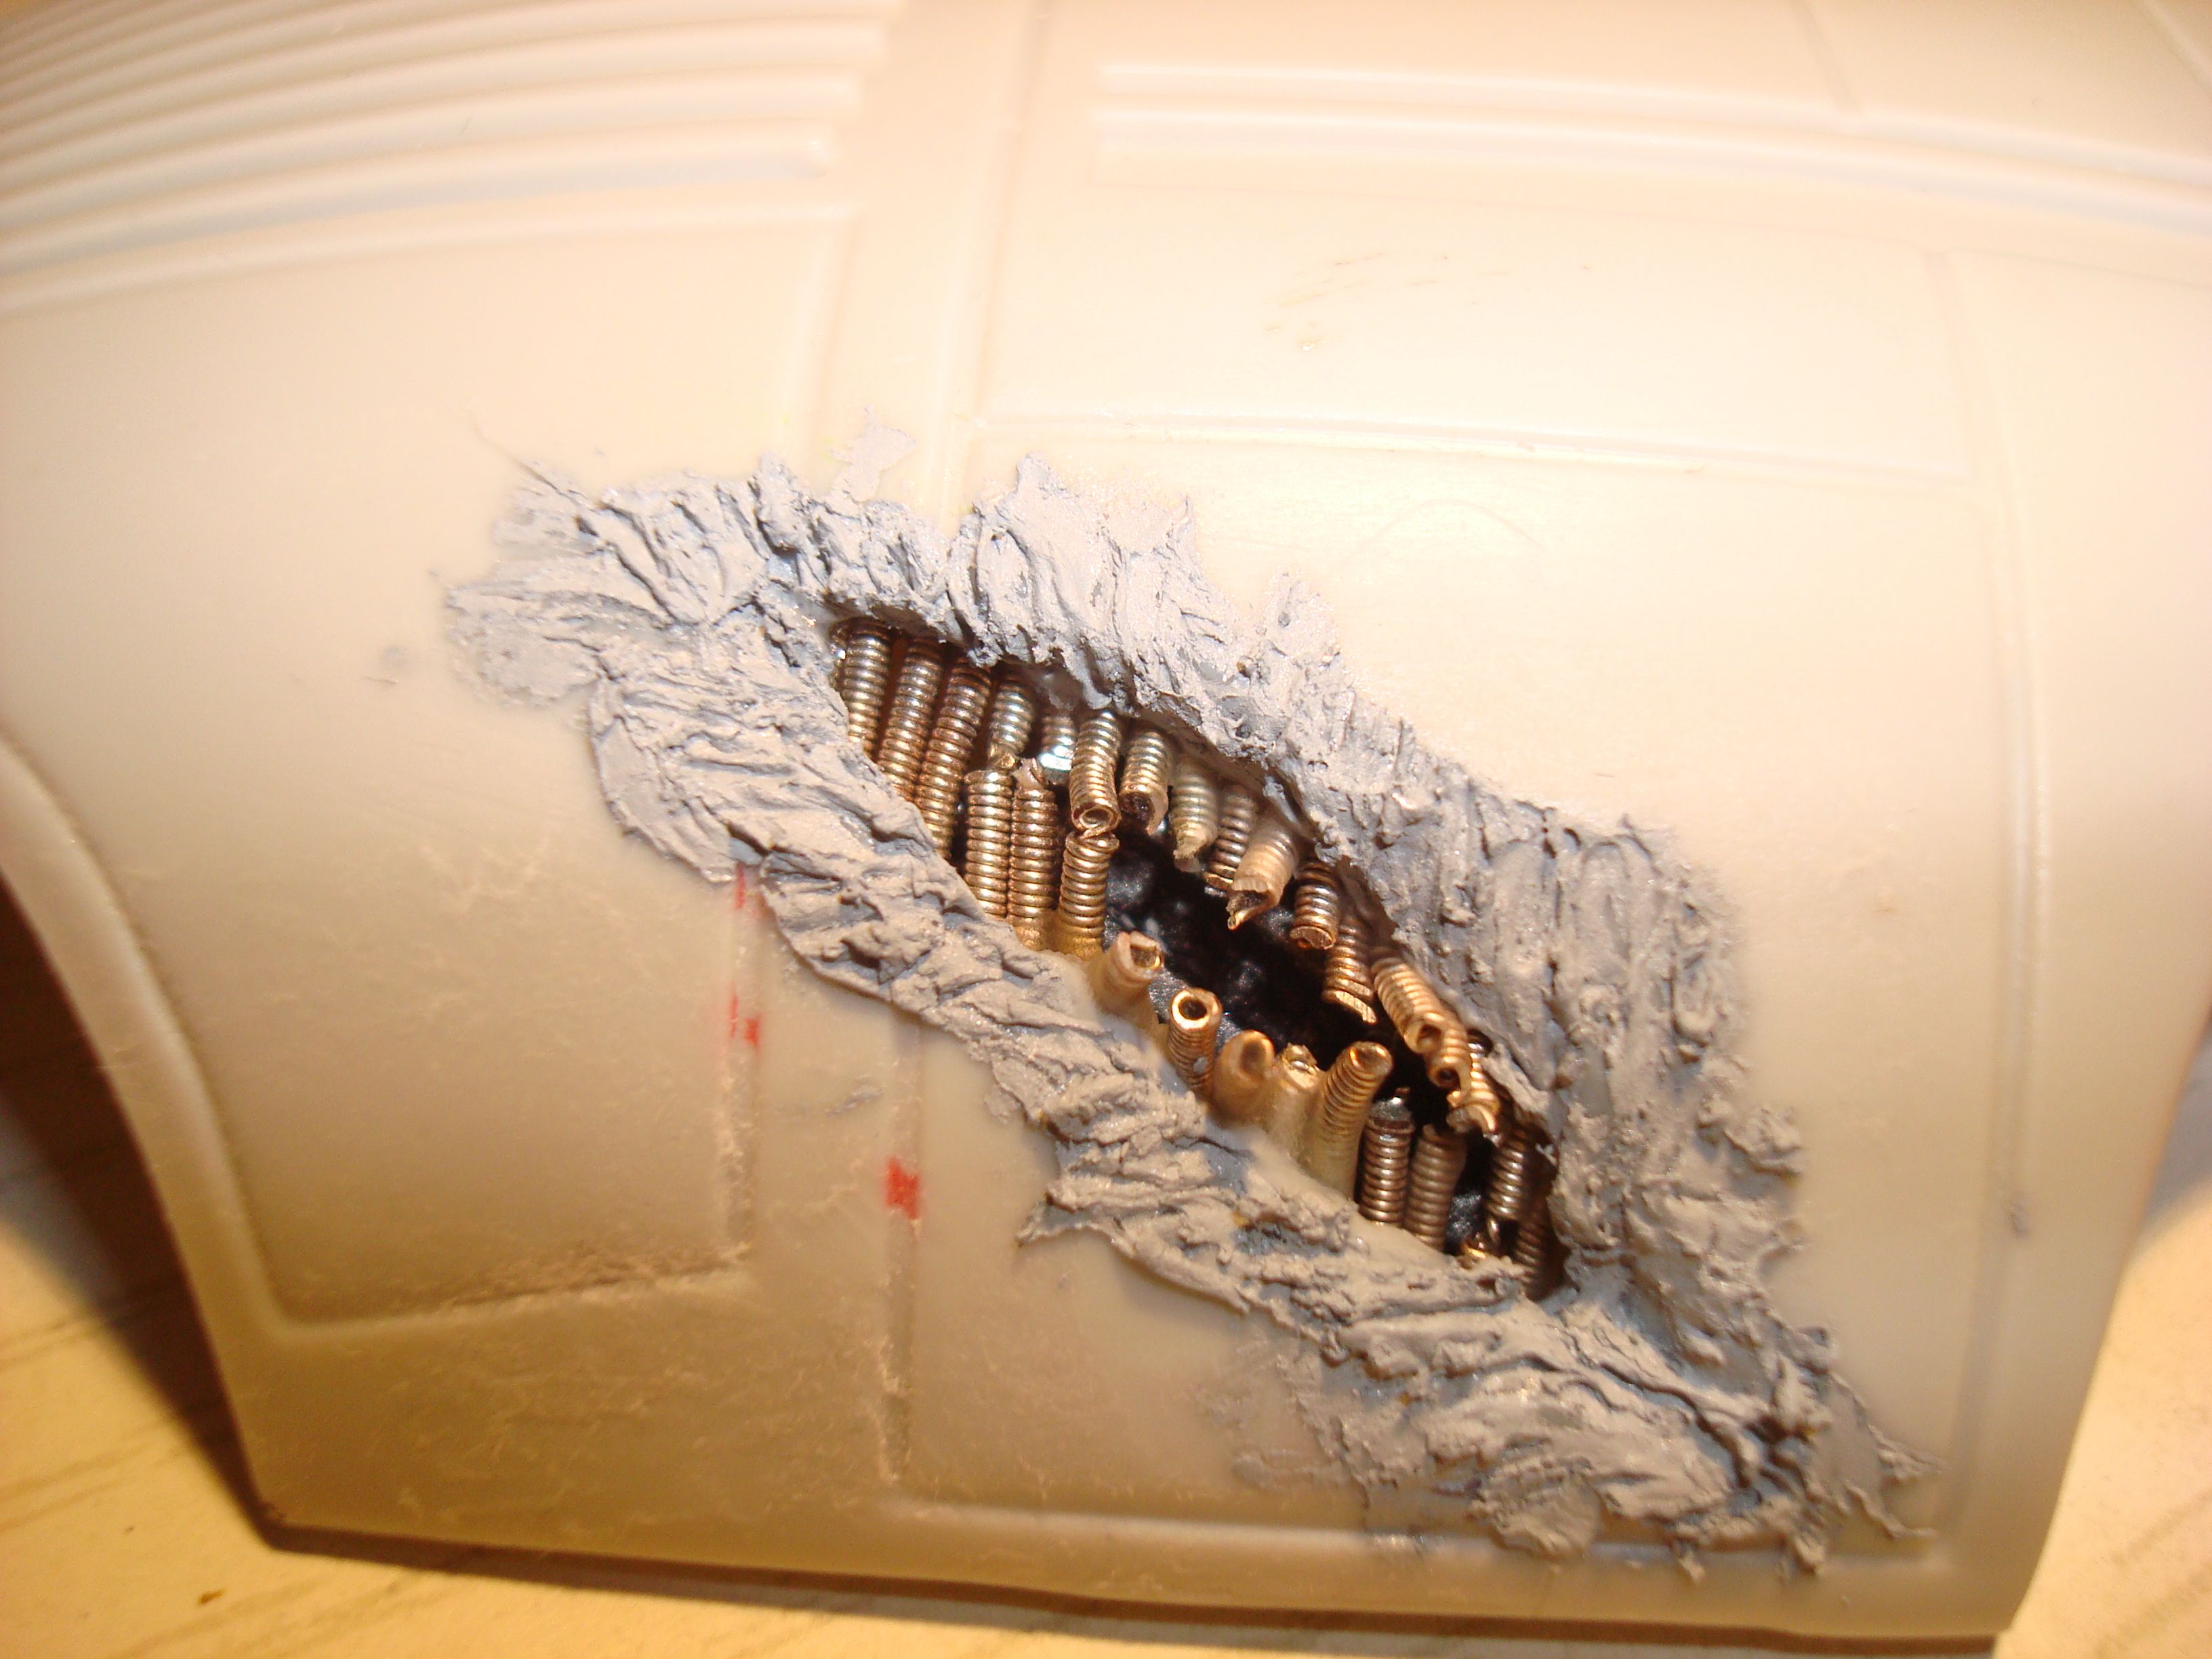
As you can see I've already done a big part of the assembly. At this time I did not know the existence of putty, or washes, or forums to help me finding tips to make things better...

So my first job will be with the putty ;D
 
Re: hide and seek (clone soldier vs droid on STAP)

Any answer? :-[

Well next steps! 8)

I have a lot of job to do to correct my past mistakes on the droid, lot of gaps and sanding, it goes well, but slow! ;D


dsc01111tc.jpg


dsc01130hw.jpg


Here is the clone soldier I'm going to use, a hot toys one! He's going to be weathered, too!

dsc01131r.jpg

The base of the diorama will be the one under the clone! I will add grass and weathering on it! I will add a foot to hold the STAP, too!

Speaking about the STAP, it will be a battle damaged version. I used a technic view on another forum to create a nice scar on it and add details which are (I hope) realistics!

First operation is to cut a big hole in the model and glue something to create a support.
dsc01112zs.jpg


dsc01115h.jpg


dsc01117sa.jpg


Then sculpt the sides with putty in order to have a melt steel look.

dsc01122rs.jpg


dsc01123lm.jpg


And finally stuff it with parts and cut wires:

dsc01126oa.jpg


dsc01127eu.jpg


dsc01128k.jpg


Next steps, soon! ;D
 
Here's the next steps (I love christmas break!)

I had to use the dremel to make the guns look in the same direction. Before:

dsc01132mi.jpg


After:

dsc01134o.jpg


Same detailling technic on the upper part:

dsc01135t.jpg


This time I take guitar rod to make a bended and cutted cables:

dsc01138cu.jpg


dsc01139z.jpg


Using this tinny vehicle to make the inner details:

dsc01141r.jpg


dsc01142ge.jpg


dsc01148oce.jpg


Hard to see something in with all those cables:

Next steps... Saturday I think! ;D
 
I think I'm in the wrong category, could a moderator move that subject to sci-fi please? ;)
 
this Category doesn't get as many hits as the others, but the battle damage yu have is Fantastic really well done, ;)
 
What a trip. Now there's some imagination for ya, very well done D, very well done. I'll be watchin this one, pretty cool work.

Cheers, Ski.
 
So often in movies we see scenes where large damage like this happens to 'sci-fi' craft but i've not seen any done in scale any better then this outside of said movies.
Will be keeping a keen eye on this.
 
I love your awesome innards 'K'

i'm gunna steal the guitar string idea ,ok

That damage looks wicked buddy

Gag
 
Thanks a lot guys! ;)

The Nylon Gag said:
I love your awesome innards 'K'

i'm gunna steal the guitar string idea ,ok

That damage looks wicked buddy

Gag

Actually, lot of my inspiration for the inner parts comes from your work on the MK I 8)

No prob about the guitare string idea ;D

Here are the next steps:

I made good moves on the STAP which is nearly ready for paint!

Upper assembly done:

dsc01164zh.jpg


dsc01166na.jpg


Then some painting stages to check if the are some gaps or sanding scratches remaining:

dsc01170m.jpg


I made the assembly step by step to be able to look easily for areas to correct:

dsc01171nv.jpg


And... closing the beast:

dsc01172xb.jpg


After that I choosed the position of the upper part (upper part is normally allowed to move) and add brass rods to avoid movements and add strength to the model:

dsc01182a.jpg


dsc01183lc.jpg


I finally add putty to close the holes made for the brass rods

Let's now talk about the droid:

I replaced the plastic rods on the backpack by steel rods:

dsc01167c.jpg


dsc01168r.jpg


dsc01184pj.jpg


dsc01185nq.jpg


Poor exploded droid... ;D

dsc01169nd.jpg


Freeze! ;D

dsc01194qi.jpg


About the clone: I have to say that I truely hesitate to give him a full new paint. The factory one's is too cleane... It is possible to see pixels on some details... What hold me so far is the fact that I don't know if it is possible to disassembly it full... ::)

dsc01188r.jpg


dsc01189eg.jpg


dsc01191oa.jpg


I'm starting by repairing trhe weapons... In a second though, those guns are a shame... That figure costs arround 200$ and they aren't able to close the weapon clean! :-X

dsc01195ol.jpg


I removed the footprint on the base with putty:

dsc01186ol.jpg
 
Excellent work with the STAP.

And I fully understand your hesitation with the figure
 
Thanks Quaralane ;)

Here are the next steps:

I added some magnets on the droid and on the STAP. i never worked before with magnets in that way and I have to say that it was really hard to work with! The aren't really cooperatif! But in the end this is working so I'm happy with the result!

dsc01197qw.jpg


dsc01199h.jpg


dsc01203xy.jpg


I found the position of the droid on the STAP after some tests!

Here it is on the toilets:

dsc01200bb.jpg


Here at the fitness:

dsc01204y.jpg


And finally here it is in position:

dsc01209ru.jpg


dsc01210y.jpg


dsc01211f.jpg


dsc01213wf.jpg


I decided that the diorama will be at or near the beach. I realised grass using sprues. There are three different thickness here which are going to be painted with different green.

Production in progress:

dsc01226lw.jpg


Looks good:

dsc01229yx.jpg


Thick grass

dsc01230rw.jpg


Normal grass:

dsc01231s.jpg


Thin grass:

dsc01232pq.jpg
 
Yikes that's a unique way of making grass. Crazy stuff. Build is Class too man.
 
Thanks a lot guys, I'm learning a lot of new technics with that build, hope I will succeed! 8)

HEre's how the droid will be hold in place: I added one nail per hand:

dsc01252cb.jpg


Almost done with the blaster, one protecting coat to go!
Here are the differents steps:

One white primer, then one metal grey coat:

dsc01240qw.jpg


After that I tried the salt technic to add scratches effects on a flat black coat:

dsc01257g.jpg


Removing the salt:

dsc01259yl.jpg


After that I added details with grey and bronze color! Metal grey drybrush added, too:

dsc01261zc.jpg


dsc01262l.jpg


Rust juice:

dsc01264f.jpg


White drybrush:

dsc01266f.jpg


And finally desert yellow drybrush:

dsc01267l.jpg


dsc01269sr.jpg


Here it is near the big blaster (which I'm not going to use on that diorama) to compare to the original painting:

dsc01270km.jpg


dsc01272jk.jpg


Same treatment for the other part:

dsc01273zr.jpg


The droid and the STAP are both painted with metal grey and chrome. Those coats are going to be used as primer for the hairspray technic!
I have a question about that technic... Do I have to spray all of the model or only the part who will be scratched?

dsc01277z.jpg


dsc01278x.jpg


dsc01279n.jpg
 
Thanks spud ;)

I have a question about the hairspray technic: Do I have to spray all of the model or only the part who will be scratched?
 
I haven't posted for a long time in this topic!

I start again working on that buil those last weeks

I started to work on the base and I wasn't thinking I will have so much fun with it!

I started with a tamyia grey base coat, then added a humbrol 40 little touches with a brush.

The next pictures show that:

rq4p.jpg


5c44.jpg


gjft.jpg


j6de.jpg


After that I drybrushed lots of areas with different colors.
First a coat of humbrol semi-gloss white, then humbroll 77 dark blue grey, then tamyia dark grey (80% XF-1 / 5% XF-2), and another tamyia dark grey (95% XF-1 / 5% XF-2).

Right know, 2 juices are drying out: brown (XF-64 & XF-1) and green (XF-5 & XF-64).

Pictures soon!
 

Latest posts

Back
Top