Group Build: Biplane - barnstormer to fighter

Scale Model Addict - Model Tips, Guides, Tools & Tech, Tutorials, and Community

Help Support Scale Model Addict:

It comes with Charity decals... Thought a bit about making Faith decals, but I've not had great success in the past. I'm happy to do Charity, part of the famous trio, defenders of Malta!
The defenders of Malta...
There is a Spit Mk V out there with a Buzz that is calling me to build it.
 
The defenders of Malta...
There is a Spit Mk V out there with a Buzz that is calling me to build it.
I admit my knowledge is sketchy, but were not all of the (few) Spitfires they had ferried over from a single carrier in the far Western Mediteranian?
 
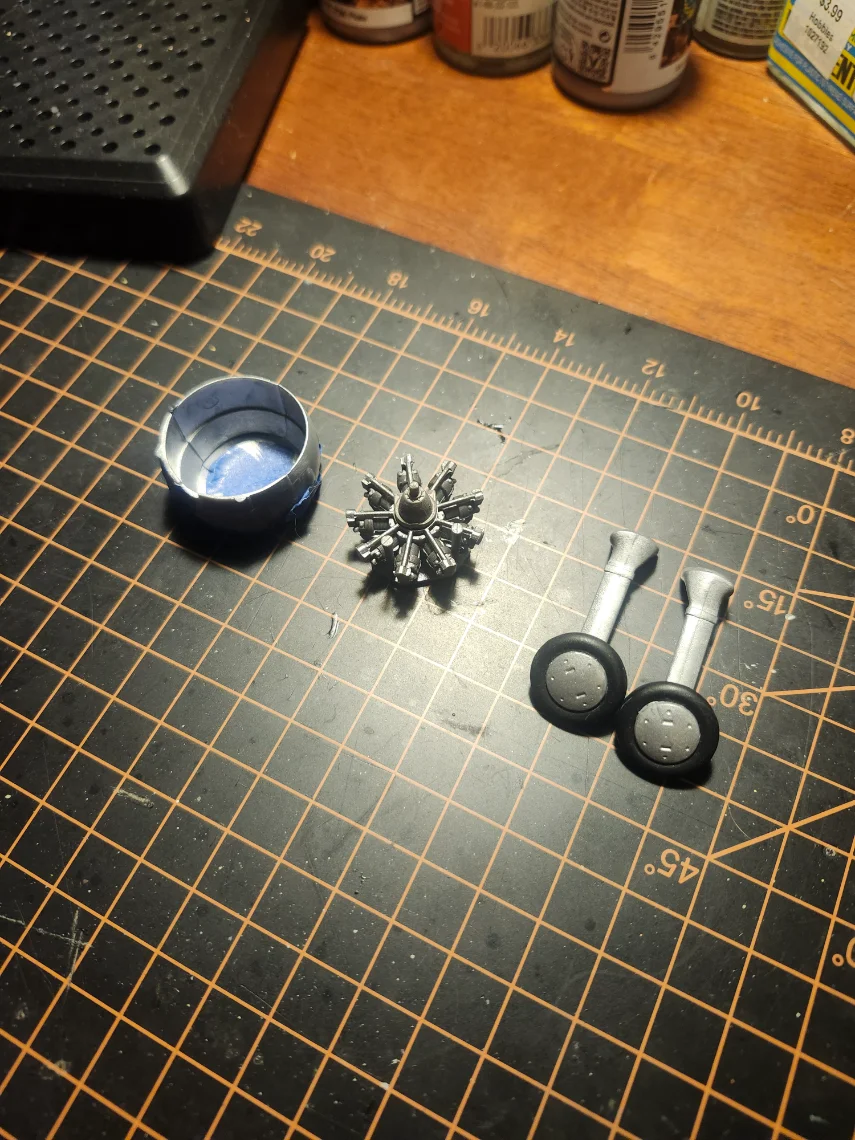
A little progress. Time has been at a premium the last few days, but I had some to spare tonight. Still have to put the exhaust stubs on the engine but it fits well in the cowl at this point.

20260729_213431.webp
 
I admit my knowledge is sketchy, but were not all of the (few) Spitfires they had ferried over from a single carrier in the far Western Mediteranian?
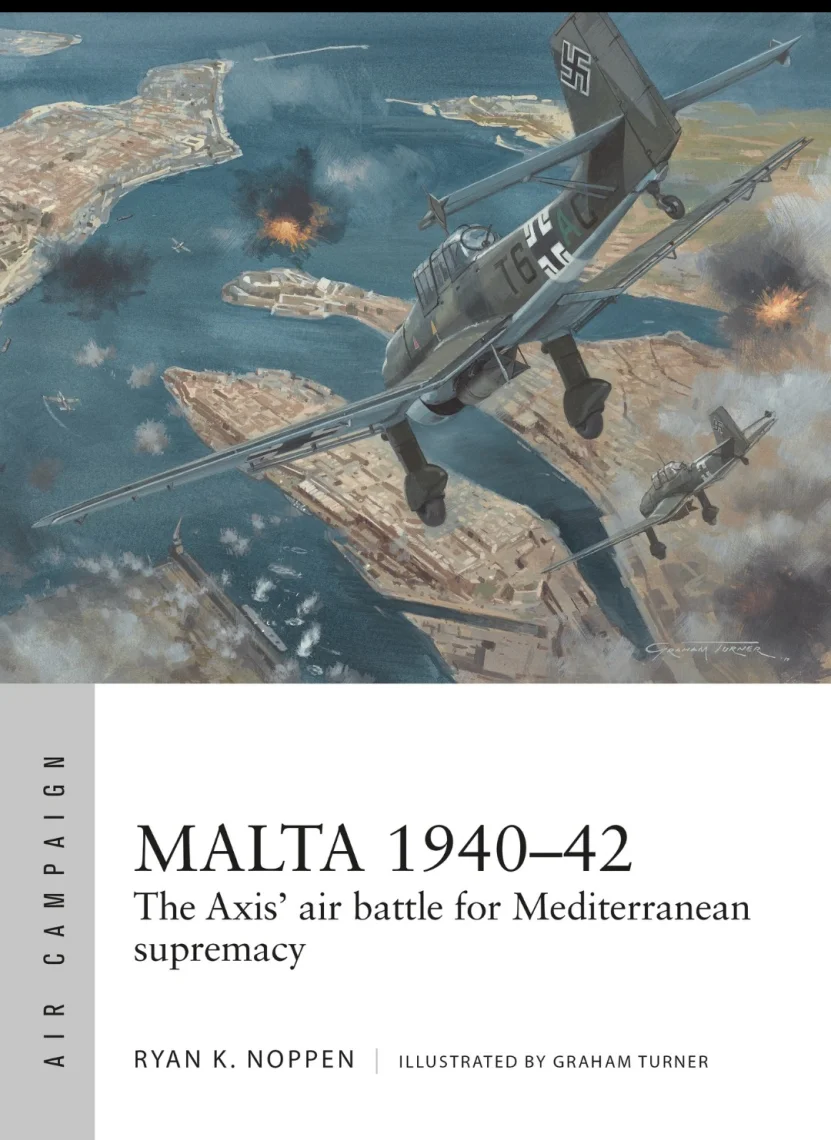
According to the chronology in this interesting book:
1785382085094.webp

There were quite a few delivered.
But the combined Axis bombing campaigns on Malta took its toll.
1942
  • 7 March First 15 Spitfires arrive on Malta; a further nine arrive on 21 March.
  • 1 April Despite reinforcements of ten Hurricanes from North Africa on 27 March and another nine Spitfires on 29 March the RAF is reduced to a handful of operational fighters.
  • 21 April 46 more Spitfires arrive, flown off HMS Eagle and USS Wasp.
  • 9 May With the RAF nearly crippled by airfield bombing, 60 more Spitfires arrive off HMS Eagle and USS Wasp.
  • November With Rommel's defeat at El Alamein and the Allies' Torch landings, the Luftwaffe and Regia Aeronautica send most of their remaining forces in Sicily to North Africa.
 
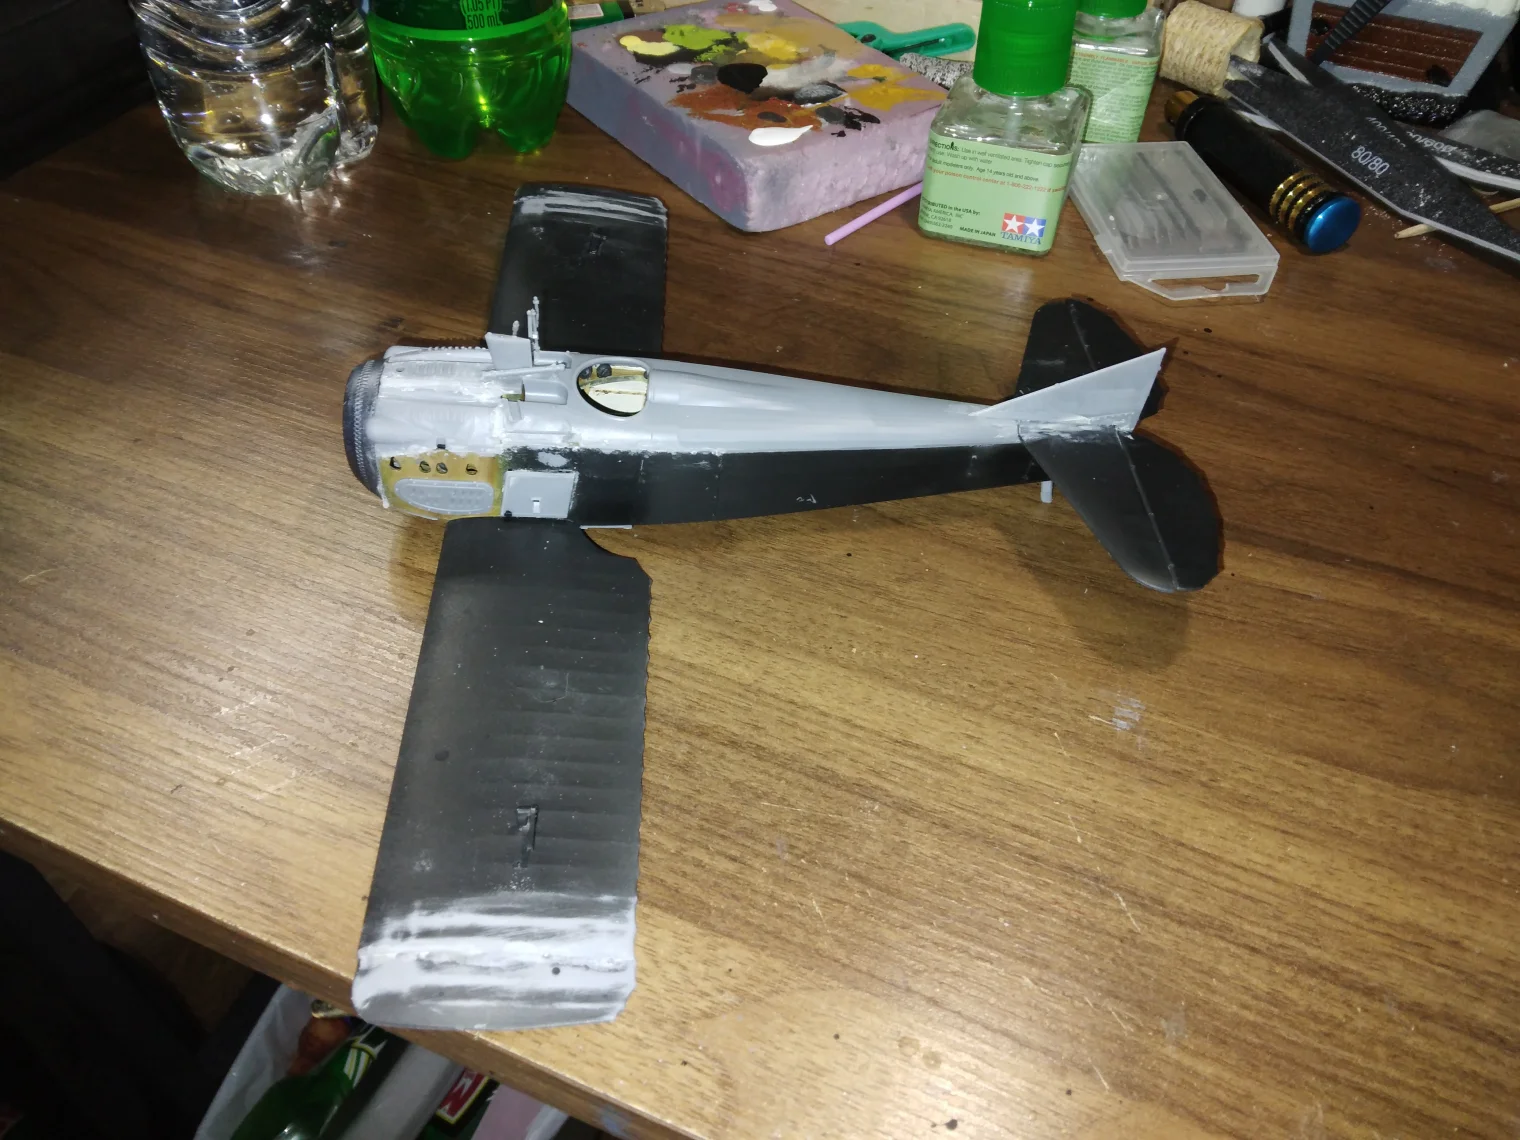
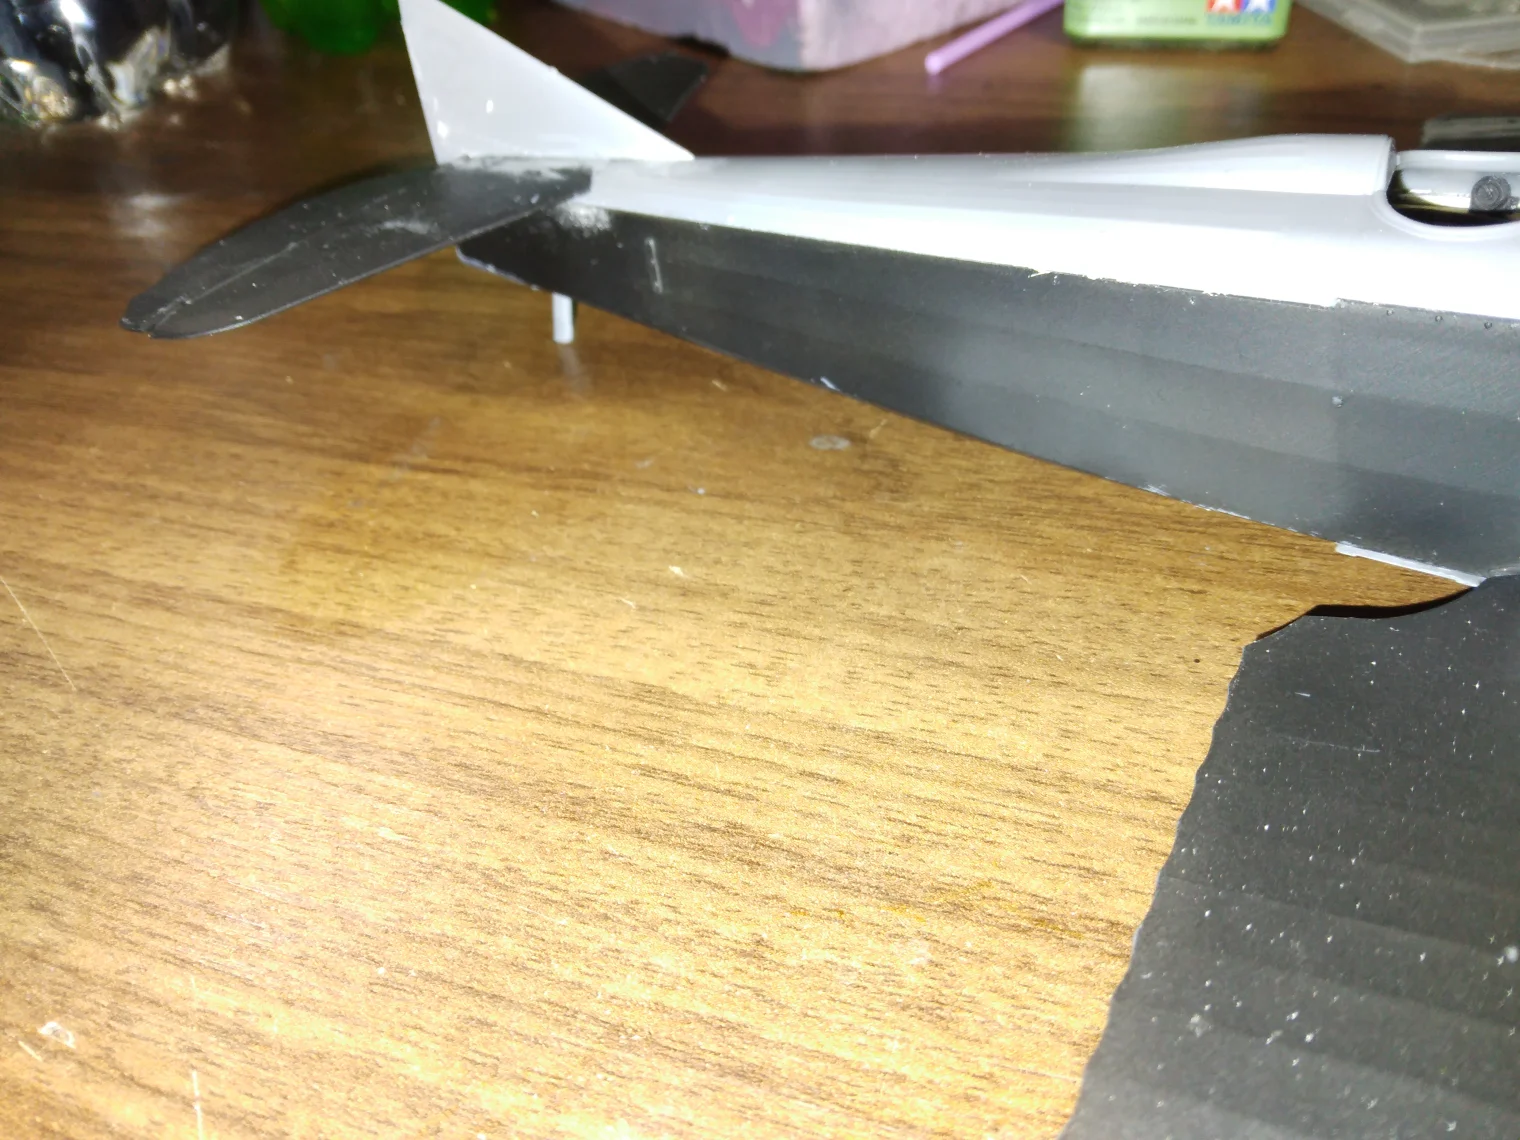
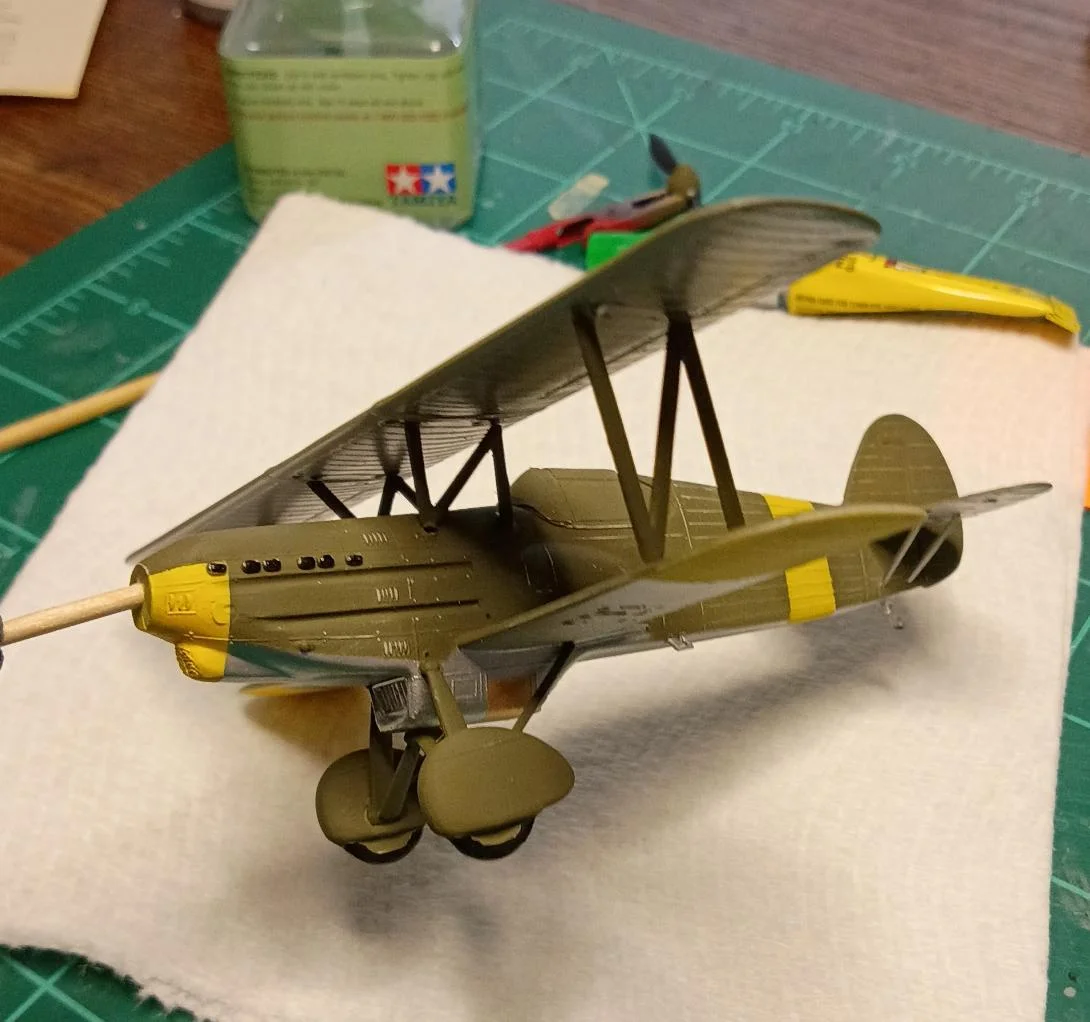
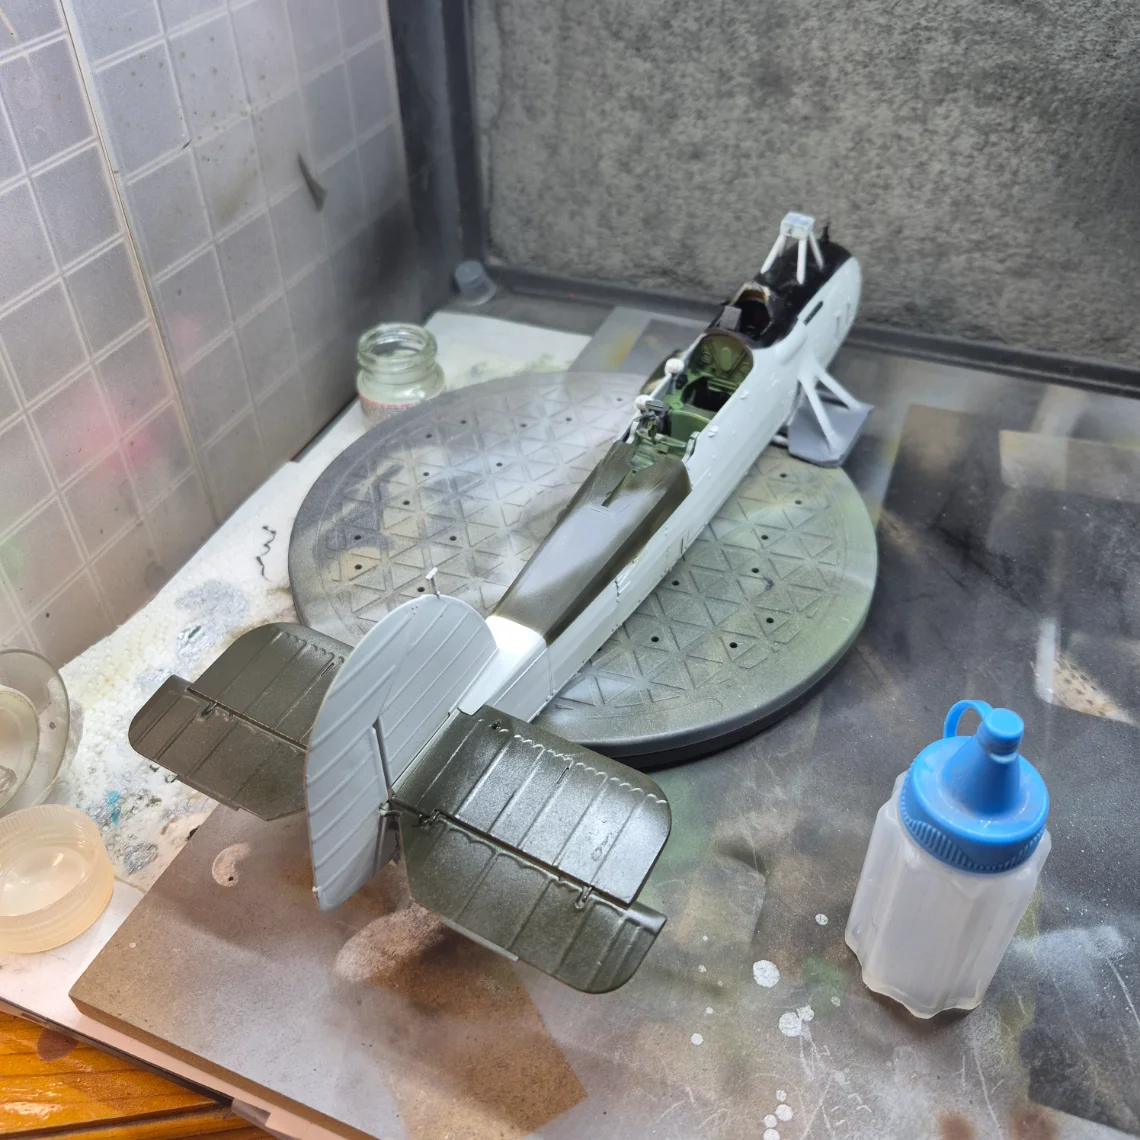
I couldn't get interested in another model, so I pulled this one back out and worked on repairing it. For some reason I just couldn't let this one go.
20260730_061613.webp

The fuselage just above the tail section is the area that broke and flattened. I had to take some debonder and take the top of the fuselage off (not a fast process). Then I straightened the sides and reinforced it with small strips of plastic strips from Evergreen. Reprimed the area I repaired and then reattached the fuselage top back in place.
I don't have photos of the repair process, I had a minor problem with my camera and the photos didn't turn out well.
(In case you're wondering, the problem was me, I smeared some first aid ointment on the lens and didn't realize it.)
20260730_061622.webp

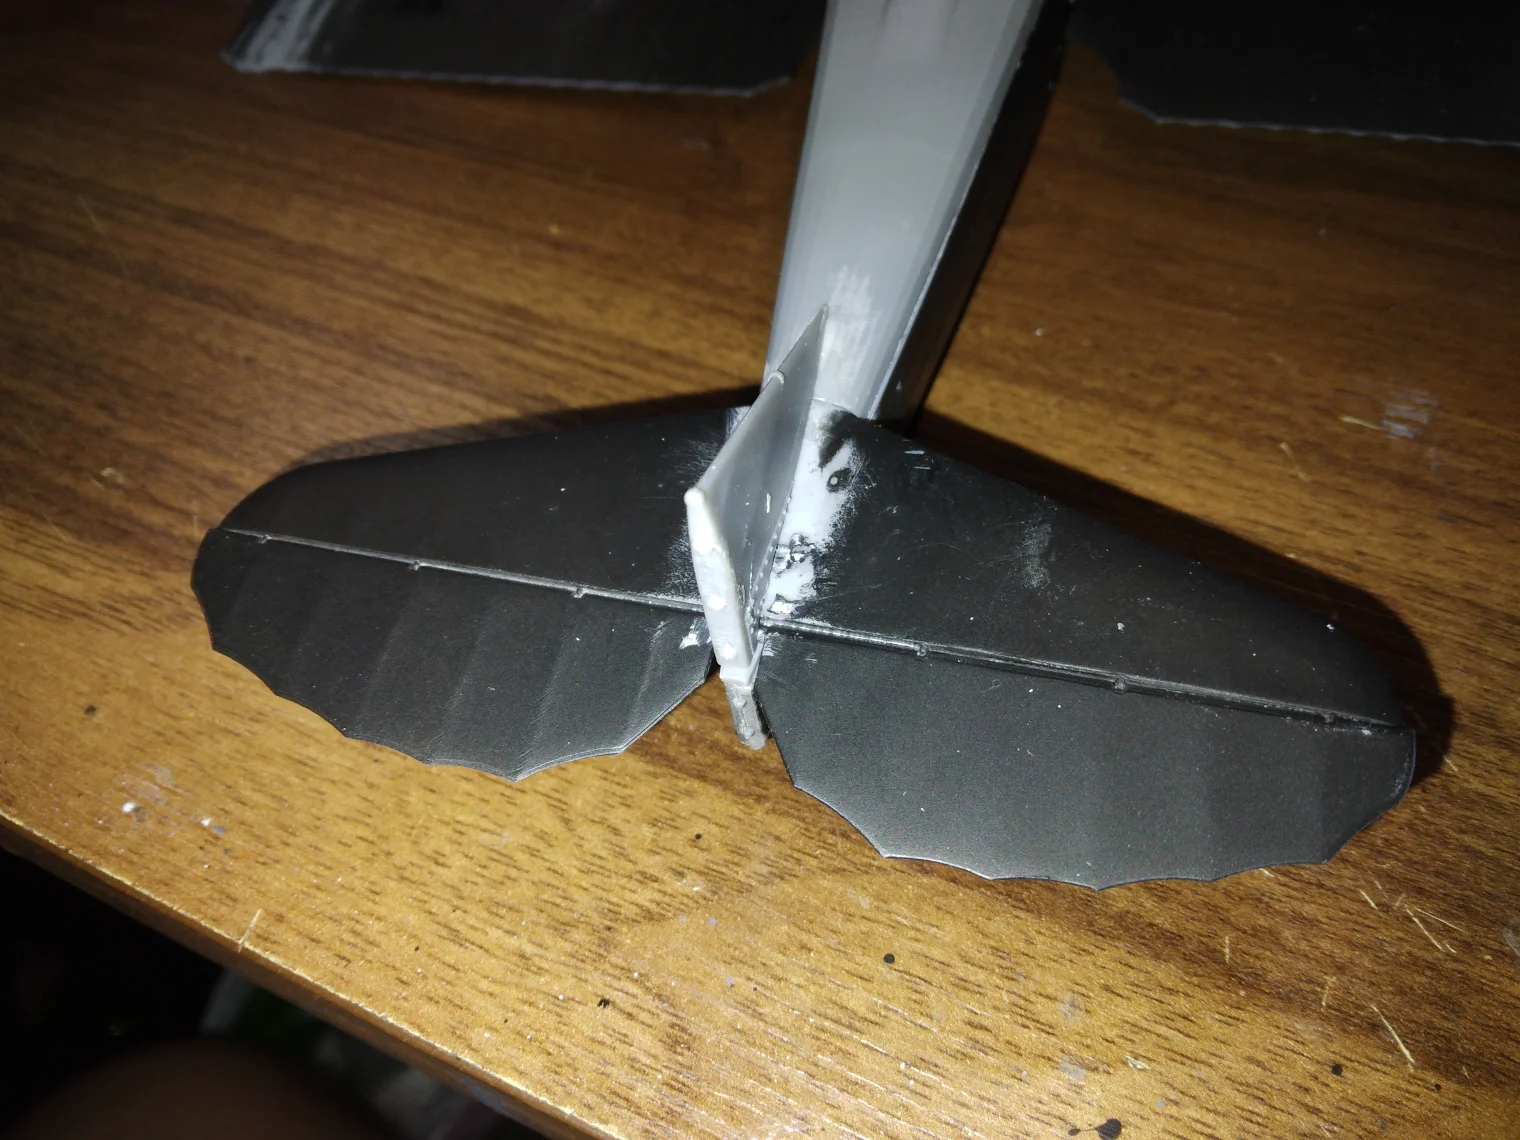
Here is the tail section. I had to do some major sanding to get the rudder support and elevators to fit properly after disassembly, but they fit properly now
20260730_061642.webp

If you look close you can see some of the damage is still visible but a layer or two of paint should hide it.
 
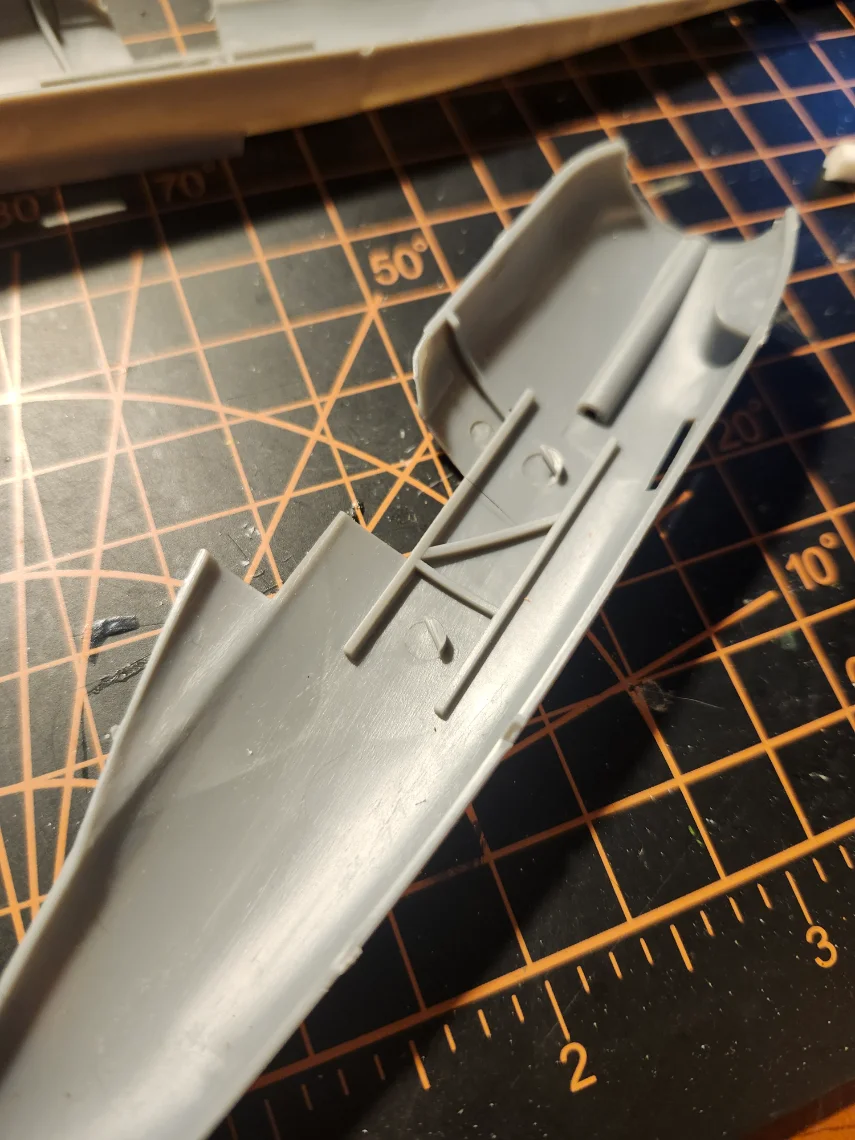
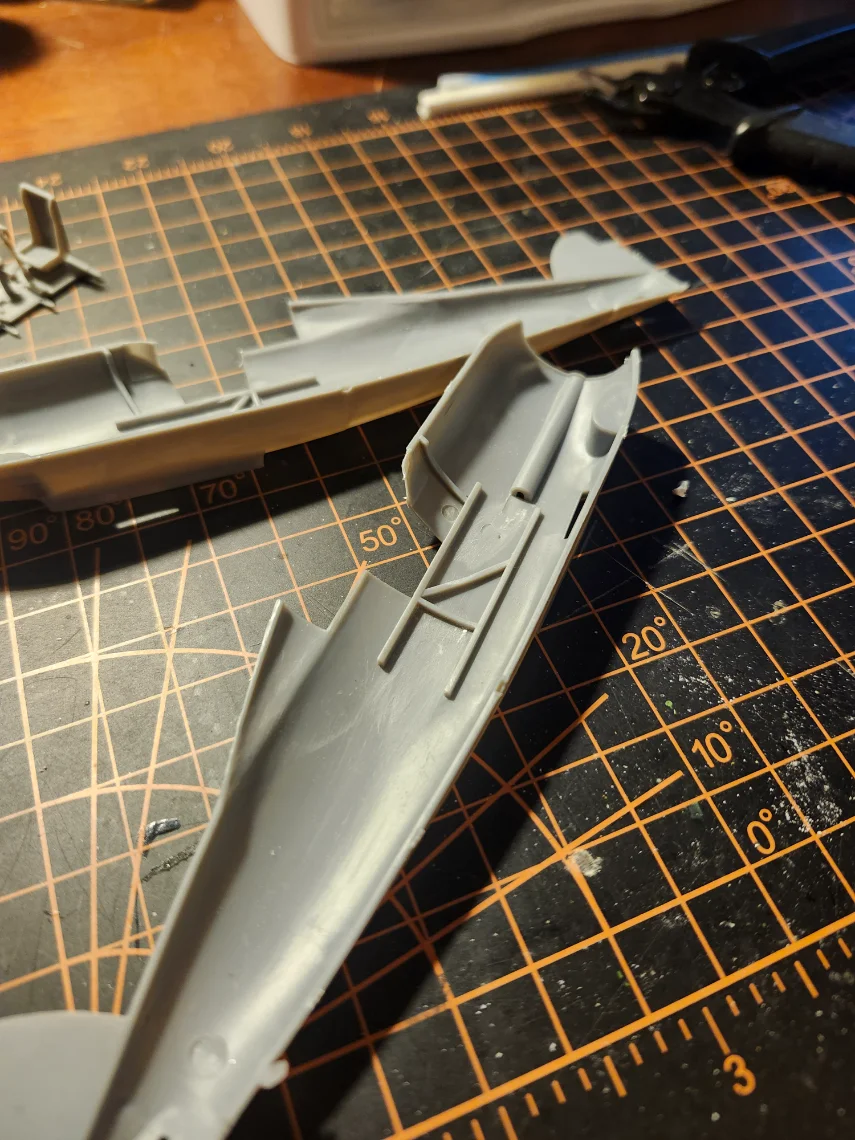
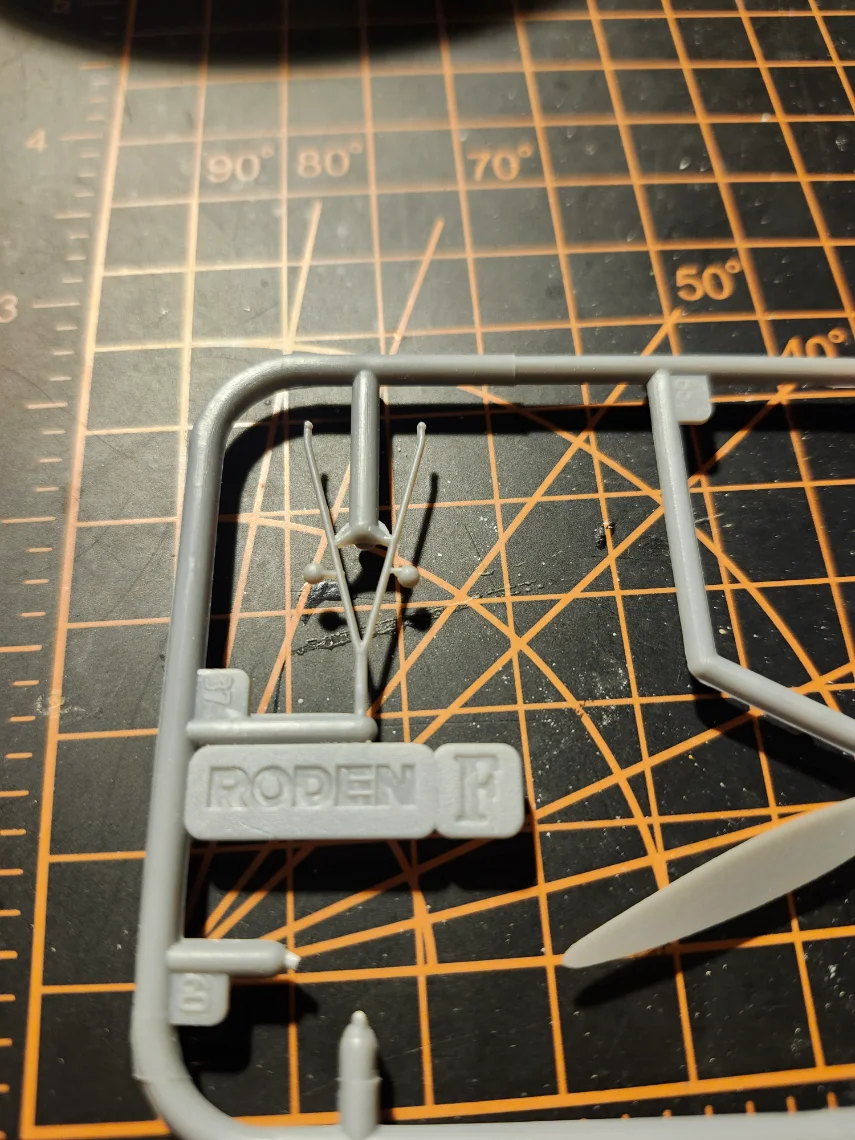
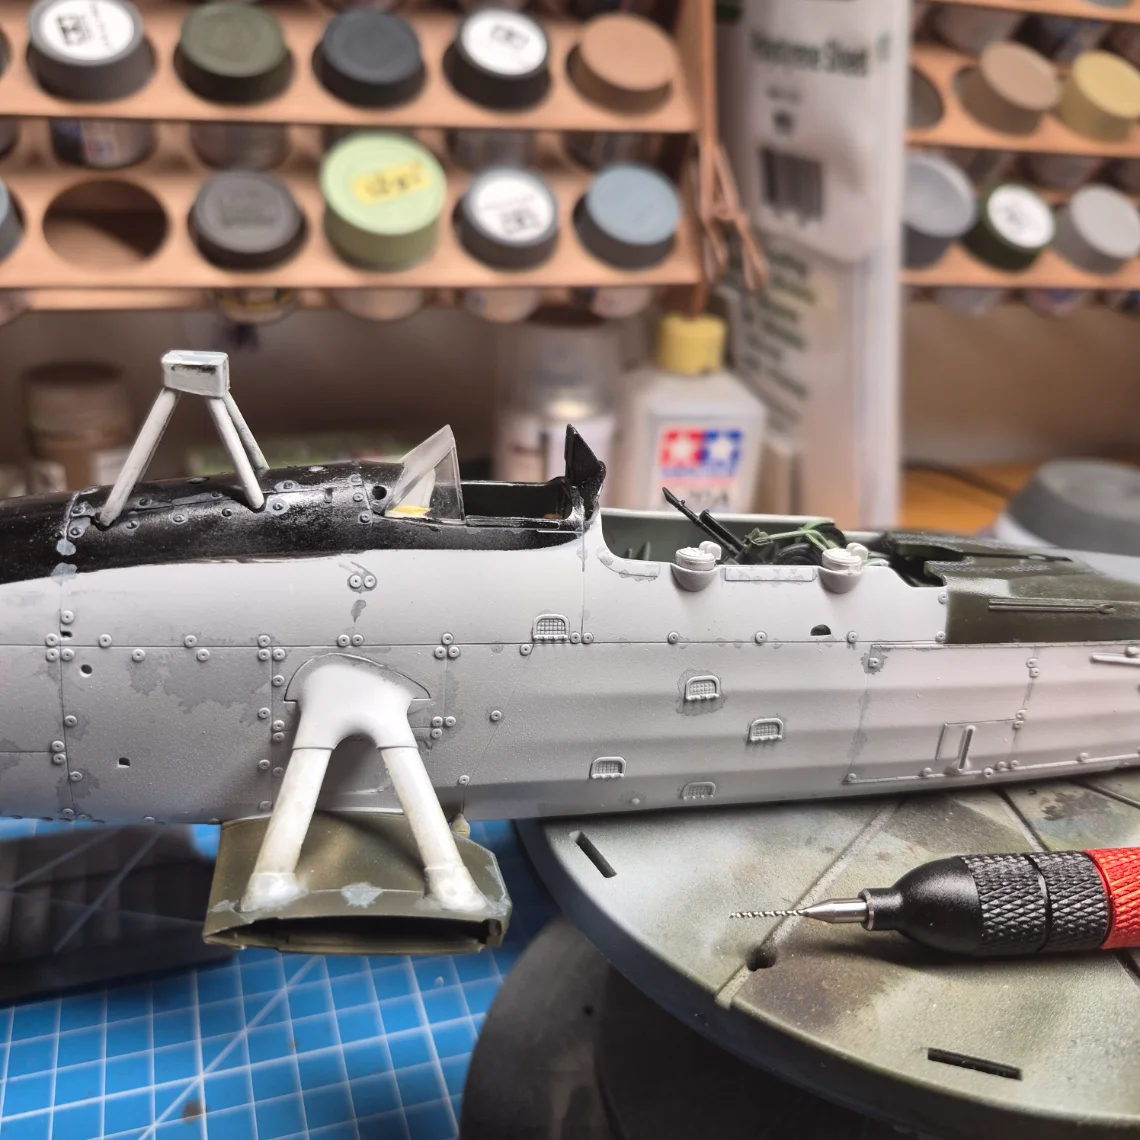
Did even more cleanup... sigh.... Then I went to paint the cockpit and my old bottle of interior green was a congealed, rubbery mess. I already had another bottle on the way, it should arrive Monday, so no big deal. Plenty of cleanup and fitment issues to keep me occupied. This is the same kit as the Sea Gladiator too. You can see the arrestor hook is included.

20260730_192032.webp
20260730_192643.webp
20260730_202904.webp
 
Guys, I'm going to bow out of this build. I'm simply not enjoying this Roden kit. The last kit was a trial and this one is worse. I'll come back to it, probably after I build something that's a little less hassle.
 
Guys, I'm going to bow out of this build. I'm simply not enjoying this Roden kit. The last kit was a trial and this one is worse. I'll come back to it, probably after I build something that's a little less hassle.
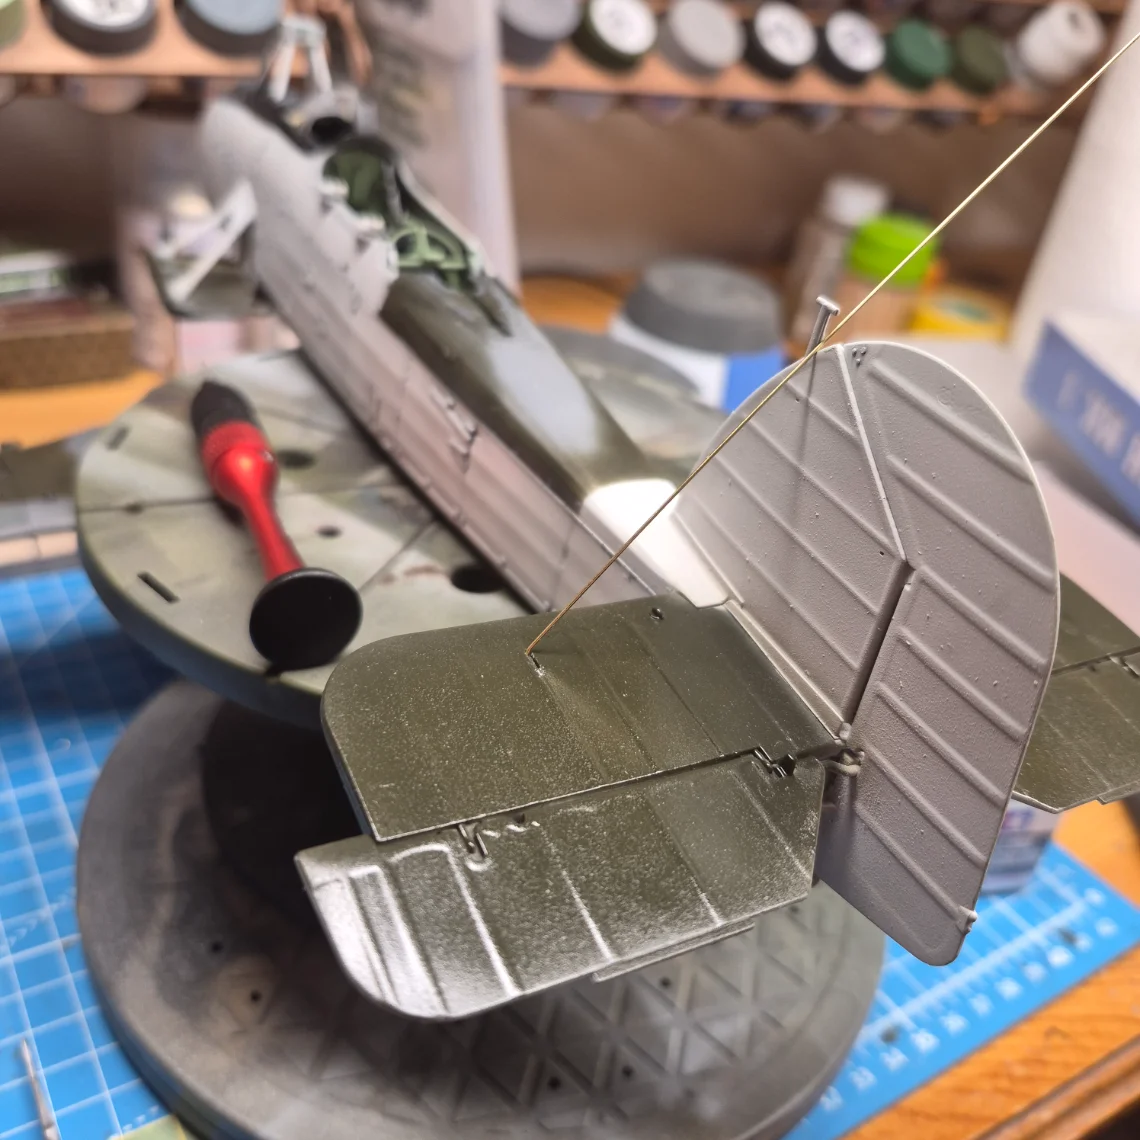
I understand completely. The rigging on my plane was a nightmare. It would have been so much easier if I would have done things much different. Next time I'll put the top and bottom Wing halves together. Tape them together somehow and stick the wire in the pre-drilled holes for the bracing wire and cut them to length. Trying to drill holes for wire on a wing that's already built? It was very trying. I primed and painted the wing and the body and it sat there for days. I just didn't want to deal with it. But I let a little bit of time go by and I'm going to hit it again.
 
Guys, I'm going to bow out of this build. I'm simply not enjoying this Roden kit. The last kit was a trial and this one is worse. I'll come back to it, probably after I build something that's a little less hassle.
I get it...I've spent the last week working on the propeller for my Roden kit...
 
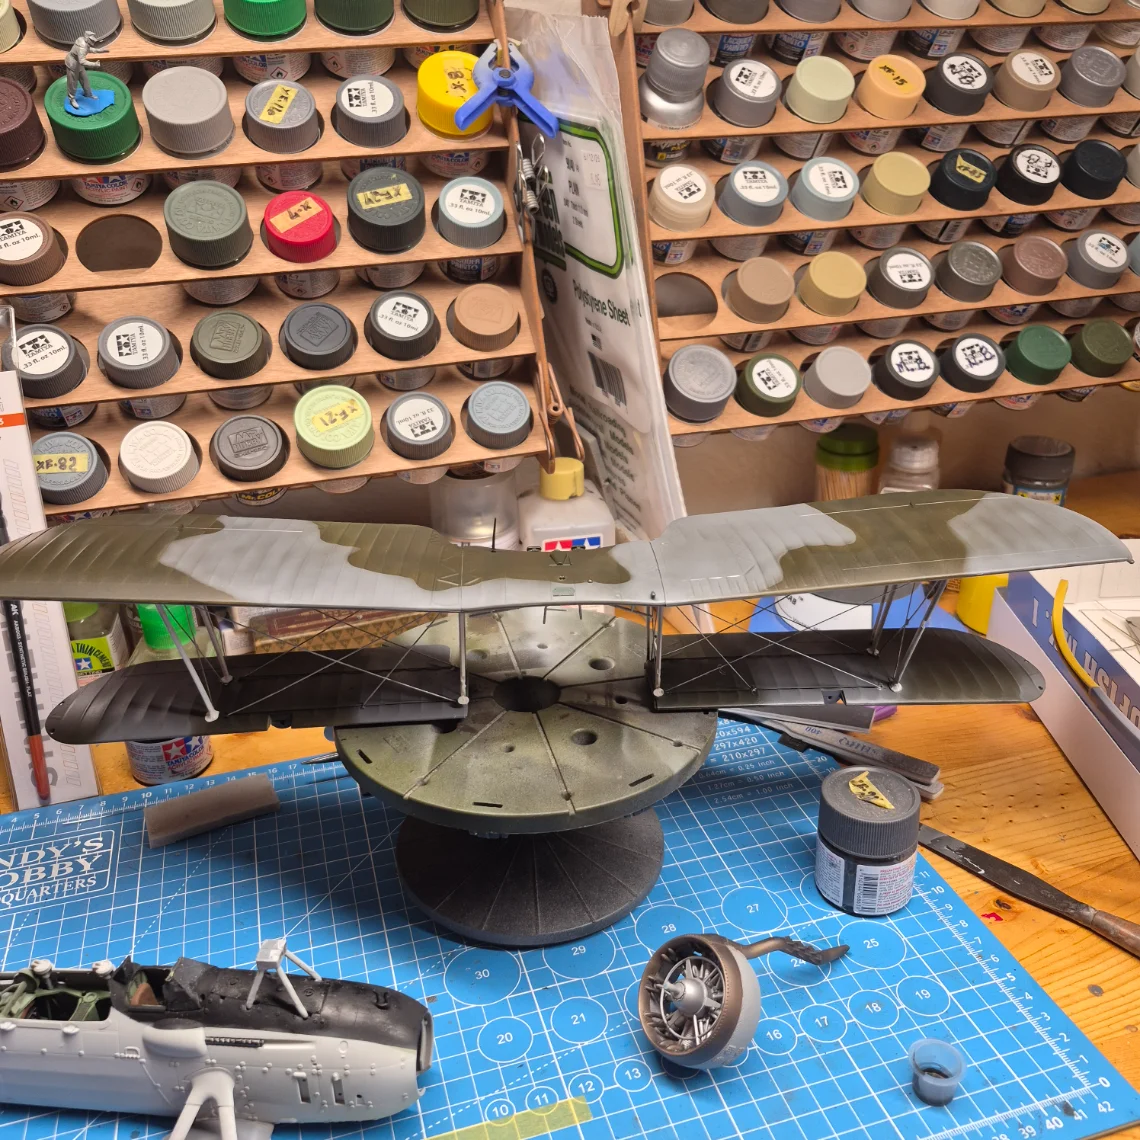
All righty. Painted the wing and got it glossed up and ready for decals! Just put gloss on the airframe body and doing a little bit of Gray panel lining. I figured to get the body all weathered and then attach the wings. This plane was a Navy plane so the wings did fold back which makes it easier to paint and weather them separately.
 

Attachments

  • 20260726_093737.webp
    20260726_093737.webp
    131.7 KB
  • 20260728_113747.webp
    20260728_113747.webp
    97.7 KB
  • 20260729_203823.webp
    20260729_203823.webp
    261 KB
  • 20260730_105252.webp
    20260730_105252.webp
    163.1 KB
  • Screenshot_20260730_212144_Chrome.webp
    Screenshot_20260730_212144_Chrome.webp
    84 KB
  • 20260731_164748.webp
    20260731_164748.webp
    115.5 KB
  • 20260731_164851.webp
    20260731_164851.webp
    123.3 KB

Latest posts

Back
Top