Group Build: Biplane - barnstormer to fighter

Scale Model Addict - Model Tips, Guides, Tools & Tech, Tutorials, and Community

Help Support Scale Model Addict:

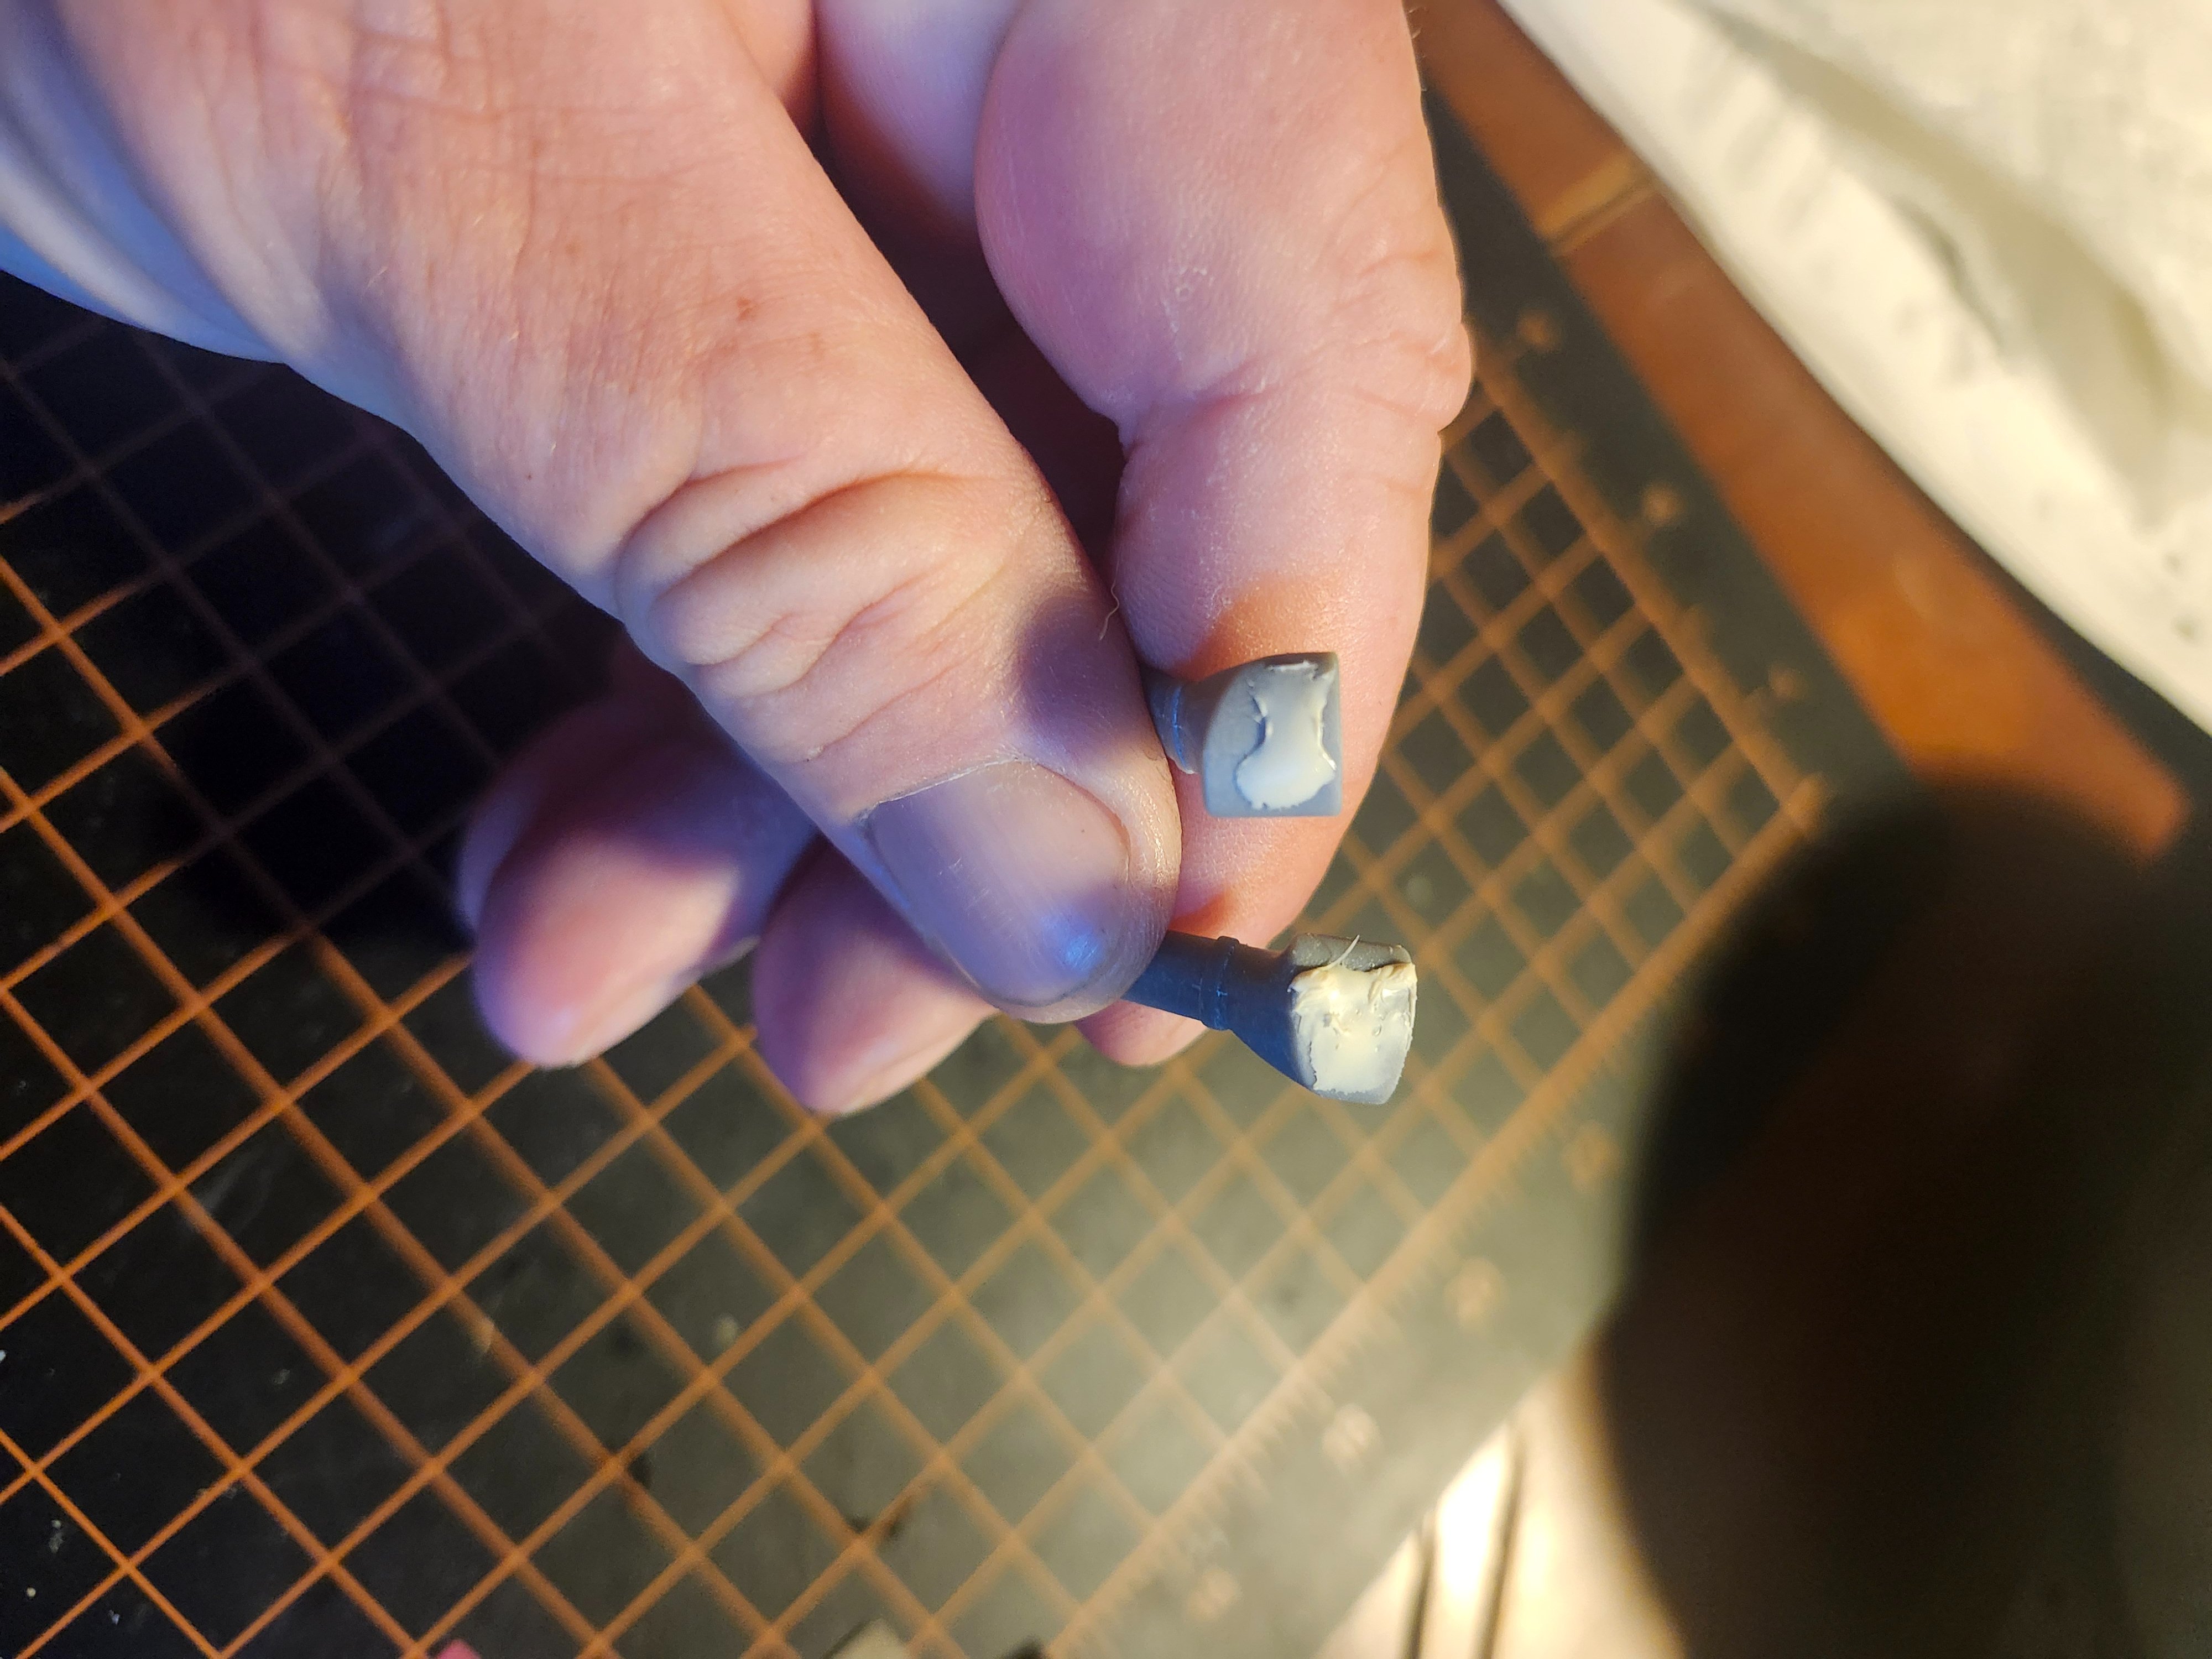
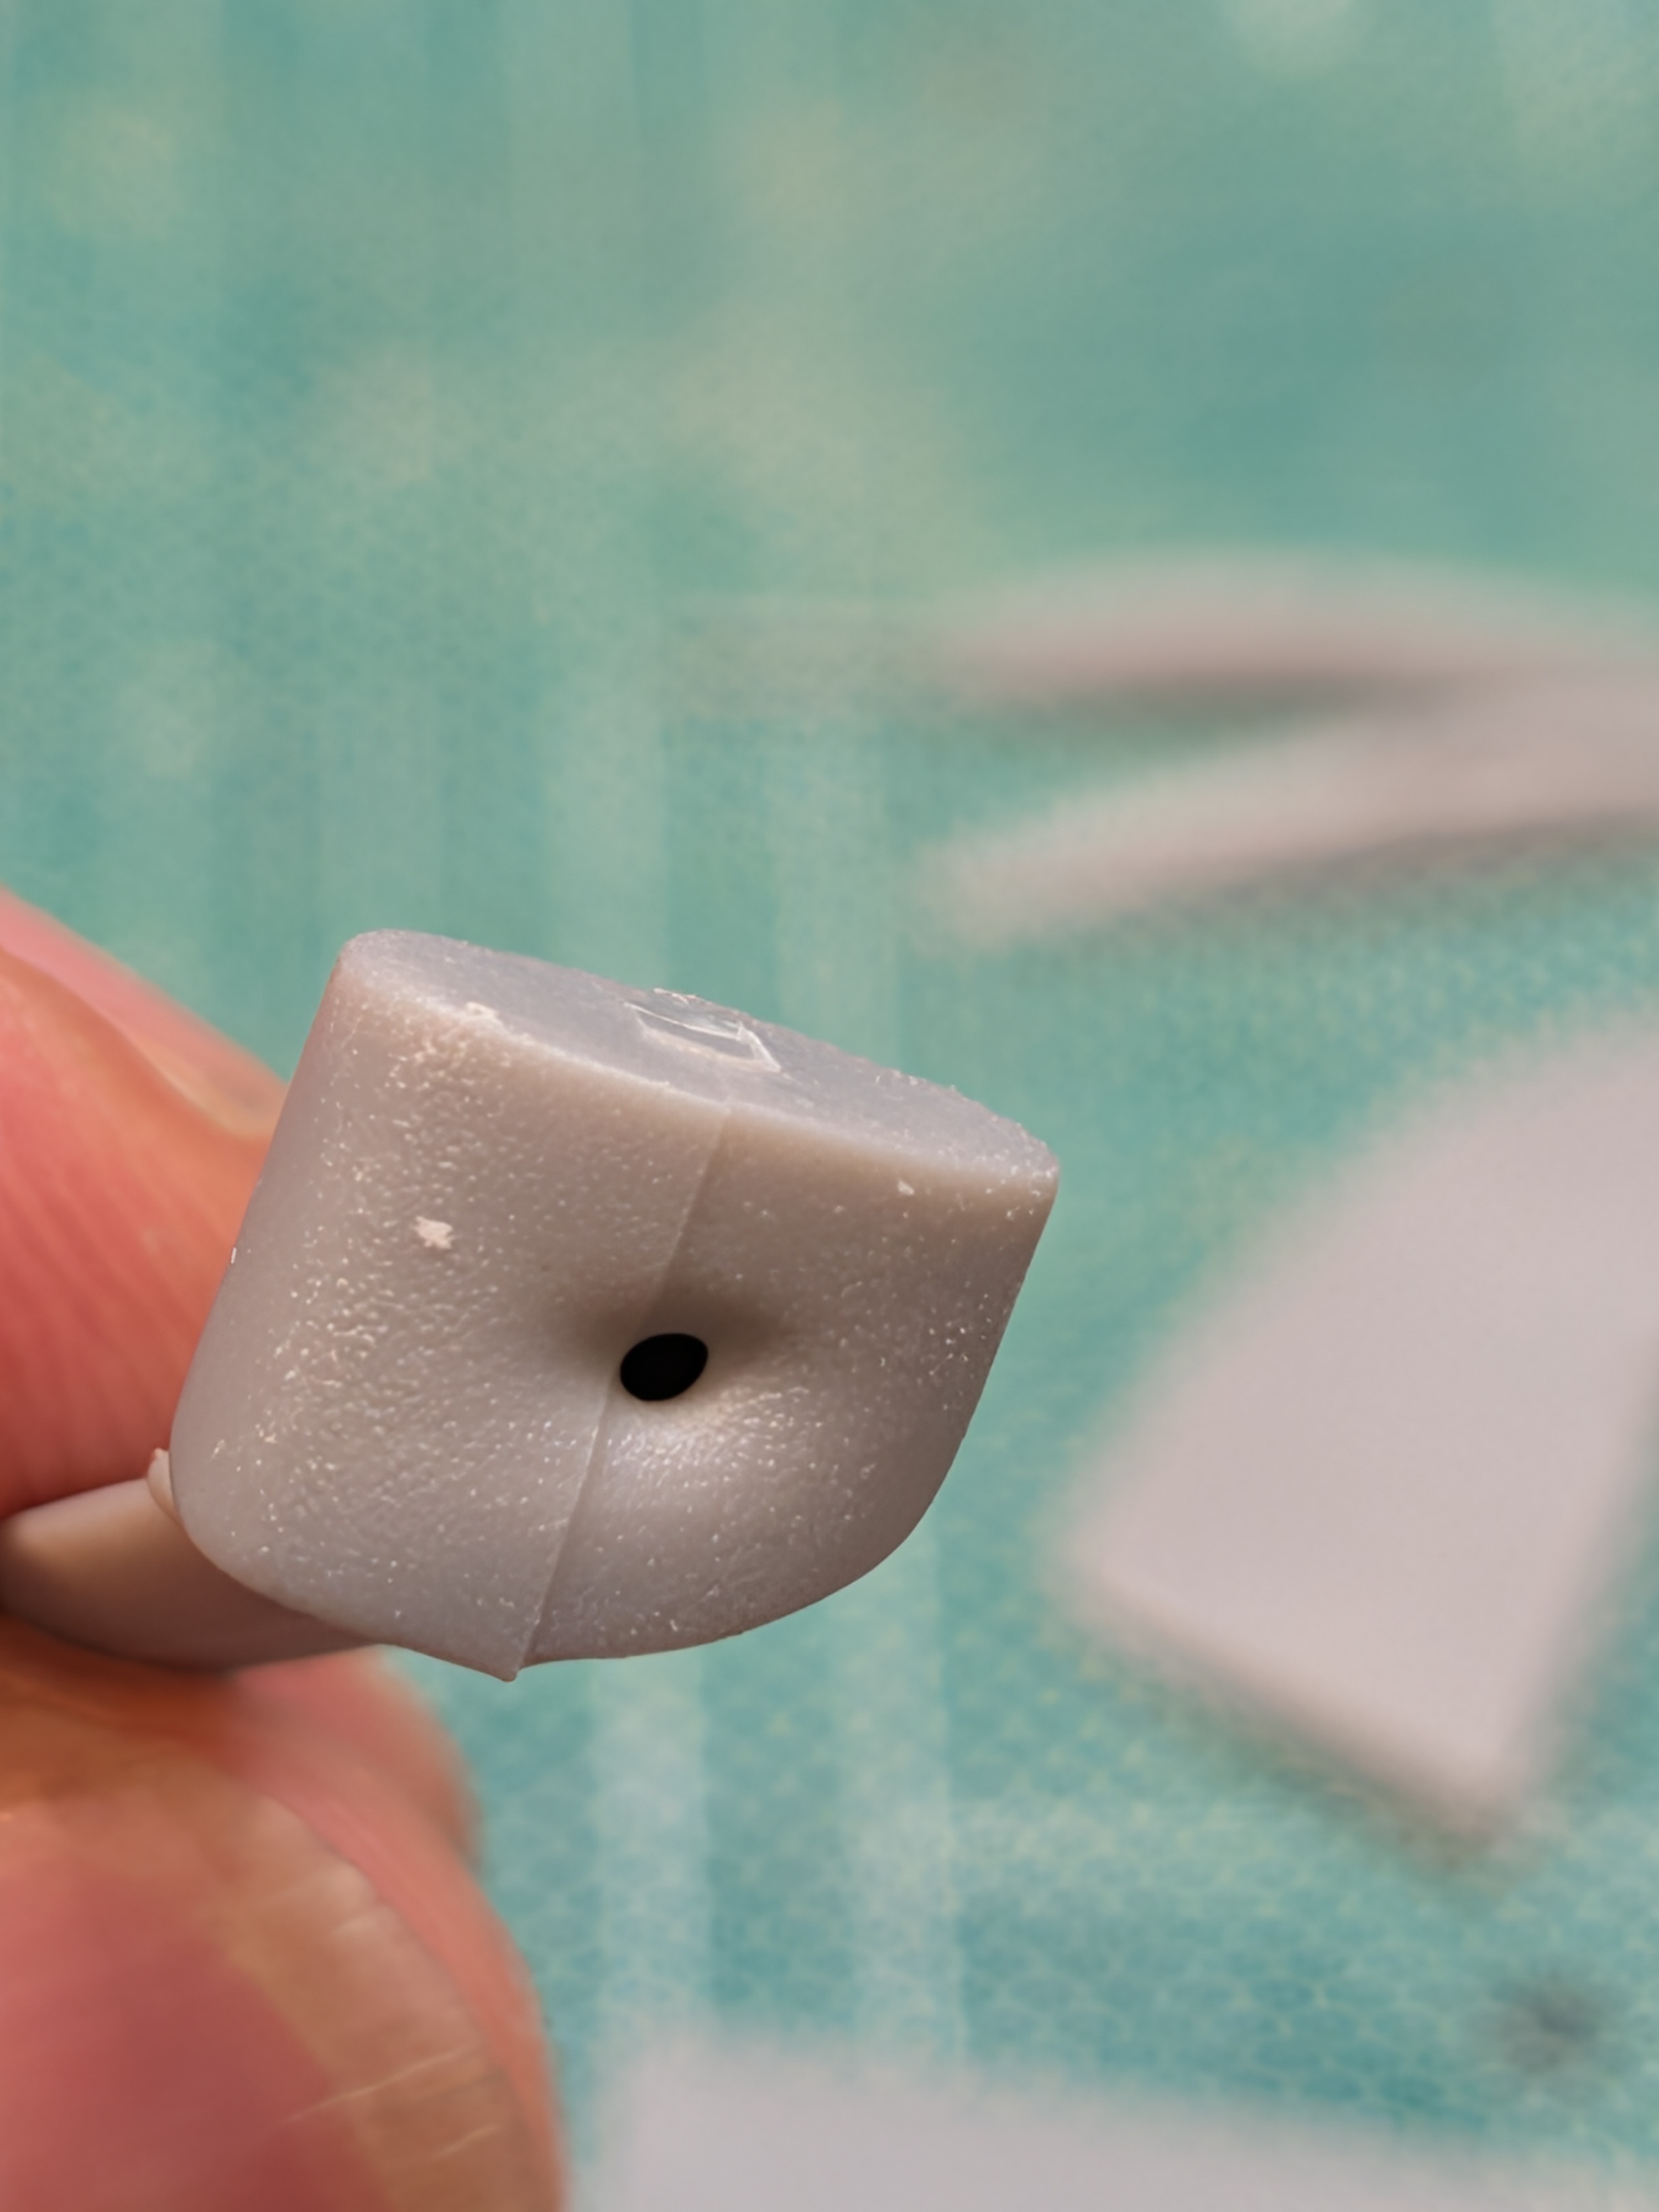
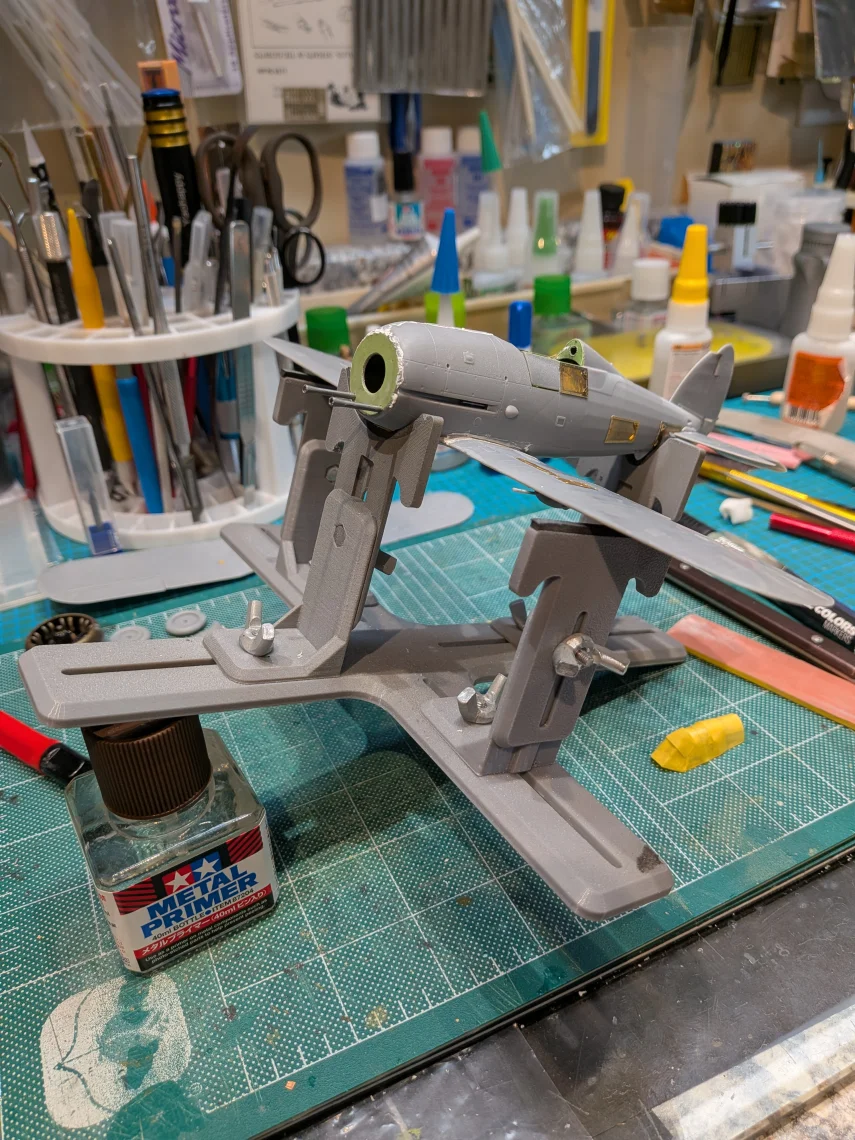
Barley, have you been seeing a lot of sink marks on your Sea Gladiator kit? I just filled in a couple on the top of the landing gear struts and have to do a couple on the prop yet.

20260724_181124.jpg
 
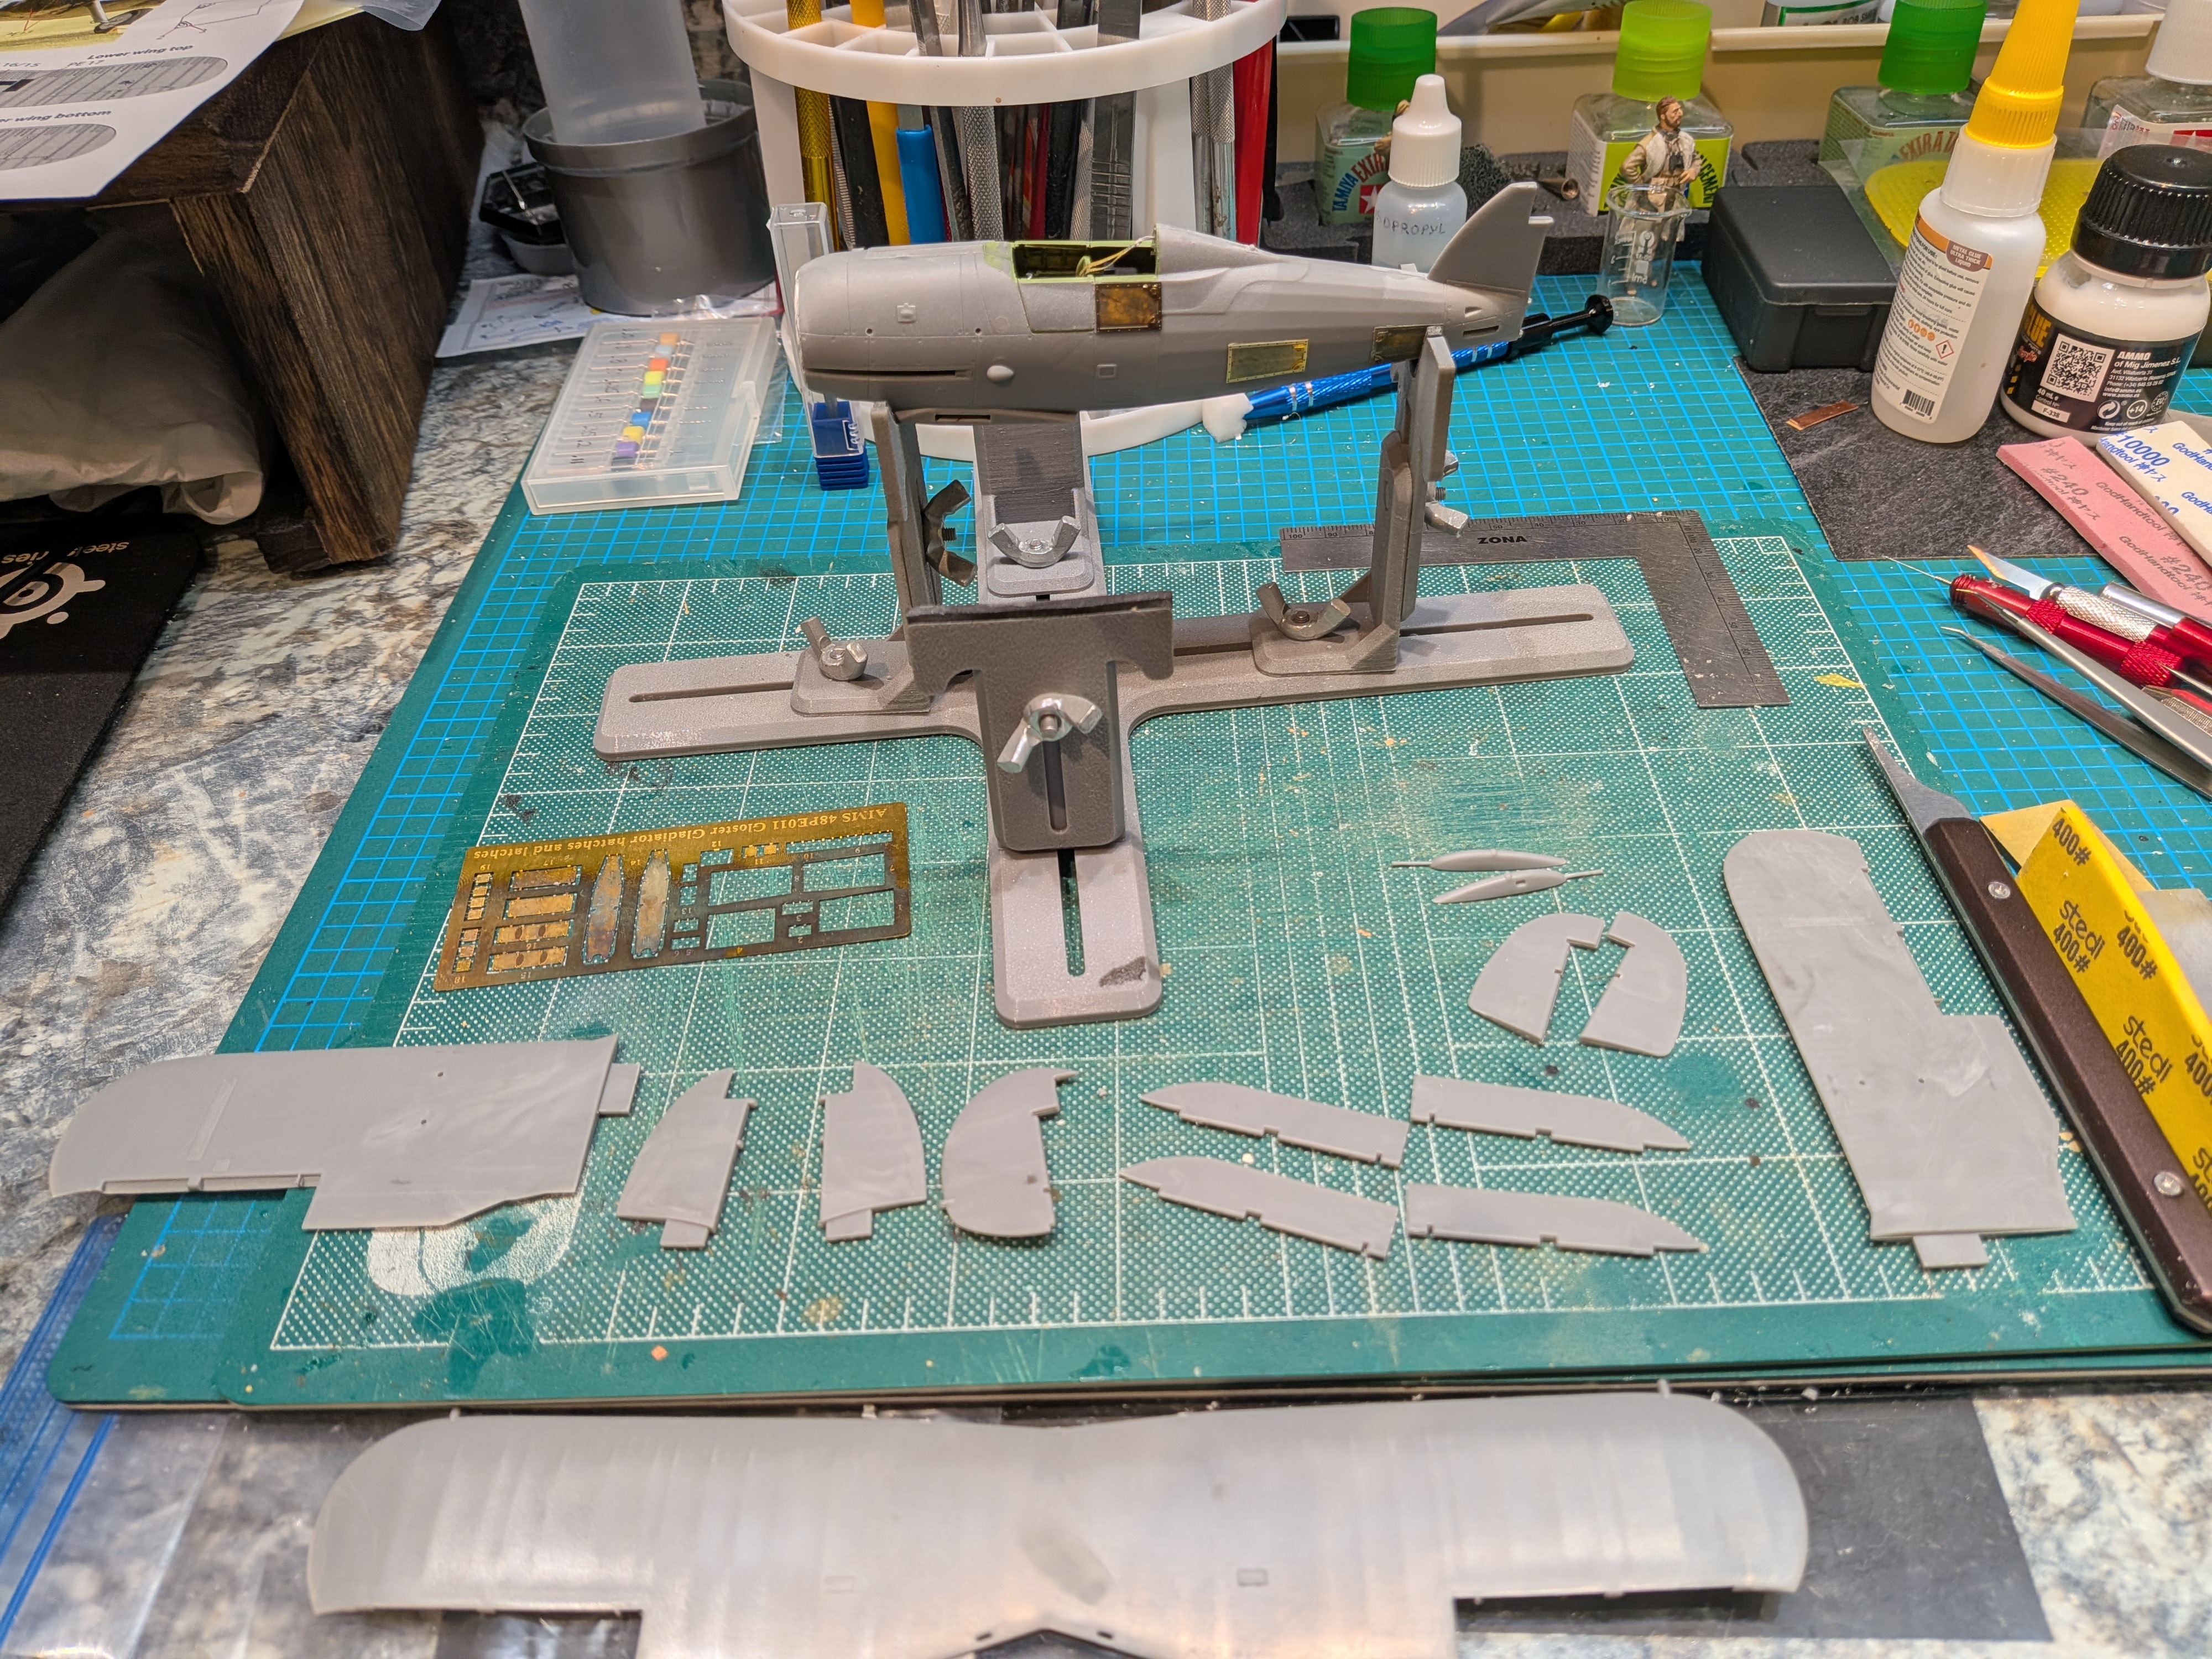
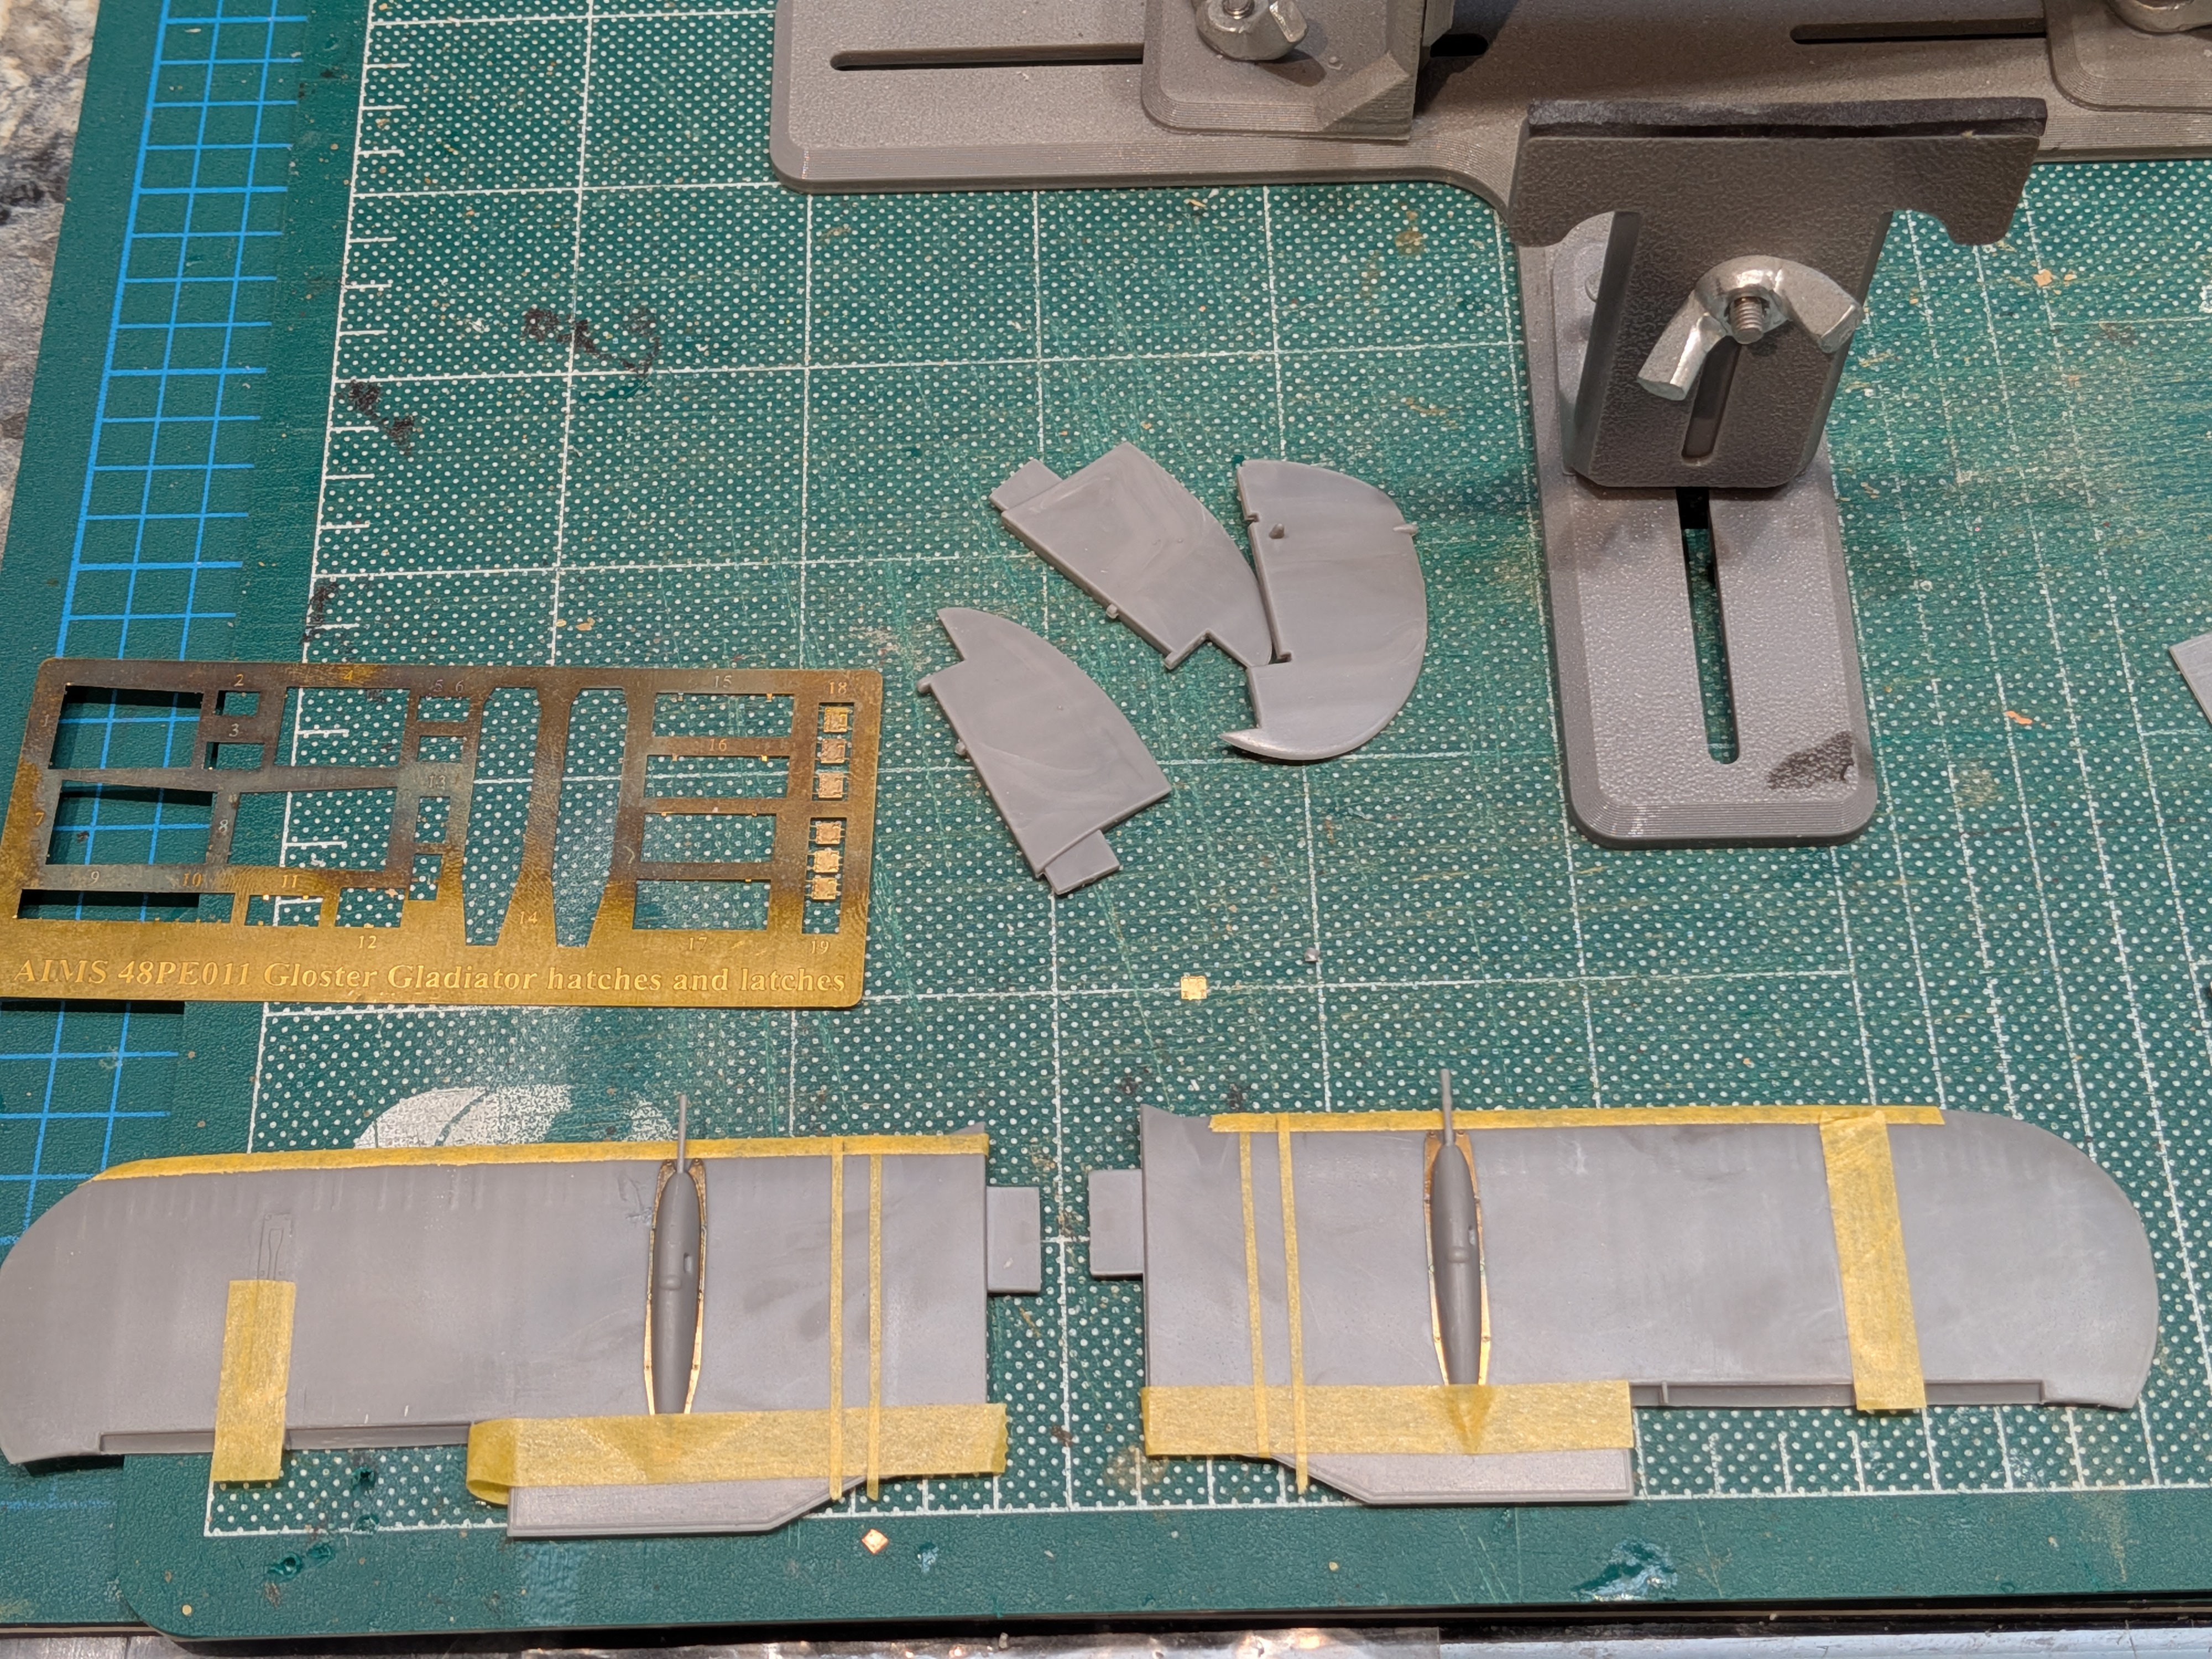
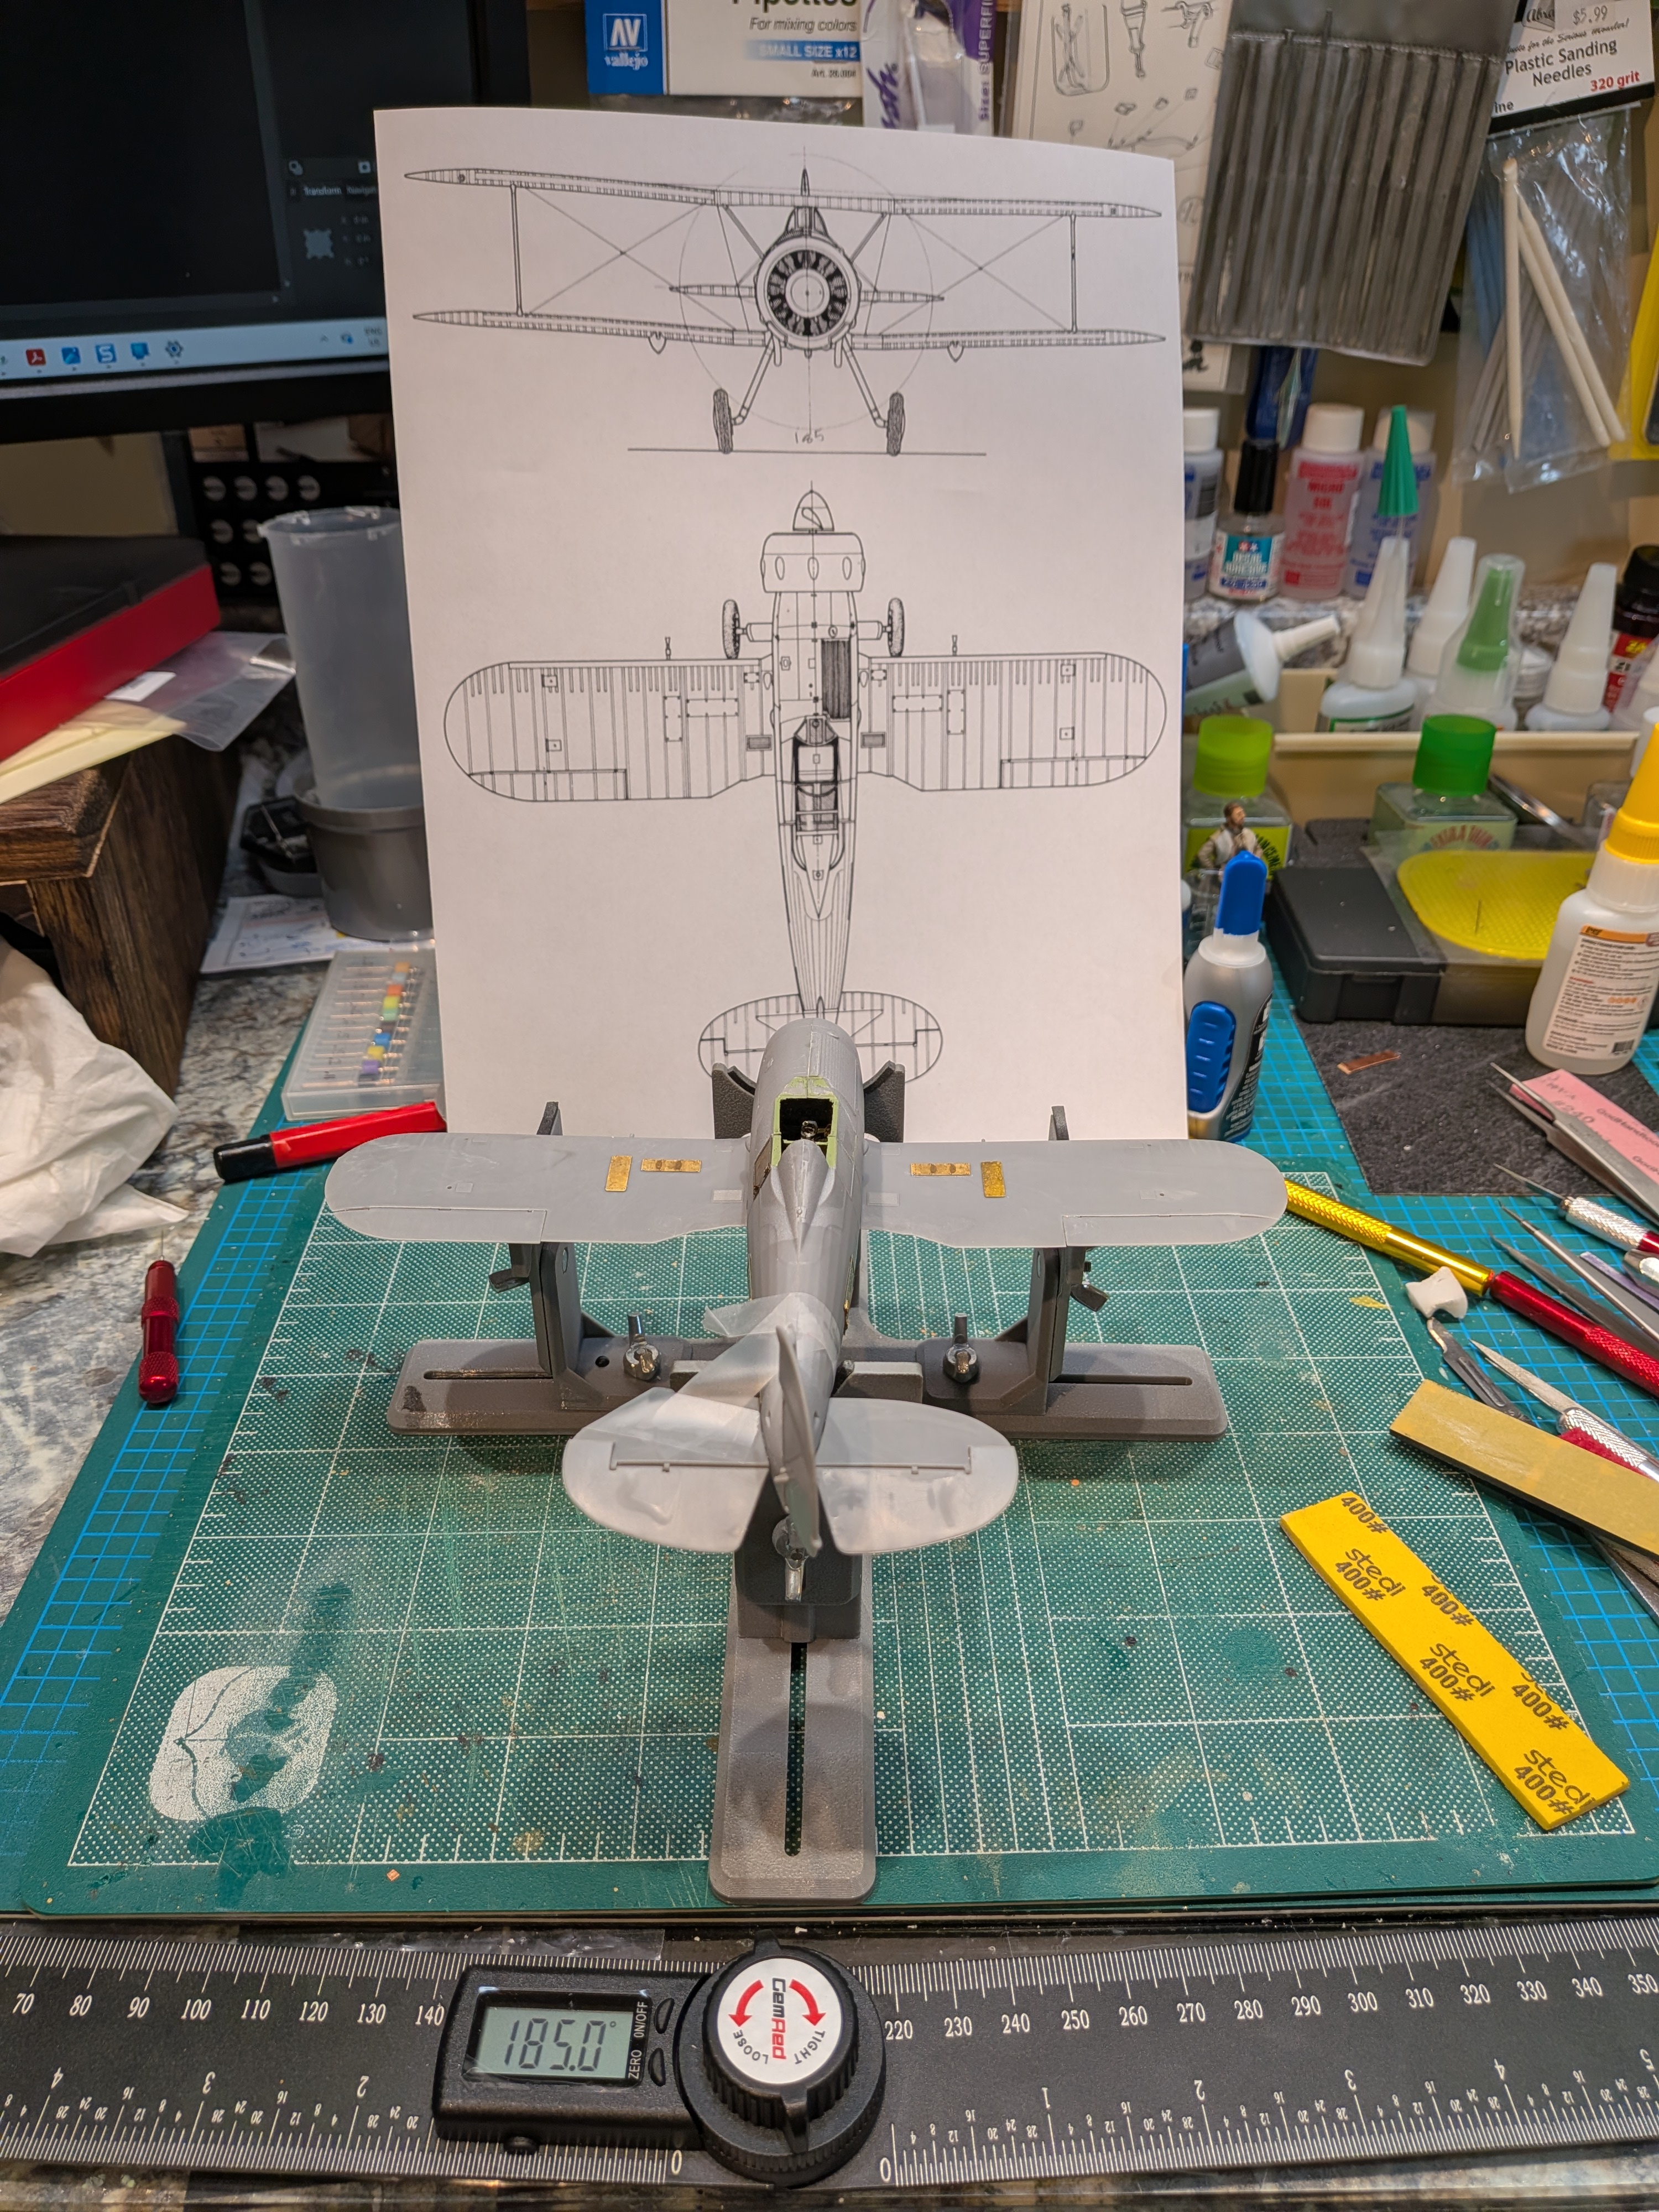
So the last of the PE hatches aren't in the plastic, so I'm using tape to mark edges for placement based on instructions and photos.

3939.jpg

Apparently — though I had to dig for this information — hinges are located towards the front of the plane, using airflow to keep the hatch on and closed, should the latch fail. Makes sense.

The AIMS instruction sheet is not high enough resolution to see that!

Hope you aircraft guys realize how much you know and have just absorbed... A little detail like that stops a newbie like me in my tracks, or should I say in mid-air! 🤔
 
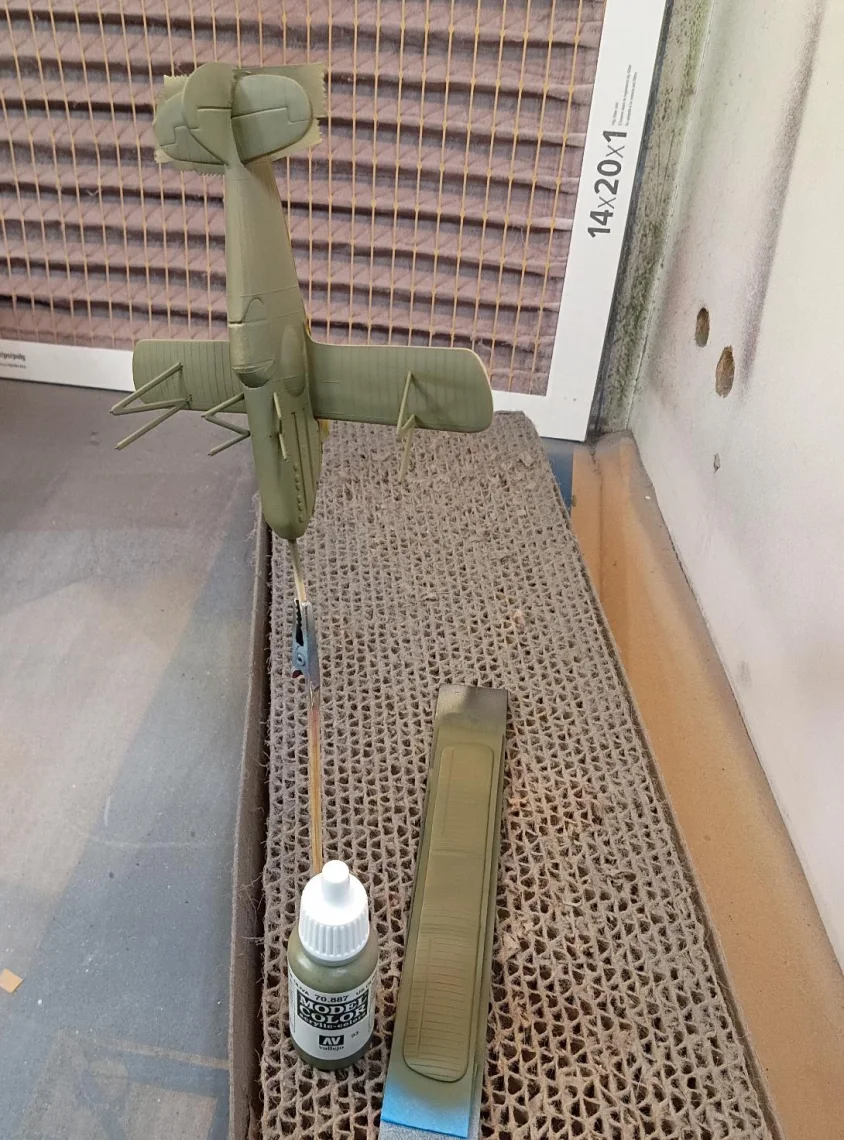
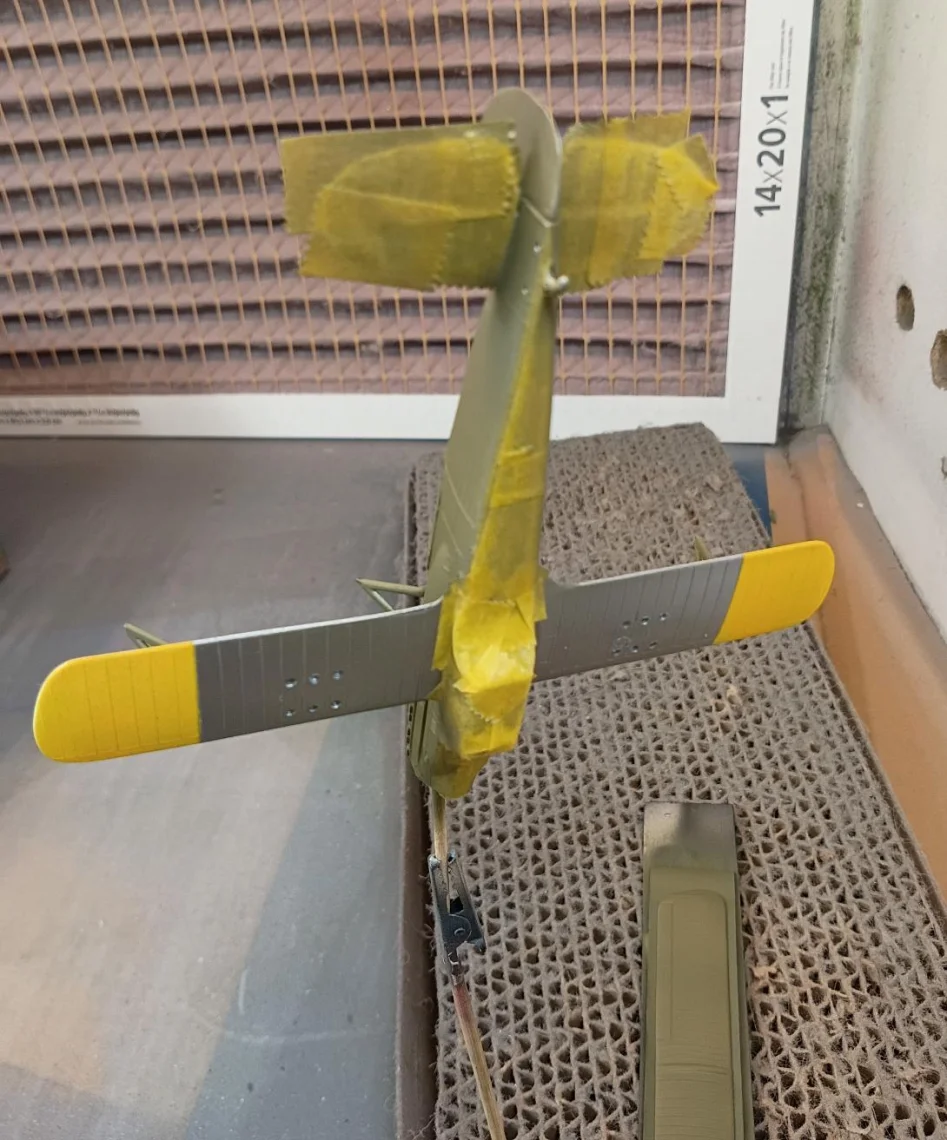
Getting back to the little Avia, I had painted the silver underside and yellow wing tips, masked that off and then started the green topside.

thumbnail (20).webp


I started painting the fuselage when I realized I forgot to mask off the lower wing, DOH! I wasn't about to go back and mask it now, so I was carefull to not get overspray on it.

thumbnail (15).webp


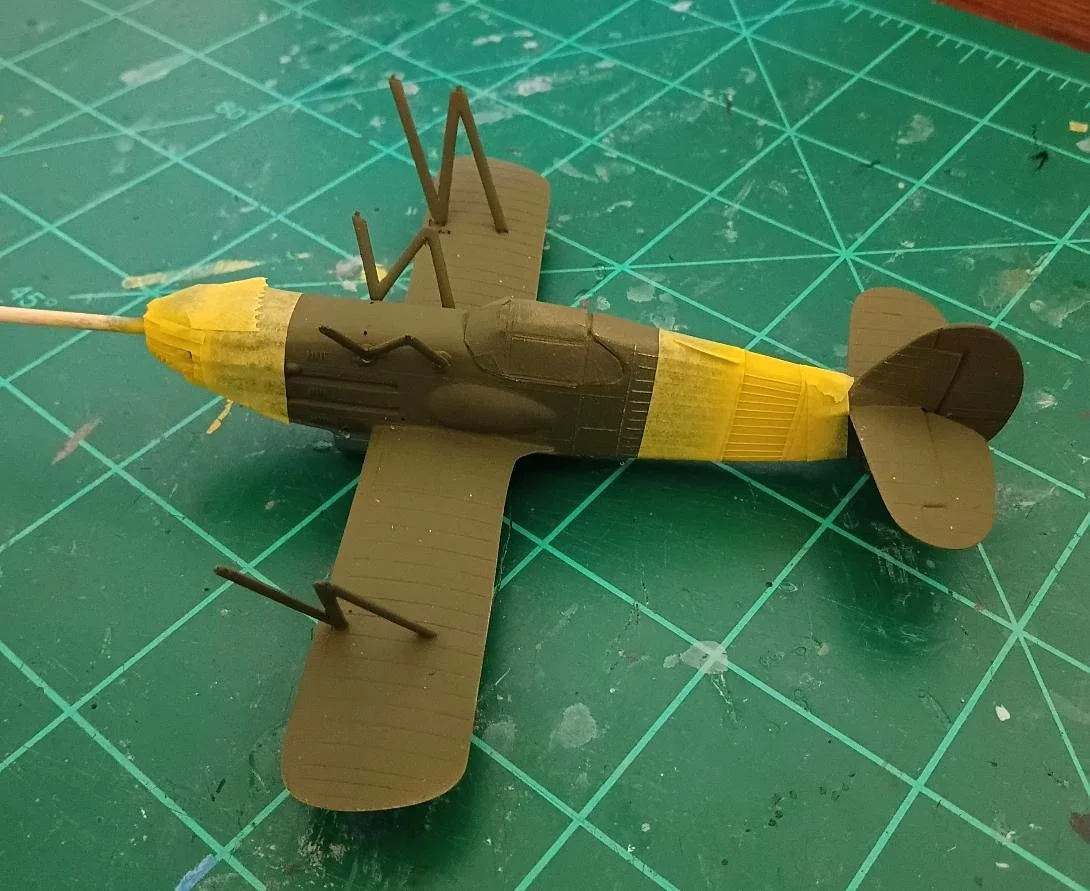
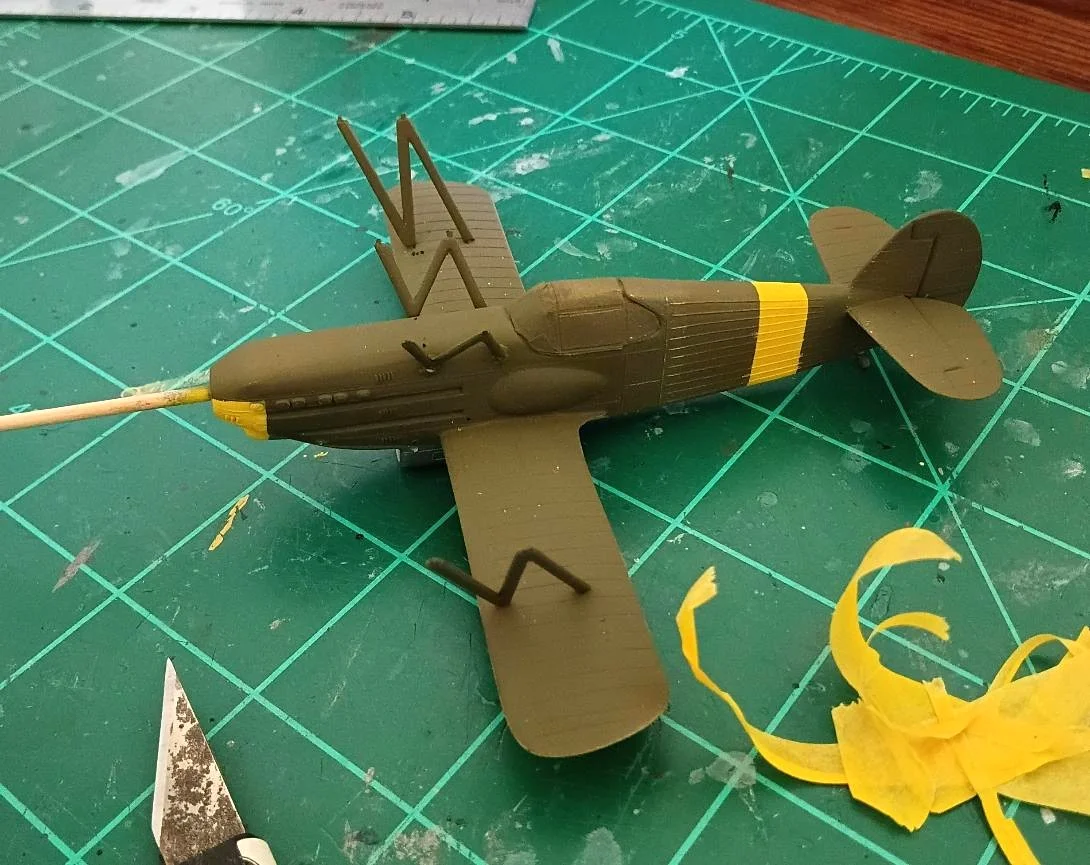
Not bad. After that dried a few days I masked for the yellow nose and fuselage stripe. I decided to challenge my airbrush skills by not masking the whole model, using lower PSI and flow to avoid overspray when painting the stripe.

thumbnail (13).webp


Not bad. A little white overspray which was the base for the yellow. I can probably lightly take an eraser to it to get it off.

thumbnail (12).webp


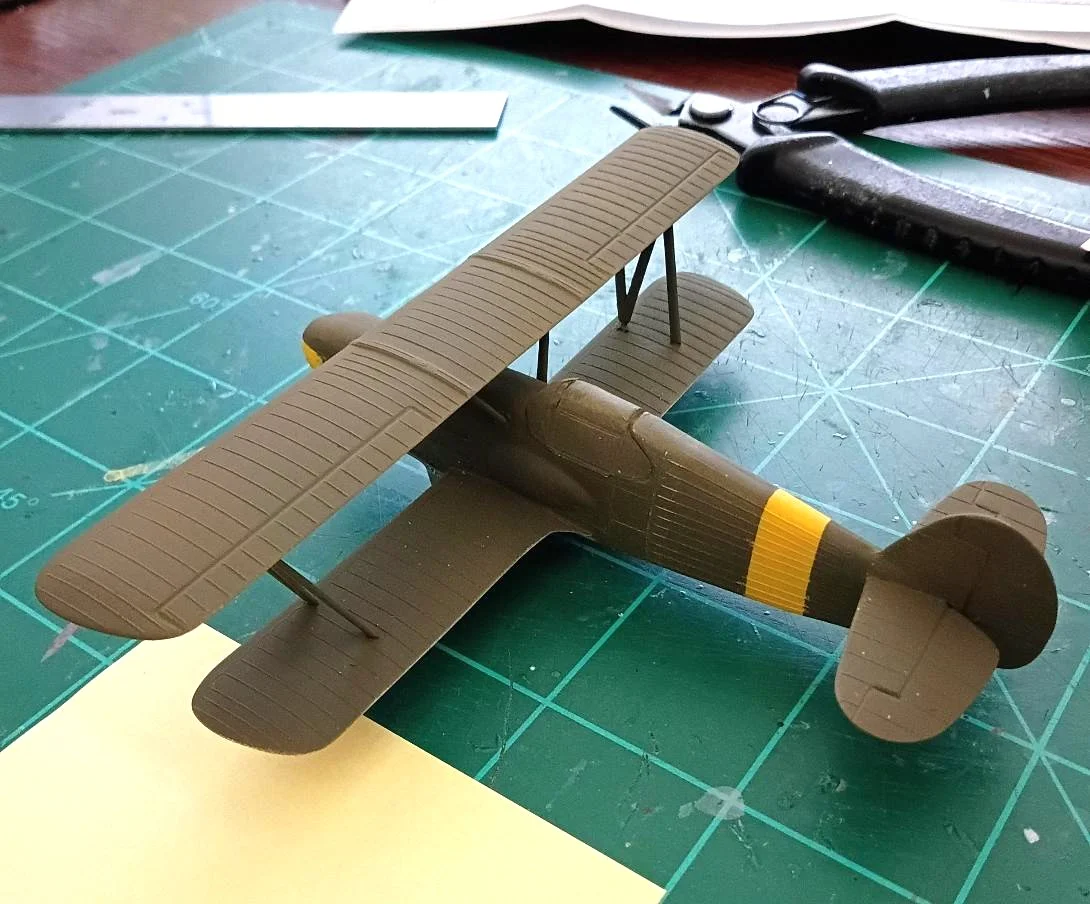
I decided to go ahead and glue the top wing on now because I keep breaking off wing struts. I probably wont be rigging this one.

thumbnail (11).webp
 
I wonder if anyone at Roden actually tried to build this kit?

The propeller would not go together without some major surgery.
The two parts of the hub would not fit over the large section between the blades.
Had to really whittle it down. Spent most of my time on it this weekend.


And then there is the decals.
Decal 11 as shown goes on the cowling from the black to the end.


But the decal is too short.


Probably going to add more black to the nose. It won't be correct, but most won't notice.
 
I wonder if anyone at Roden actually tried to build this kit?

The propeller would not go together without some major surgery.
The two parts of the hub would not fit over the large section between the blades.
Had to really whittle it down. Spent most of my time on it this weekend.


And then there is the decals.
Decal 11 as shown goes on the cowling from the black to the end.


But the decal is too short.


Probably going to add more black to the nose. It won't be correct, but most won't notice.
You could extend the black trim further so the decal fits per the diagram
 
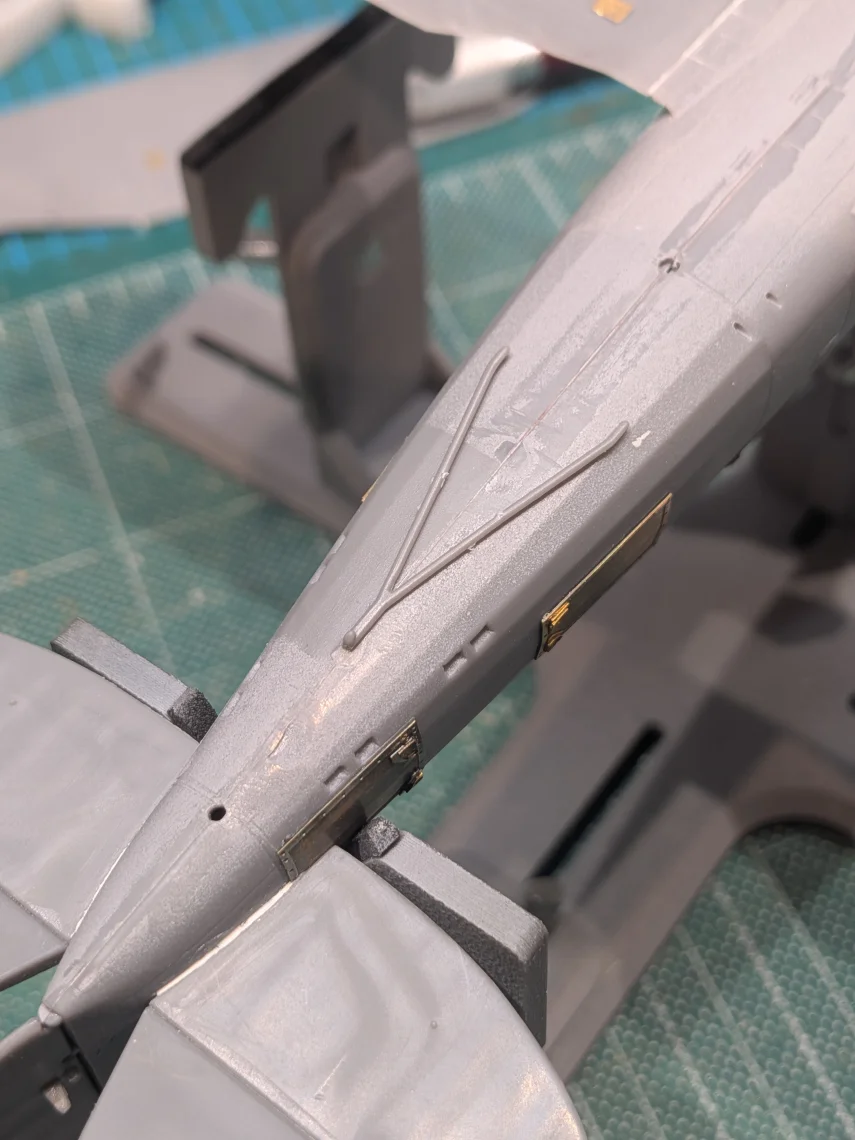
... So here is the approximate position of the arrestor hook when placed on fuselage of the Sea Gladiator.

3970.webp

...only, my research is indicating that it should have been recessed, and in the case of the Gladiators on Malta, the actual hook was removed along with some other 'naval' items like the dinghy, to reduce weight and increase climb rate.
In the case of mine, 'Faith', the engine had also been upgraded and a three bladed prop from a Bristol Blenheim installed. Thankfully, the kit includes the prop.
I'll have to screw up my courage and gouge the arrestor recess. 🫣
 

Latest posts

Back
Top