Psylow
New Member
- Joined
- Jul 3, 2012
- Messages
- 38
I am still a little foggy on the whole filling in the gaps and covering the seems process. What filler is best for what situations? I get that you fill and sand but is that it?

the Baron said:For seams that are visible but otherwise relatively tight, that is, you can see 'em, but you couldn't fit a piece of paper into 'em, I'll try to avoid creating them in the first place. Take 2 halves of a fuselage, for example. I'll use liquid cement to join the parts, and squeeze them gently, so as not to distort the shape, but enough to let the melted plastic extrude along the seam. When the glue cures, you can scrape that bead of plastic away and have a clean seam that can be lightly sanded and disappears easily.
Psylow said:That's what I wanted to know
the Baron said:For seams that are visible but otherwise relatively tight, that is, you can see 'em, but you couldn't fit a piece of paper into 'em, I'll try to avoid creating them in the first place. Take 2 halves of a fuselage, for example. I'll use liquid cement to join the parts, and squeeze them gently, so as not to distort the shape, but enough to let the melted plastic extrude along the seam. When the glue cures, you can scrape that bead of plastic away and have a clean seam that can be lightly sanded and disappears easily.
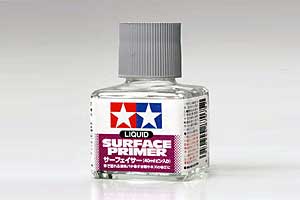
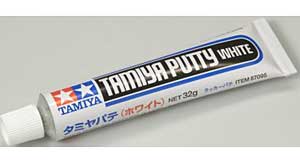
For the above quote you would use something like the Tamiya liquid surface primer? Does this make the seam go away? Same idea with the putty. The purpose is to eliminate the seam right?

VoID_1 said:I was wondering whether the superglue/baking soda method works well on relatively small gaps?
Splashcoat said:VoID_1 said:I was wondering whether the superglue/baking soda method works well on relatively small gaps?
For a small gap I'd probably skip the baking soda and use a layer or two of thicker (gap-filling) super glue.