Flory Models Aircraft building jig

Scale Model Addict - Model Tips, Guides, Tools & Tech, Tutorials, and Community

Help Support Scale Model Addict:

BarryW

Well-Known Member
Joined
Apr 17, 2025
Messages
263
I have managed to get one of these newly released jigs designed and distributed by Phil Flory of Flory Models.

I have not actually used it yet but I can say that it has some features that I have not seen on jigs before that I just love with a lot of options to position and secure your model.

It is 3D printed and made from high quality materials at a cost of £30.

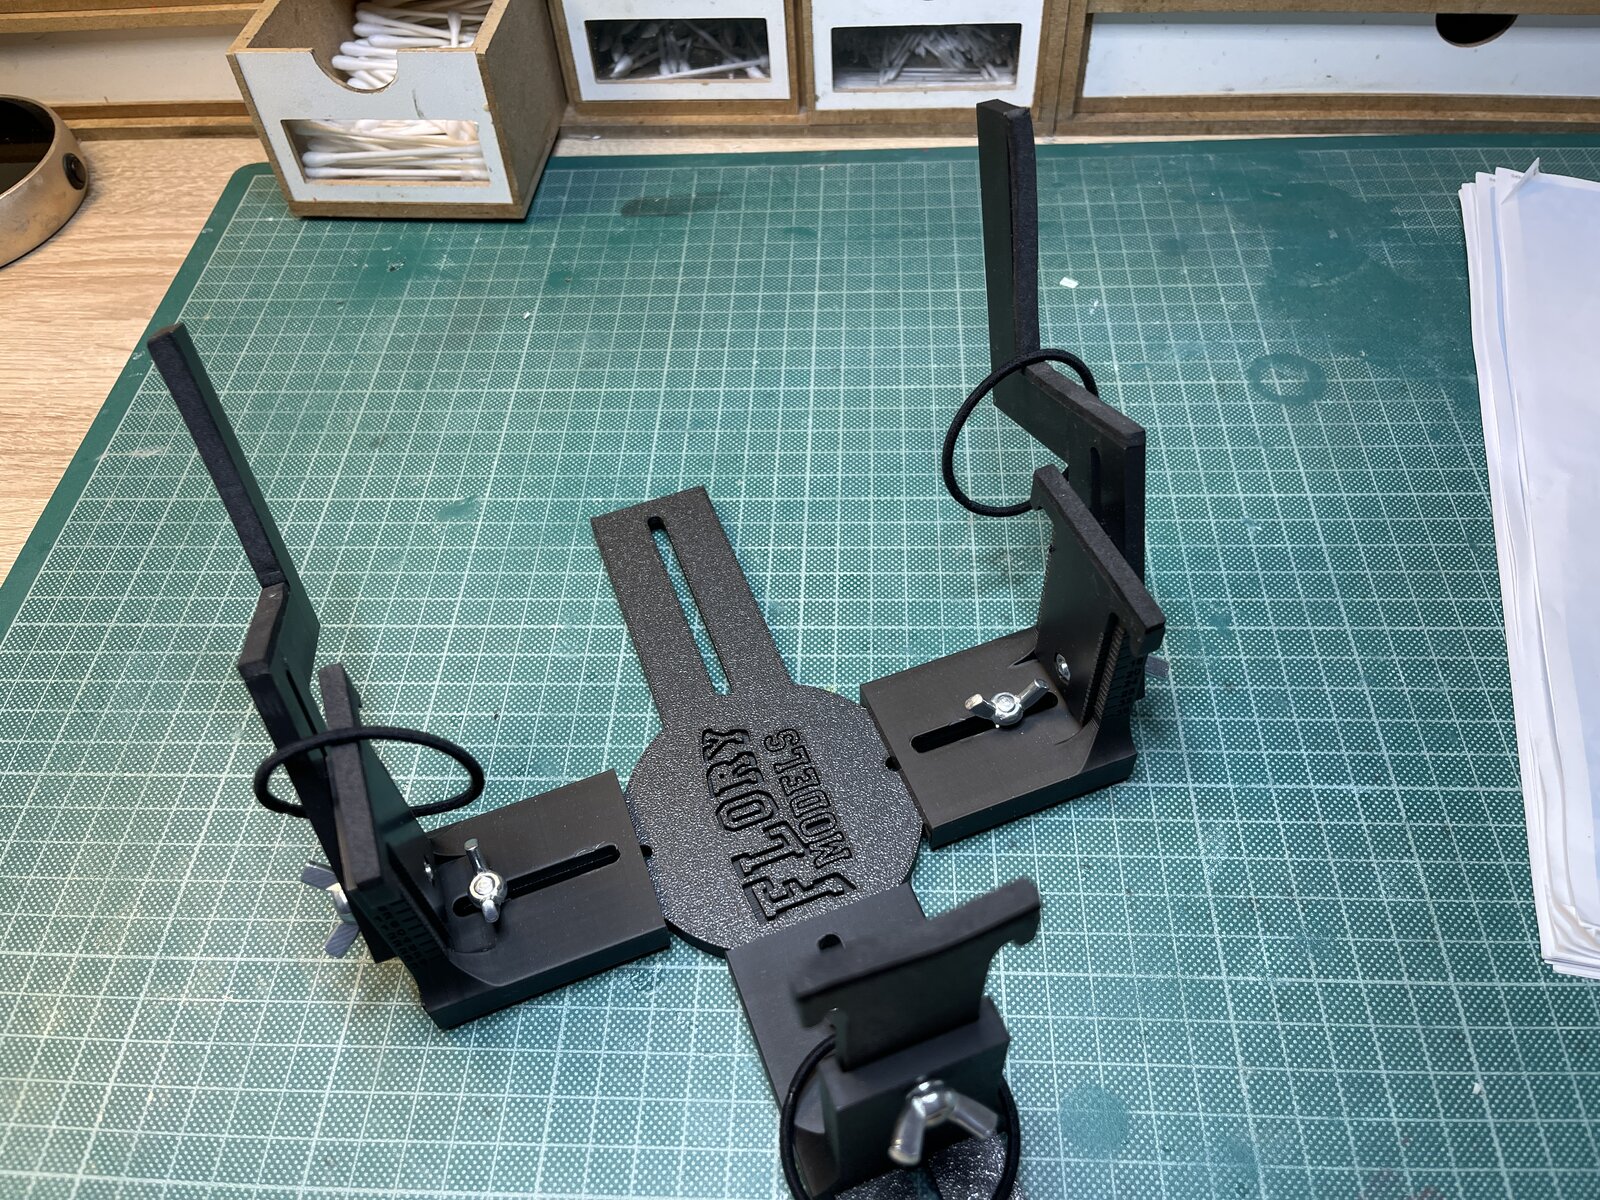
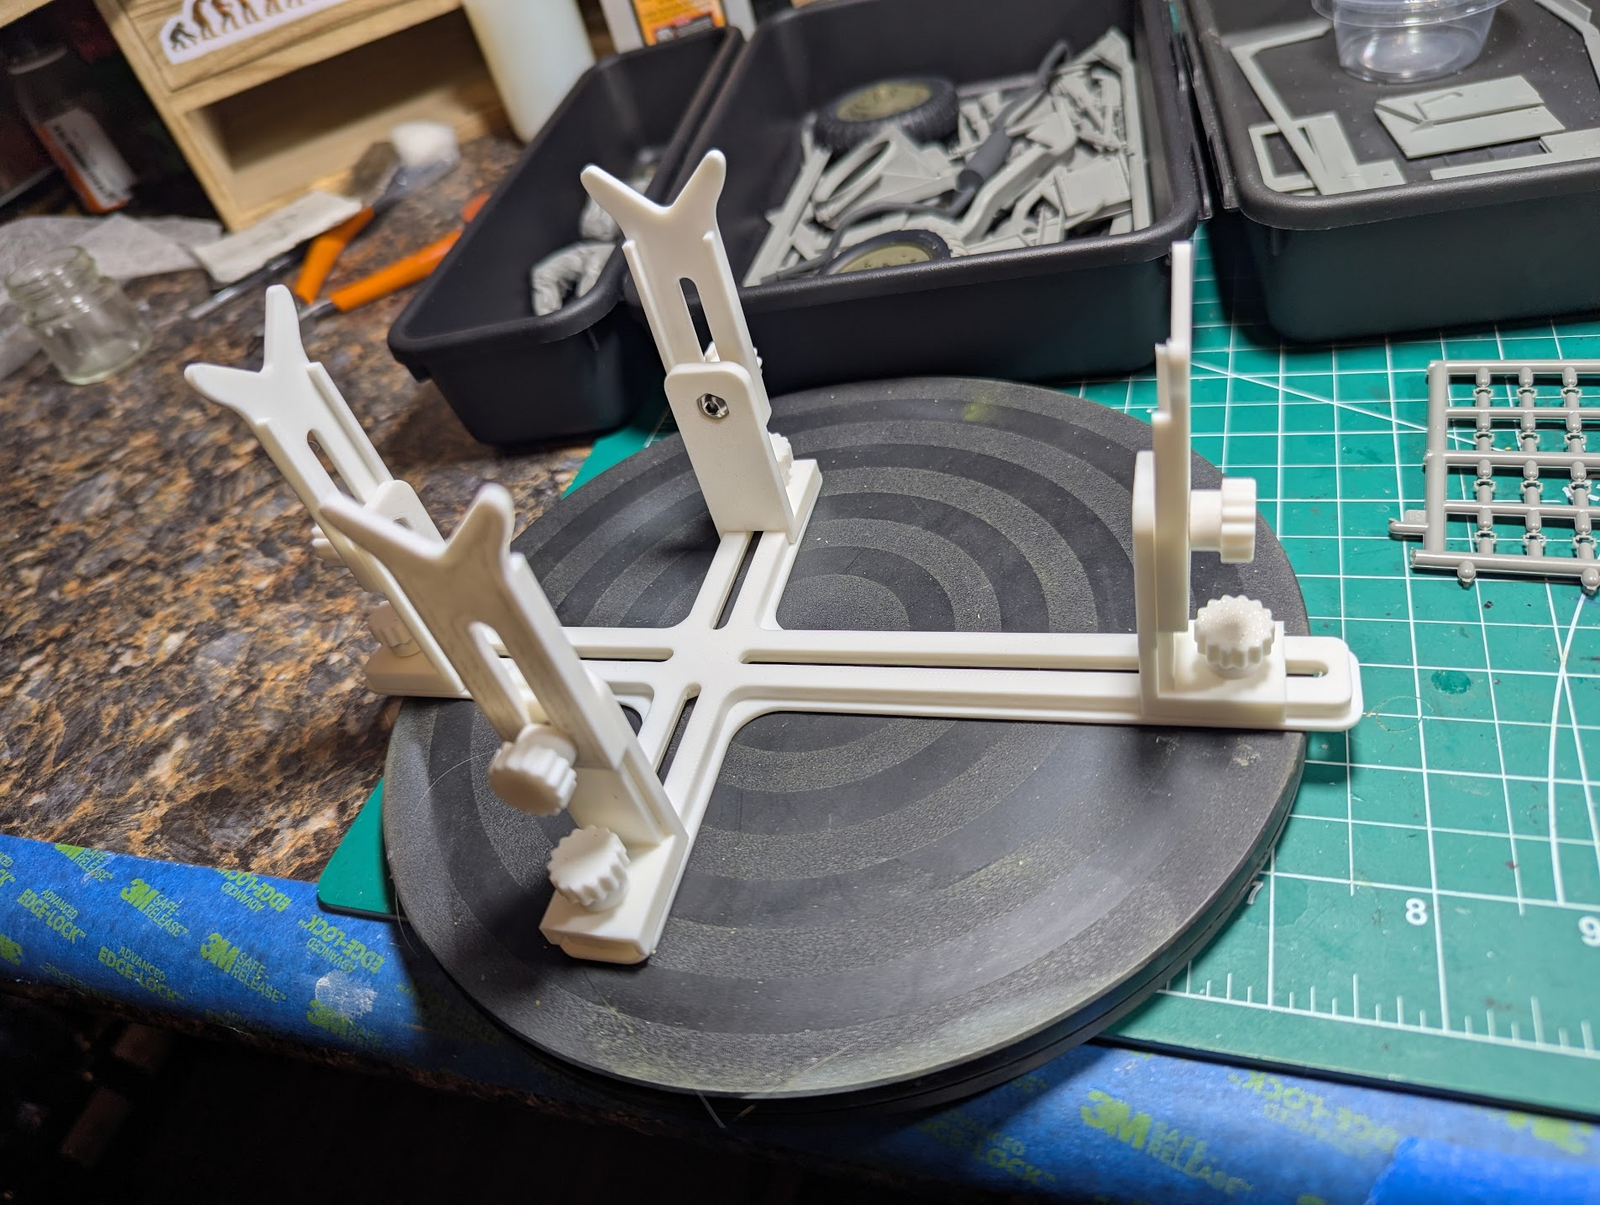
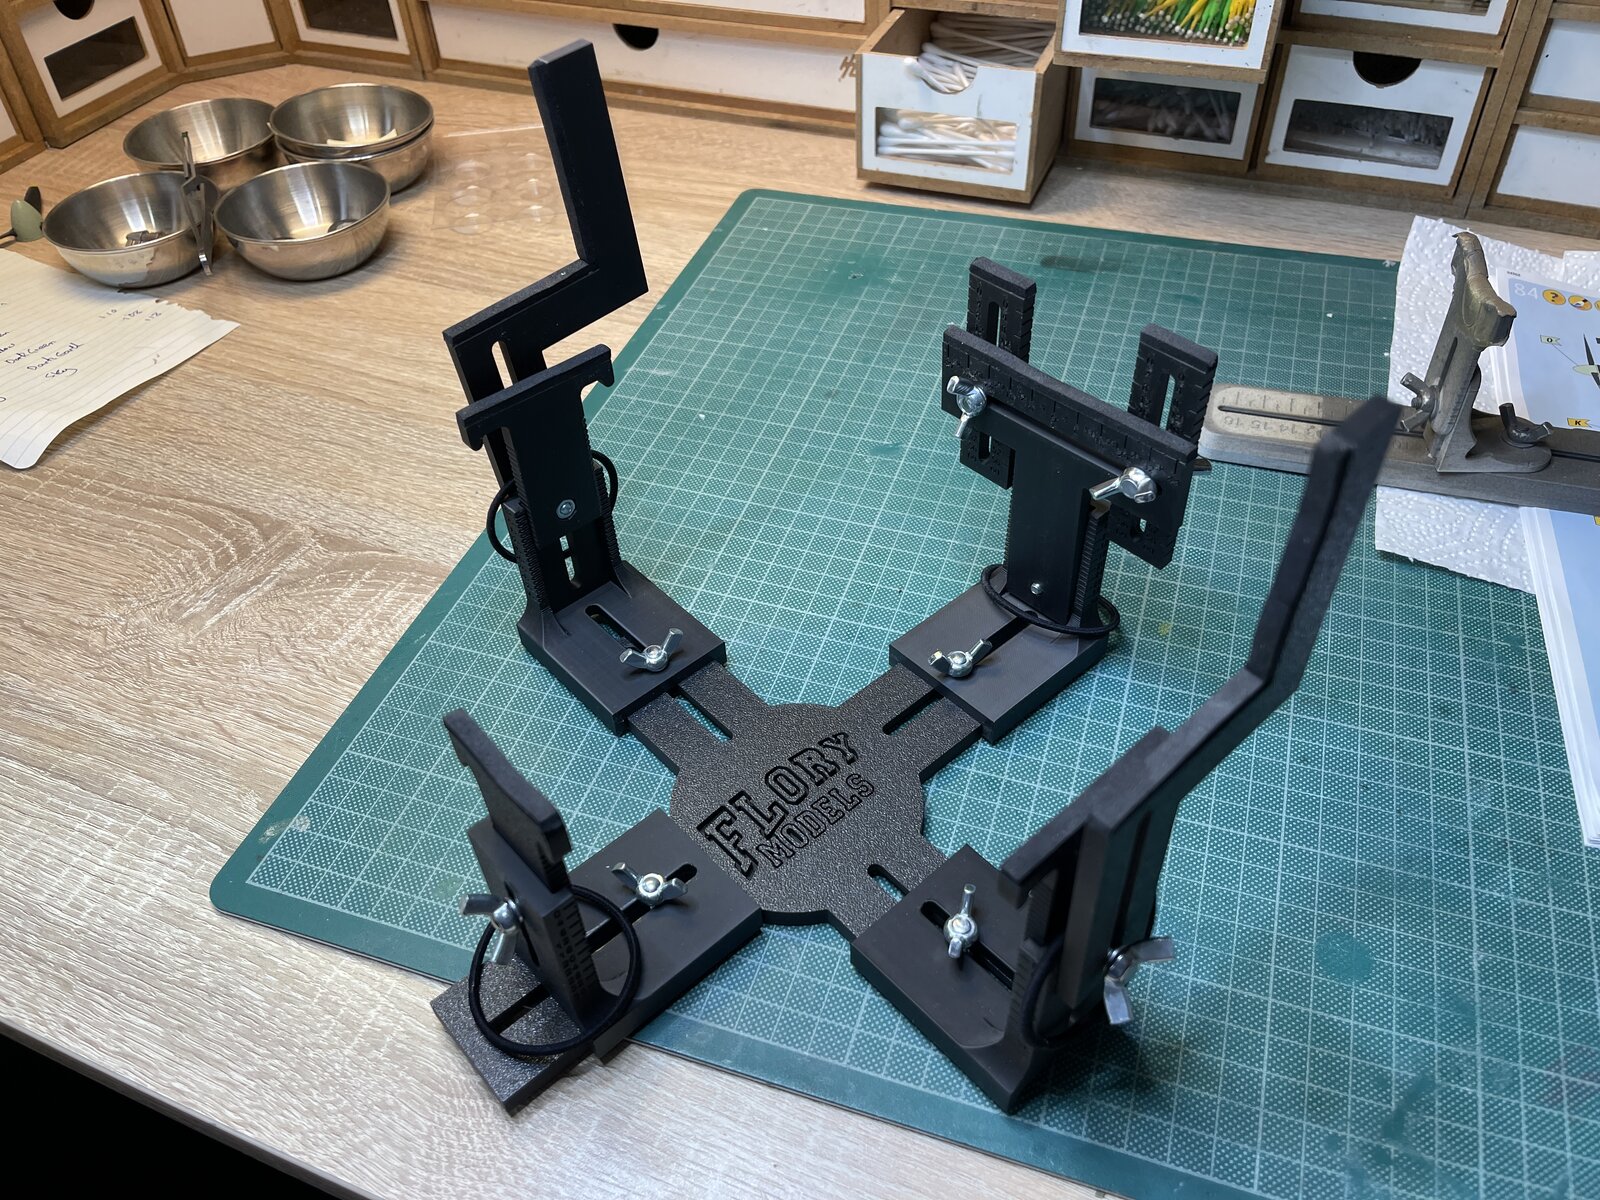
The parts
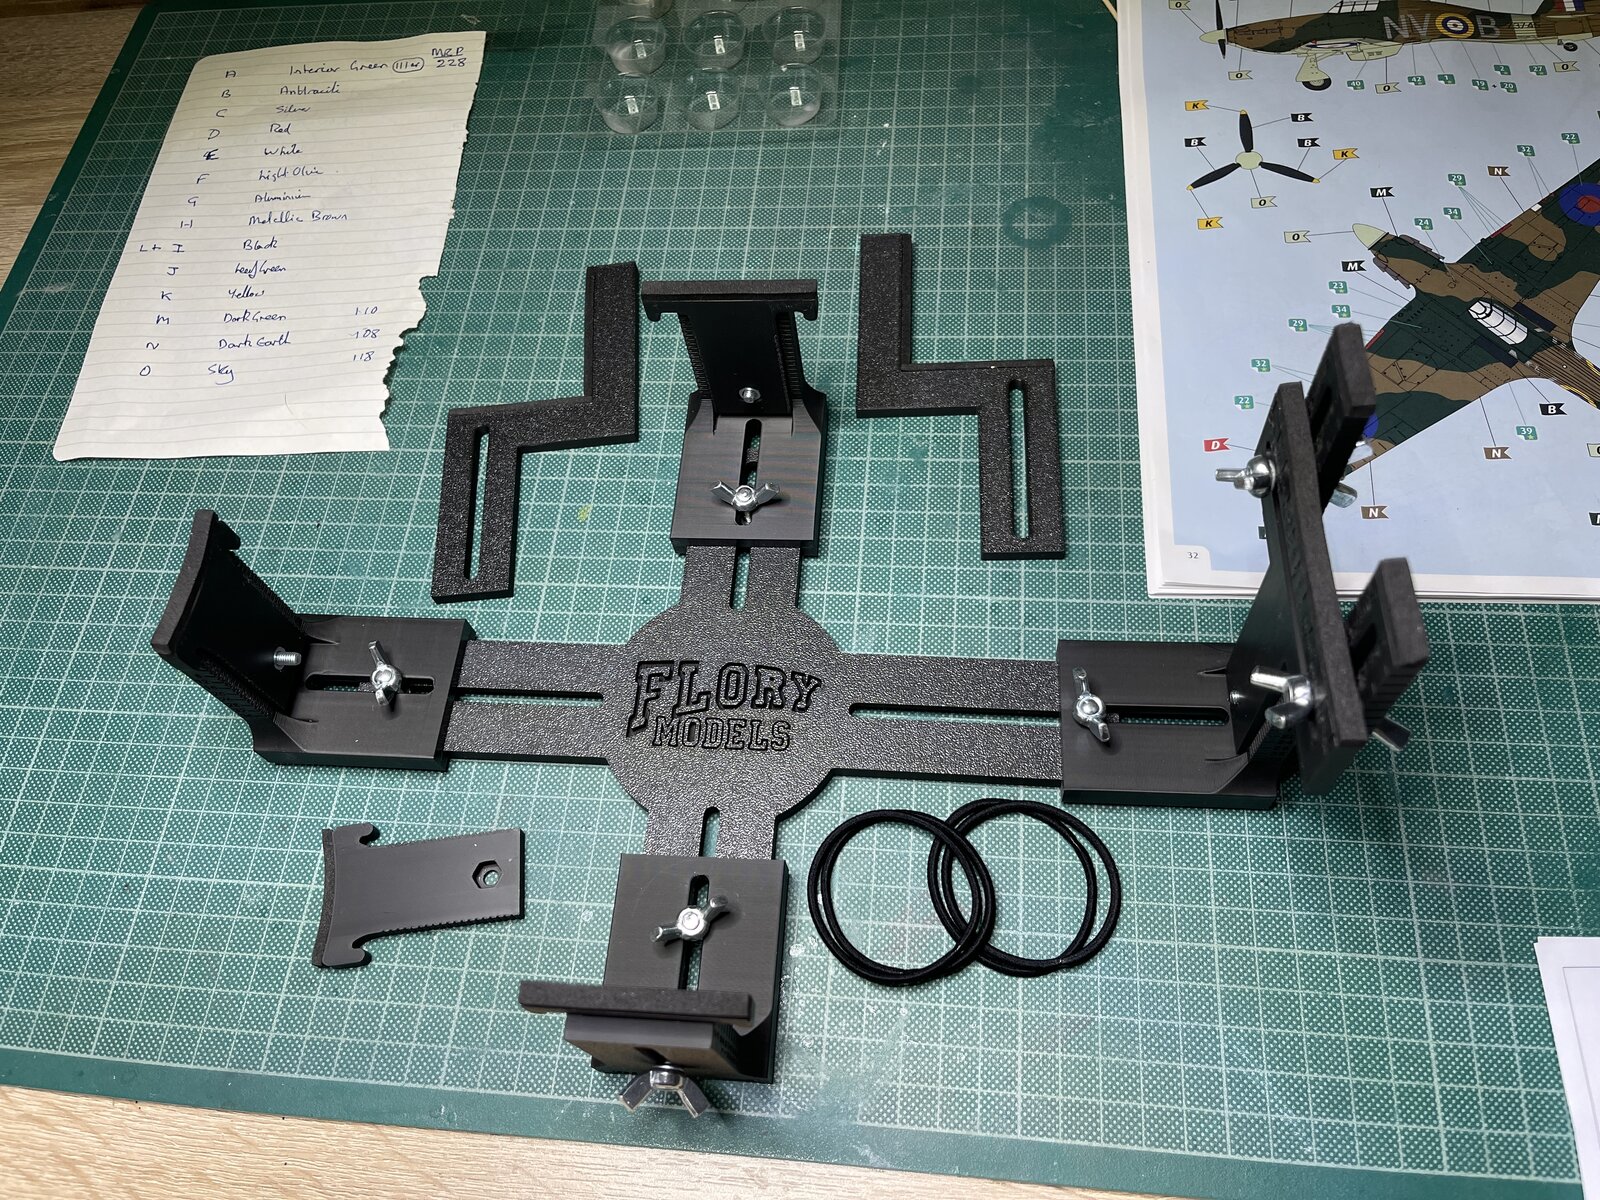
IMG_8342.jpeg


Assembled with one 'low' tail piece left off in favour of a piece that is designed to hold the stabilisers.
IMG_8355.jpeg


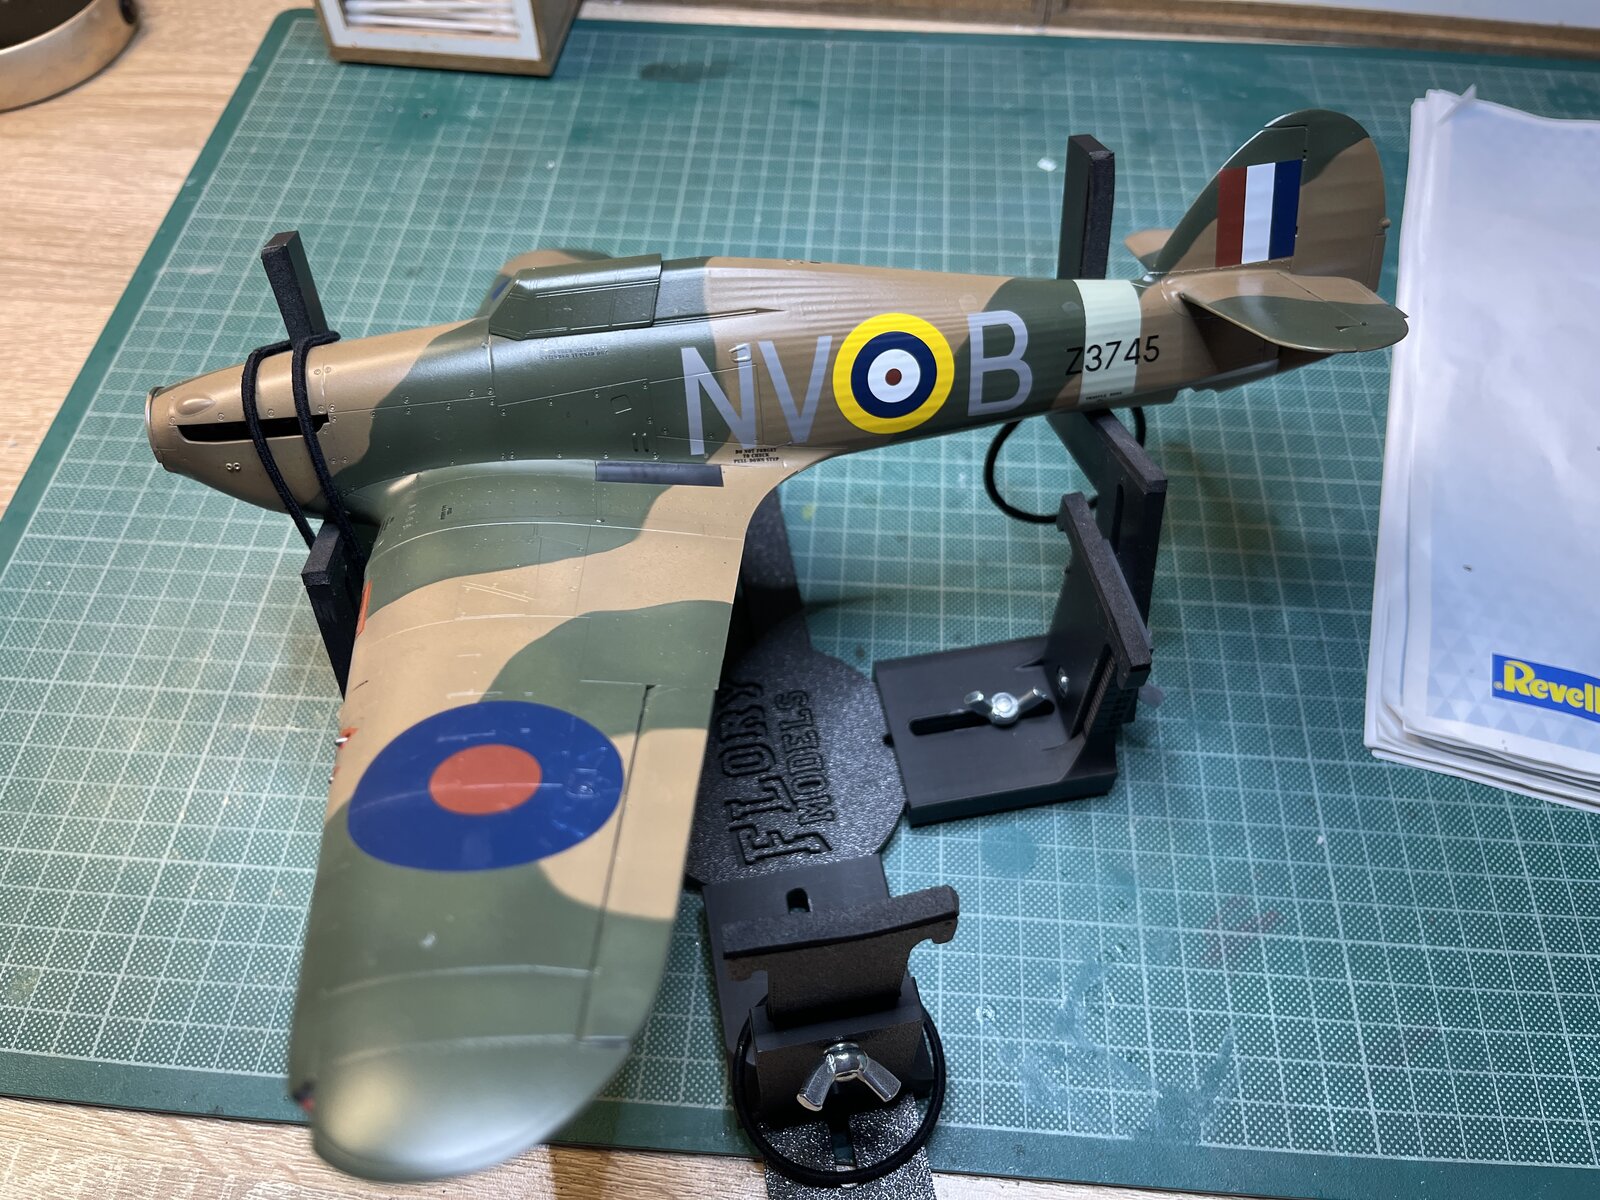
Now what I love about this is that it's designed to hold the model at an angle to enable easy access to the sides of the aircraft. I show it here with my current 1/32 Hurricane build in position. It involves holding the model on what is otherwise the wing supports, with the tail piece removed.
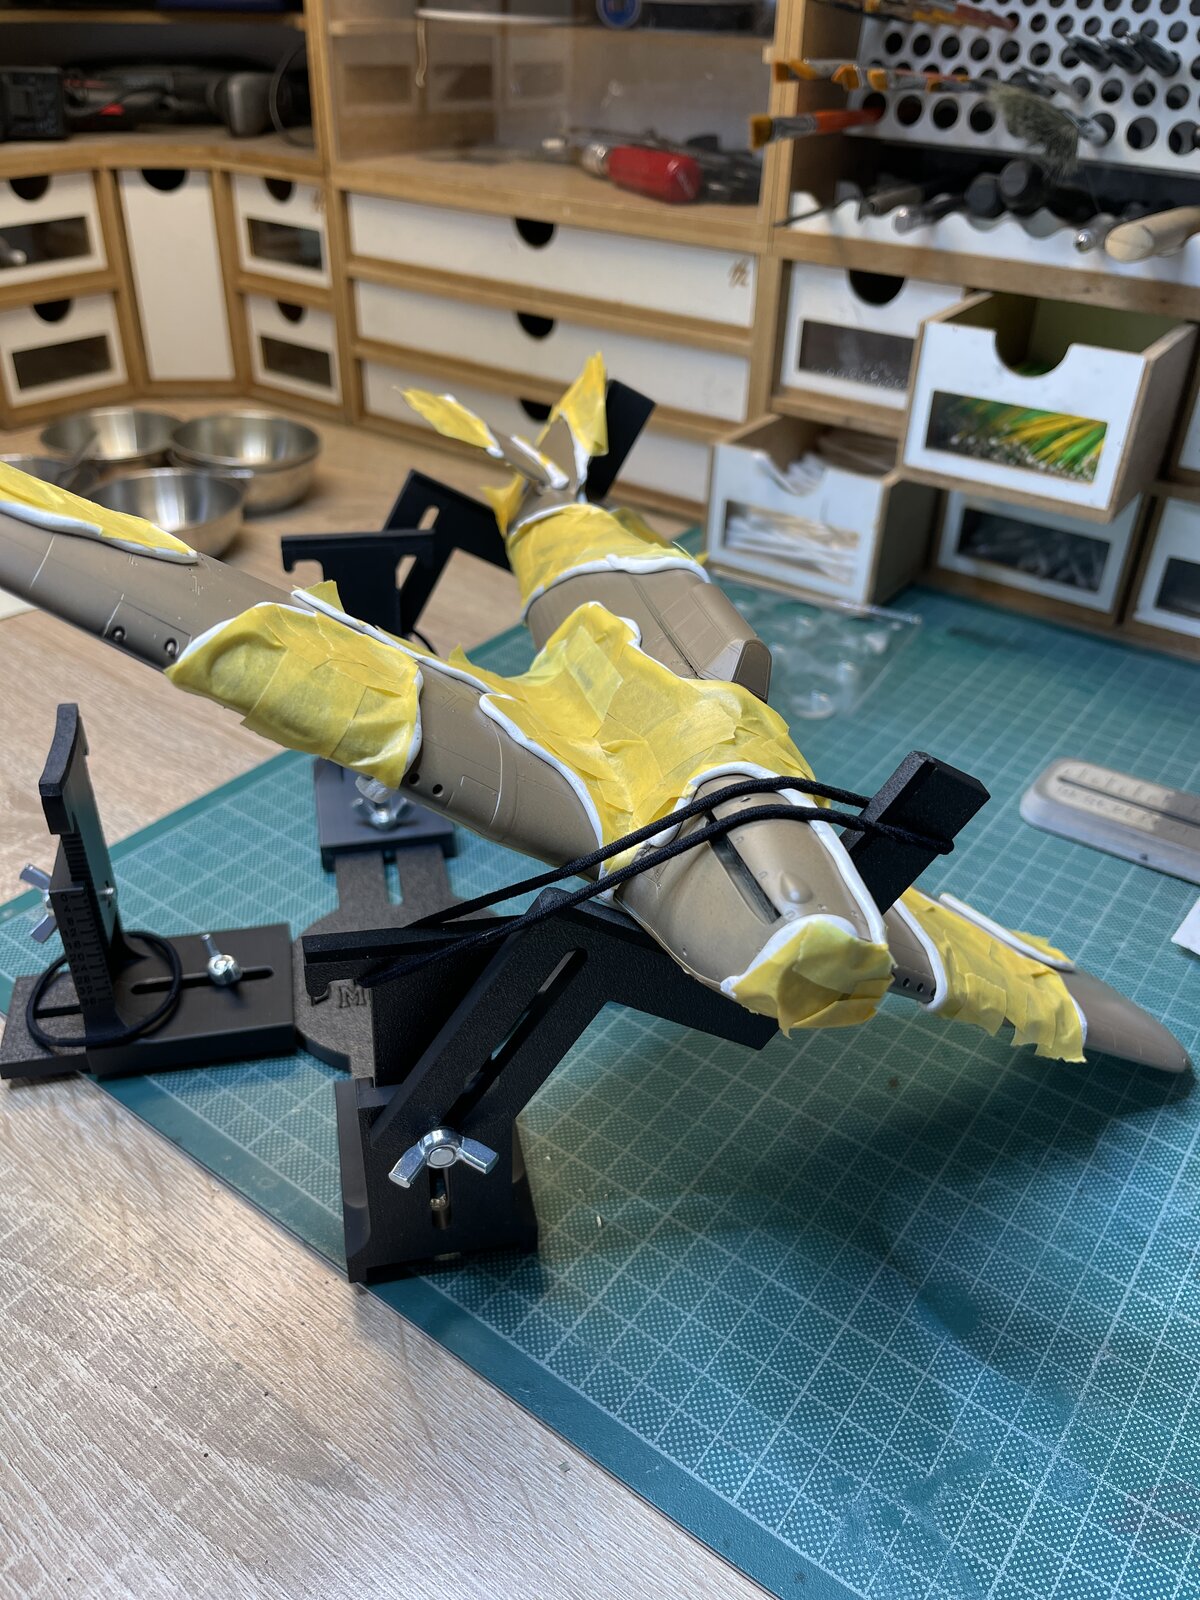
IMG_8354.jpeg


The angle is adjustable and if you place it on a 'lazy Susan' you can raise the base creating room to have a more acute angle.

Anyway that's just my introduction once I have used it for decalling the current build I will provide some more pictures and commentary.
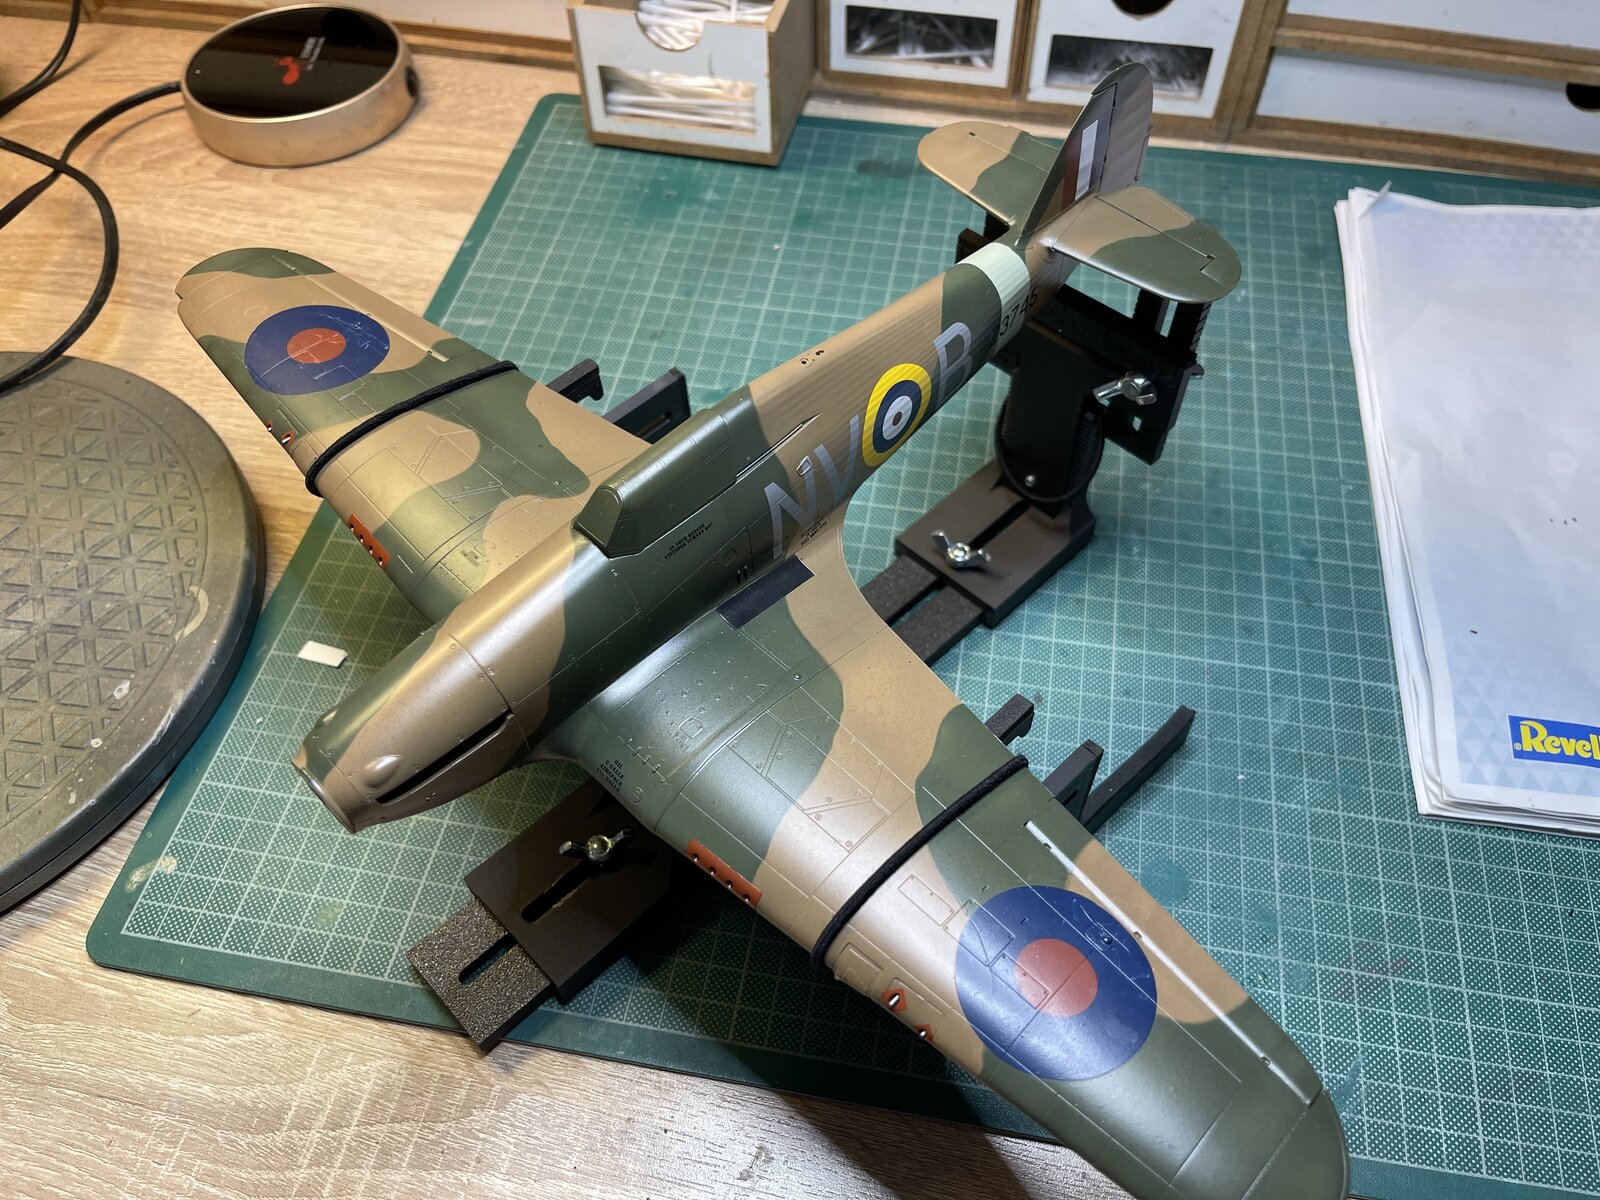
 
I have now used it for the first time when decalling my Hurricane

The model, pictured below, is held quite securely.
IMG_8365.jpeg

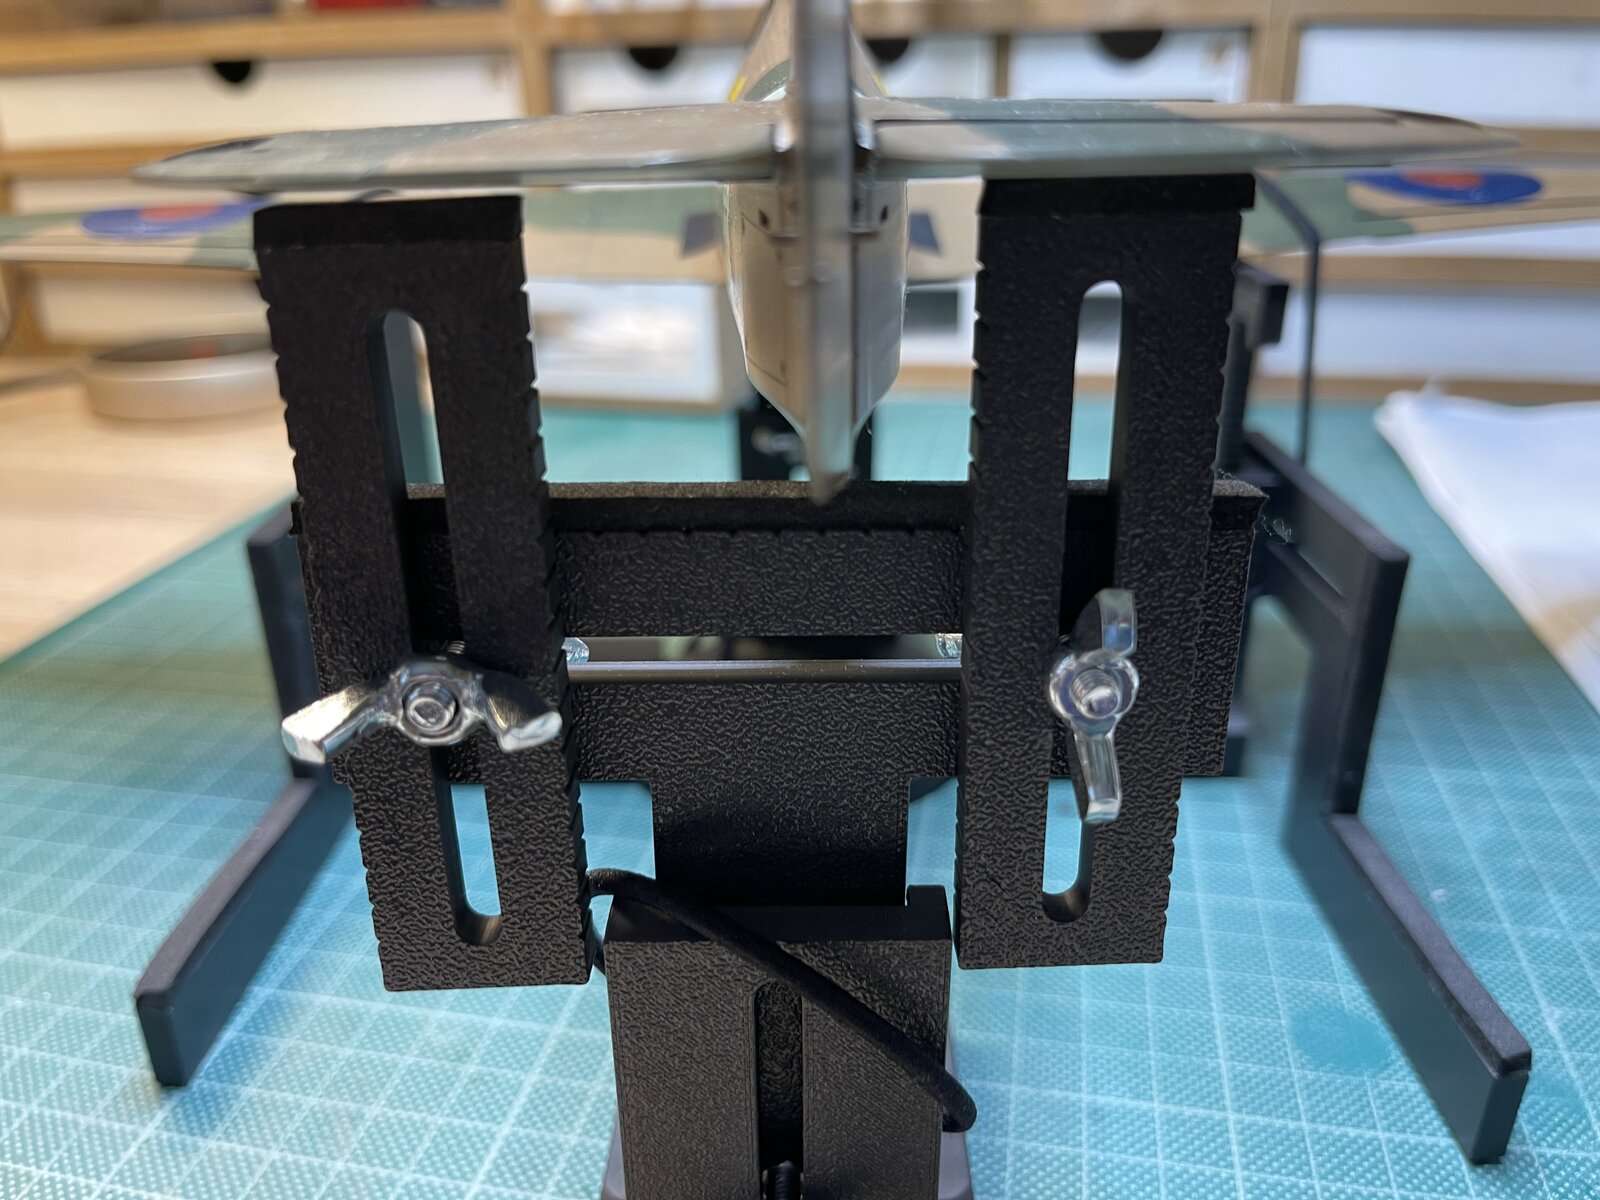
You can the rear section below.
IMG_8366.jpeg


It is very easy to adjust the sizing and there are gradients that can help when required.

The different uprights gives it a lot of flexibility for positioning and I expect to improve my grasp of how to get the best out of this jig over time. Indeed I suspect how it's best used will change from model to model.

Below the model is set at an angle to be able to work more easily on the side. A more acute angle can be achieved by placing the jig on a raised platform and the angle is restricted by the wing.

Positioning of the good quality bands needs to be thought through so they don't interfere with your work. There were times when I needed to lift the model, while attached to the jig, to make adjustments.
IMG_8363.jpeg


IMG_8364.jpeg


All in all this is the best jig I have used offering a lot of flexibility. I personally consider this to be my detailing jig and will keep on using my other as my painting jig.

9/10 well worth getting.
 
I recommend this for all 1/32 scale WW2 fighters. It will also be good for some twin engined aircraft but won't work for 1/32 four engined bombers.

It will also be good for most 1/48 models but I am not sure whether it's any use with 1/72.
 
Nice job on the Hurri and great write-up Barry!

I think you are right about the 1/72 too, maybe if it is a B-52 or C-5, LOL.
 
Often wondered the same thing. The few shops around here don't carry any of their non-beginner kits and perusing their selection on Amazon is frustrating because they don't provide any pictures aside from the front of the box. I came across a video on YouTube of some online modelers getting a tour of their facility in the UK which was kind of neat. All I know is they have an immense selection of spitfires to choose from and I've heard good things about the Lancaster
 
As an Amazon Associate we earn from qualifying purchases. Product prices and availability are accurate as of the date/time indicated and are subject to change.
Find someone at your local club into 3D printing. I say local since shipping costs are not insignificant. A nice jig can be printed for a dollar or three of filament, and many of the products sold on Amazon are just that, but cost $10-20. That one above from Flory is 100% a 3D print job, the one Tommergun posted is hard to tell but I suspect it is too.

I can share the files for this one (open-source) that I use if anyone is interested.

1769958134539.png


I tend to use the lazy-Susan for painting, I just support the model with foam.

The jig however is INDISPENSIBLE for aligning wings/stabs/gear. The hardware that you cannot see in there are some "knurled nut inserts" You seat them into the plastic with a soldering iron, then the visible hardware can be found at the local hardware store.

Unrelated, a lot of of Tamiya jar openers you see for sale are also some dude with a 3D printer selling stuff for 5-10x what it costs.
 
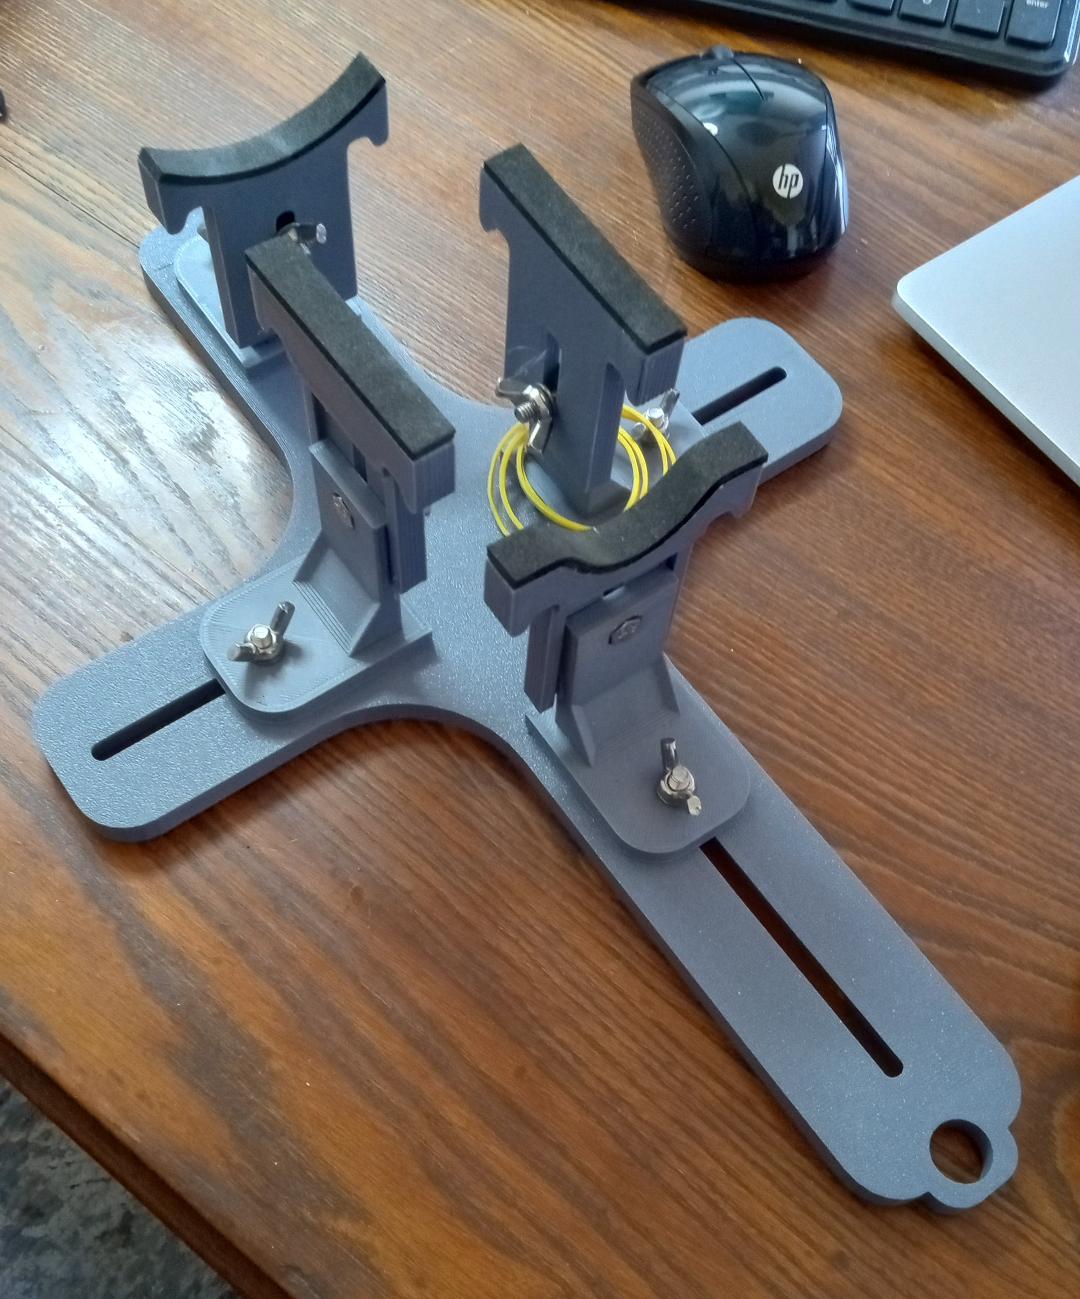
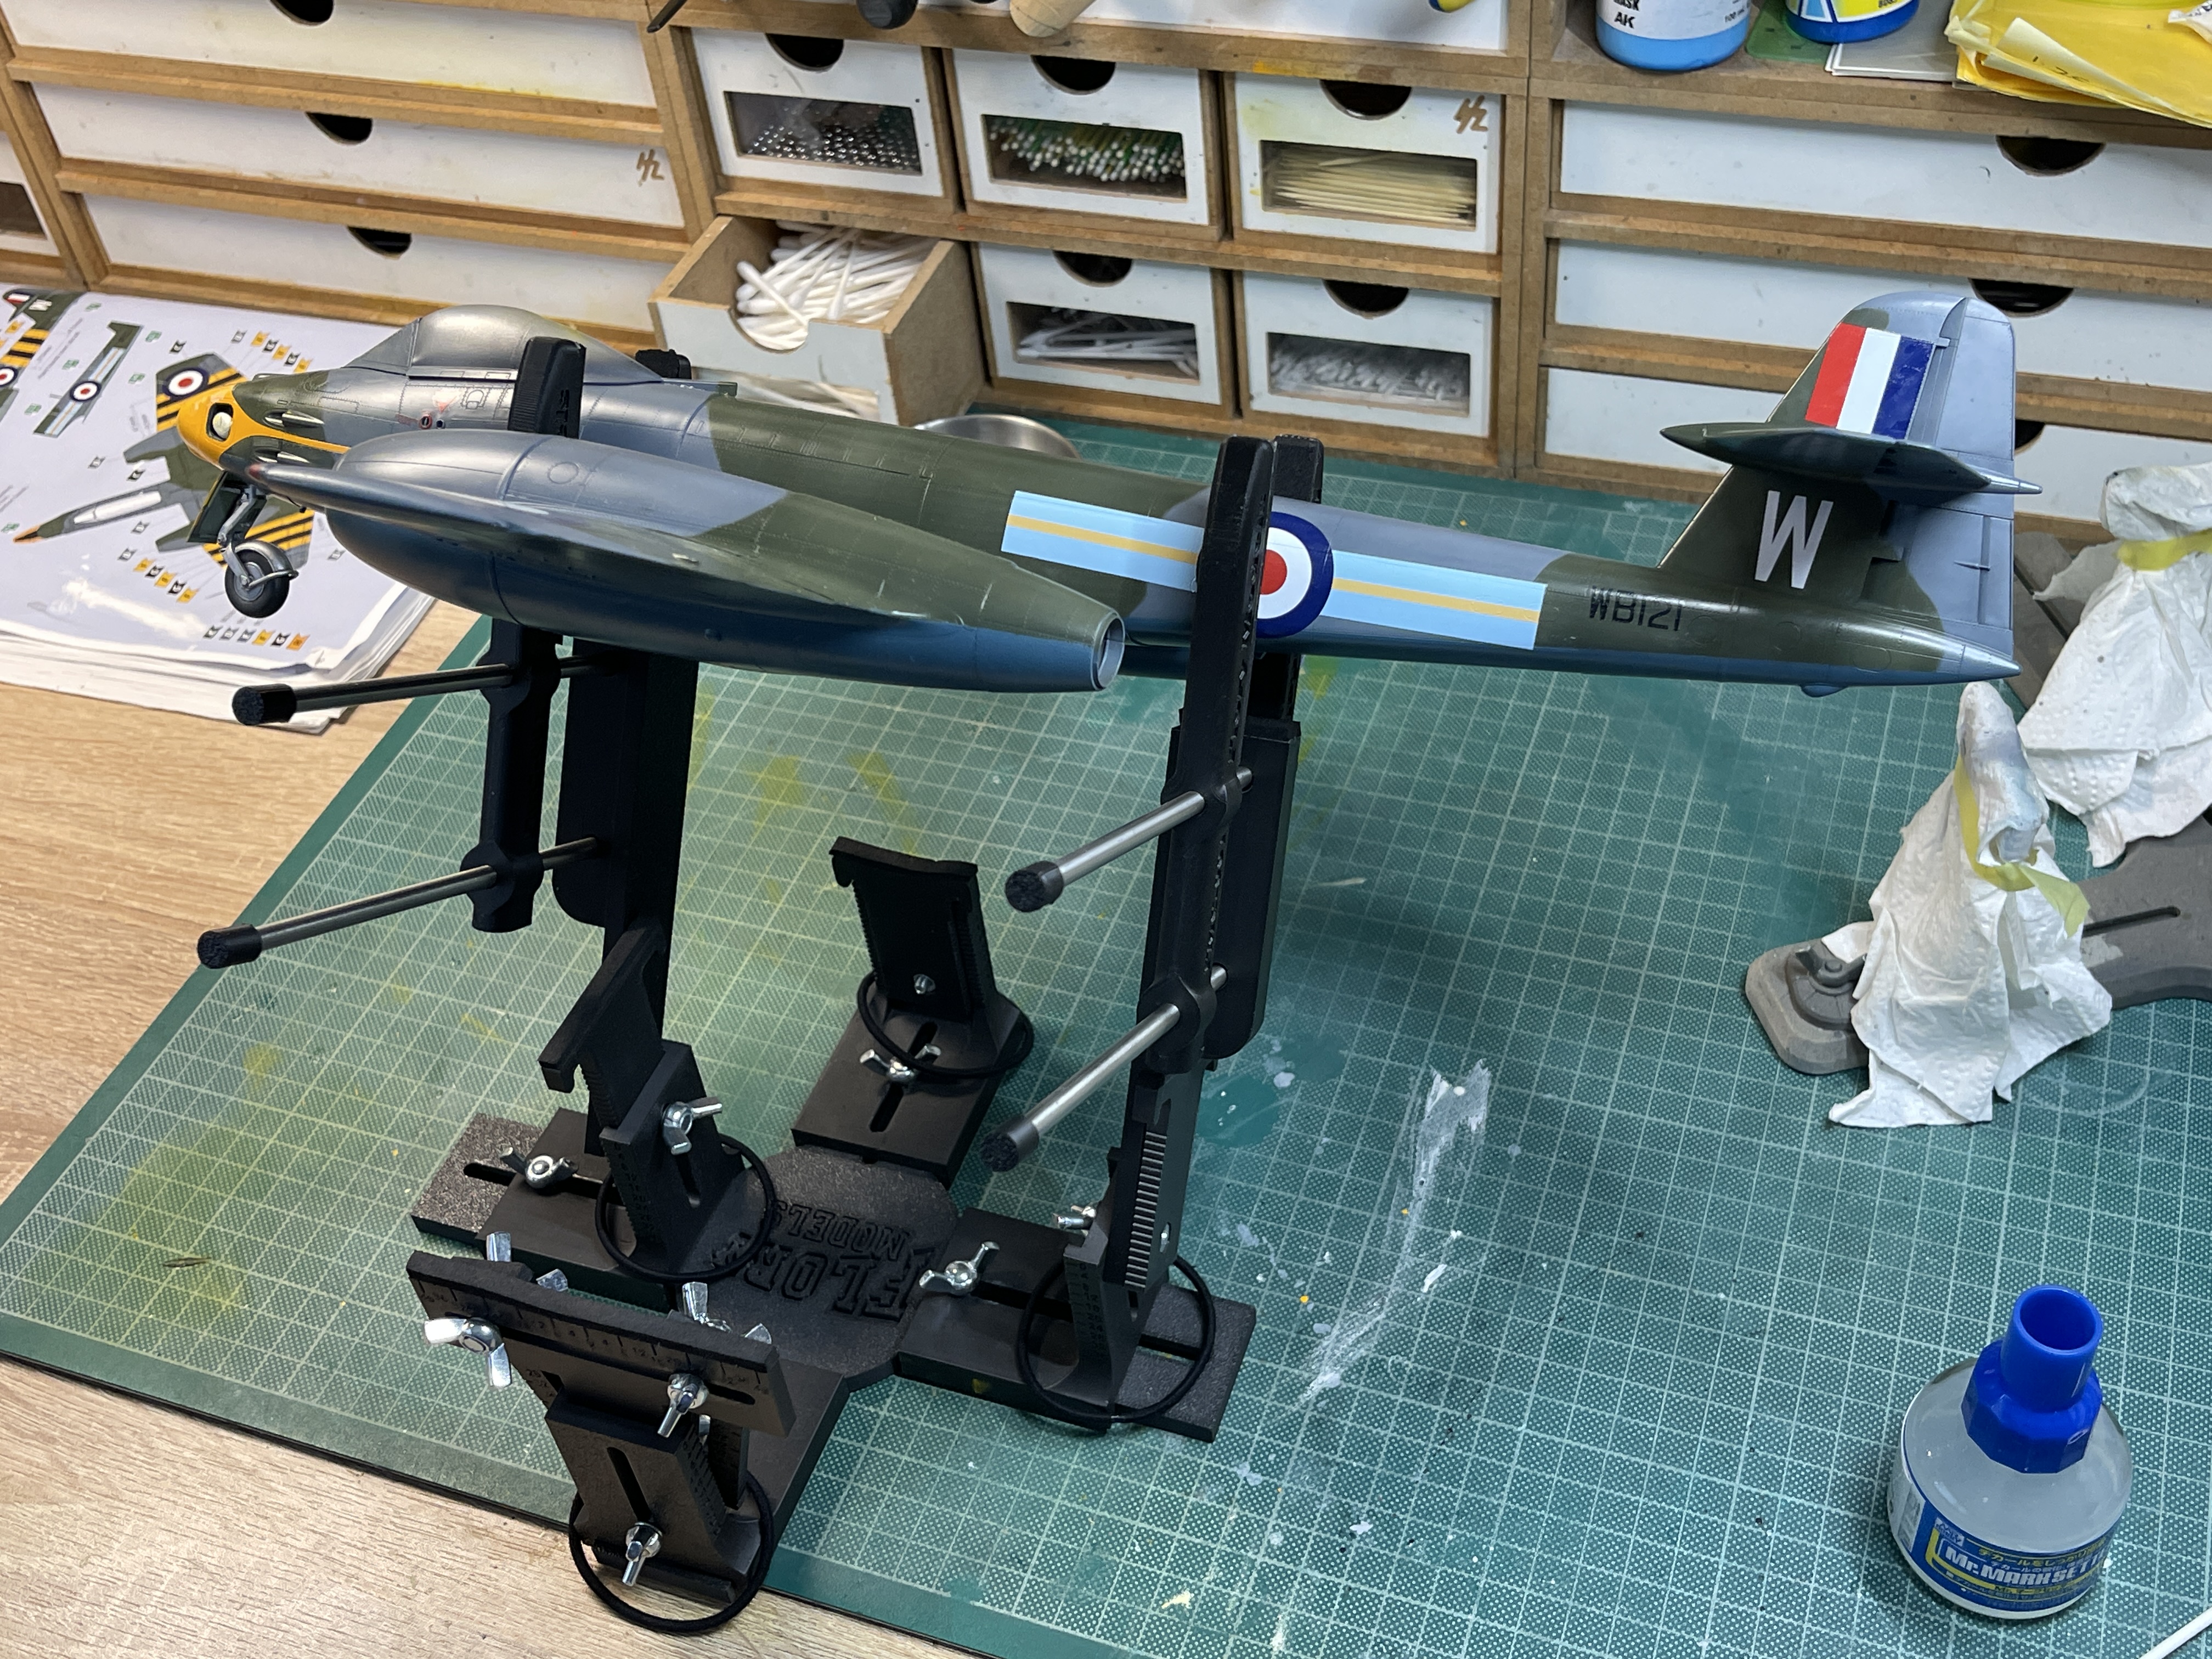
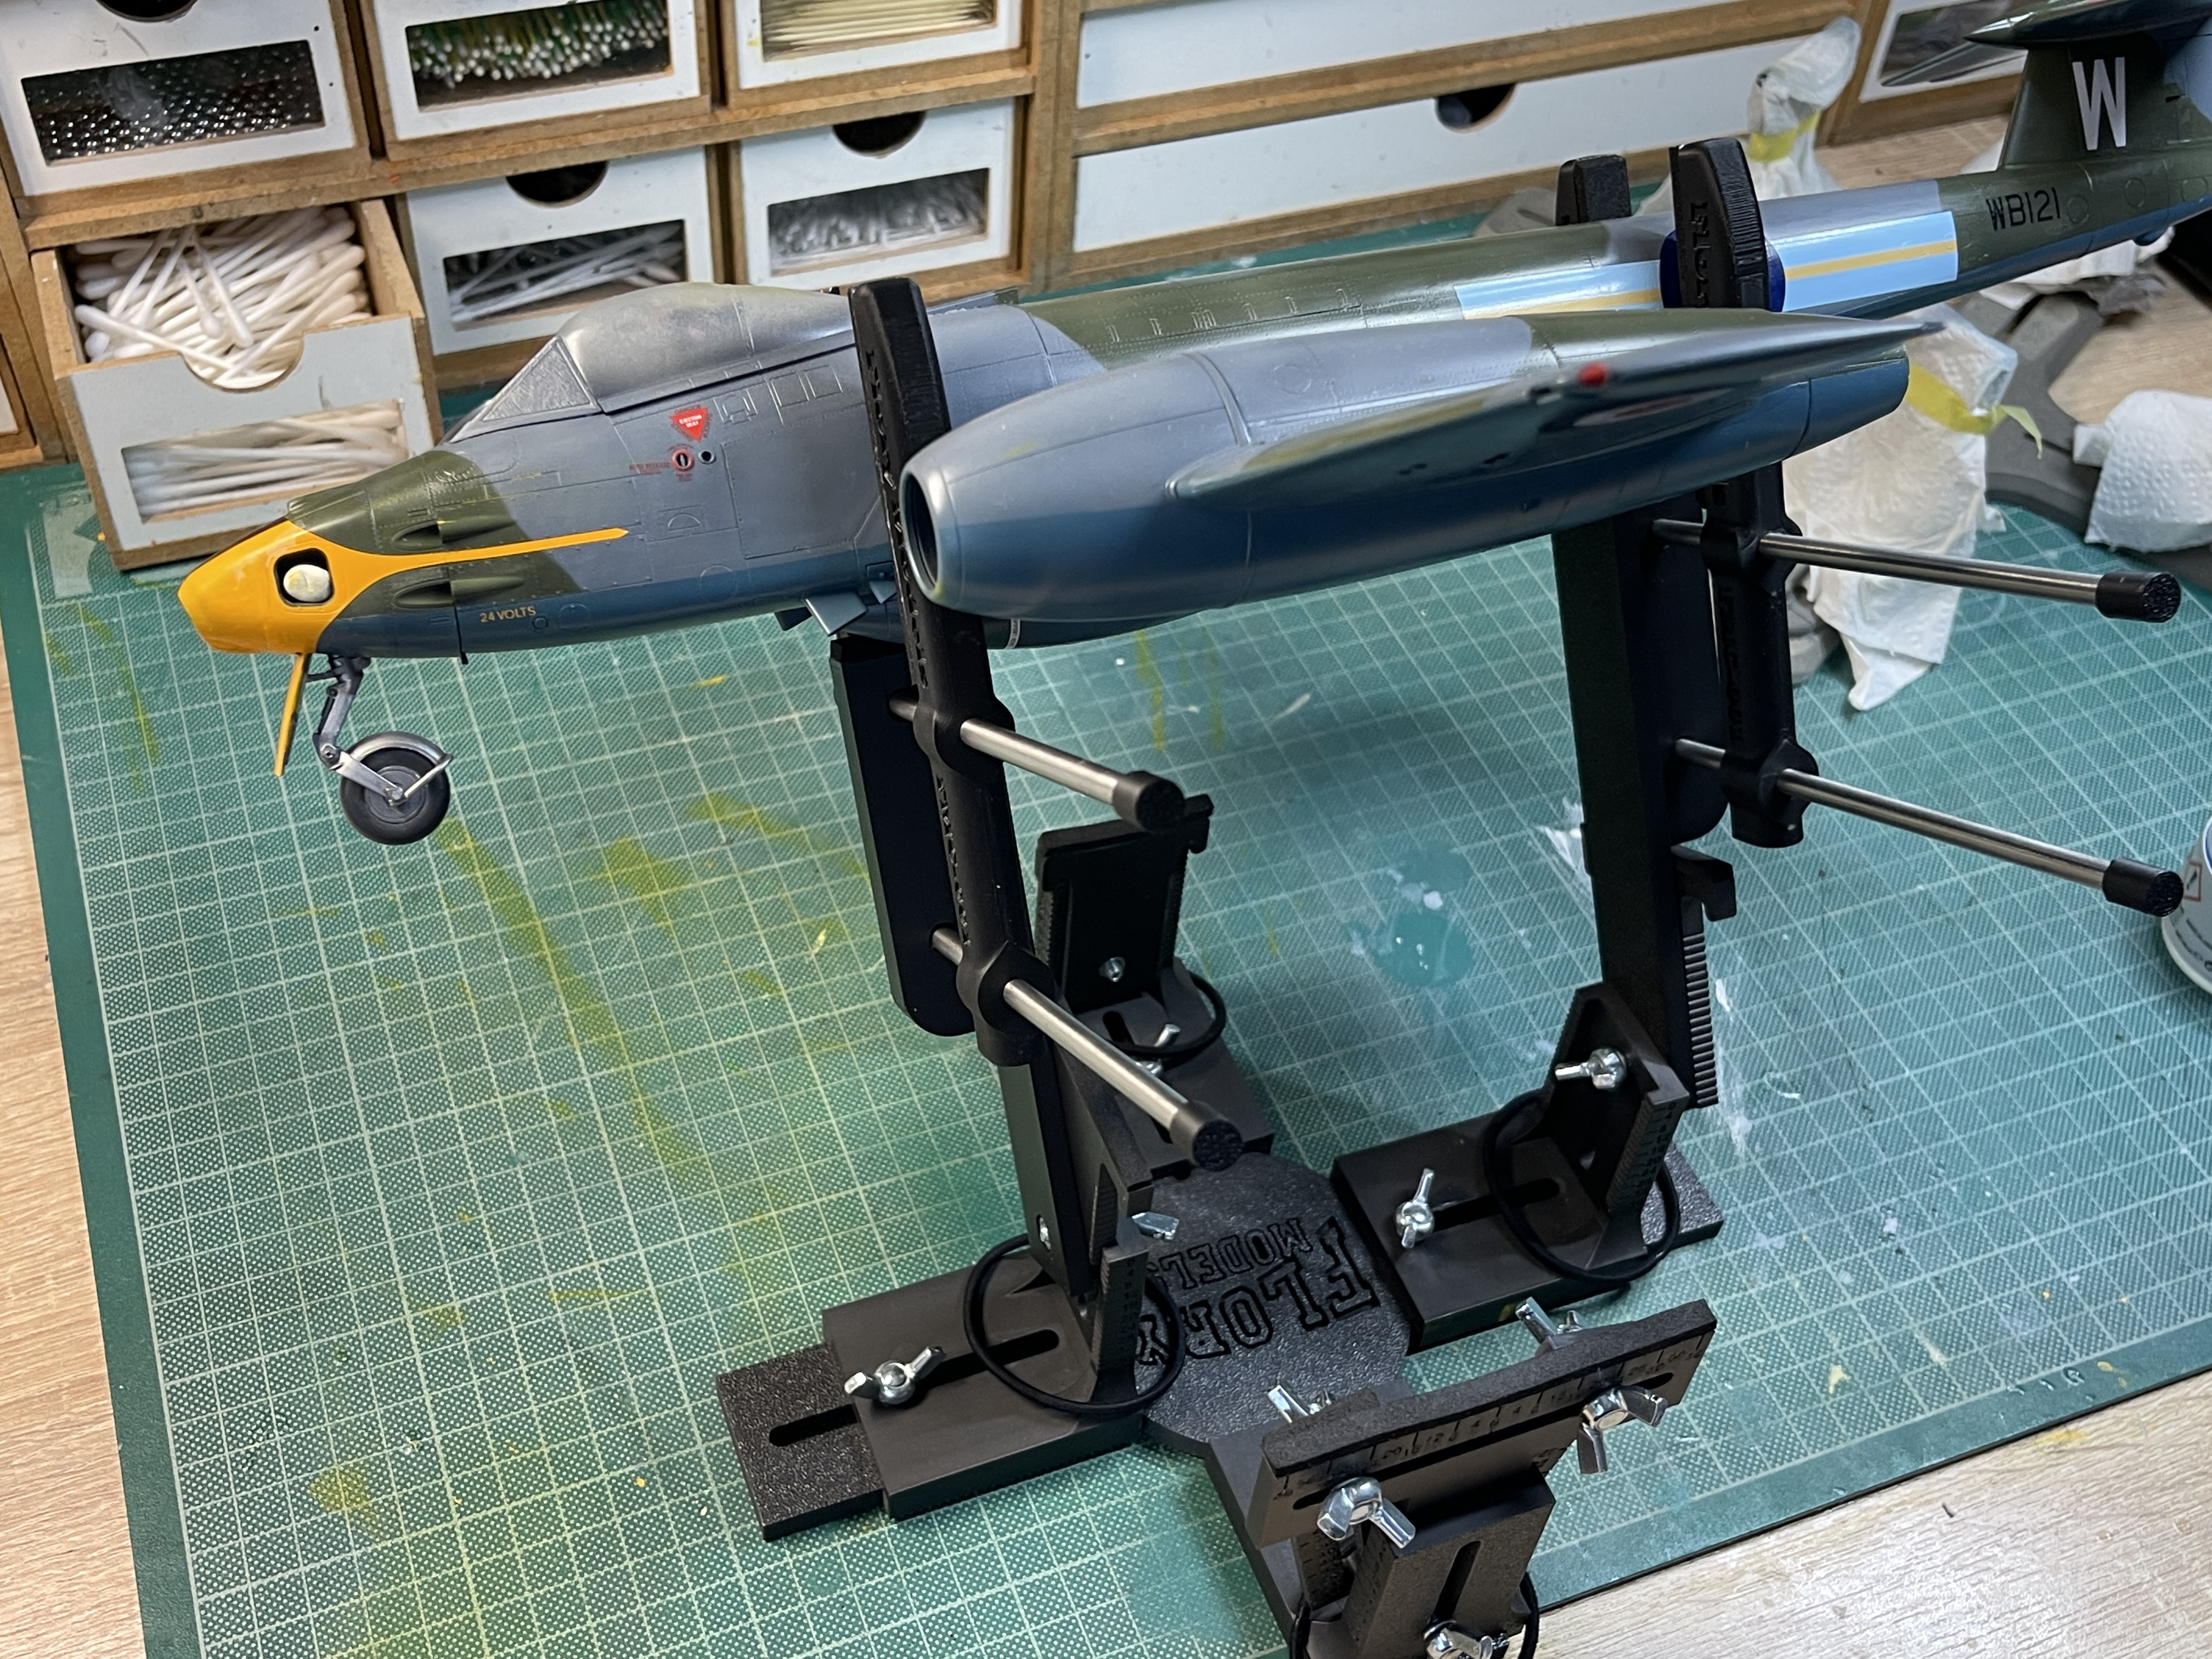
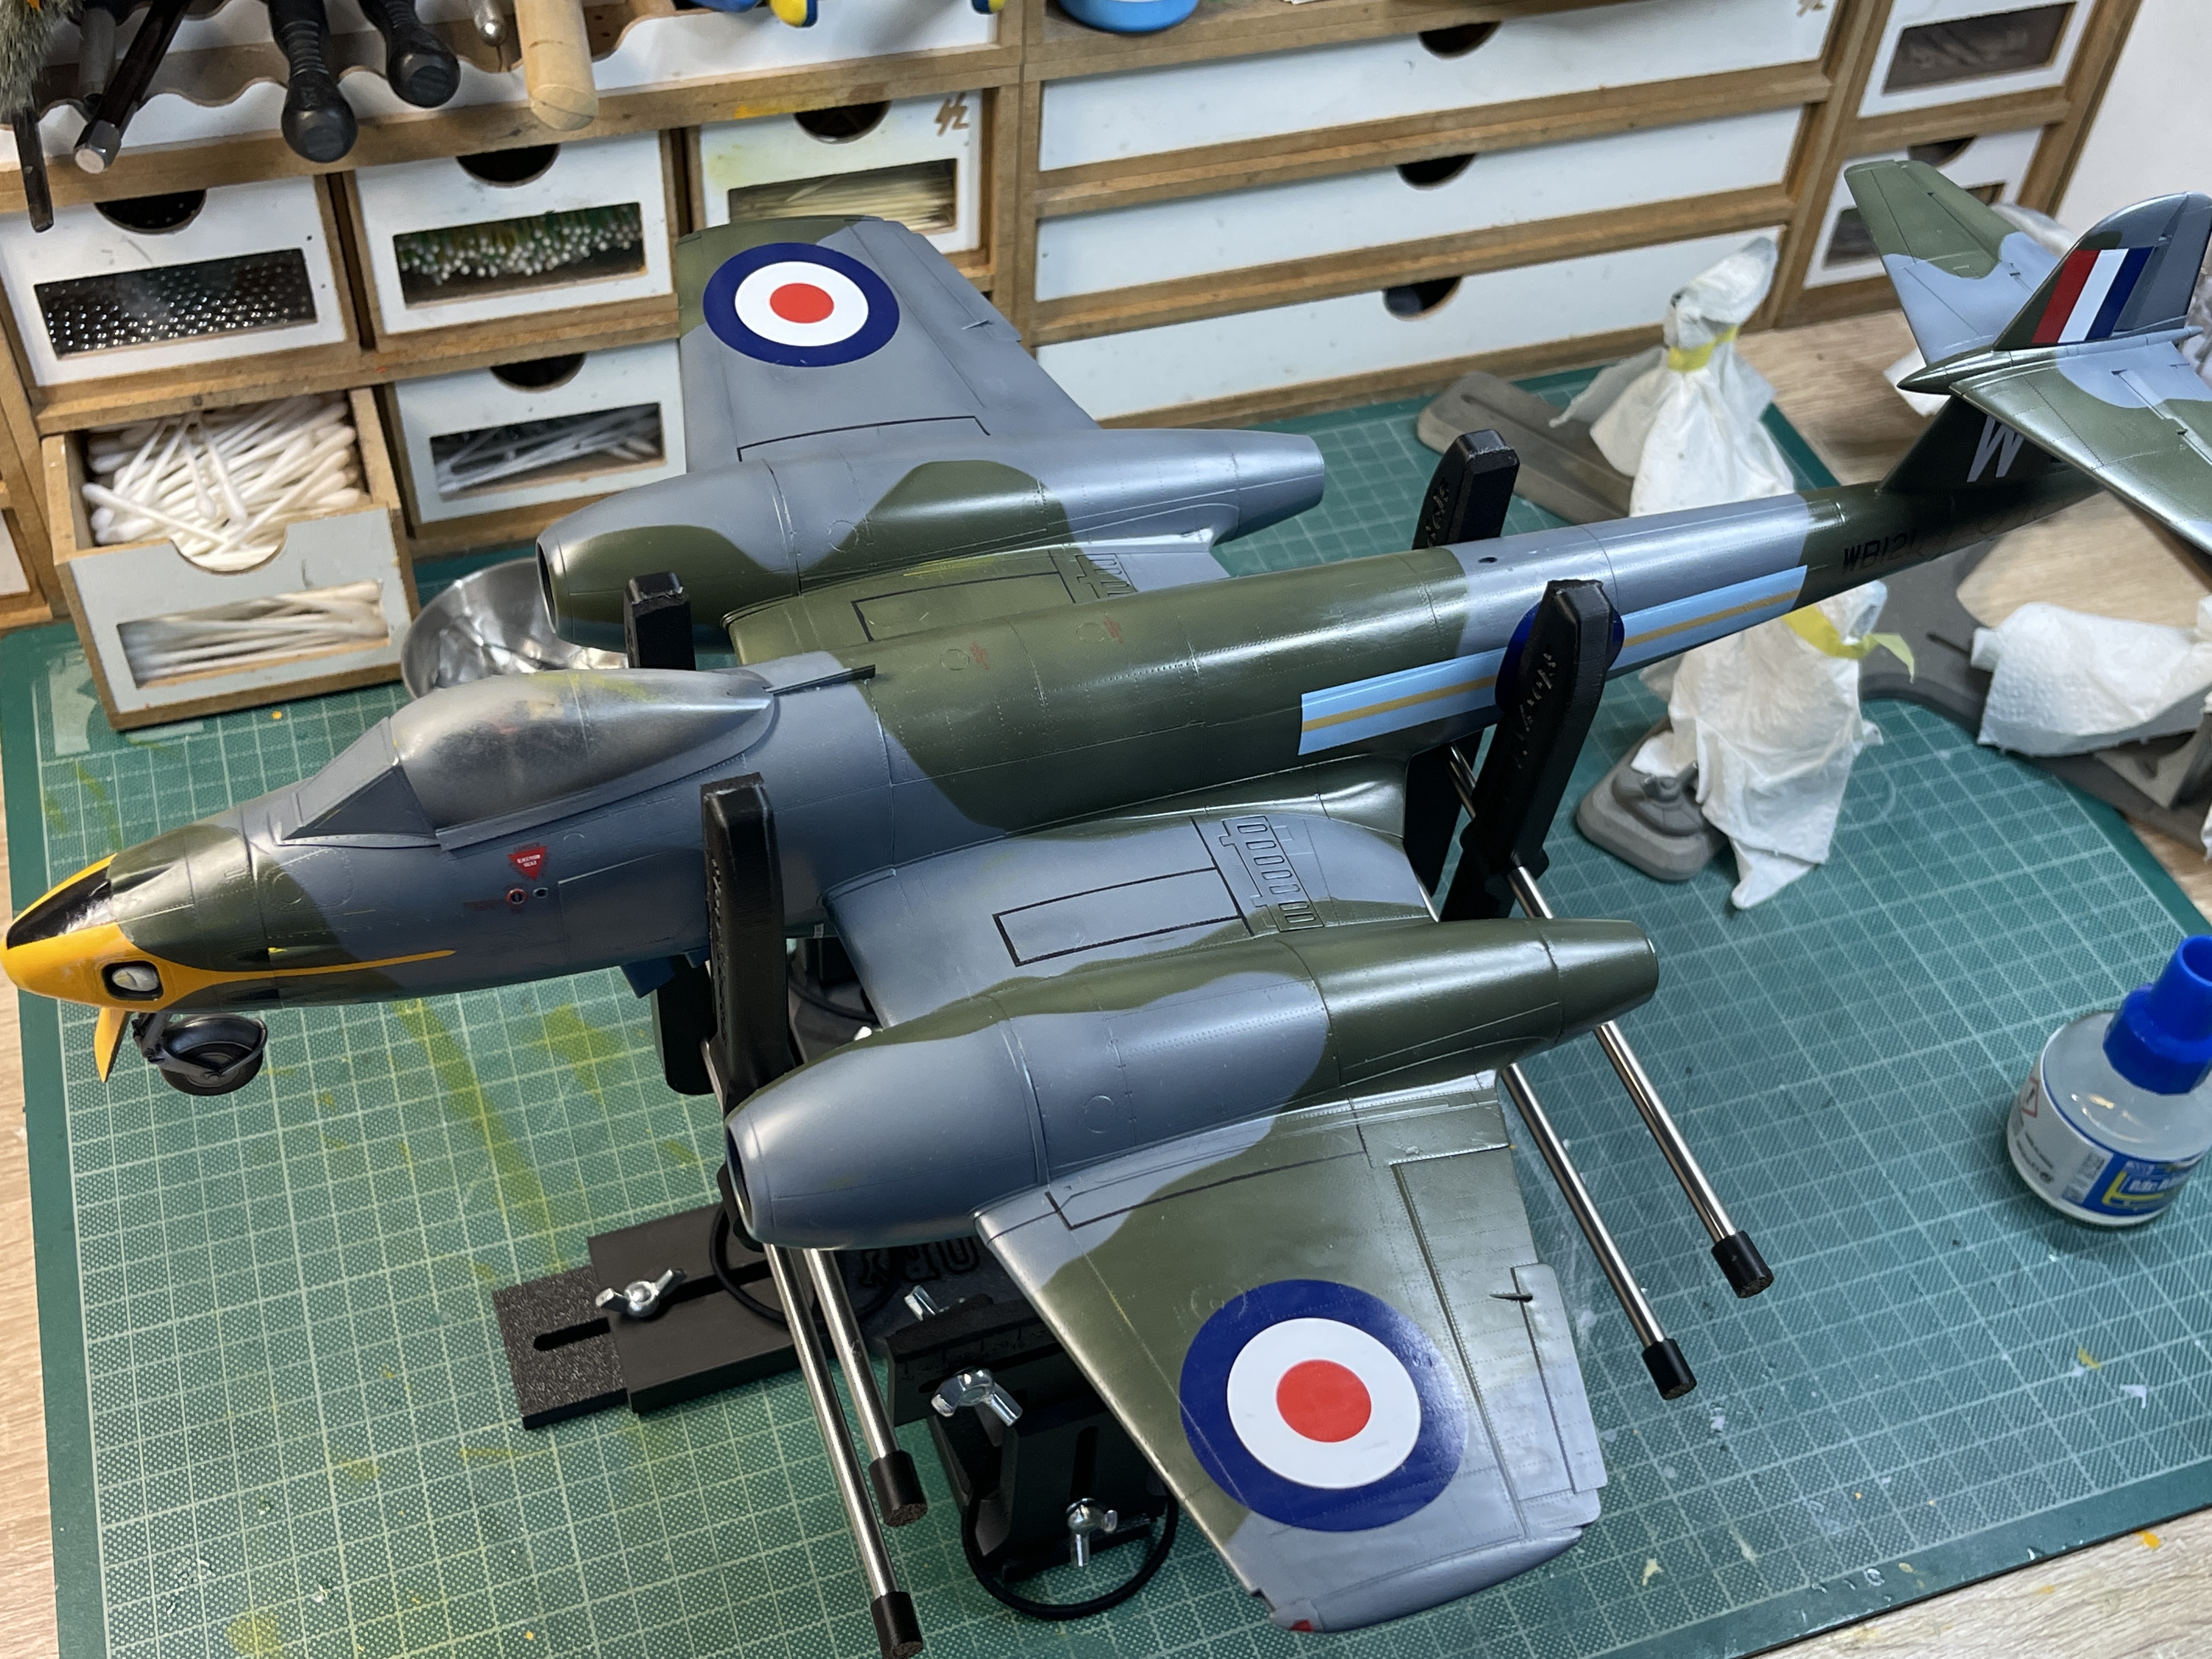
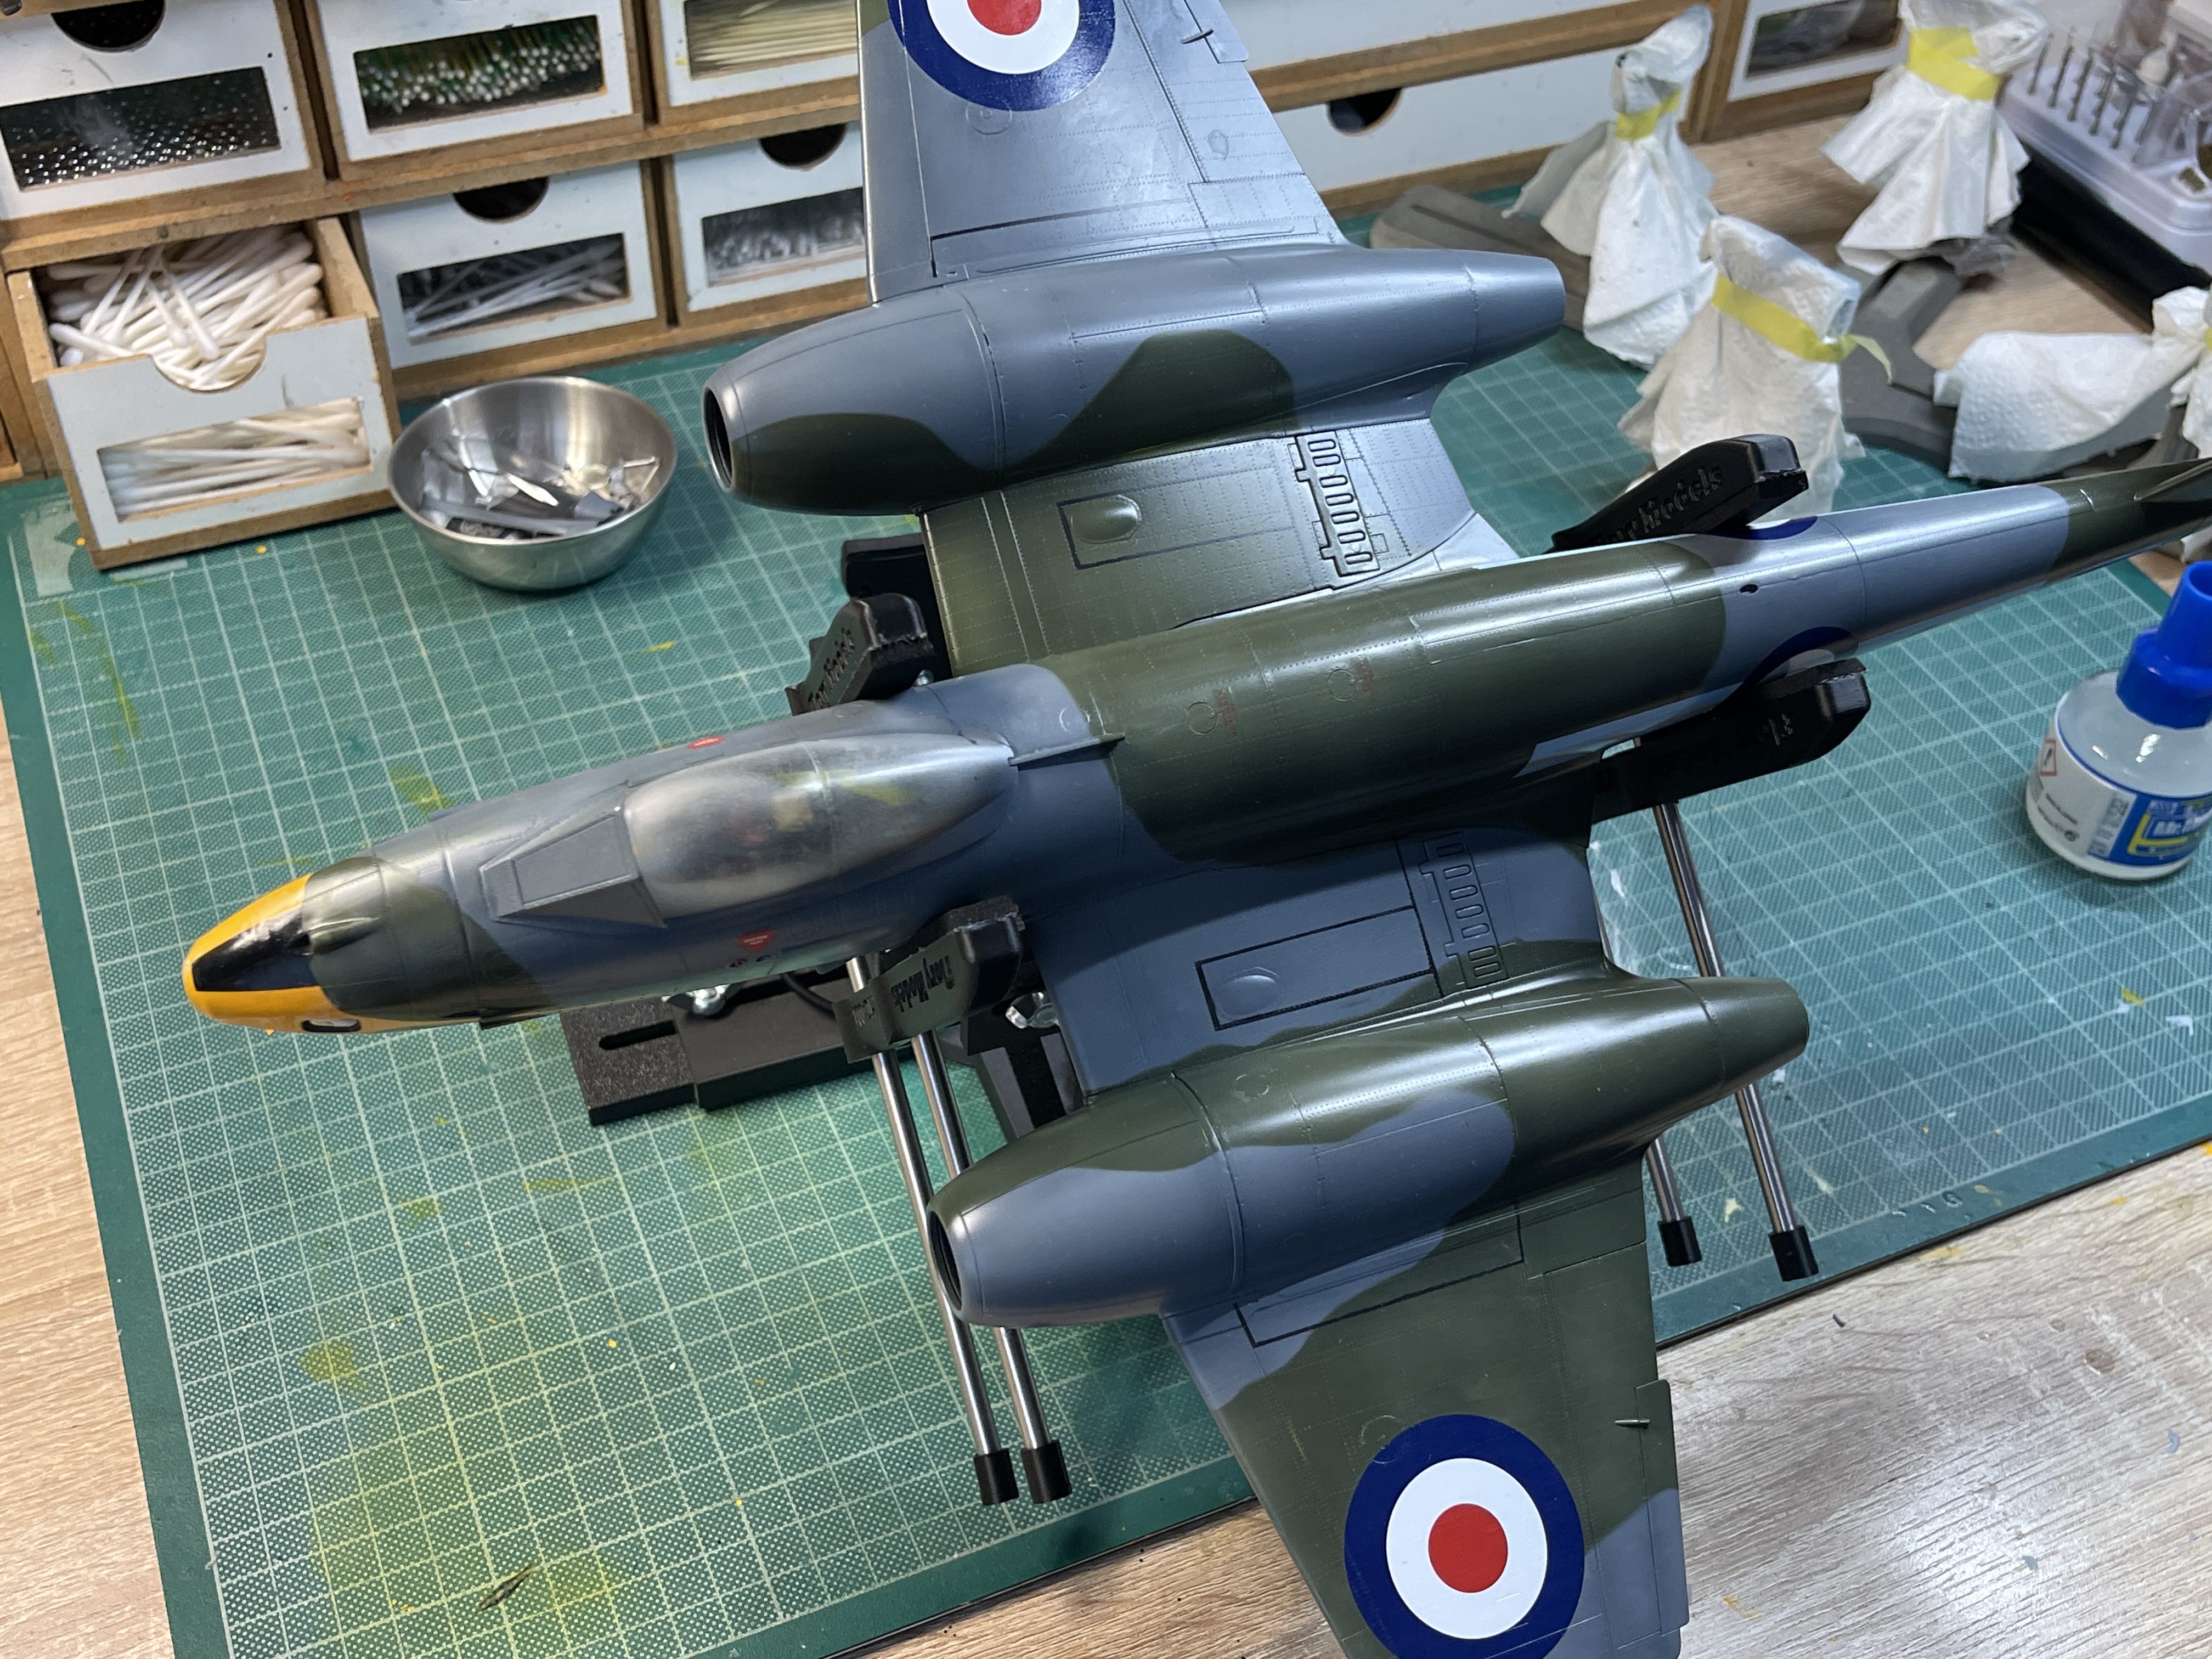
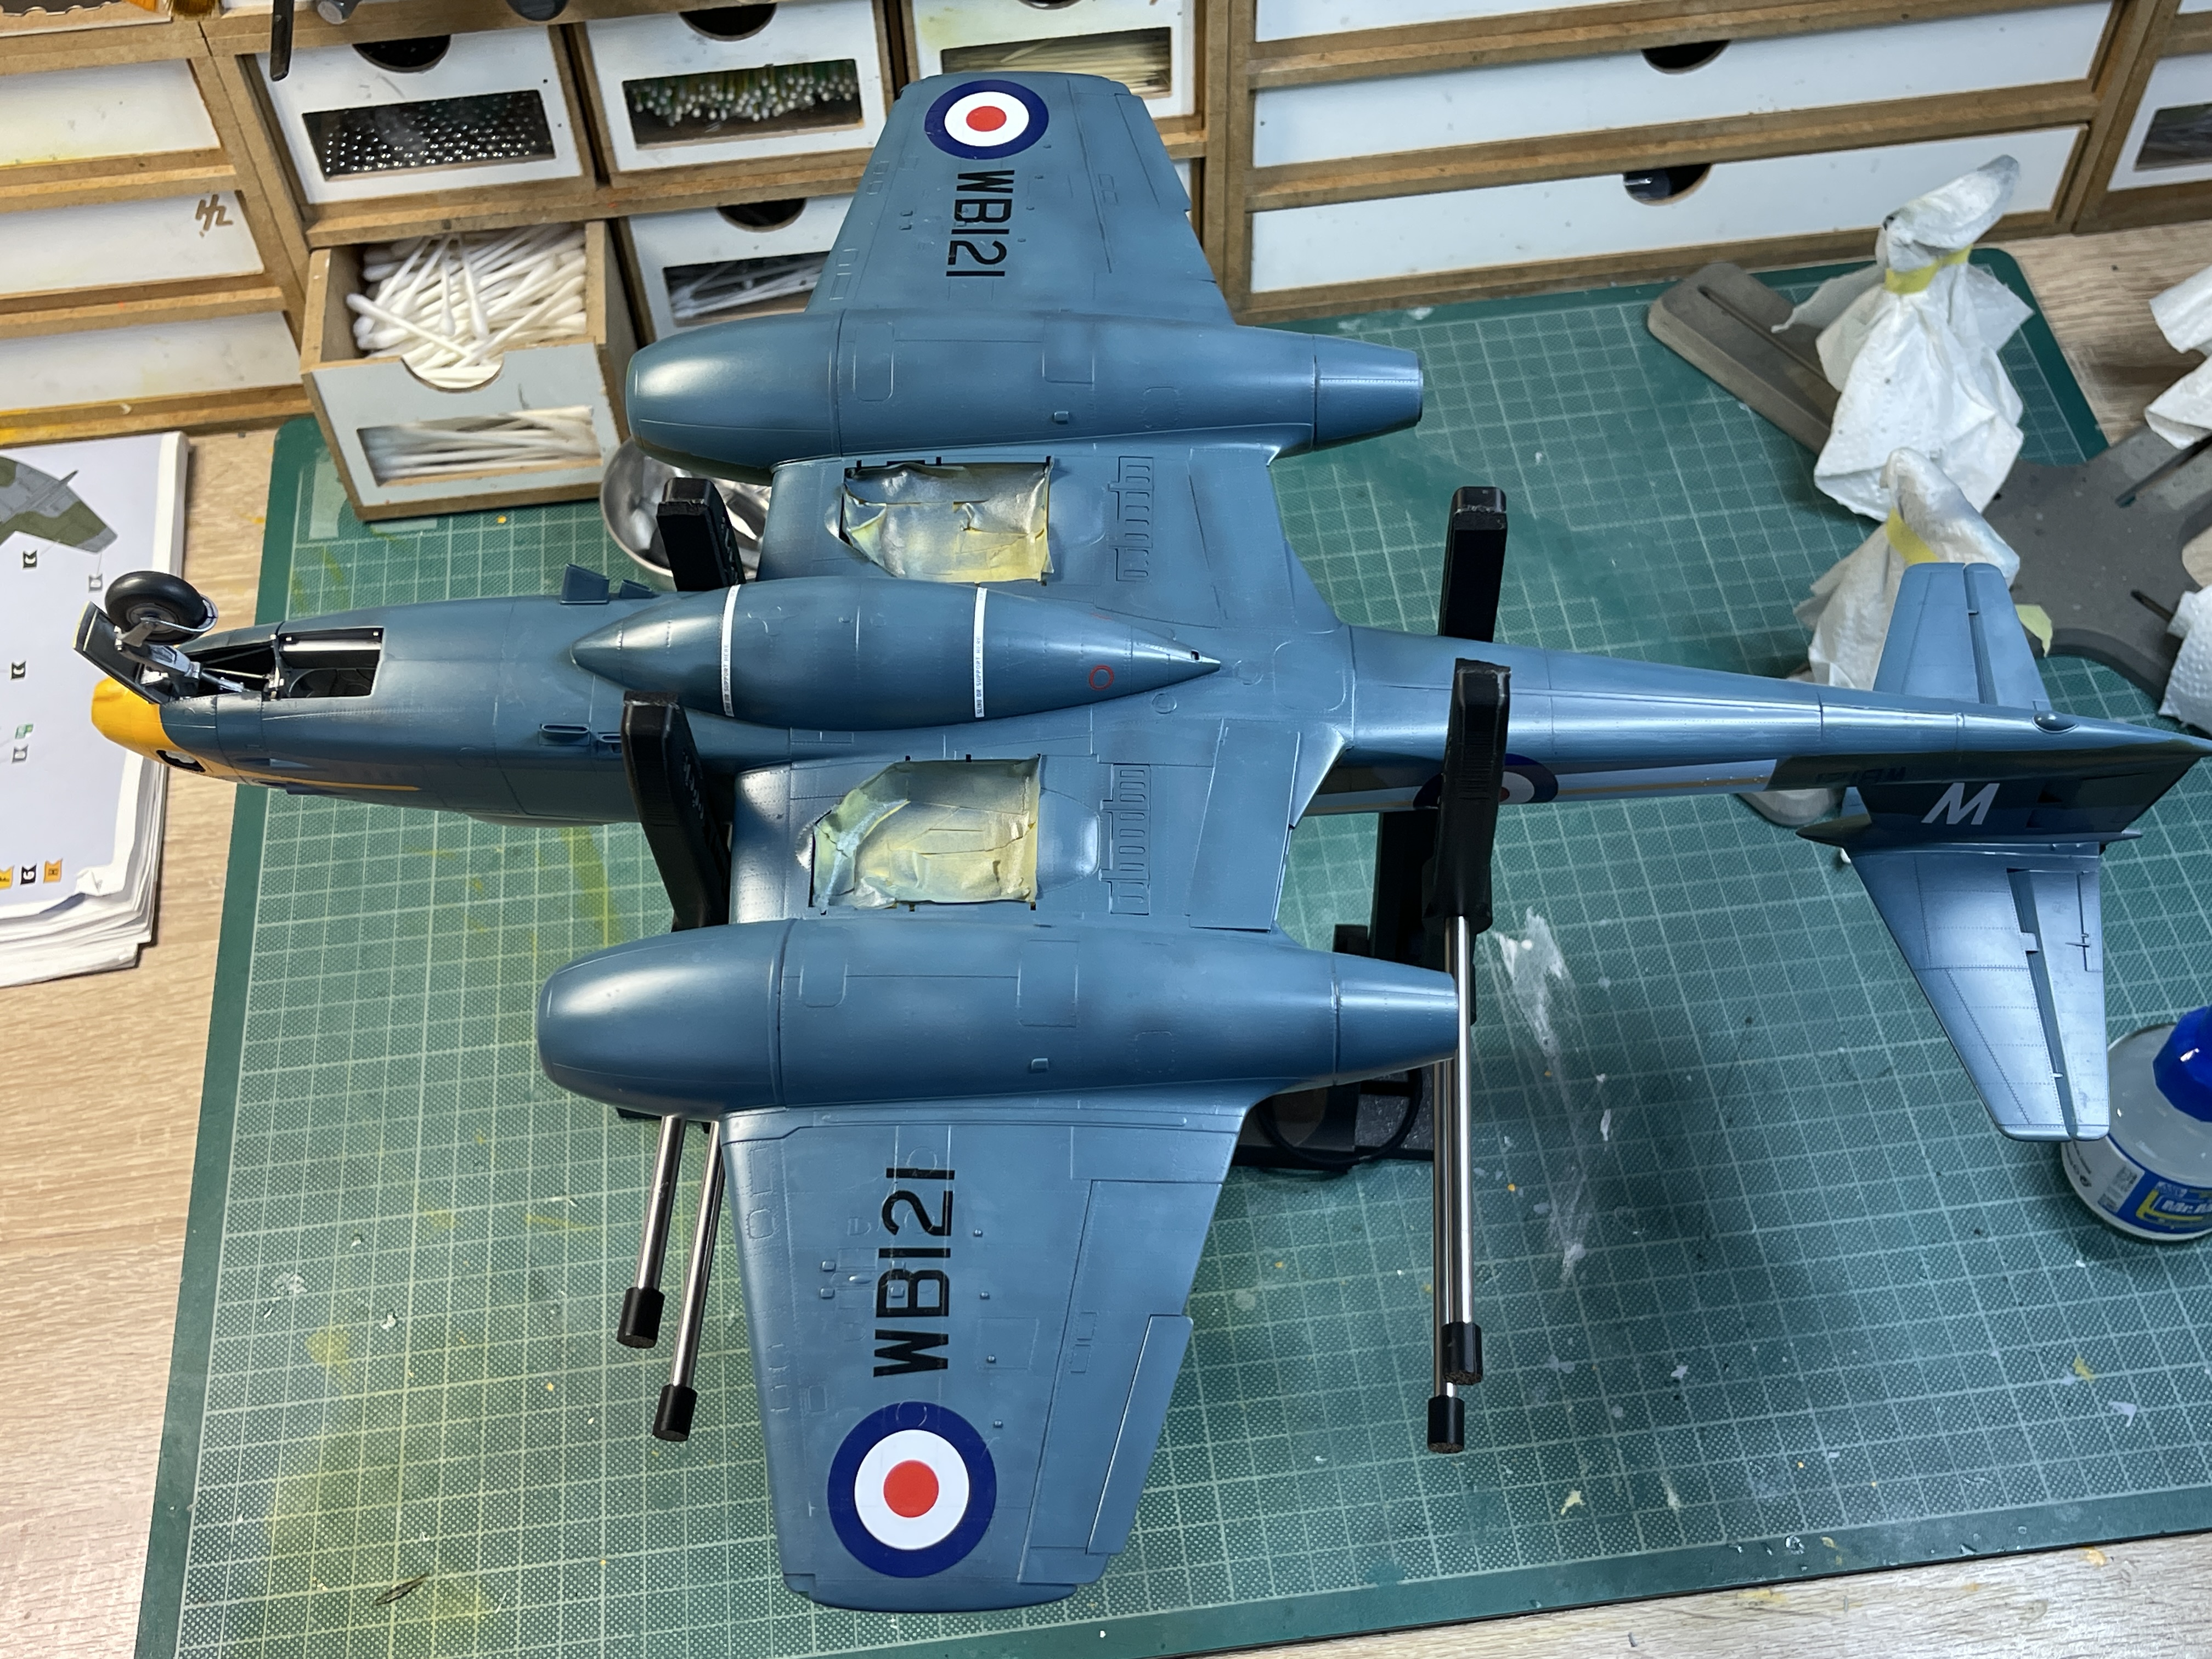
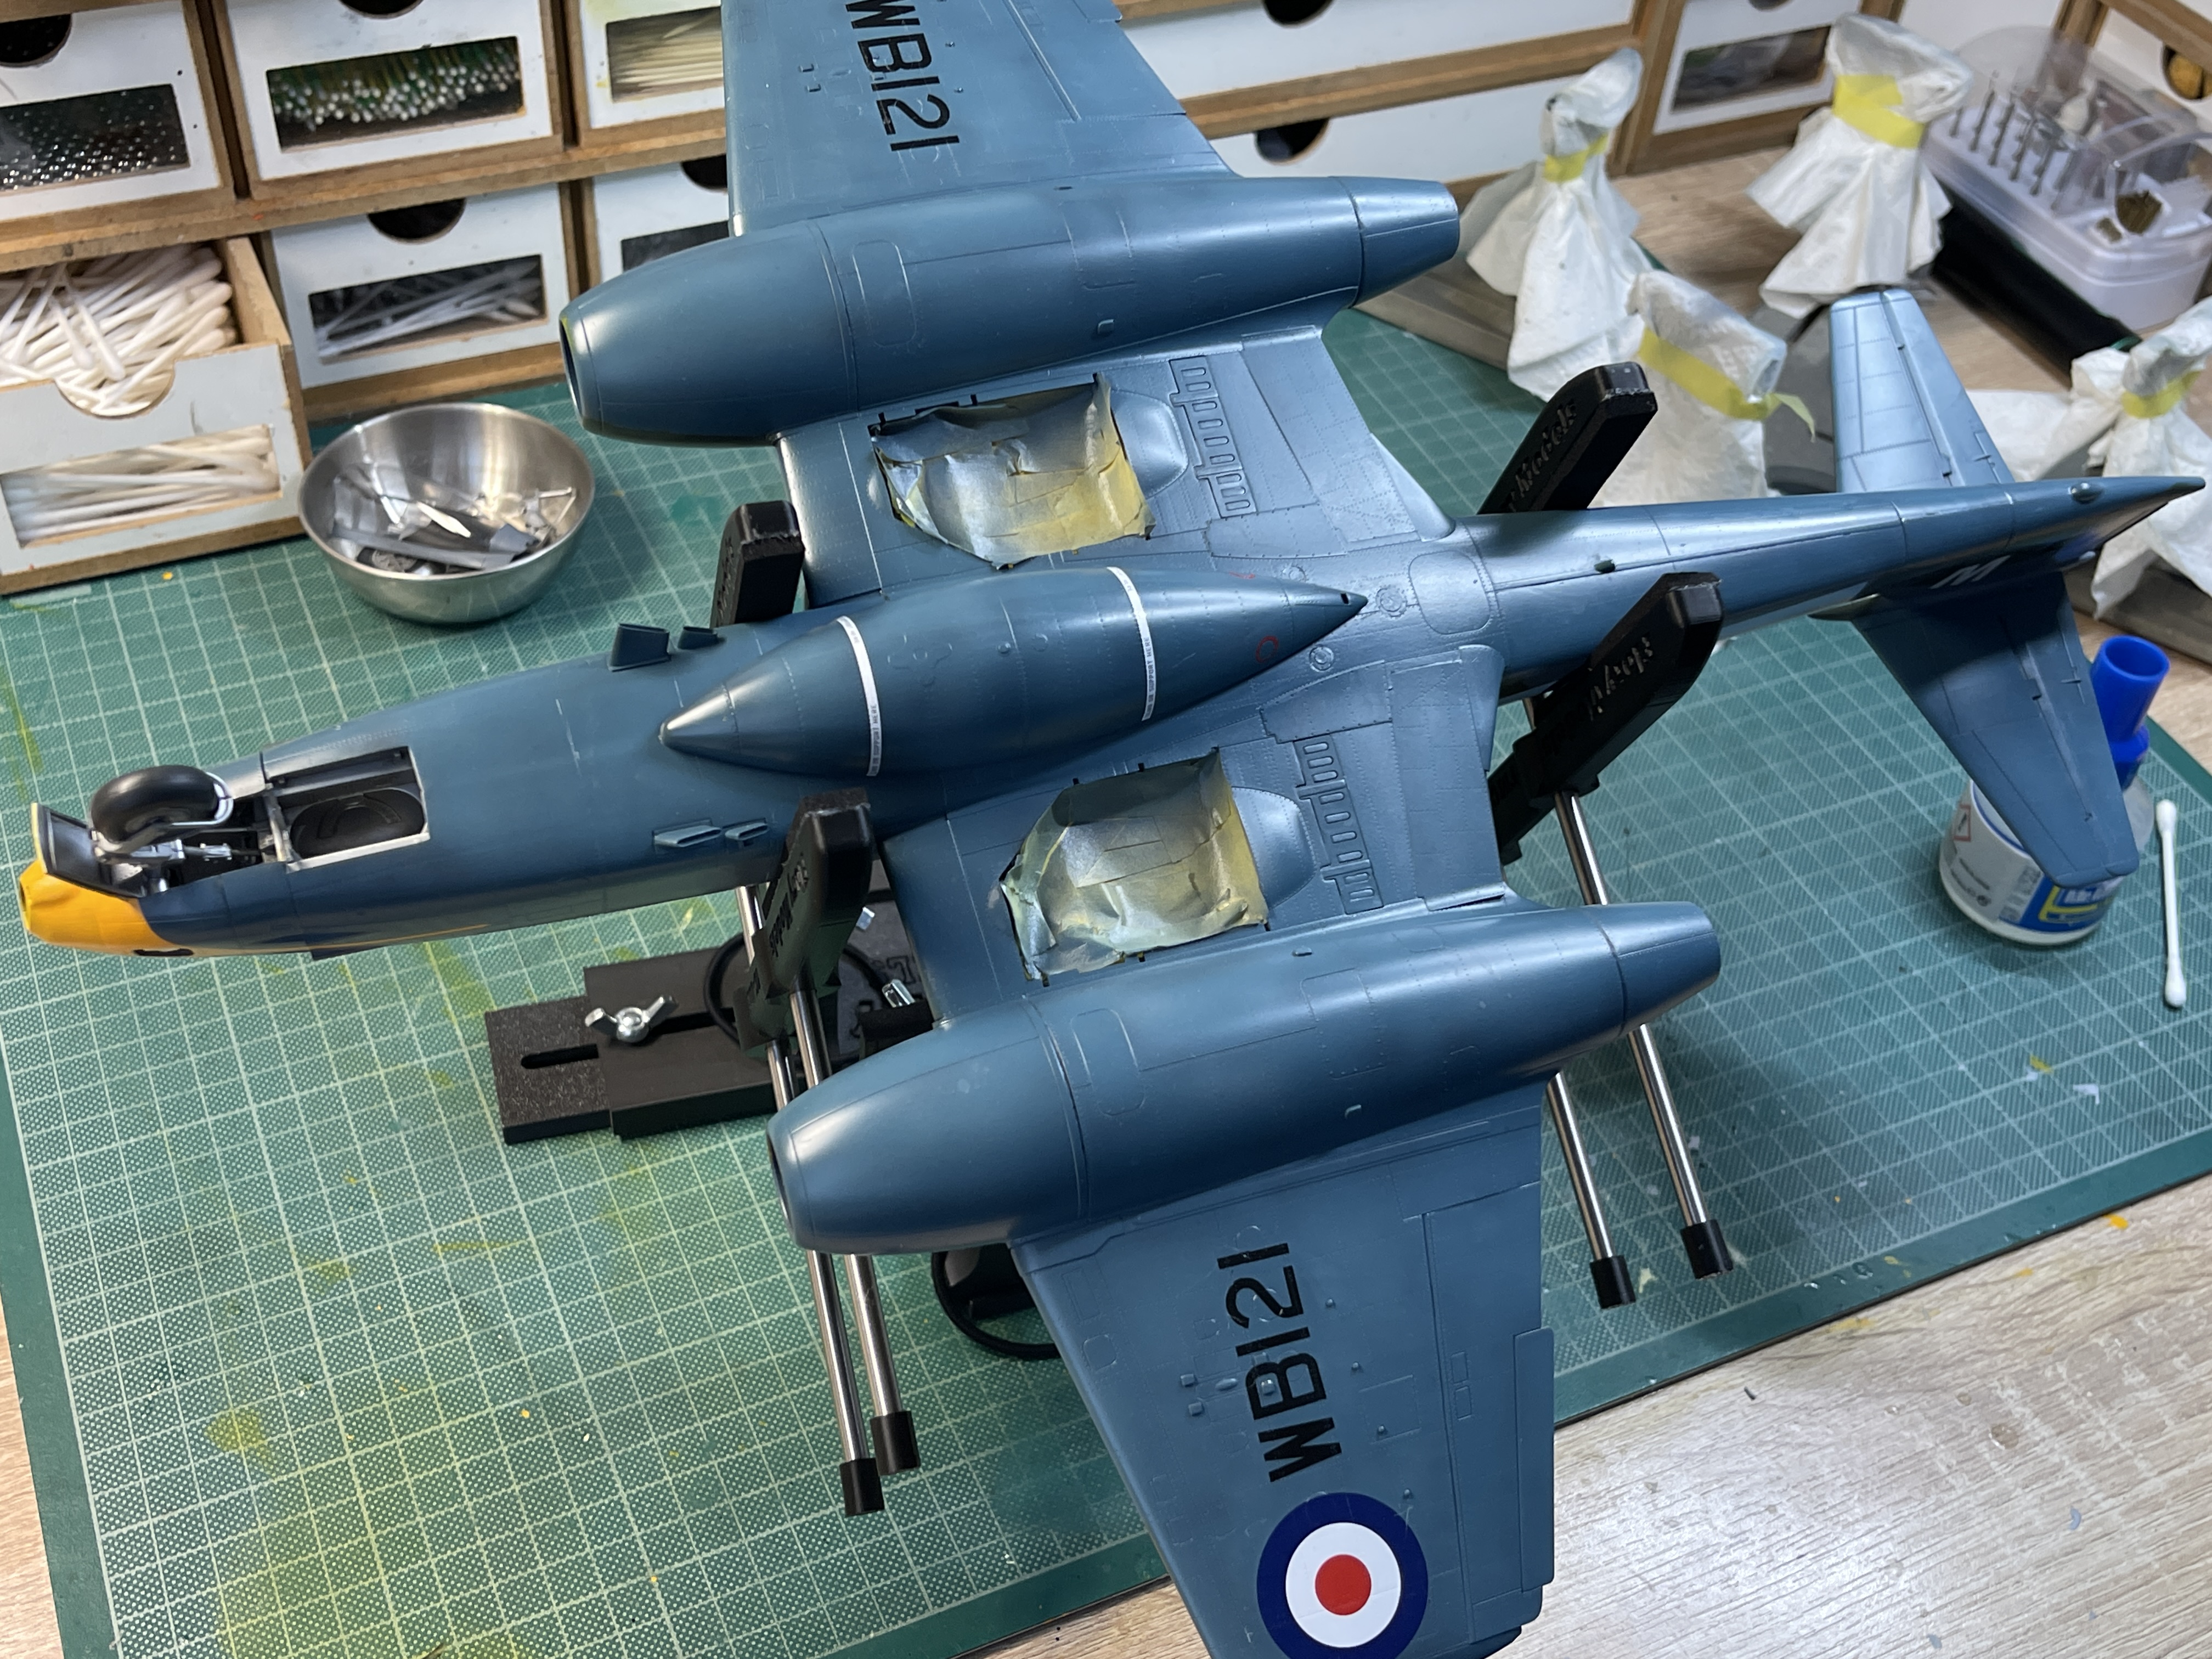
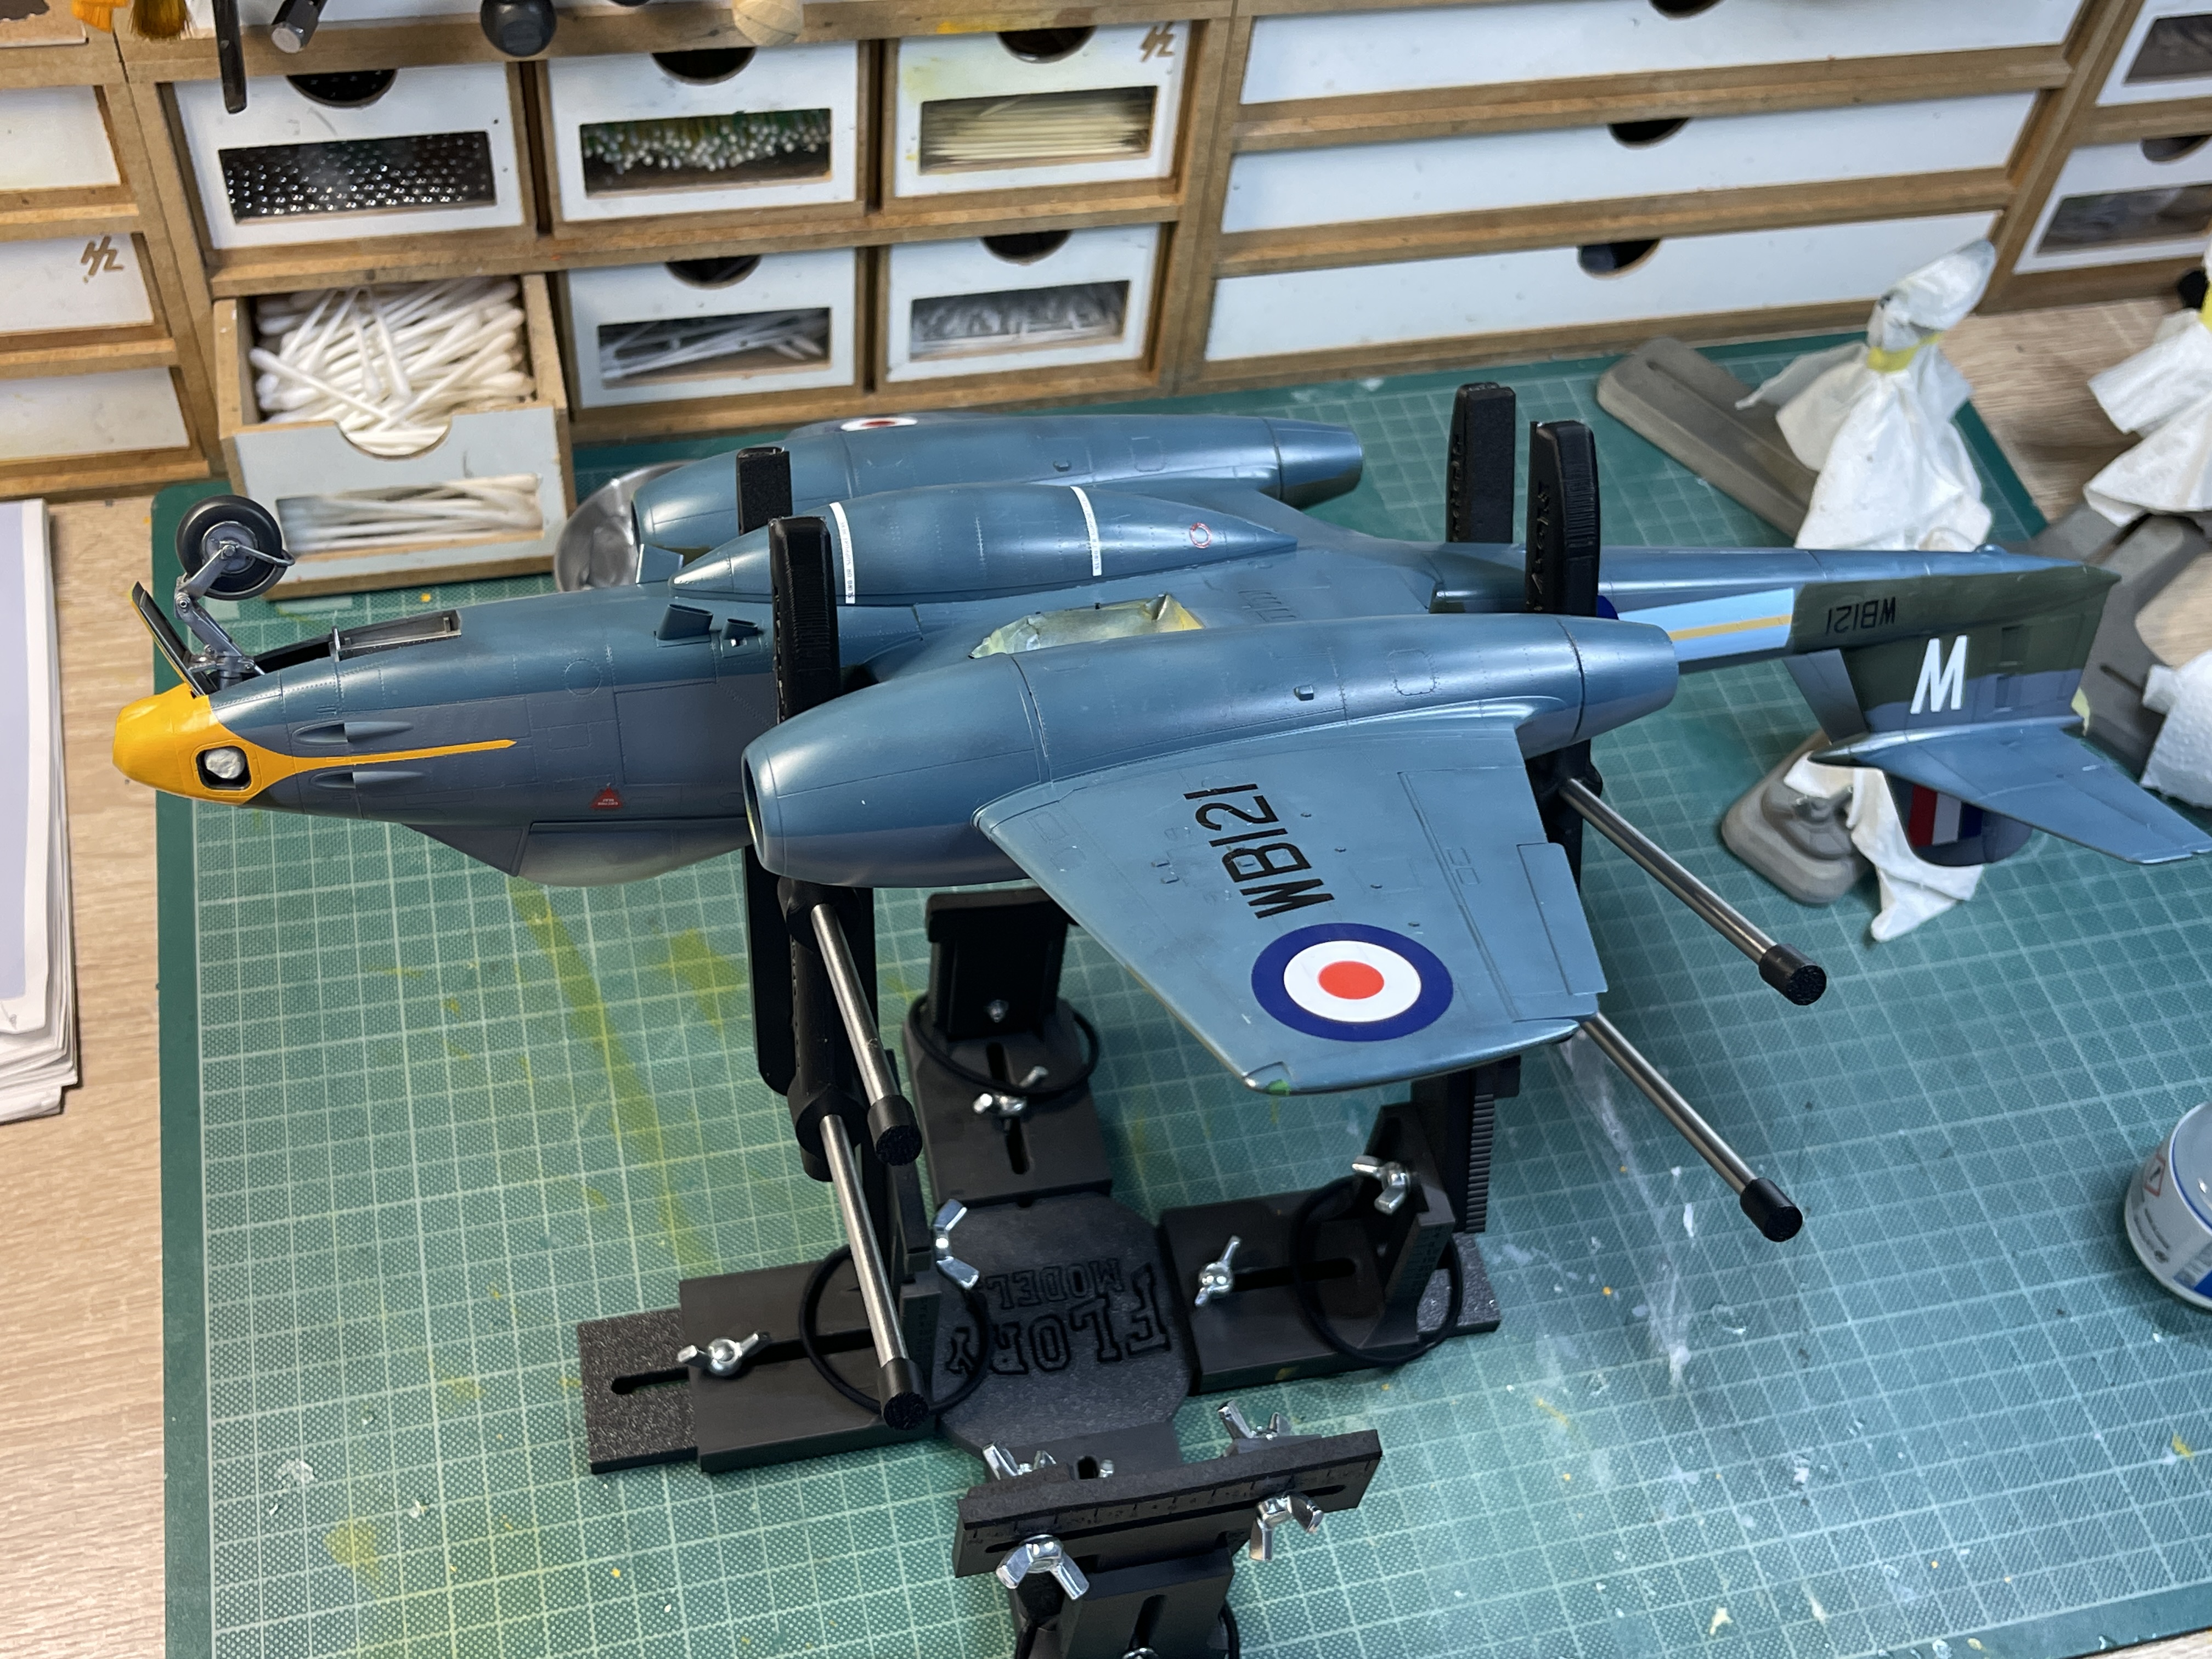
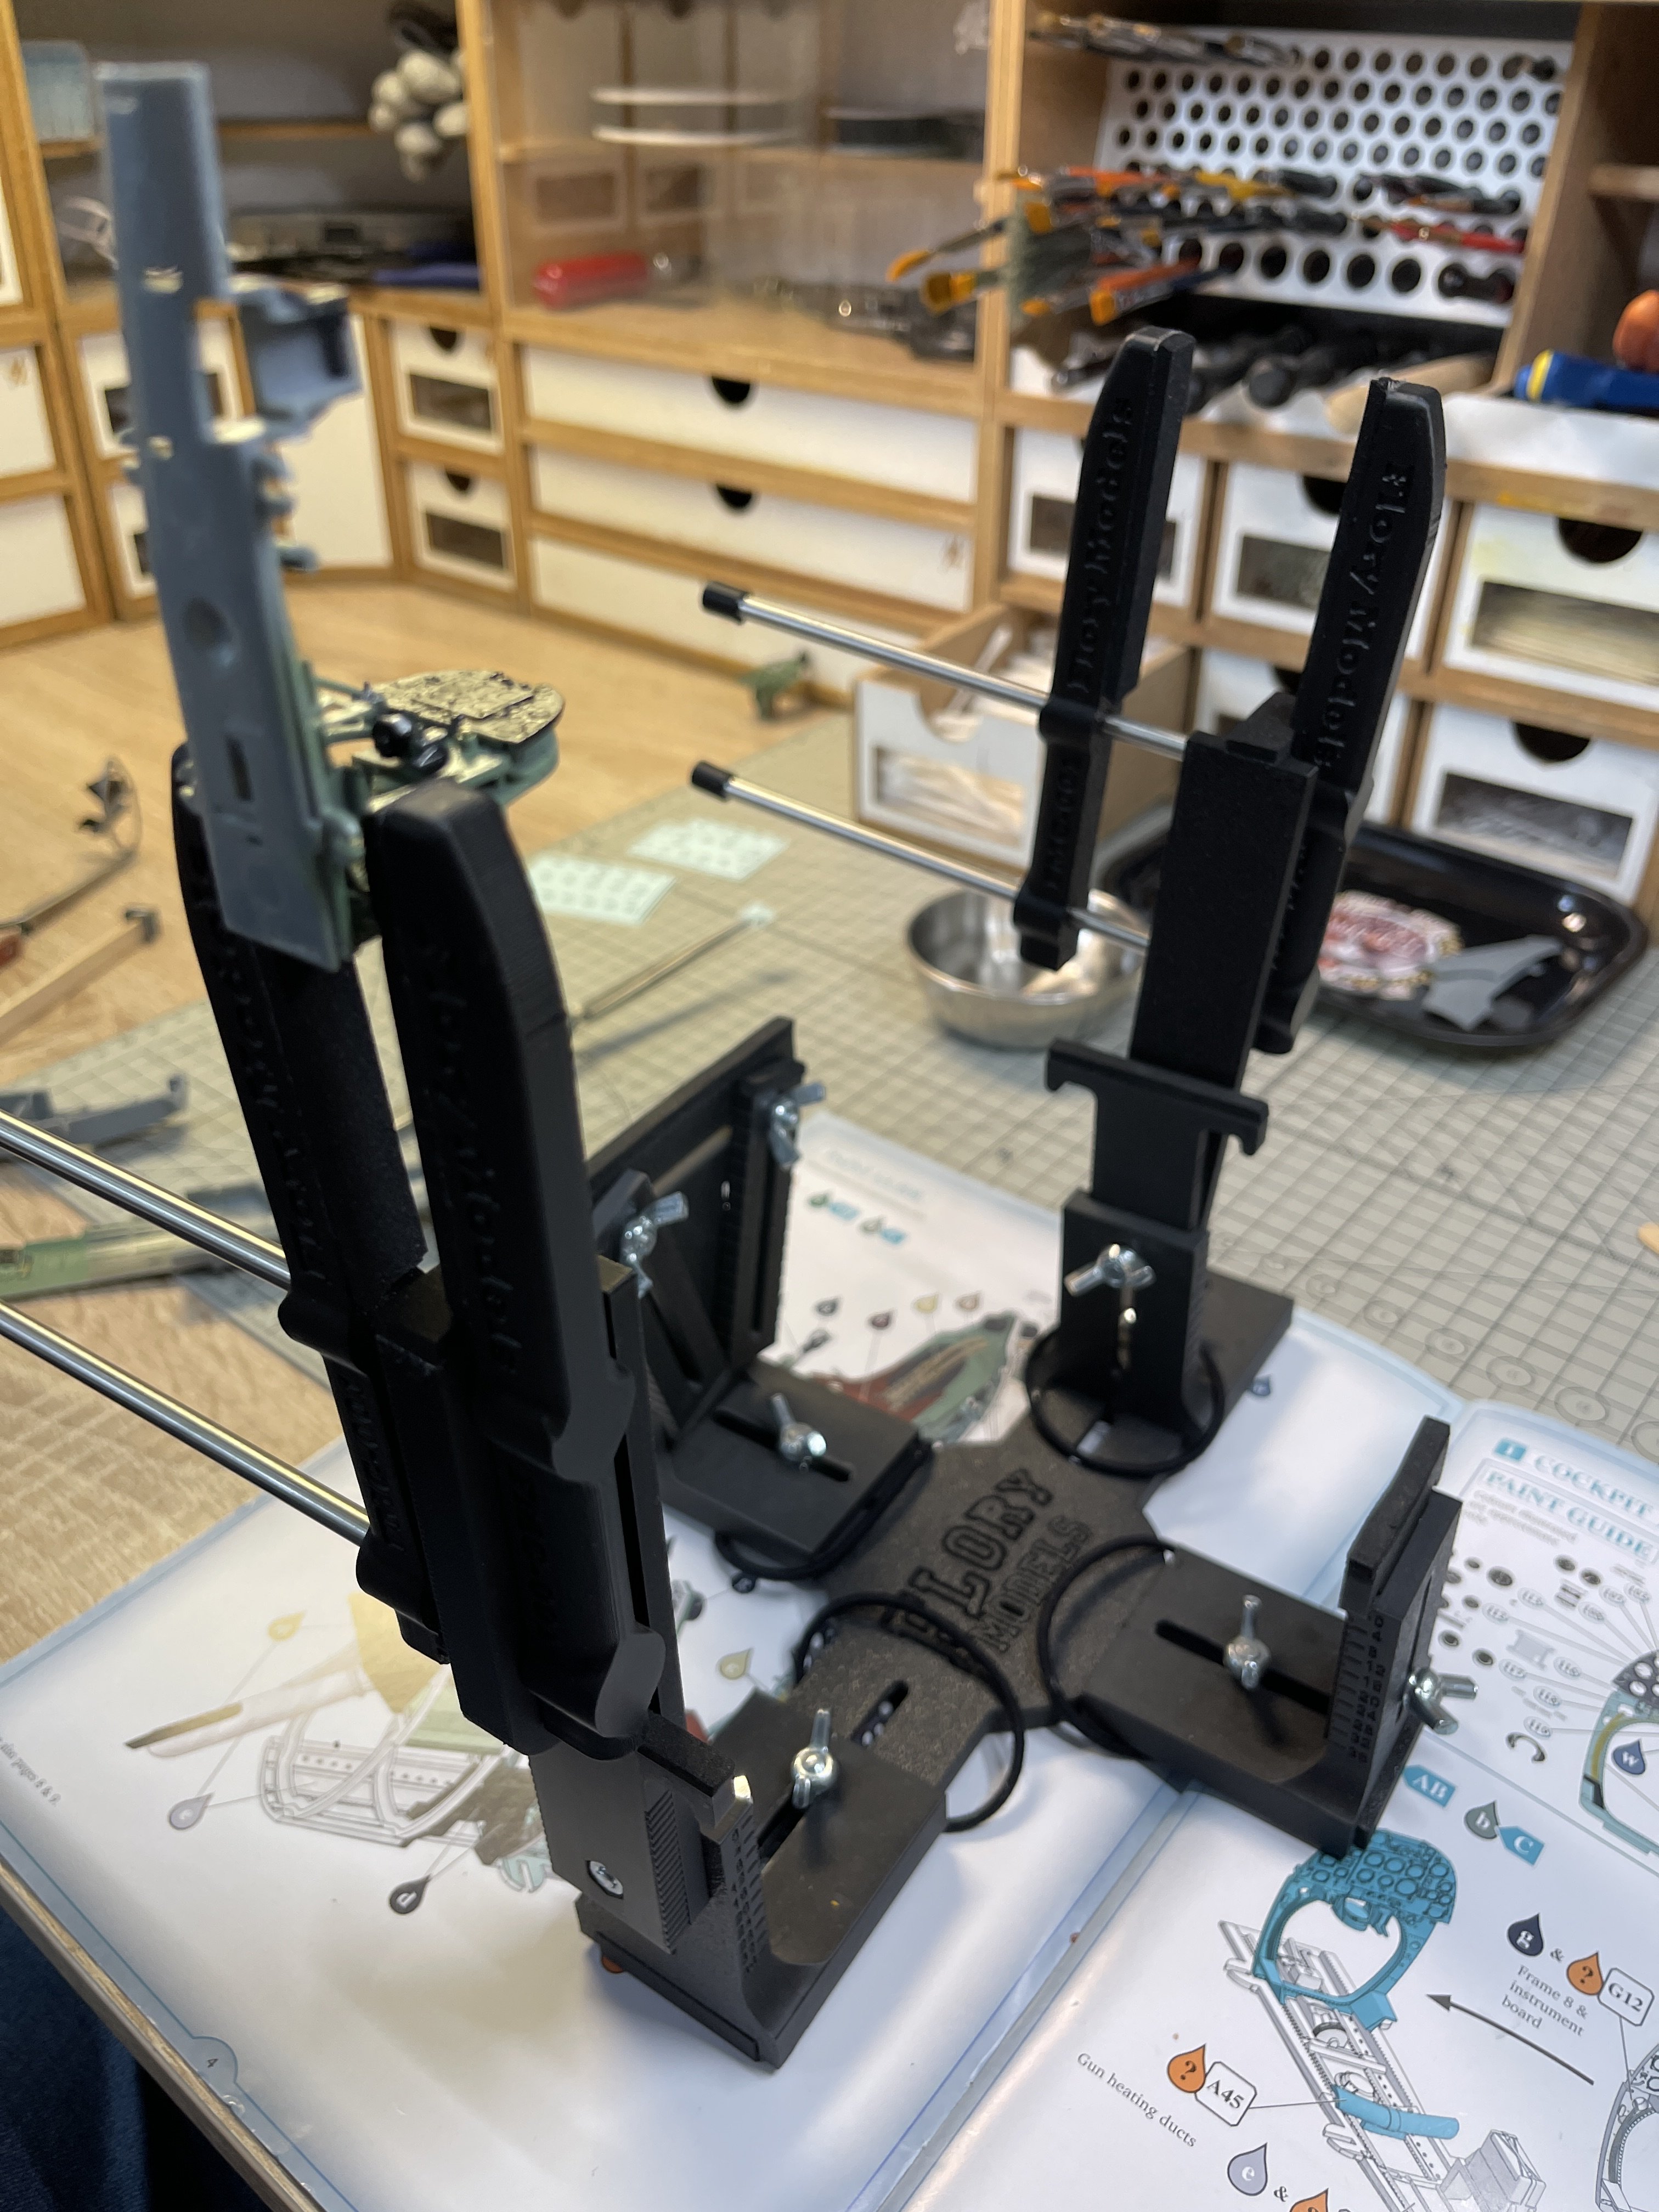
New add ons to the Flory jig…..these can be bought separately if you already have the jig.

The Flory jig was always better than most others I have found in enabling access to the sides of an aircraft but now it's even better with some 'add on' components produced by Phil Flory.

It provides a more stable platform ideal for working on a model at any angle.

The clamps can be adjusted for the size of the model also to move them out of the way of areas you need to work on.

I would say that these are best for 1/32 aircraft but will work with 1/48 and larger 1/72. I have only experimented with 1/32 personally. I have already found the Flory jig indispensable but with this addition it becomes more so.

IMG_9280.jpeg


IMG_9281.jpeg

IMG_9282.jpeg

IMG_9283.jpeg

IMG_9284.jpeg

IMG_9285.jpeg

IMG_9286.jpeg


I will not use this as a painting jig for obvious reasons. One of the older more basic jigs (one of which you can see in the background) is fine for spraying.
 
I've printed my own, usually arguing it is as good as a purchased one. That debate aside, these add-ons change to discussion completely!
 
I am currently building the Kotare Spitfire Vb (my second and won't be my last of these superb kits). No build thread but using this jig is really helping with internal detailing. I have not had to reconfigure the jig, just fit a part into it.

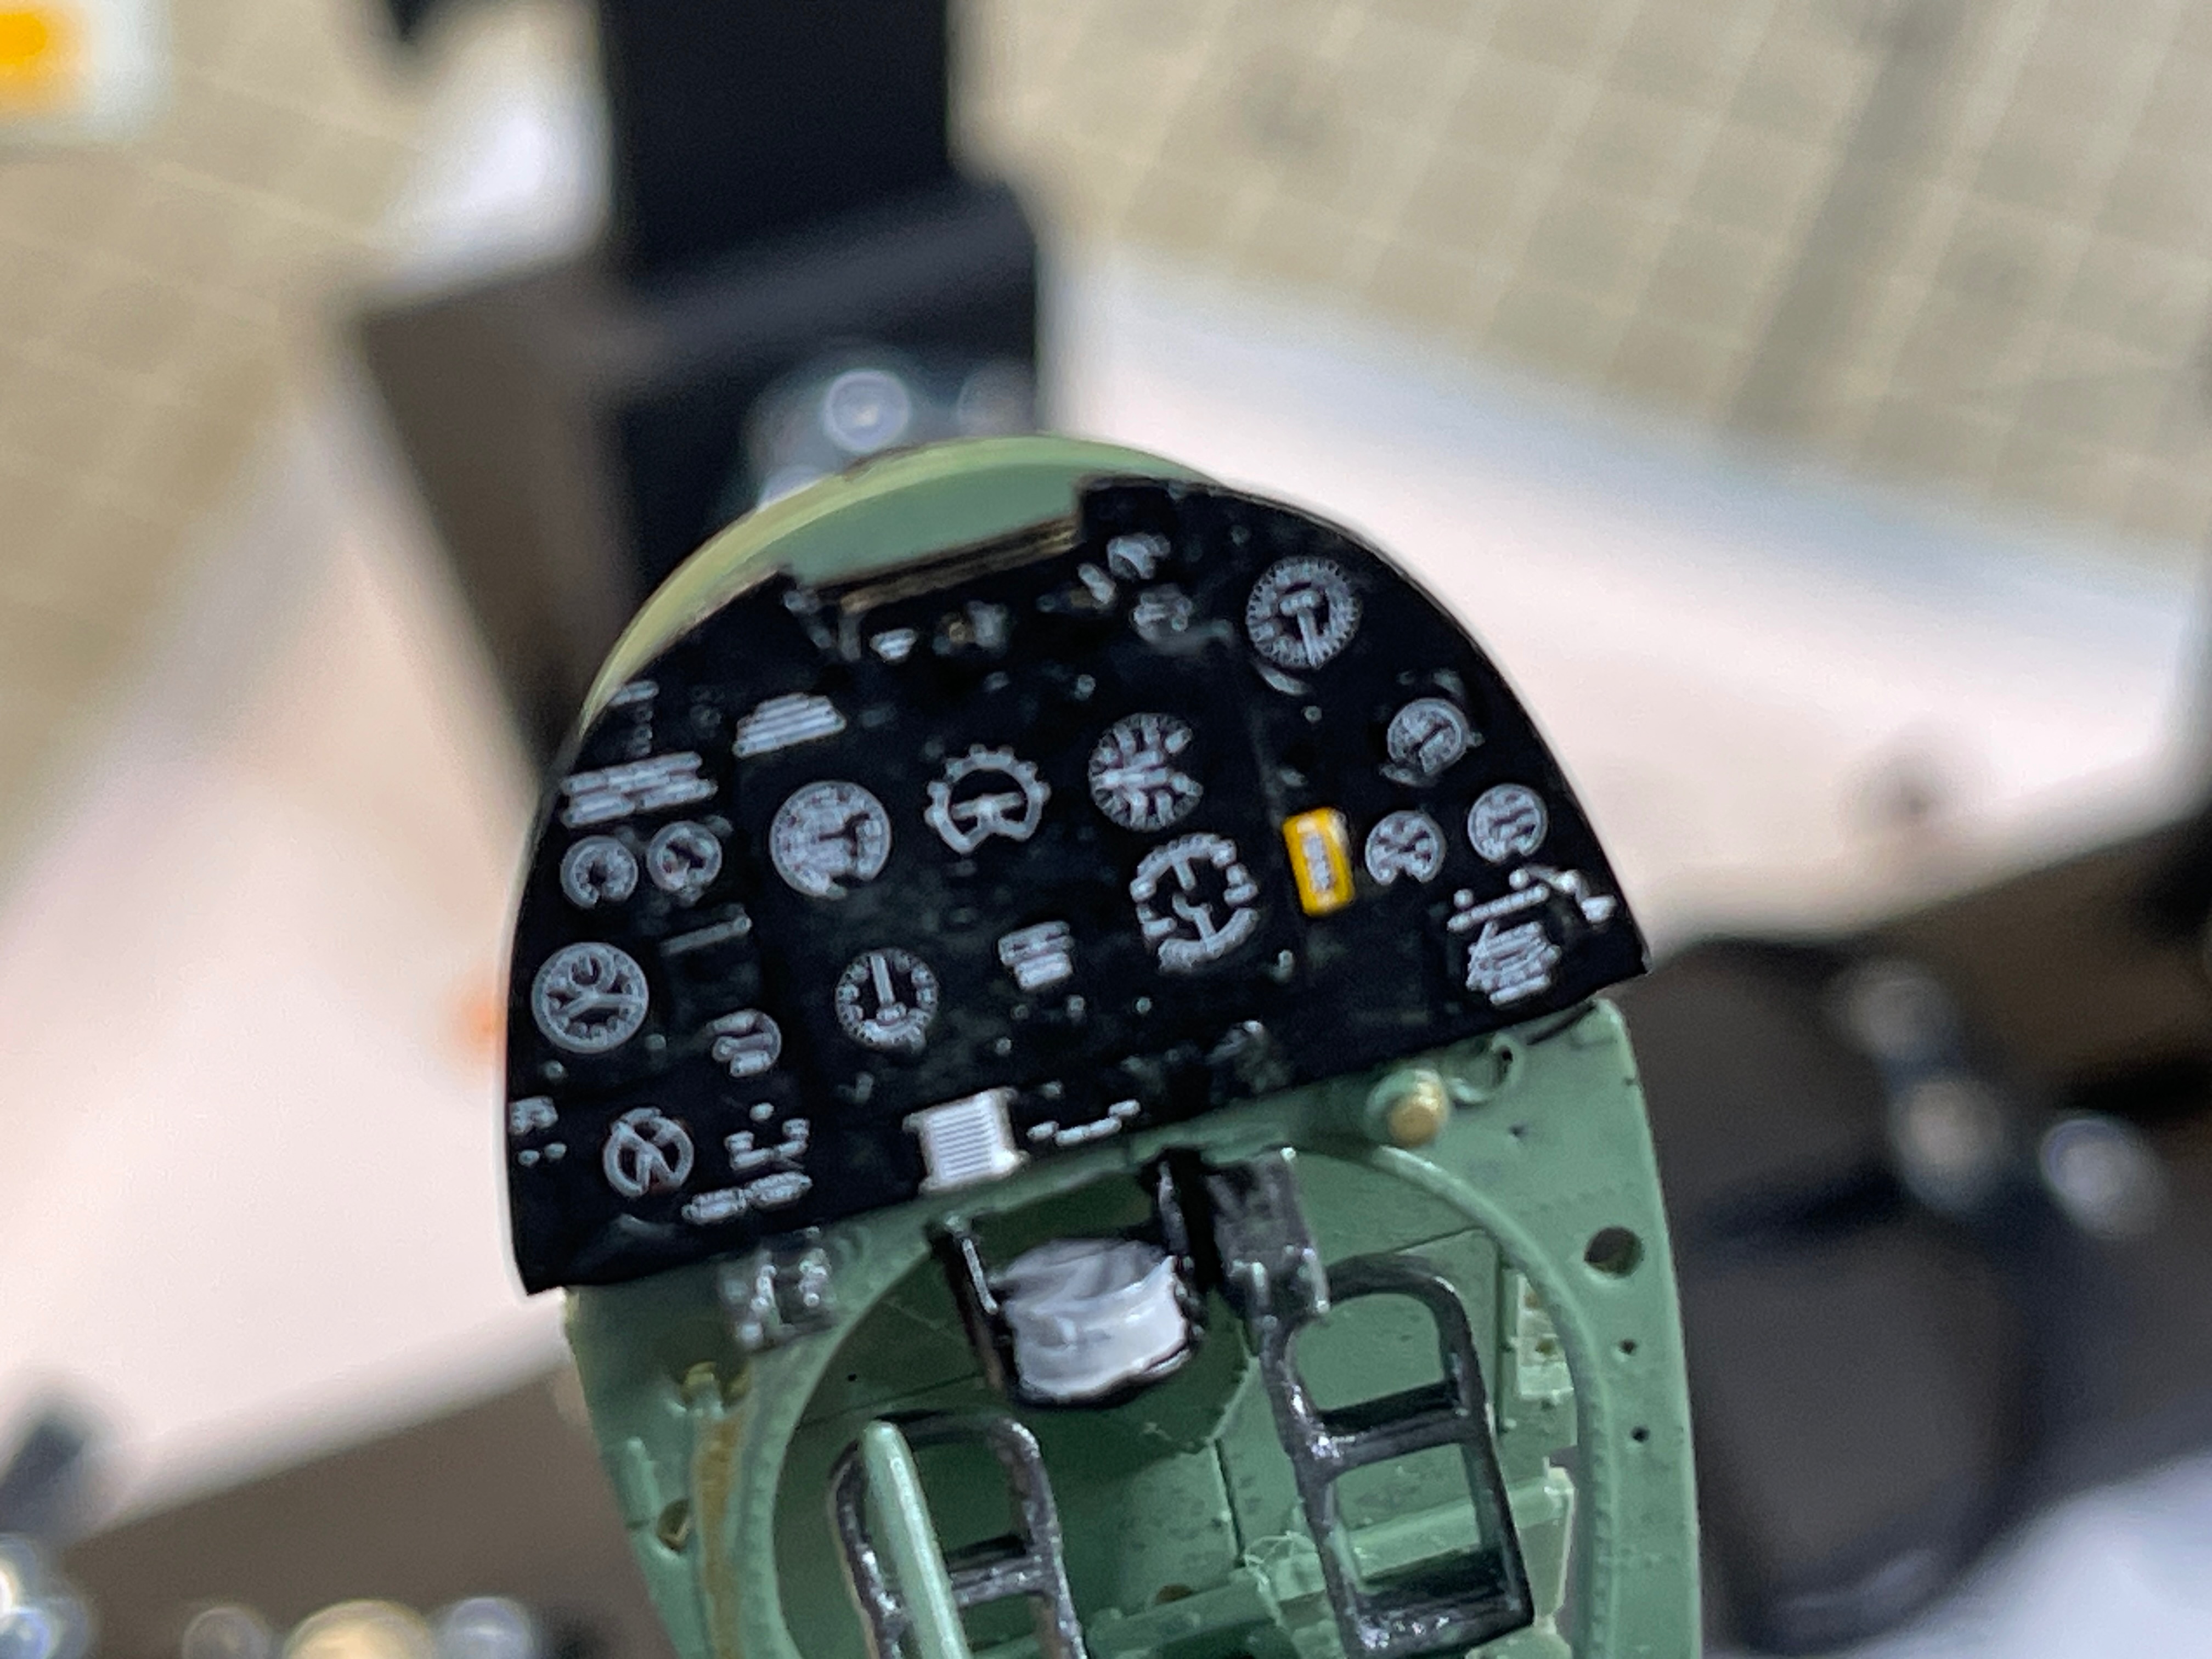
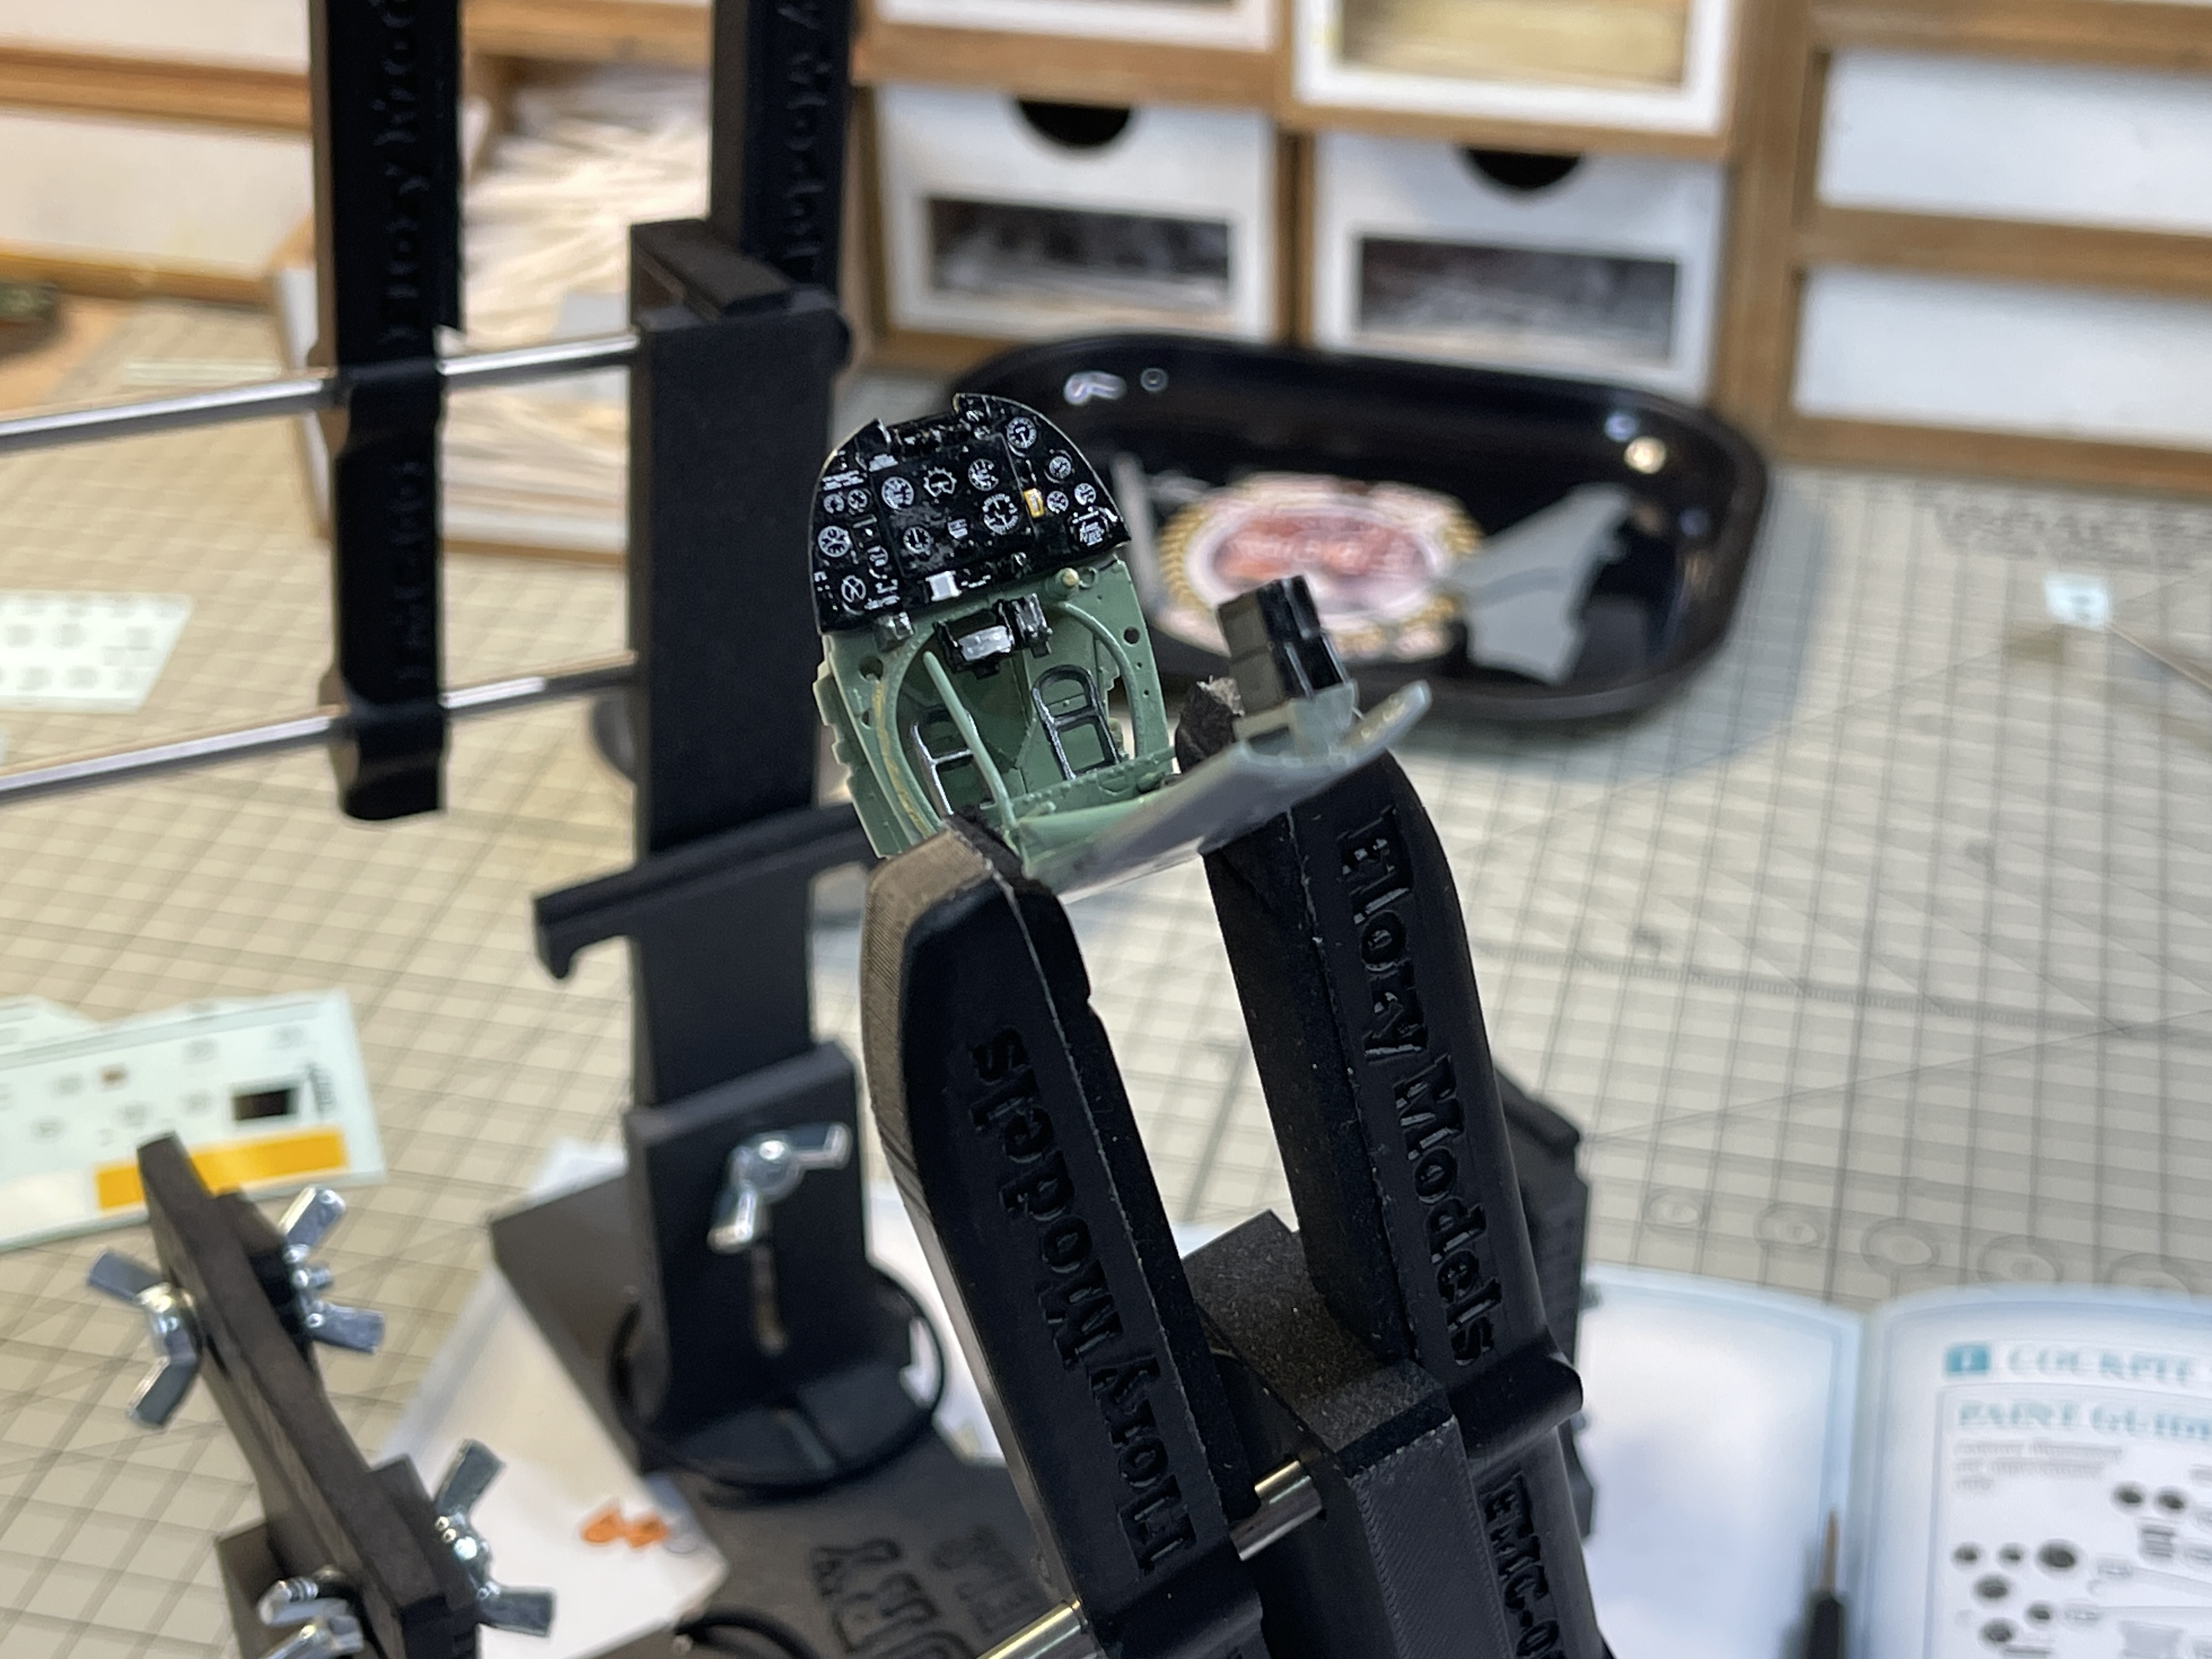
Work being done on the instrument panel. You can see how I have fitted the subassembly to the jig to apply the individual ip decals.
IMG_9346.jpeg


IMG_9347.jpeg


The position of the subassembly is easily adjusted to access the part from different angles.

IMG_9348.jpeg


I have used all sorts of 'third hands' and jigs and this one beats them all.
 

Latest posts

Back
Top