First time build - 1/72 Lockheed Lightning (Revell)

VoID_1

Cool Banana's
Joined
Jun 15, 2012
Messages
66
Hi SM Addicts,

My name is James and I'm a "long time listener, first time caller" to the site. I have been browsing the forums for some time now after watching a few of DreamKnight's Youtube videos. I have recently rekindled my enthusiasm for model building after a 7 year break from the hobby.

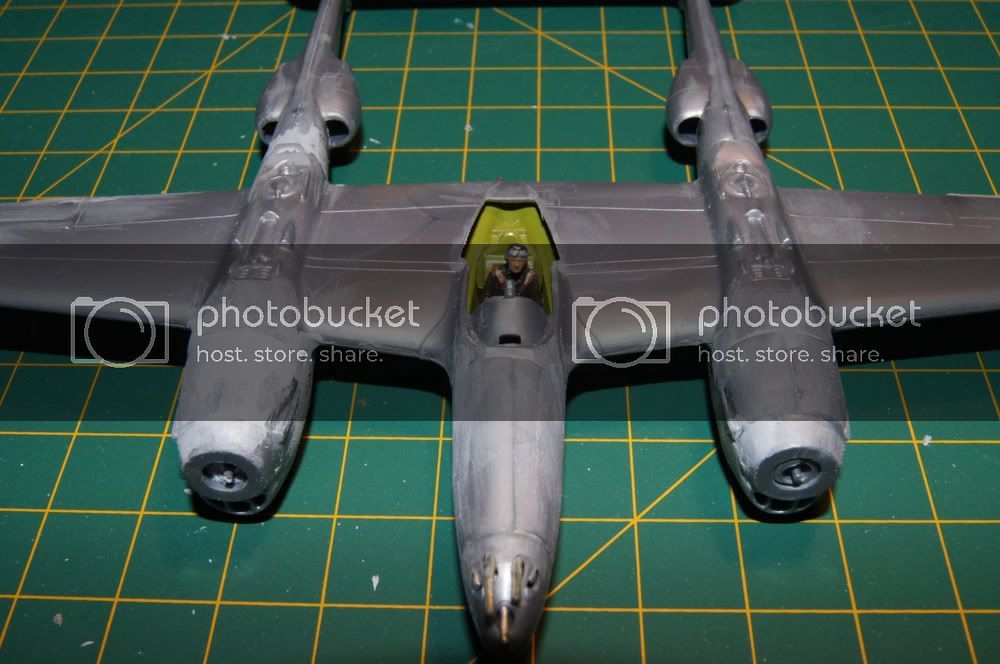
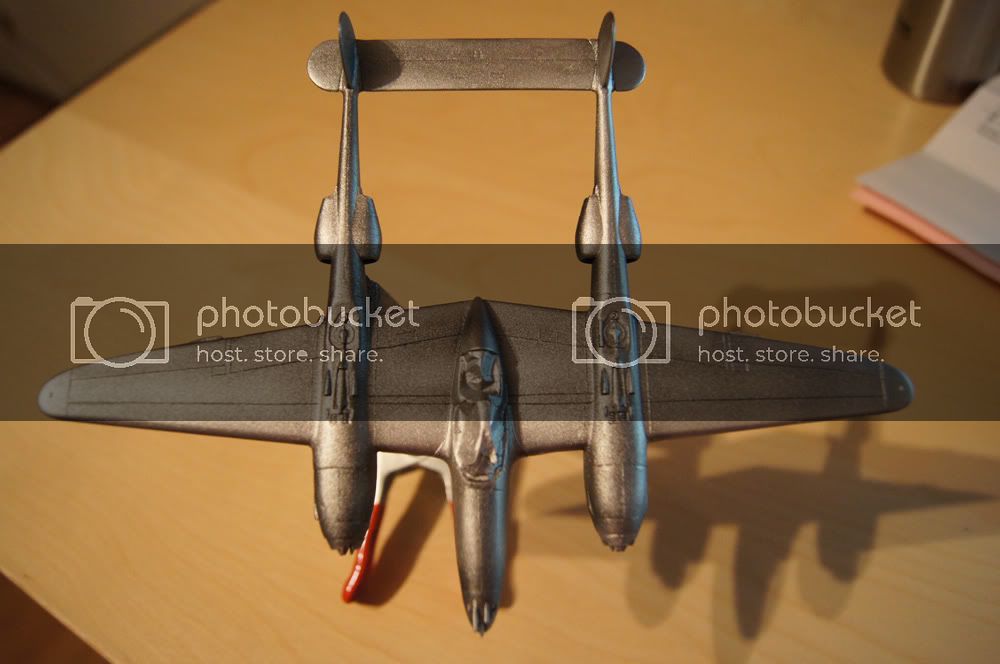
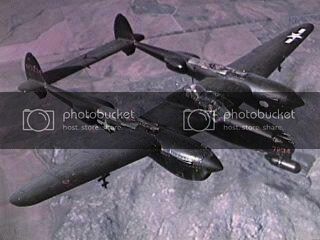
I would like to dedicate this particular build to my loving girlfriend, who recently purchased me this kit along with an airbrush + compressor. Hopefully I will be able to do this model justice as I would like to give the completed plane to her as a token of my gratitude :)

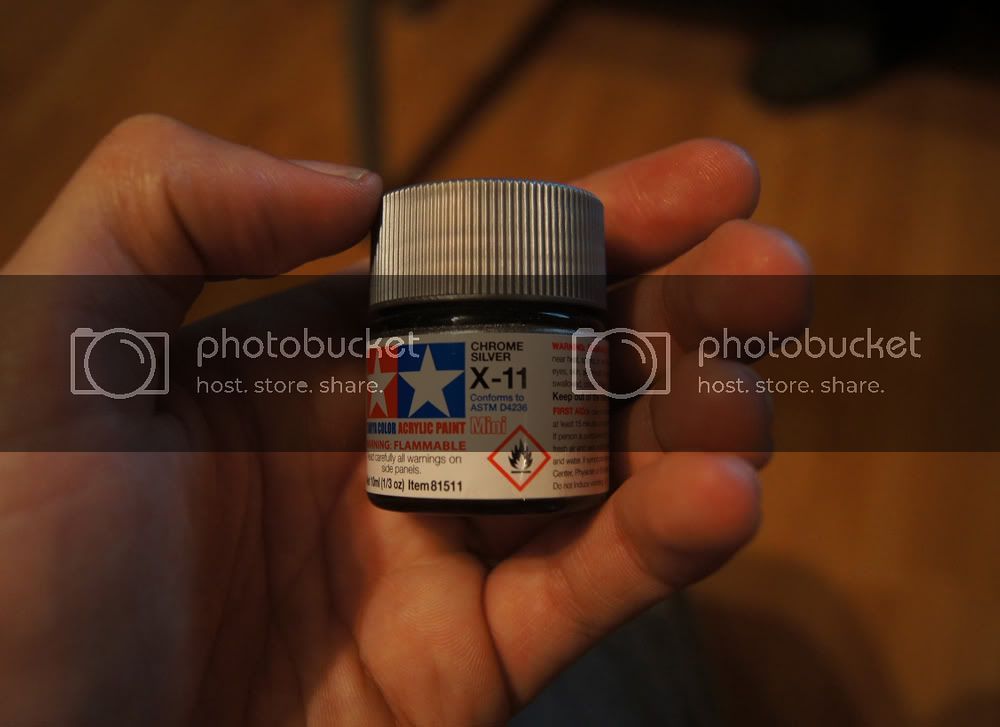
In terms of my skill level, I have completed relatively difficult models before with average results. Previously, I had been using a combination of hand painting and spray cans to finish the models. This is my first time using an airbrush so I have much to learn (Youtube has been helpful with the basics but I haven't actually used an airbrush as of yet). Any suggestions would be much appreciated.

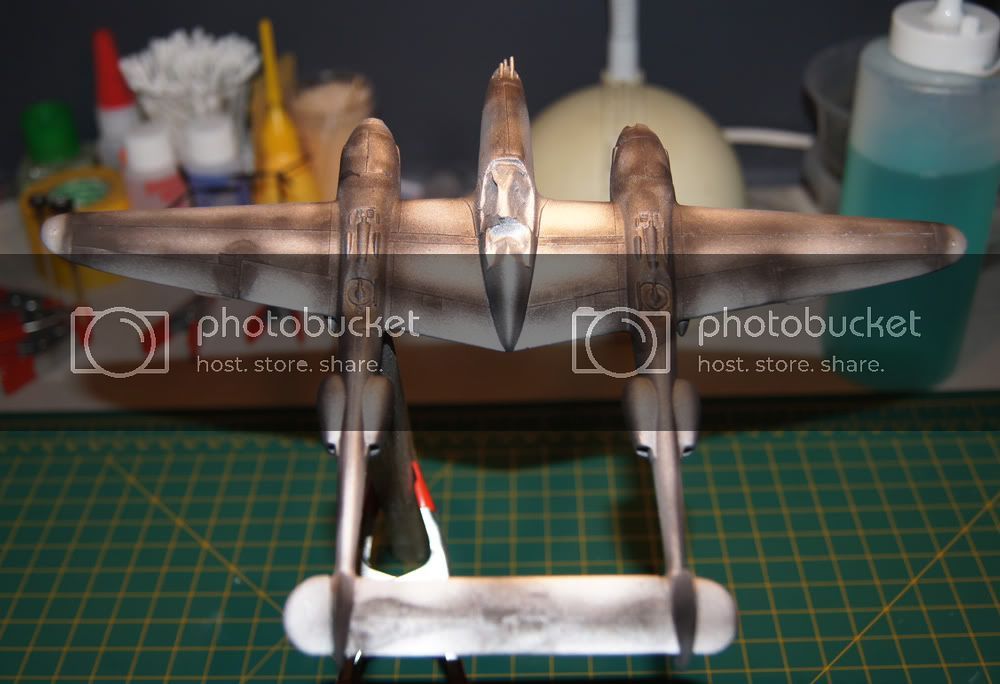
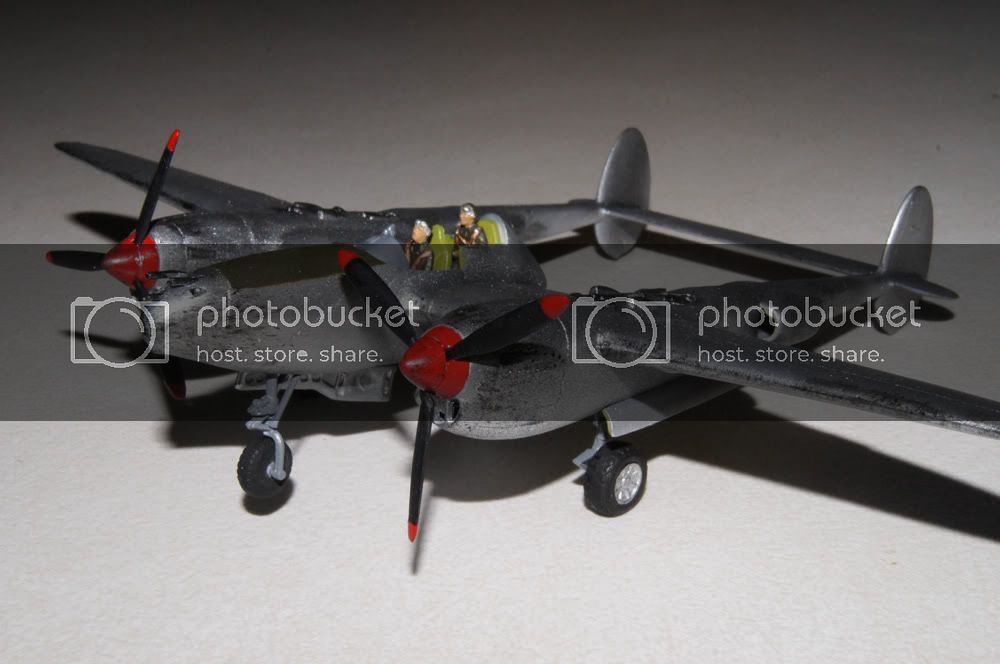
Also, with this build I would like to start to apply some basic weathering techniques. Let me know what you would think would be appropriate for this model.

Cheers,
James

Lockheed001.jpg


Lockheed002.jpg


Lockheed003.jpg


Lockheed004.jpg
 
Hi Void ,

Welcome to SMA ,and also welcome back to the hobby . Take some advice ....your girl is a keep er if she buys you kits and airbrushes ;) .
But seriously tho, before using that new AB on your kit ,play around with it and get familiar with it ,just spray patterns on to scrap paper or whatever is handy ,the more comfortable you are with the Airbrush ,the better your results will be .

Have fun with the kit ,I look forward to it :)

Chris.
 
Found some time amongst uni study to work on the model over the last few days.

Honestly, it is not one of the better kits that Revell has made. I'm guessing that it is an older model because the mould doesn't fit together as nice as I had hoped. You can see in the last image that I have had to do some sizeable gap filling/sanding.

My first time airbrushing was hit and miss. I'm happy with the paint job, but in the process made a bit of a mess. Took me 20 minutes to clean :(
Also, I learnt that acetone, whilst it might clean paint quickly, is not the best cleaning solution for my airbrush ::)

Lockheed005.jpg


Lockheed006.jpg


Lockheed007.jpg


Lockheed008.jpg
 
Lookin good so far. Nice job with the pilot considering its 1/72, bet it took you ages to mask...lol

Stick with the airbrush, you will get some realy cool results with a little practice. Make sure you fit some kind of water trap between the brush and the compressor. Cleaning the damn thing is a task but take the time after every session and even the cheapest brushes will serve you well.

You going to go with natural metal finish ?
 
Thanks Rookie,

Surprisingly, the pilot didn't take too long to paint. I have been practising using the airbrush in the interim. Getting much better at keeping a steady hand and cleaning it (better than when I began at least).

In terms of the paint job, I was going to model it after this image of a P38-M.

LockheedP38Lightning.jpg
 
Hey welcome to the Herd!
Airbrush: Practice, practice, practice. I just bought a new one as well and now i have to learn the process all over again. Keep it cleaned and maintained and it will last you a LONG time. When I clean i use lacquer thinner to get the color out, then shoot a little alcohol to help soften the harshness of the lacquer thinner. If you have a cap for the needle end, use it when the you're not using the brush. When you've gotten more used to the brush, you'll love the results.
Nice work on the pilot BTW!
Cheers.
 
Currently sitting in a lecture at university - bored to the bone. Thought I would an update about the build.

The kit is not going together as well as I had hoped. There were major gaps around the engine casings that I have had to use multiple layers of Tamiya Putty to fill. The problem I have is that sanding the putty has removed some of the panel lines (which were very thin to begin with). Going to take some time to re-etch the lines.

Anyone have tips for re-etching panel lines, such as good tools to use?
 
Patience, practice, are two important ones. but Dymo tape and needle tip in a pin vice. You could pick up one of those drafting eraser protectors and use that as a straight edge. You can also use Lacquer thninner to remove Mr. Surfacer and Tamiya putty if ya accidentally gob it on the kit, or help bring the filler down to the level you need.
 
Finally managed to get my photos uploaded.

Construction and Gap Filing

Before

Lockheed010.jpg


After (using Tamiya Putty)

Lockheed011.jpg


Lockheed009.jpg
 
Those were some nasty gaps. good work! Don't forget that you can use lacquer thinner (or Mr. Thinner) on Mr. Surfacer liquid putty and Tamiya putty if you're not so sure about losing panel lines.
Keep up the good work!
 
I have done some painting over the past week. Originally sprayed Tamiya Flat Aluminium but thought it was a little too strong. Pre-shading with Tamiya Flat Black.

Pre-Shaded

Lockheed013.jpg


Paint

Lockheed014.jpg


After

Lockheed015.jpg
 
Nice work with the airbrush, did you work out what you are going to use for a clear coat ?
 
I will probably end up trying Long Life (as a substitute to Future). Plan on spraying that on later in the week.

However, on that subject, I went to Bunnings (hardware store) the other day and found this product in the craft section:

Lockheed017.jpg


I wondered whether something like this would work on a model. It is designed for coating paintings to give it a gloss finish.
 
It could work, although with teh spray can, it could go on pretty thick and obscure the panel lines and details. I'm not sure if you'd be able to decant it into the airbrush for more control, but I would hold off until you could get Future or any of the appropriate clear coats. Wouldnt want to ruin a hard worked paint job ;D
 
Not completely sure.
I can guess it was an acrylic based spray because on the tin I remember it was recommended for use on acrylic artworks (not sure whether this assumption is correct).
 
Made some progress with the build during the week.

Finished the paint job and attached the landing gears. Considering it was the first time that I have used an air-brush, I'm pretty happy with the result (I'm even happy about the primitive dirt effect that I dry brushed on). I learnt a lot during the process which I will apply on my next build.

There is one problem - I wonder if you can spot it in the next two photos....

Lockheed018.jpg


Lockheed019.jpg


A big thumbs up to all those that saw that the front landing gear is not touching the ground. In my infinite wisdom, I decided to skip over the instruction that said to add weight to cockpit - see below:

Lockheed020.jpg


Lesson Learnt = Always follow instructions

This left me in quite a predicament. There was no where that I could add weight to push the front end down. I tried inserting some metal into the cavity where the front landing gear recedes into but this did not do the trick. At this point I was stressing out. I even considered incorporating the plane into a simple diorama so I could glue the front wheel down.

After much deliberation, I remembered that I hadn't included the recon unit that was part of the P-38M model.

Lockheed022.jpg


I managed to find it in the kit and then pondered how I could substitute this piece for something heavier. After racking my brain, I came up with the idea of using a fishing sinker. I managed to find a appropriately shaped sinker that has sufficient weight to push the front end down.

Lockheed021.jpg


What I'm going to do is cut off the top part of the plastic piece and super glue it to the metal piece and then attach that to the front of the plane.
 
Nice work!
About the nose weight, you solution is creative, i hope it works out. Don't beat yourself up too badly about not seeing the part about nose weight, it happens. Consider it a learning experience for the next P-38 you do. The instructions on my B-26 don't even mention nose weight. I only knew about by reading a review which mentioned that there was no mention of it.
Good luck my friend!
 

Latest posts

Back
Top