Eduard F6F-5 Profipak

Scale Model Addict - Model Tips, Guides, Tools & Tech, Tutorials, and Community

Help Support Scale Model Addict:

Edbert

Well-Known Member
Joined
May 16, 2024
Messages
3,121
I bought this kit because I love the Hellcat and feel it does not get the praise and love it deserves. I'm wishing I had picked up the -3 instead of the -5. I figured they are practically the same thing, only major discernable difference is the deleted side windows behind the pilot's head. There was more than that changed but the rest is invisible. The reason I was disappointed with my choice is that I was locked into the solid gloss-blue instead of the tri-color paint that I love so much. I was going to paint it wrong on purpose, but decided I'll do it right and purchase an F4F or FM2 and do the tri-colors then.

The kit is great, lots of different historical versions I could choose including a French one from Vietnam, err "Indochina" in 1952. But I don't want anything French in my collection so basically my choices were 1945 USN carriers.

1755033410278.png

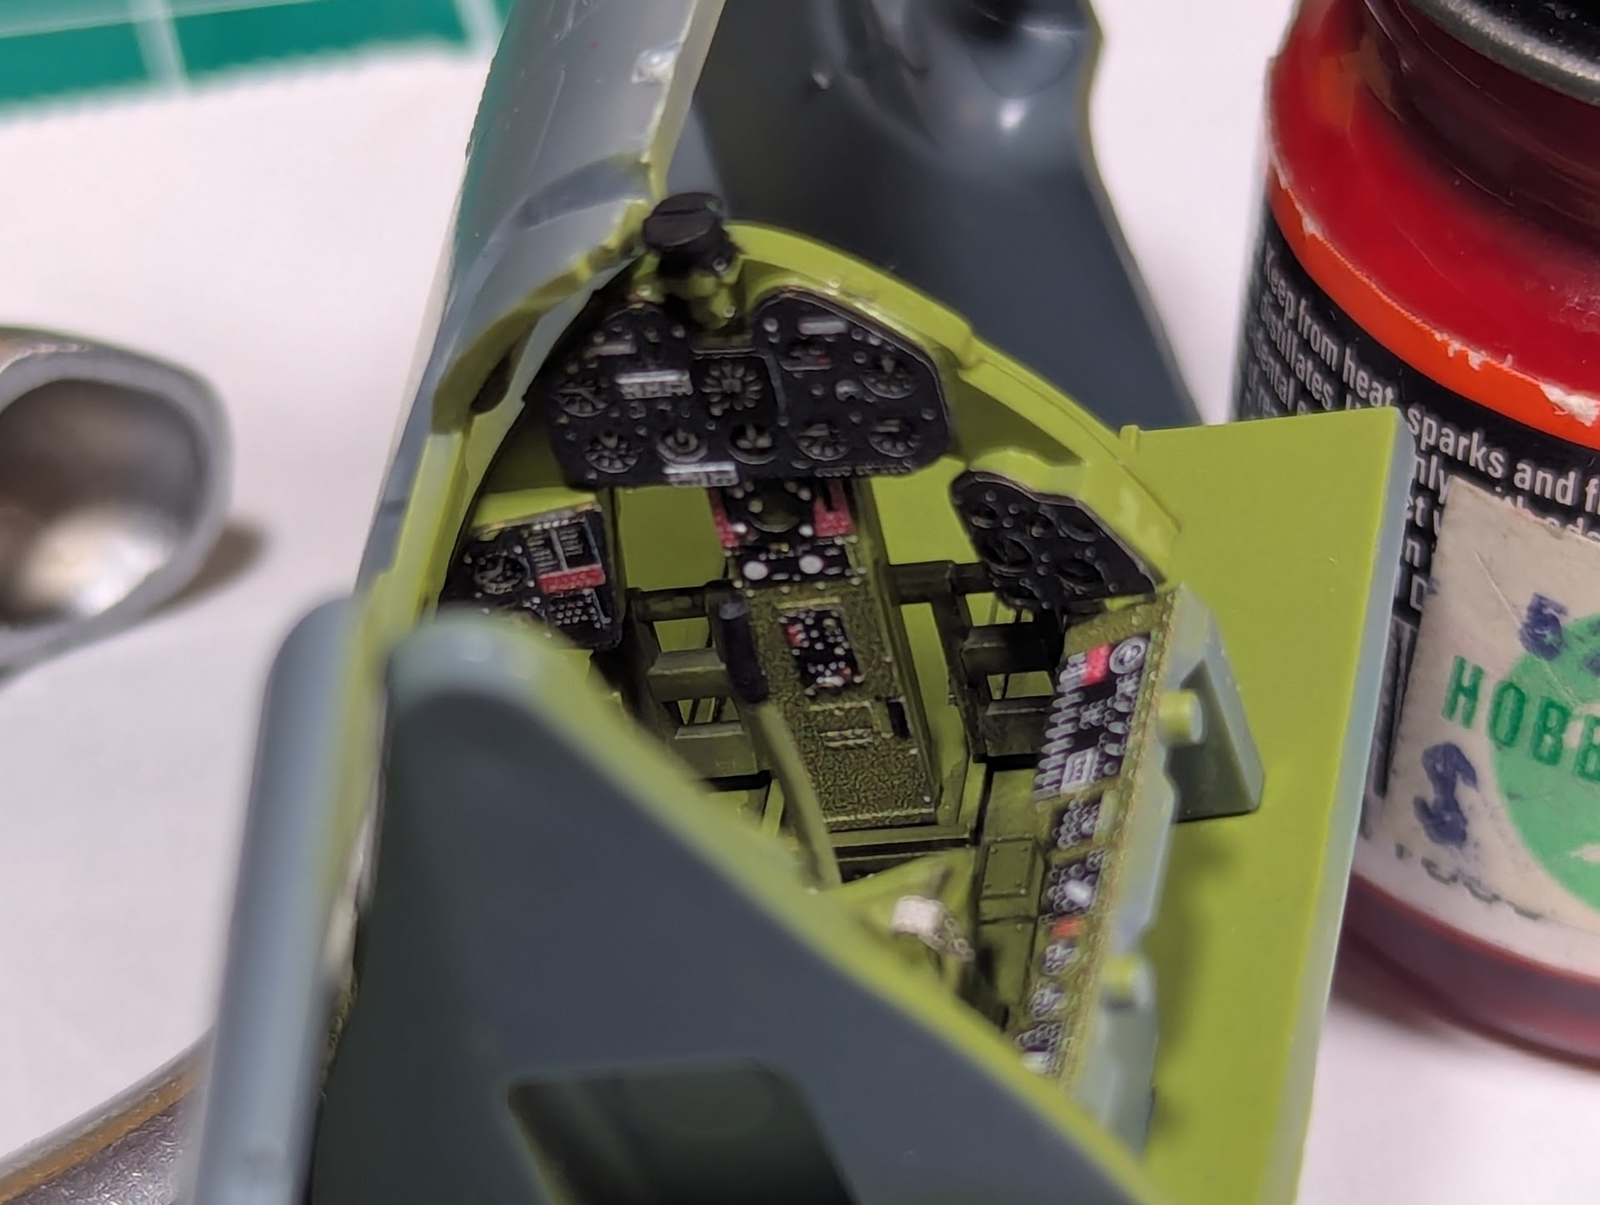
The interior was a snap, practically fell into place, even though it will be impossible to see much in there.
1755033426957.png


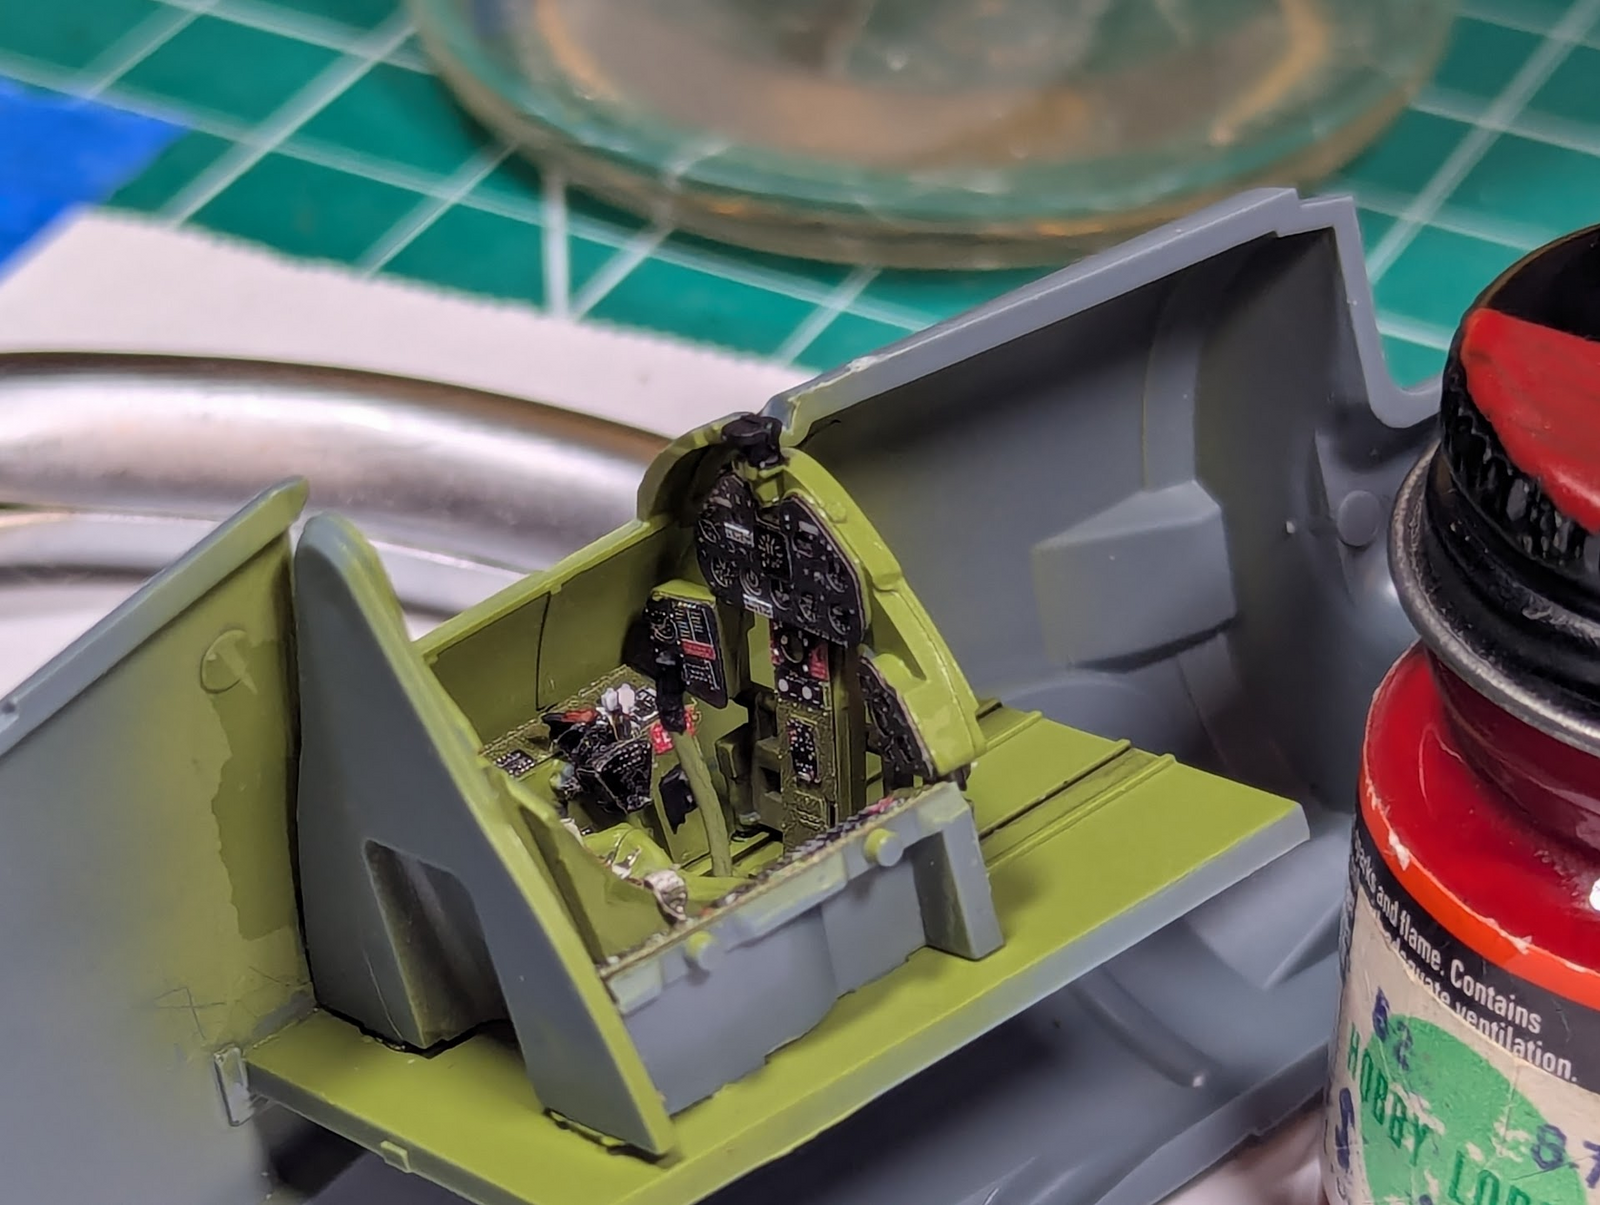
Eduard hid all of the ejection pin marks for me, so there was little to do other than paint and glue.
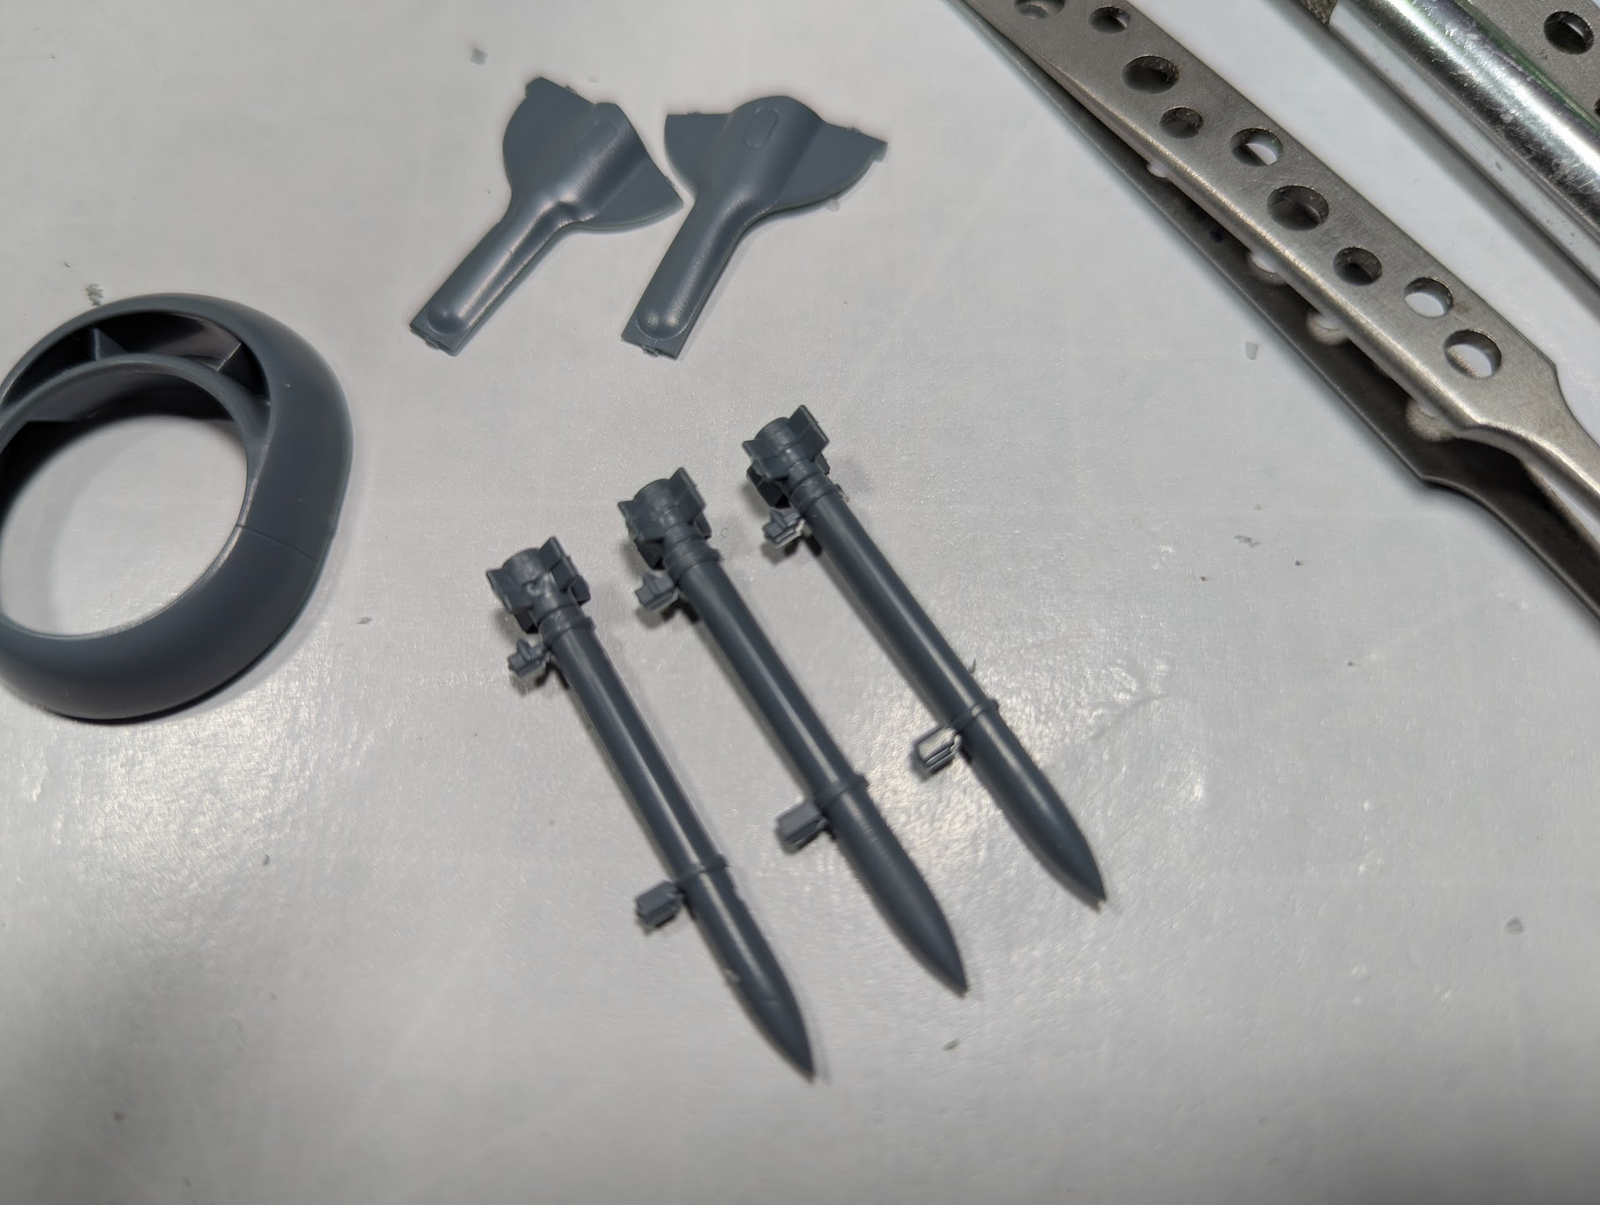
 
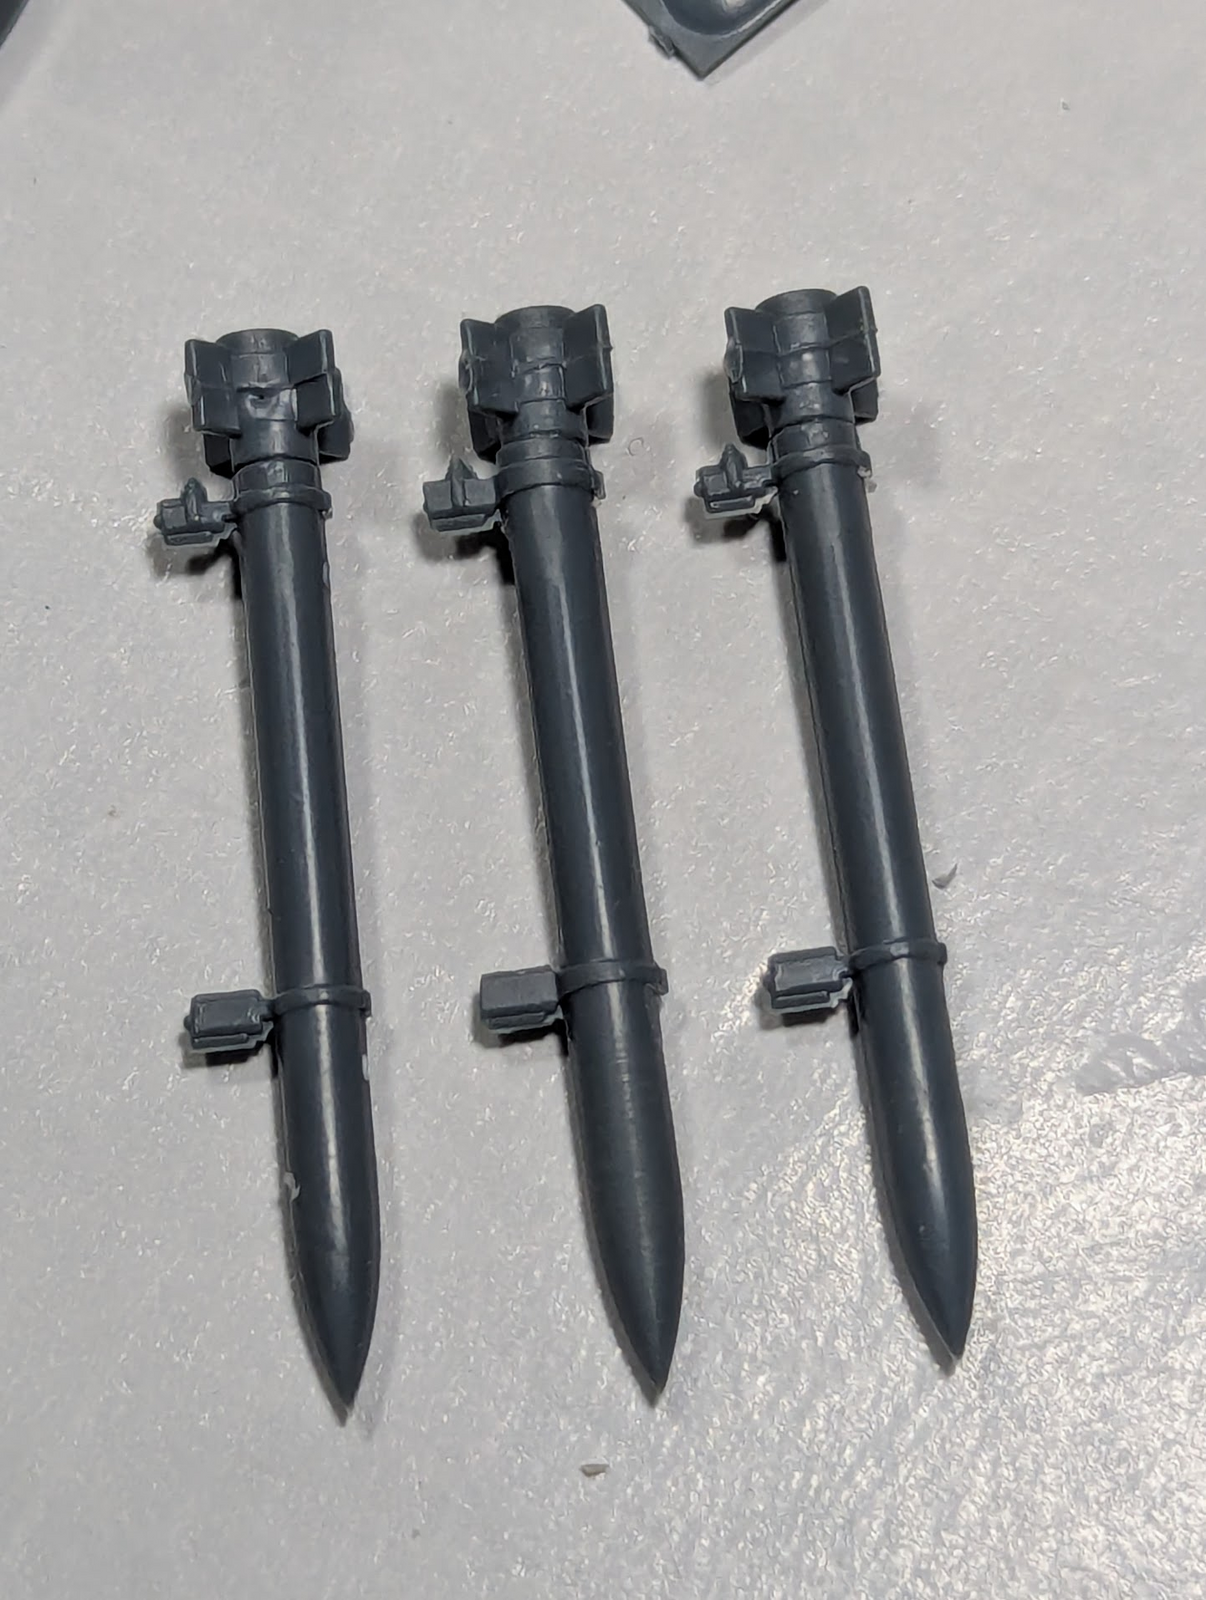
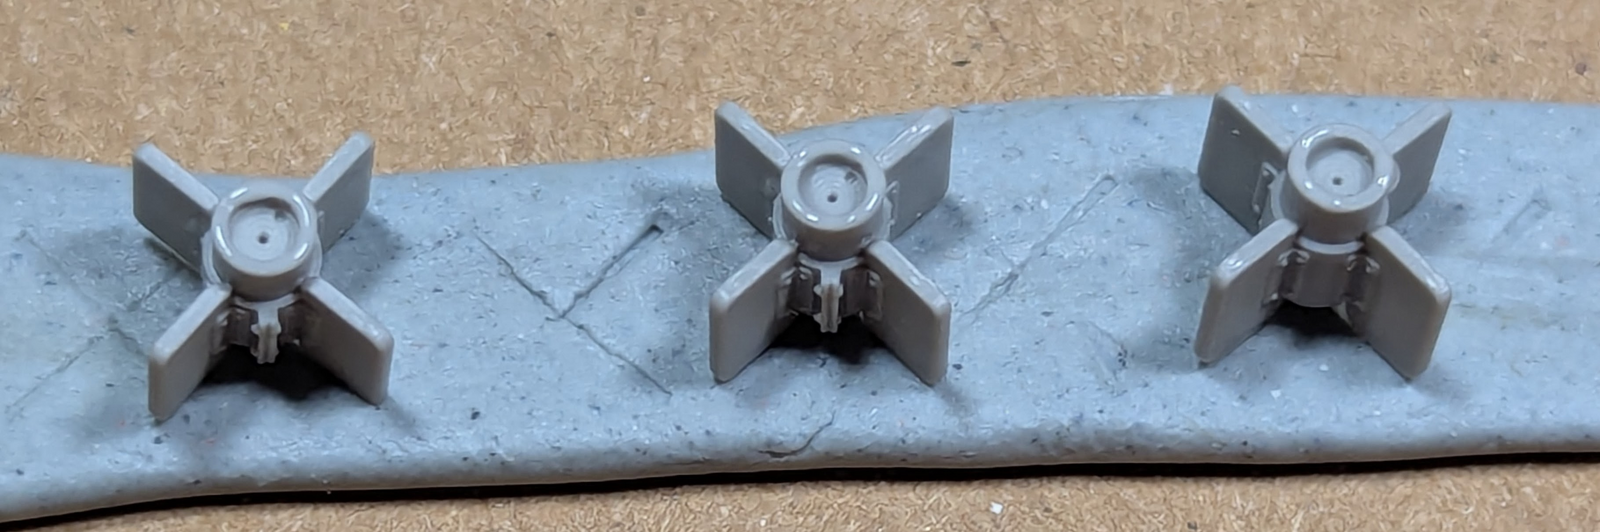
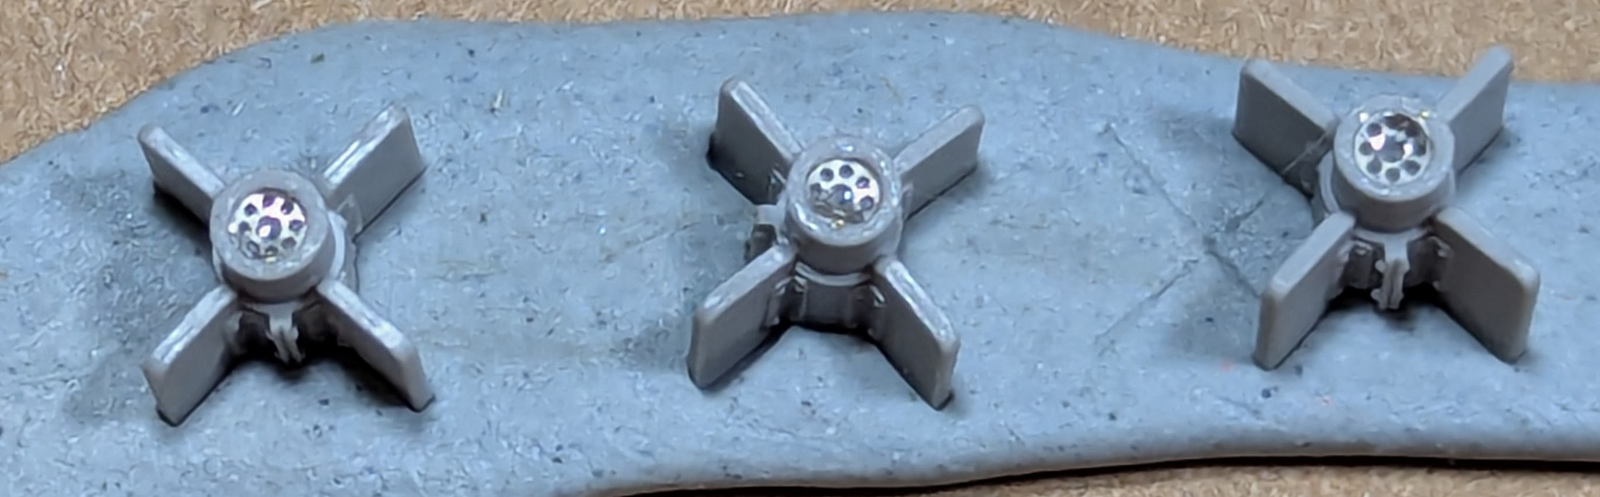
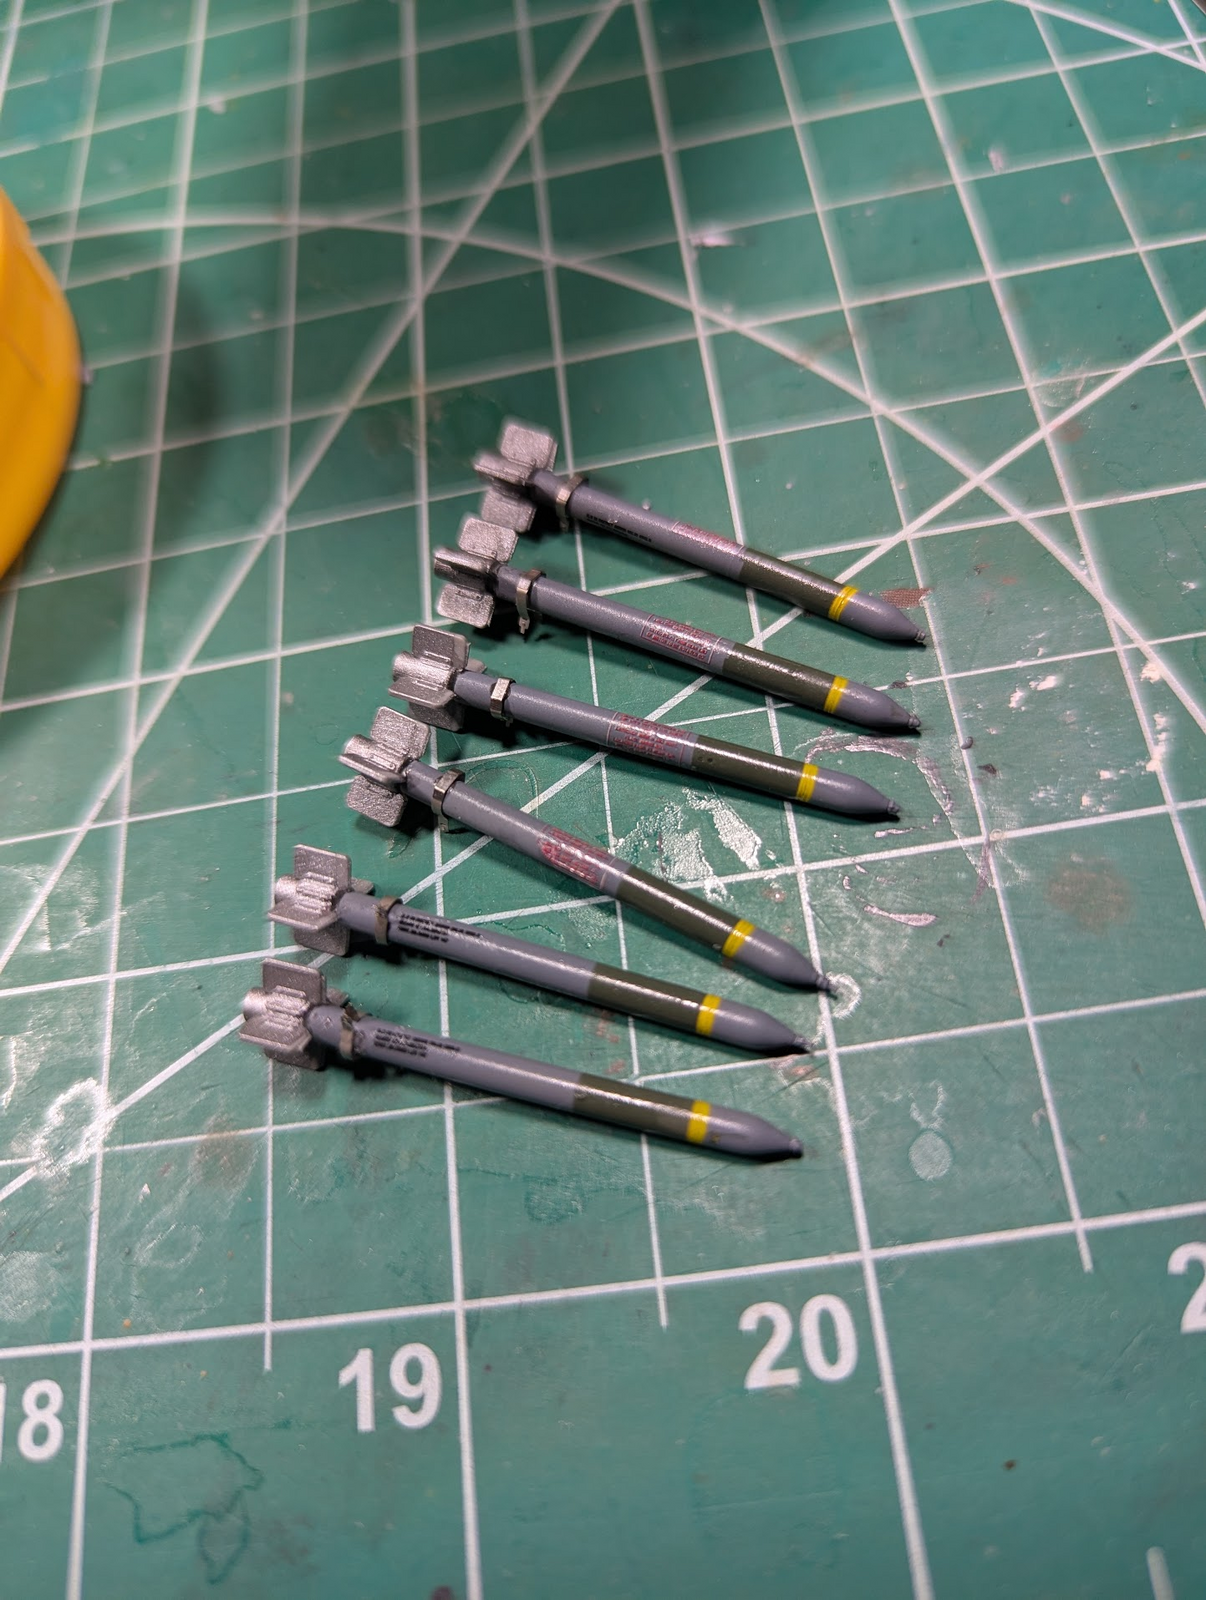
There were choices of ordinance too. Bombs (boring) and two types of rockets, the 3-inch (I think they were like Bazookas with bigger warheads) and 5-inch HVARs. I chose the latter. But the moldings were terrible, visually the casts were out of register.

1755033628108.png


1755033645320.png

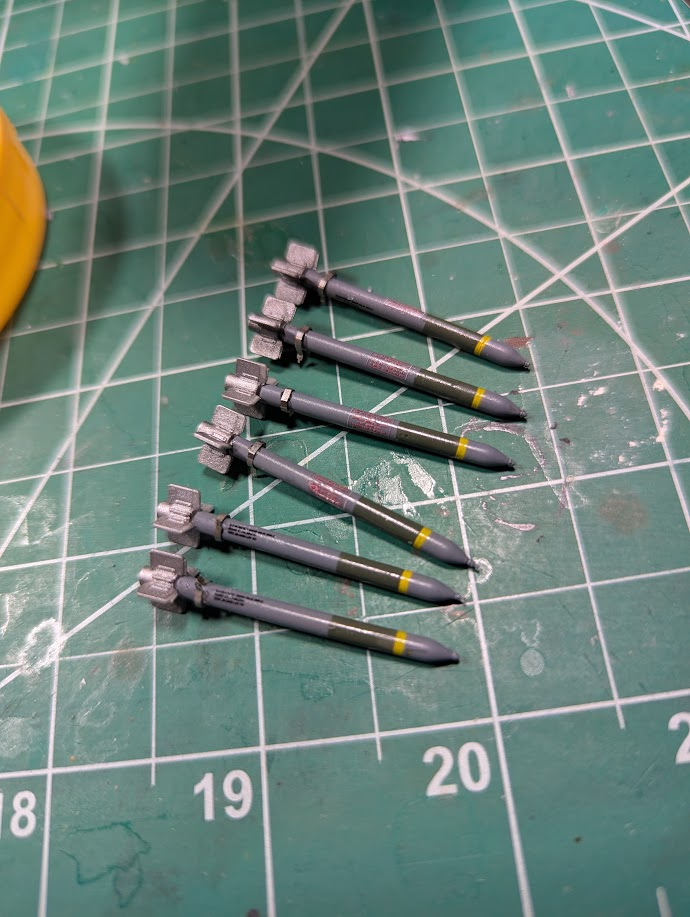
You can see what I mean better in the 2nd pic.

That is not flash on the underwing mounts, that is the other side of the castings. I could fix that without too much effort, but the part in between the way-too-thick fins was going to be impossible, at least in the patience department, for me. So I ordered aftermarket rockets and proceeded on.
 
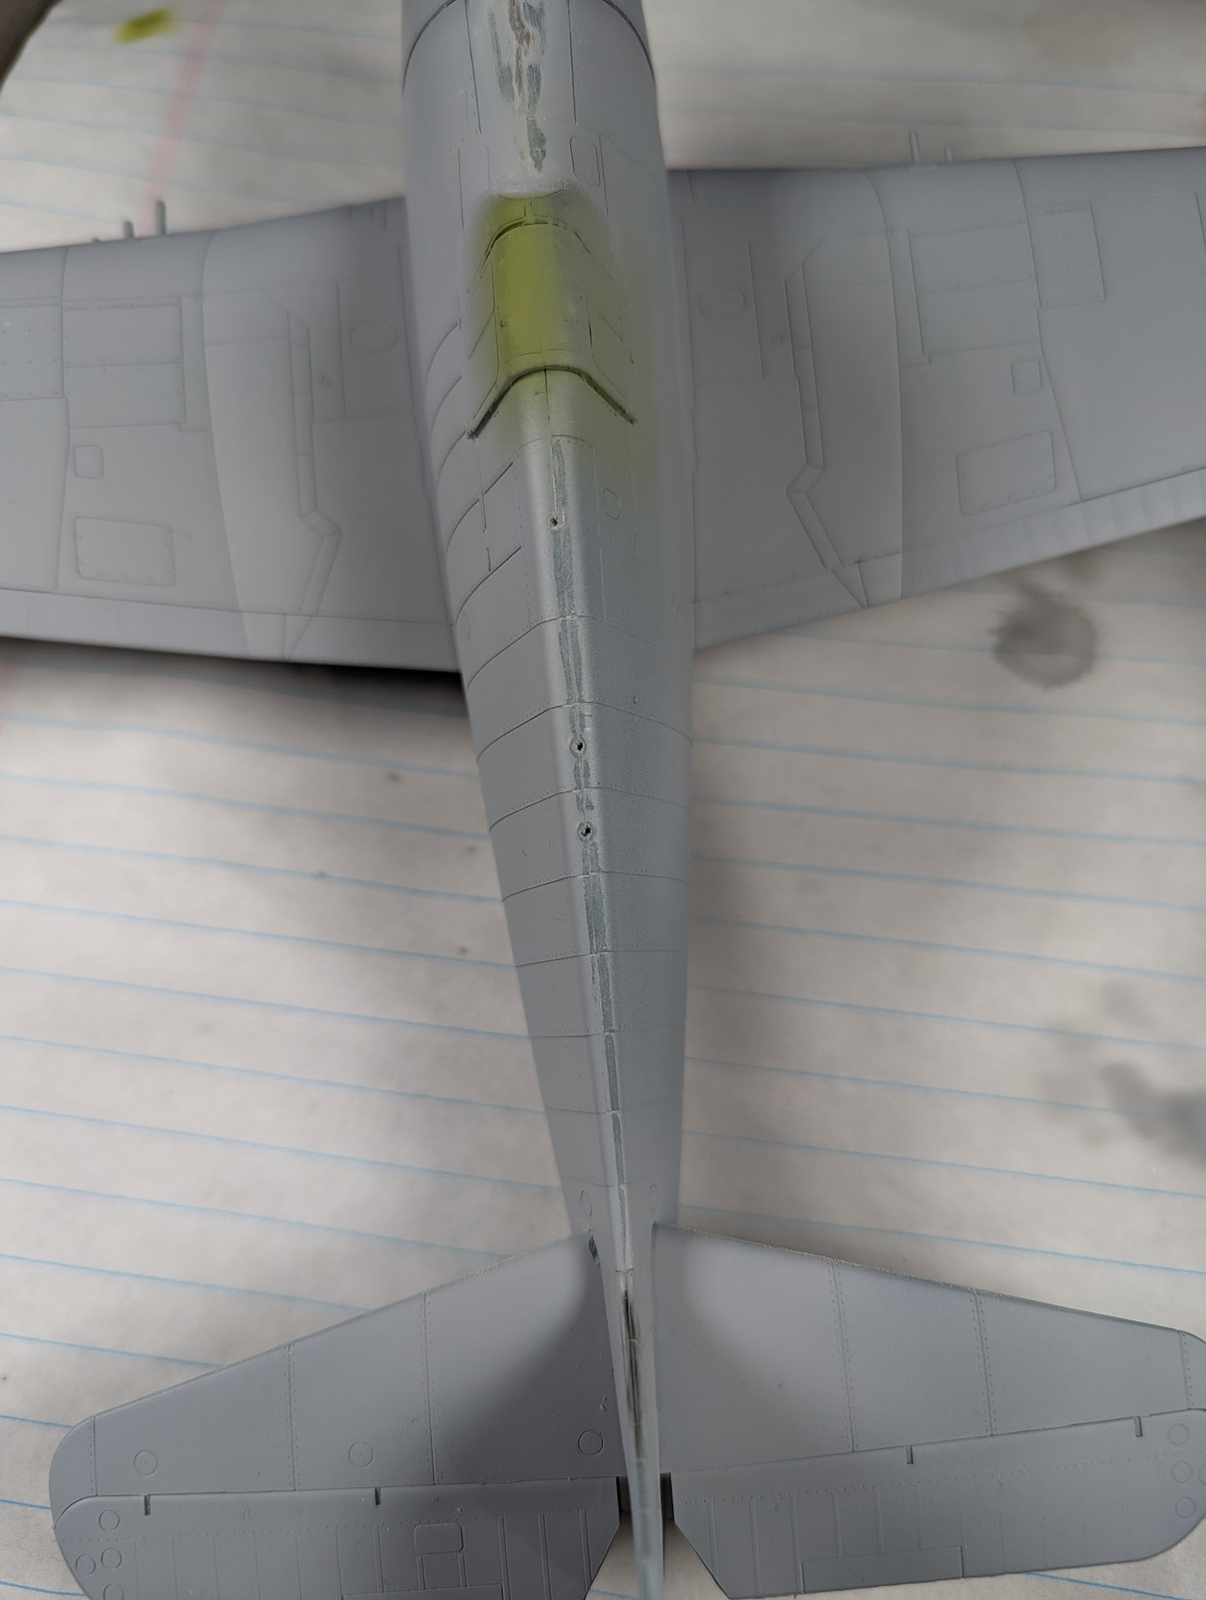
After a coat of Mr. Surfacer (only the 1000 in gray, not the white or black 1500) there were of course some seams.

1755033821979.png


1755033843934.png


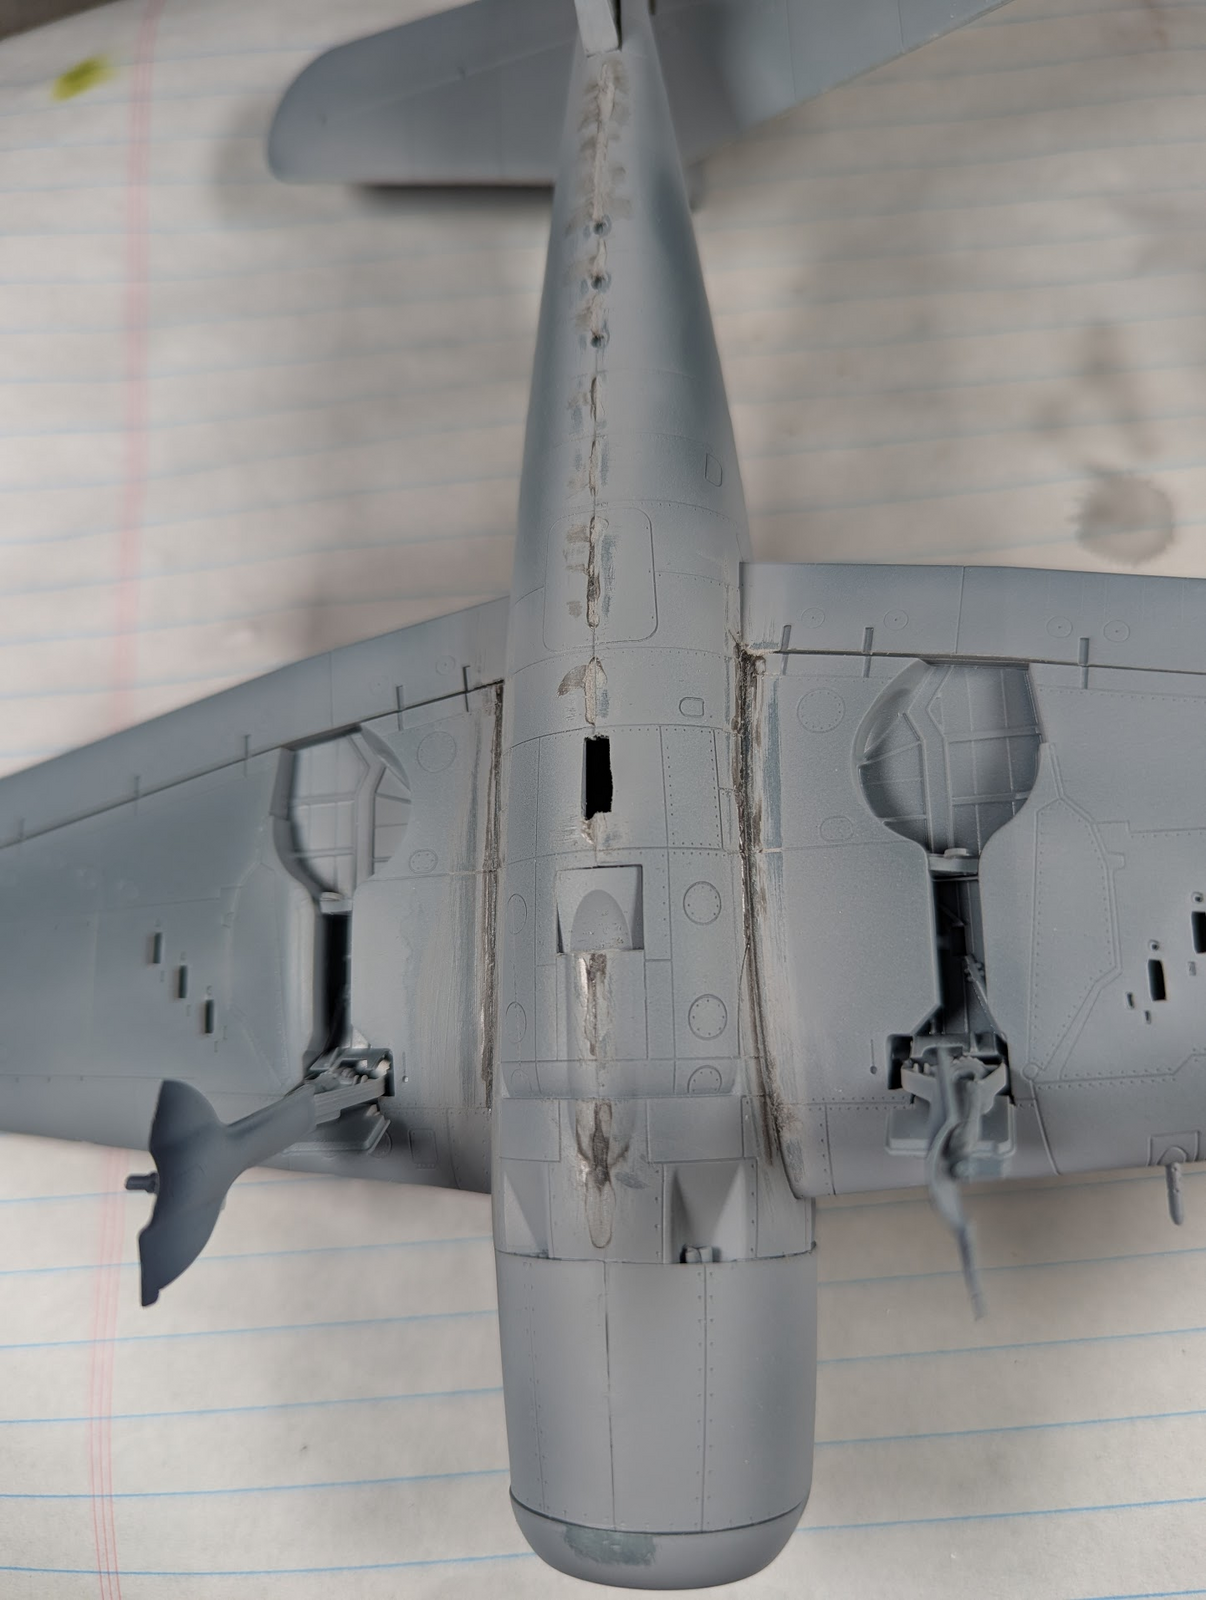
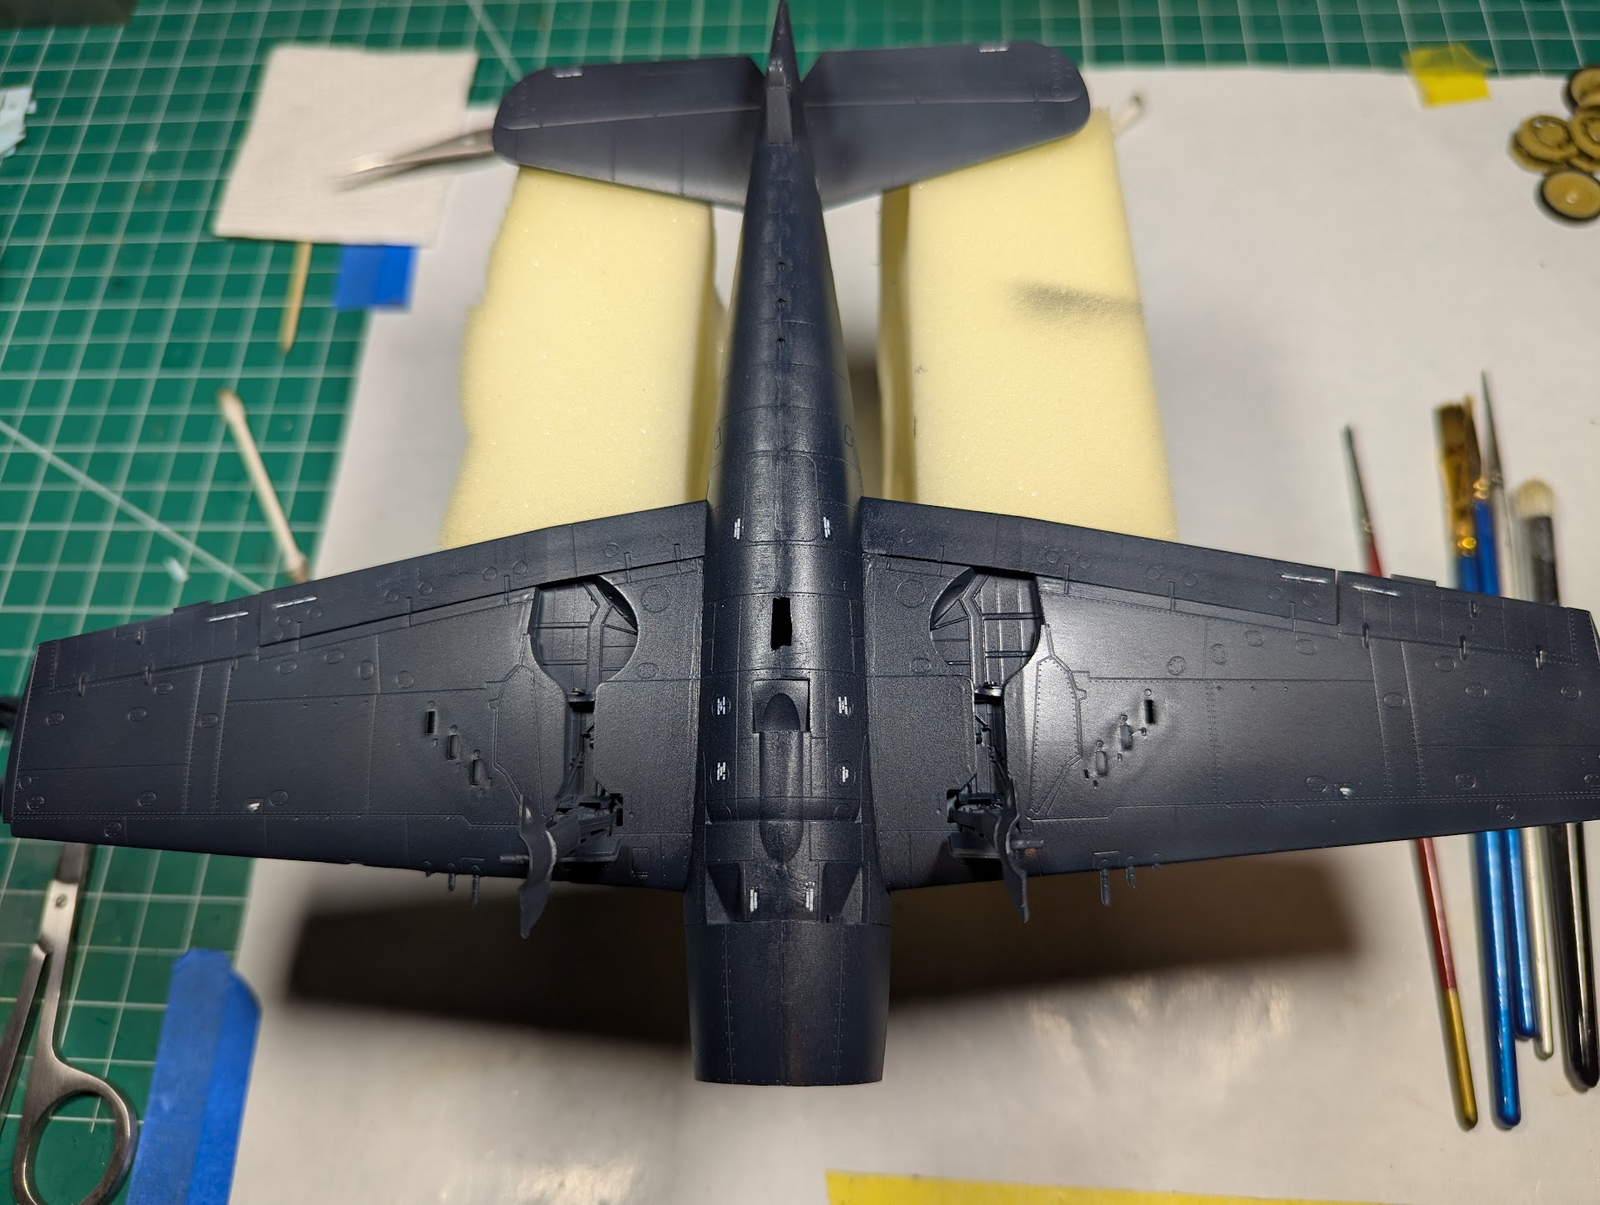
The underside was worse. I made several more prime-sand-prime-sand passed to make it acceptable, but not perfect.

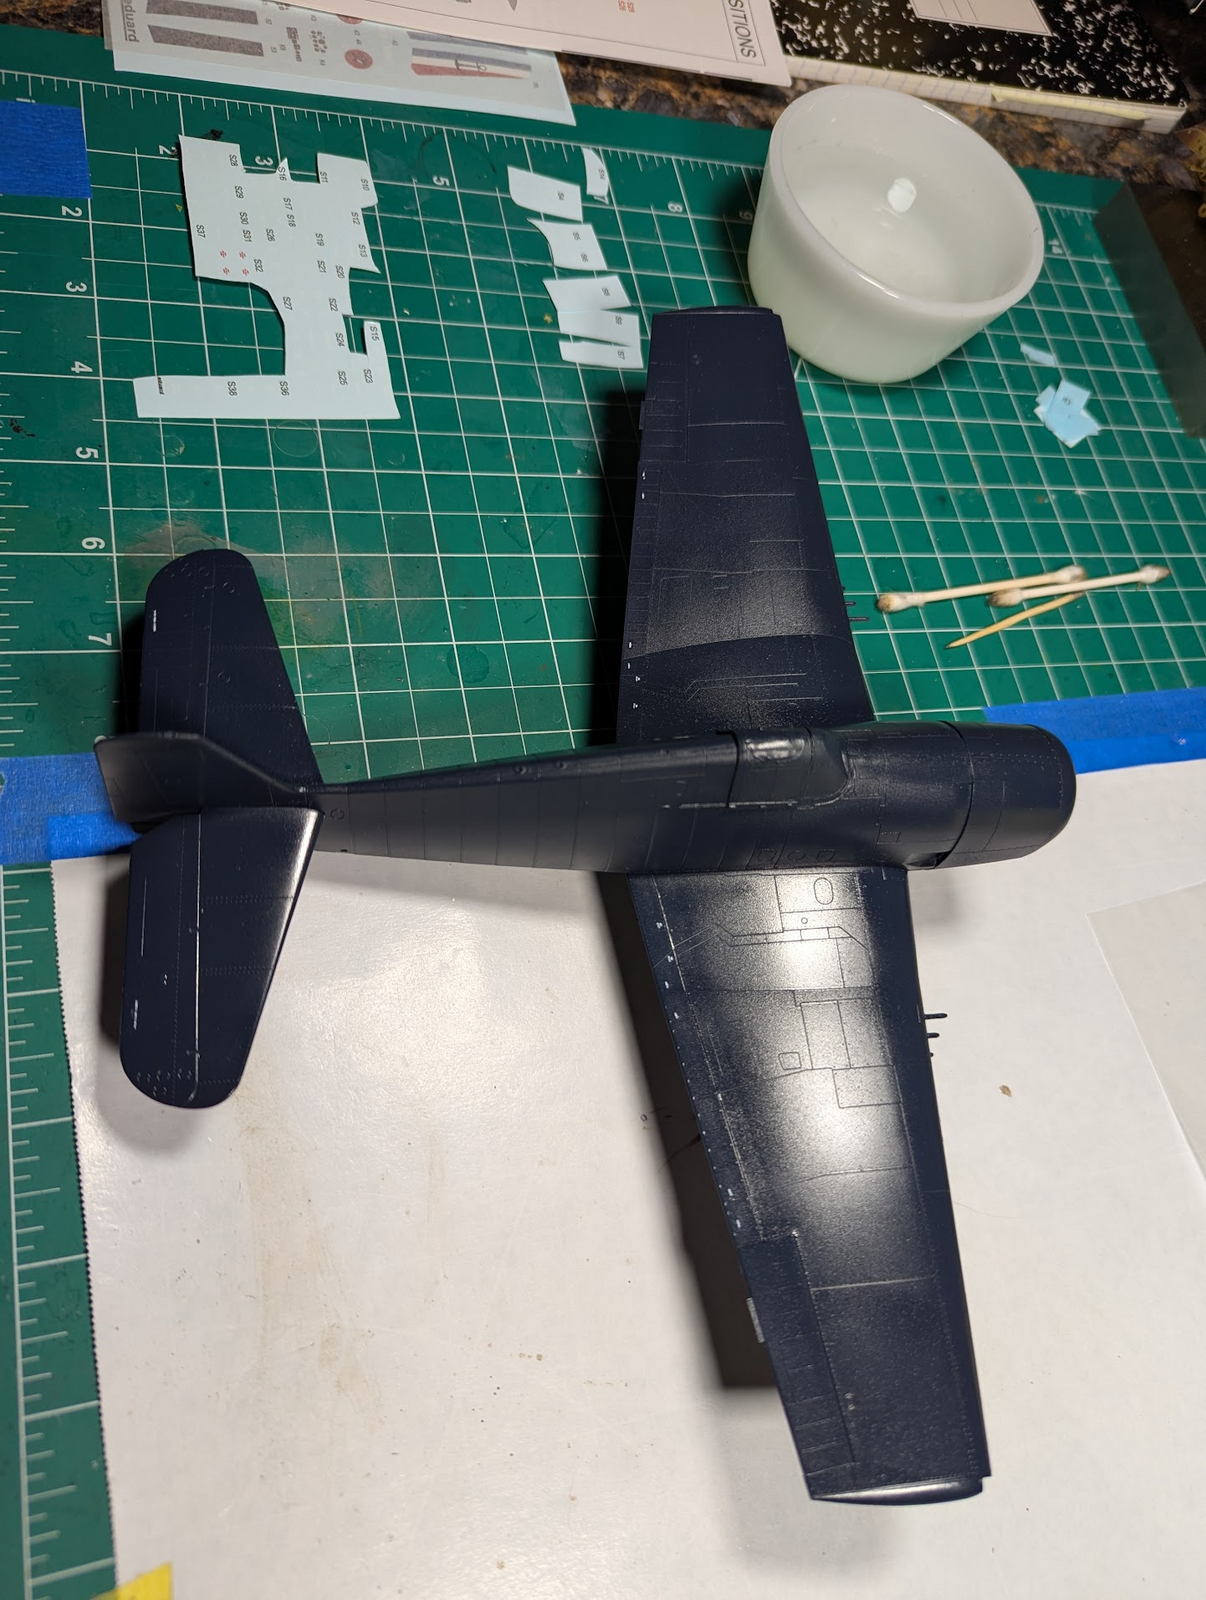
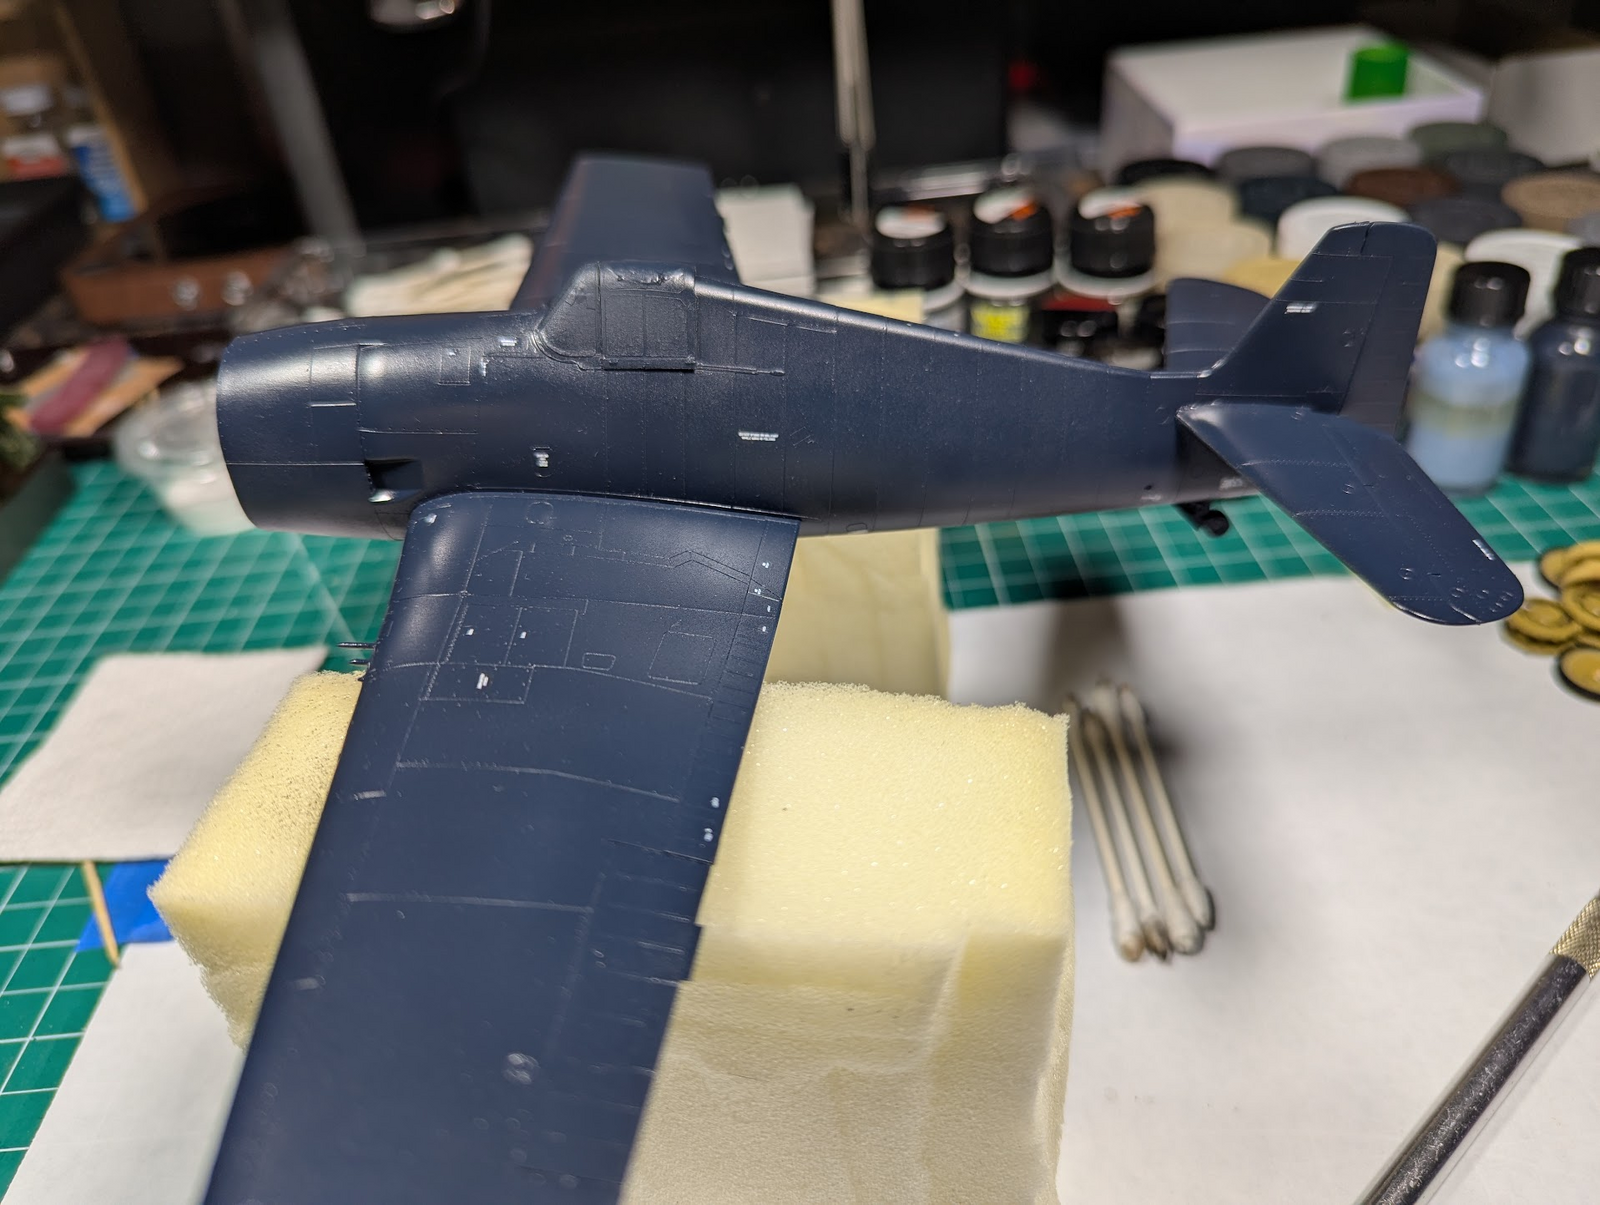
Then did the overall dark blue and glossed it.

1755033920699.png


In the above image you can see the stencils are going on. This is nowhere near F4 Phantom-II levels of stencils, but the most for a WWII aircraft I've done. You can see more of them waiting in the background.

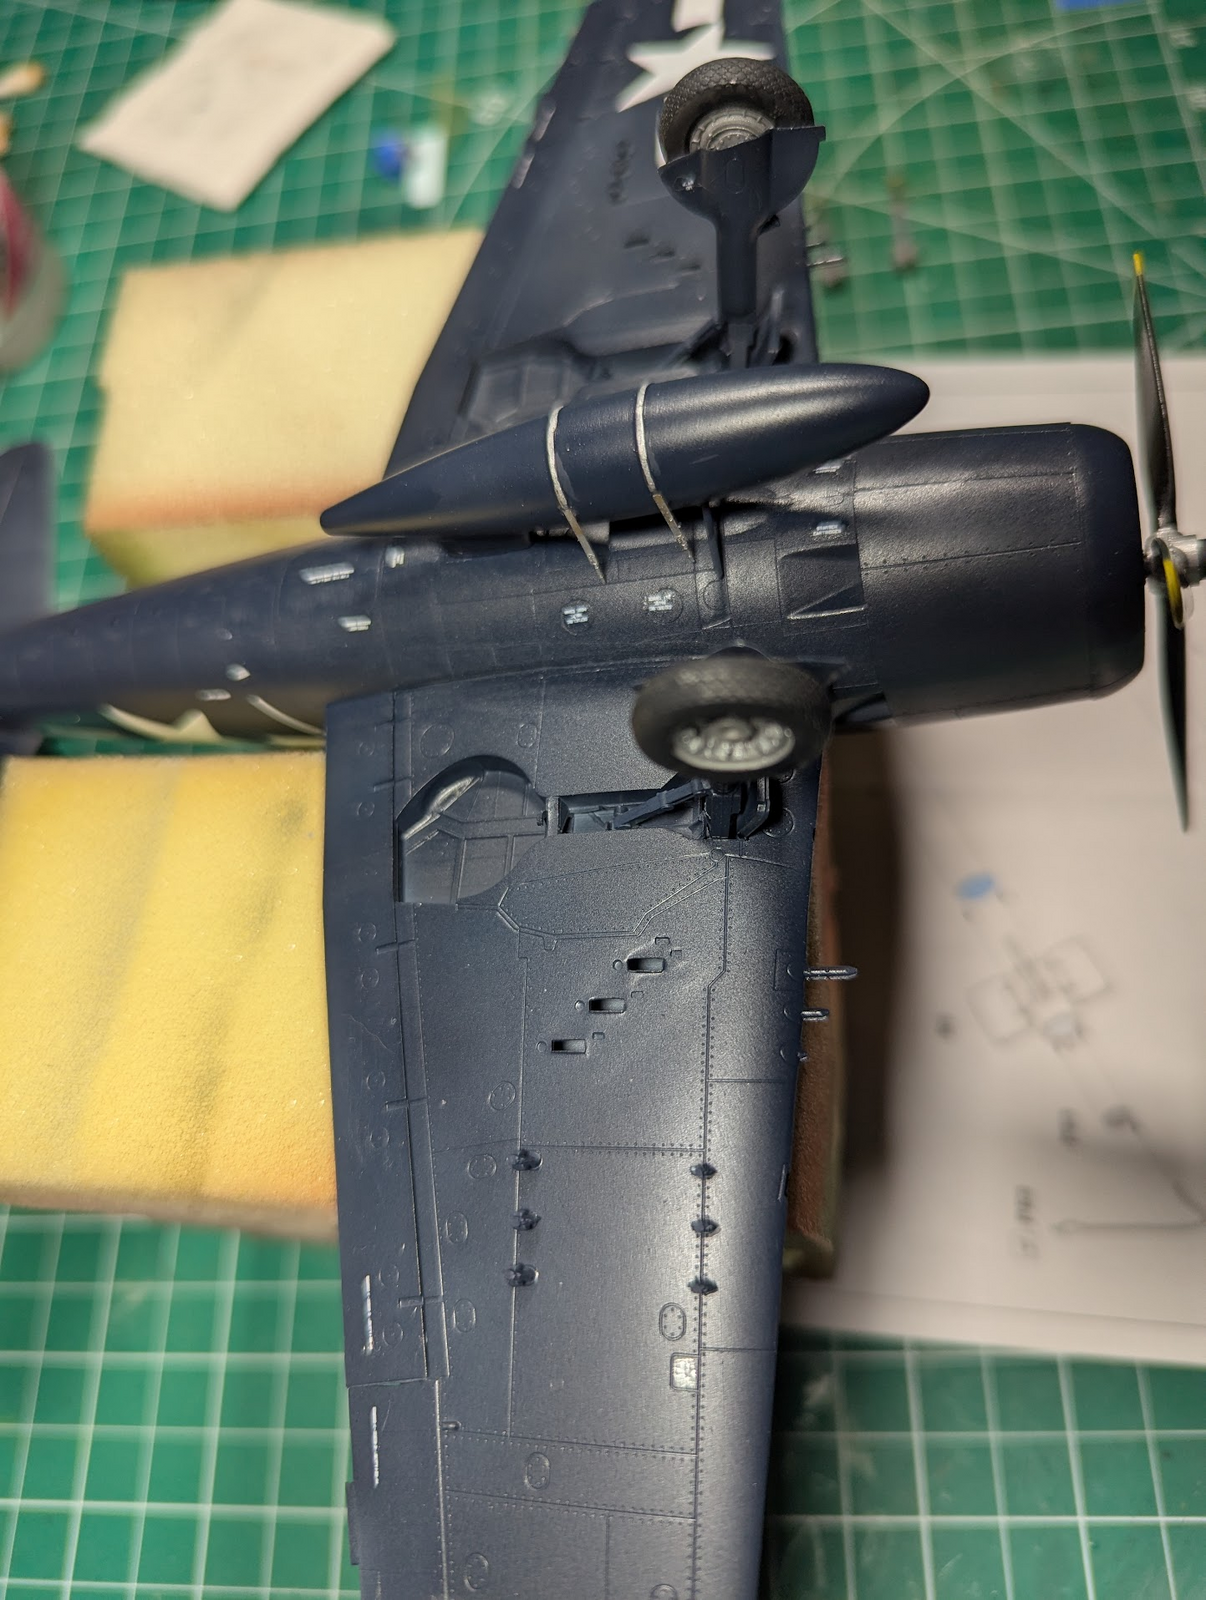
O mentioned not liking the overall dark blue paint. But I did not mention (or know to be honest) that meant EVERYTHING, the interior spaces, the wheel wells, the struts even. Dang...everything one color, so boring!

1755034080146.png


1755034100238.png
 
1755034219948.png


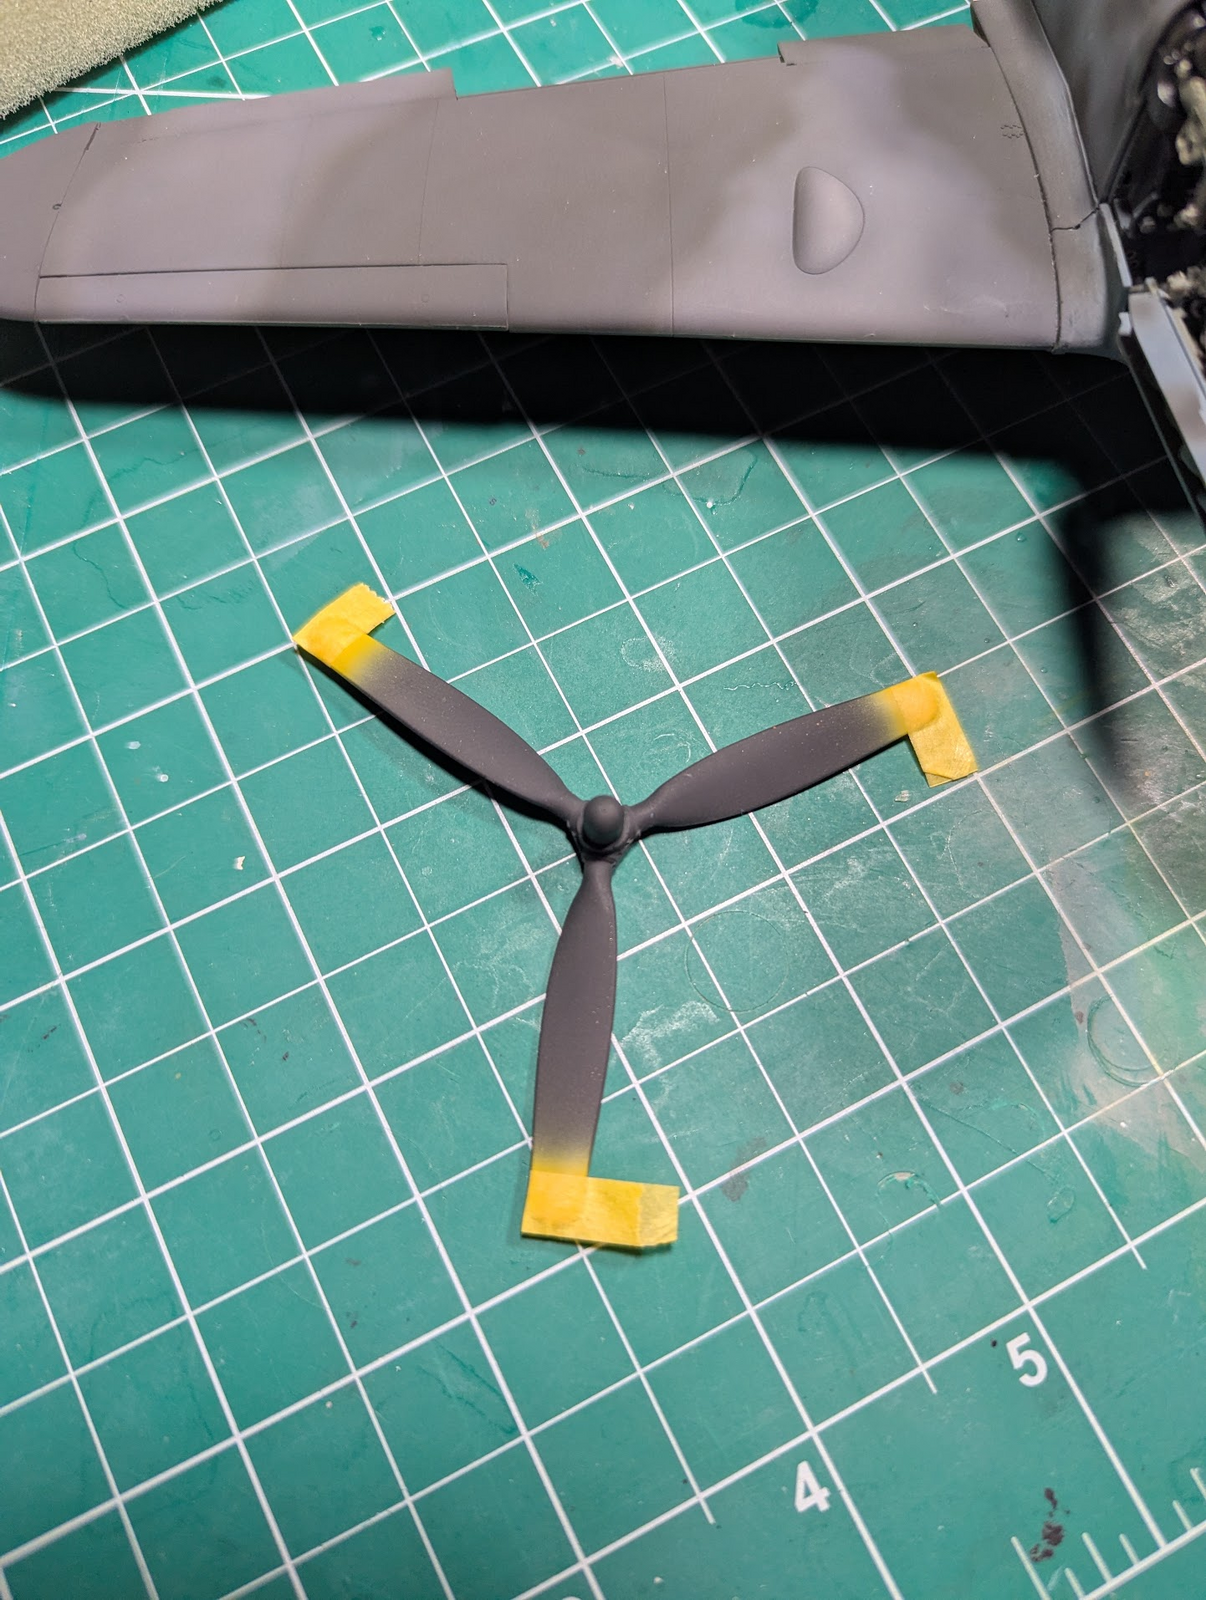
I've read that it is better to paint the yellow tips first, before the black. I always did the opposite, but need to learn better techniques so am usually trying to do something different.

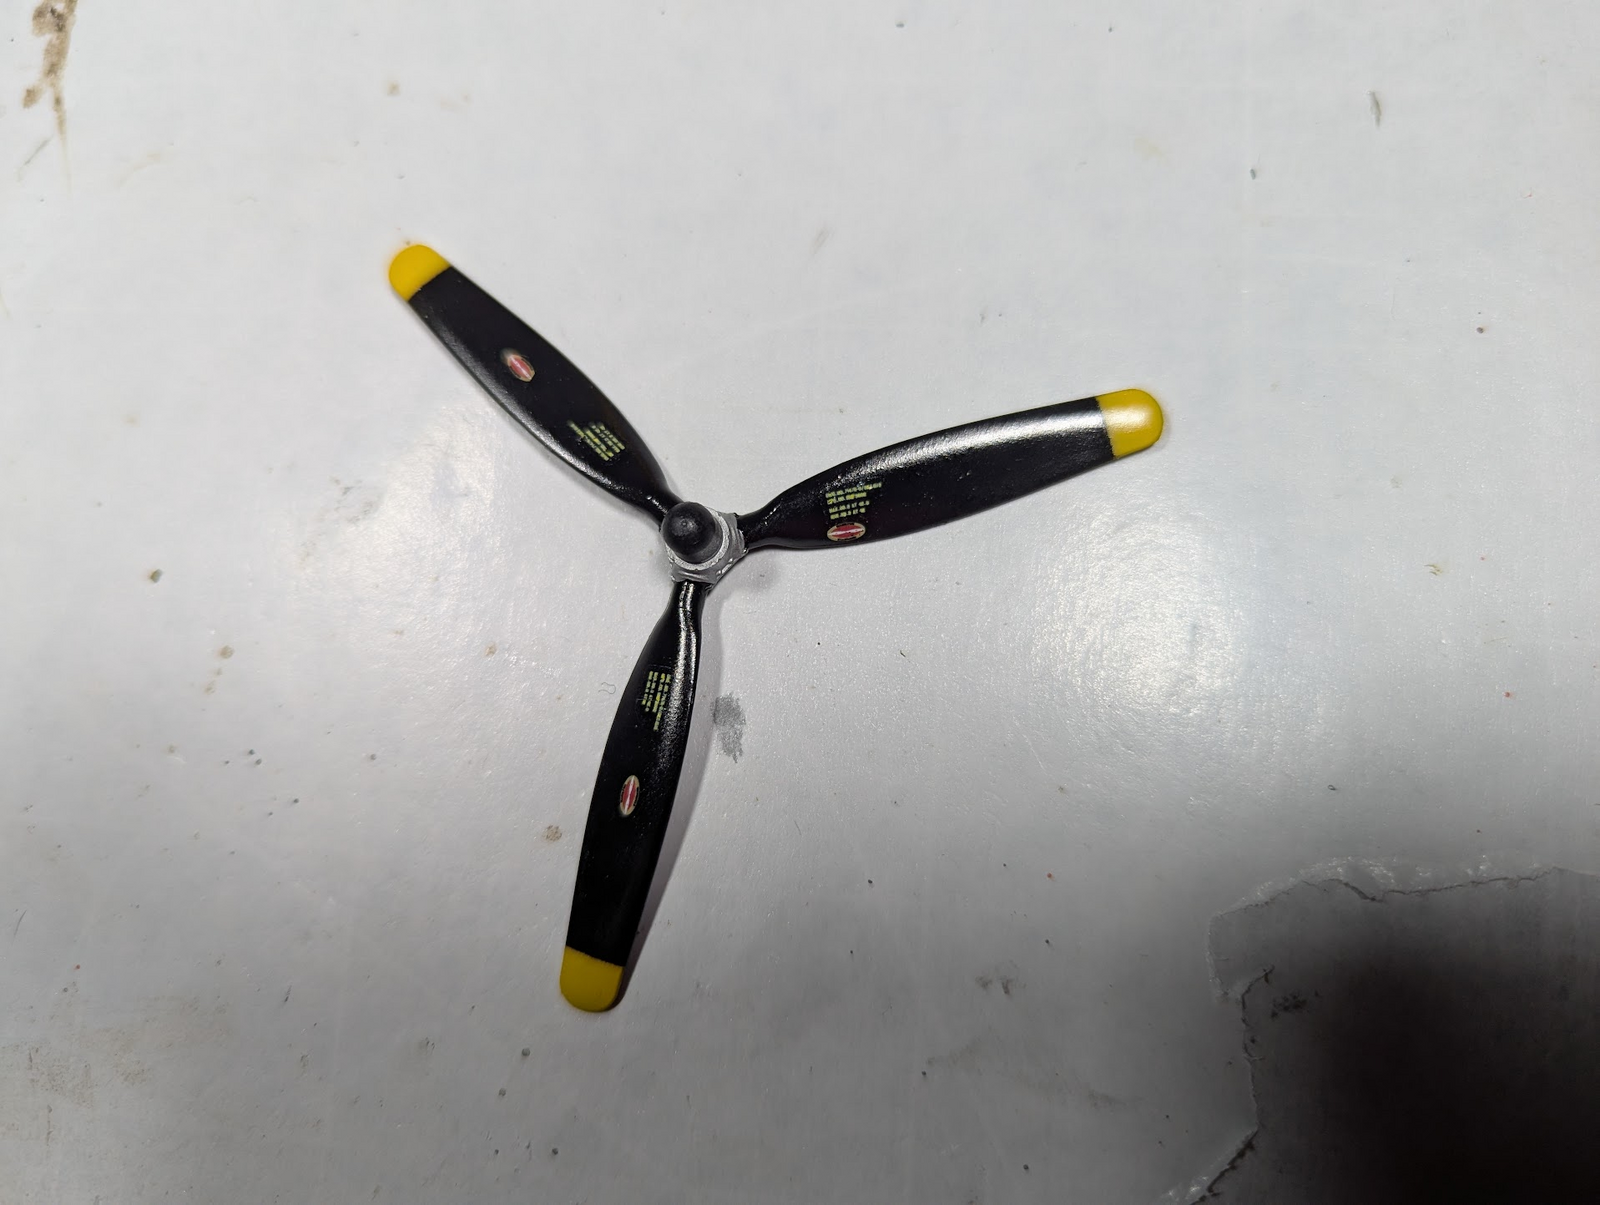
It worked well for the yellow tips, I have to admit, so I went ahead and finished my prop. The gloss black, the silver, blue hub, and stickers.

Only to notice a day later that a sticker had slipped somehow. Really no idea how, but obviously did. I think maybe trying to use floor polish to seal it somehow loosed the glue, nothing else makes sense. But there it is my fist major boo-boo to fix.

1755034441745.png
 
The new rockets came in, I wanted to start with paint immediately, but it was clear some assembly was required 1st.

1755133883158.png

I'm not sure how clear this is, but shown above is a small bead of medium thickness CA around the perimeter to accept the rocket-nozzles.

1755133973564.png

Only to figure out (after 45+ years of knowing what a dry-fit means) that the nozzles go inside, not around the edge.

1755134052886.png

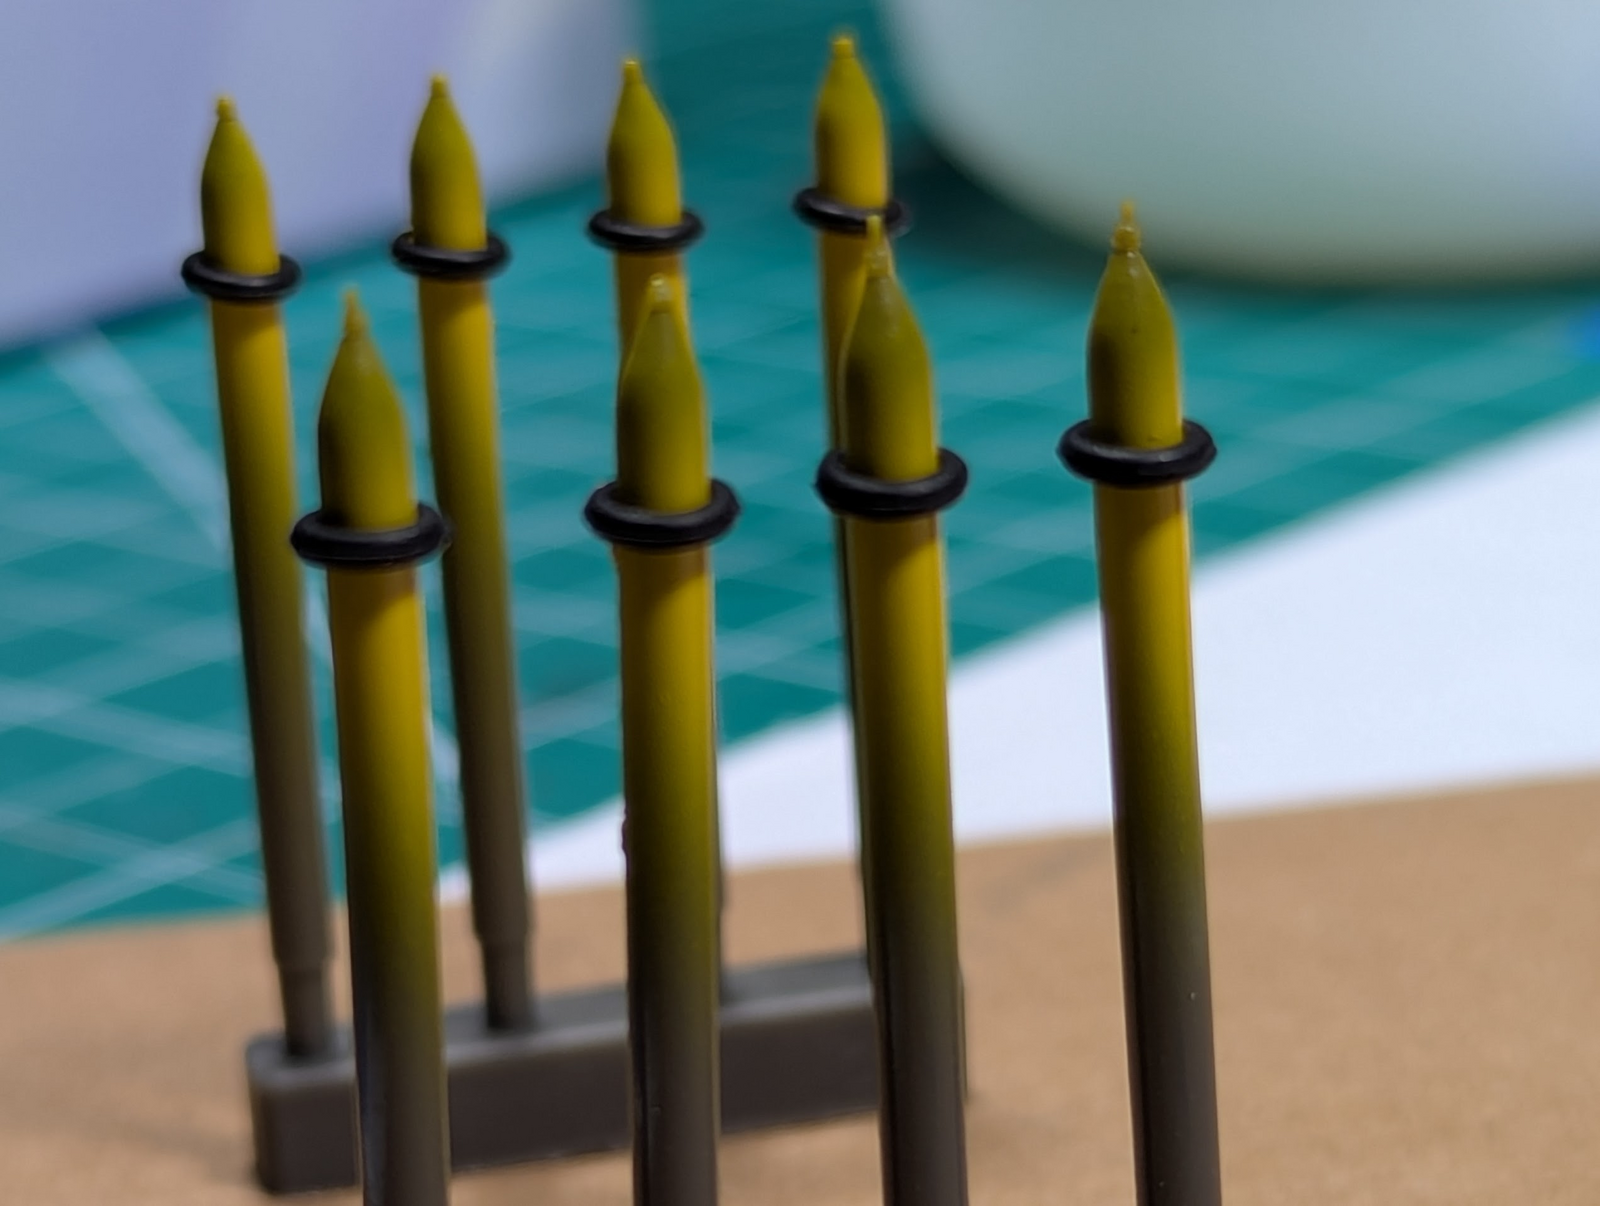
Following the idea of painting the yellow 1st I gave a good layer of X-8 (yellow 1st is always required with the method I am showing) I then placed my O-rings on each of 8 rockets.

1755134191396.png

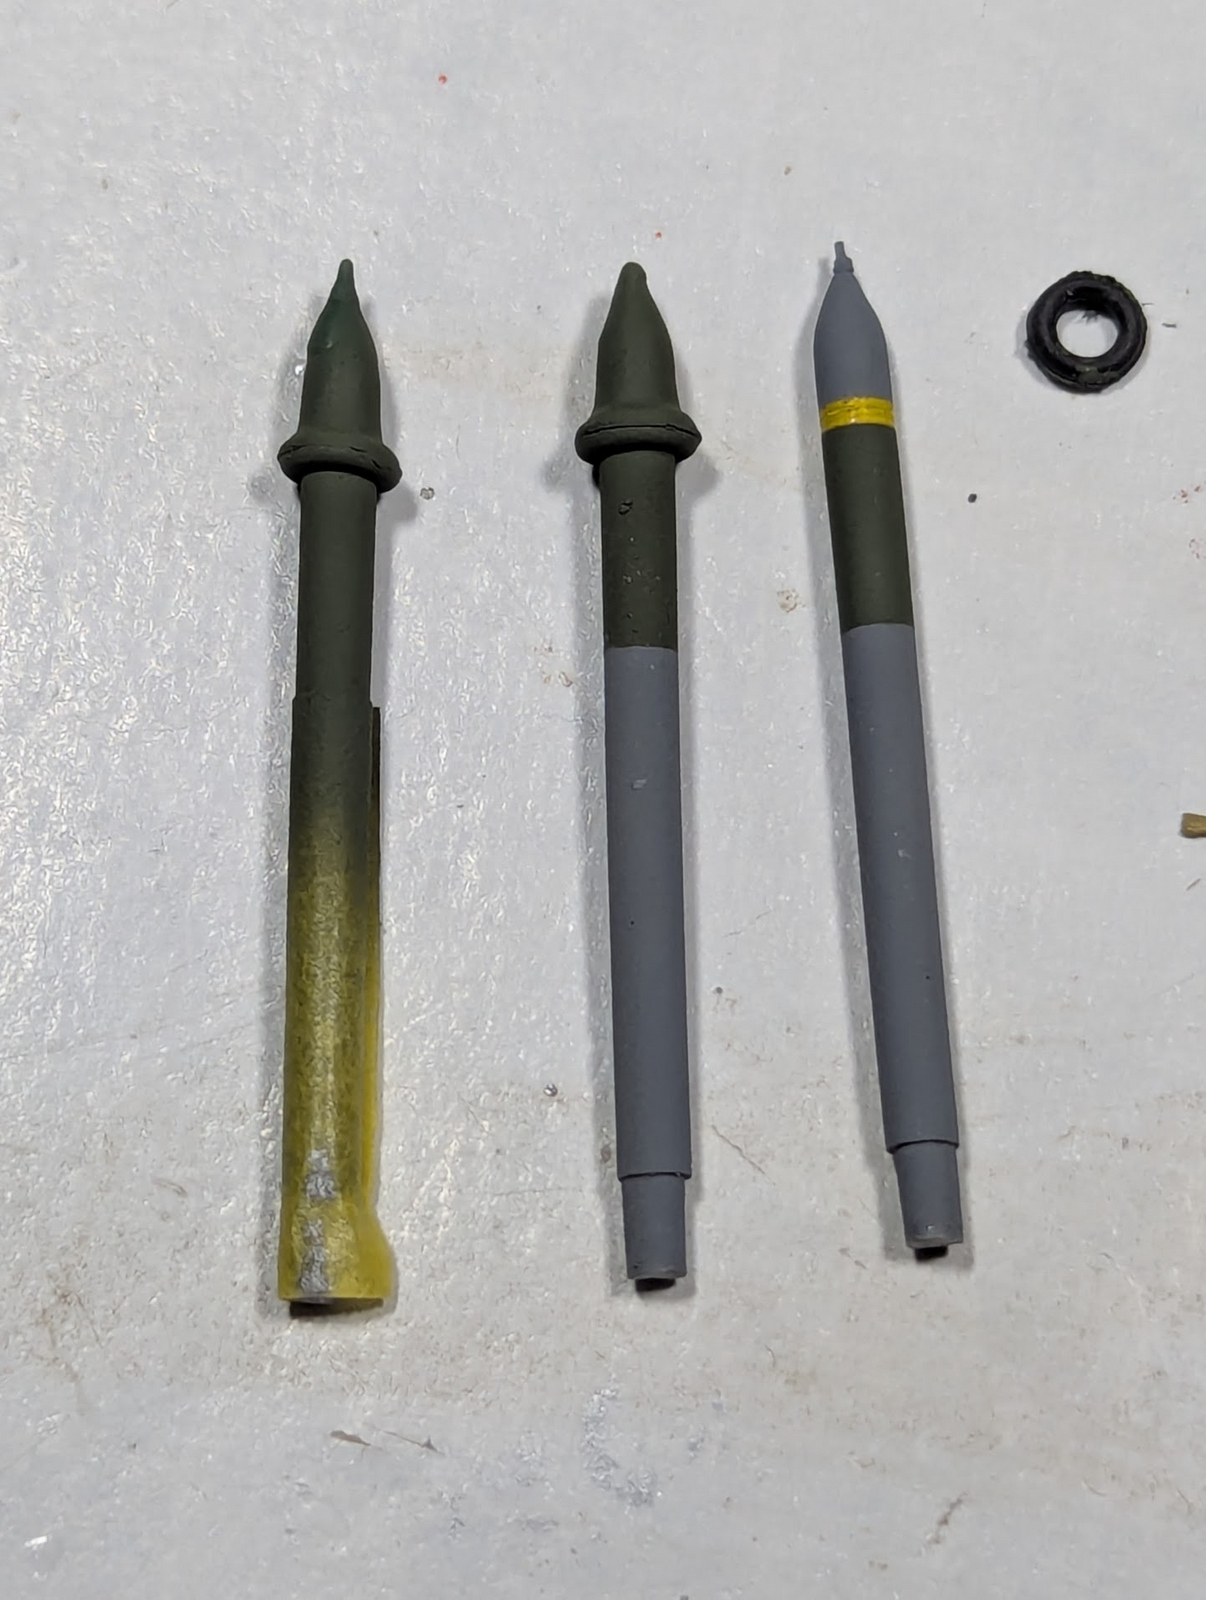
It is not shown but the bit at the tip, above the O-ring is covered in liquid mask. I cut masking tape to a specific thickness (to know placement) and masked off the lower part with it. That is XF-58 for the Army-Green color. What is shown is the results of pulling the three kinds of masks off.
 
As an Amazon Associate we earn from qualifying purchases. Product prices and availability are accurate as of the date/time indicated and are subject to change.
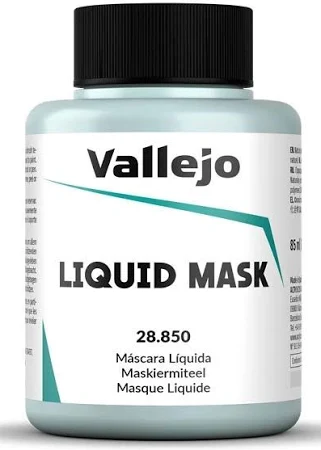
This is what I use, actually cheaper than the artist stuff.

1755174107045.png


It will DEFINITELY prevent bleeding with enamel (Testors) and acrylic (Tamiya X/XF), have not tried lacquers like Tamiya LP. In general I use it next to another masking product like the O-ring above or if you look at my earlier pics the top of the canopy where the liquid is touching the tape. If could be the sole mask, but it is hard to paint in details with it. Thick material with fast drying and rubbery feel too it, a perfectly straight line or precise curves even would be hard.
 
Very nice. I'm going to try your masking techniques. Cockpit looks fantastic. What brand paint did you use for the chromate green?
 
What brand paint did you use for the chromate green?
Tamiya XF, custom mixed. Do not remember the colors or ratios, just eyeballed and put into a separate bottle. Sorry I'm not more help, but I tried to match my "Testors Model Masters" version and it is real close to that.
 
No worries. The mix came out well. I've got a P-47 in the queue and I think I'm going to try the Ammo MiG chromate green when I build it.

Do they still make the Model Master line? I've still got a few pots myself.
 
The new rockets came in, I wanted to start with paint immediately, but it was clear some assembly was required 1st.

View attachment 155441
I'm not sure how clear this is, but shown above is a small bead of medium thickness CA around the perimeter to accept the rocket-nozzles.

View attachment 155442
Only to figure out (after 45+ years of knowing what a dry-fit means) that the nozzles go inside, not around the edge.

View attachment 155443
Following the idea of painting the yellow 1st I gave a good layer of X-8 (yellow 1st is always required with the method I am showing) I then placed my O-rings on each of 8 rockets.

View attachment 155444
It is not shown but the bit at the tip, above the O-ring is covered in liquid mask. I cut masking tape to a specific thickness (to know placement) and masked off the lower part with it. That is XF-58 for the Army-Green color. What is shown is the results of pulling the three kinds of masks off.
The o-ring is genius. I would've never thought of that. Looks like I'm ordering some o-rings. Thank Ed
 
I've got a P-47 in the queue and I think I'm going to try the Ammo MiG chromate green when I build it.
I'm no expert but have a P47 in my coming soon stack, and from what I've been seeing they (Republic) used a much yellower color in some areas other than the cockpit. Most notable in the wings but I think the engine compartment too. Just thought I'd mention that if you are buying paint for your Jug, might want to get both colors.

1755348377241.png

Do they still make the Model Master line?
No, but you can still find the odd bottles around, usually a color you will not want. They got bought by a competitor who just killed off the entire line. I do not understand why that happens, I mean why buy something just to destroy it? MY guess is they wanted some copyrights or patents or something.

The o-ring is genius. I would've never thought of that.
I am not the inventor of the technique, it is a really old hack. I recommend a set of many sizes, they are cheap, but you'd be surprised how small the difference in size is between fit and too small/large. They have to be kind of tight to avoid bleeding.
 
That looks like the Eduard PE rudder pedal loops. Or their PE Spitfire canopy pull handles. Got a few Eduard kits in the stash but haven't built one yet. Feel like I need several warm up kits first. :p
 
Got a few Eduard kits in the stash but haven't built one yet.
Saw the Spit-16, and a profipak edition too. Lots to love about those kits, but also some to hate. They have a way of making the tiniest little bits of plastic and expecting you to glue them together.

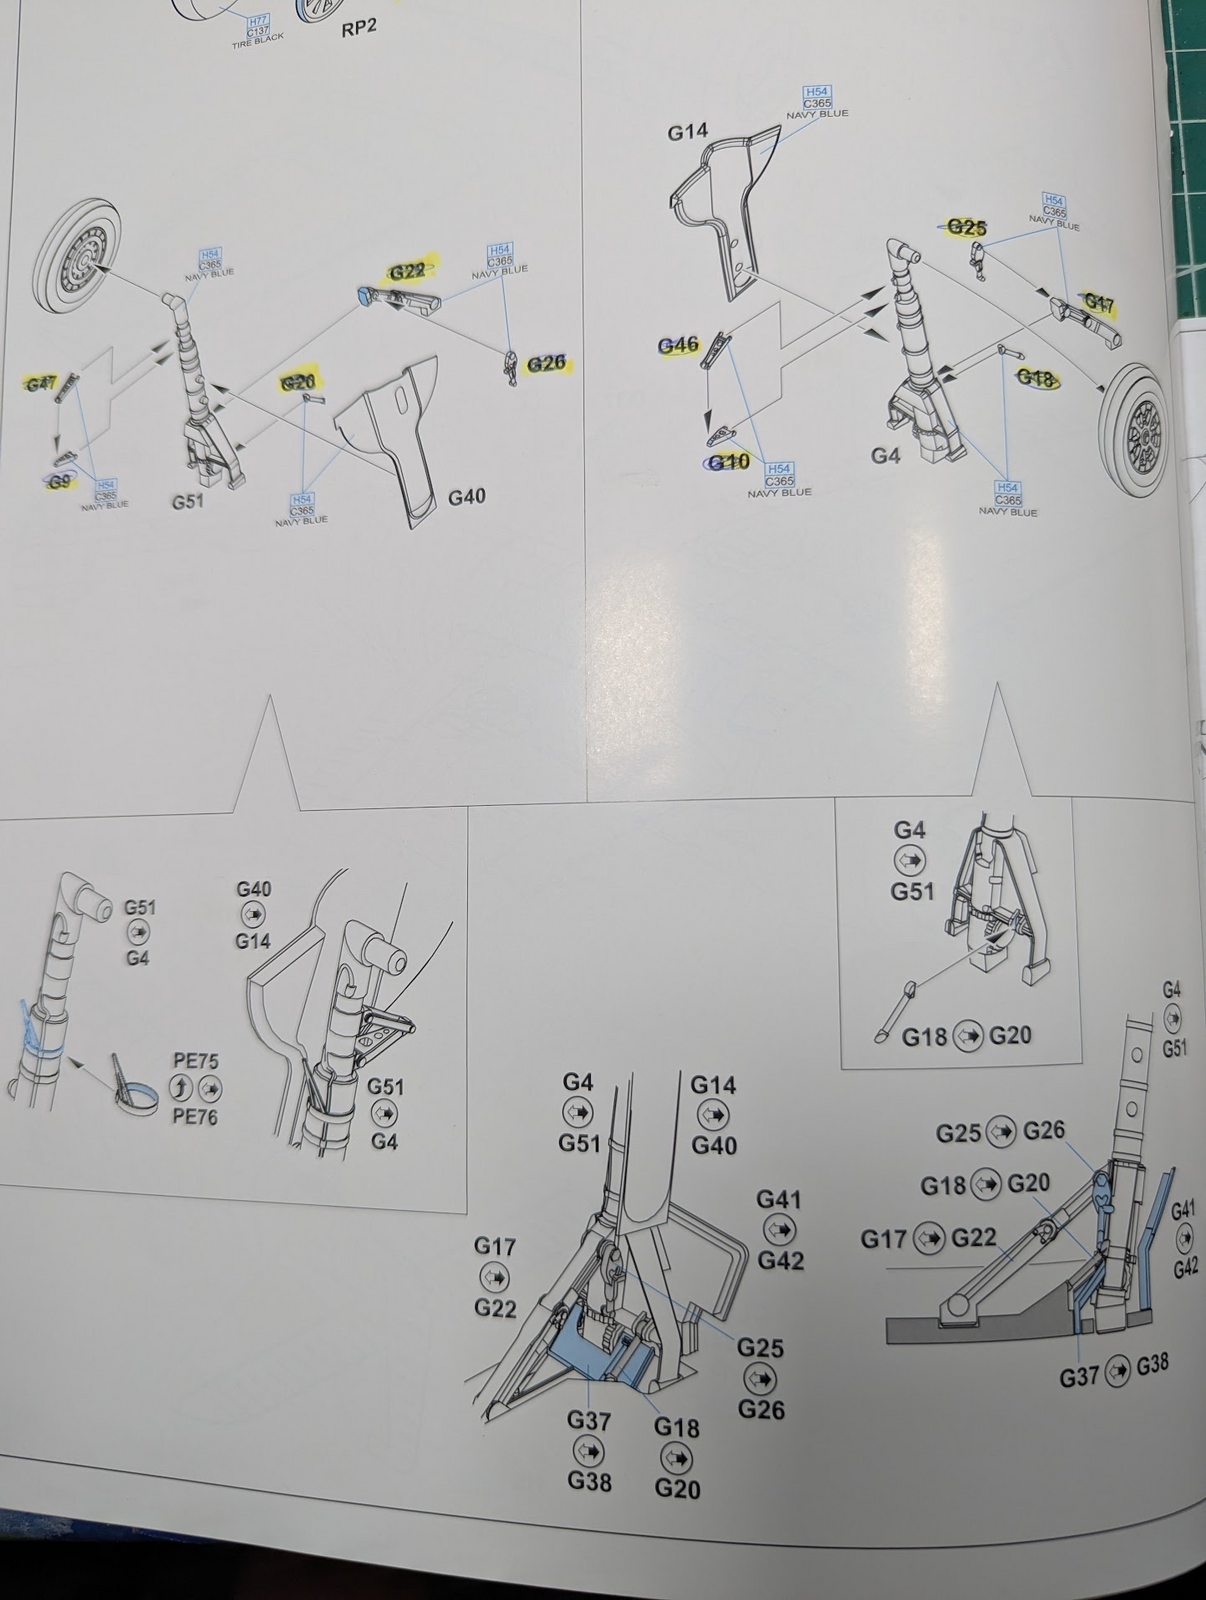
I'm close to wrapping up my hellcat, here's an example of some of the last parts I did.

1756995177294.png

Those shown above are not the smallest one either! I have a habit of highlighting any parts I skip when I move to the next step. Once I go back and address them I scratch out the part number. Very primitive, but it works for me.

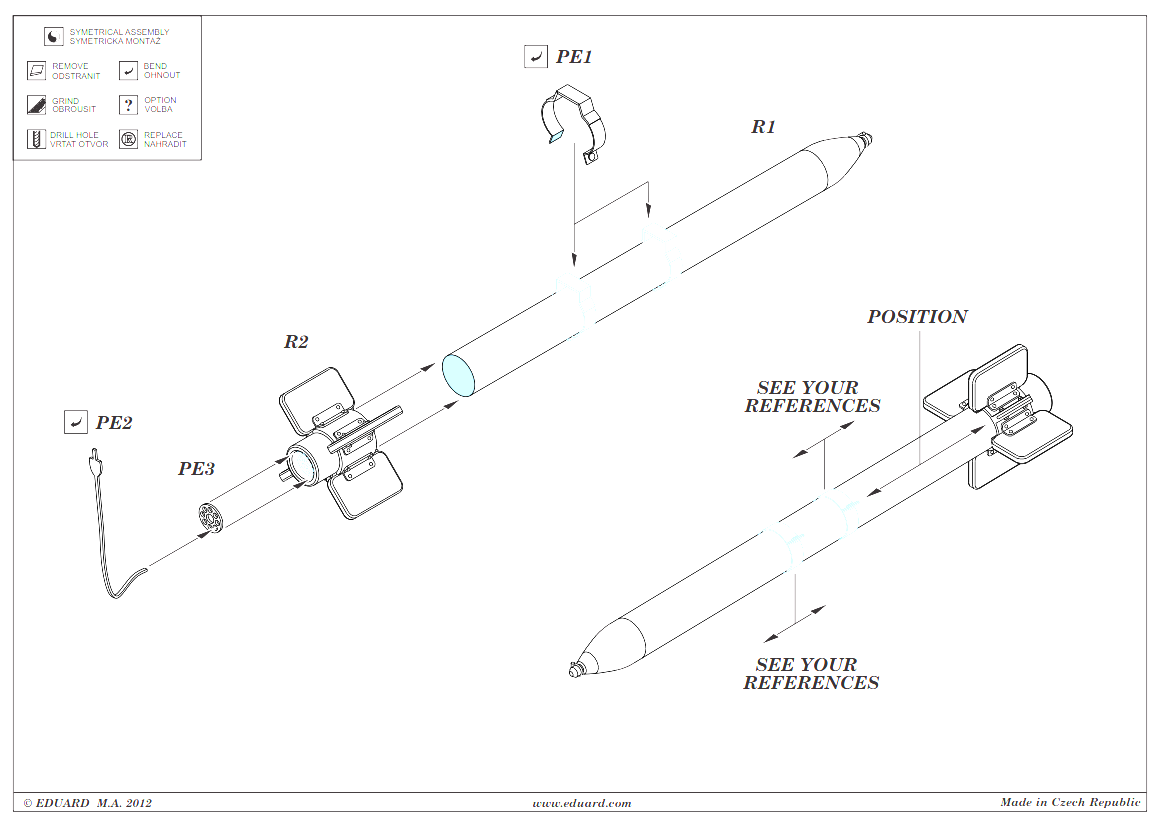
I'm about ready to do the final dullcoat and then do the marking/landing/running lights. But I still want a little panel lining and have those rockets left. Not the rockets actually, those tiny little straps that they mount with. Yes I'm being intimidated by tiny strips of brass, I admit it!

1756995410807.png
 
Saw the Spit-16, and a profipak edition too. Lots to love about those kits, but also some to hate. They have a way of making the tiniest little bits of plastic and expecting you to glue them together.
Yes, they look like beautiful kits and I hear nice things about them, but they do have a lot of tiny little parts lol. I've also got the Mk VIII Profipack and one of the limited double kits with Mk Vs.
I'm close to wrapping up my hellcat, here's an example of some of the last parts I did.

Yes I'm being intimidated by tiny strips of brass, I admit it!
I'm intimidated by a lot of those tiny metal parts as well. No shame!

The build looks great. Beautiful work.
 
I'm intimidated by a lot of those tiny metal parts as well. No shame!
Can I get a GRRRR?

I've tried a few different mehod to reazch a reasonable reult. No luck yet.

Considering giving up, throwinng in the towel if you will. These small brackets are driving me crazy!

(that it take a small mount of gas is irrelevant)

1757028125917.png
 
Hang in there! Looks tricky for sure.
A multi-bend PE challenge... hopefully the PE bends haven't weakened the metal too much, and more manipulation won't snap it.
You've no doubt tried this but here is how I'd attempt it:

For lack of better term, I'm gonna call the flat midsection the 'top'.
  • If you have some spare PE sprue, use that to make a prototype
  • Take the first 3 bends on either side to 90°
  • Then find a cylinder just slightly smaller than the missiles to bend the curved 'claws'; (bending to the exact radius will always be loose)
  • Open the 90° bends a bit at a time, while test fitting by sliding over the nose.
  • Once you are happy with the prototype, use it as a template for the real parts.
Worse comes to worse, (the PE breaks), you can cut some strips the right width with brass from your LHS, and start over.
 
I can manipulate the bends, with my optivisor and both pointy tweezers and ones with a largish flat spot. But then the two ends of the band need to be glued together somehow since the PE is so thin it cannot hold the rockets if the two ends are loose.

But there's more to it than just the bend, it is attaching it to the tube of the rocket AND the mounting parts (not a rail/rack like modern jets), with some sort of glue that will not show. I am considering just wrapping the bands areound and sticking them on. But will set aside for a bit and thinking about it some more.

1757076848361.png
 
Hmm, I assumed they were more like spring fit broomhandle clamps. Tough one! Sounds like the order then is to glue the ends... THEN squeeze the top, with a drop of ultra thin CA.
Too bad they are all dressed, wouldn't have been so tricky earlier... :rolleyes: sorry for stating the obvious!
On the bright side, your mistakes are my education!
 
Too bad they are all dressed, wouldn't have been so tricky earlier... :rolleyes: sorry for stating the obvious!
True! But they'd be harder to paint afterwards, kind of a damned if you do damned if you don't, oh well...1st-world problems right?

I enjoy the problem solving aspect of this hobby as much as others, other aspect not other hobbyists. It is one of several reasons I have miltiple kits in-progress at the same time too.
 
I would glue the bands to the rockets using medium viscosity CA, then glue the bands to the wings. For attaching to the wing, you might want to try Microscale™ Micro Liquitape. It's made for this application, the parts are removable but can also be stuck back on repeatedly, and it's clear when dried. I used it for the weapons load of a mythical Taiwanese F-5 ship killer, and it worked very well.
 
After a coat of Mr. Surfacer (only the 1000 in gray, not the white or black 1500) there were of course some seams.

View attachment 155359


View attachment 155360


The underside was worse. I made several more prime-sand-prime-sand passed to make it acceptable, but not perfect.

Then did the overall dark blue and glossed it.

View attachment 155361

In the above image you can see the stencils are going on. This is nowhere near F4 Phantom-II levels of stencils, but the most for a WWII aircraft I've done. You can see more of them waiting in the background.

O mentioned not liking the overall dark blue paint. But I did not mention (or know to be honest) that meant EVERYTHING, the interior spaces, the wheel wells, the struts even. Dang...everything one color, so boring!

View attachment 155362


View attachment 155363
Getting ready to start a late war Hellcat that's all Glossy Sea Blue and agree it's very boring. My references show very little if ANY other colors in openings, etc. Did you find anywhere you could add colors??
 
You've done one hell of a fine job on this cat. I sympathize with your PE struggles. Personally I avoid using it. It just doesn't look real. A thought just came to me … what if you used plastic tubing that is just large enough to slip around the rocket. Maybe even a drinking straw. Then use some plastic to attach it to the aircraft. Just a thought. In any case … you did a great job!
 

Latest posts

Back
Top