Dark Kyp
Active Member
- Joined
- Nov 27, 2011
- Messages
- 714
Here is my job for that GB!
I have 2 tumblers to build. One for me, one for a friend of mine.
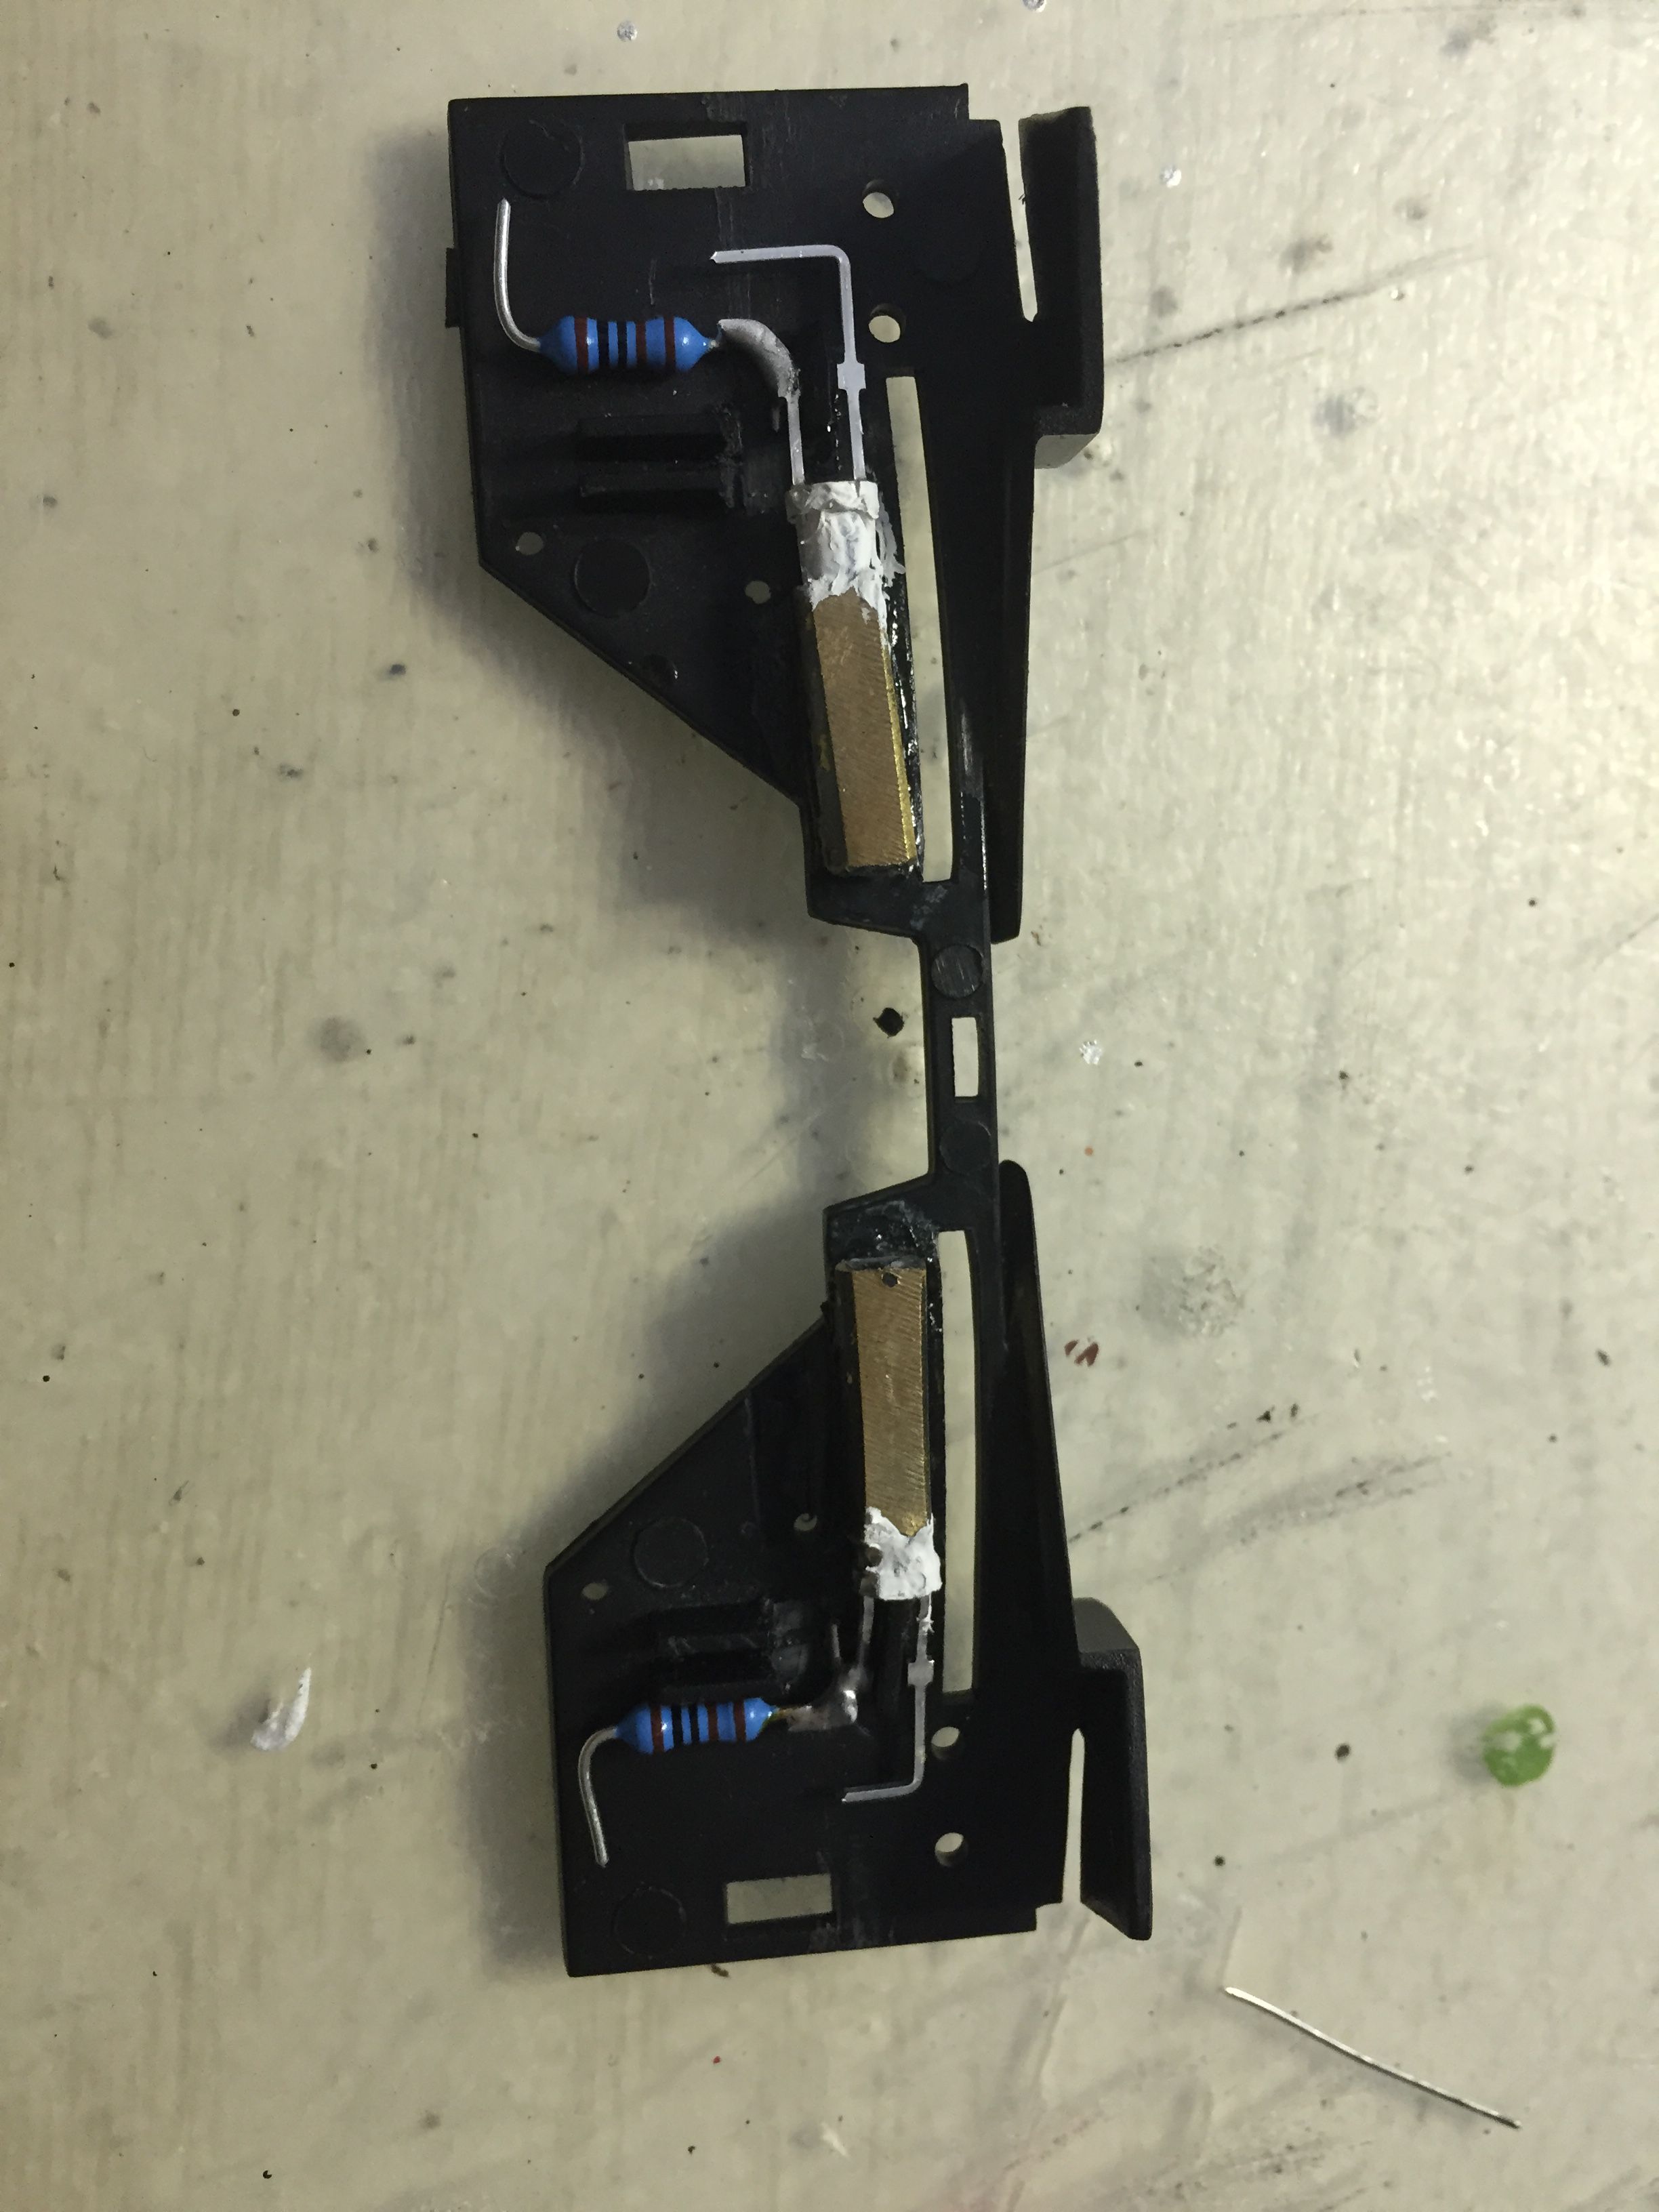
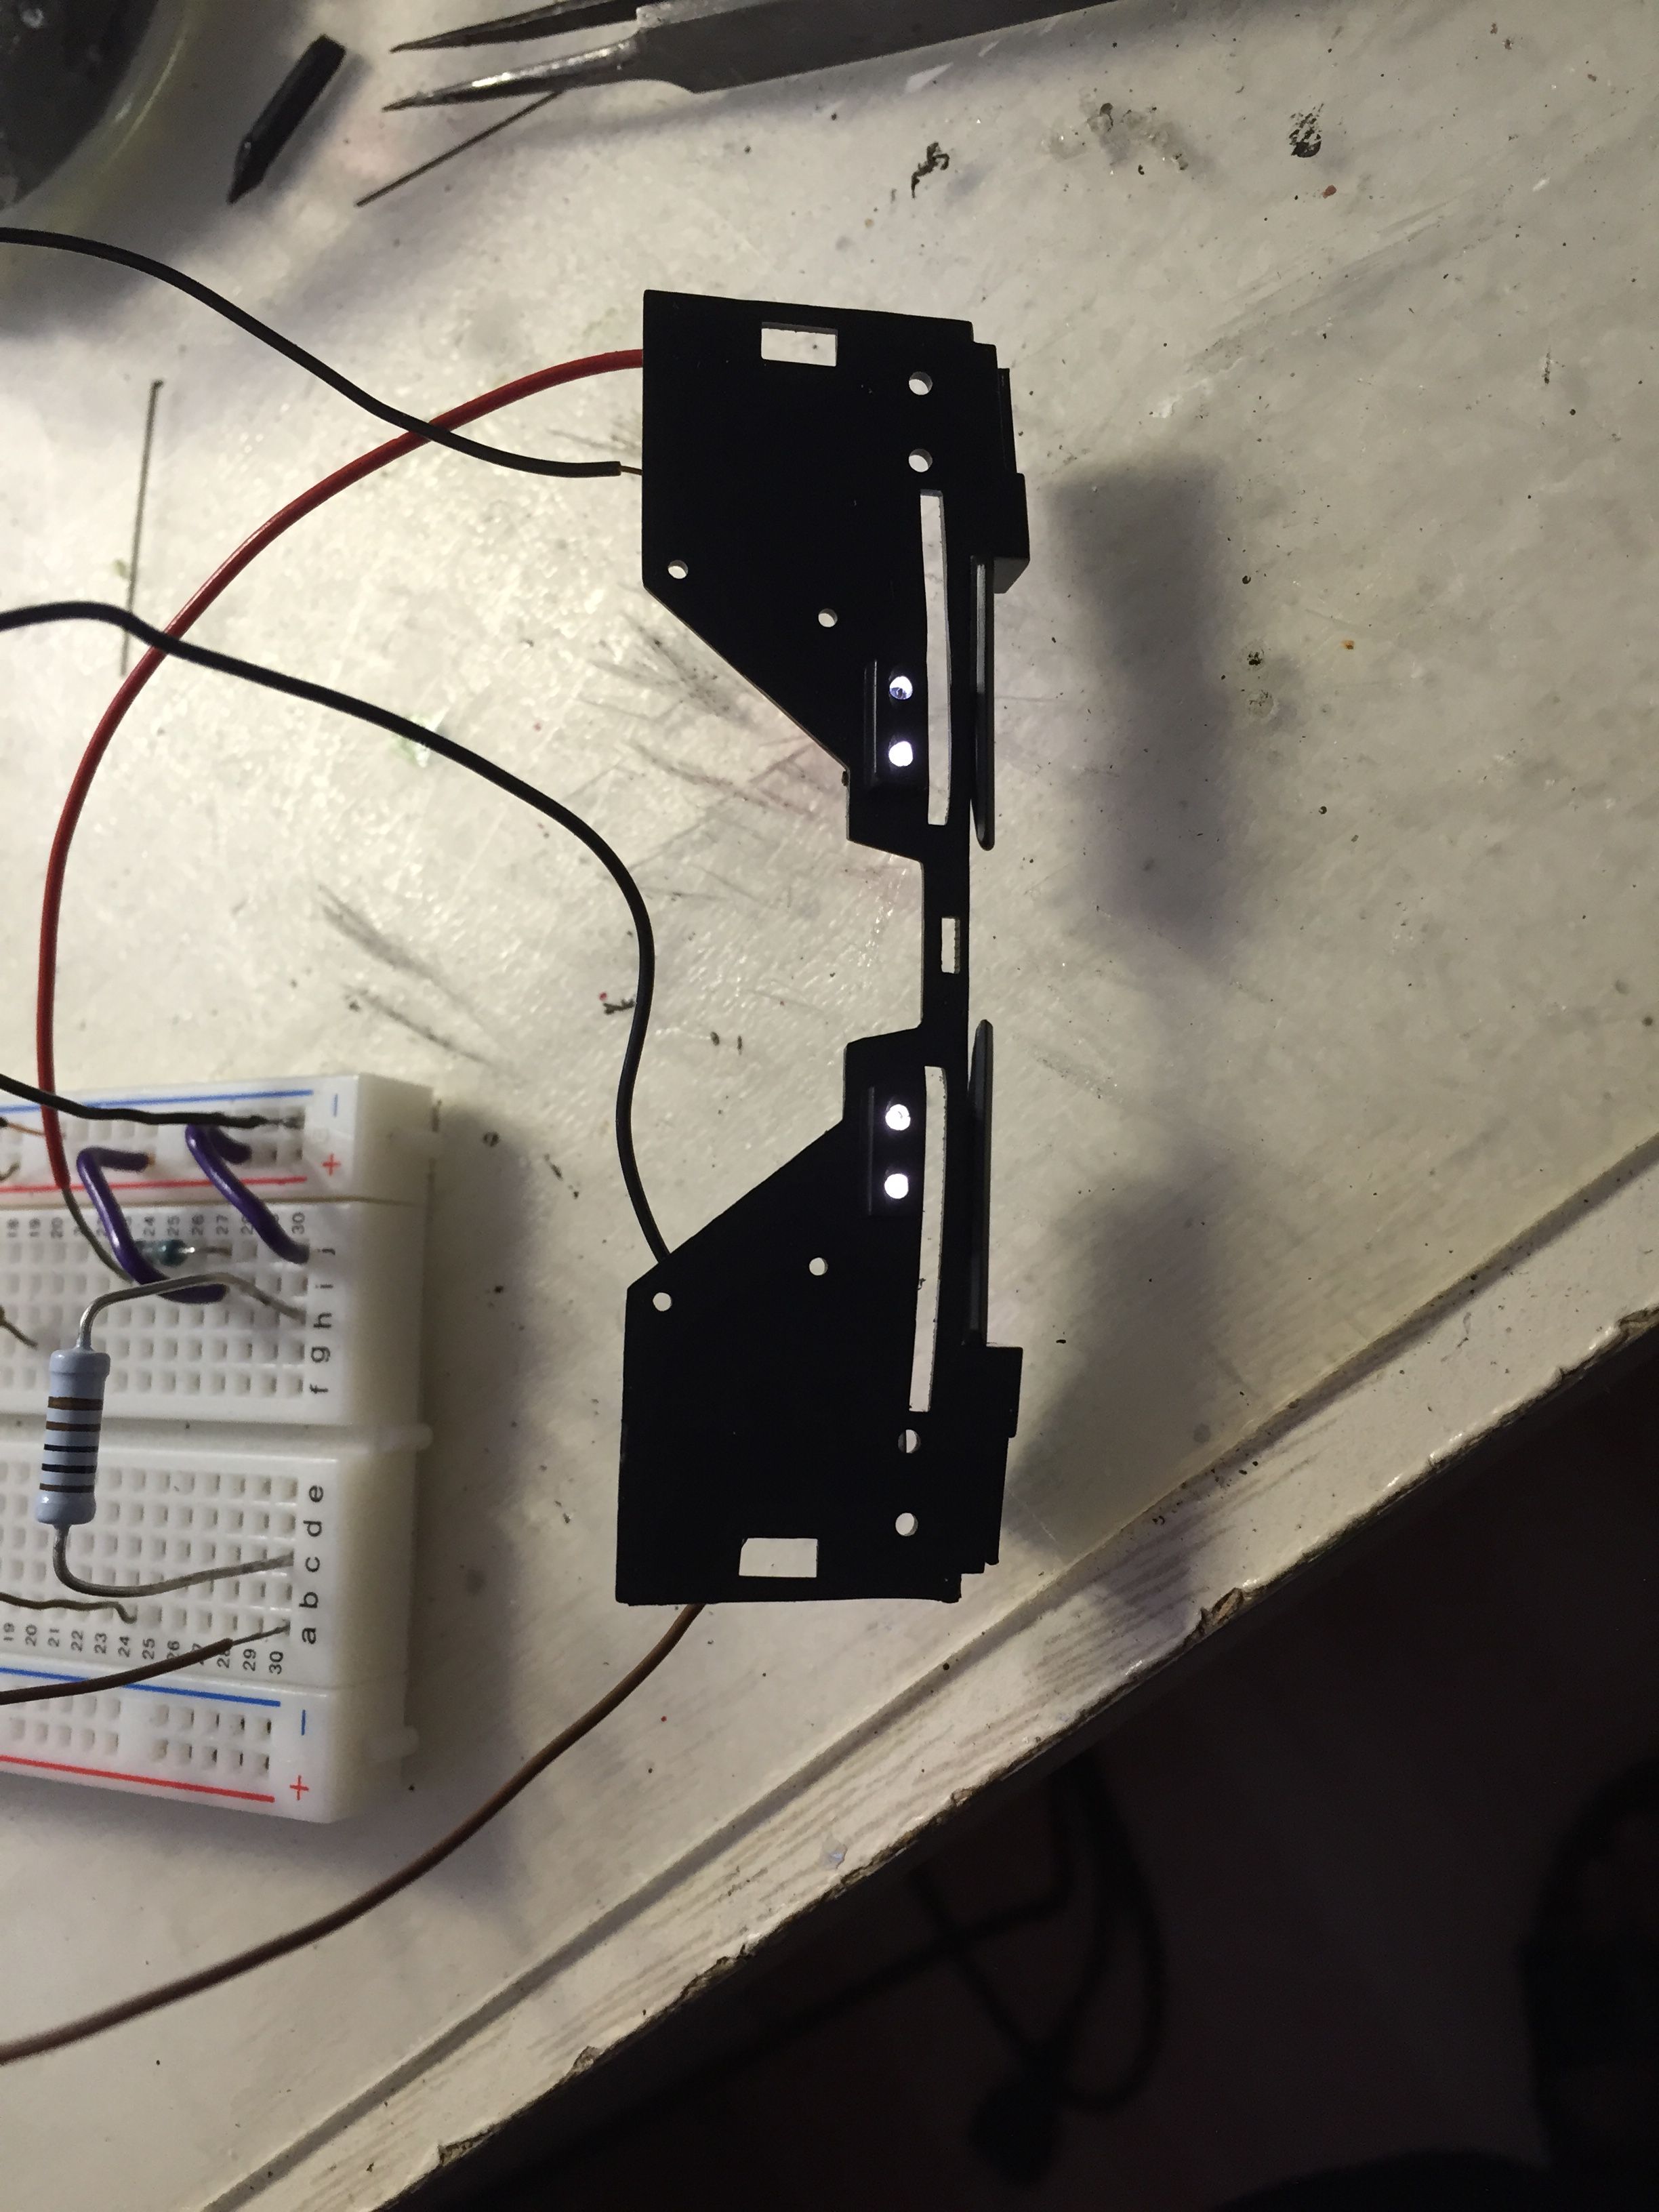
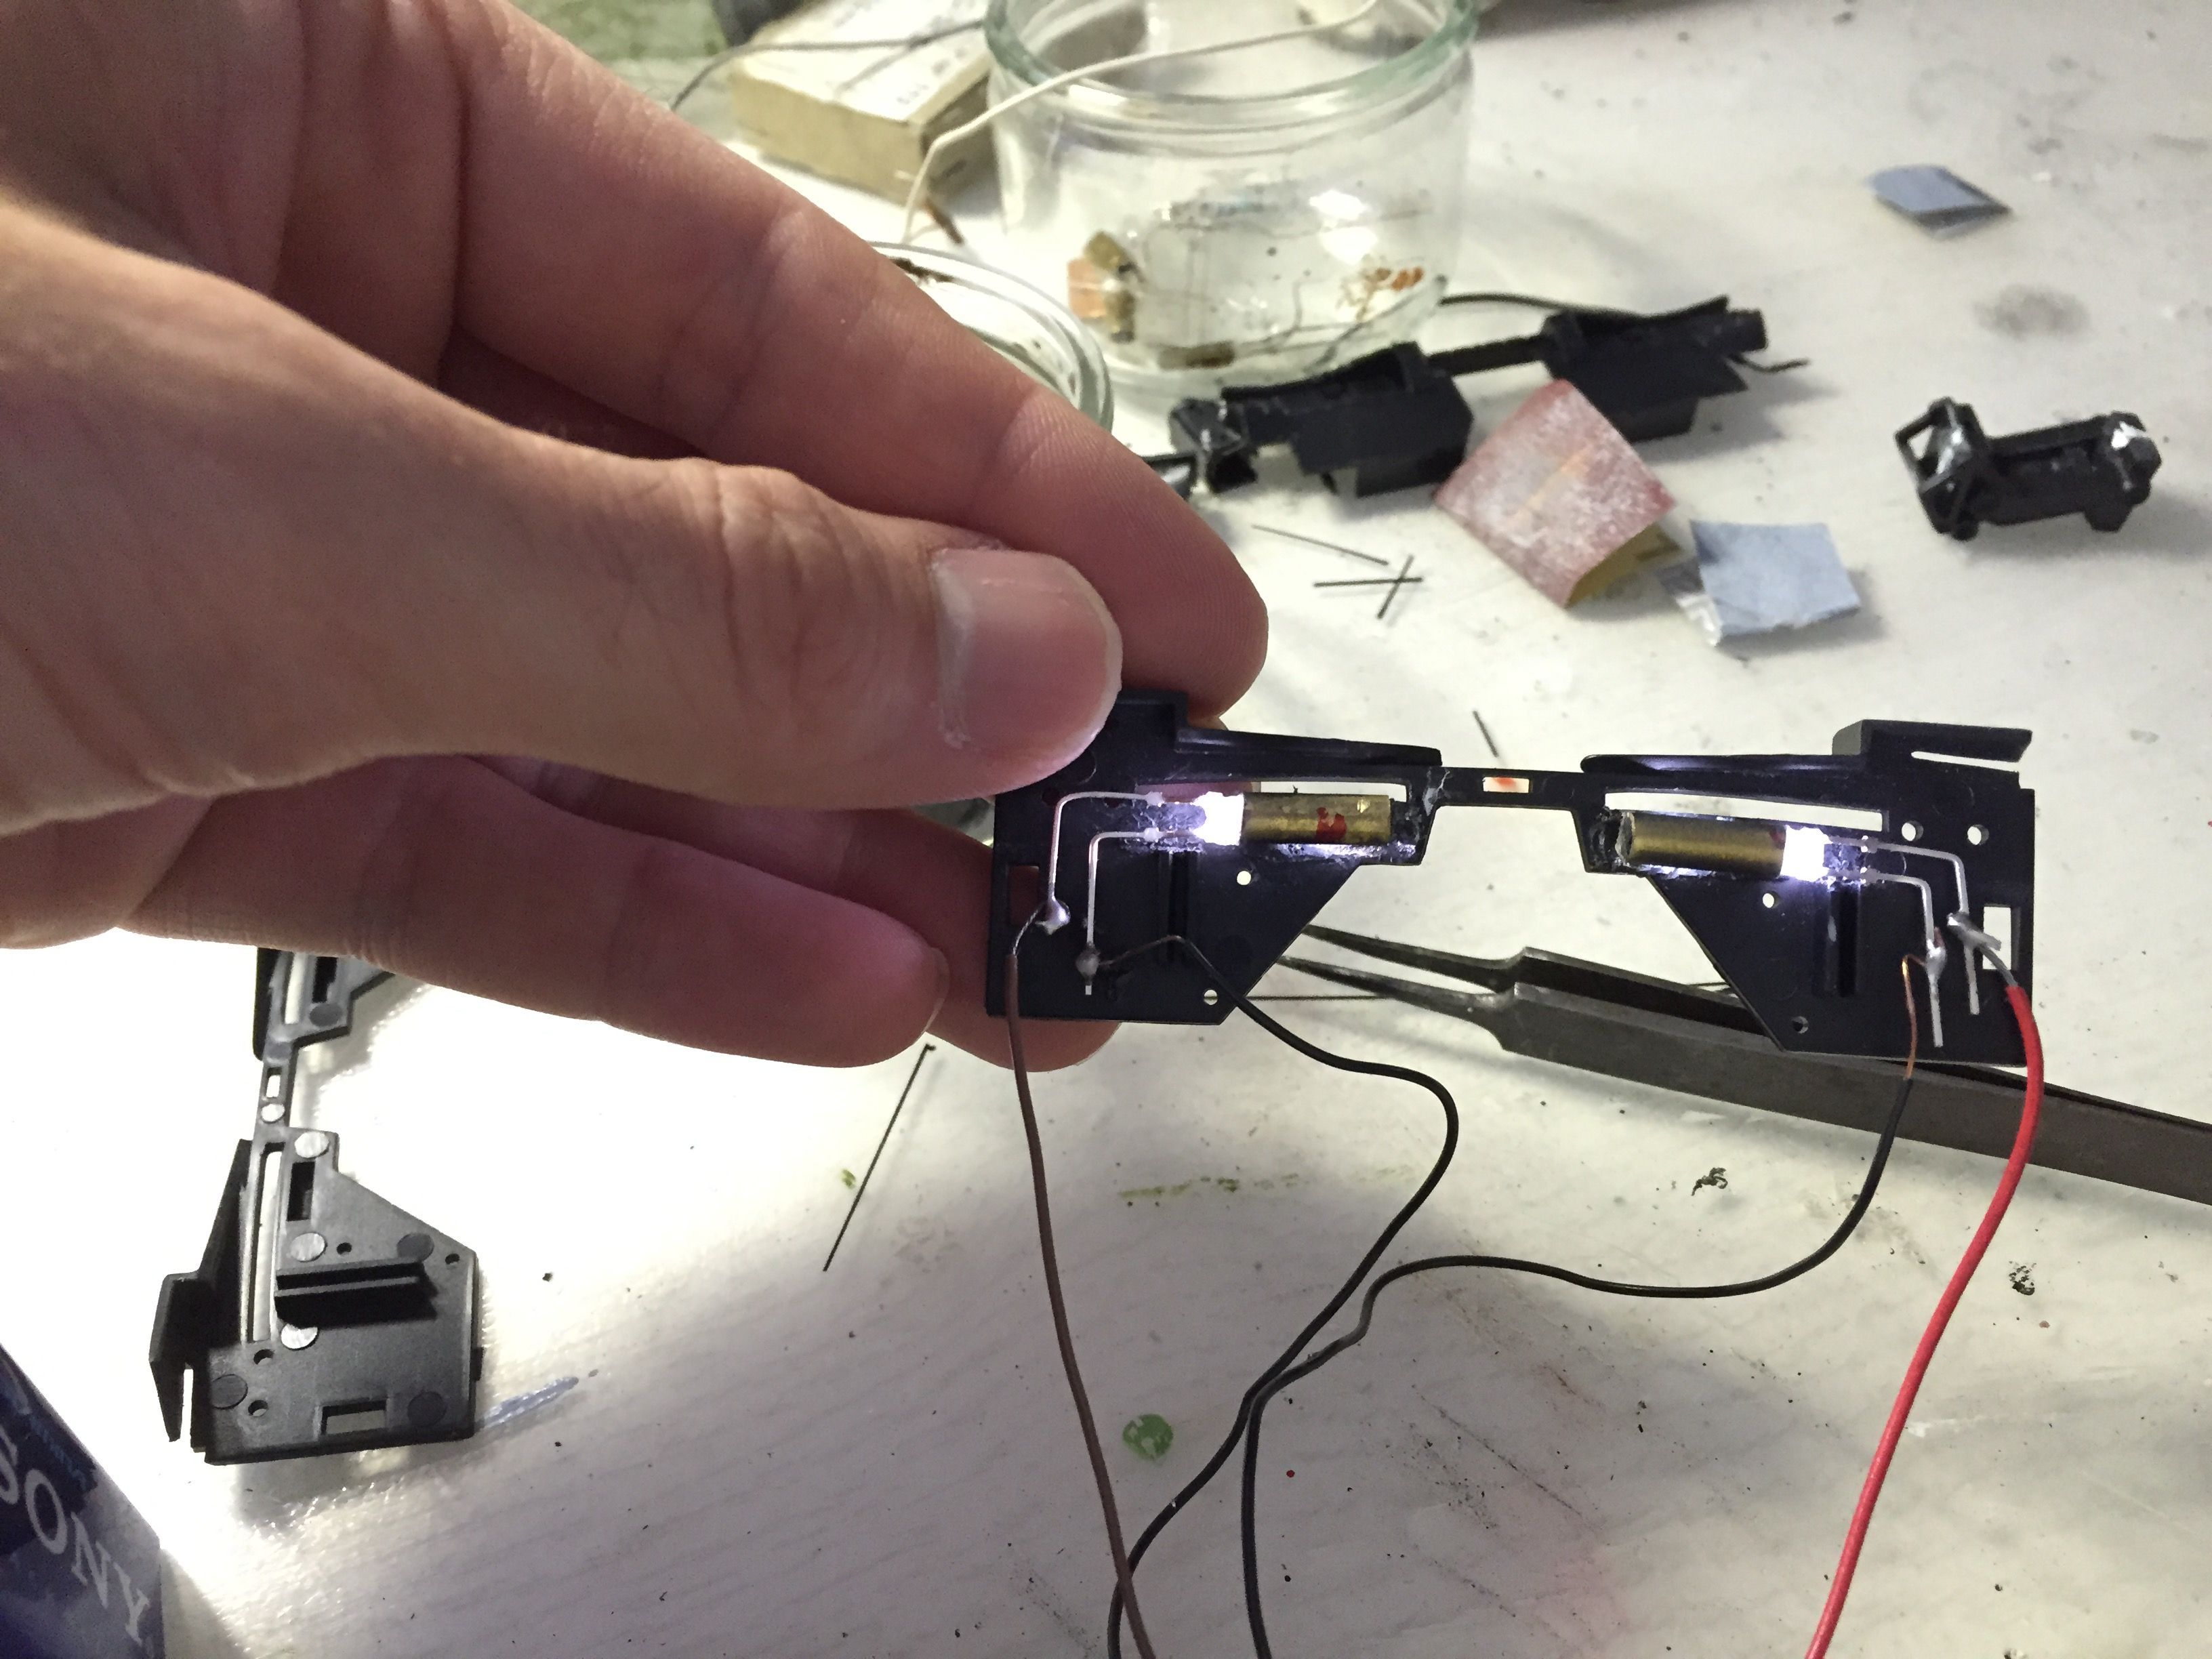
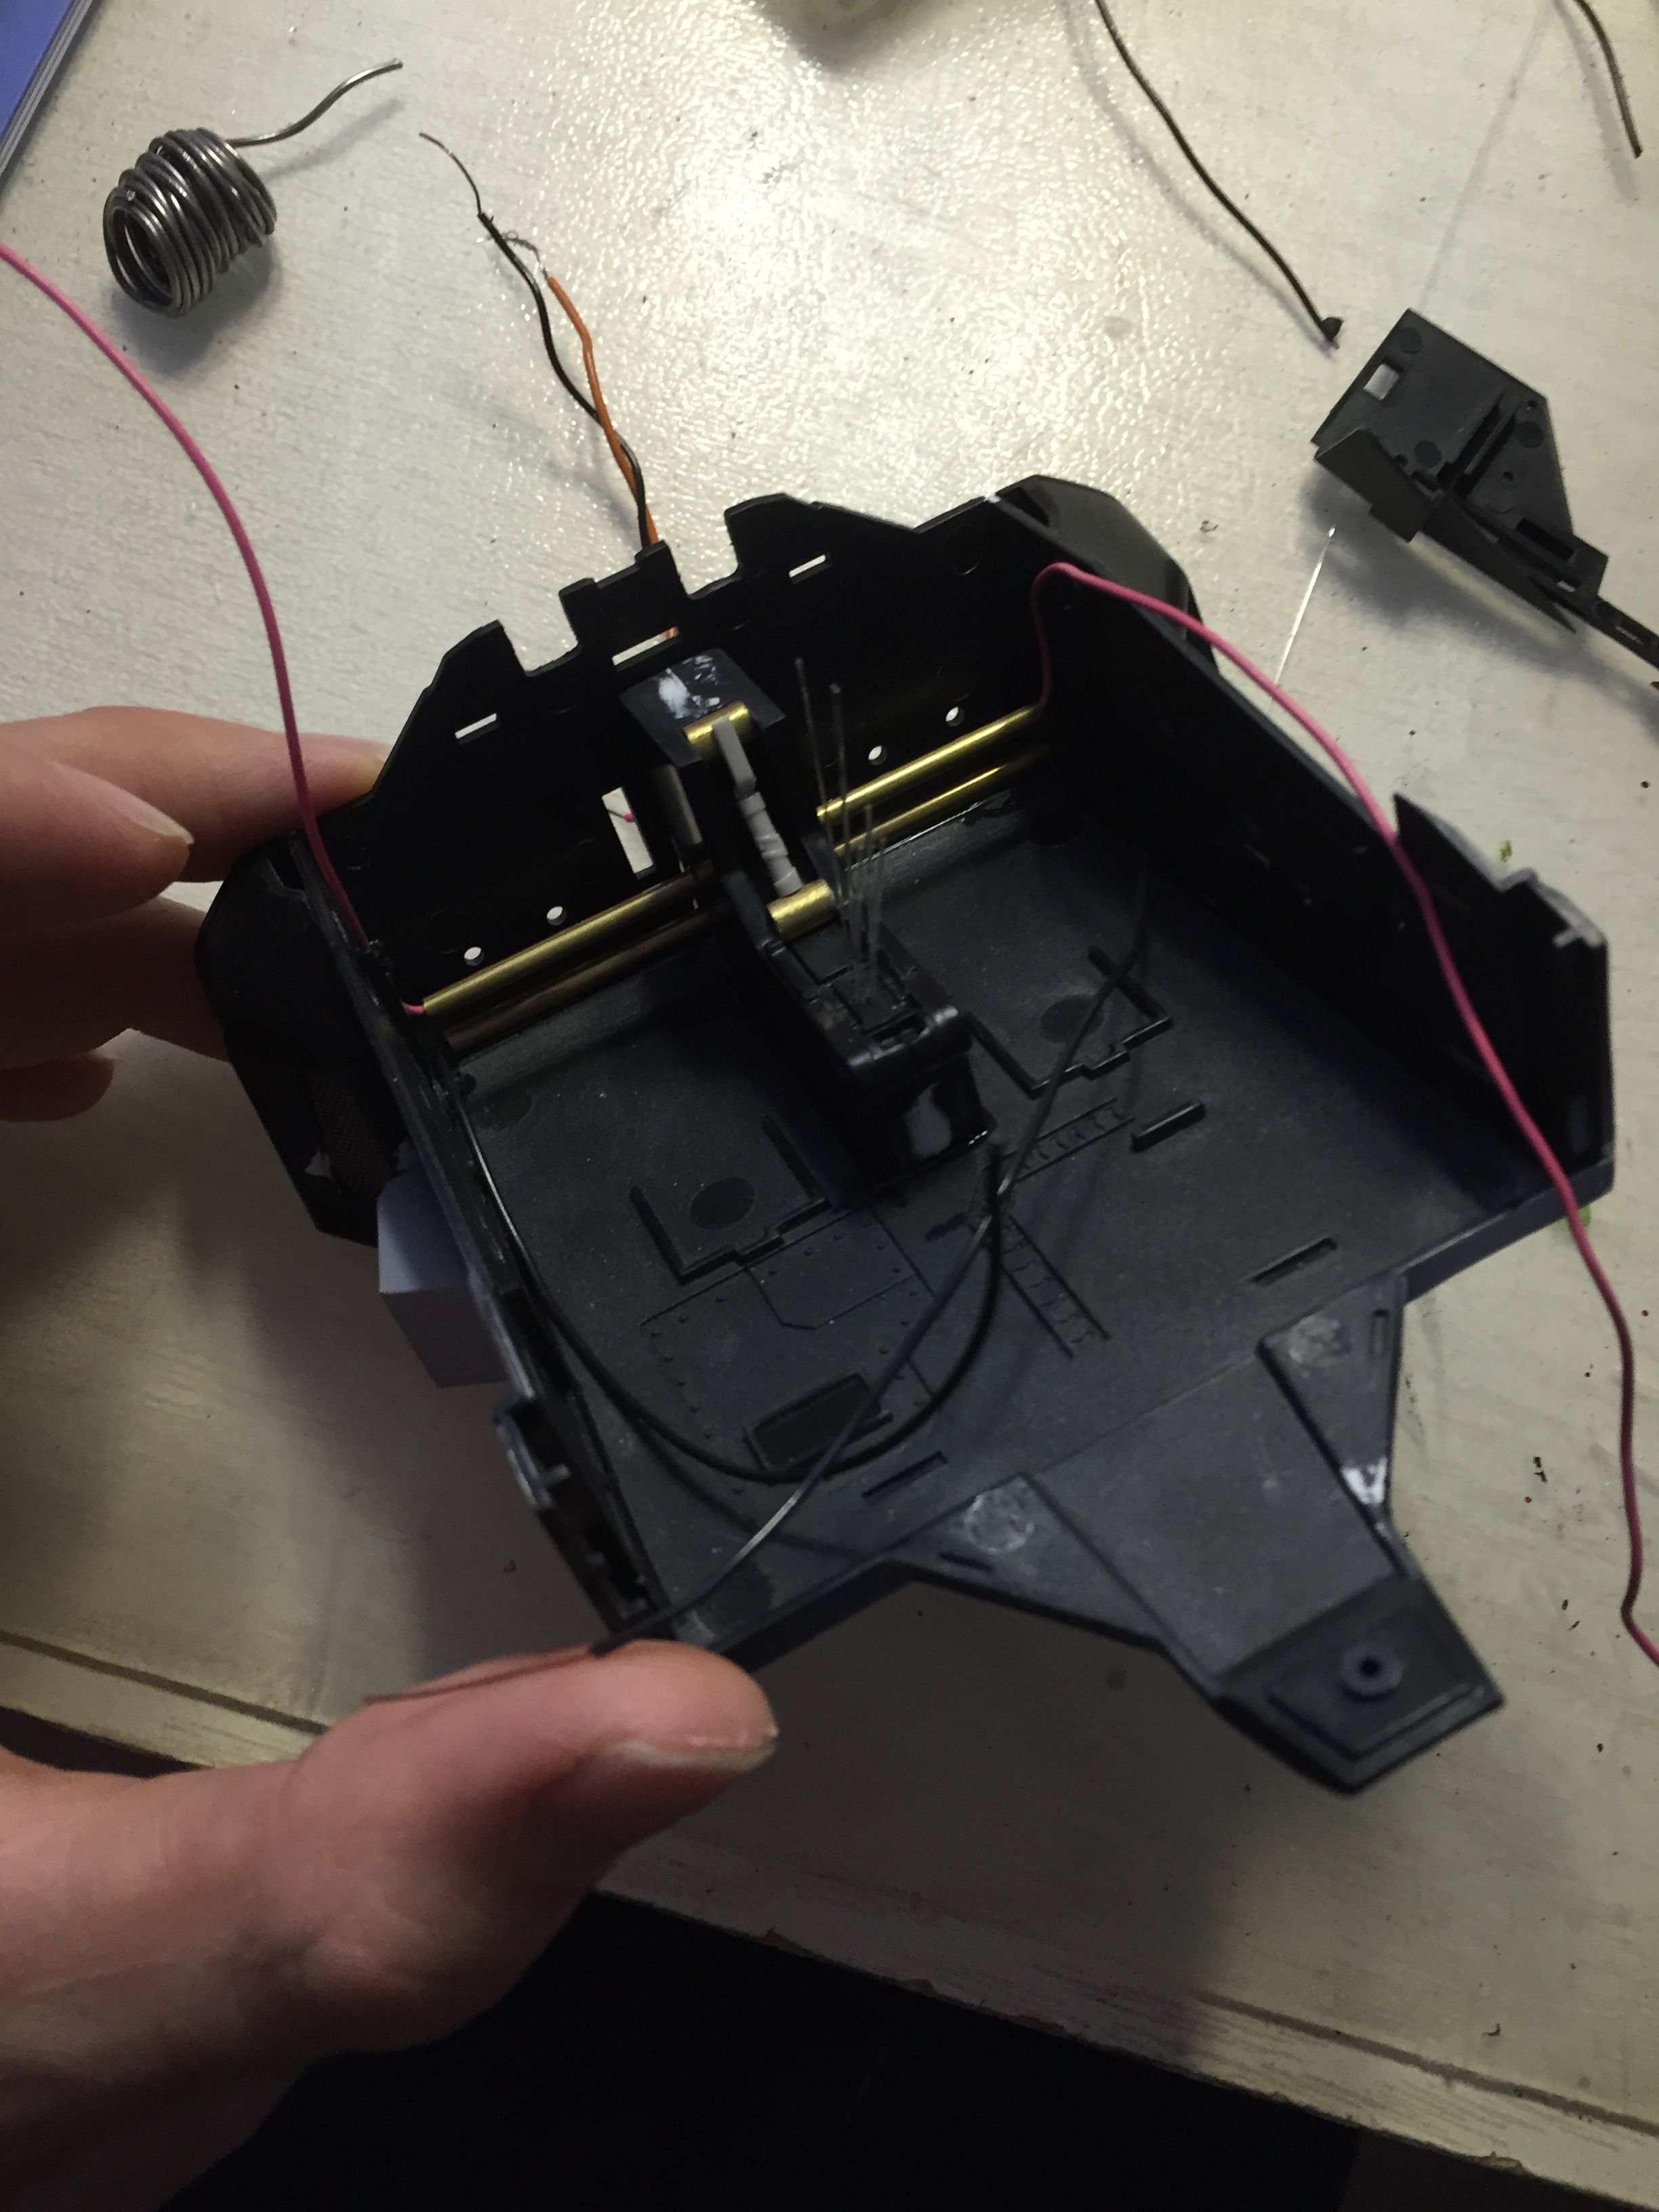
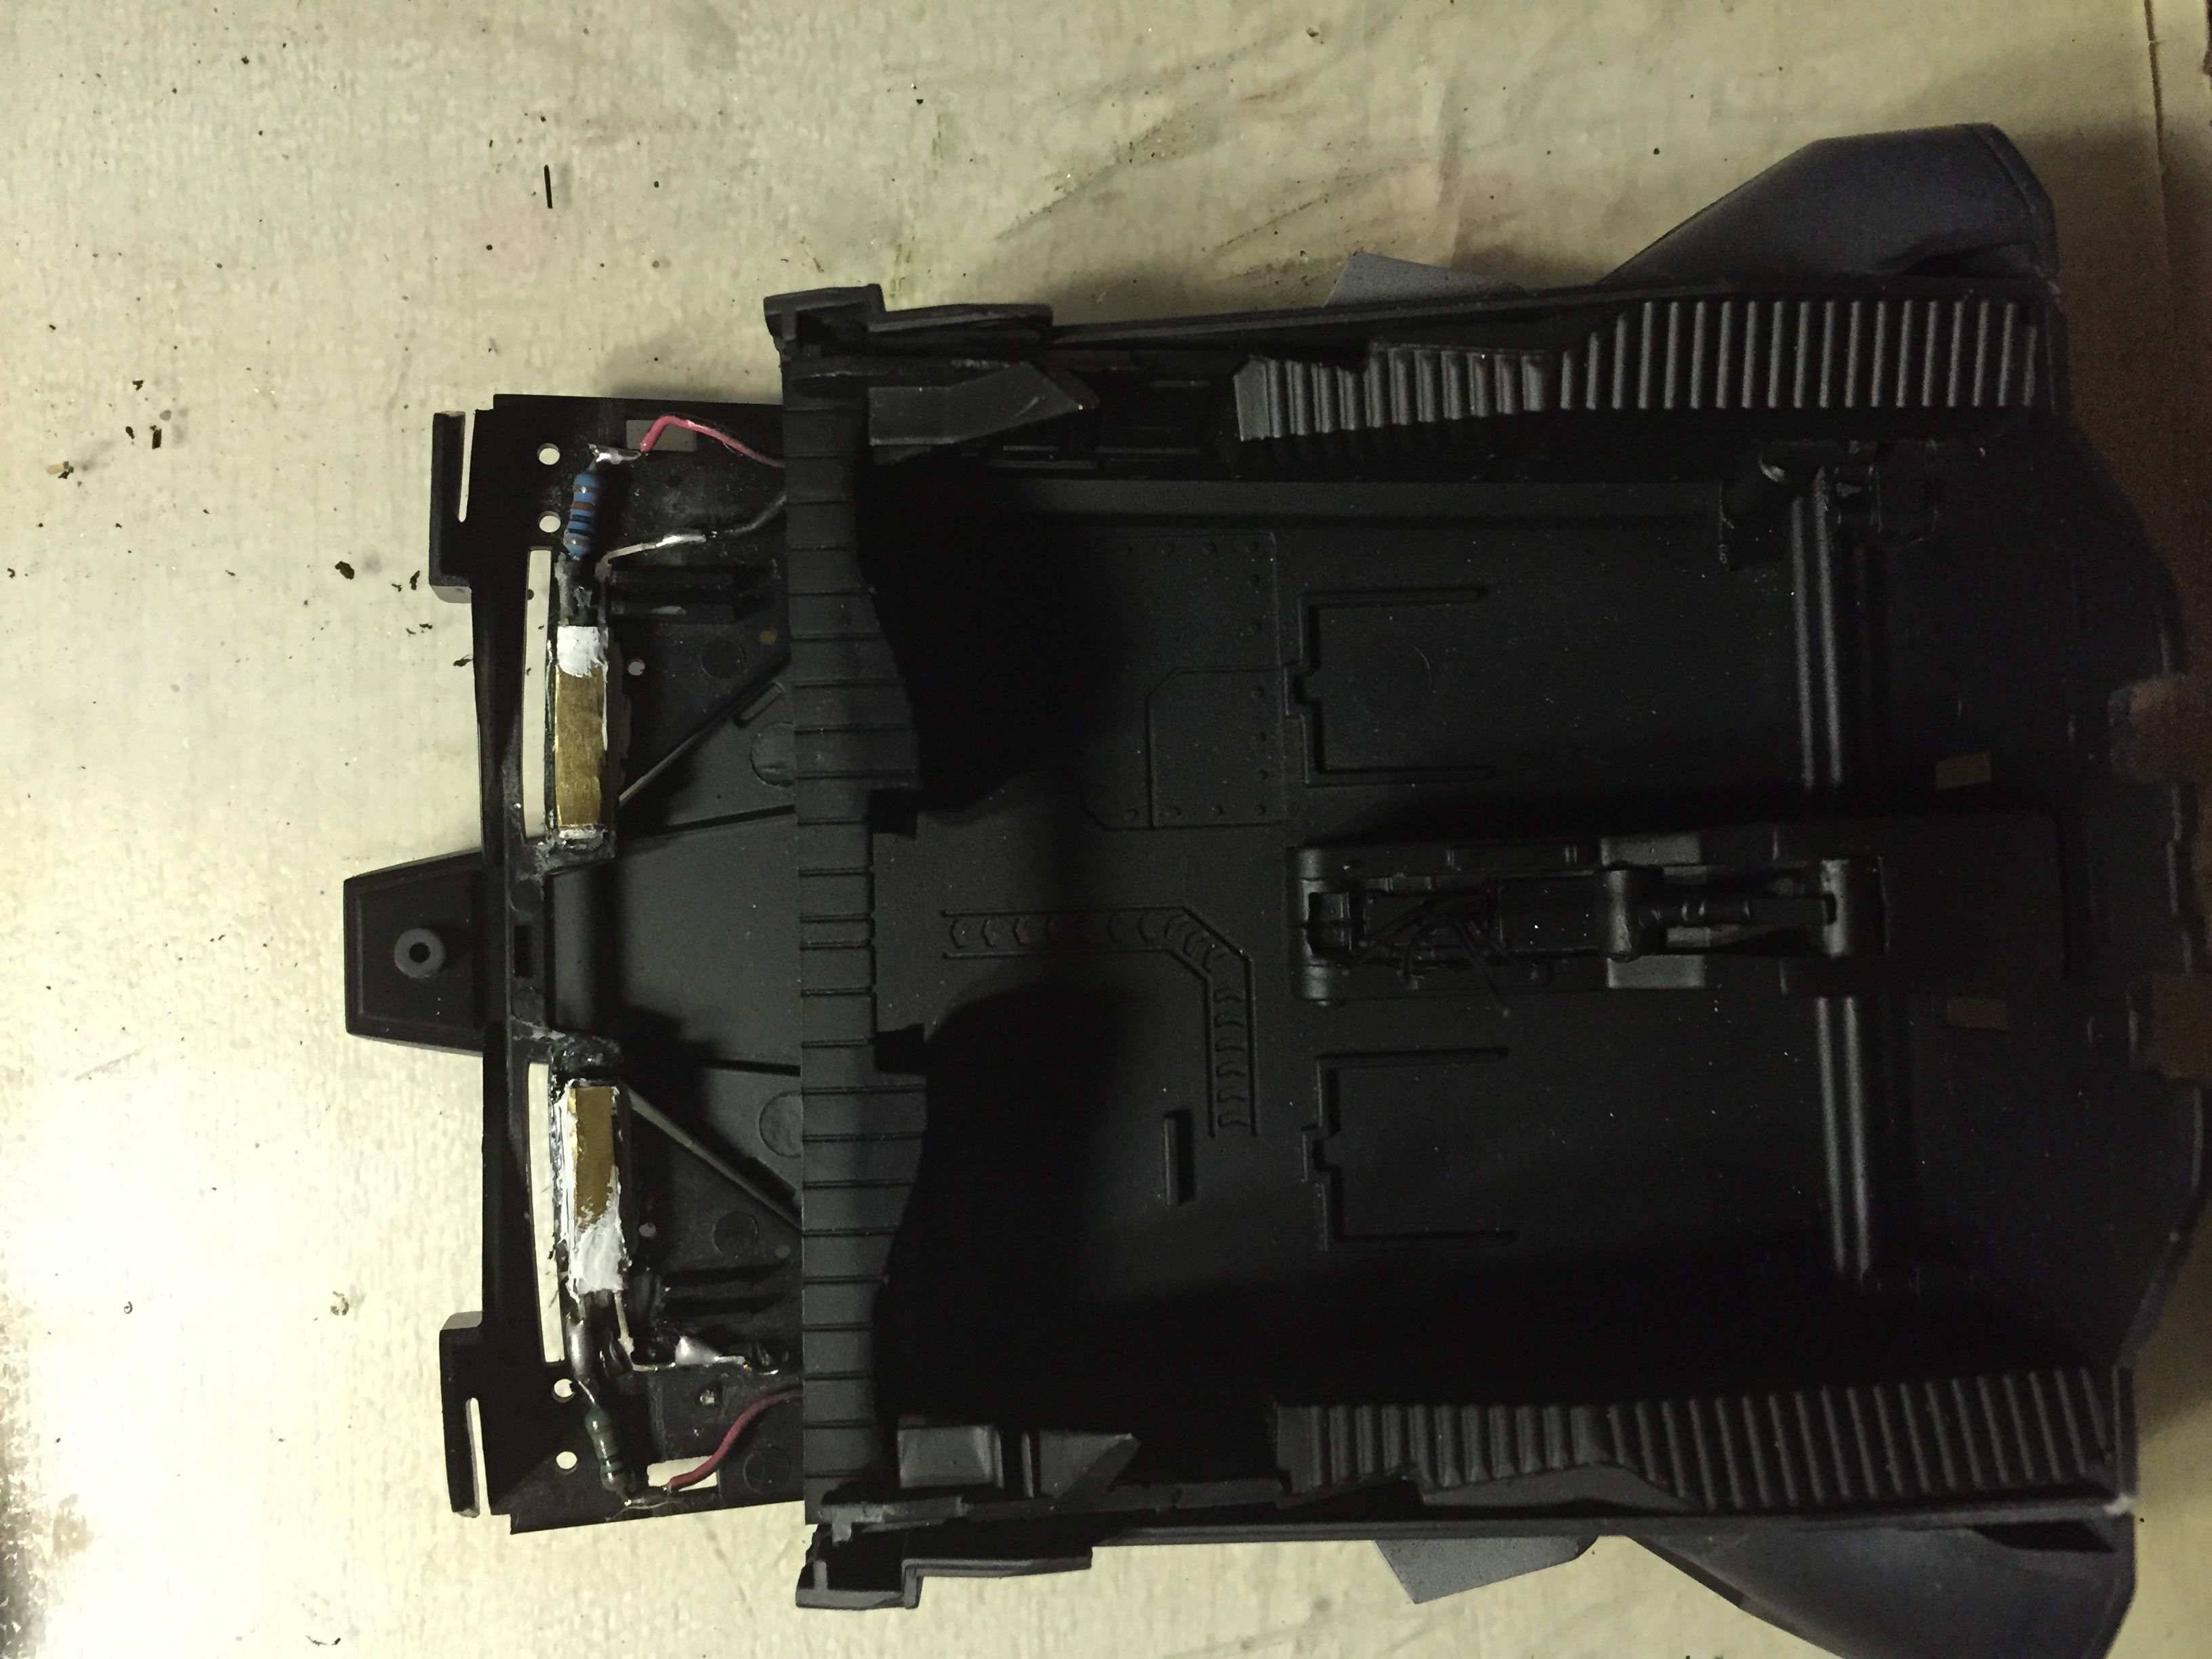
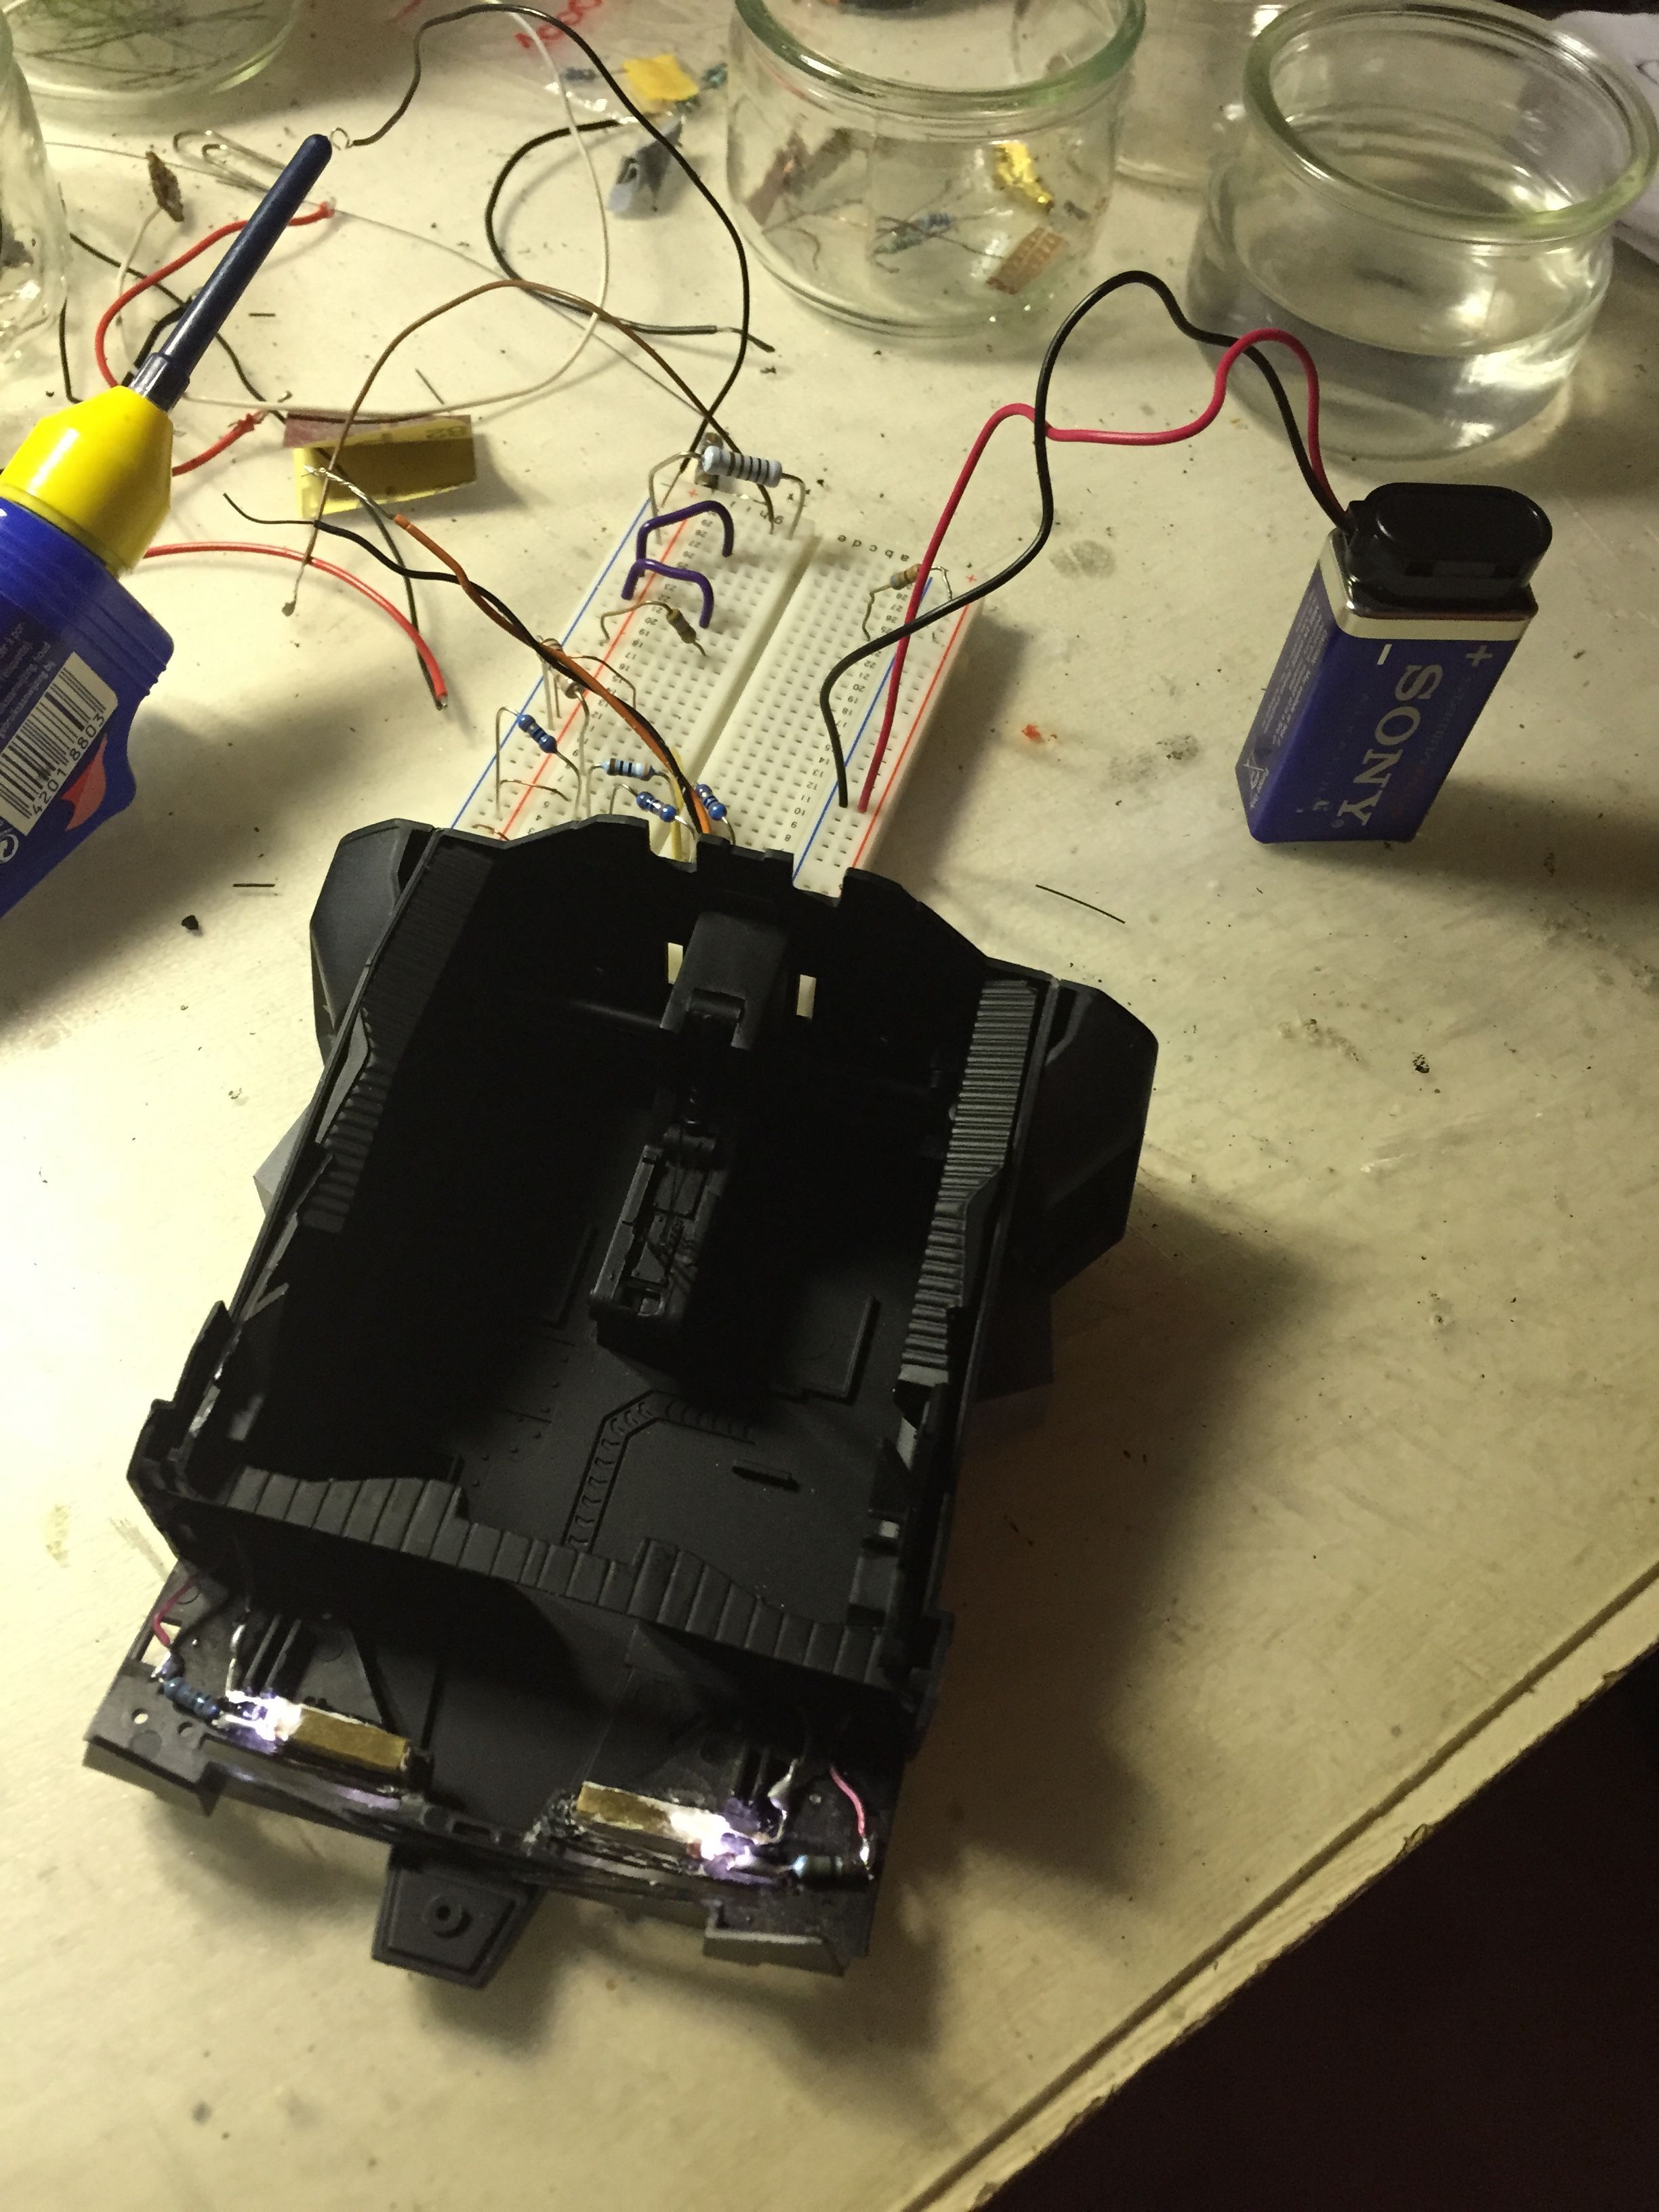
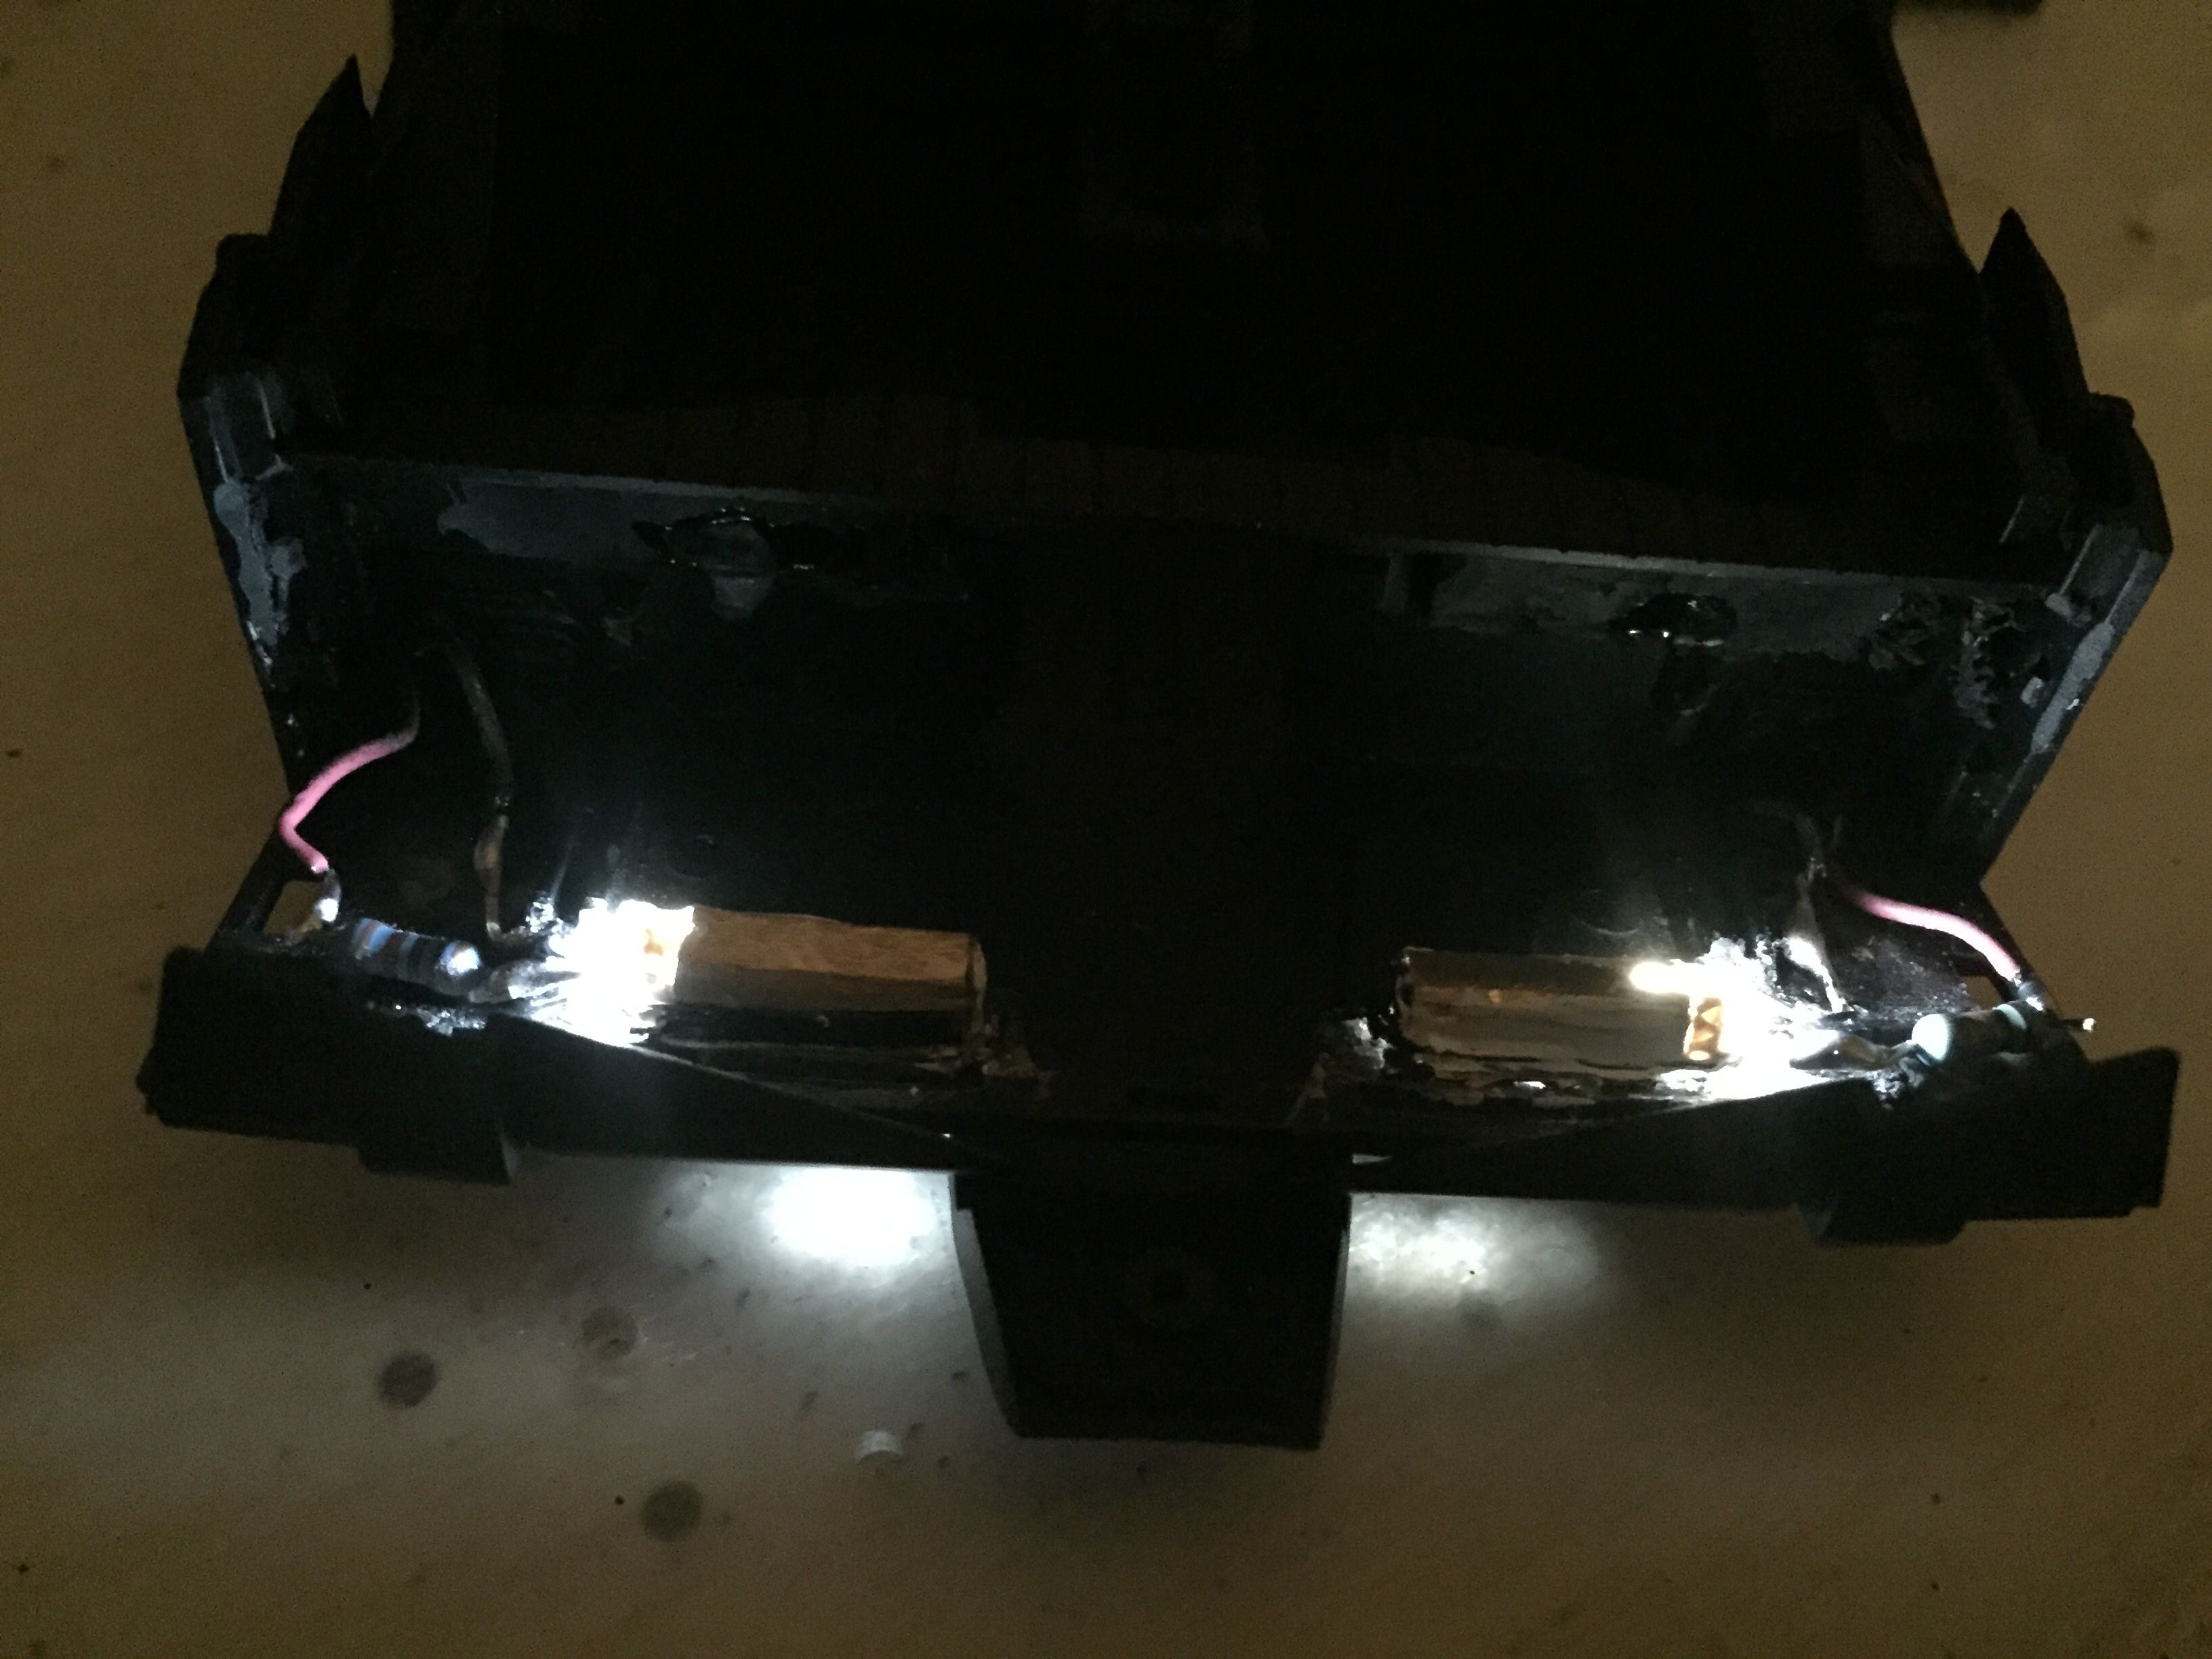
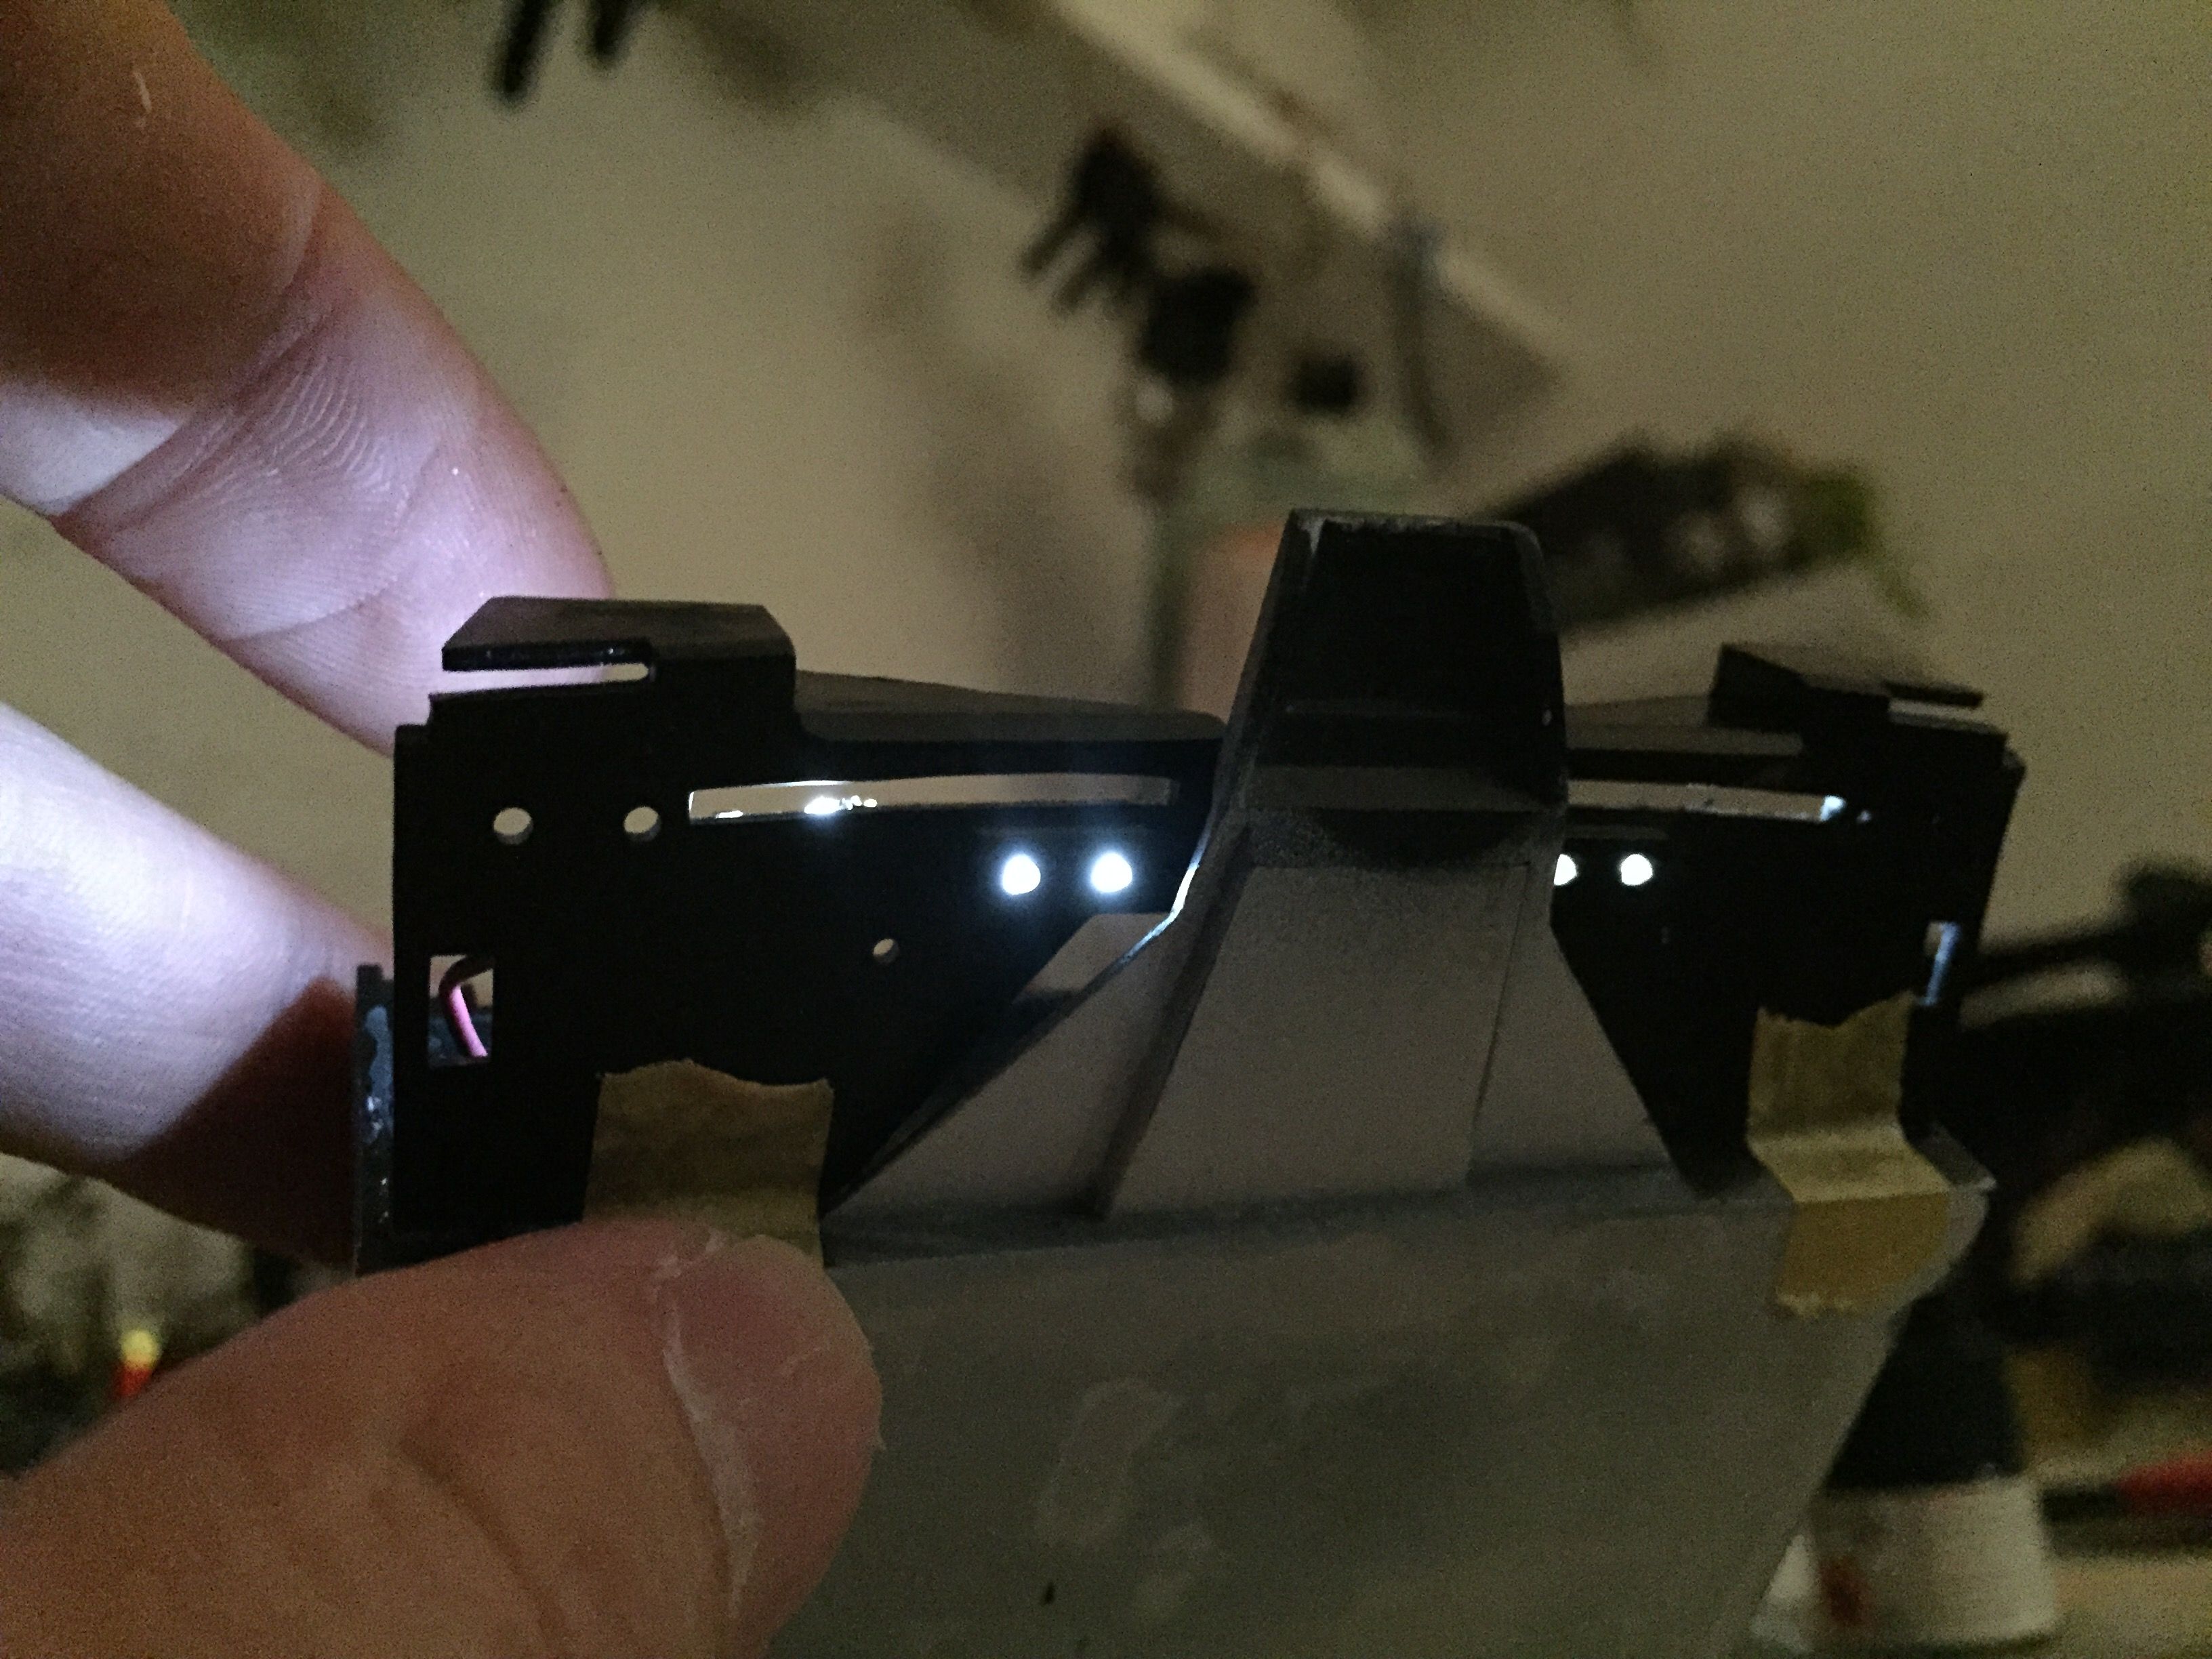
The goal is to install the lights in them, too.
I also have the batman figures to go with the cars!
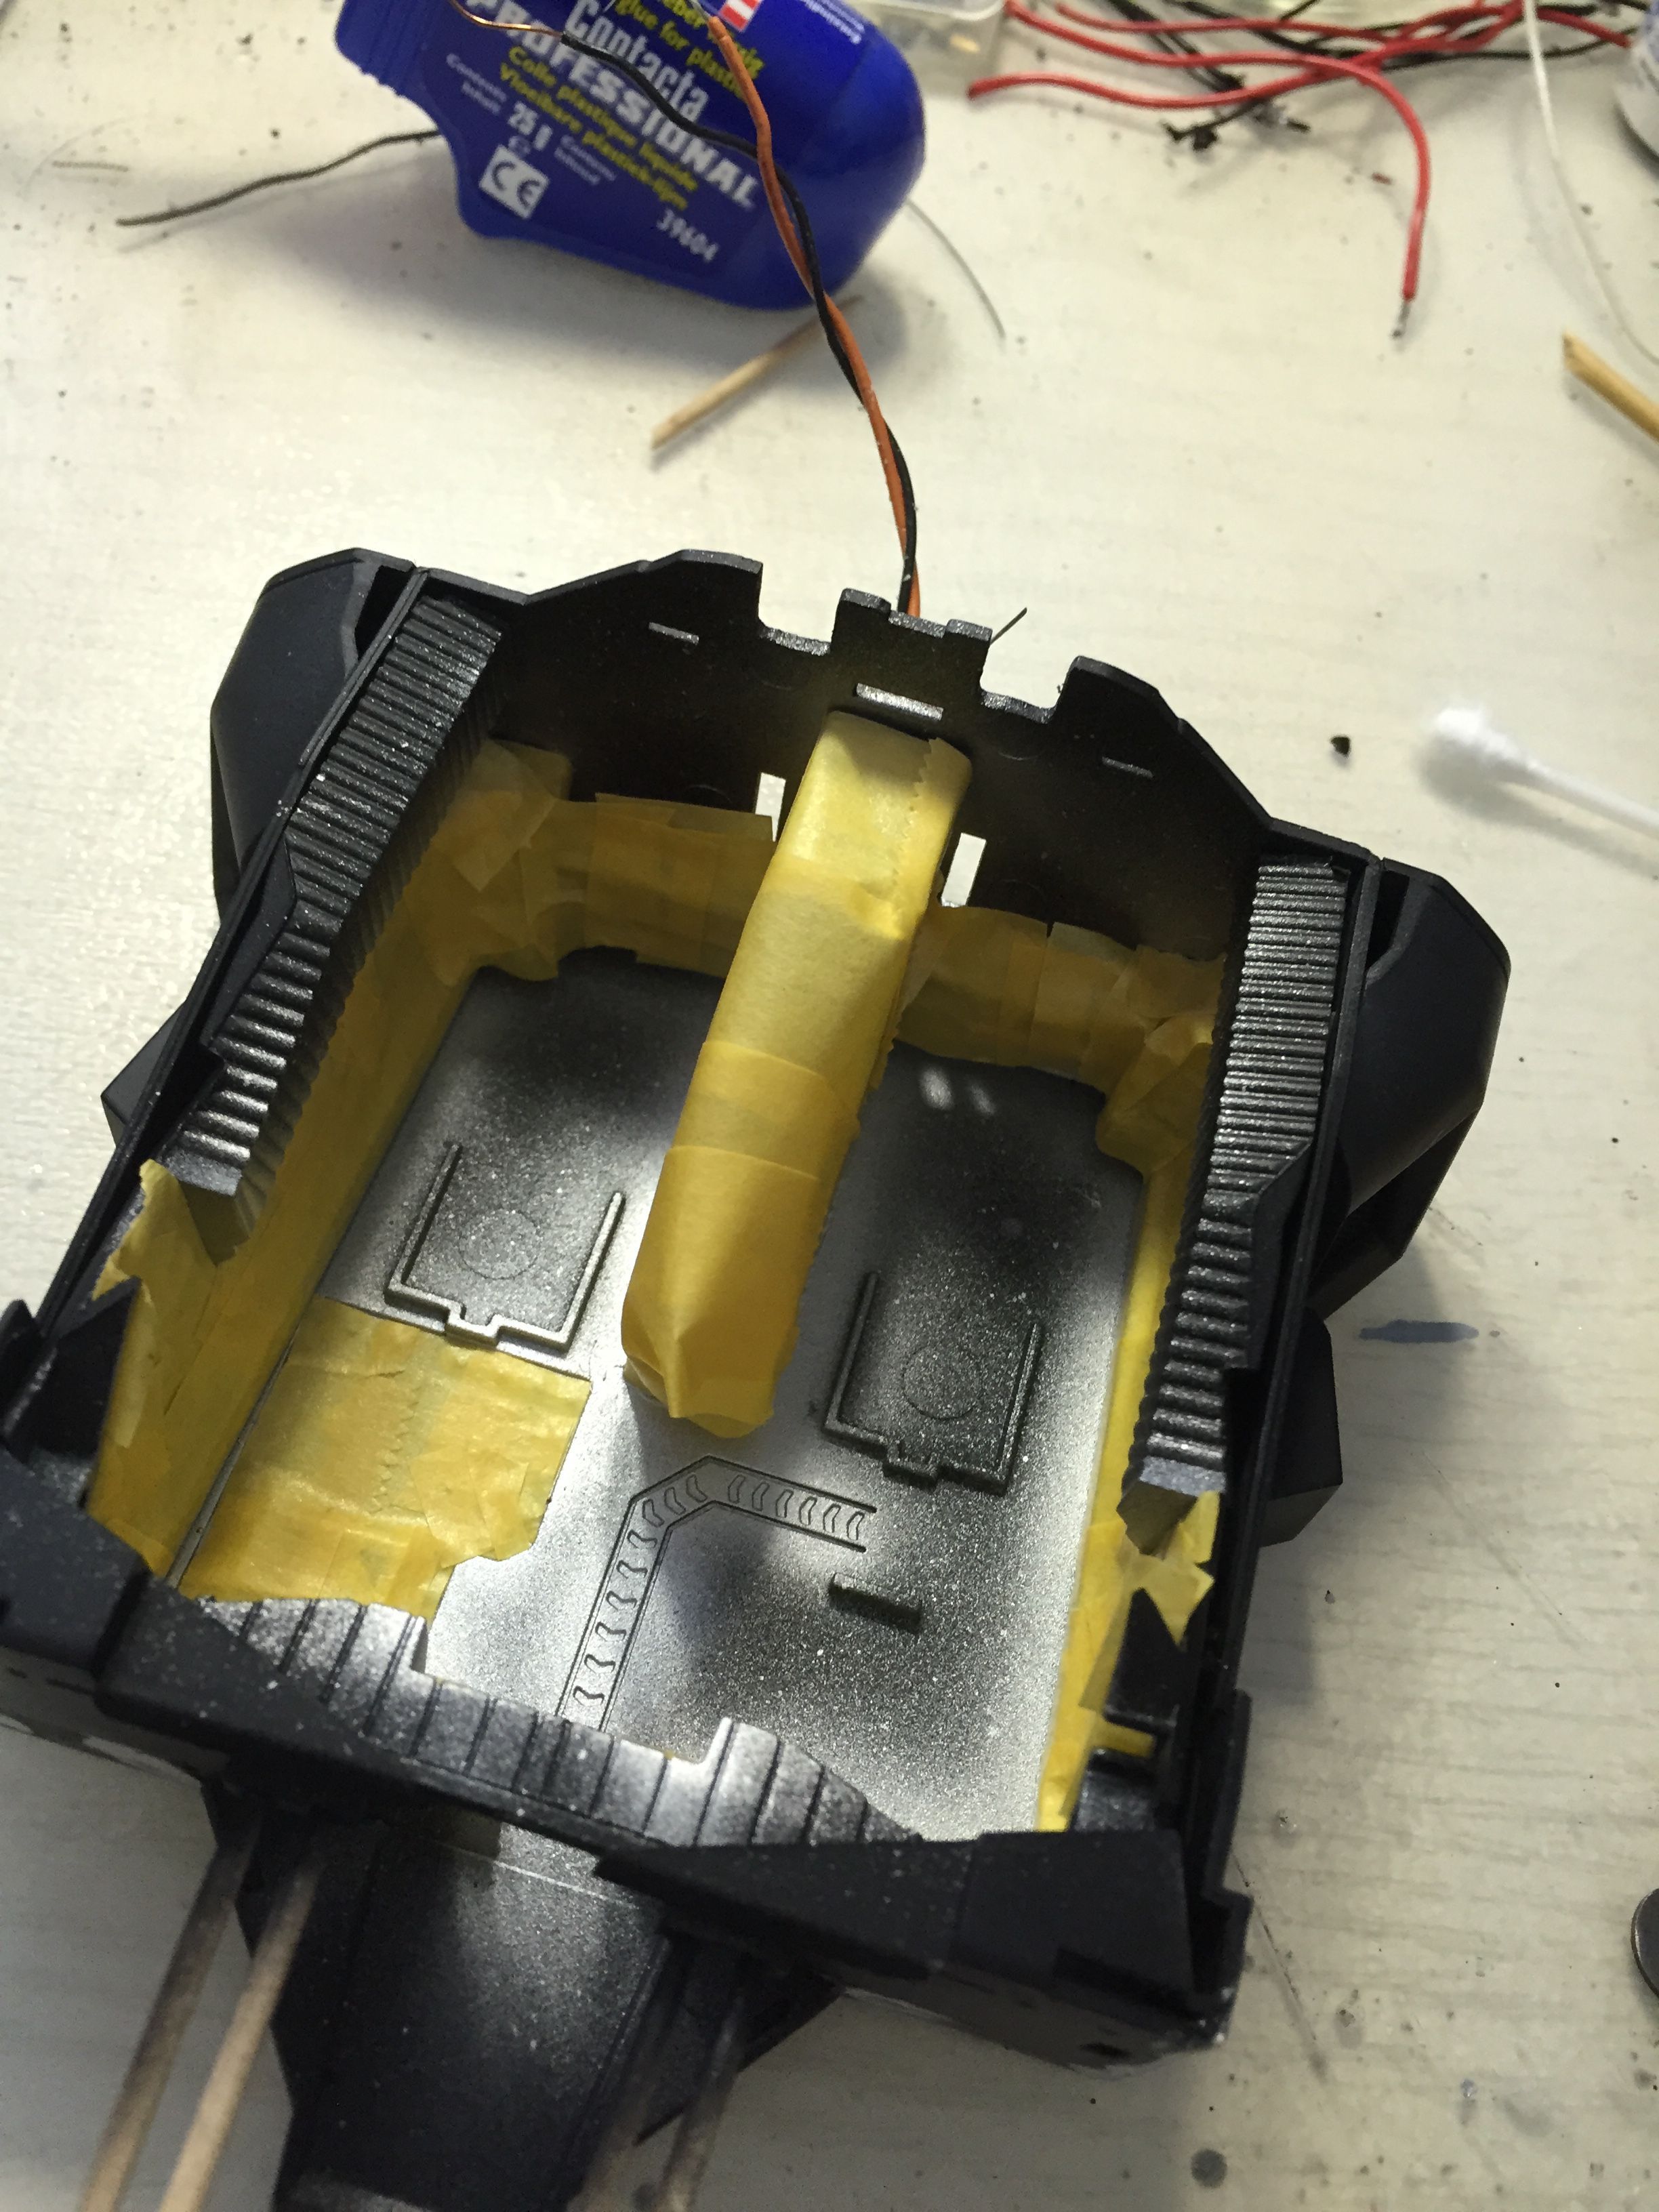
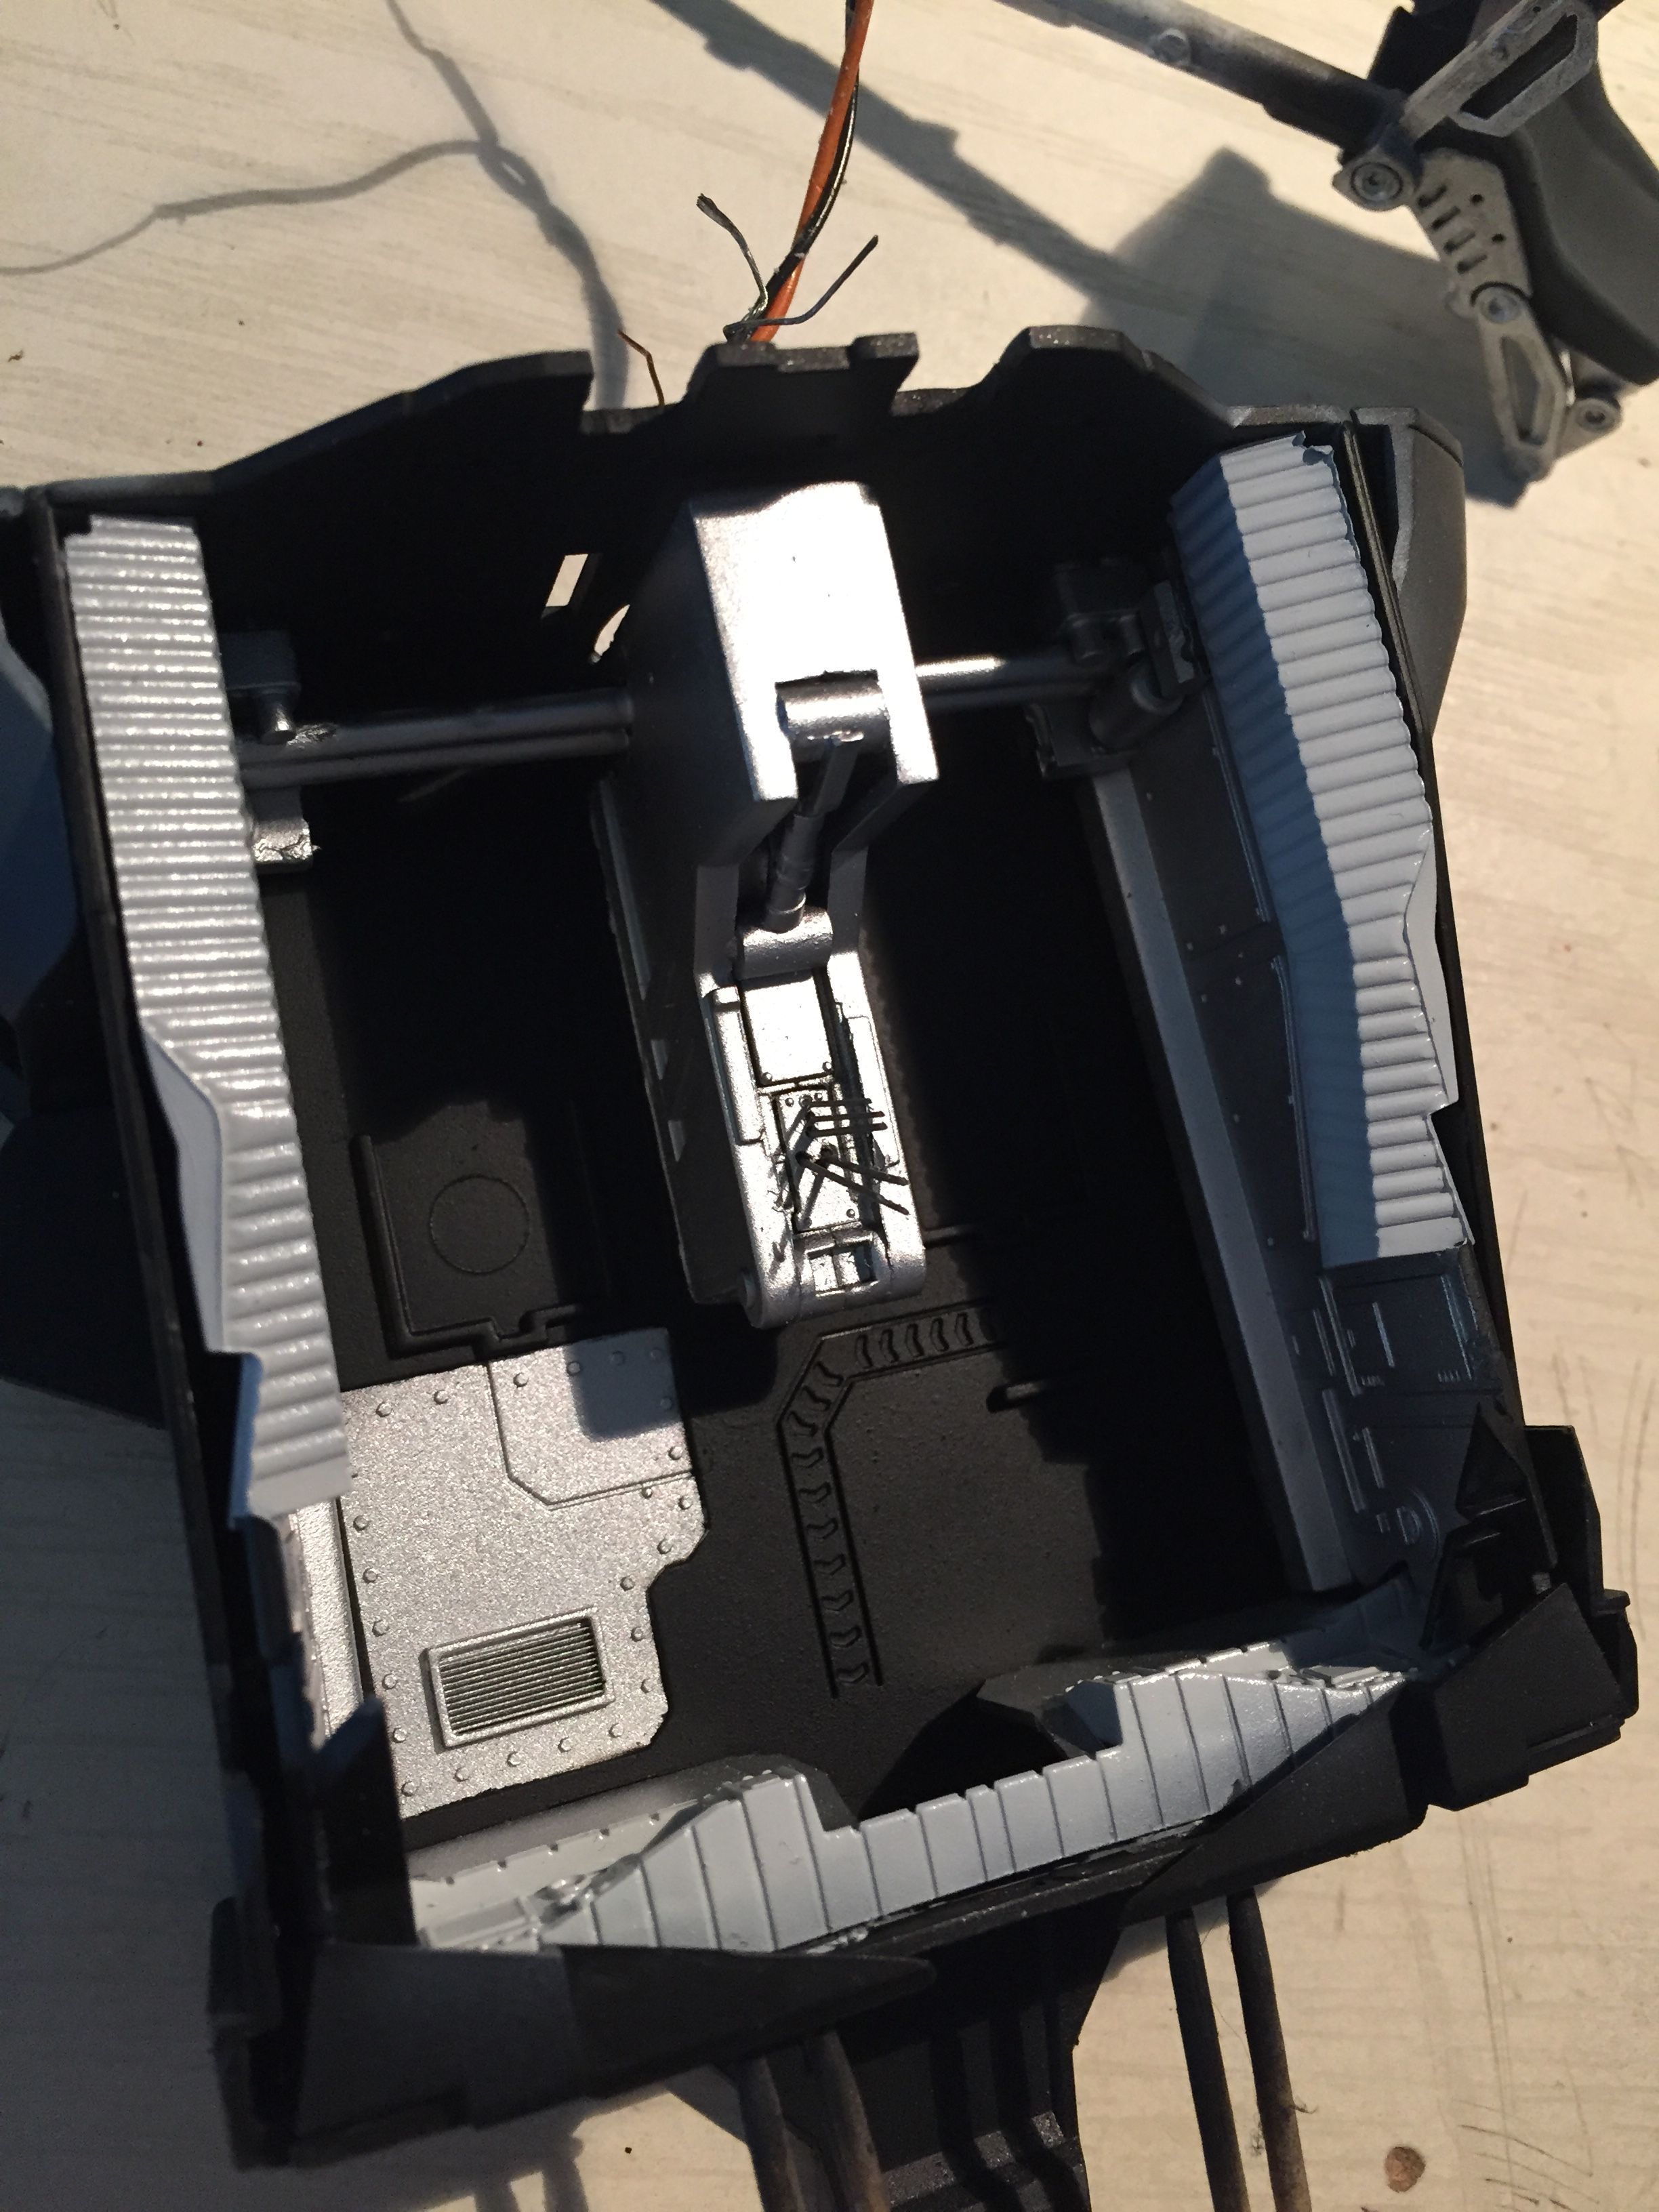
Here is what have be done so far:
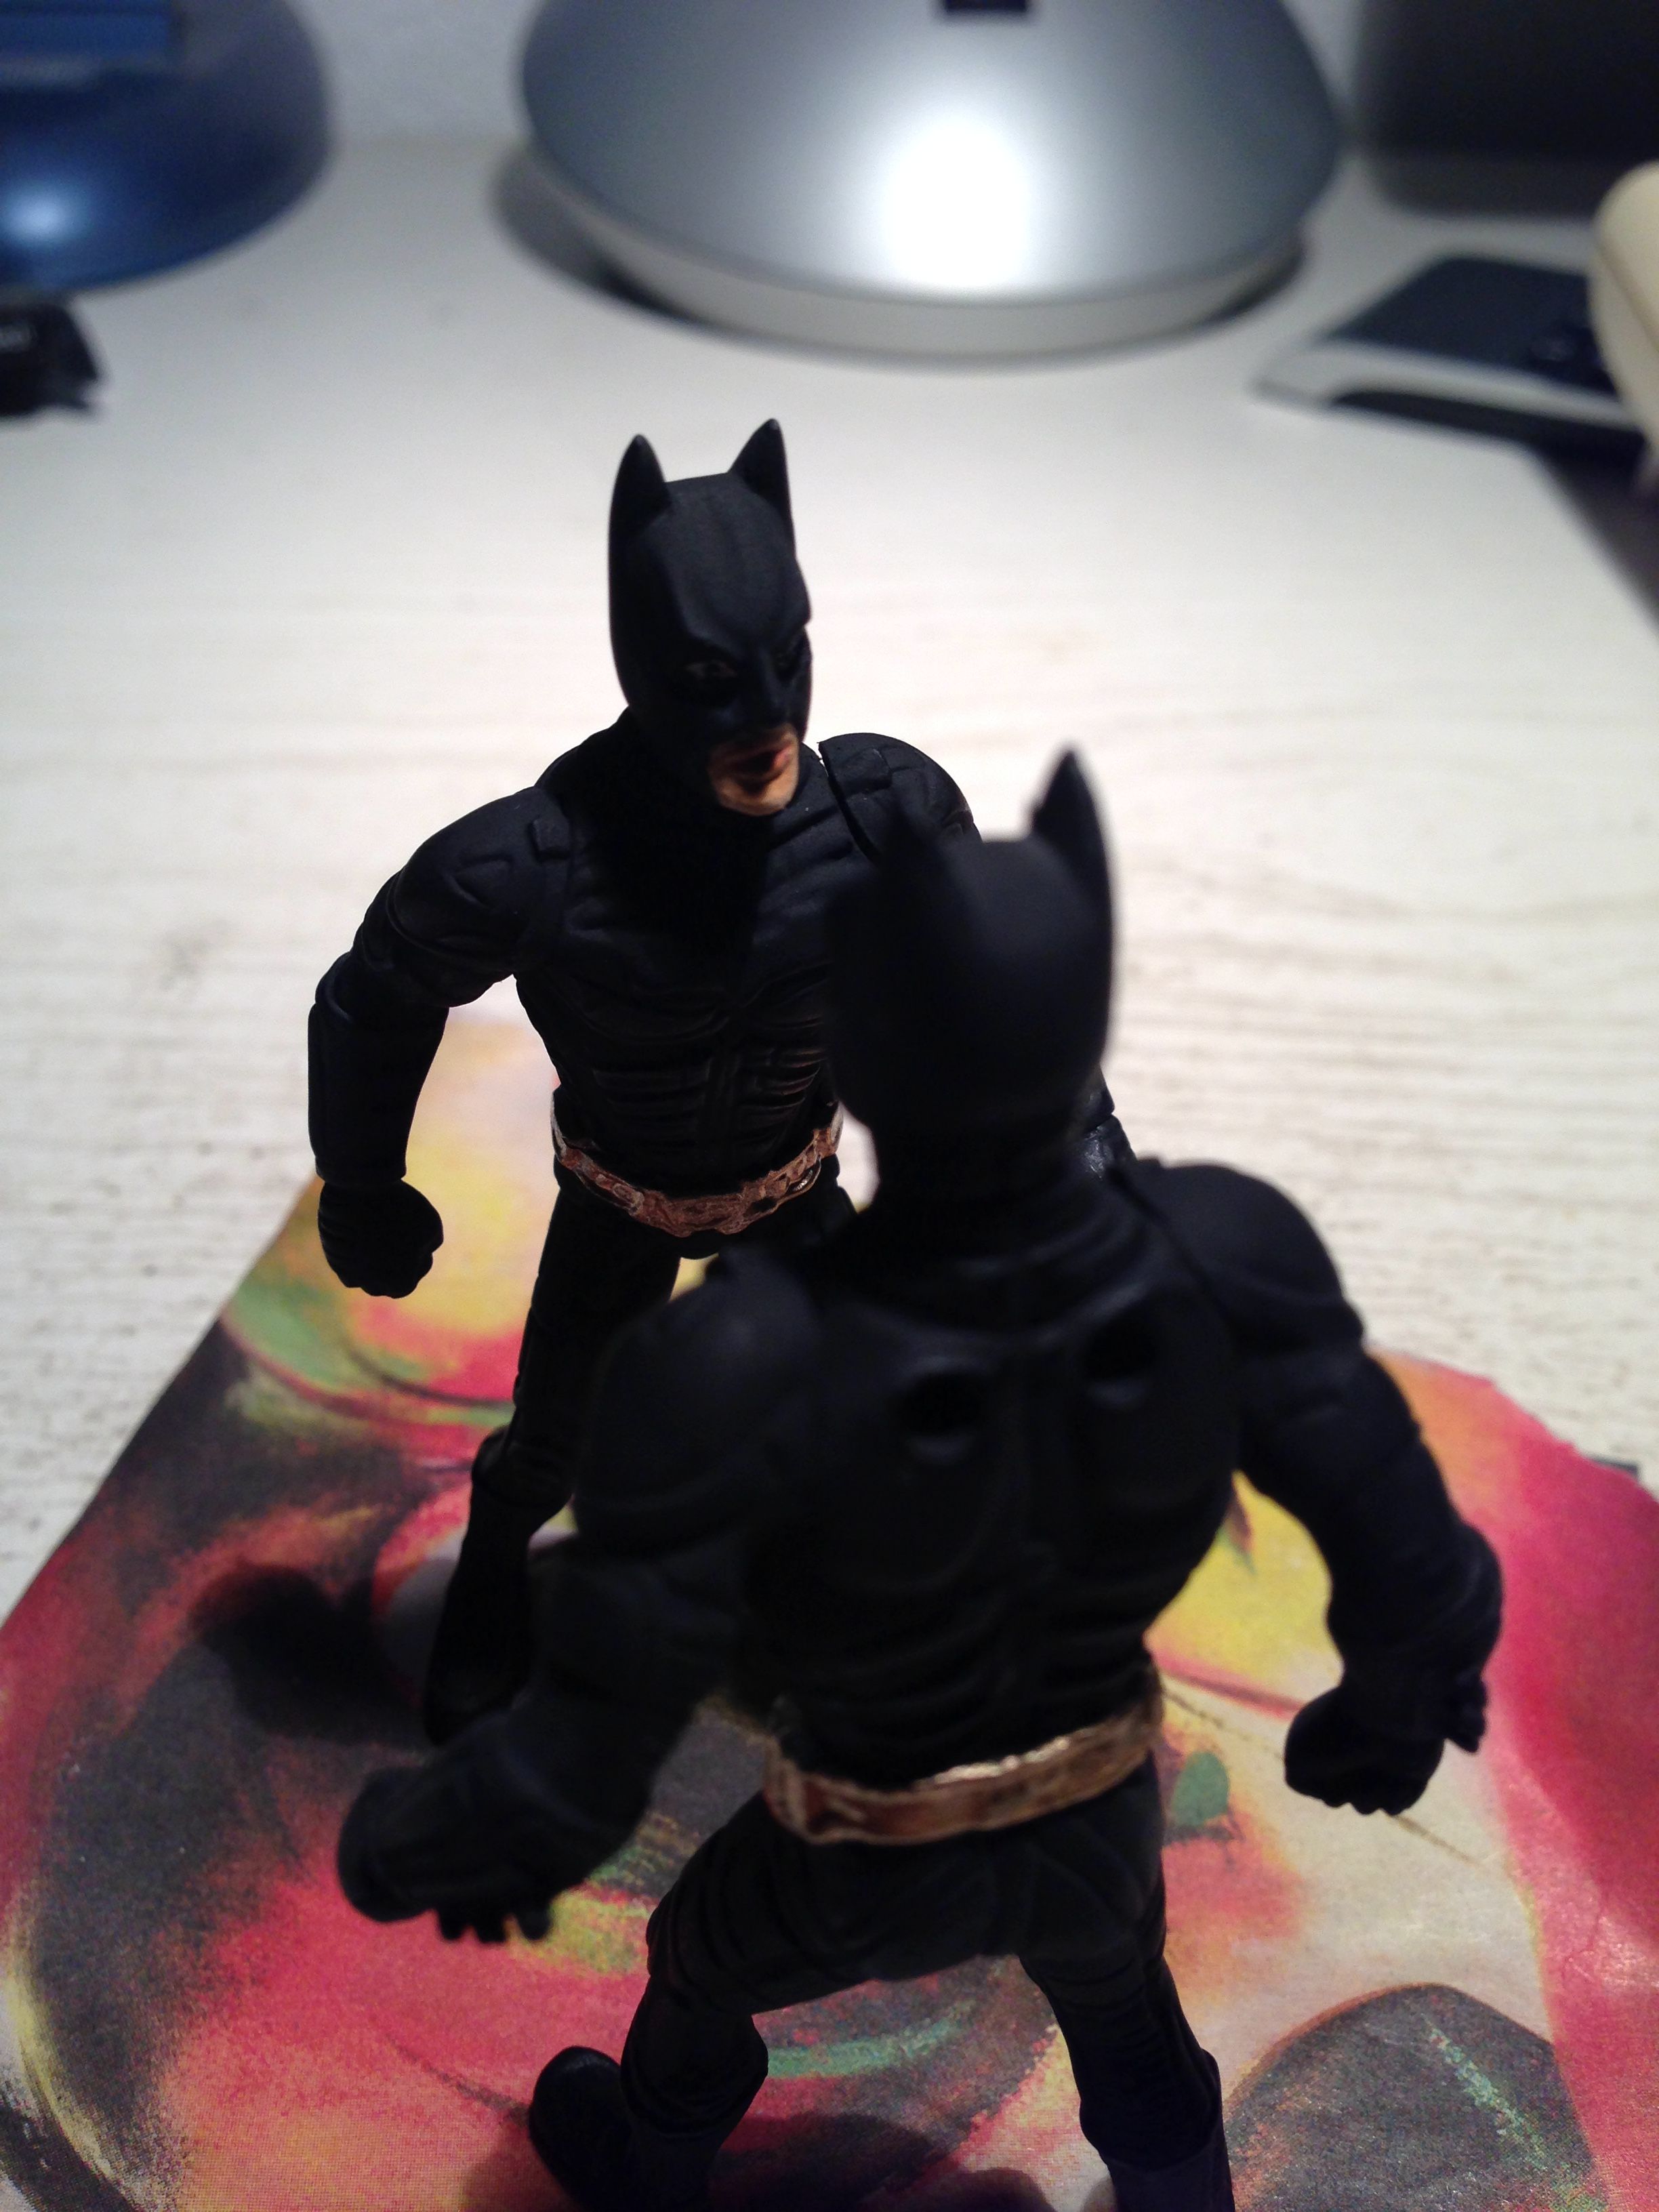
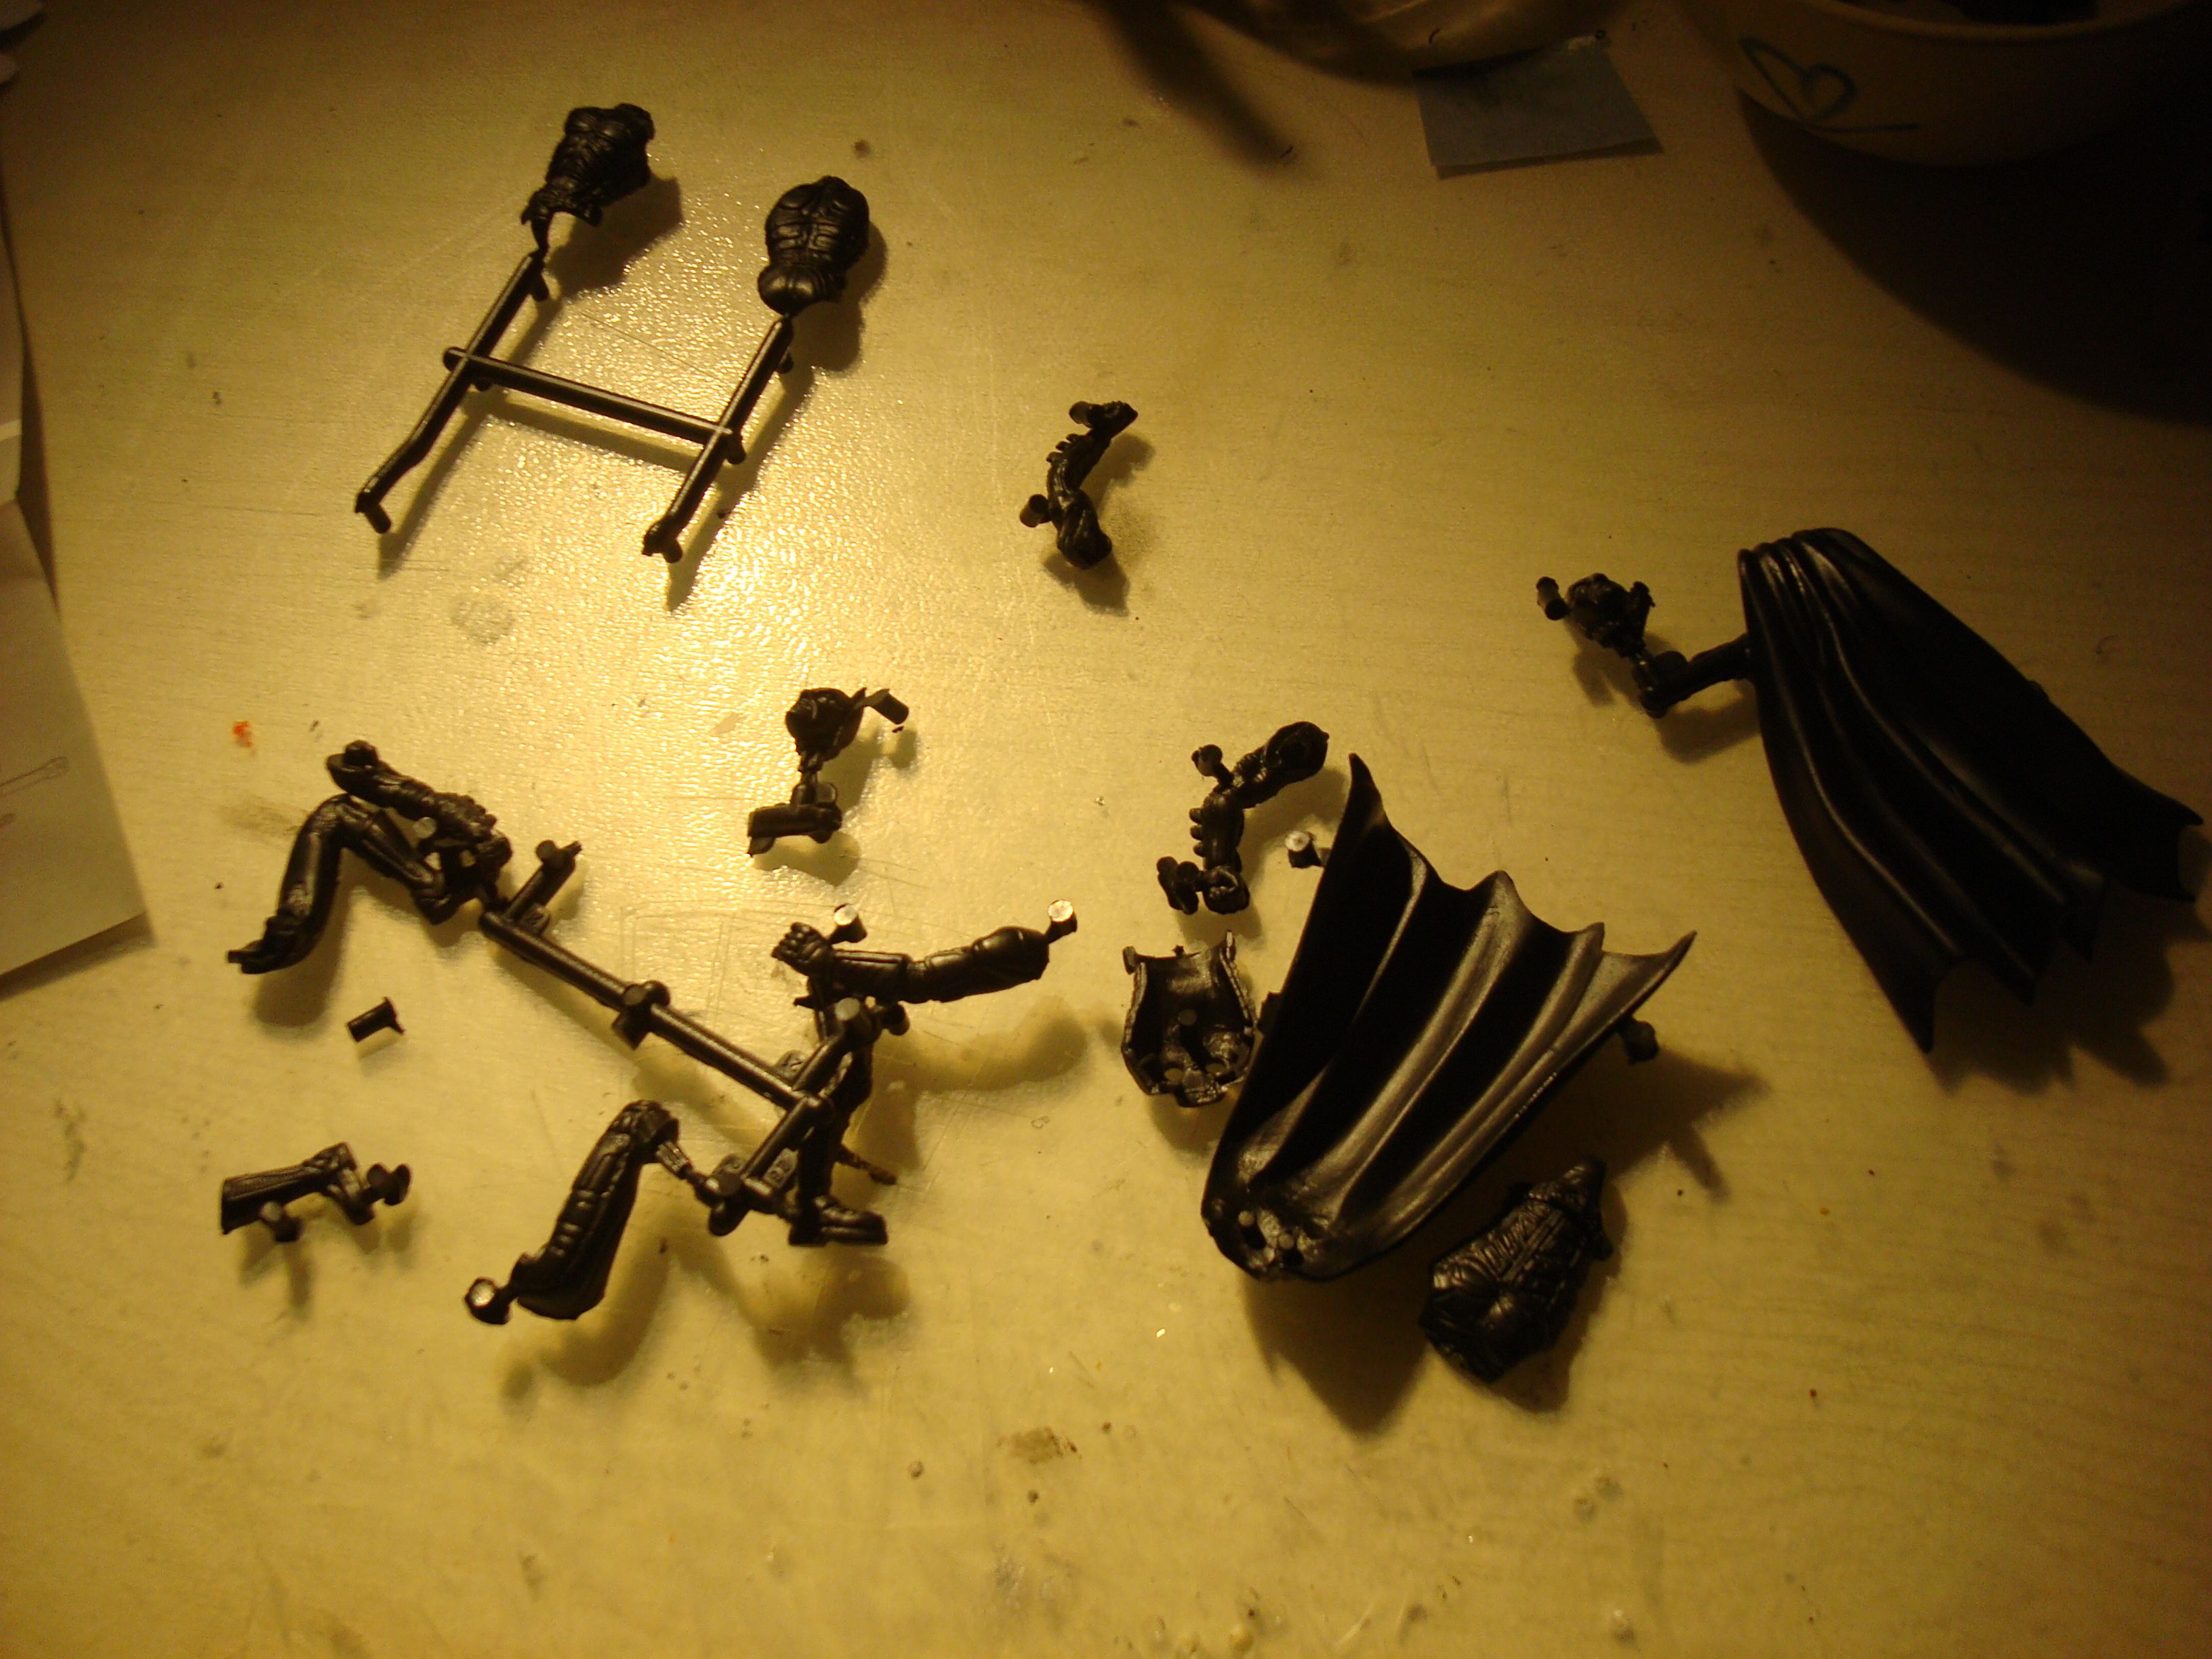
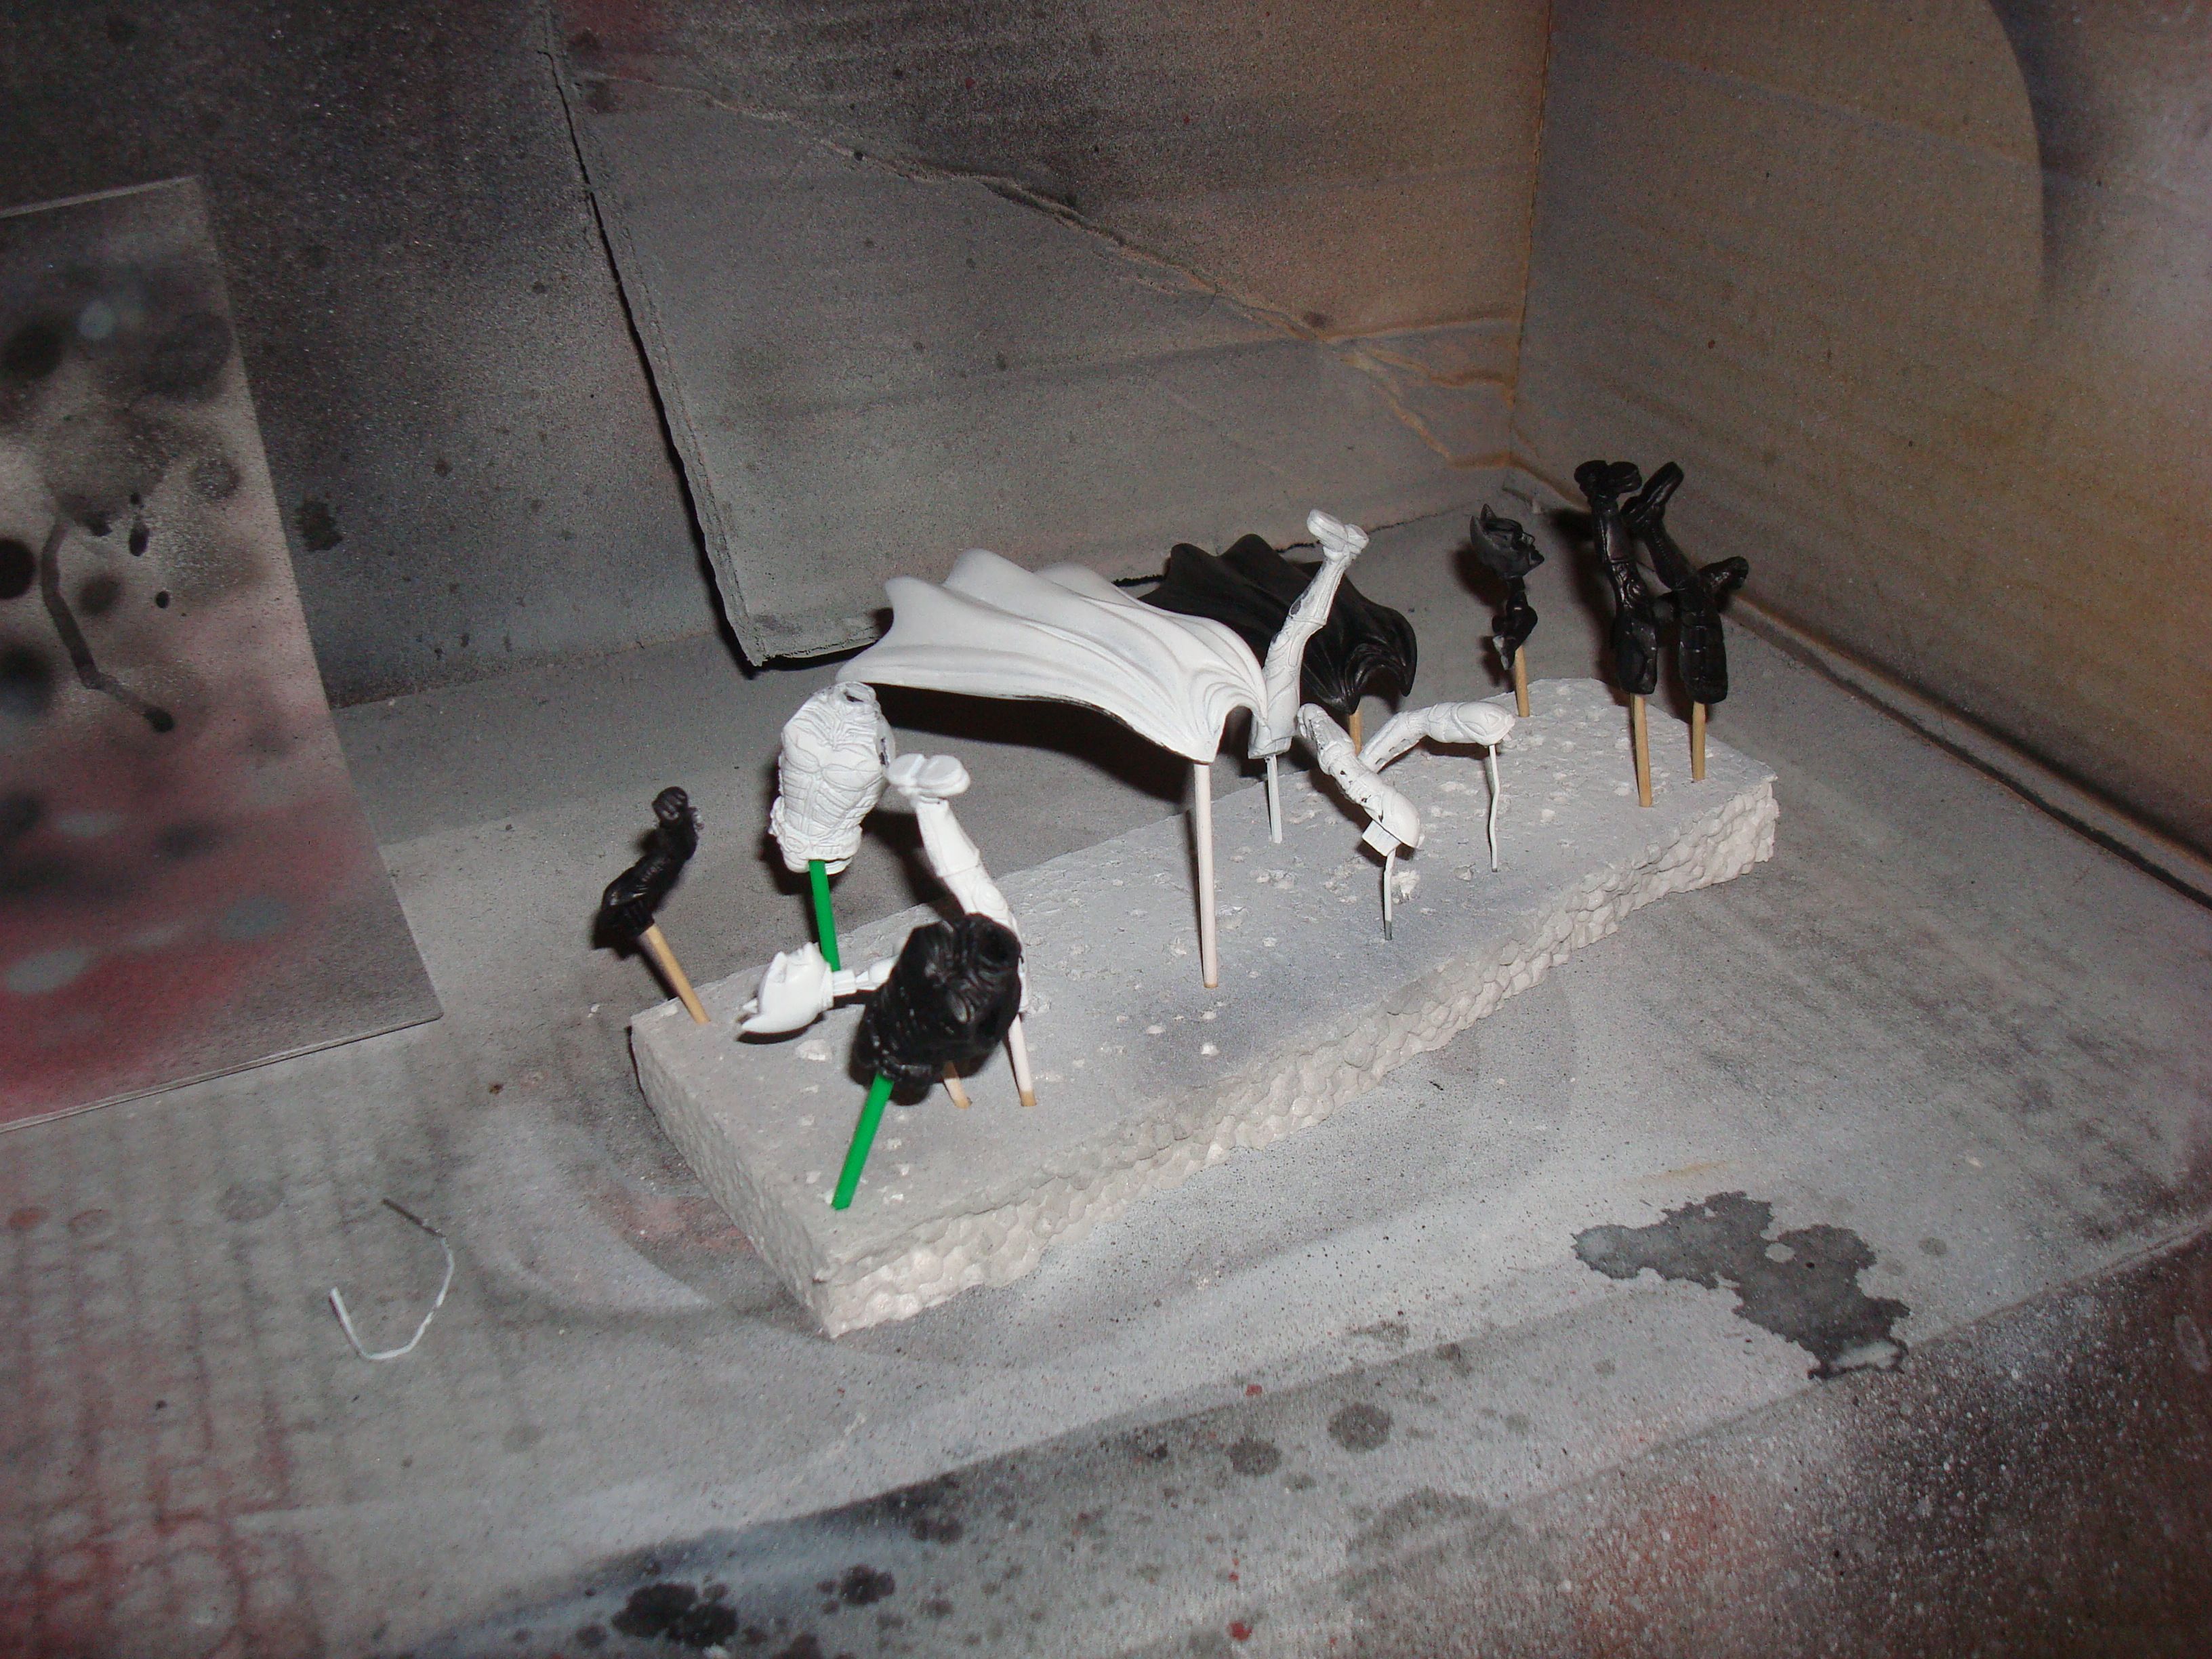
I started with the figure:
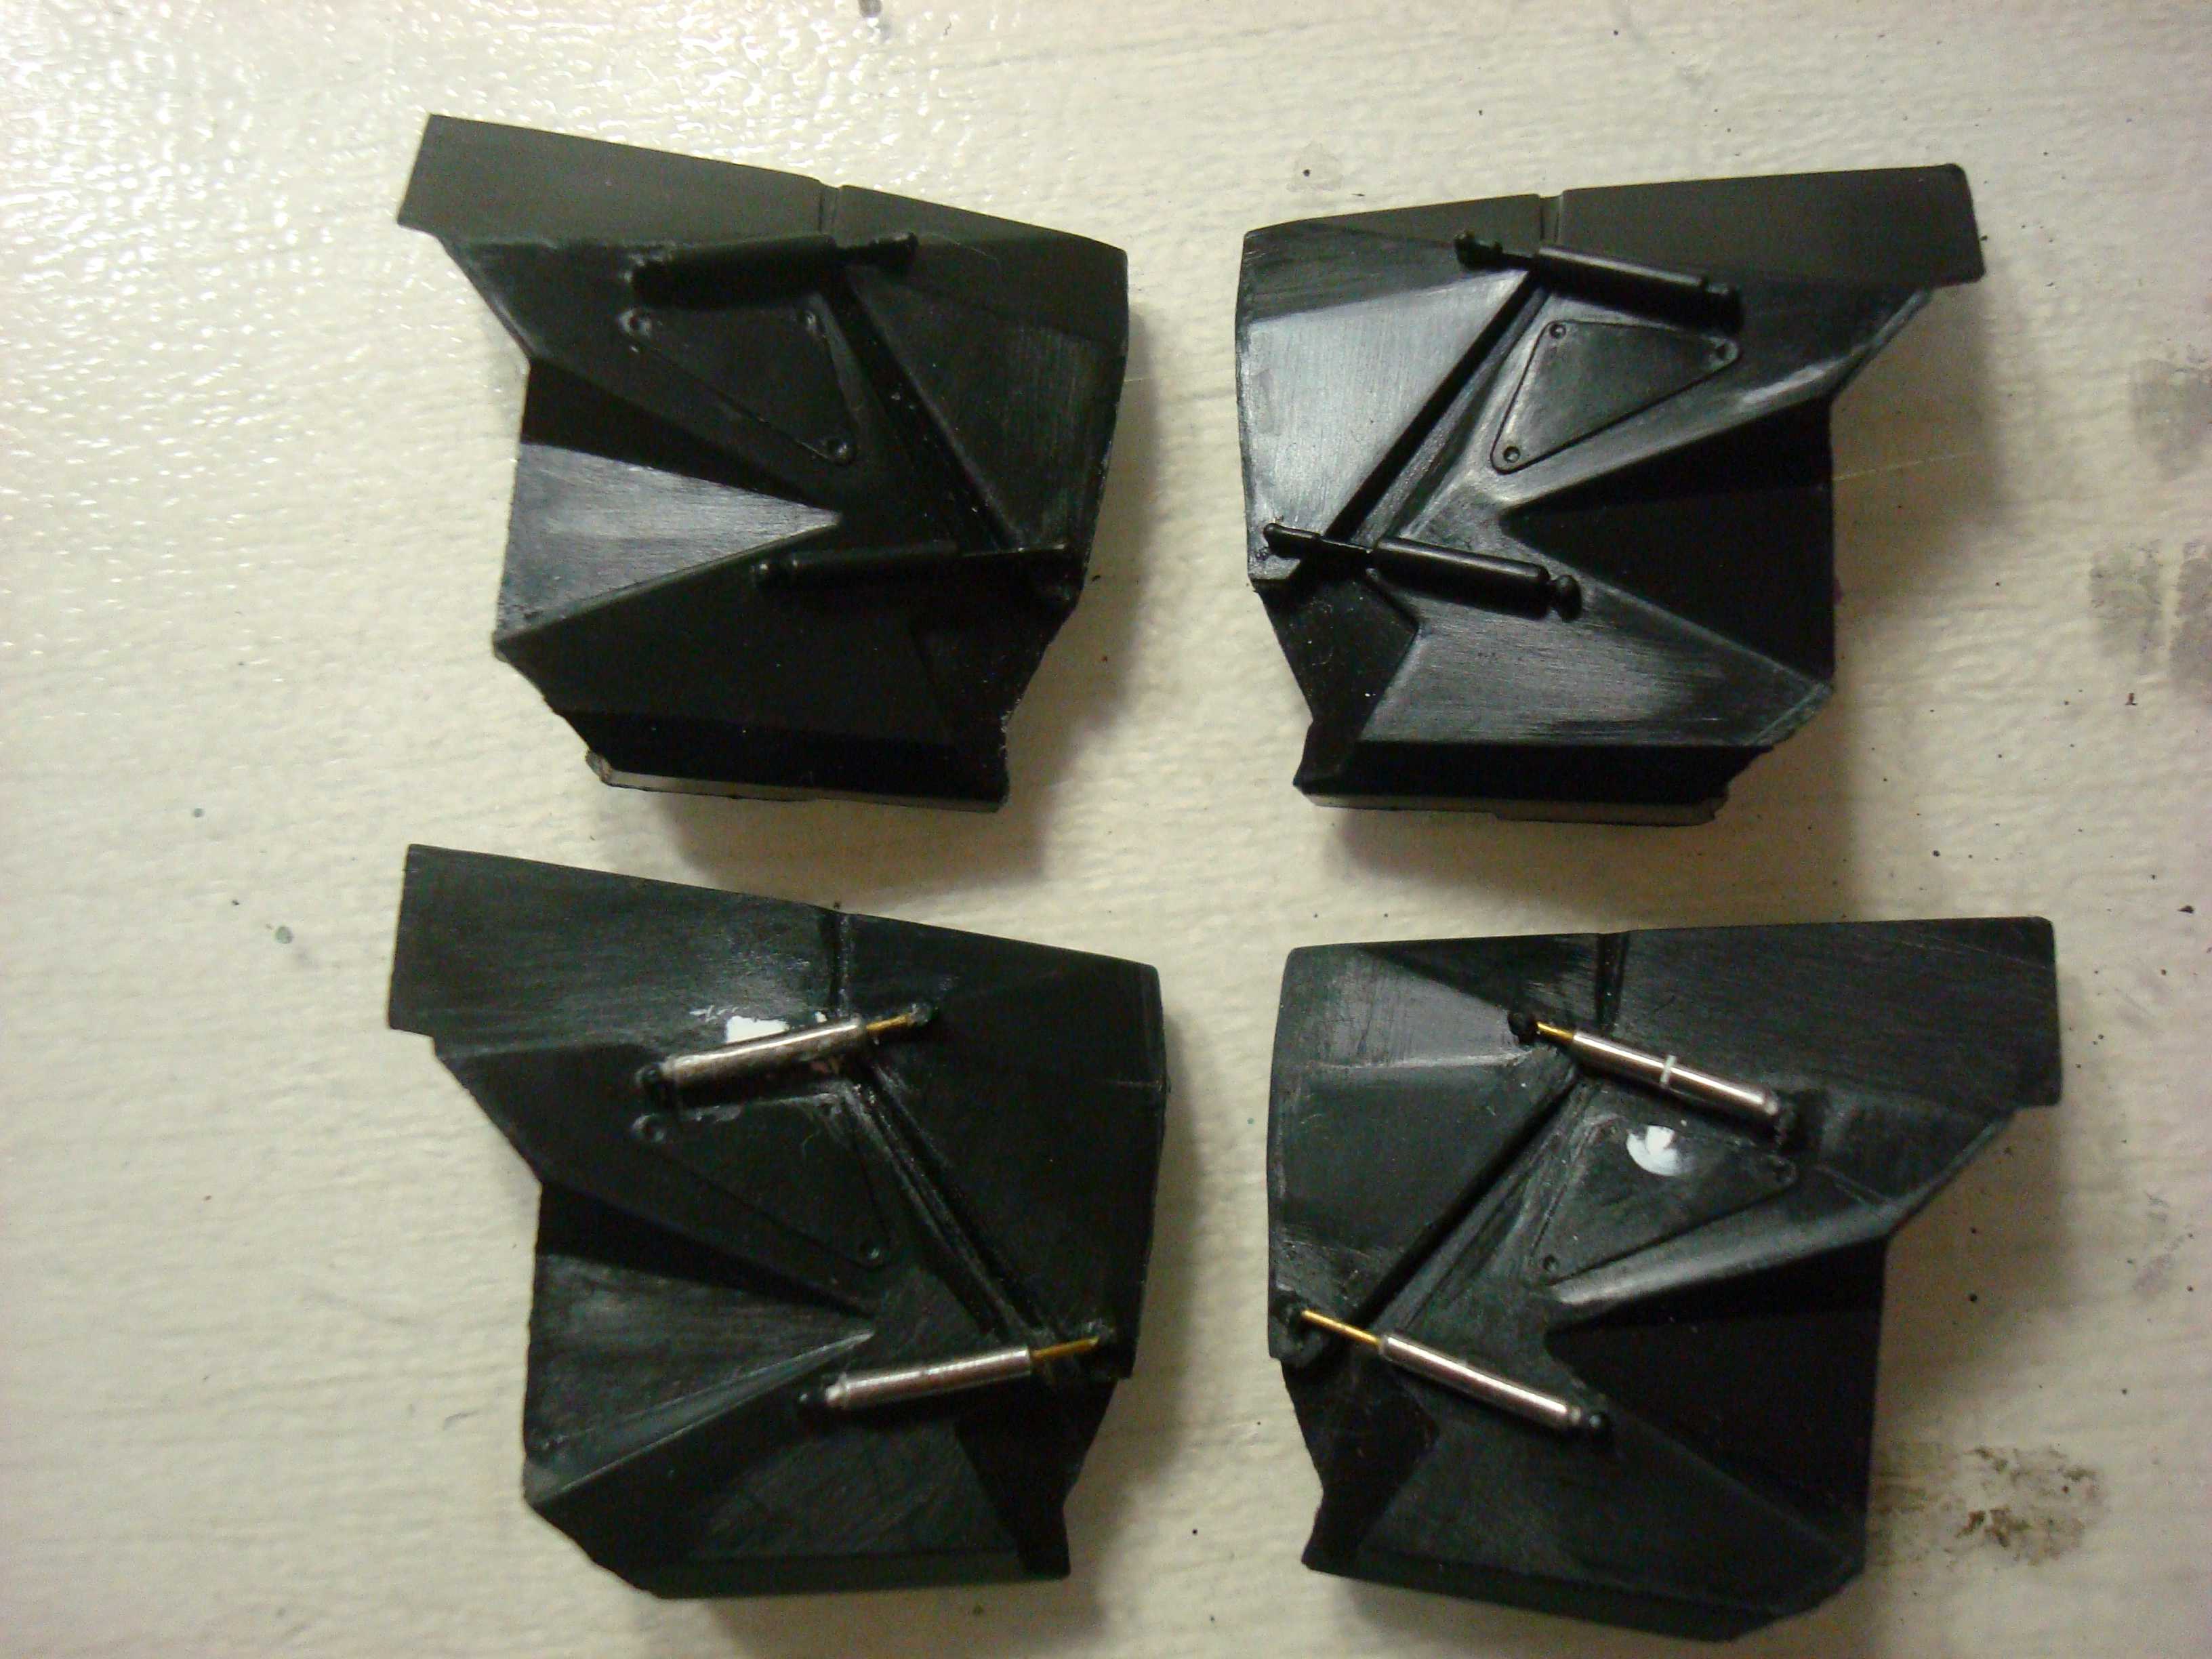
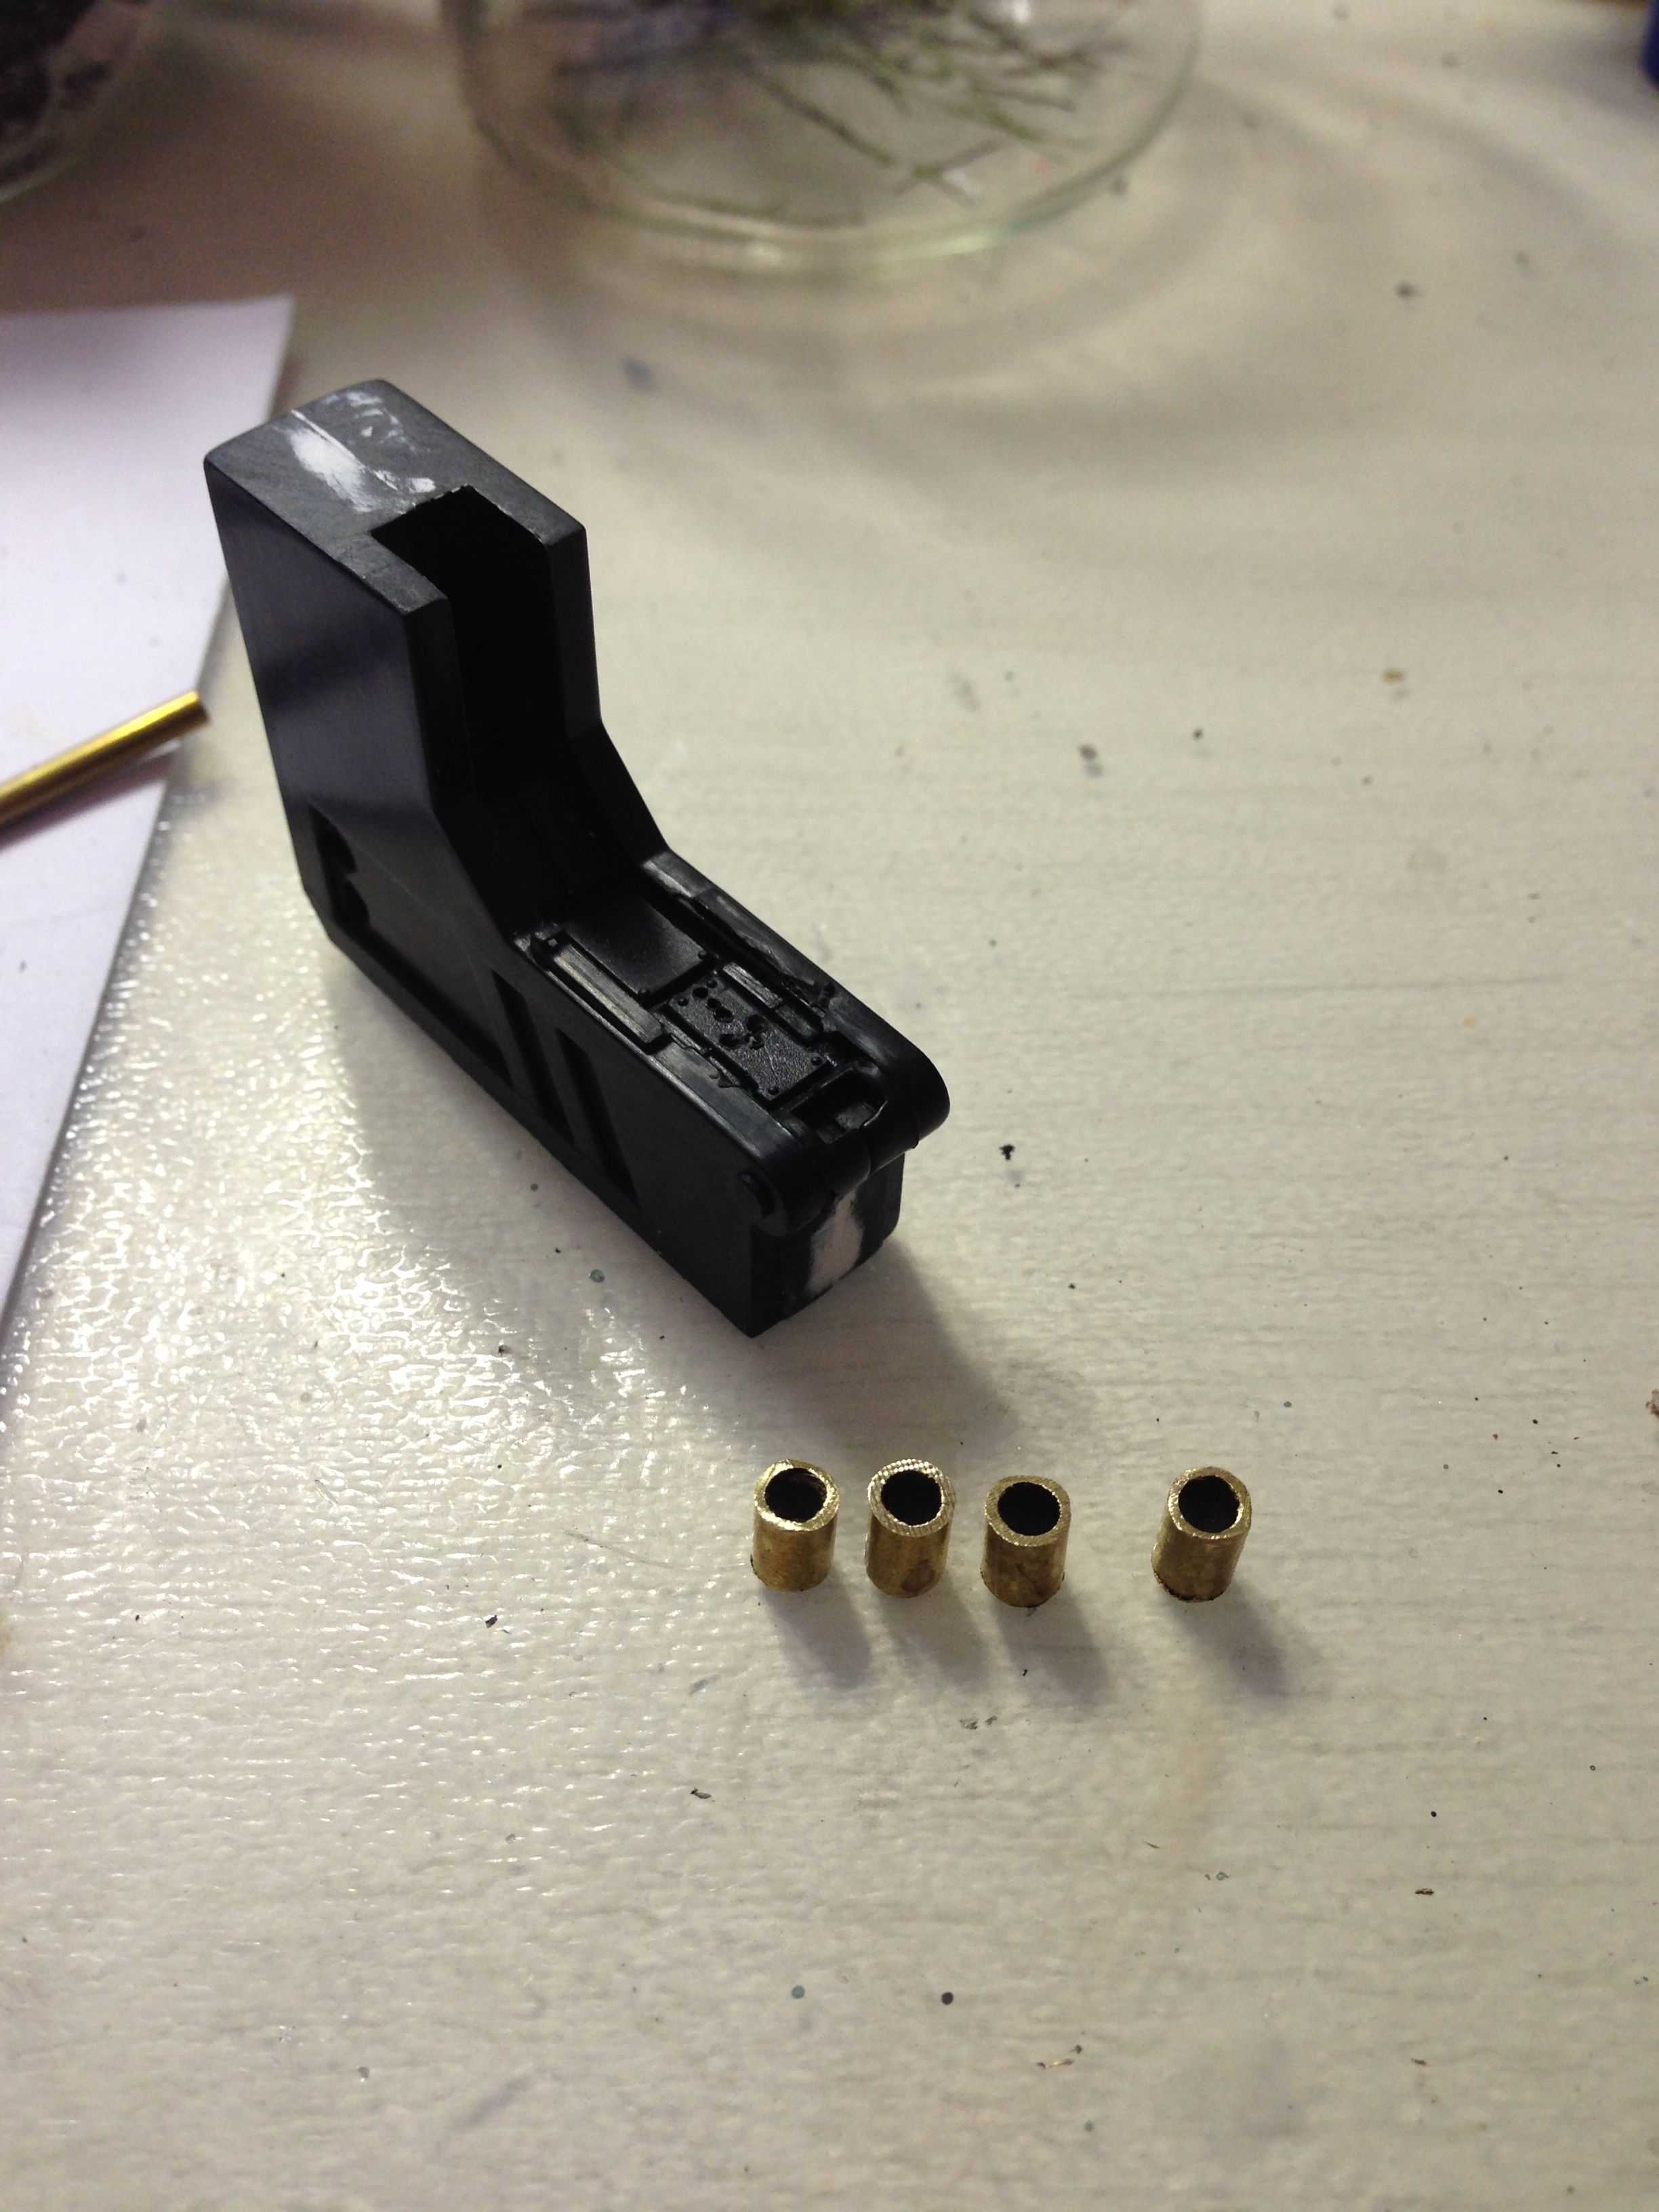
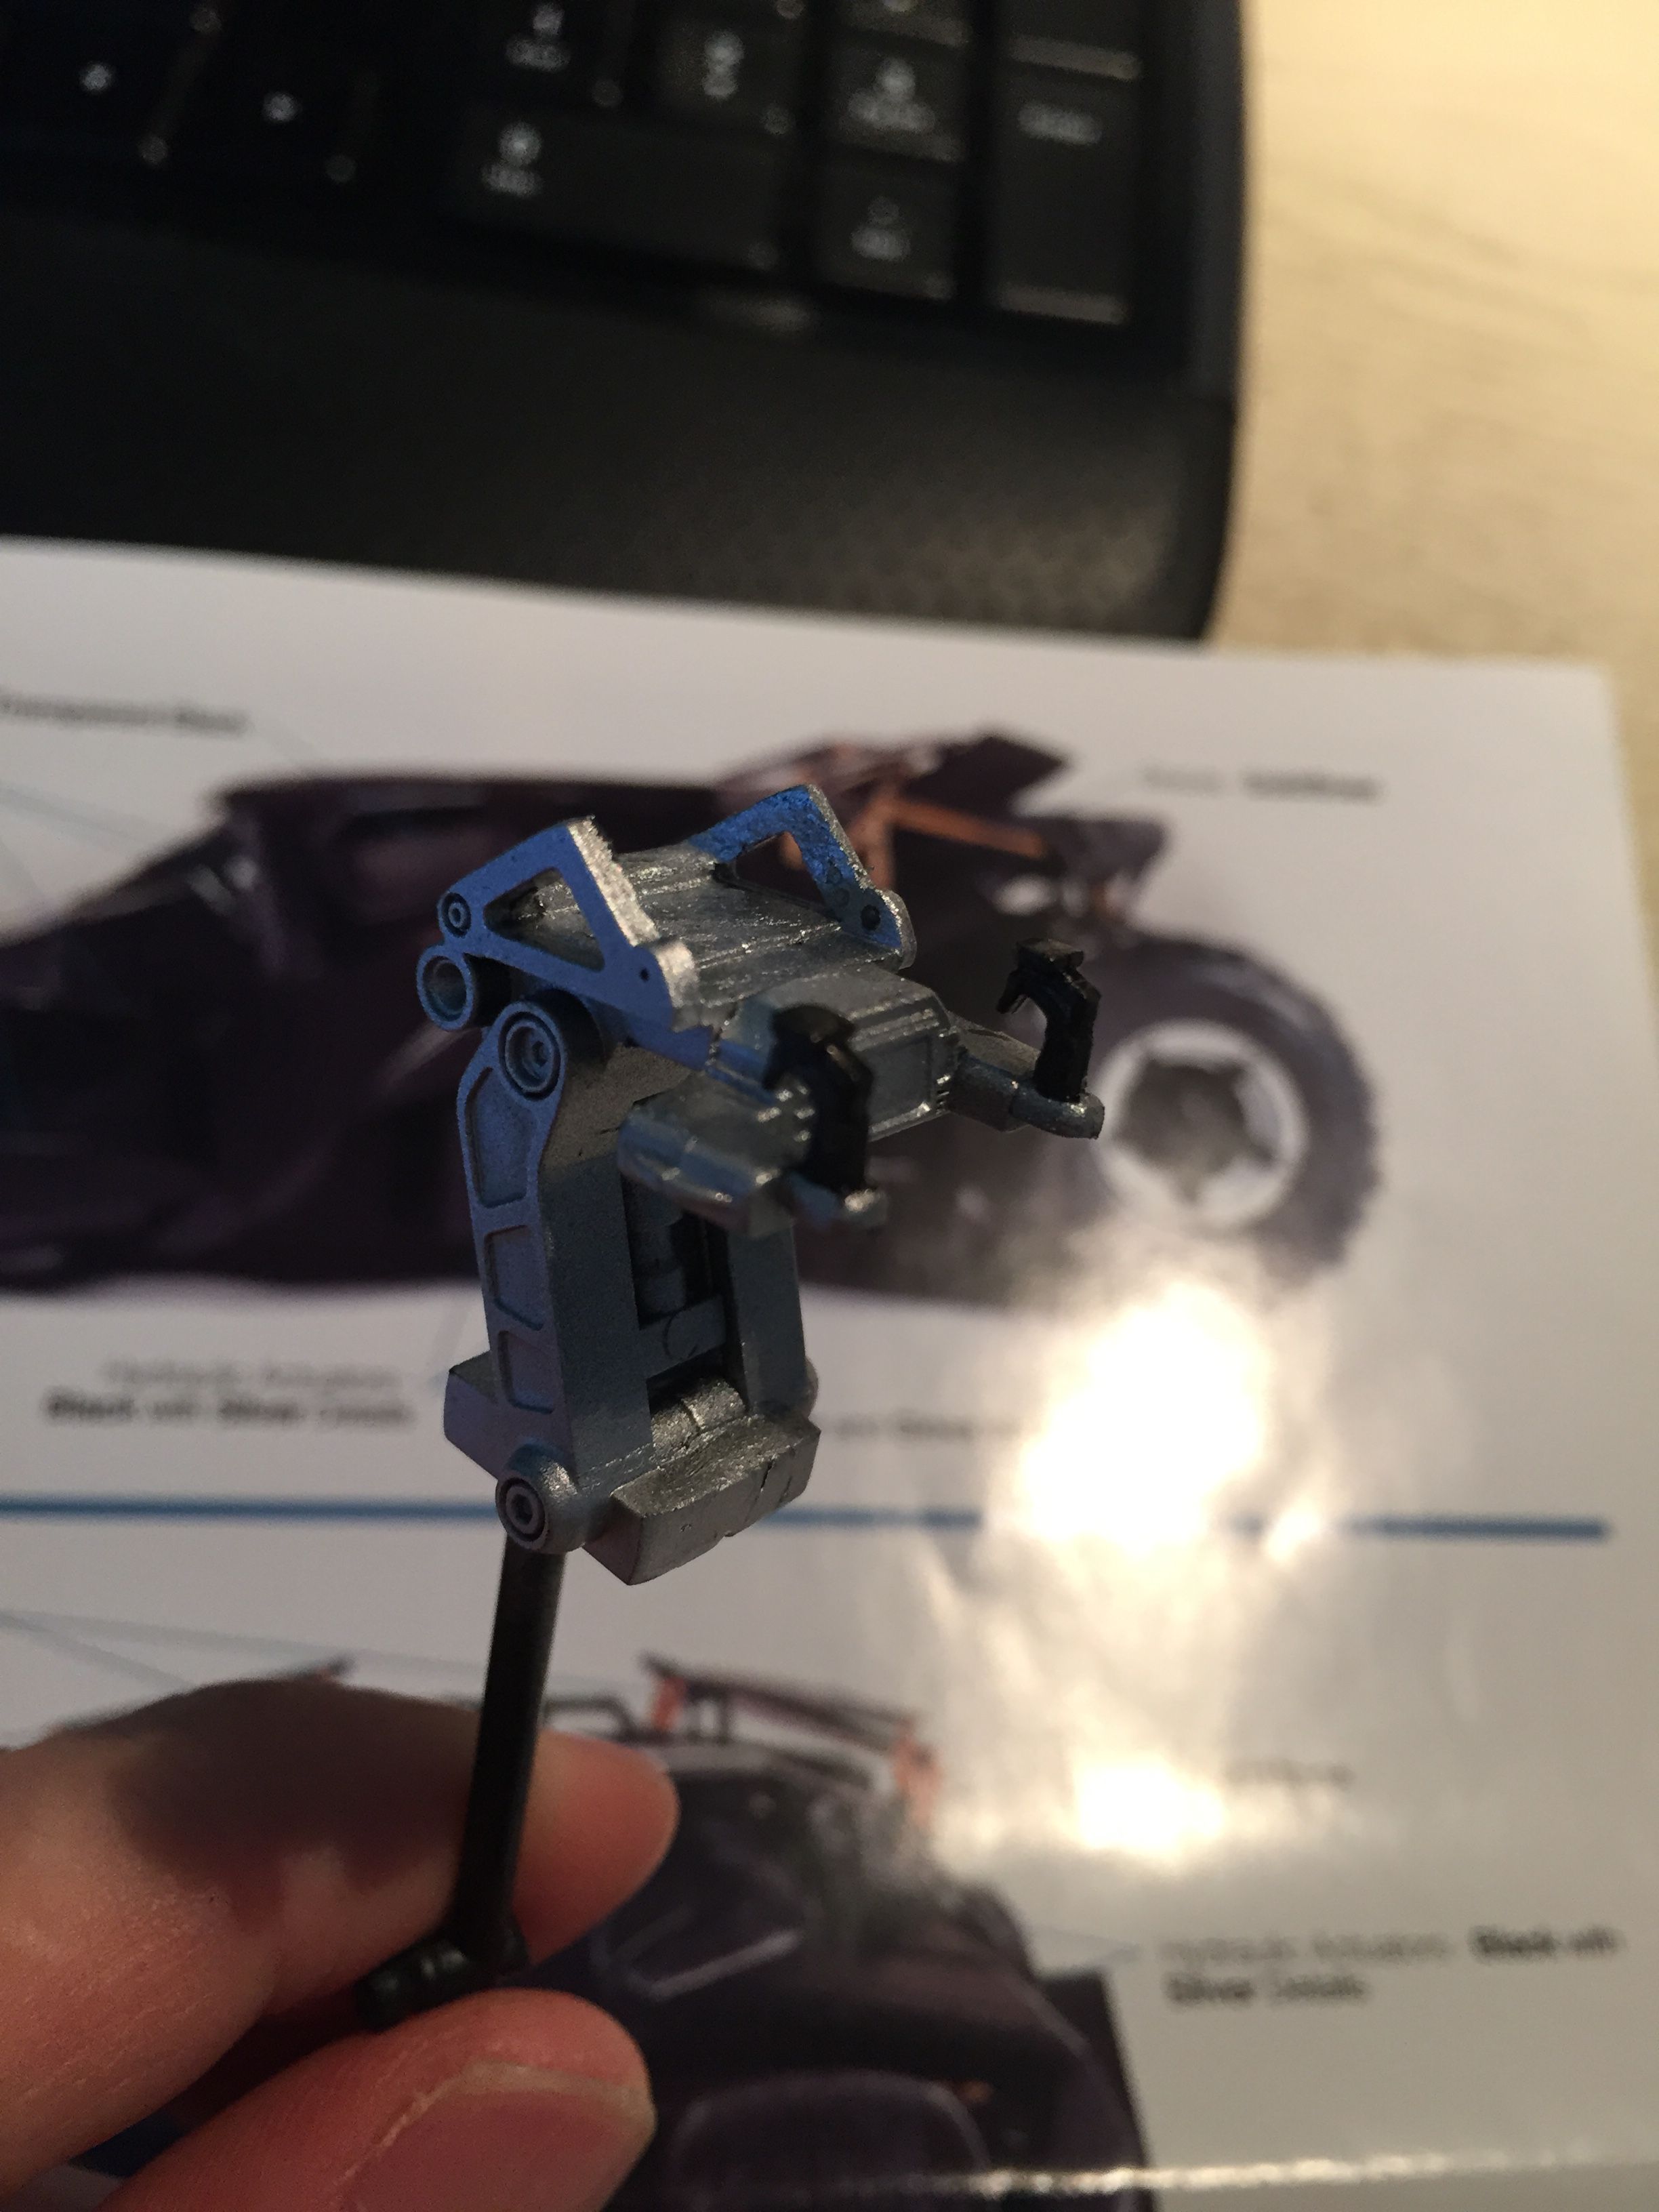
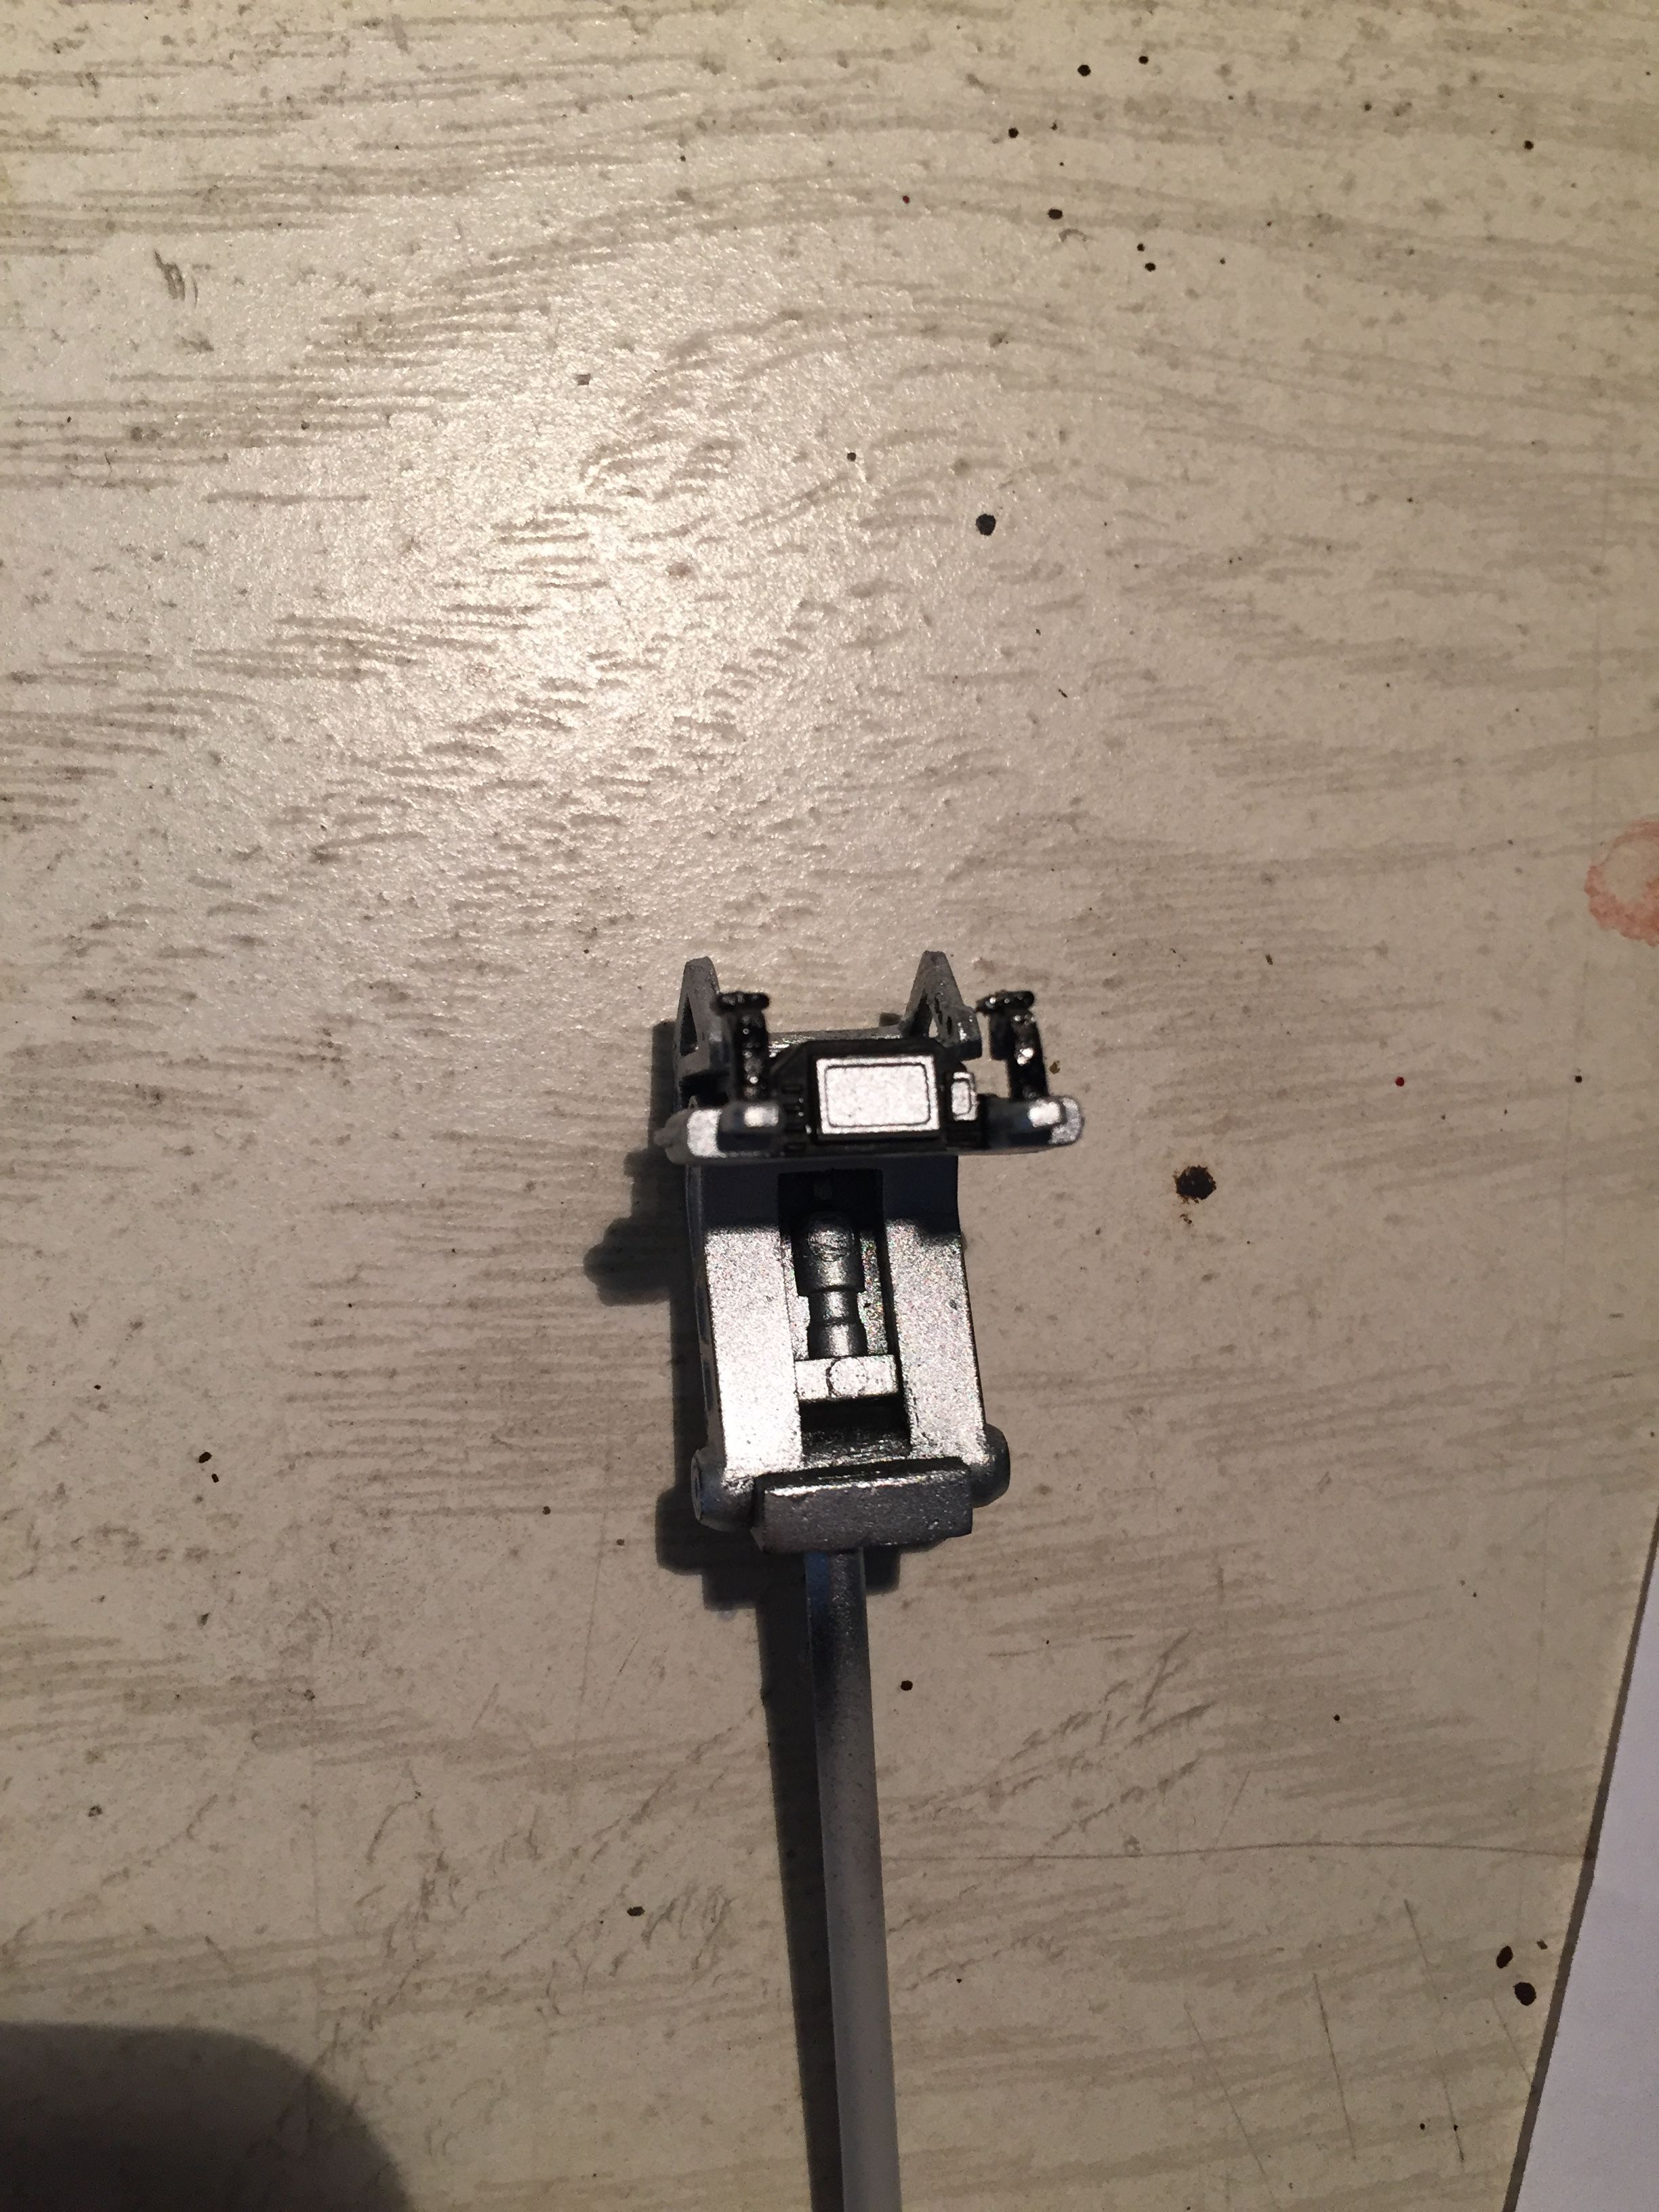
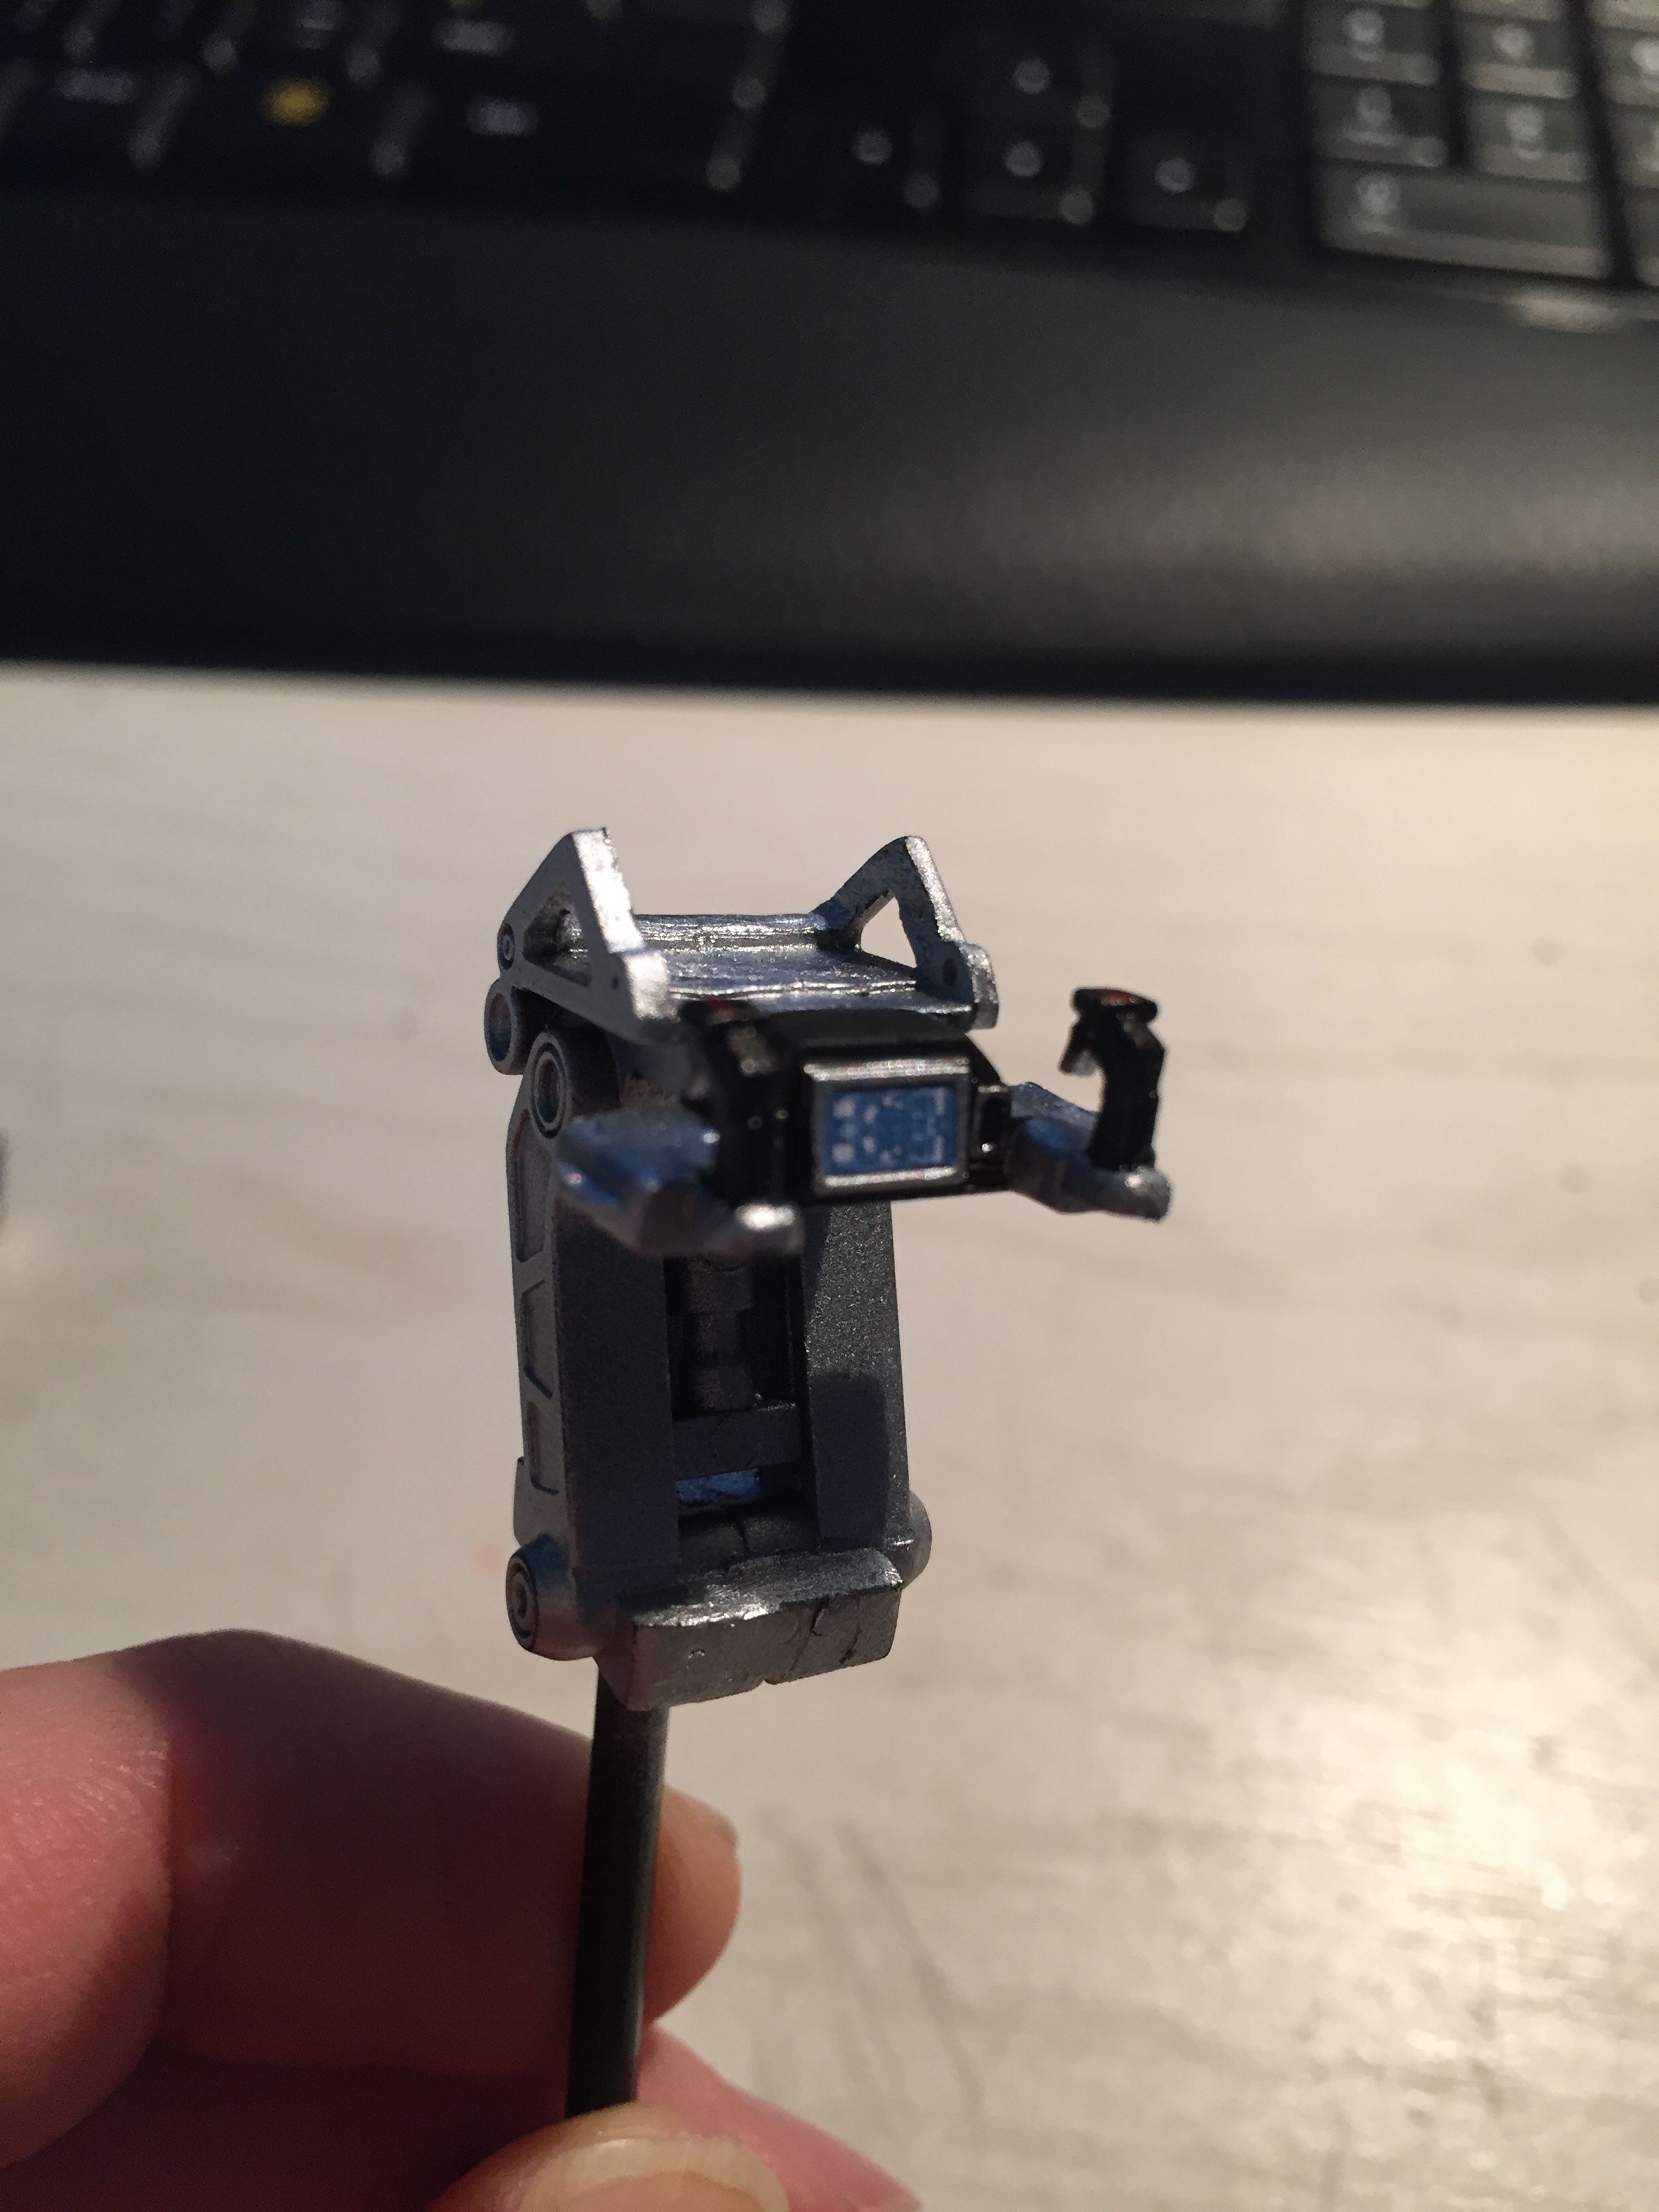
Sanded the blades on the arms to make them finer:


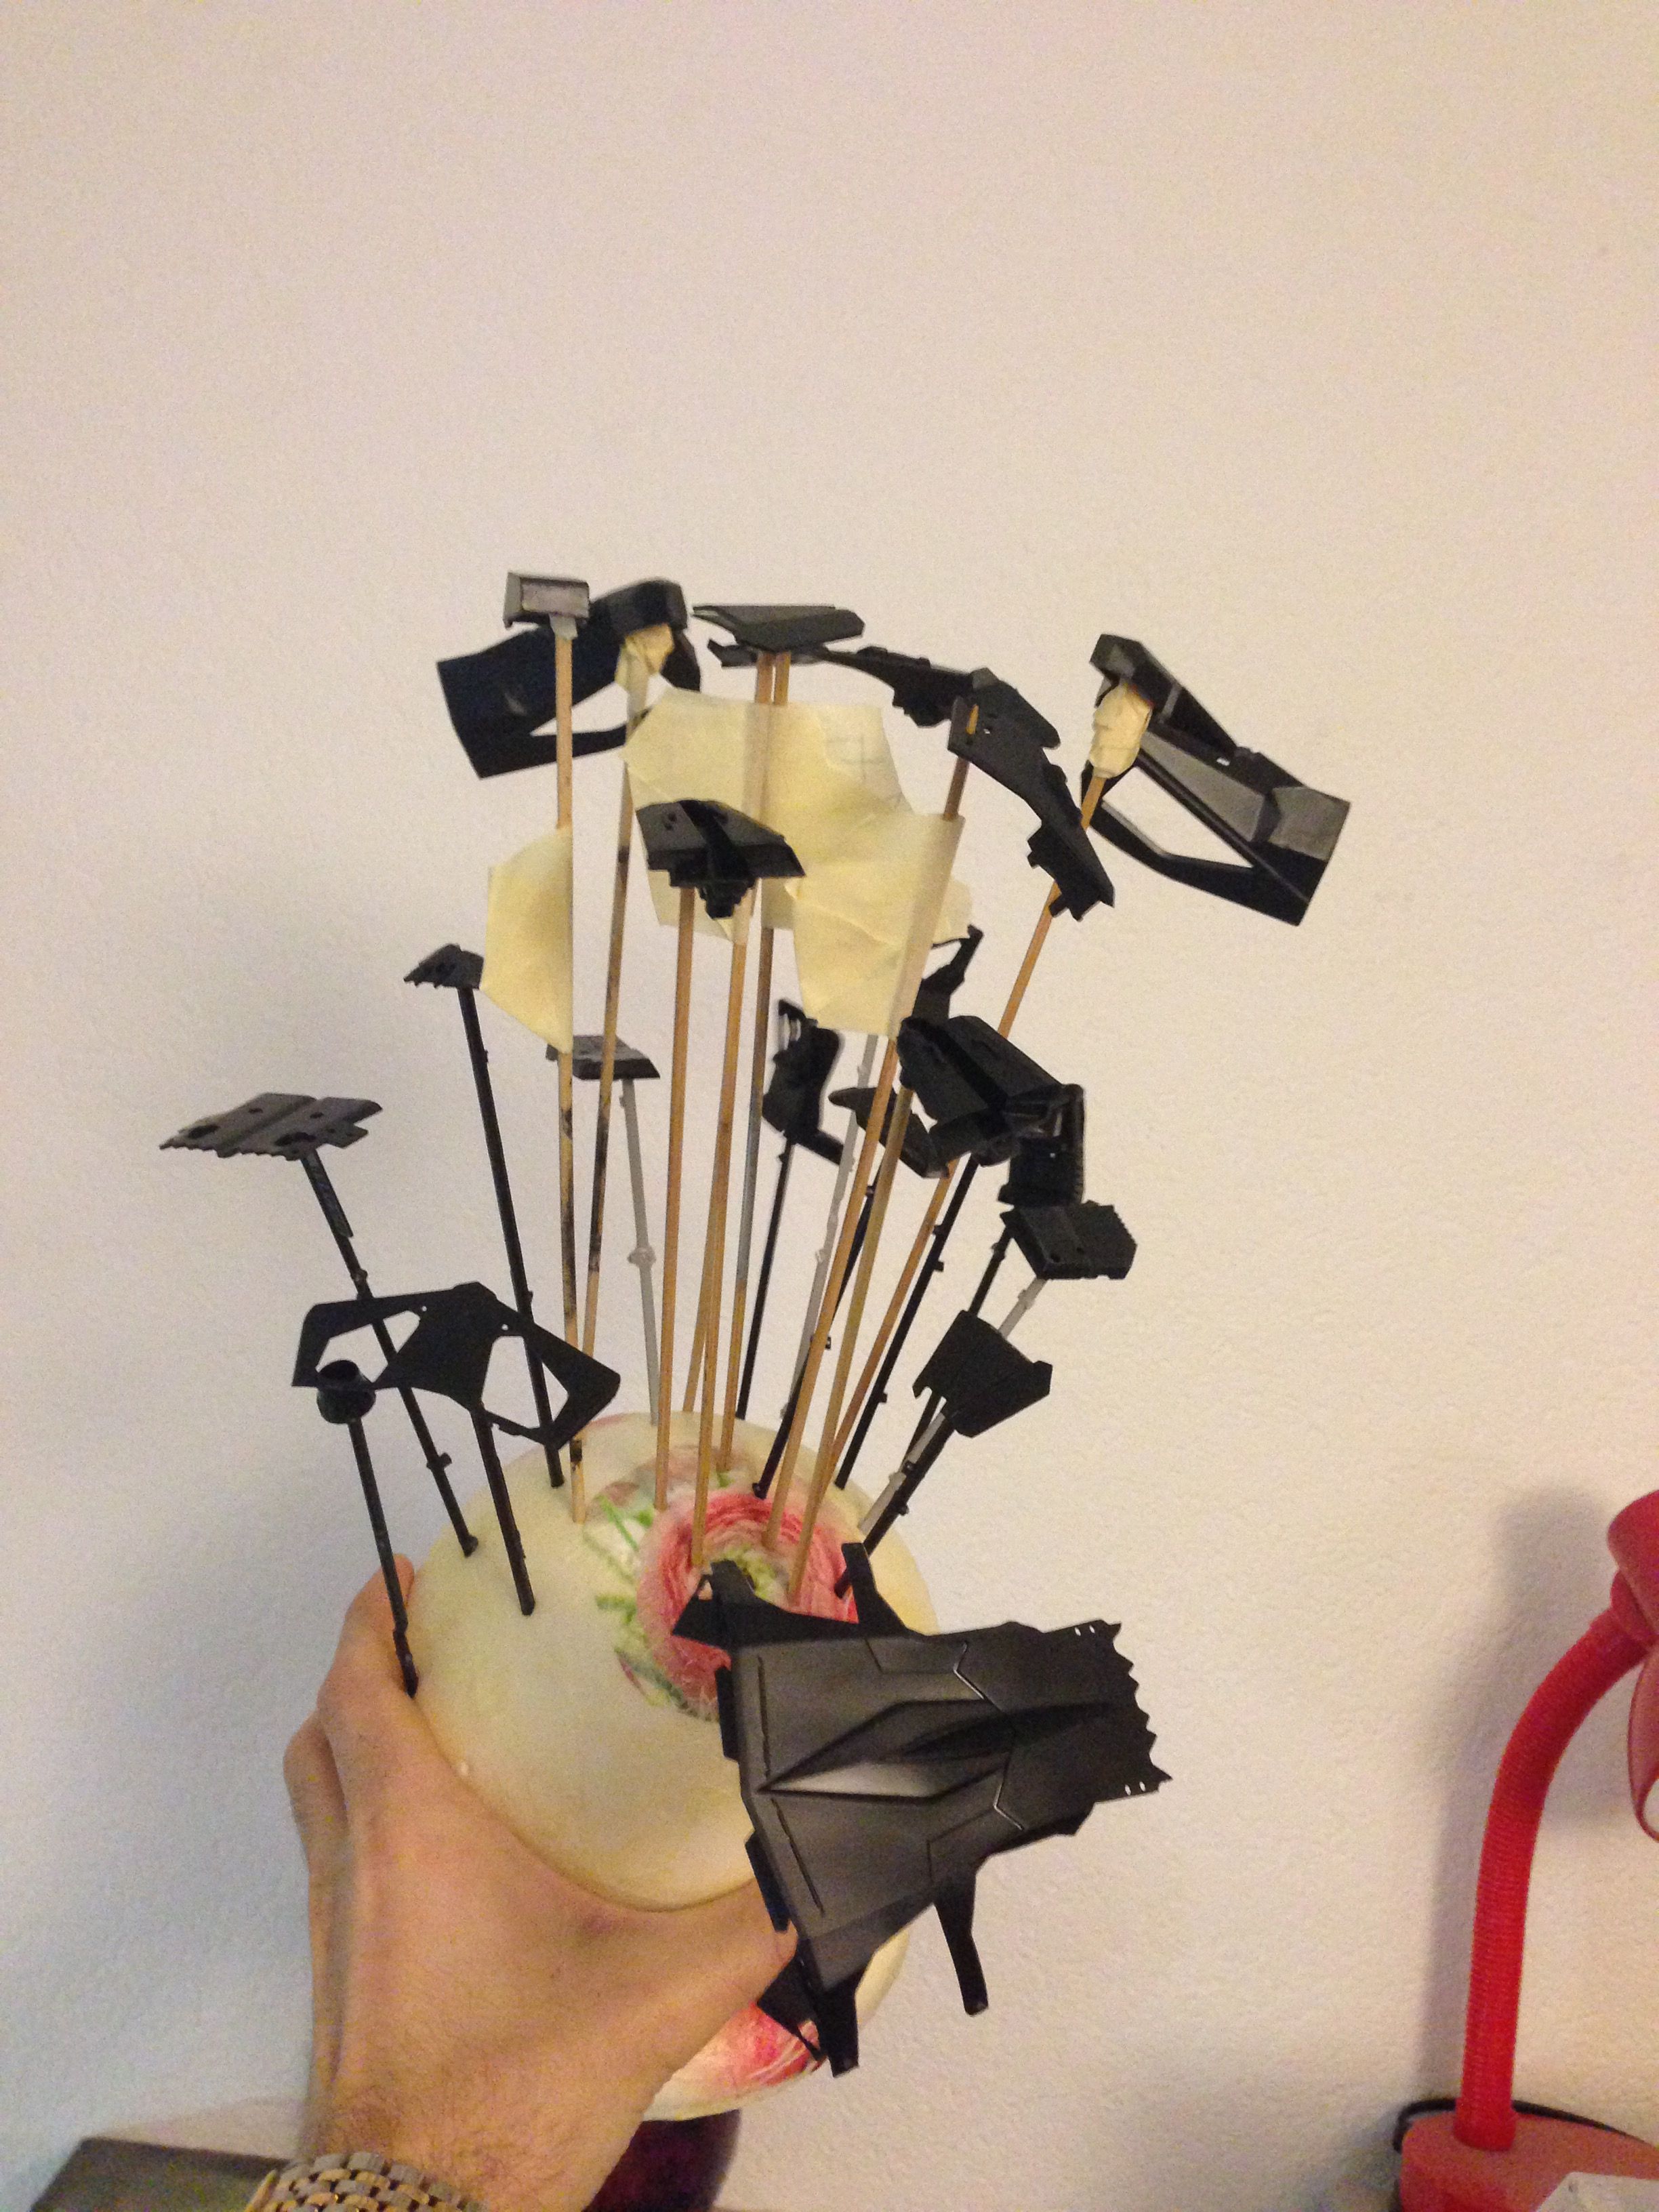
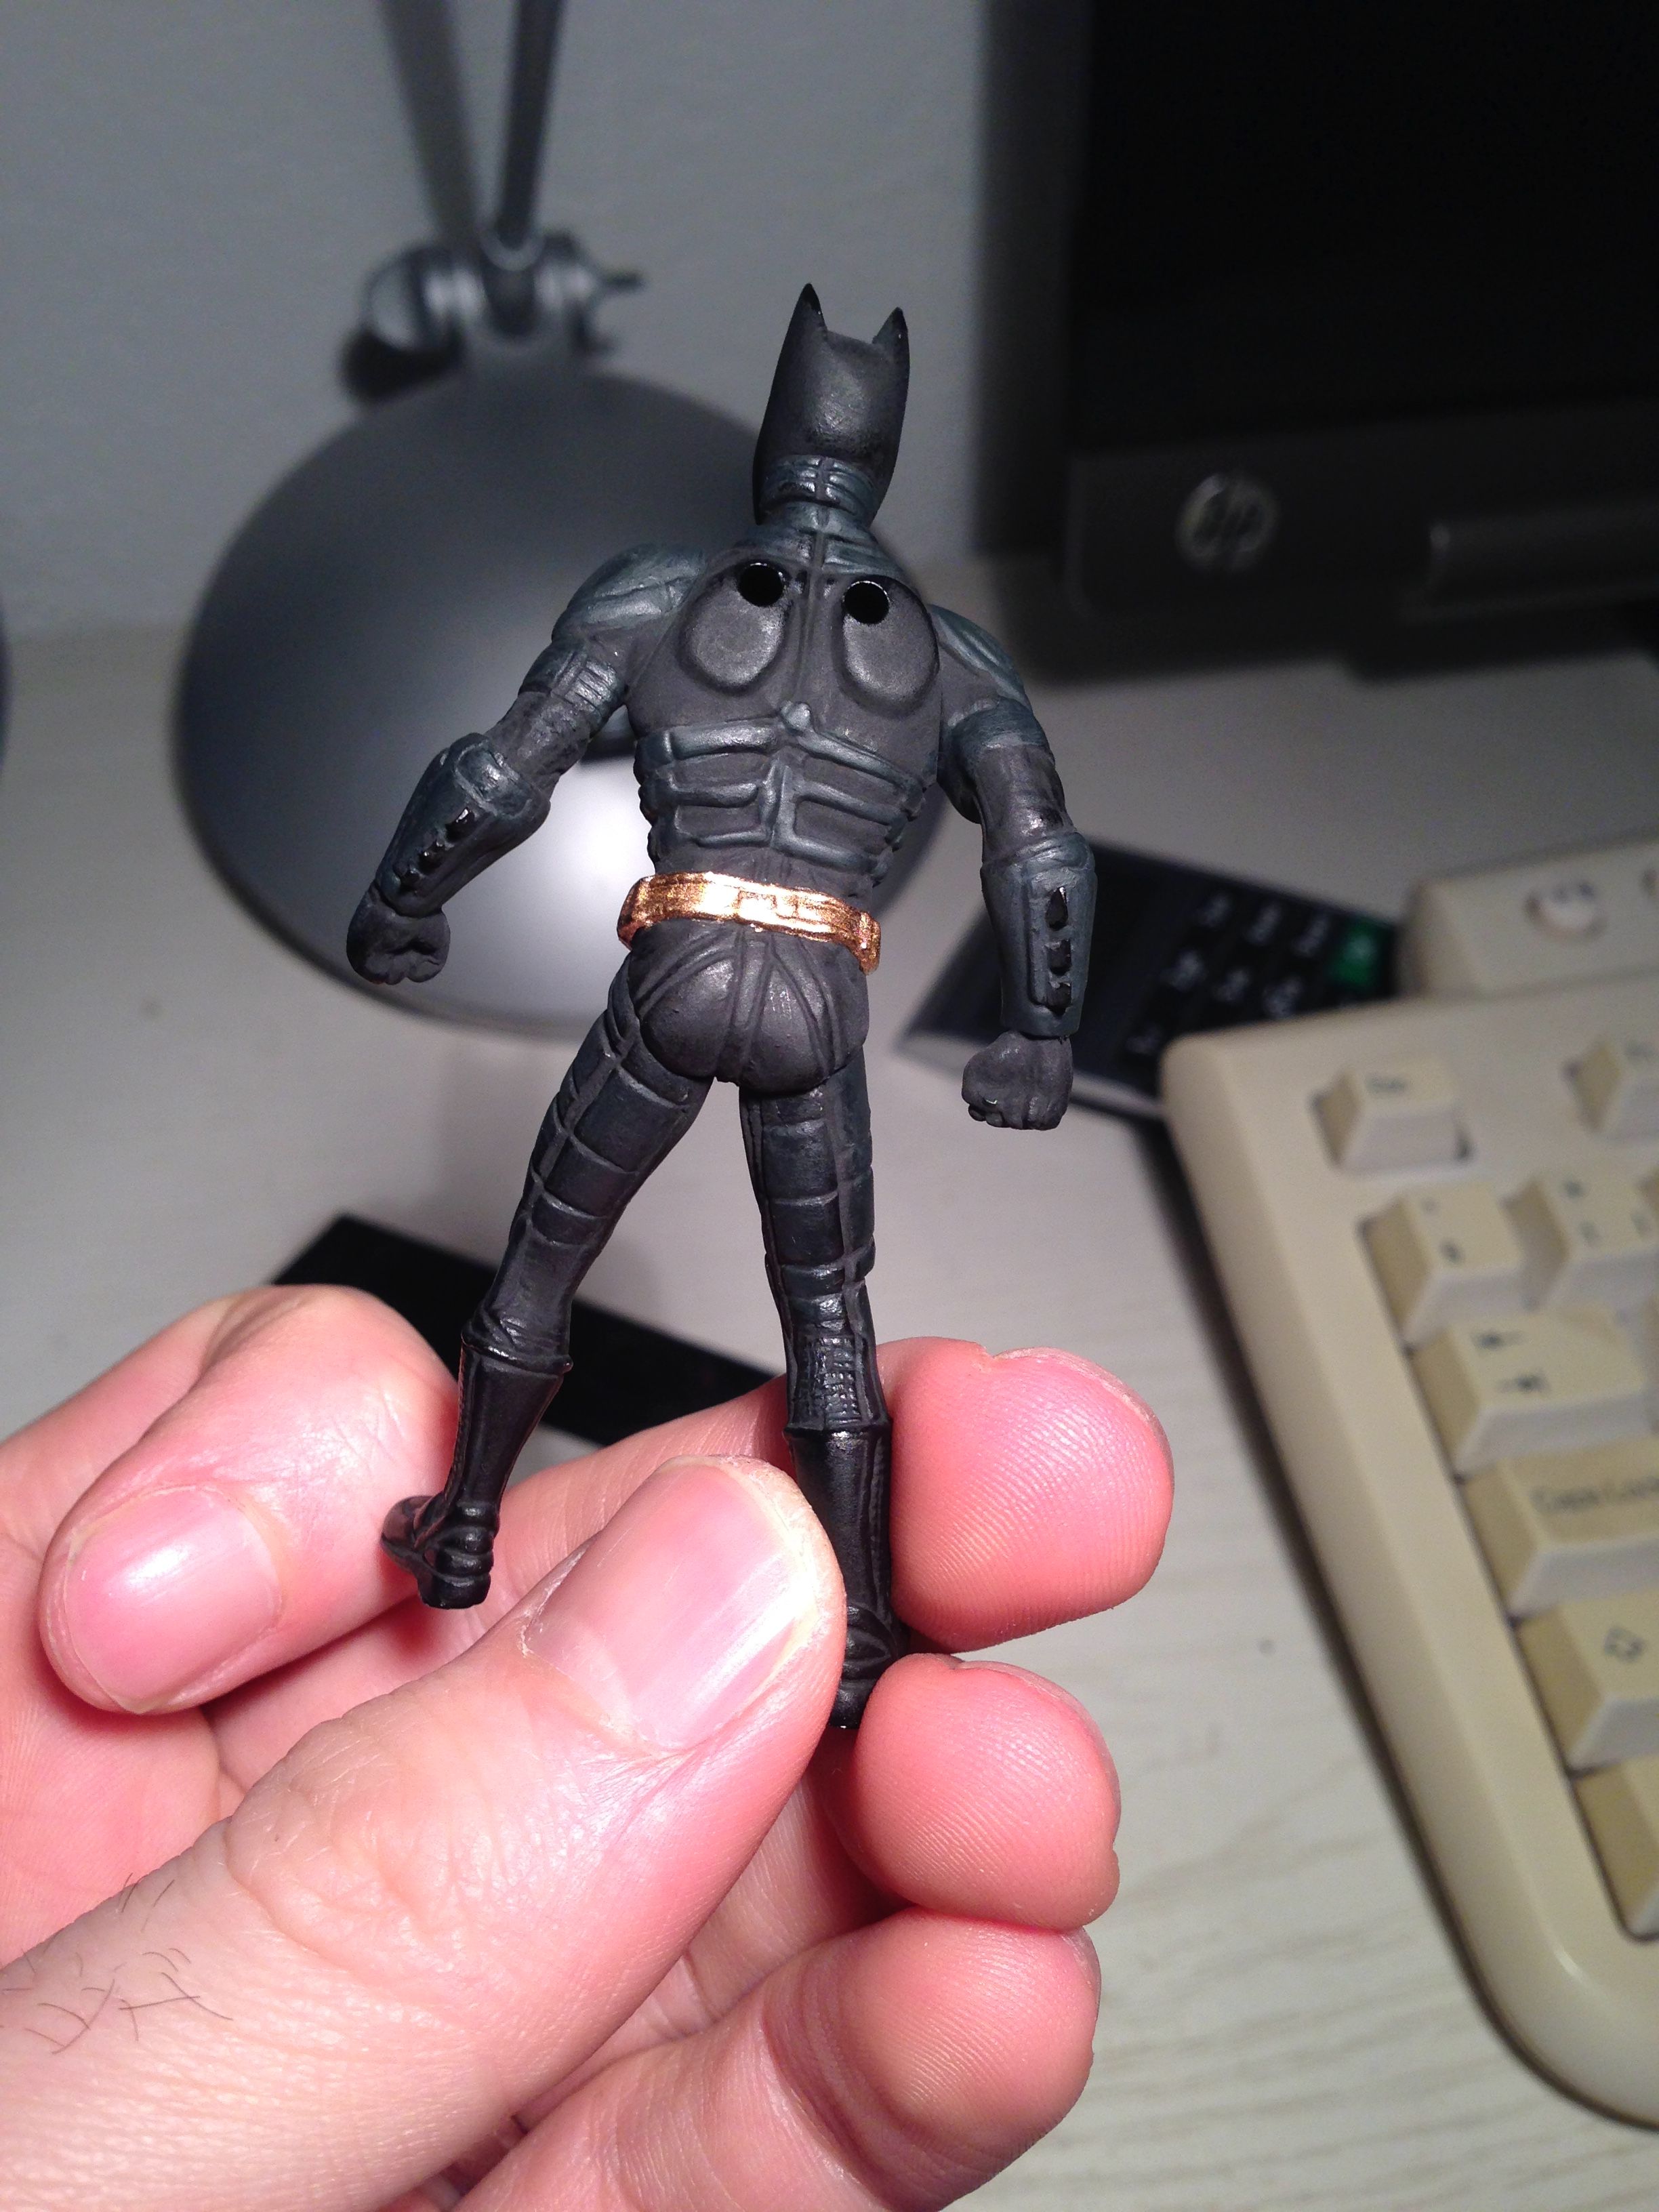
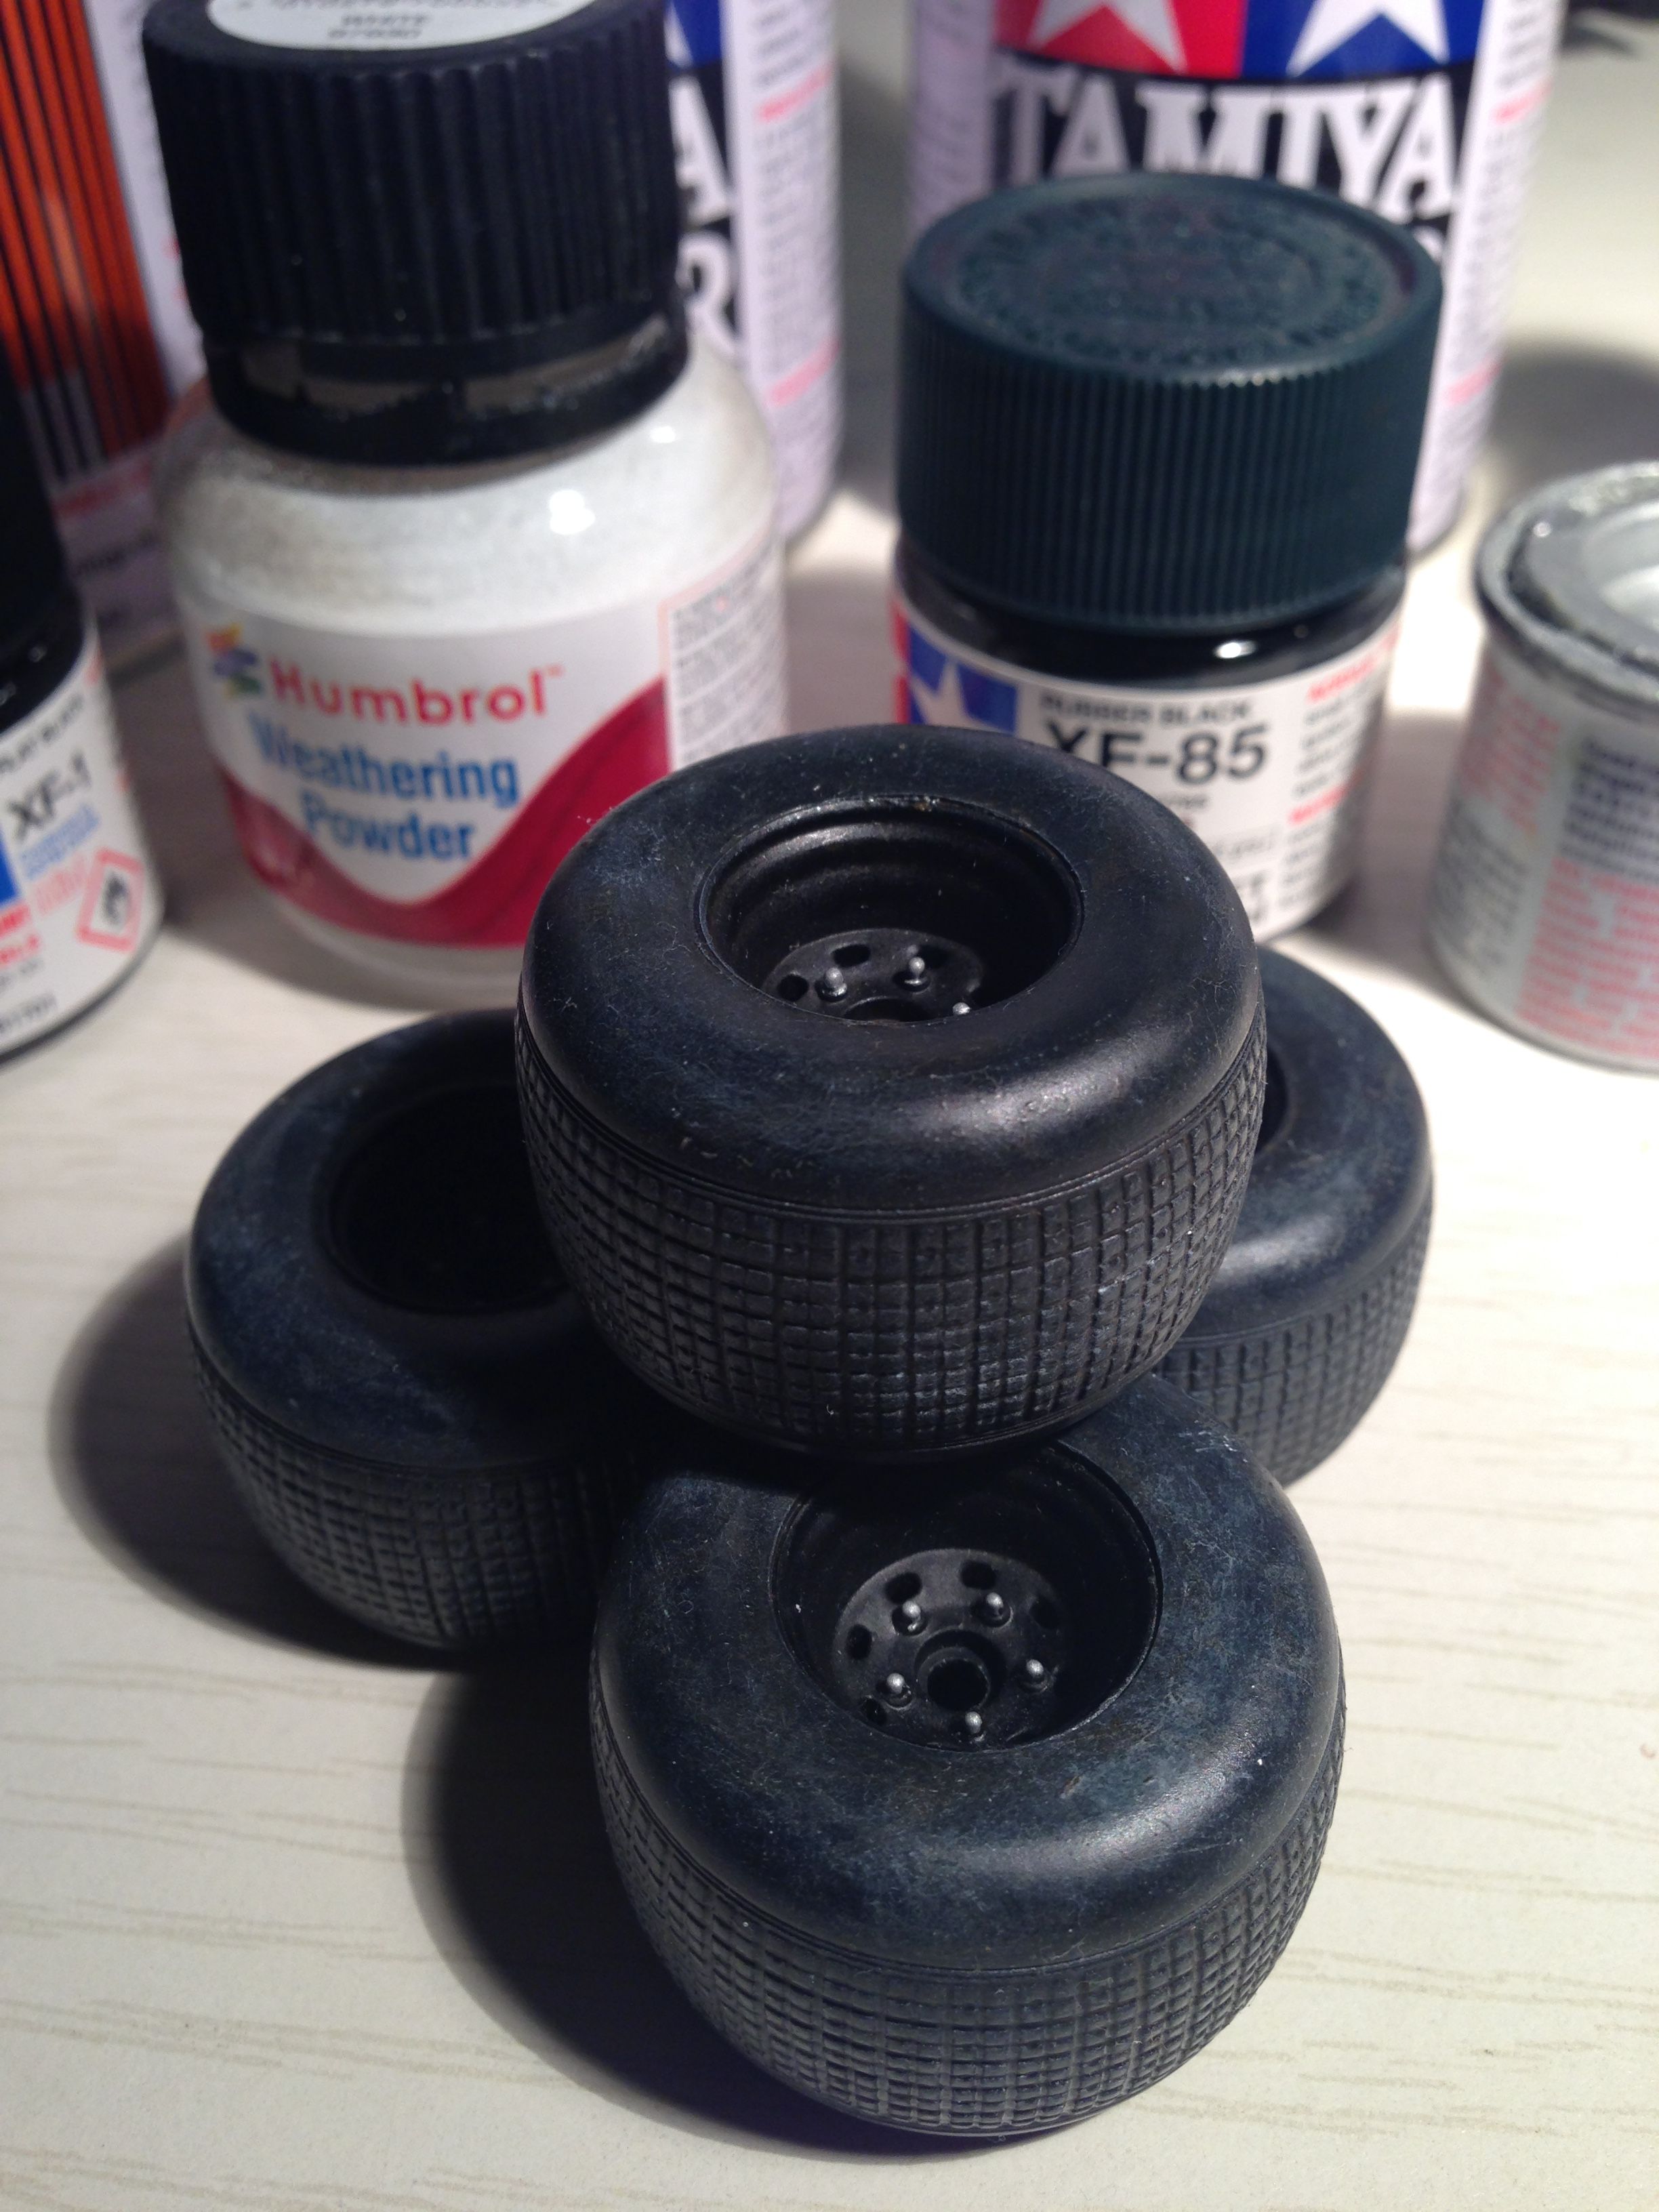
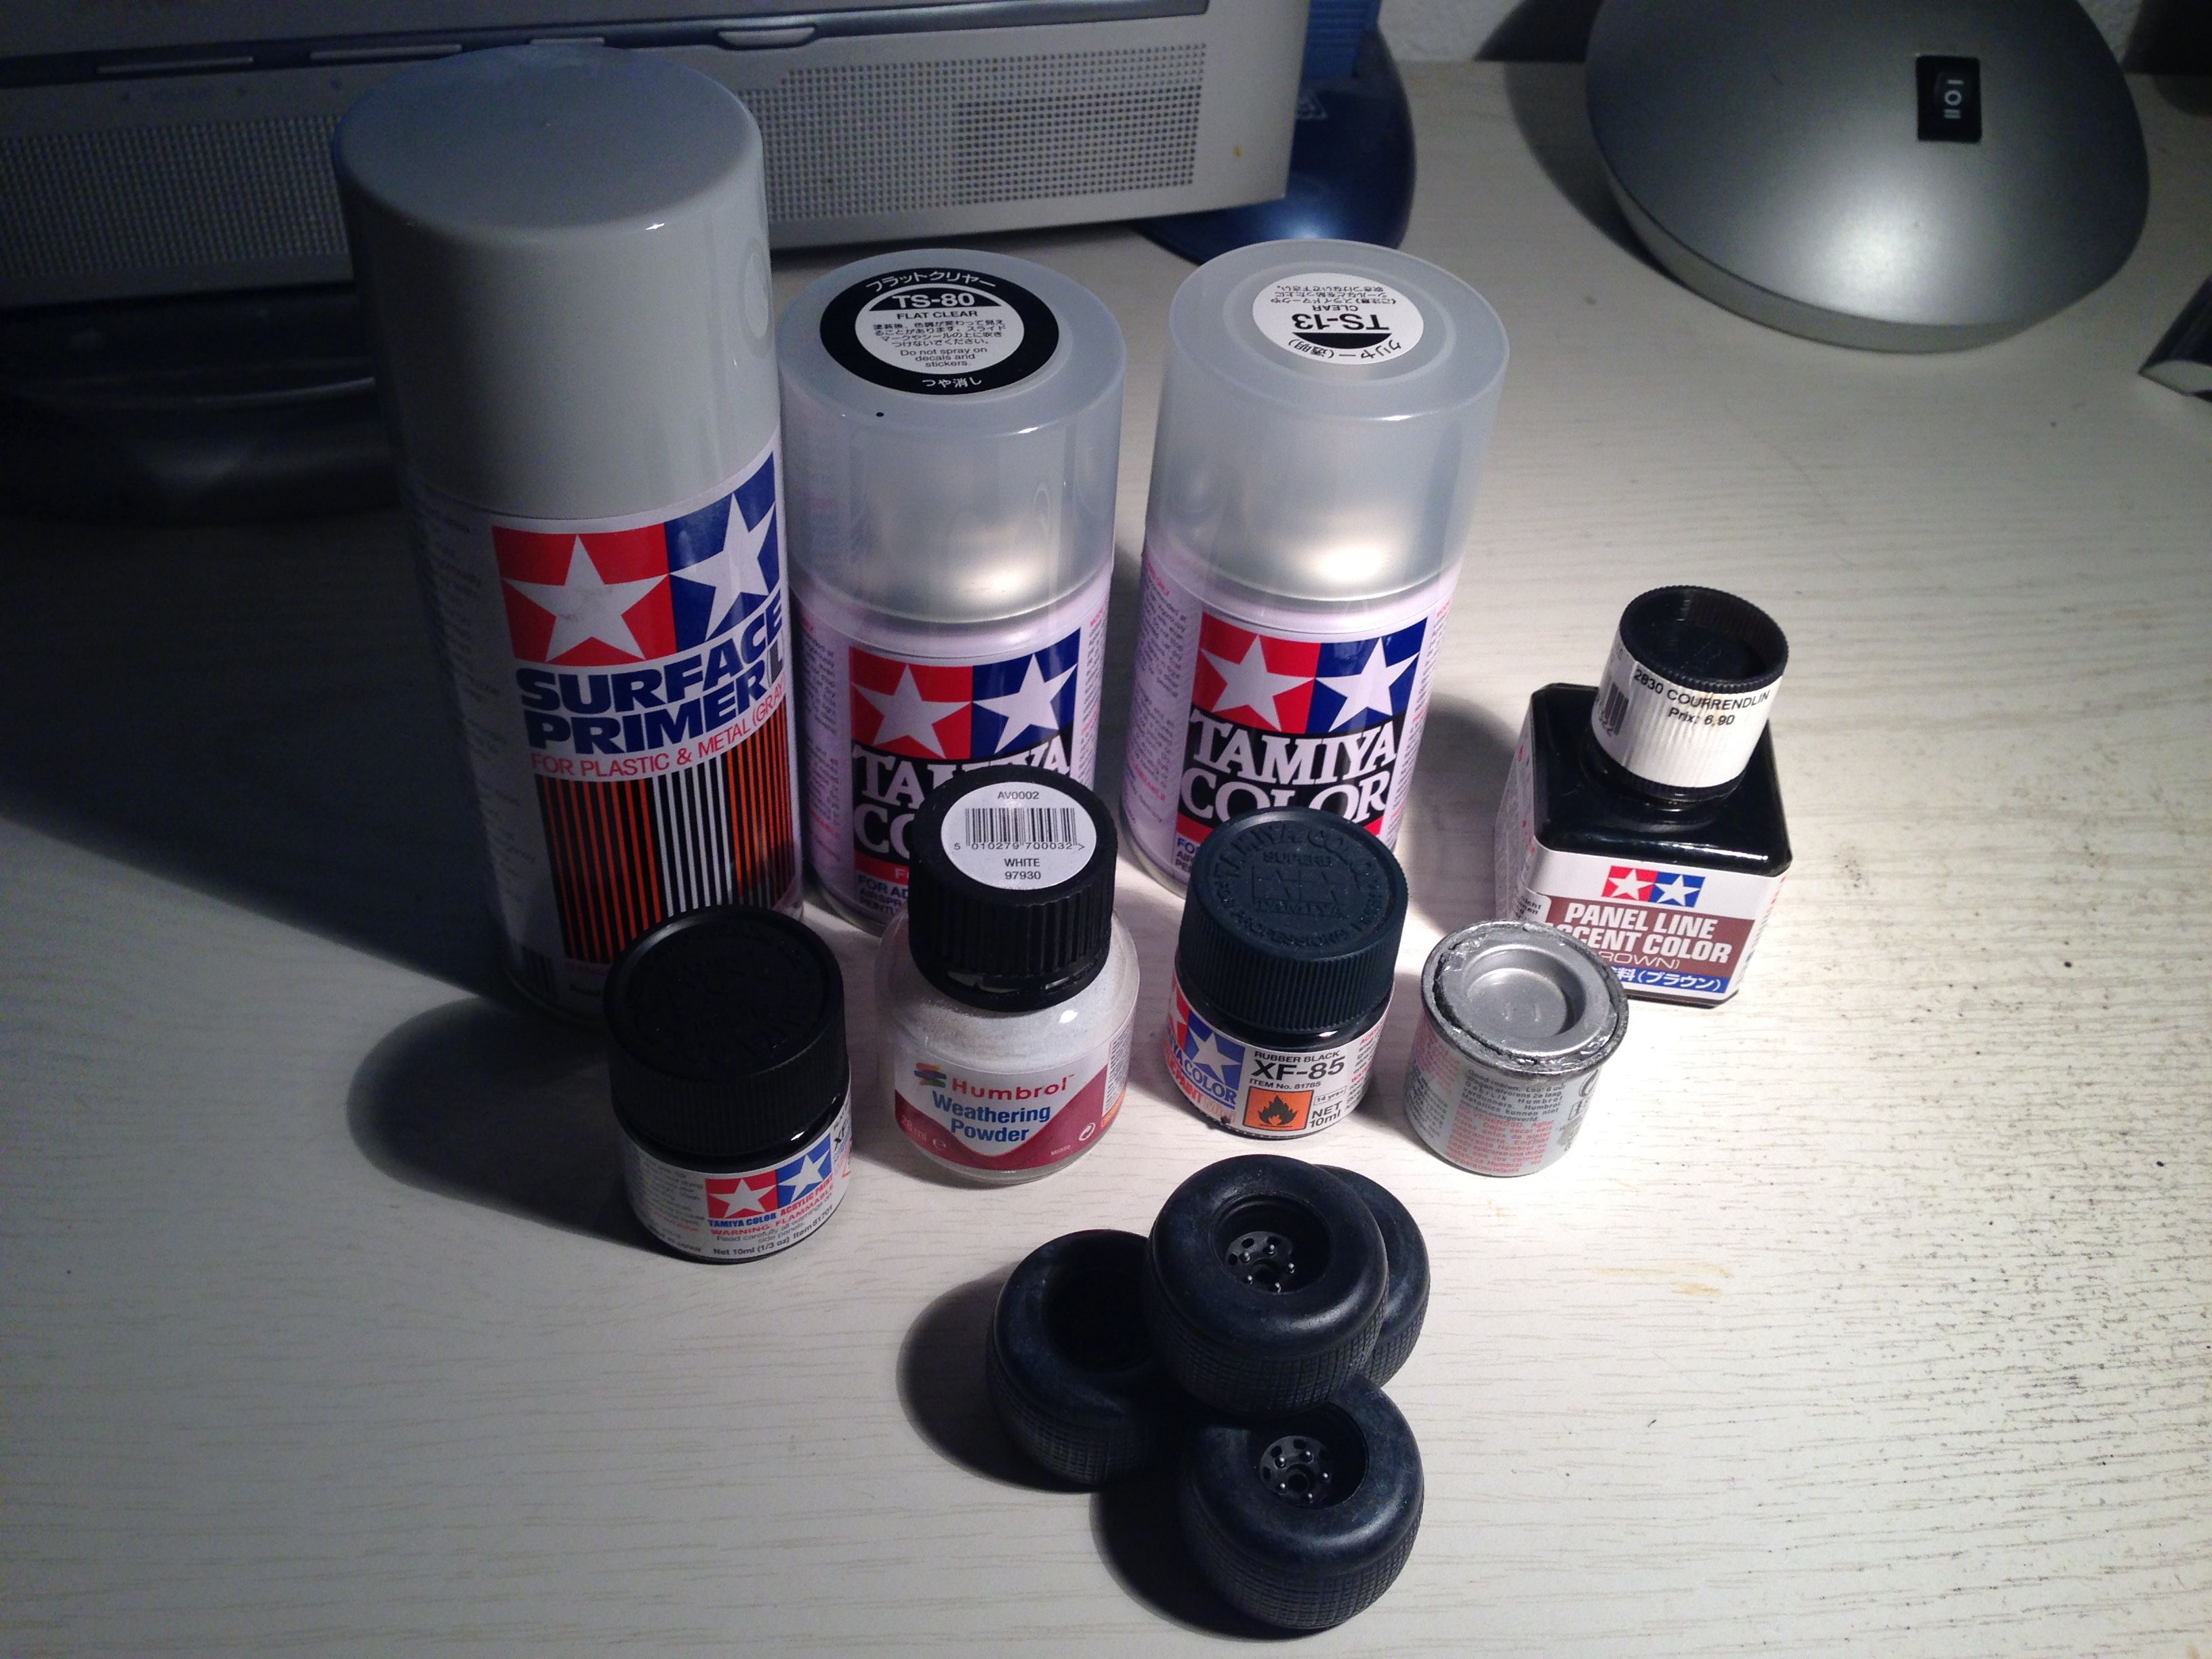
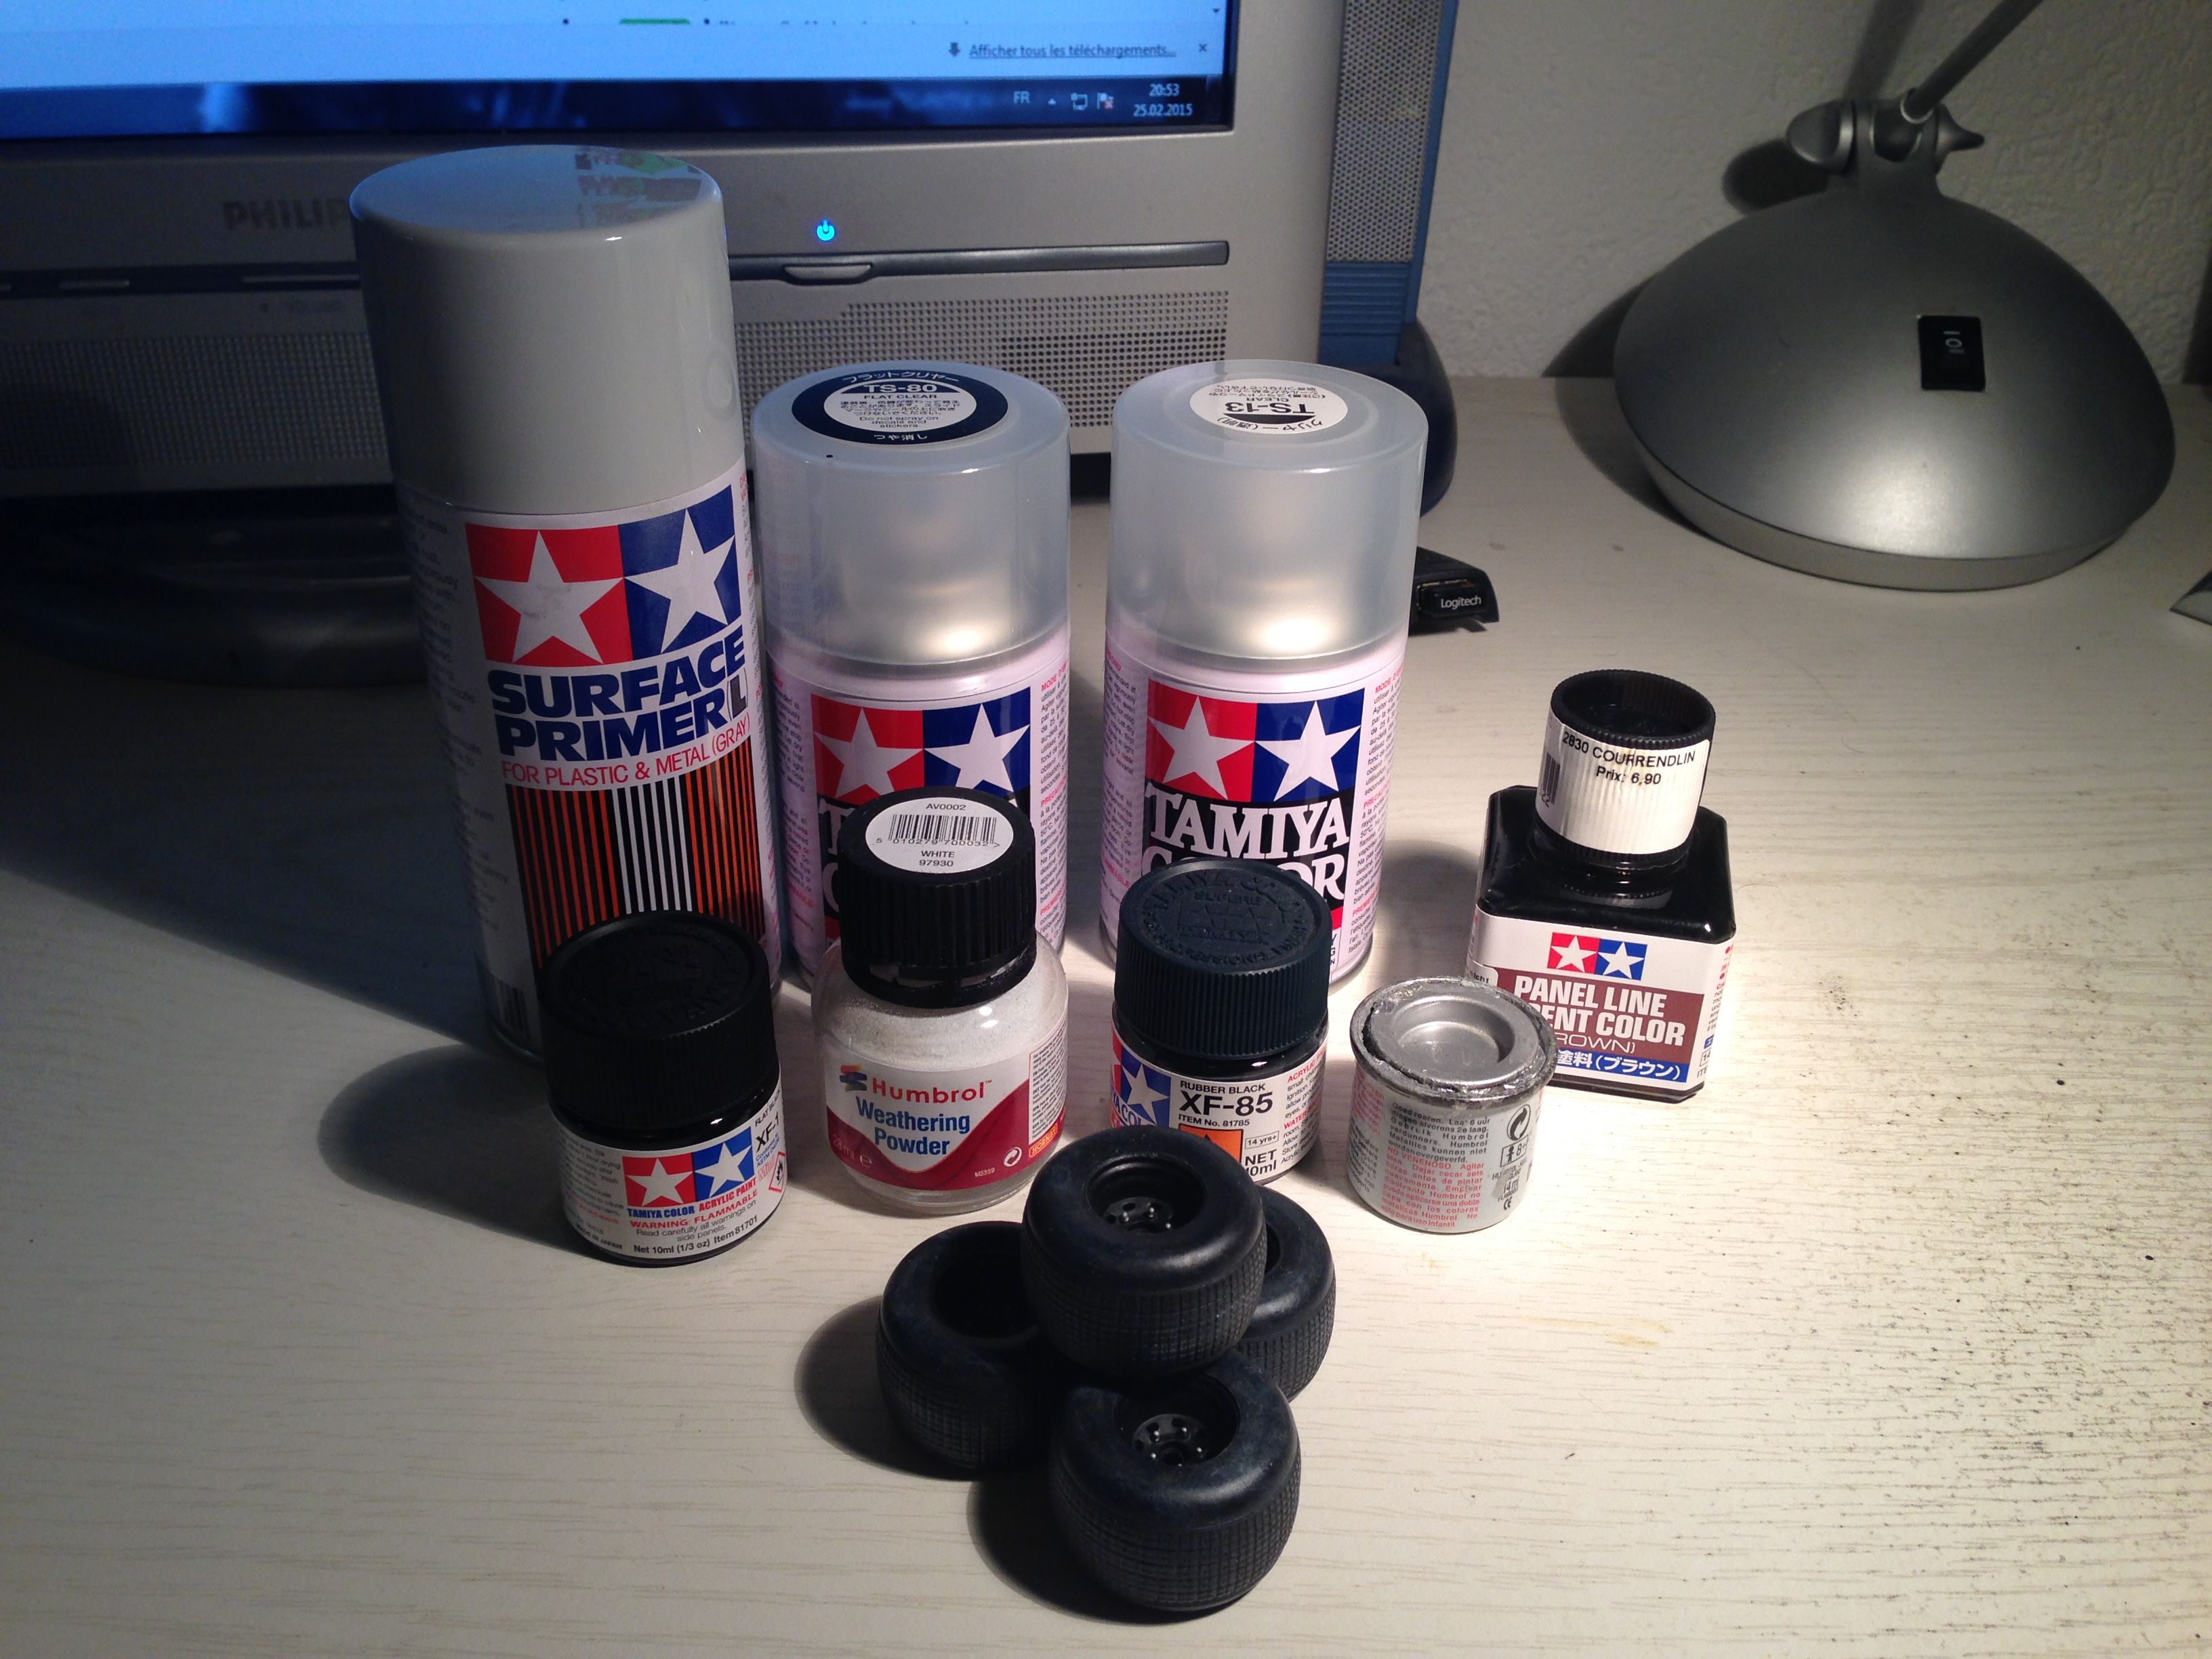
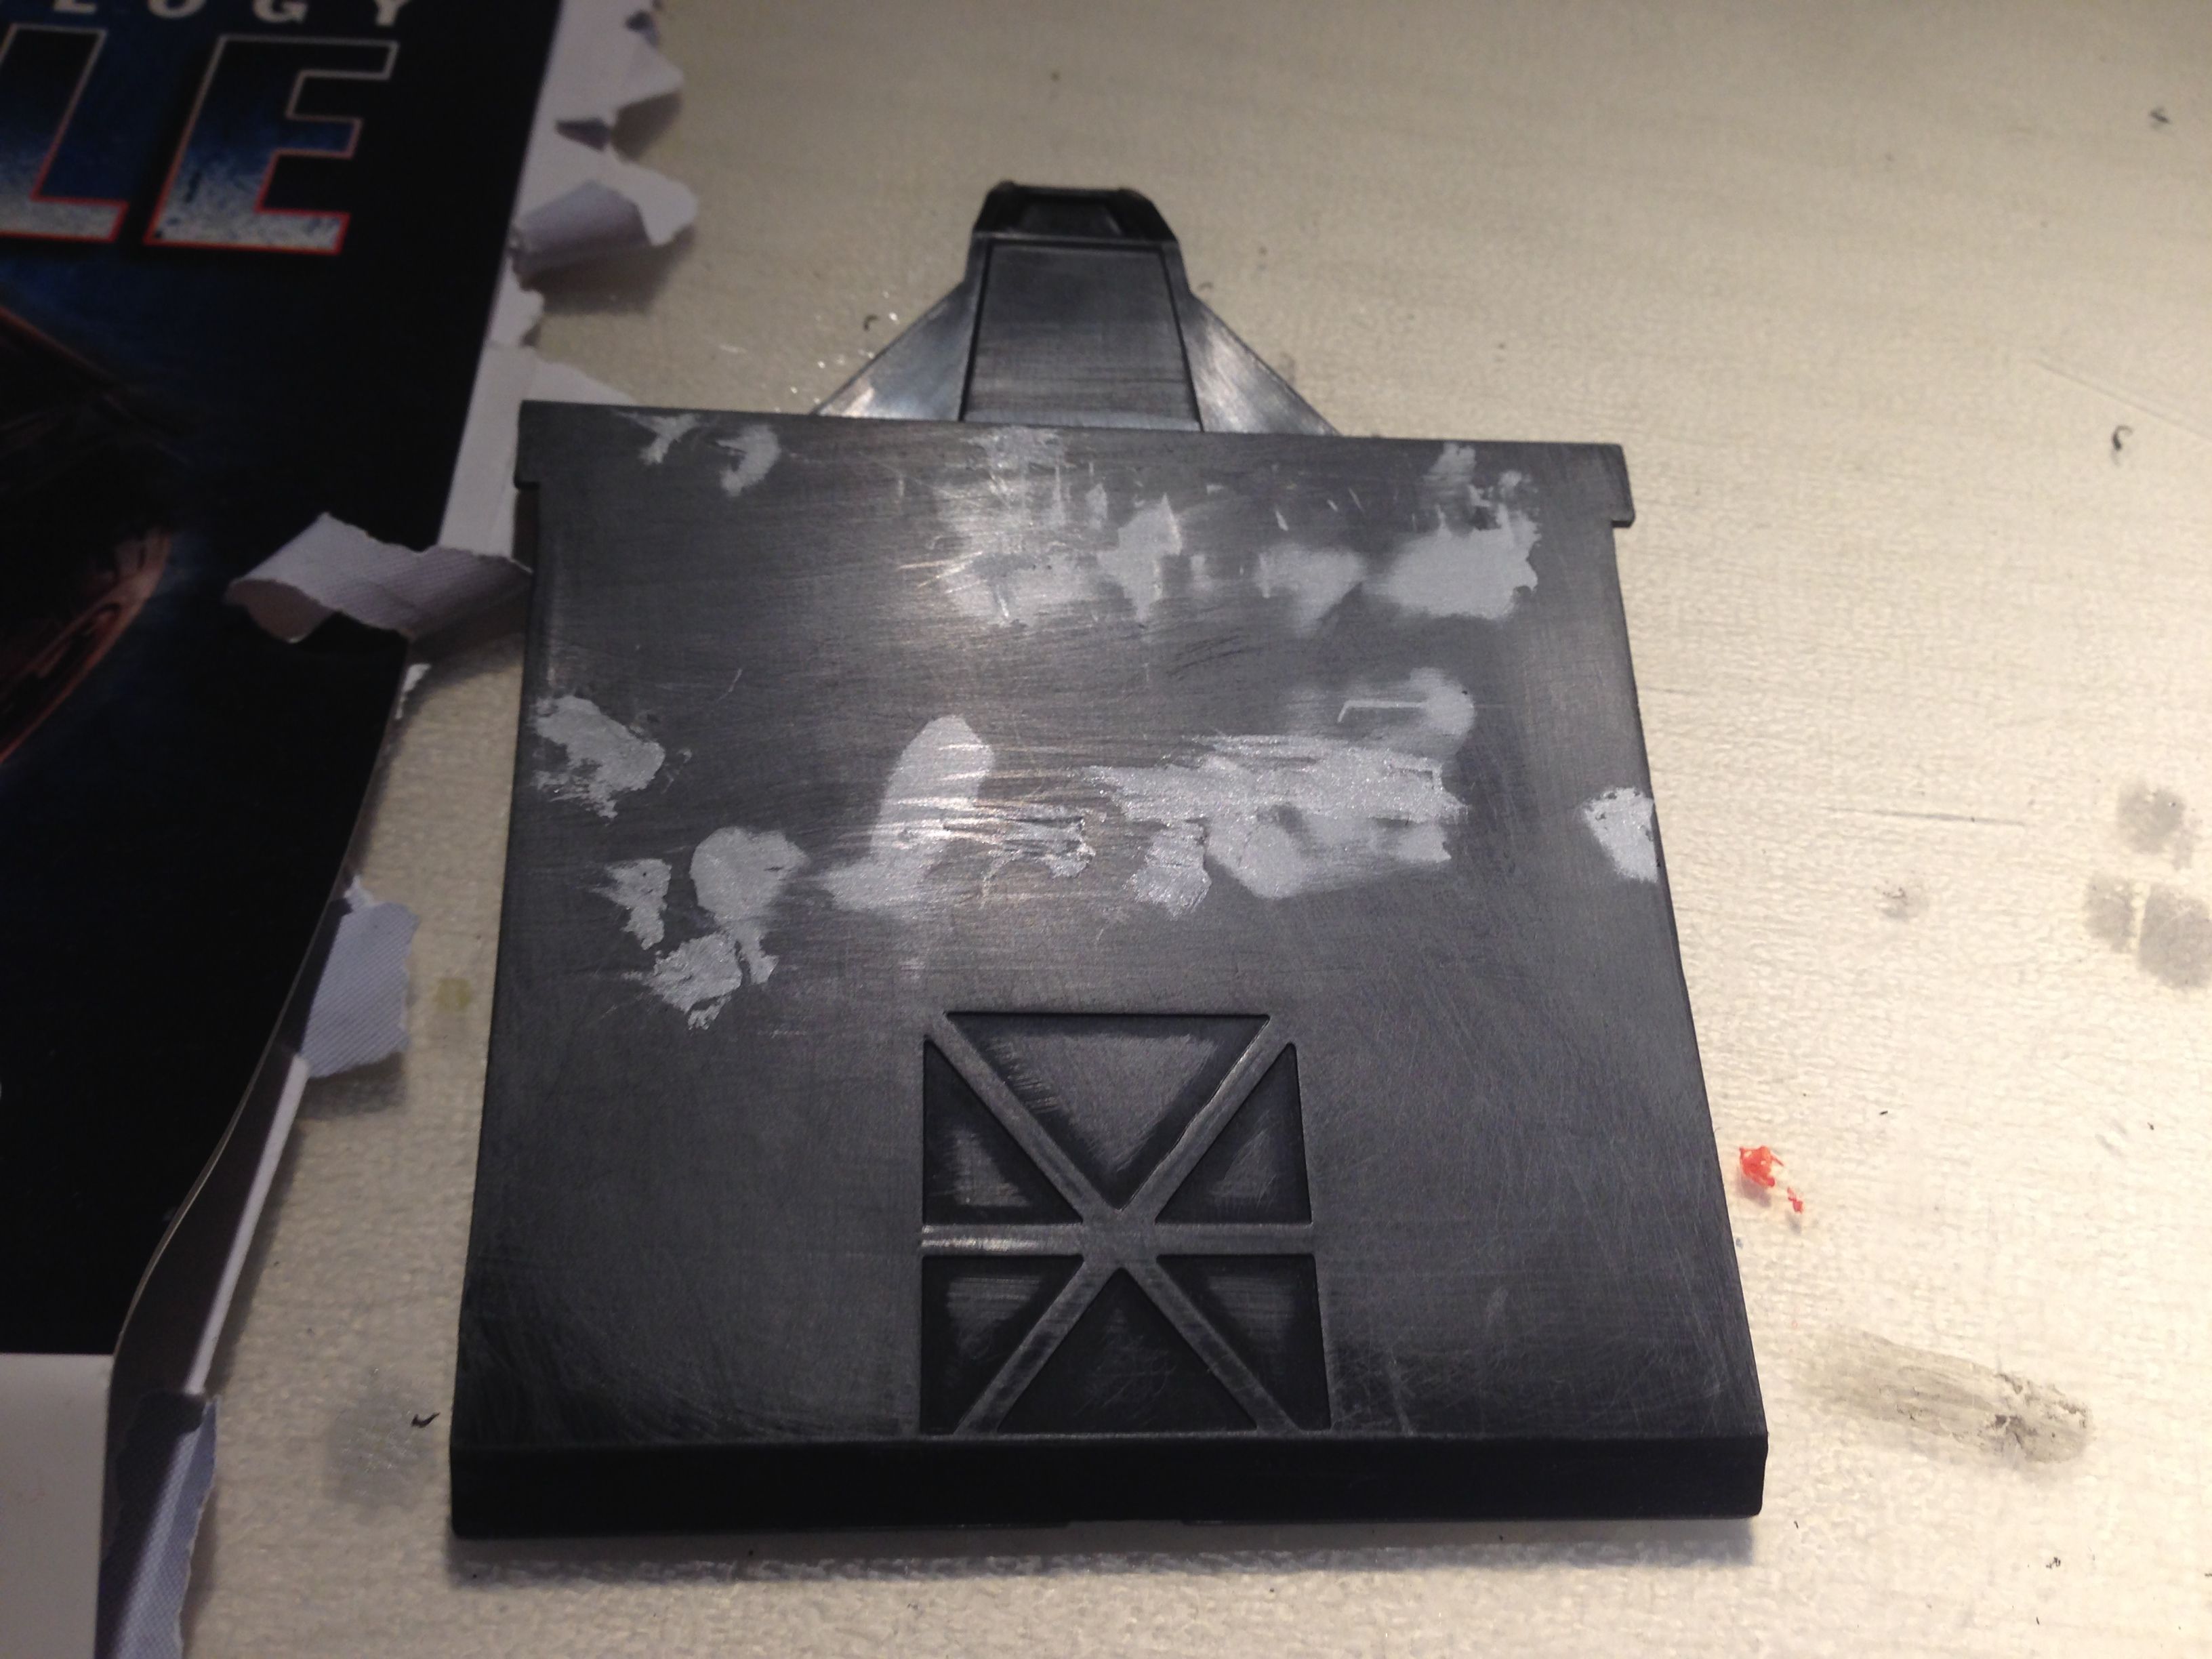
Assembly, then primer on the pieces:

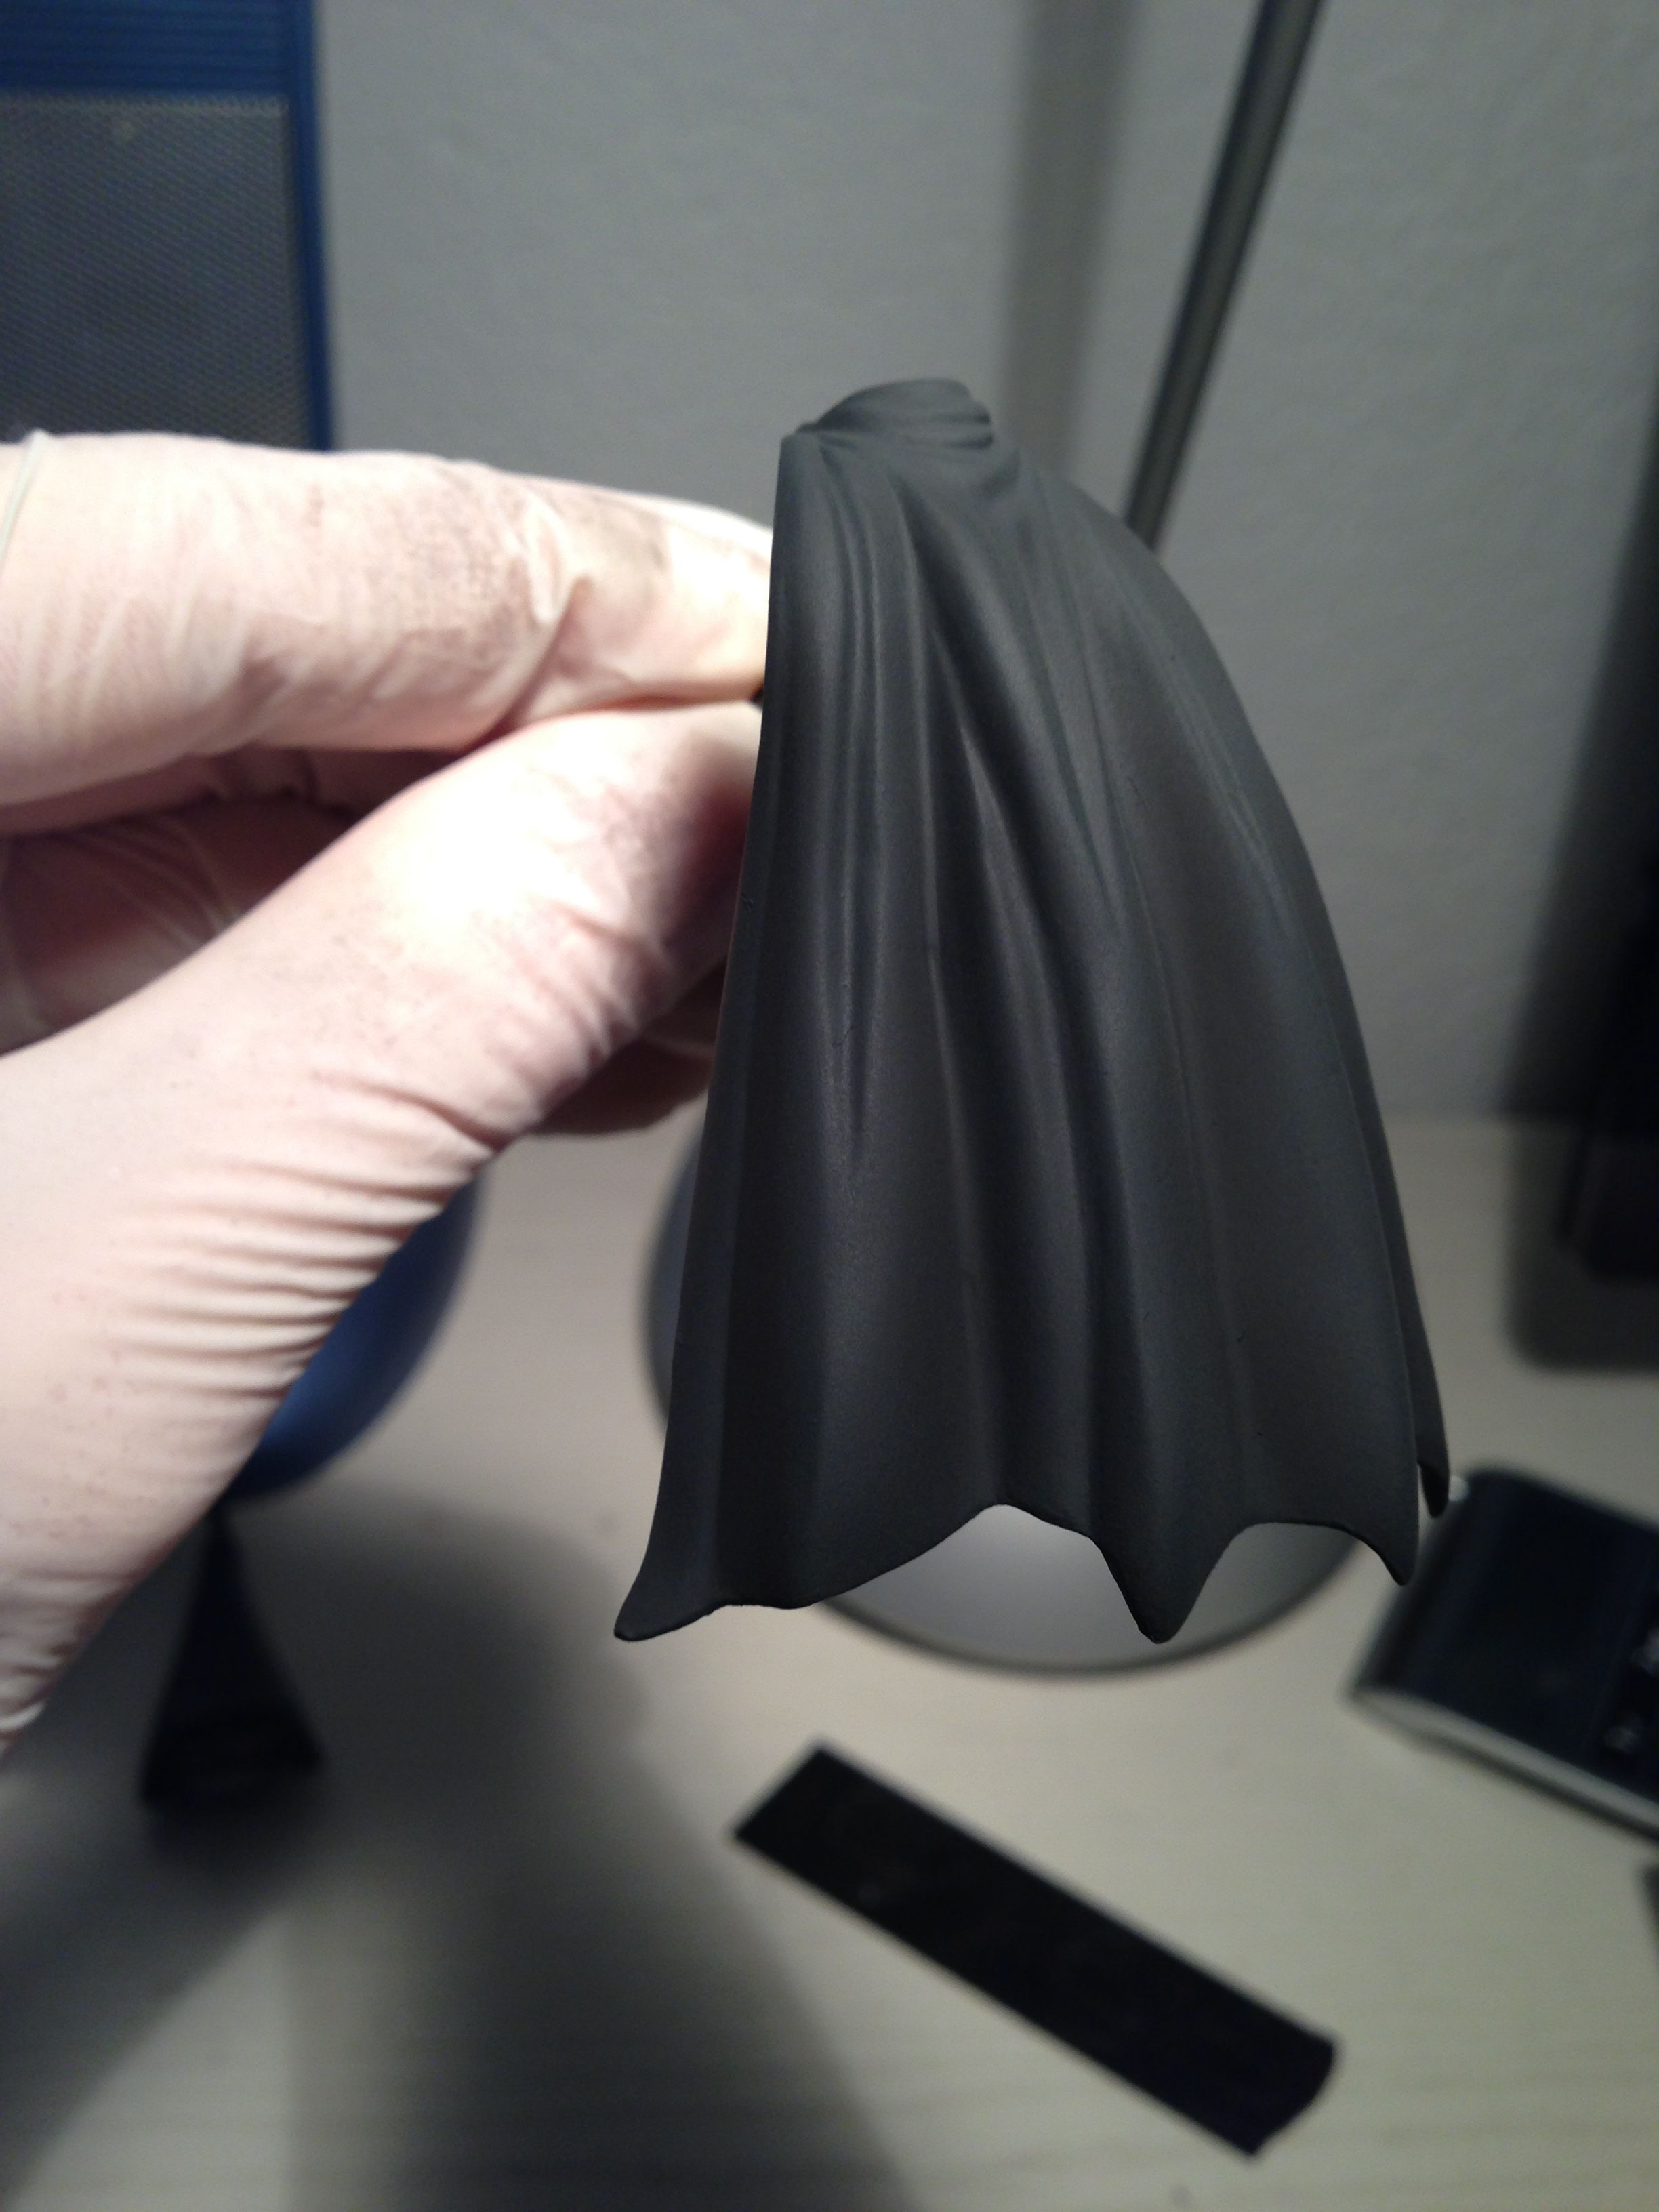
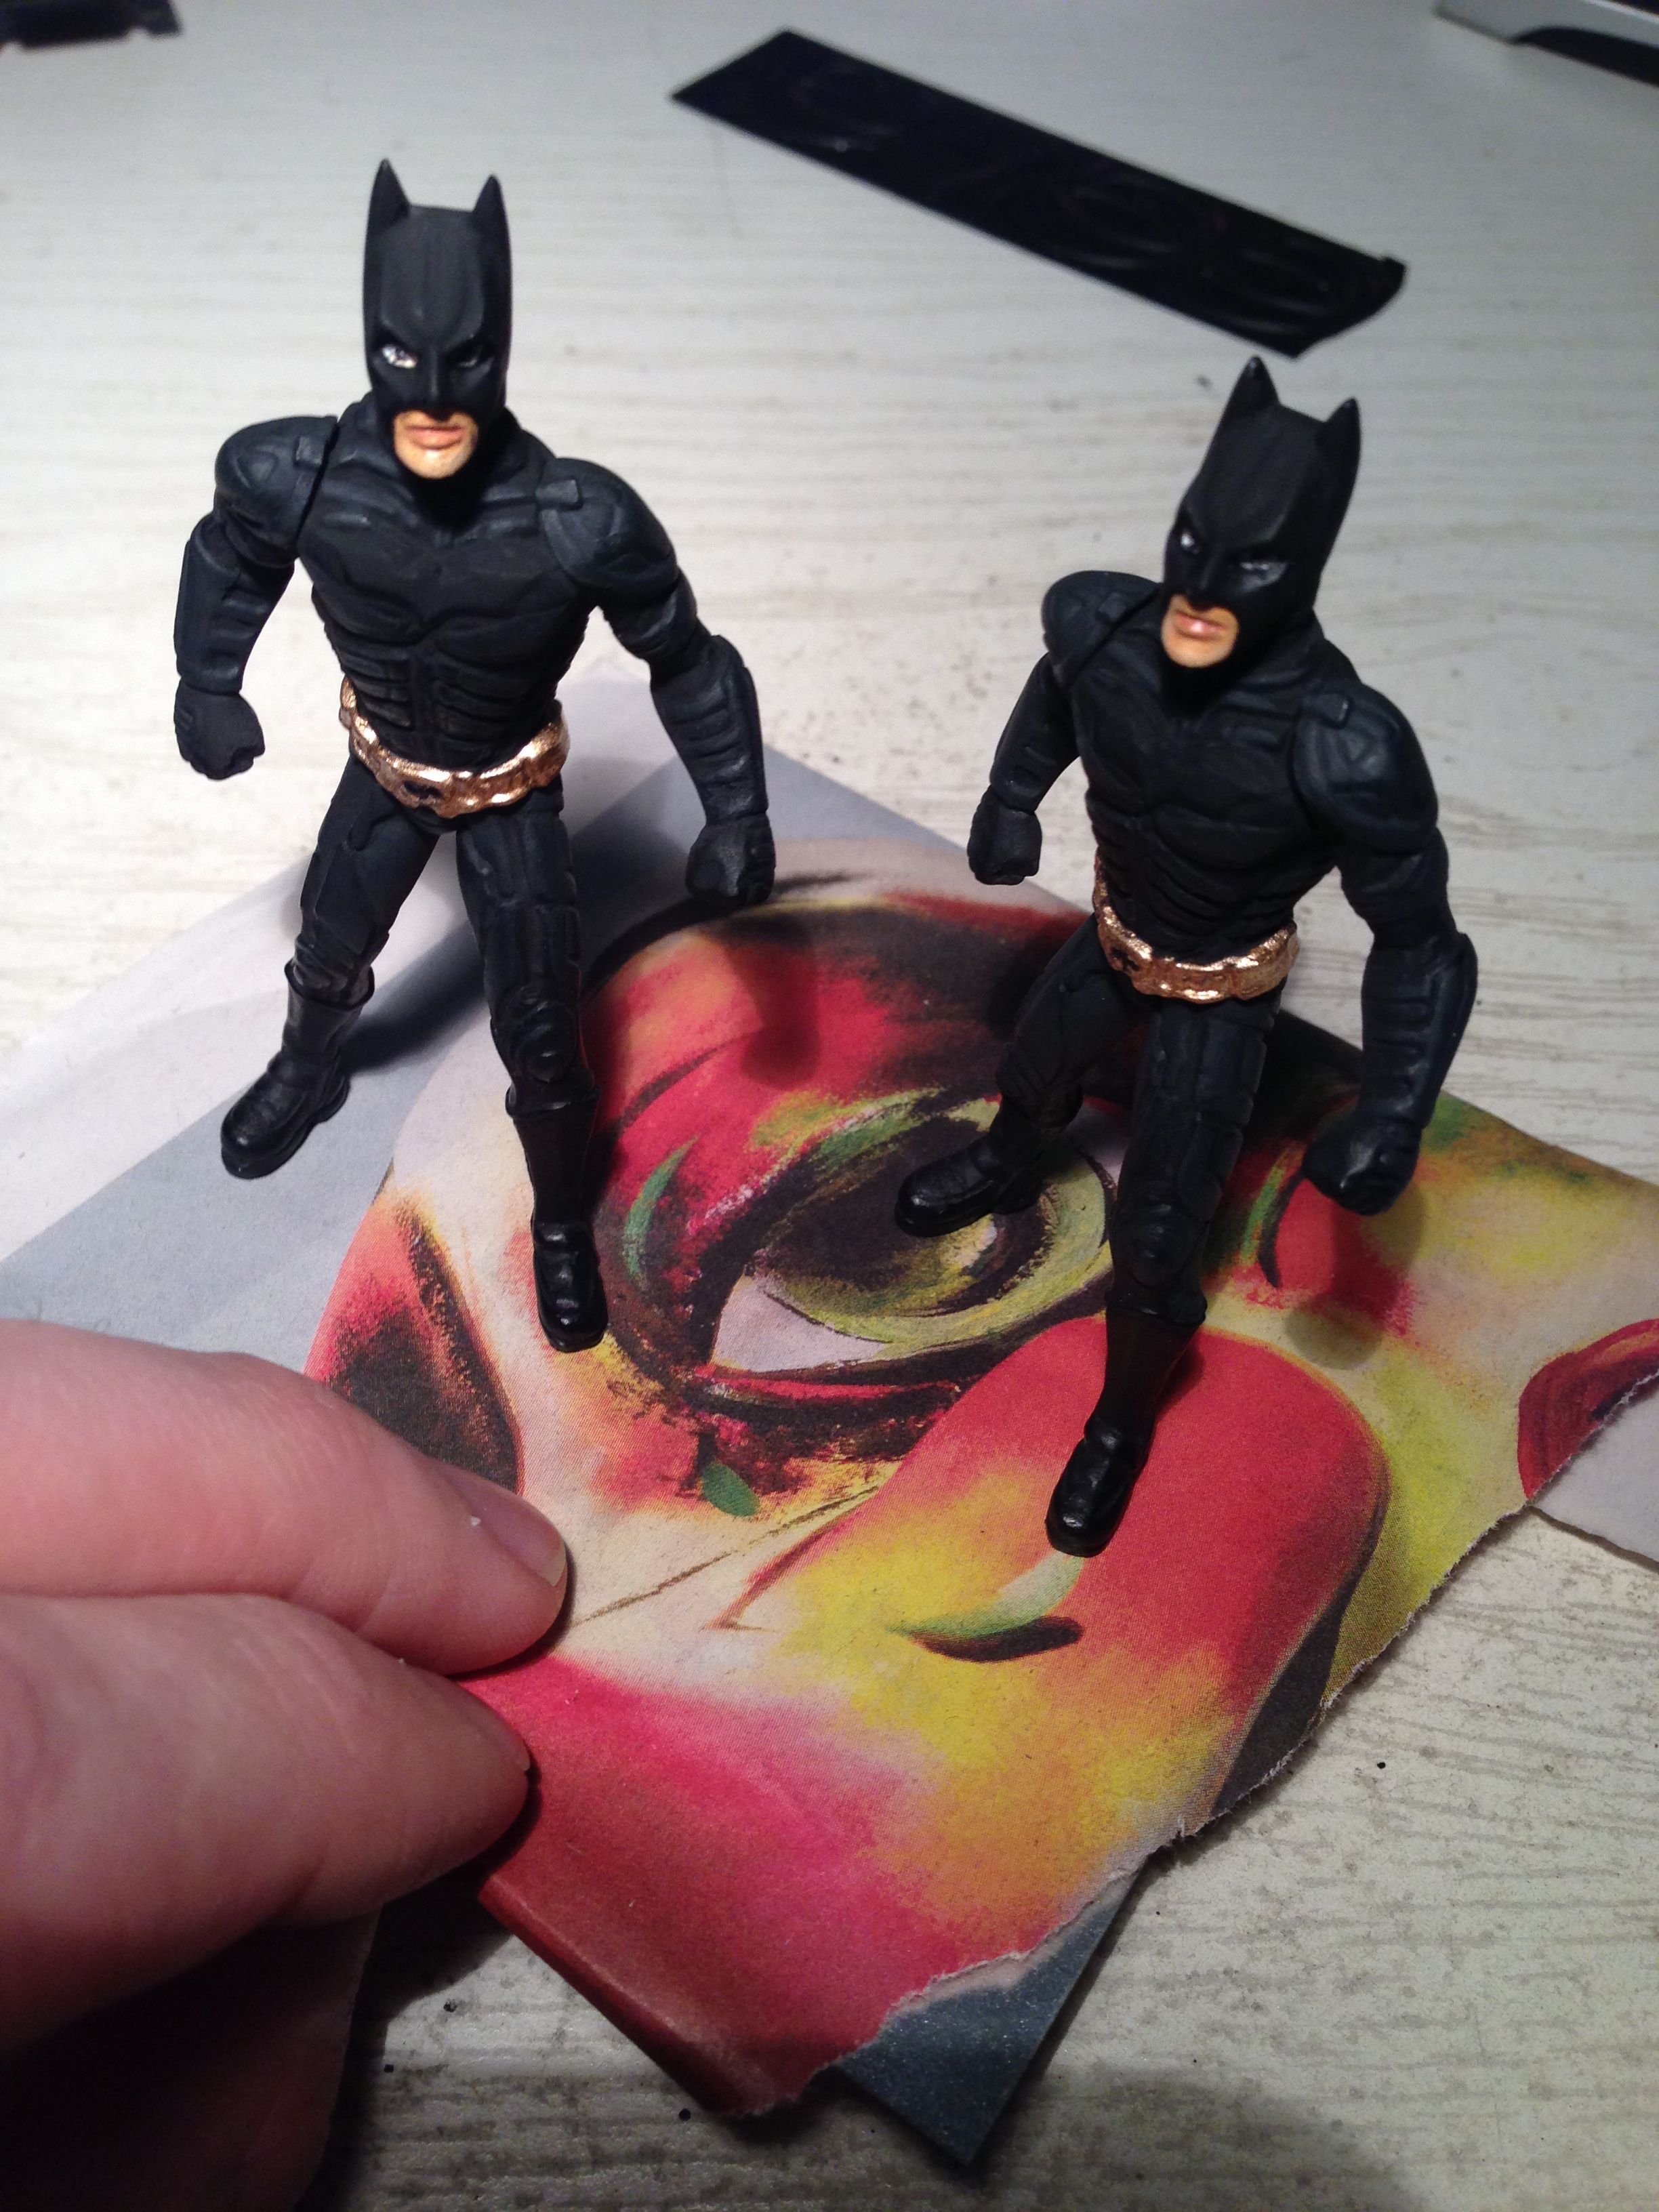
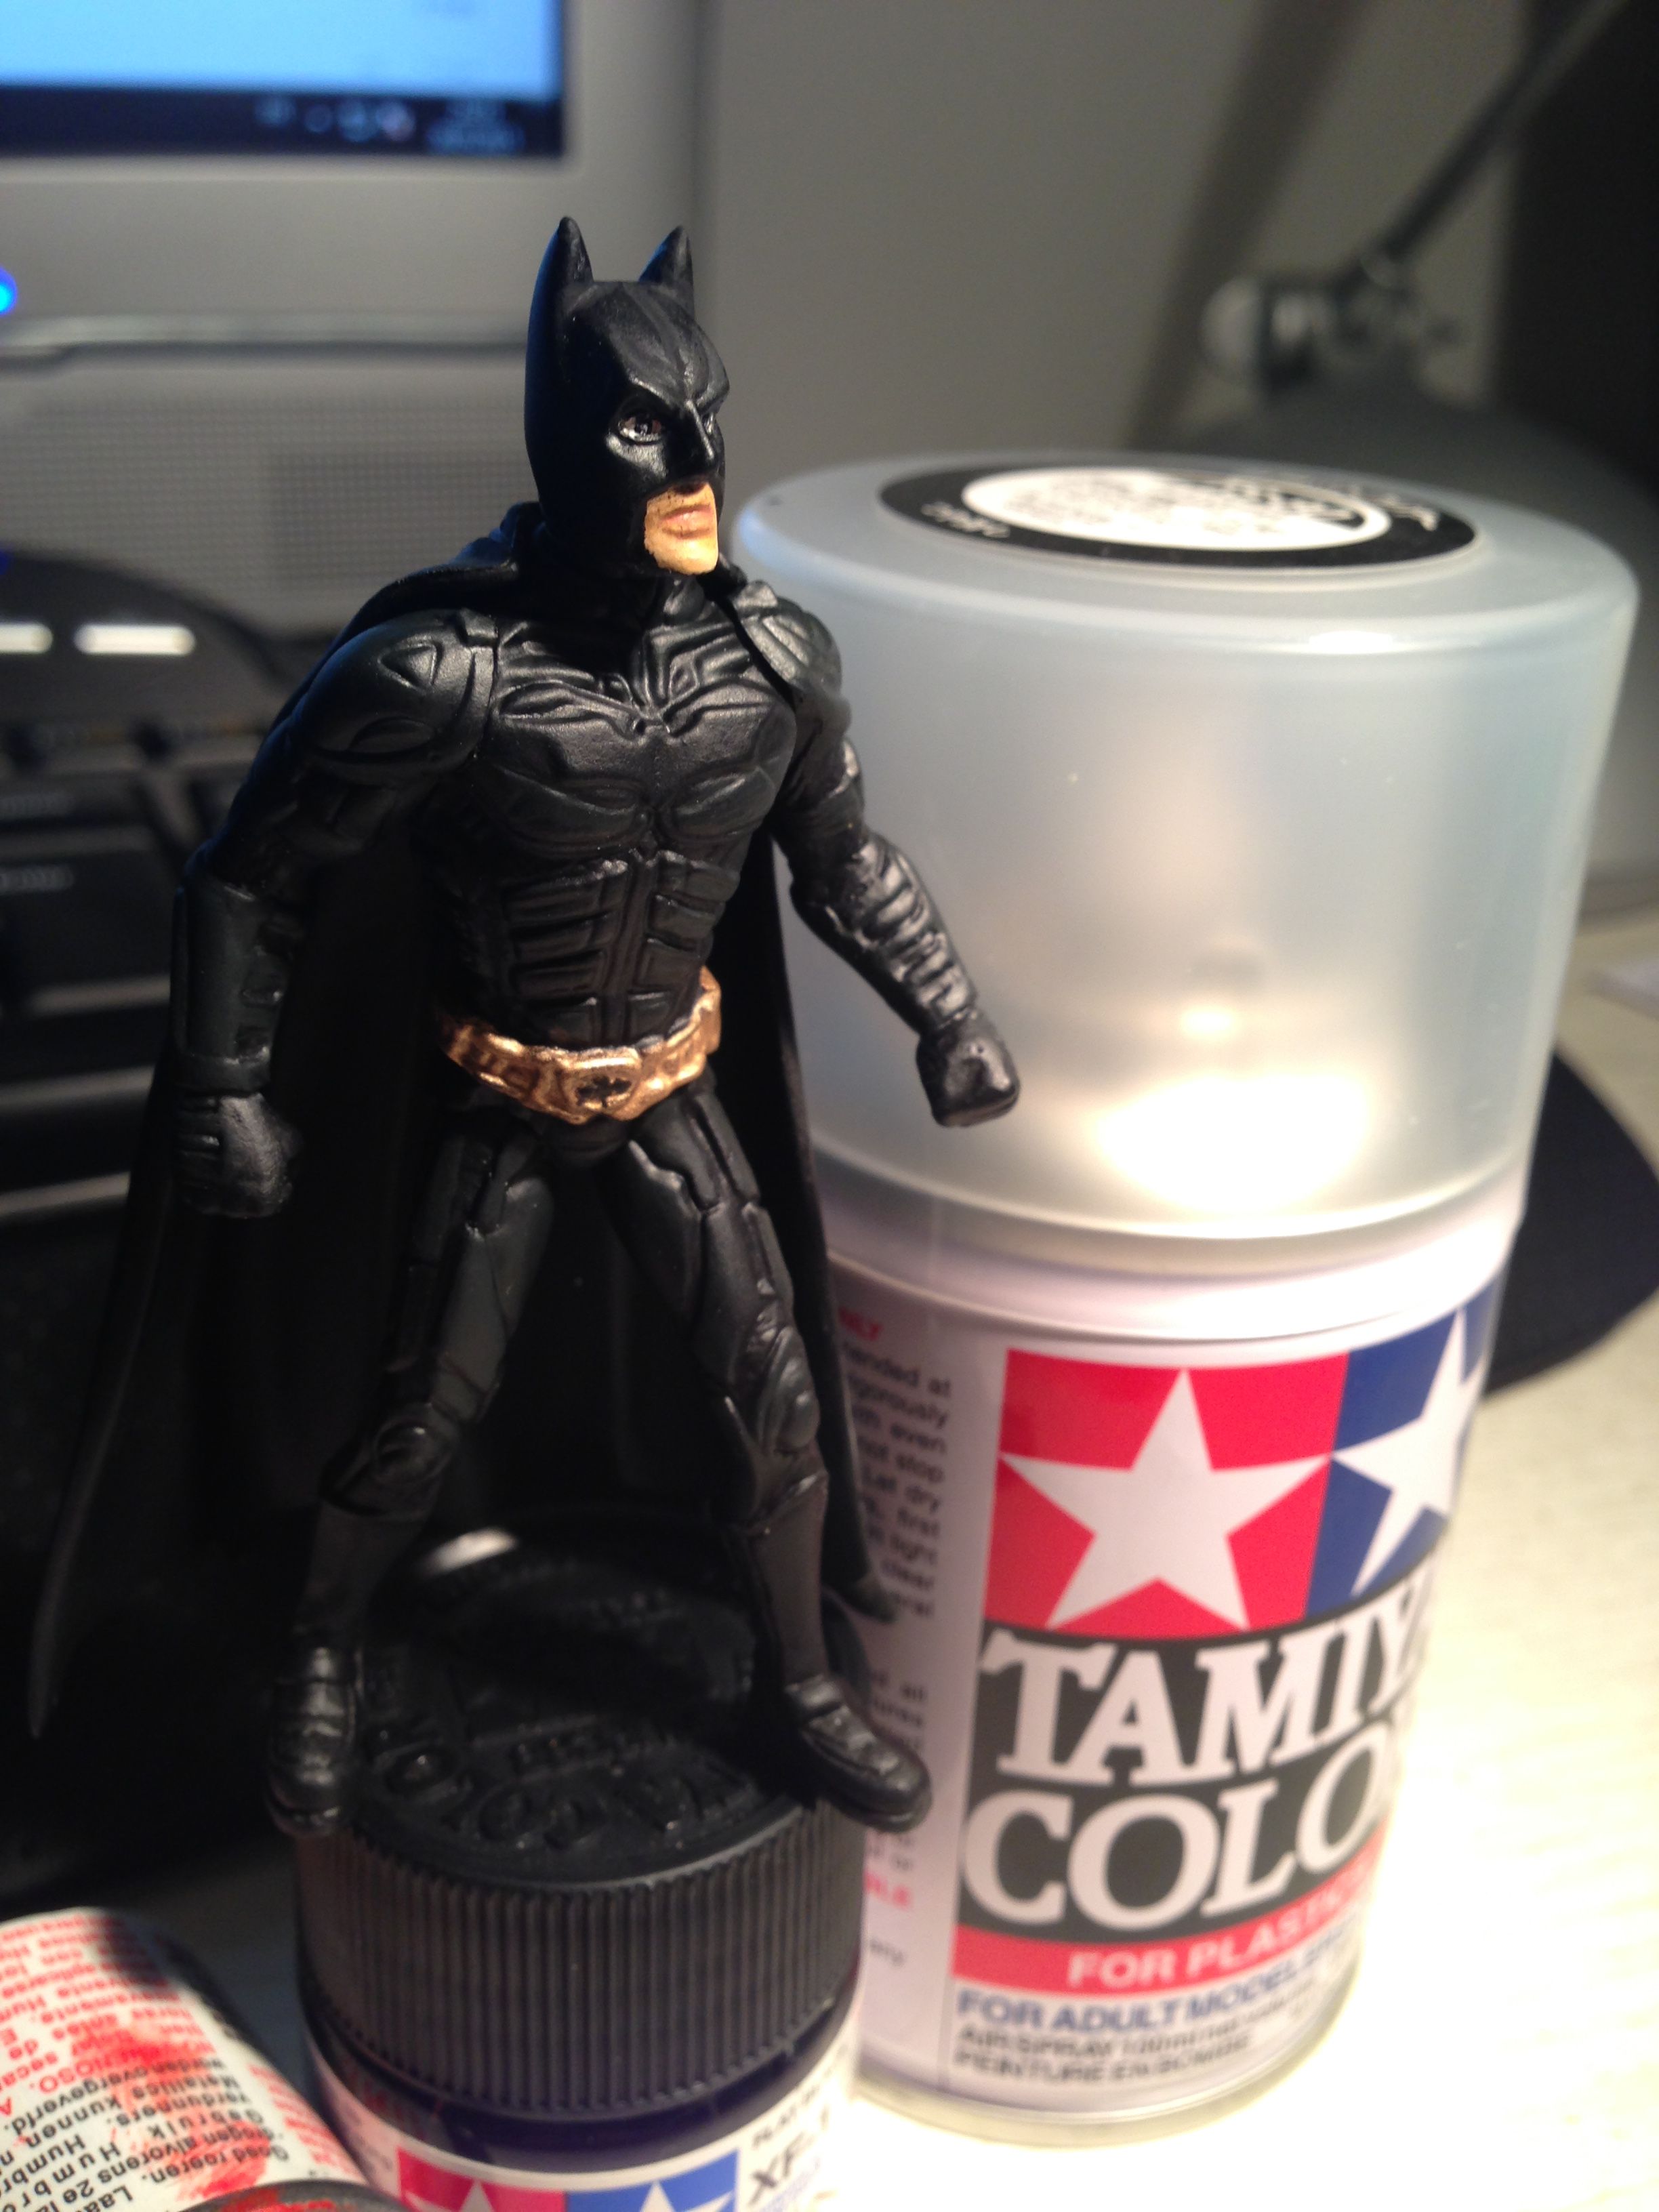
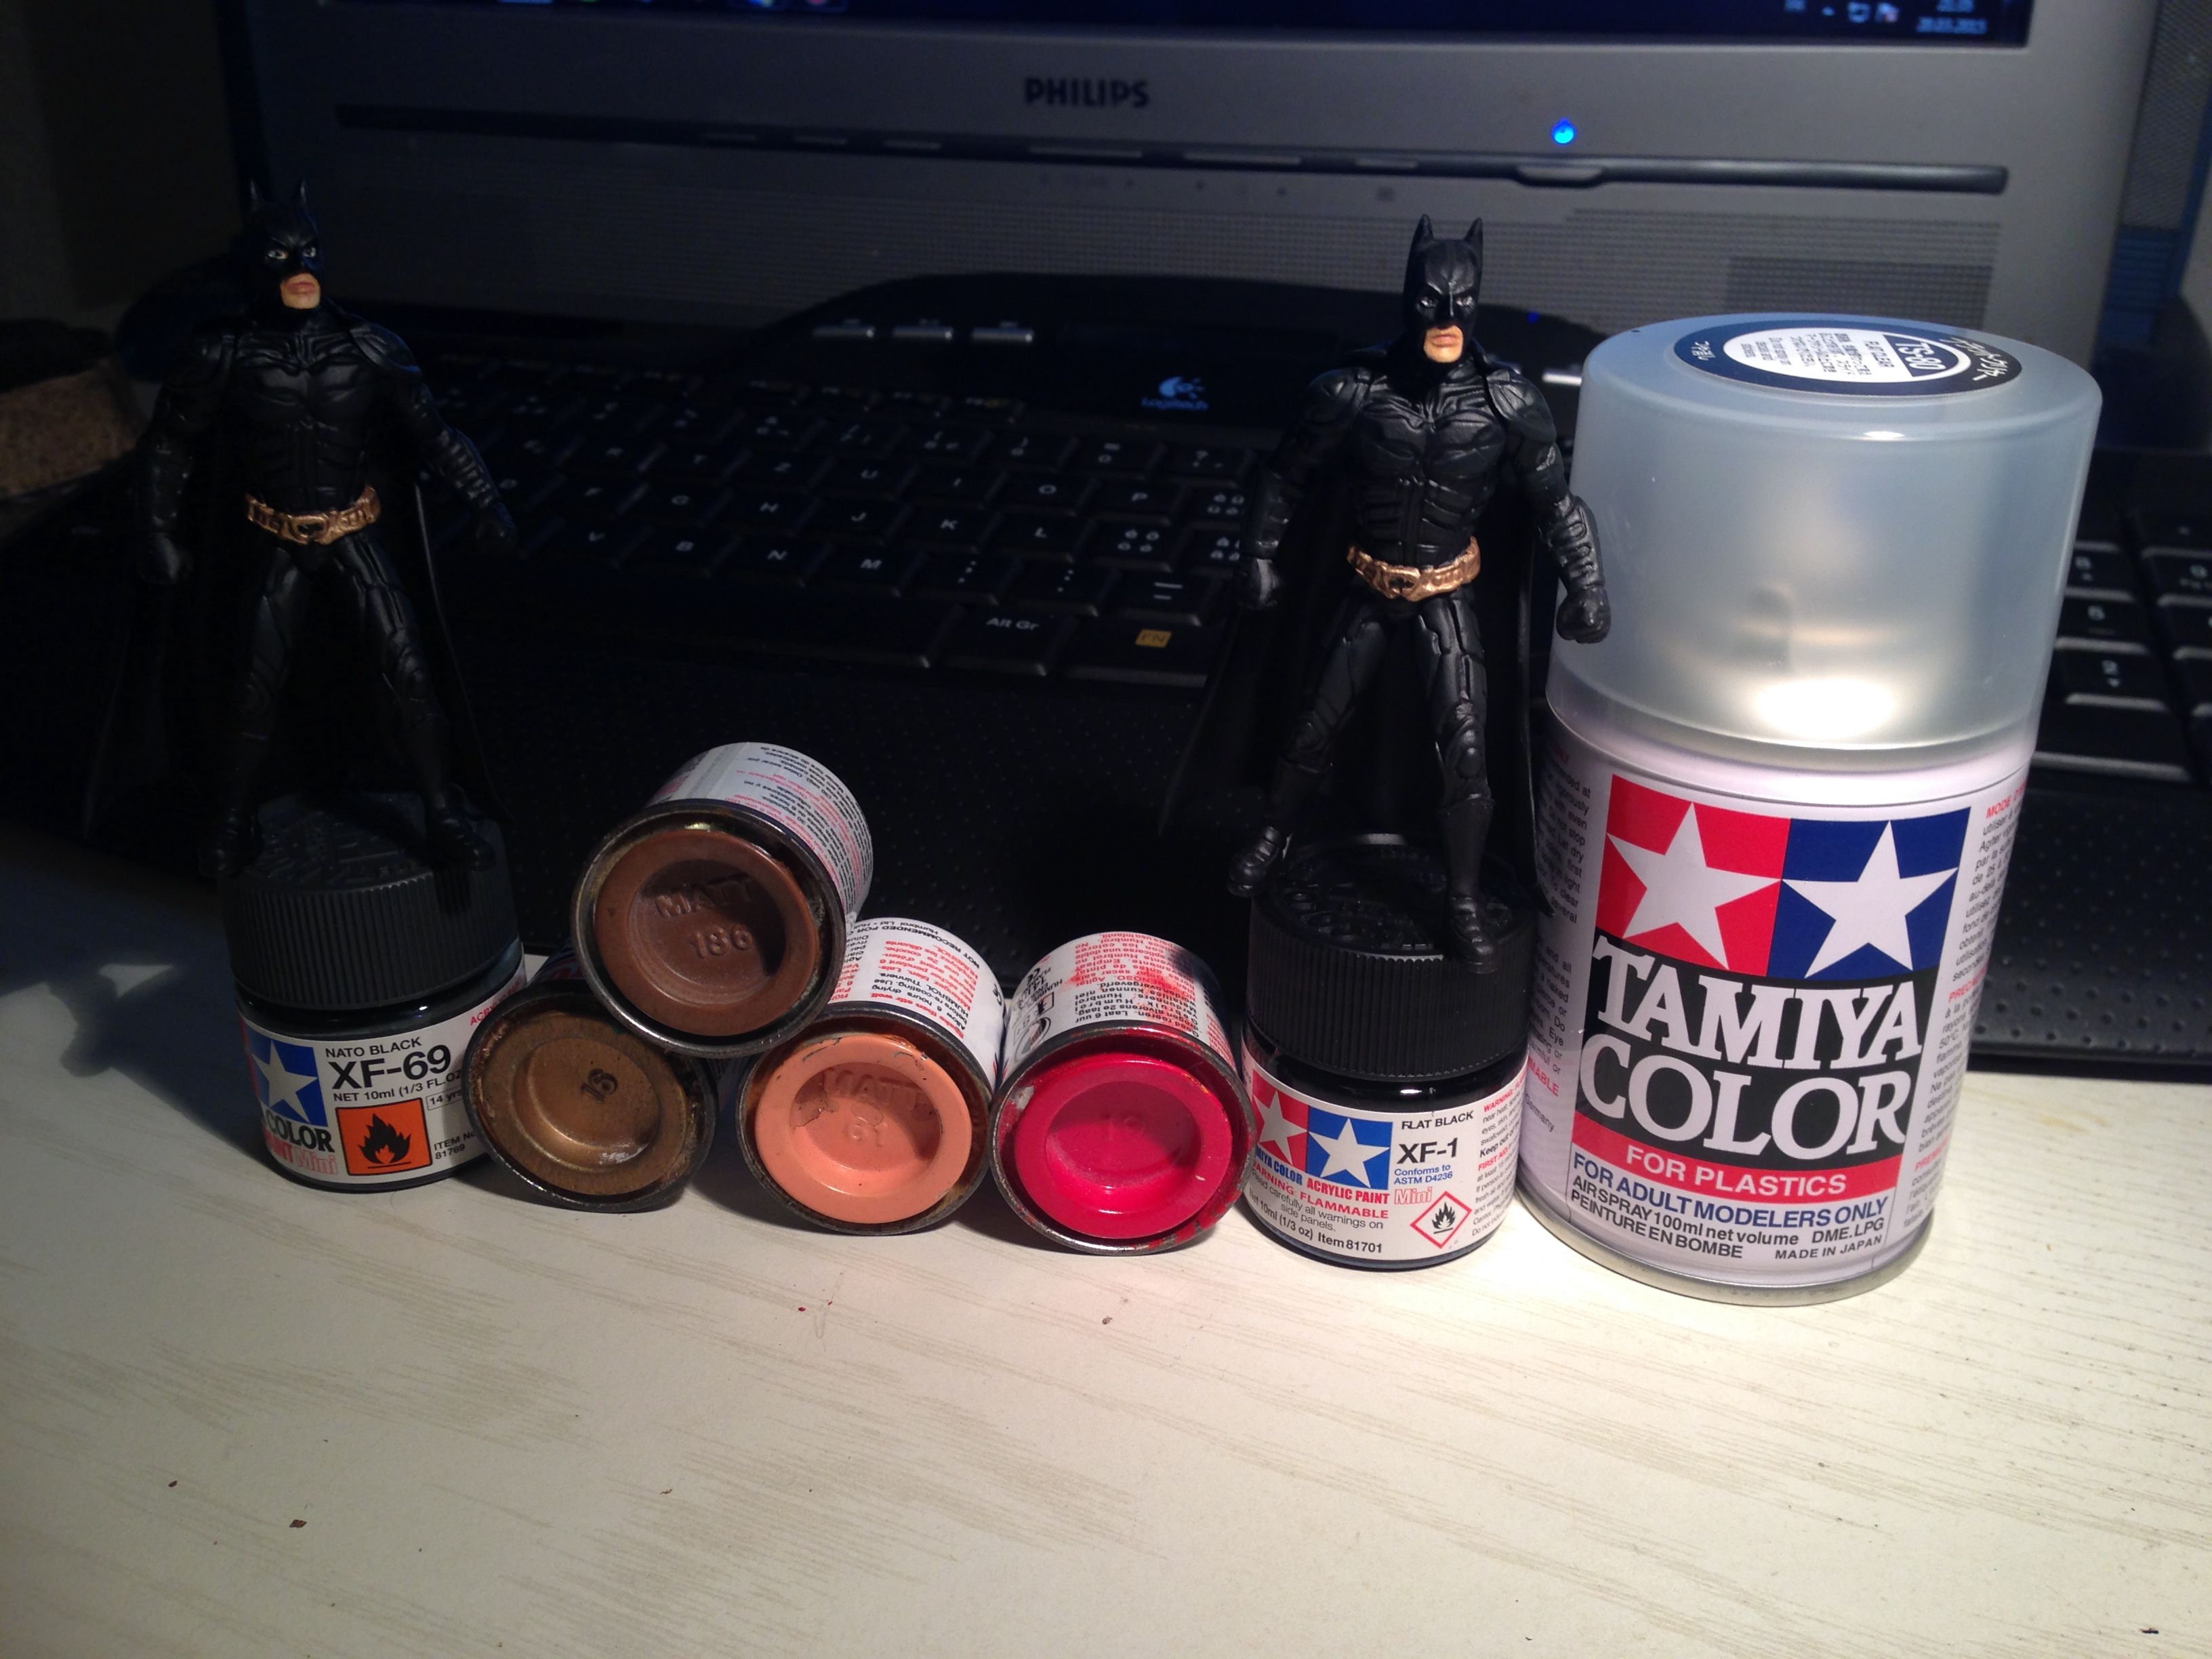
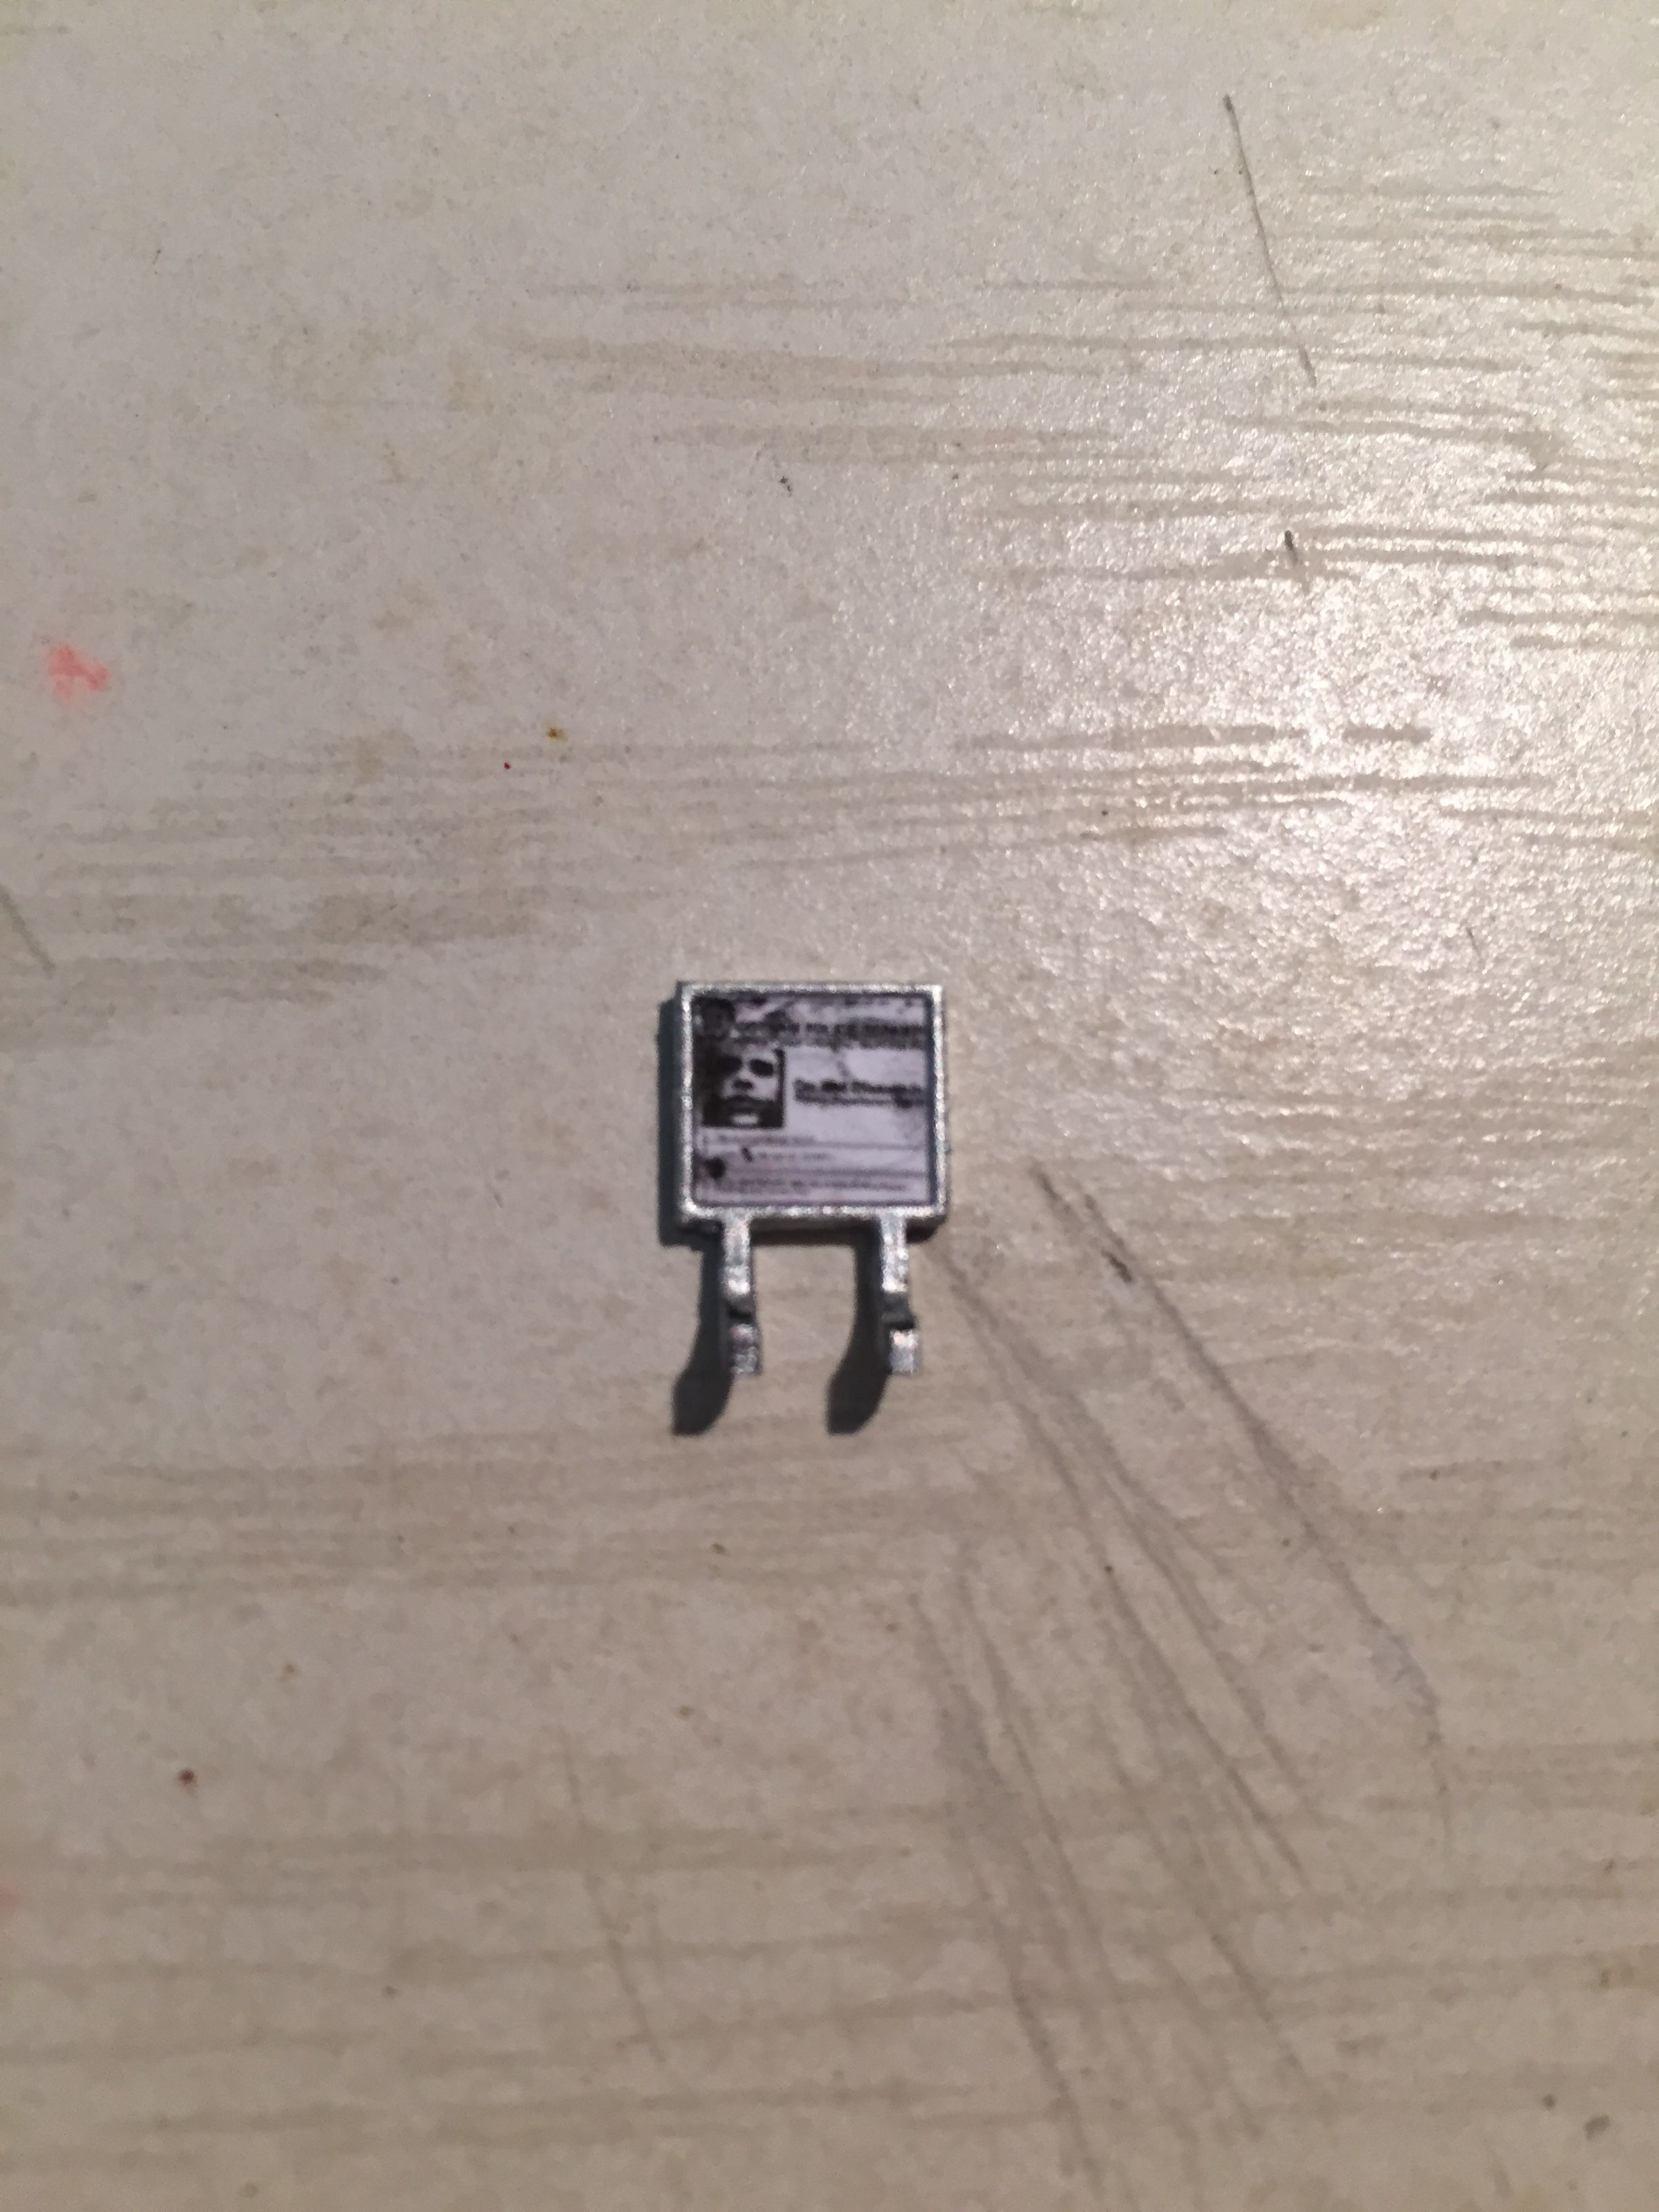
Starting the painting on the face:

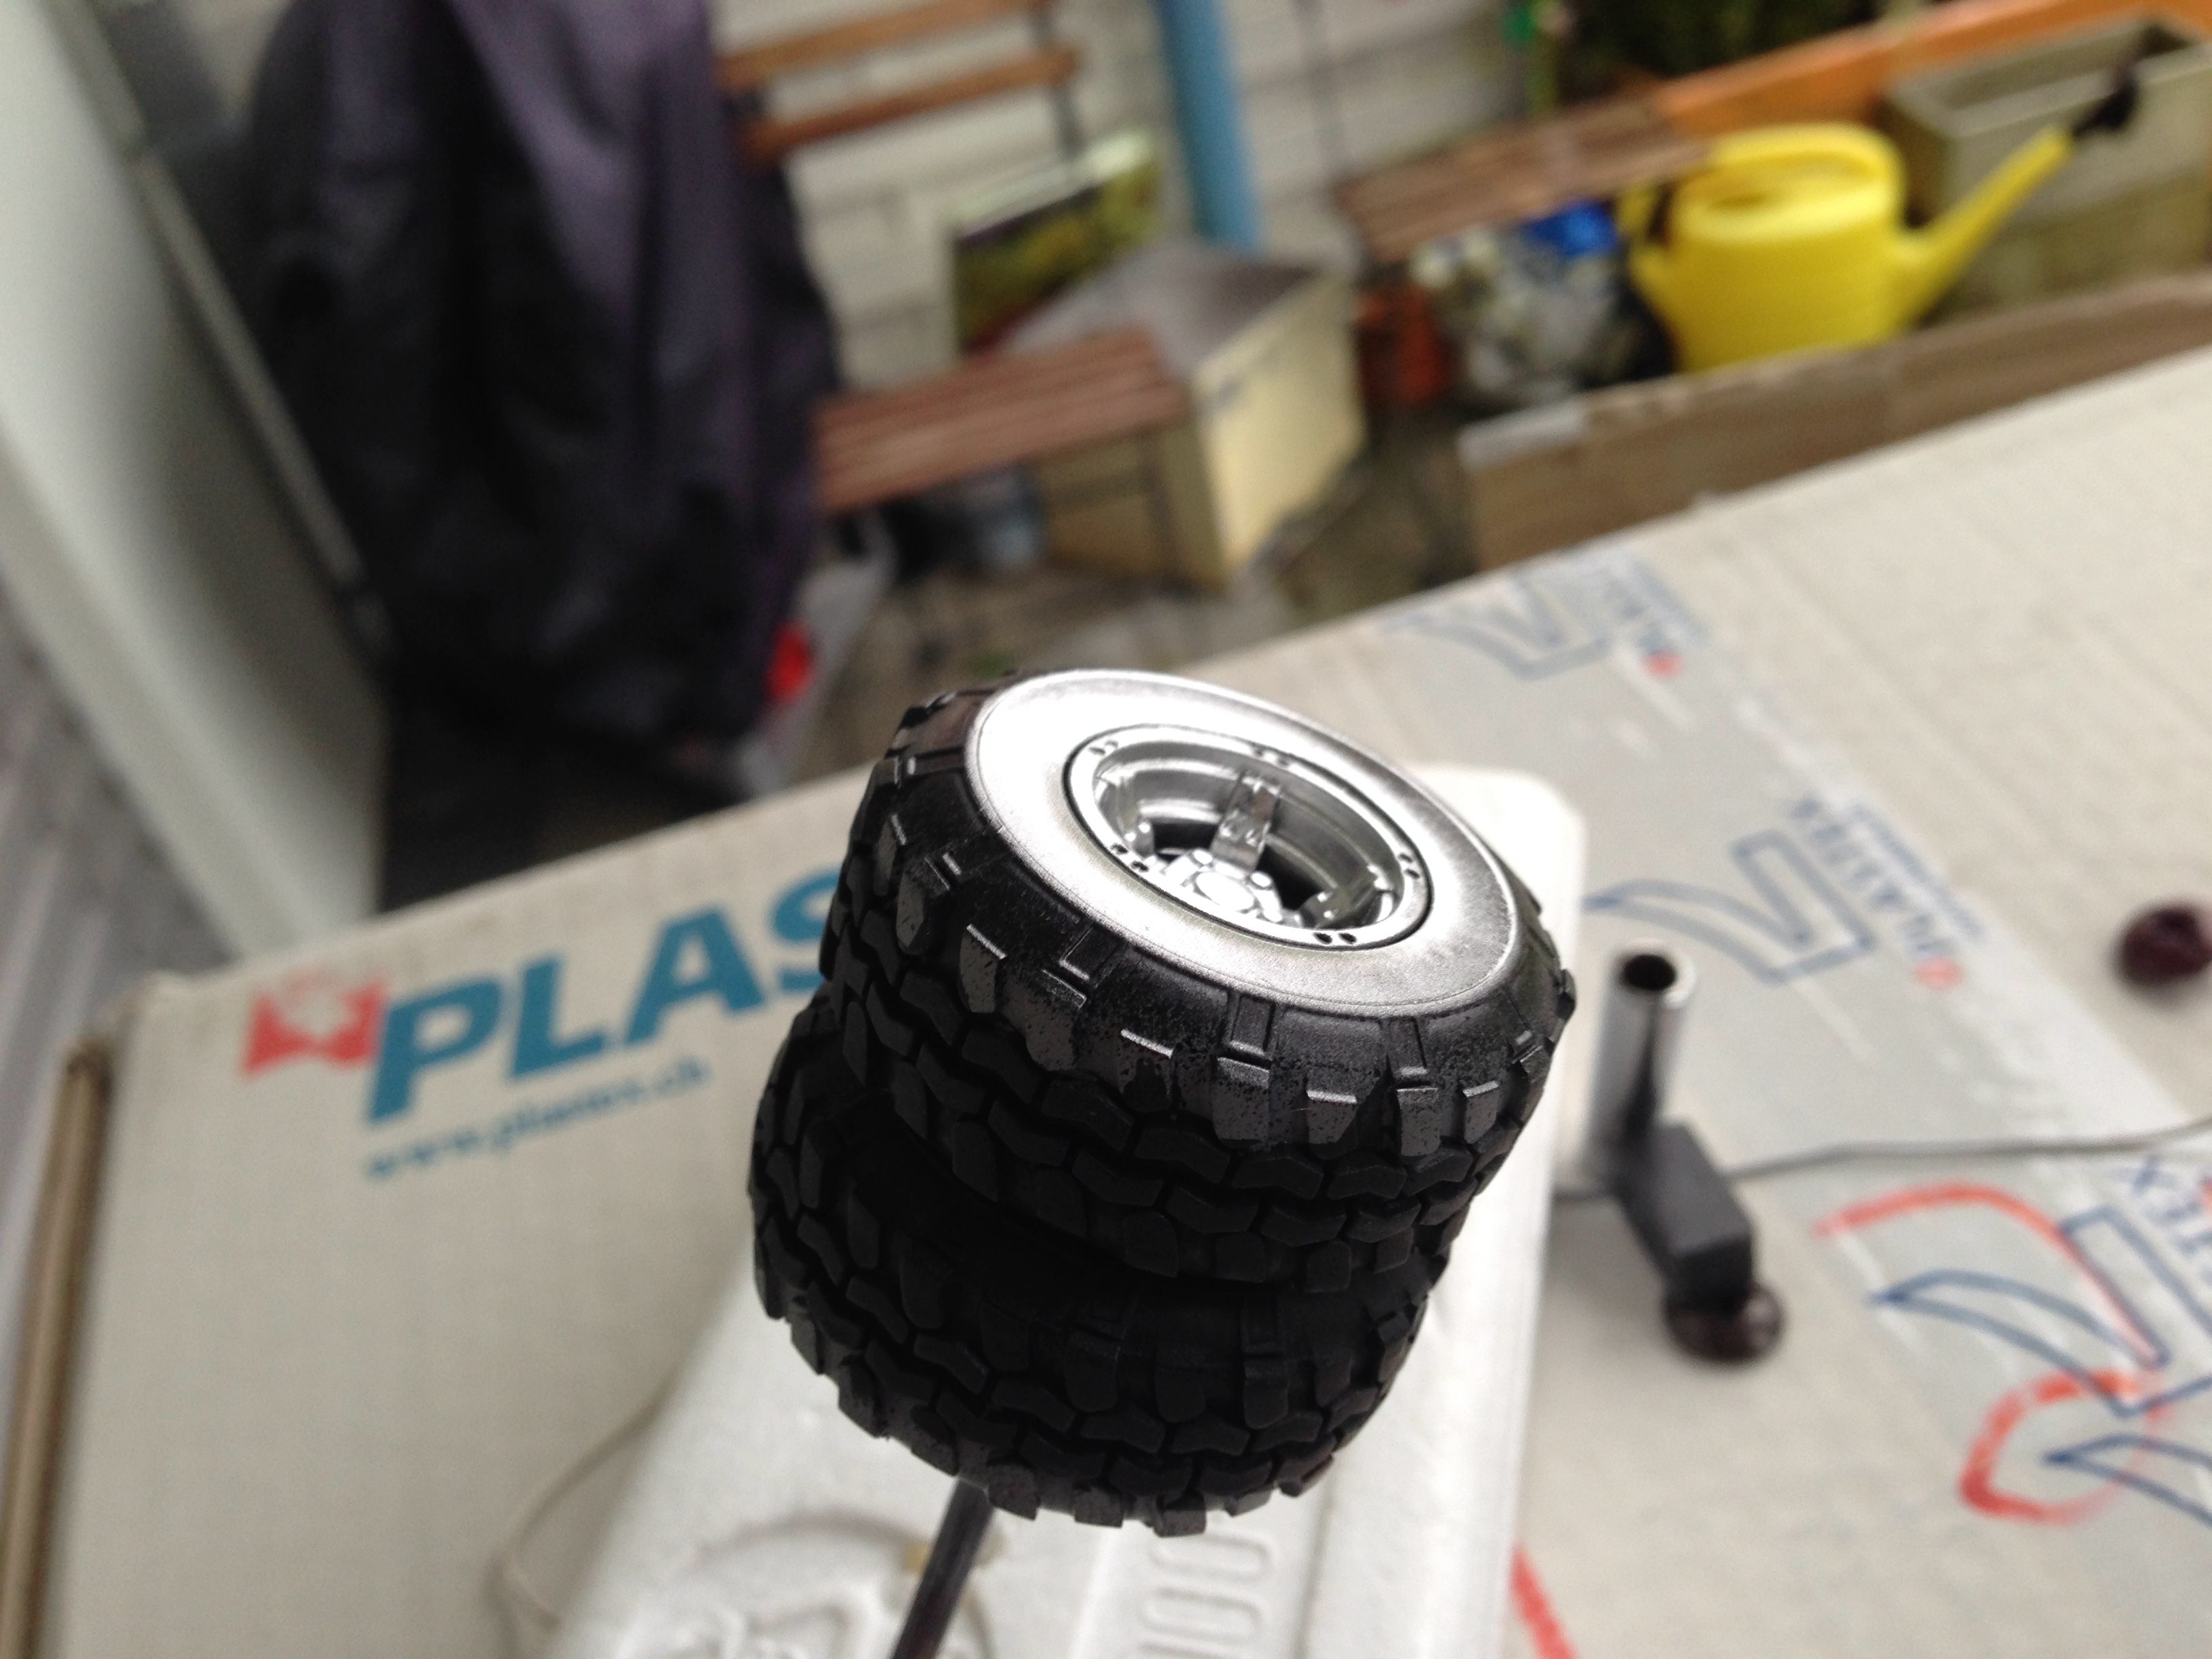
And on the car:
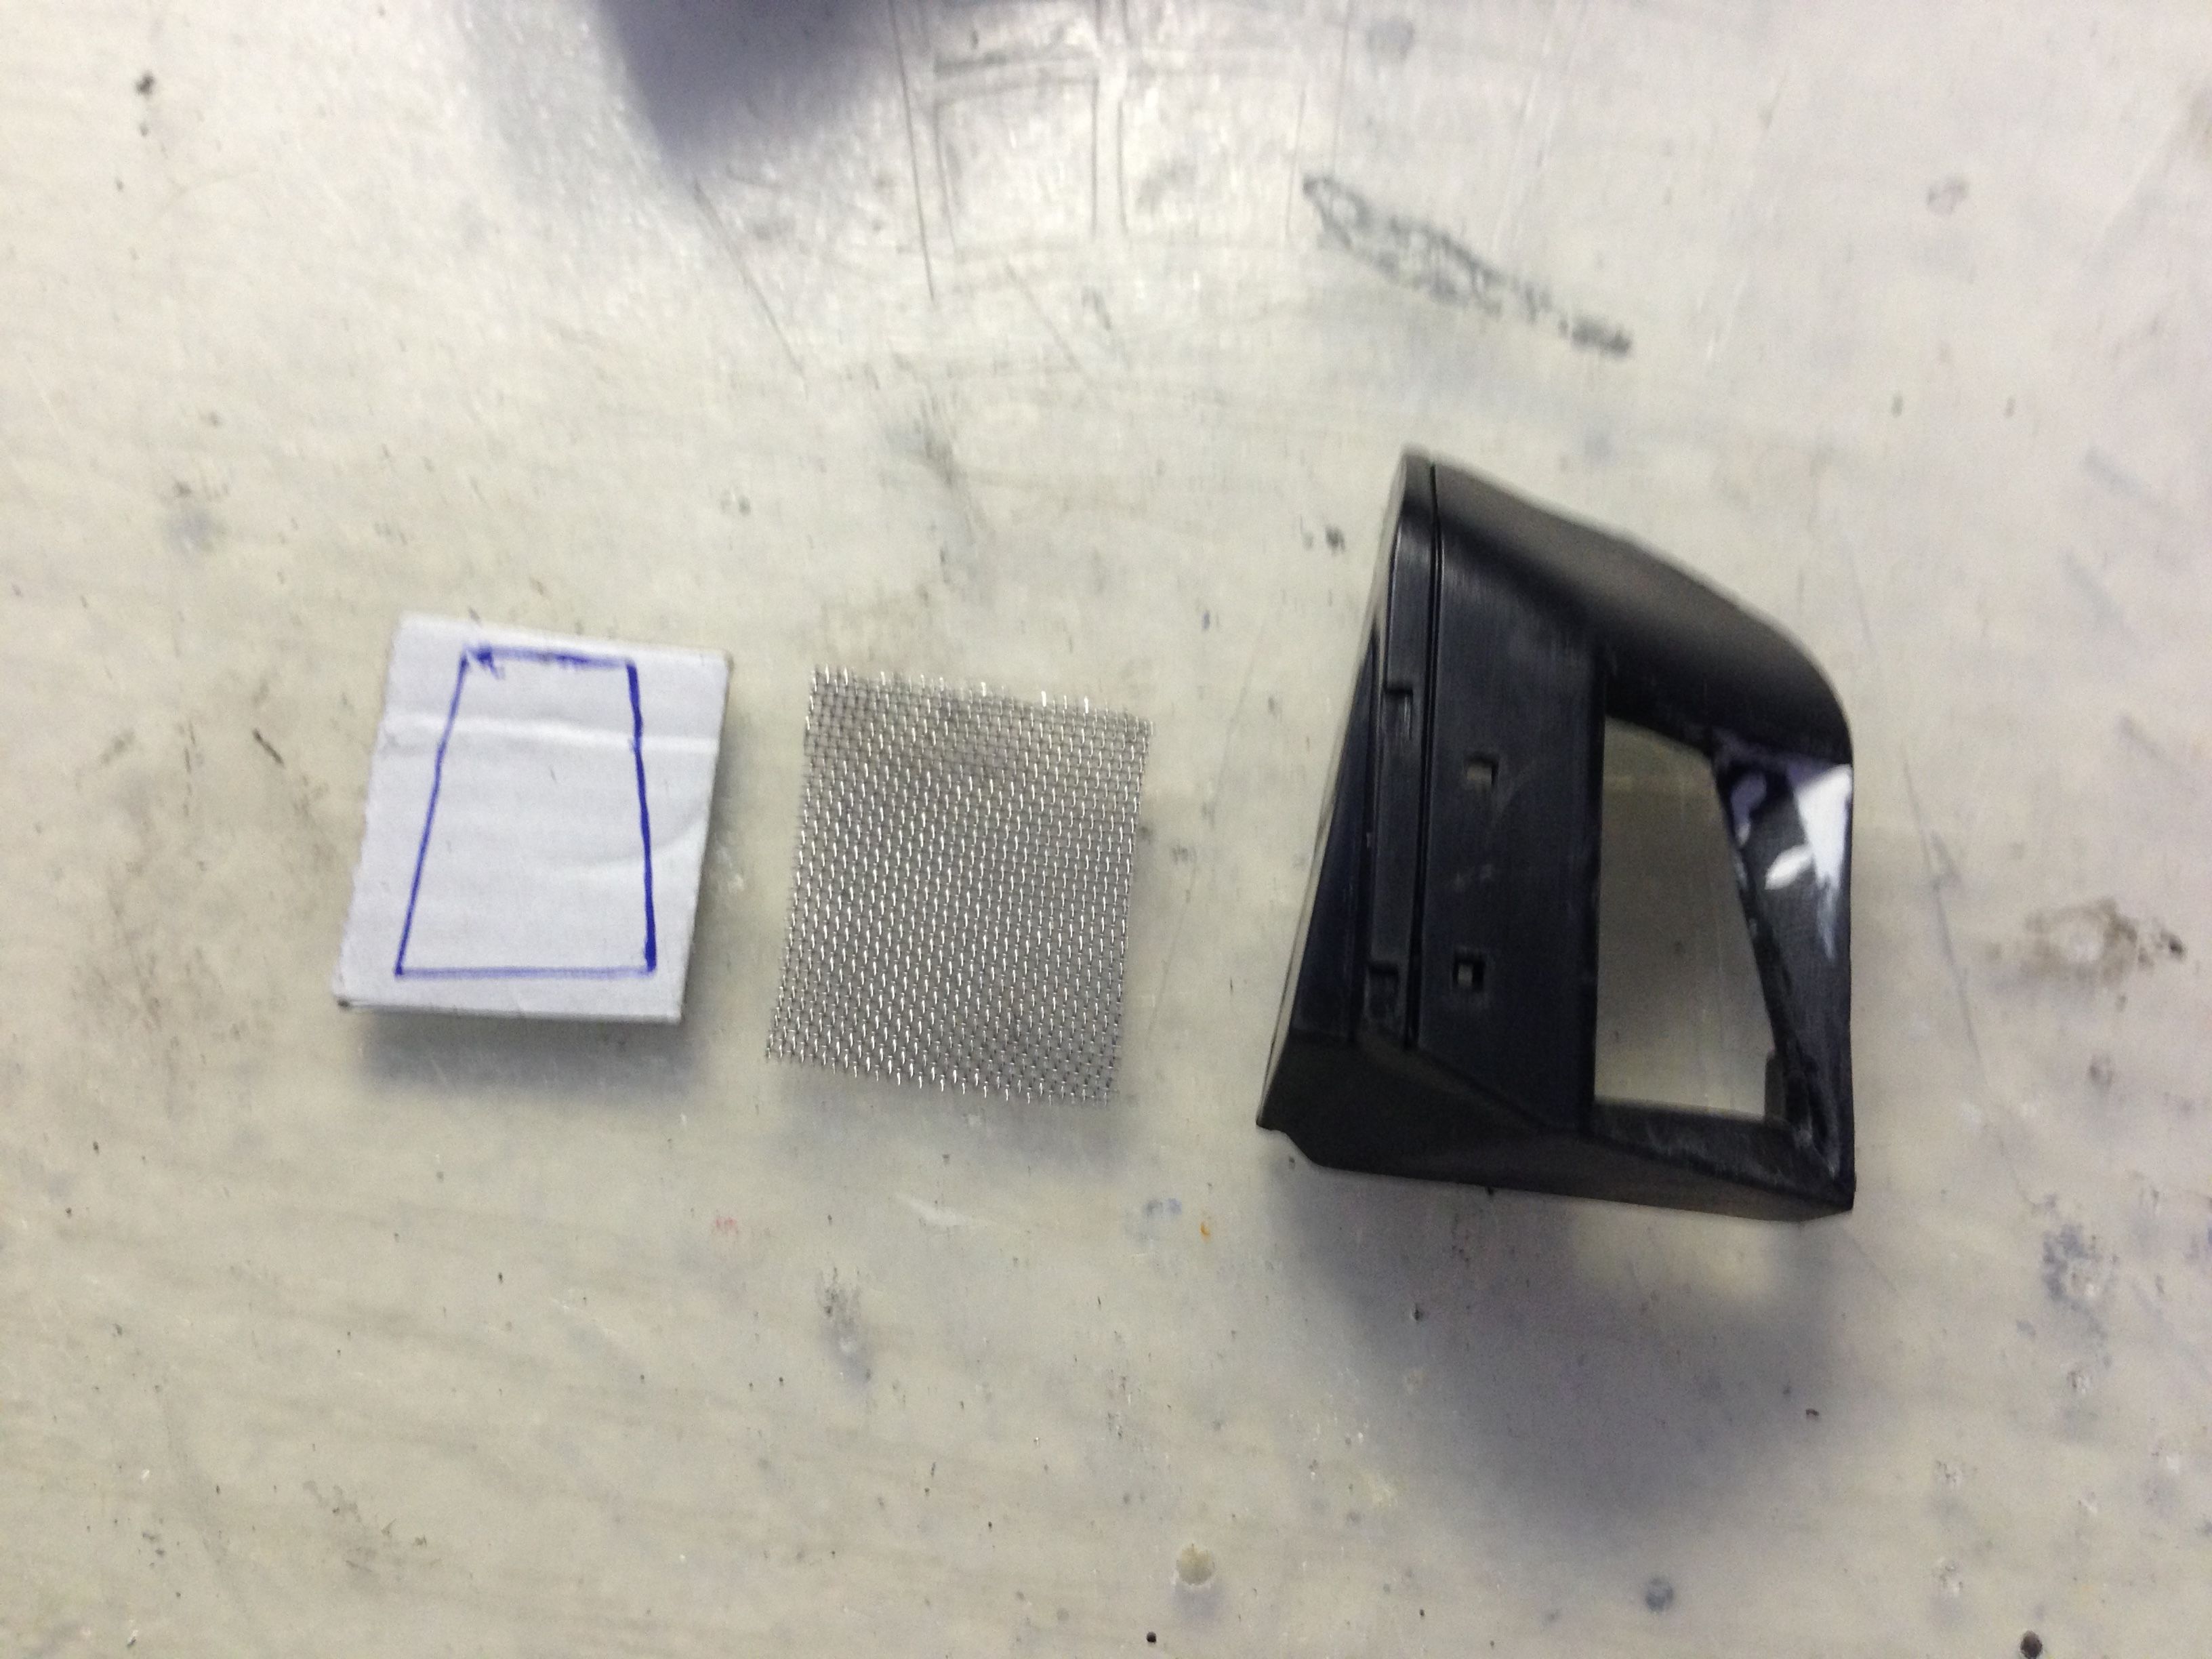
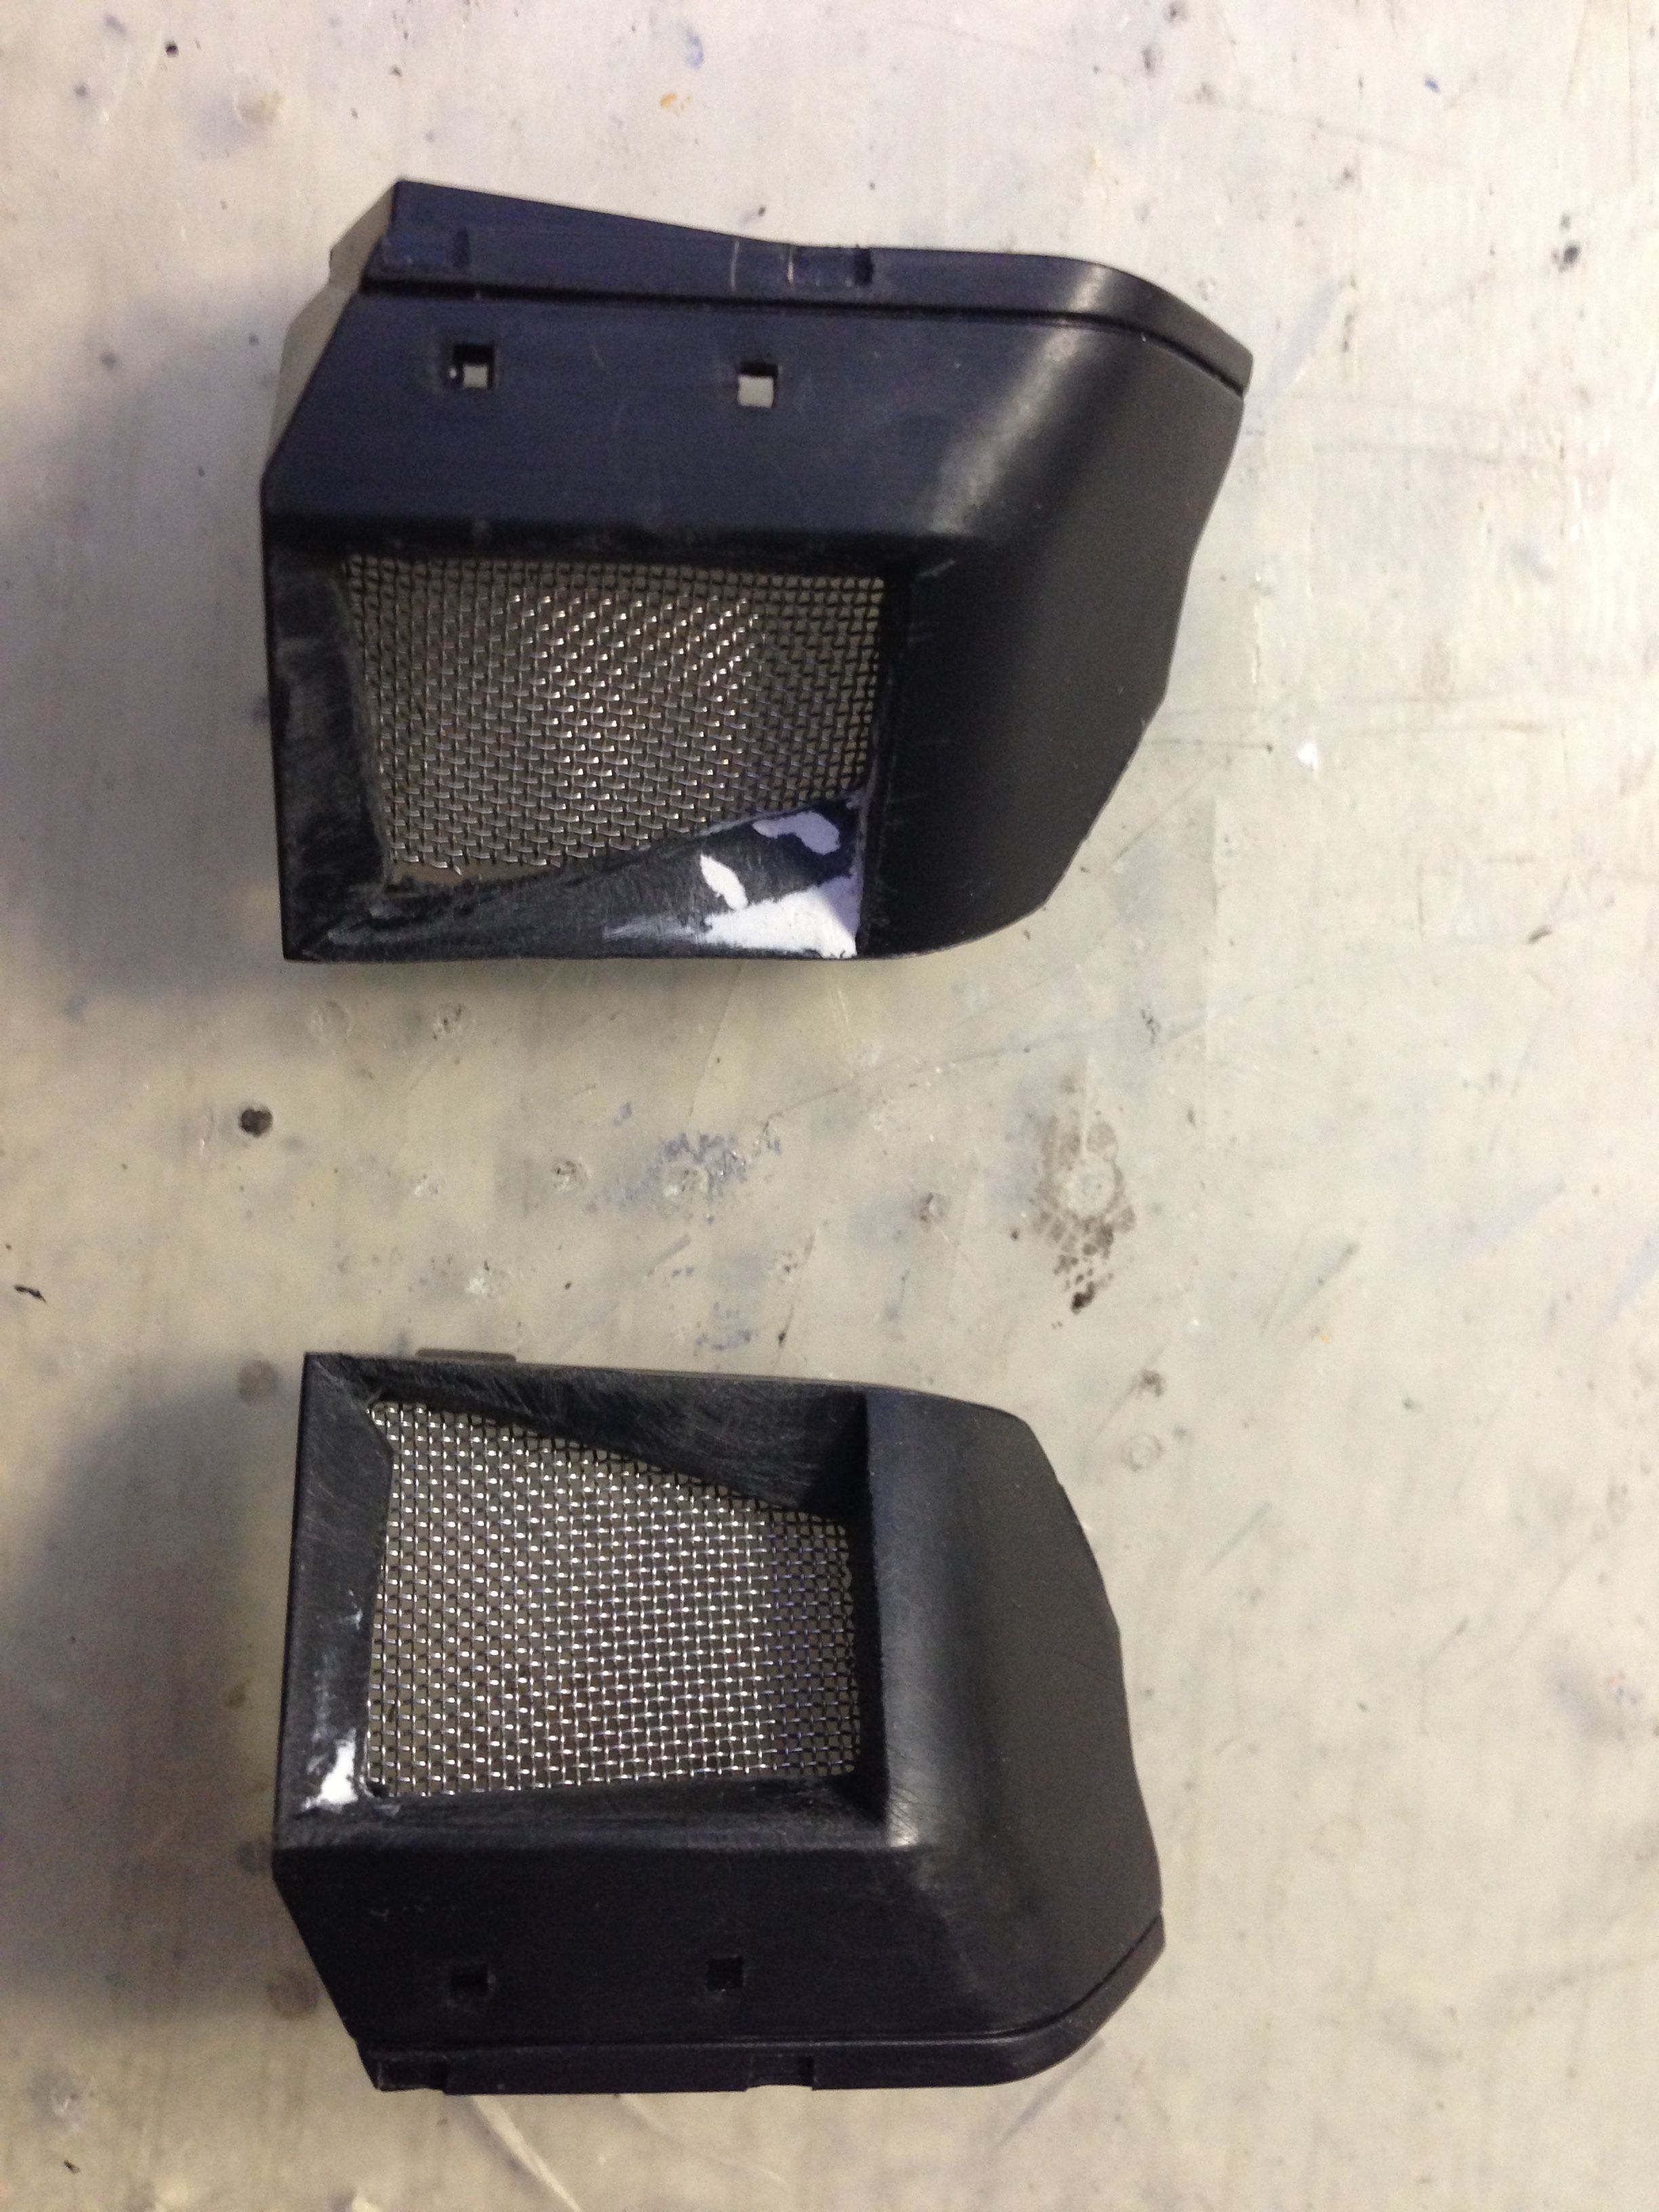
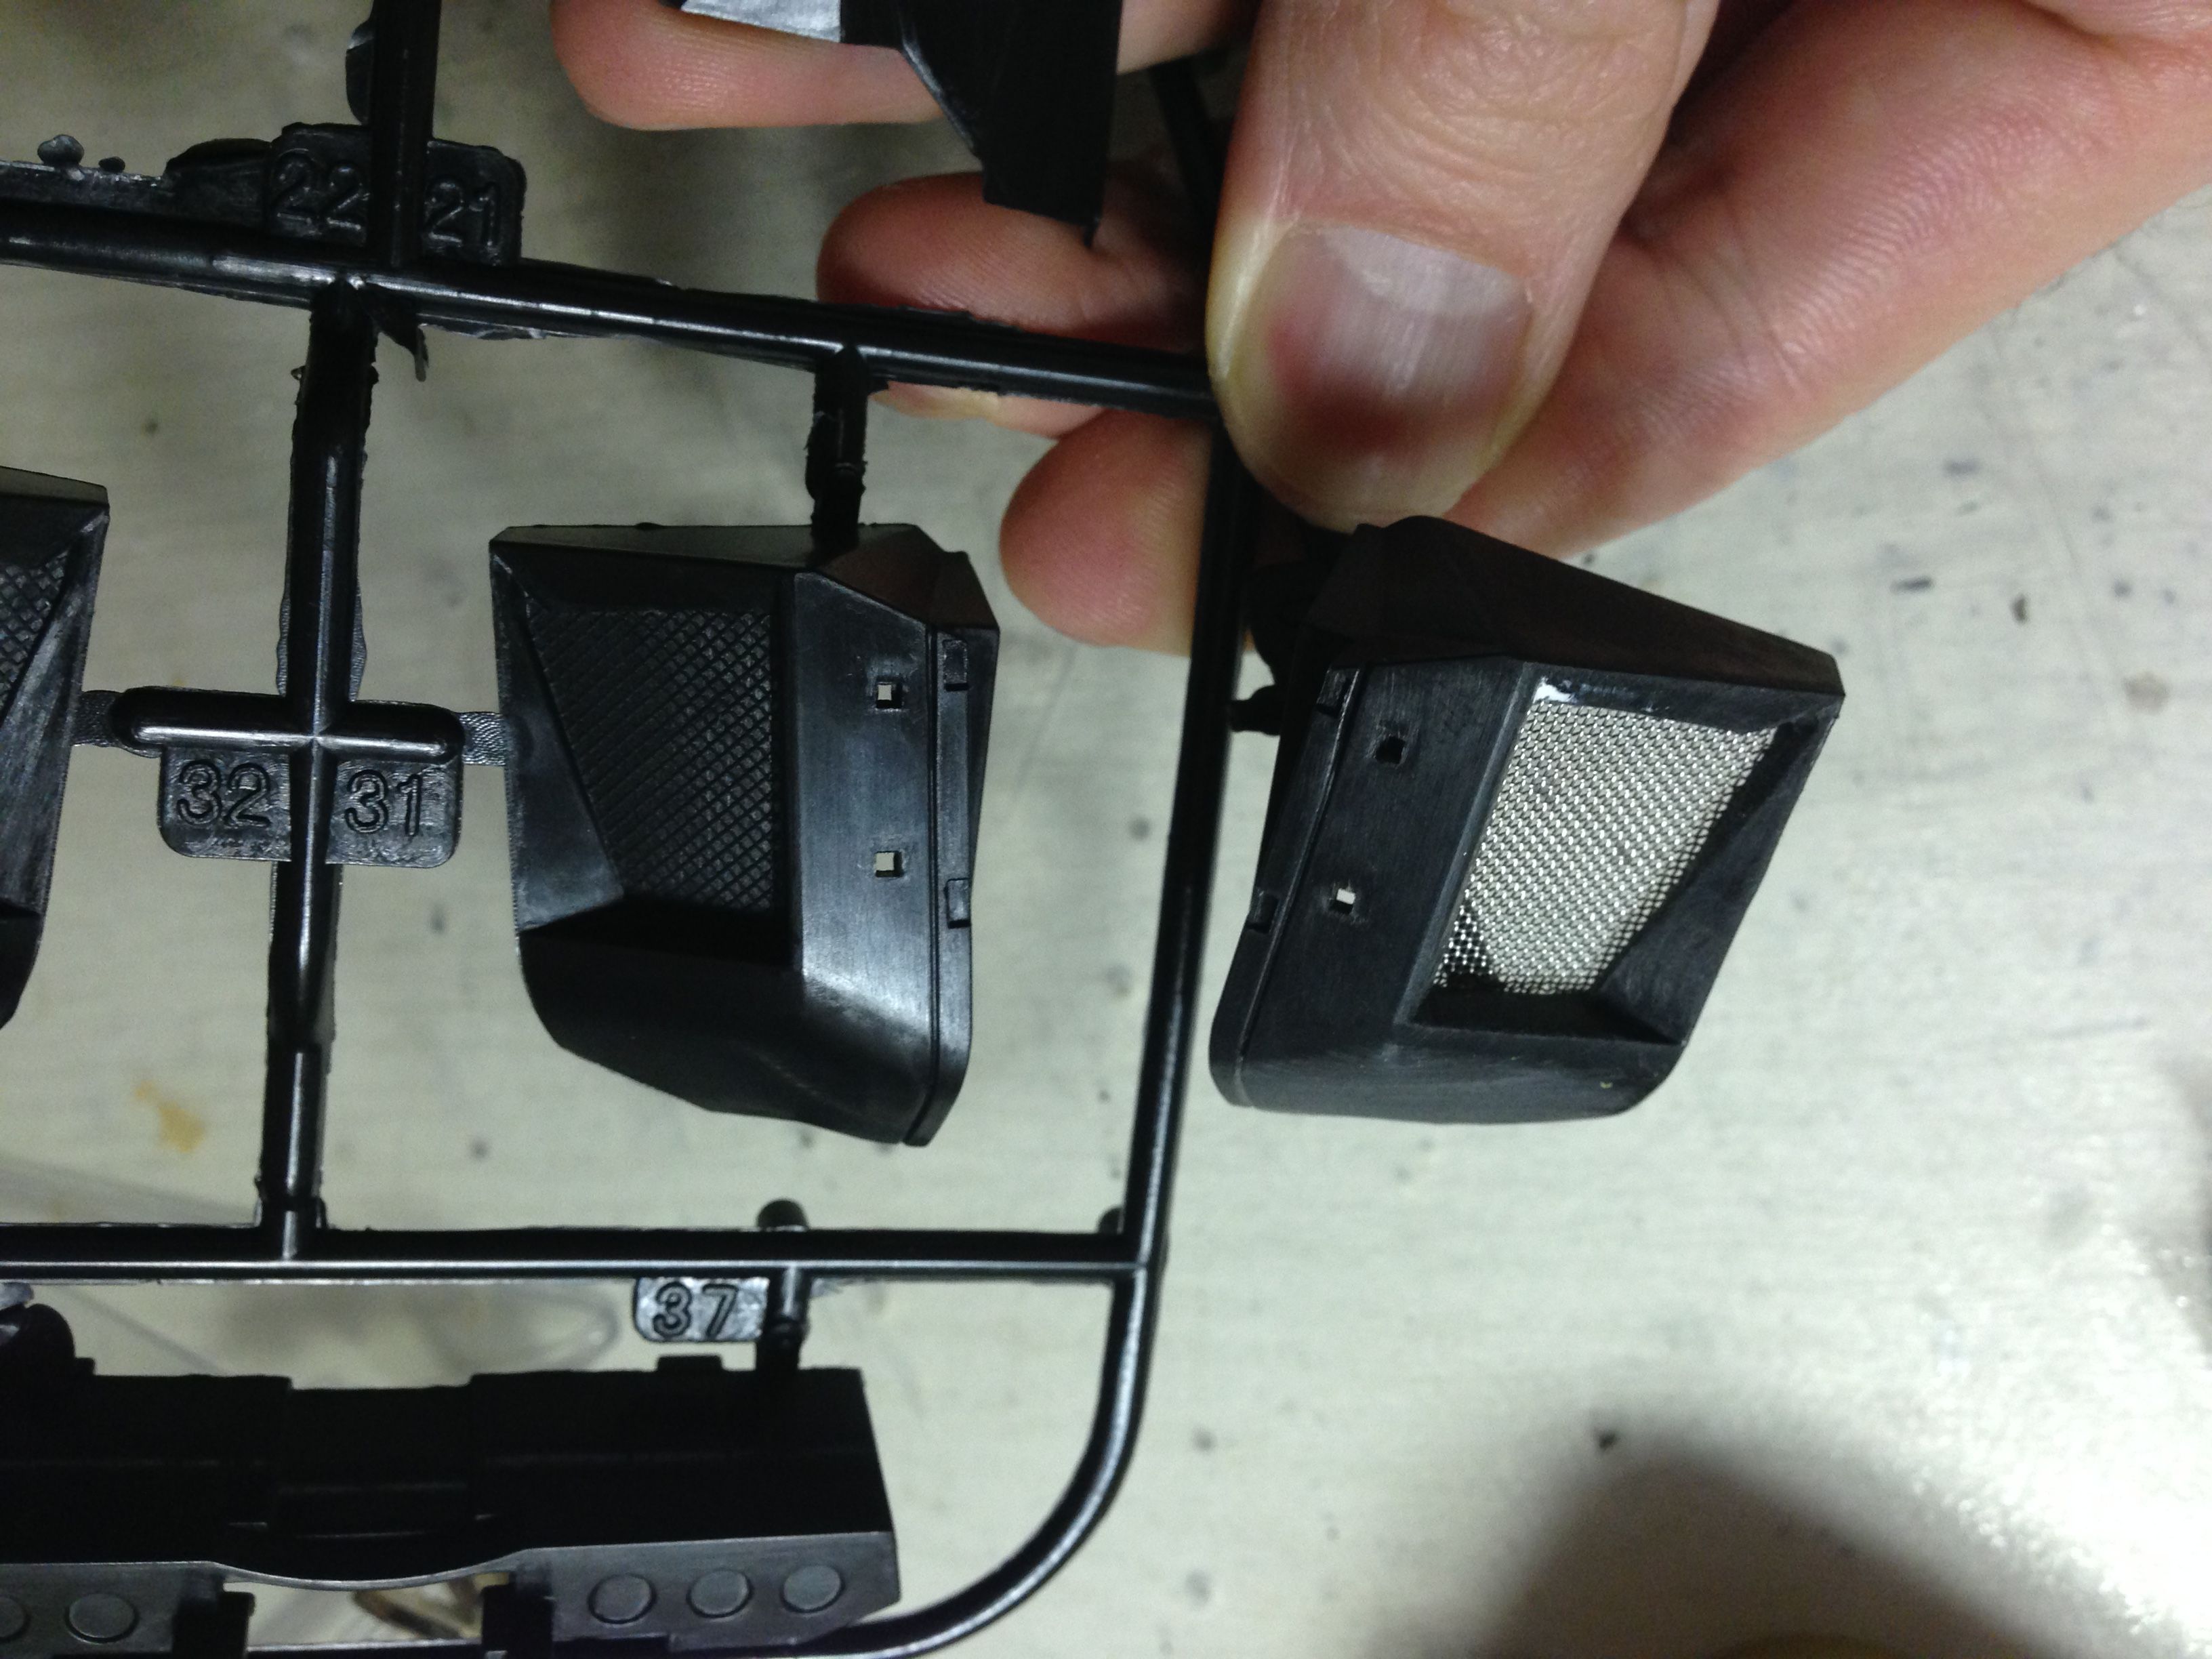
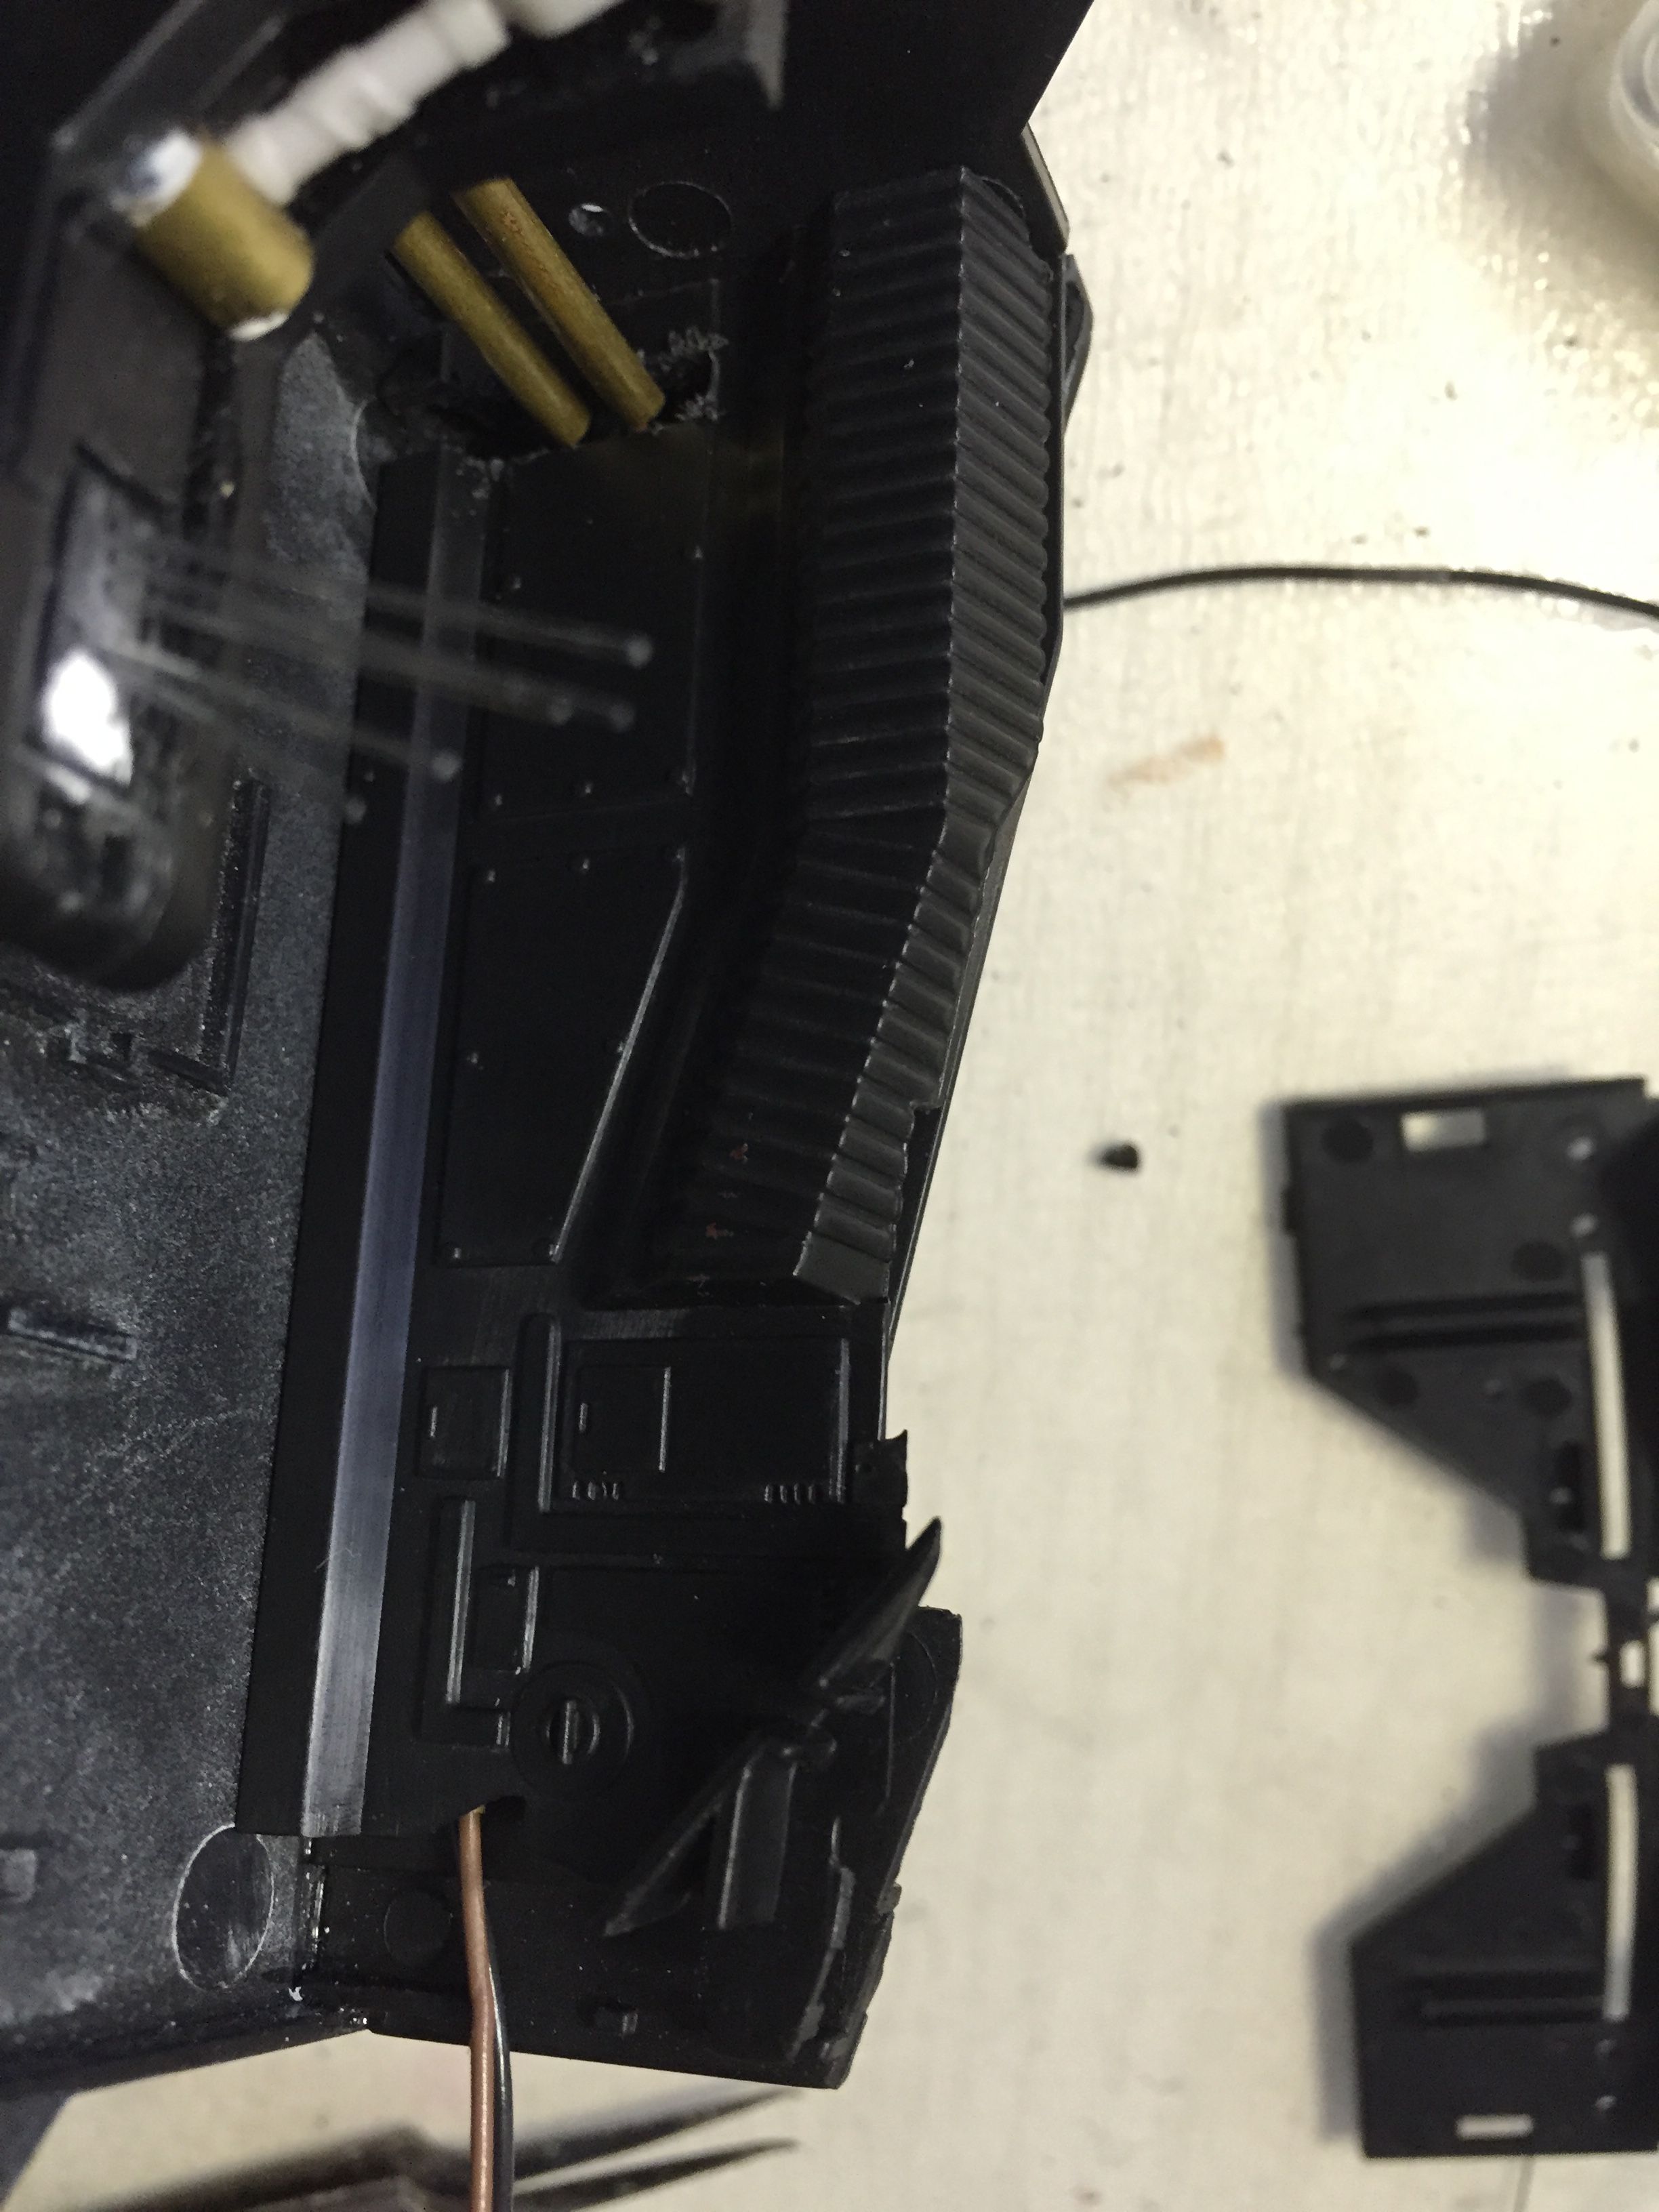
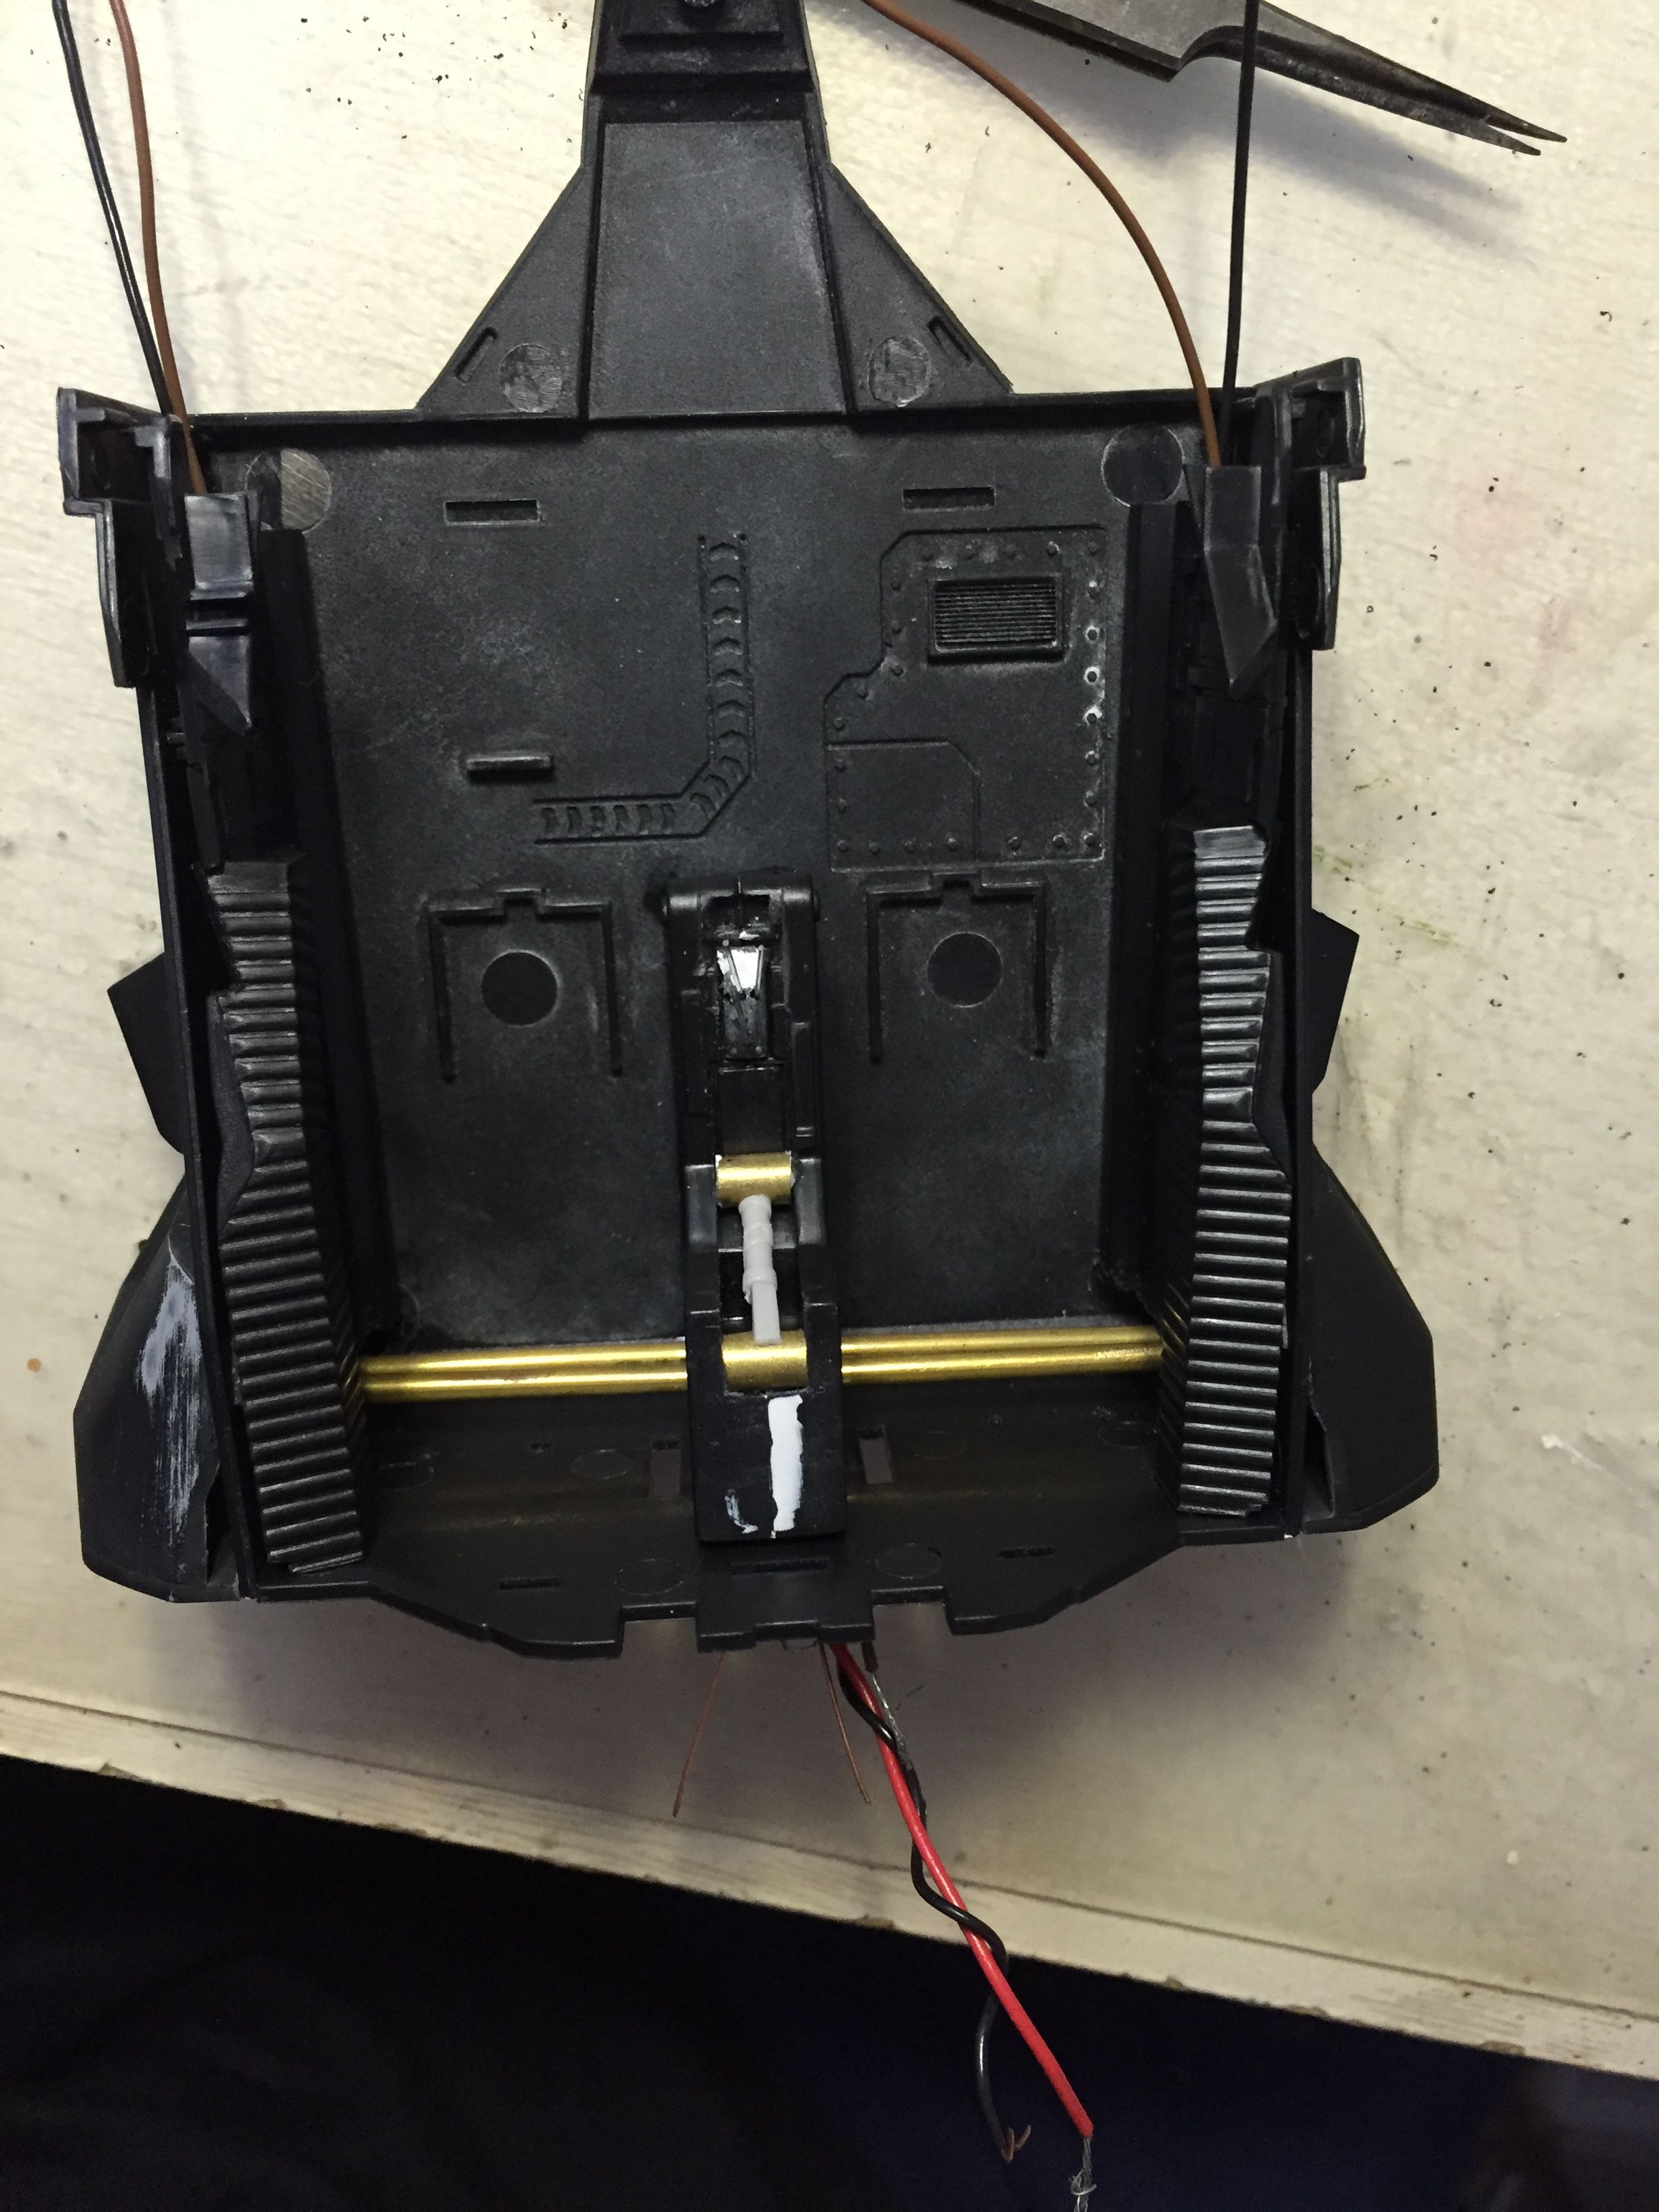
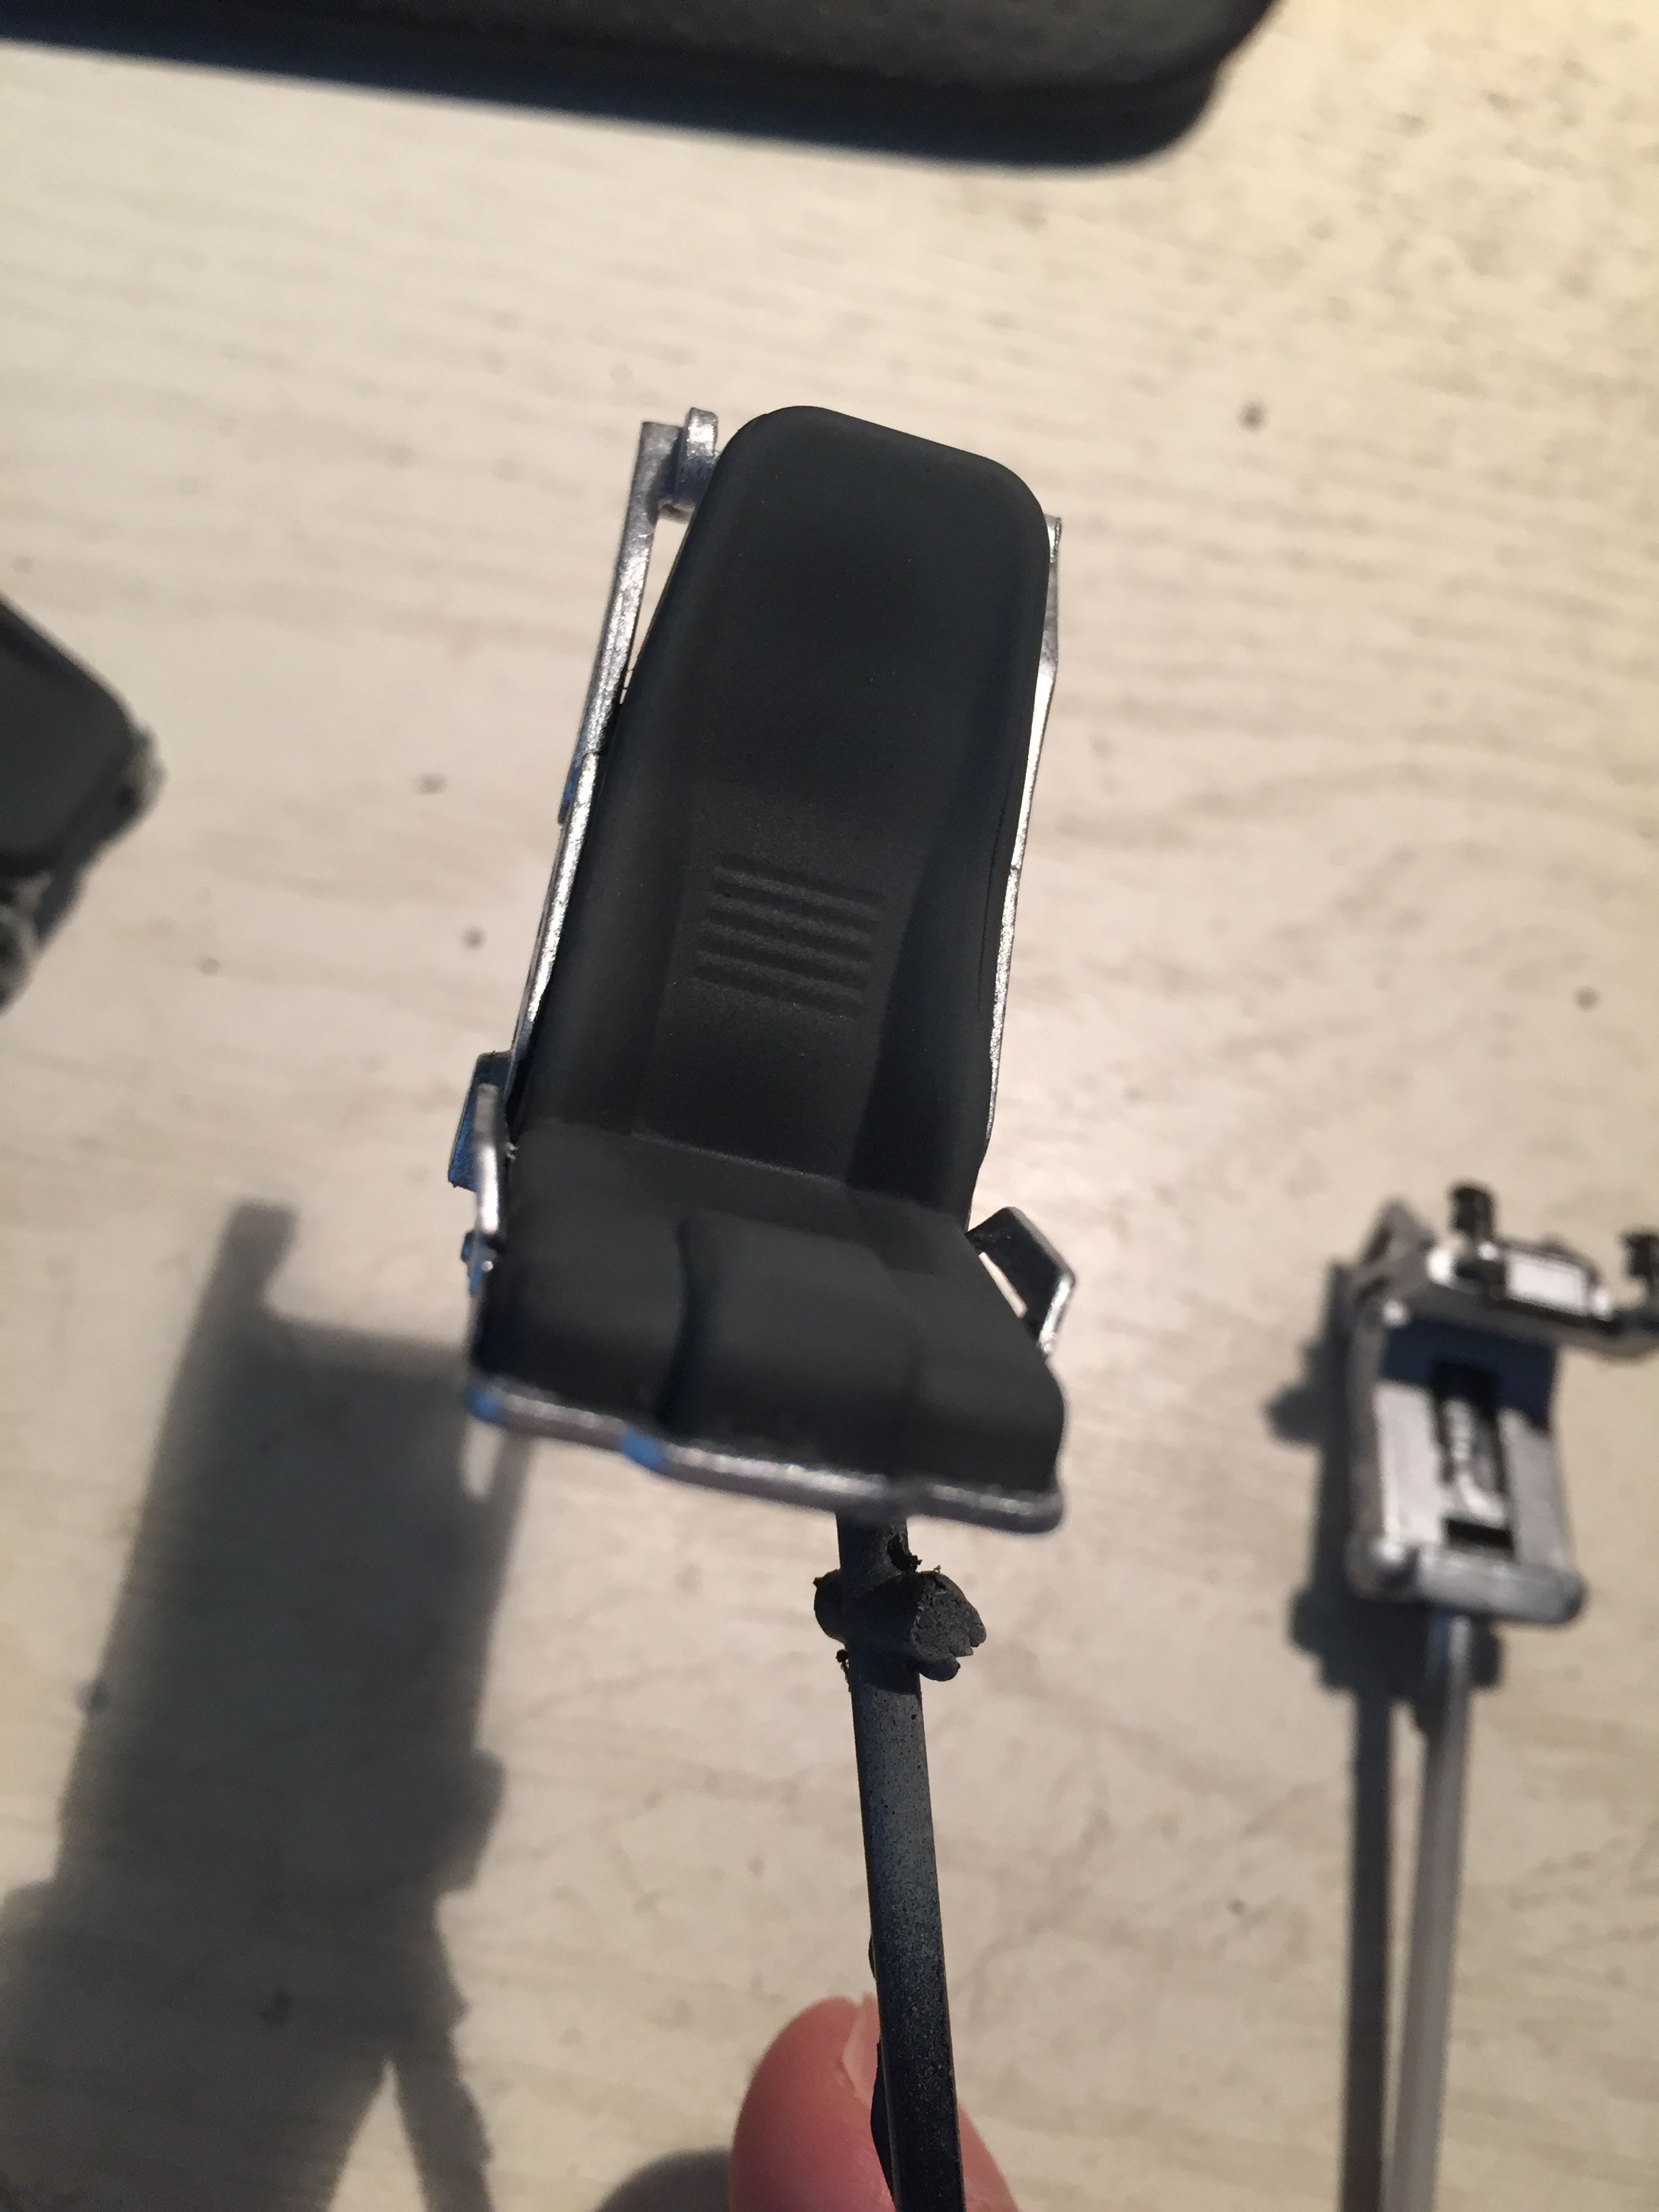
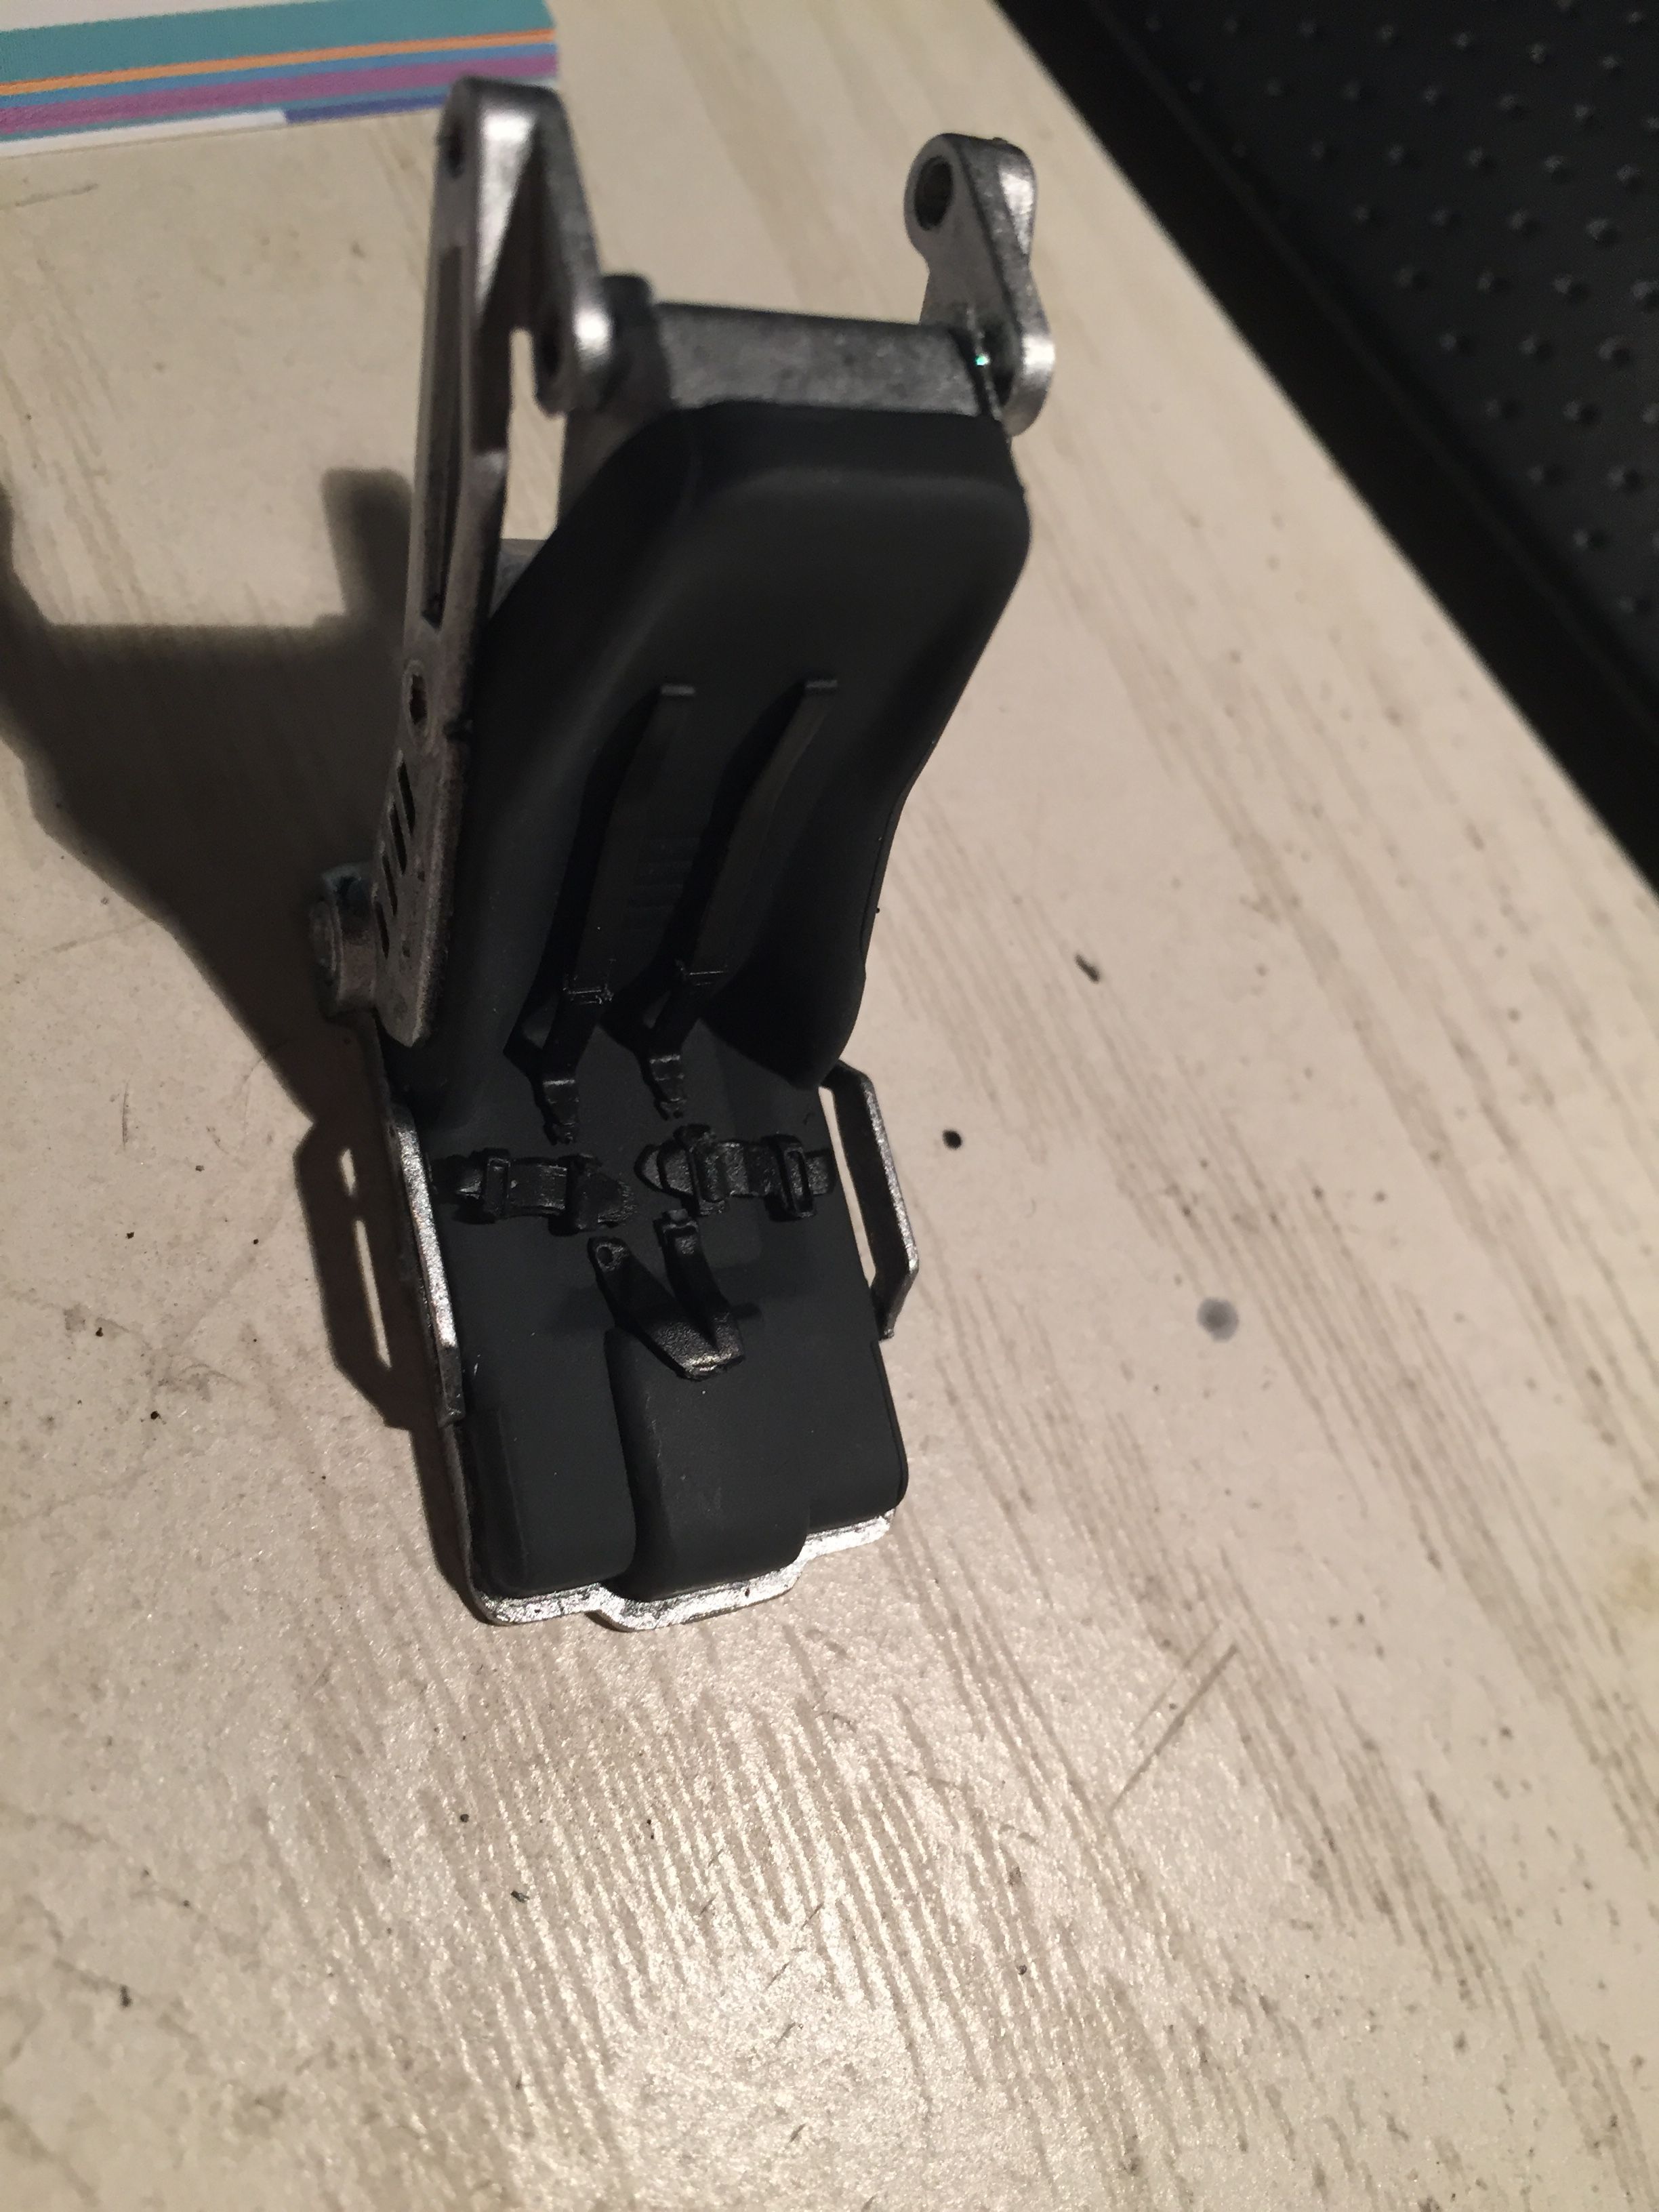
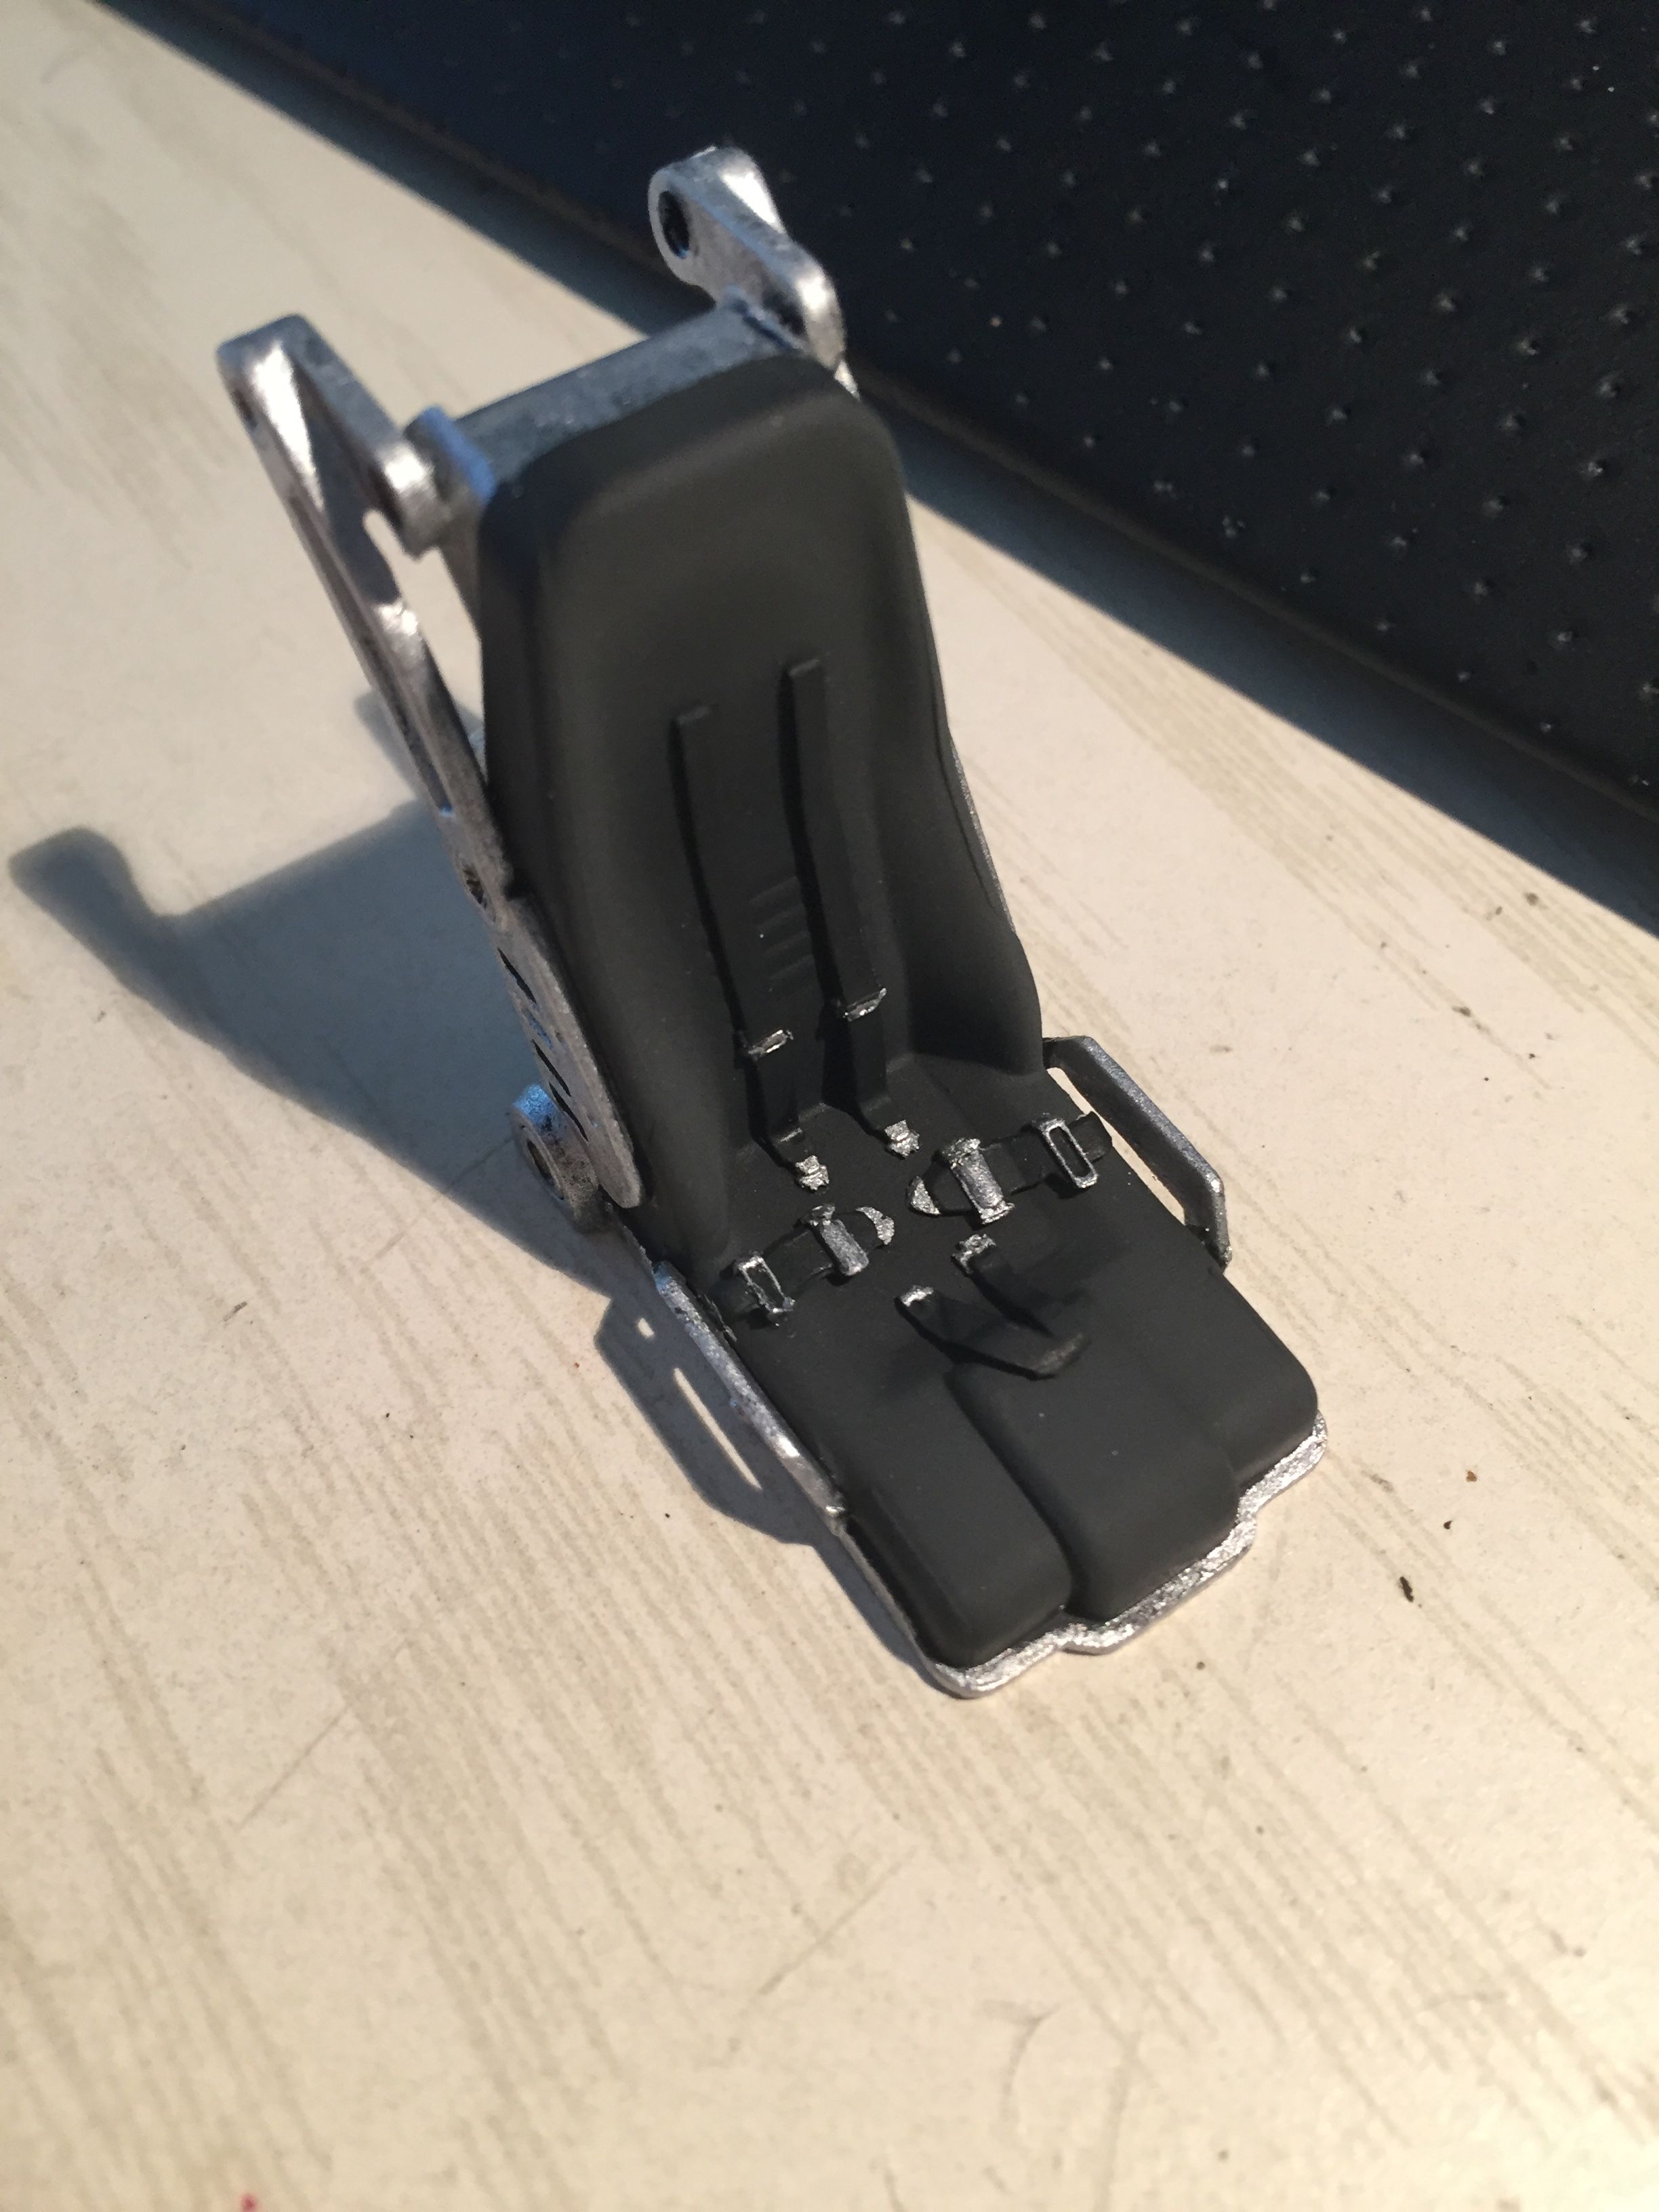
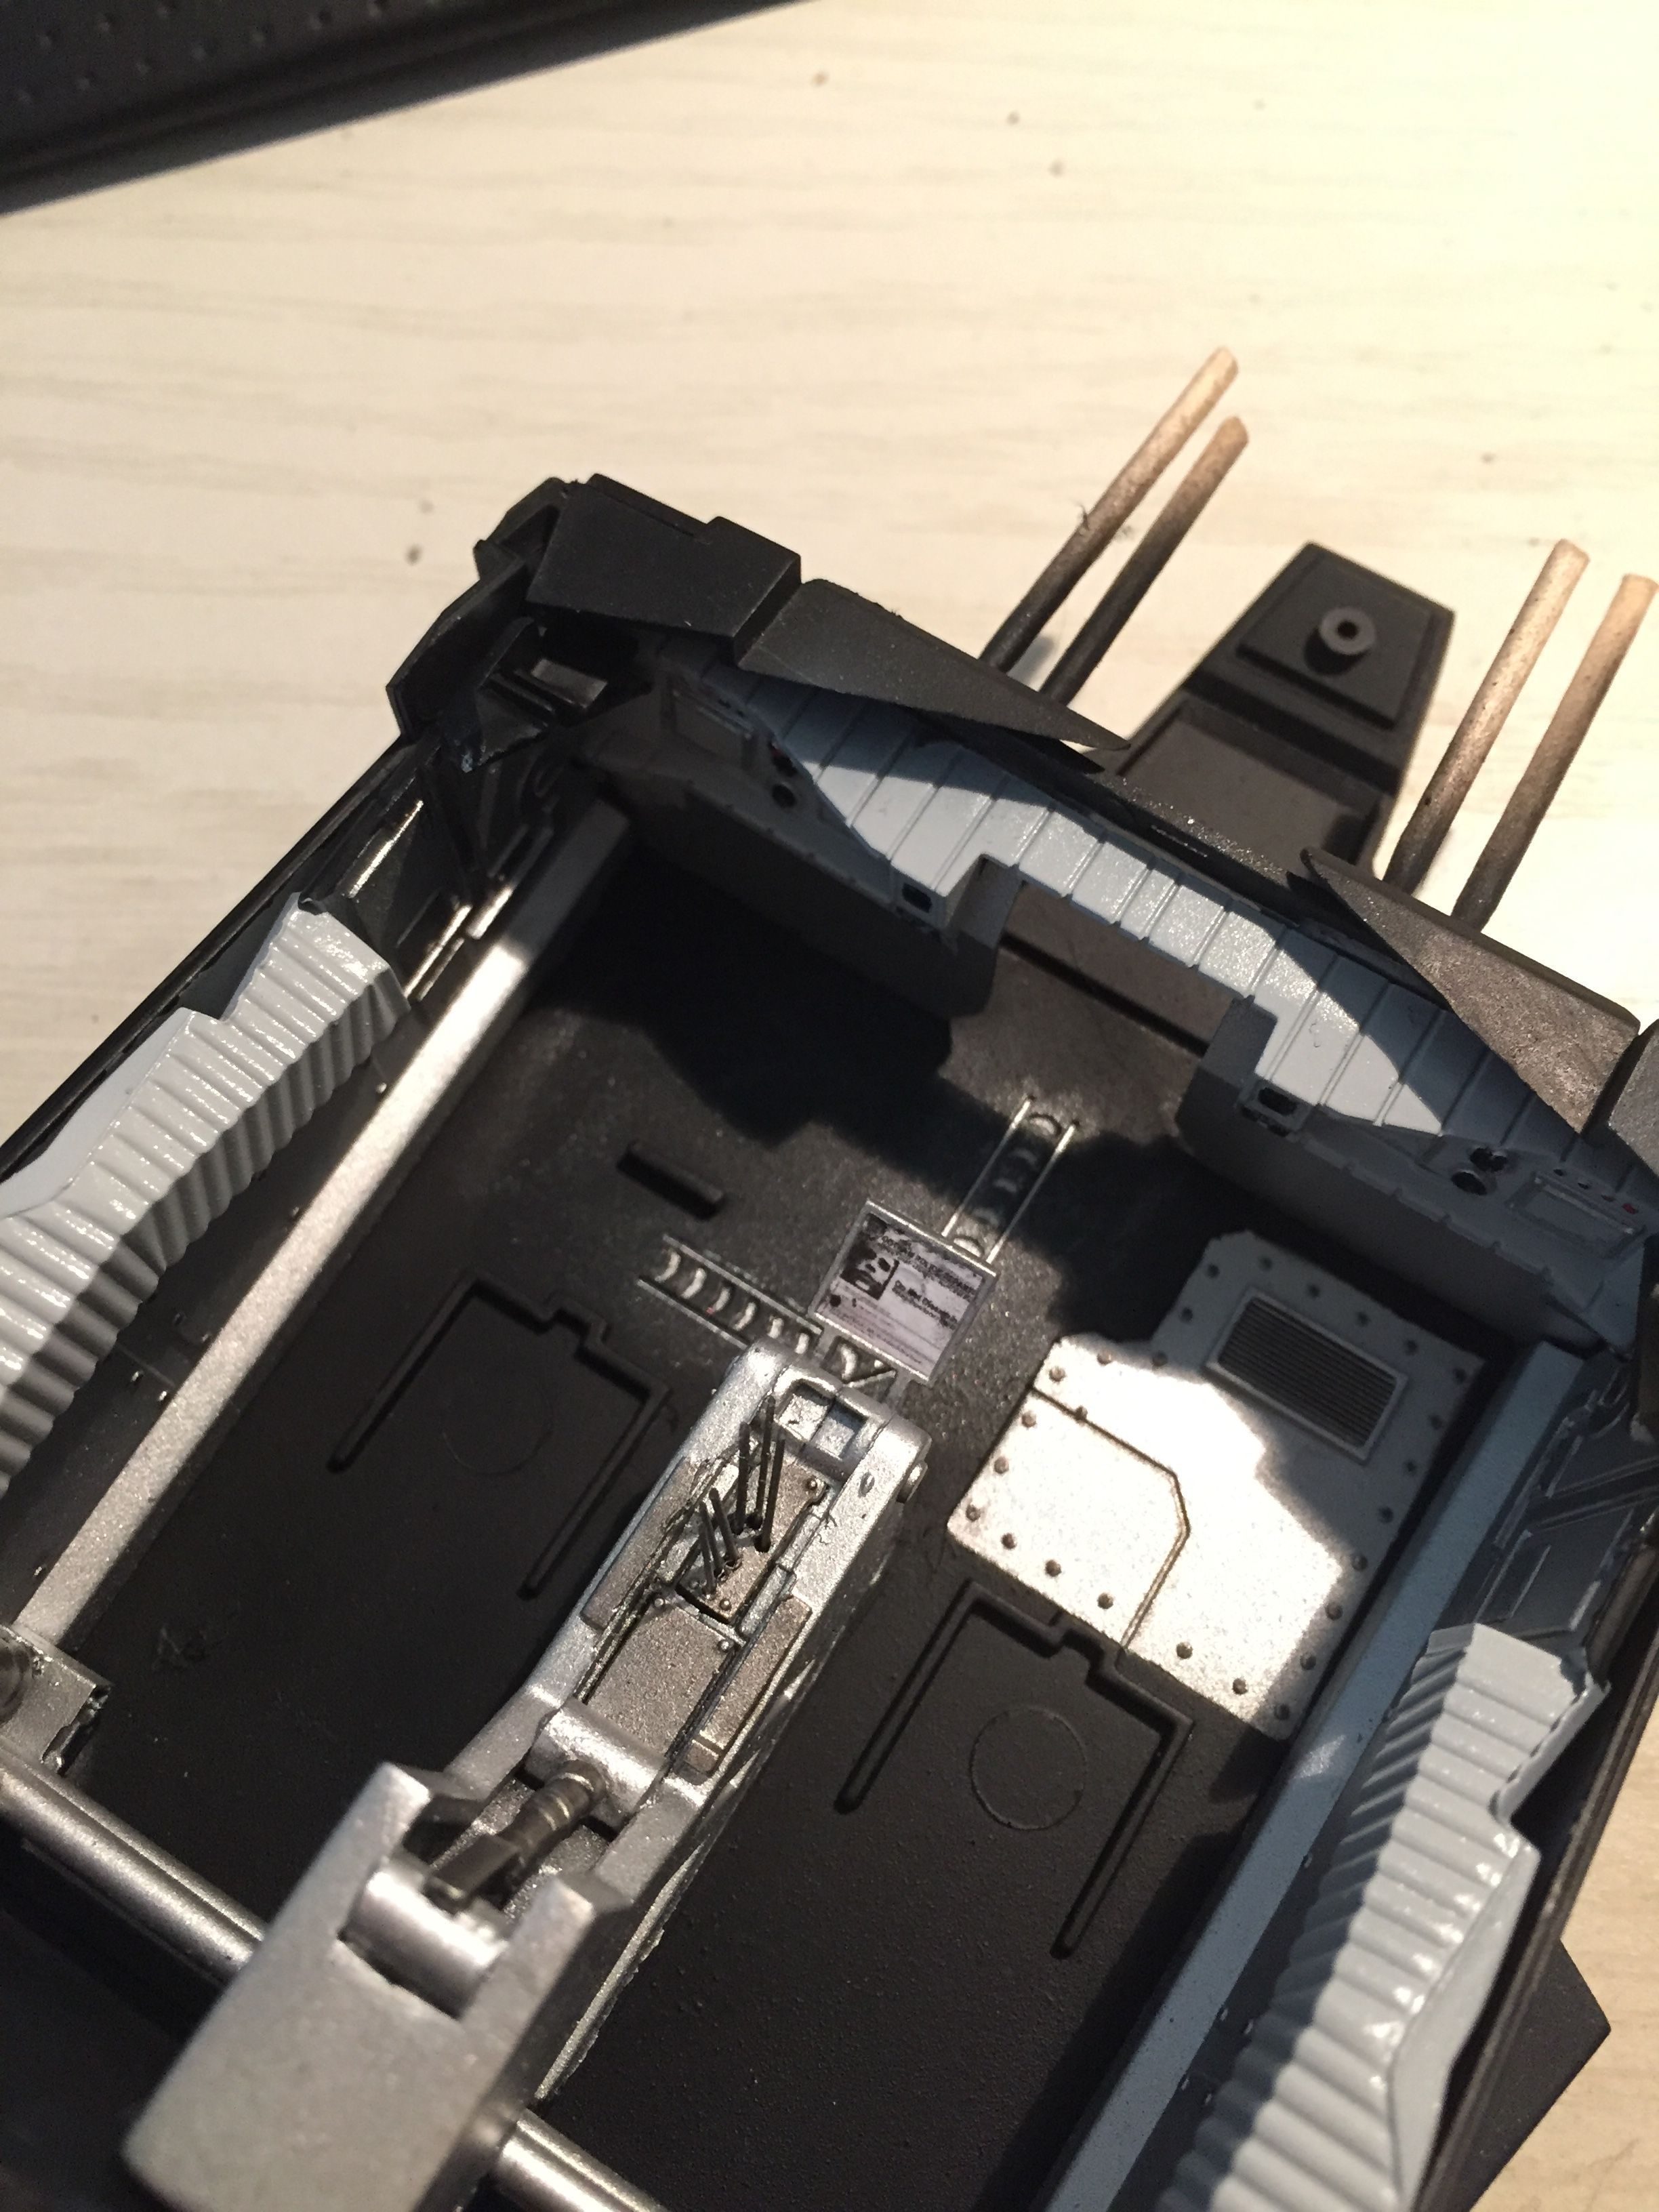
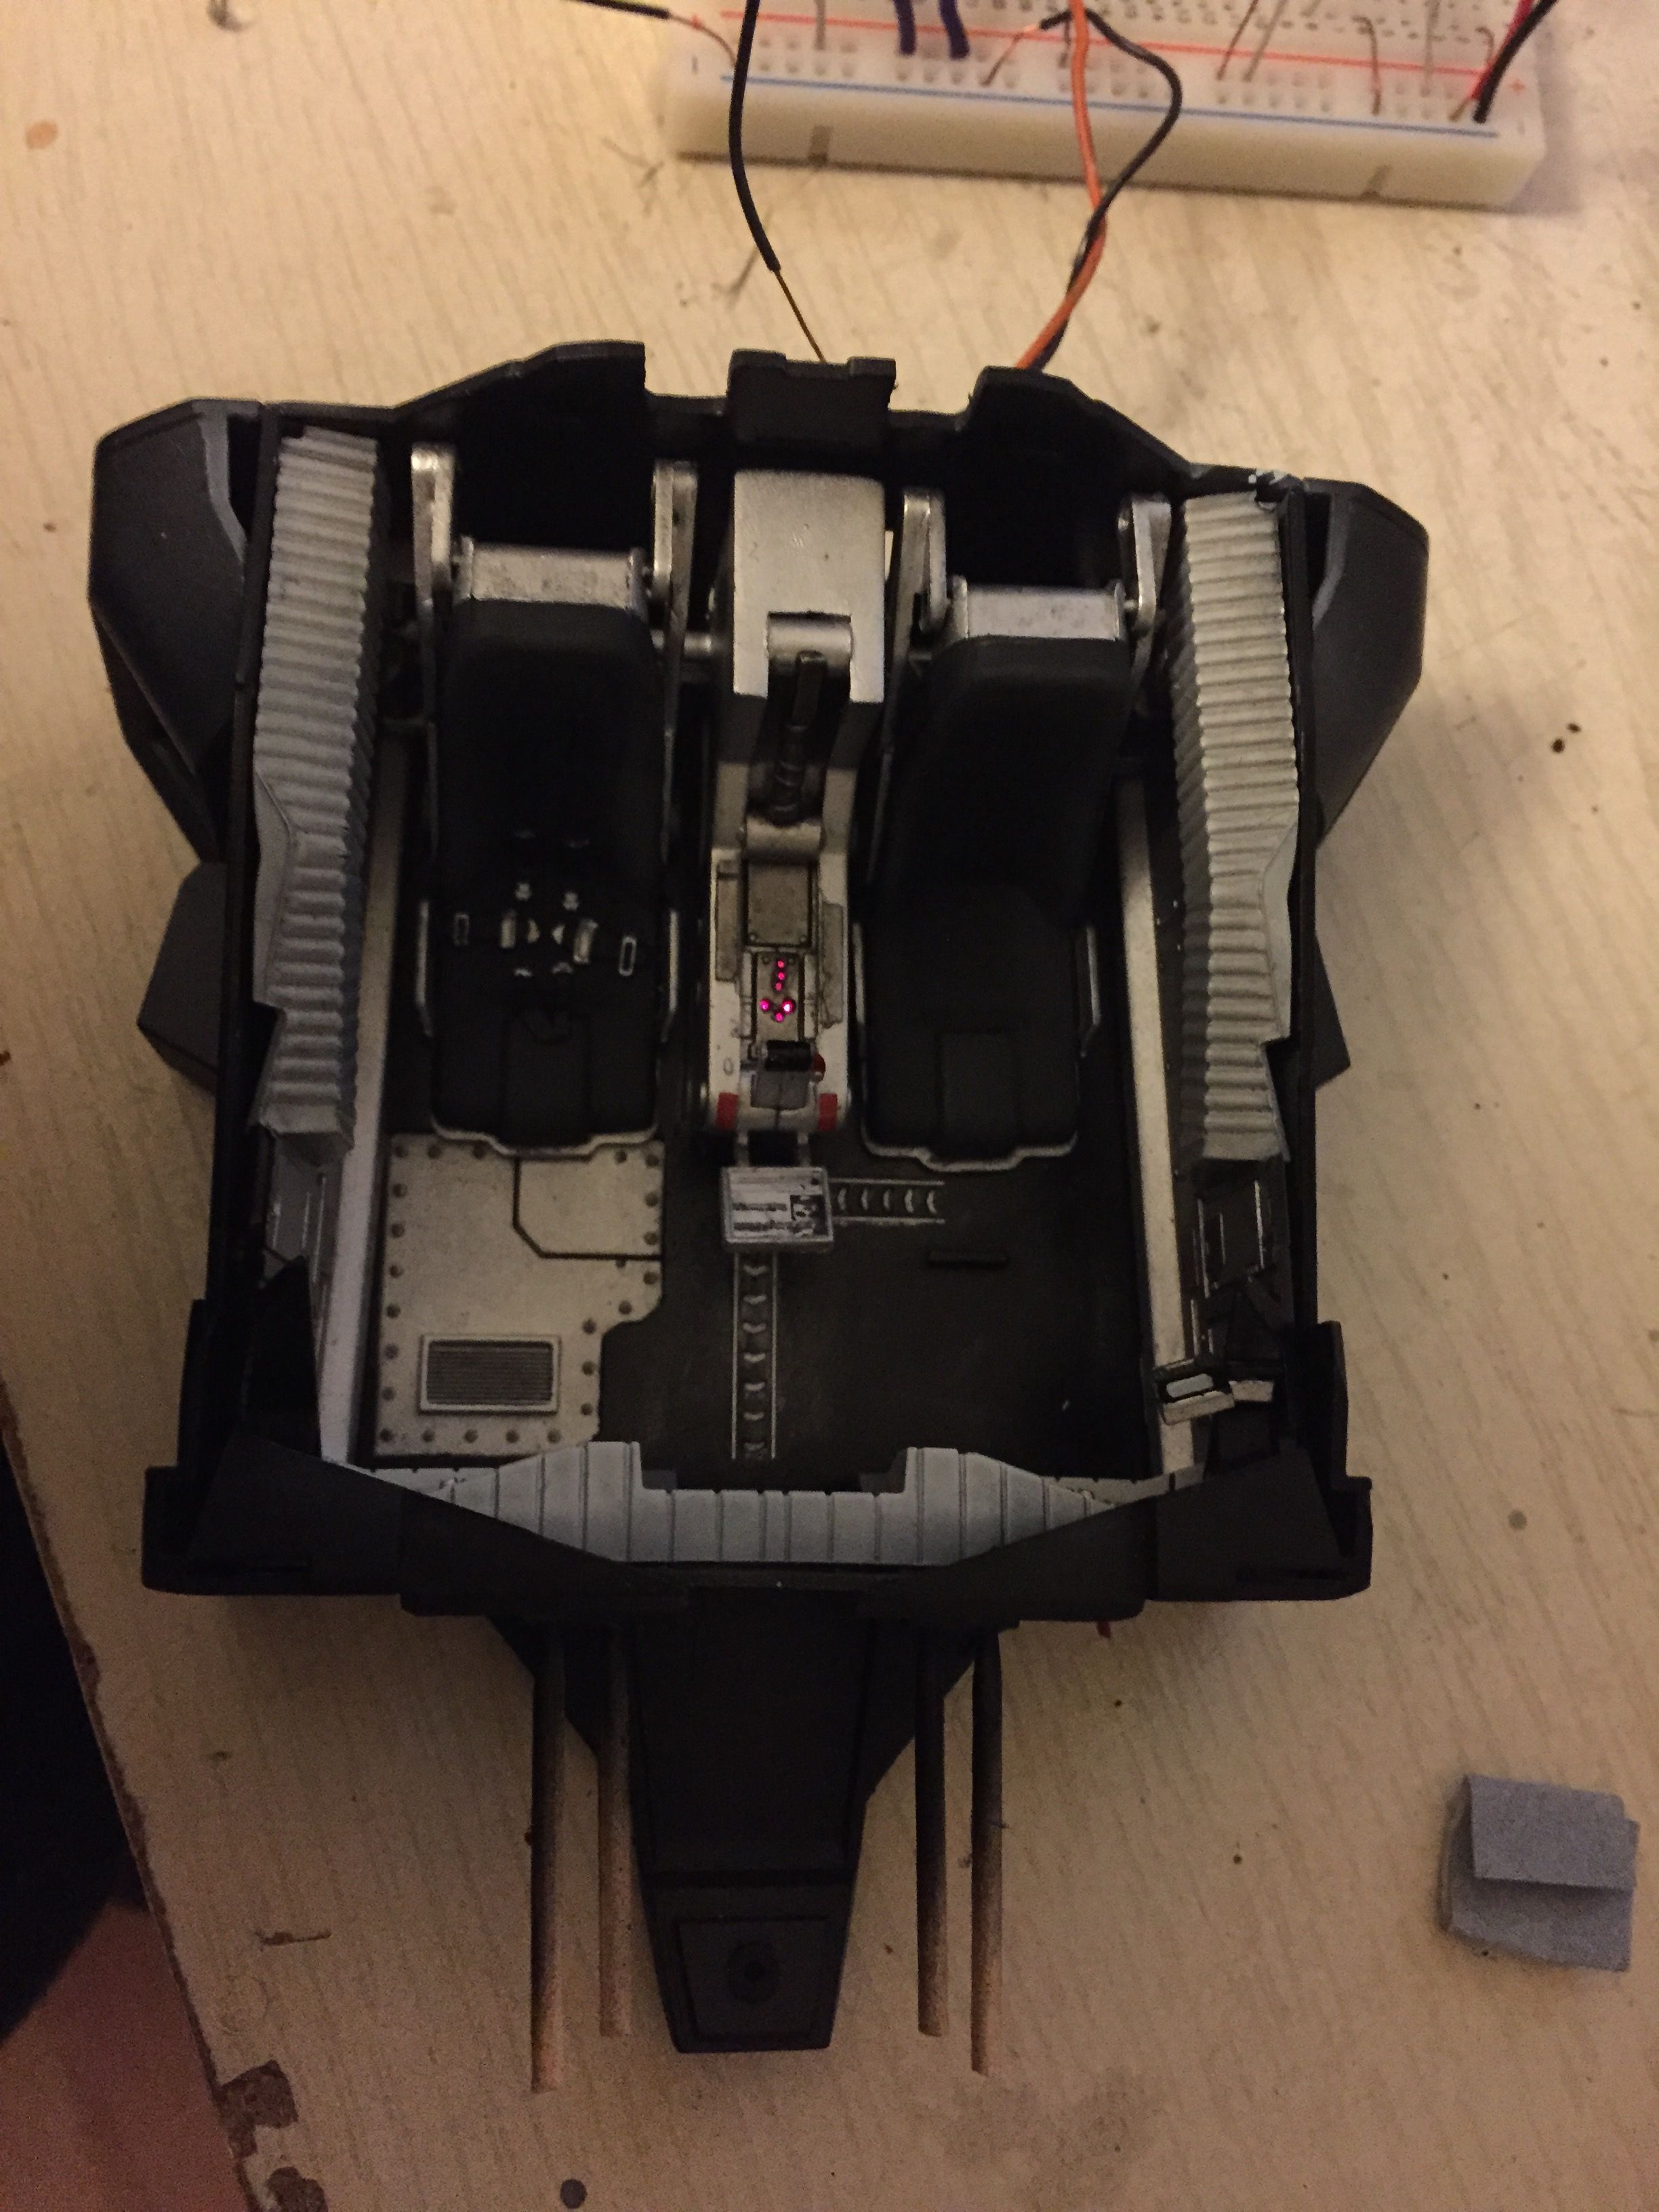
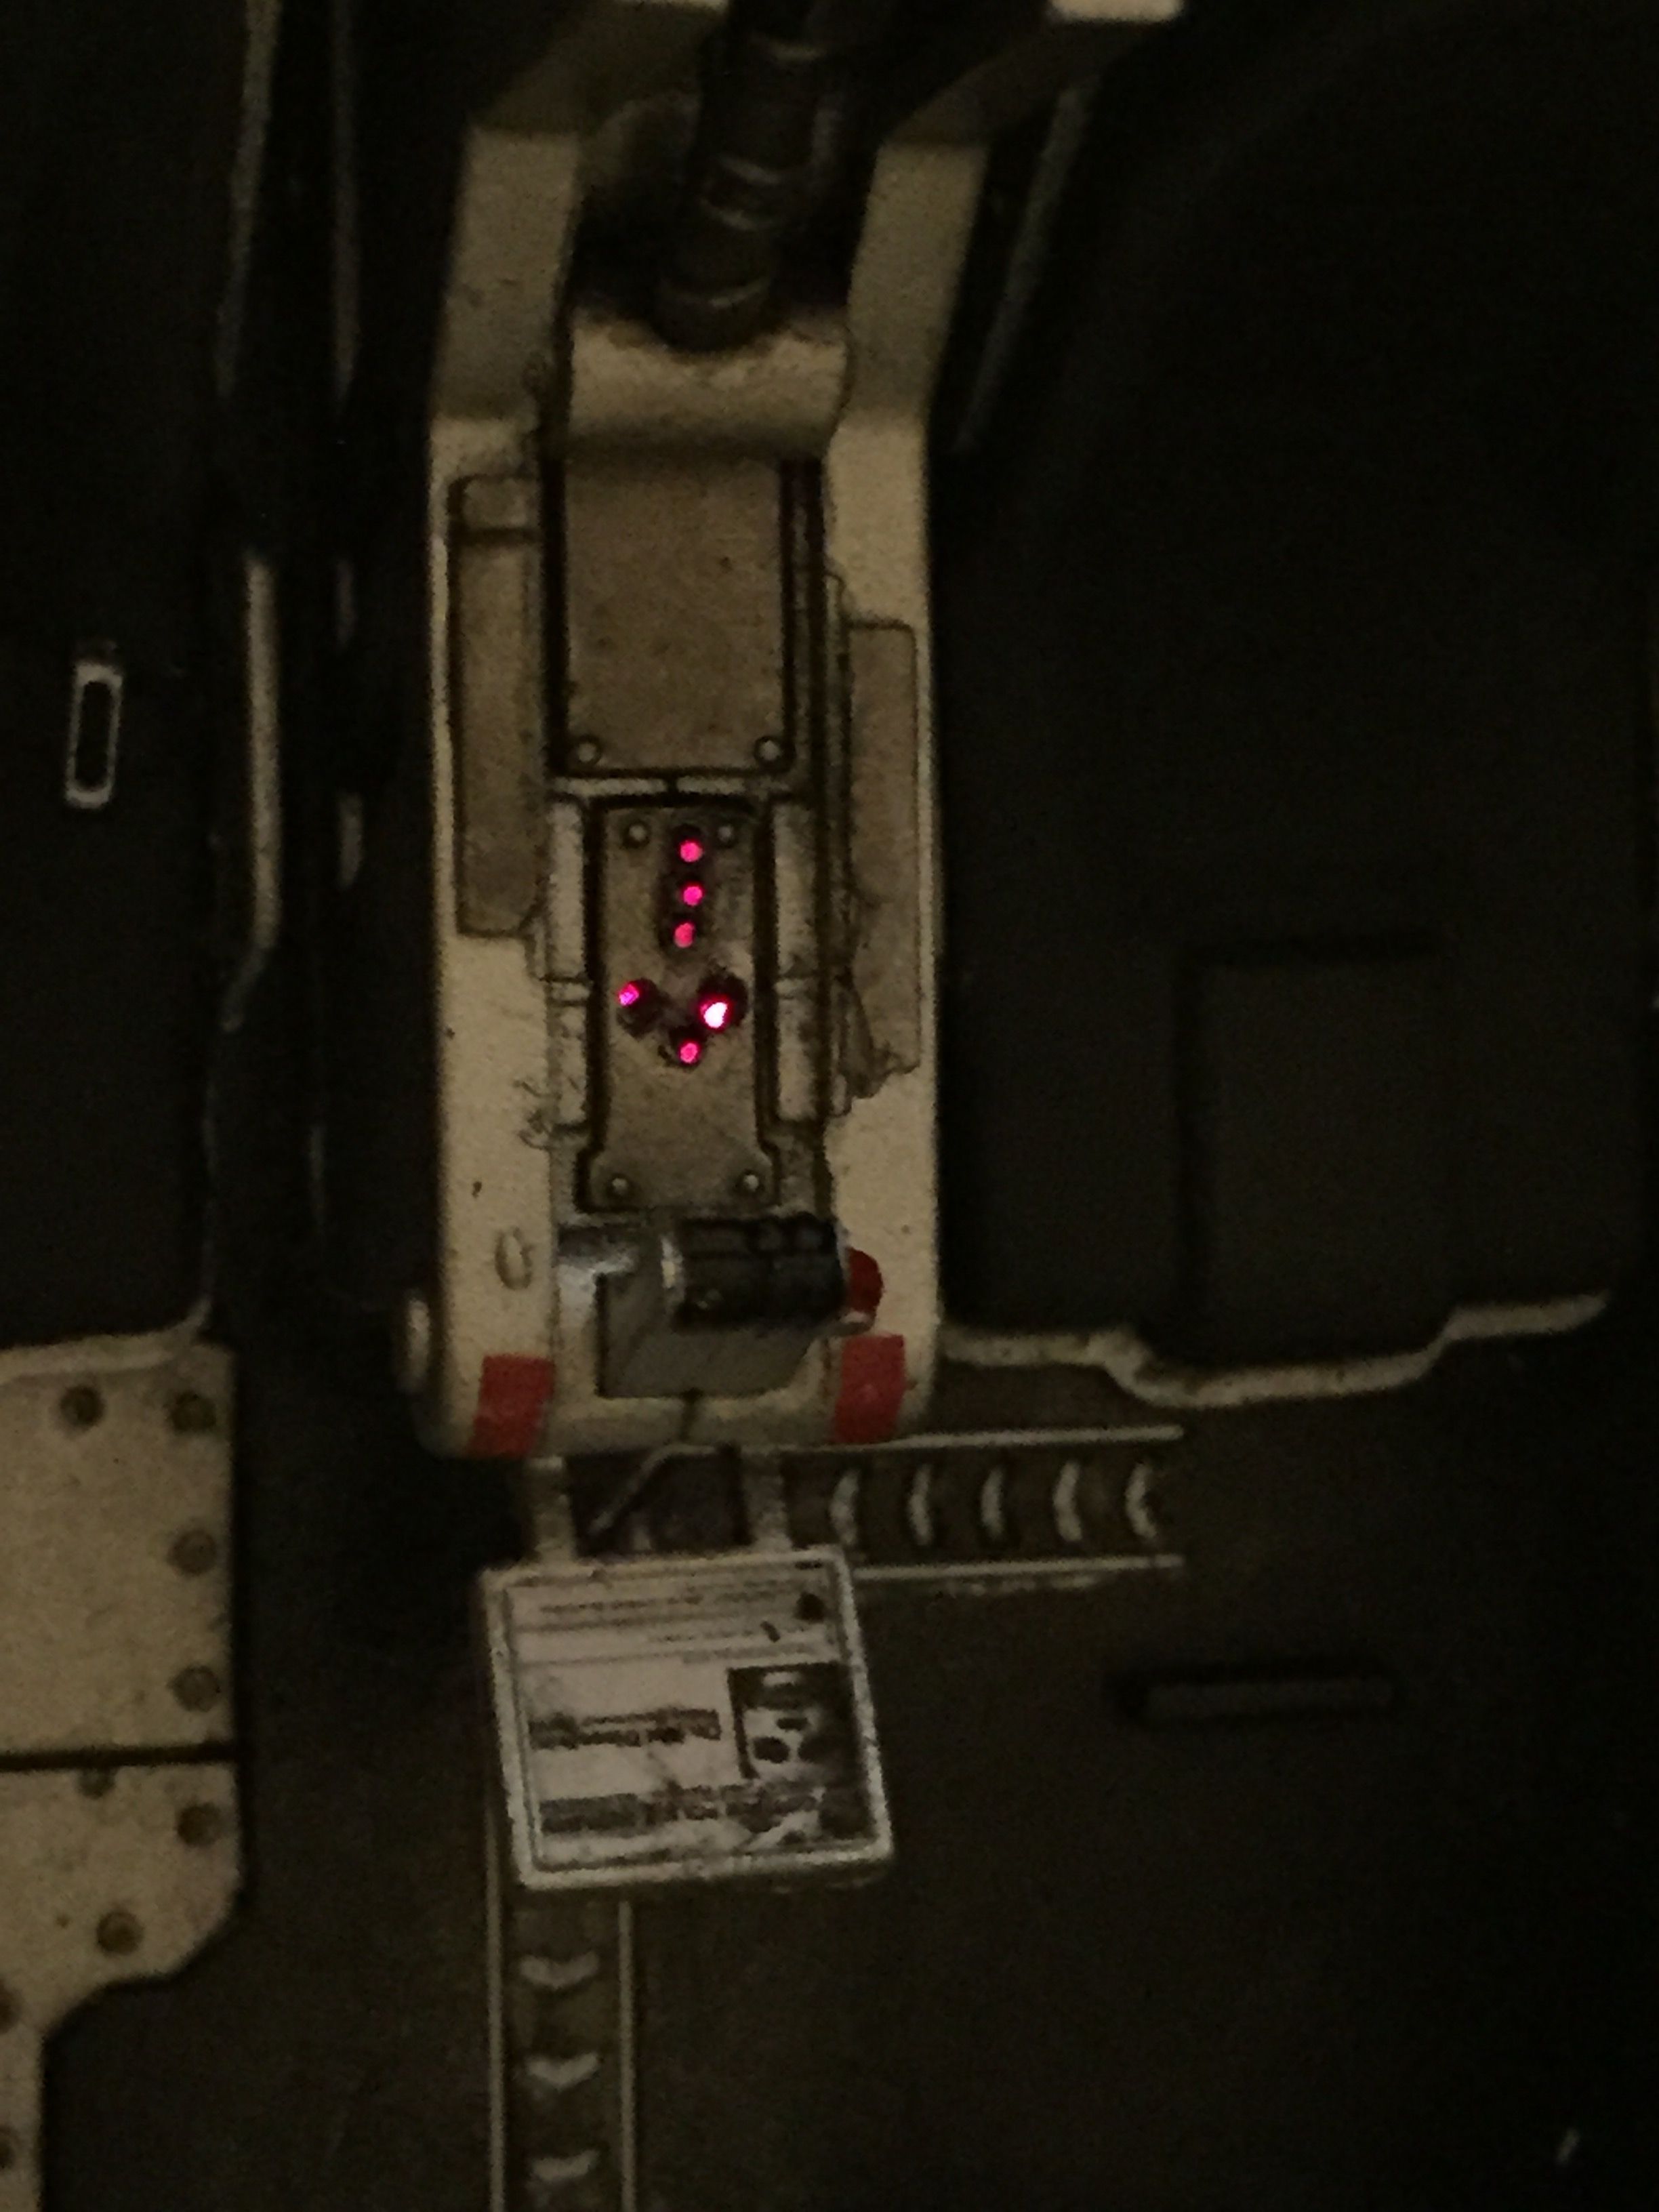
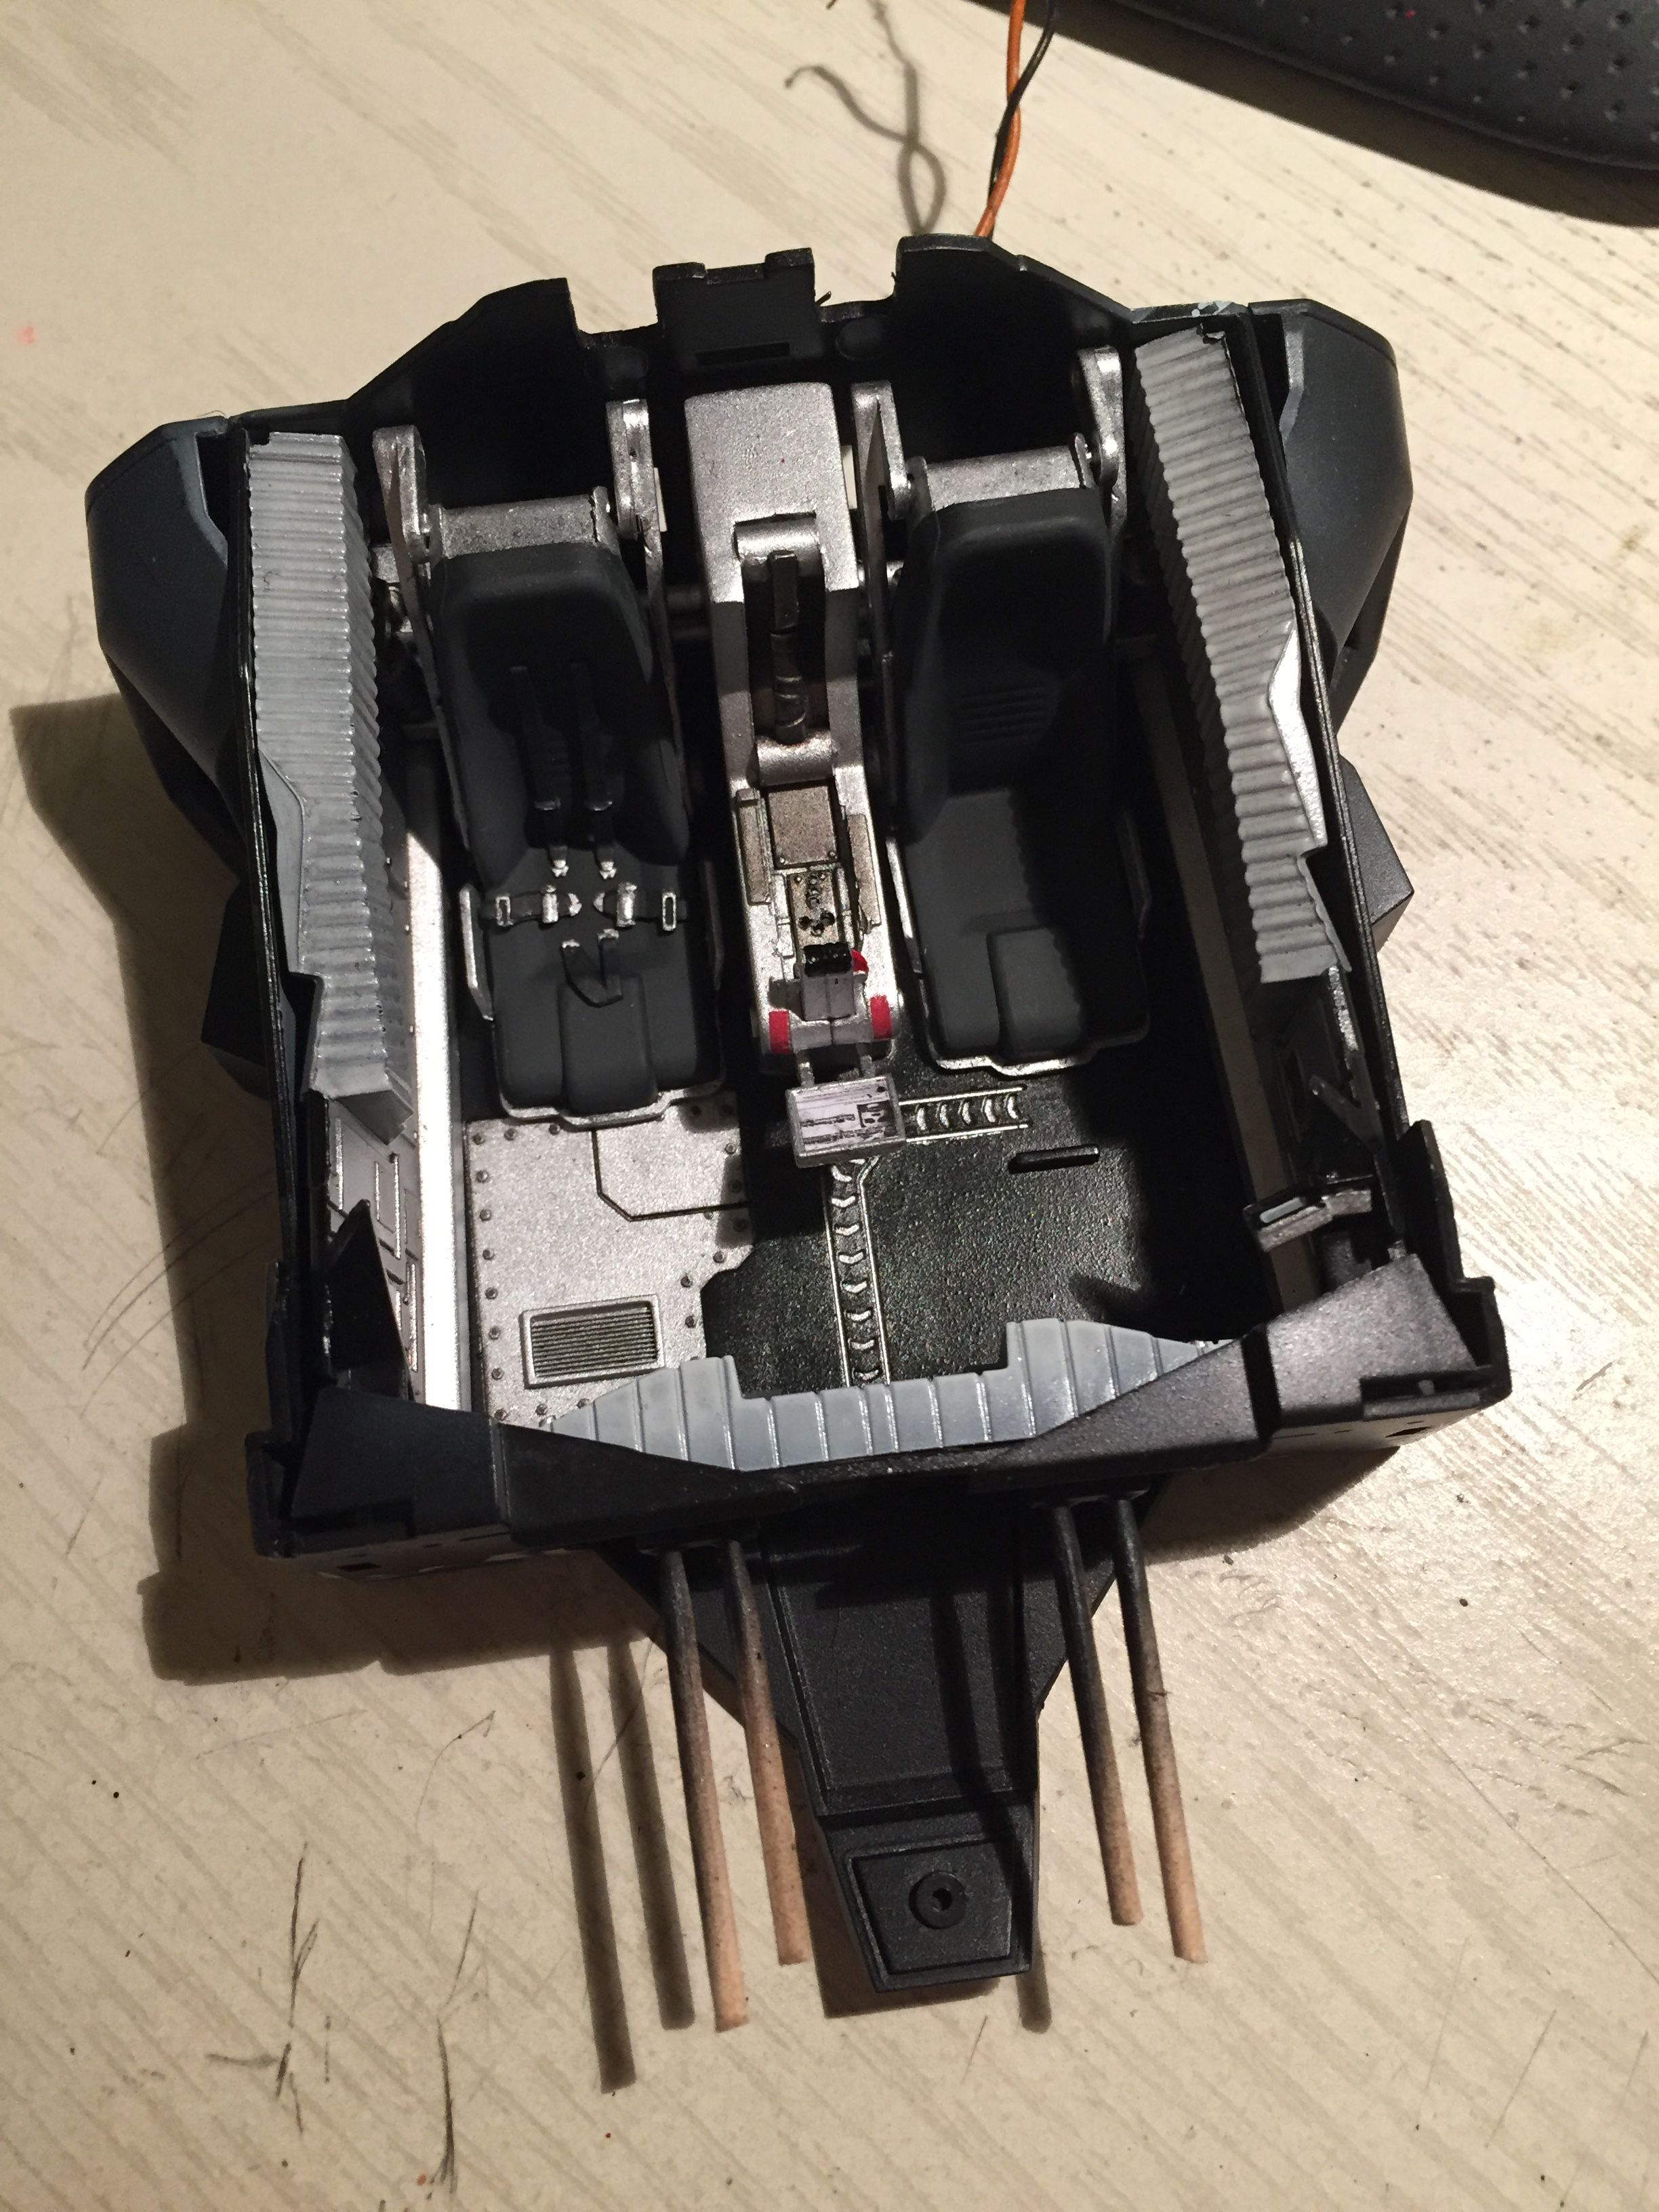
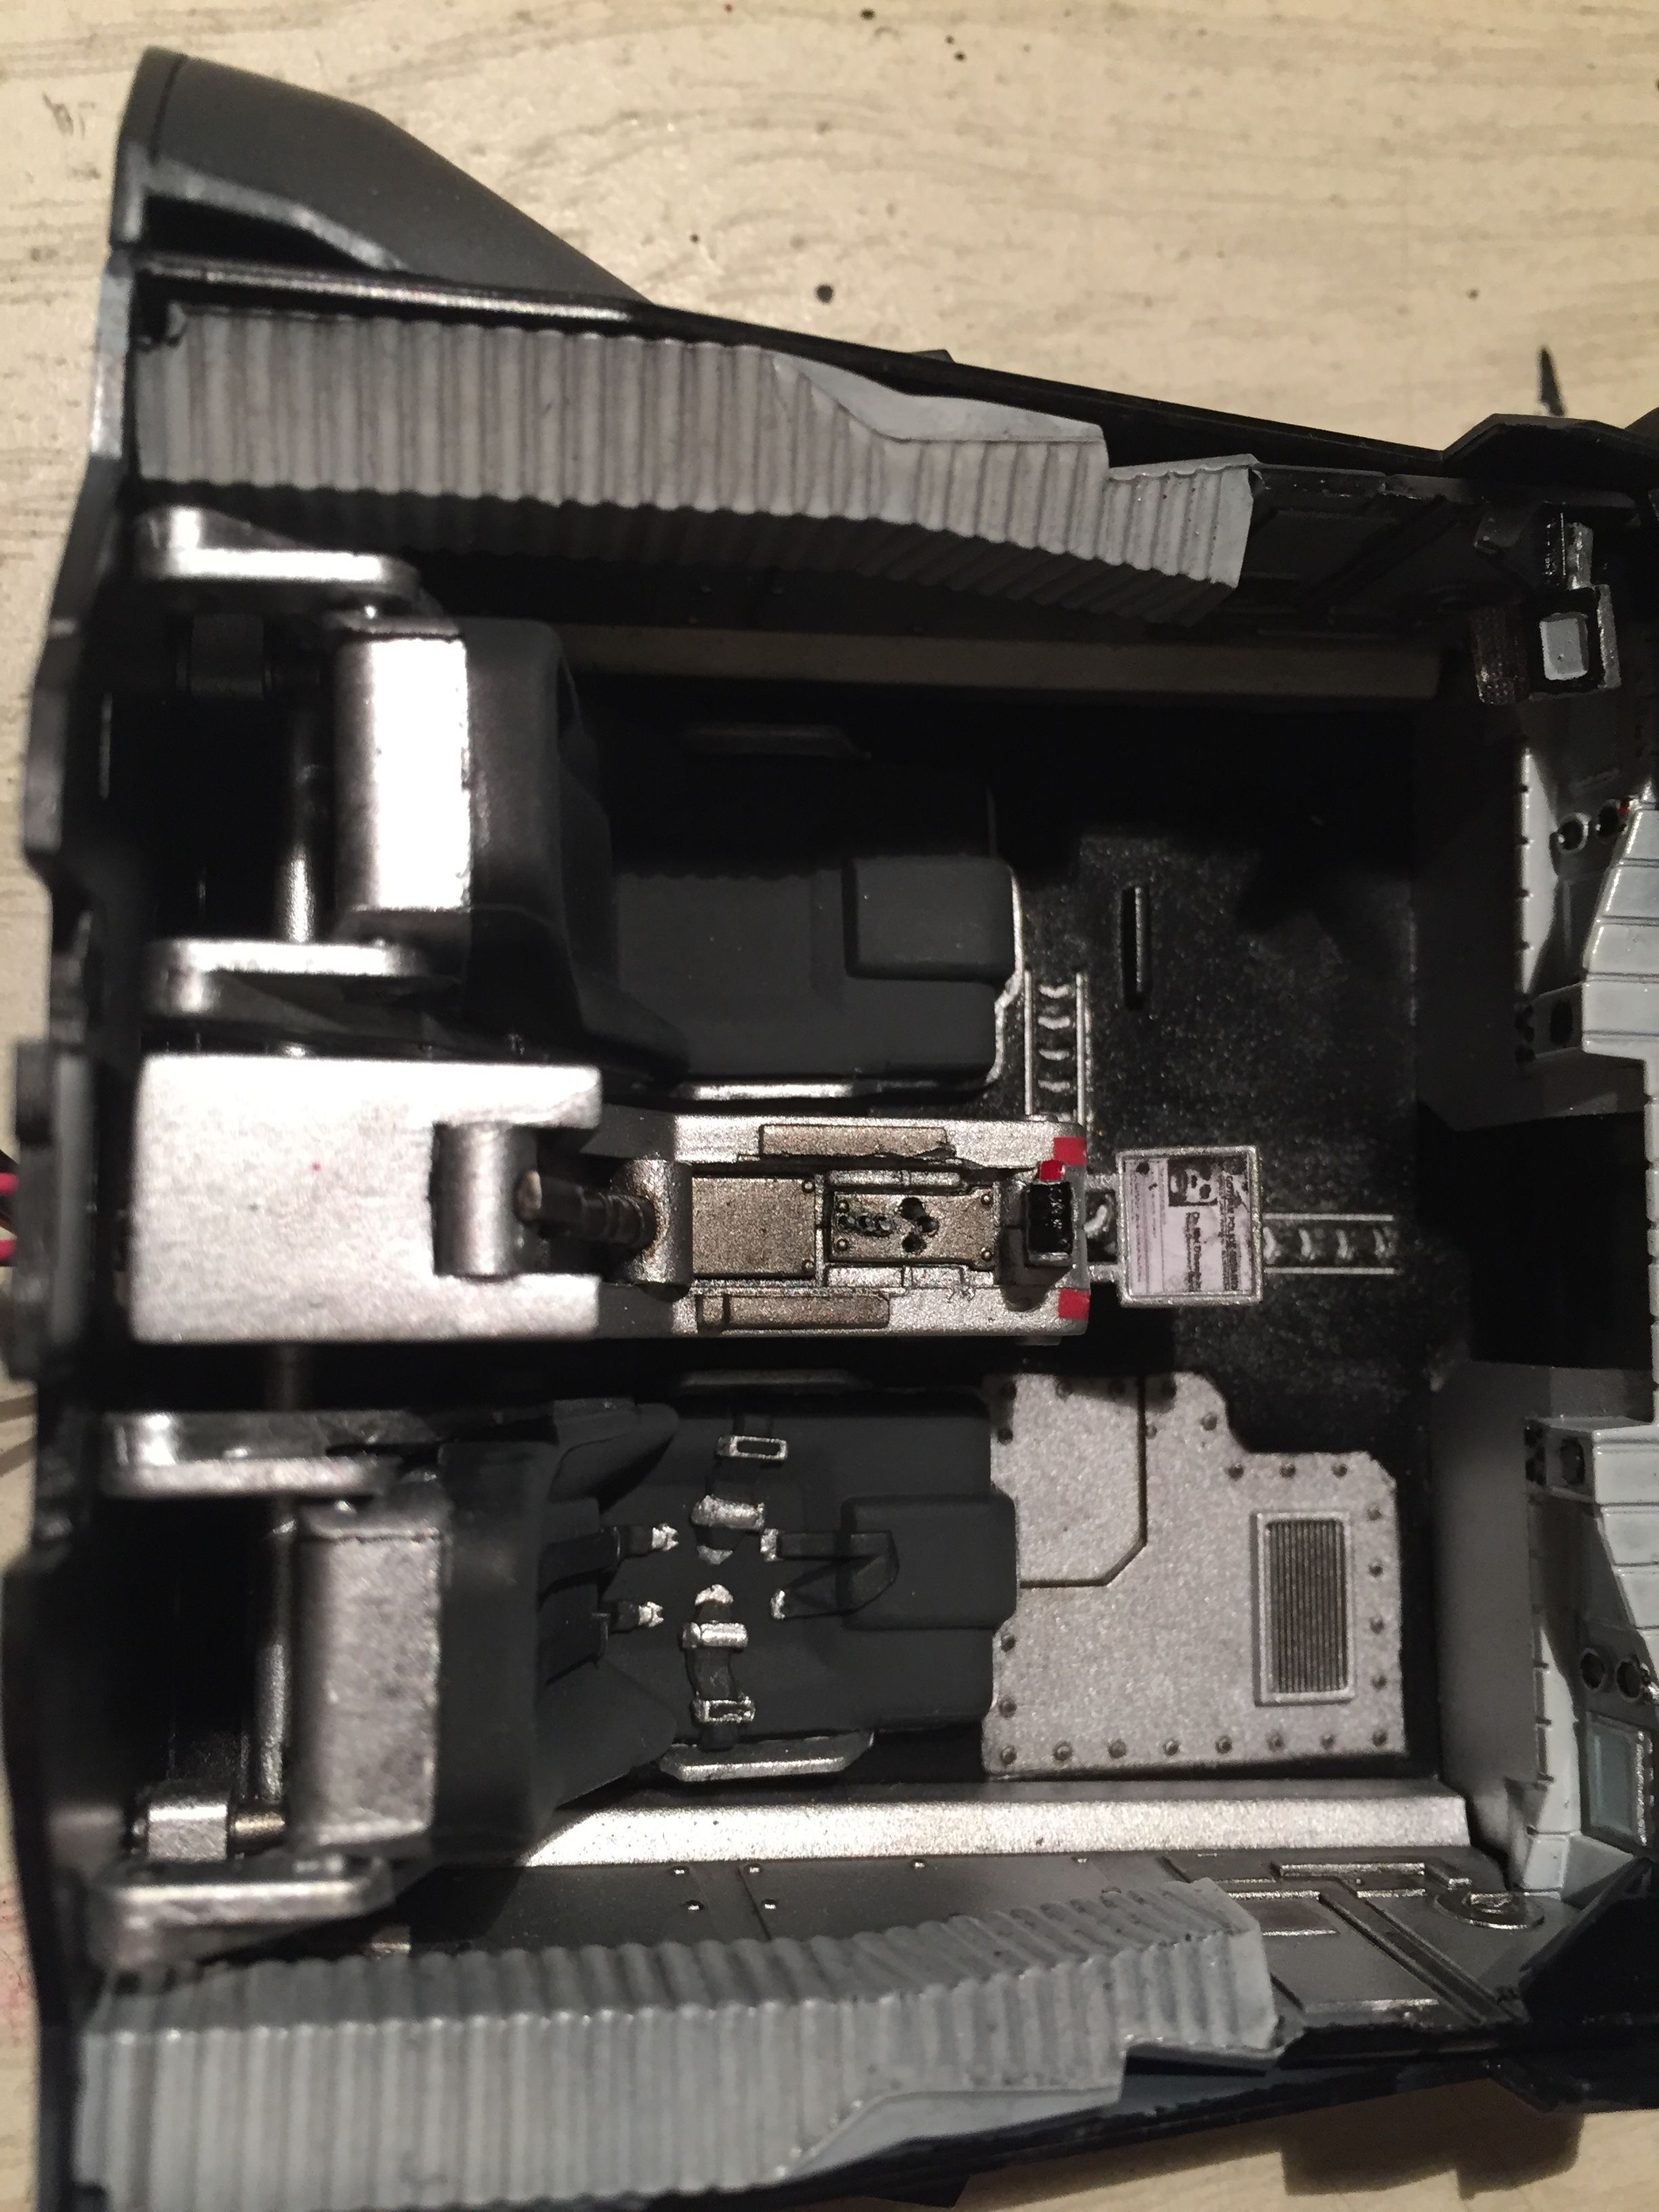
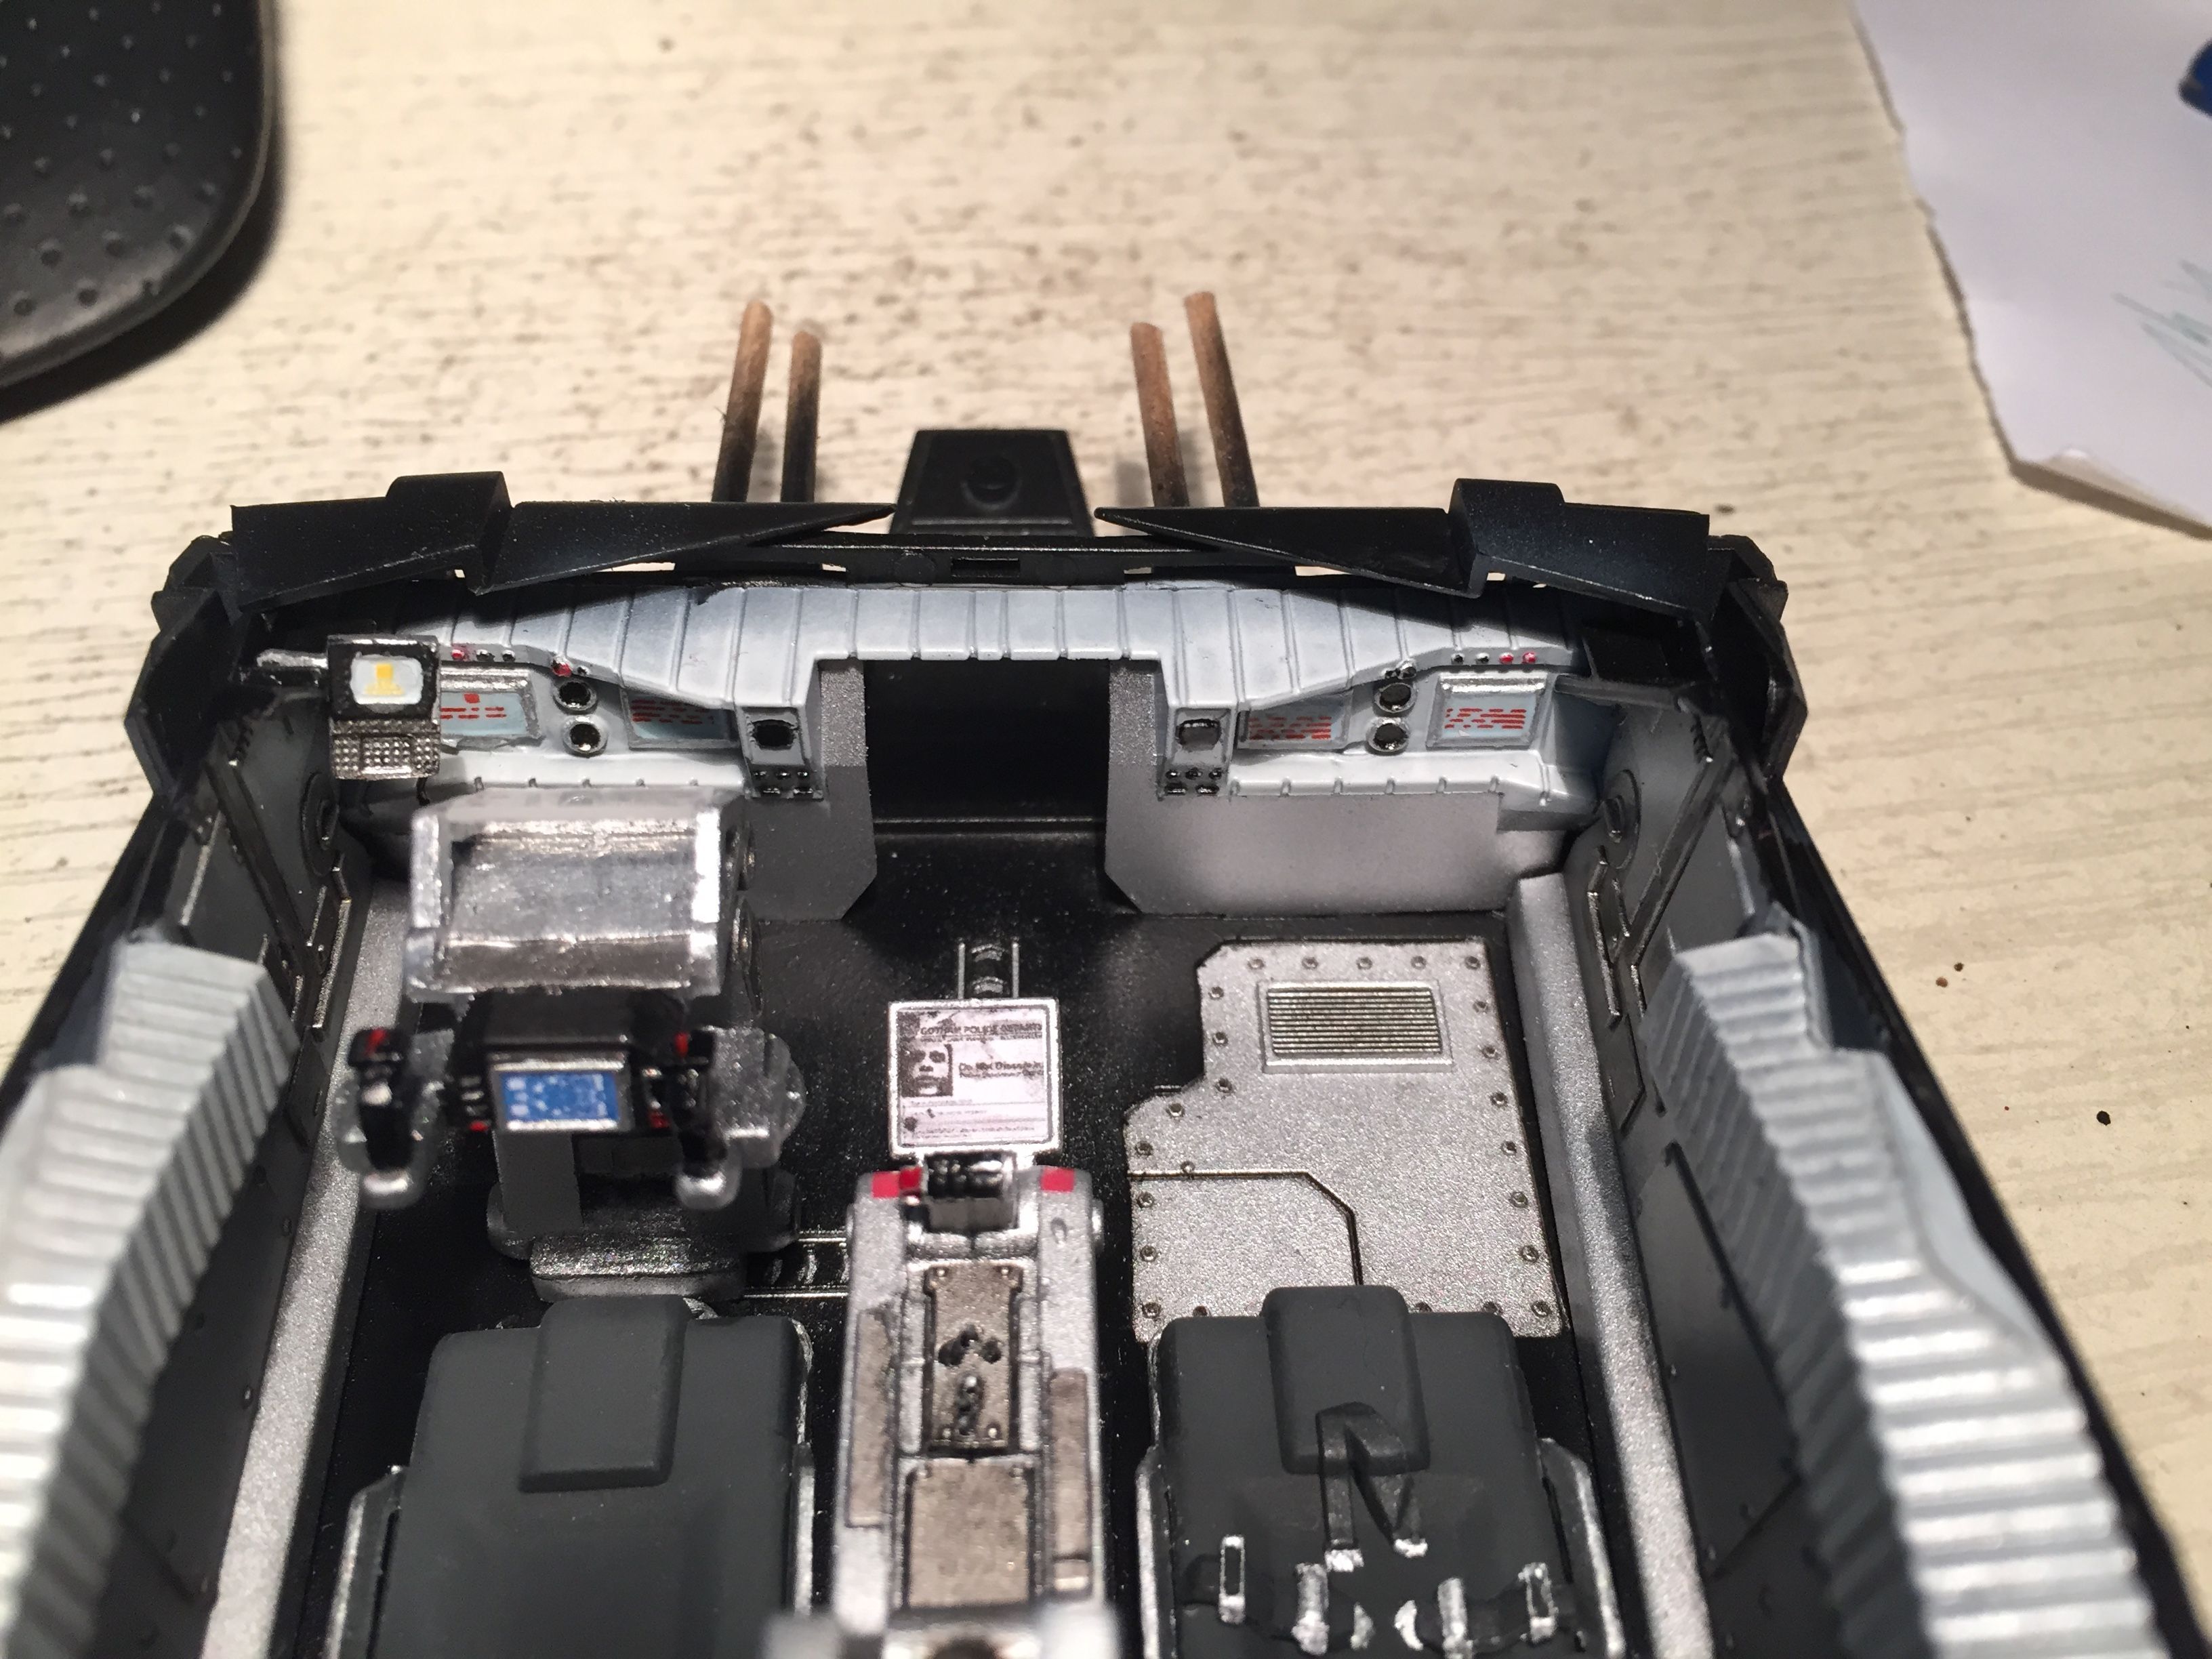
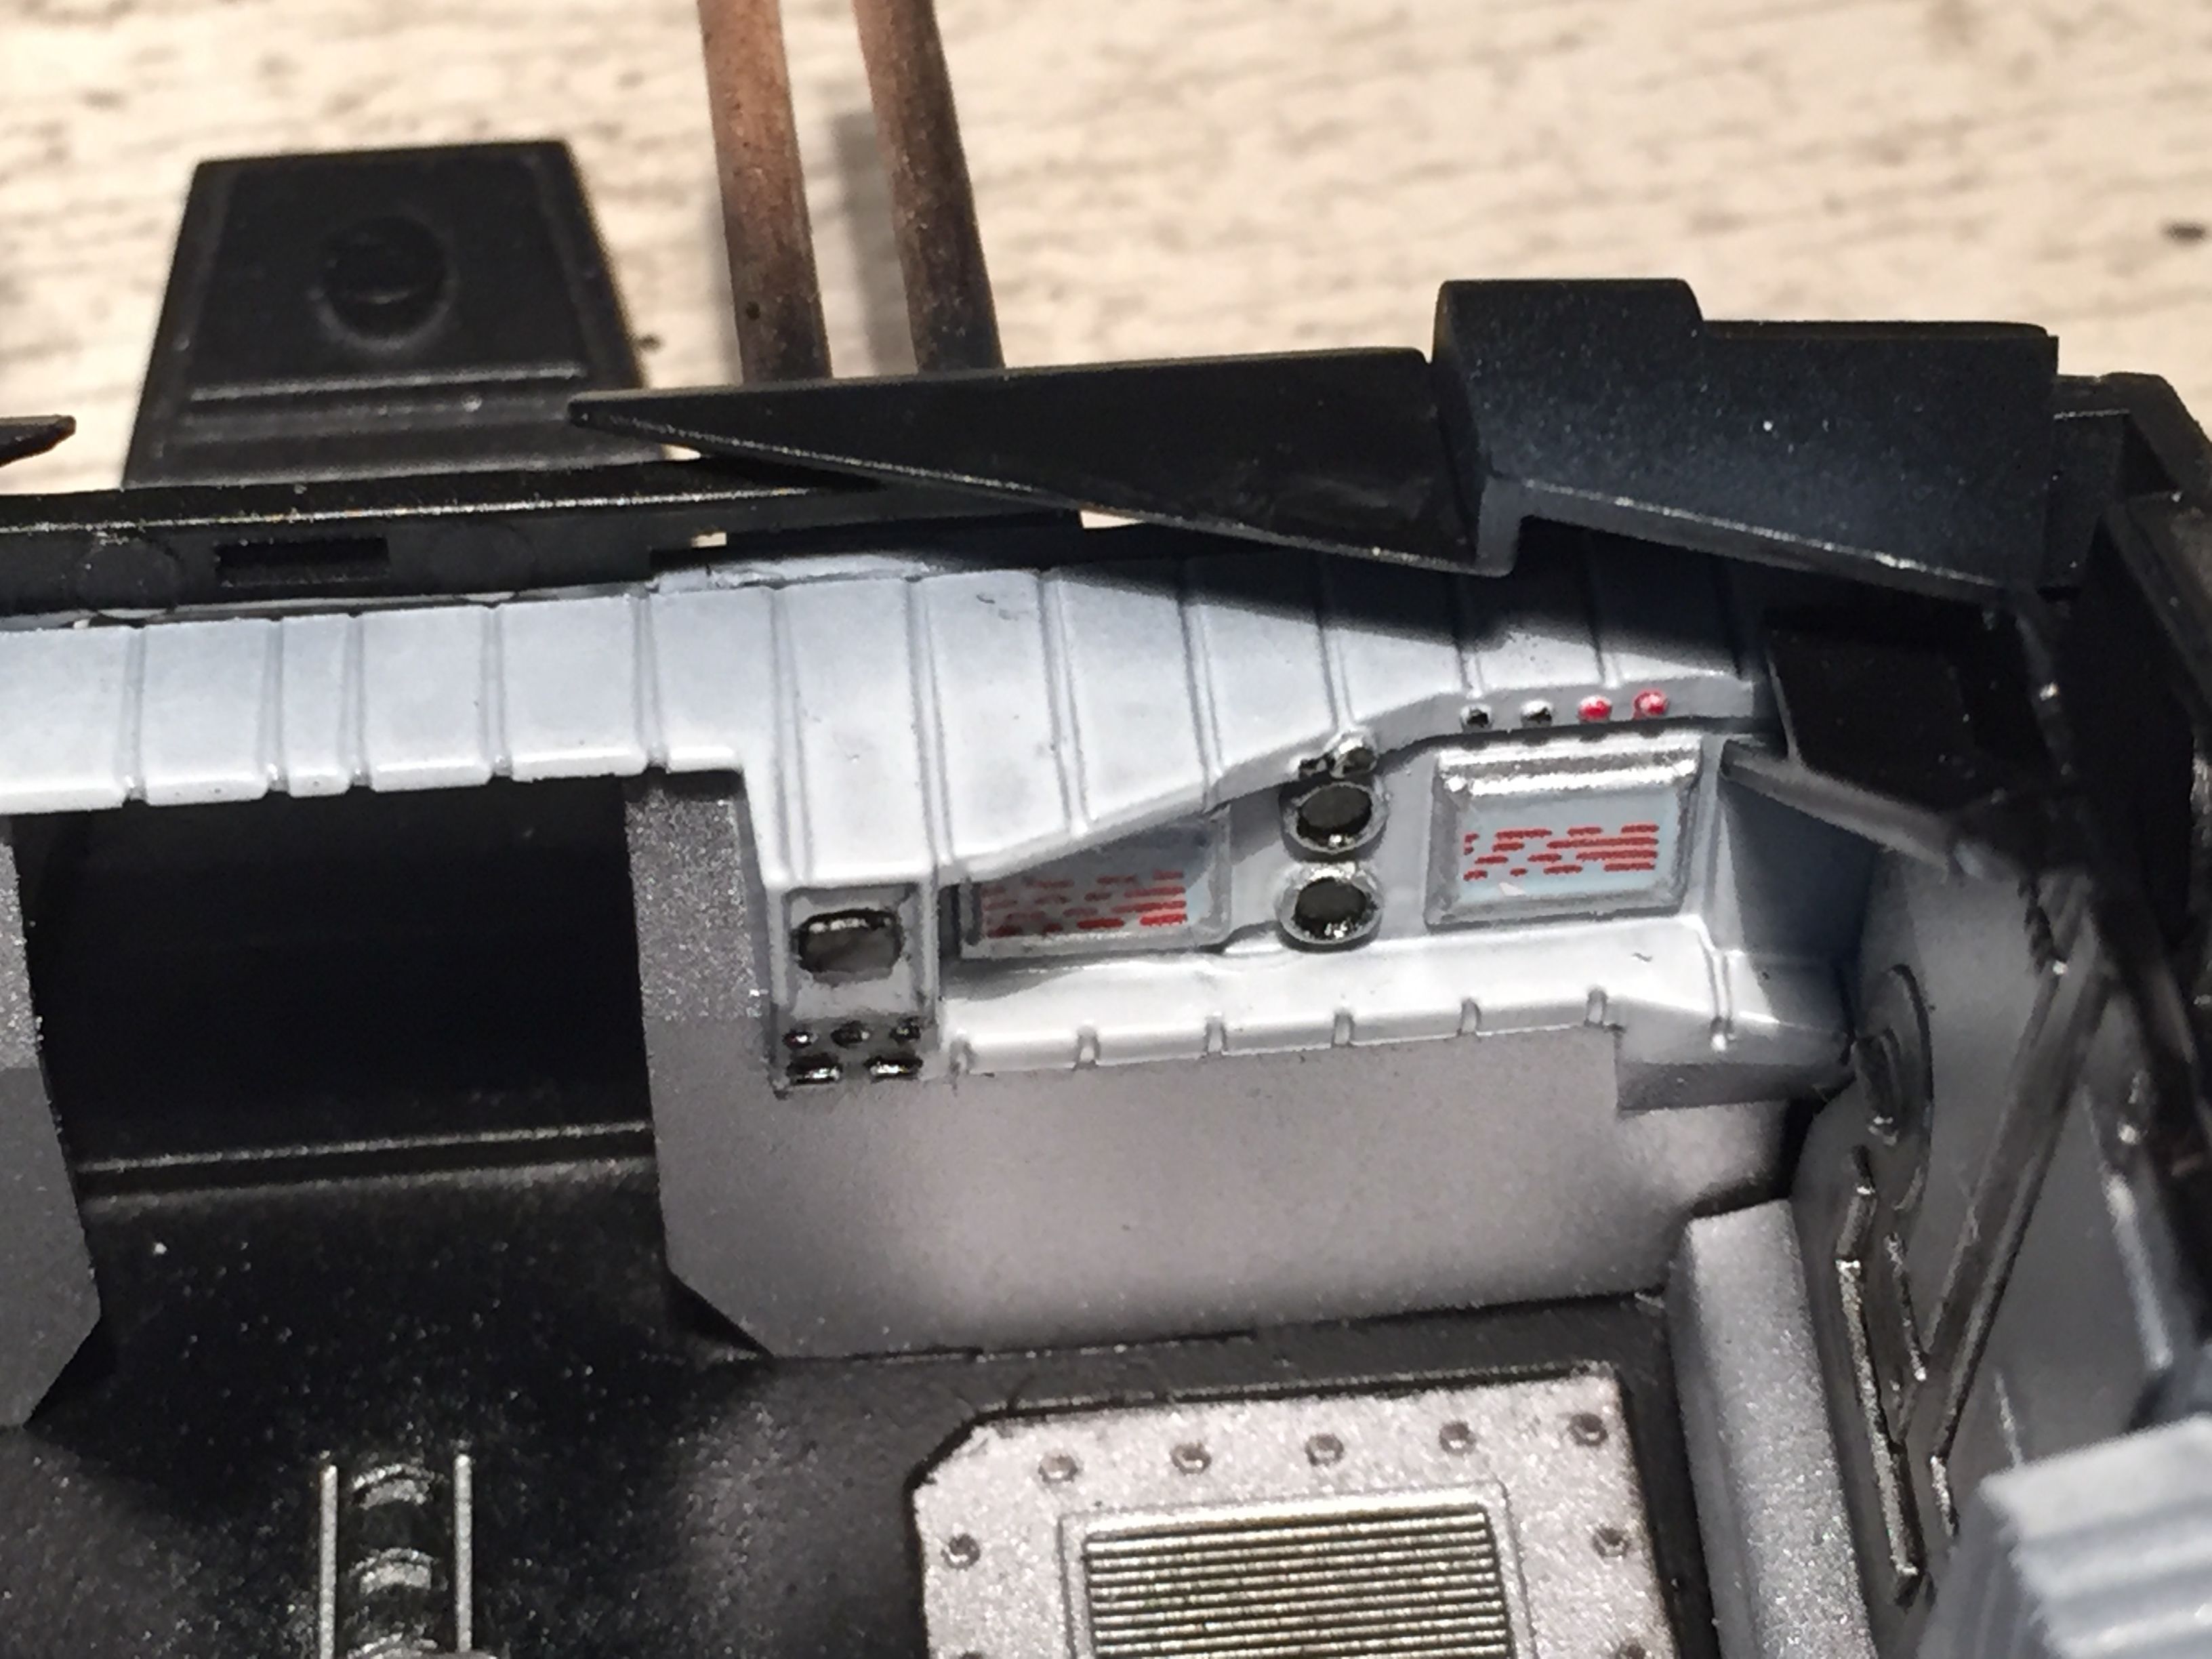
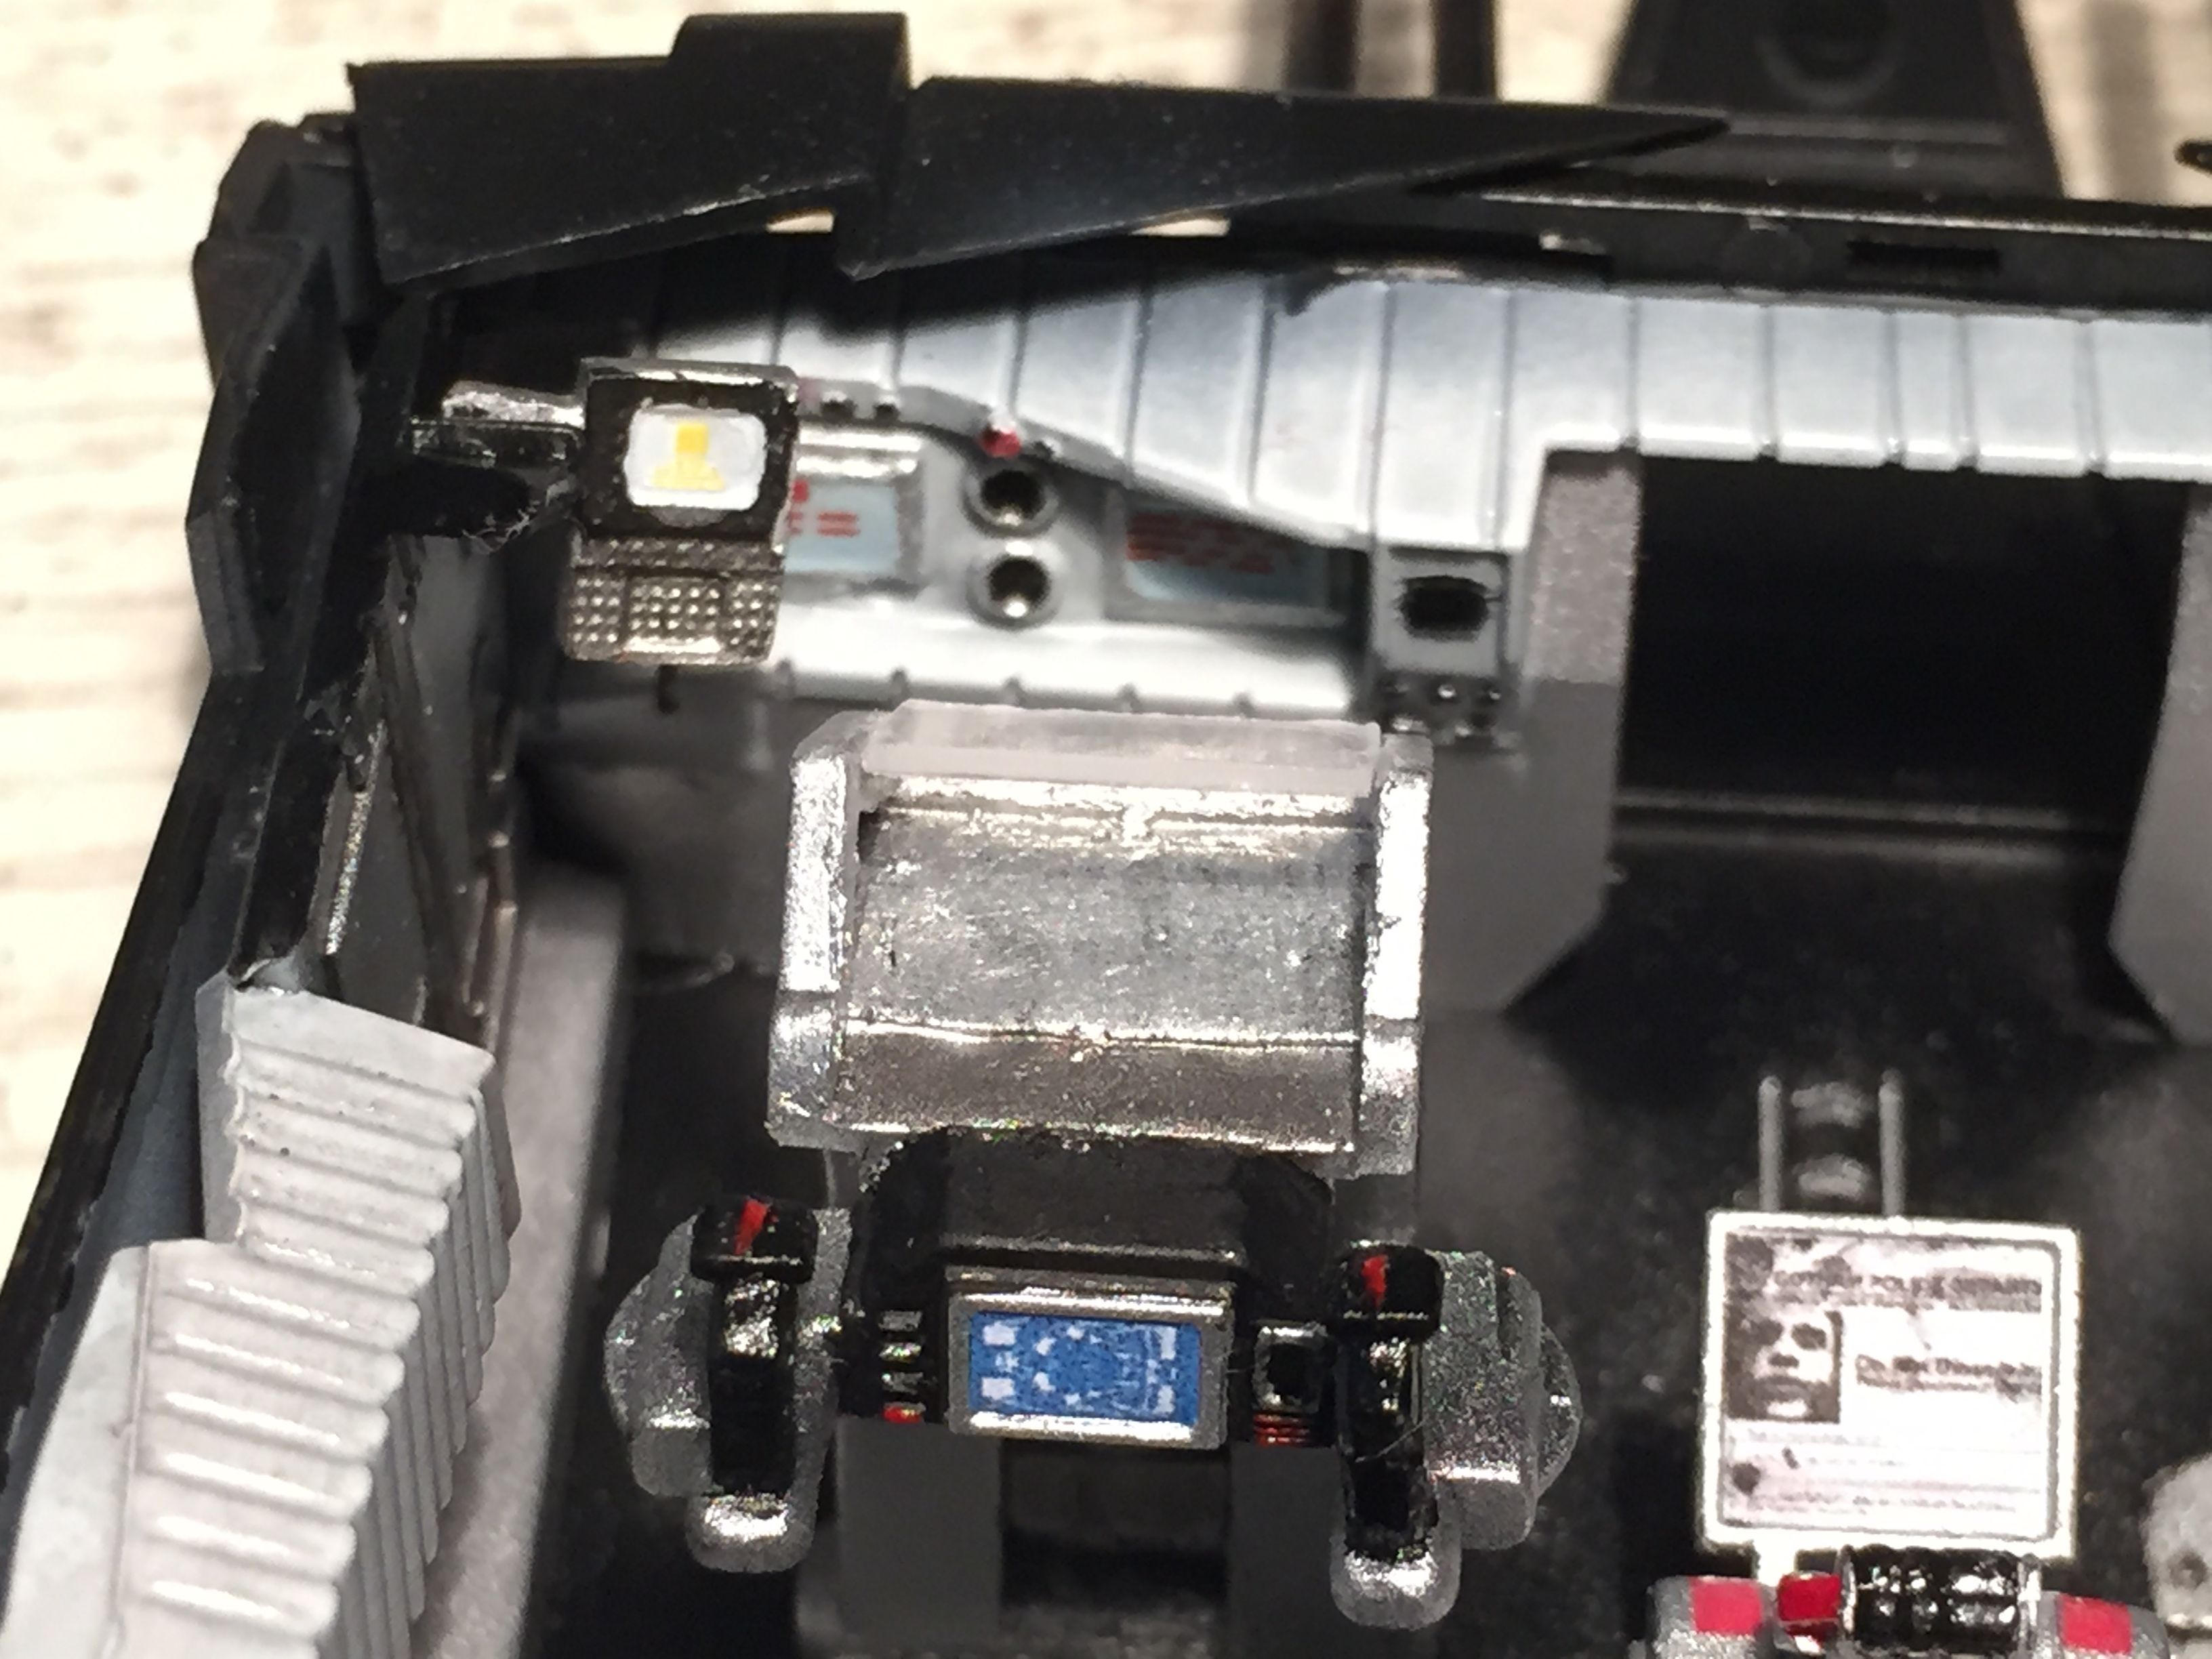
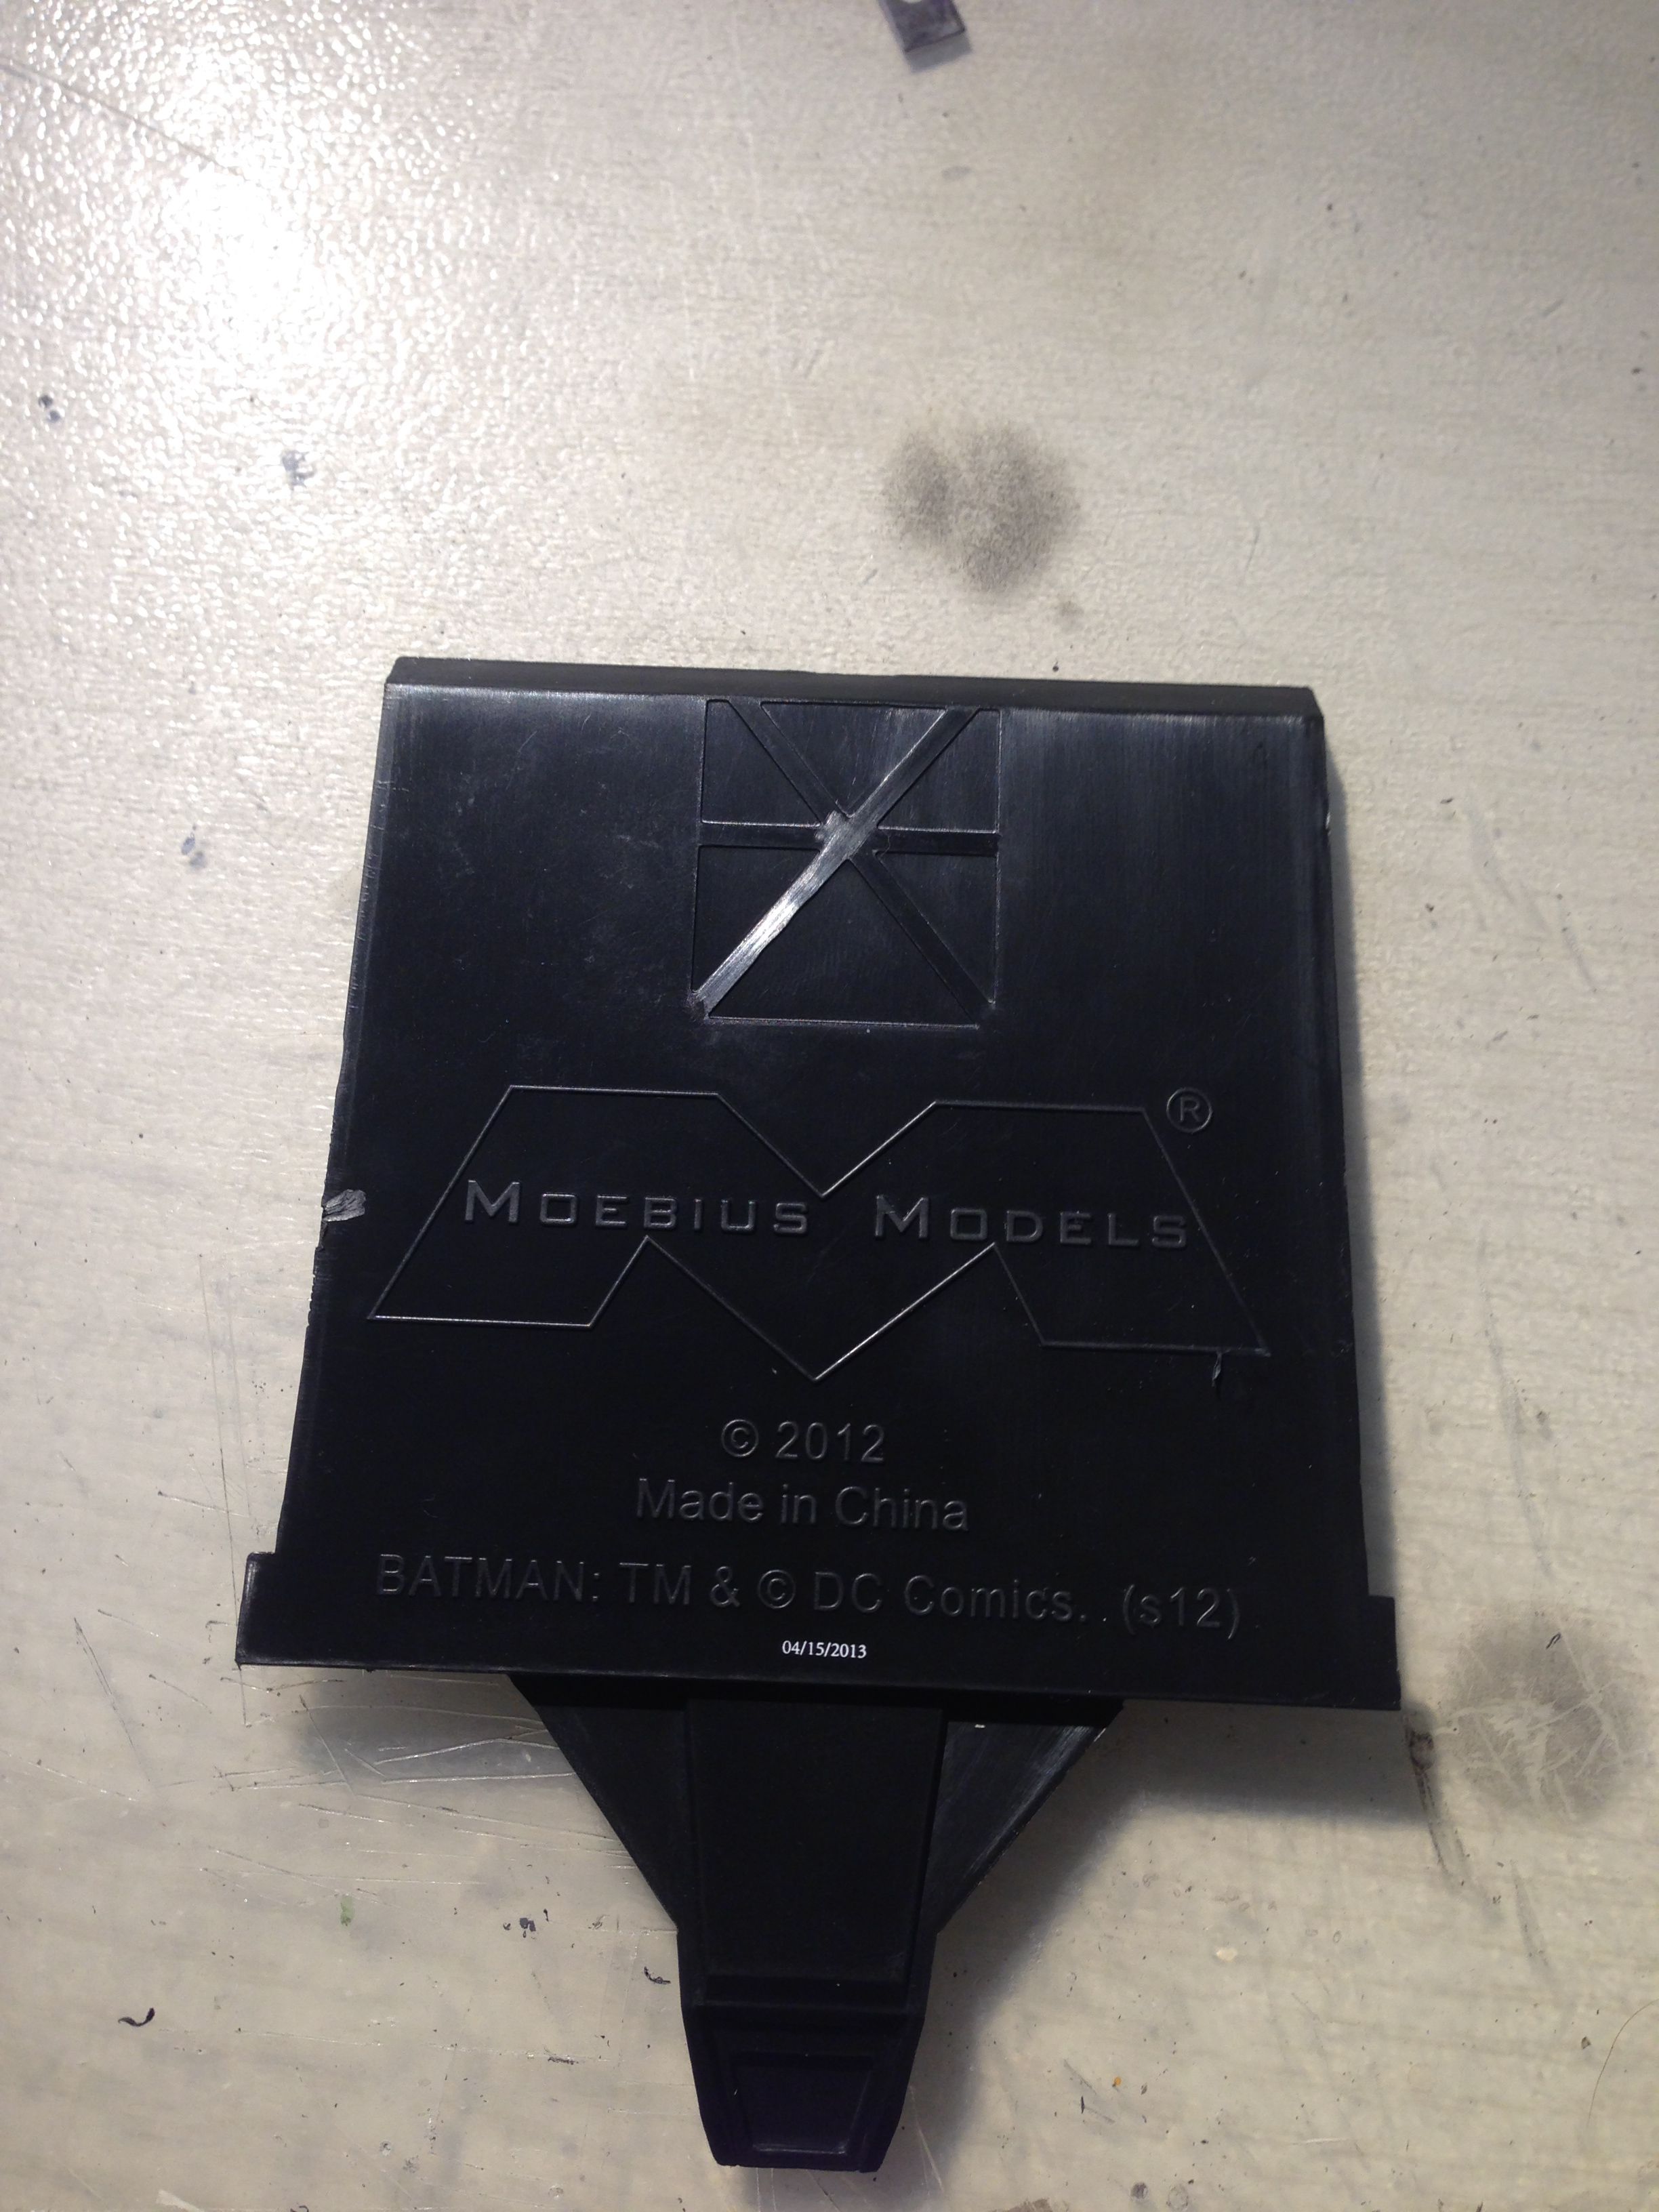
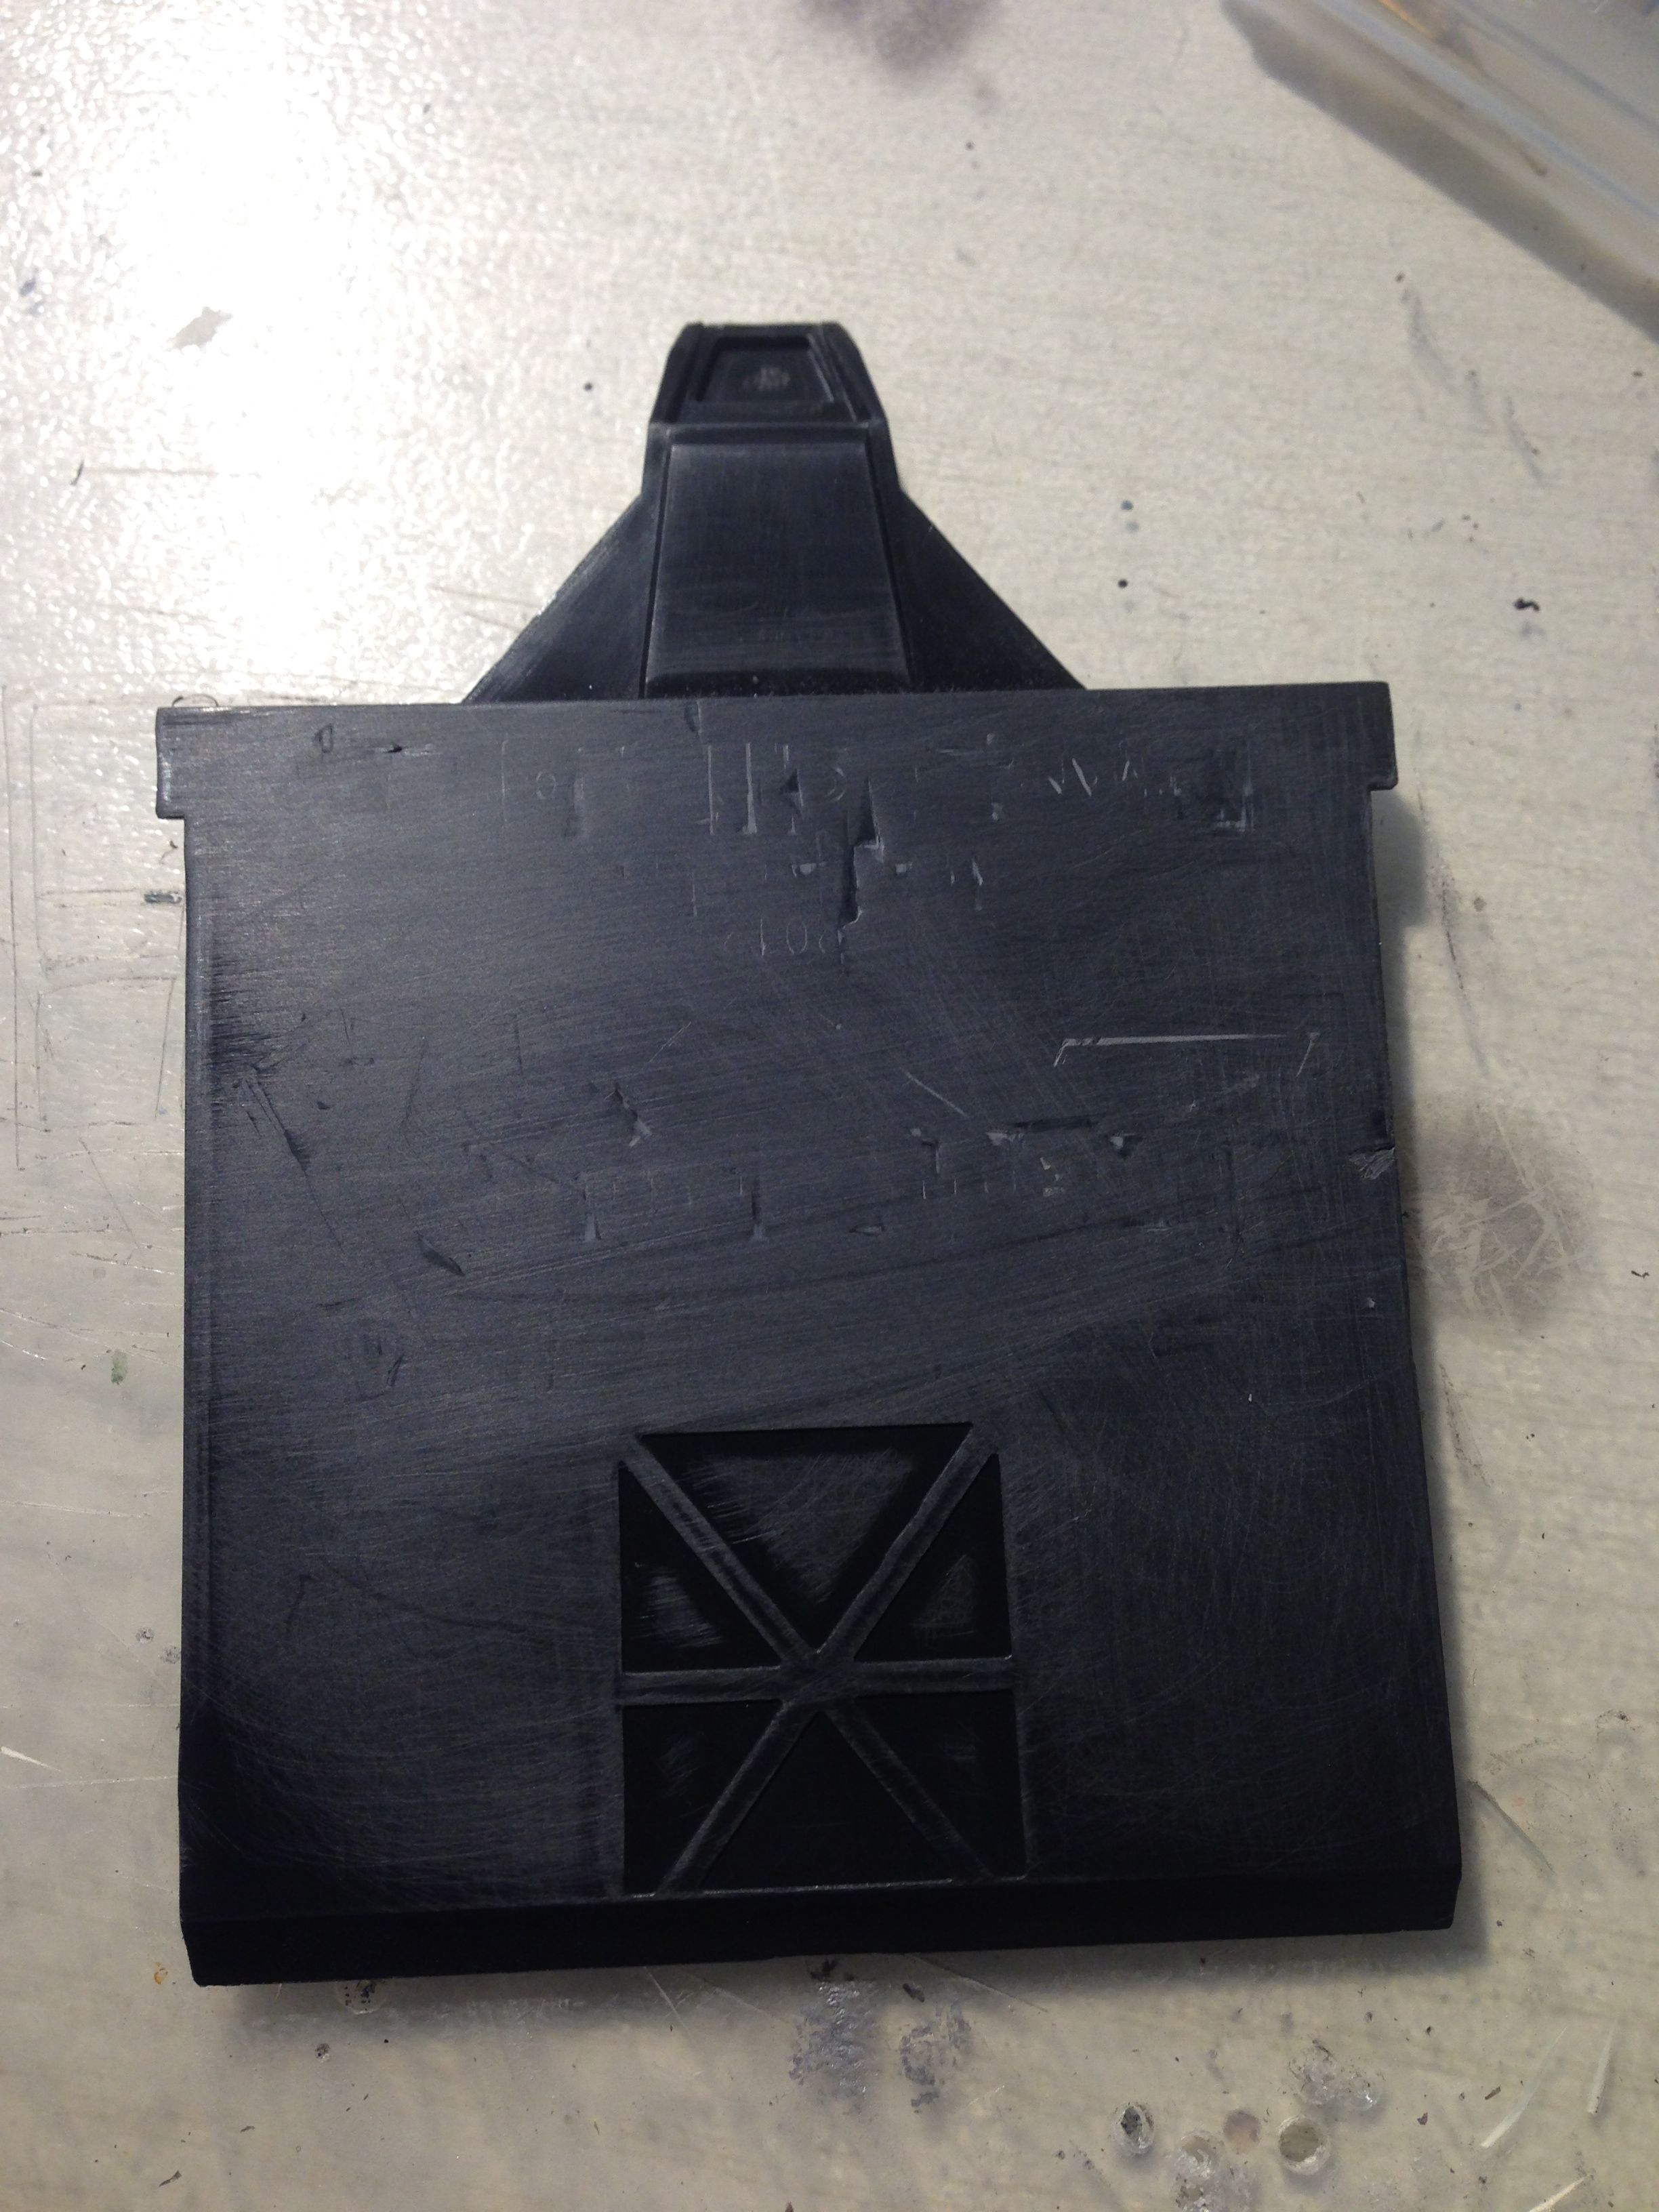
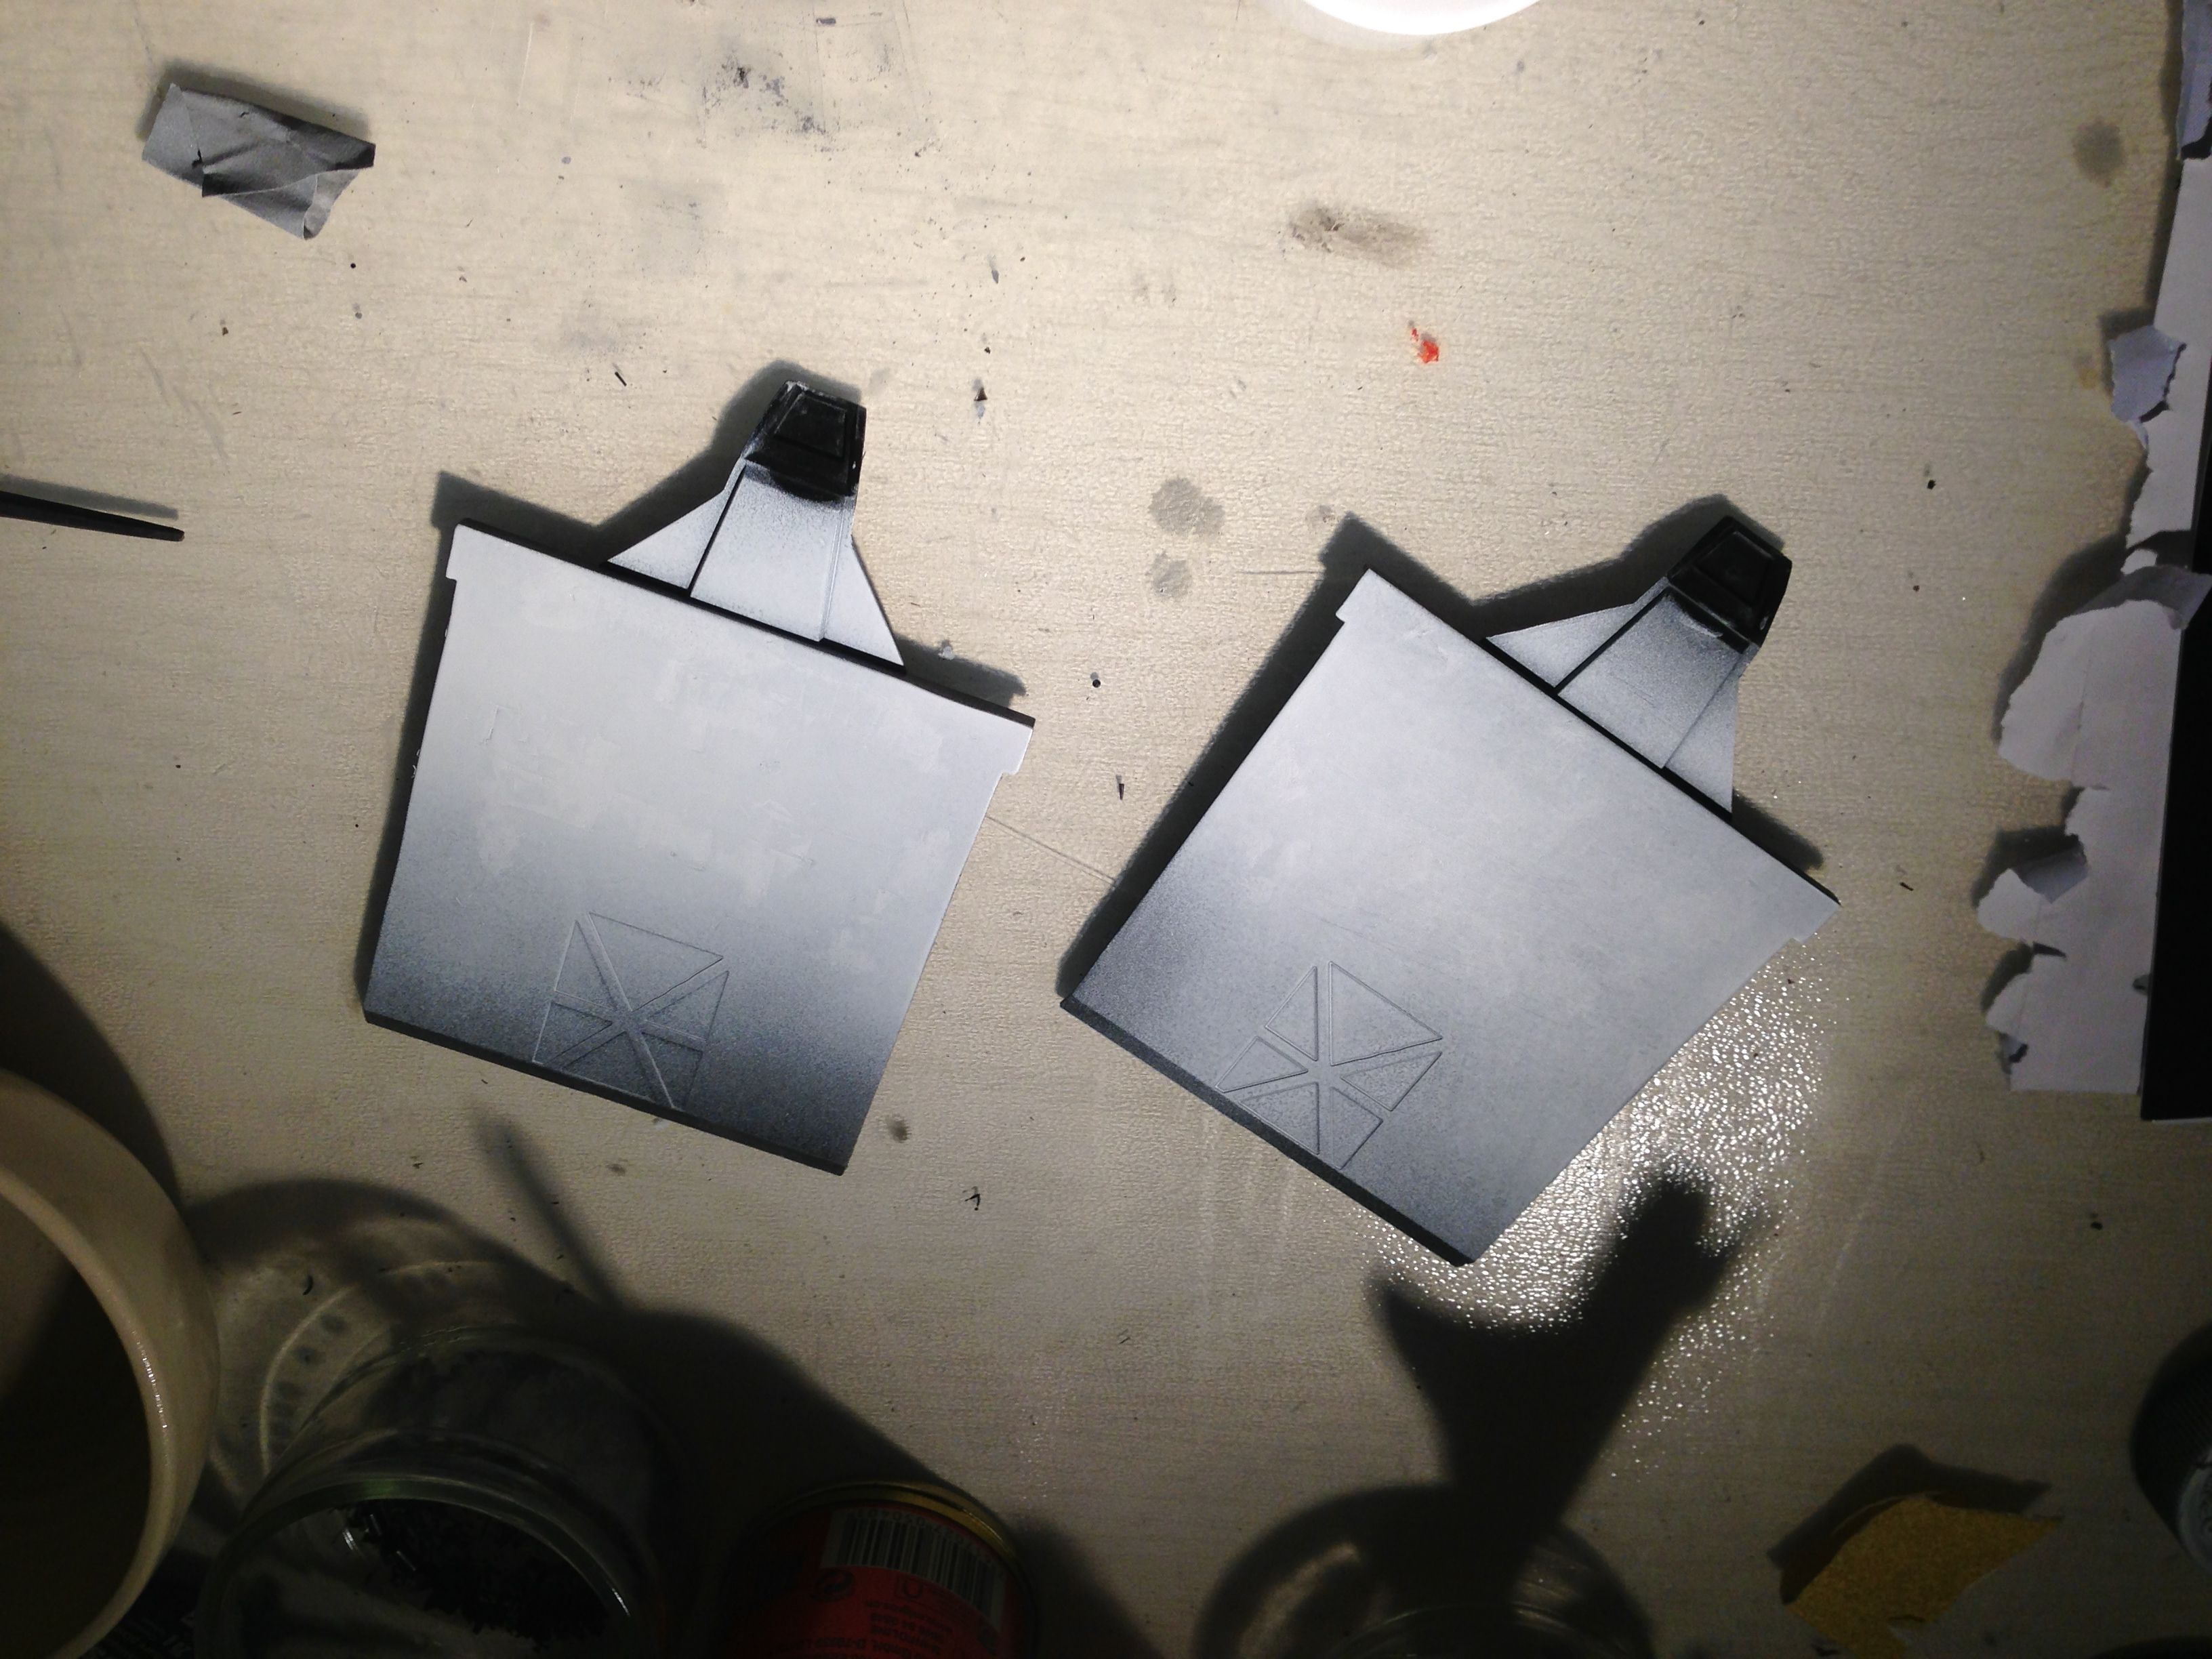
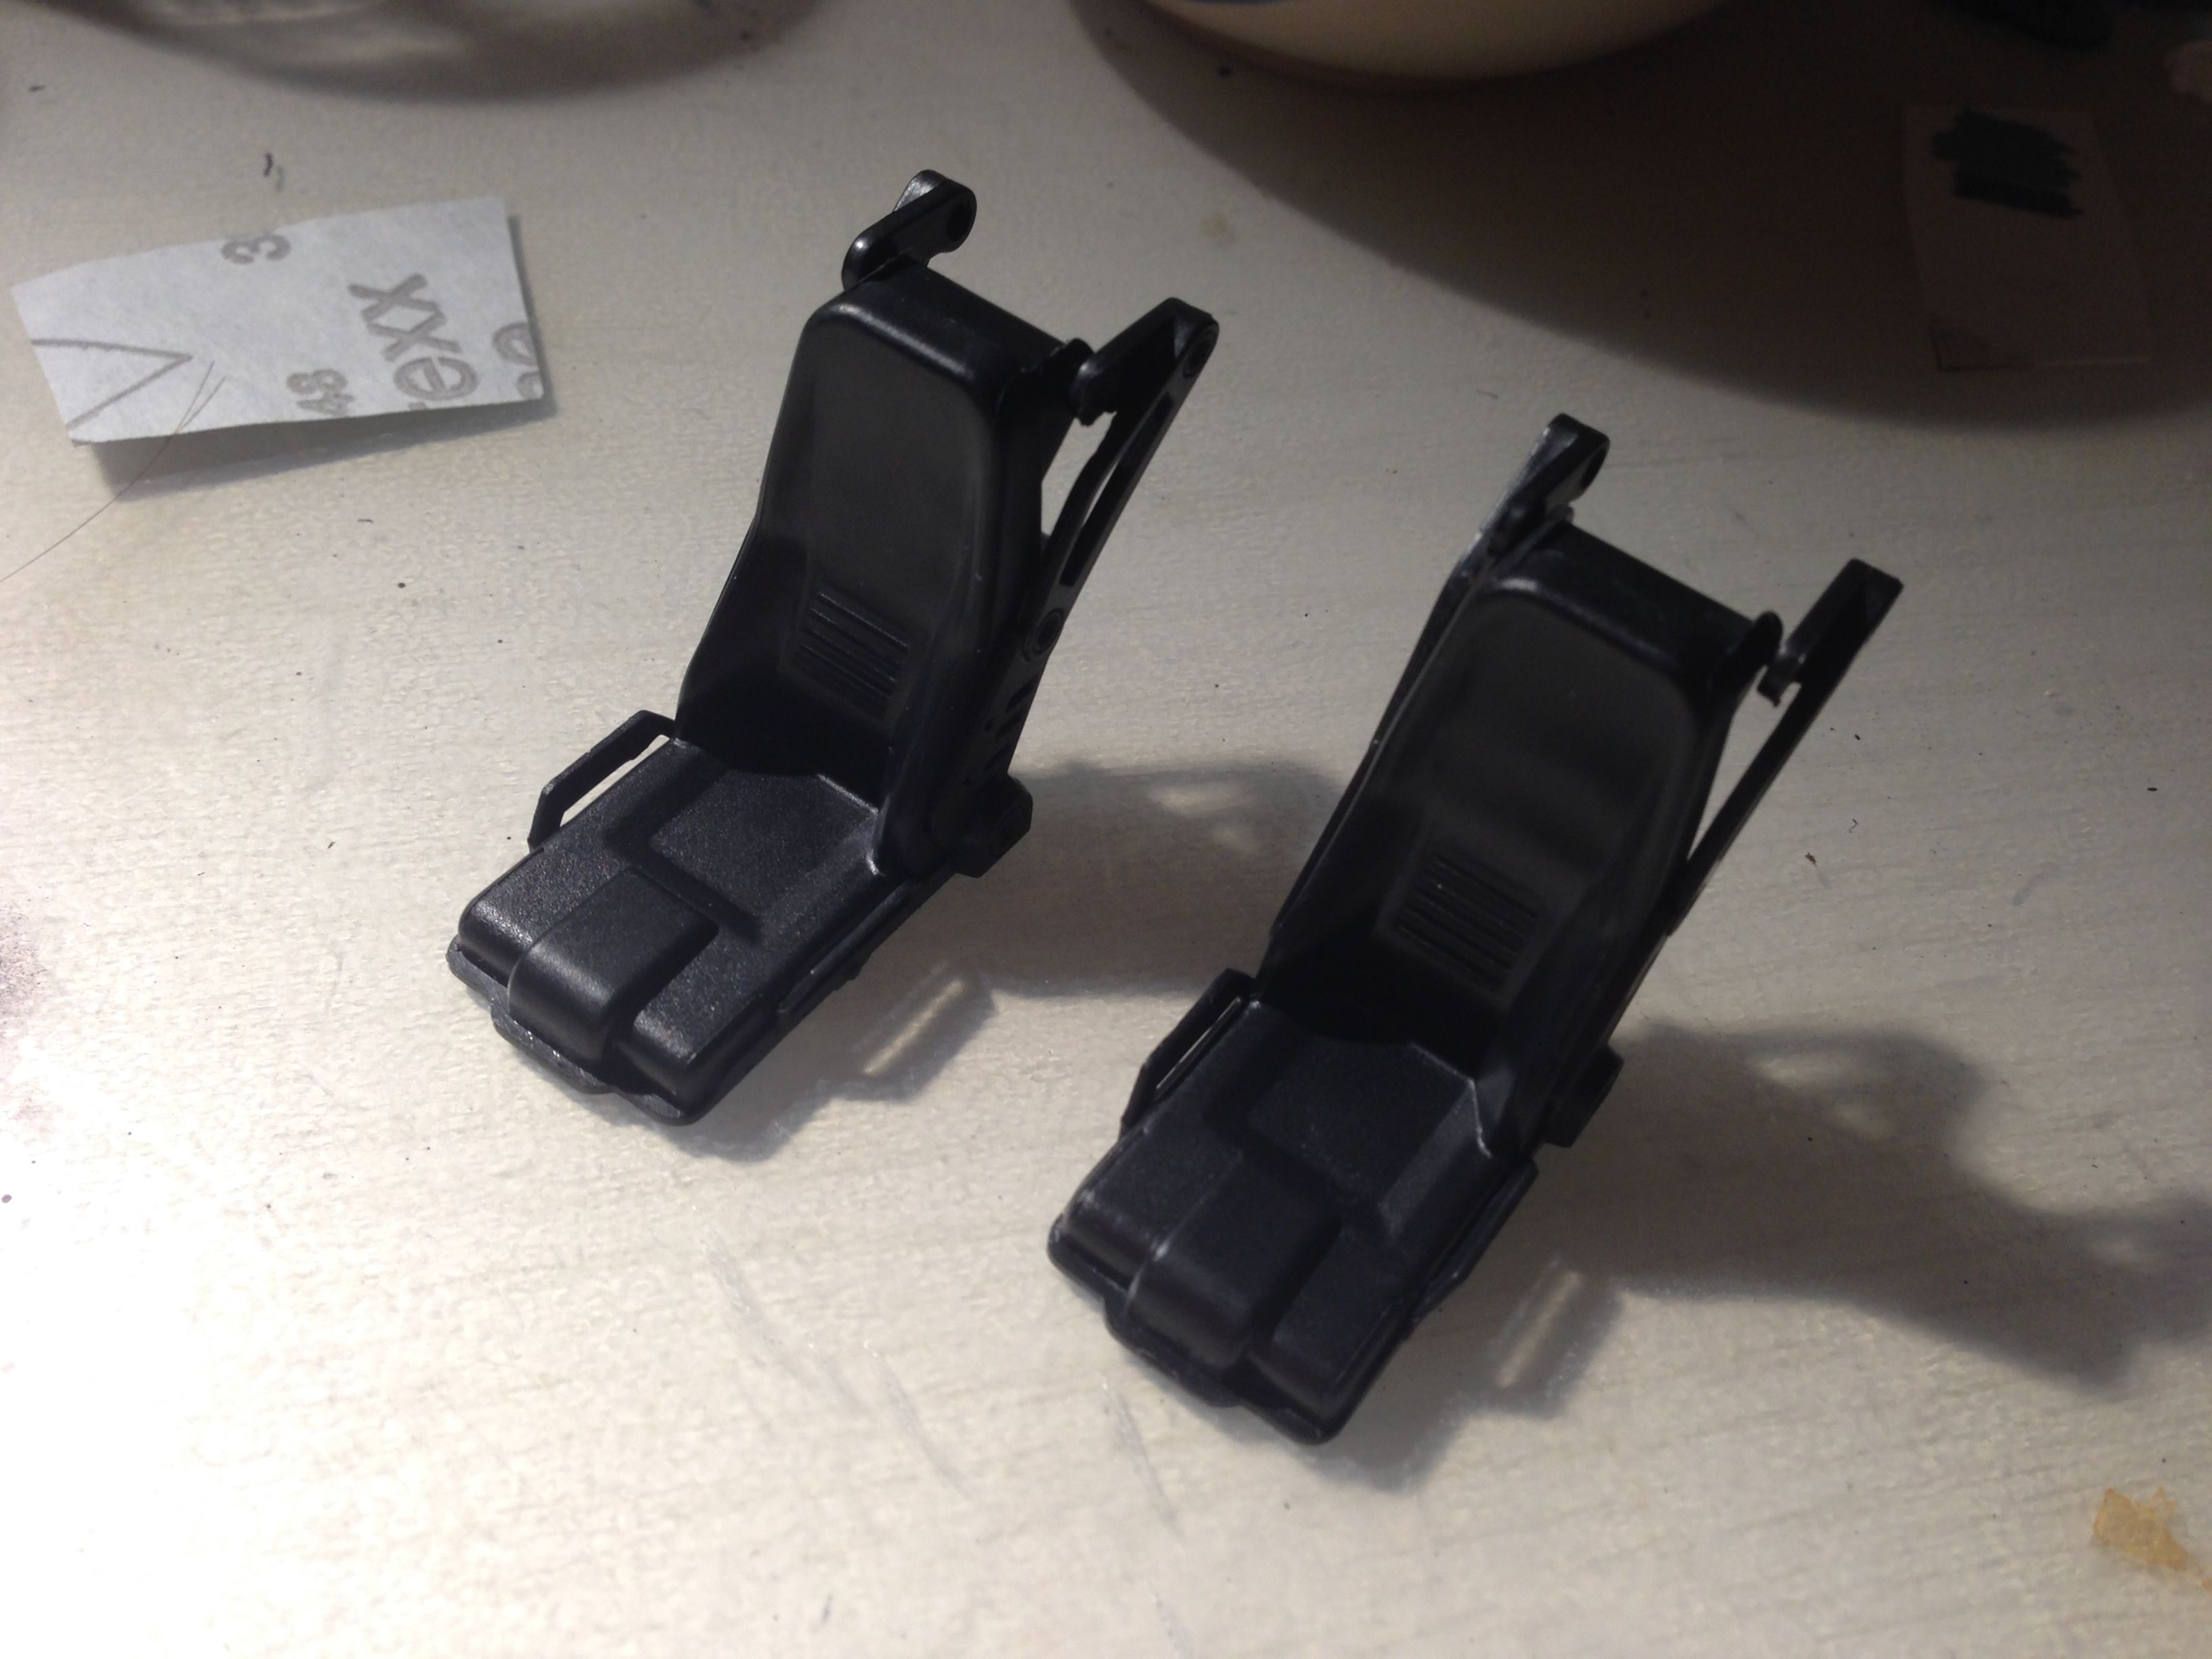
Removing the moebius logo and assembly of the seats:
I have 2 tumblers to build. One for me, one for a friend of mine.
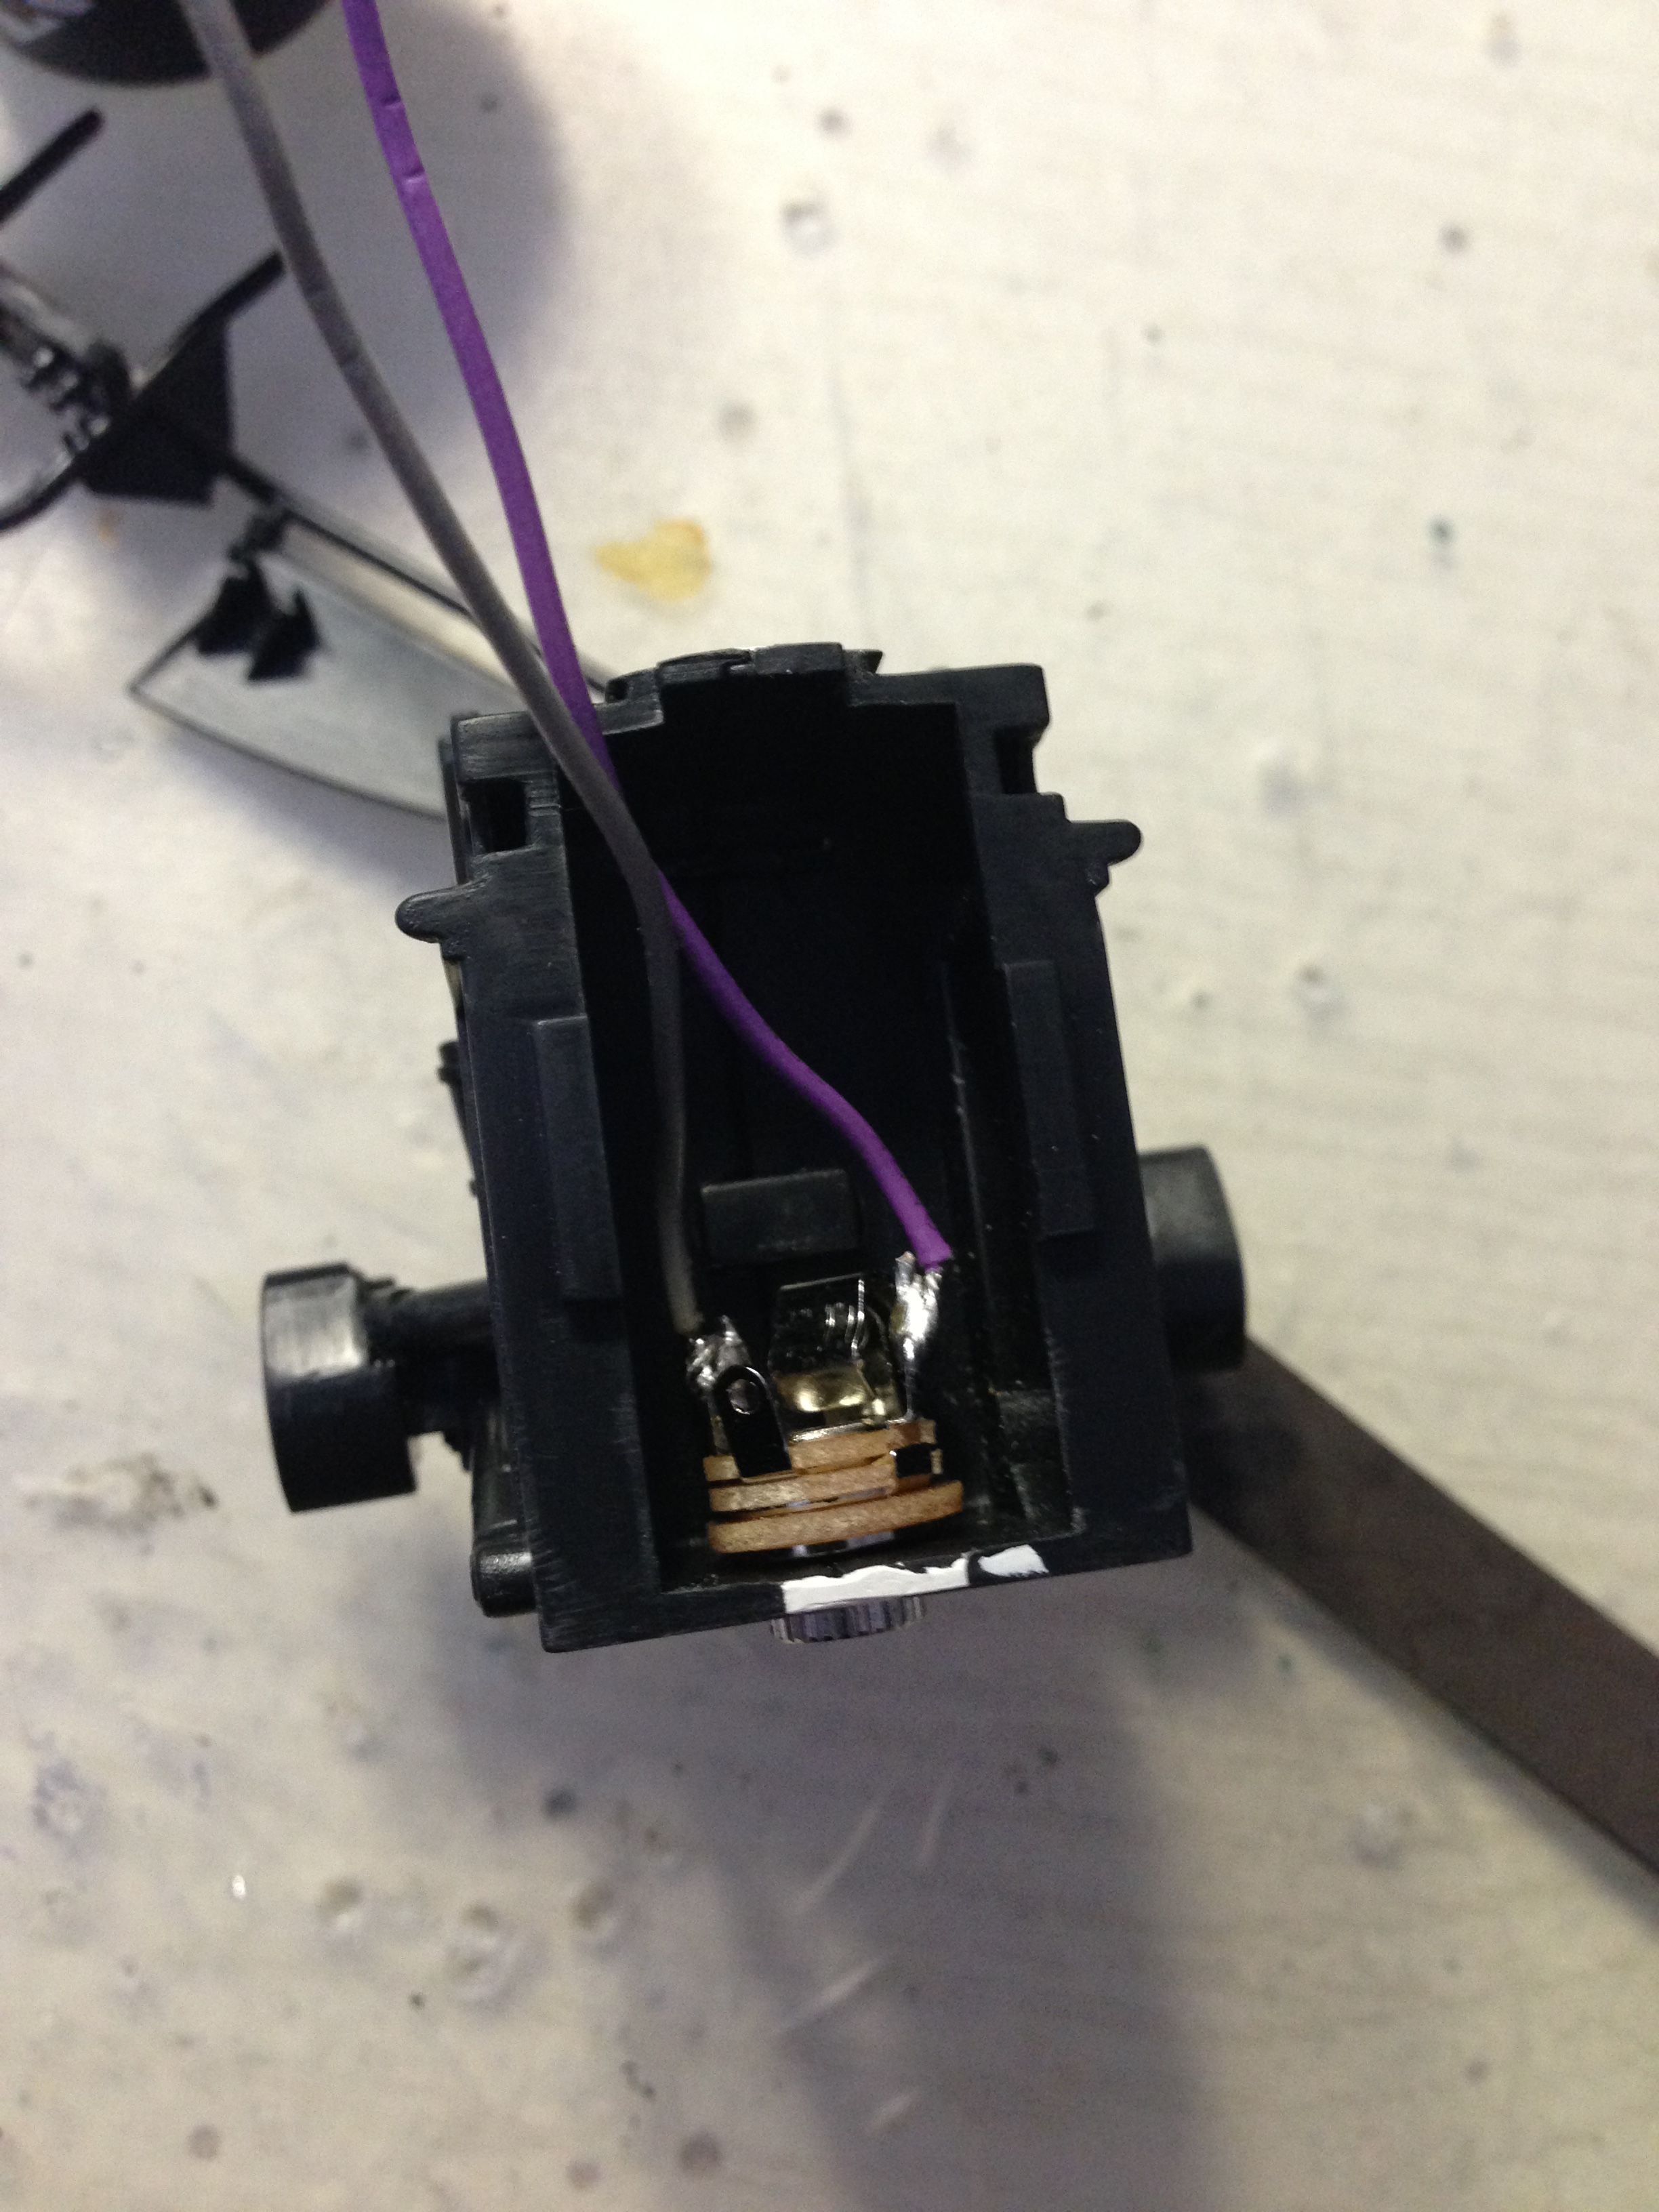
The goal is to install the lights in them, too.
I also have the batman figures to go with the cars!
Here is what have be done so far:
I started with the figure:
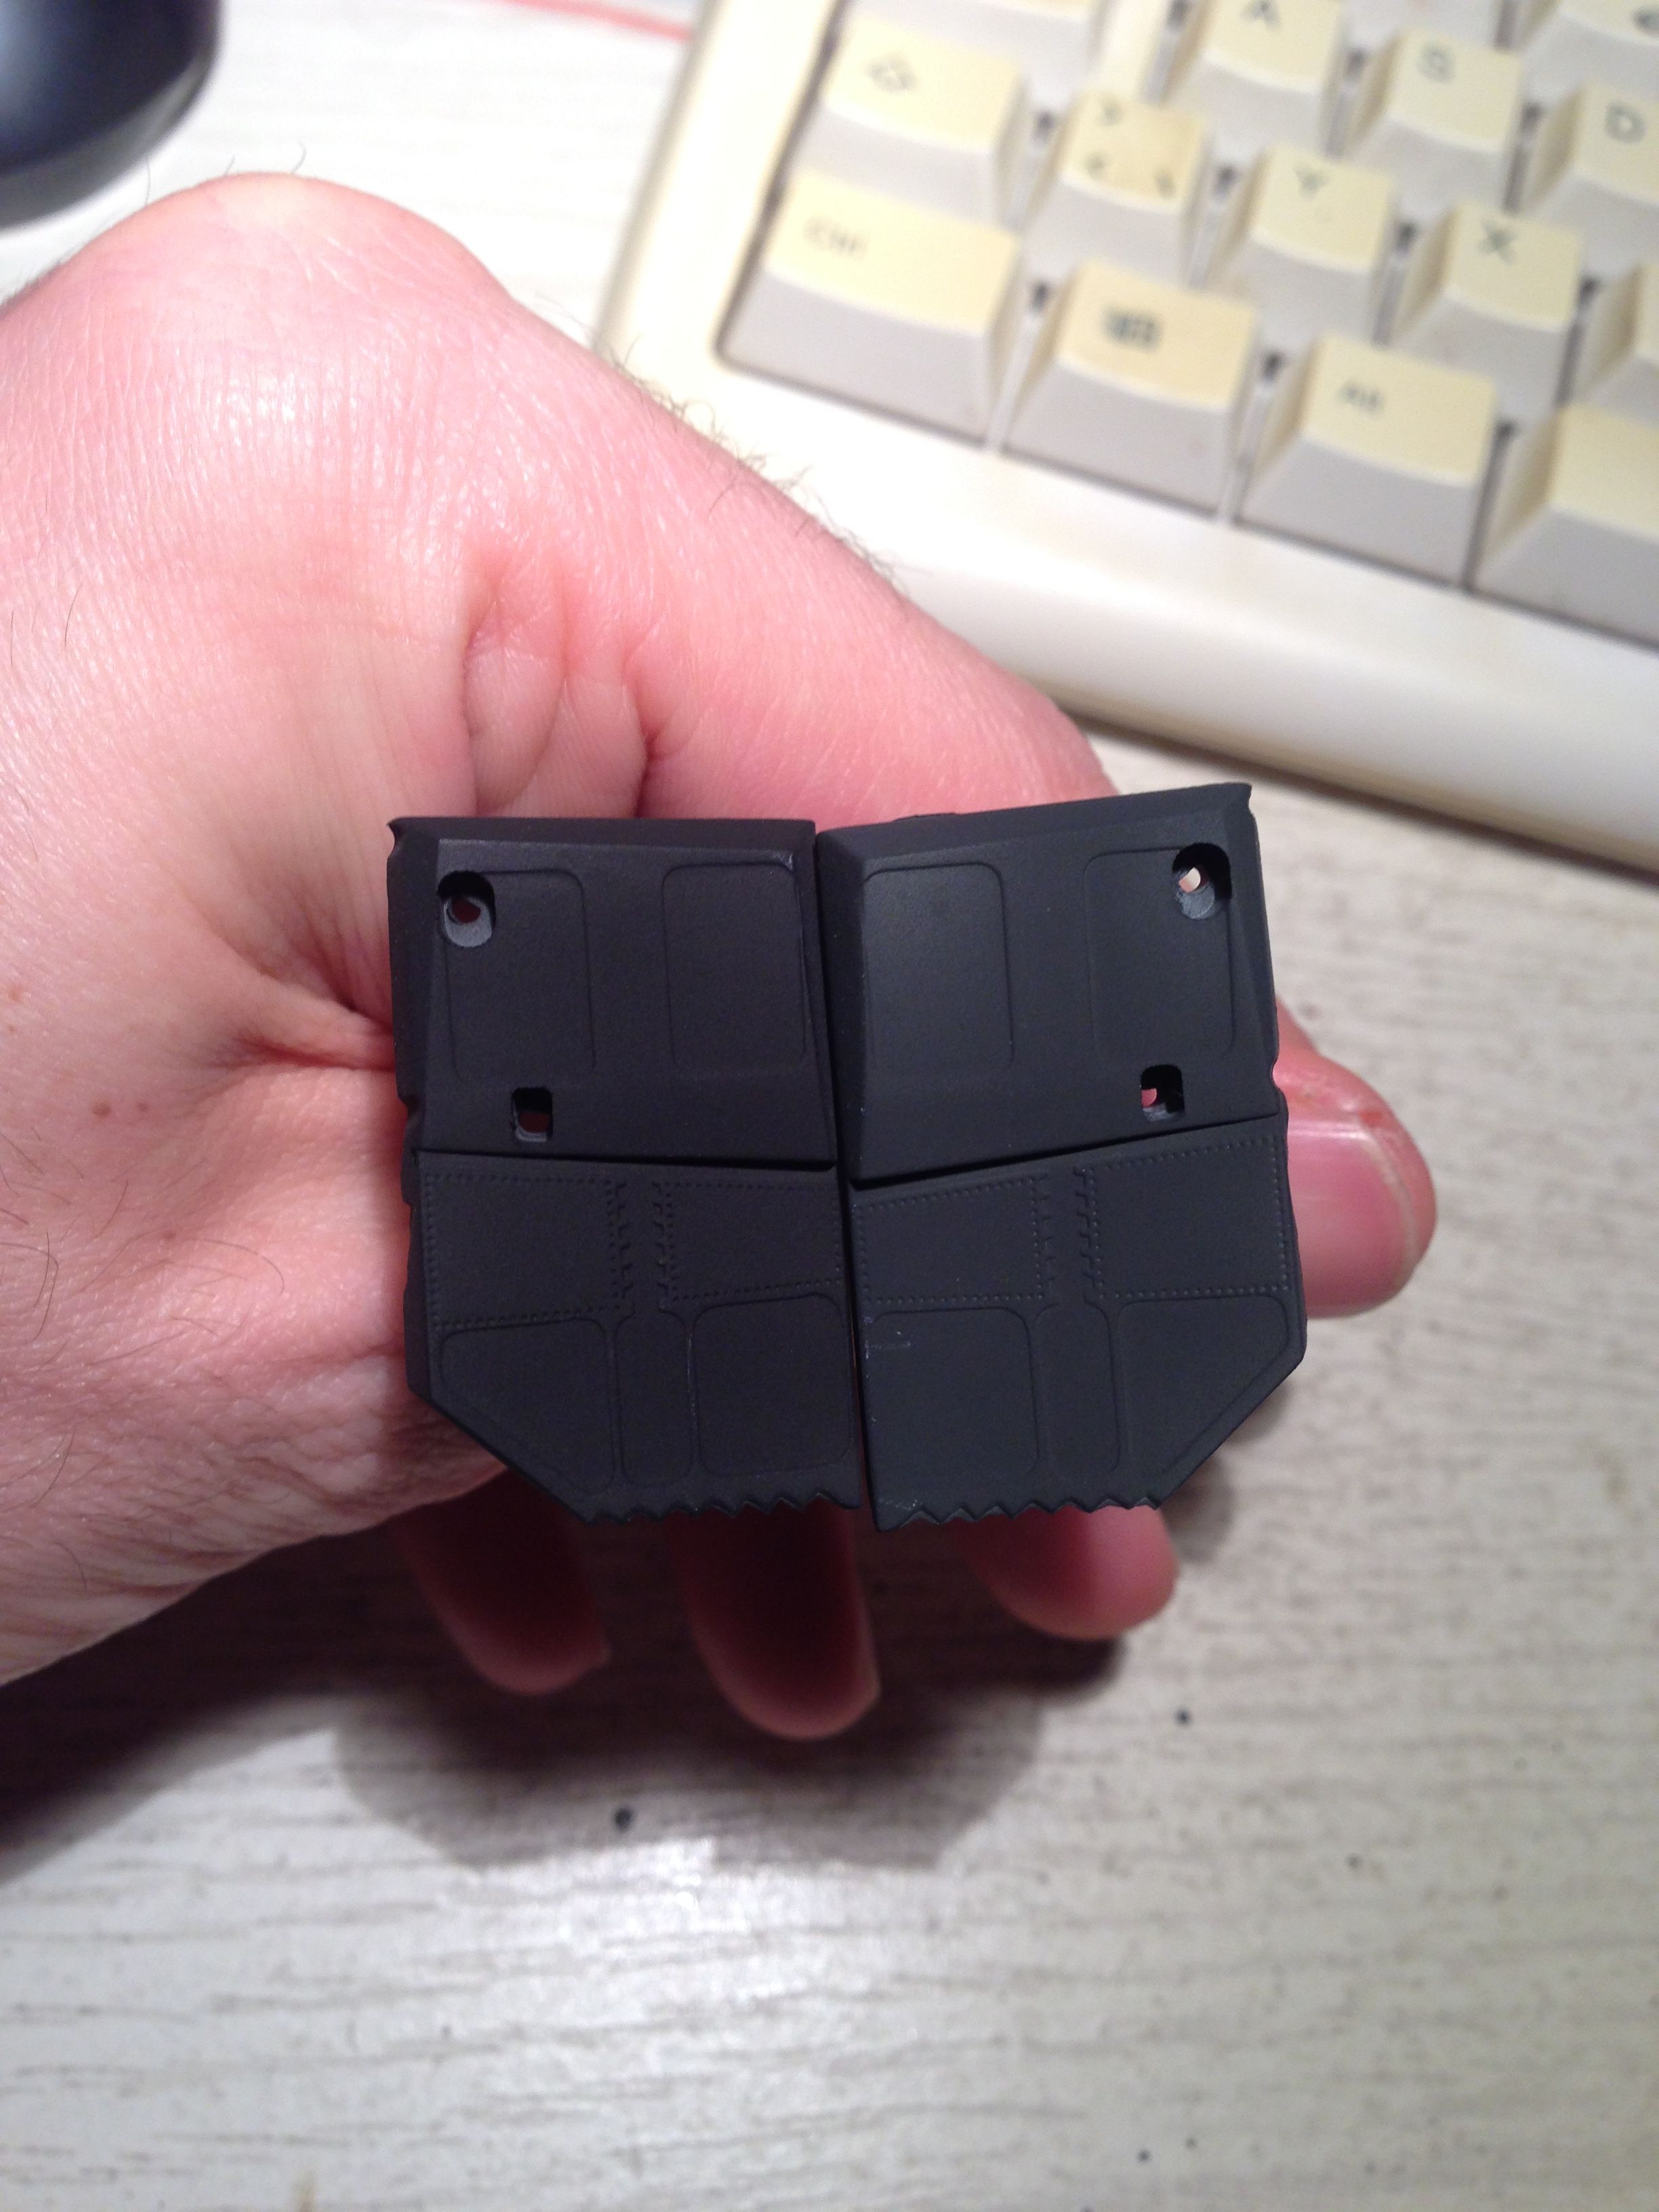
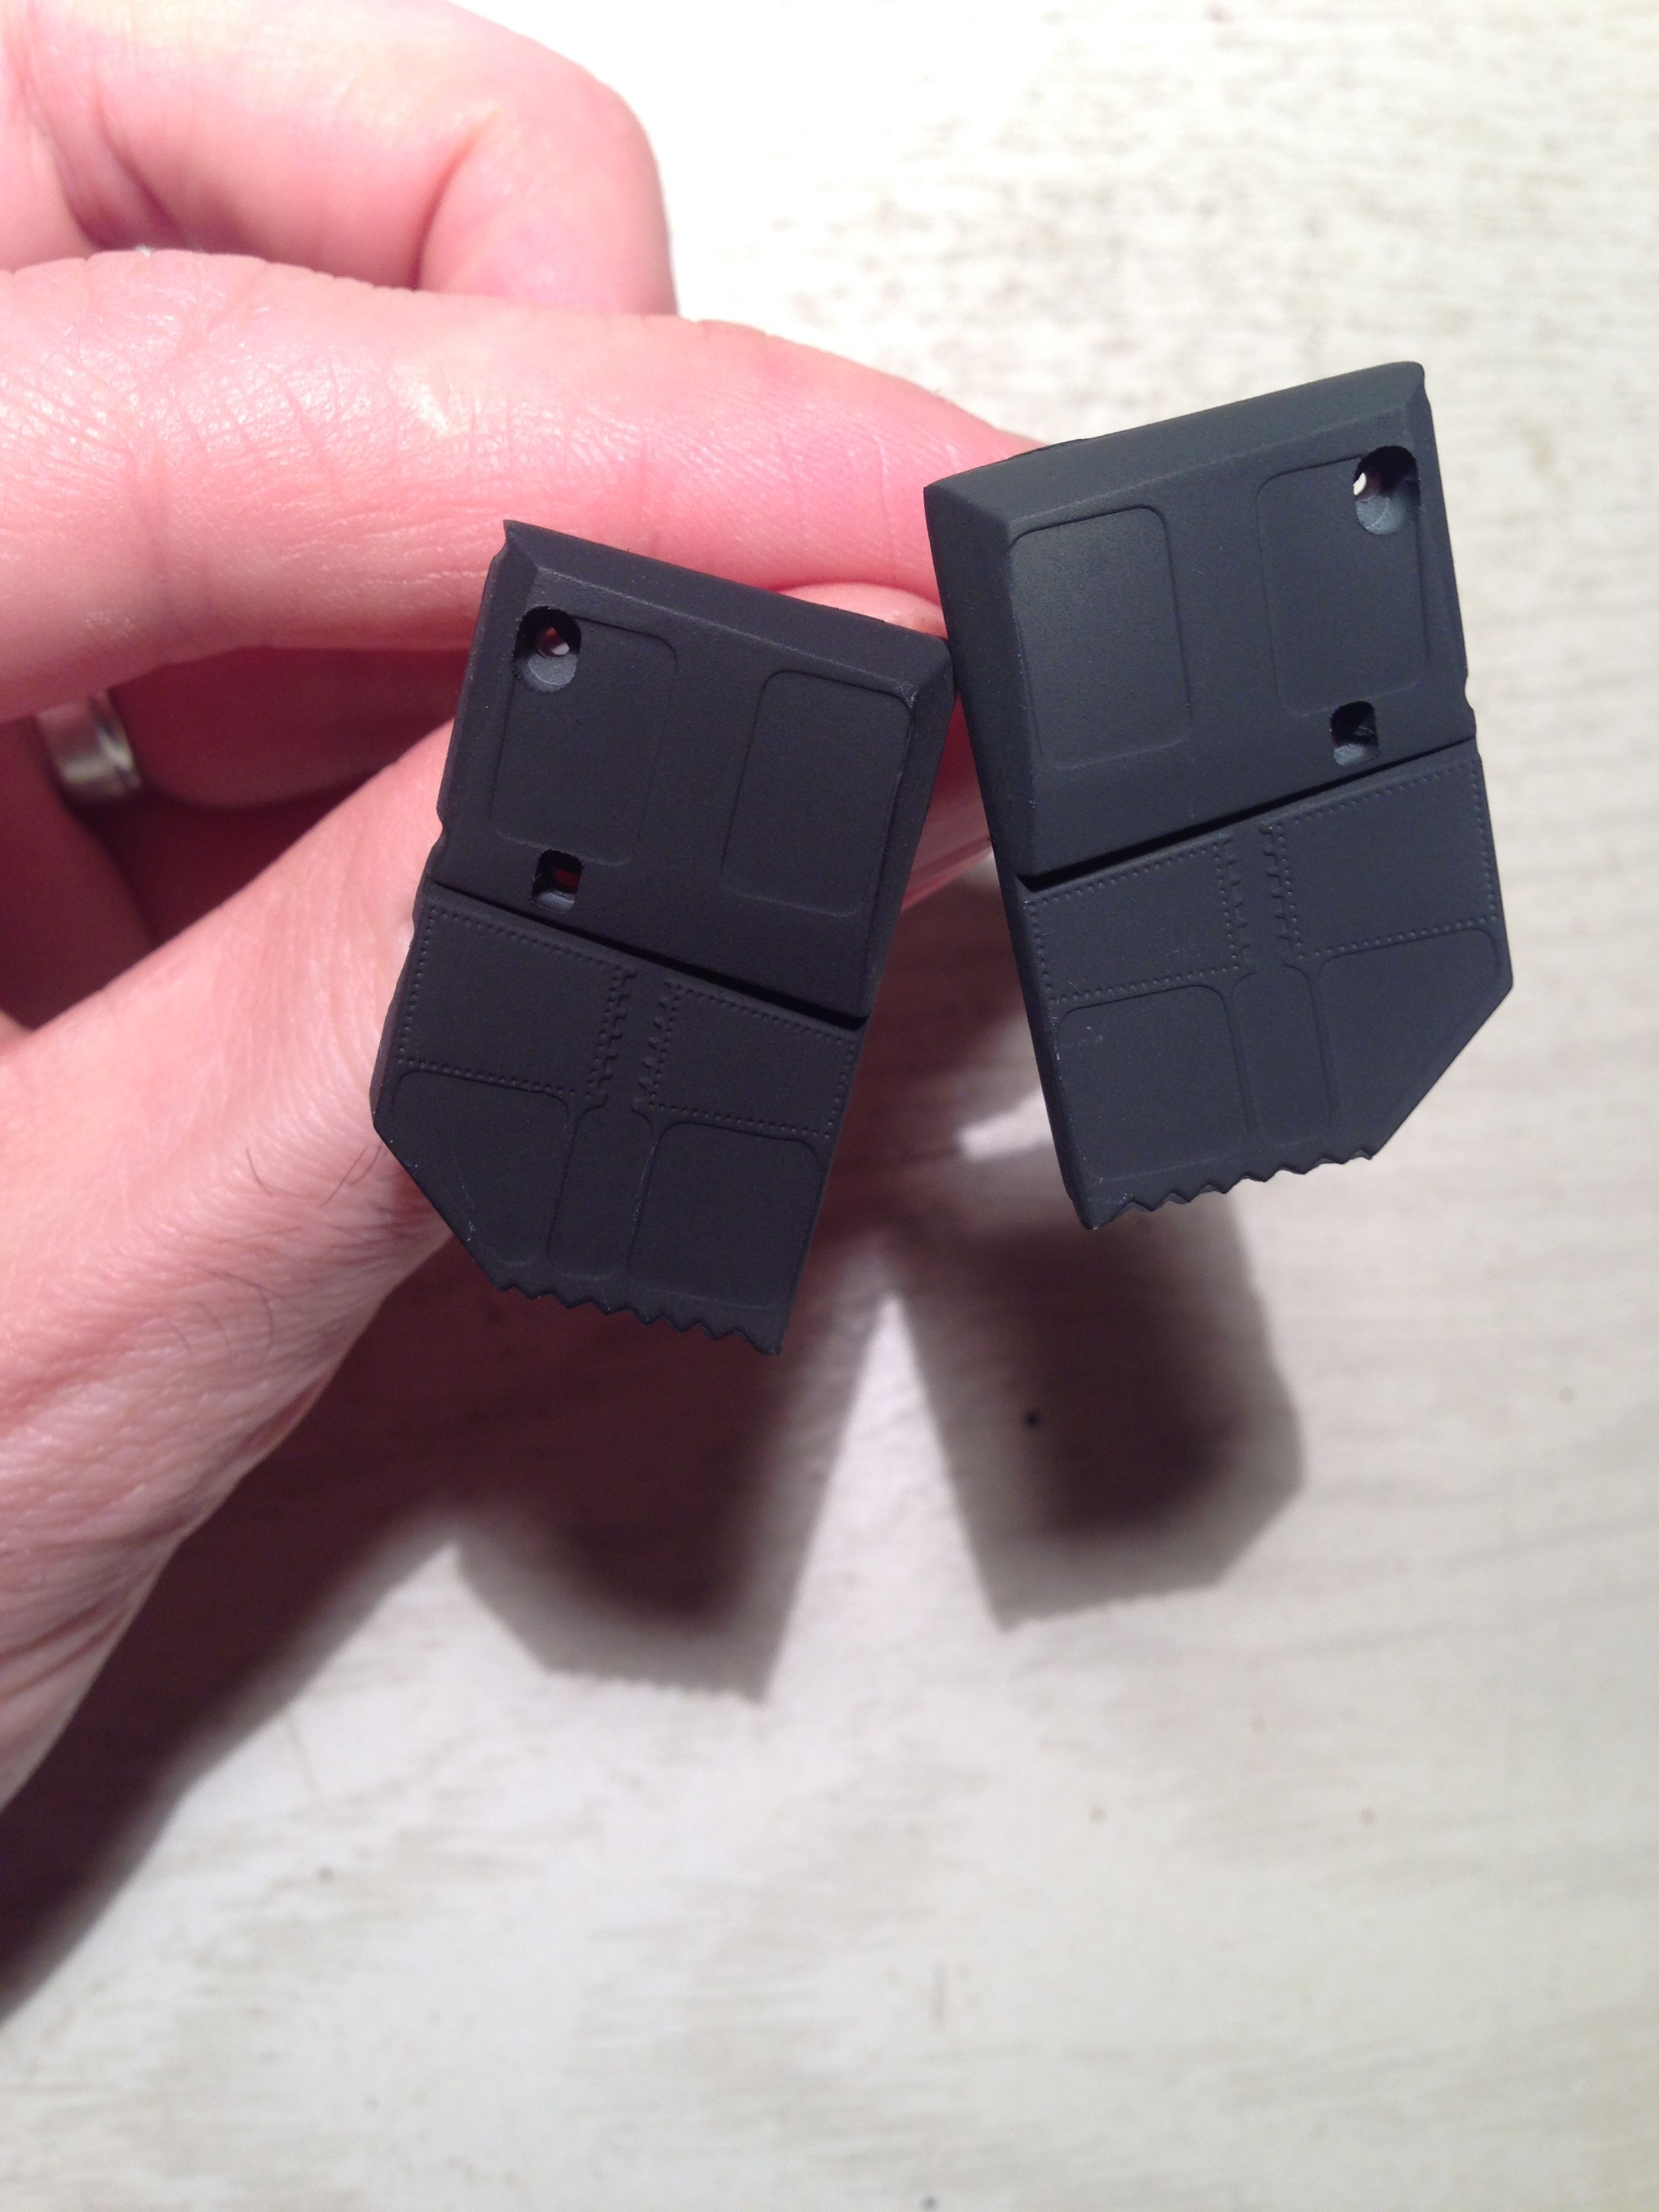
Sanded the blades on the arms to make them finer:
Assembly, then primer on the pieces:
Starting the painting on the face:
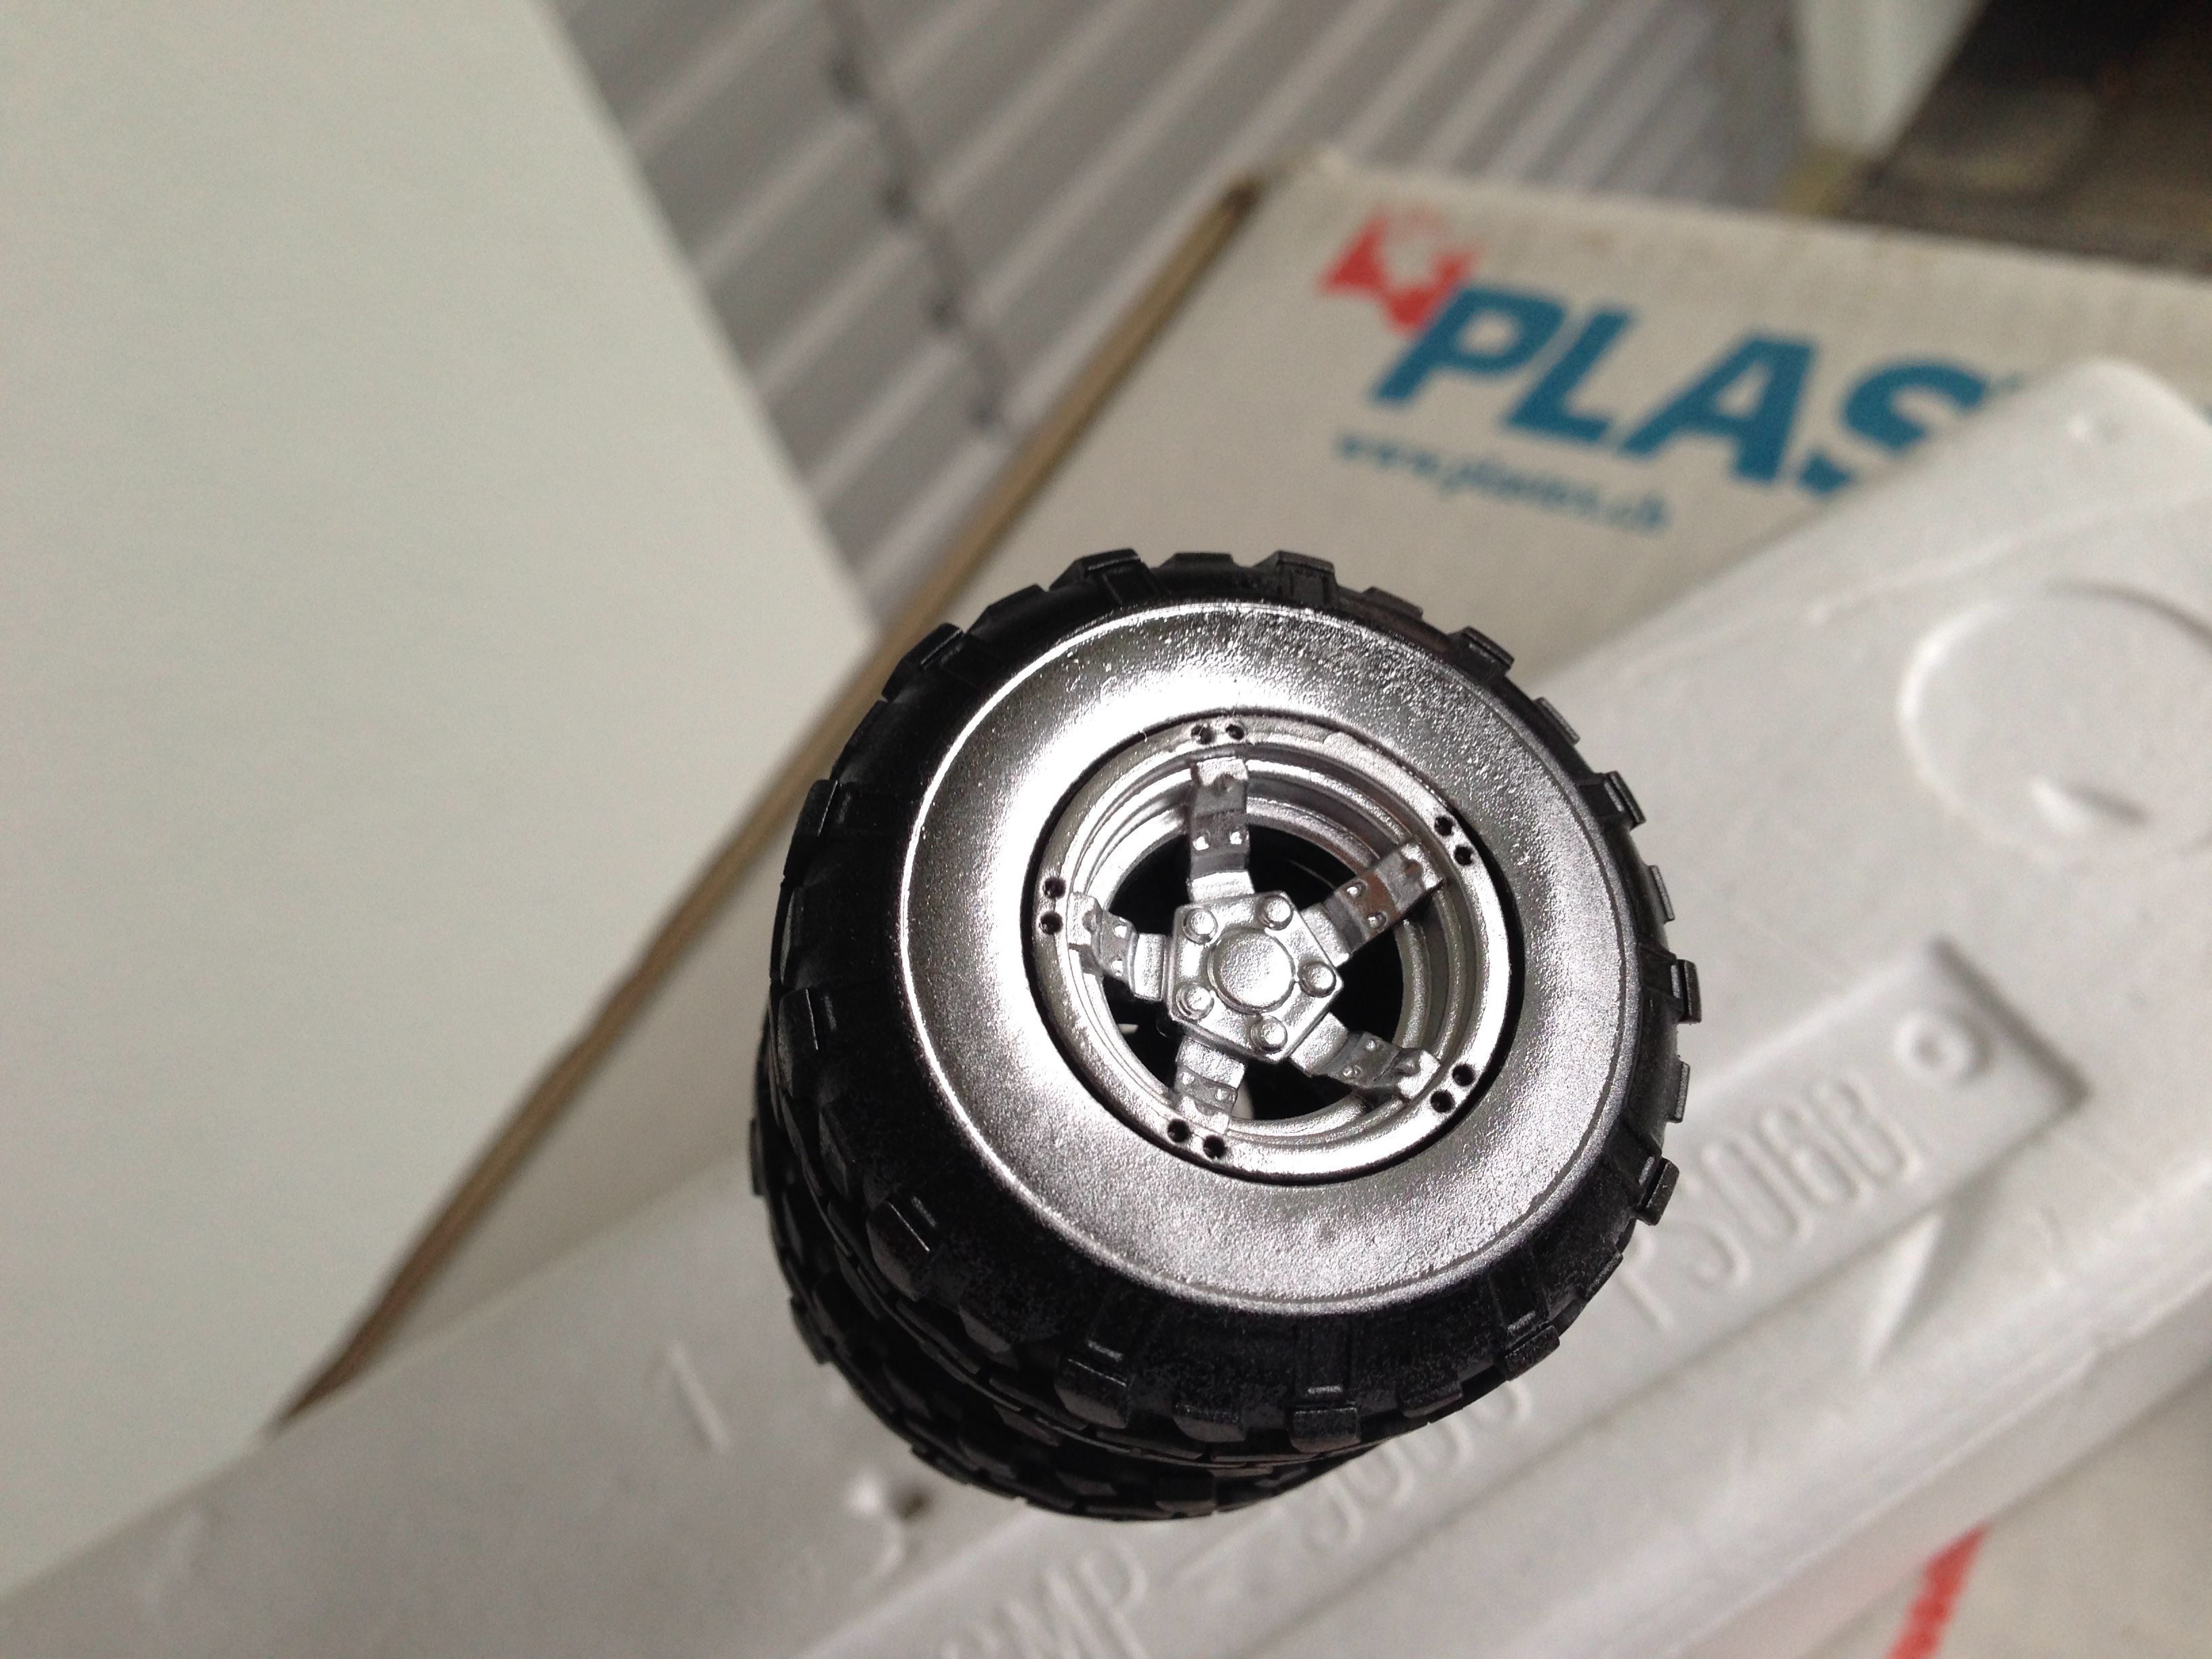
And on the car:
Removing the moebius logo and assembly of the seats: