Airfix 1/72 P40B - COMPLETE

Scale Model Addict - Model Tips, Guides, Tools & Tech, Tutorials, and Community

Help Support Scale Model Addict:

Bear43

Well-Known Member
Joined
May 19, 2023
Messages
677
City & State/Province
South Dakota, USA
This is my first kit build in over 25 years, so be gentle! :D

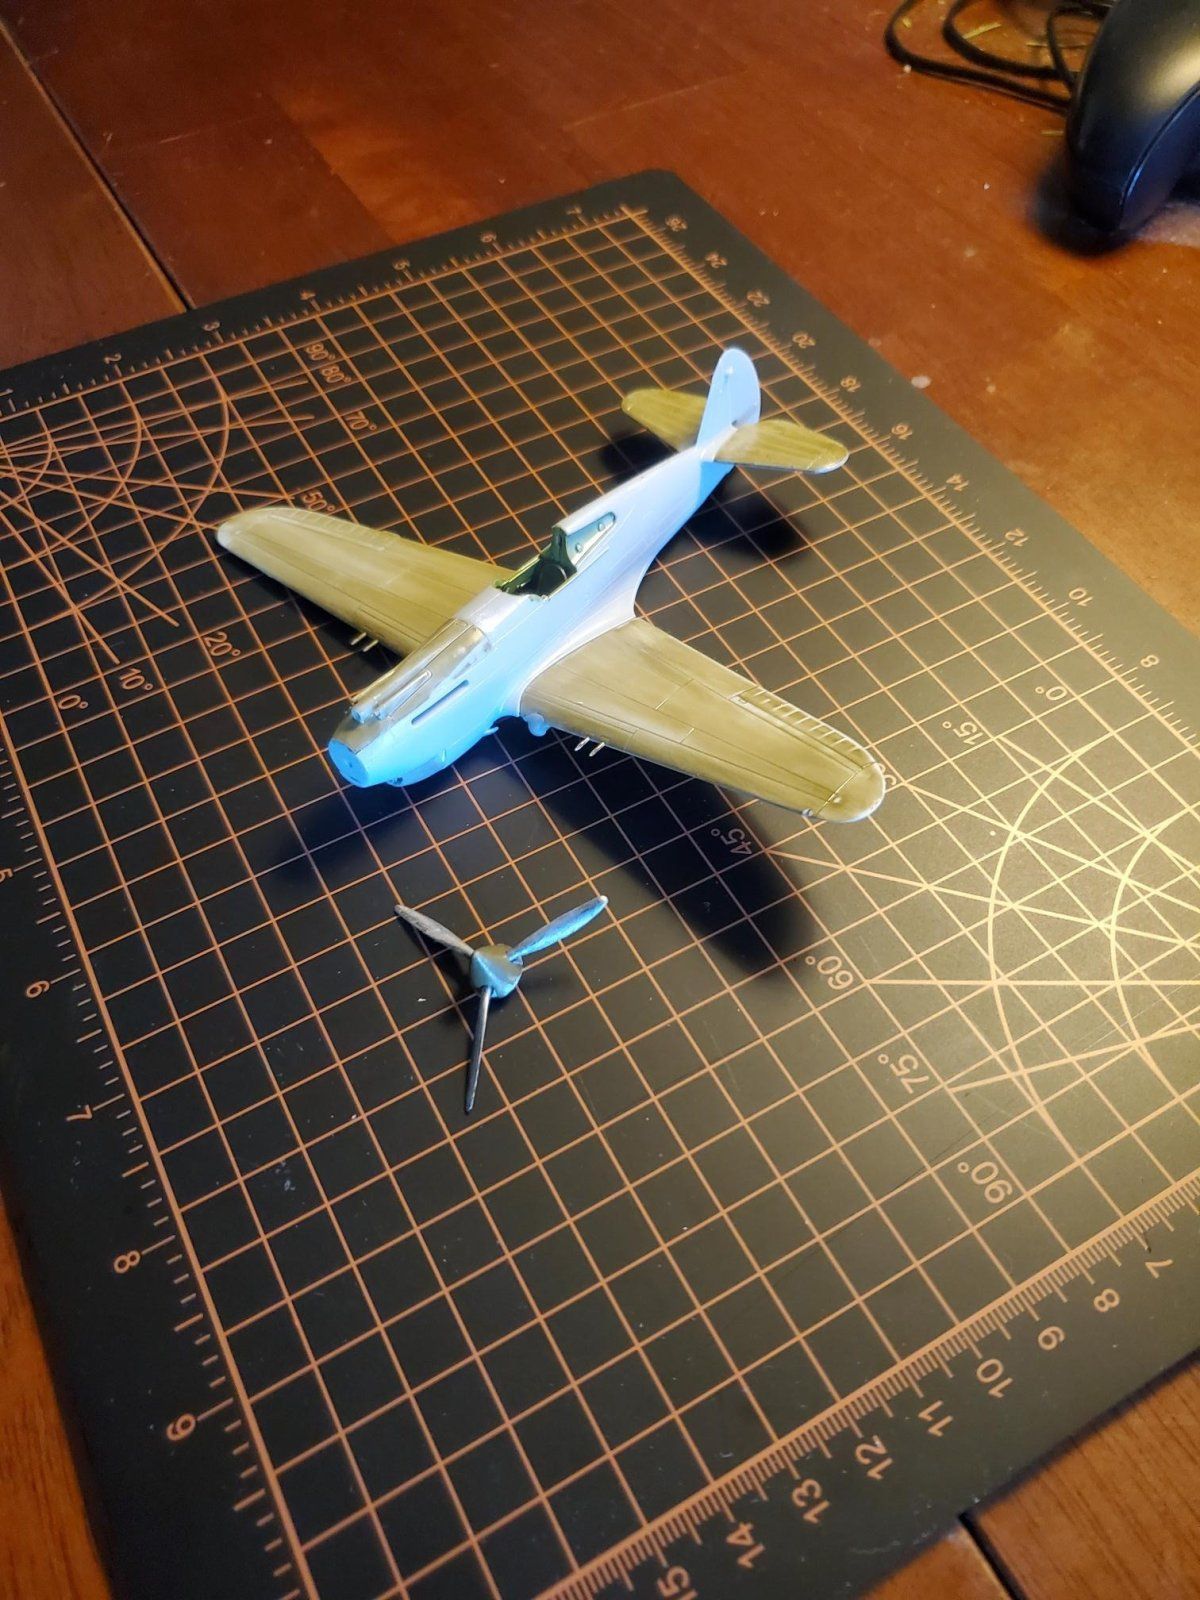
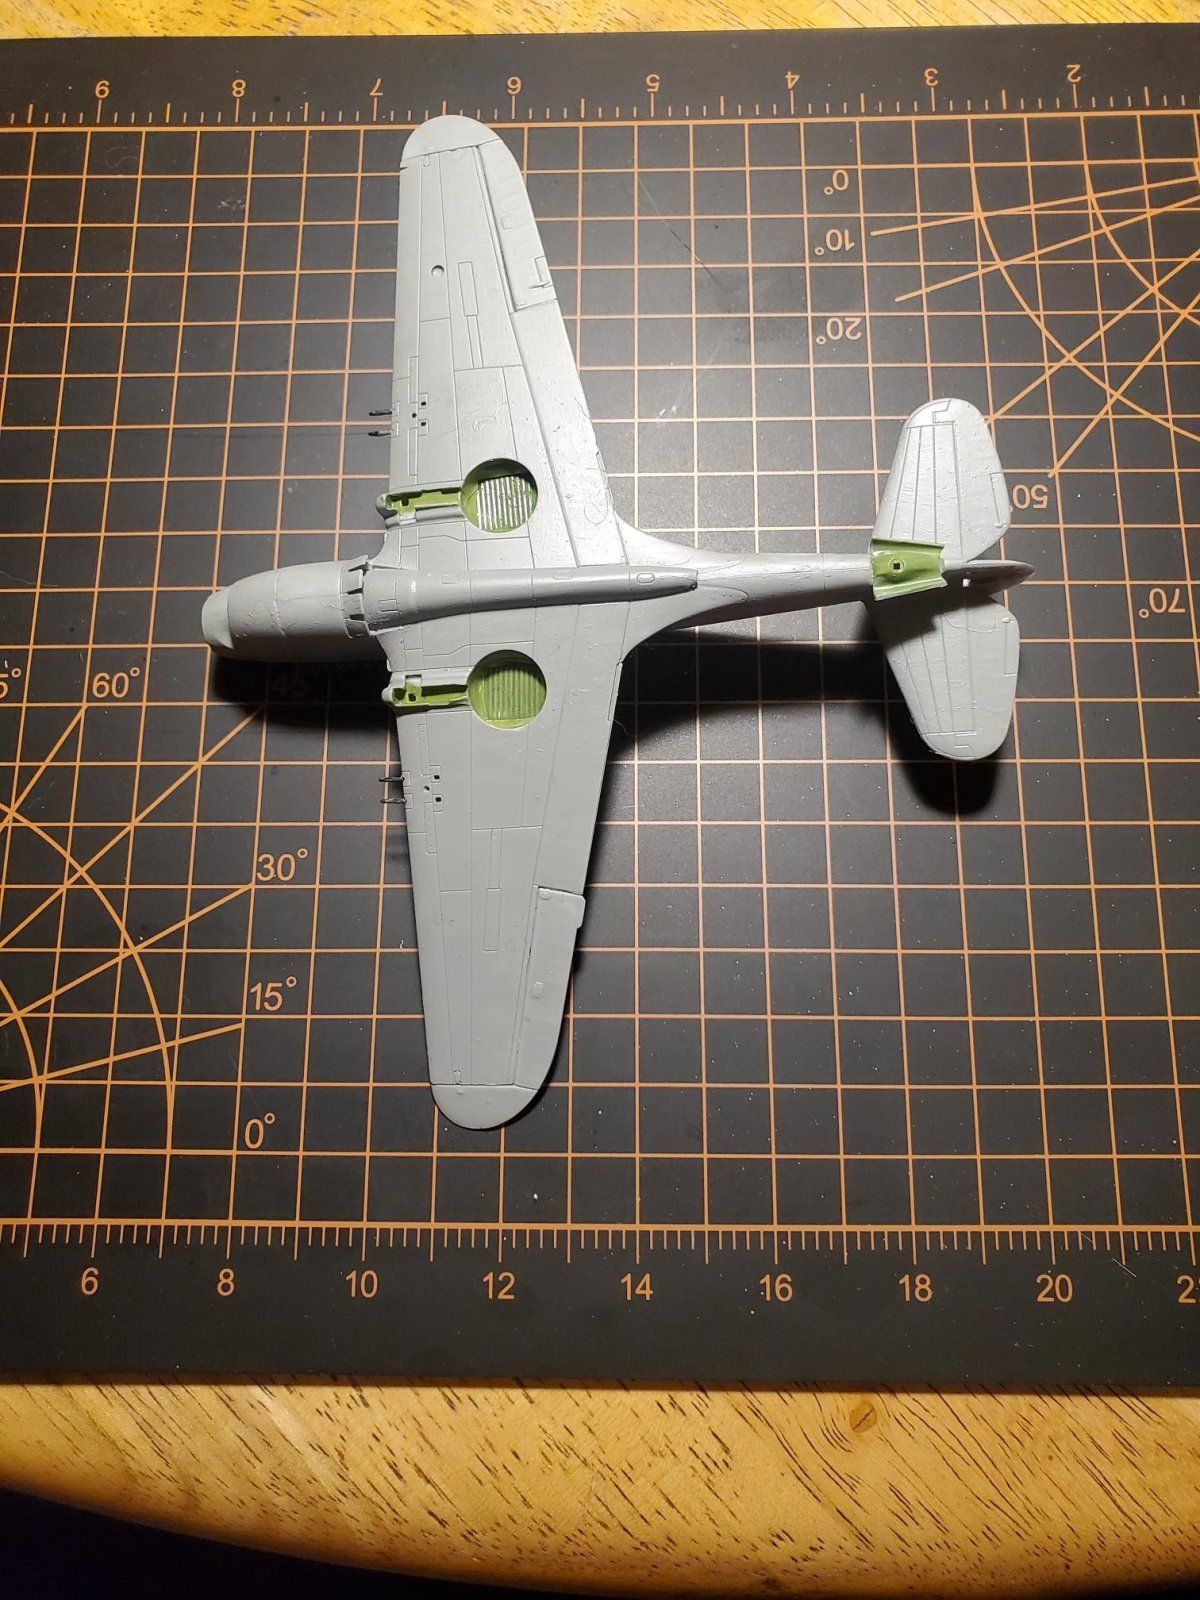
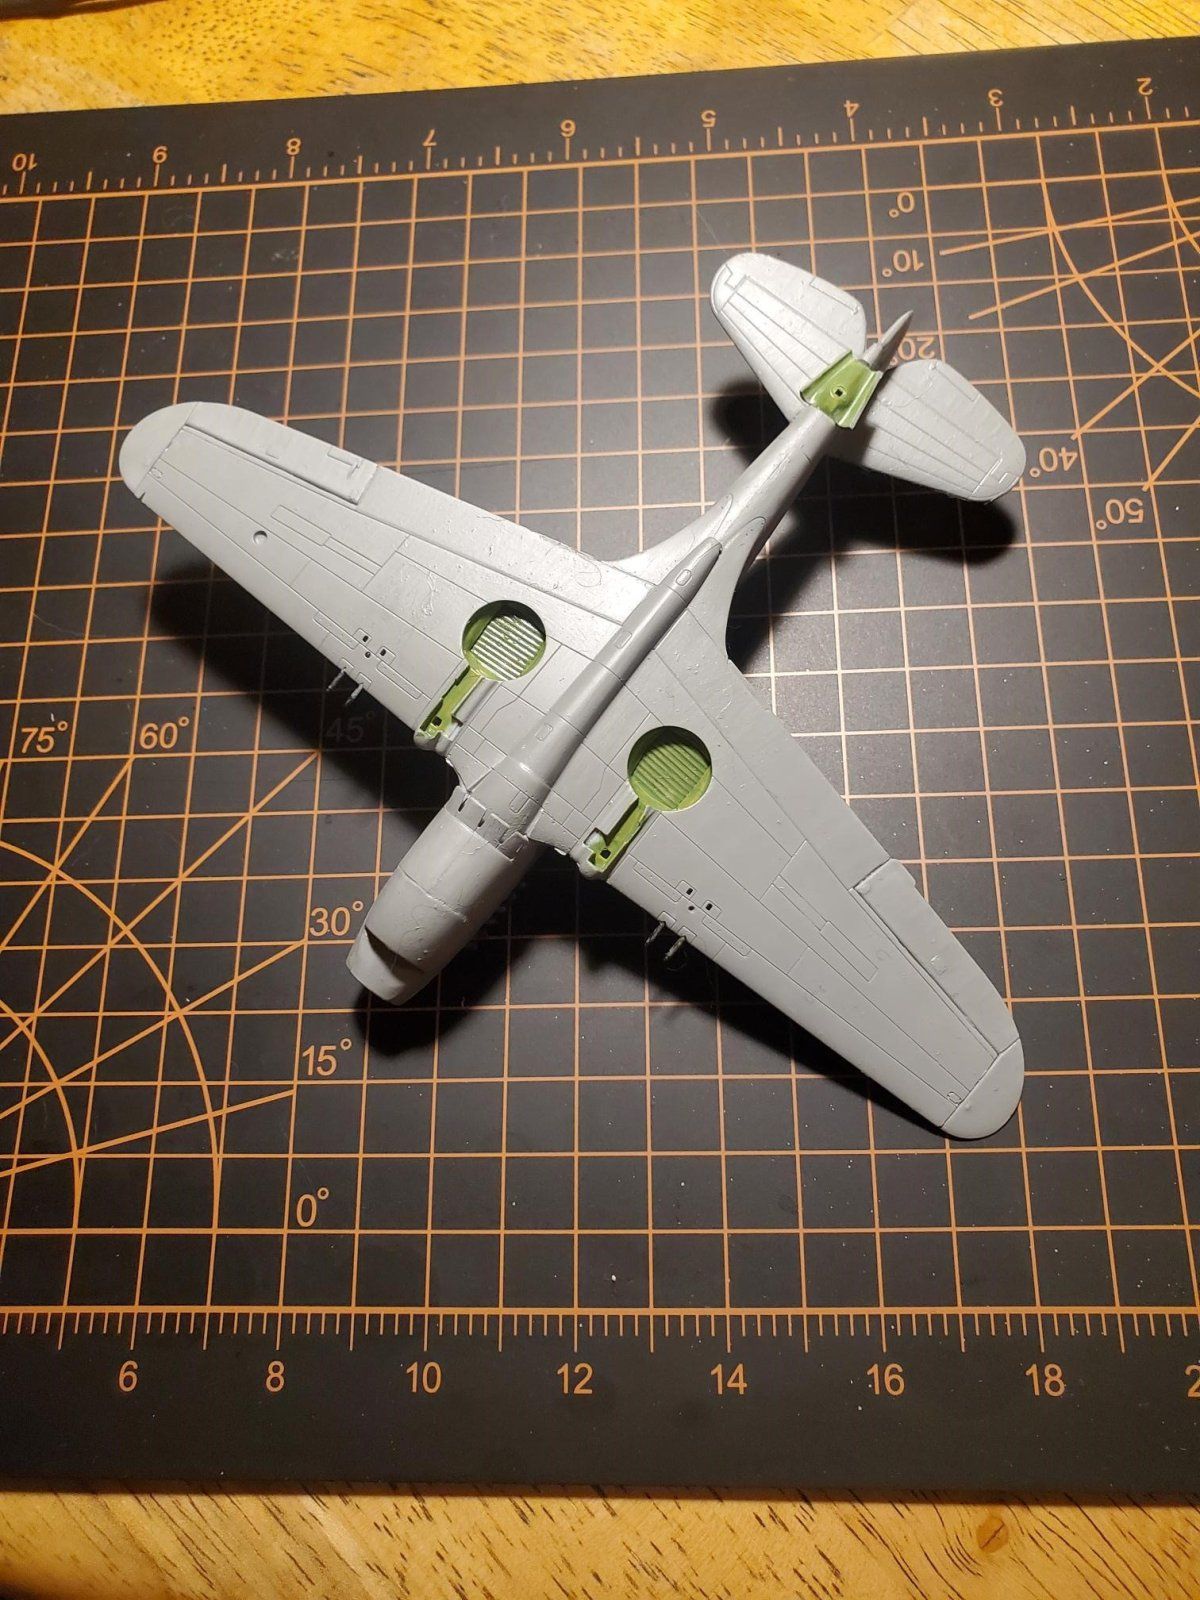
I am liking the Airfix kit, it is going together rather well. A couple spots that need some filler but nothing too major. The worst issue with the kit is that one of the tips on the prop was curled over. Not much I can do about that so I'm just rolling with it. I did some brush painting with some enamels and I didn't have the paint thin enough so I had to knock it back with some sanding. I'm just a bit rusty on this. I also have a local hobby shop that still has a bunch of Model Master acrylics and enamels. The green zinc chromate is acrylic and I've been pleased with how it is going on. Going slow but steady on this. It won't be perfect but it's a start on getting back into things.
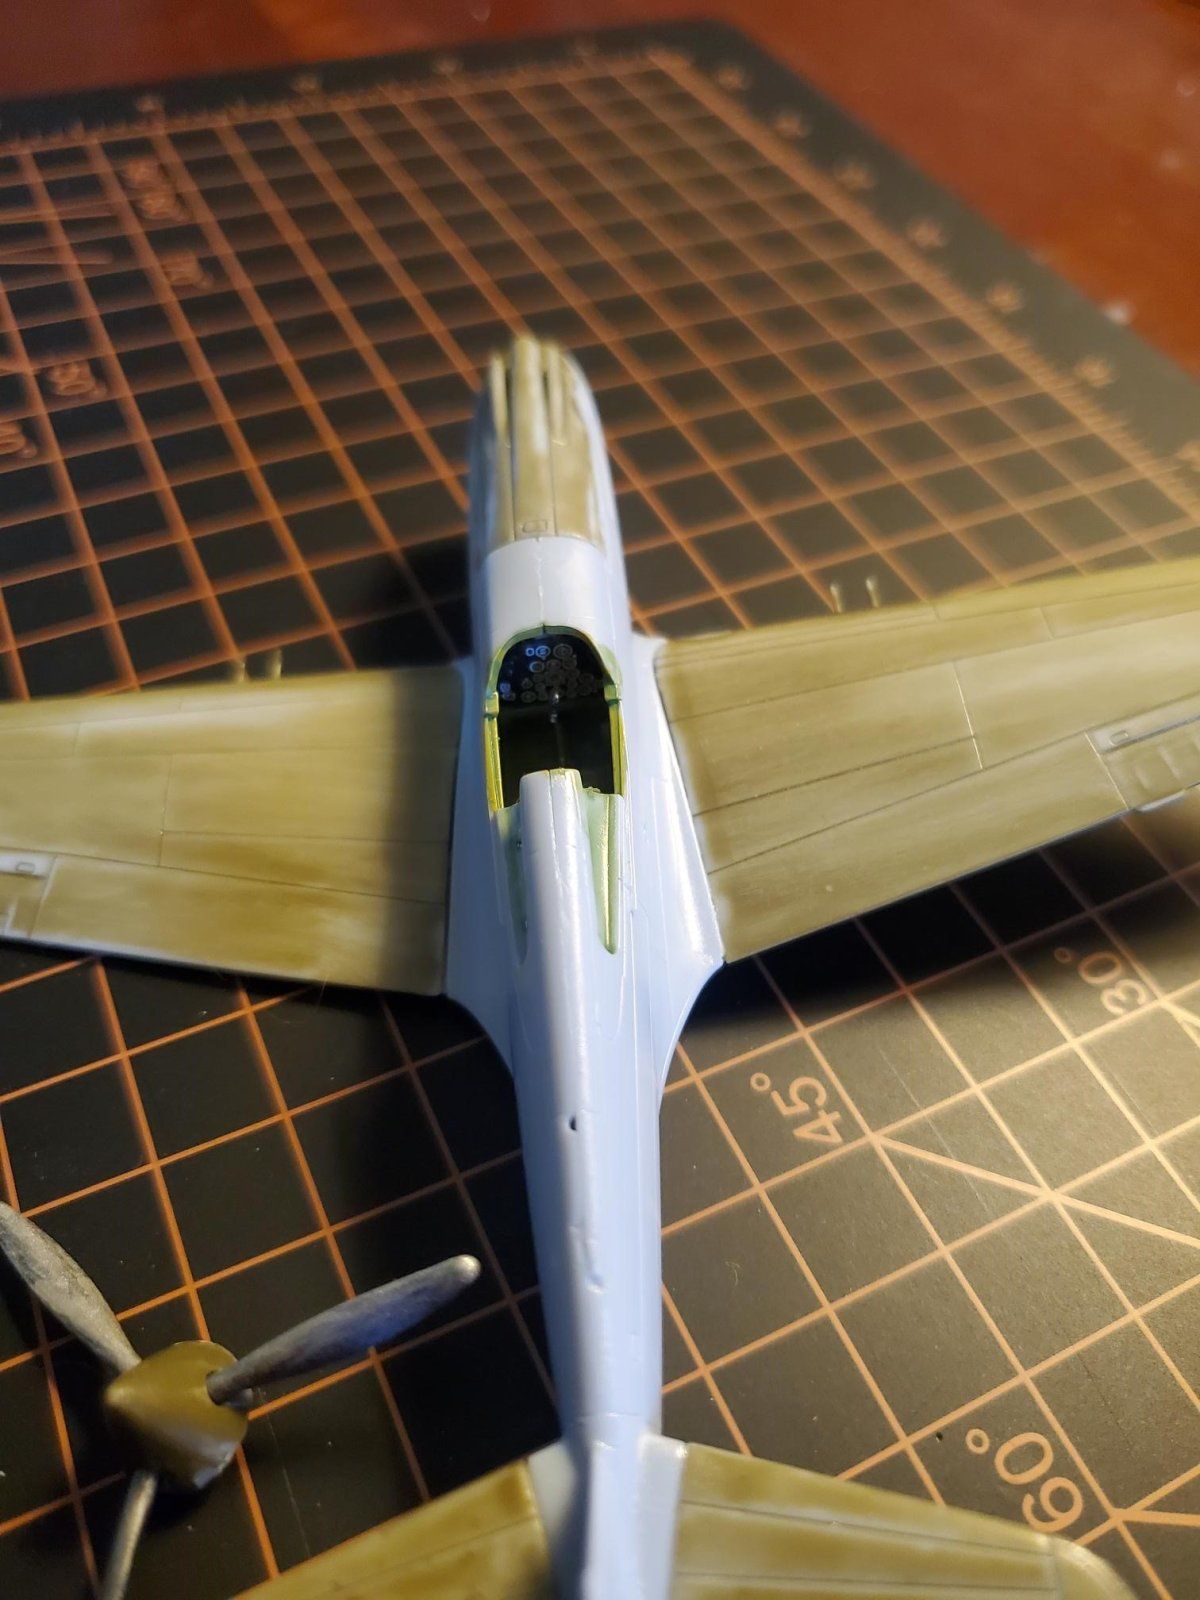
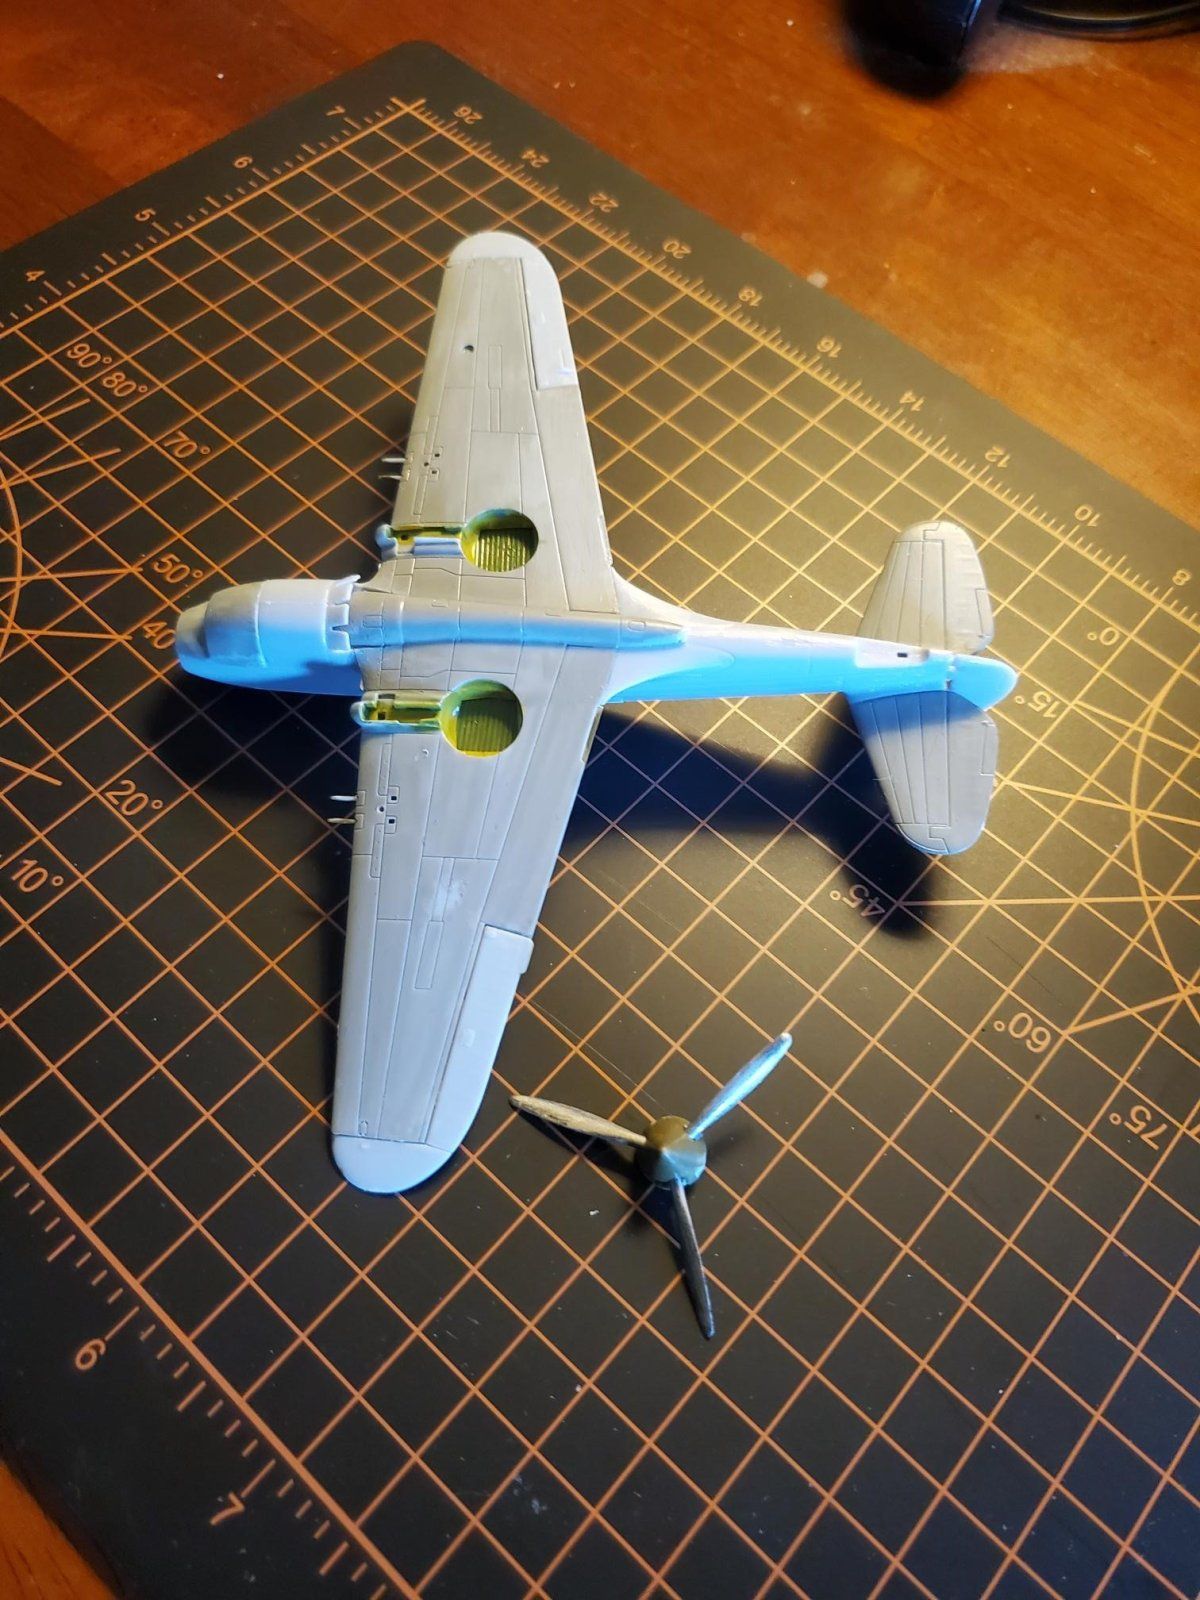
P40_1.jpg
P40_2.jpg
P40_3.jpg
 
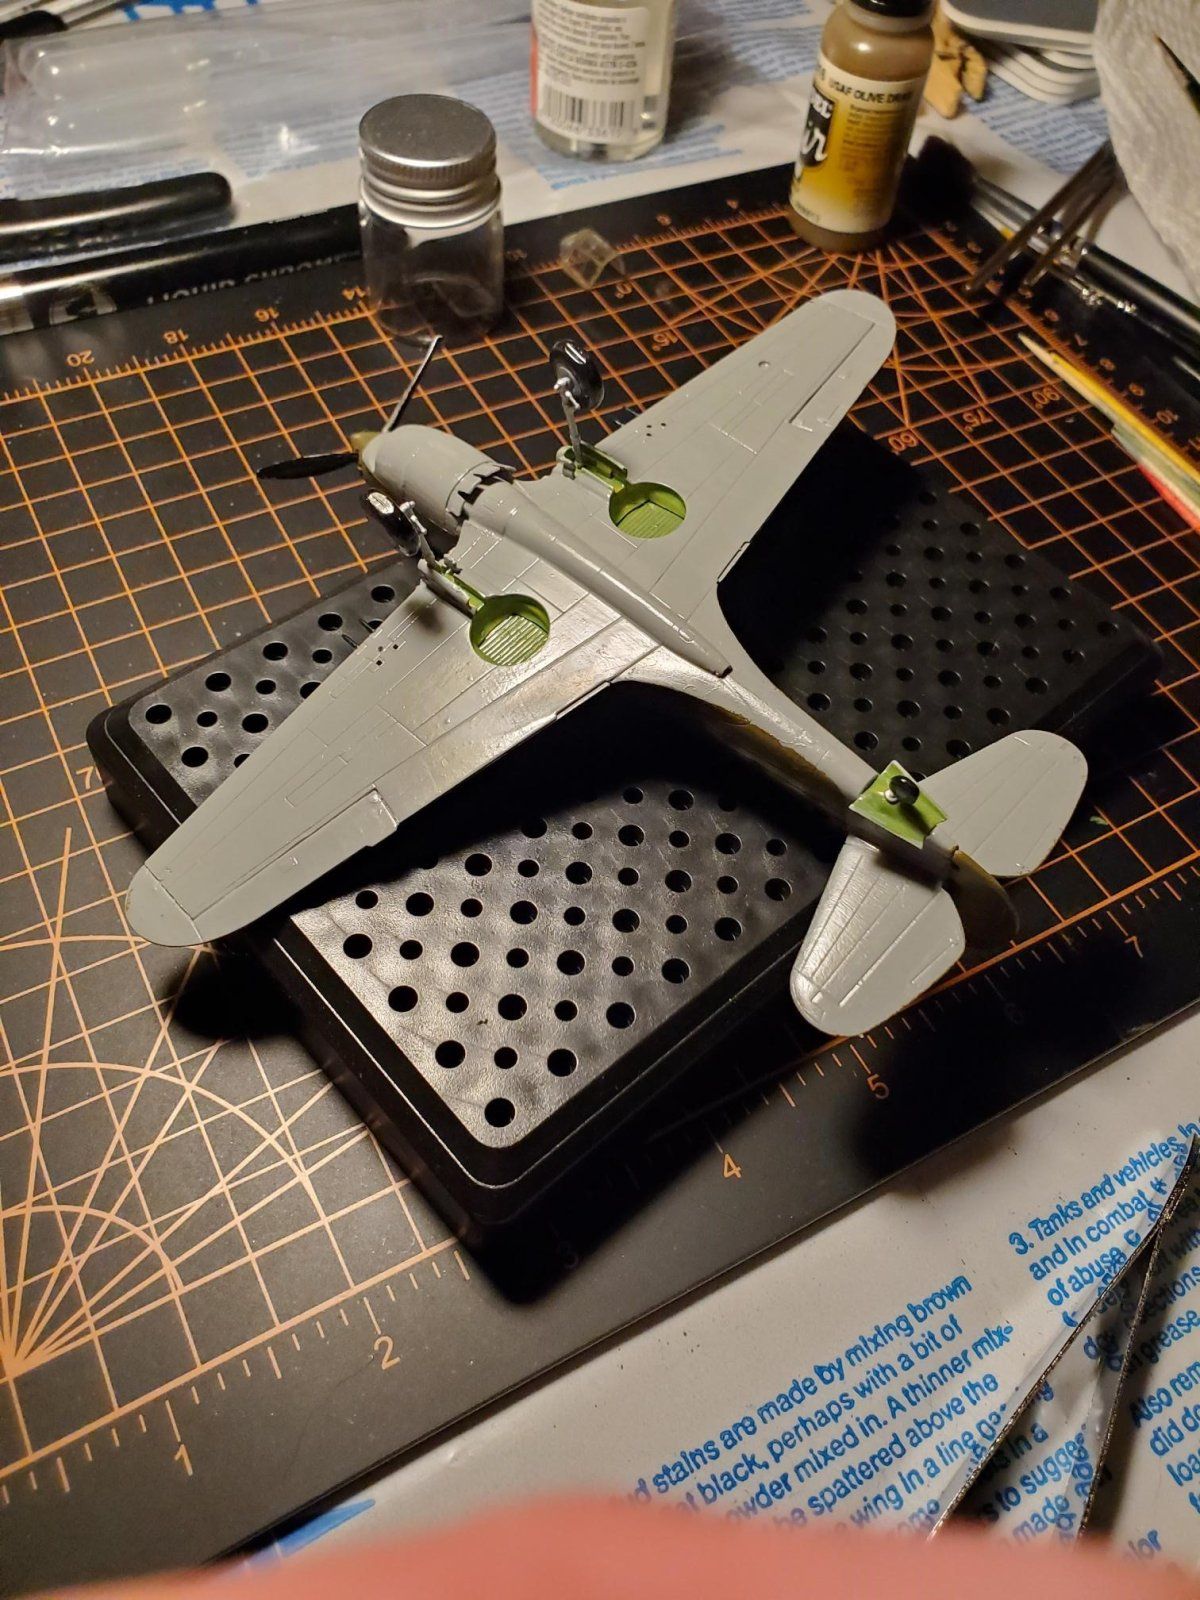
Between work and stuff at home time has been short lately but I am making progress. Did cuss the scale last night though. I was painting bits and went to touch up the tail wheel and it was nowhere to be found. 30 minutes later I found it on the hardwood floor. 30 minutes on my hands and knees with a flashlight. These tiny bits are something else :D
 
As an Amazon Associate we earn from qualifying purchases. Product prices and availability are accurate as of the date/time indicated and are subject to change.
Between work and stuff at home time has been short lately but I am making progress. Did cuss the scale last night though. I was painting bits and went to touch up the tail wheel and it was nowhere to be found. 30 minutes later I found it on the hardwood floor. 30 minutes on my hands and knees with a flashlight. These tiny bits are something else :D
Been there brother . Pantherman
 
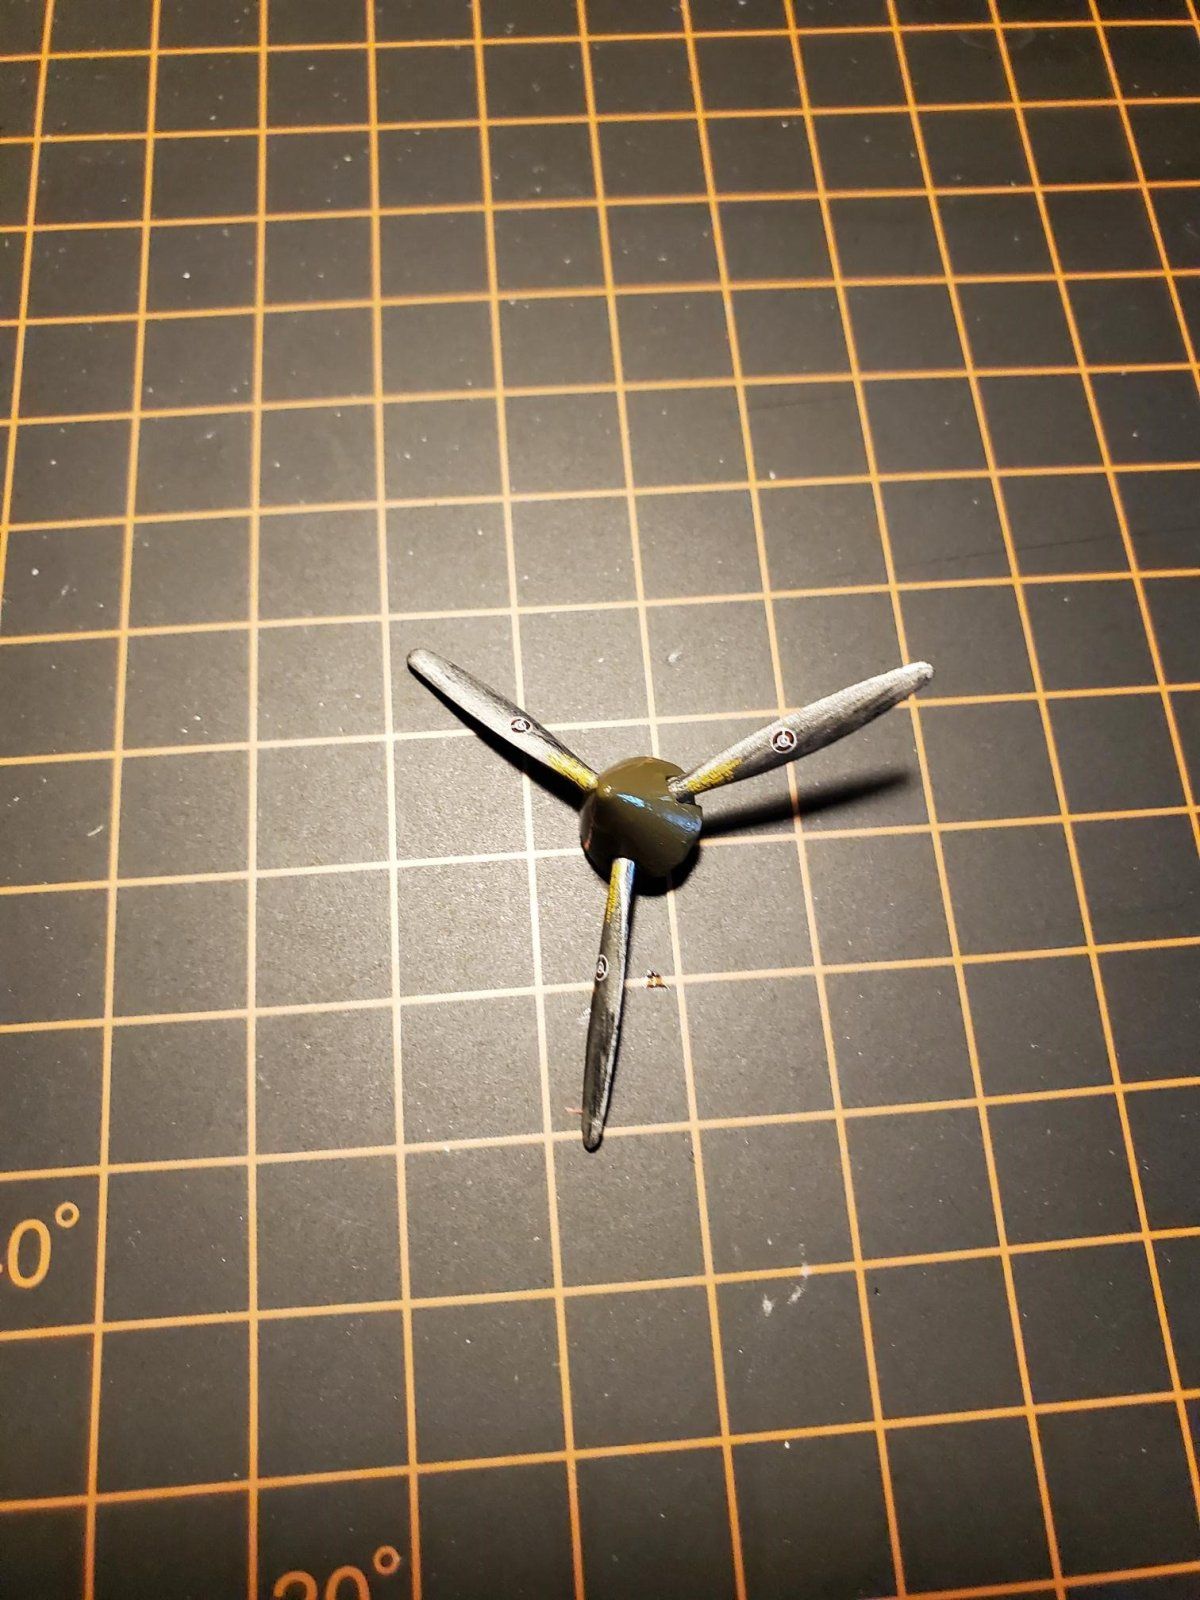
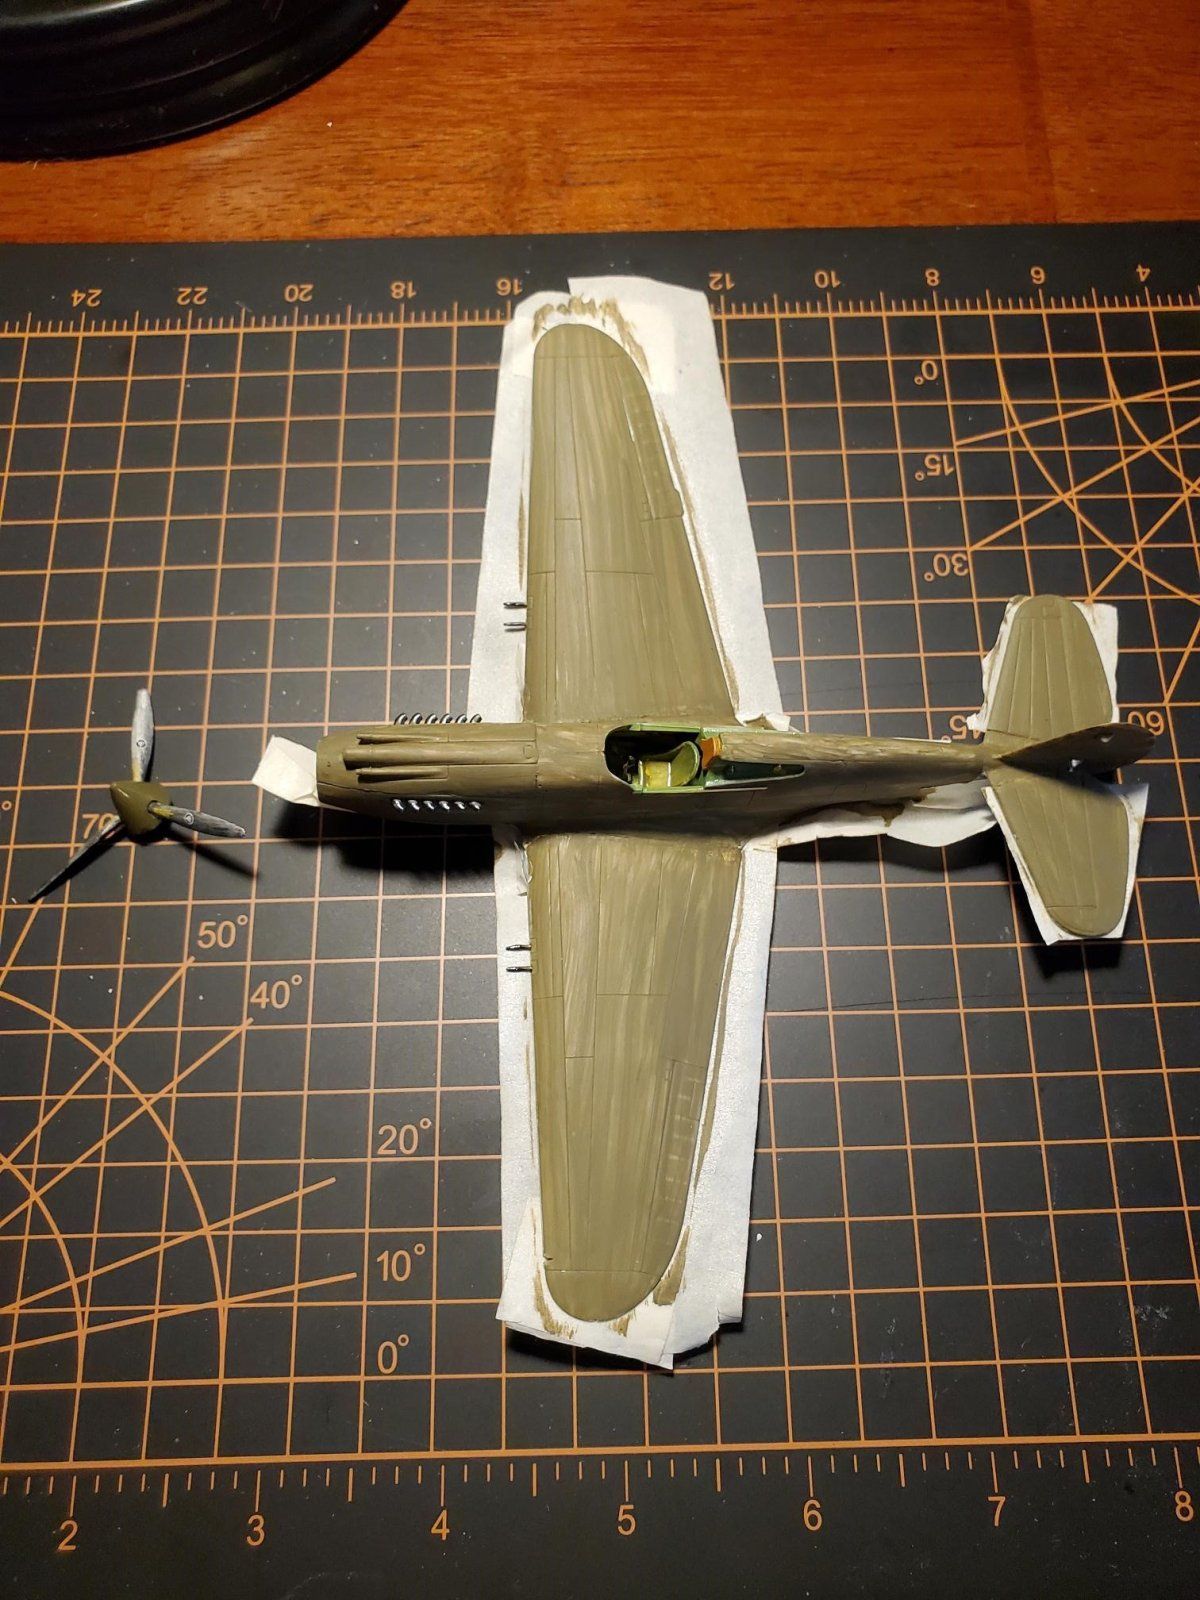
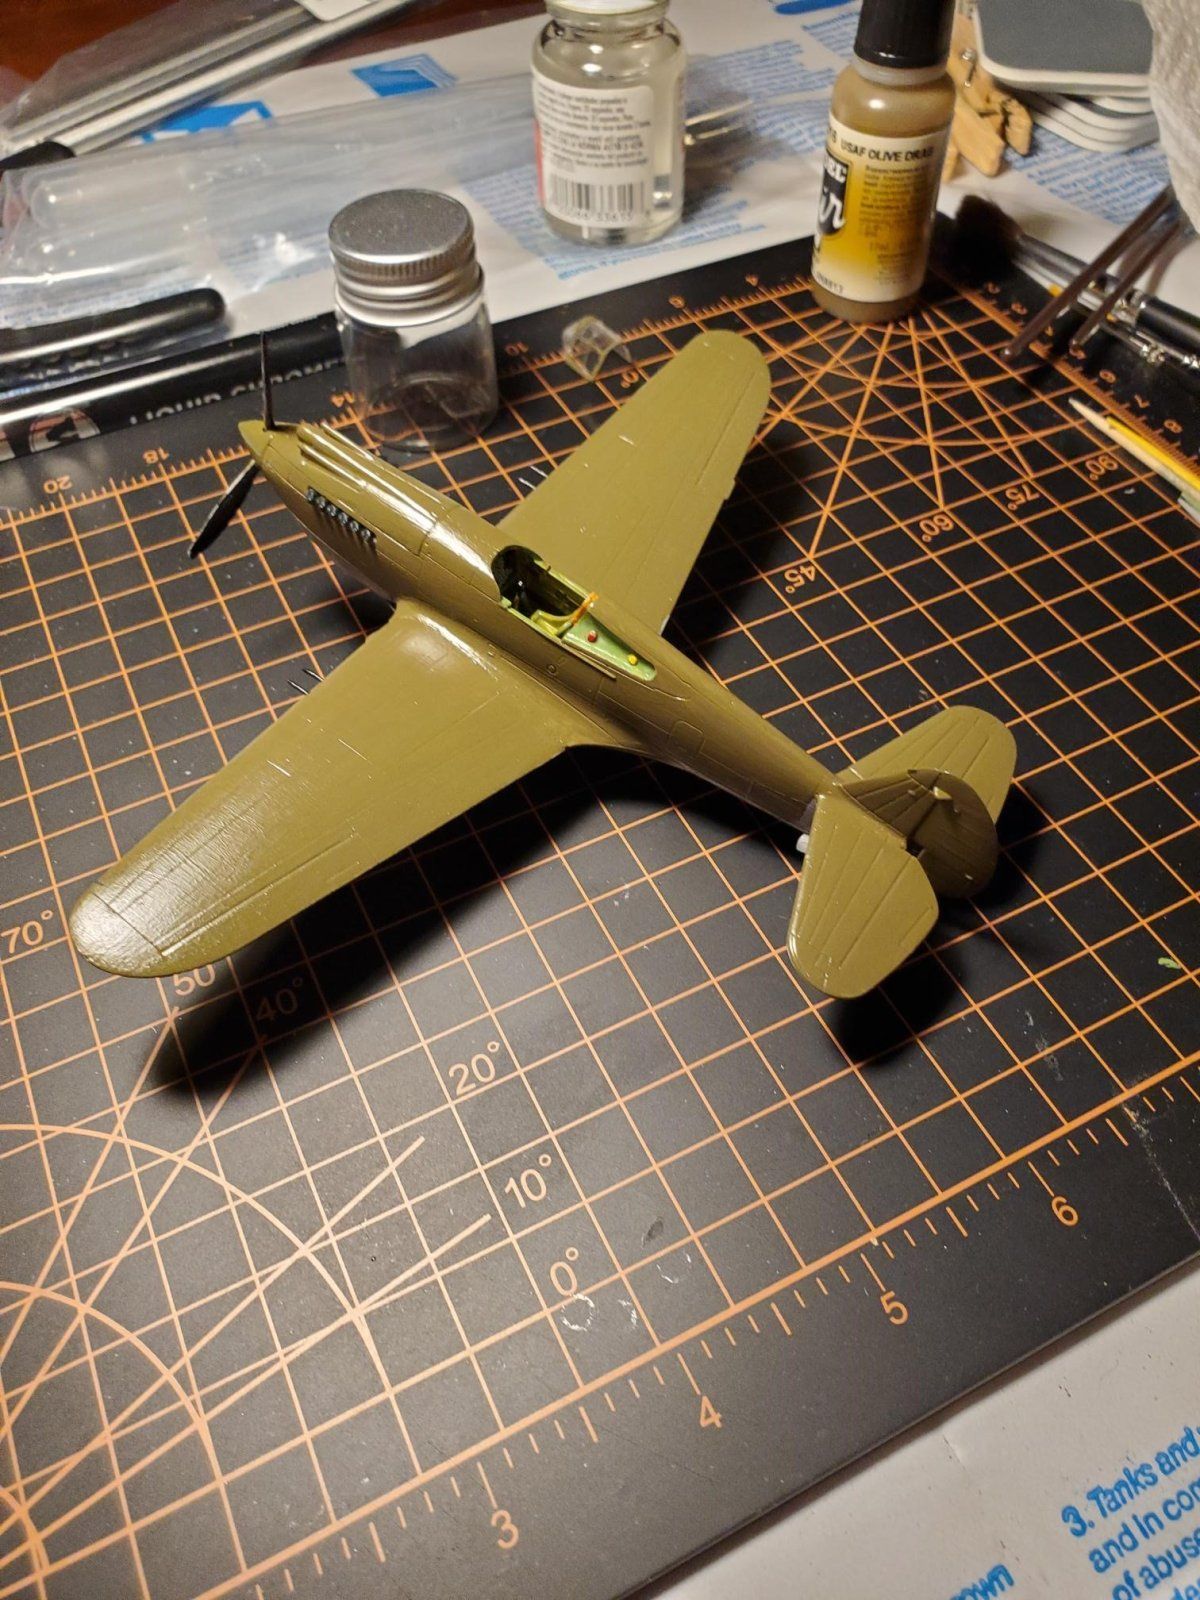
I finally have another update. This kit has been going slowly mainly because I have had to wait for paint orders. Being in rural South Dakota there isn't a ton of stuff available locally. I finally completed the prop, those tiny decals made my eyes hurt. I do like the Cartograph decals, they were easy to work with even though they were tiny. I also brushed on the first coat of Vallejo Olive Drab. That first coat always looks rough...lol... I did also get some panel washes and such to do a bit of darkening and weathering later on. Now that I am stocked on supplies it should advance quicker.
 

Attachments

  • P40_6.jpg
    P40_6.jpg
    258.8 KB
  • P40_7.jpg
    P40_7.jpg
    287.1 KB
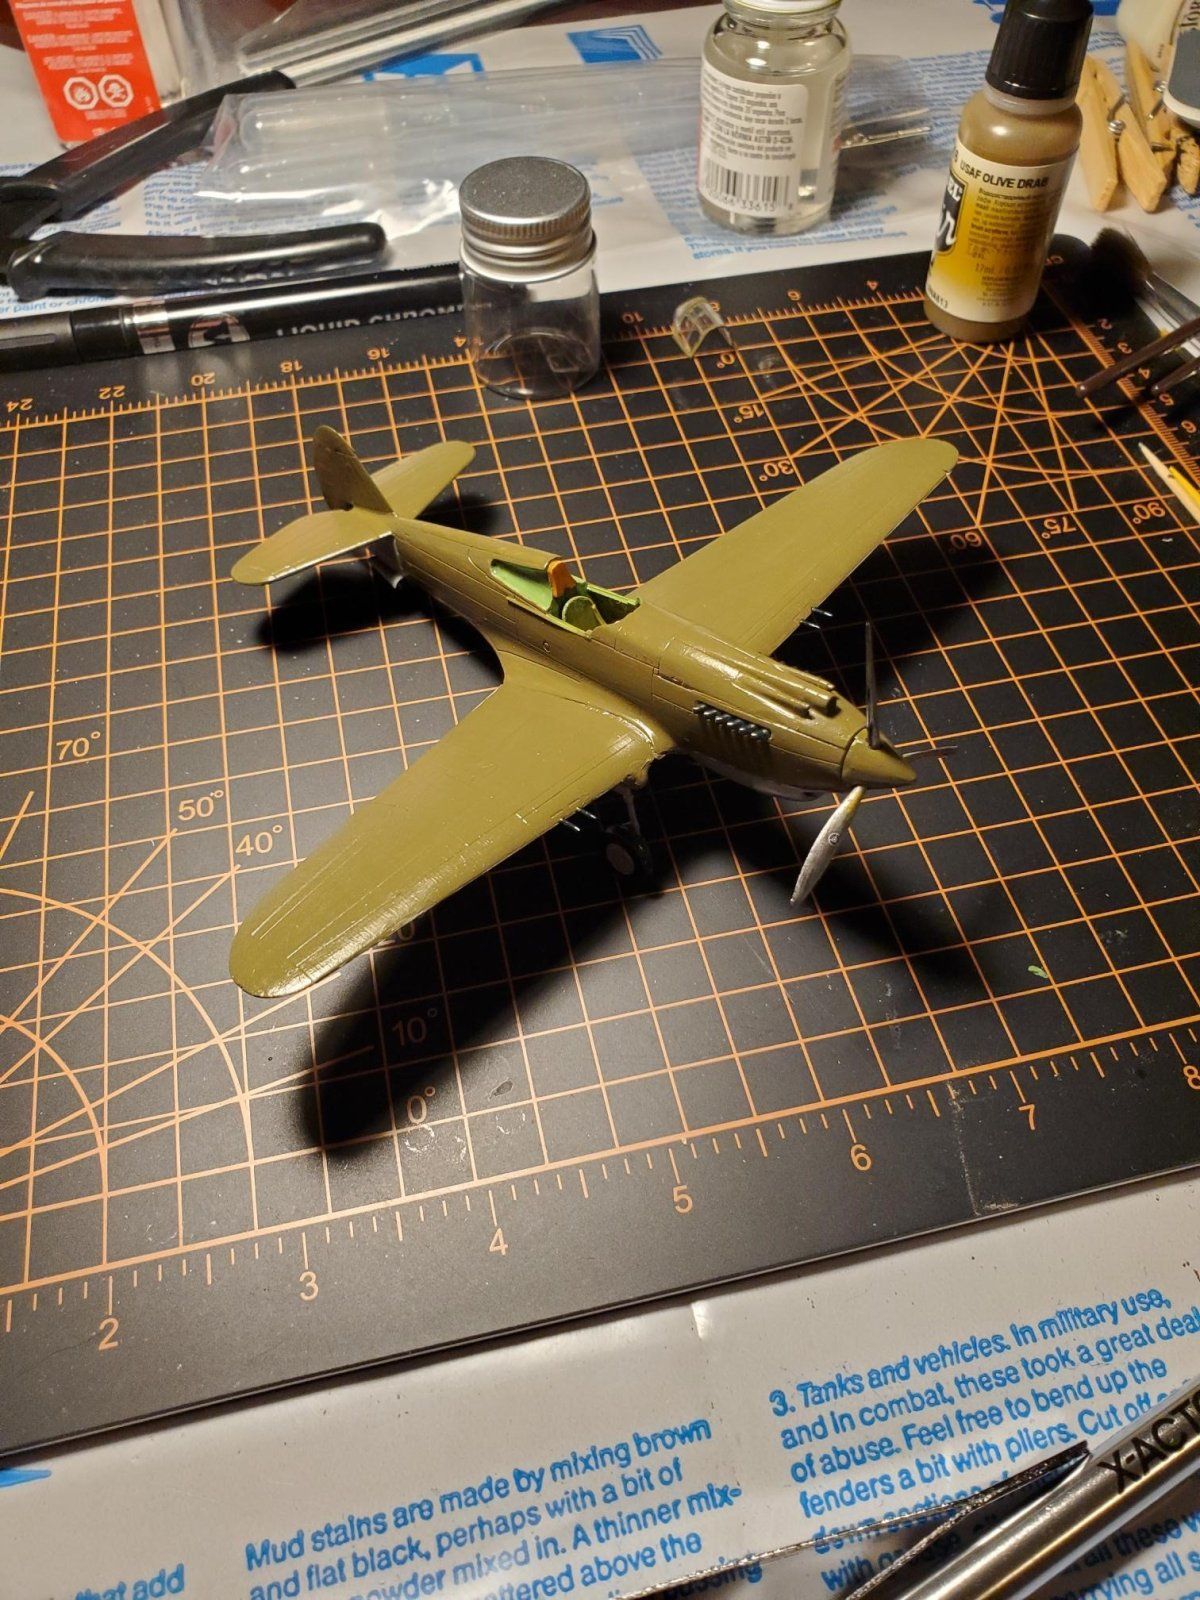
Almost done. Decals, panel wash, light weathering, sealing and clear bits and pitot tube is what is left. For my first attempt in over 2 decades I am pretty dang pleased with it.
 

Attachments

  • P40_8.jpg
    P40_8.jpg
    323.3 KB
  • P40_9.jpg
    P40_9.jpg
    338.4 KB
  • P40_10.jpg
    P40_10.jpg
    359 KB
Got a question for you all. As I prep to do decals should I bother with some of the tiny stencil data? The 1/72 scale means those decals are so incredibly tiny that I'm not even sure they would be noticeable. Just curious what you all think.
 
Got a question for you all. As I prep to do decals should I bother with some of the tiny stencil data? The 1/72 scale means those decals are so incredibly tiny that I'm not even sure they would be noticeable. Just curious what you all think.
It's your build so do what you want with it. It's supposed to be fun so if you're stressing over it then leave them off.
Keep the decals so if you decide to add them later on, you won't have to get some new ones. Pantherman
 
I am probably going to try putting a few of the tiny ones on and if it gives me fits I'll stop. If it was 1/48 scale I wouldn't be as hesitant.
 
Had a couple hiccups over the weekend. For whatever reason one of the landing gear bits decided to splay out. Not sure why that happened but I had to break it loose and reglue it straight. Hopefully it stays put now. Then there was the pitot tube. I saved that for last because I knew if I put it on earlier I would break it off. Well, cut it off the sprue and that little bit was spring loaded and only God knows where it went as it disappeared into the great unknown. Made one with stretched sprue. Not quite right but it is better than having nothing on there. All that is left is decals and a bit of weathering.
 
Decals are done on the belly and I have only a few more to do topside tonight. Another step closer. I am placing the stencil data as well. Tiny and tedious but they are going on fairly well.
 

Attachments

  • P40_11.jpg
    P40_11.jpg
    261.9 KB
Decals are done on the belly and I have only a few more to do topside tonight. Another step closer. I am placing the stencil data as well. Tiny and tedious but they are going on fairly well.
No need to be "gentle" looking good Bear43.

Plus I hope you are enjoying the experience which is the most important.

Laurie
 
I am very much enjoying it. It helps me relax and unwind in the evenings. I have mistakes on it but overall I am happy with how it is going.
 
Got a question for you all. As I prep to do decals should I bother with some of the tiny stencil data? The 1/72 scale means those decals are so incredibly tiny that I'm not even sure they would be noticeable. Just curious what you all think.
A very interesting question. One that I grapple with especially with small bits of PE

Partly it is your own character. I have a part of me that says you have to do it to prove you can.

Then on a bad day hell no thank you.

Then you build to satisfy yourself no point otherwise. Plus a lot you do in the internal work is
not seen. So what it is the fun of doing it. Just for me looking at a finished model I know what I did.

Satisfaction. Do it if you want or chuck it. You make your own rules & decisions.

Laurie
 
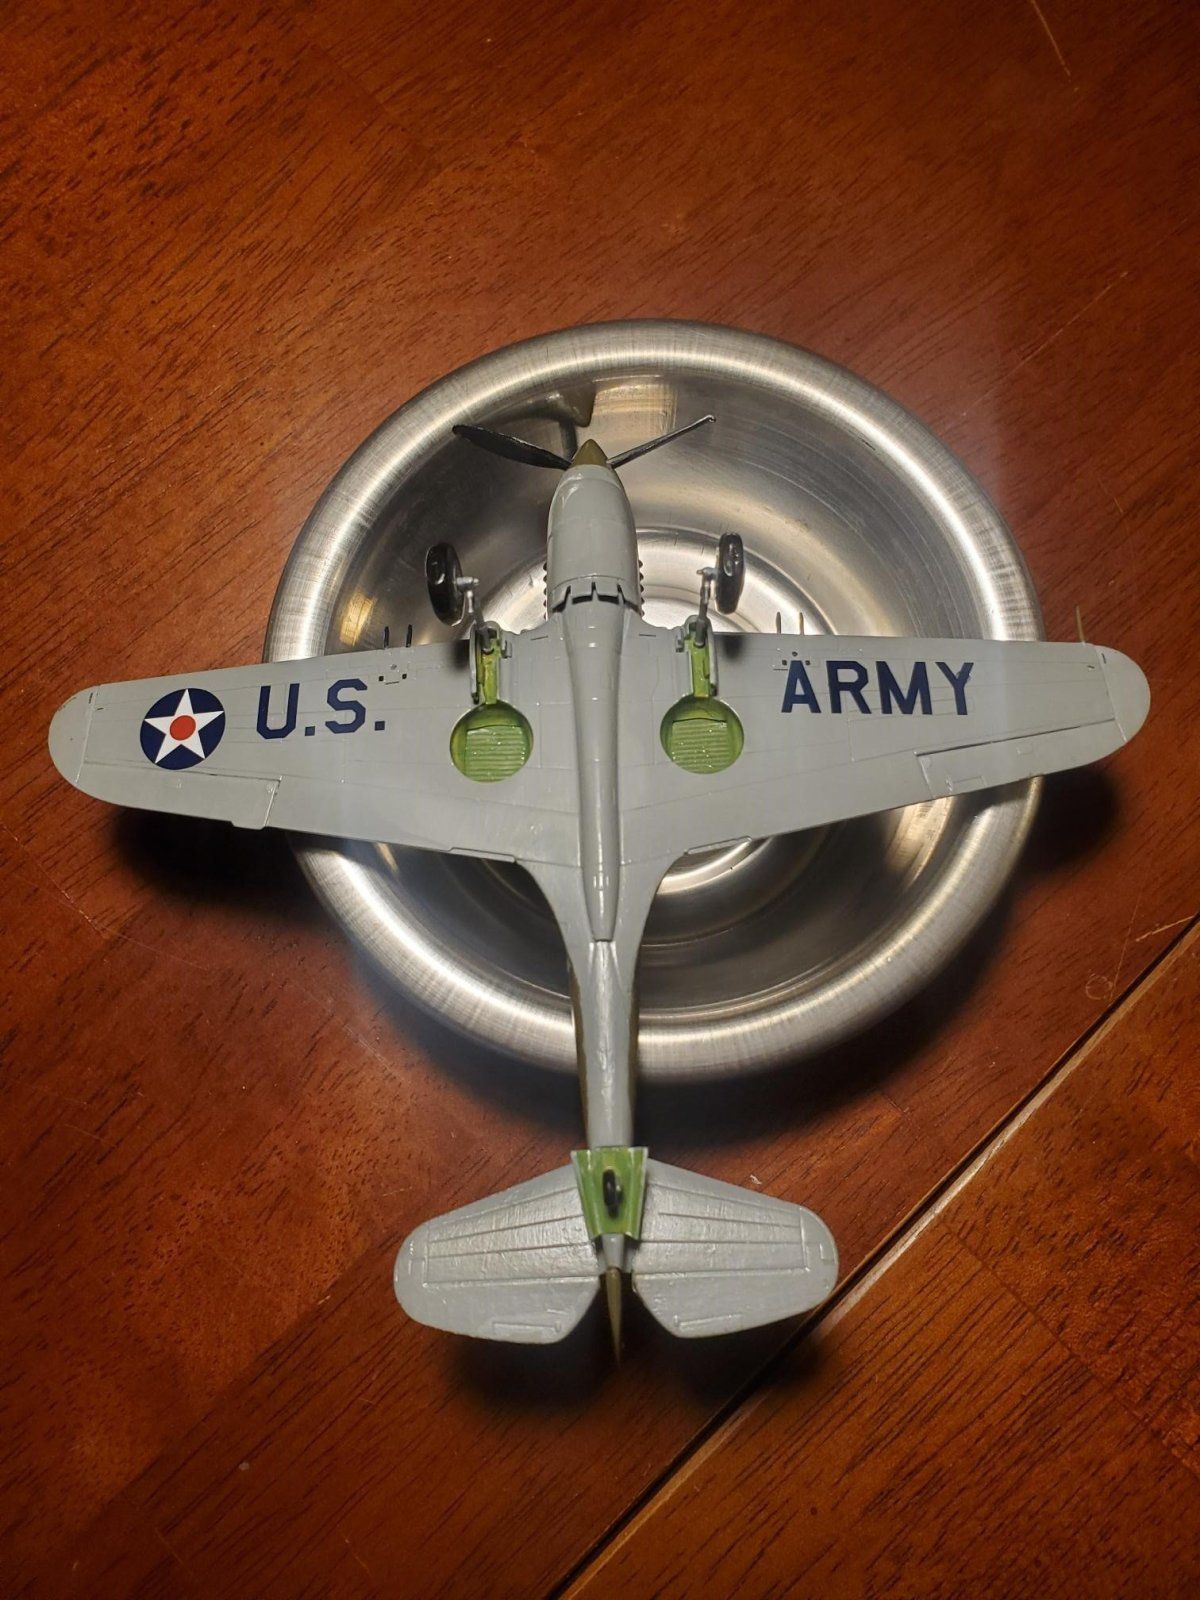
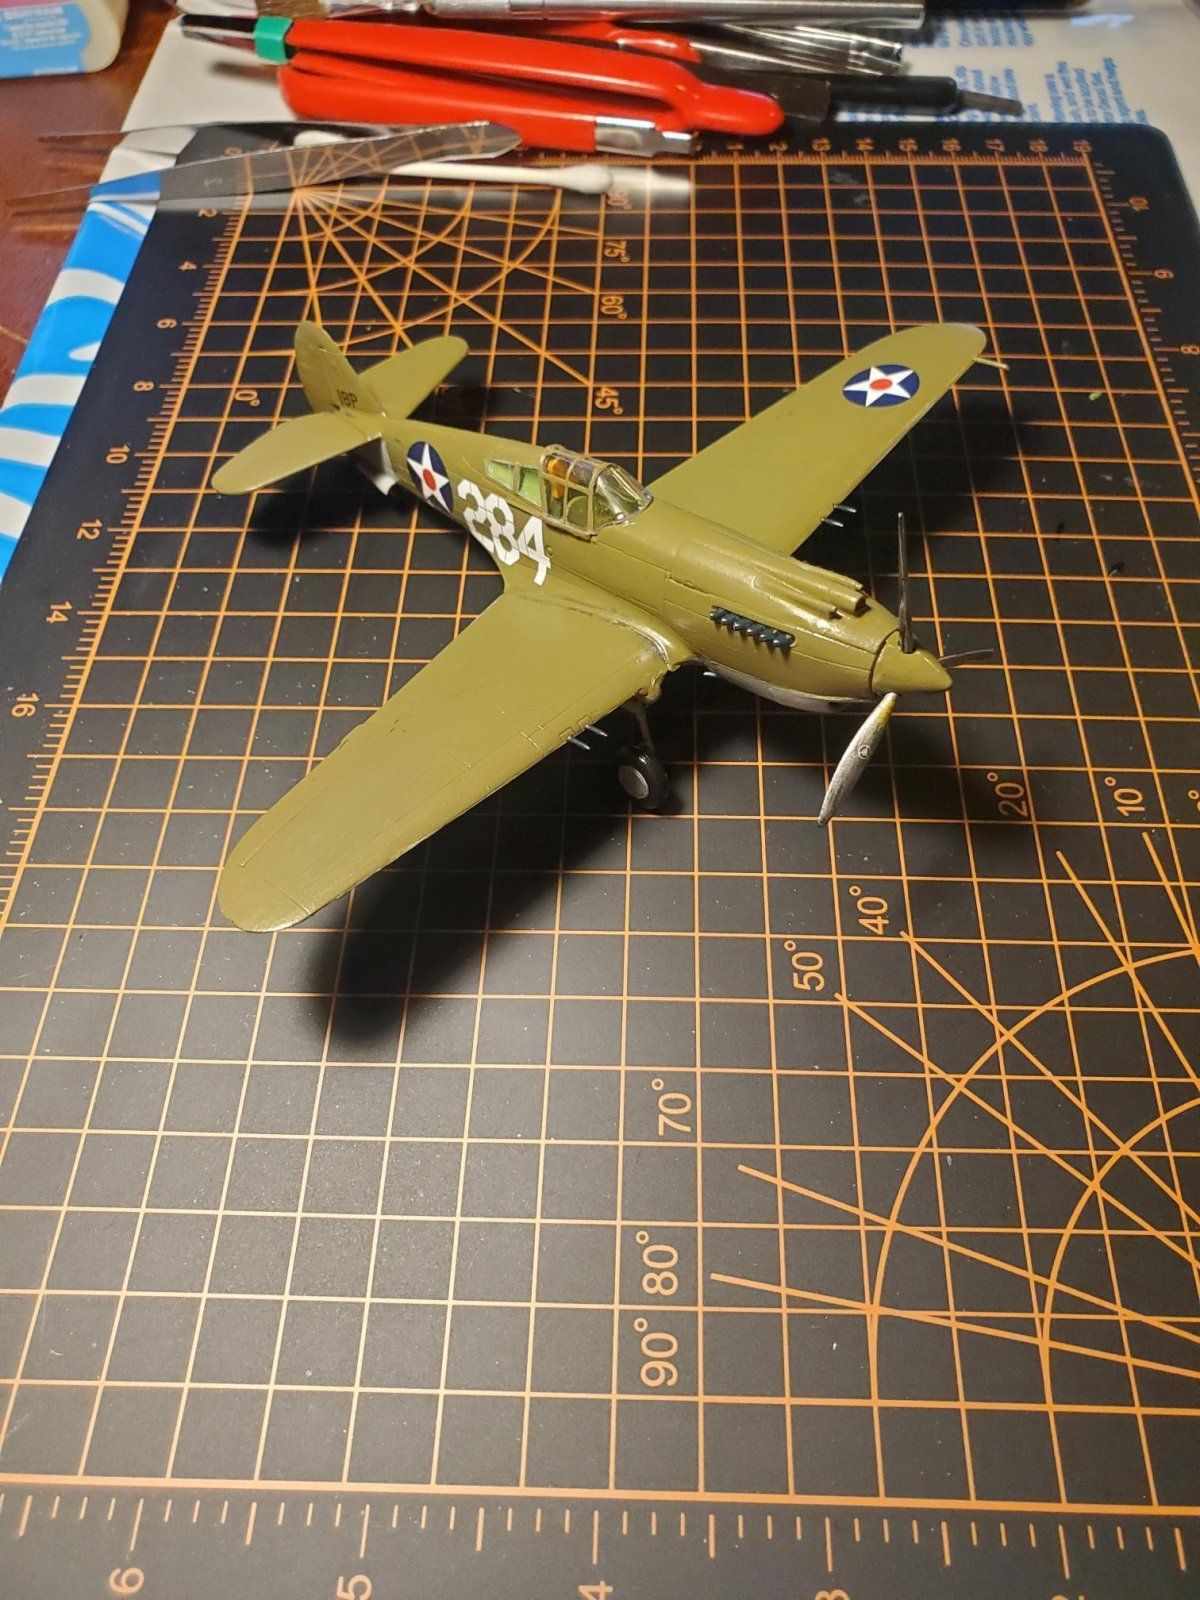
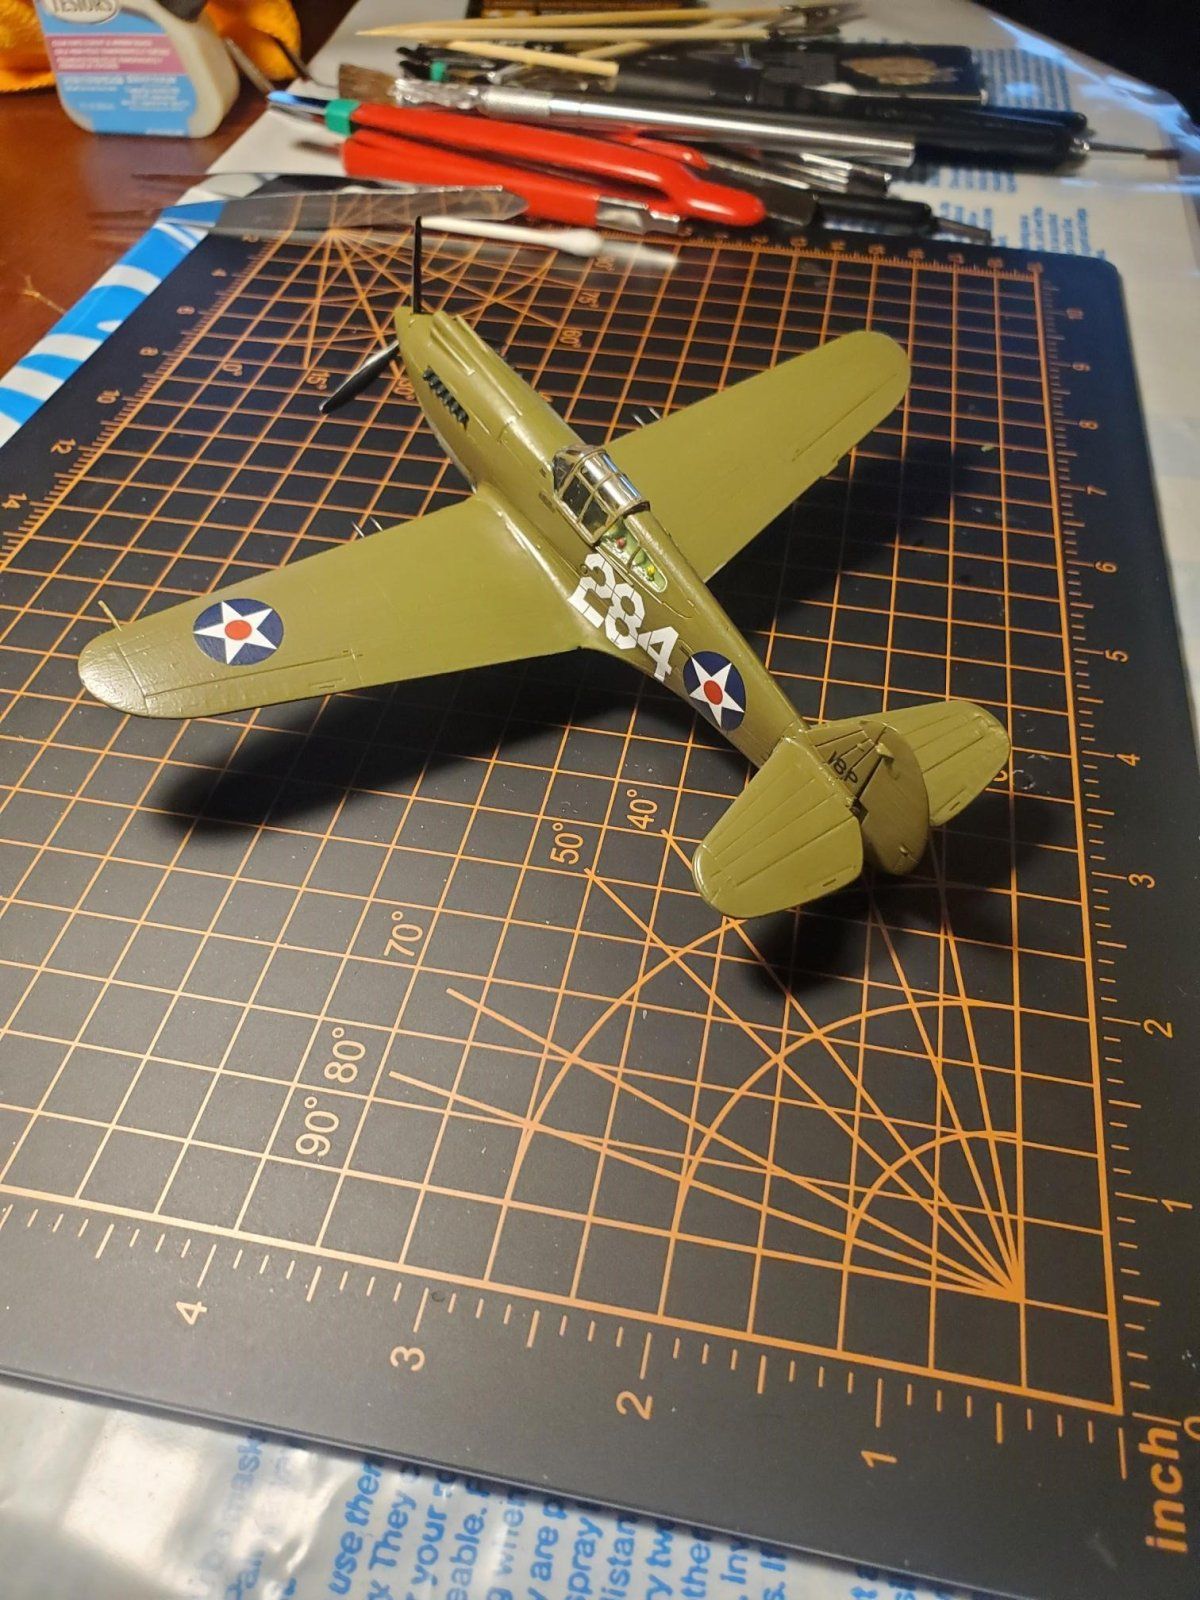
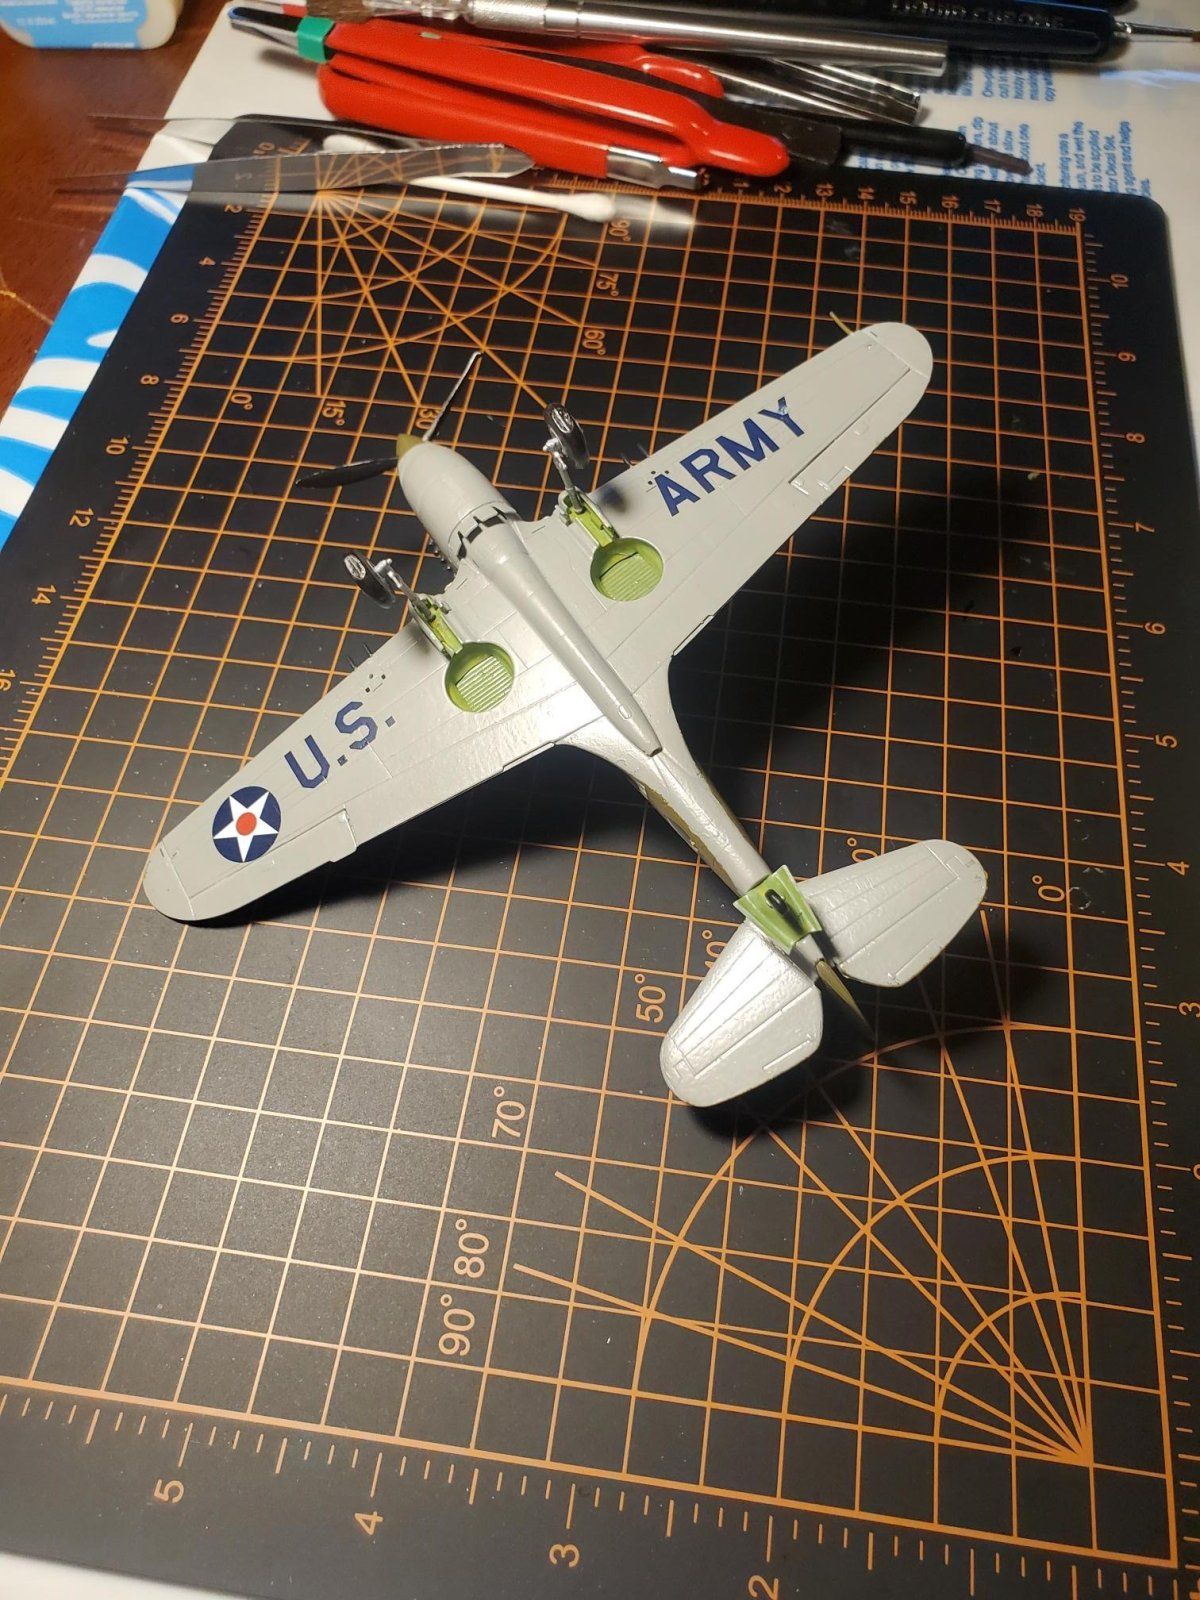
Well, it is finished. But Bear, where is the panel liner and weathering? I'm glad you asked...... I found that AK Interactive panel liner does not play nice with Testors clear coats. When trying to rub off the excess I rubbed off the gloss too. Glad I only did one wing to test. The weathering products I have on hand are also AK Interactive products. So, rather than risk it I sprayed the dull coat on and added the clear bits. I will use up what I have for Testors products and move on to other products and hopefully I will get better as I work on the next kit. Next up is an Airfix 1/72 Spitfire Mk Ia.
 

Attachments

  • P40_12.jpg
    P40_12.jpg
    323.9 KB
  • P40_13.jpg
    P40_13.jpg
    308.9 KB
  • P40_14.jpg
    P40_14.jpg
    340.3 KB
For weathering washes, you might like to try mixing your own, from water-based acrylics and water. I use craft-store paints to make washes-brands like Americana, Folk Art, Apple Barrel. The Michael's chain of arts & crafts stores carry them, as do HobbyLobby, and I think Walmart as well. Such washes definitely will not attack clear coats like Testor's product.
I make my own weathering powder, too, with pastel chalks. I got a 12-stick set of earth tones years ago, for ten bucks. It'll last me a lifetime.
 

Latest posts

Back
Top