Academy M1151 1136 Trans CO QRF Squad

EHOG

New Member
Joined
Apr 19, 2013
Messages
70
This is my first posting of a build that I have had going on.
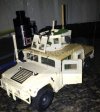
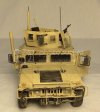
My goal was to make a couple of M1151s for the guys I was deployed with. They are to be exact replicas of the truck we were assigned while deployed to Afghanistan. So far they have turned out pretty good.
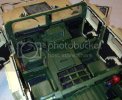
I started out with Academy's M1151 and Eduard PE inside and out. Also i picked up Def. Model's MT/R Sagged wheels and suspension kit.
Here is how things are turning out so far.


[attachment deleted by admin]
 
The partial paint job was my way of seeing how a brush finish would turn out. I have not been near my airbrush while building these trucks so I wanted to see if the brass would look alright with a brush paint job. It was good enough for me.

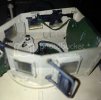
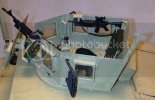
I picked up Live Resin's 240B weapon set and I really like how they turned out. The only issue is that we weren't issued the standard weapon mounting system so I had to replicate the ammo cradle/mounting pins that maintenance had fabricated for our trucks. It was quite fiddly but in the end it came out allright.

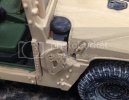
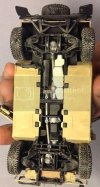
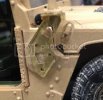
No company that I came across knew about the standard brush guard that is mounted to many of the 1151s in theater. All I could find was the SF bumper which was not installed on my truck so I fabricated one out of copper and brass flat stock. On the second truck I tried replacing the brass with evergreen but it kept breaking so I went back to brass for that one too.


[attachment deleted by admin]
 
Thats what I have to post so far. suggestions, comments and criticisms are welcome. I have another one to build as well so any guidance is welcome
;D ;D
 
Lookin good......... :) BTW what does the QRF abbreviation mean ?
 
Quick update,
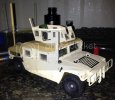
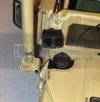
I have fabricated the front antenna and mount out of sprue and evergreen and applied a bit more paint. Hopefully more to come soon.
I think Ill dig out the airbrush for the next one

11small_zpscbc1faad.jpg
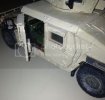
Also the doors are on now
12small_zps9eb4525a.jpg
My appologies for the crappy lighting. I only have my Iphone
 
Time for another update.
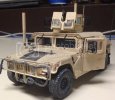
I got the rest of the paint spread. I really should have airbrushed this, oh well, maybe next time. I also played around with Tamiya's Weatering Master set "A". I think I still have a bit more weathering to do, but Im pleased with how its looking so far.
13small_zps3db5cf91.jpg
15small_zps39eeba9c.jpg
16small_zps7ef915ce.jpg
 
Pretty good for a brushed job. :) " Nice job all round "
 
Thanks!! The second truck is turing out better with lessons learned from the first, I dug out my airbrush for the paint job and I fabricated some parts out of shim brass instead of styrene. It deffinately makes a difference. I may re-work the completed truck after I get the current one finished.
 
EHOG, real nice build, really like that your building a subject that is personal to you and that your giving them to your buddies too...its a great idea !

really like this build


great stuff,


shane.
 
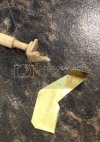
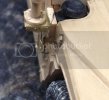
So as I mentioned before there were some problems with styrene parts I made breaking so I had to re-fabricate them from shim brass.
IMG_0794_zpsb3101a9a.jpg
IMG_0795_zps0f079c09.jpg
IMG_0796_zpsc75f55b4.jpg
IMG_0797_zps47c98a50.jpg

After that was all sorted out it was time for the unit markings using Archer Fine Transfers "Generic Lettering" dry transfers.
IMG_0837_zpsa0e04342.jpg
My next post will be the finished pics
 
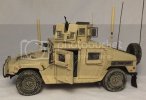
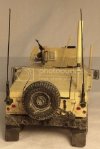
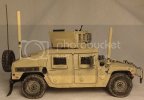
With many thanks to the Photography for Scale Modeling thread I found in the features section of the home page, I was able to produce some decent pictures of the finished truck.

And here it is.

33e37d62-5b61-44ee-9fe3-0186cd695619_zps797e6b69.jpg
07cbee41-c103-48f1-b8bd-c4fb59540e38_zps6764eabf.jpg
2f580513-795c-44ba-a24e-e4f692106fde_zpsb7601478.jpg
IMG_0859_zps04ca5508.jpg
IMG_0870_zps2870d15b.jpg
IMG_0873_zpsfa70bde2.jpg
IMG_0886_zpsac682c28.jpg
IMG_0883_zps6b264e30.jpg
I tried to edit the photos to fix the yellow tint but its just not happening for me.

Anyways, Thanks for
 
Re: Academy M1151 1136 Trans CO QRF Squad The finished project

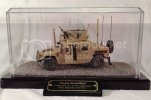
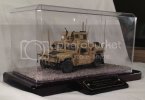
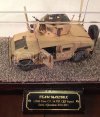
Last night I finished off the bases for the two 1151s... This project is finished! FINALLY!!!
photo1_zps6404a5b9.jpg
photo3_zpse9c6c4a5.jpg
photo5_zpsdb4528ee.jpg
 
Thanks guys,
Being as these arent for me I wanted them to be perfect. While there are some discrepencies with reality on them I think they turned out great.
Side note, Wenge is one tough wood to work with. Its almost as hard as carbonsteel. Well not that bad but its pretty hard. Burnt out two sanding belts and 3 packs of palm sander sheets doing the bevel and finish sanding
 

Latest posts

Back
Top