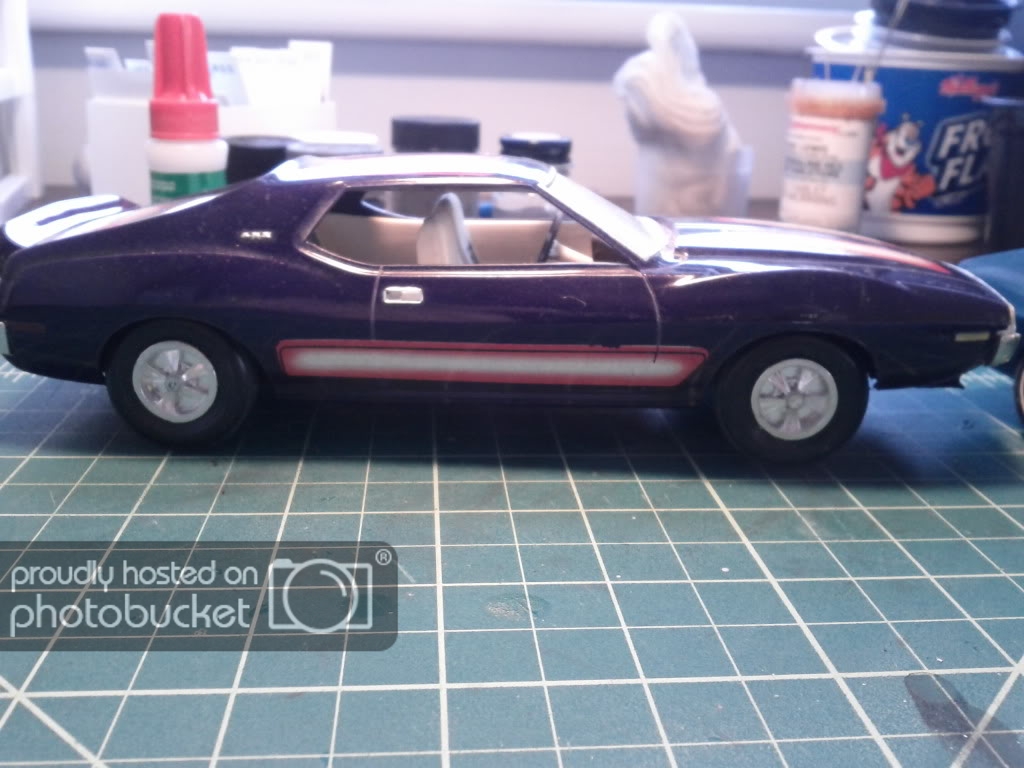
While my restoration project on my AC-47 is going on, I've also been tackling a couple of old cars for a buddy I work with. He has these old pre-built models given out by the dealerships back in the day. The goal here is to replicate the paint job on his actual car that he has restored. The goal of this build will be the purple ride in the beginning photos..., the AMX 1974 Javelin.
This is my first car kit that I've touched since I was about 10, and I'm looking forward to cleaning it up and giving it a proper paint job and duplicate the finish he has on his actual car.
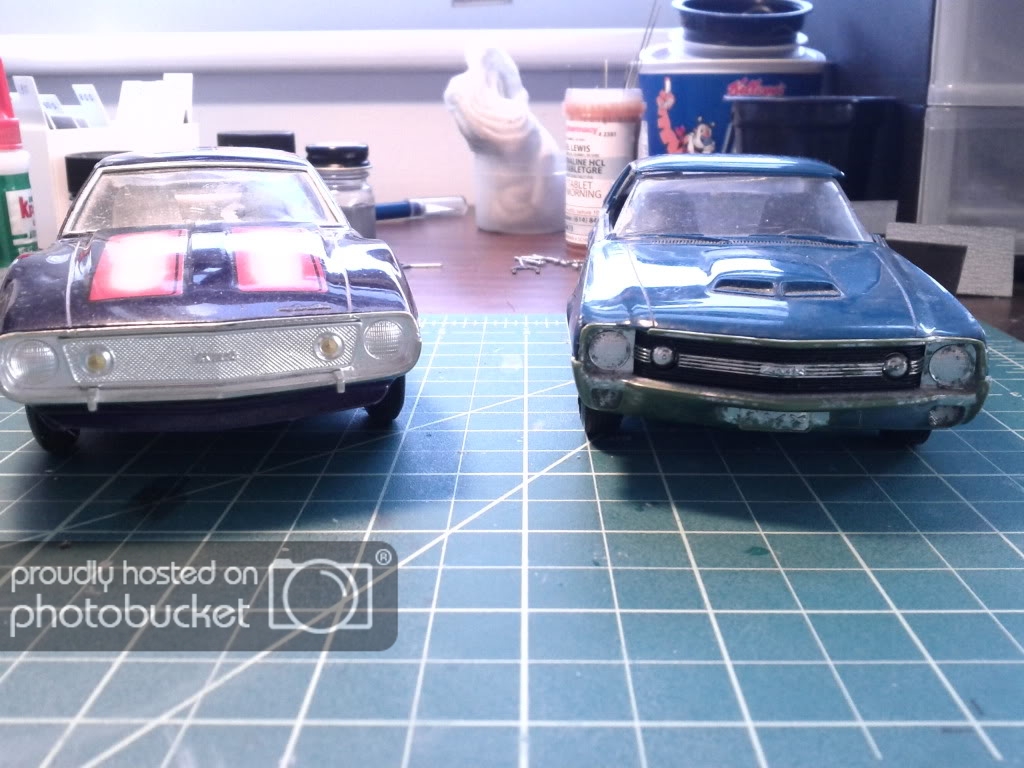
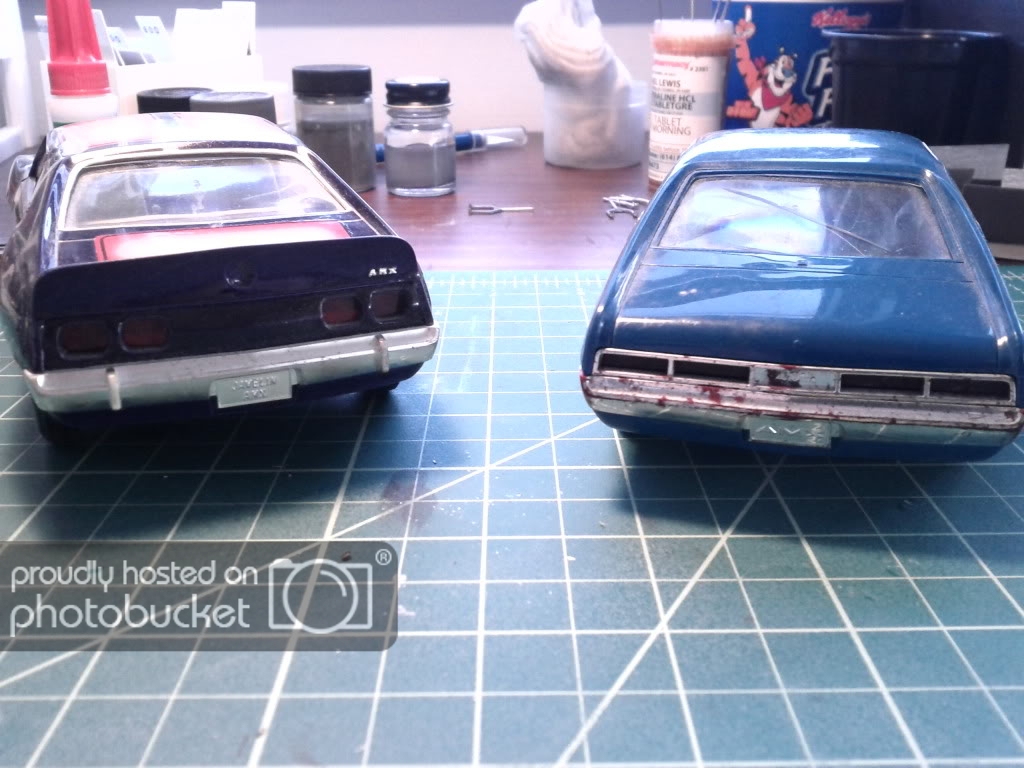
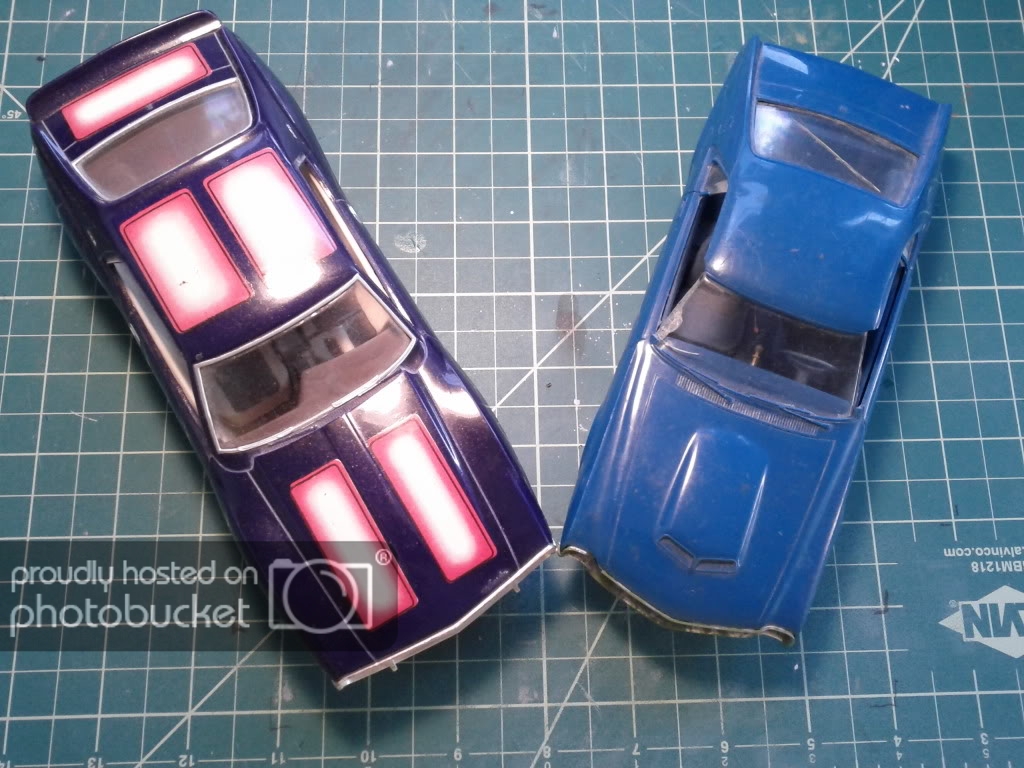
To start, here are a few "before" shots to give you an idea of what I'm working with. The purple is the one I'll be targeting in this build log here. Note: The blue car is actually modeled in that color so no paint stipping will be needed.

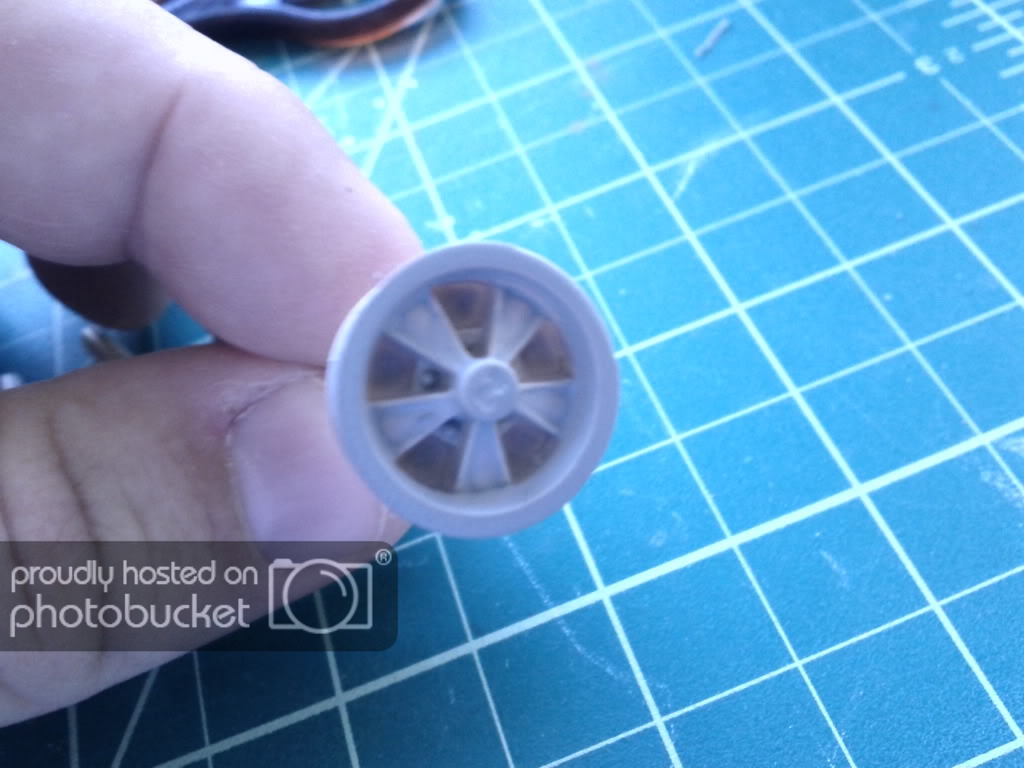
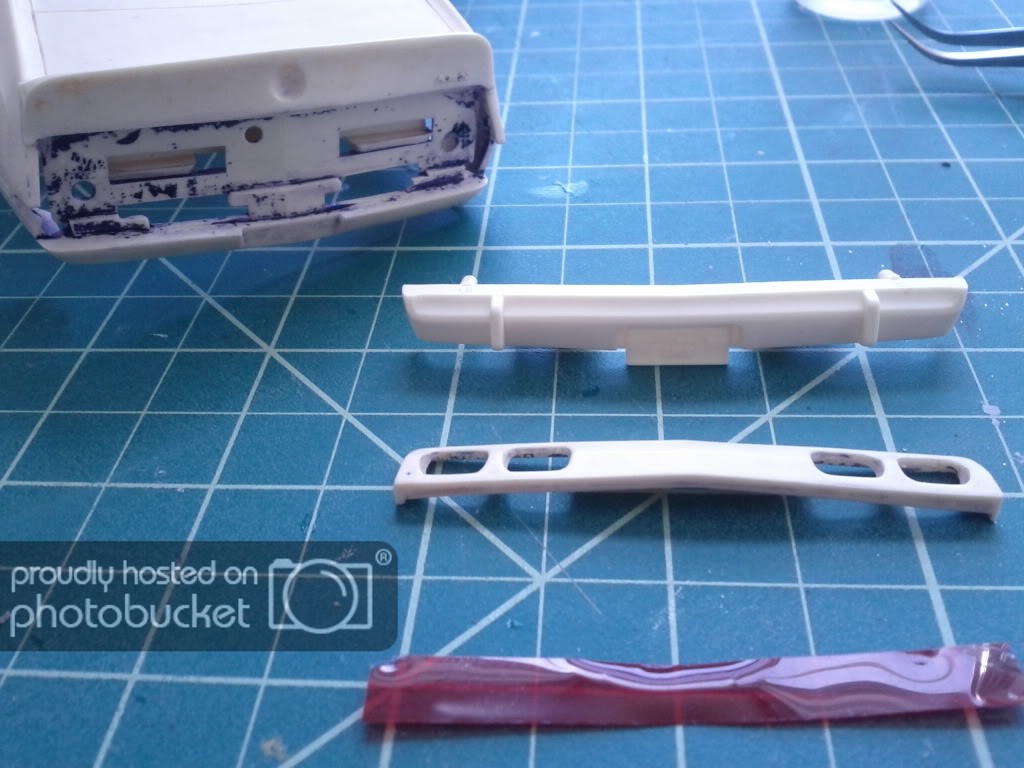
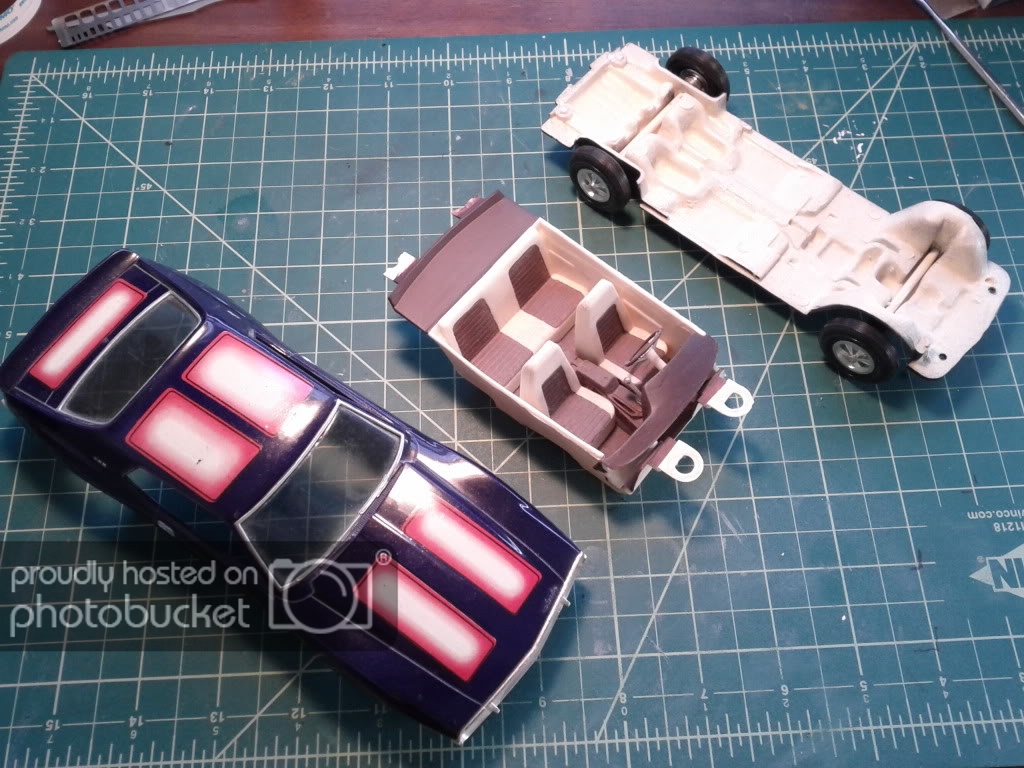
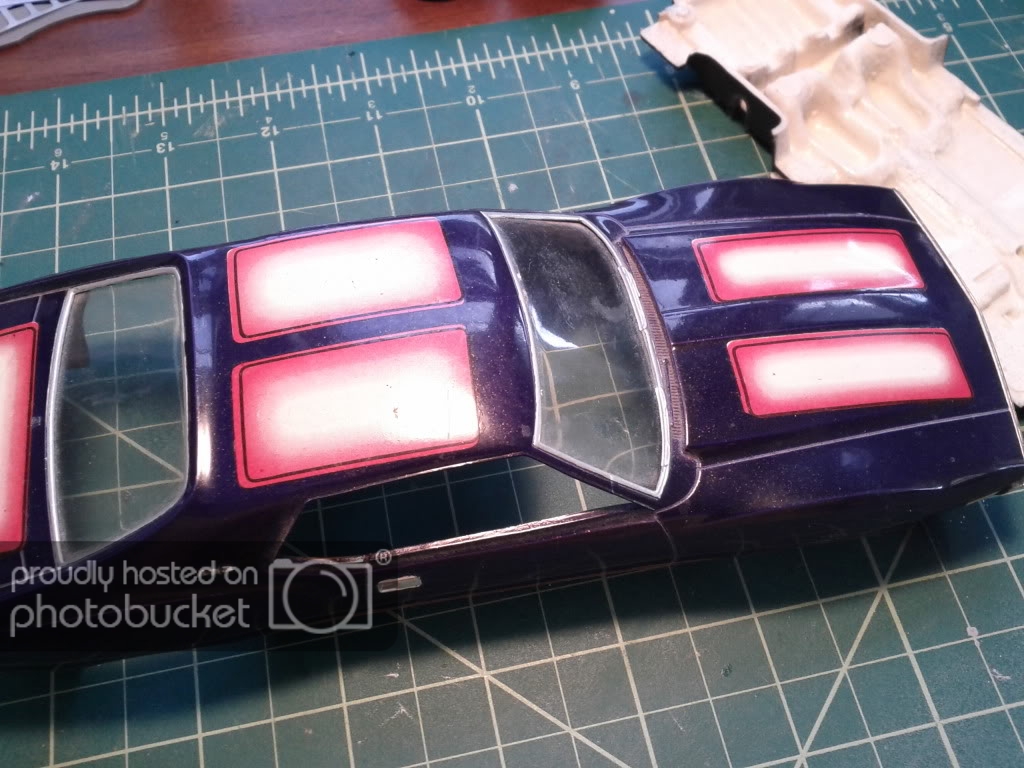
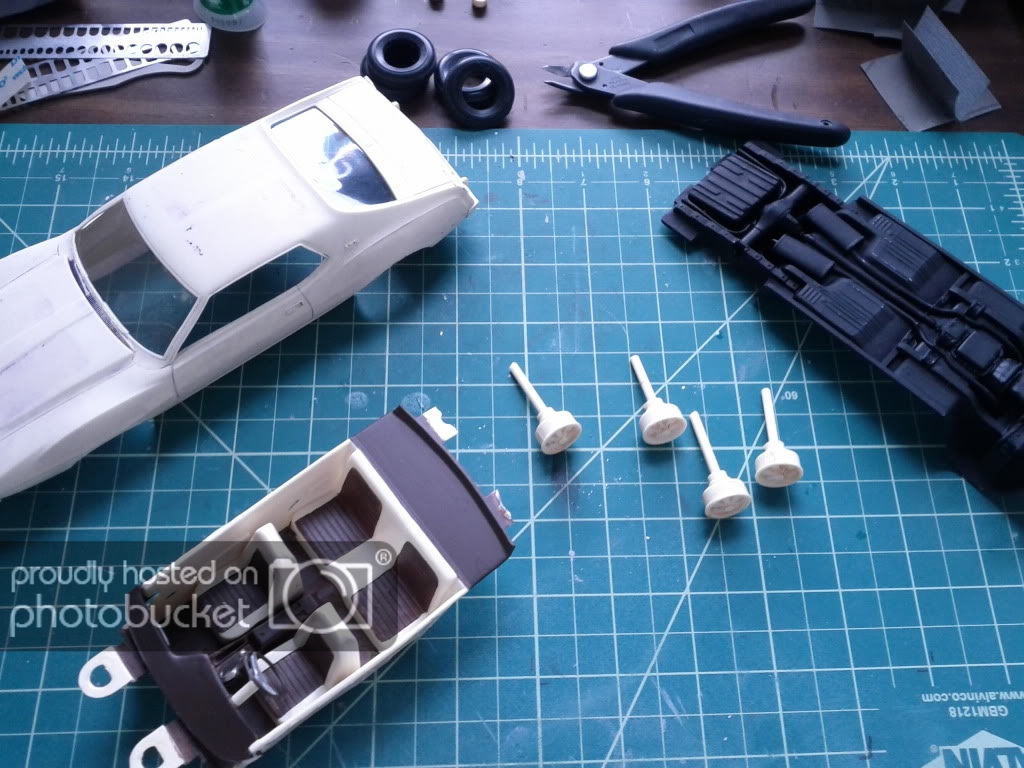
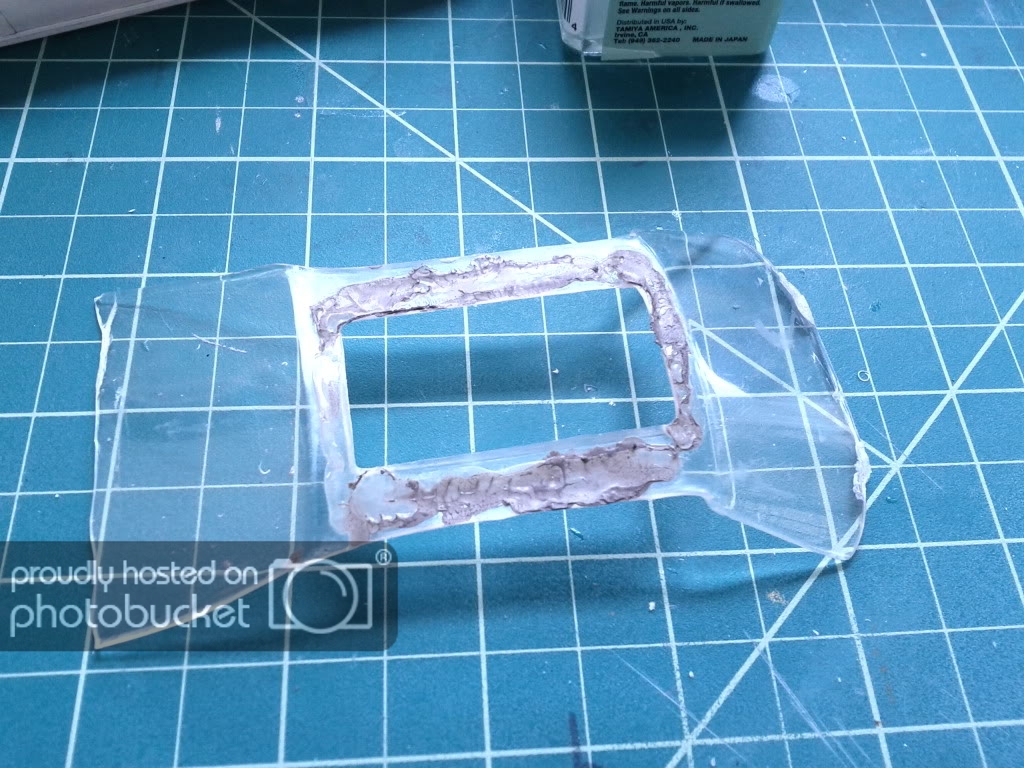
Here I've disassembled the kit. It is assembled in three body pieces, two axels, and the rims and tires. I had to cut the clear plastic out in order to refinish it, but the rest came off with little fuss and goes back together nicely.
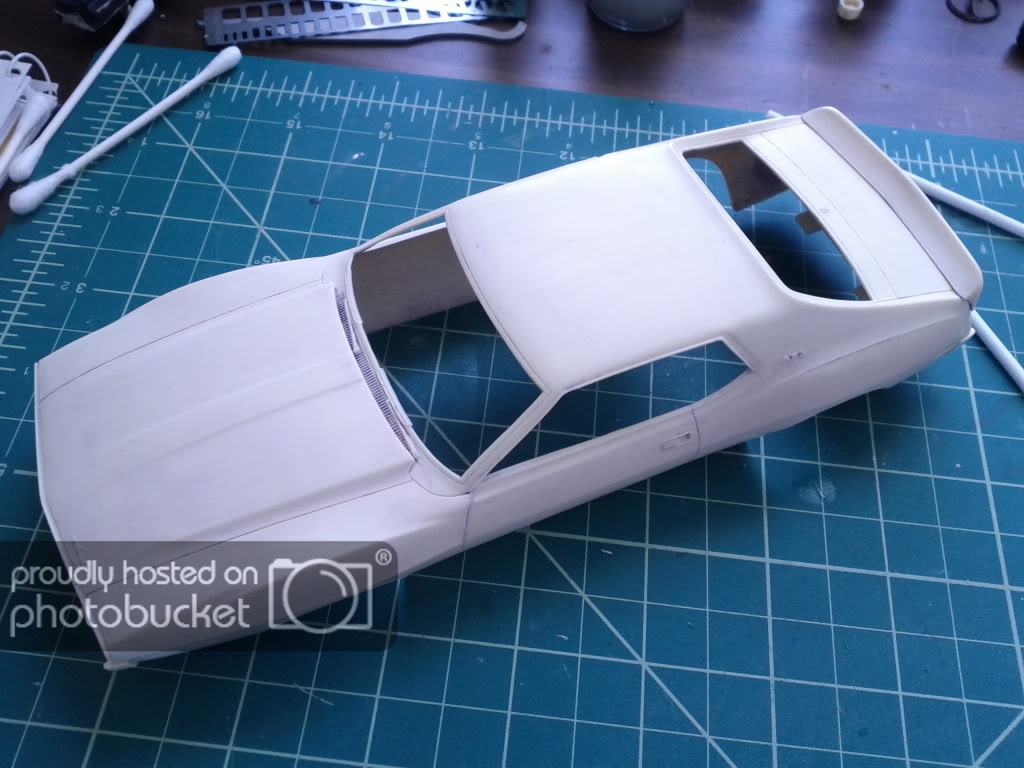
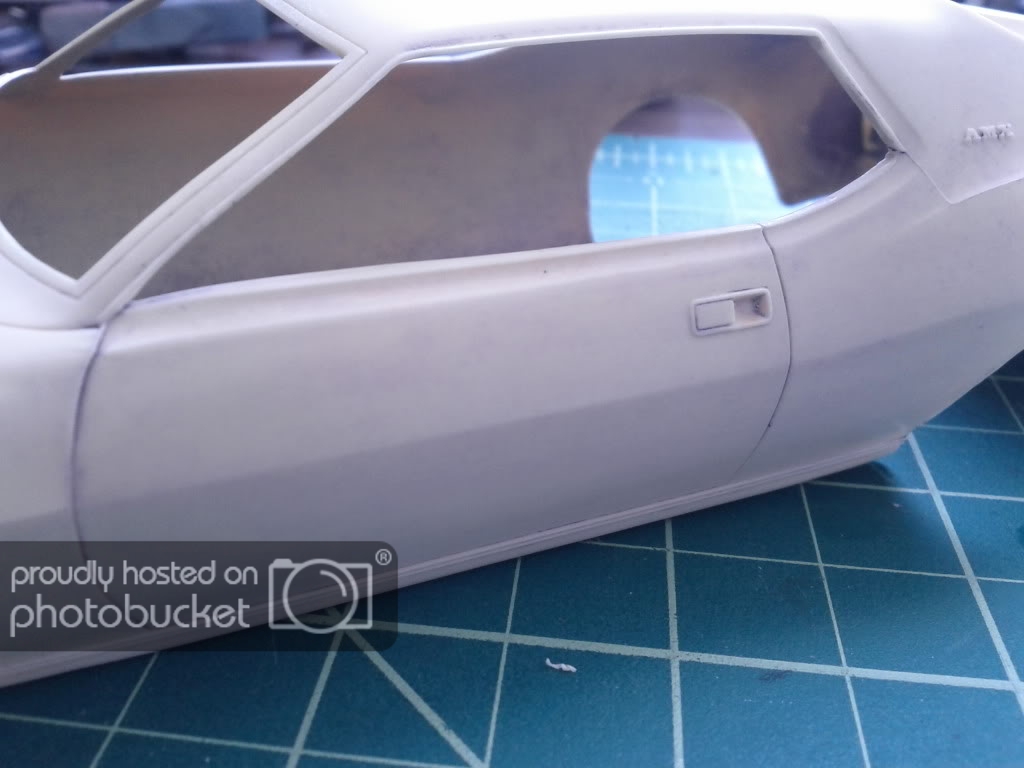
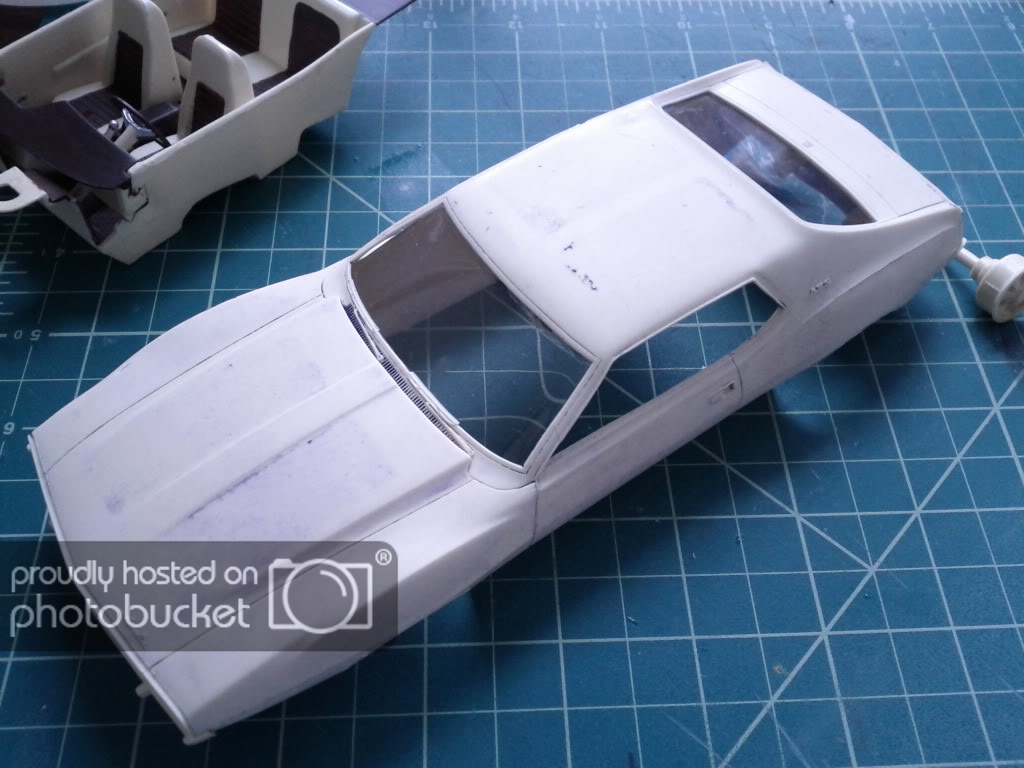
Got the paint stipped off with a good soak of Super Clean degreaser. Stuff really is awesome (TIP: When stipping the paint, soak for 10 mins, brush off the top coats, and soak for another 20 mins. The paints will literally wash off.)
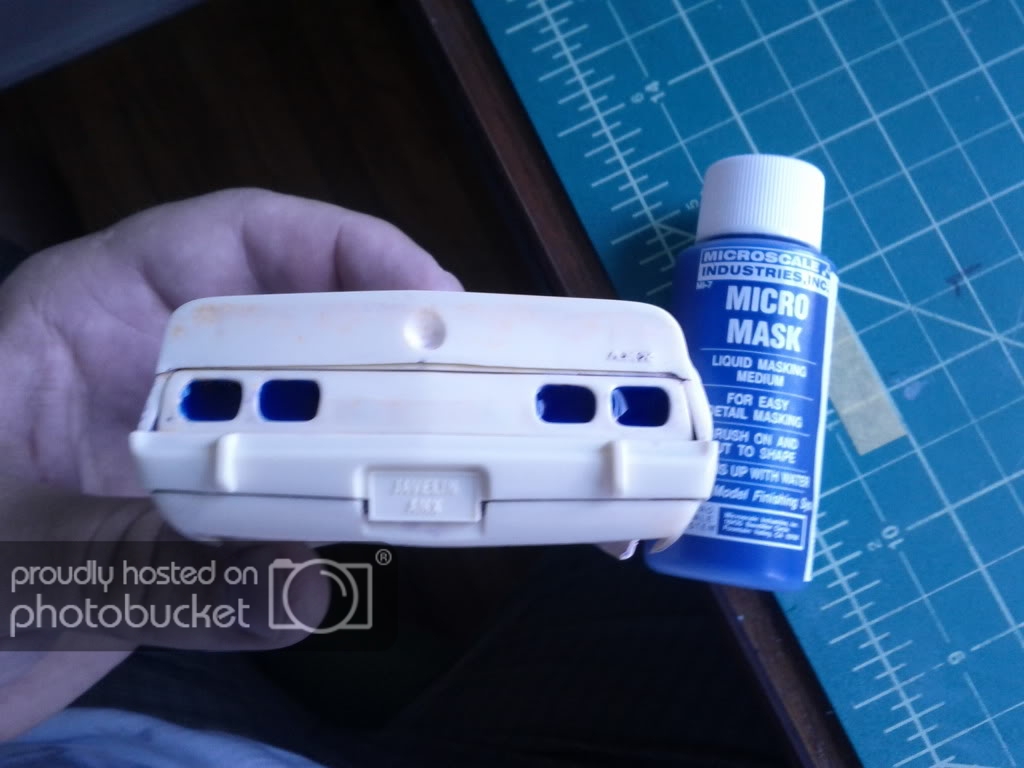
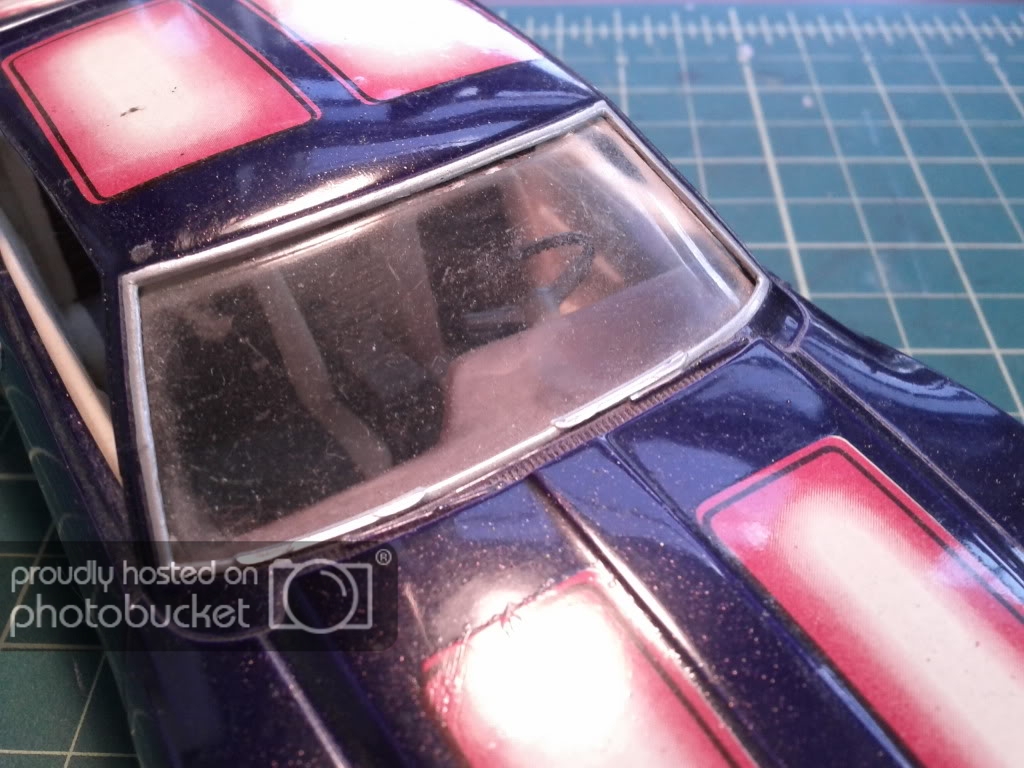
I then began work on the clear parts.
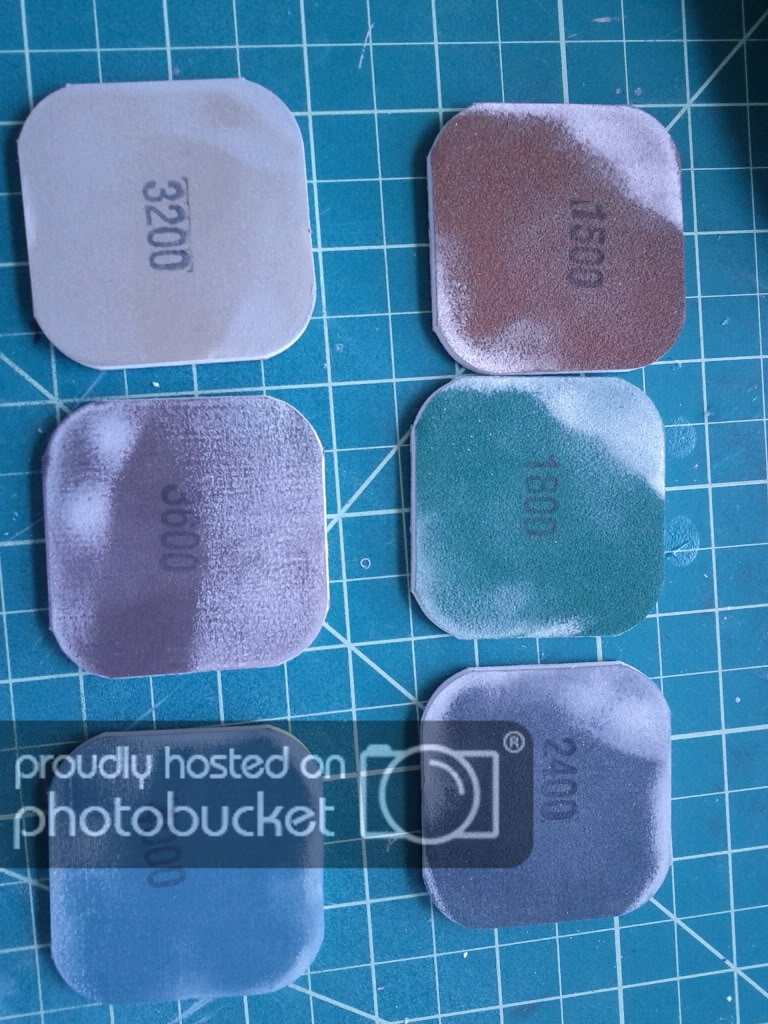
I started sanding with 1500 grit Tamiya papers, then moved to 2000 grit
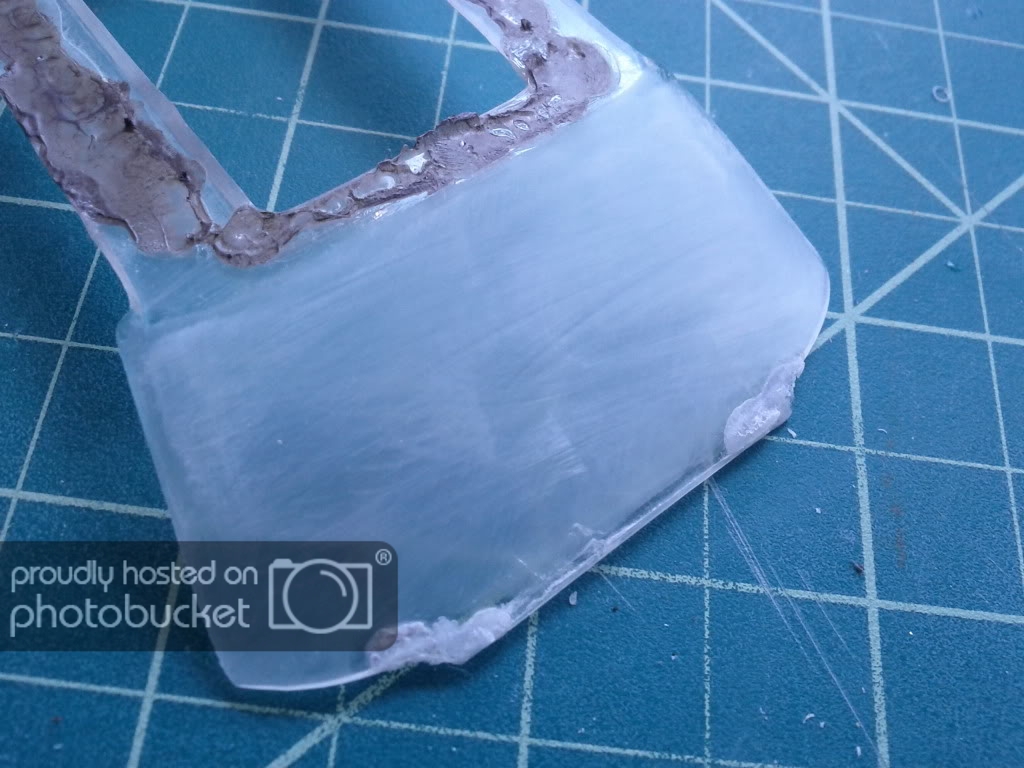
It's nice and cloudy for now, but not for long
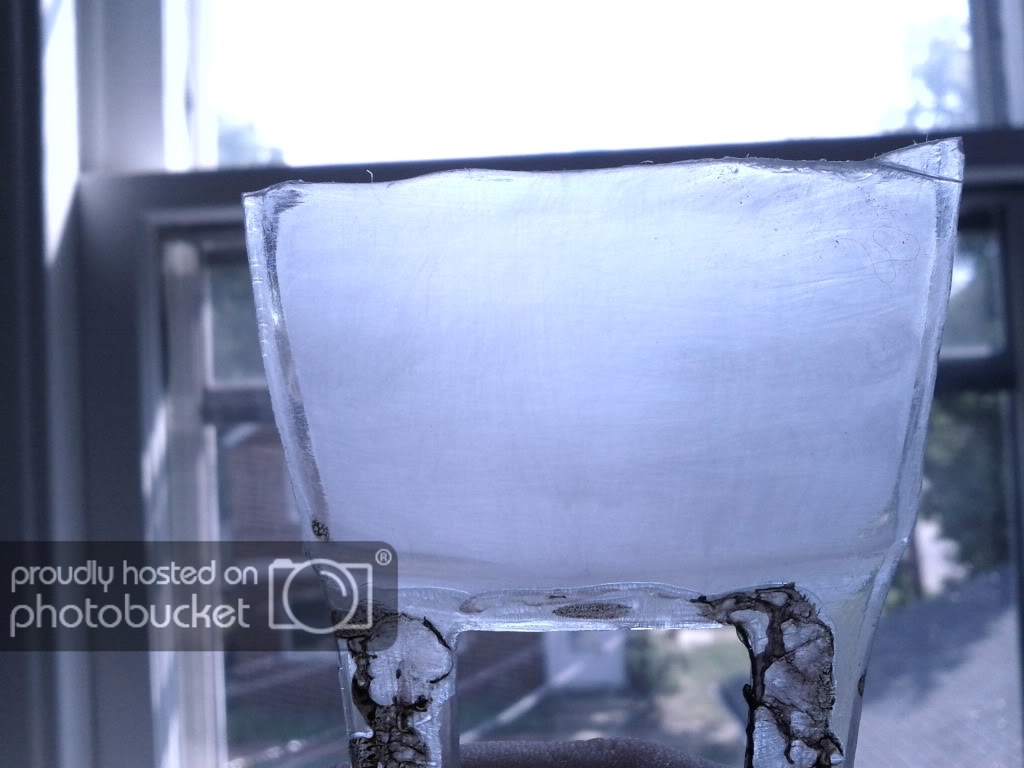
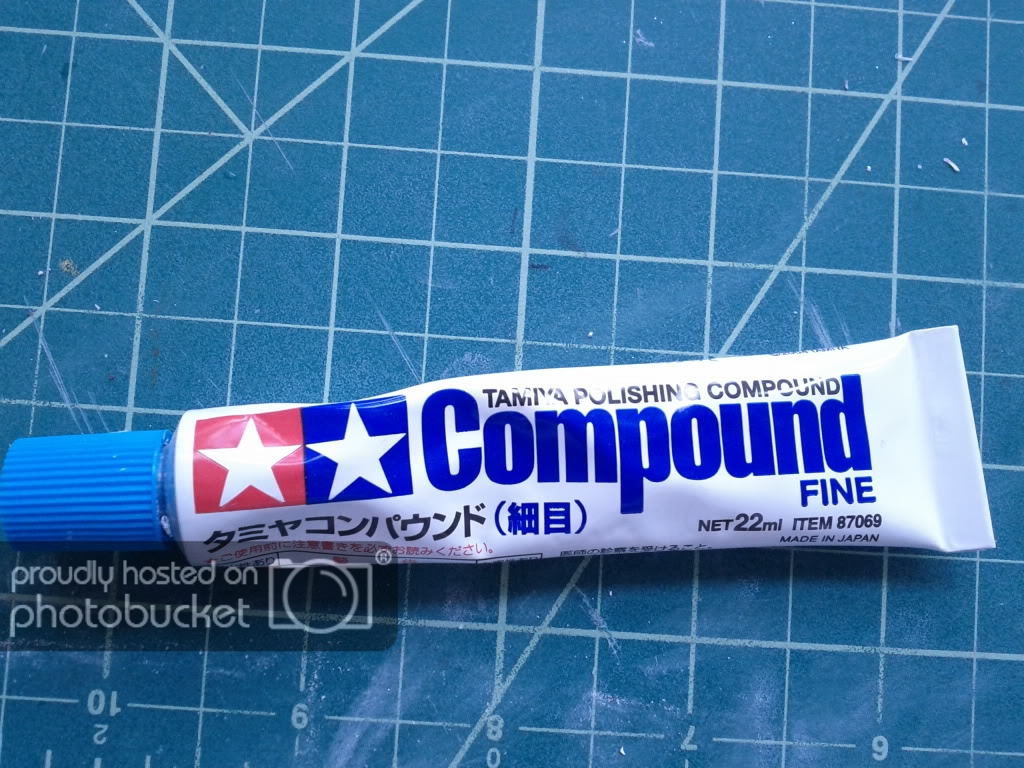
After going through the sanding sponges, finishing with Tamiya polishing compound...,
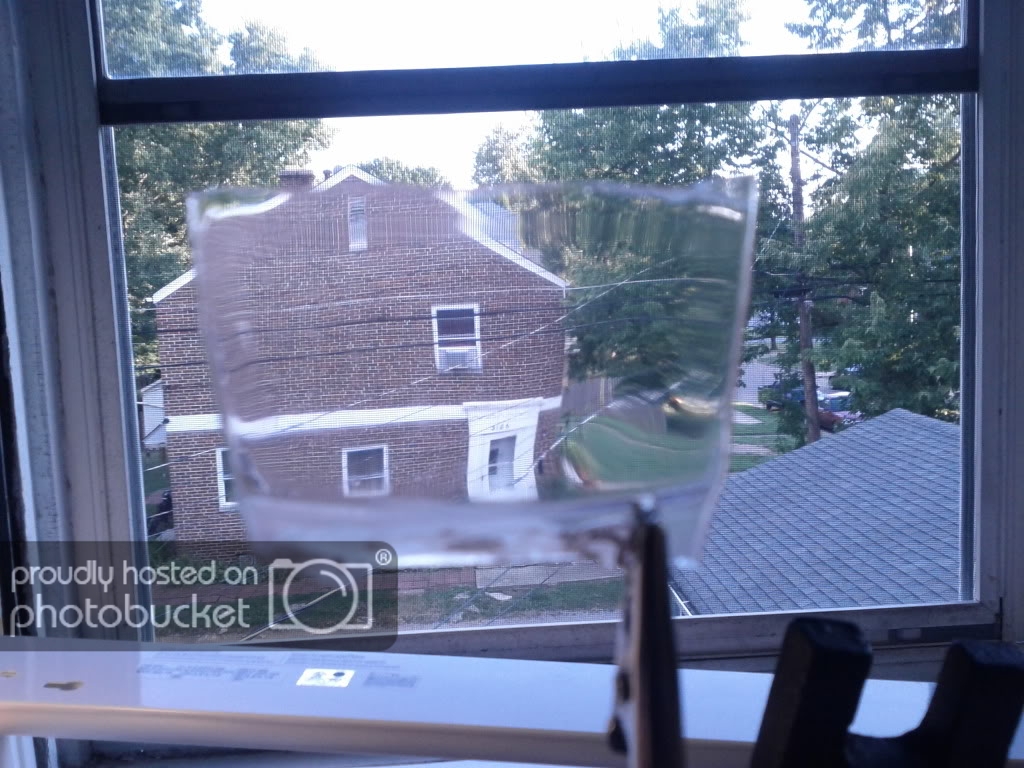
...then a quick dip in Future Clear and VIOLA!
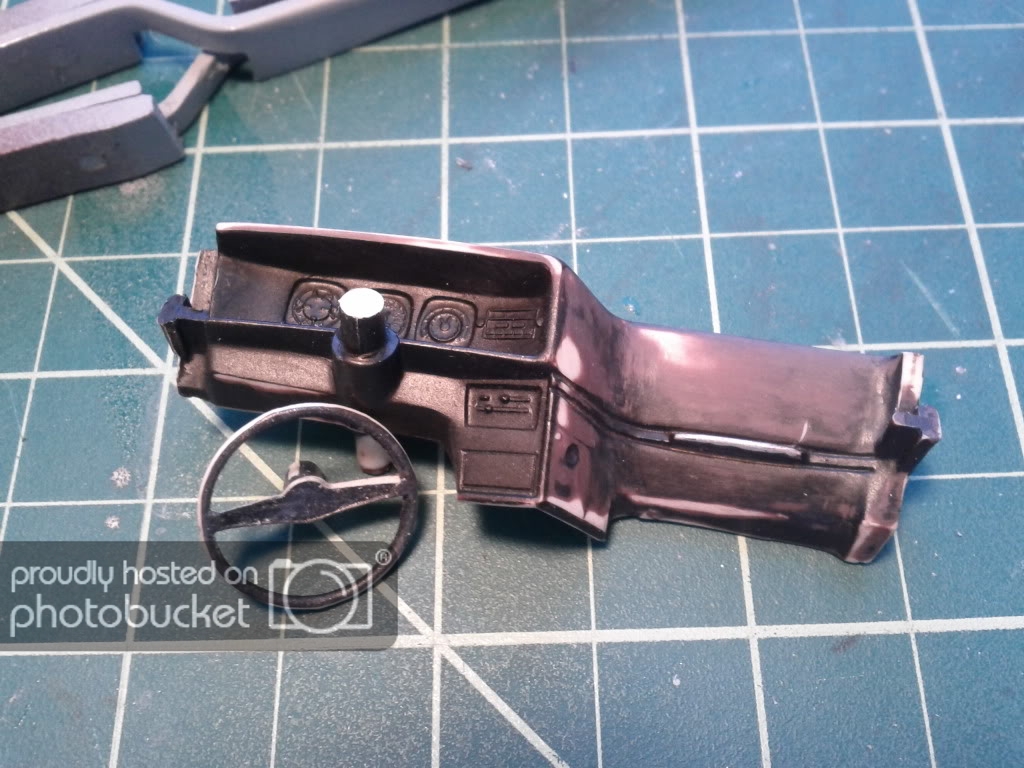
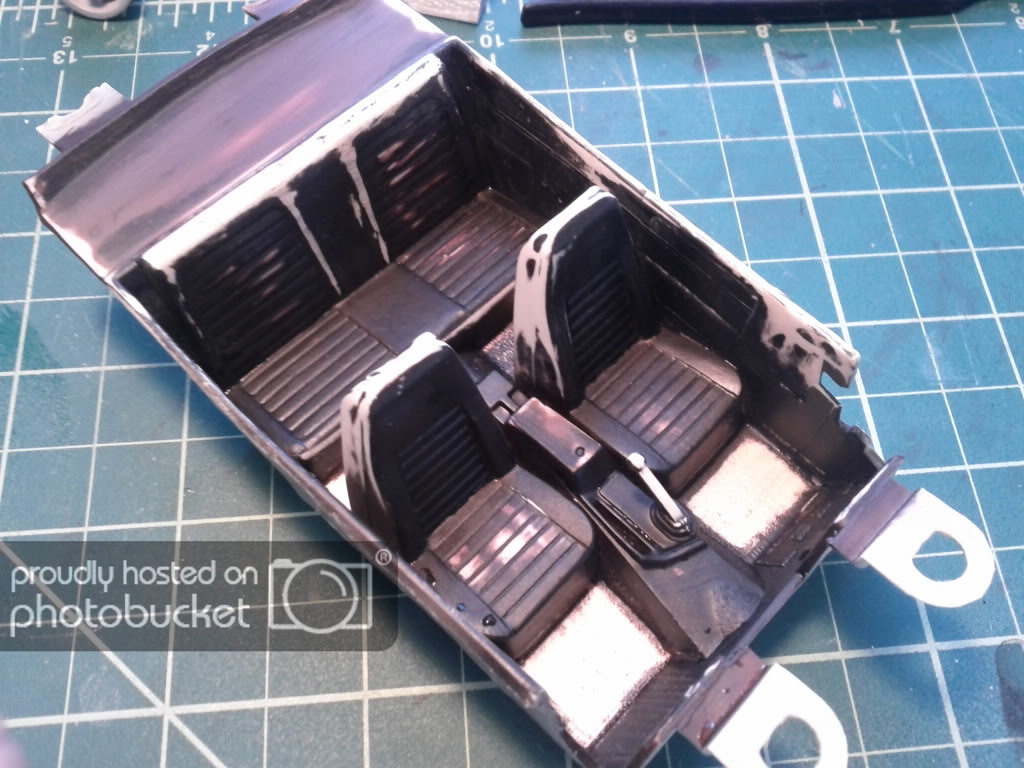
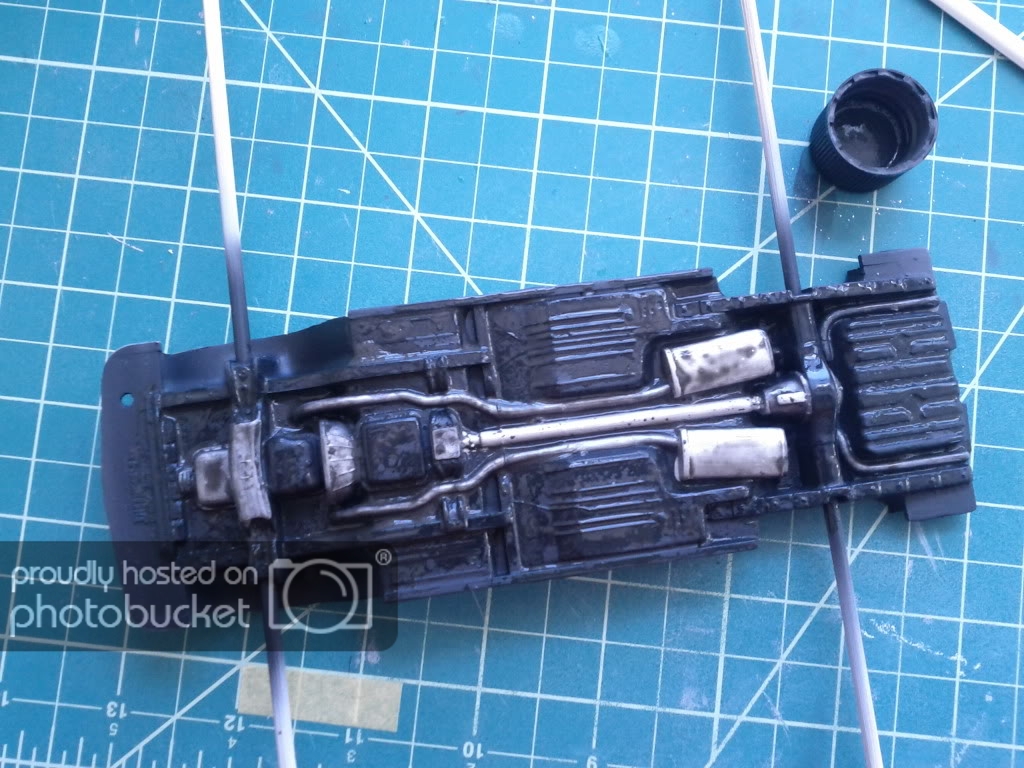
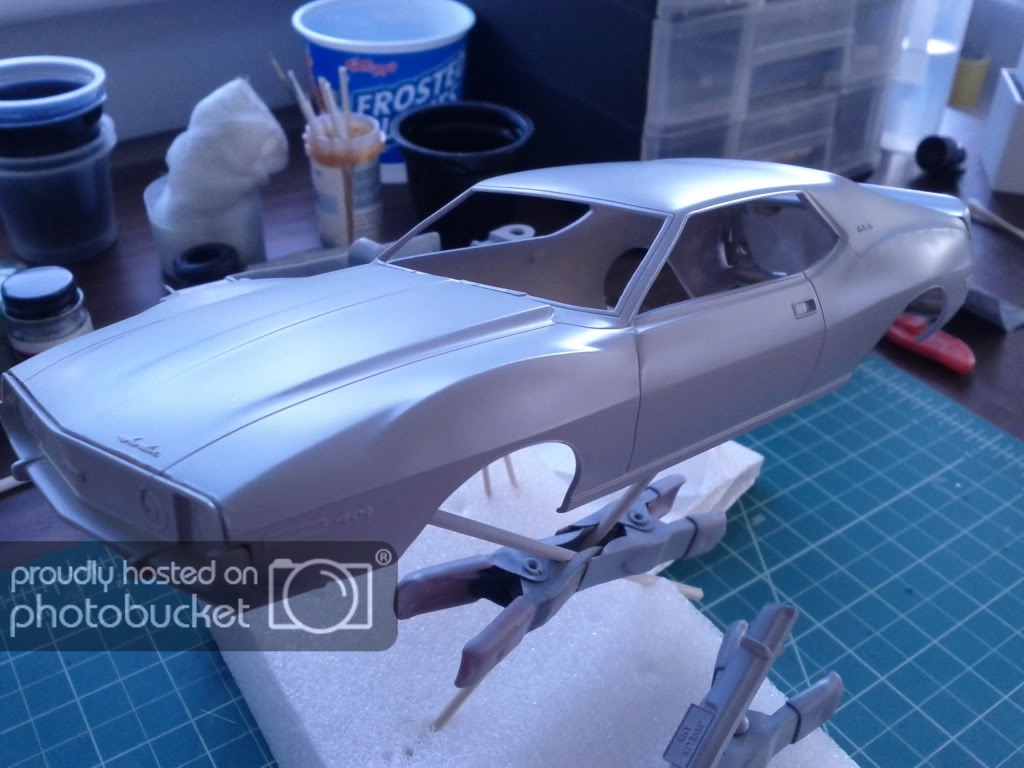
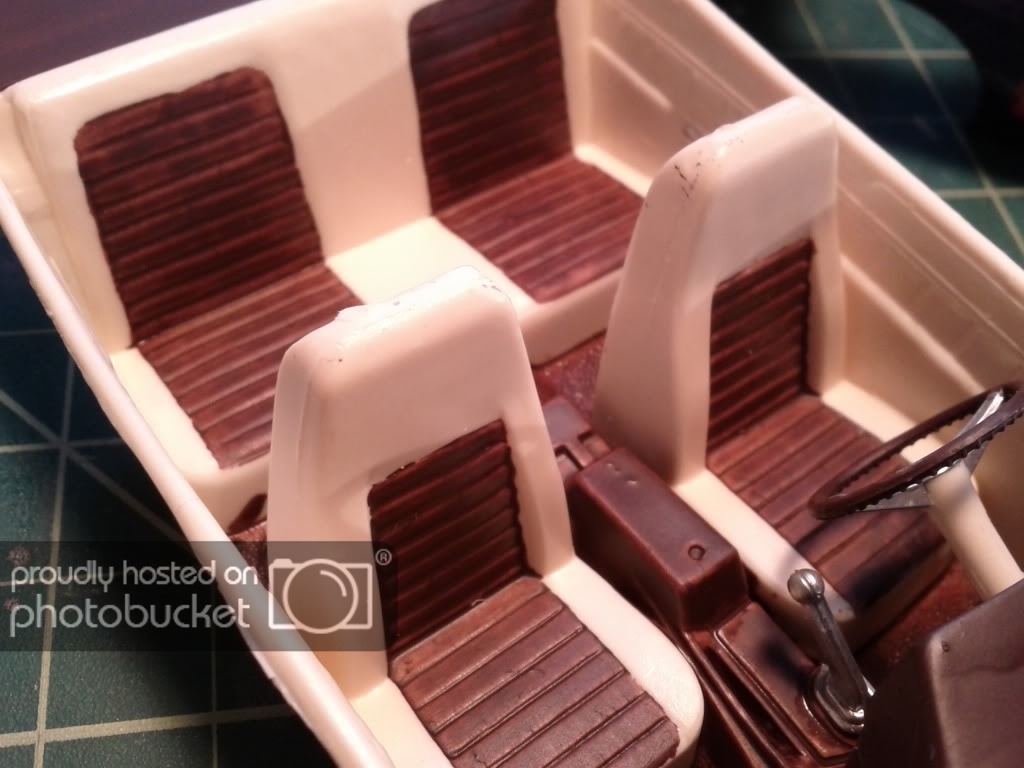
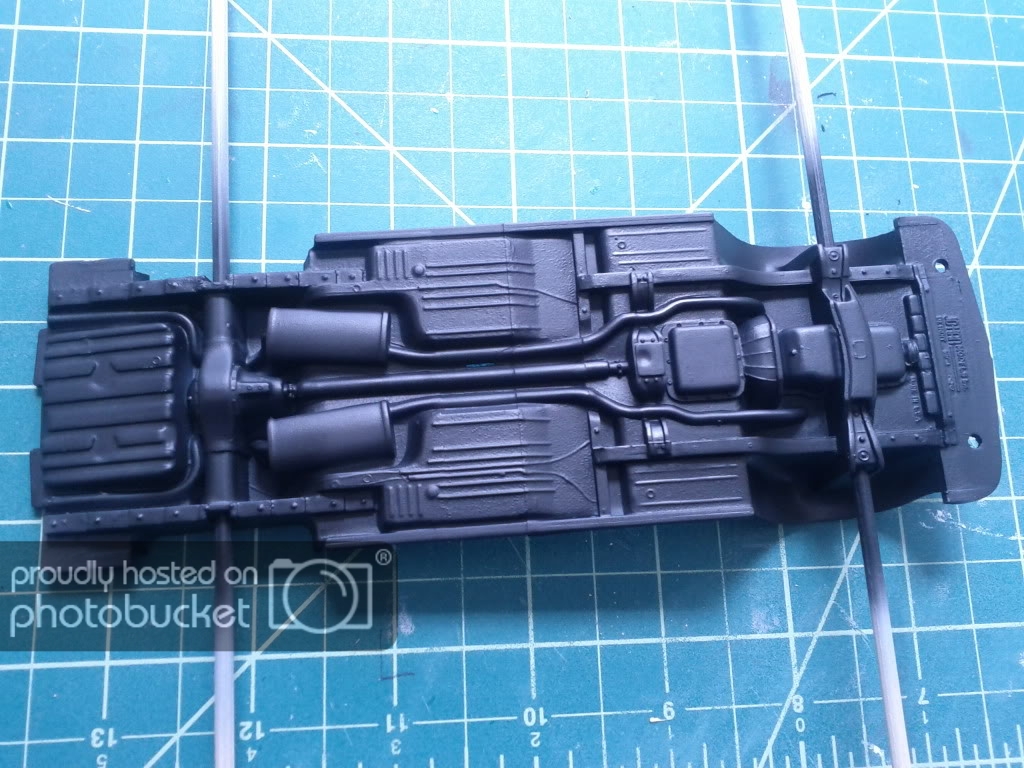
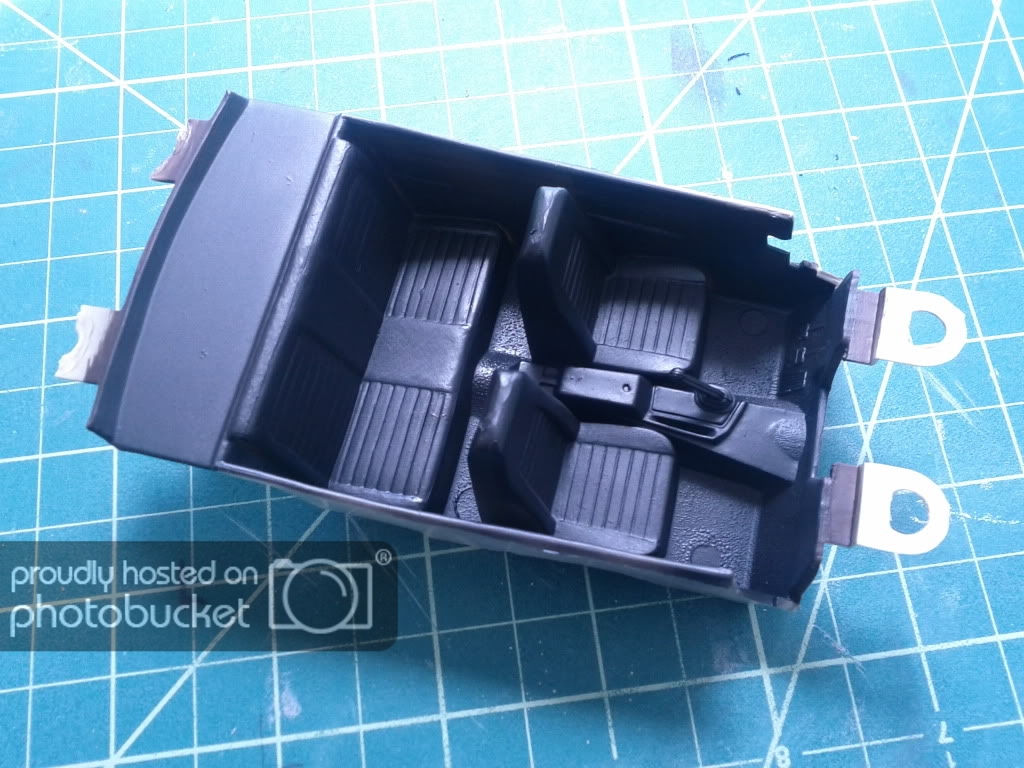
Finally to finish up the day I completed the priming and base painting of the interior piece and bottom of the car.
And now I'm off to ice my fingers that I stubbed. Can you guess which ones?
Next up will be the cleanup of the interior plastic. Smooth out the surfaces and get rid of those seam lines and nasty ejection marks.
If you have any suggestions or tips, I'm all ears. Autos are definately not my expertise, but I'm very confident and comfortable enough in my skillz to make this a really nice car.
This is my first car kit that I've touched since I was about 10, and I'm looking forward to cleaning it up and giving it a proper paint job and duplicate the finish he has on his actual car.
To start, here are a few "before" shots to give you an idea of what I'm working with. The purple is the one I'll be targeting in this build log here. Note: The blue car is actually modeled in that color so no paint stipping will be needed.
Here I've disassembled the kit. It is assembled in three body pieces, two axels, and the rims and tires. I had to cut the clear plastic out in order to refinish it, but the rest came off with little fuss and goes back together nicely.
Got the paint stipped off with a good soak of Super Clean degreaser. Stuff really is awesome (TIP: When stipping the paint, soak for 10 mins, brush off the top coats, and soak for another 20 mins. The paints will literally wash off.)
I then began work on the clear parts.
I started sanding with 1500 grit Tamiya papers, then moved to 2000 grit
It's nice and cloudy for now, but not for long
After going through the sanding sponges, finishing with Tamiya polishing compound...,
...then a quick dip in Future Clear and VIOLA!
Finally to finish up the day I completed the priming and base painting of the interior piece and bottom of the car.
And now I'm off to ice my fingers that I stubbed. Can you guess which ones?
Next up will be the cleanup of the interior plastic. Smooth out the surfaces and get rid of those seam lines and nasty ejection marks.
If you have any suggestions or tips, I'm all ears. Autos are definately not my expertise, but I'm very confident and comfortable enough in my skillz to make this a really nice car.
") Hope the Fing Fings feel better soon! :-X
Hope the Fing Fings feel better soon! :-X