1/35 Tamiya MARDER III in a street scene.

Scale Model Addict - Model Tips, Guides, Tools & Tech, Tutorials, and Community

Help Support Scale Model Addict:

. I'm glad we all moved here.
Yes me too and as time goes on more will be moving here as well.

I might work on it today I have lots of Farm work to do. Please enjoy your time with your grand son hope in a couple years I'll have a few. Oh don't burn your house down lol.
 
Yes me too and as time goes on more will be moving here as well.

I might work on it today I have lots of Farm work to do. Please enjoy your time with your grand son hope in a couple years I'll have a few. Oh don't burn your house down lol.
I shall try not too ;)
 
Having our eldest grandson and his lovely partner stay with us for three days caused little to be done in the cave, but today they left to see her Aunt in London and then work their wayhome to Torquay .

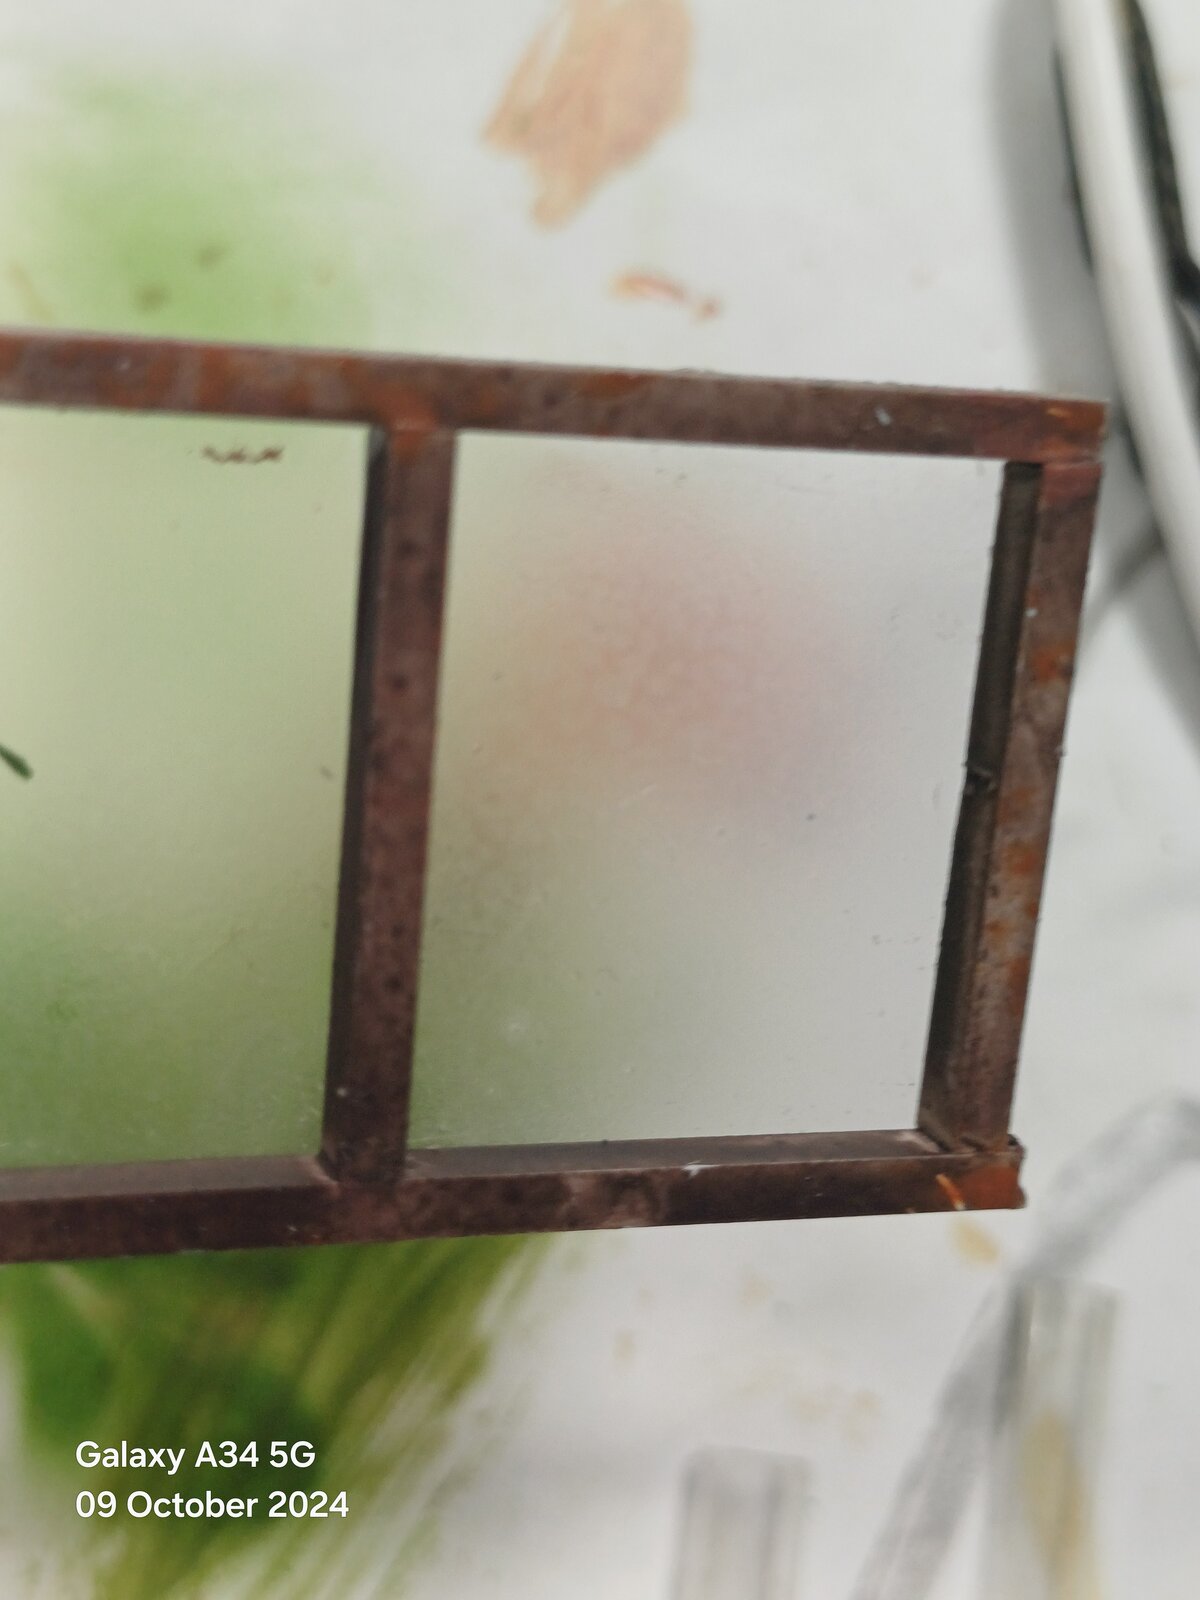
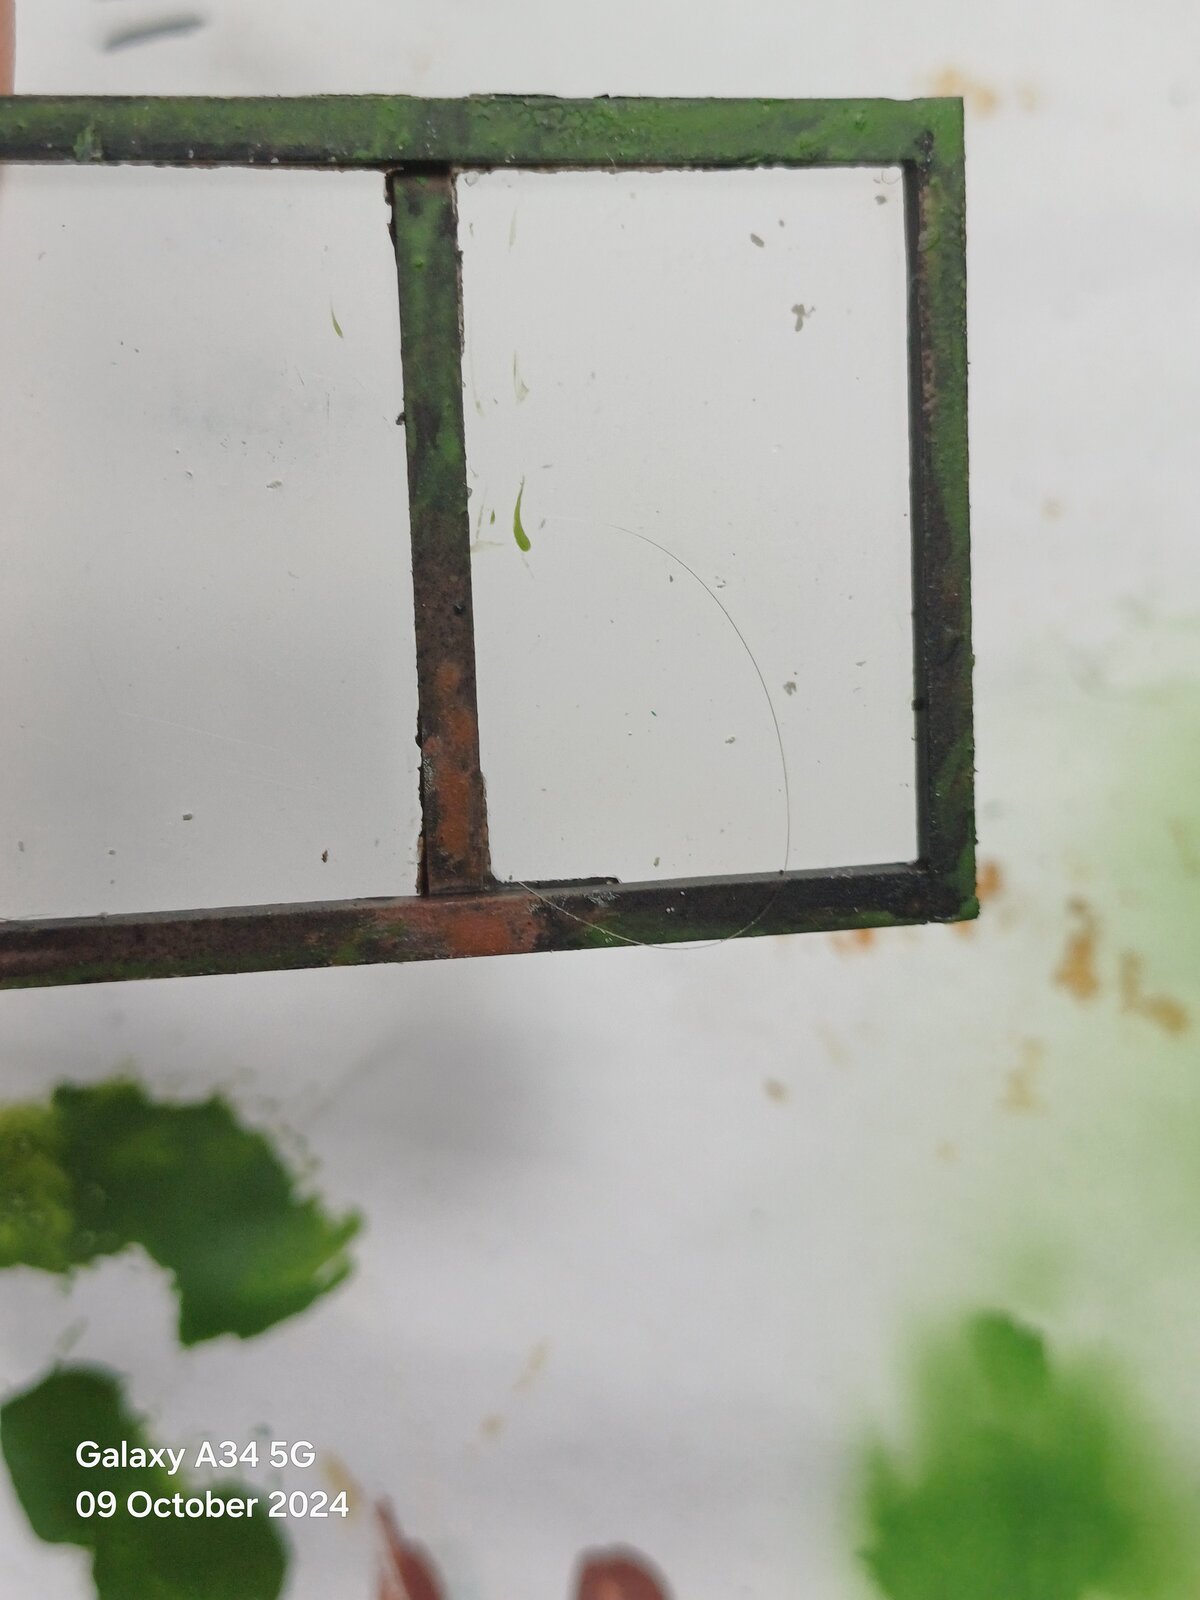
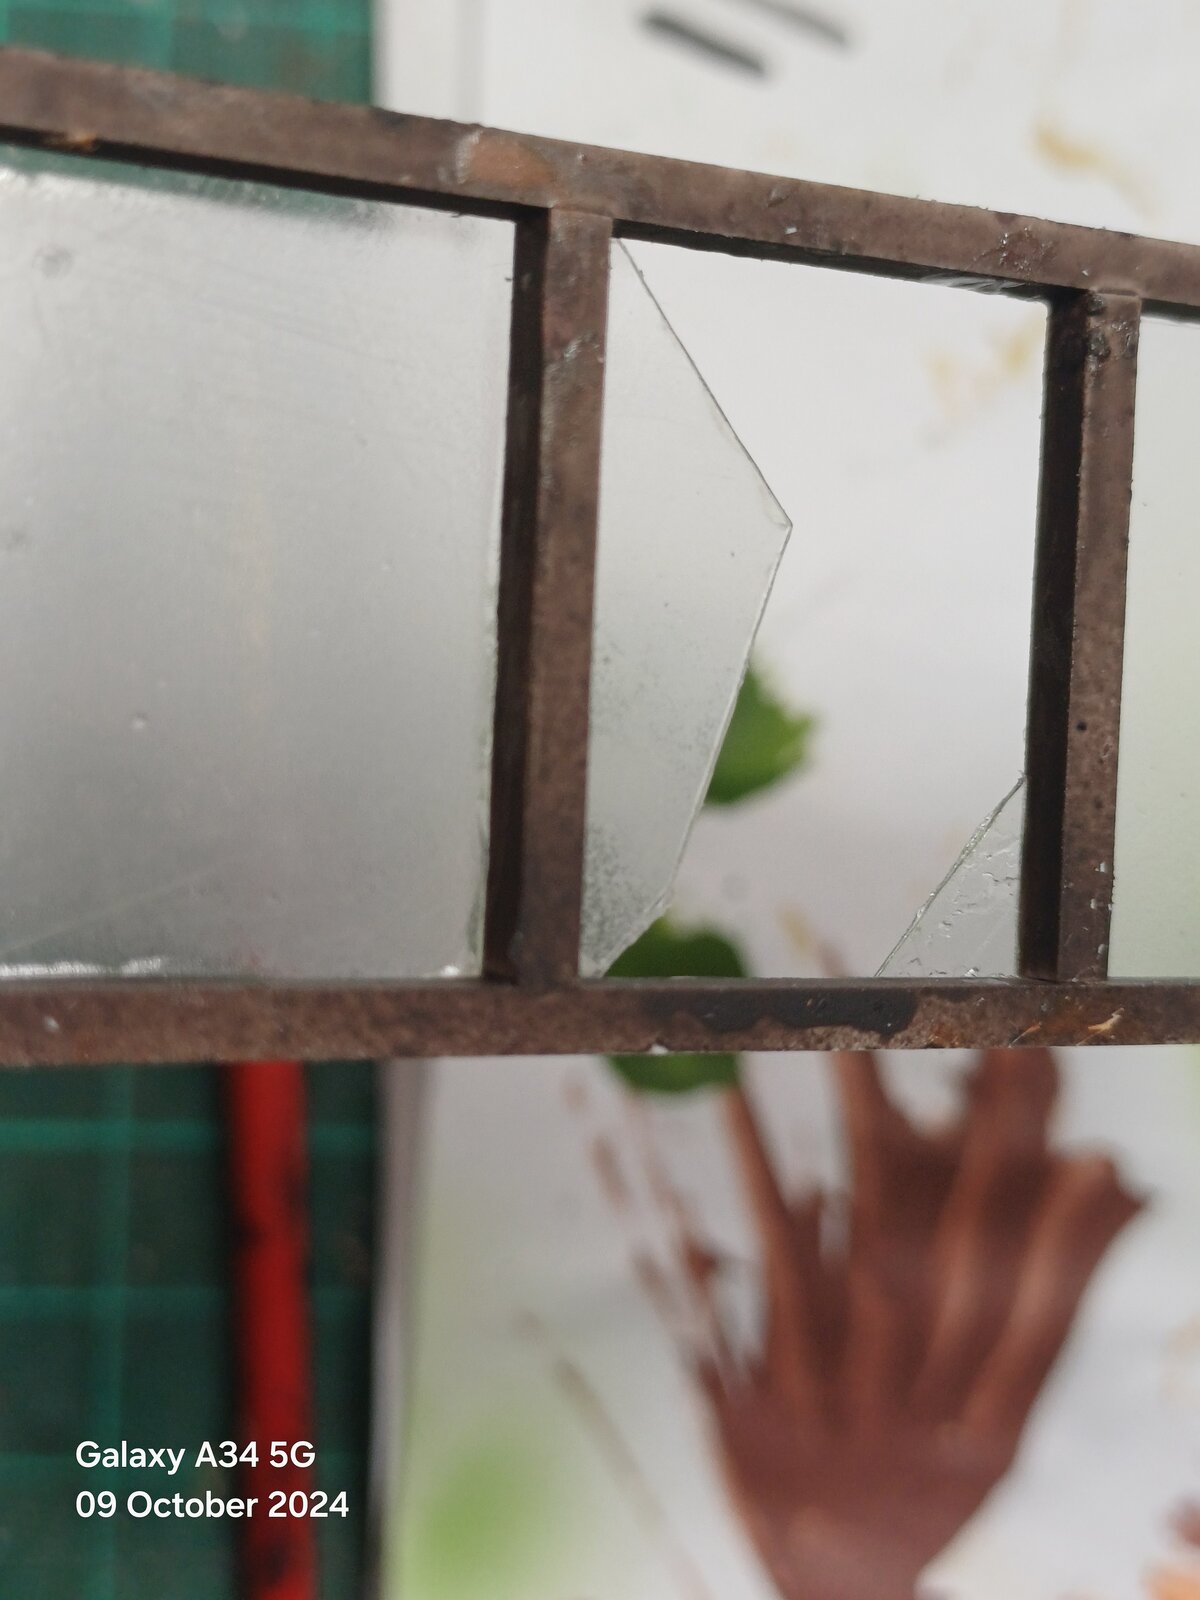
Up date , windows have been made and painted and film glued to the rear. Then a front spray with matt varnish,once dry he backs were given a wash cost of black. Gives the impression of years of grime on the glass .
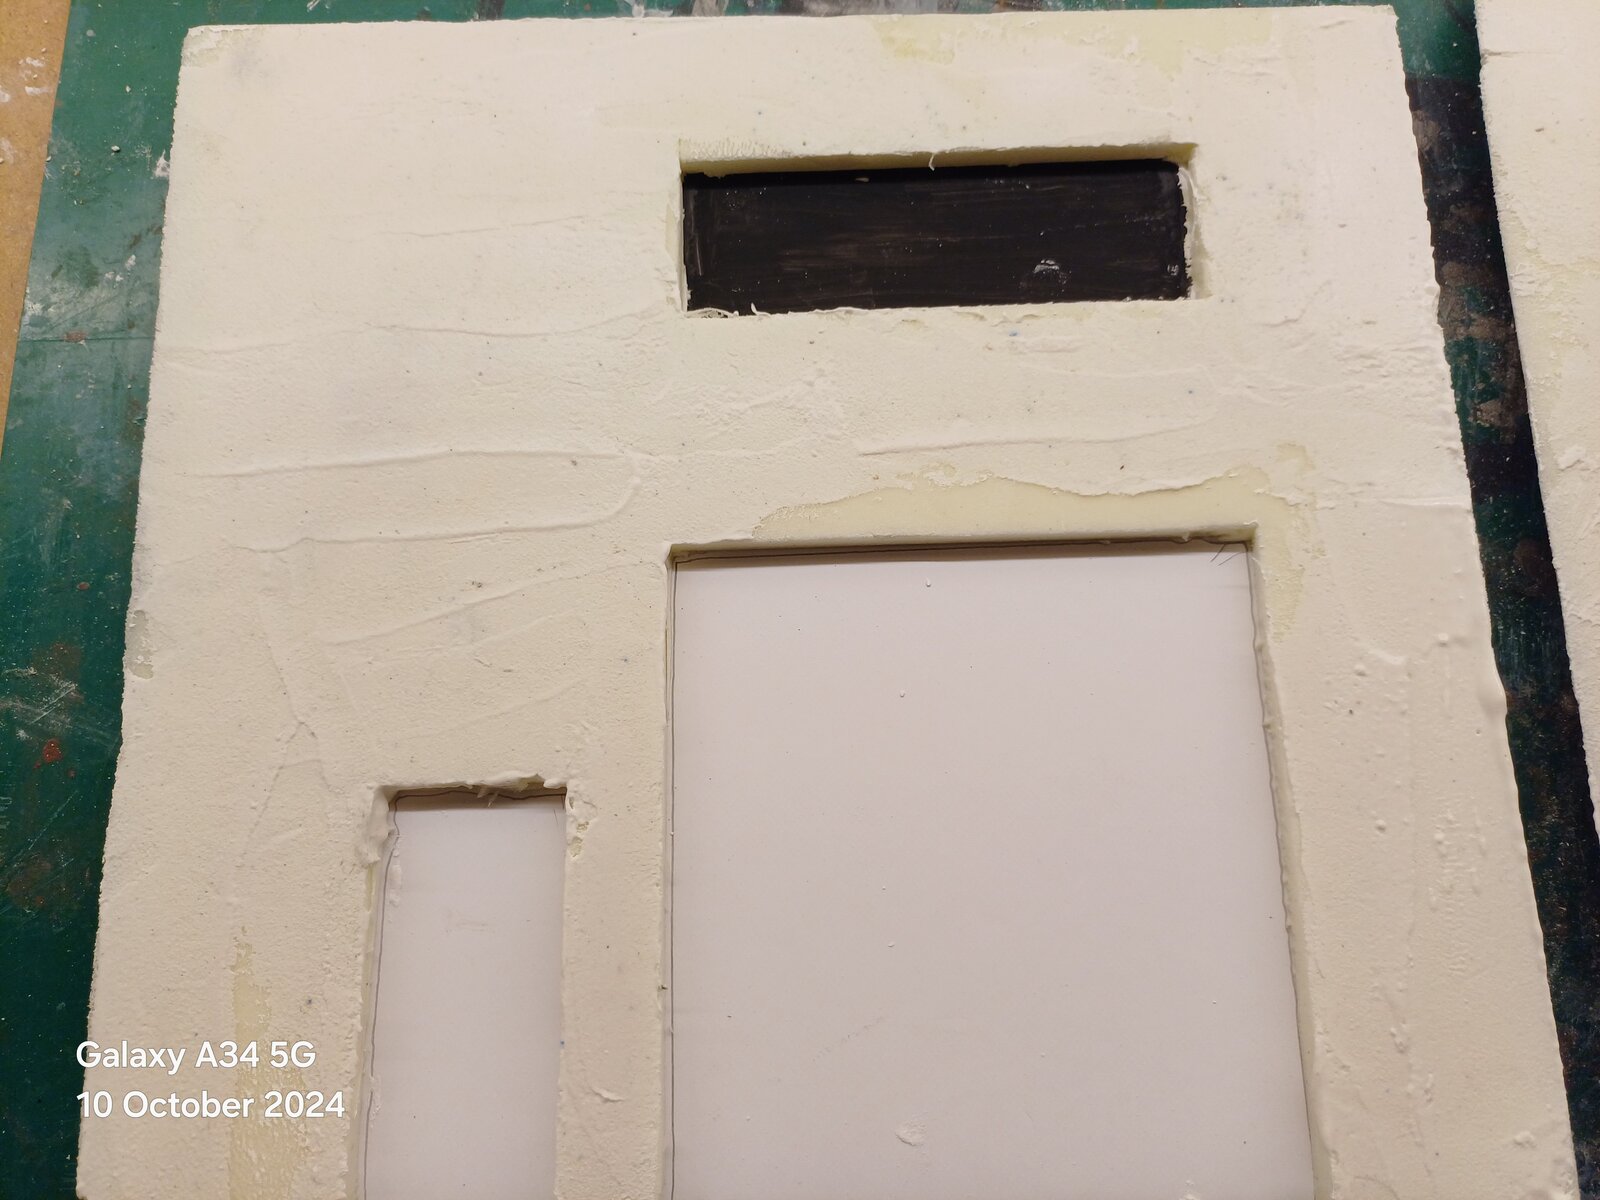
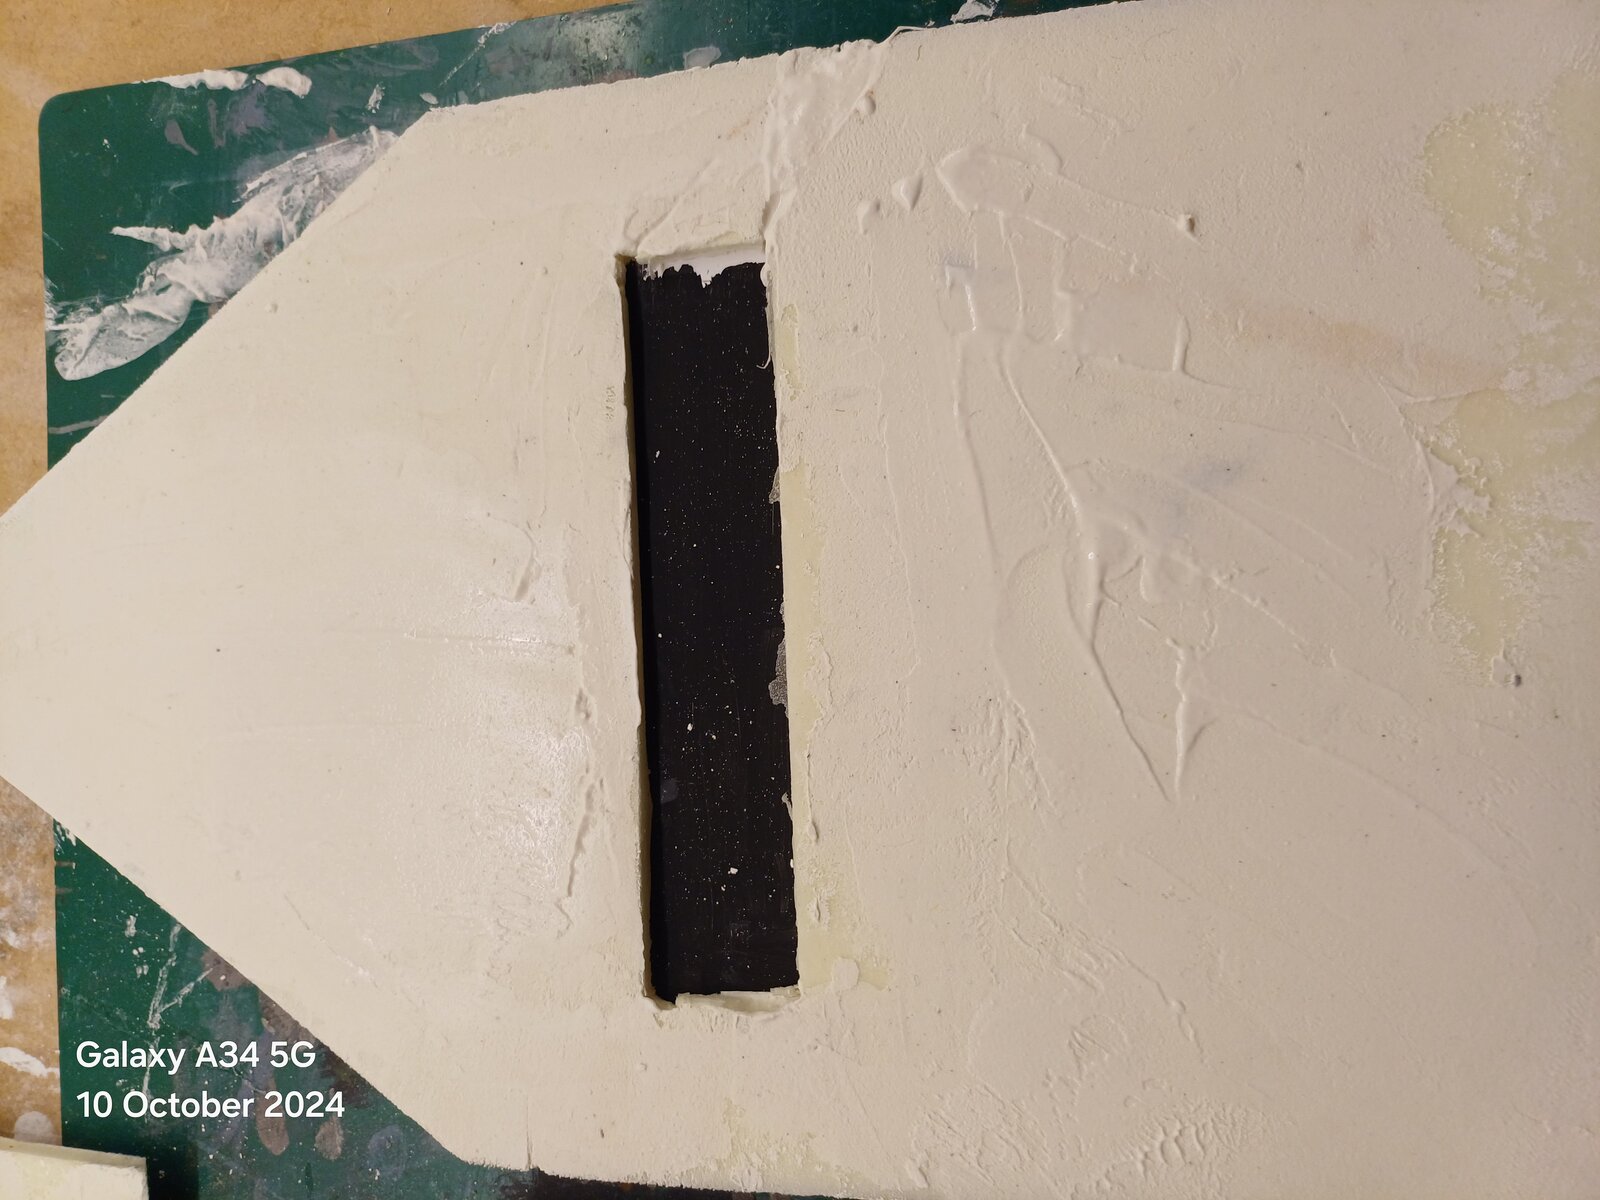
Form board has been marked and cut , window and door openings done .

To morrow I hope to get the backing boards glued on ,then apply the plaster filler to the foam board.
Photos will be posted tomorrow.Promise
 
Hello maaaaaaate! I have just put these tracks together for my latest project. They were the easiest metal tracks I have ever done. I was very impressed. Great build my friend and lovely work on the cobblestones.
 
As an Amazon Associate we earn from qualifying purchases. Product prices and availability are accurate as of the date/time indicated and are subject to change.
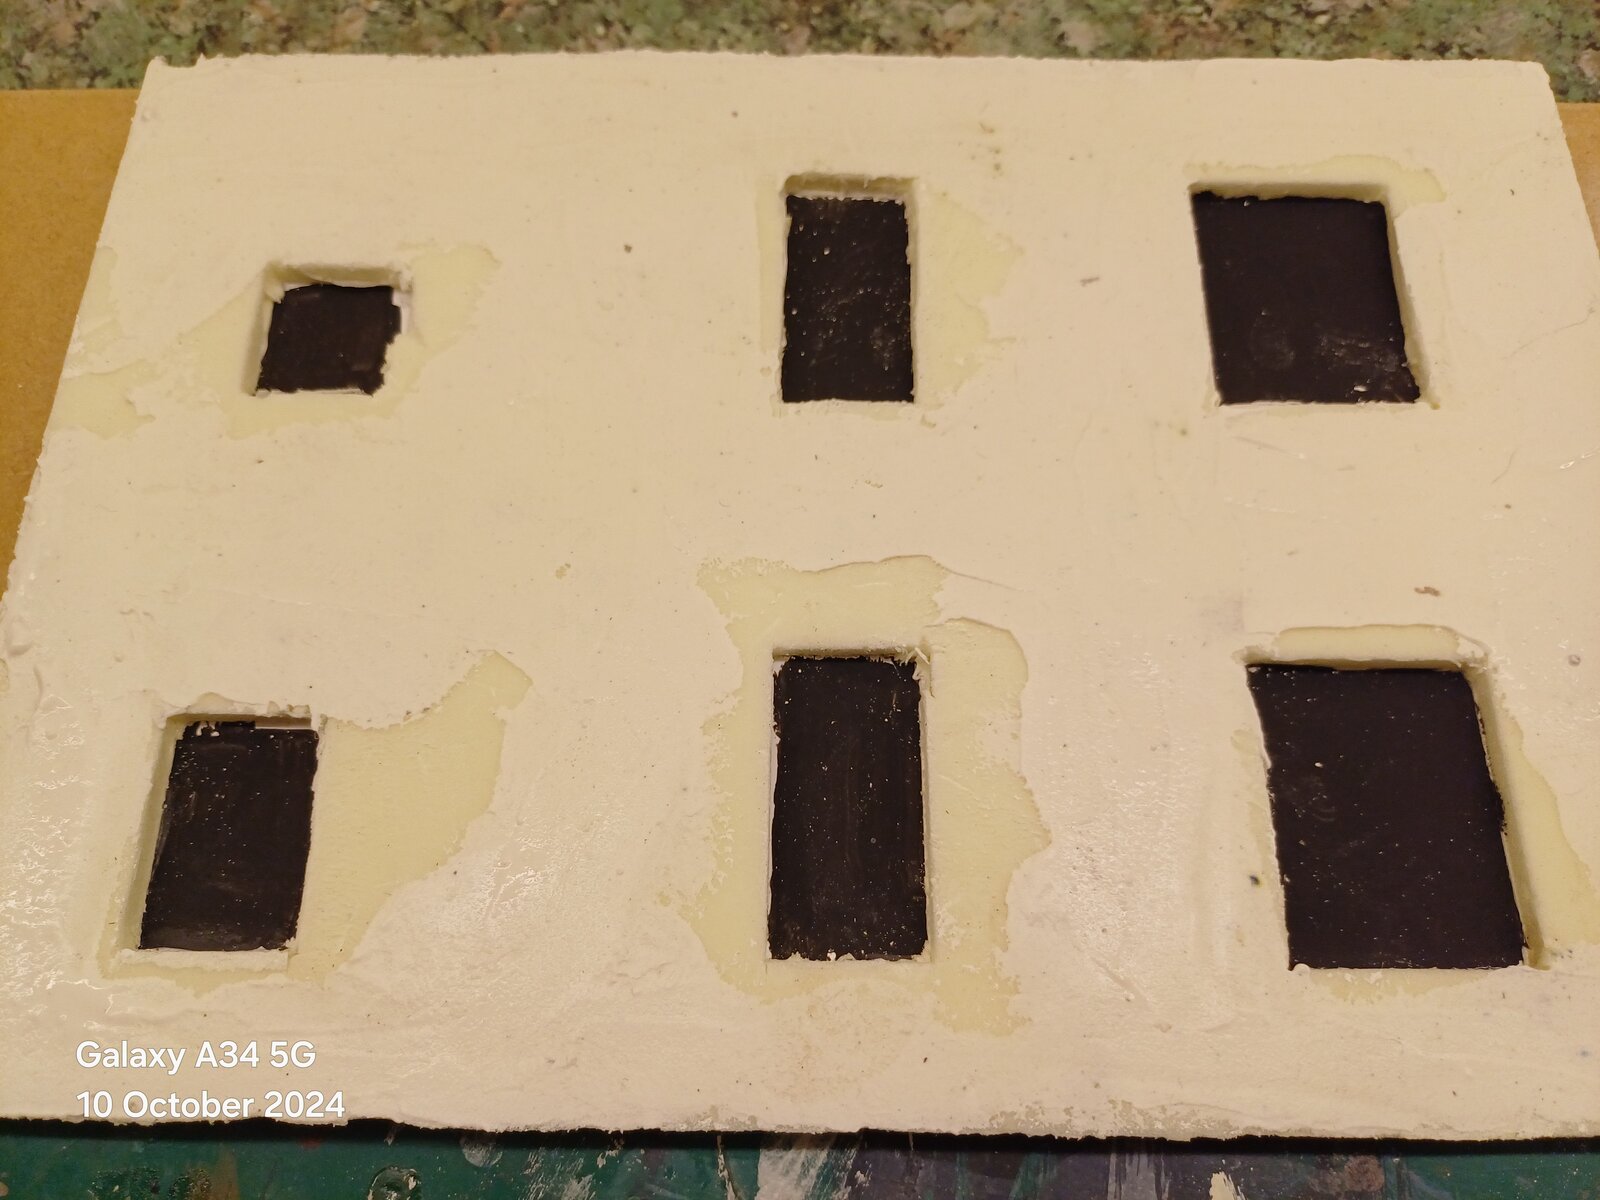
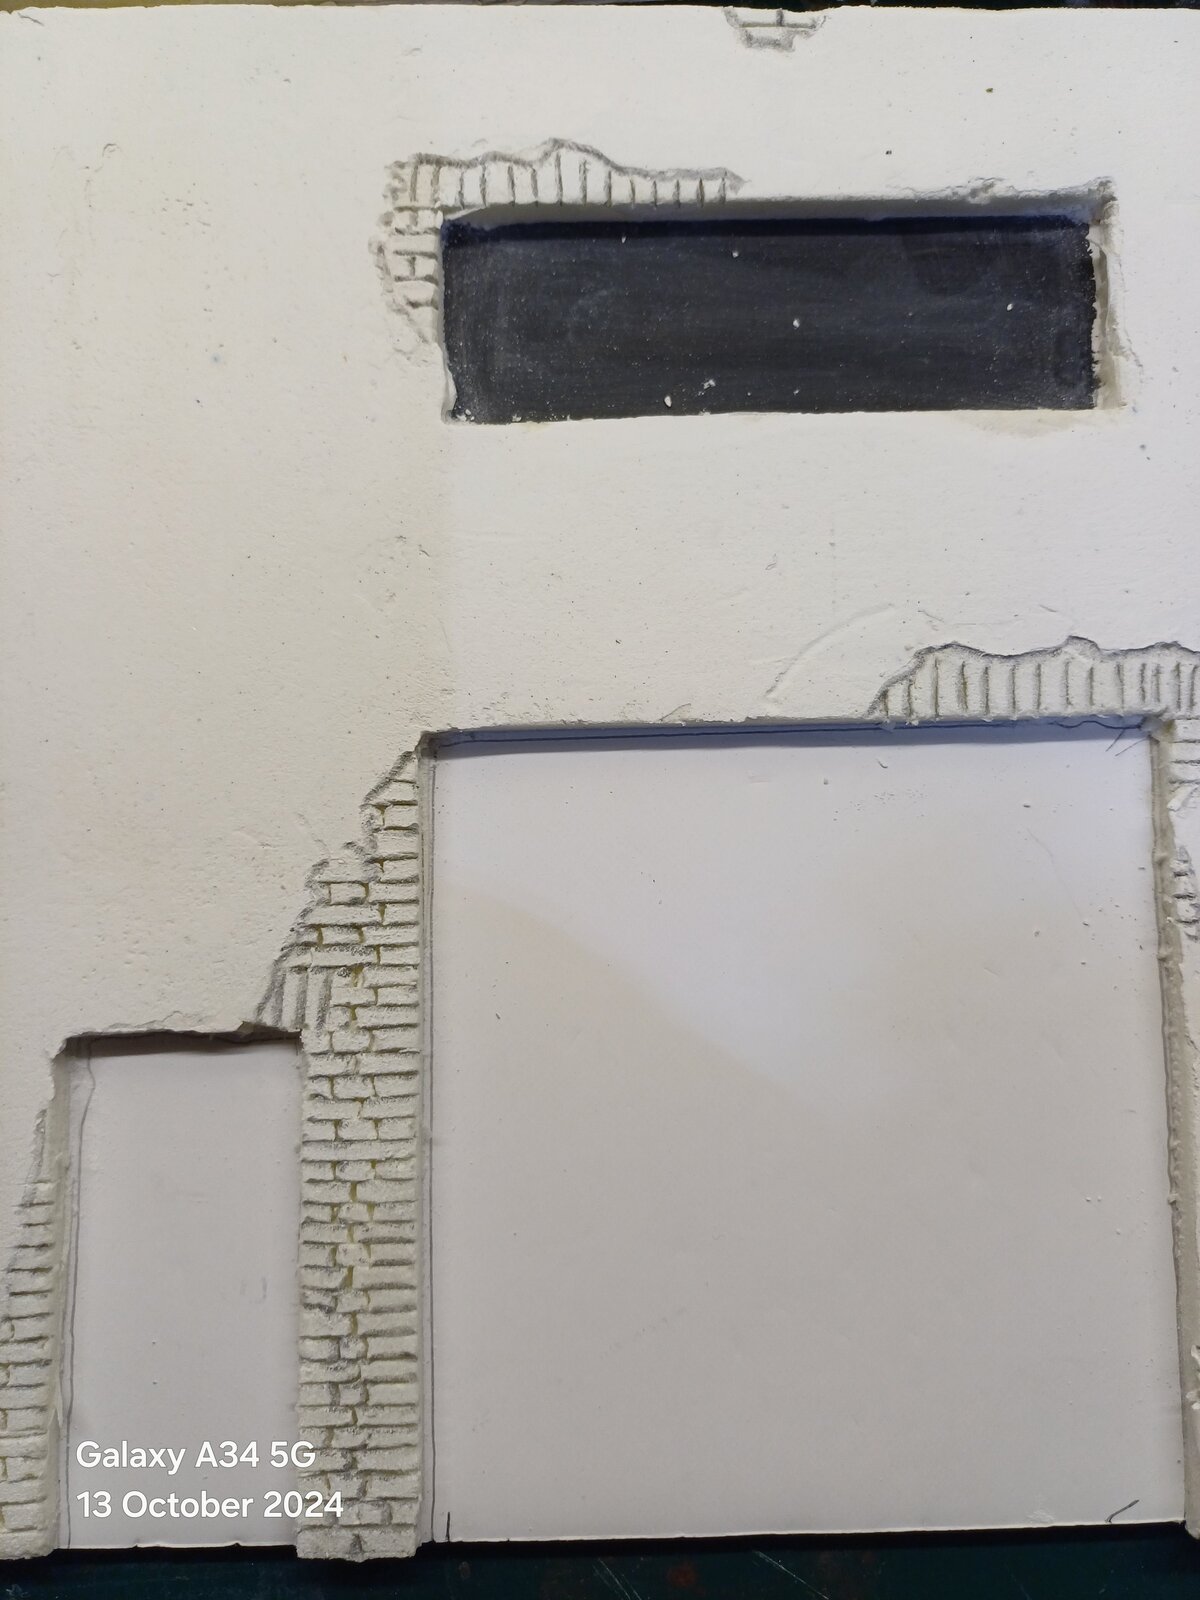
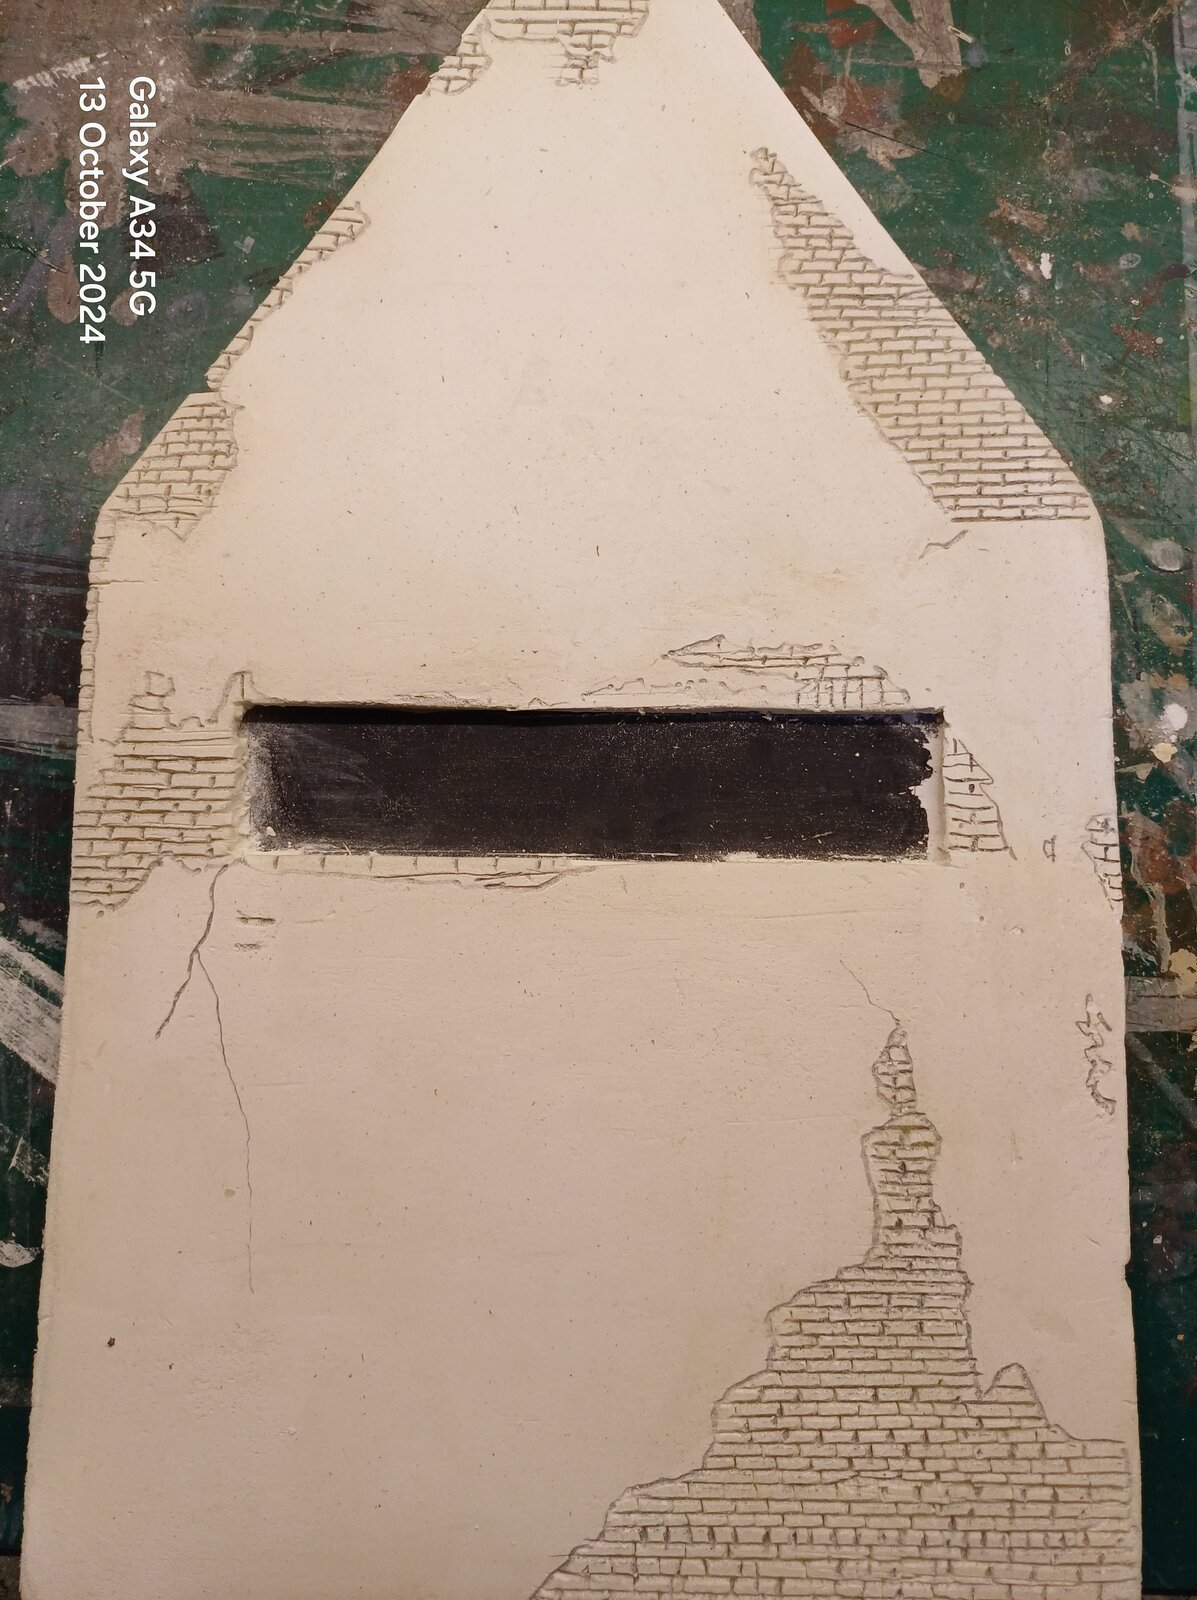
Photo time, as some you know I've started the building again, now the 3rd time. Just didn't like the way it was going and some of the technics I saw on U tube didn't like the Kappa Line. All have been cut to size along with widows and doors.
Backing glued on now just have to sand the filler down , and scrib the bricks.

2022.jpg
2022_2.jpg
2022_3.jpg
The filler when dry will be sanded flat, then the brick work can be scribed. Windows are ready with backings glued on, sprayed with matt varnish to mimic dirt over the years.
 
That is some slick foam. It appears to react similar to blue construction foam, minus the adhesive. Great progress so far, John, Ruck On!
 
Looking good so far John, although I haven't spotted any lighter fluid or 4BO yet...(maybe we need a US version of Matron on here as well...lol)
I do hear she has 'friends' in certain close knit communities that do favours.....
Pleased to see you back at work again.

Had to change the avatar back to due pressure from the back row.... Some people just cannot recognise you when you change your clothes...
Thanks Chris, no not at the moment ;)

Mike I had heard that as well , shan't know at this rate who Im talking to if you keep changing avatar, maybe I should as well ?
 
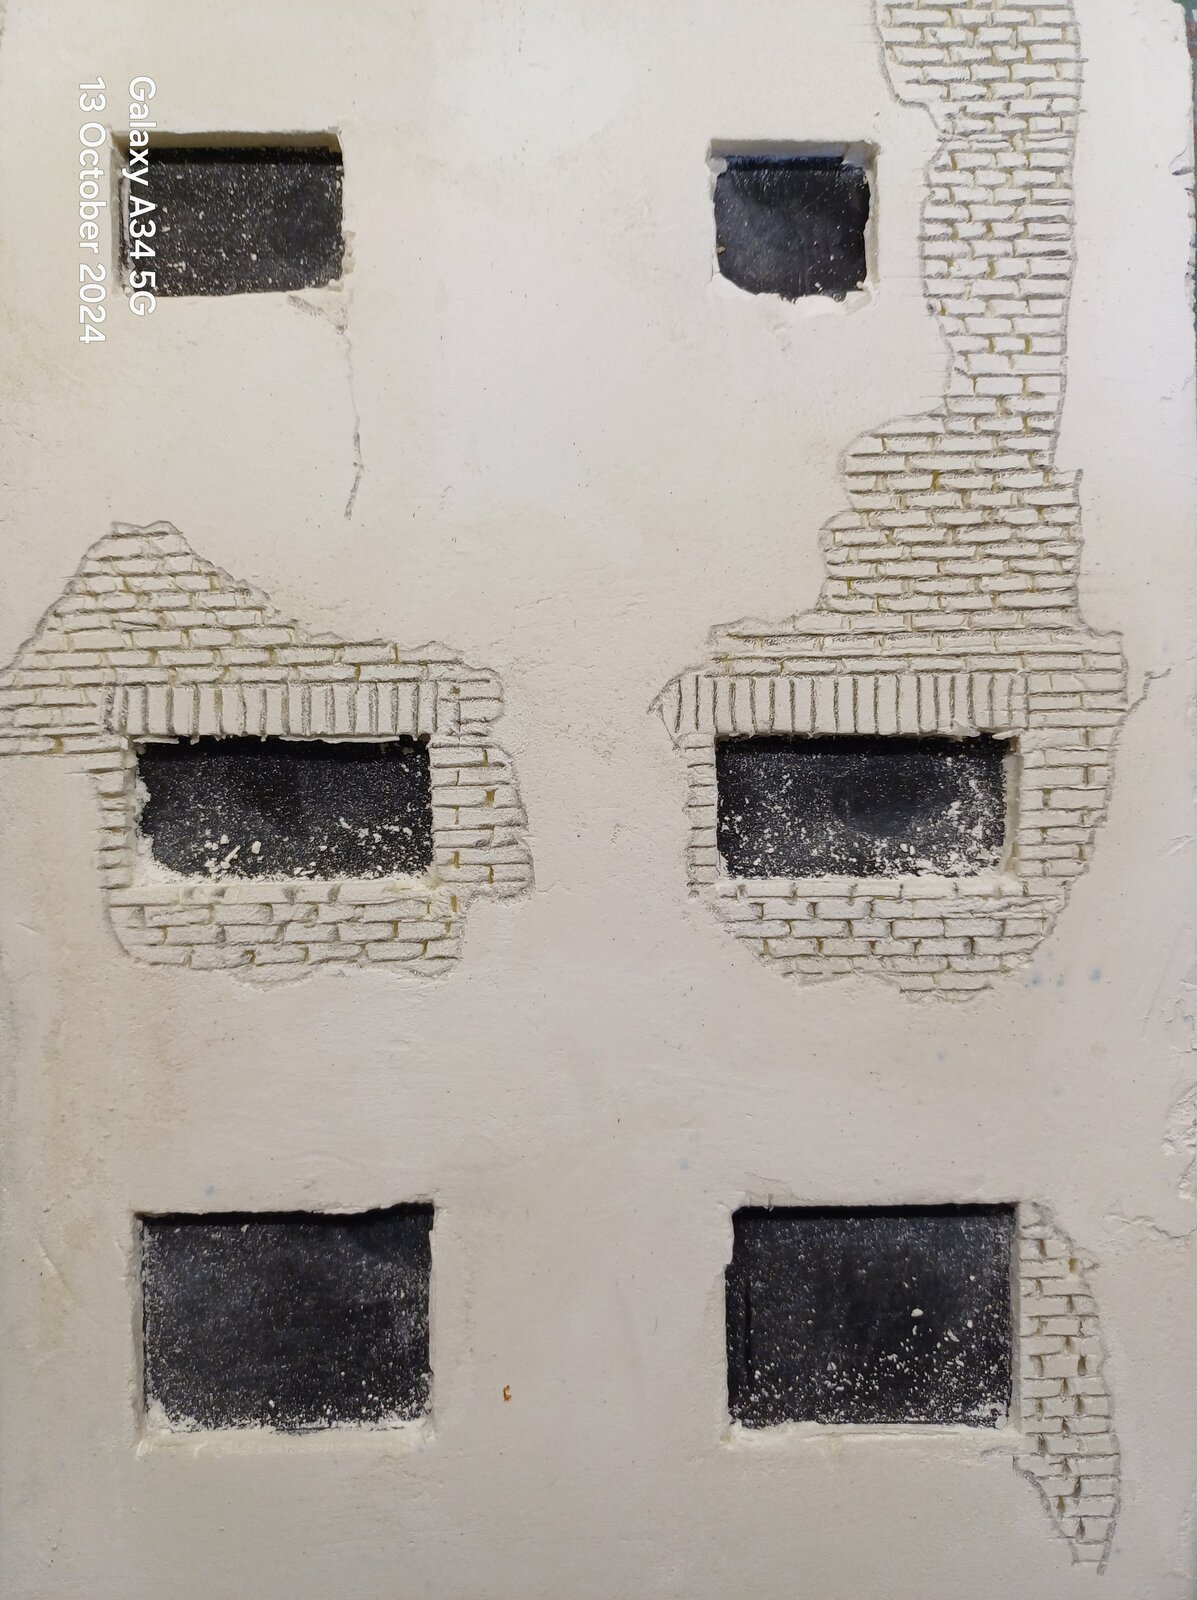
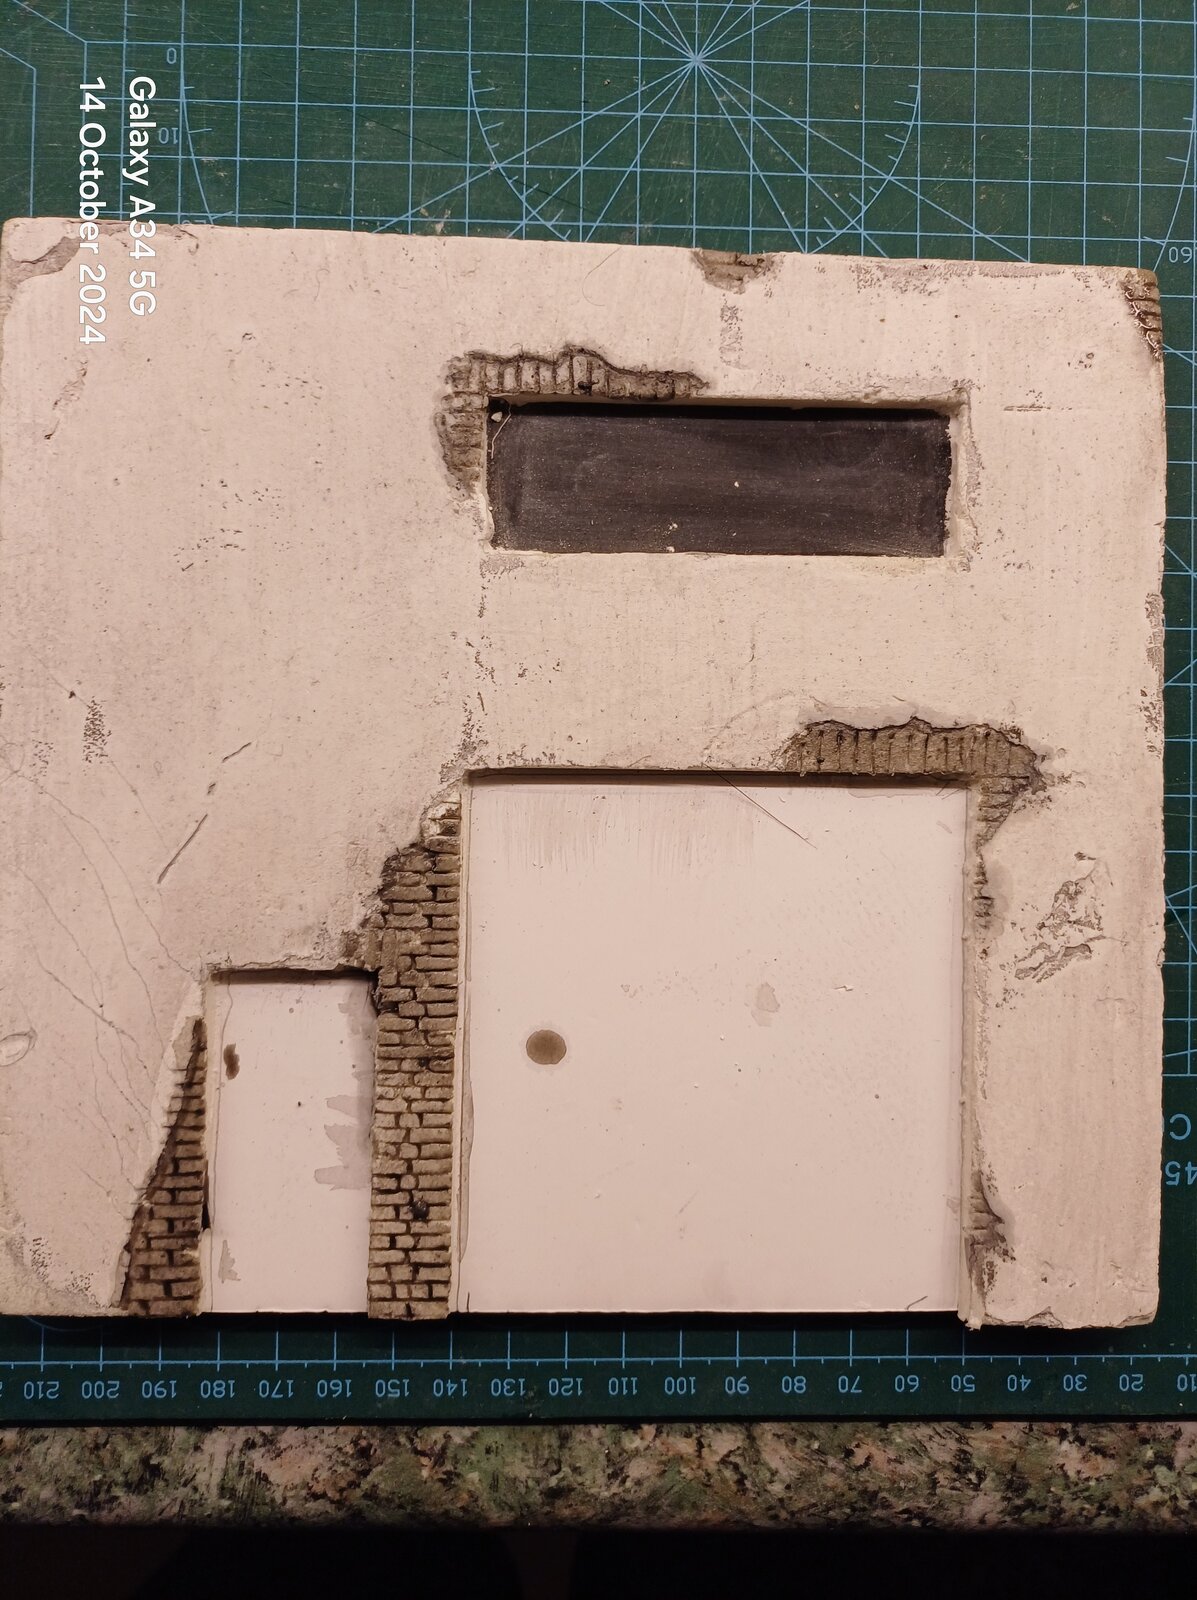
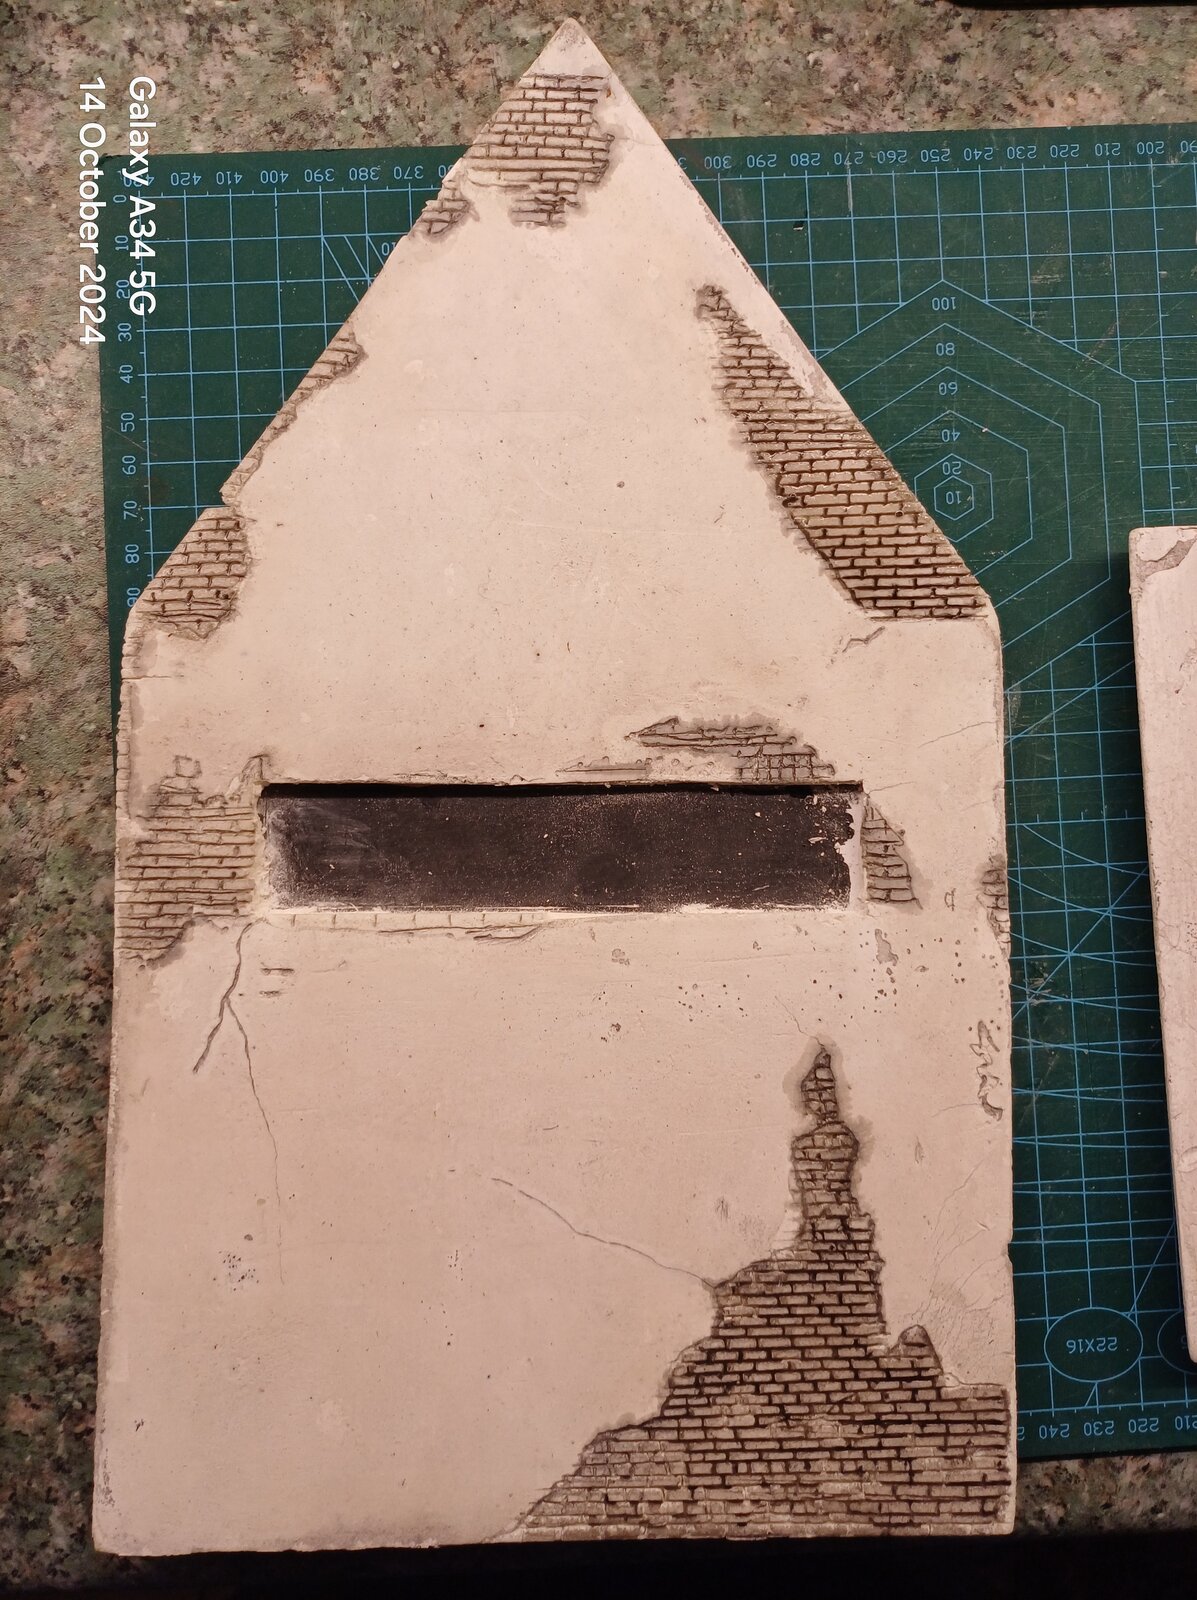
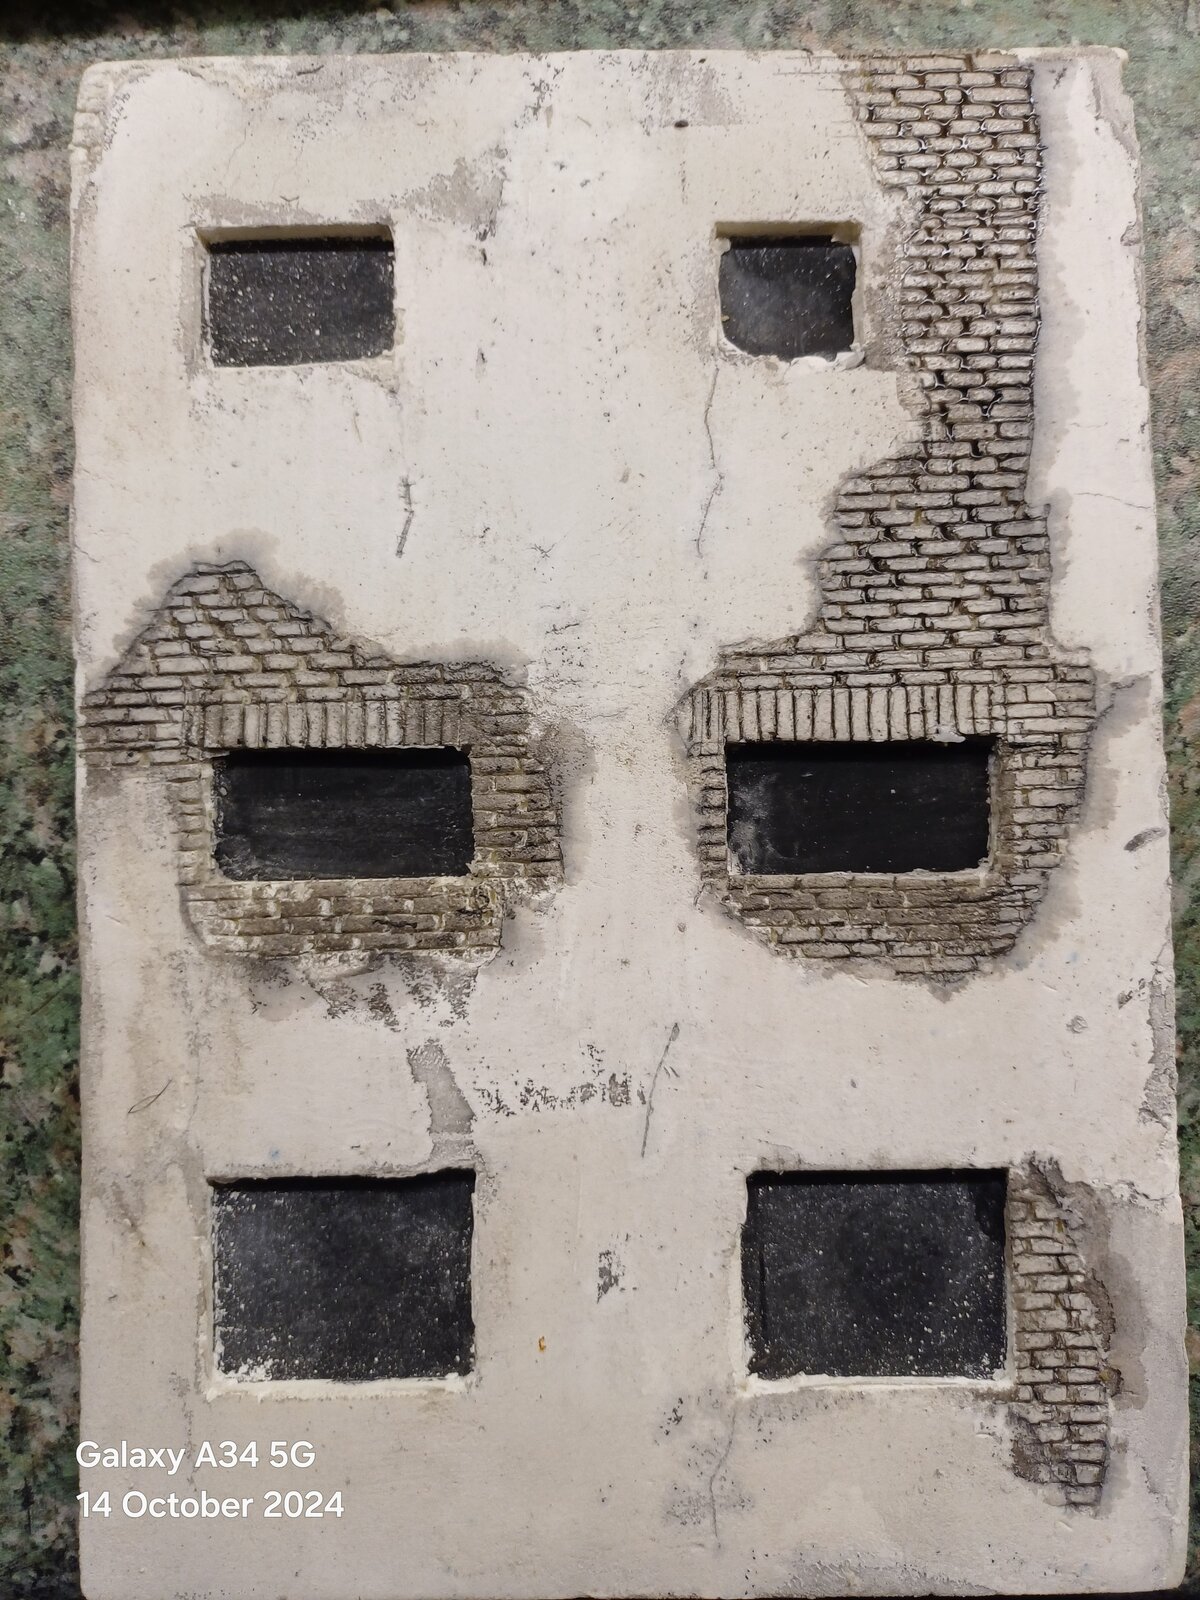
Having applied filler to the foam board surface where needed I decided to seal the filler area with a coat of PVA, really to stop to much wash from having to be applied. Cleaning up of the openings will again take place near to the window fitting. Brick work scribed and a pencil taken over the motor lines.

2022.jpg
2022_2.jpg


2022_4.jpg


Next will be the washes and the start of the brick painting.

Thank for looking in , comments welcome

John.
 
Love how you did the stone street, ill have to try to find out what material modlers use here in the US for that effect... Great work :)
No help for later square cobblestones, but for the older round ones I've used split-peas before, each one glued flat-side down.

I might have some old pictures of the result. Pictures as in "from film".
 

Latest posts

Back
Top