
You are using an out of date browser. It may not display this or other websites correctly.
You should upgrade or use an alternative browser.
You should upgrade or use an alternative browser.
1/16 Scale Richard Petty 1973 Dodge Charger
- Thread starter wjbrandel
- Start date

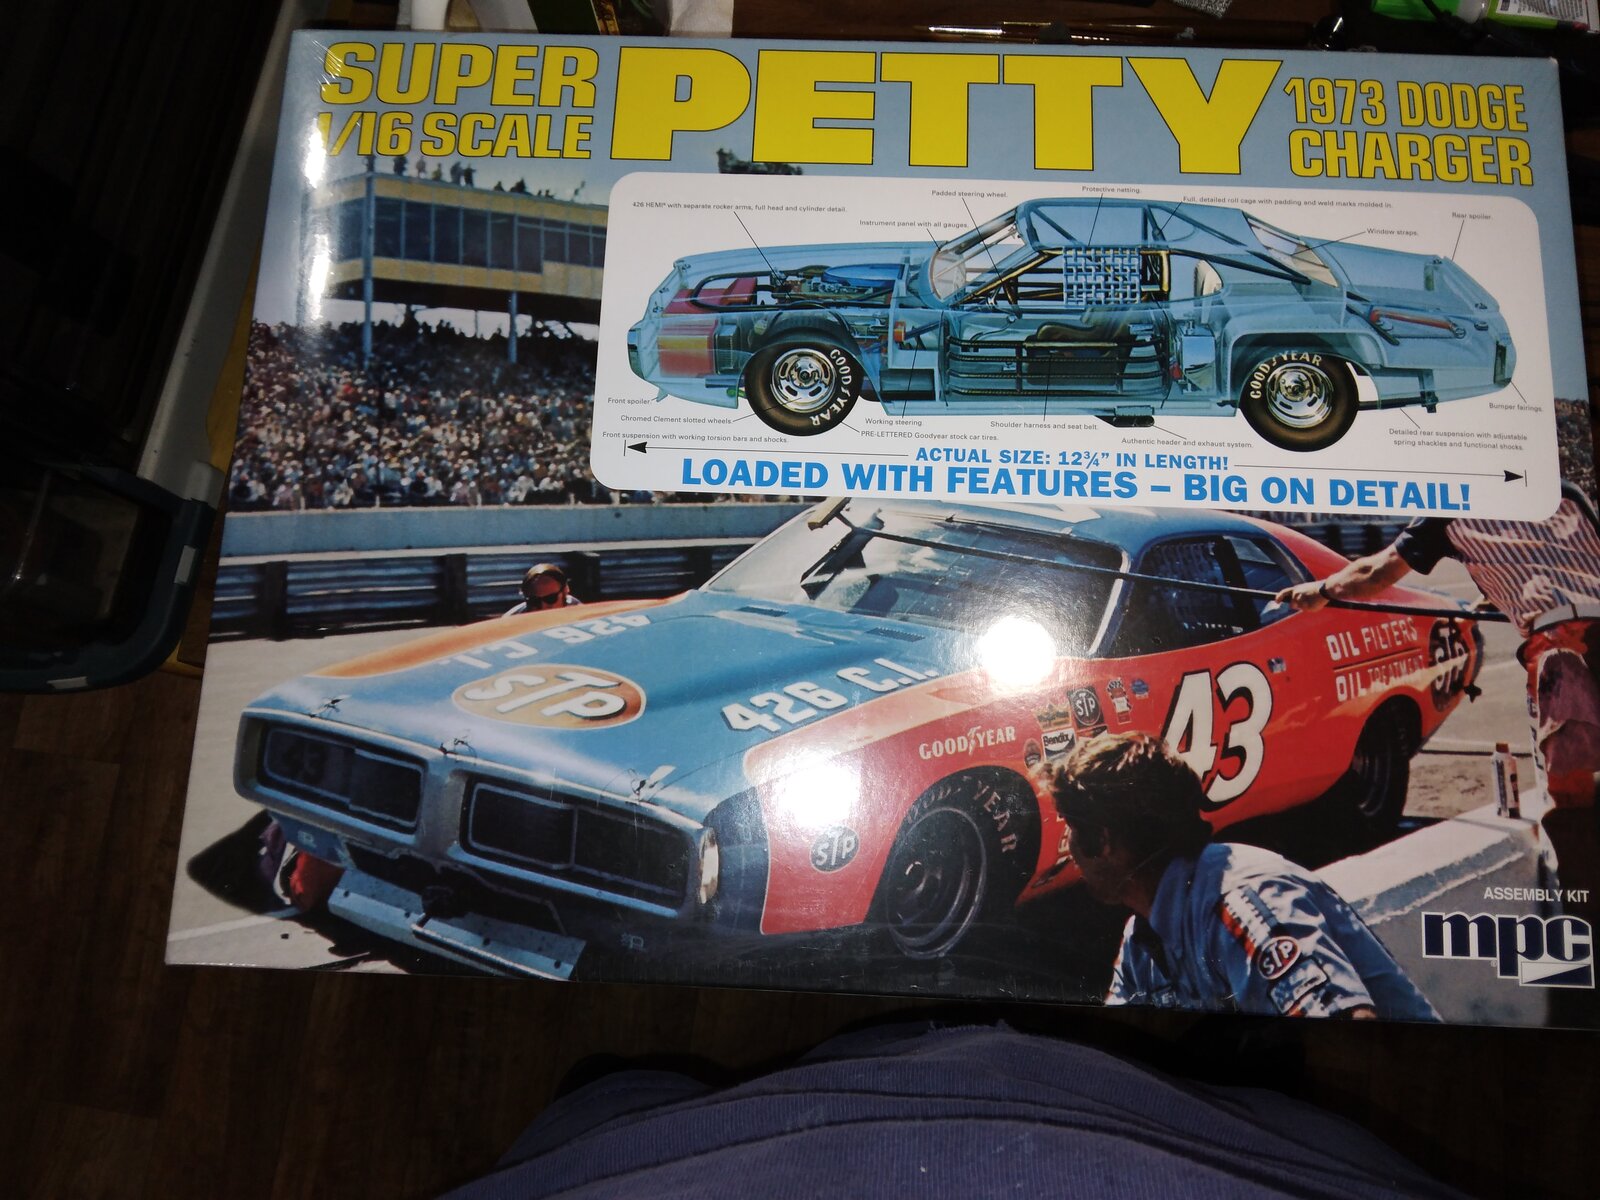

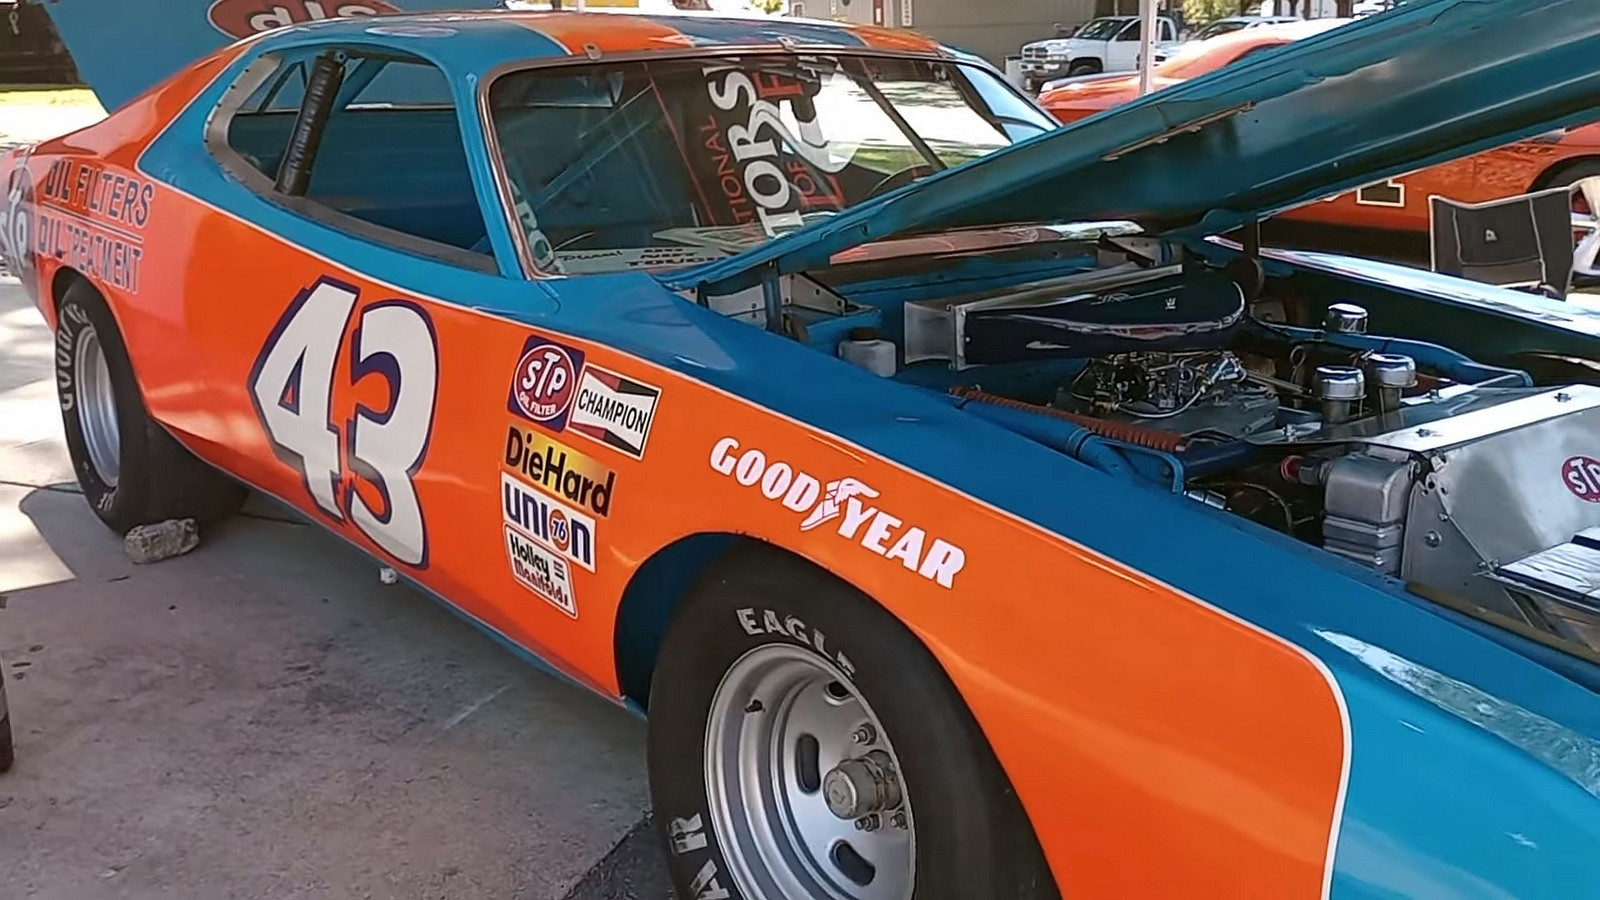
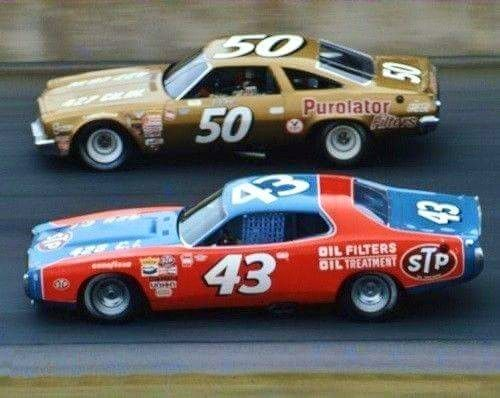
Got started on the model last night and worked on it off and on all day today. Progress so far:
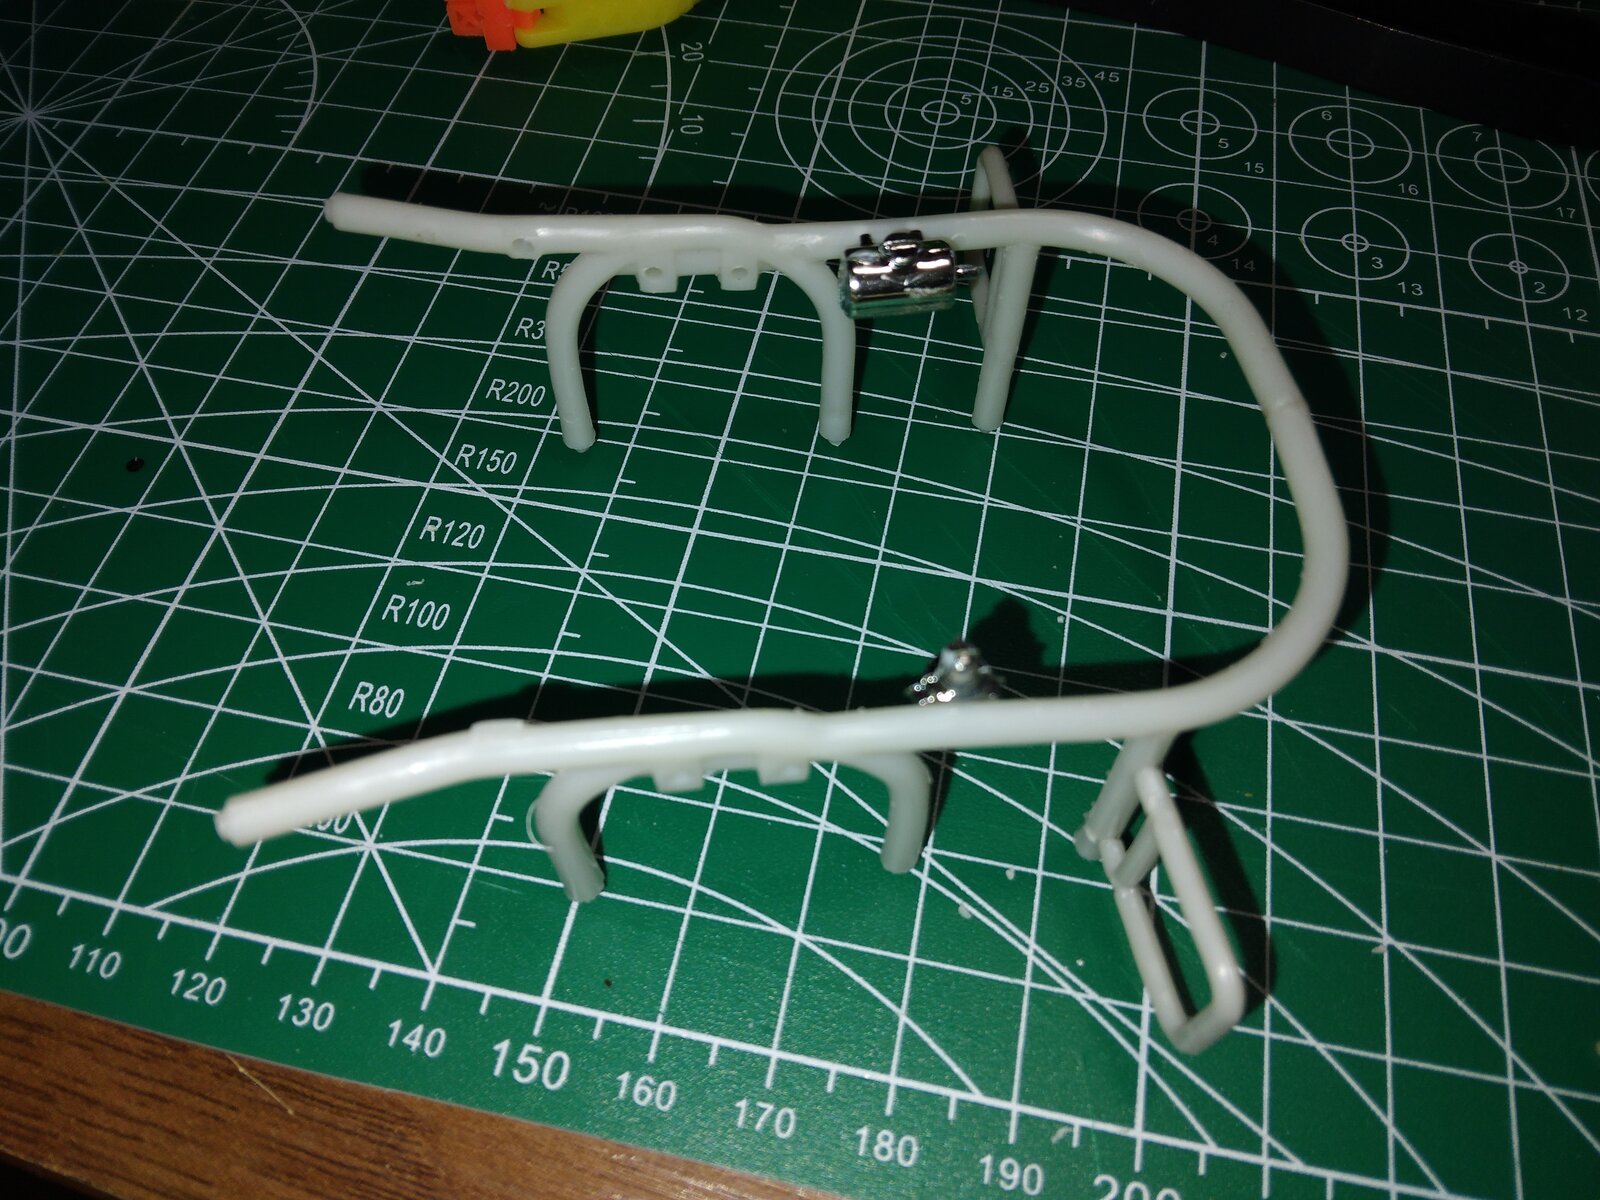
Engine cage is assembled, just need to paint it Petty Blue
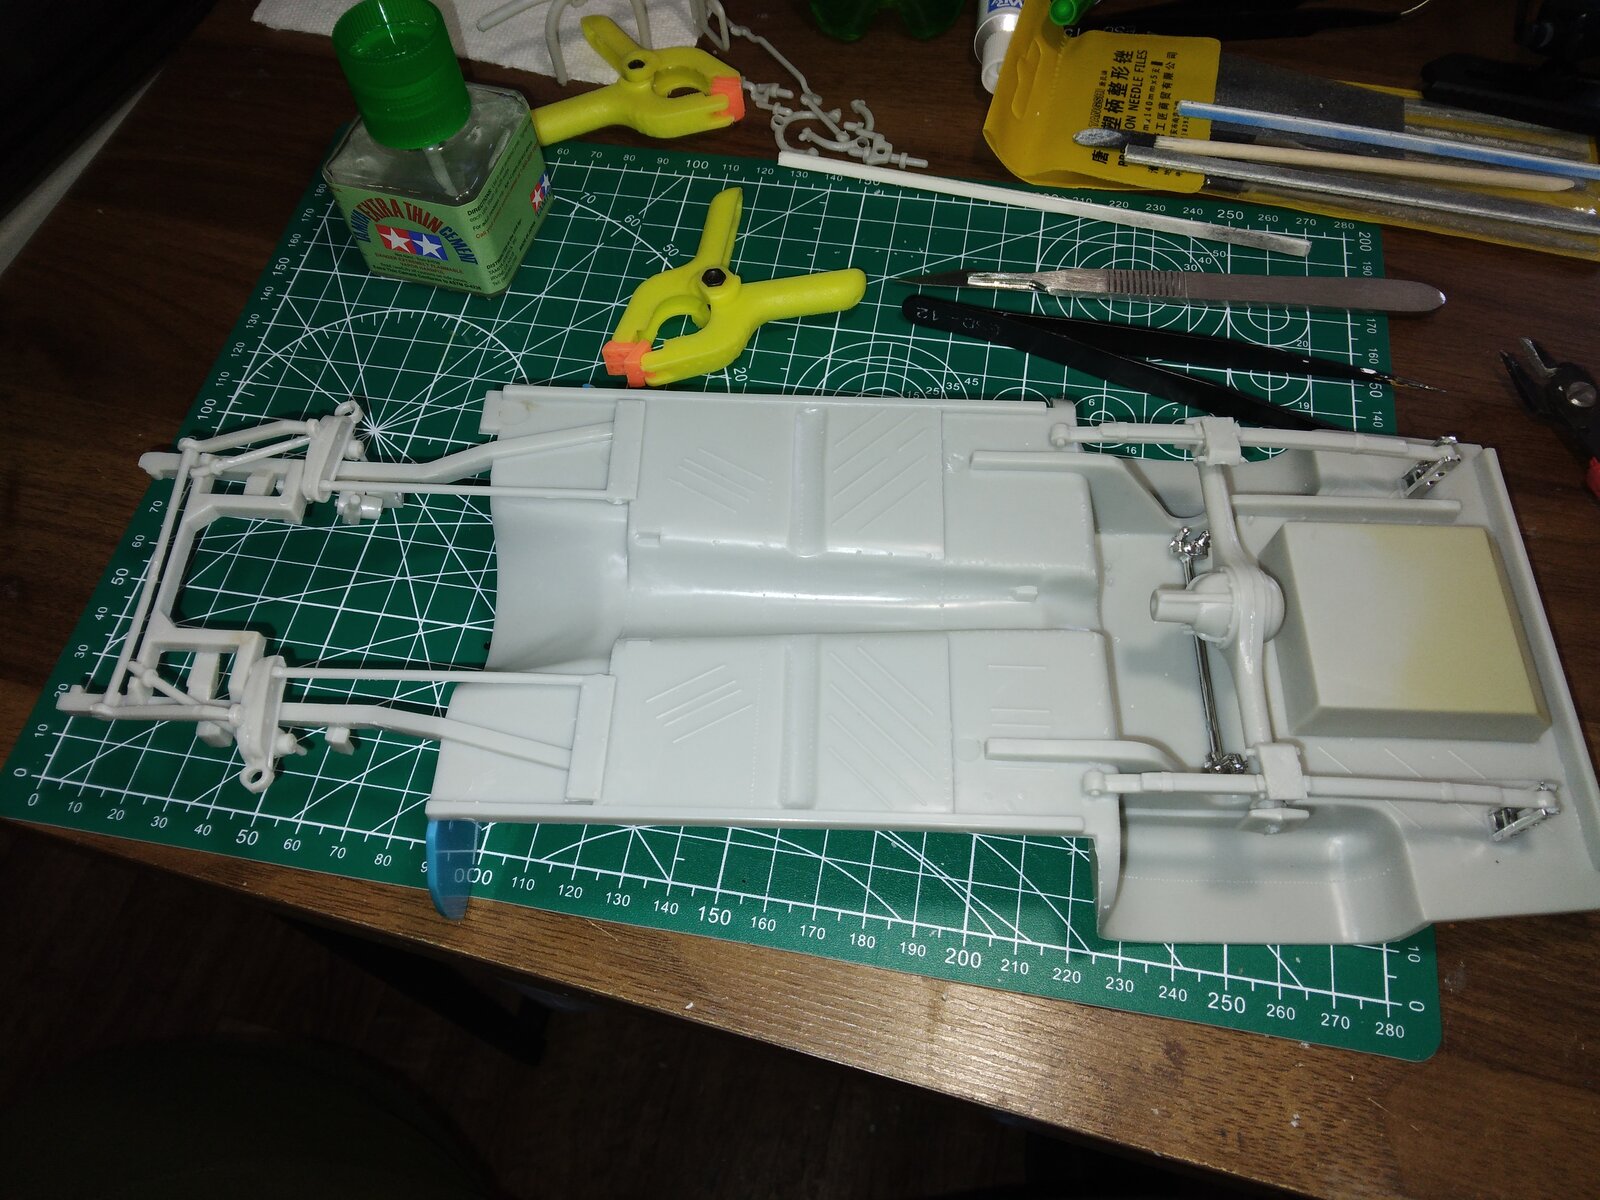
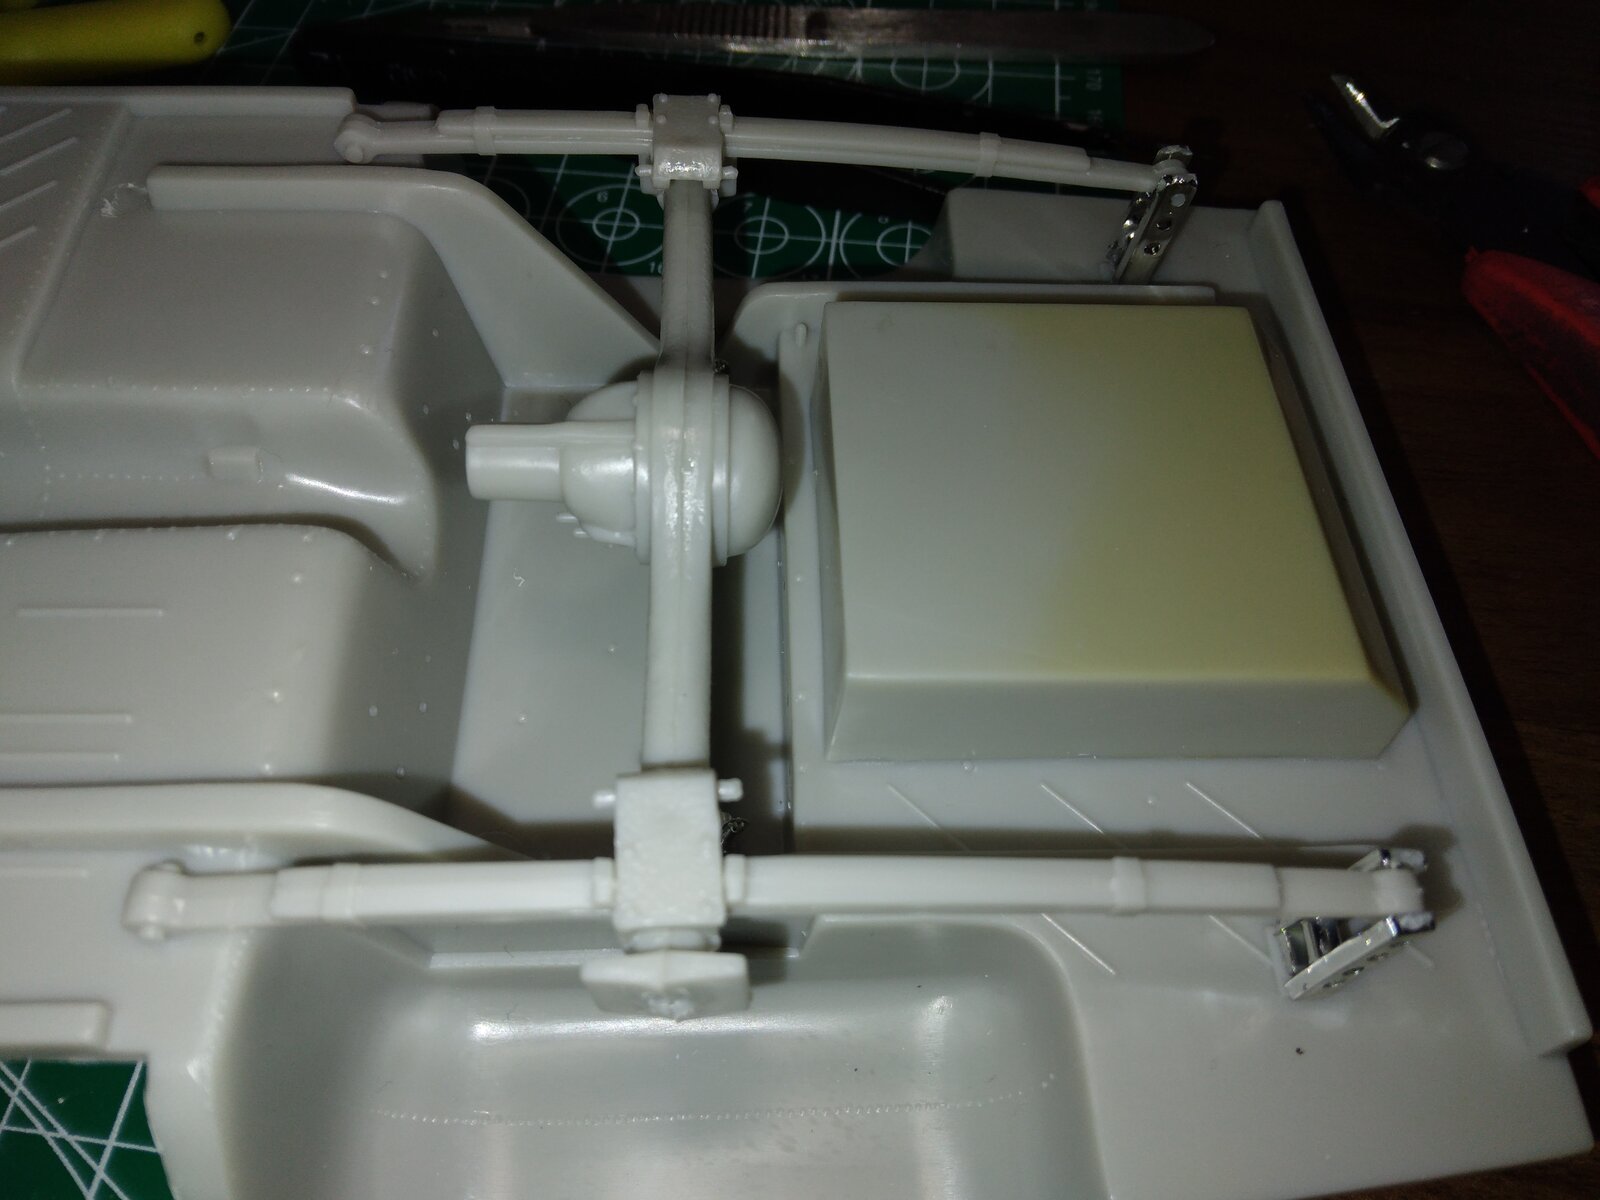
Those chrome parts came in two parts that needed to be glued together
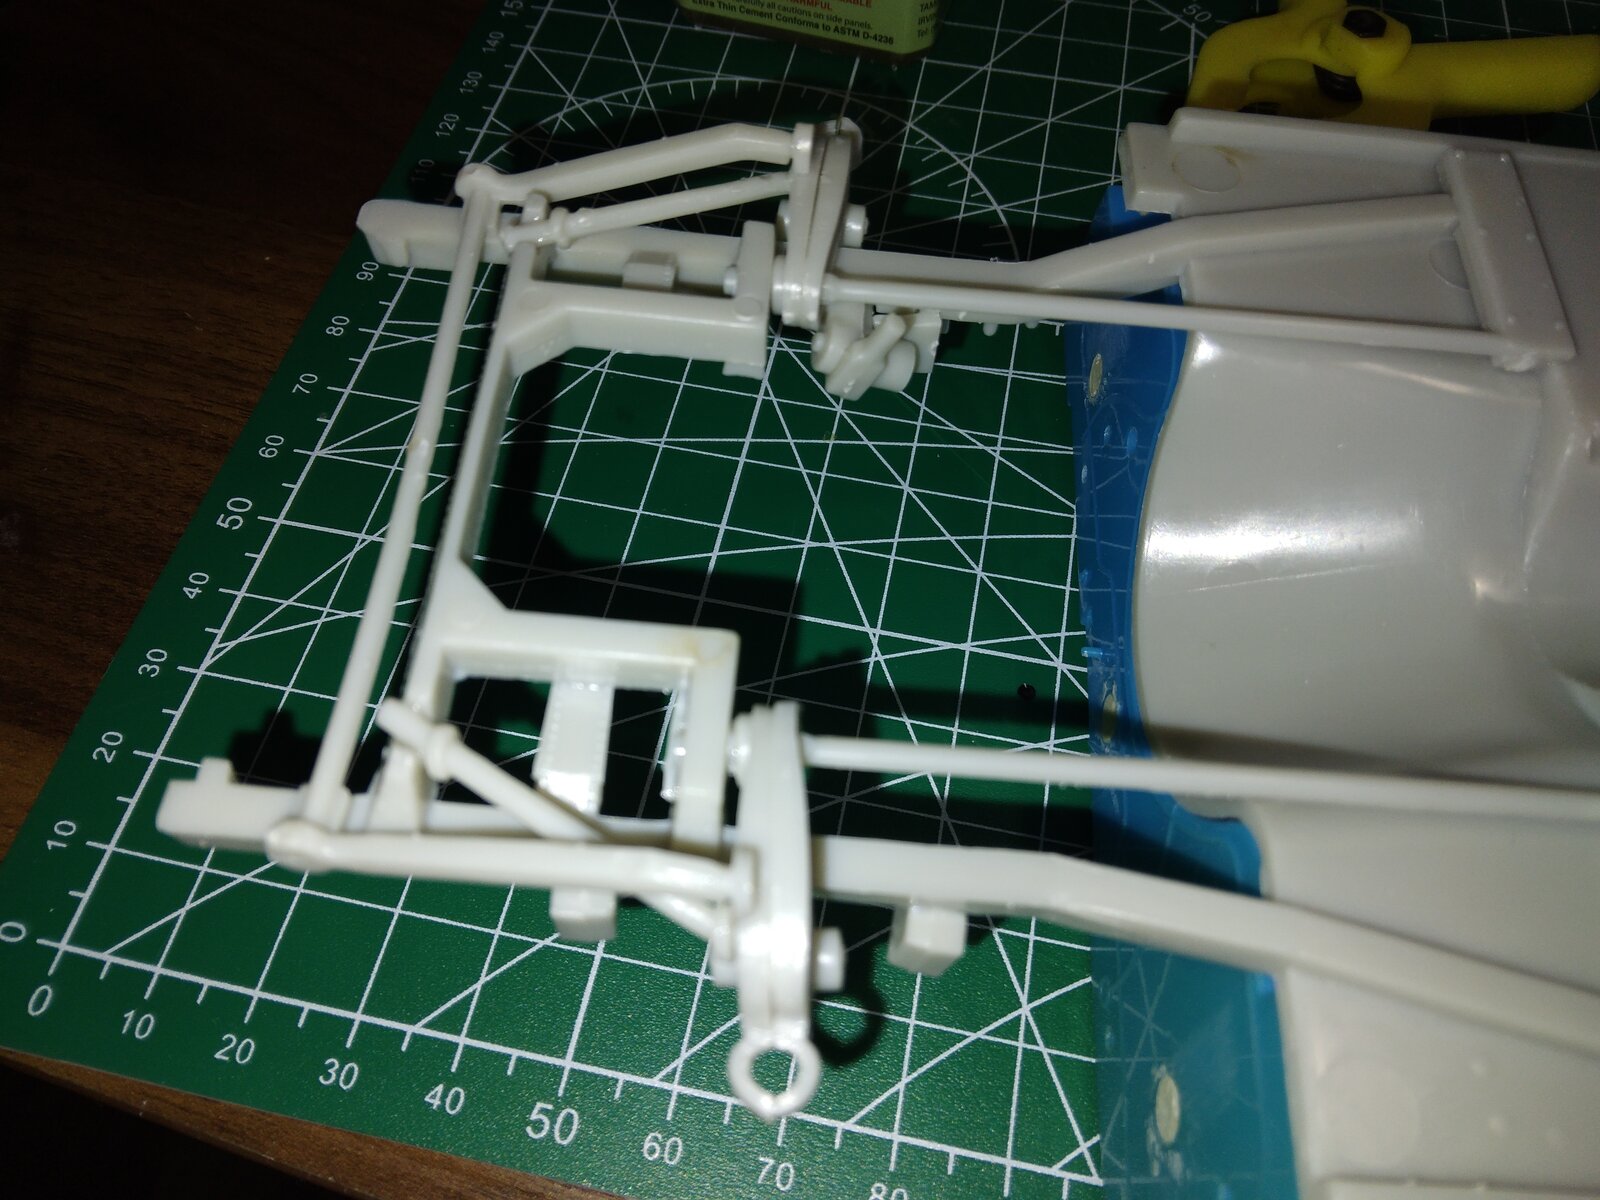
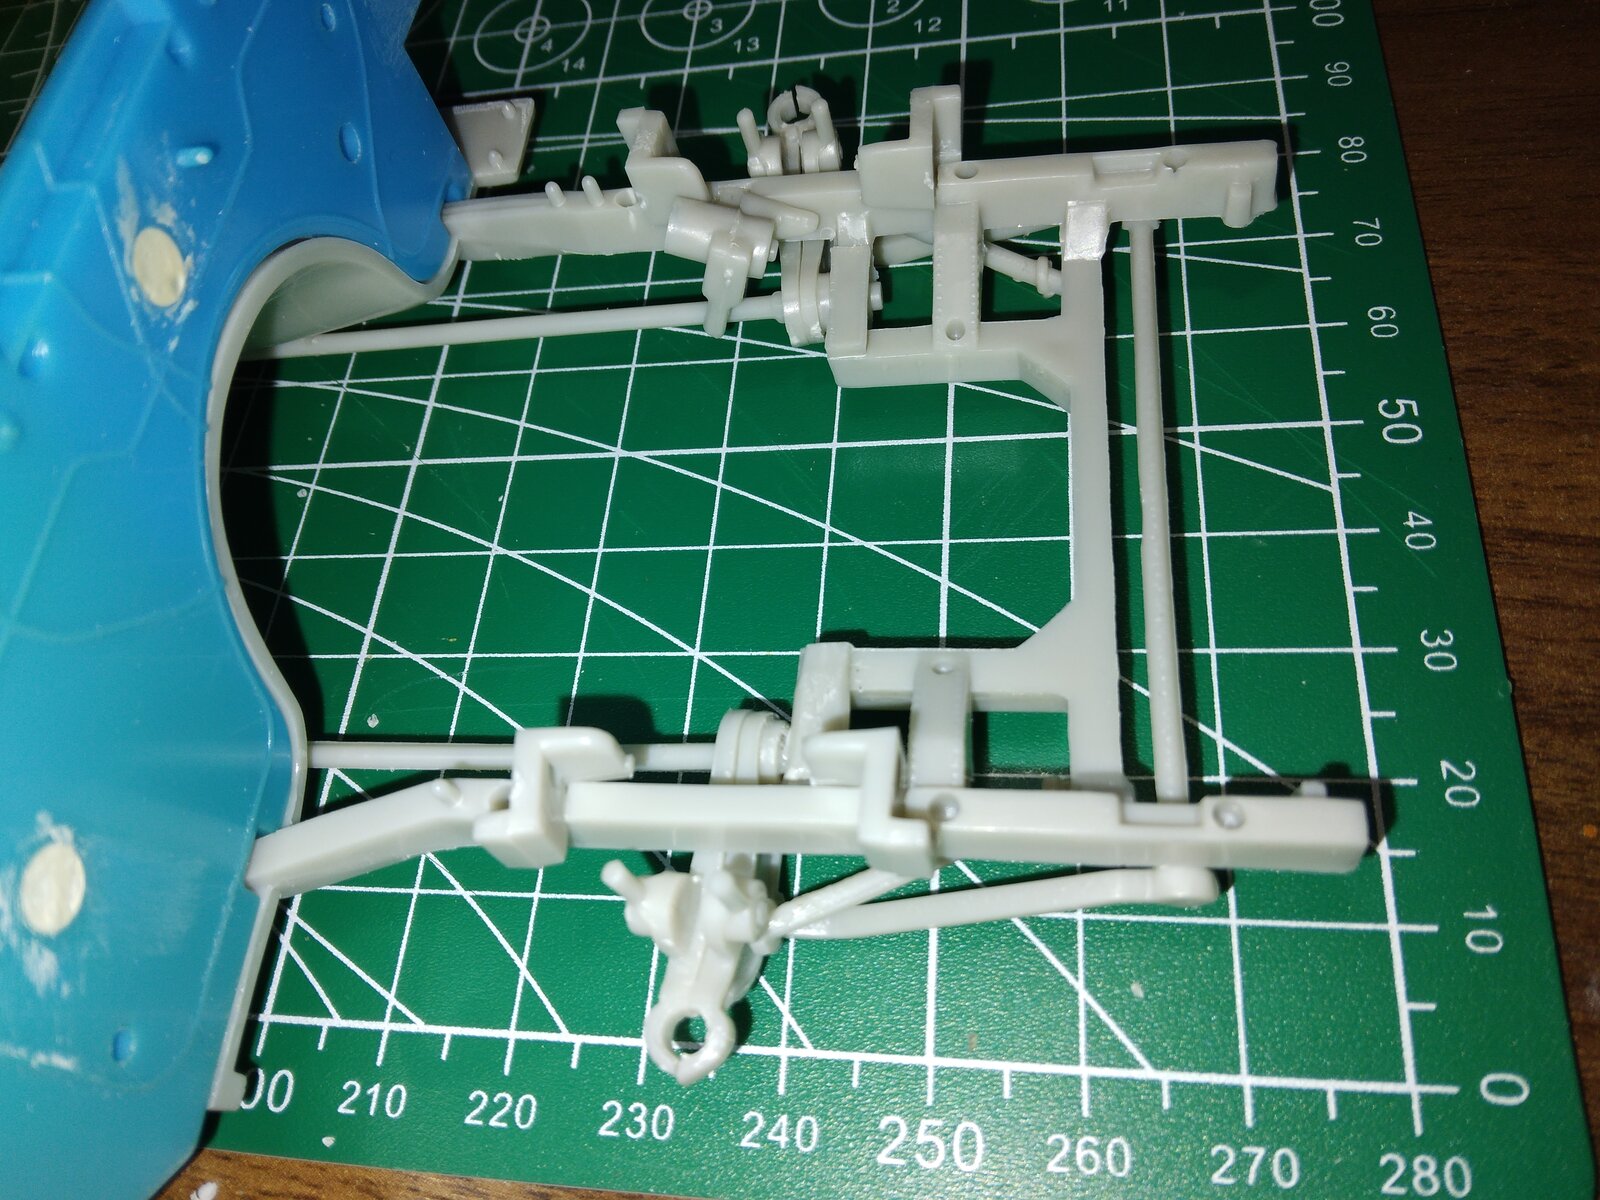
The front end, as you can see, has a lot of small fiddly parts. So far there is a lot of clean up needed on the parts but the fitment is actually very good.
Engine cage is assembled, just need to paint it Petty Blue
Those chrome parts came in two parts that needed to be glued together
The front end, as you can see, has a lot of small fiddly parts. So far there is a lot of clean up needed on the parts but the fitment is actually very good.
Got some more done this week, finally remembered to post pics
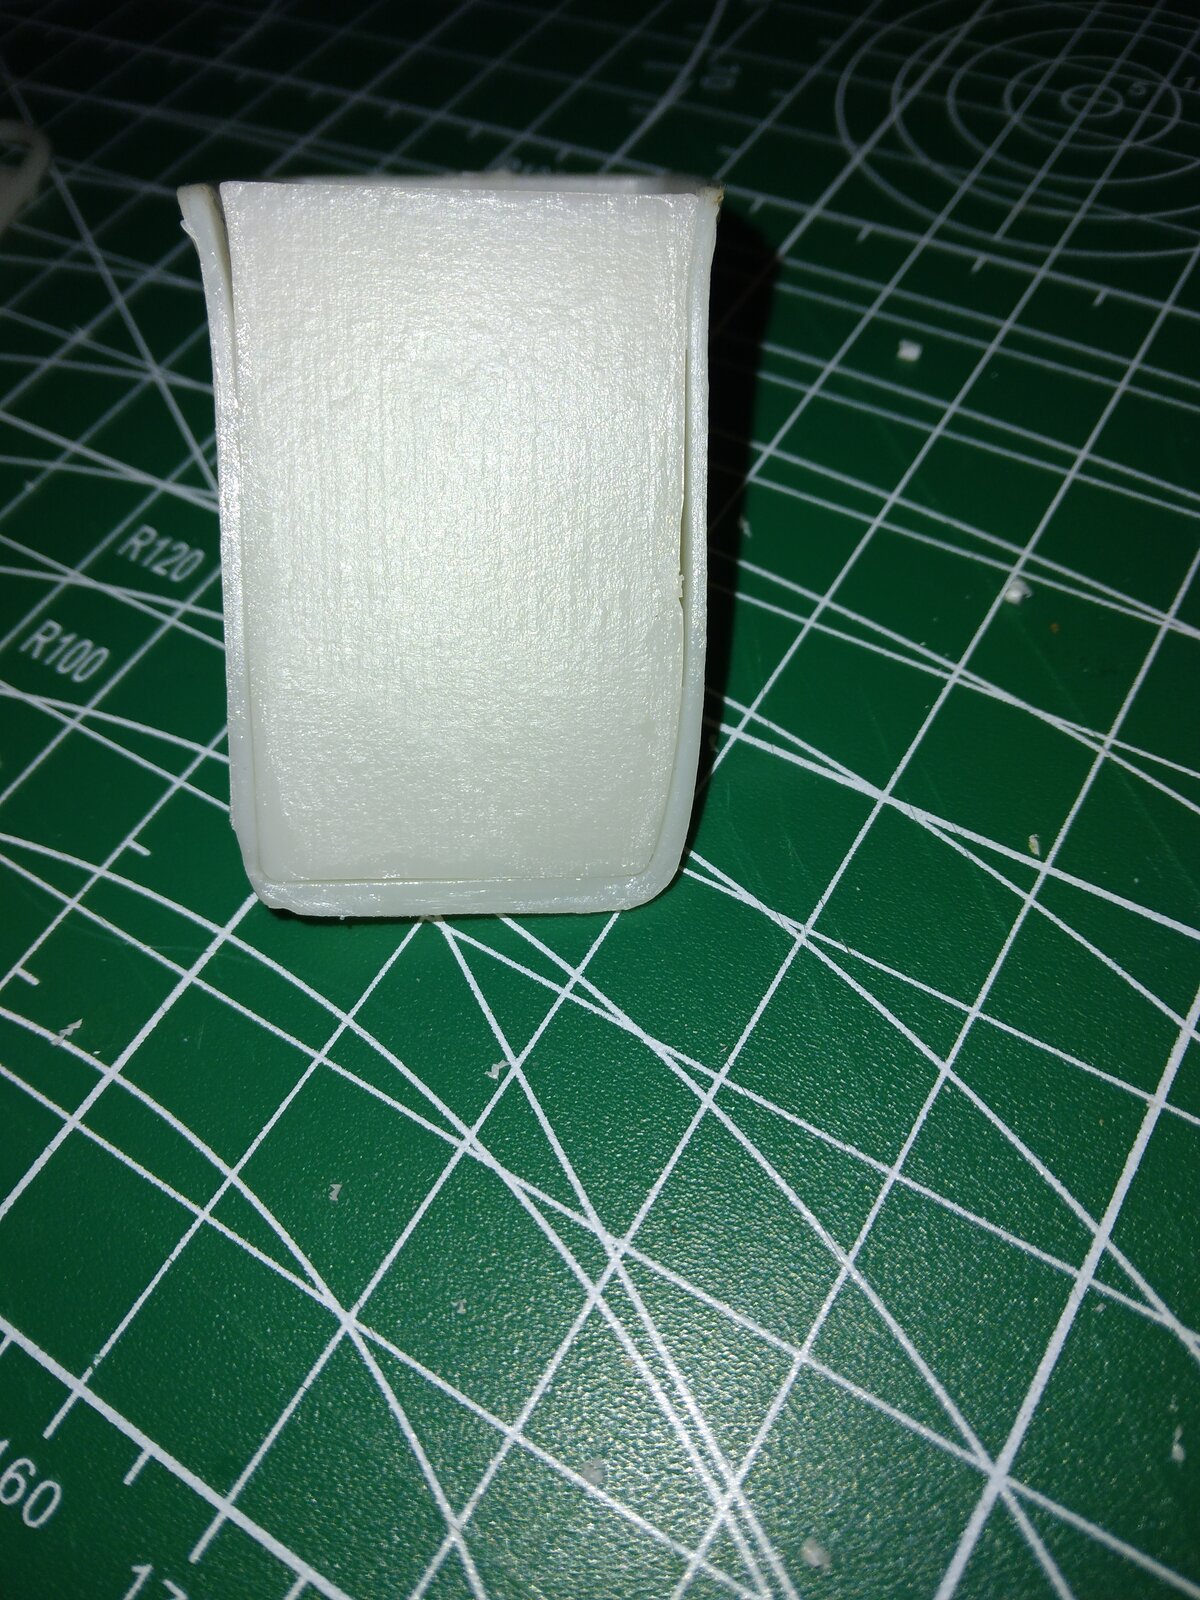
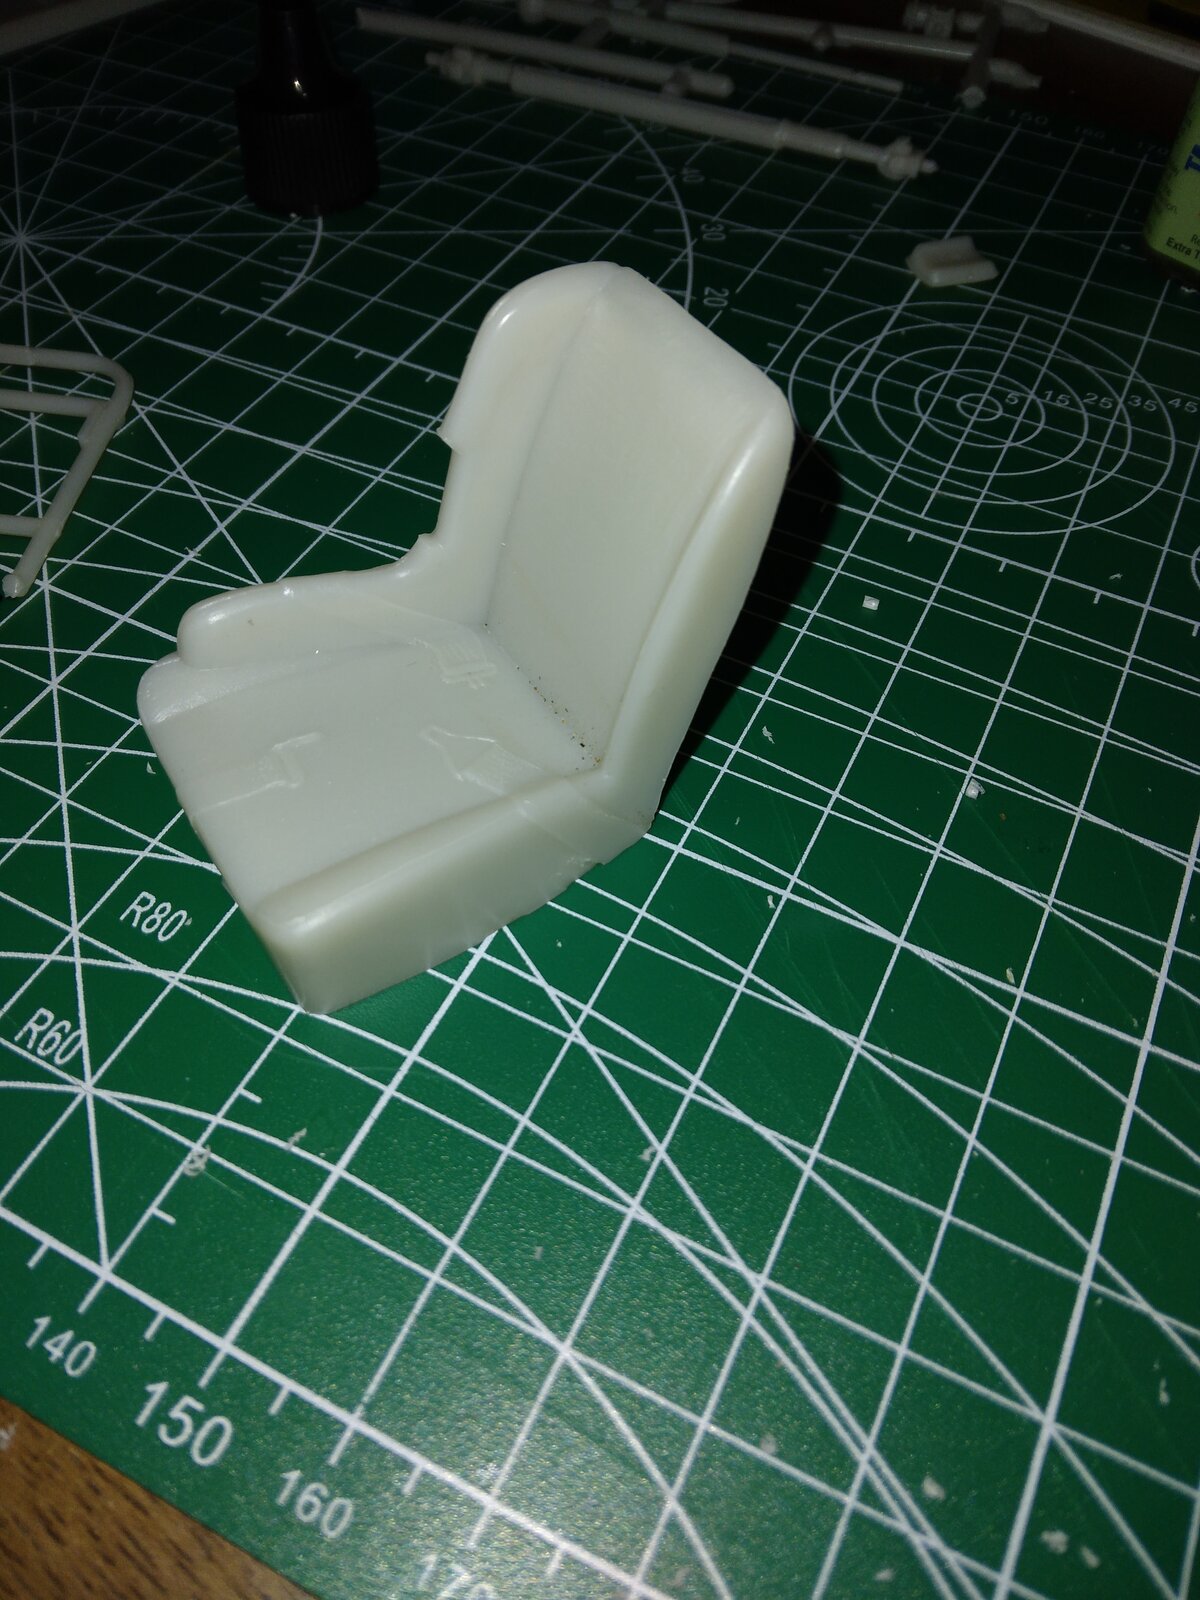
Here is the driver's seat, I do have the gaps filled at the back.
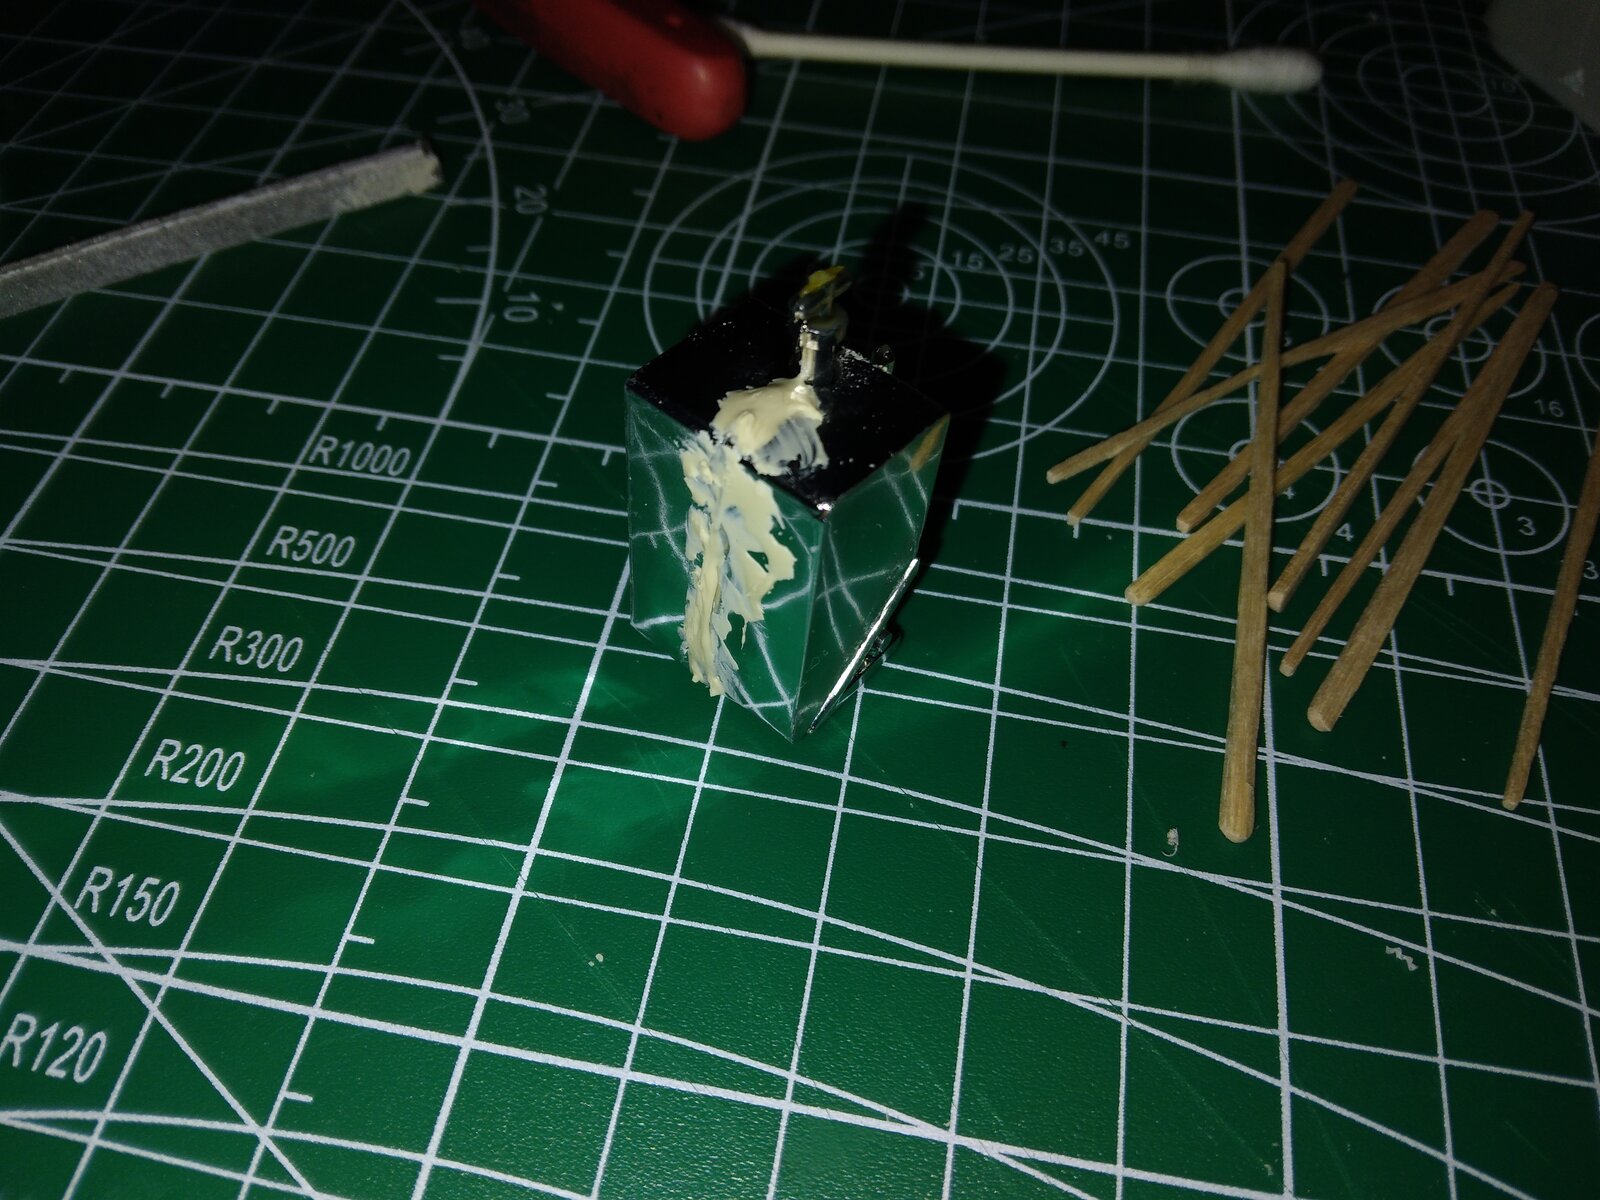
The gaps on this piece were huge, even after trimming and sanding for a better fit. I had to use putty all the way around the seam.
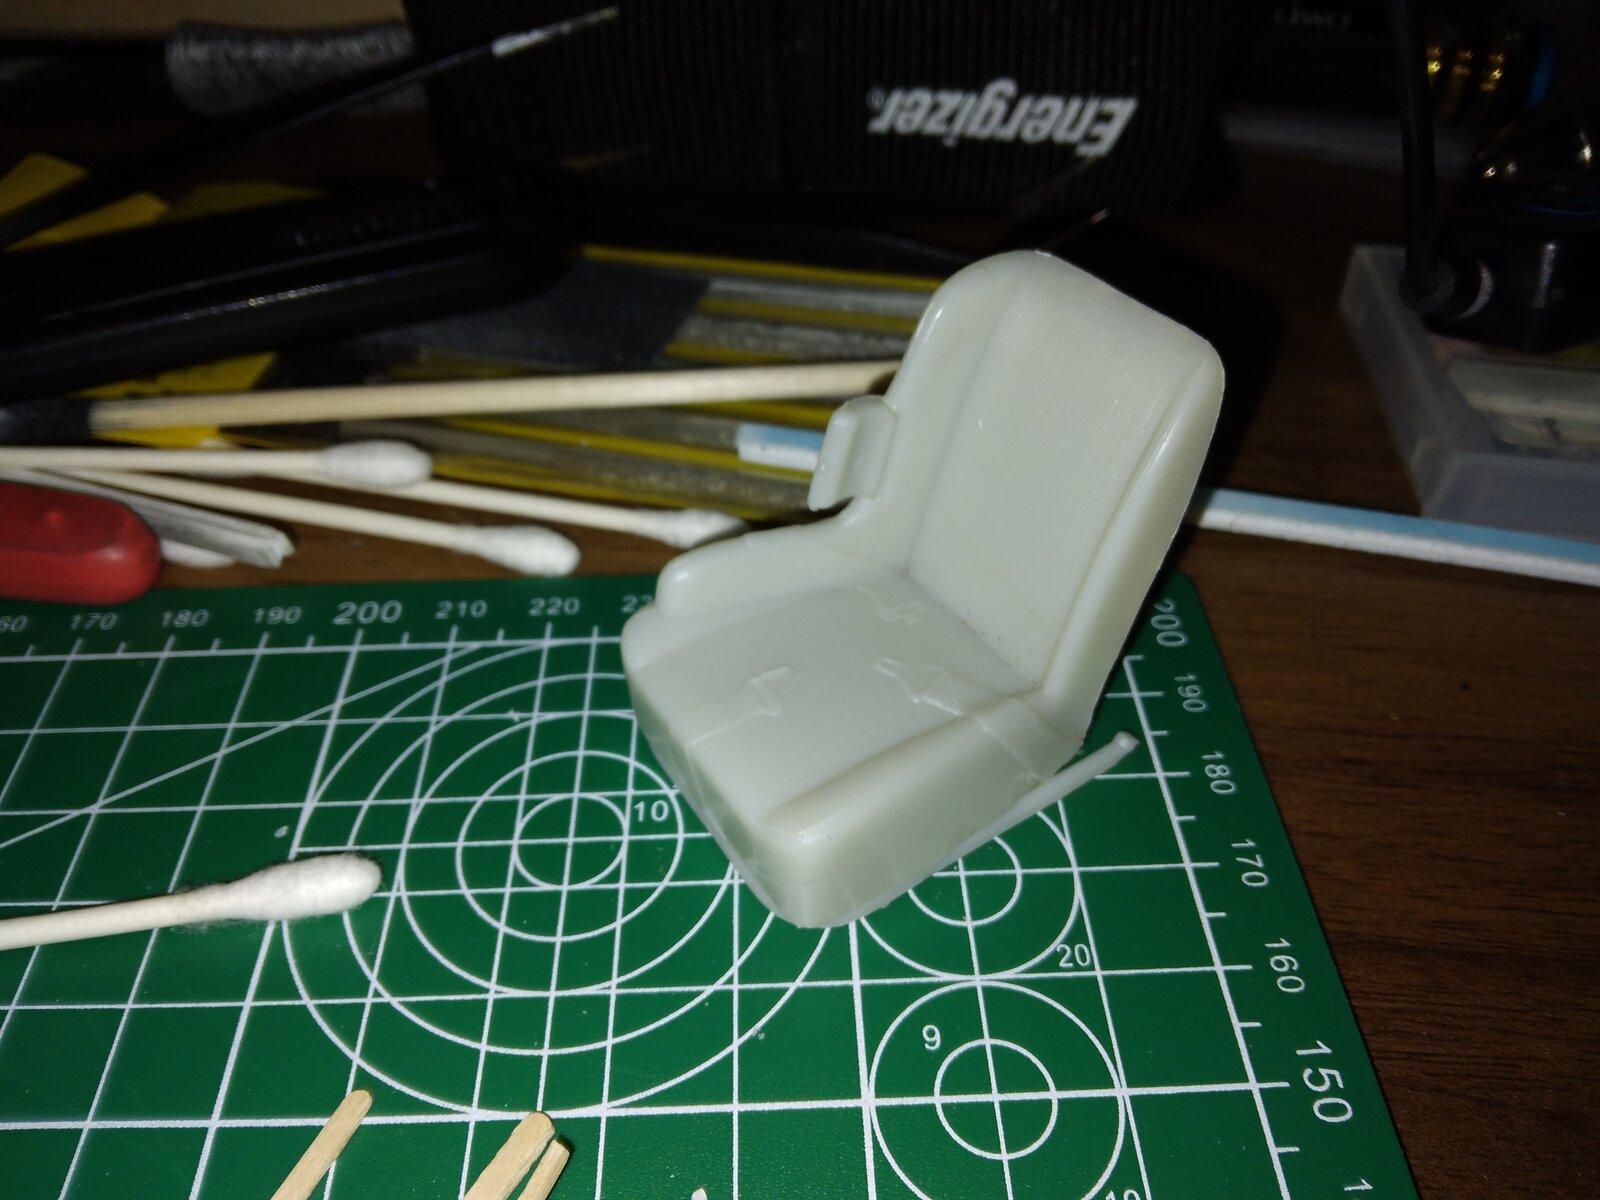
The driver's seat completed, just need some paint on it.
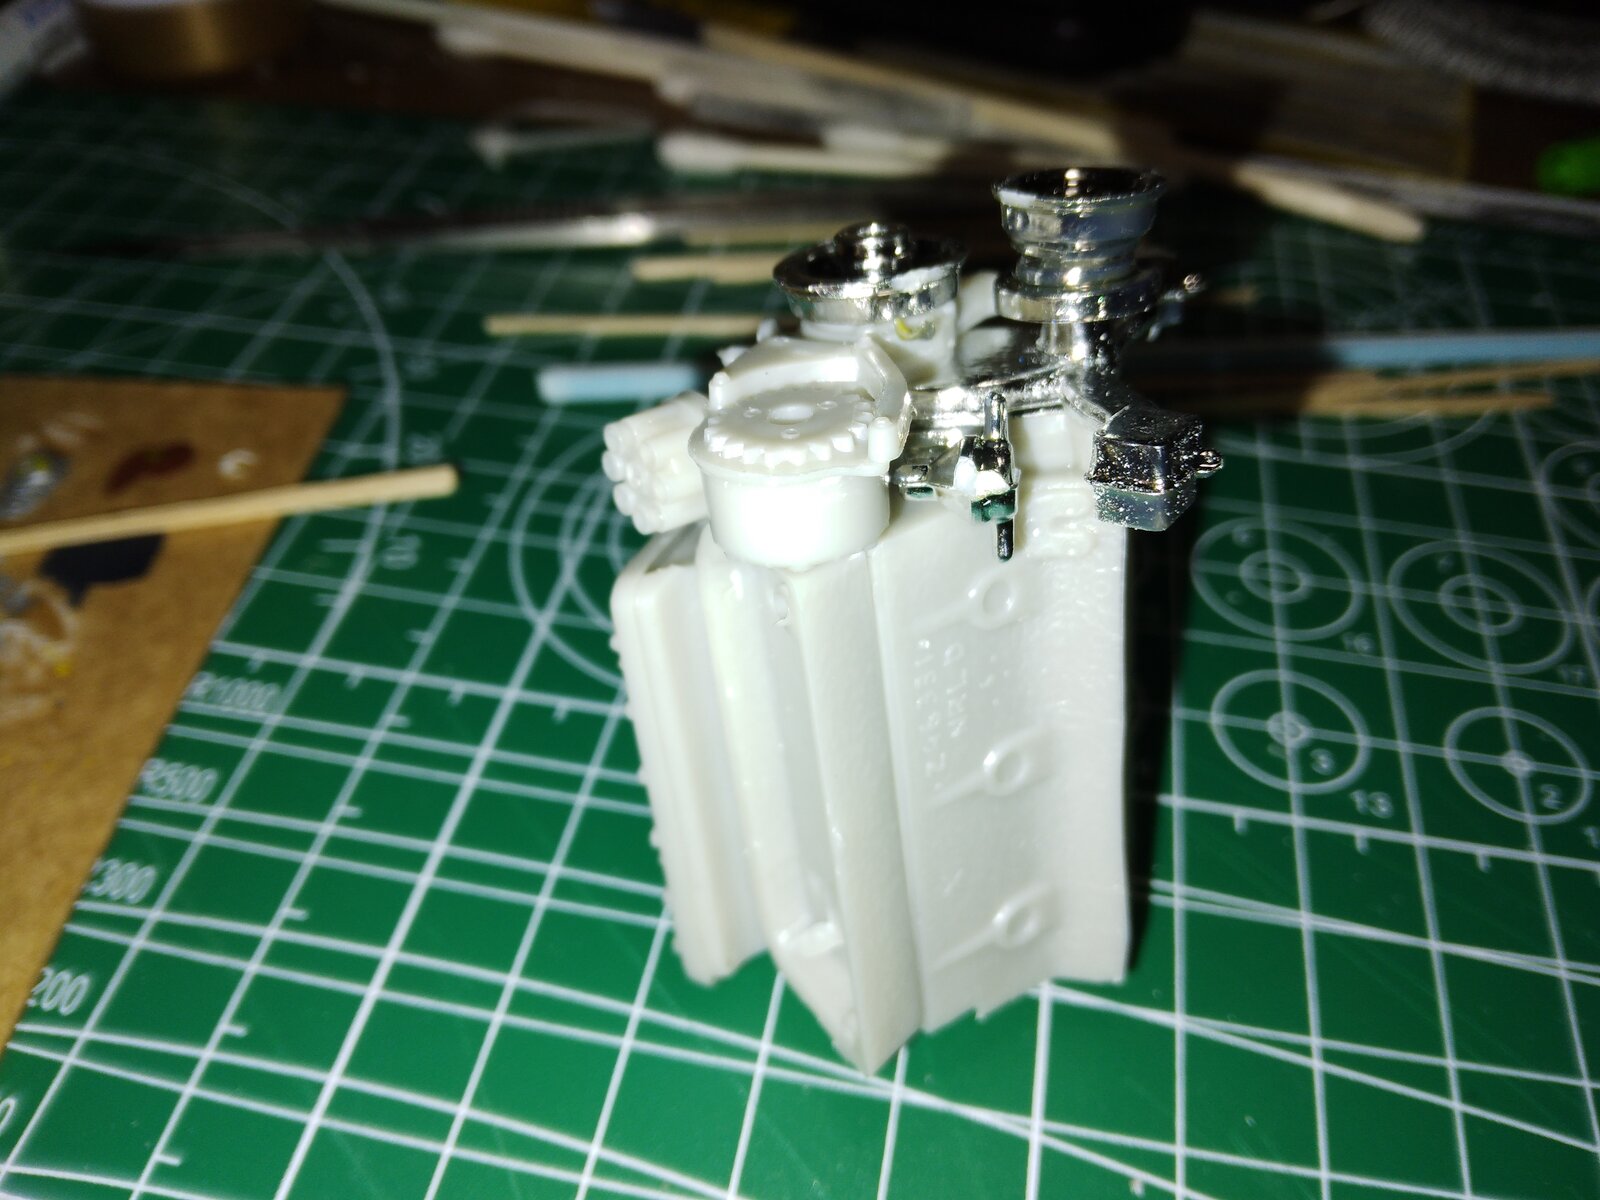
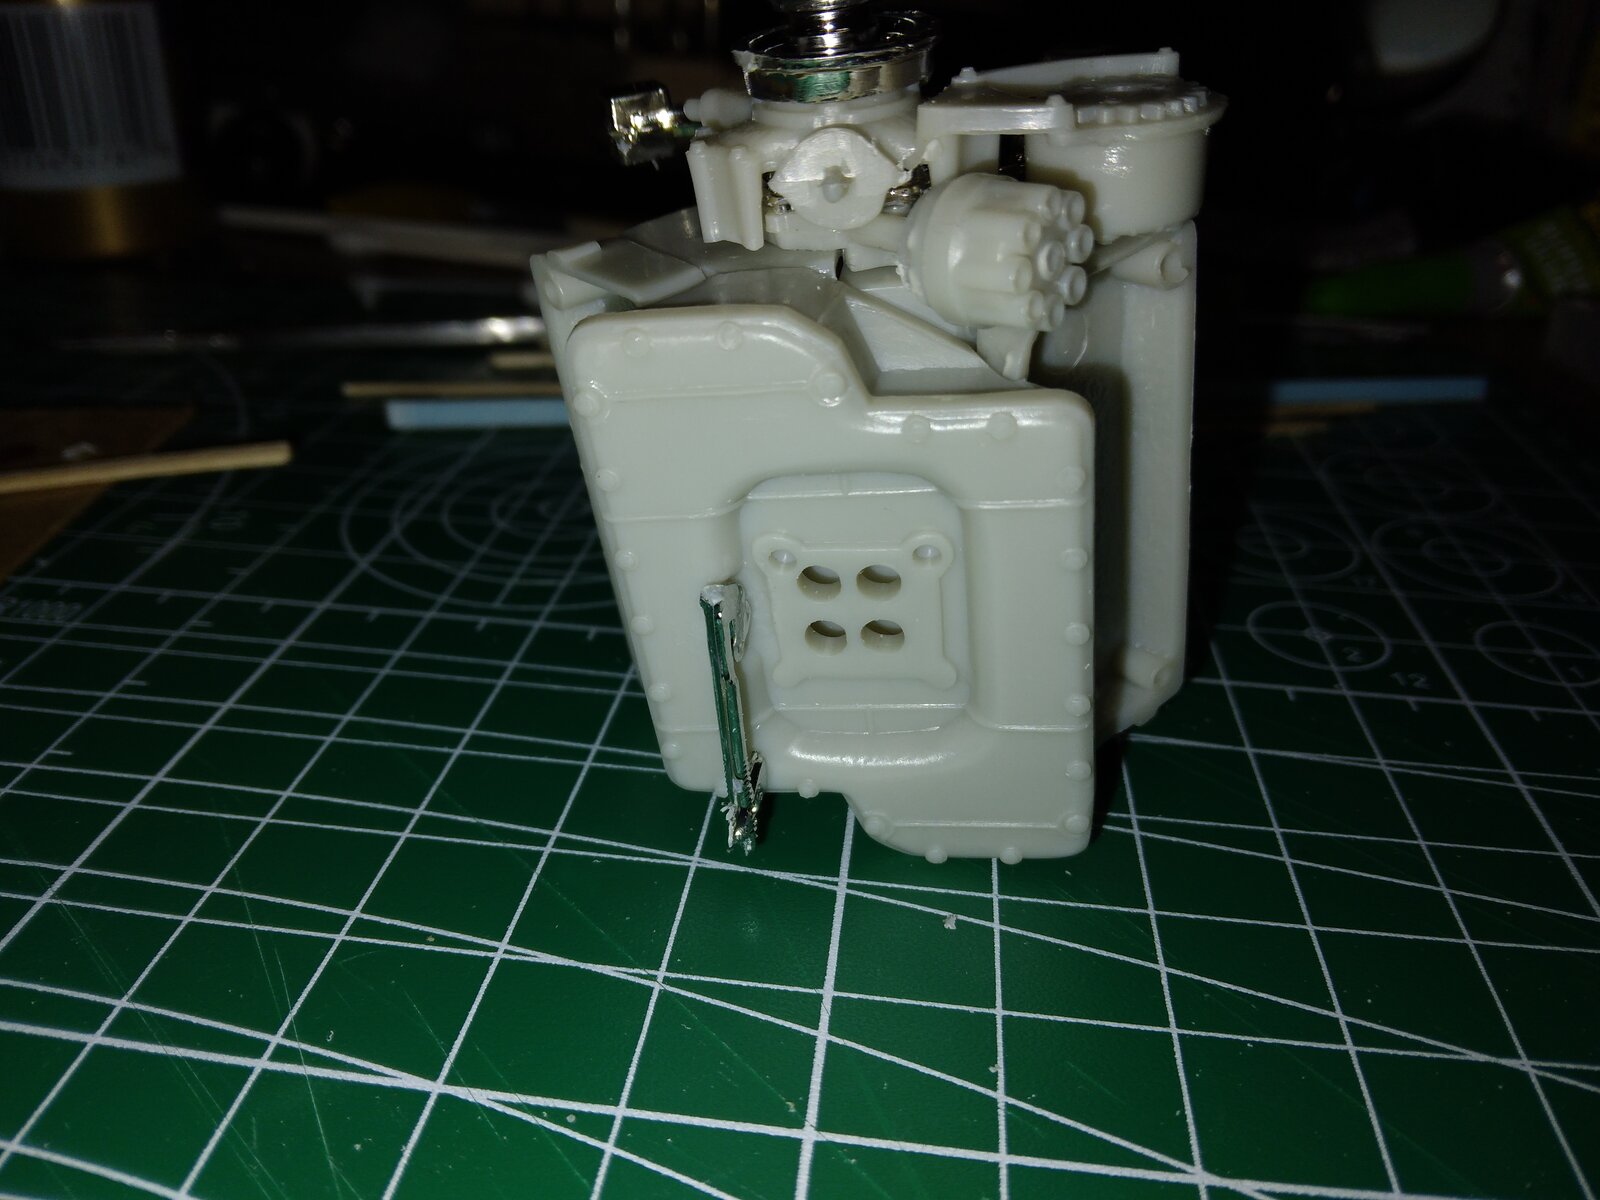
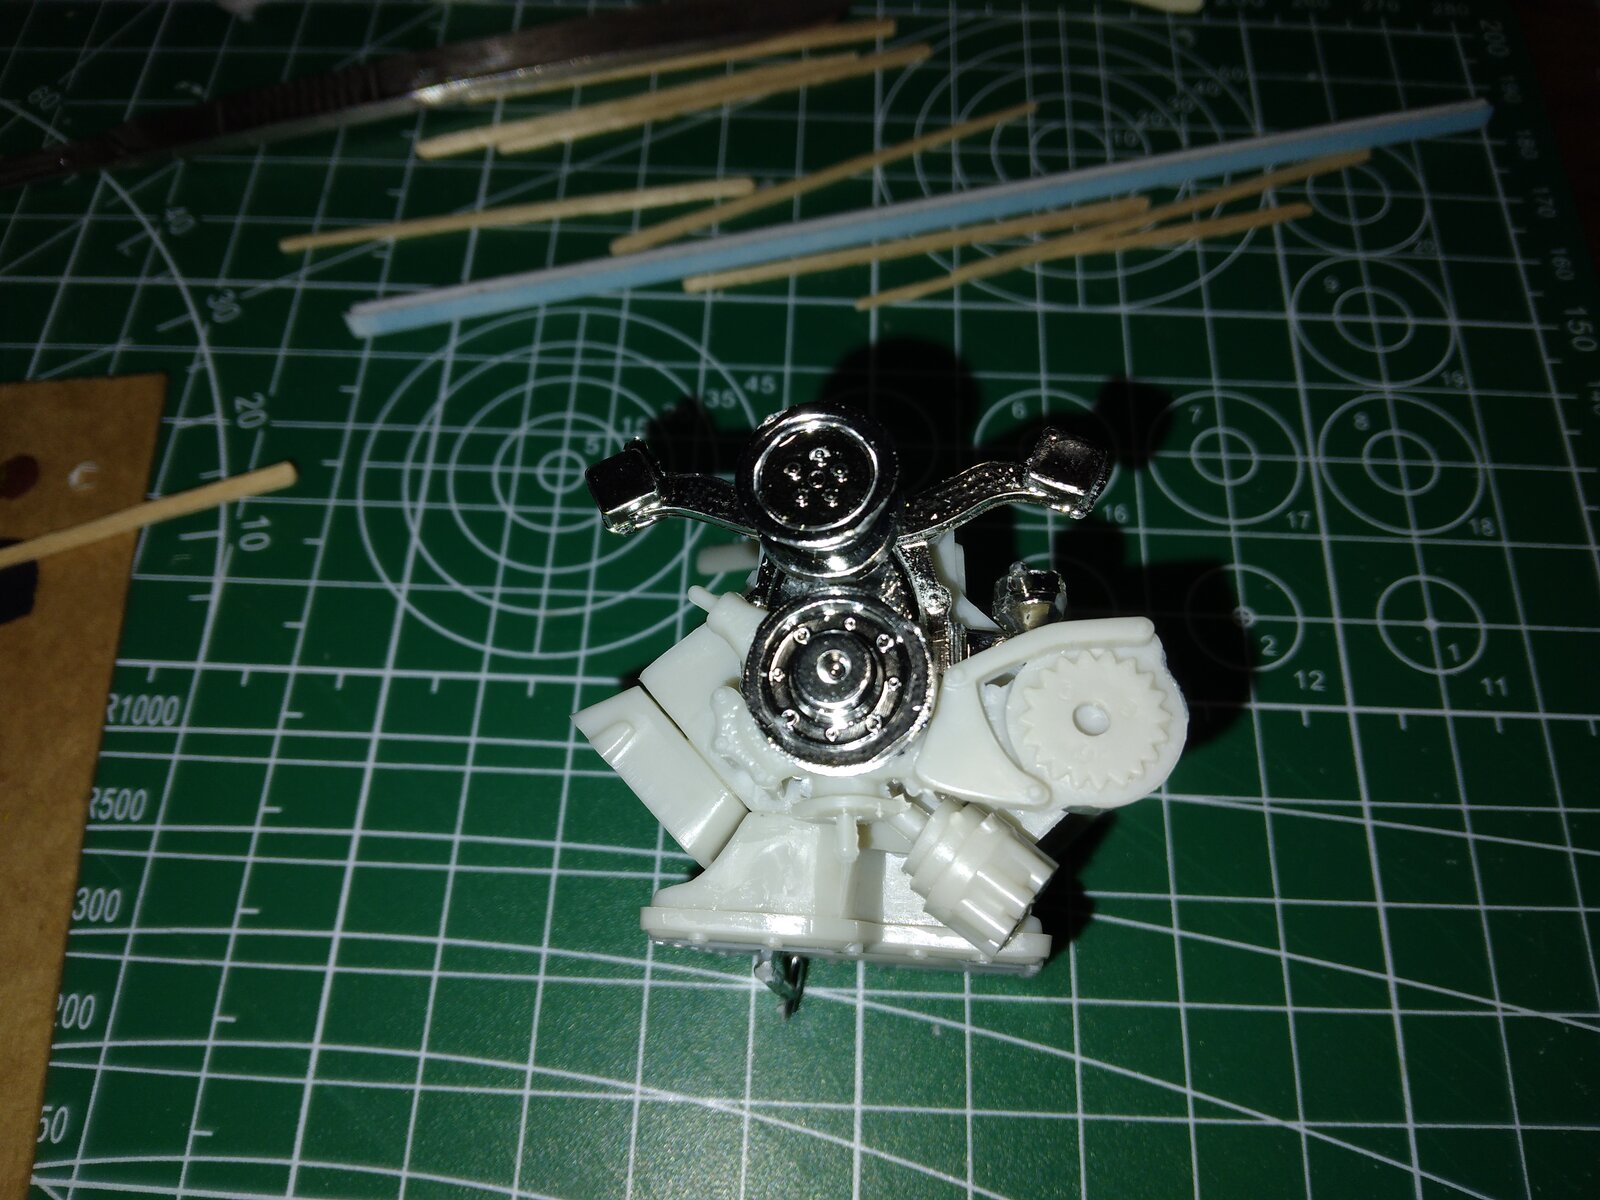
The engine is mostly complete. the fitment for these parts are pretty good. I only had to trim and sand lightly to get a good fit.
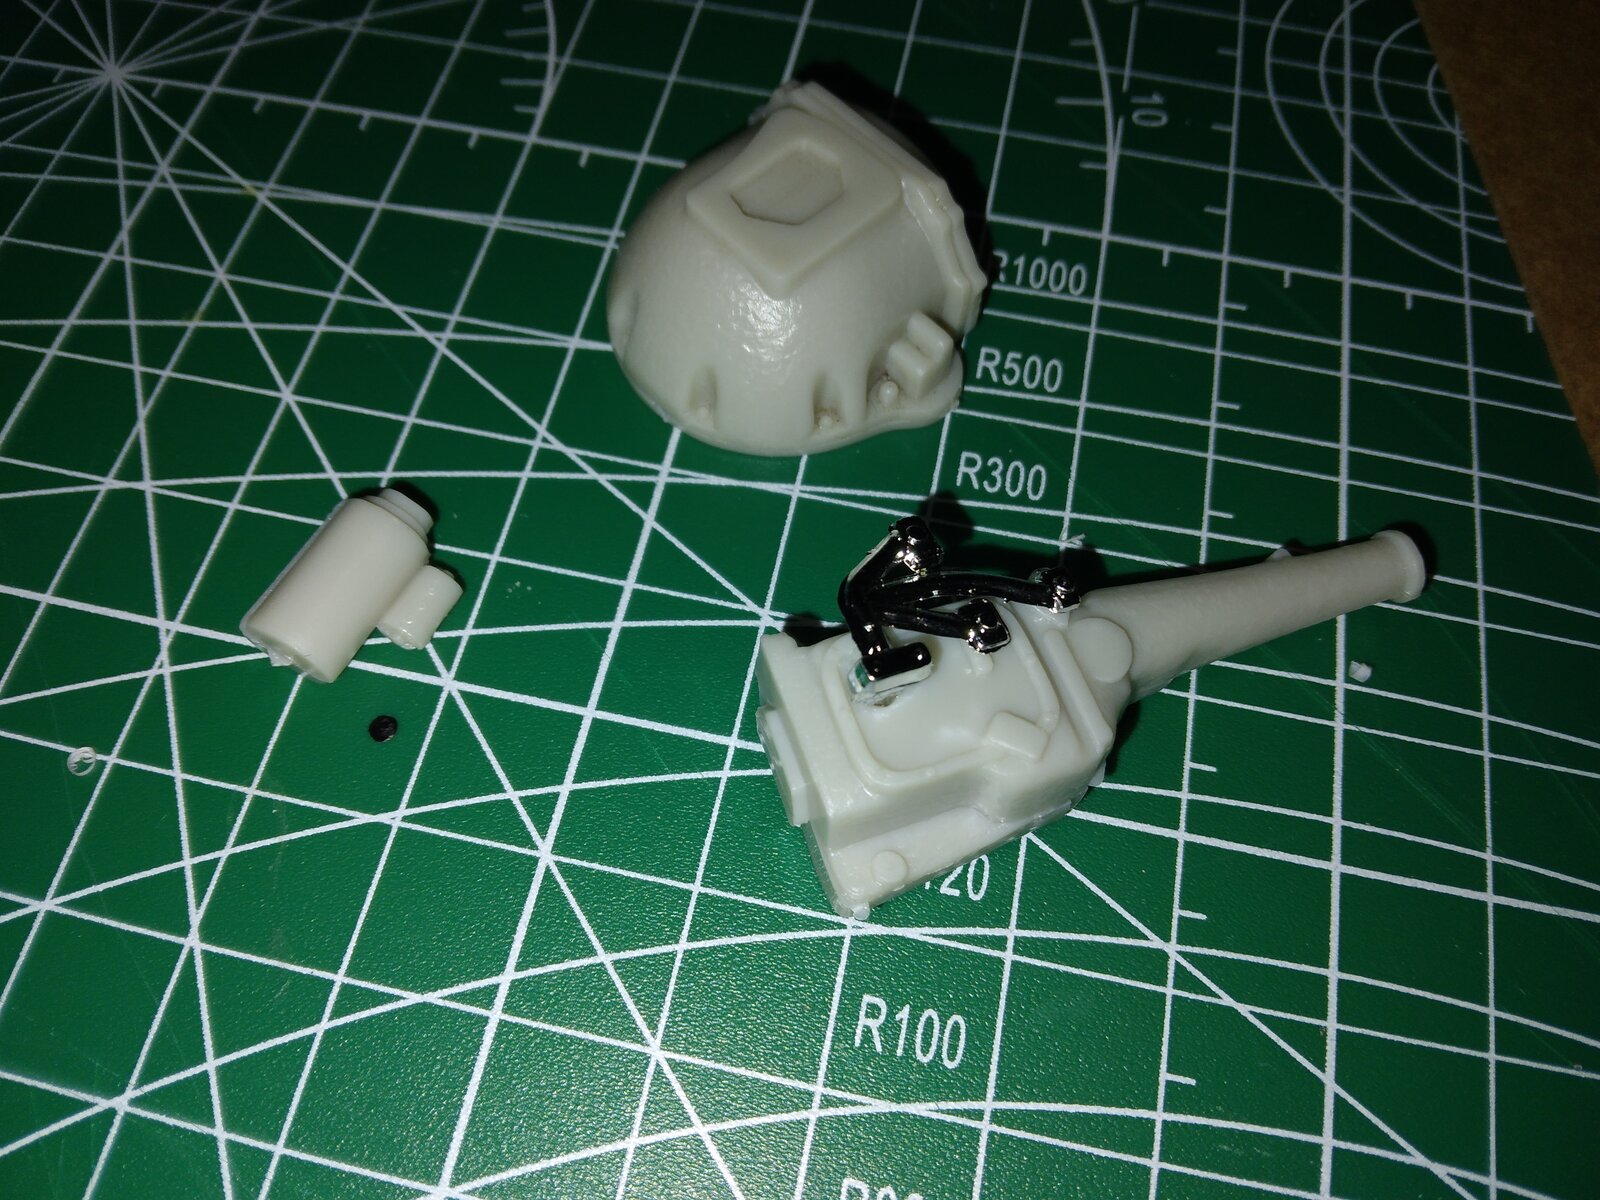
And the transmission and starter assembled last night. a little sanding they will be ready.
Here is the driver's seat, I do have the gaps filled at the back.
The gaps on this piece were huge, even after trimming and sanding for a better fit. I had to use putty all the way around the seam.
The driver's seat completed, just need some paint on it.
The engine is mostly complete. the fitment for these parts are pretty good. I only had to trim and sand lightly to get a good fit.
And the transmission and starter assembled last night. a little sanding they will be ready.

airdave
Well-Known Member
- Joined
- Oct 11, 2012
- Messages
- 280
I may not be a fan of the Dodge Charger, but this model is awesome.
I am watching with much interest!
To see a real car used in racing as opposed to the custom built "not-so-stock" cars of today.
What a rush.
I mean, this thing has the same standard frame with torsion bar suspension that every road car had!
I can't tell you how many of these I repaired back in the day.
Once the floor pan got rusty, the tension on that torsion bar rod, was enough to rip a giant hole in the floor!!
But the big advantage was, this is the only factory designed adjustable ride height suspension!
I'm sure that was a bonus for a race car (being able to raise or lower the front end).
I am watching with much interest!
To see a real car used in racing as opposed to the custom built "not-so-stock" cars of today.
What a rush.
I mean, this thing has the same standard frame with torsion bar suspension that every road car had!
I can't tell you how many of these I repaired back in the day.
Once the floor pan got rusty, the tension on that torsion bar rod, was enough to rip a giant hole in the floor!!
But the big advantage was, this is the only factory designed adjustable ride height suspension!
I'm sure that was a bonus for a race car (being able to raise or lower the front end).


![Pampers Sensitive Baby Wipes, Clinically Proven, Fragrance Free, Unscented, Water Based, Hypoallergenic, Multi-Use, Hand Wipes 336 Wipes Total (6X Flip-Top Packs) [Packaging May Vary]](https://m.media-amazon.com/images/I/41KLBHu9CAL._SL500_.jpg)






As an Amazon Associate we earn from qualifying purchases. Product prices and availability are accurate as of the date/time indicated and are subject to change.


Yes, Yes it is my fault. I'll admit it with a smile.
Been a bit but I finally laid some paint down. Had to get the right paint to make Petty Blue and work is a pain right now, busy busy busy there.
Now I have some hand painting to do, then on to the assembly make it start looking like a race car.
Now I have some hand painting to do, then on to the assembly make it start looking like a race car.
Got a little bit more done on the model.
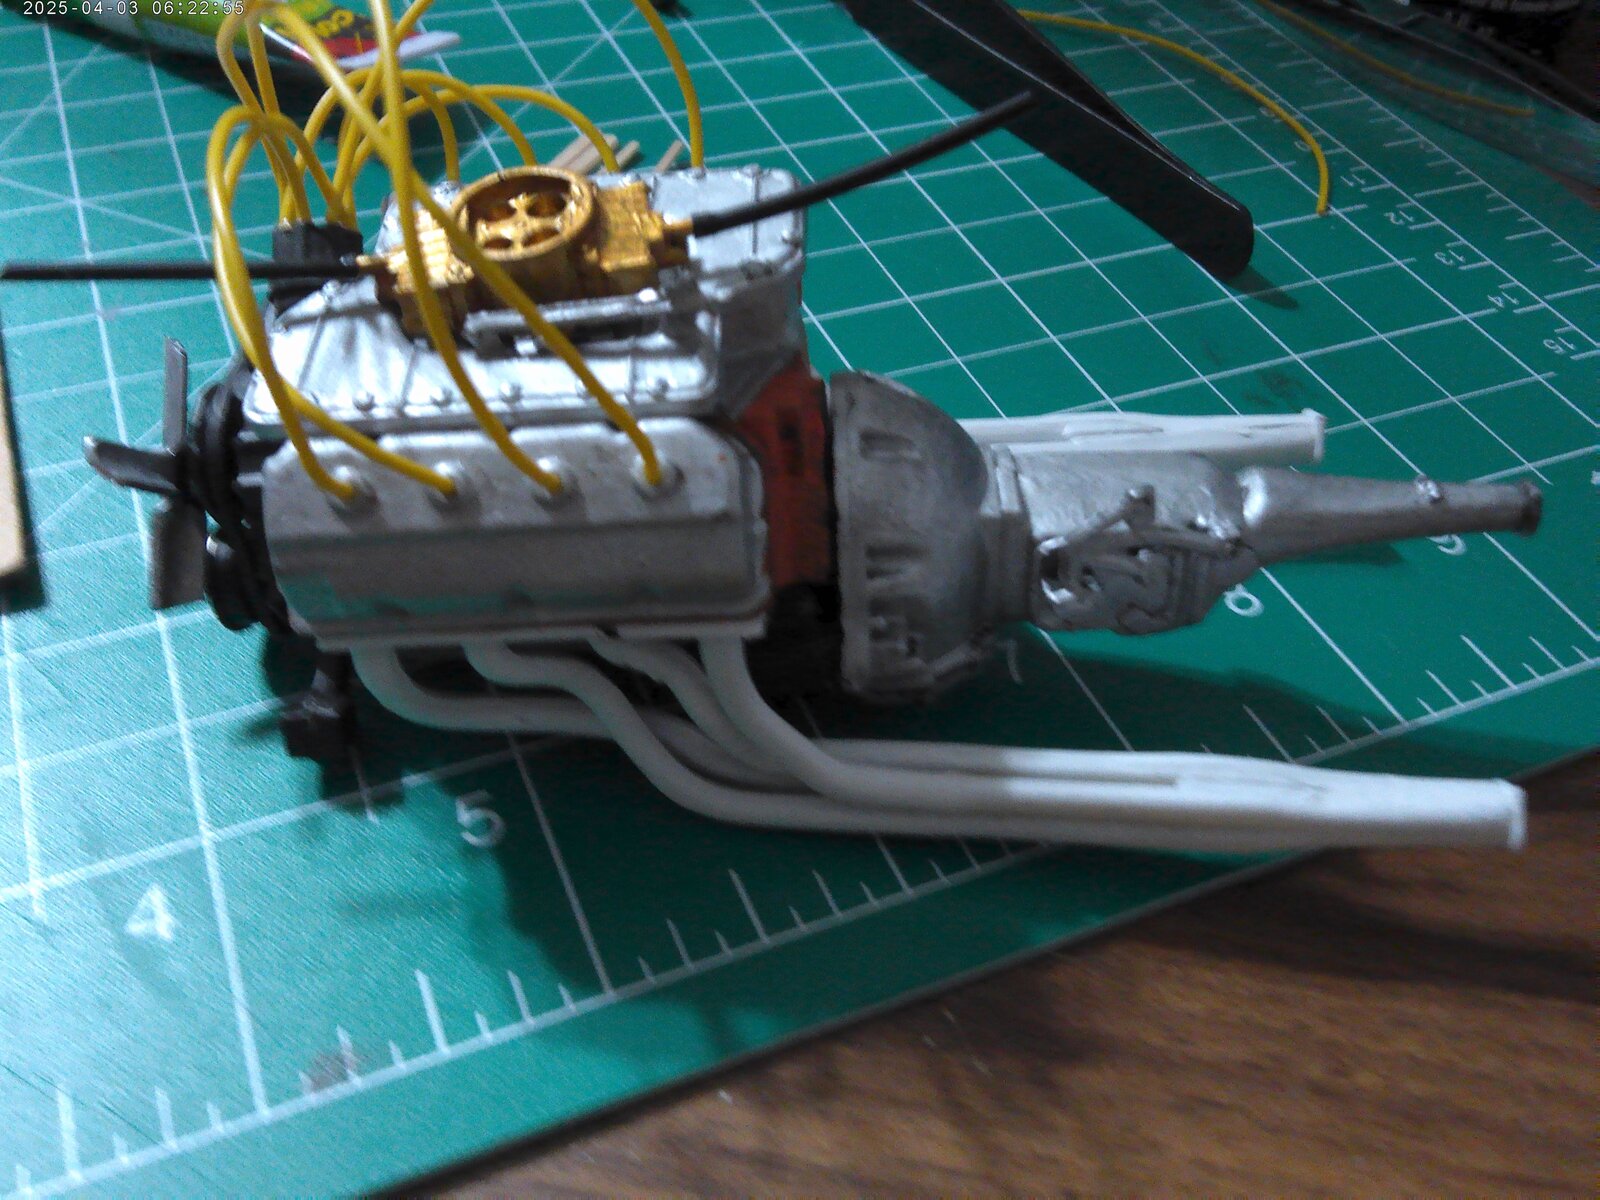
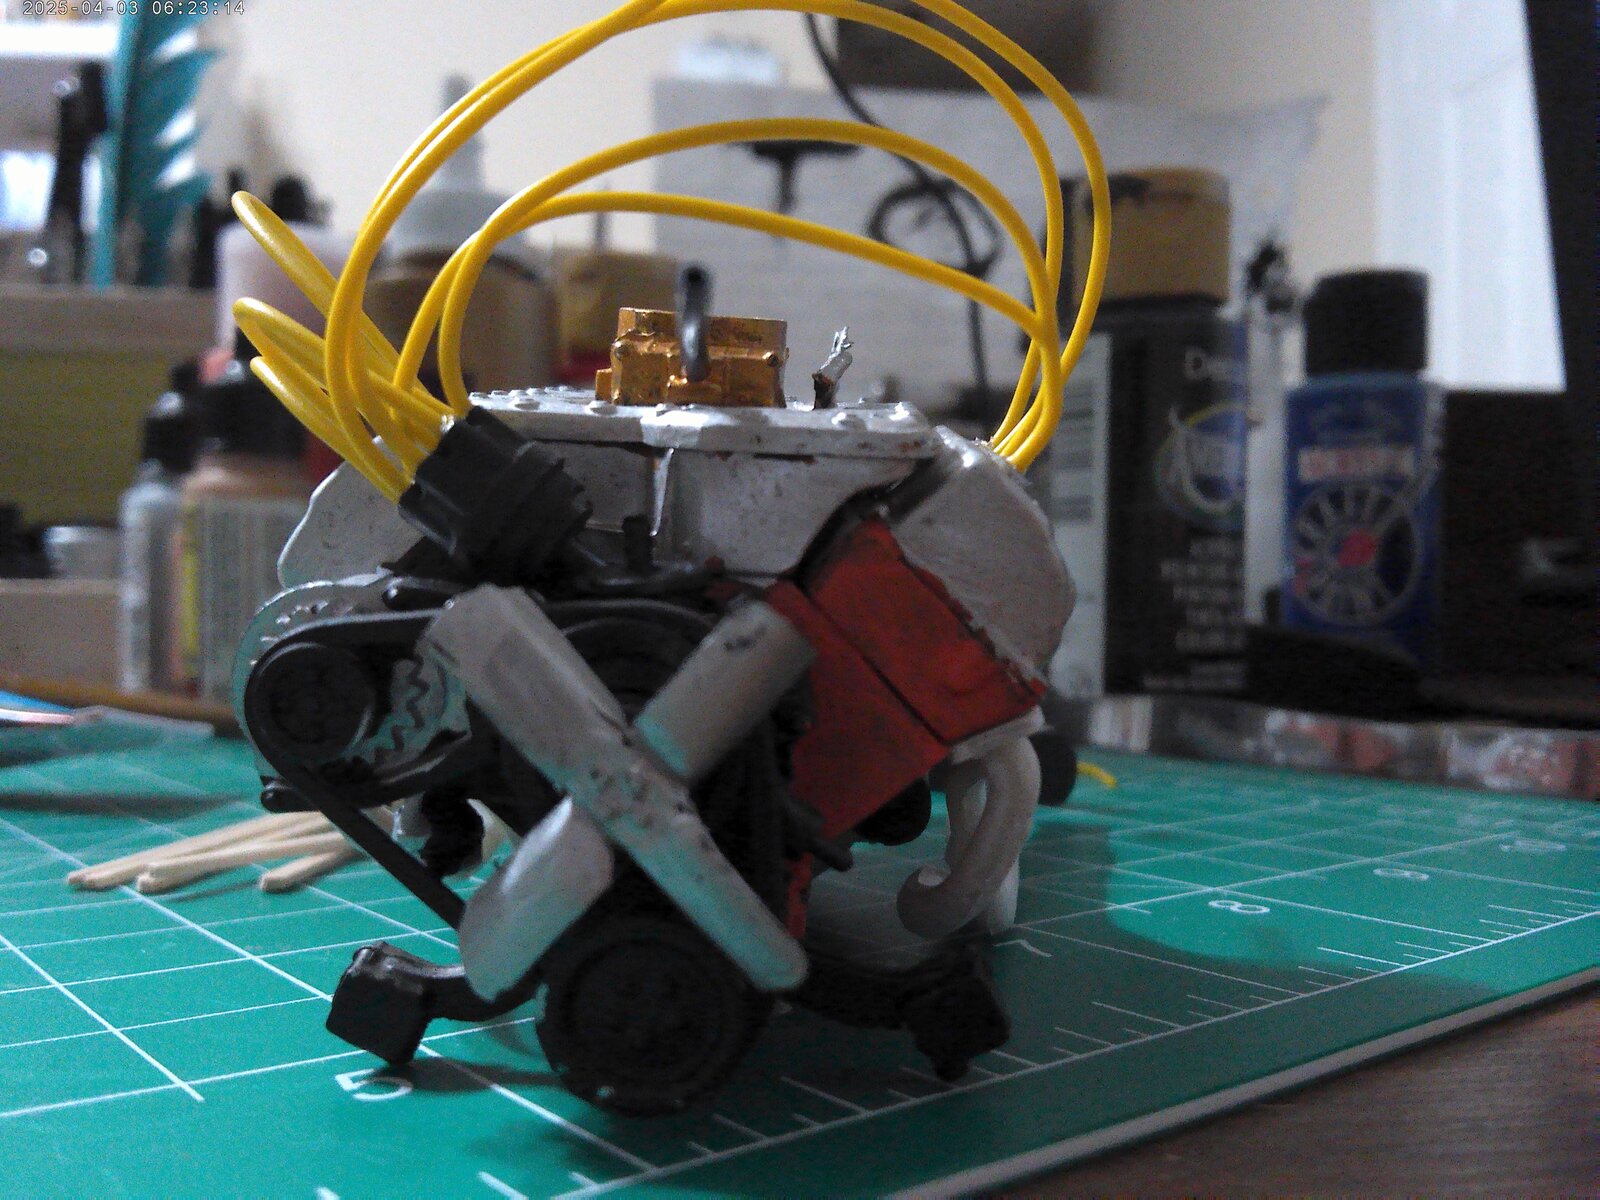
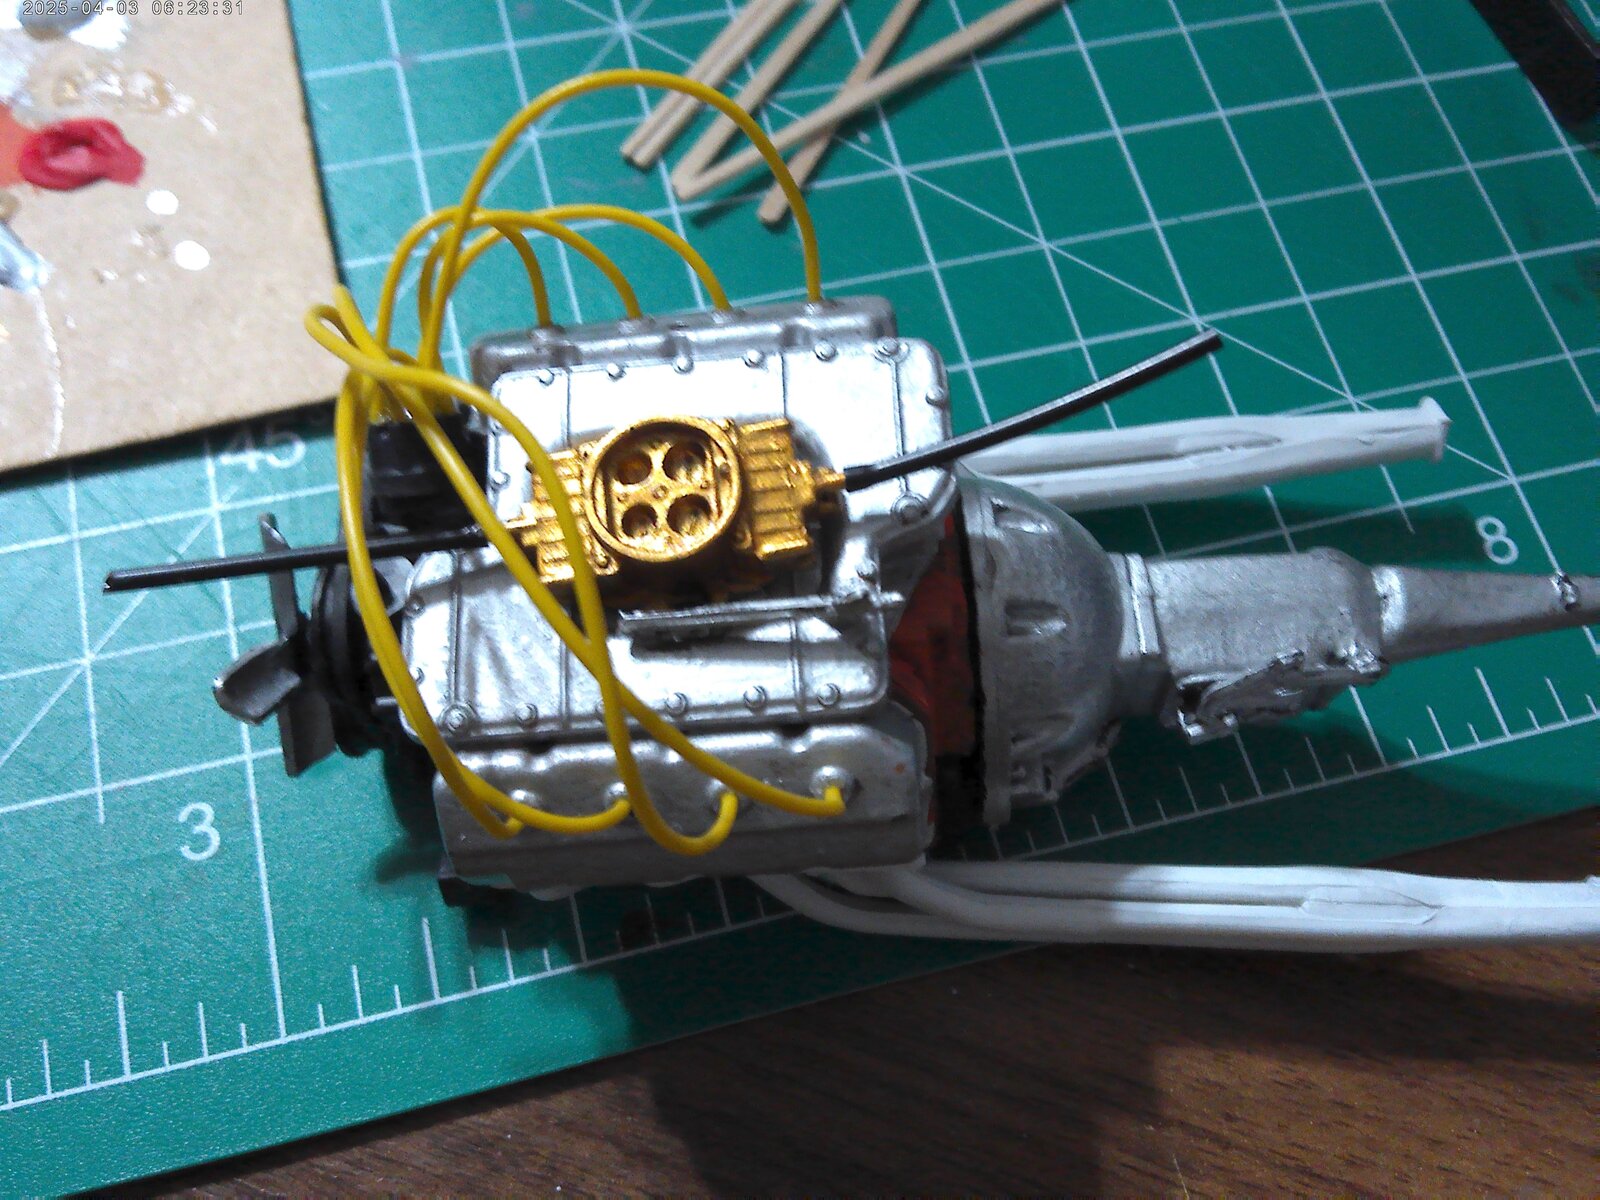
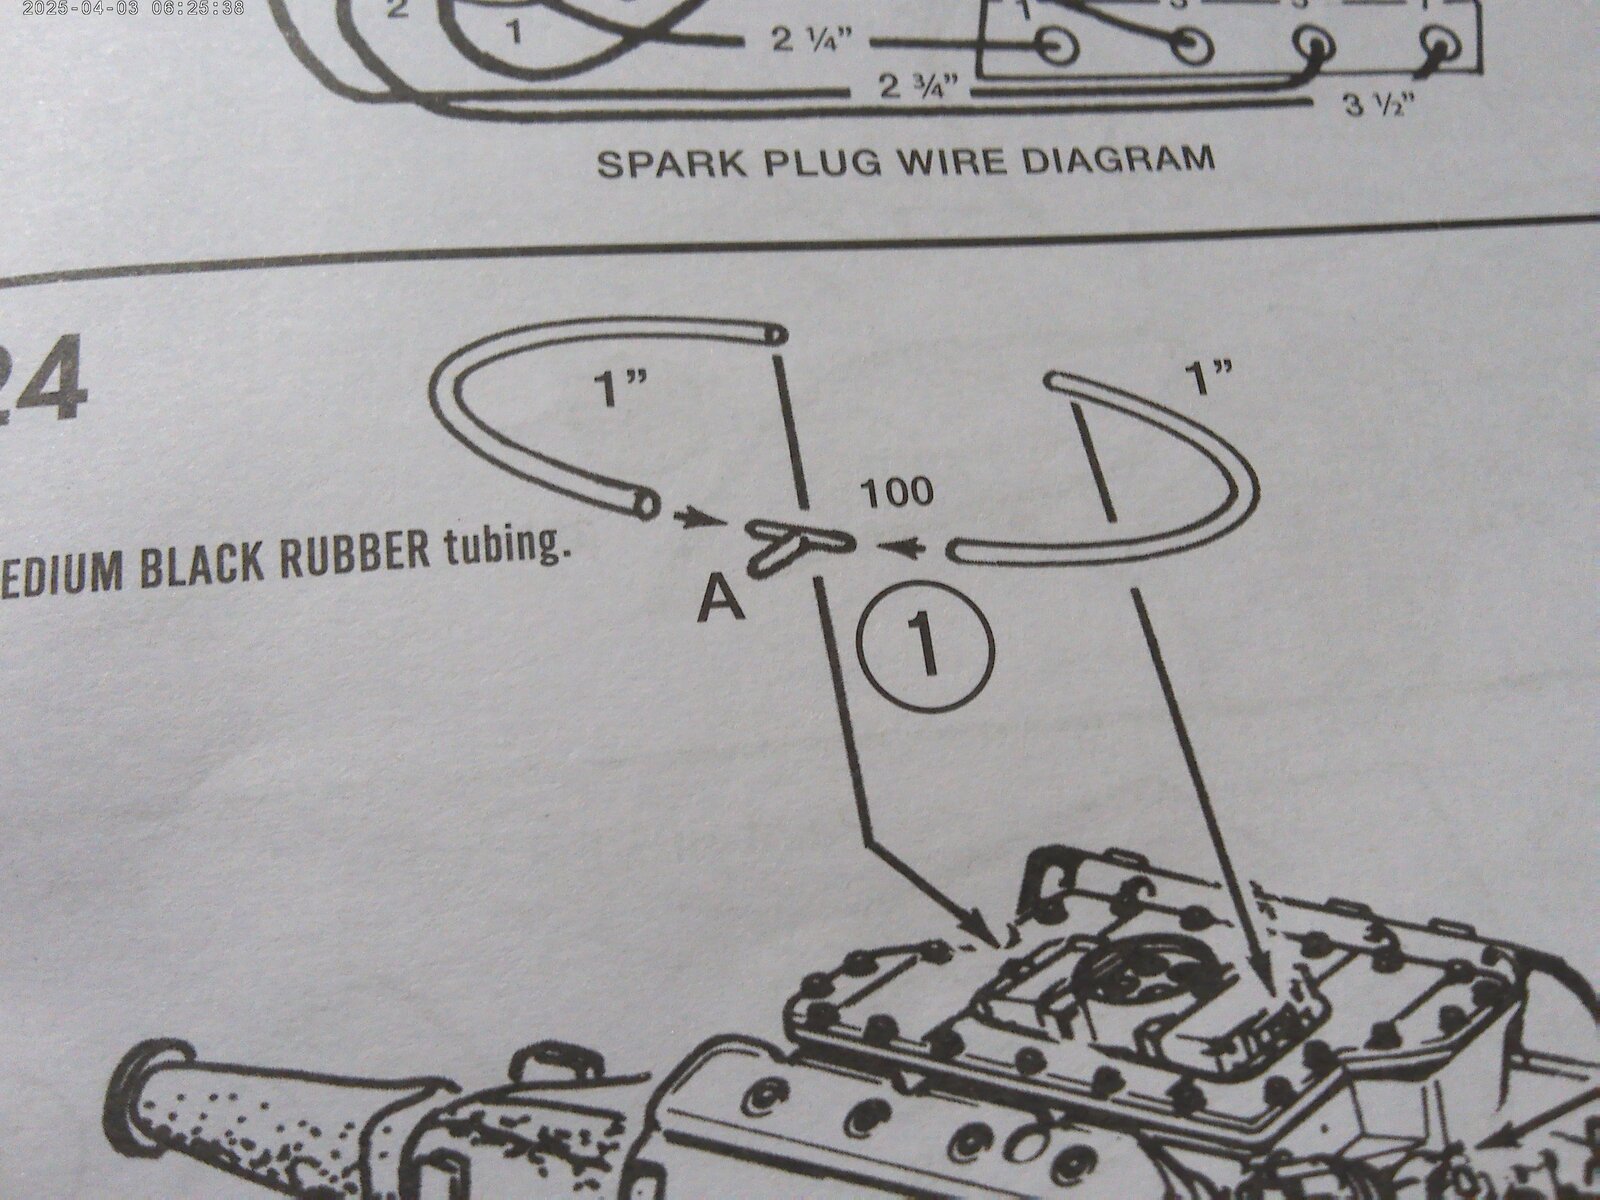
I have the plug wires in place and some of the tubing. However I am missing part A so I am going to have to make that part. I am planning on making it out of copper wire and a little bit of putty.
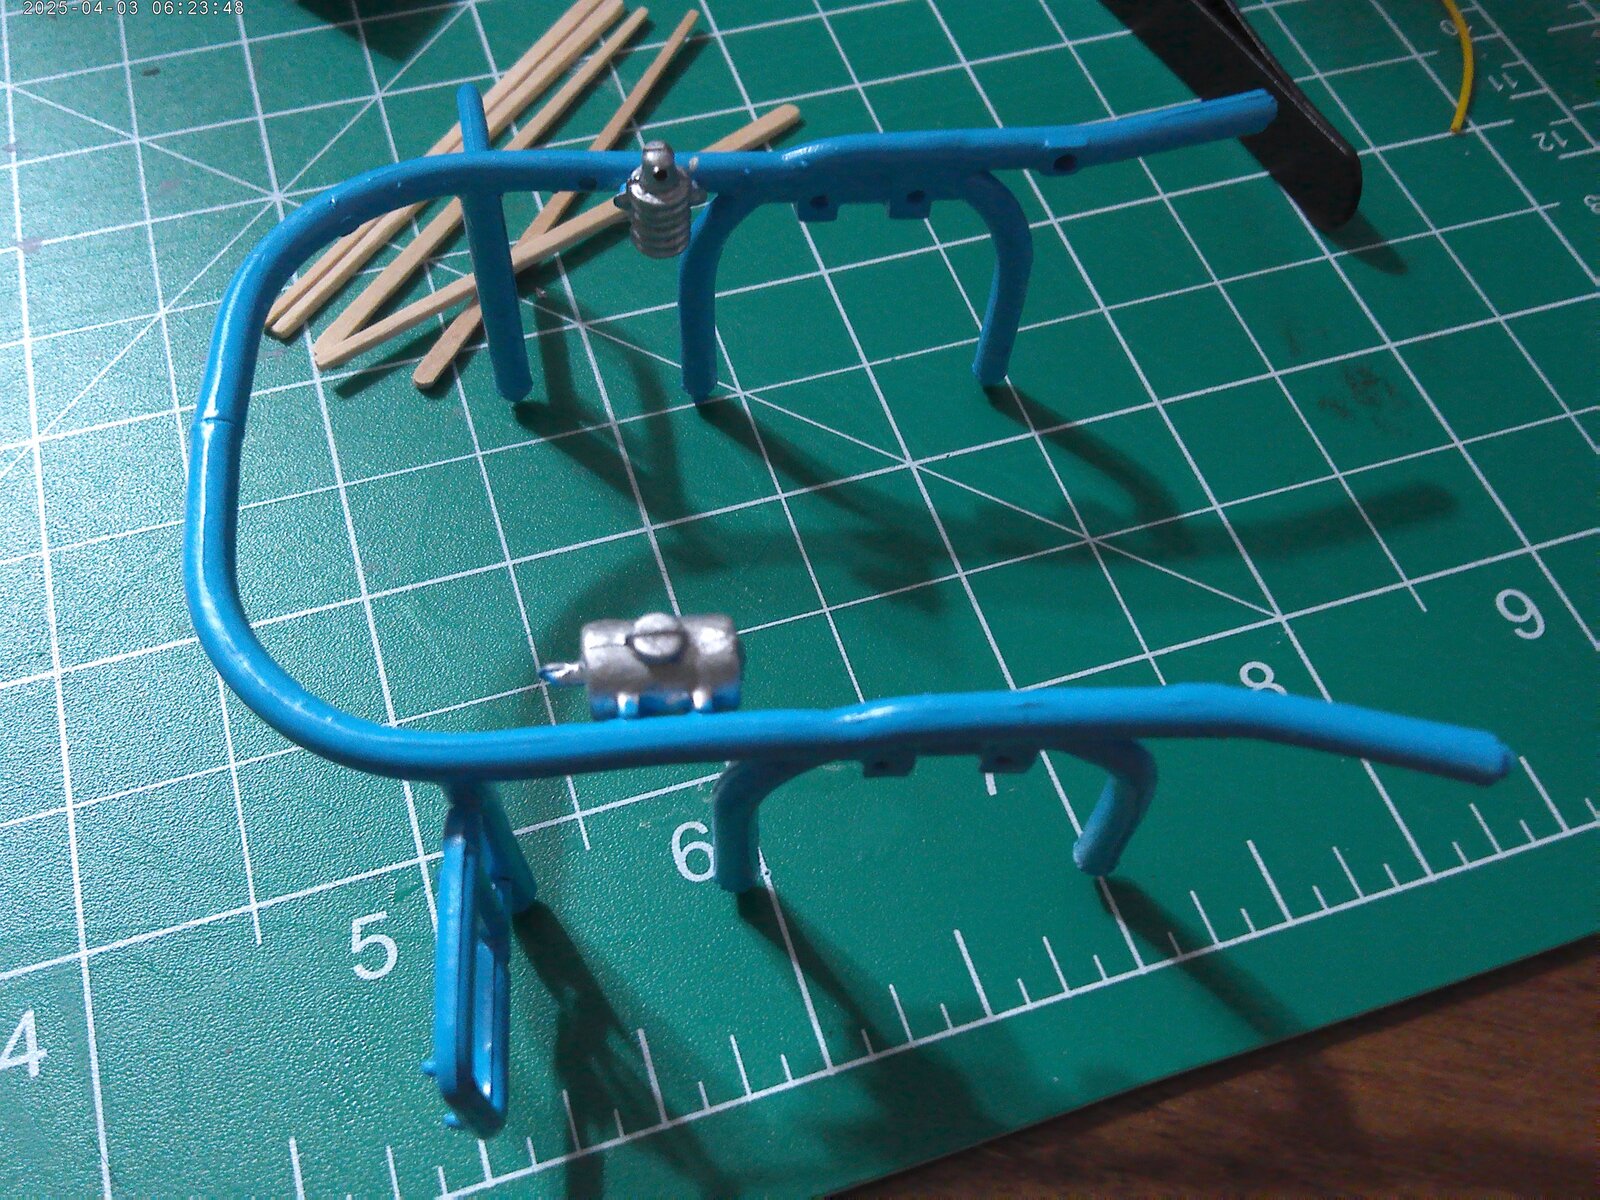
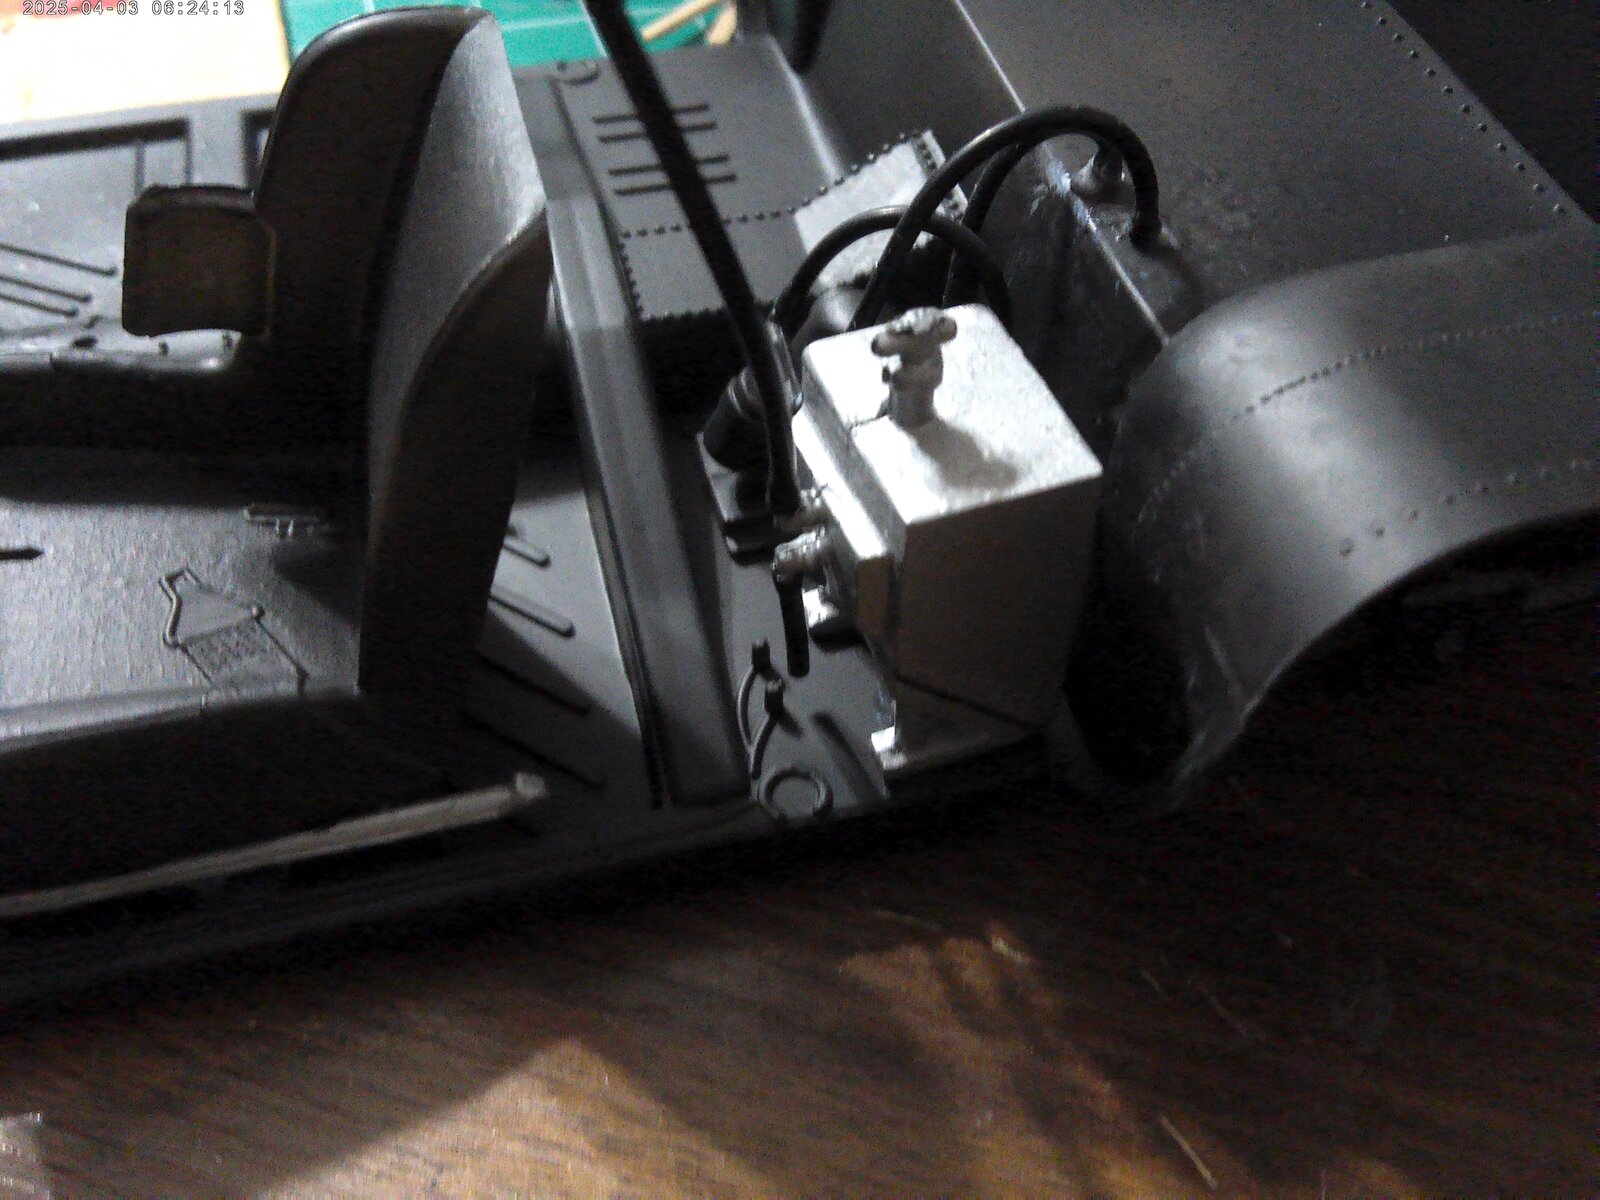
Here I cut some of the tubing too short and need to re do it, good thing I have plenty of vinyl tube
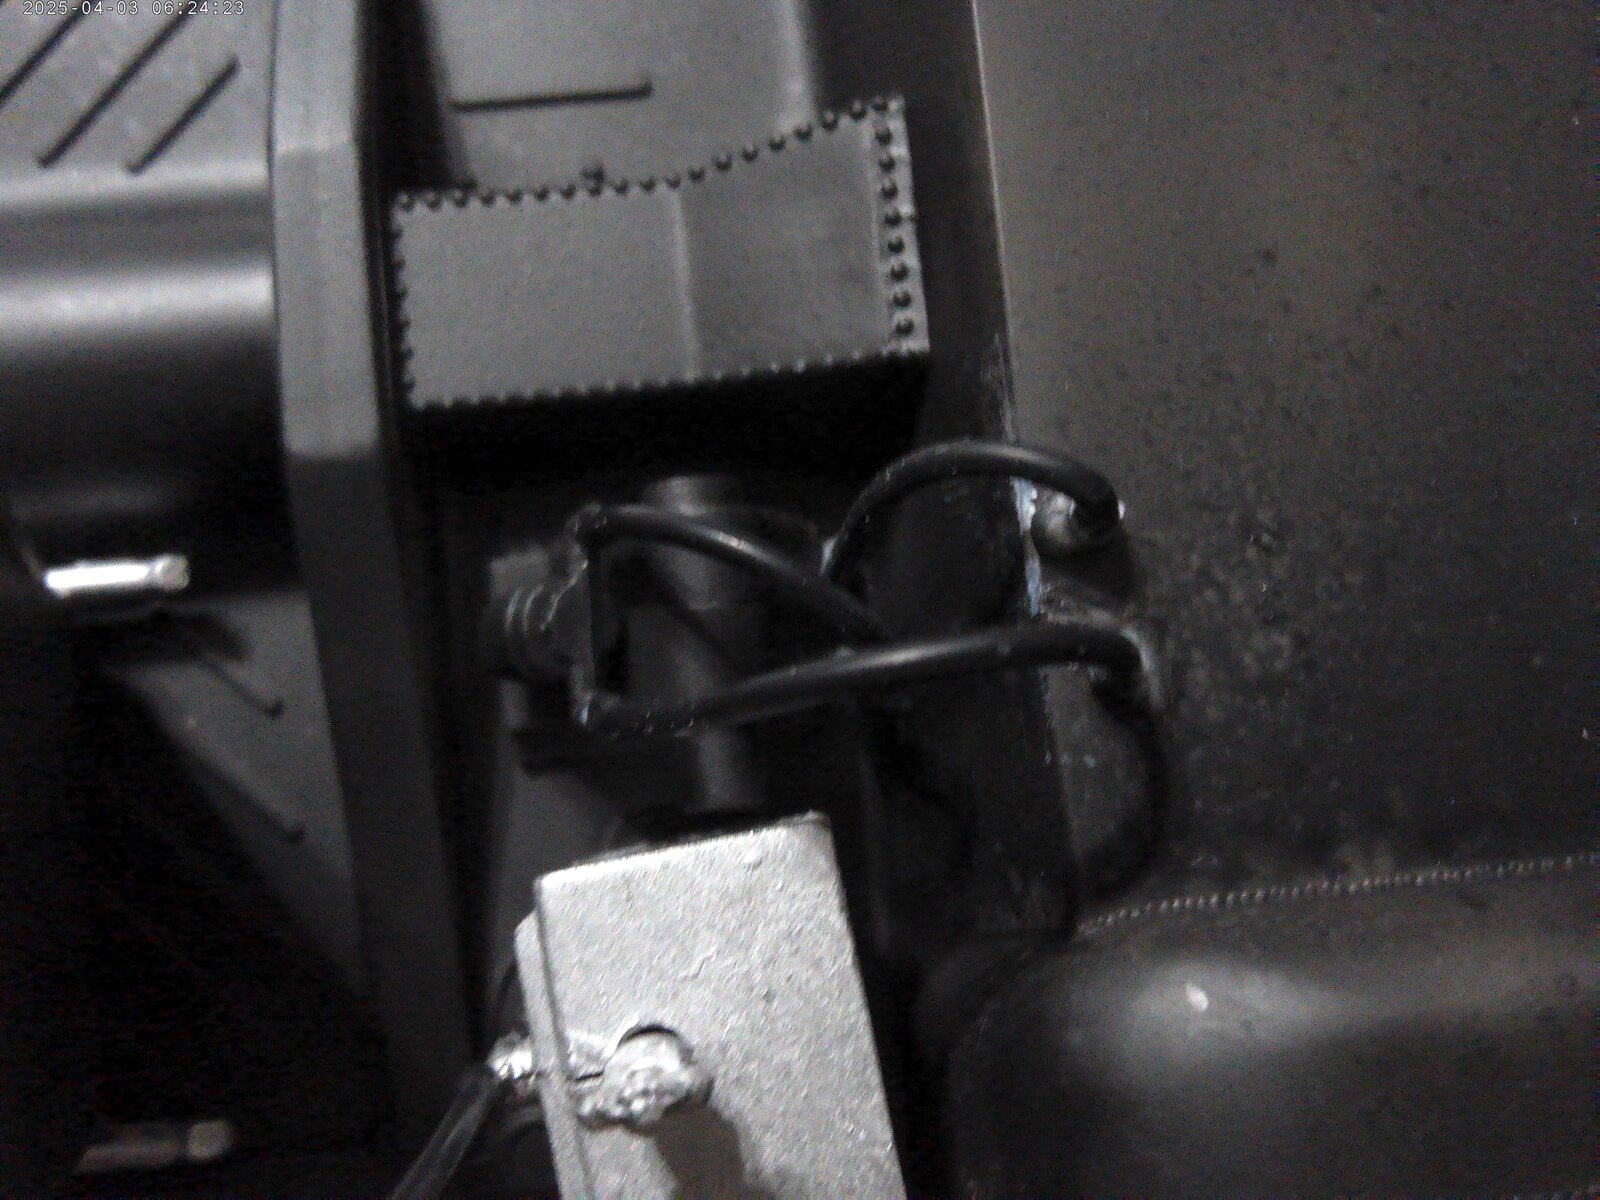
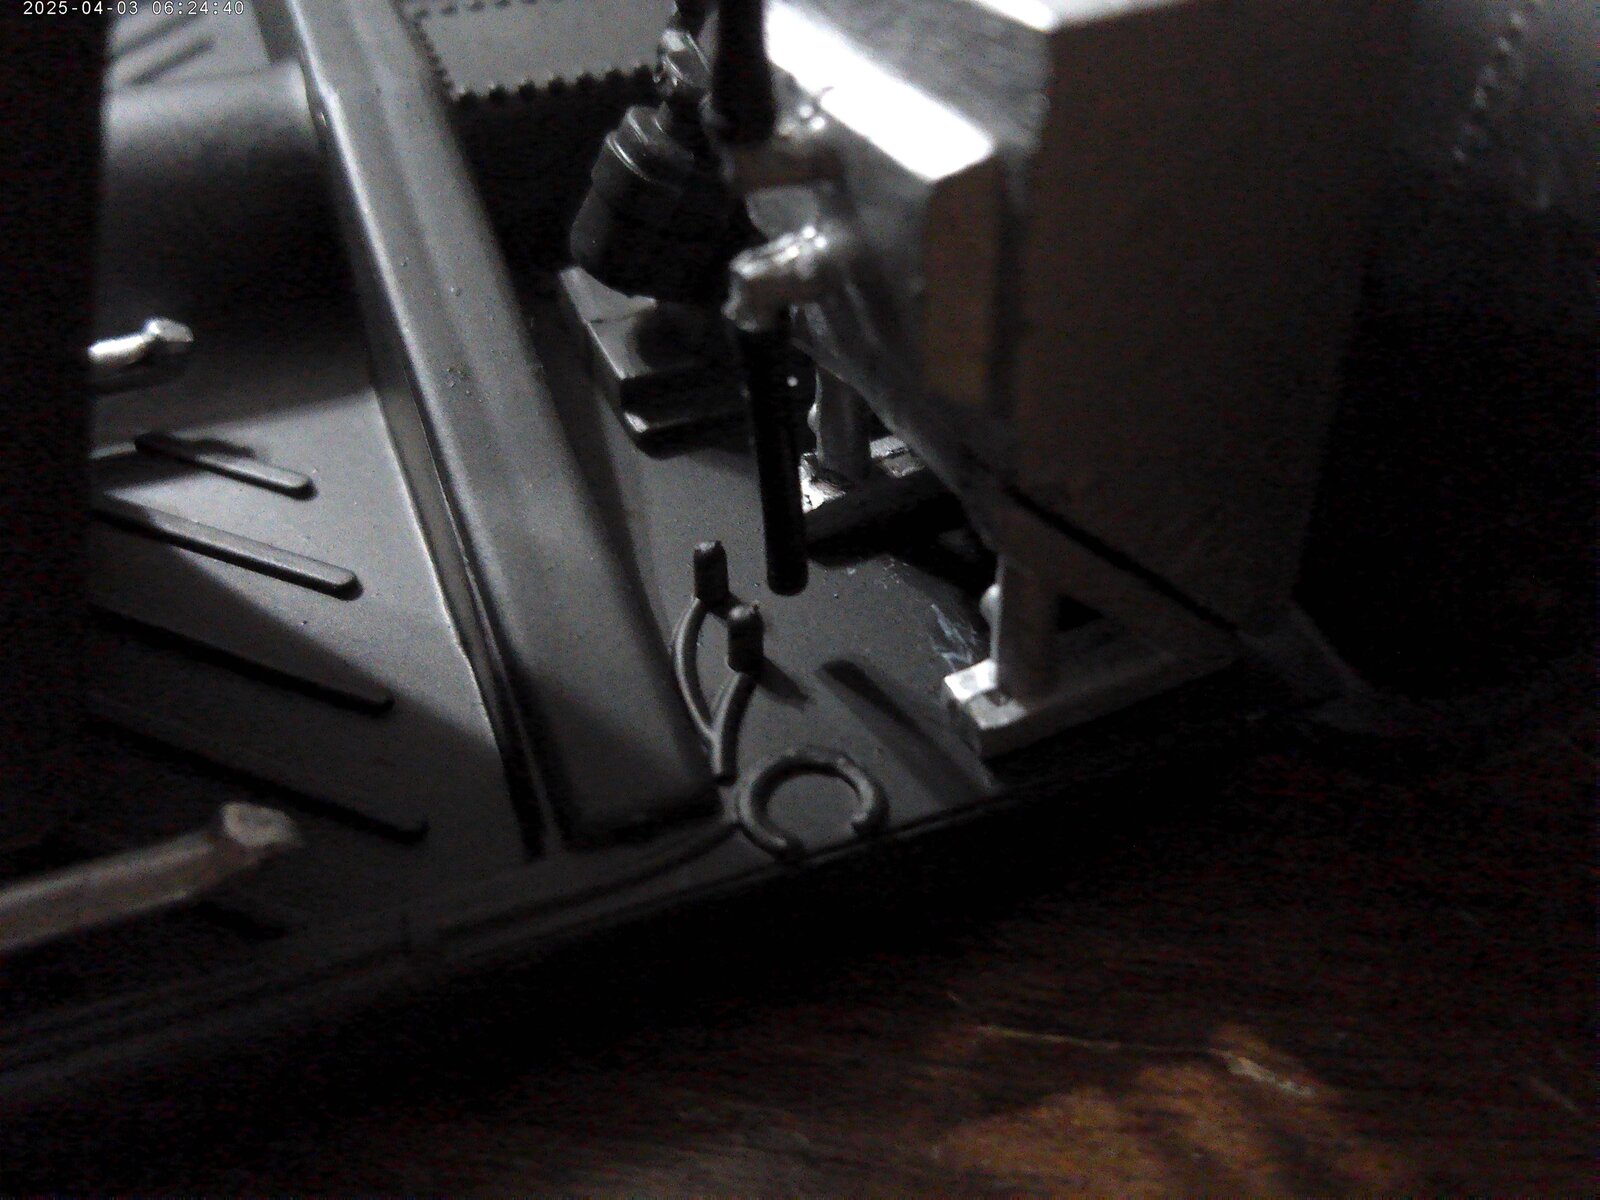
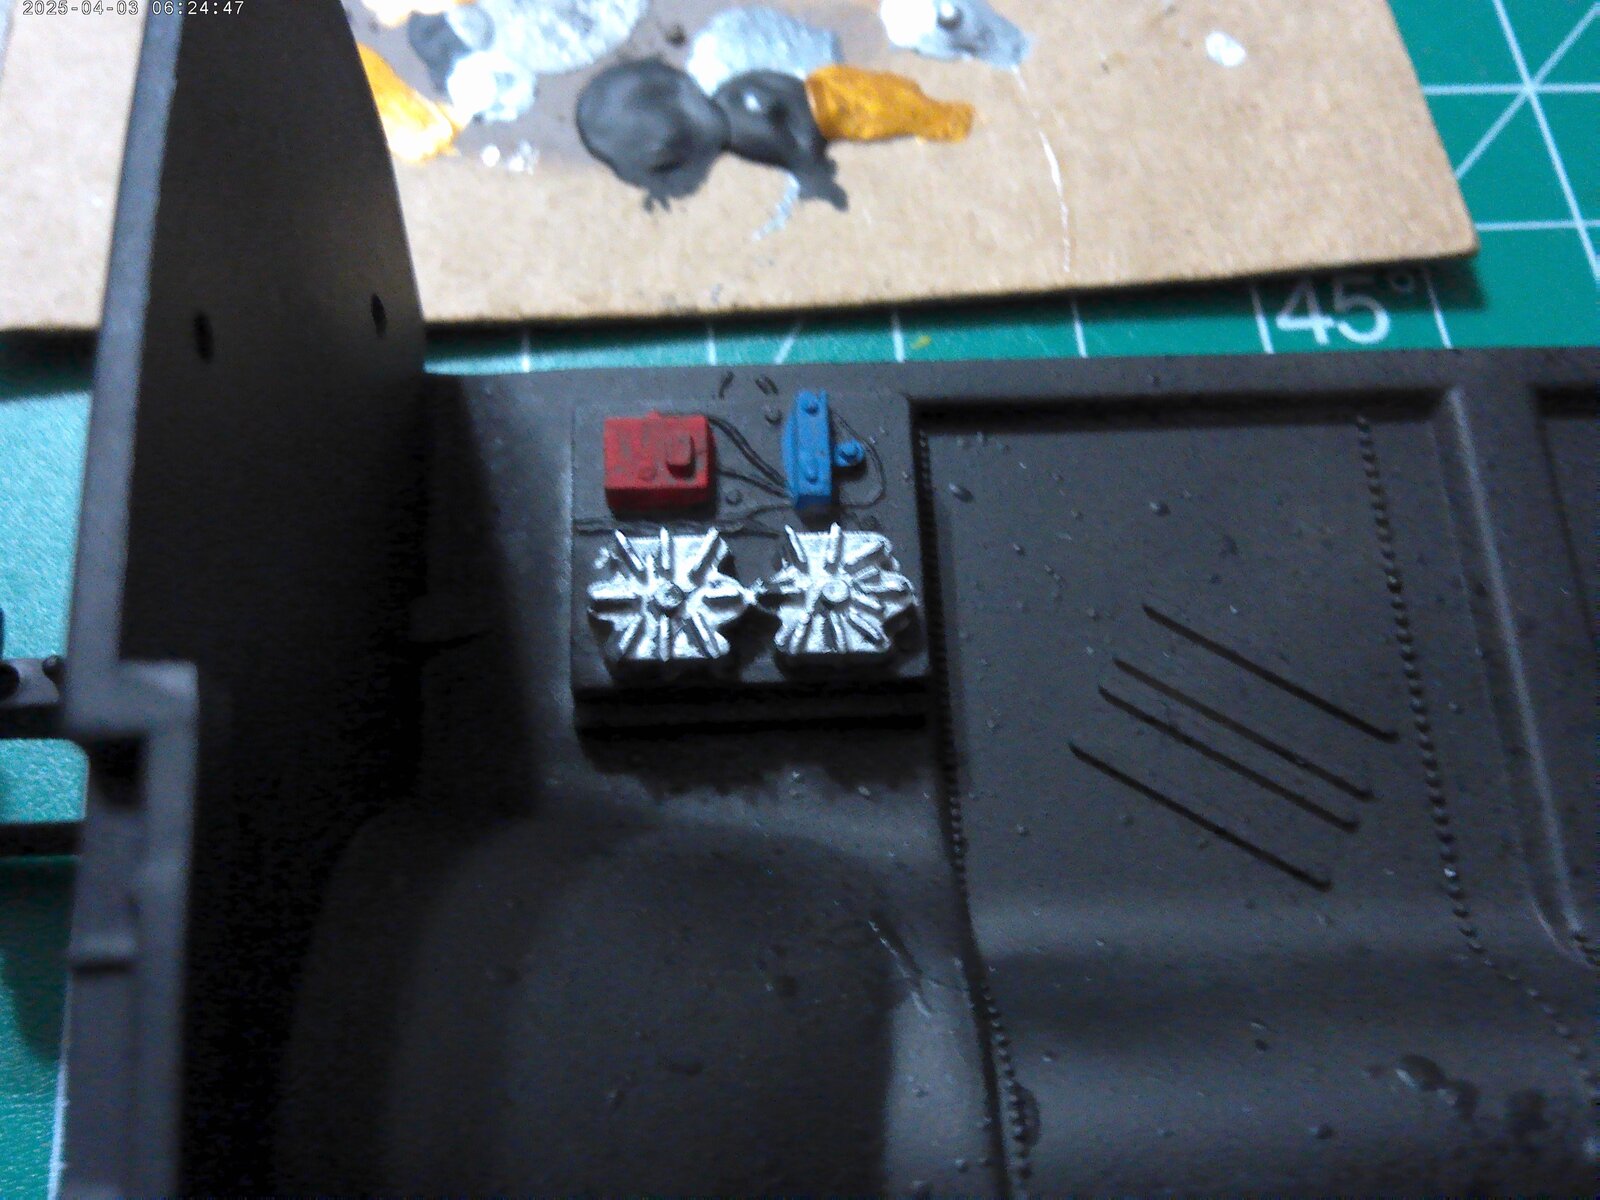
So far the only problems I have had are of my own making and flash on the parts
I have the plug wires in place and some of the tubing. However I am missing part A so I am going to have to make that part. I am planning on making it out of copper wire and a little bit of putty.
Here I cut some of the tubing too short and need to re do it, good thing I have plenty of vinyl tube
So far the only problems I have had are of my own making and flash on the parts

Looking great! Thank God for tubing squirreled away. Like the squirrels though, my biggest challenge is finding it again! 

Belugawrx
Well-Known Member
- Joined
- Jul 22, 2013
- Messages
- 812
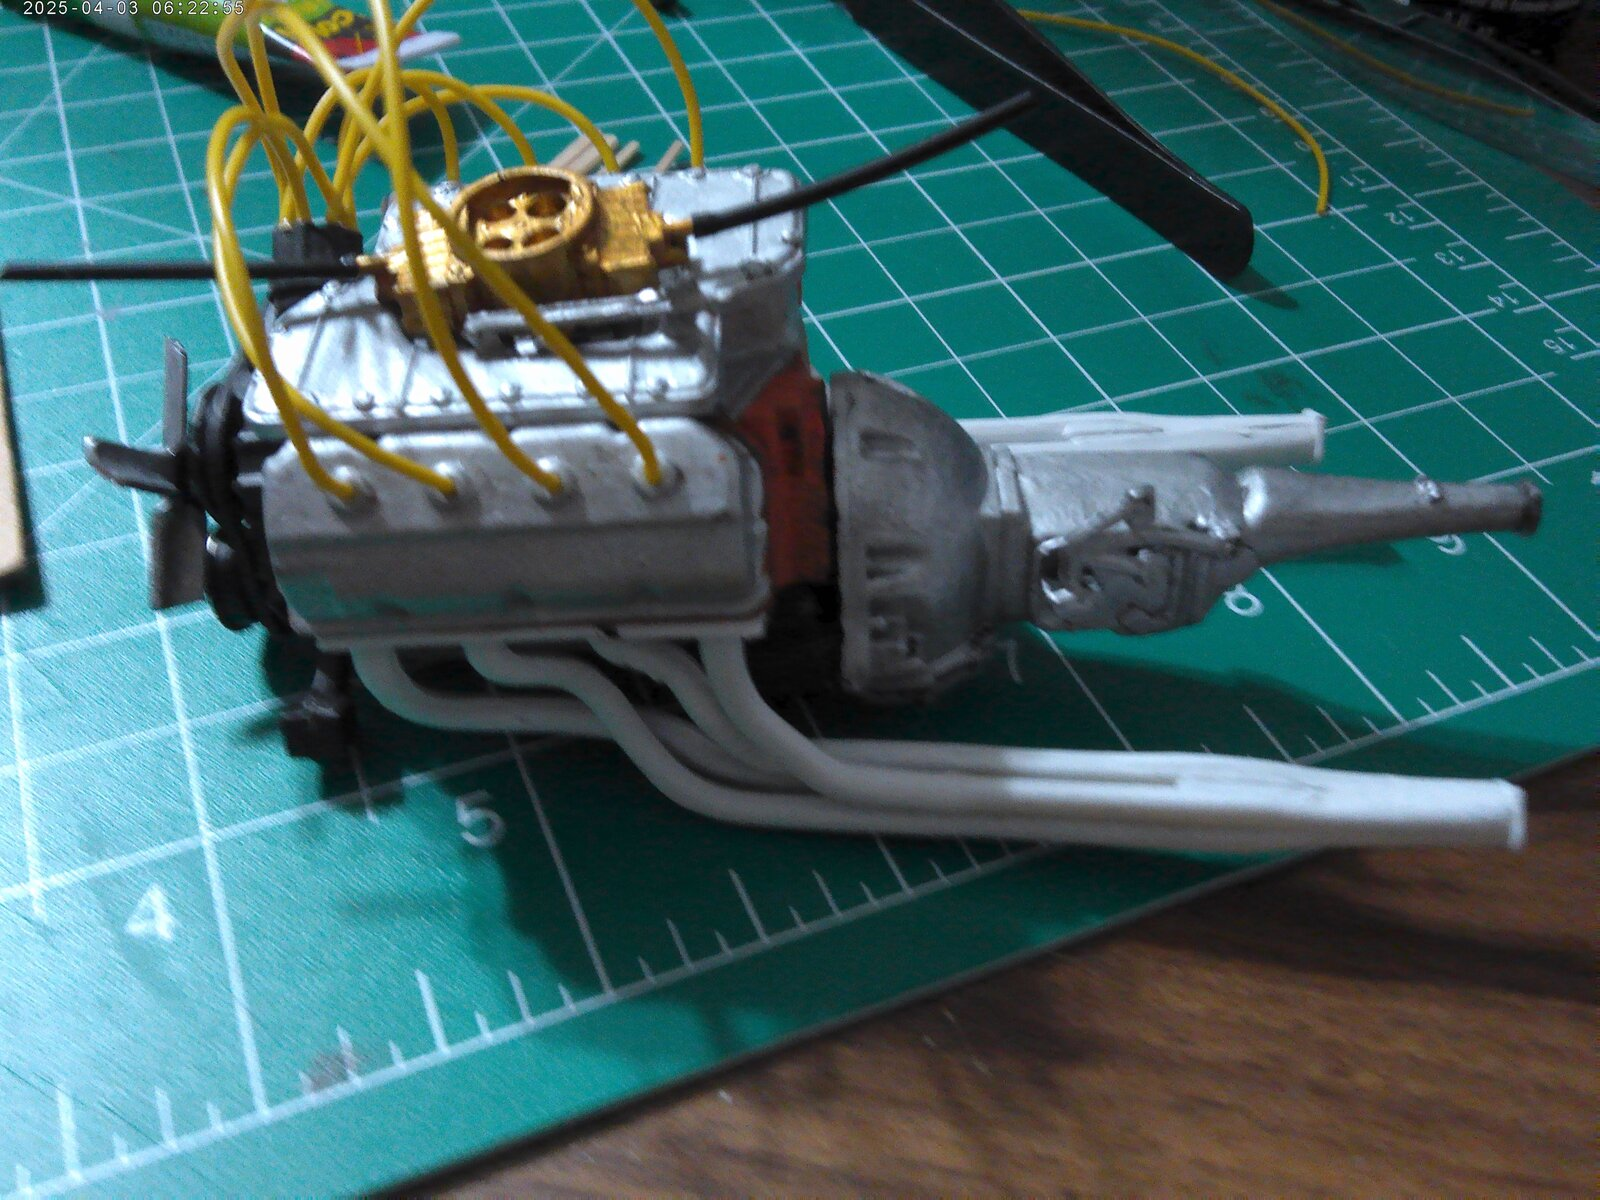
Did you know there is a spider on your engine..? lol
Those ignition wires should be lying down across the valley pan/intake not sticking way up in the air..it will cause problems when it comes time to install the hood / bonnet.
Coming along nicely DubJ

Steve Ski
Well-Known Member
I recon I should pay closer attention, never knew there was a 1/16th scale car series, woof! Man, that's a huge kit, watching this one.
Cheers, Ski.
Cheers, Ski.

Deleted member 11187
Well-Known Member
- Joined
- Mar 27, 2012
- Messages
- 366
The Good King Richard.
In his last season, I met him at the first race at Pocono.
I had an opportunity to work track security through one of the strangest hiring and interview processes that I've ever had. But, that's another couple ales and another time.
Heck of a nice guy. What an ace.
Never bothered with an autograph, just a chance to shake his hand, shoot the breeze for 5 minutes and have a story to tell.
In his last season, I met him at the first race at Pocono.
I had an opportunity to work track security through one of the strangest hiring and interview processes that I've ever had. But, that's another couple ales and another time.
Heck of a nice guy. What an ace.
Never bothered with an autograph, just a chance to shake his hand, shoot the breeze for 5 minutes and have a story to tell.
I have a large tackle box that I keep my tools and supplies in, in an extra tray I keep left over tubes and other parts I use a lot or miscut a lotLooking great! Thank God for tubing squirreled away. Like the squirrels though, my biggest challenge is finding it again!
 .
.I'm going to fix the wires later. Planning on using some masking tape to make keepers and then I'll have them lay down and behave, thanks for the advice though.View attachment 142807
Did you know there is a spider on your engine..? lol
Those ignition wires should be lying down across the valley pan/intake not sticking way up in the air..it will cause problems when it comes time to install the hood / bonnet.
Coming along nicely DubJ
It is 14 inches from bumper to bumper. This makes the second 1/16th scale I've put together and I've got a lot more on my want to buy list.I recon I should pay closer attention, never knew there was a 1/16th scale car series, woof! Man, that's a huge kit, watching this one.
Cheers, Ski.
Got just a tad bit more done.
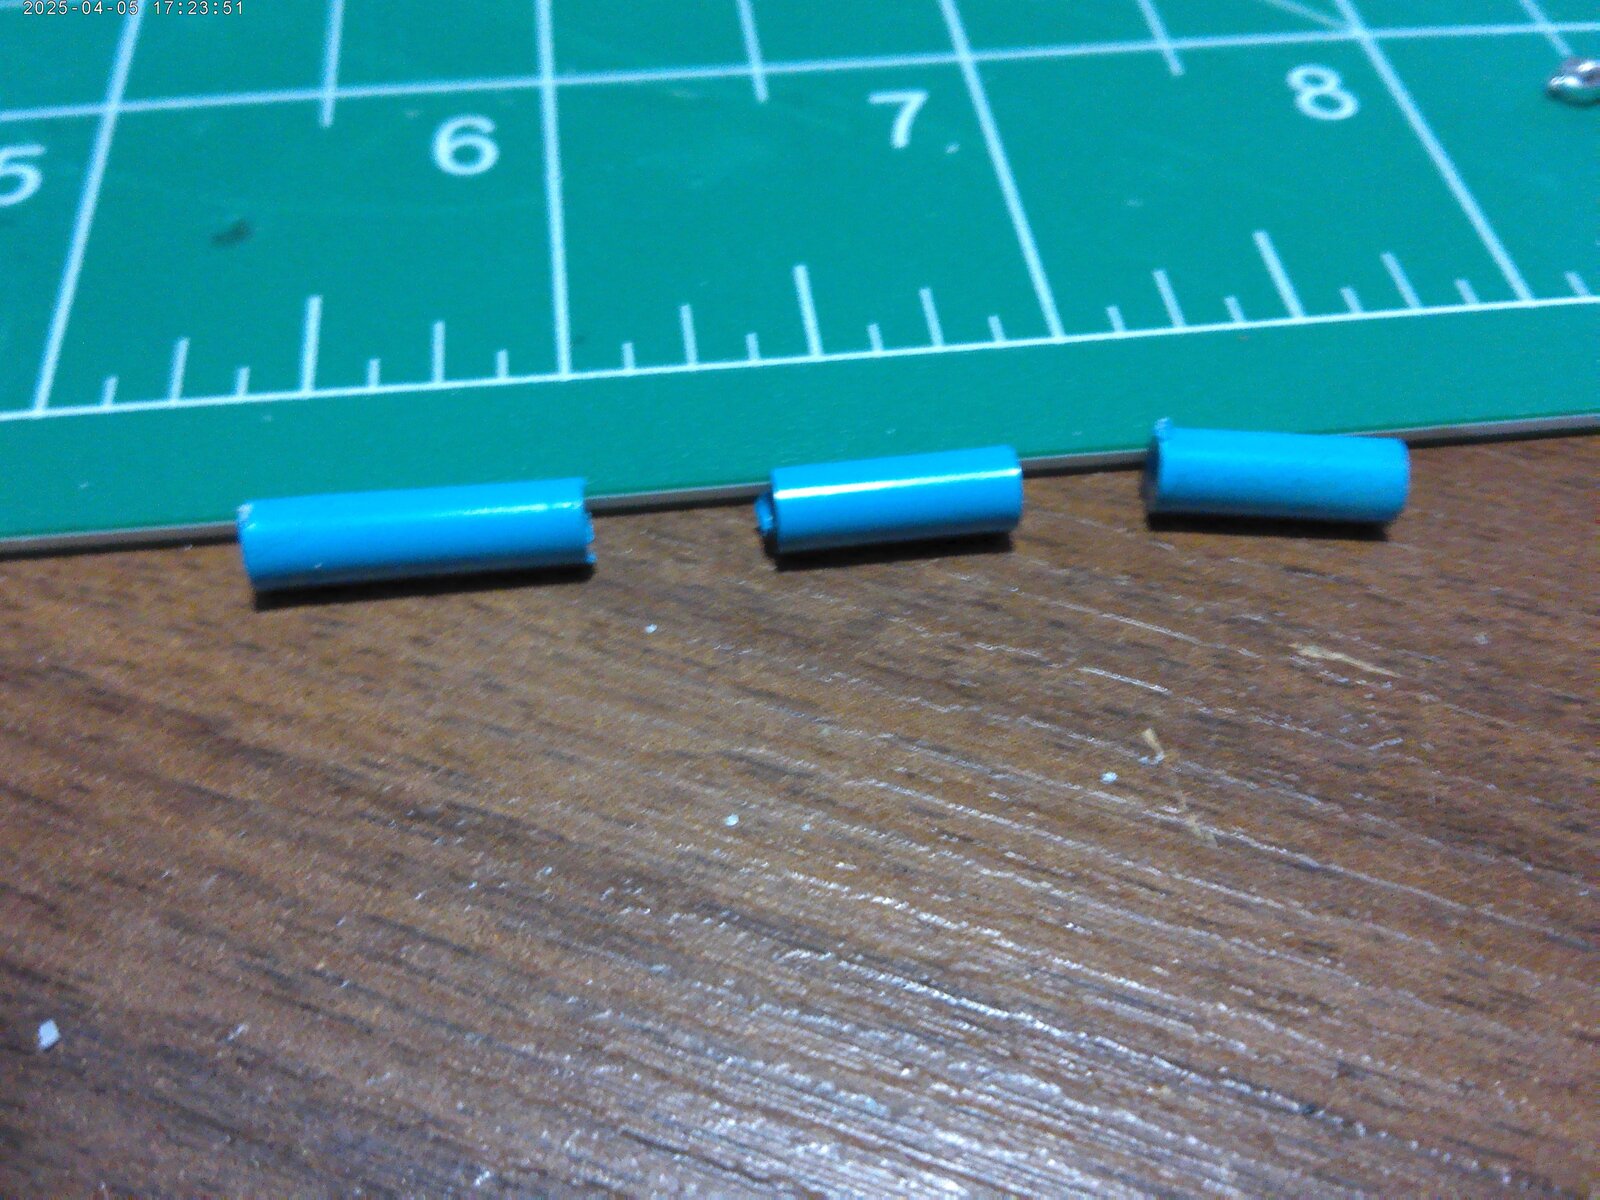
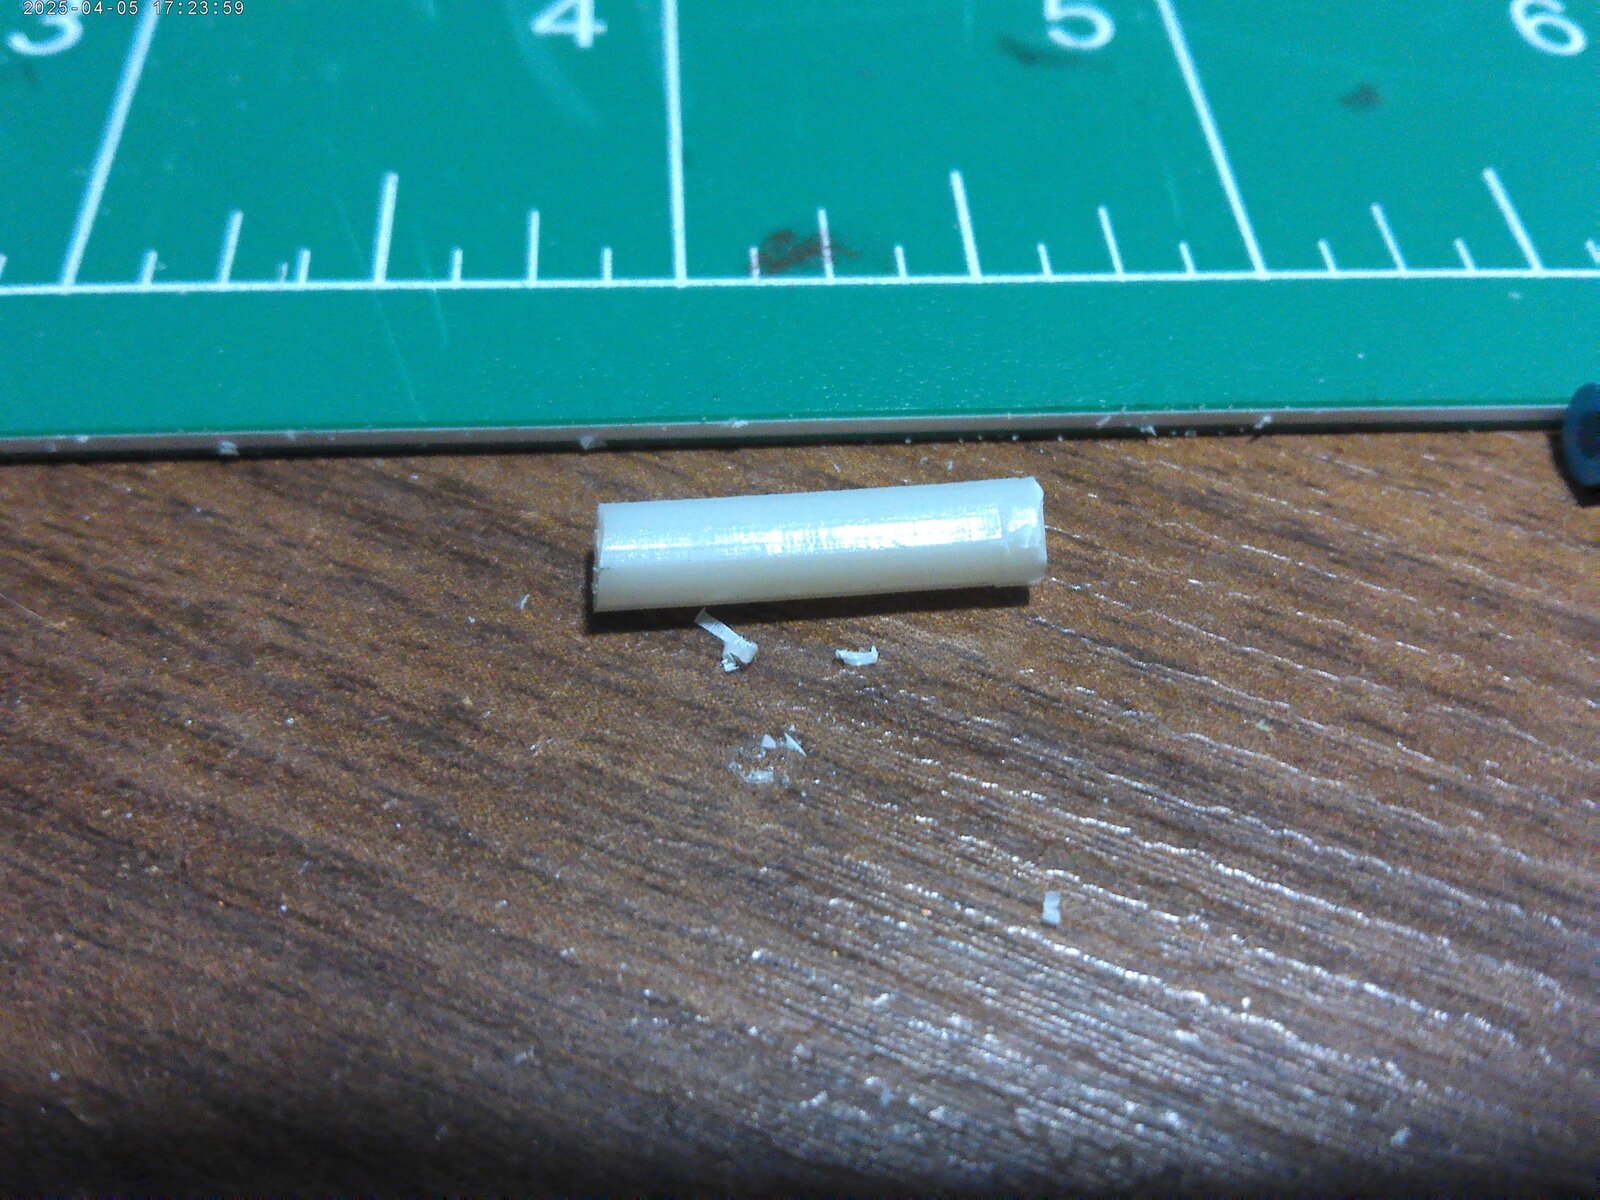
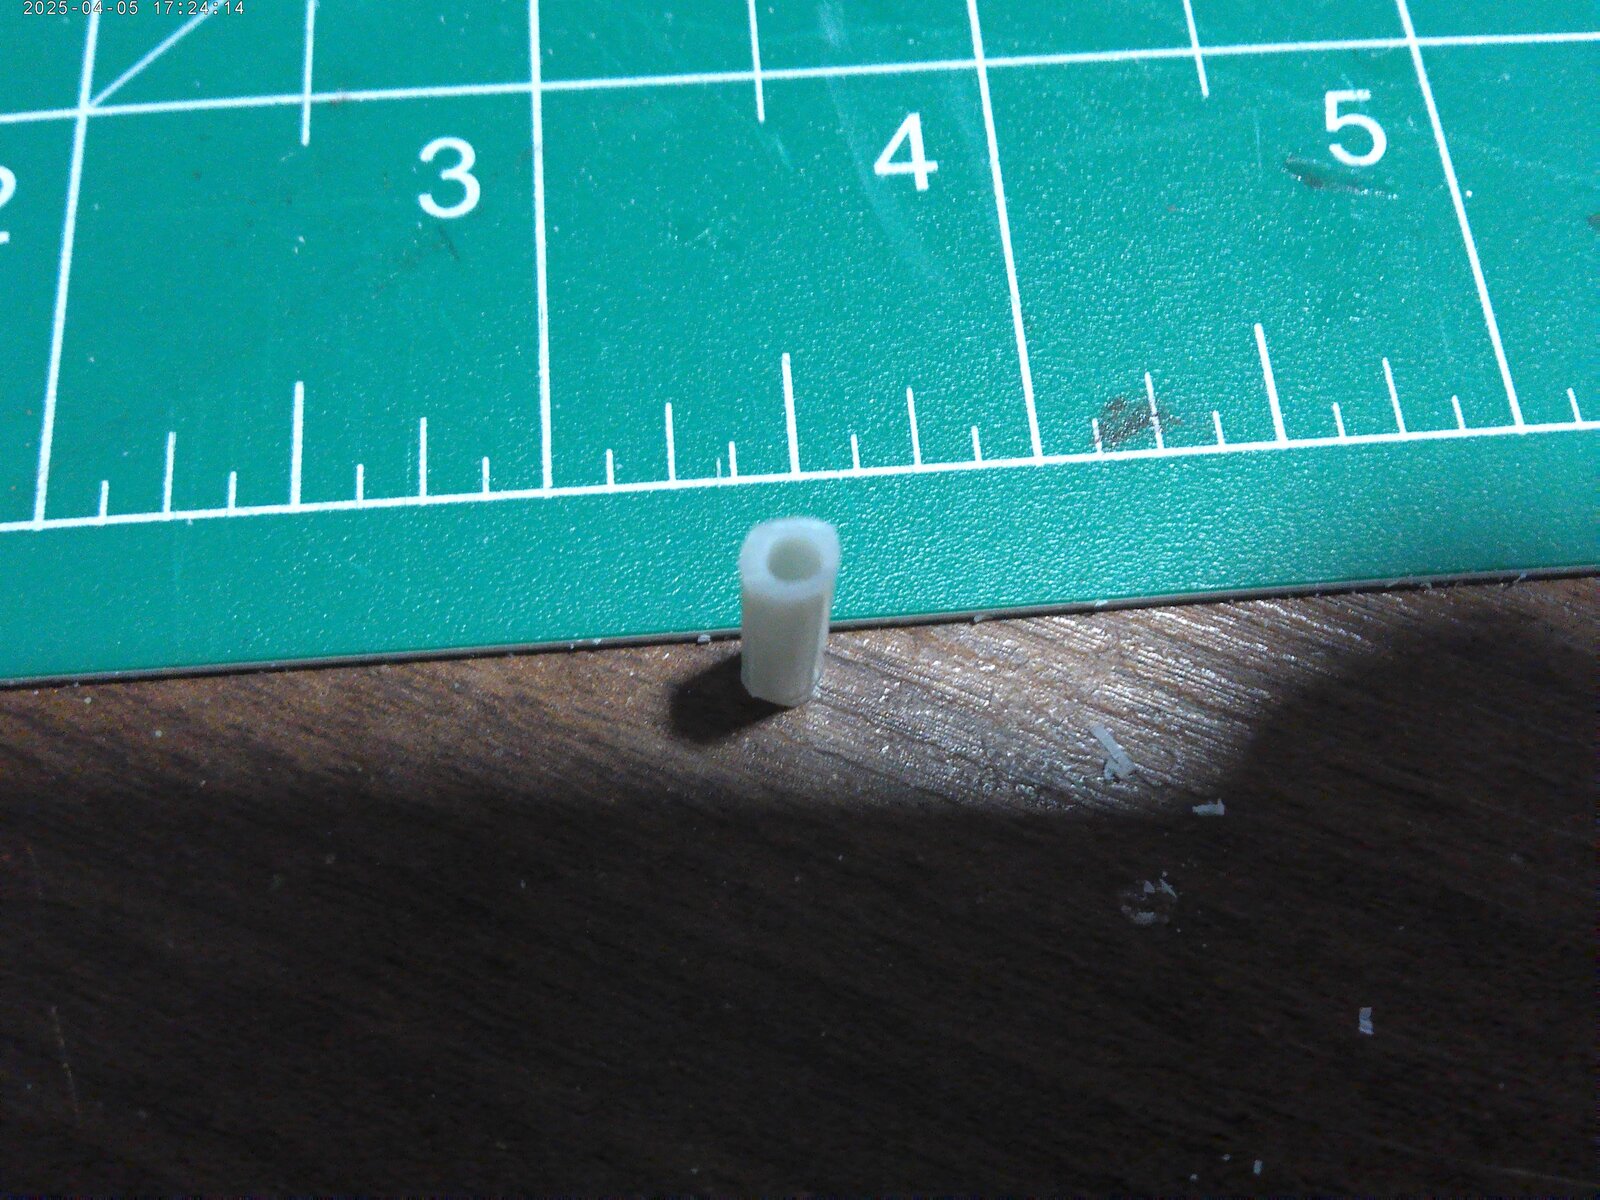
The model came with 2 part shocks, 8 of them 2 per wheel. The linoleum monster that lives under my desk decided the period of being nice was over and ate one of the barrels, so I had to make a new one a piece of sprue from the parts bin and a 3 sizes of drill bit later it's done.
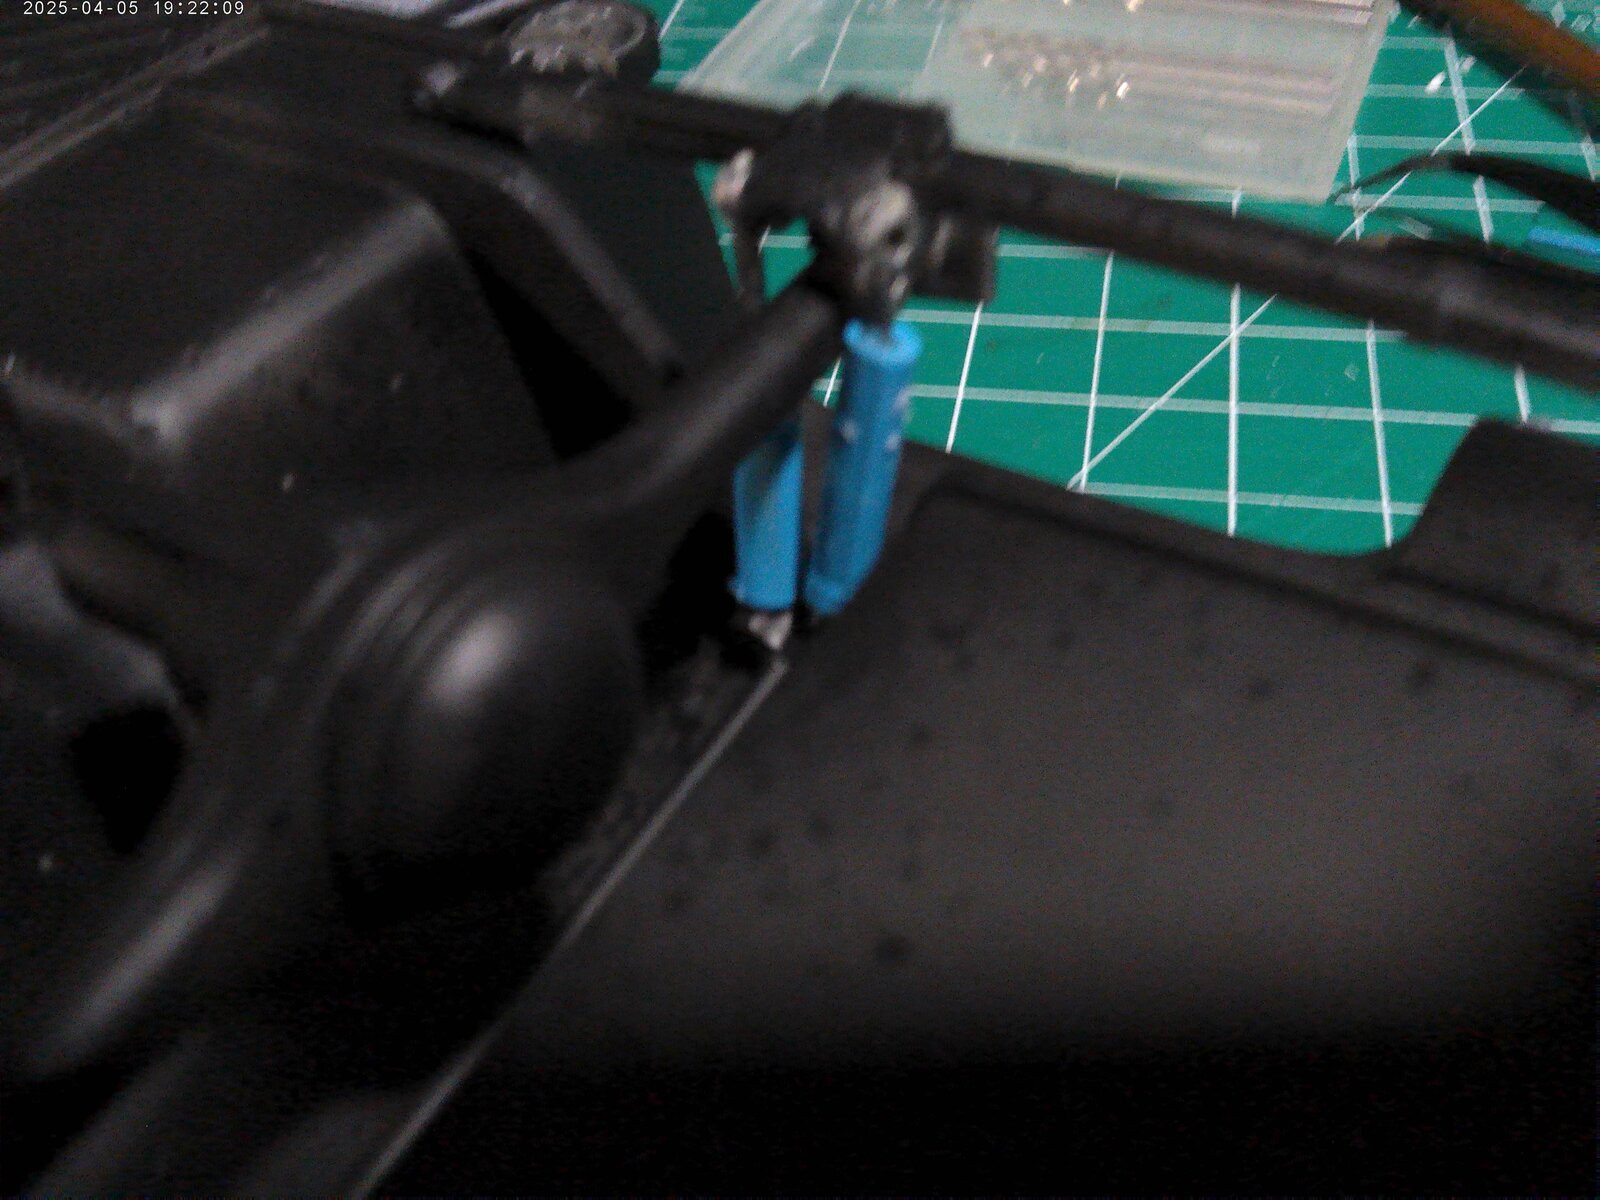
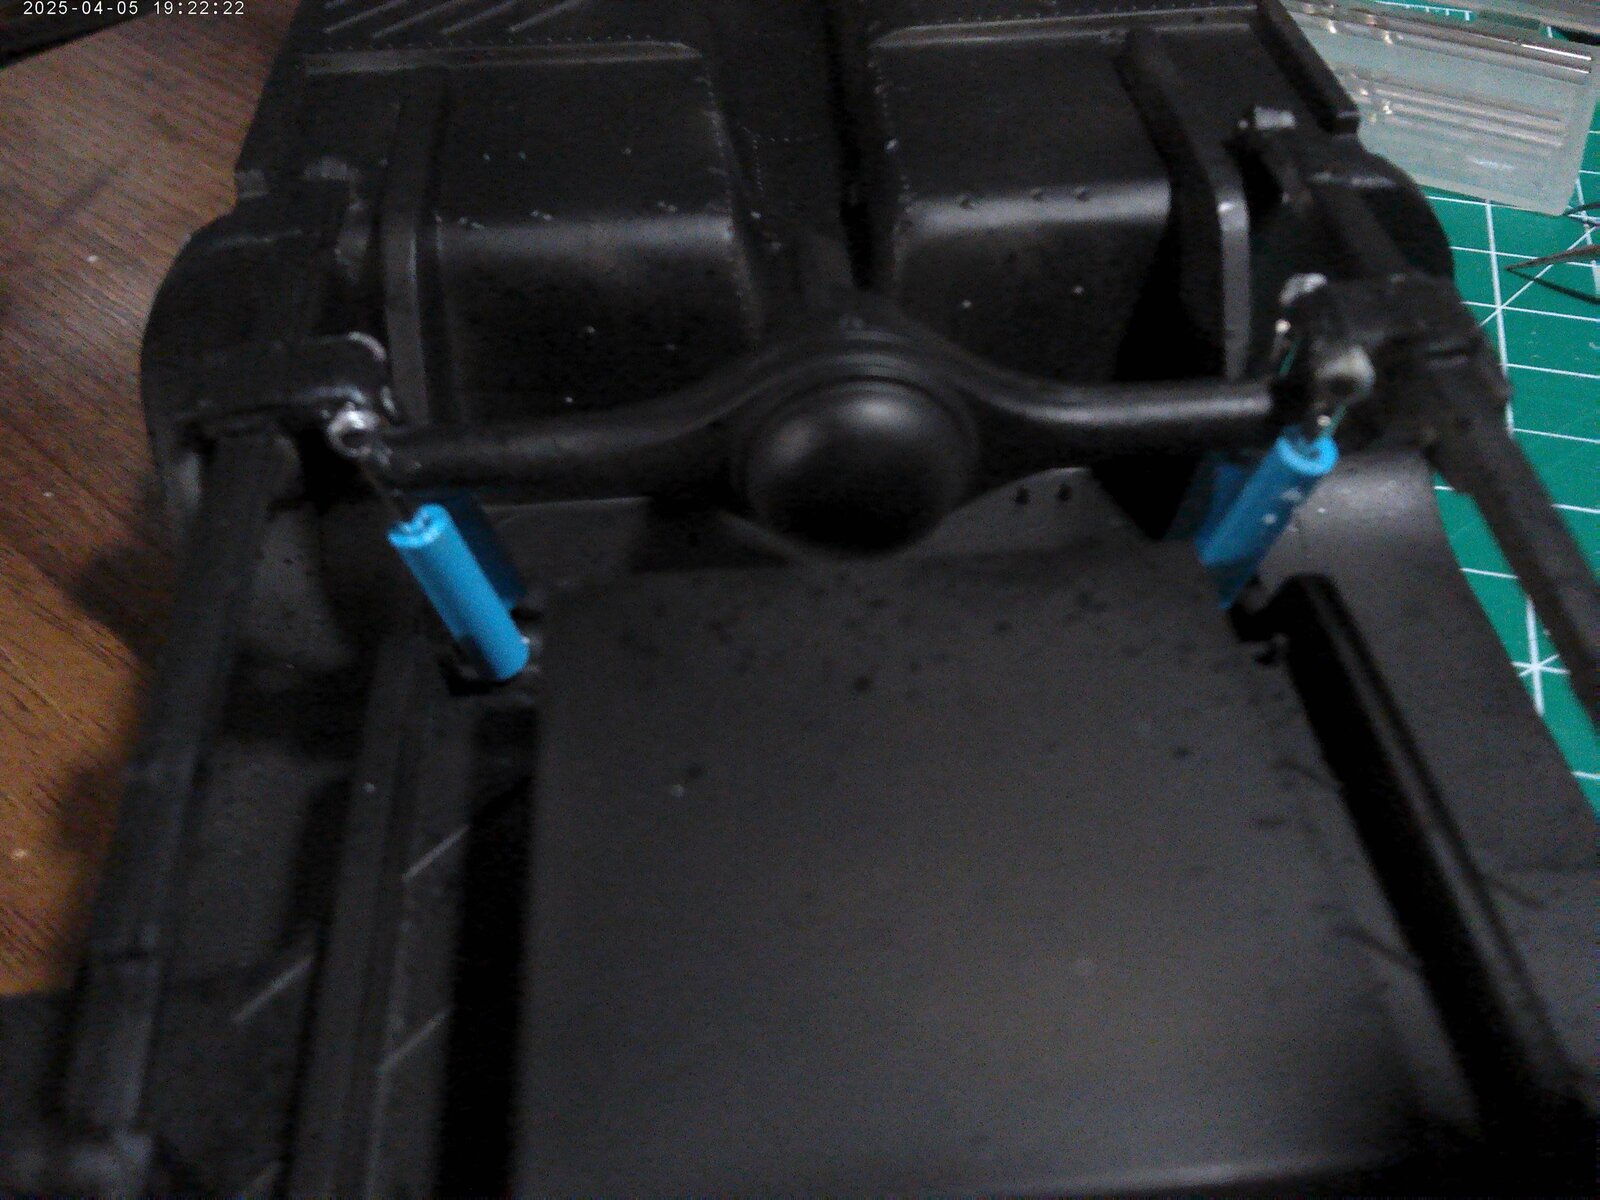
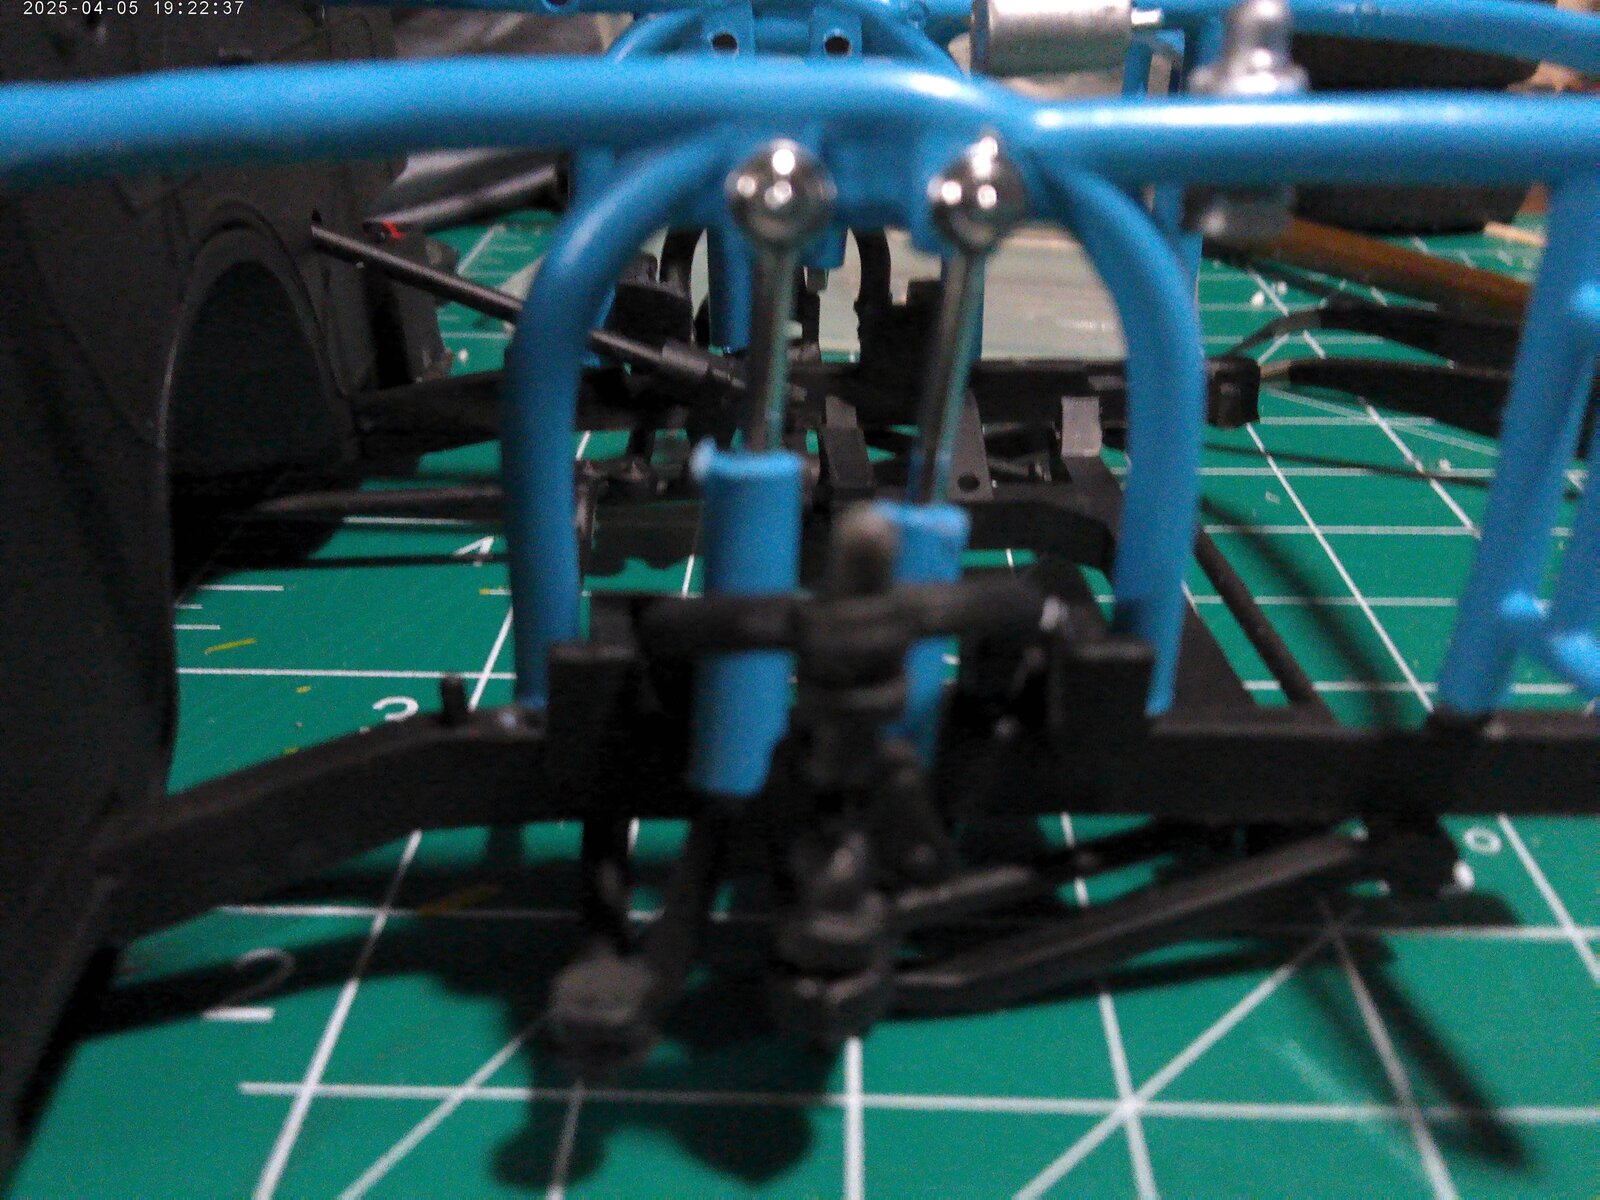
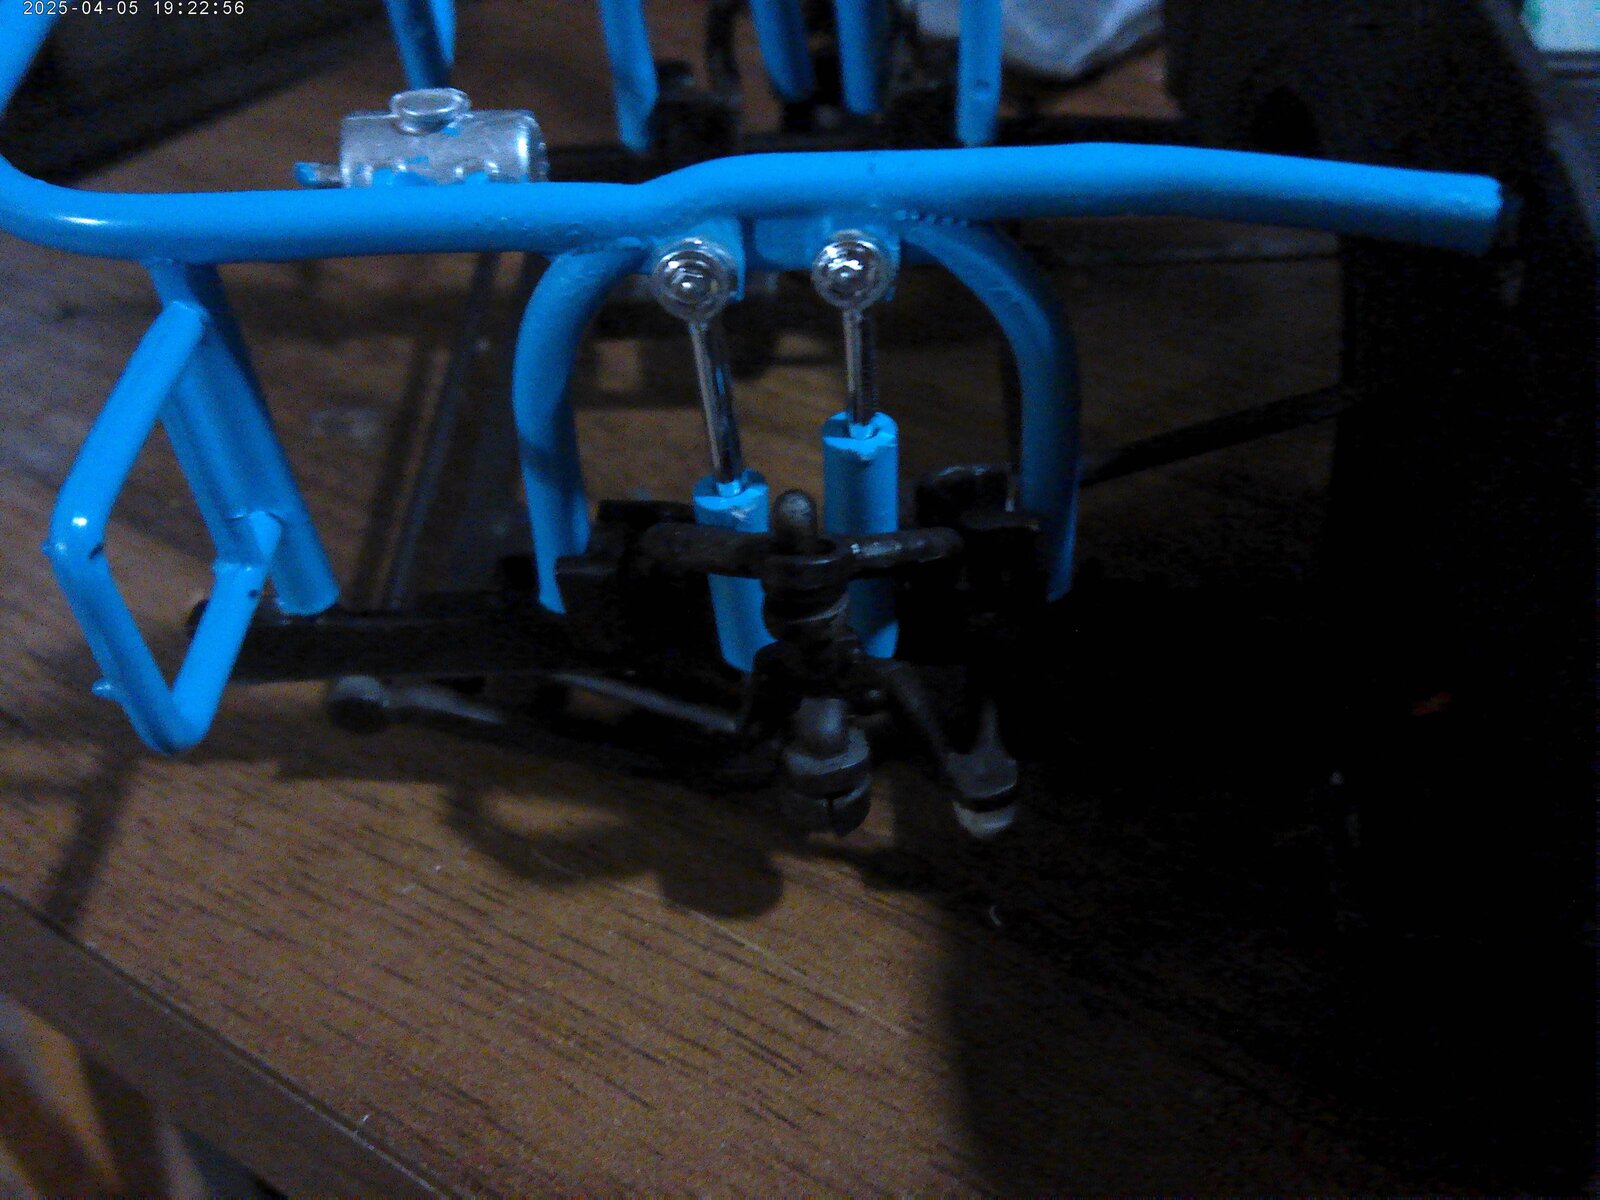
And here are all the shocks installed as well as the front steering assembly and the engine roll cage. Sorry forgot to take a picture of it...oh well maybe next time if I remember.
The model is getting closer to being done. My next step will be to touch up the paint and then installing 6 (6!) part wheels. After that I may take a break and work on another model.
The model came with 2 part shocks, 8 of them 2 per wheel. The linoleum monster that lives under my desk decided the period of being nice was over and ate one of the barrels, so I had to make a new one a piece of sprue from the parts bin and a 3 sizes of drill bit later it's done.
And here are all the shocks installed as well as the front steering assembly and the engine roll cage. Sorry forgot to take a picture of it...oh well maybe next time if I remember.
The model is getting closer to being done. My next step will be to touch up the paint and then installing 6 (6!) part wheels. After that I may take a break and work on another model.
Nice! Great detailing!
...with all these close in shots, can't wait for the big reveal!
...with all these close in shots, can't wait for the big reveal!
Well here are some more for yaNice! Great detailing!
...with all these close in shots, can't wait for the big reveal!
.I swear I was going to put it aside for a few days, but it was: lemme finish doing this, then Oh this will be easy to do. Just another step. Next thing I know I'm ready to finish the paint and final assembly. That will have to wait, I'm using rattlecans right now due to some minor problems with my booth and the weather is brutally wet and windy right now.
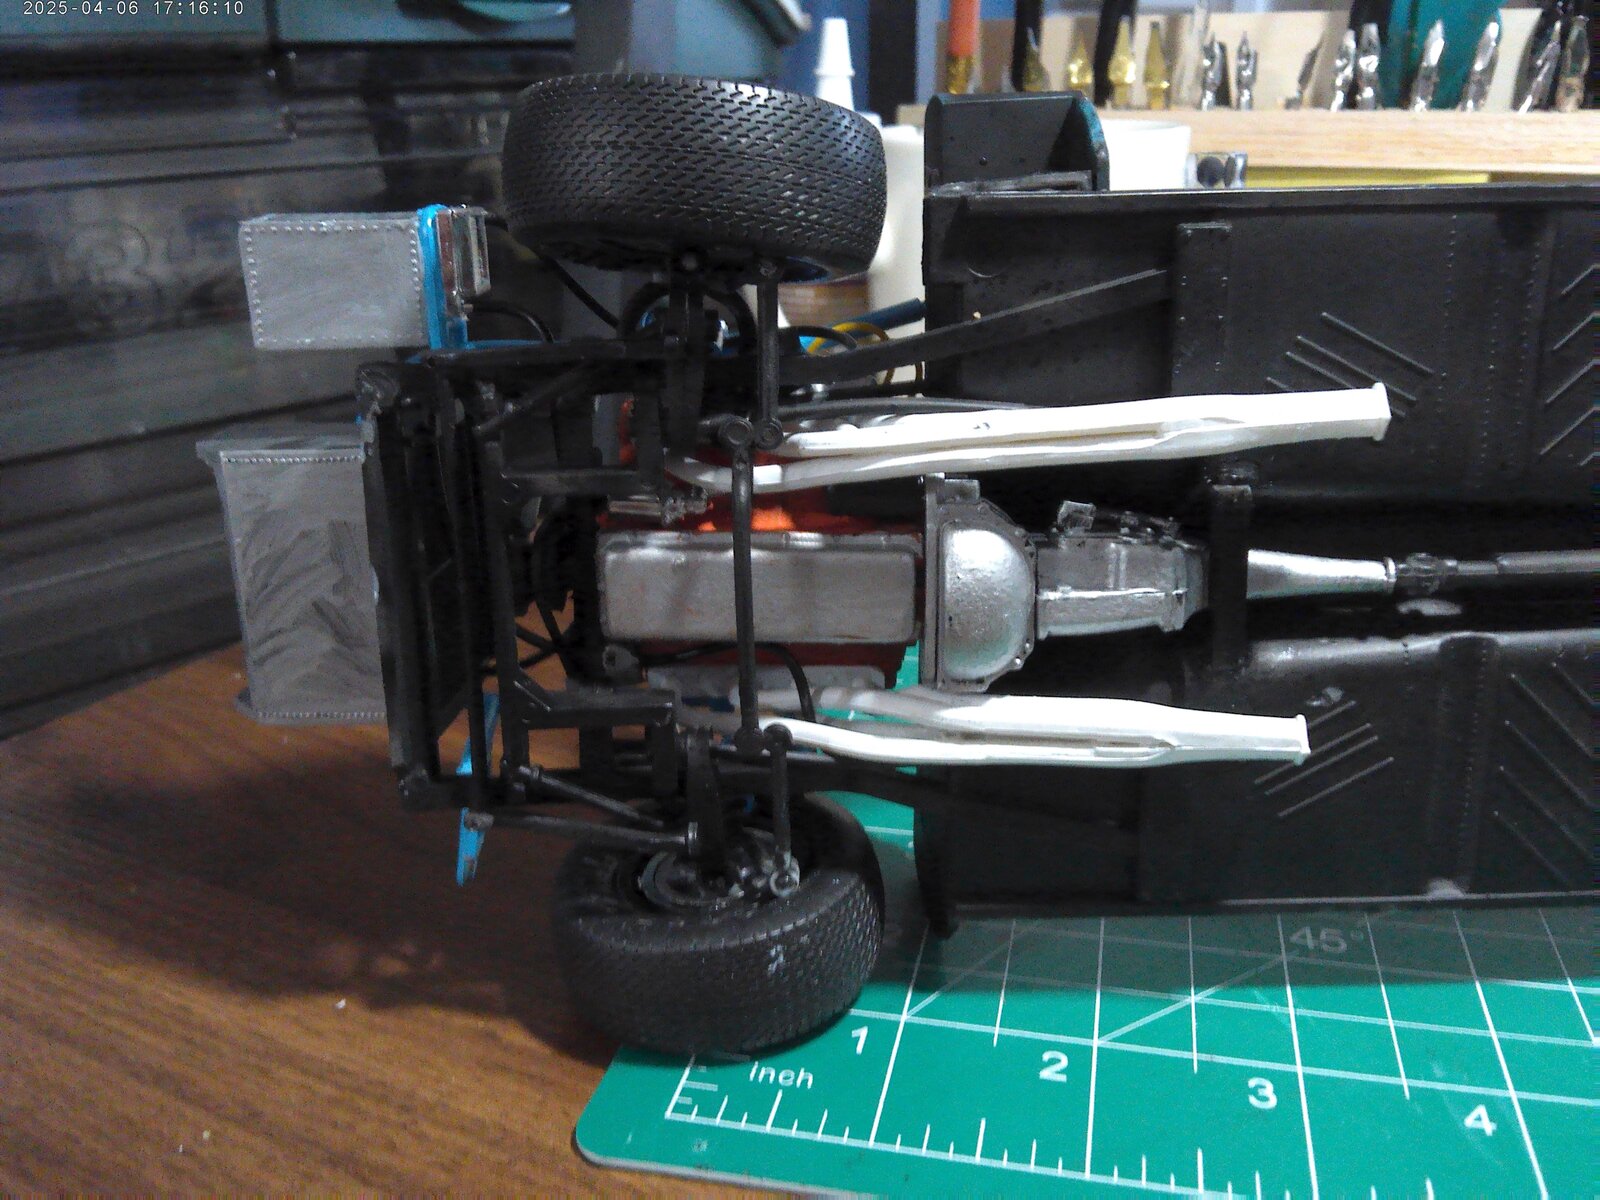
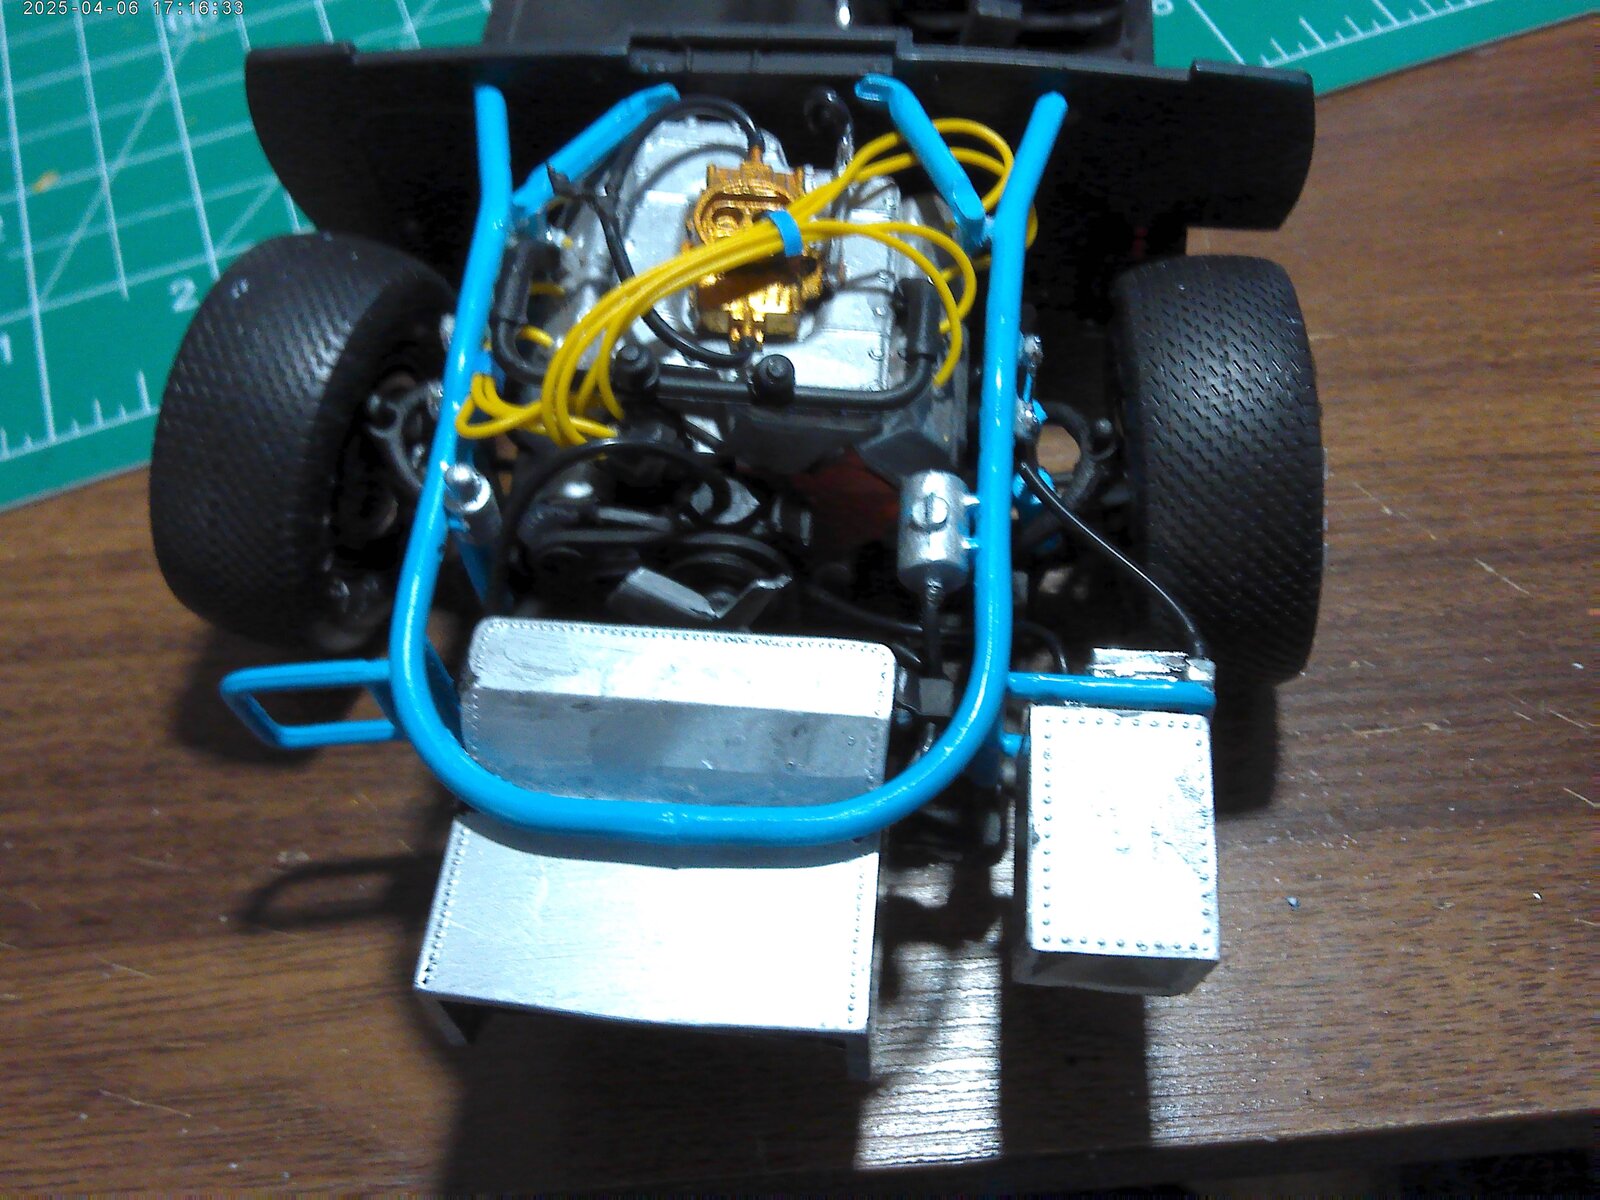
As you can see the engine is fully installed, the plug wires are laying down the best I can do. I think I should have used copper wiring instead of the supplied vinyl, Lesson learned. All of the hosing is installed, gee that was fun (not really)
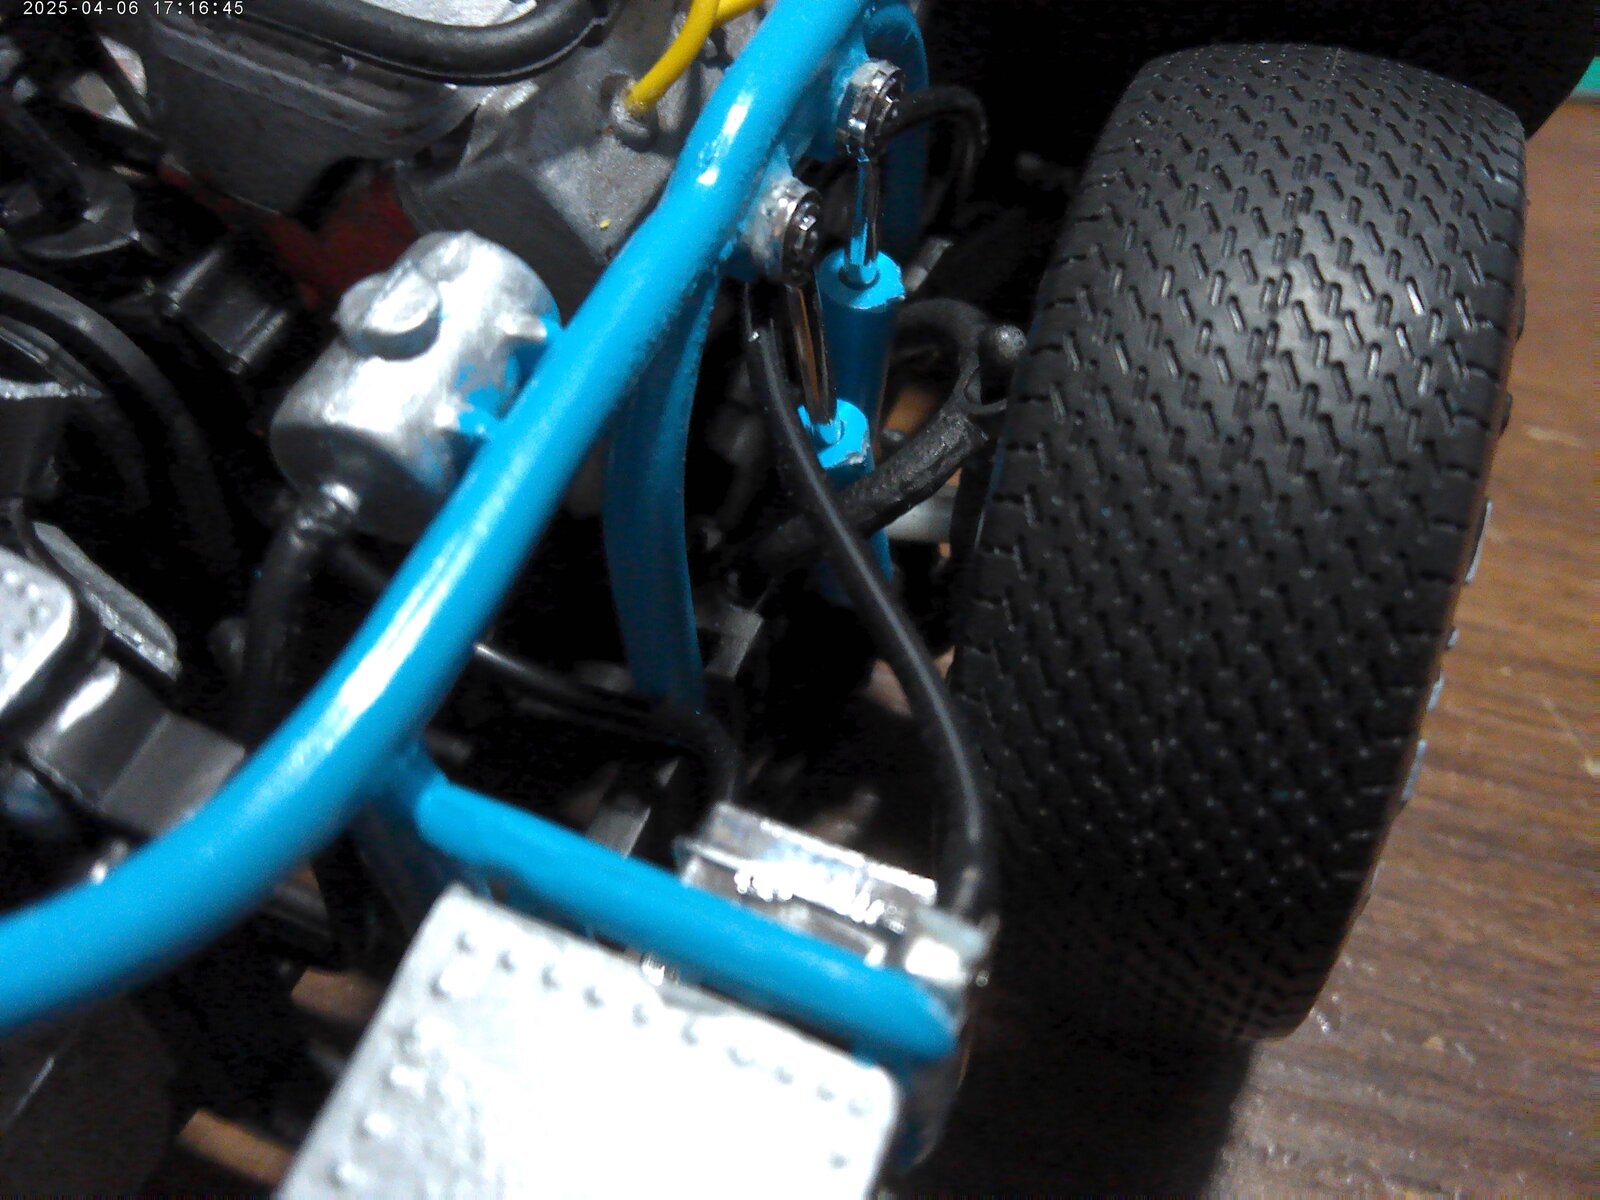
A close up of the wheel attachment-5 parts for that so for the front wheels a total of 11 (11!) parts per wheel. Racing tires are smooth and these aren't, I opted to leave them as is so I wouldn't have to spend a day sanding all 4 tires (I know lazy boy here
)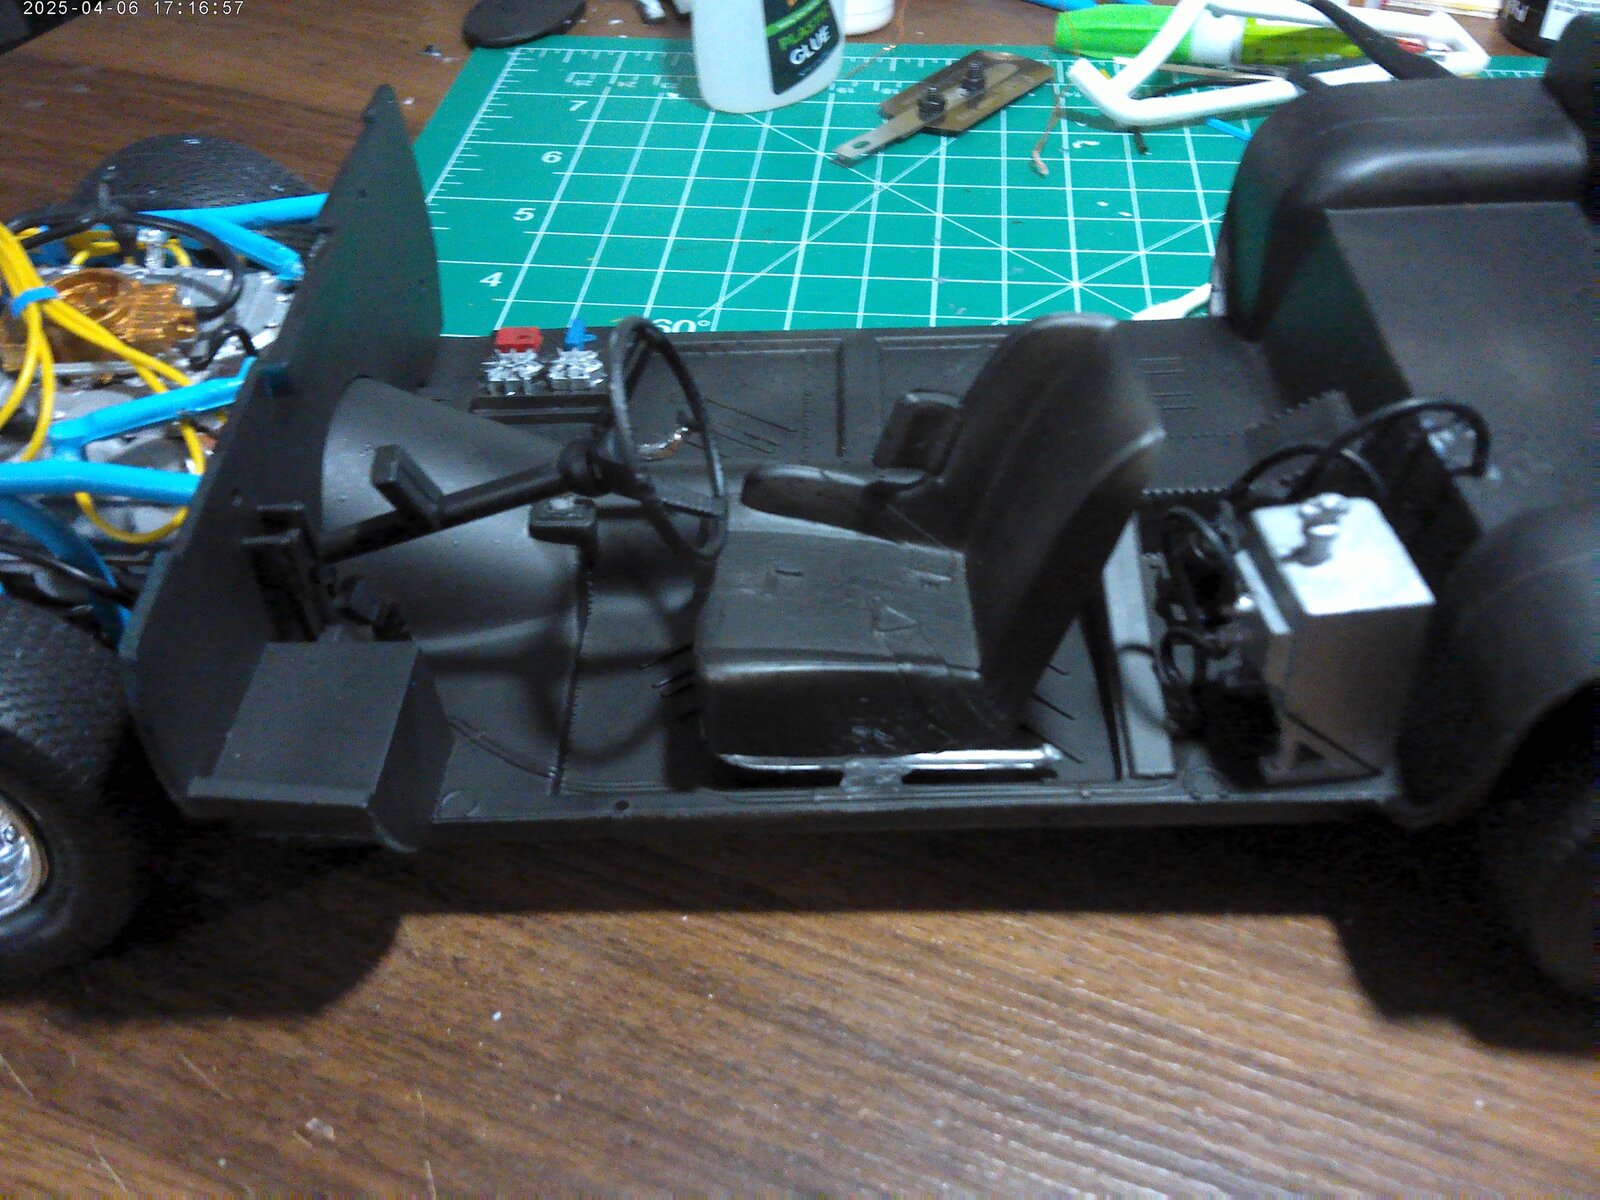
I do have the interior roll cage built and painted, again I forgot to take a picture of it. I've got it put aside for the glue to cure before I install it followed by the dashboard
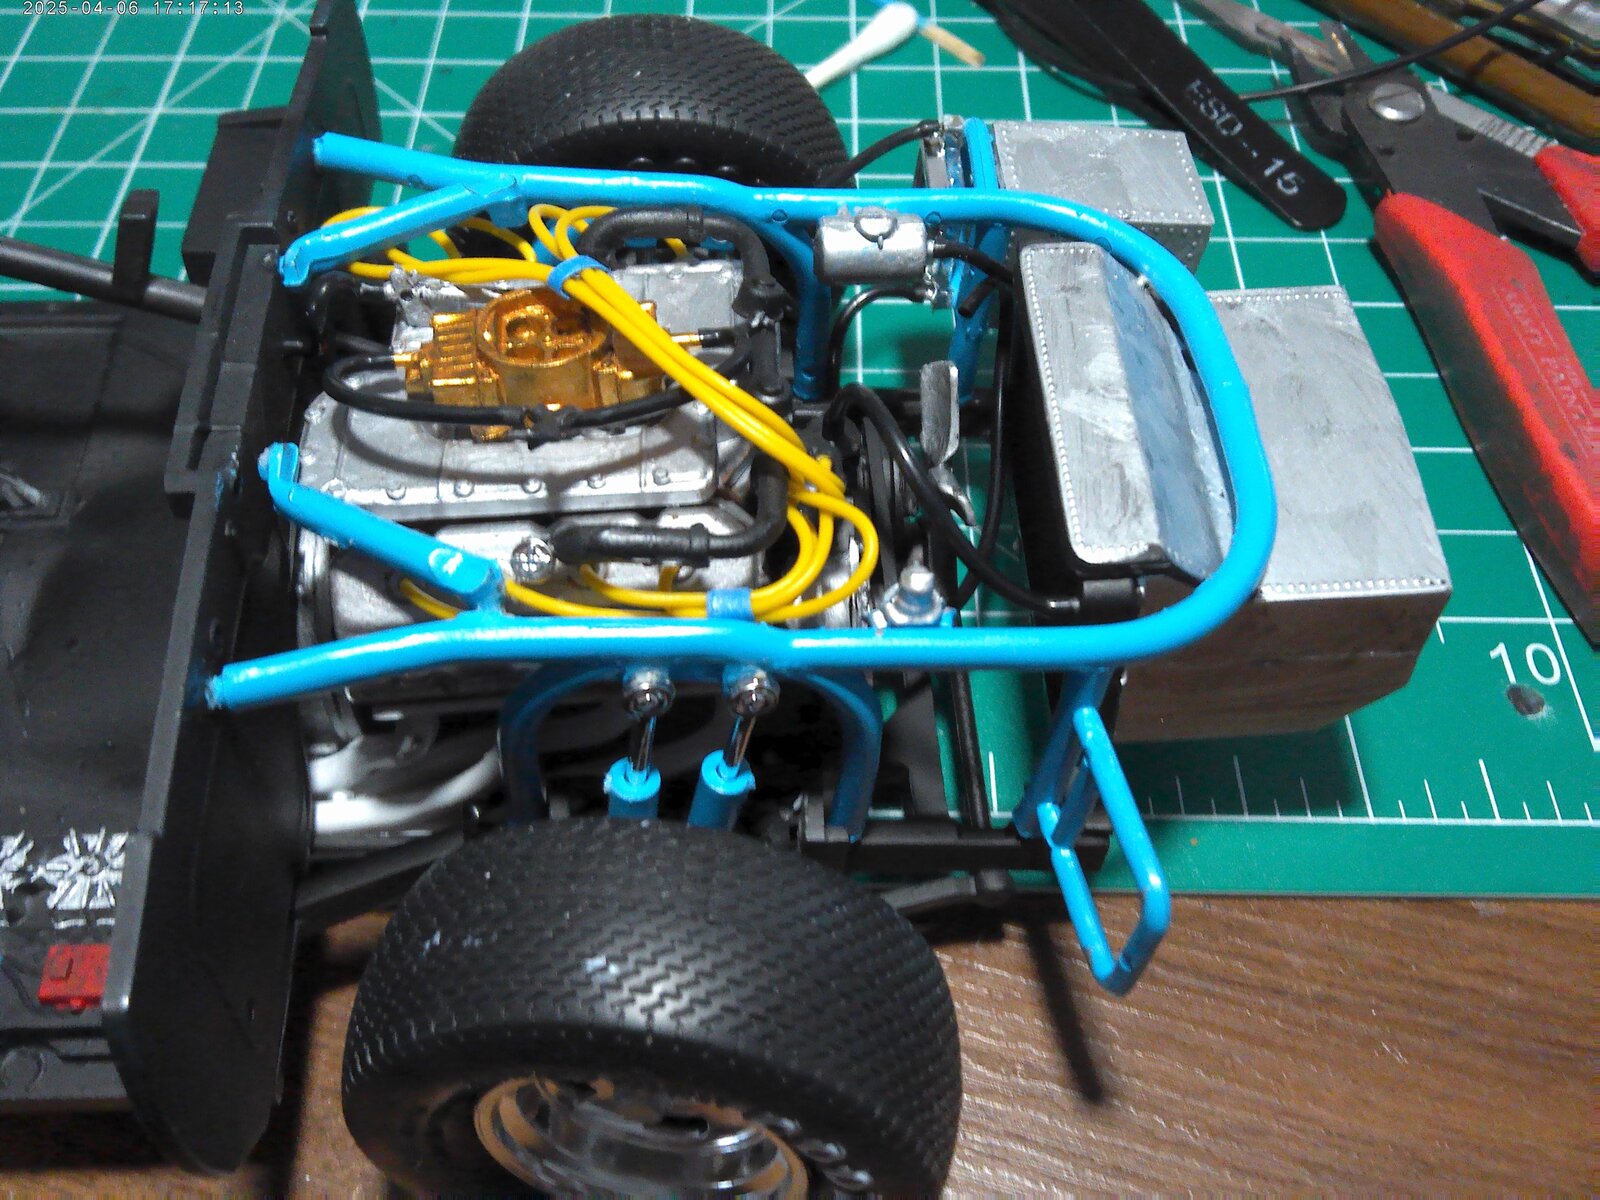
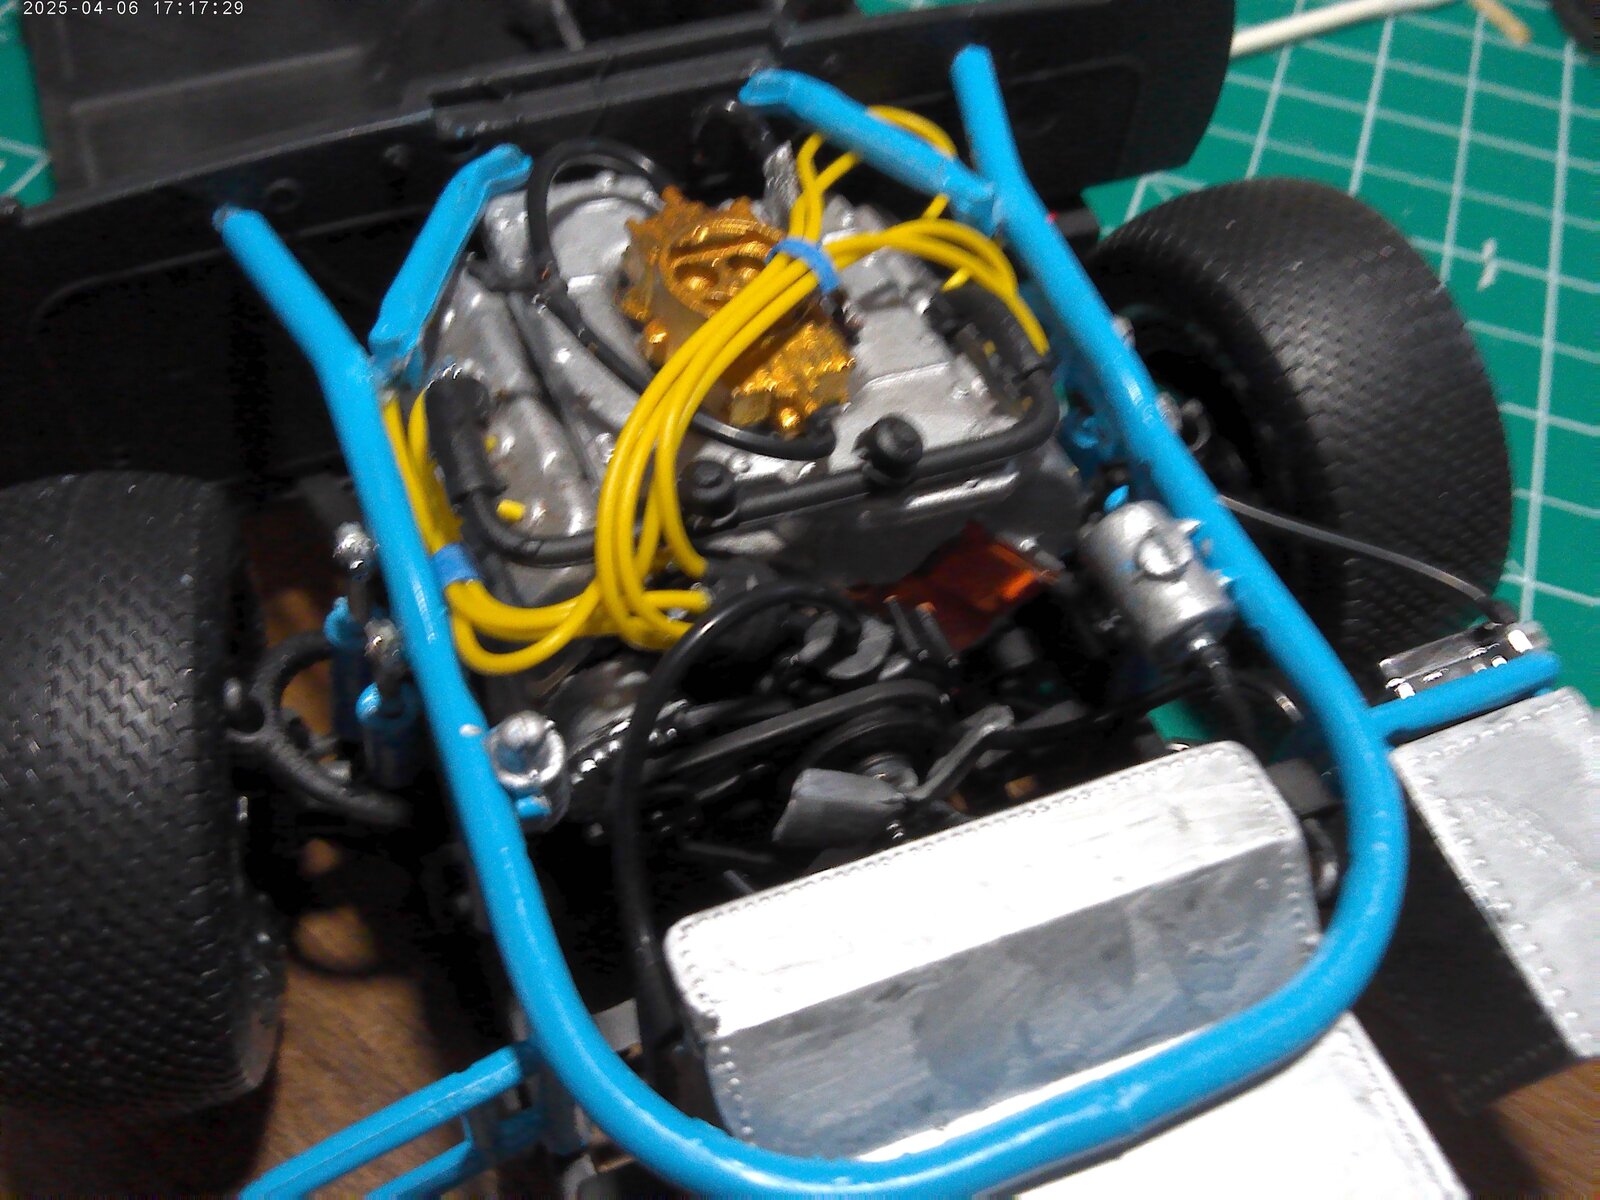
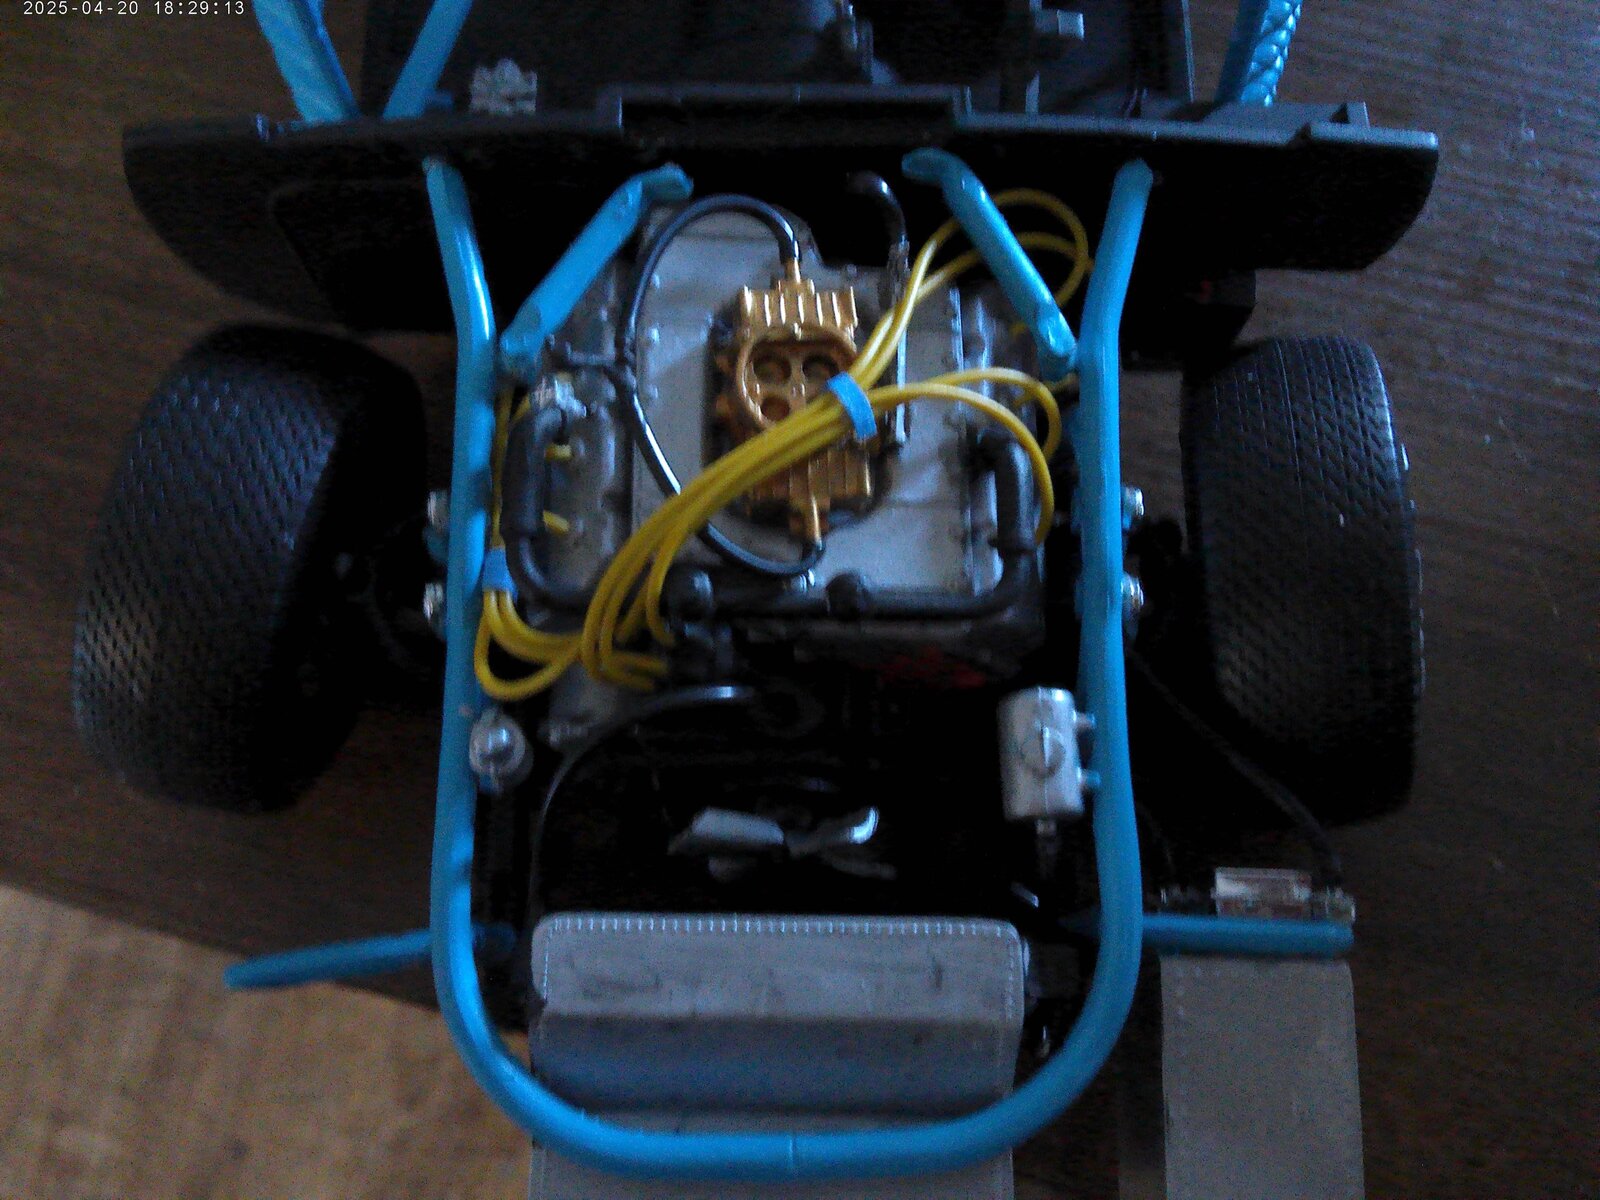
Here is a close up of the engine bay complete with roll cage.
After all this I still have to finish painted the body, masking it for the STP red with the white border then the decals. Doesn't sound like a lot but the masking is going to be very involved due to the curves on the area painted.
airdave
Well-Known Member
- Joined
- Oct 11, 2012
- Messages
- 280
In 1973, Goodyear and Firestone were supplying all race tires for Nascar, and they were slicks.
Nascar did NOT race in the rain.
At least not on speedways.
(Firestone retired from Nascar in 1974, leaving Goodyear to be the sole supplier)
There were a couple of road race courses on the schedule at that time, like at Riverside California.
I guess it's possible there were treaded tires in case they had to run Caution laps in the rain,
...back then, Caution laps counted as race laps, so rather than stop a race...
but, I highly doubt it.
The cars did not have wipers so driving in the rain would have been an issue.
This seems more likely that the model was copied from one of the clone cars that exist
and those often drove on treaded tires so they could run in parades and on streets.
Just a theory.
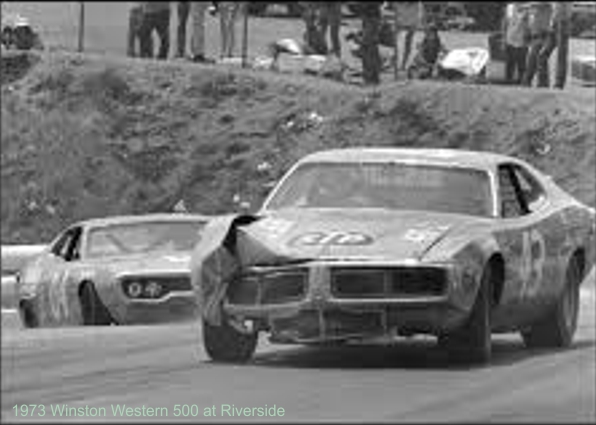
Nascar did NOT race in the rain.
At least not on speedways.
(Firestone retired from Nascar in 1974, leaving Goodyear to be the sole supplier)
There were a couple of road race courses on the schedule at that time, like at Riverside California.
I guess it's possible there were treaded tires in case they had to run Caution laps in the rain,
...back then, Caution laps counted as race laps, so rather than stop a race...
but, I highly doubt it.
The cars did not have wipers so driving in the rain would have been an issue.
This seems more likely that the model was copied from one of the clone cars that exist
and those often drove on treaded tires so they could run in parades and on streets.
Just a theory.
Last edited:
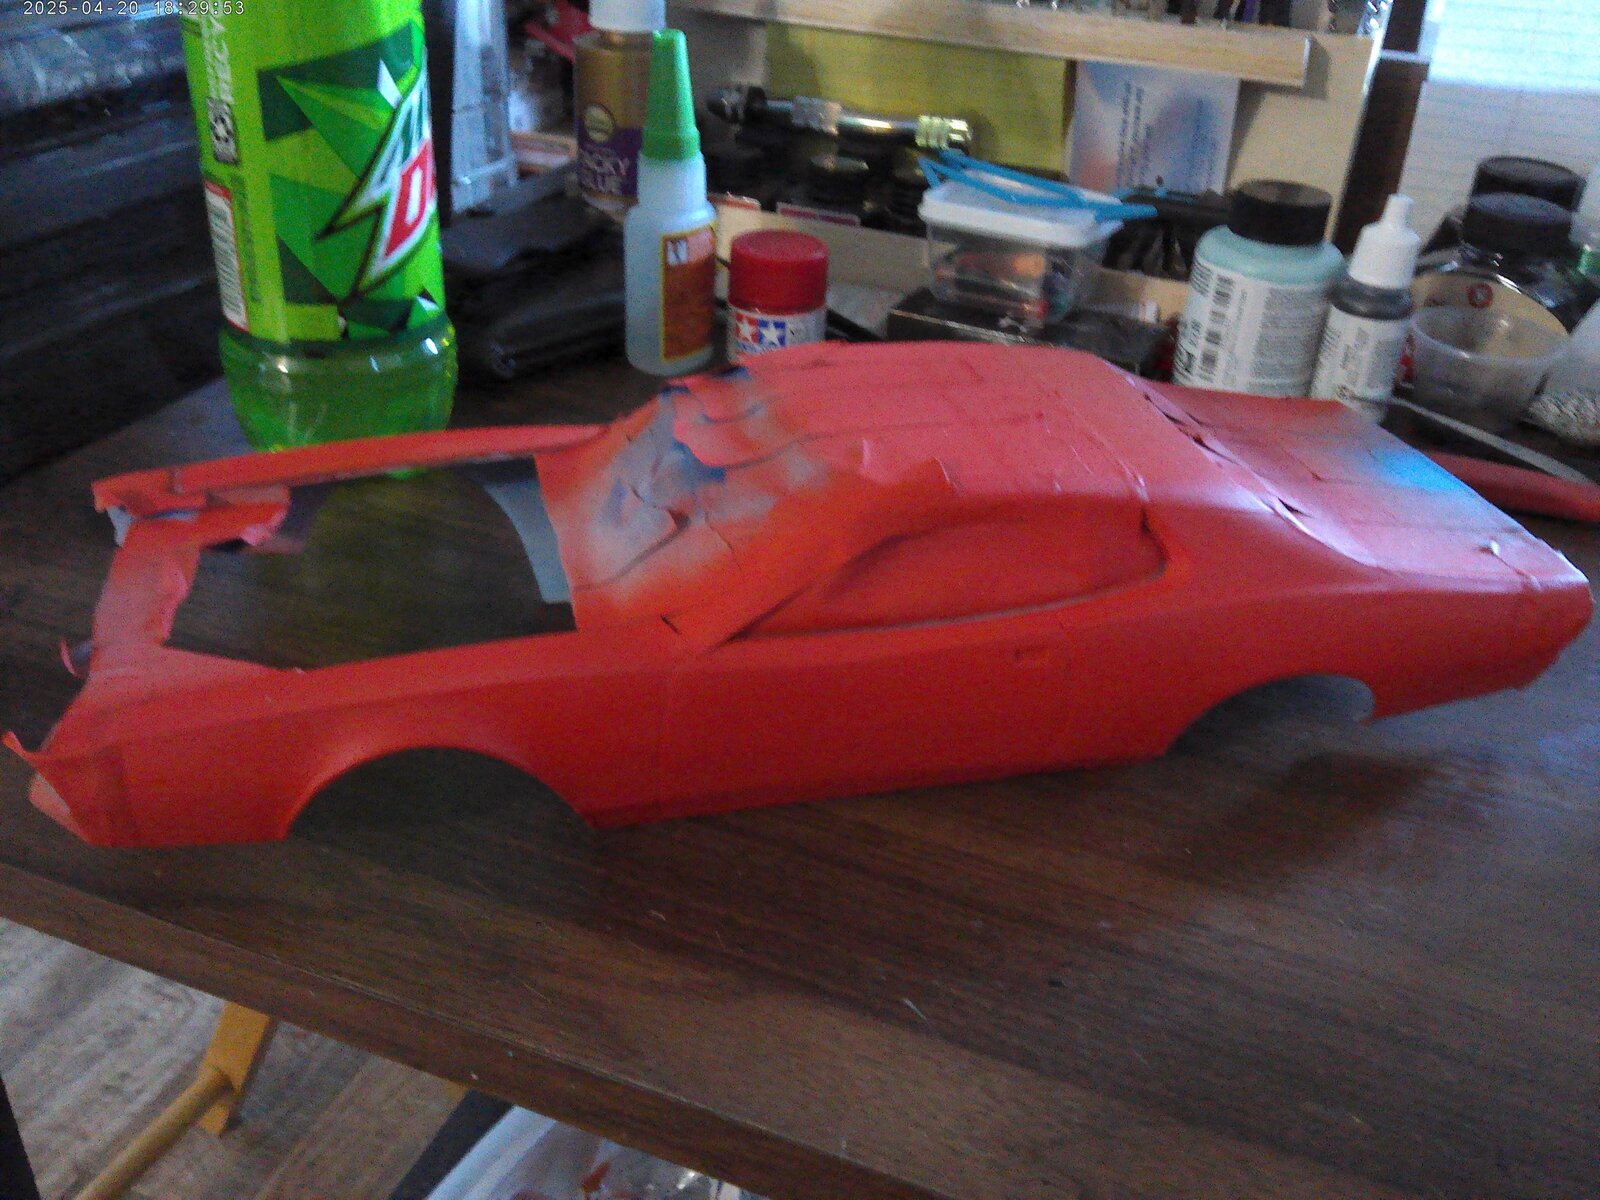
Work has been horrendous lately. I finally masked the body for the STP Red with a white border. I am hoping I will be able to paint it tonight if the wind dies down. the power switch on my paint booth went out, so I have parts ordered so I can fix the darn thing.
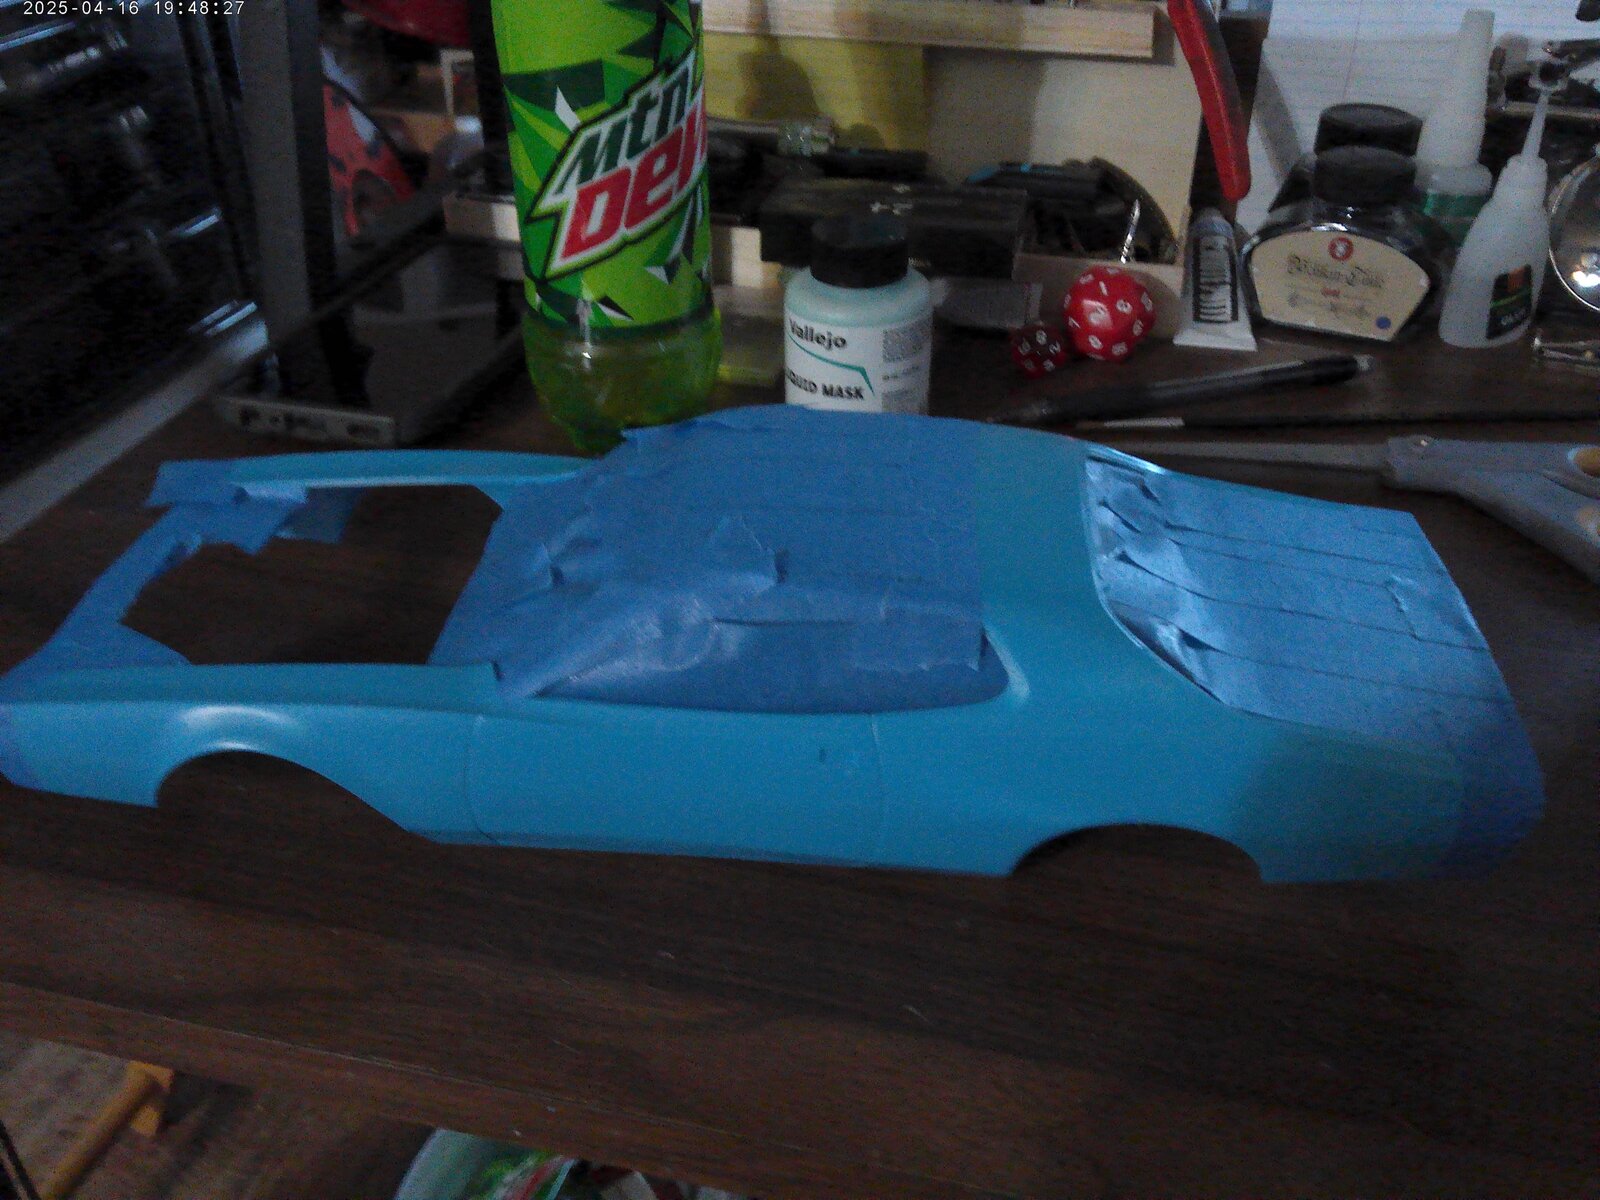
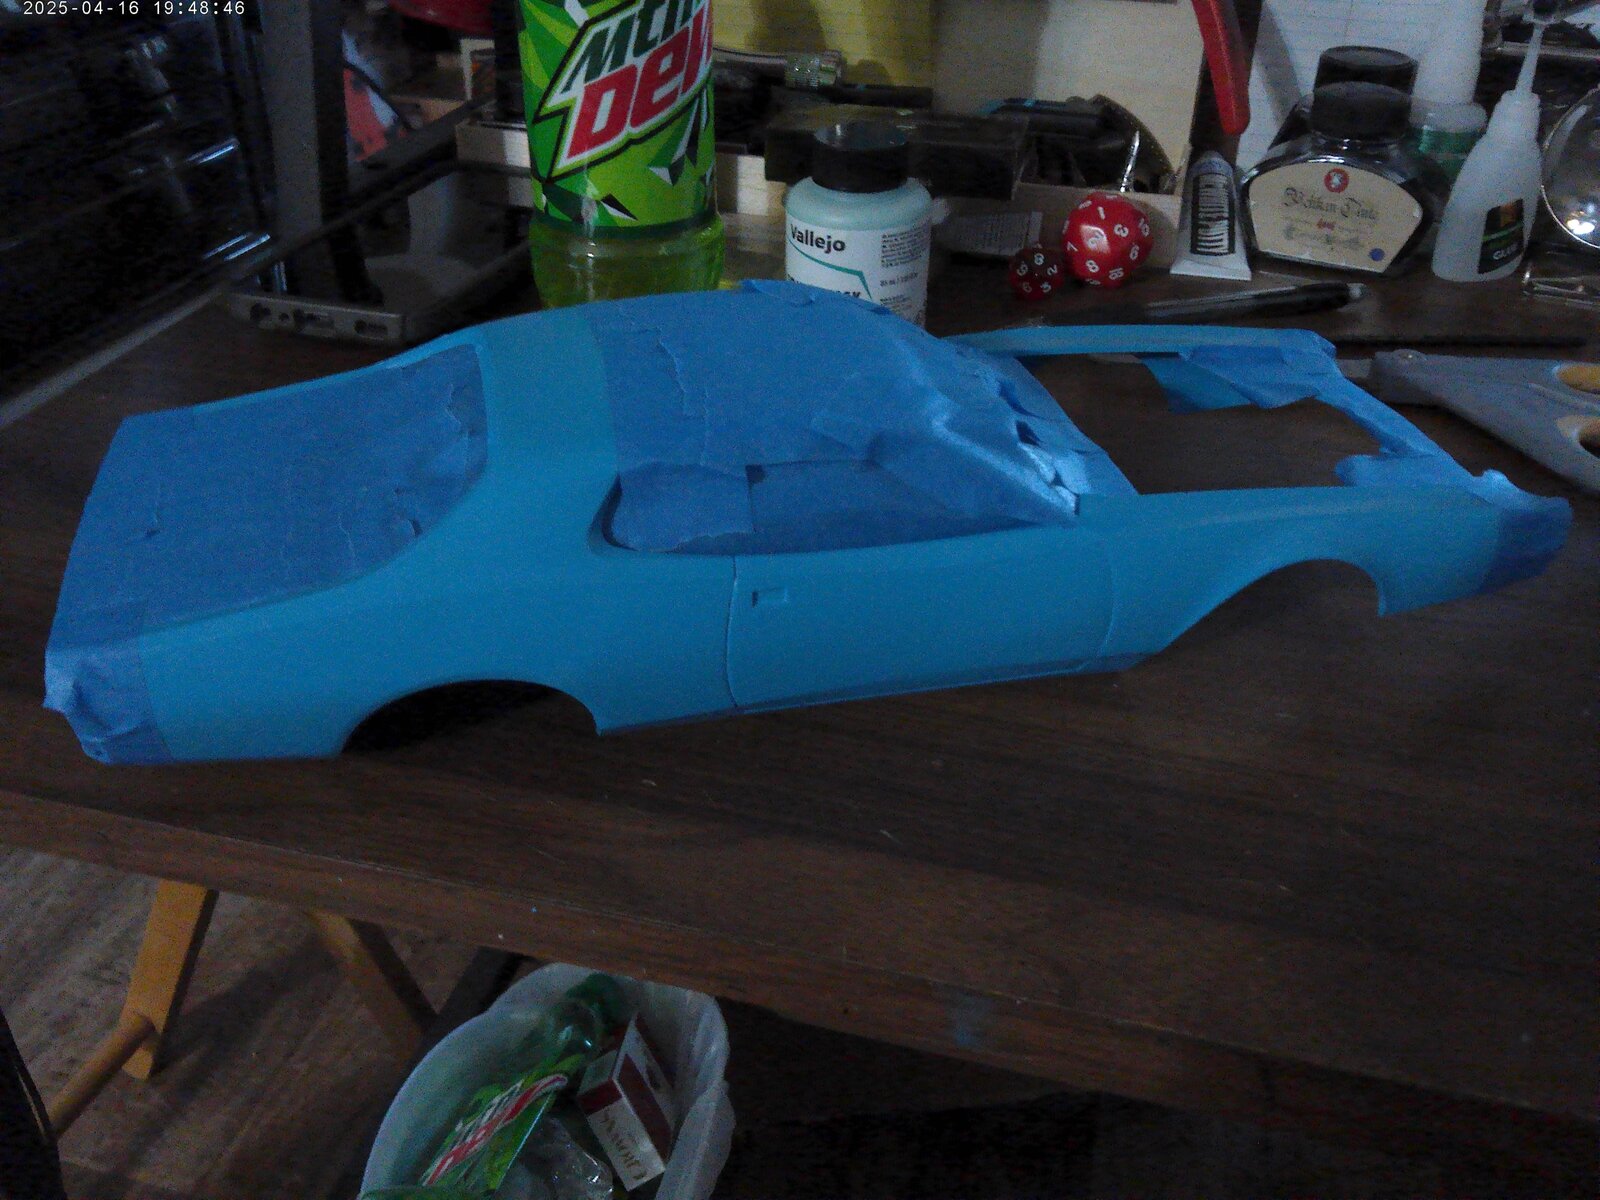
A good hours worth of masking. Mainly taking measurements and marking the borders with tailor's chalk (now wiped away) to make sure that I got everything as even as possible.
A good hours worth of masking. Mainly taking measurements and marking the borders with tailor's chalk (now wiped away) to make sure that I got everything as even as possible.

mustang1989
Well-Known Member
- Joined
- Aug 6, 2022
- Messages
- 552
Some good progress happening here in this thread with this older kit.
I remember this one too because I had this boxing when I was a kid. I'm seeing a LOT of parts in yours here that were similar to the one I had
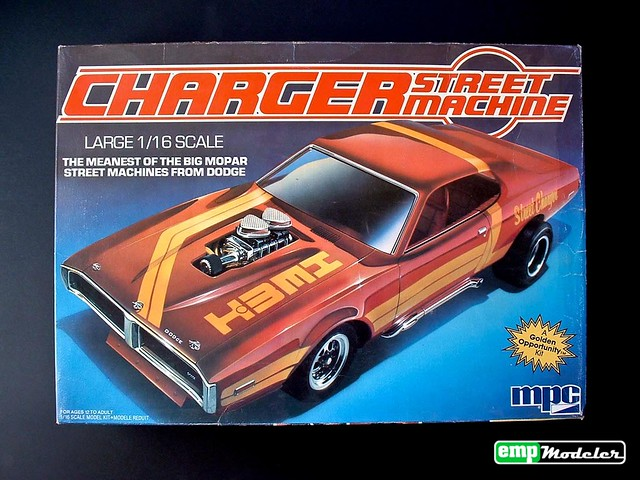
I remember this one too because I had this boxing when I was a kid. I'm seeing a LOT of parts in yours here that were similar to the one I had
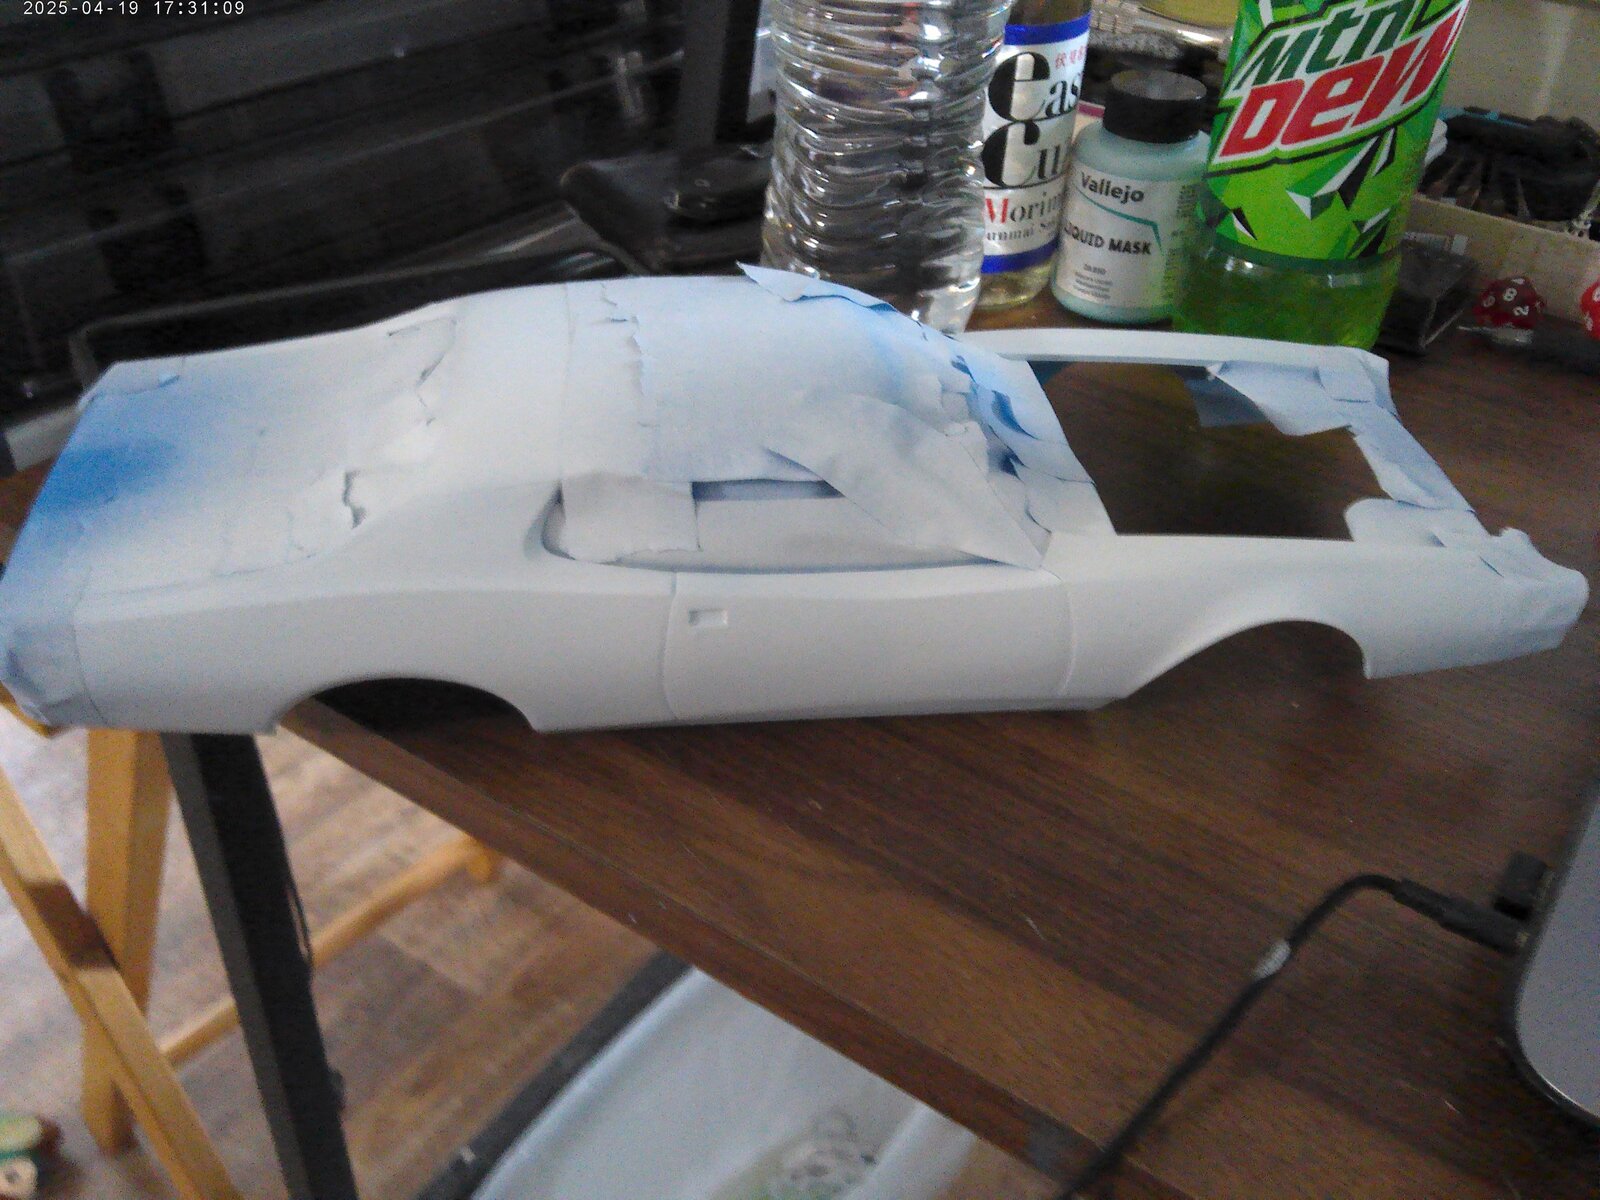
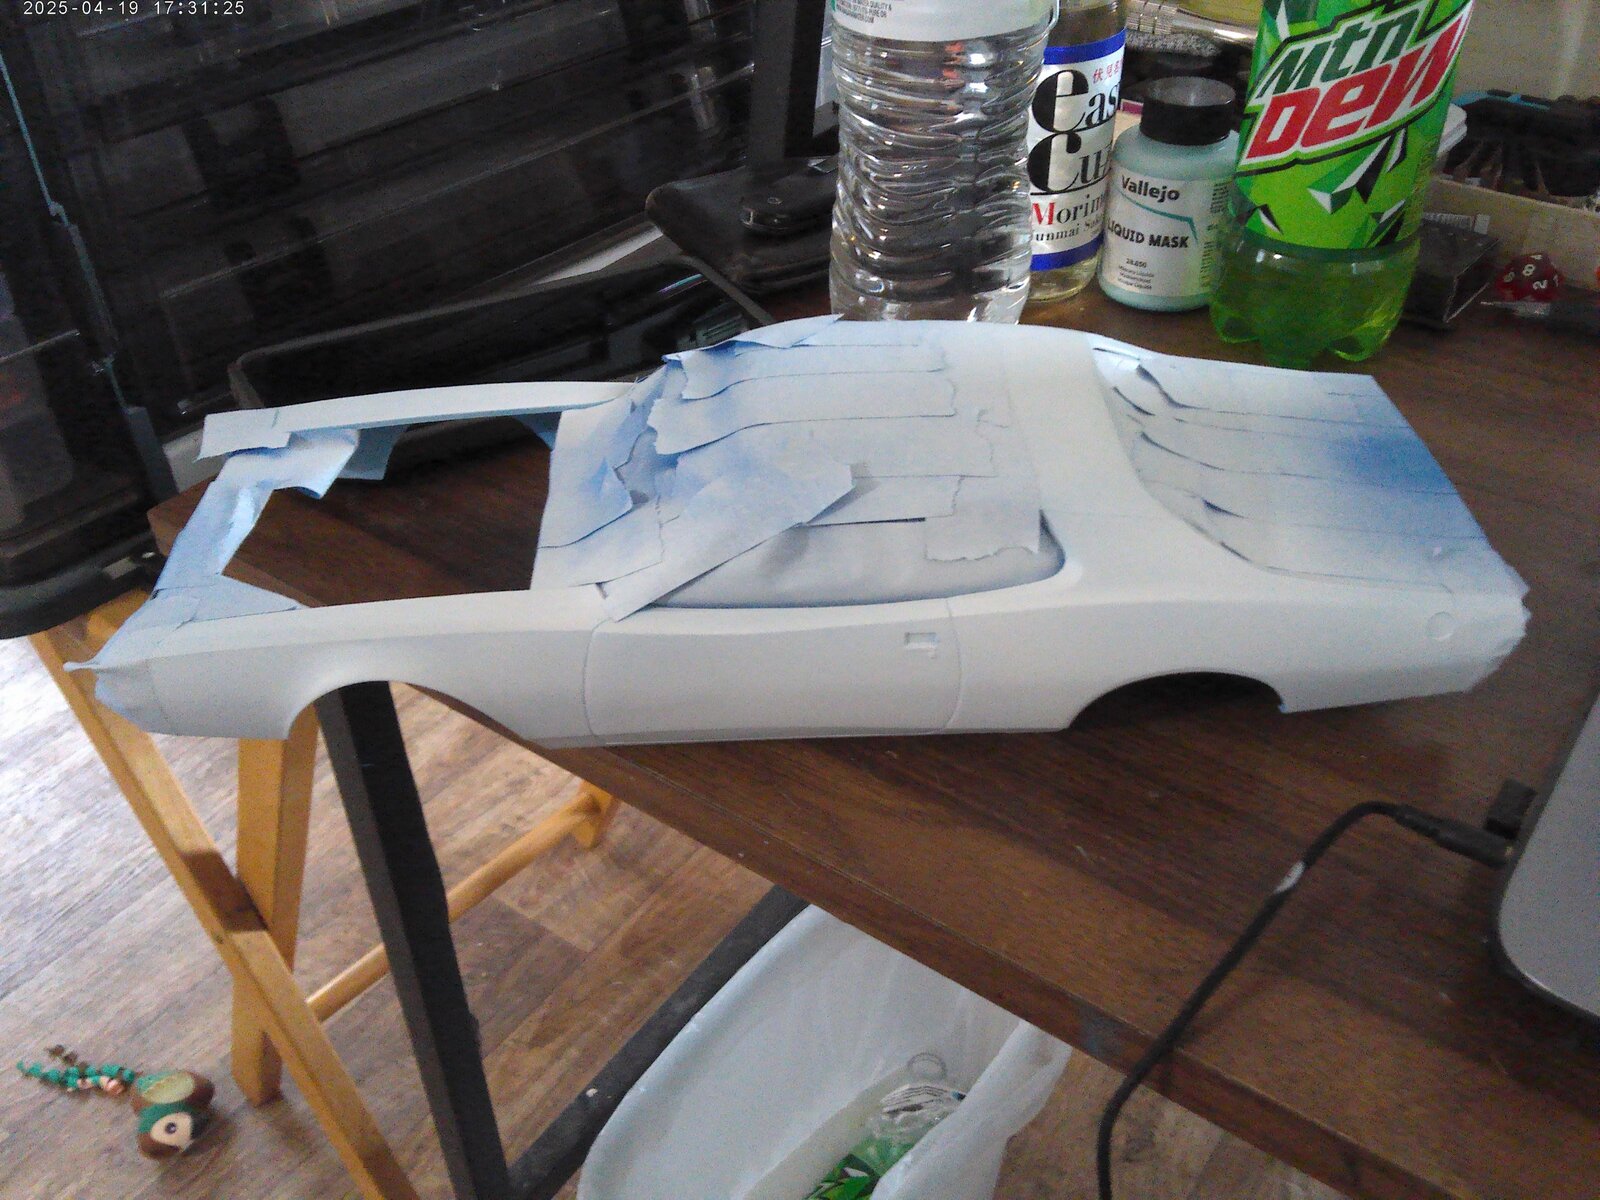
got the white down in preparation of the STP red that will be applied, but first one more step:
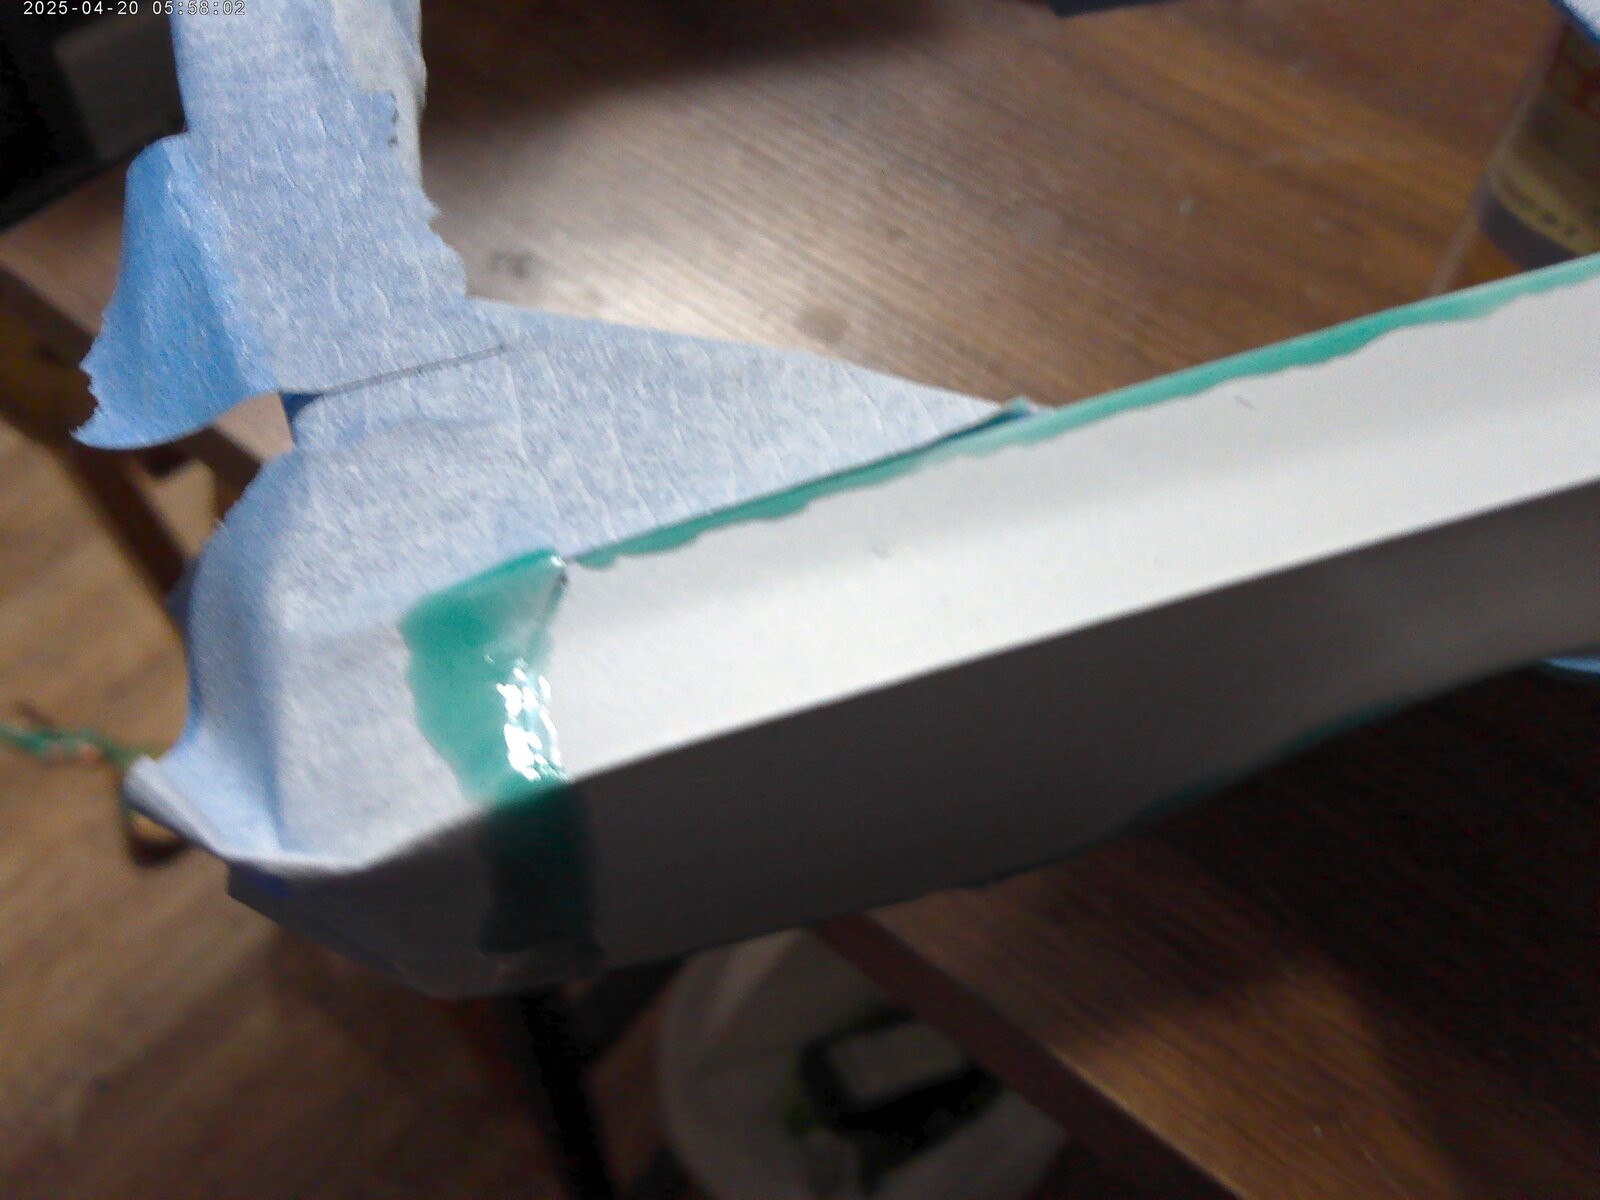
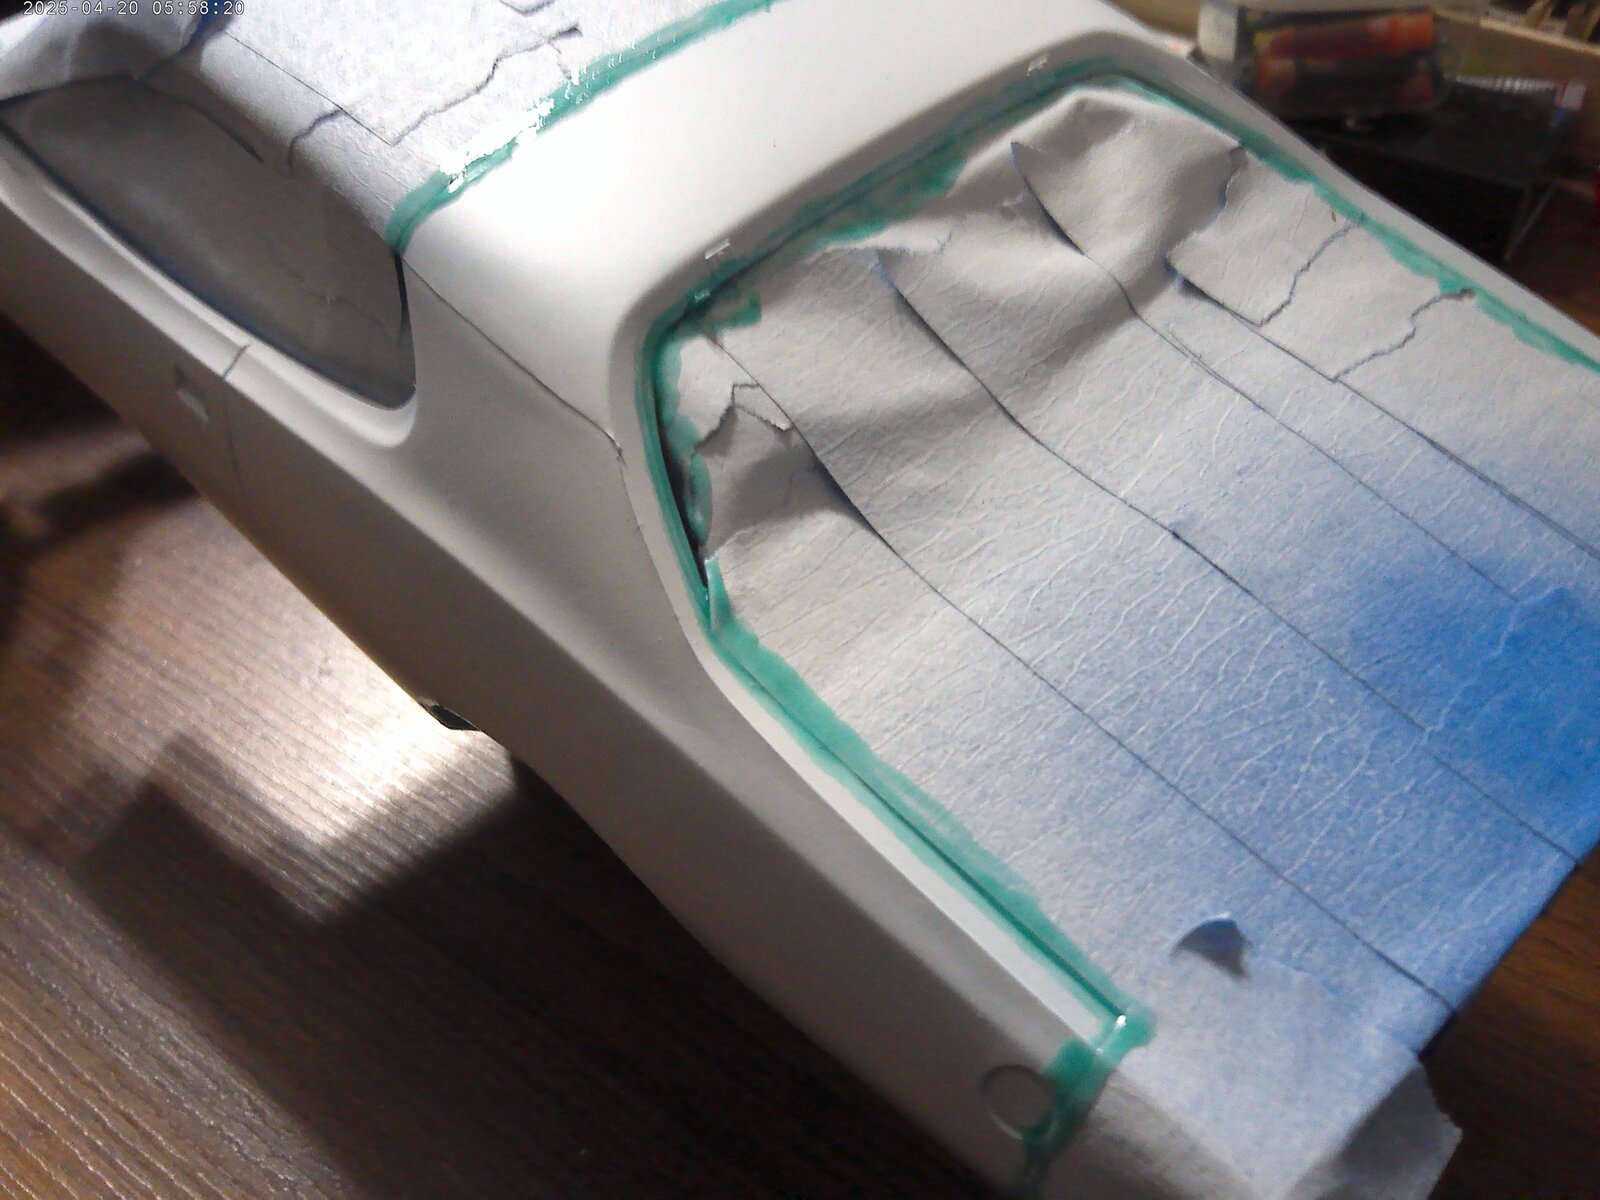
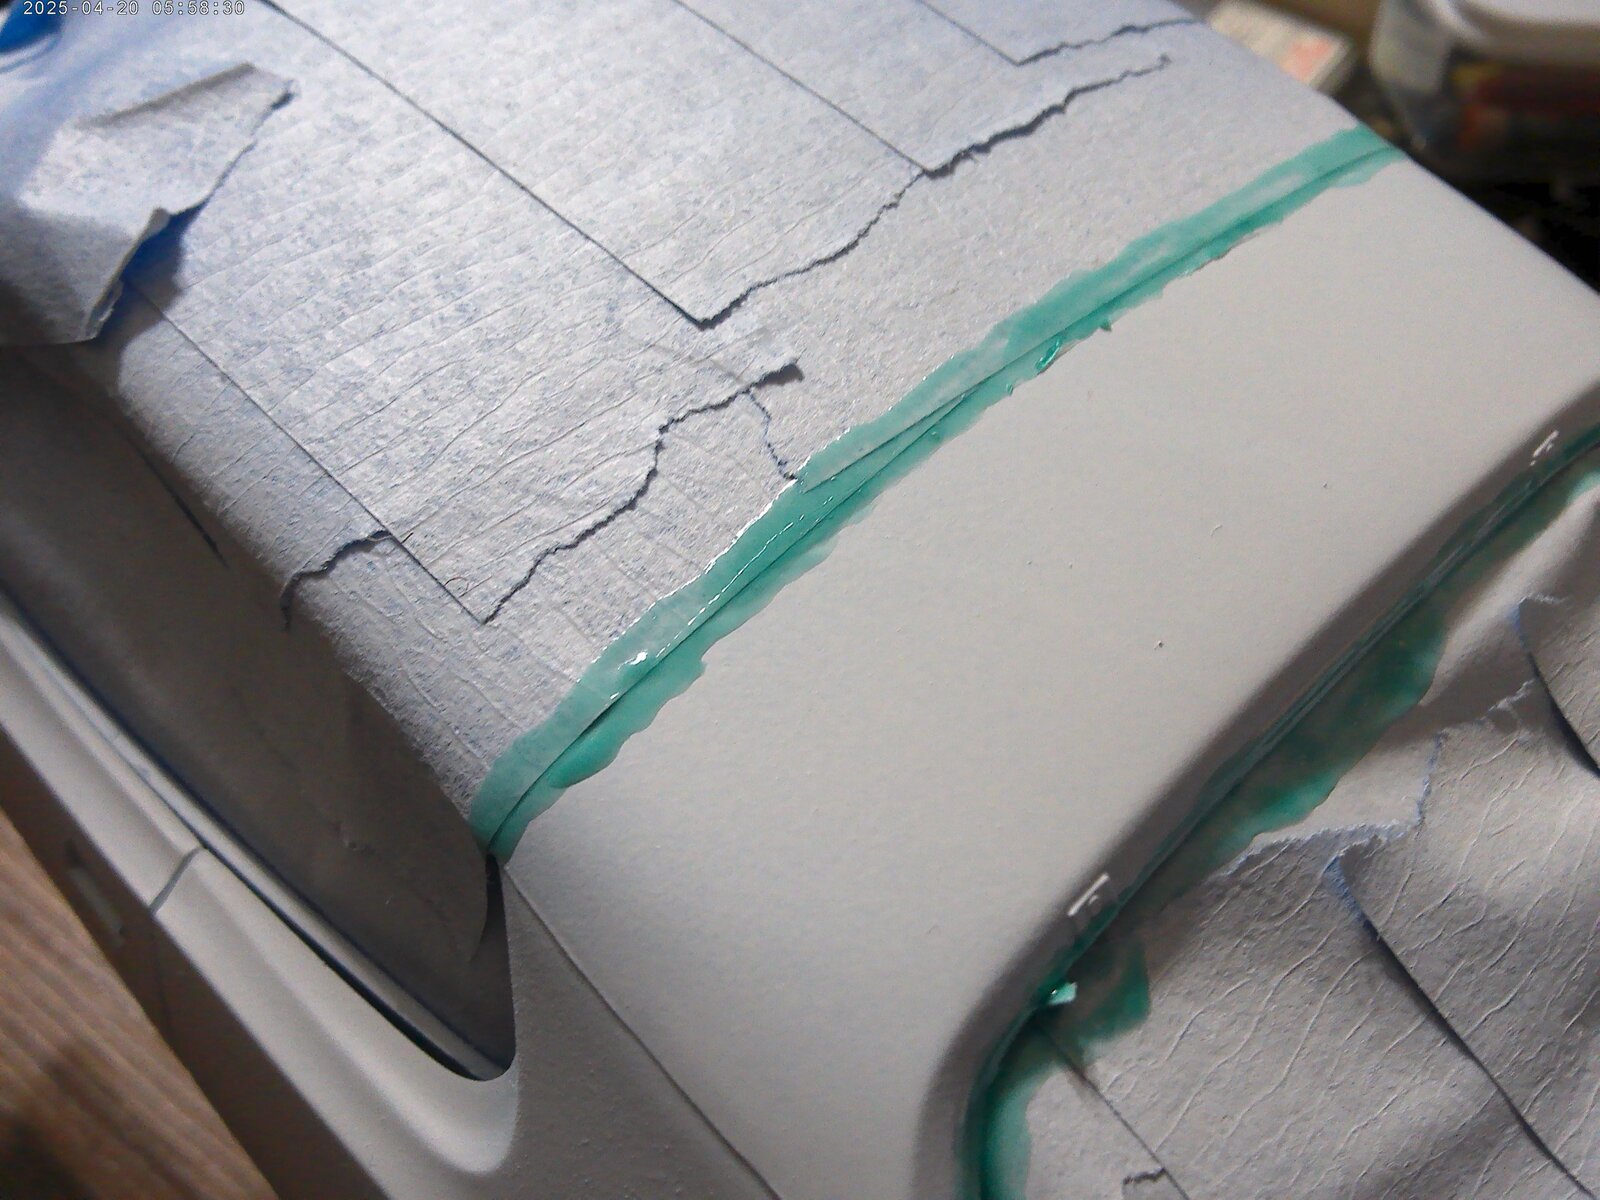
Used liquid mask to mask the white border around the STP red, which should be applied some time today.
Hmm, looking at the photos I can see some areas that need just a bit more work to even everything up.
Got a bit more done. It's starting to look like a race car now.
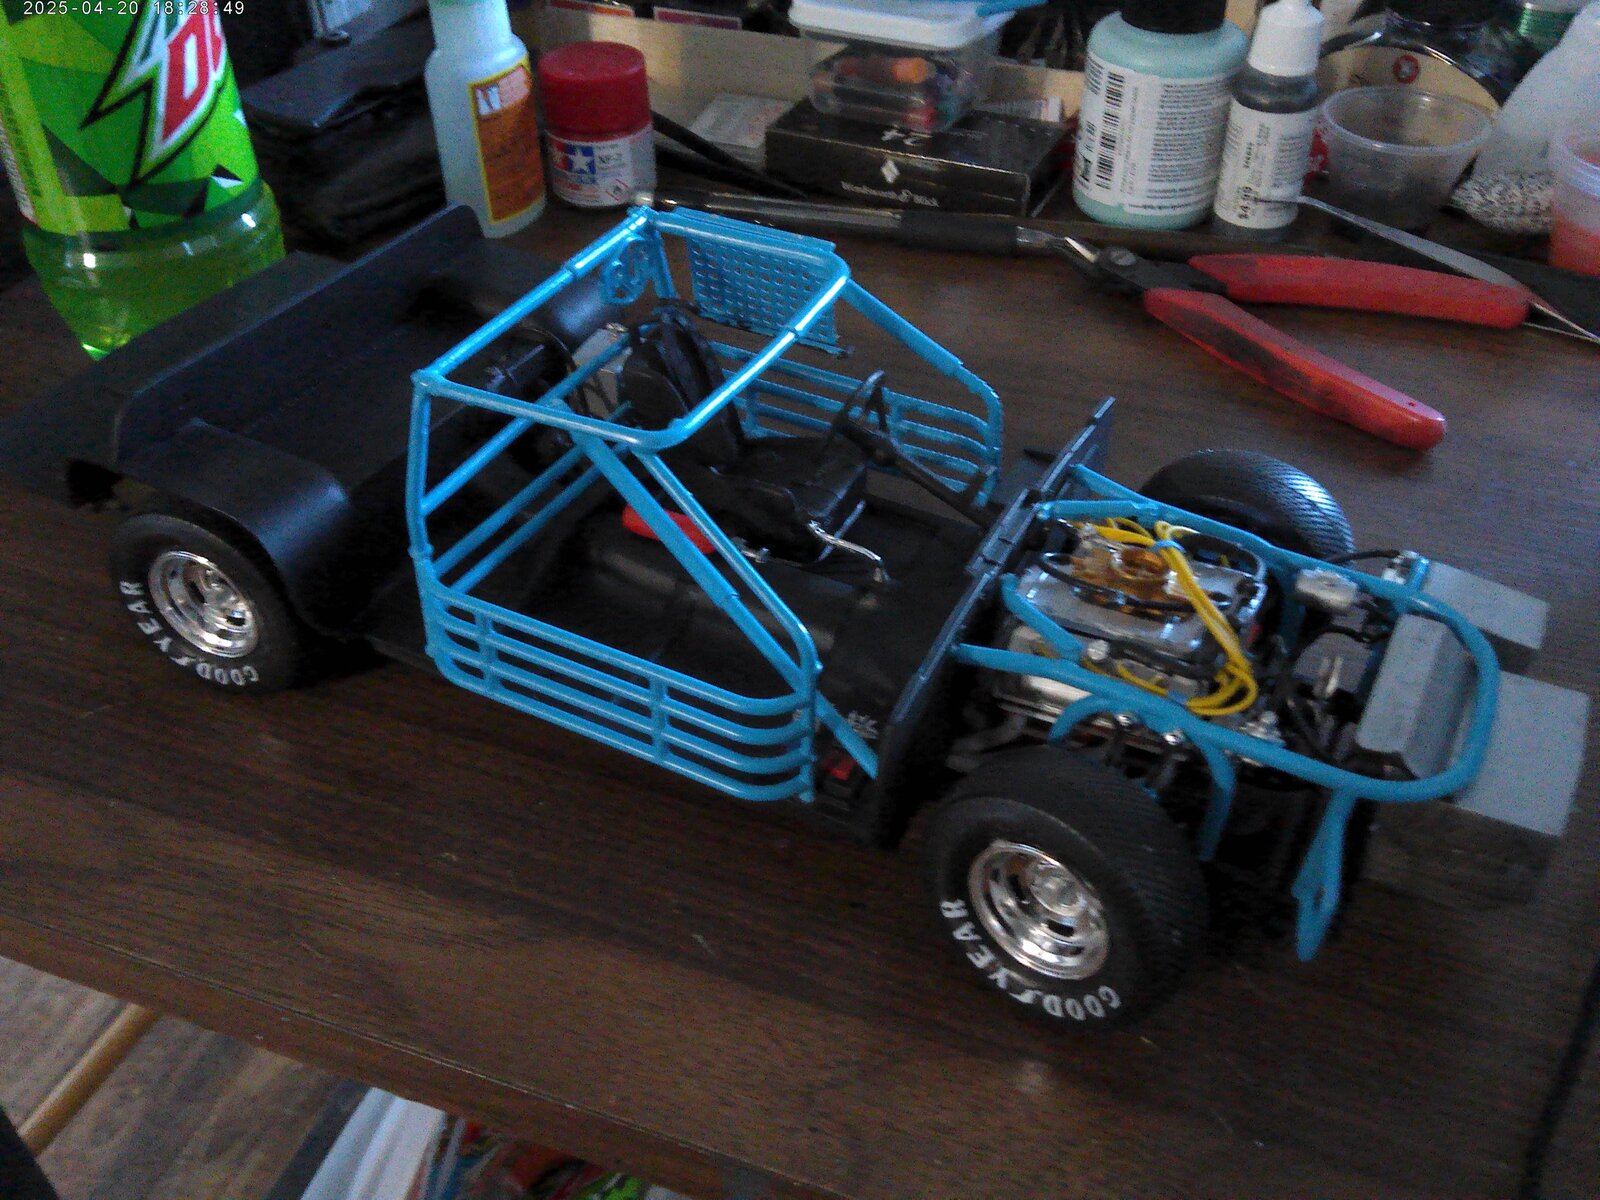
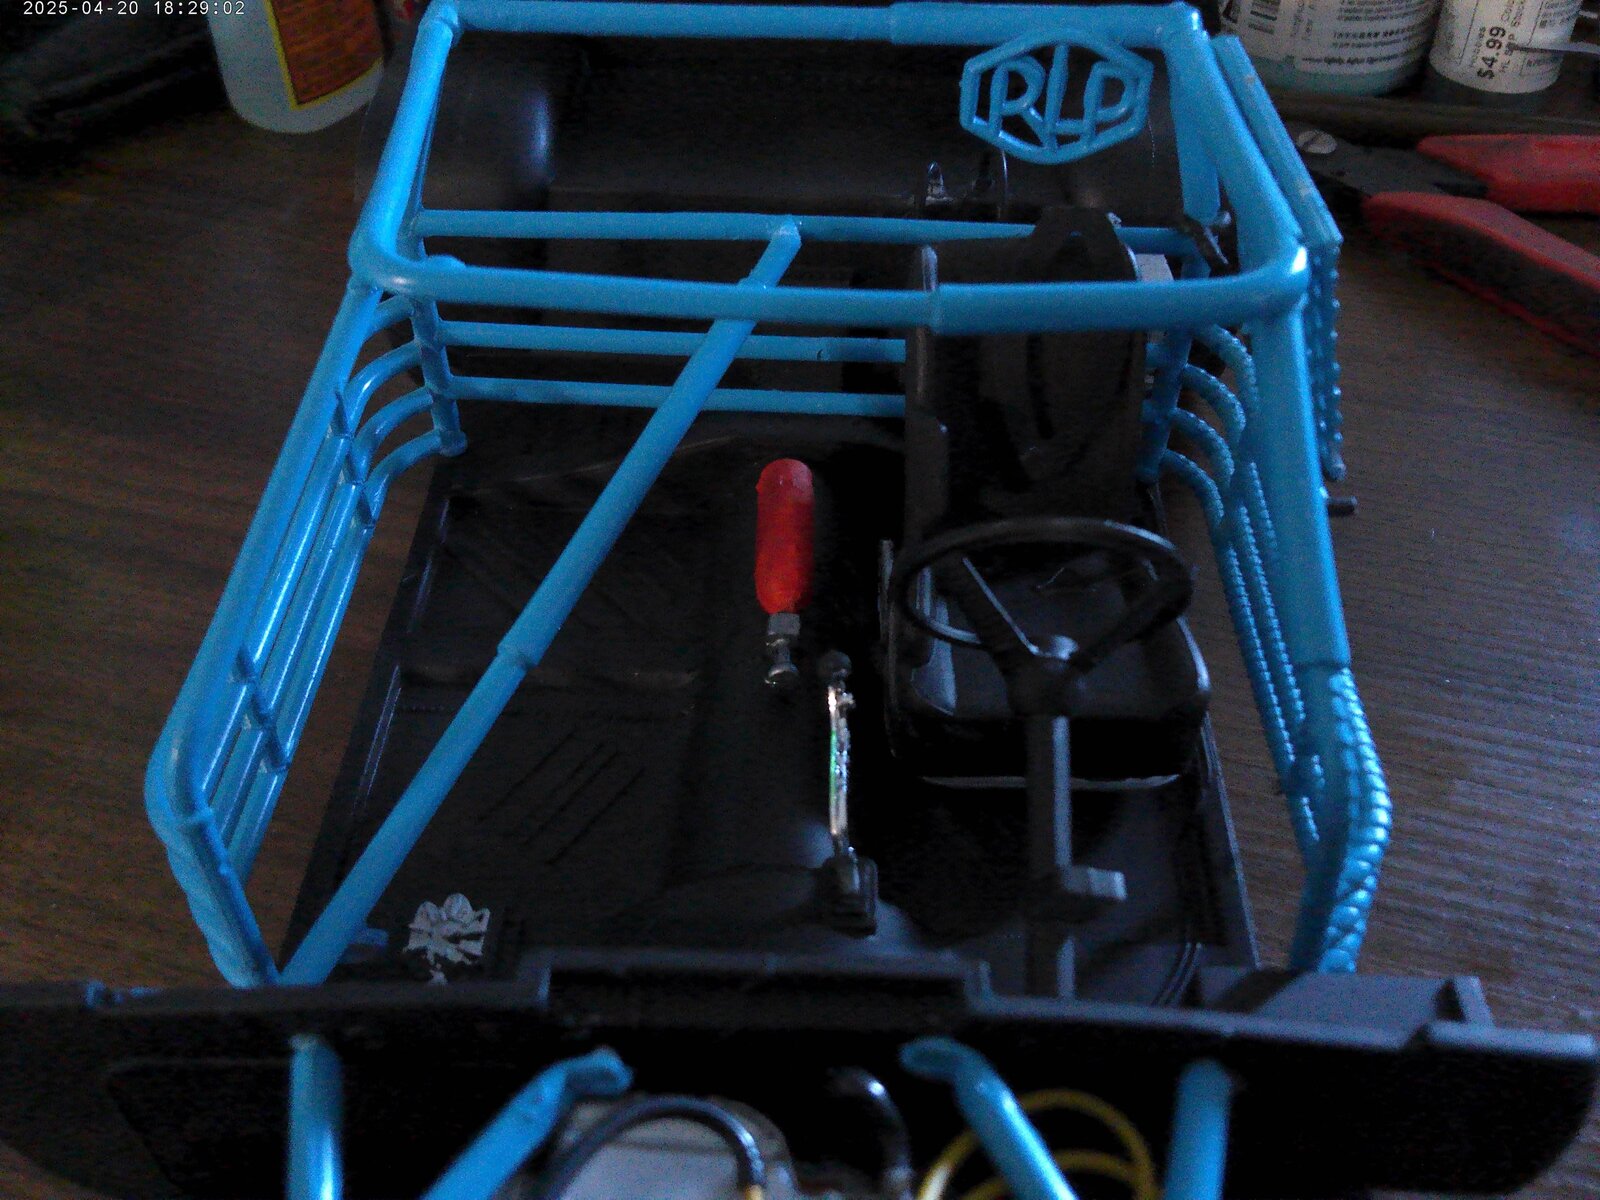
The body is painted as well
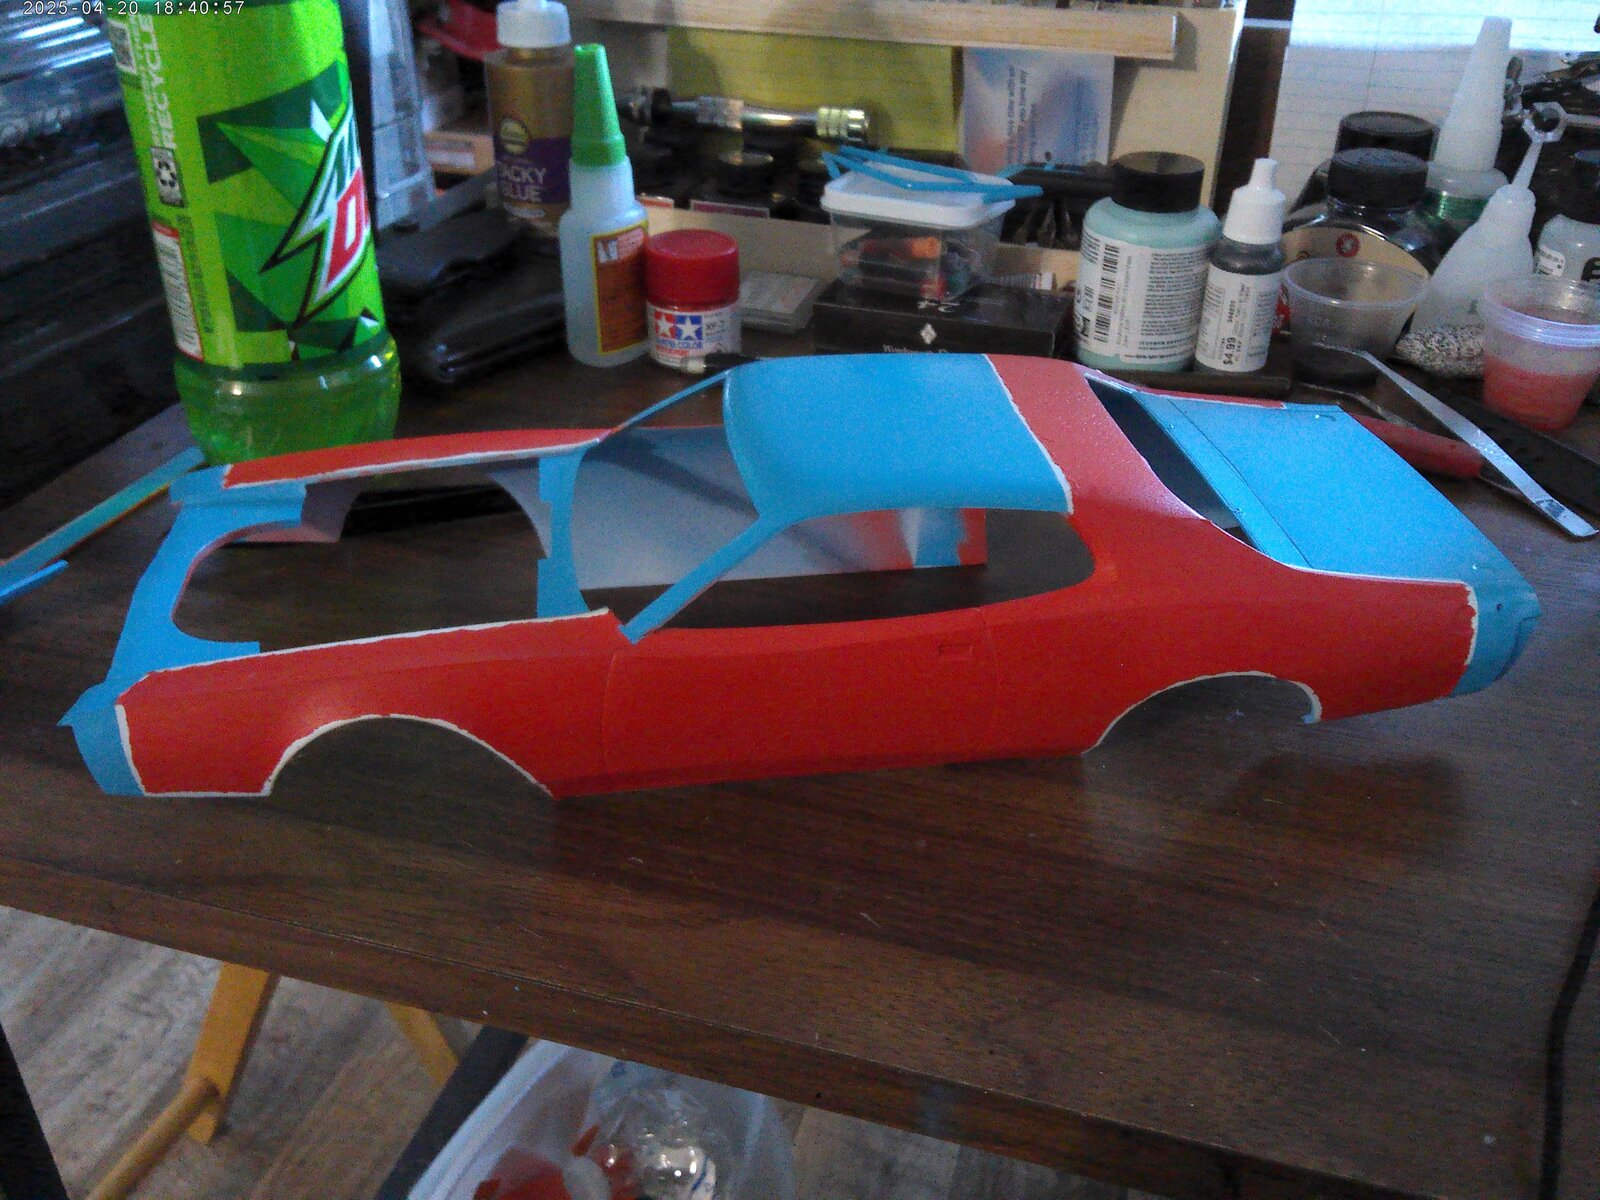
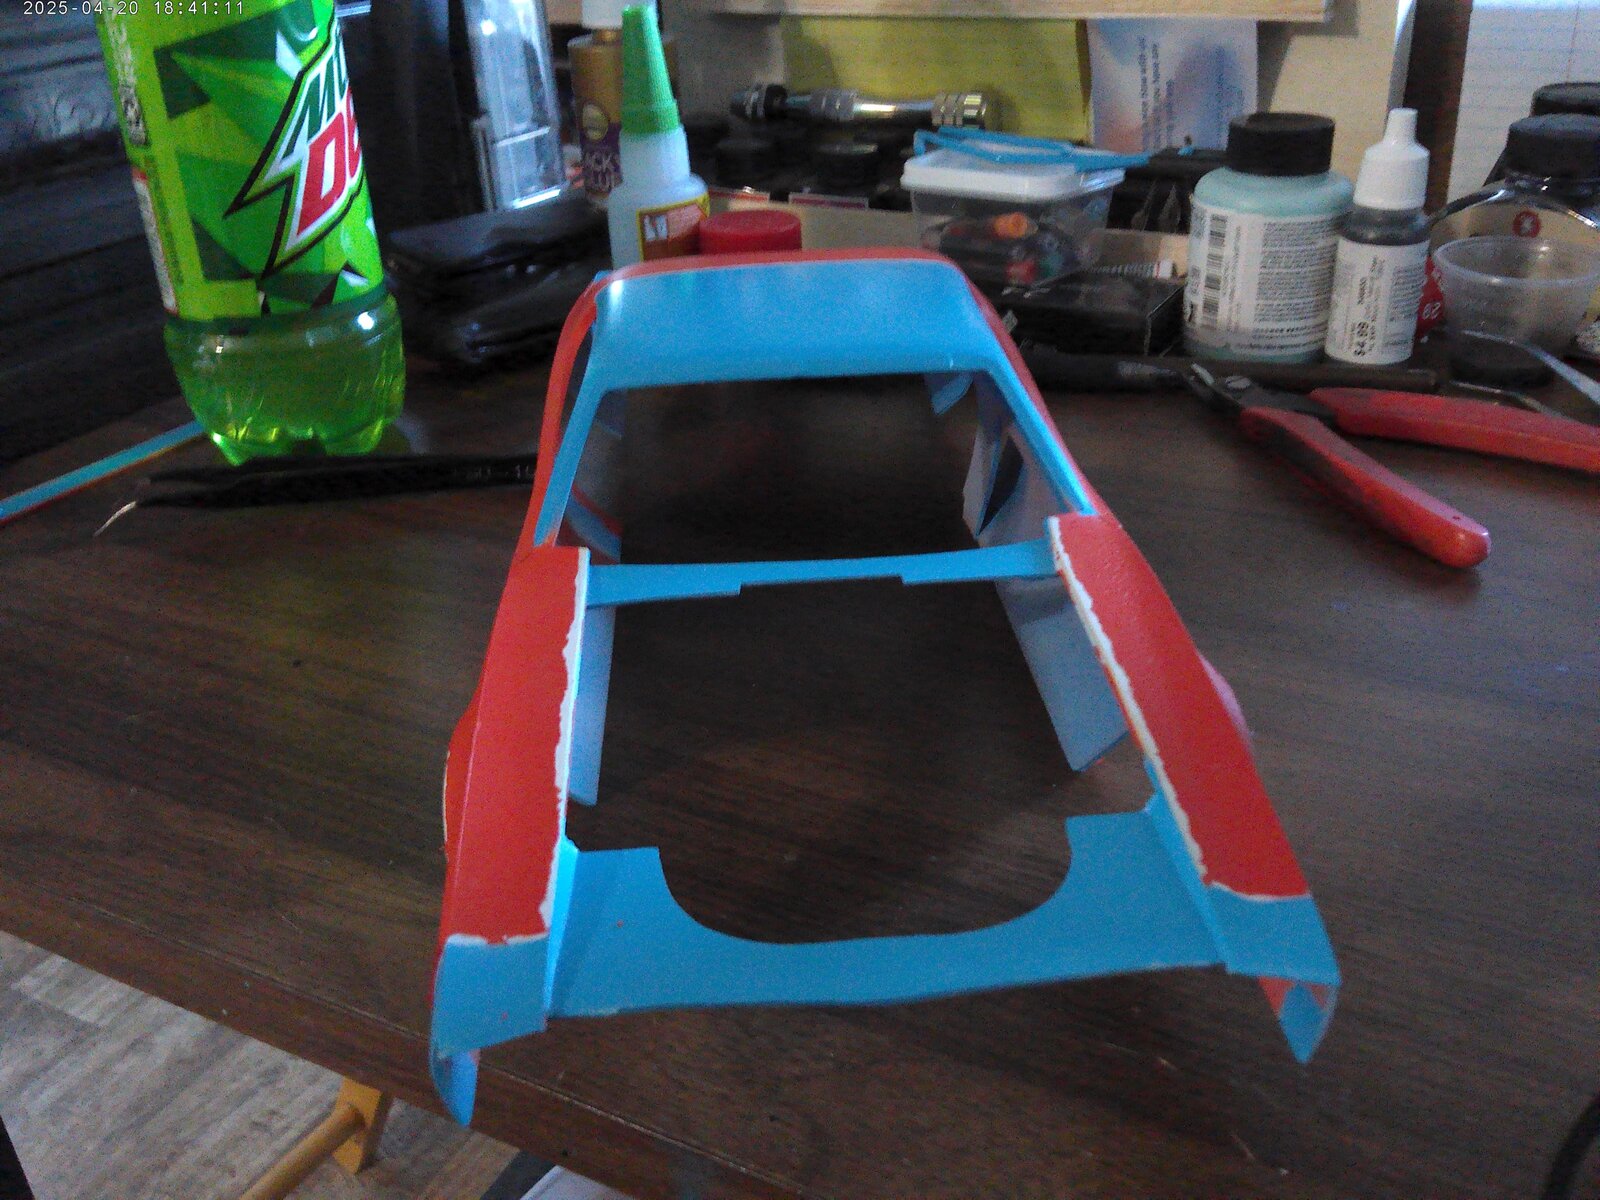
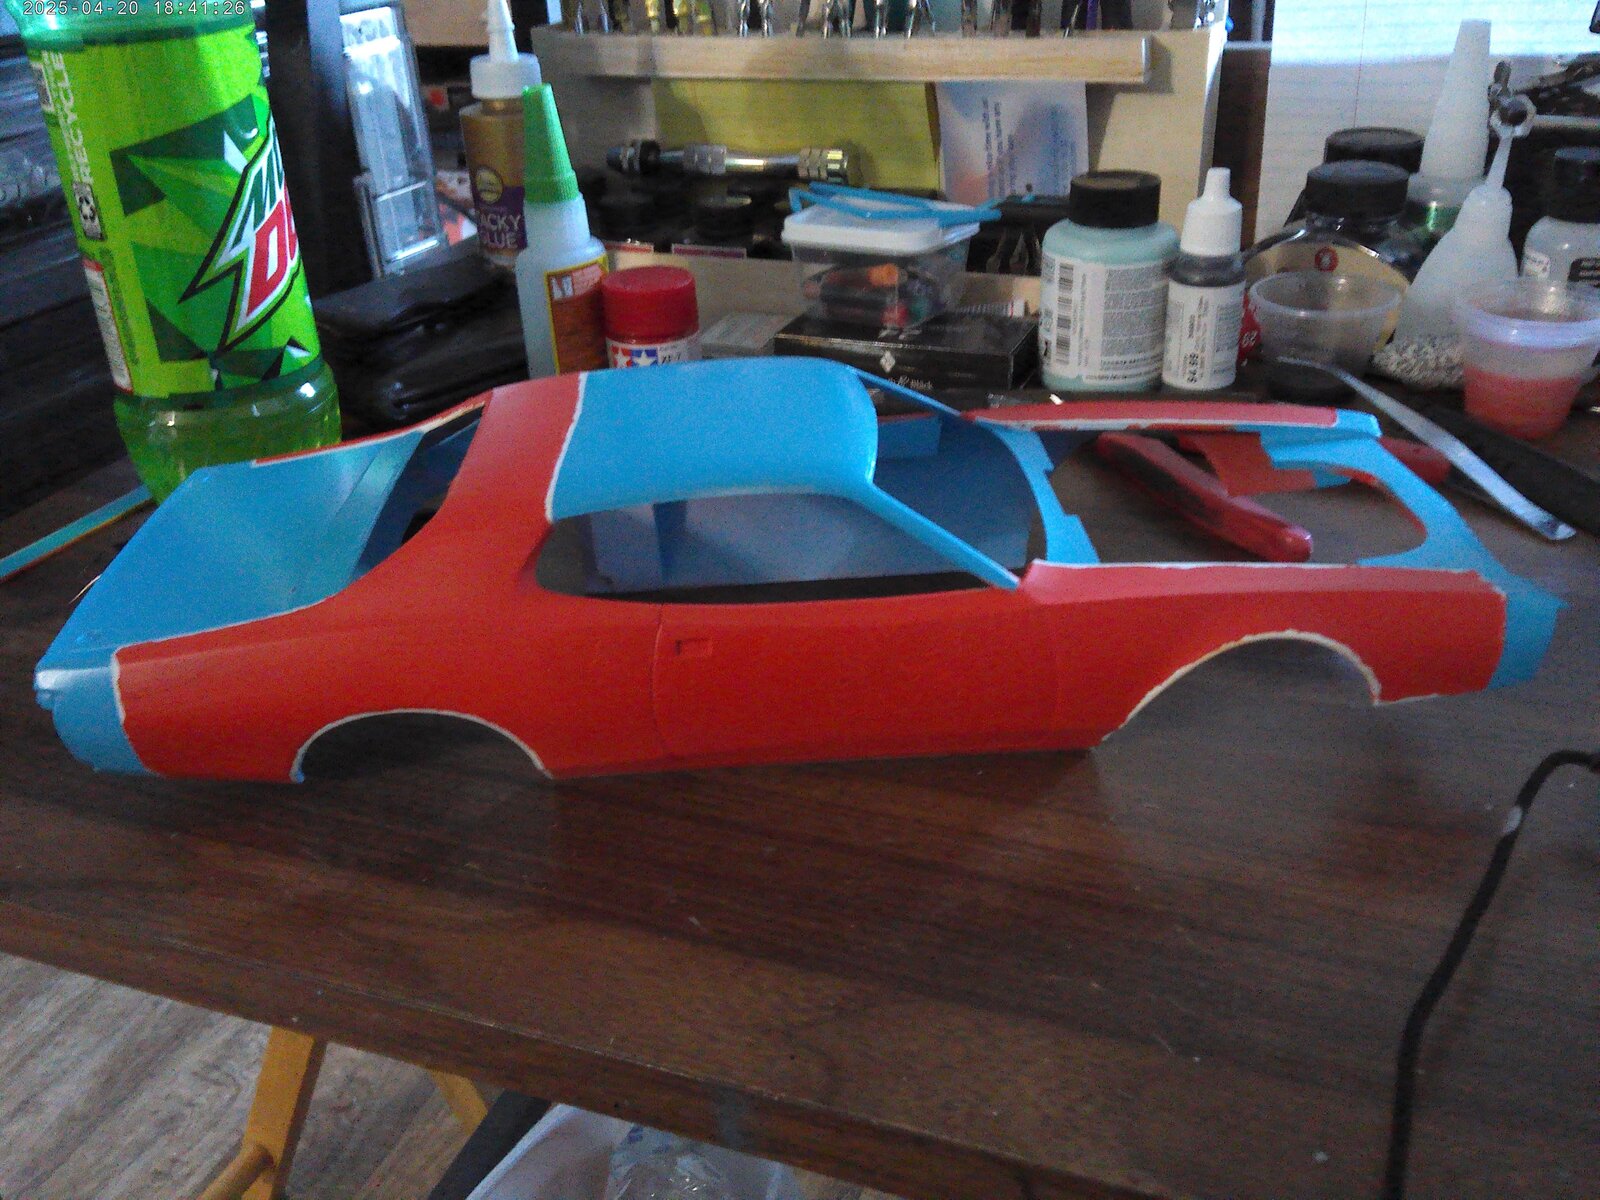
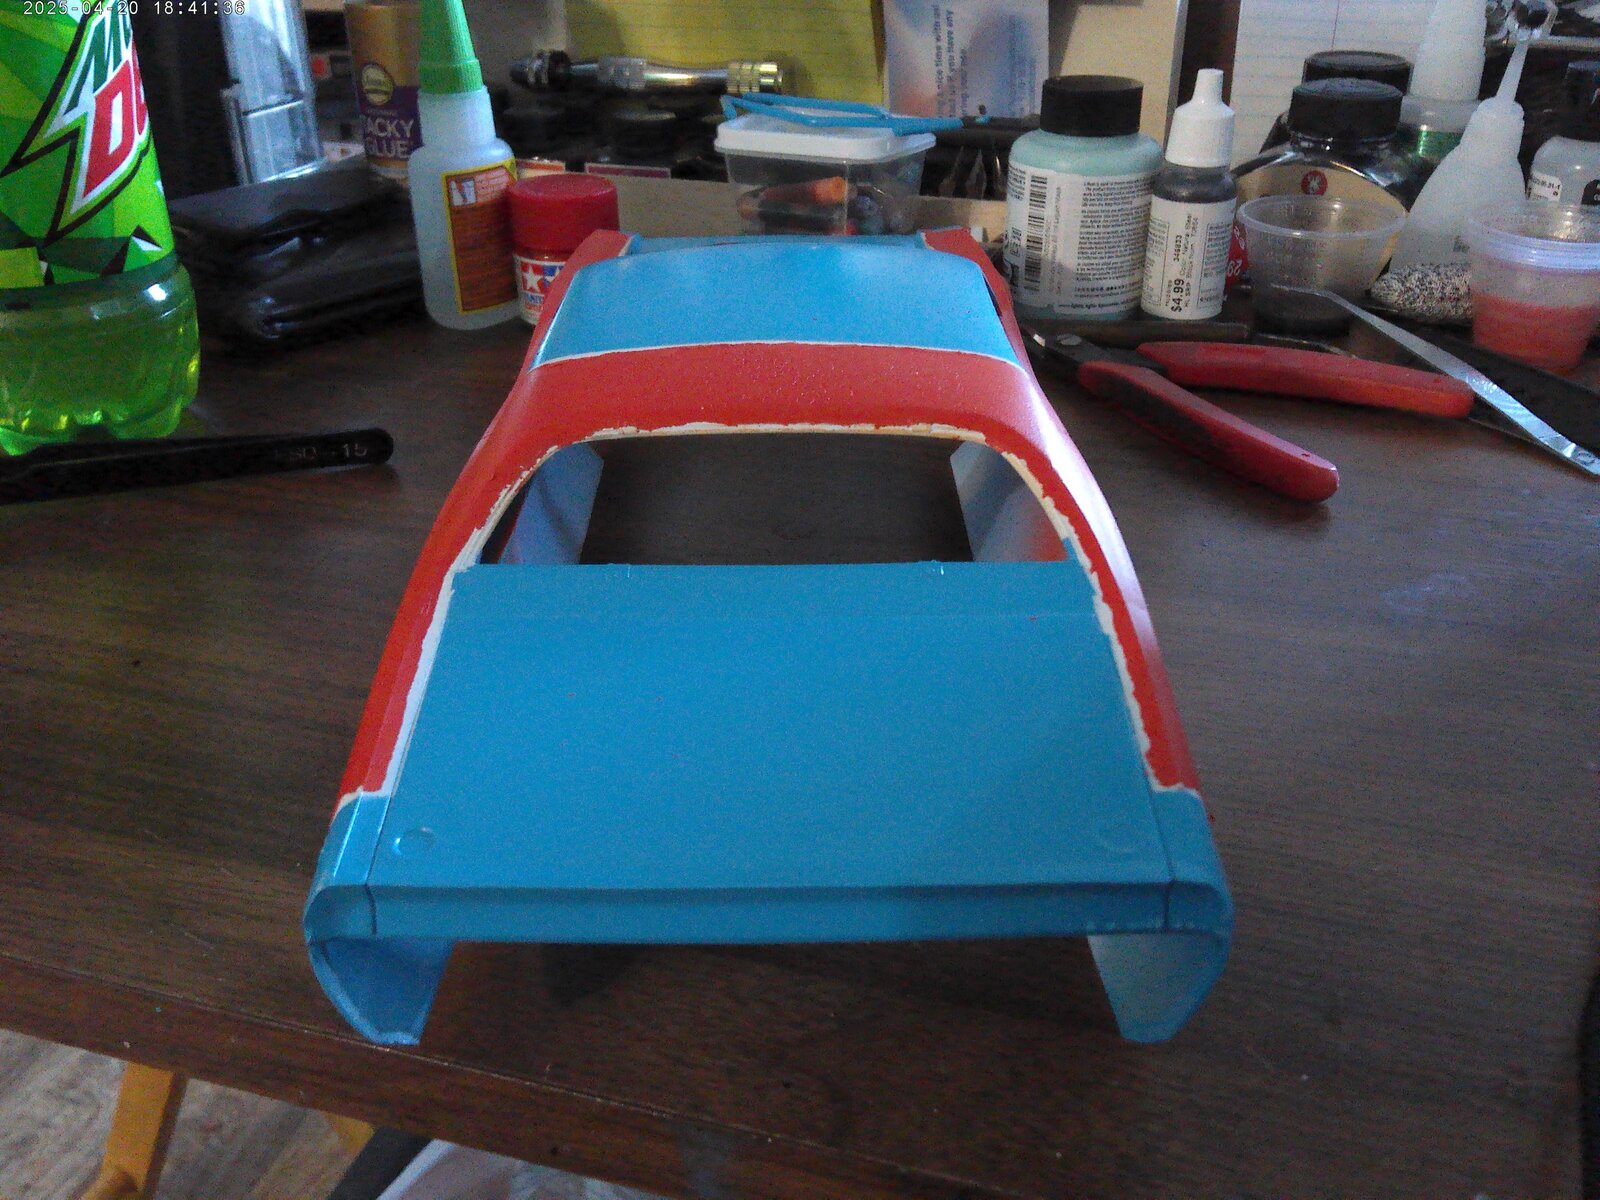
I am actually thinking about stripping the paint and doing it again. I am not exactly happy with the white border around the red, and there is some orange peeling at the doors and on the roof.
The body is painted as well
I am actually thinking about stripping the paint and doing it again. I am not exactly happy with the white border around the red, and there is some orange peeling at the doors and on the roof.

Looking good. If you have a steady hand (I dont!) you could try a white paint pen on the stripes or even cut thin strips of white decal to use. The orange peel you could lightly sand out. Rather than stripping the whole thing.
airdave
Well-Known Member
- Joined
- Oct 11, 2012
- Messages
- 280
Agreed, orange peel can be sanded down and buried under clearcoat.
But that white stripe is a mess (and it will bother you in the future).
I guess I did not understand the whole liquid mask step.
It was totally the wrong method of masking.
Do everything in tape masking...only tape will give you that sharp clean straight edge.
I say this only as constructive help, and definitely not a criticism of your build so far.
I'm loving it!
This is just a hurdle.
Do you not have any fineline tape? or thin masking tapes.
If not, get some.
I prefer thin masking tape...never been a huge fan of vinyl fineline tapes, but I still use them.
Thinline tape (especially the vinyl stuff) can be slightly stretched and laid down in tight curves.
I used fineline(vinyl) tapes to lay out flames and pinstripes on helmets and gas tanks.
It can be used over top of white to block and save the stripe, while you then paint the red and blue areas.
(My suggestion: sand the model smooth. No need to strip all the paint.
Then loosely spray the white areas with no masking.
Then mask the white stripe with fine masking...and then respray the red and blue.
Then remove the fine tape to reveal the white stripe.)
Invest in decent masking tapes, it's worth it.
Better tape has cleaner, sharper edges, and better adhesion.
Some tapes are also more stretchy for curving.
And, after taping up an area to paint, spend a lot of extra time rubbing down edges for a tight seal.
But that white stripe is a mess (and it will bother you in the future).
I guess I did not understand the whole liquid mask step.
It was totally the wrong method of masking.
Do everything in tape masking...only tape will give you that sharp clean straight edge.
I say this only as constructive help, and definitely not a criticism of your build so far.
I'm loving it!
This is just a hurdle.
Do you not have any fineline tape? or thin masking tapes.
If not, get some.
I prefer thin masking tape...never been a huge fan of vinyl fineline tapes, but I still use them.
Thinline tape (especially the vinyl stuff) can be slightly stretched and laid down in tight curves.
I used fineline(vinyl) tapes to lay out flames and pinstripes on helmets and gas tanks.
It can be used over top of white to block and save the stripe, while you then paint the red and blue areas.
(My suggestion: sand the model smooth. No need to strip all the paint.
Then loosely spray the white areas with no masking.
Then mask the white stripe with fine masking...and then respray the red and blue.
Then remove the fine tape to reveal the white stripe.)
Invest in decent masking tapes, it's worth it.
Better tape has cleaner, sharper edges, and better adhesion.
Some tapes are also more stretchy for curving.
And, after taping up an area to paint, spend a lot of extra time rubbing down edges for a tight seal.
I don't have a white paint pen, but I do have a liner brush that I've used in the past for delicate paint jobs (normally on figures. Thinking about touching up and correcting the border with that brush.Looking good. If you have a steady hand (I dont!) you could try a white paint pen on the stripes or even cut thin strips of white decal to use. The orange peel you could lightly sand out. Rather than stripping the whole thing.
Tried sanding it down but the orange peel reappeared when I applied the paint again. Just not as bad. What I'm thinking is that it is problem with the plastic due to the age of the kit and if I strip it down and maybe lightly sand it, that might clear the problem up. IDK though, thoughts?Agreed, orange peel can be sanded down and buried under clearcoat.
But that white stripe is a mess (and it will bother you in the future).
I guess I did not understand the whole liquid mask step.
It was totally the wrong method of masking.
Do everything in tape masking...only tape will give you that sharp clean straight edge.
I agree I should have used tape for the border, but I wanted to try the liquid mask since I've had good results using it on canopies and small area. As my Dad would say "That's what ya get trying something new. Now how do you fix it?"
And that's how I take it. Help and advice should always be welcome, and I do try to do that (doesn't always work that way I am human after allI say this only as constructive help, and definitely not a criticism of your build so far.
I'm loving it!
This is just a hurdle.
) Problems and complications only force us to grow and learn as modelers.Not currently in my tool kit, I have actually never used it. I do have a little 3mm Tamiya tape (really need to get more). Can you get that fineline tape online and how much is it?Do you not have any fineline tape? or thin masking tapes.
If not, get some.
I prefer thin masking tape...never been a huge fan of vinyl fineline tapes, but I still use them.
Thinline tape (especially the vinyl stuff) can be slightly stretched and laid down in tight curves.
I used fineline(vinyl) tapes to lay out flames and pinstripes on helmets and gas tanks.
It can be used over top of white to block and save the stripe, while you then paint the red and blue areas.
(My suggestion: sand the model smooth. No need to strip all the paint.
Then loosely spray the white areas with no masking.
Then mask the white stripe with fine masking...and then respray the red and blue.
Then remove the fine tape to reveal the white stripe.)
Invest in decent masking tapes, it's worth it.
Better tape has cleaner, sharper edges, and better adhesion.
Some tapes are also more stretchy for curving.
And, after taping up an area to paint, spend a lot of extra time rubbing down edges for a tight seal.


