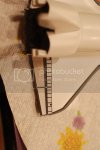
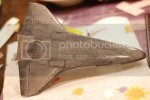
1/144 scale Space Shuttle Stack and MLP

niart17

New Member
Joined
Oct 13, 2010
Messages
11
Hey all, this is my first post here. Been peeking at this site for quite a while and figured I might as well join in the fun. I know most of you guys are Sci-Fi dudes, but I thought you might find this build a little interesting. I'm going to try to tackle the 1/144 scale Revell stack and scratch a MLP to go along with it. Actually I'm using Minicraft's ET and boosters and revell's orbiter.

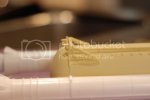
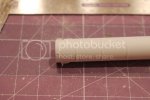
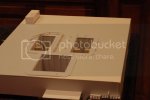
I've done a little work on the ET by adding the intertank ribbing and busied up the the lower interface area. nothing super detailed just to give it more detail.
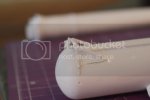
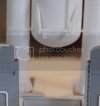
tankinterface2.jpg
interfacebottom.jpg
tankinterface.jpg

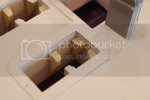
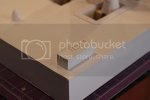
I also did the basis for the MLP. This is where most of the work will be. Depending on how far I want to take it, there is a lot happening on the real thing.
Here is the front section started and the Tail Service Towers started. I'm having a hard time finding detail shots of the hoses? and piping? etc...that run from the tail service towers and the orbiter. If anyone has any shots of that it would be much appreciated.
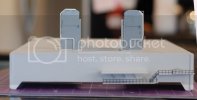
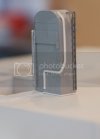
mlptowers.jpg
tailservicetower.jpg

Cont'd...
 
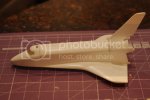
I also have most of the orbiter together. I used the rear RCS units from the Minicraft kit since they looked a little crisper and the angle looked more accurate.
orbiter.jpg

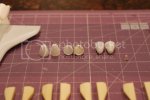
I think I will try to detail the engine bells from the Minicraft kit as well. They look much better than the Devo hats from the Revell kit. (Whip it good) If I can't make them come out right I can always replace them with the realspace onces. Trying to save some money on this one though. I think I'll have the engine covers on so the interior won't matter as long as I can make the piping look good. Also in this pic you can see the resin cast I made of the SRB mount bases. These go down into the flame pit opening and the SRB's are bolted to them.
SMEs.jpg
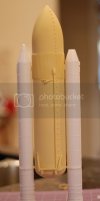
I added the brackets for the lines running from the top and primed the ET using Model Master desert tan. I wasn't sure how well that color would work but I'm pretty pleased with it. I think it will be a good starting point for the lighter surfaces. The primer also helped bring out some of the detail on the lower mounts.
primedstack.jpg
primedstack2.jpg
 
Cont'd
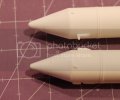
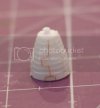
I was trying to figure out the best way to represent the small nozzles at the top of the SRB's since the Minicraft ones don't really have much there and notice that the Revell nose tips looked better and would be pretty easy to adapt. So I started a little cutting. These will still need a bit of detailing because on the real thing there are some raised plugs(?) on them but at least these have a panel representation and a cleaner looking seam across the top.

First cut the top off the Minicraft SRB.
srbcutting.jpg

Then just glue the Revell on...simple fix and IMHO much better looking. Original Minicraft on top with pretty lame detailing. Revell top spliced on to minicraft bottom. (sorry for the blurry pics, I didn't set up my tripod)

srbnewnose.jpg

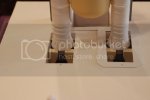
I have some pics of the SRB support towers in the flame pits. I need to clean up the seams a bit and my resin casting isn't perfect, but it'll work for me. This also shows the stack sitting on these supports. There will actually be some cone shaped mounts between them, but this gives a rough idea of the mounting system.

mlpflamepit.jpg
mlpstacktest.jpg

I also have what I believe is the HVAC unit for the platform started. This is the unit I'm not sure if it's monted on wheels or if it sits flat on the platform.

hvacunit.jpg

The last one is some detailing on the SSME

ssmebell.jpg
 
Well, first...welcome here.
Second, nice work. Nice idea to build the launch pad too, can't wait to see the rest.
 
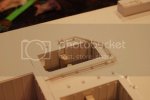
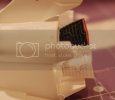
And finally to catch up to where I am now I've done a little bit of detailing in the flame pits by adding the side corregation and started on some of the pipe work. I hope to have the ET painted within the next few days and then start doing more work on the orbiter itself.

flamepitpiping.jpg
flamepits.jpg

Comments, critiques and suggestions always welcome.

Bill
 
Exarkun77 said:
Well, first...welcome here.
Second, nice work. Nice idea to build the launch pad too, can't wait to see the rest.

Thanks for the welcome Exarkun! I have learned alot from you guys here. I think Sci-fi guys seem to have the most fun when it comes to detailing and scratch building and have a lot to offer when it comes to other genres. Literally the sky's the limit.

Bill
 
looks awsome i am a big fan of the space shuttle program and am looking forward to seeing more of your work ;)
 
Very nice work, might inspire me to dig out my old model of the shuttle and finish her up!
 
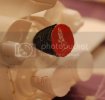
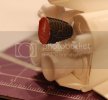
'nother small update. I painted one engine bell just to make sure the details I was adding to them was going to be deep enough to show up. I also put a preliminary printing of one of the FOD covers. I think it looks not-too-bad. Realspace's Nozzles are much better I'm sure, but these were CHEAP. If anyone is interested in a copy of the image file for the covers just shoot me a PM. I have it in Illustrator or .pdf if you'd like. I'll try to get them out to ya'ASAP but ya know how time can be.

bellcover1.jpg
bellcover2.jpg
bellcover3.jpg

Bill
 
looking good.
Those covers are a nice touch for a "pre-launch" look.

Looks like you still need to fill in the "hinge" on the beaver tail, though.
 
Thanks. I'm not sure if the covers actually stay on the bells once the platform is being moved because I can't find any photo evidence of them still on the shuttle while it's being transported. But I think it will add a nice color contrast so I'll let style trump substaince in this case.

As for the beaver tail hinge. In these pics none of the back end is glued yet, I just snapped it in place to show the engine in context. I'm going to try to detail out that area a little I just haven't gotten around to it yet. Still not sure if it would be easier to paint the rear bulkhead off the model and then touch-up after it's glued on or just glue it and mask around all the stuff to paint. Any suggestions?
 
I just realized that this thread may have been started in the wrong area. I guess I should have put it in the In-Progess threads. If someone needs to move it or if whomever the powers-that-be prefer me to, I'll pick up the updates over there from now on. Just let me know.

Bill
 
Hey all. It's been a while since I posted anything on this. I ran into a small snag and trying to work it out. I made some tile decals and put them on and it looked pretty good. Then decided to try to improve upon them by re-doing the decals with a black undercoat...should have left well enough alone cause it has been giving me all kinds of fits trying to get the tiles to lay down without the edges curling up. Here are a few updated shots in the meantime.
Bill

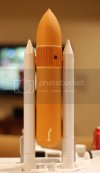
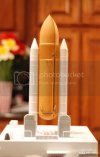
stackonplat1.jpg
stackonplat2.jpg

And the tile decals I SHOULD have left alone...oh well, live and learn.
DSC_0253.jpg

thanks for checking it out.
 
coming along really nice ! watching with interest.
I have the airfix 1:144 shuttle with boosters and can't wait to start it.
 
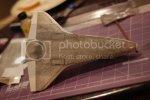
Well, I finally got the tile decals back in order and reapplied to the belly. That was a major pain so next time I'll leave well enough alone. I also added a couple of decals for the top of elevons. Still have a ways to go but it's getting there. Comments, critiques and suggestions are always welcome.

wingcrop2.jpg
wingcrop.jpg
newbottom.jpg

Thanks for looking.

Bill
 
It is looking nice. I just got done building a 1/288 version and after spending a bit looking at photos, I can say that you are getting it done right. It looks pretty good.
 

Latest posts

Back
Top