Group Build: F/A-18A-G Super Hornet/Growler

Scale Model Addict - Model Tips, Guides, Tools & Tech, Tutorials, and Community

Help Support Scale Model Addict:

Thanks everyone for the kind comments.
It's too bad that we don't all live closer together where we could see each others' work in person.
I'll be taking the CF-18 to show at our local IPMS meeting tonight. I always value the feedback from the other guys. They are a great source on constructive feedback and ideas.
I learn a lot from them.
 
Thanks everyone for the kind comments.
It's too bad that we don't all live closer together where we could see each others' work in person.
I'll be taking the CF-18 to show at our local IPMS meeting tonight. I always value the feedback from the other guys. They are a great source on constructive feedback and ideas.
I learn a lot from them.
I totally recommend everyone find a local club if possible, same reasons.
 
@Glenn S Absolutely outstanding job on your build! The scratch building to enhance a humble kit is superb, love the seat work, their a kit in themselves. Again, Bravo Zulu good Sir!
 
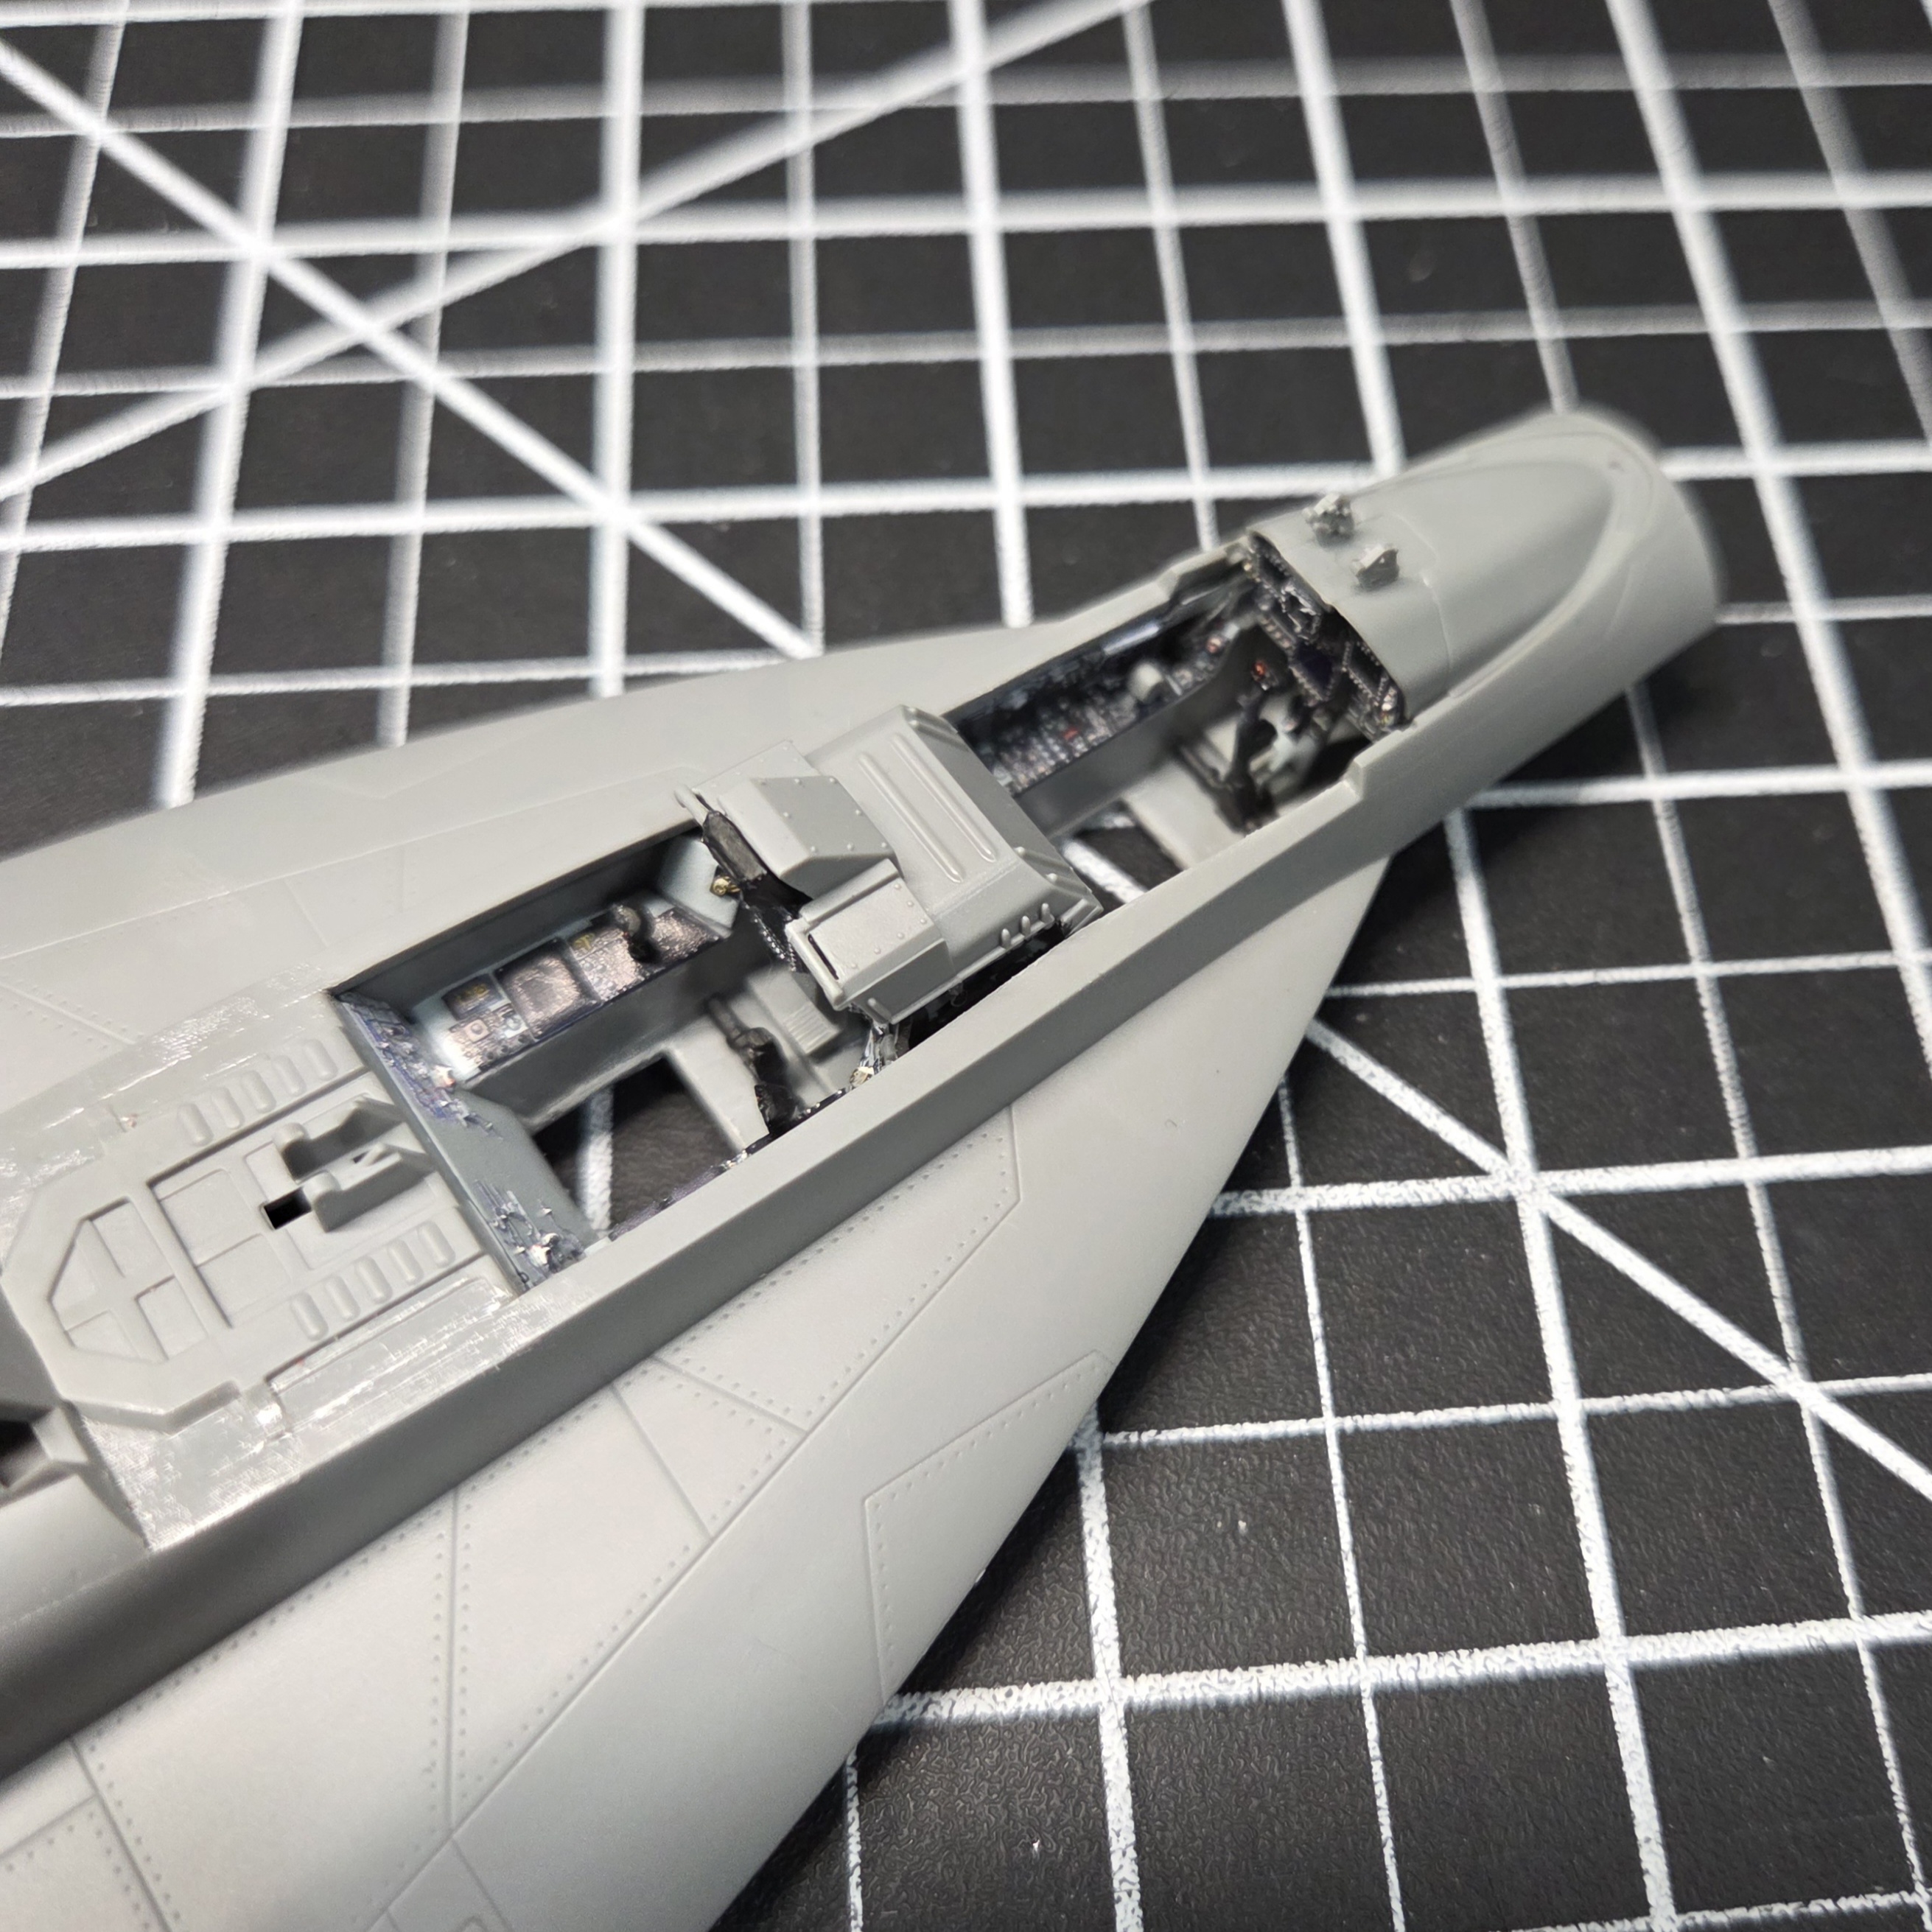
I was back at the bench today, which was much needed. I finished up the 3D decaling of the WSO office area, and put in all the controls, flight stick, etc. I just have to wait for the decals to set up and dry so I can put on the tub walls and get it all buttoned up into the upper fuselage half.

7014.jpg
7018.jpg


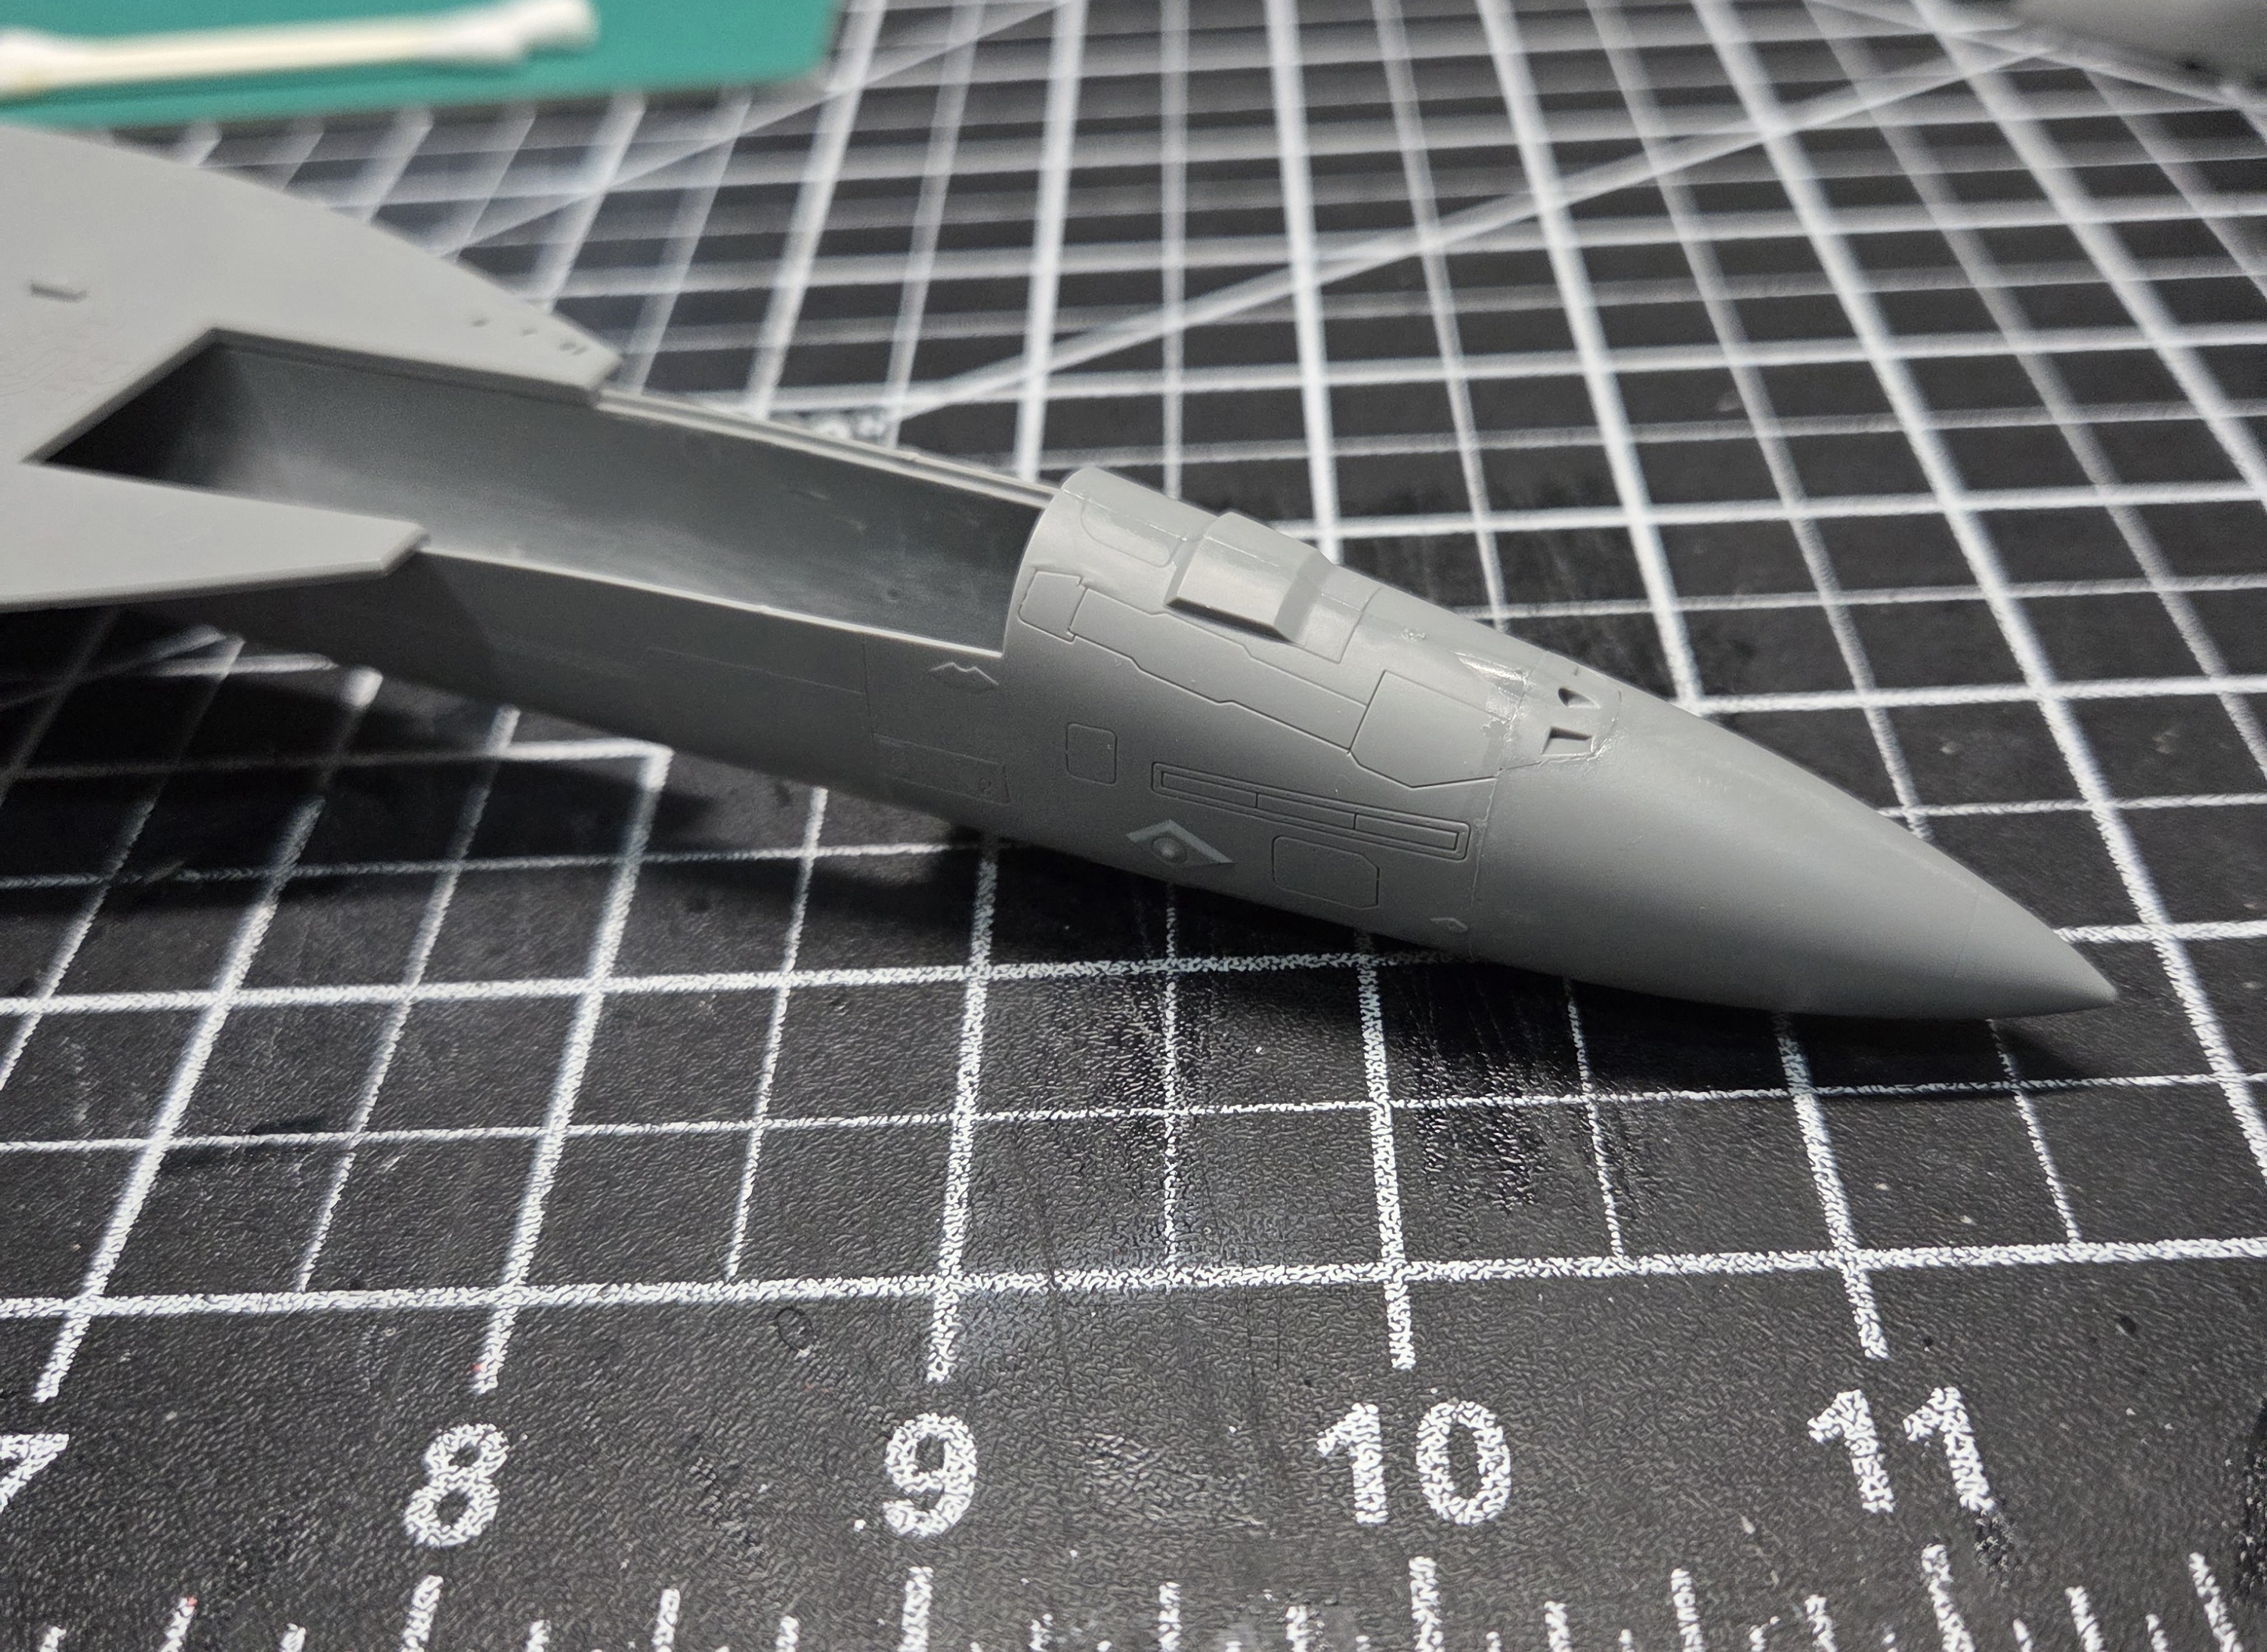
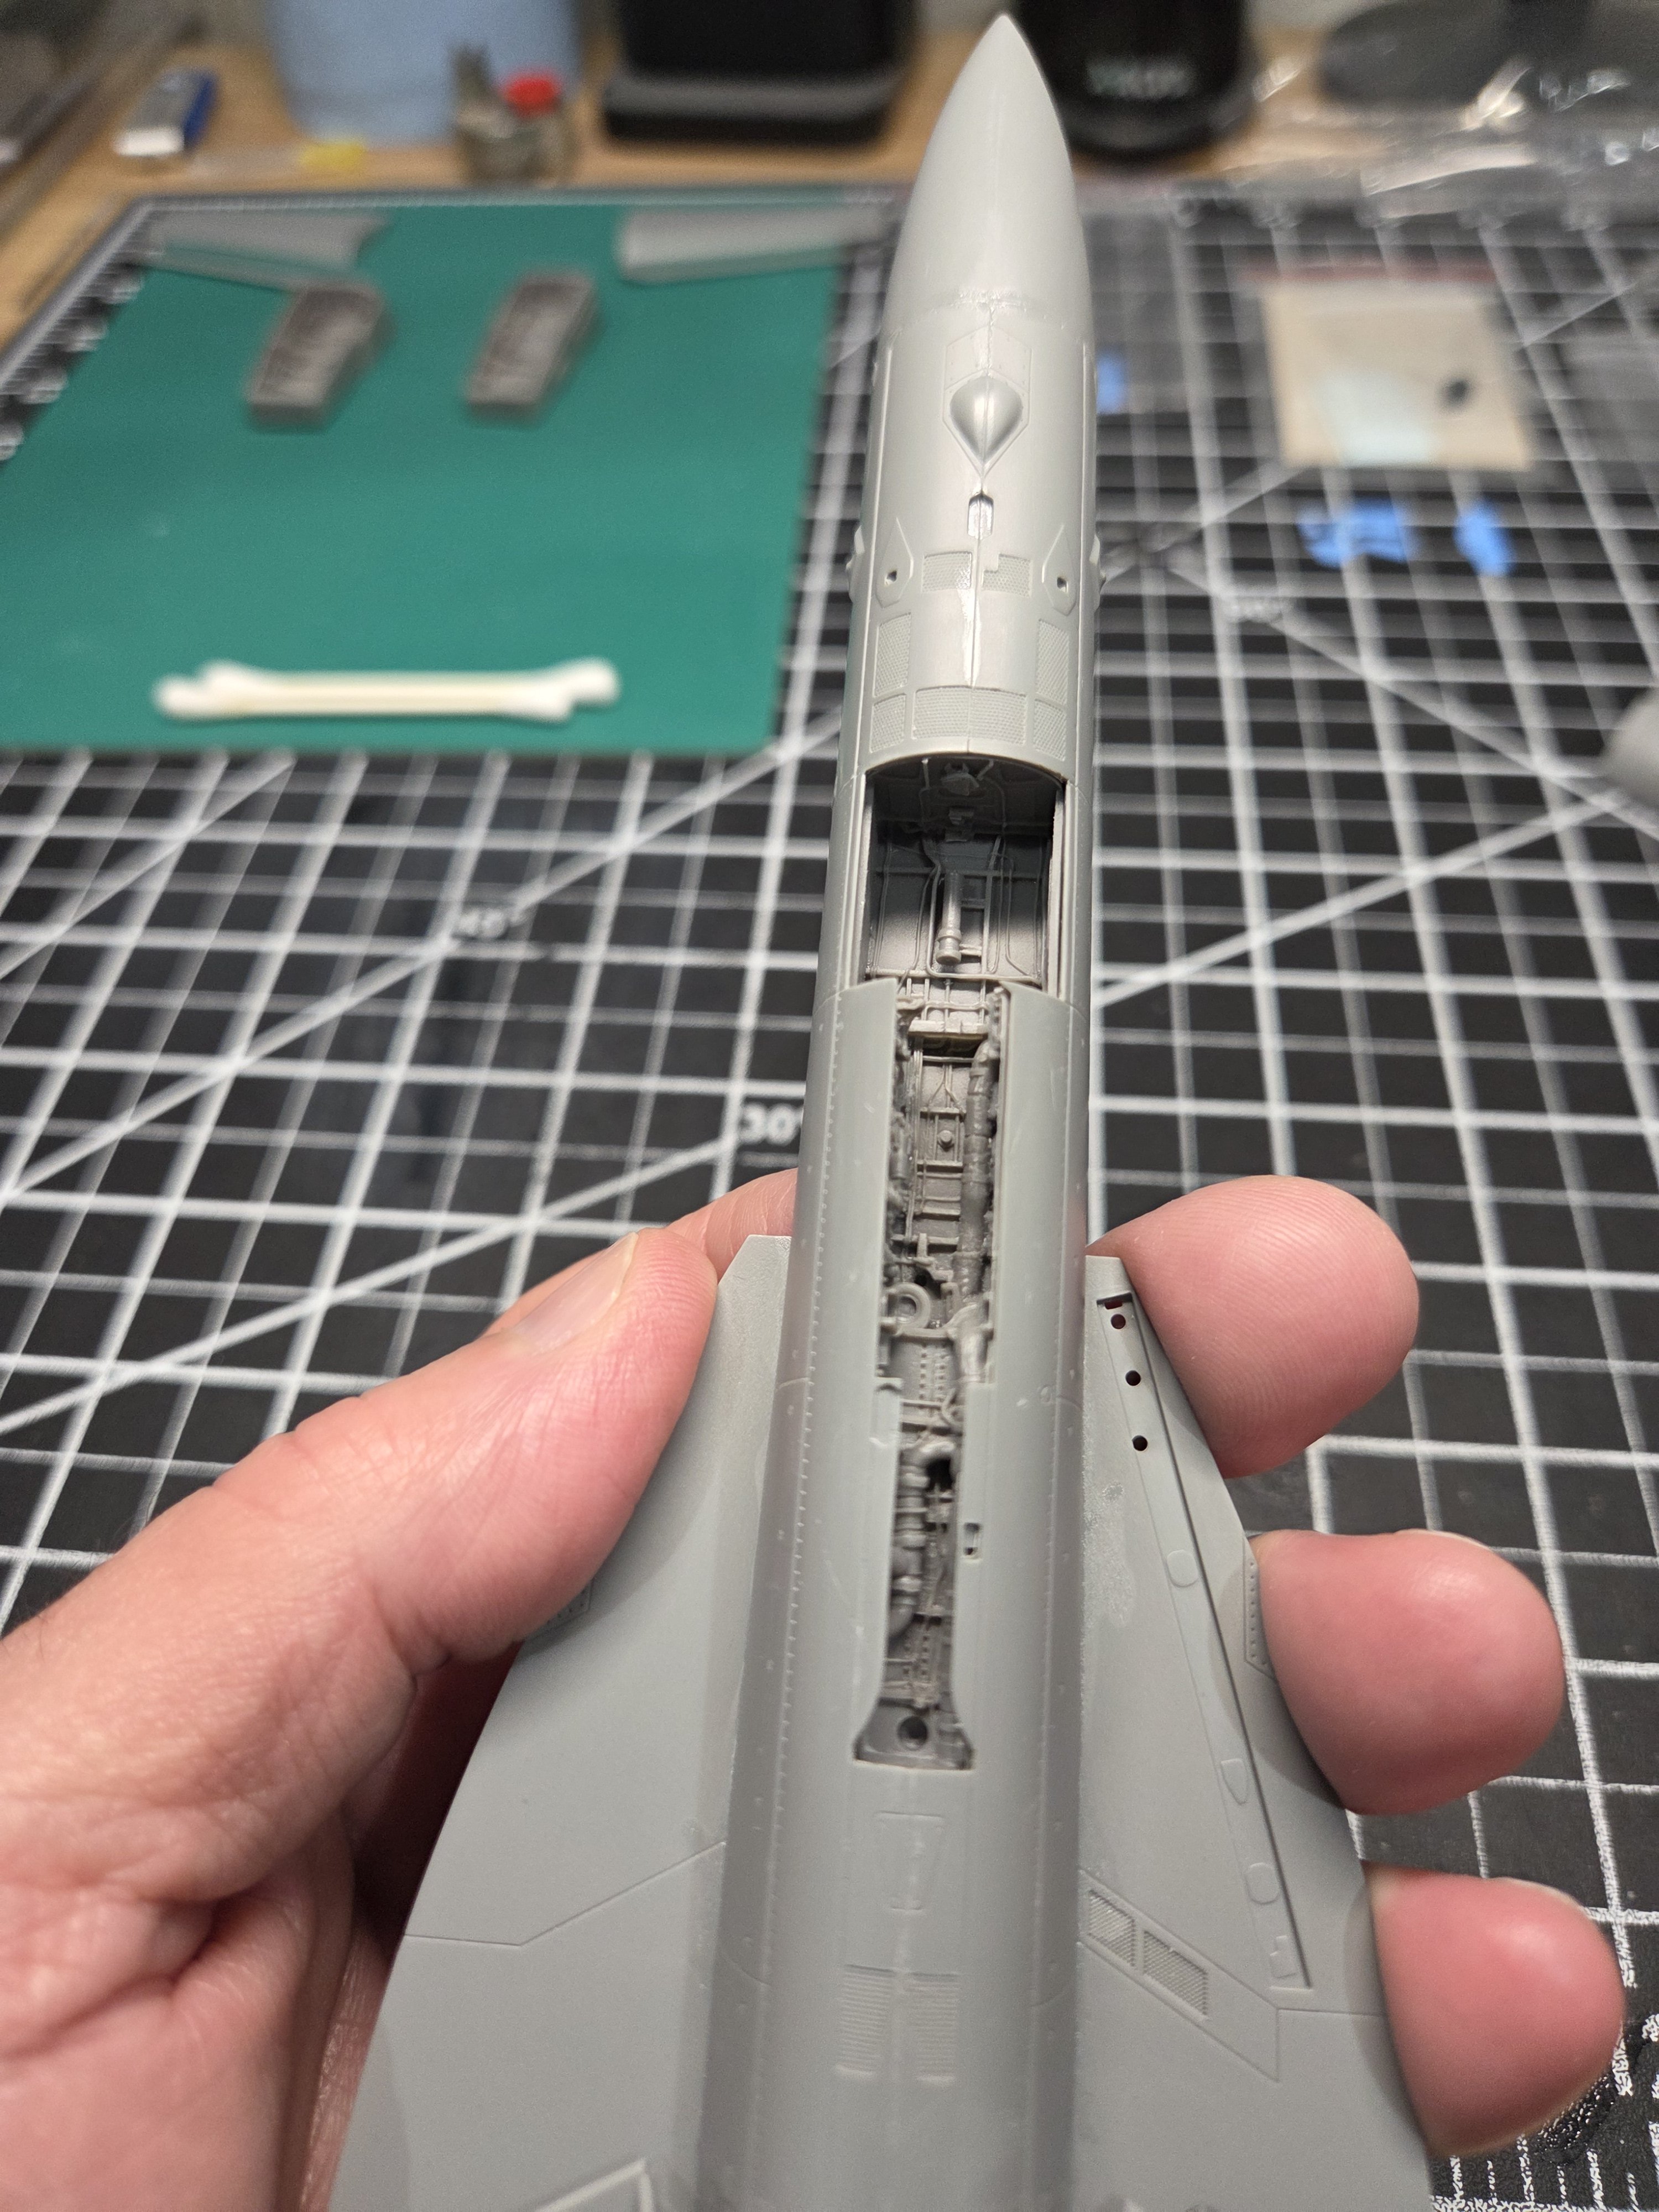
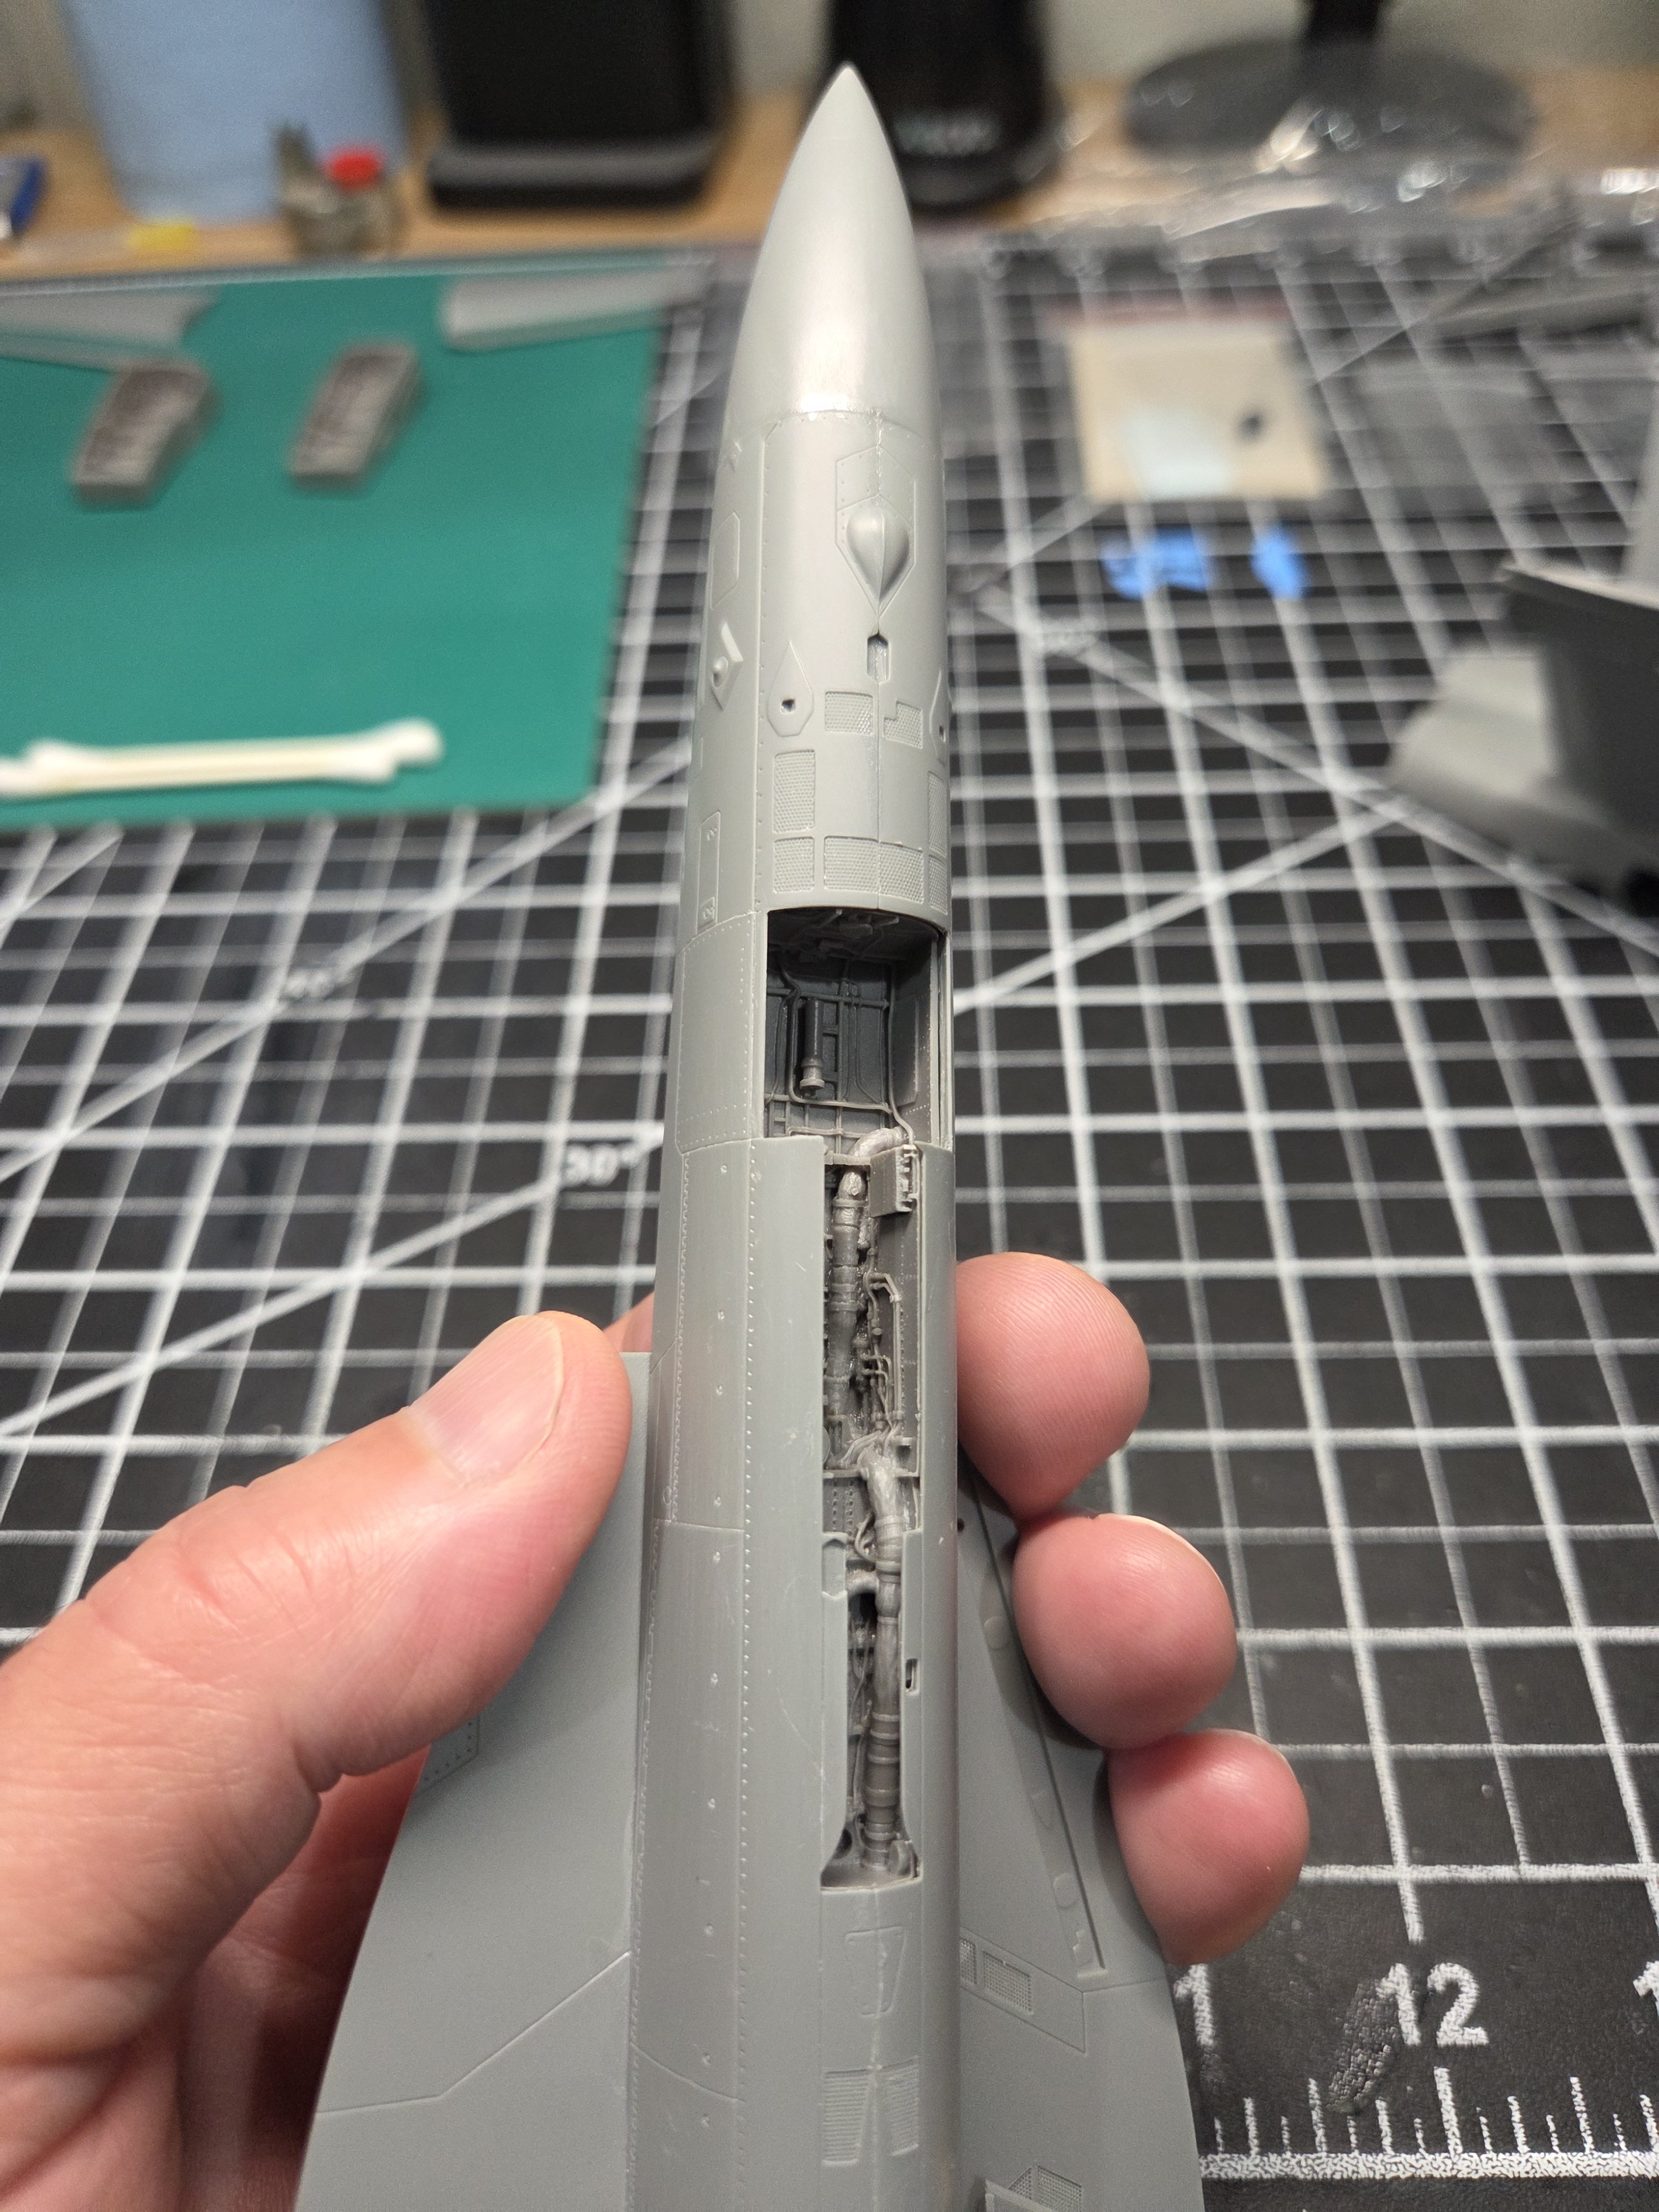
I finished up shaping the interior of the forward fuselage so that the upgraded front gear bay can be installed with a flush and complete fit. This nose and fuselage halfs fit pretty tight and was able to extra thin the seams nice and tight so there should be minimum clean up to make them disappear.

7015.jpg
7016.jpg
7017.jpg


I should start shooting some paint in the next couple days so that I can get the gear bays installed, cockpit, and upper and lower fuselage together. The landing gear and bays will require a lot of detail paint and decal work, so might be a minute or two before I have that part of the build posted.
 
I was back at the bench today, which was much needed. I finished up the 3D decaling of the WSO office area, and put in all the controls, flight stick, etc. I just have to wait for the decals to set up and dry so I can put on the tub walls and get it all buttoned up into the upper fuselage half.

View attachment 196592View attachment 196593

I finished up shaping the interior of the forward fuselage so that the upgraded front gear bay can be installed with a flush and complete fit. This nose and fuselage halfs fit pretty tight and was able to extra thin the seams nice and tight so there should be minimum clean up to make them disappear.

View attachment 196594View attachment 196595View attachment 196596

I should start shooting some paint in the next couple days so that I can get the gear bays installed, cockpit, and upper and lower fuselage together. The landing gear and bays will require a lot of detail paint and decal work, so might be a minute or two before I have that part of the build posted.
Looking good!
Isn't it nice when the seams line up so nicely. It helps to make the kit a happy build!
 
I was back at the bench today, which was much needed. I finished up the 3D decaling of the WSO office area, and put in all the controls, flight stick, etc. I just have to wait for the decals to set up and dry so I can put on the tub walls and get it all buttoned up into the upper fuselage half.

View attachment 196592View attachment 196593

I finished up shaping the interior of the forward fuselage so that the upgraded front gear bay can be installed with a flush and complete fit. This nose and fuselage halfs fit pretty tight and was able to extra thin the seams nice and tight so there should be minimum clean up to make them disappear.

View attachment 196594View attachment 196595View attachment 196596

I should start shooting some paint in the next couple days so that I can get the gear bays installed, cockpit, and upper and lower fuselage together. The landing gear and bays will require a lot of detail paint and decal work, so might be a minute or two before I have that part of the build posted.
Looking good!
Isn't it nice when the seams line up so nicely. It helps to make the kit a happy build!

It definitely helps to have a good base kit to work with, and with the aftermarket parts pushing more accuracy, some model manufacturers are stepping up their game as well. It's a good time to be a scale modeler, greater access to kits, parts, and reference material!
 
Last edited:
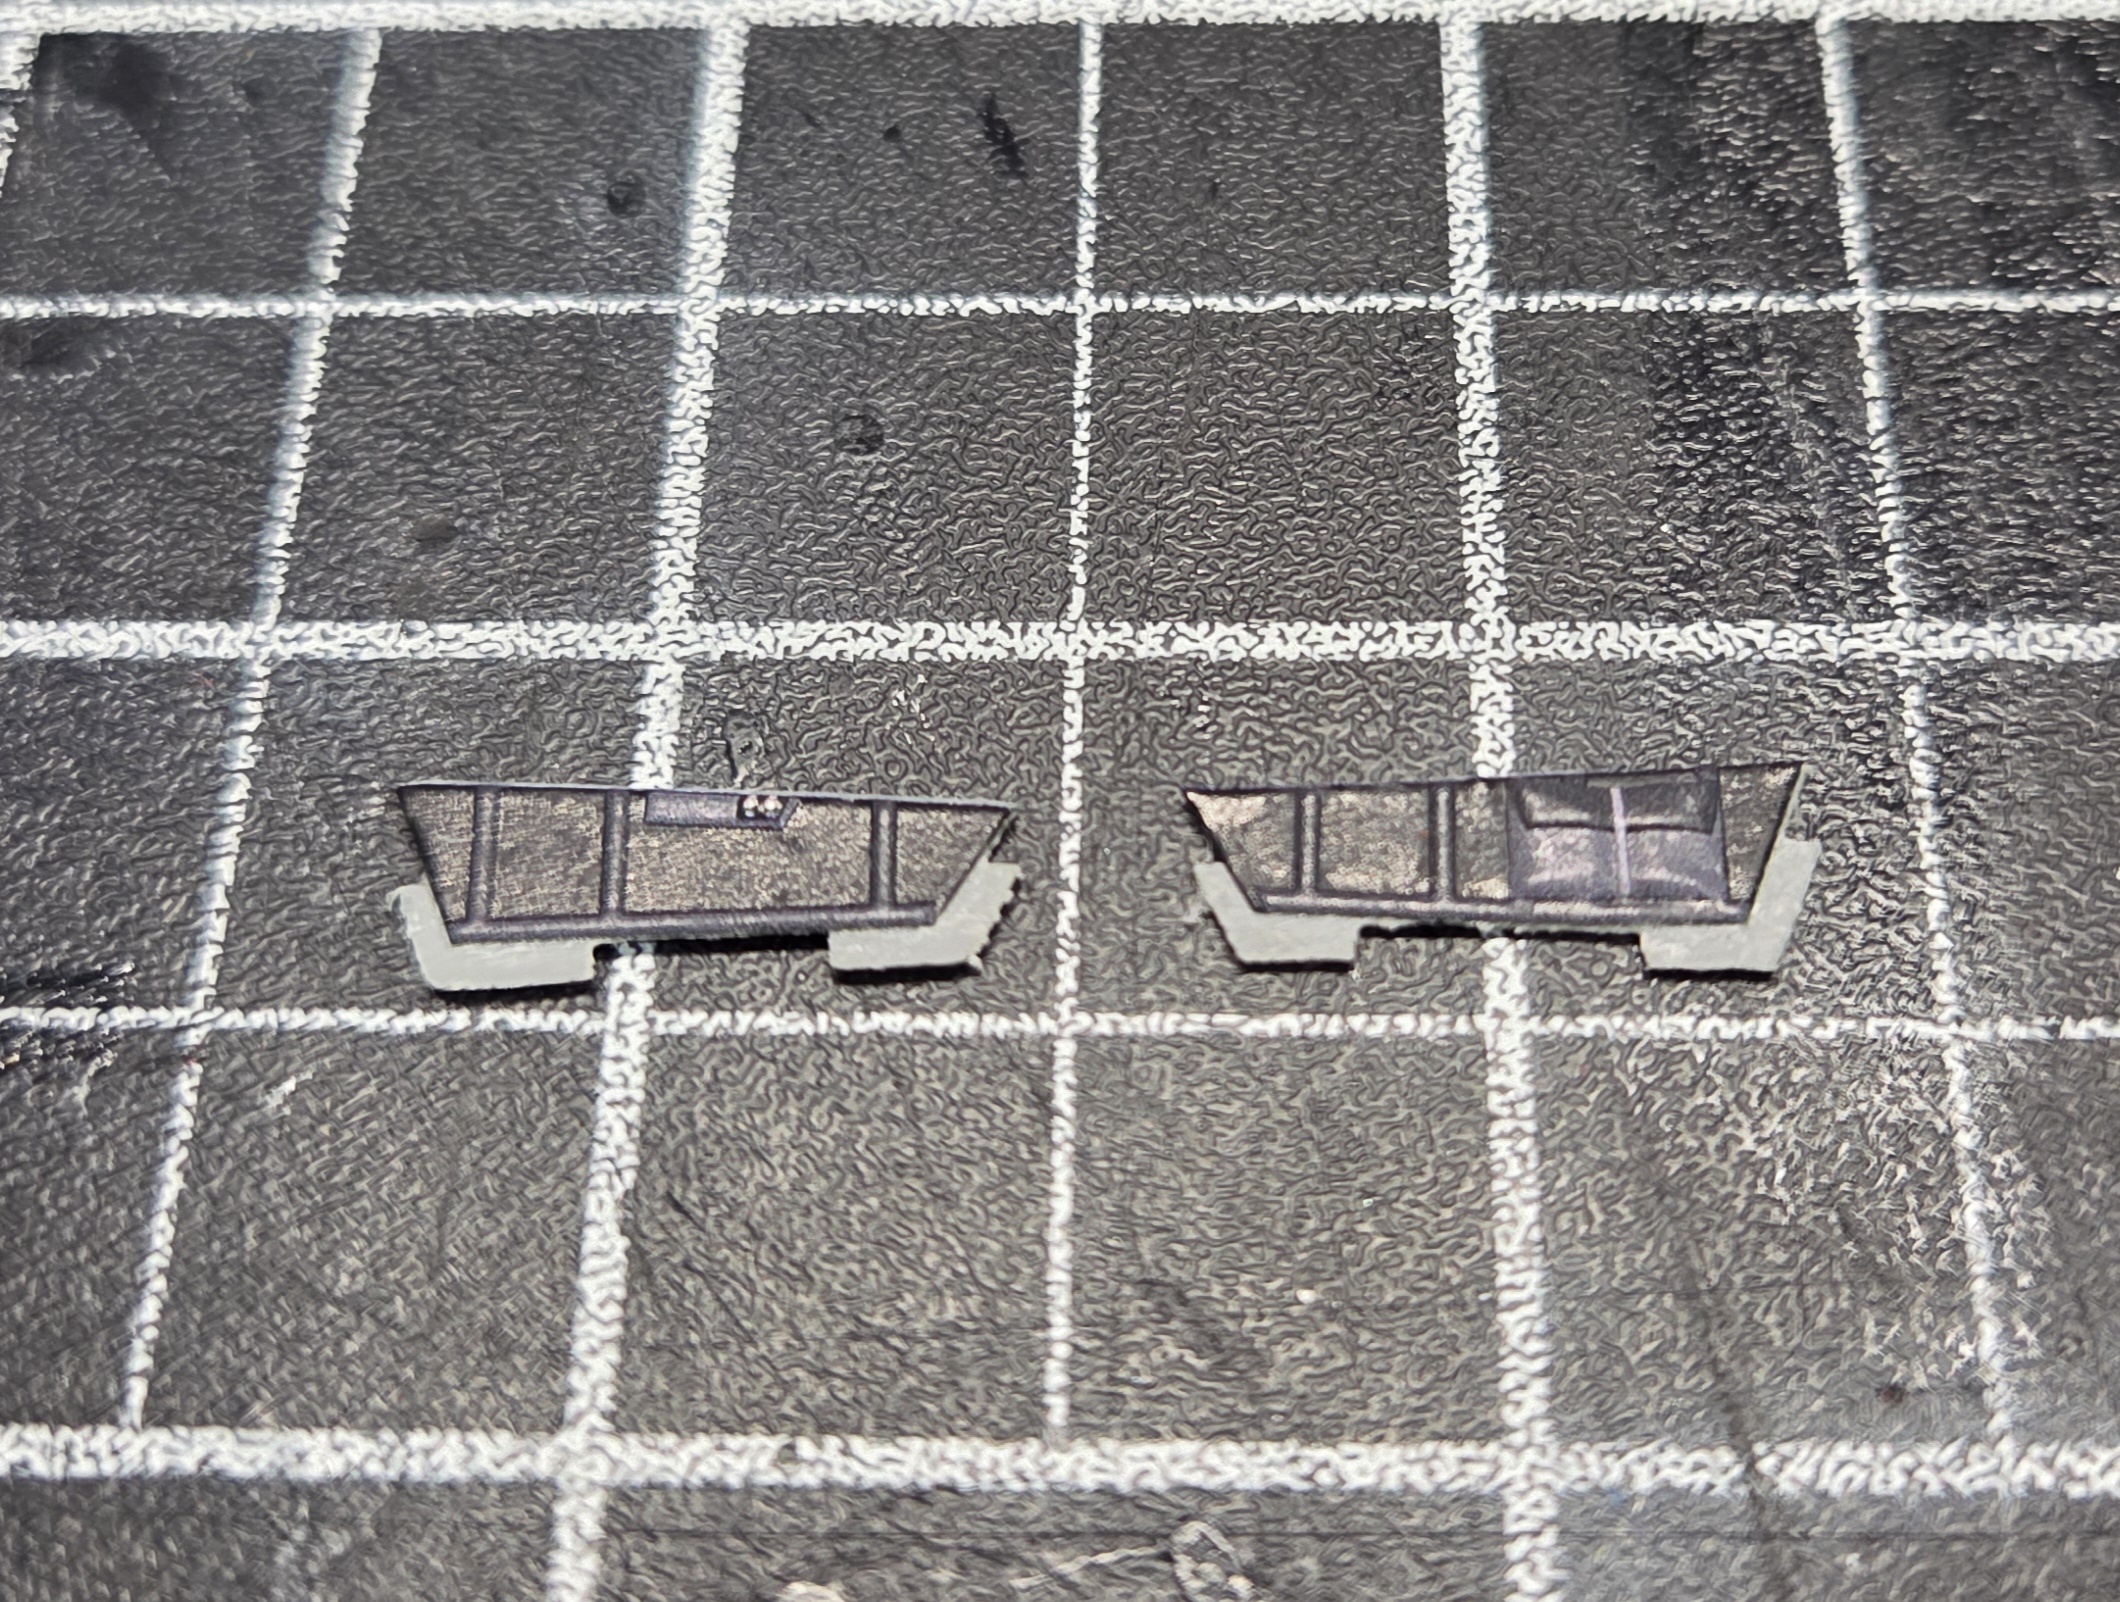
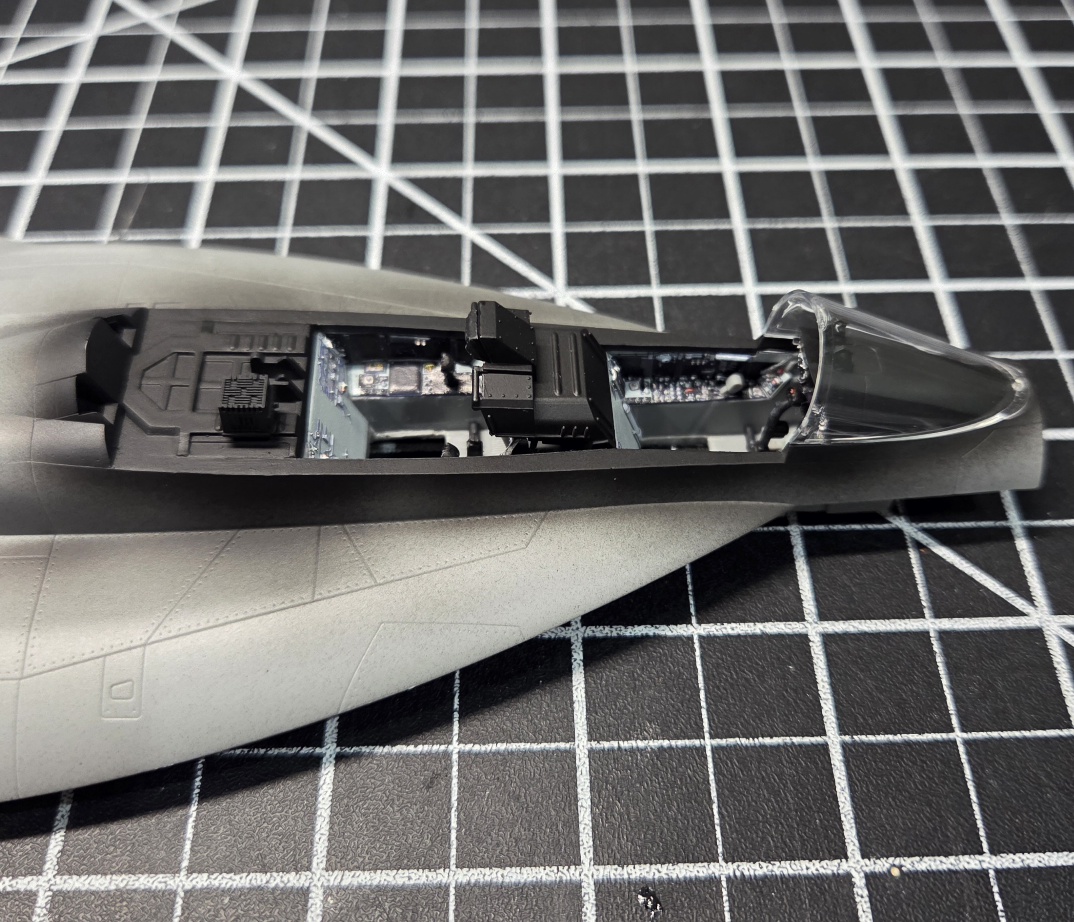
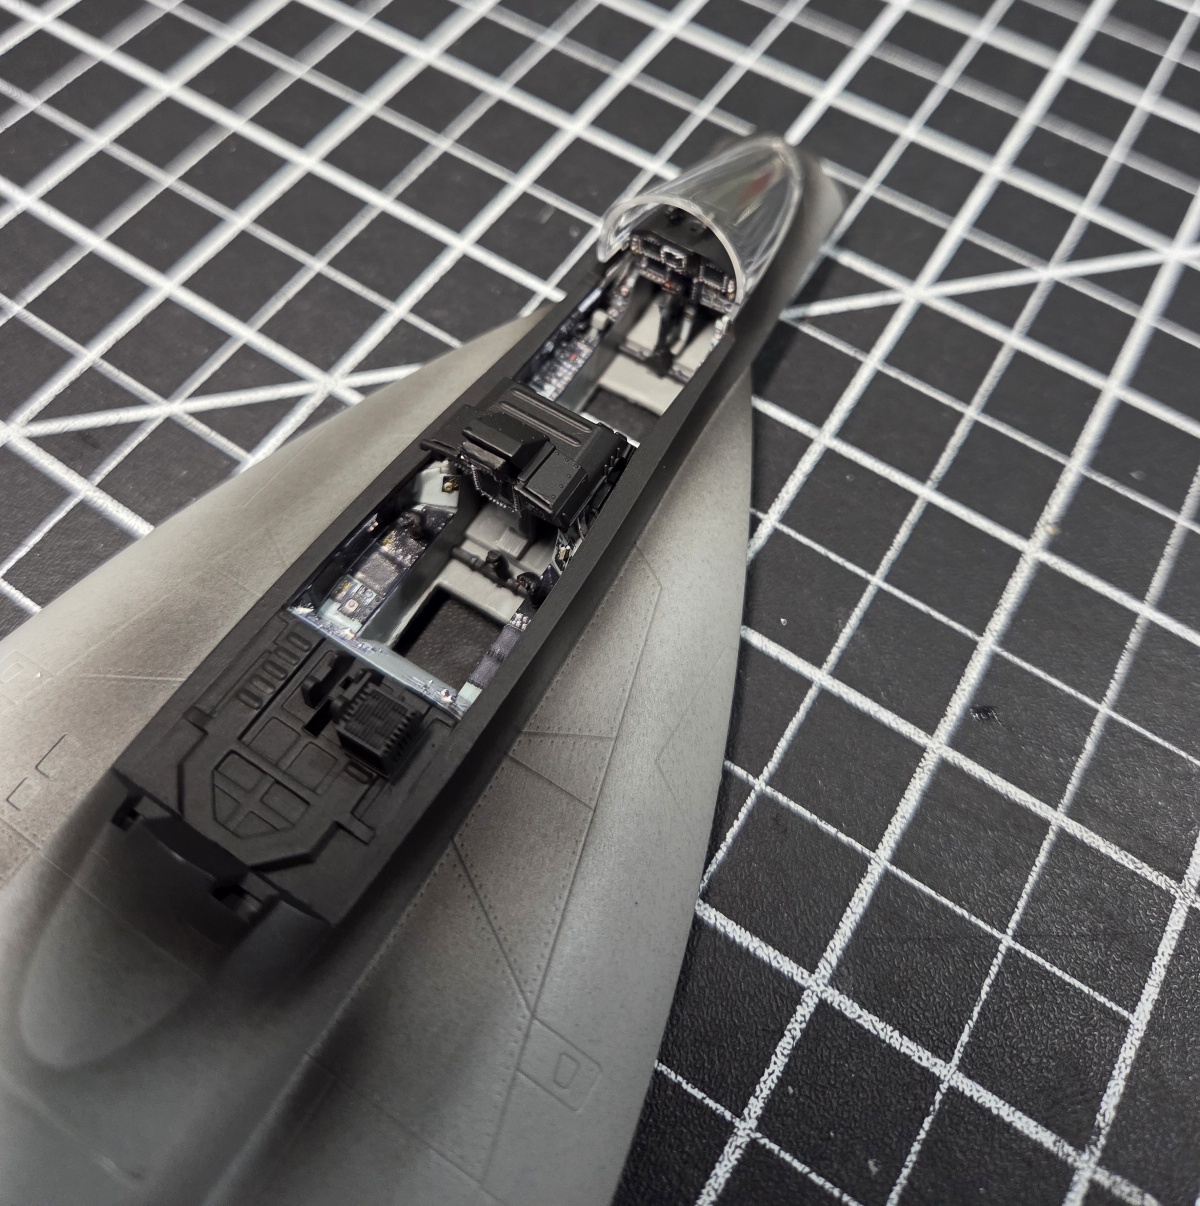
So not too much on the update here, but I was able to fire up the airbrush this evening to get some ground work layed so the cockpit can be fitted to go in. The 3D printed video box was installed and wires will be run lastly when I can button up the open canopy at the end. I'll get the interior of the windshield painted up so it can be installed to deal with the possible seam there, but it's looking pretty tight as of now.

7455.jpg
7457.jpg


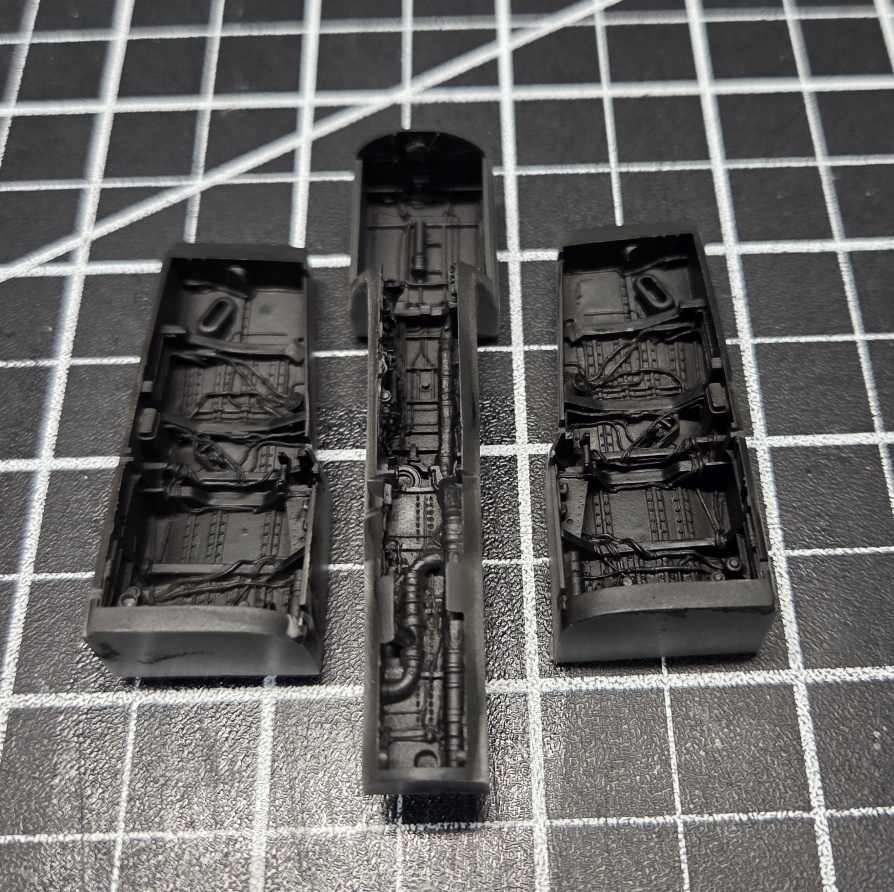
I also black based the landing gear wells and will let that cure up before applying the white and detail painting so I can get them installed and button up the upper and lower airframe to get this thing looking like a hornet.

7458.jpg


Hope to get more done in the next few nights so this thing starts shaping up and looking like something!
 

Latest posts

Back
Top