1/48th Scale Saturn V

Scale Model Addict - Model Tips, Guides, Tools & Tech, Tutorials, and Community

Help Support Scale Model Addict:

Steven

Well-Known Member
Joined
Dec 7, 2020
Messages
124
Hi folks. I've been building this rocket since July of 2015. This is a flying scale representation of the Saturn V standing at 7'5" tall. It will recover in two sections each with it's own parachute. This was originally a kit from Sheri's Hot Rockets now OOP. I will be showing photos of most of the build here. The upper section recovers on a 5 ft. chute while the lower booster end recovers on an 8 ft. parachute. This flies on a Reloadable Motor System which first flights will use a J275-W motor. Computer estimates apogee at 1600' ft.
 
IMG_0002.JPG
IMG_0001.JPG
IMG_0004.JPG

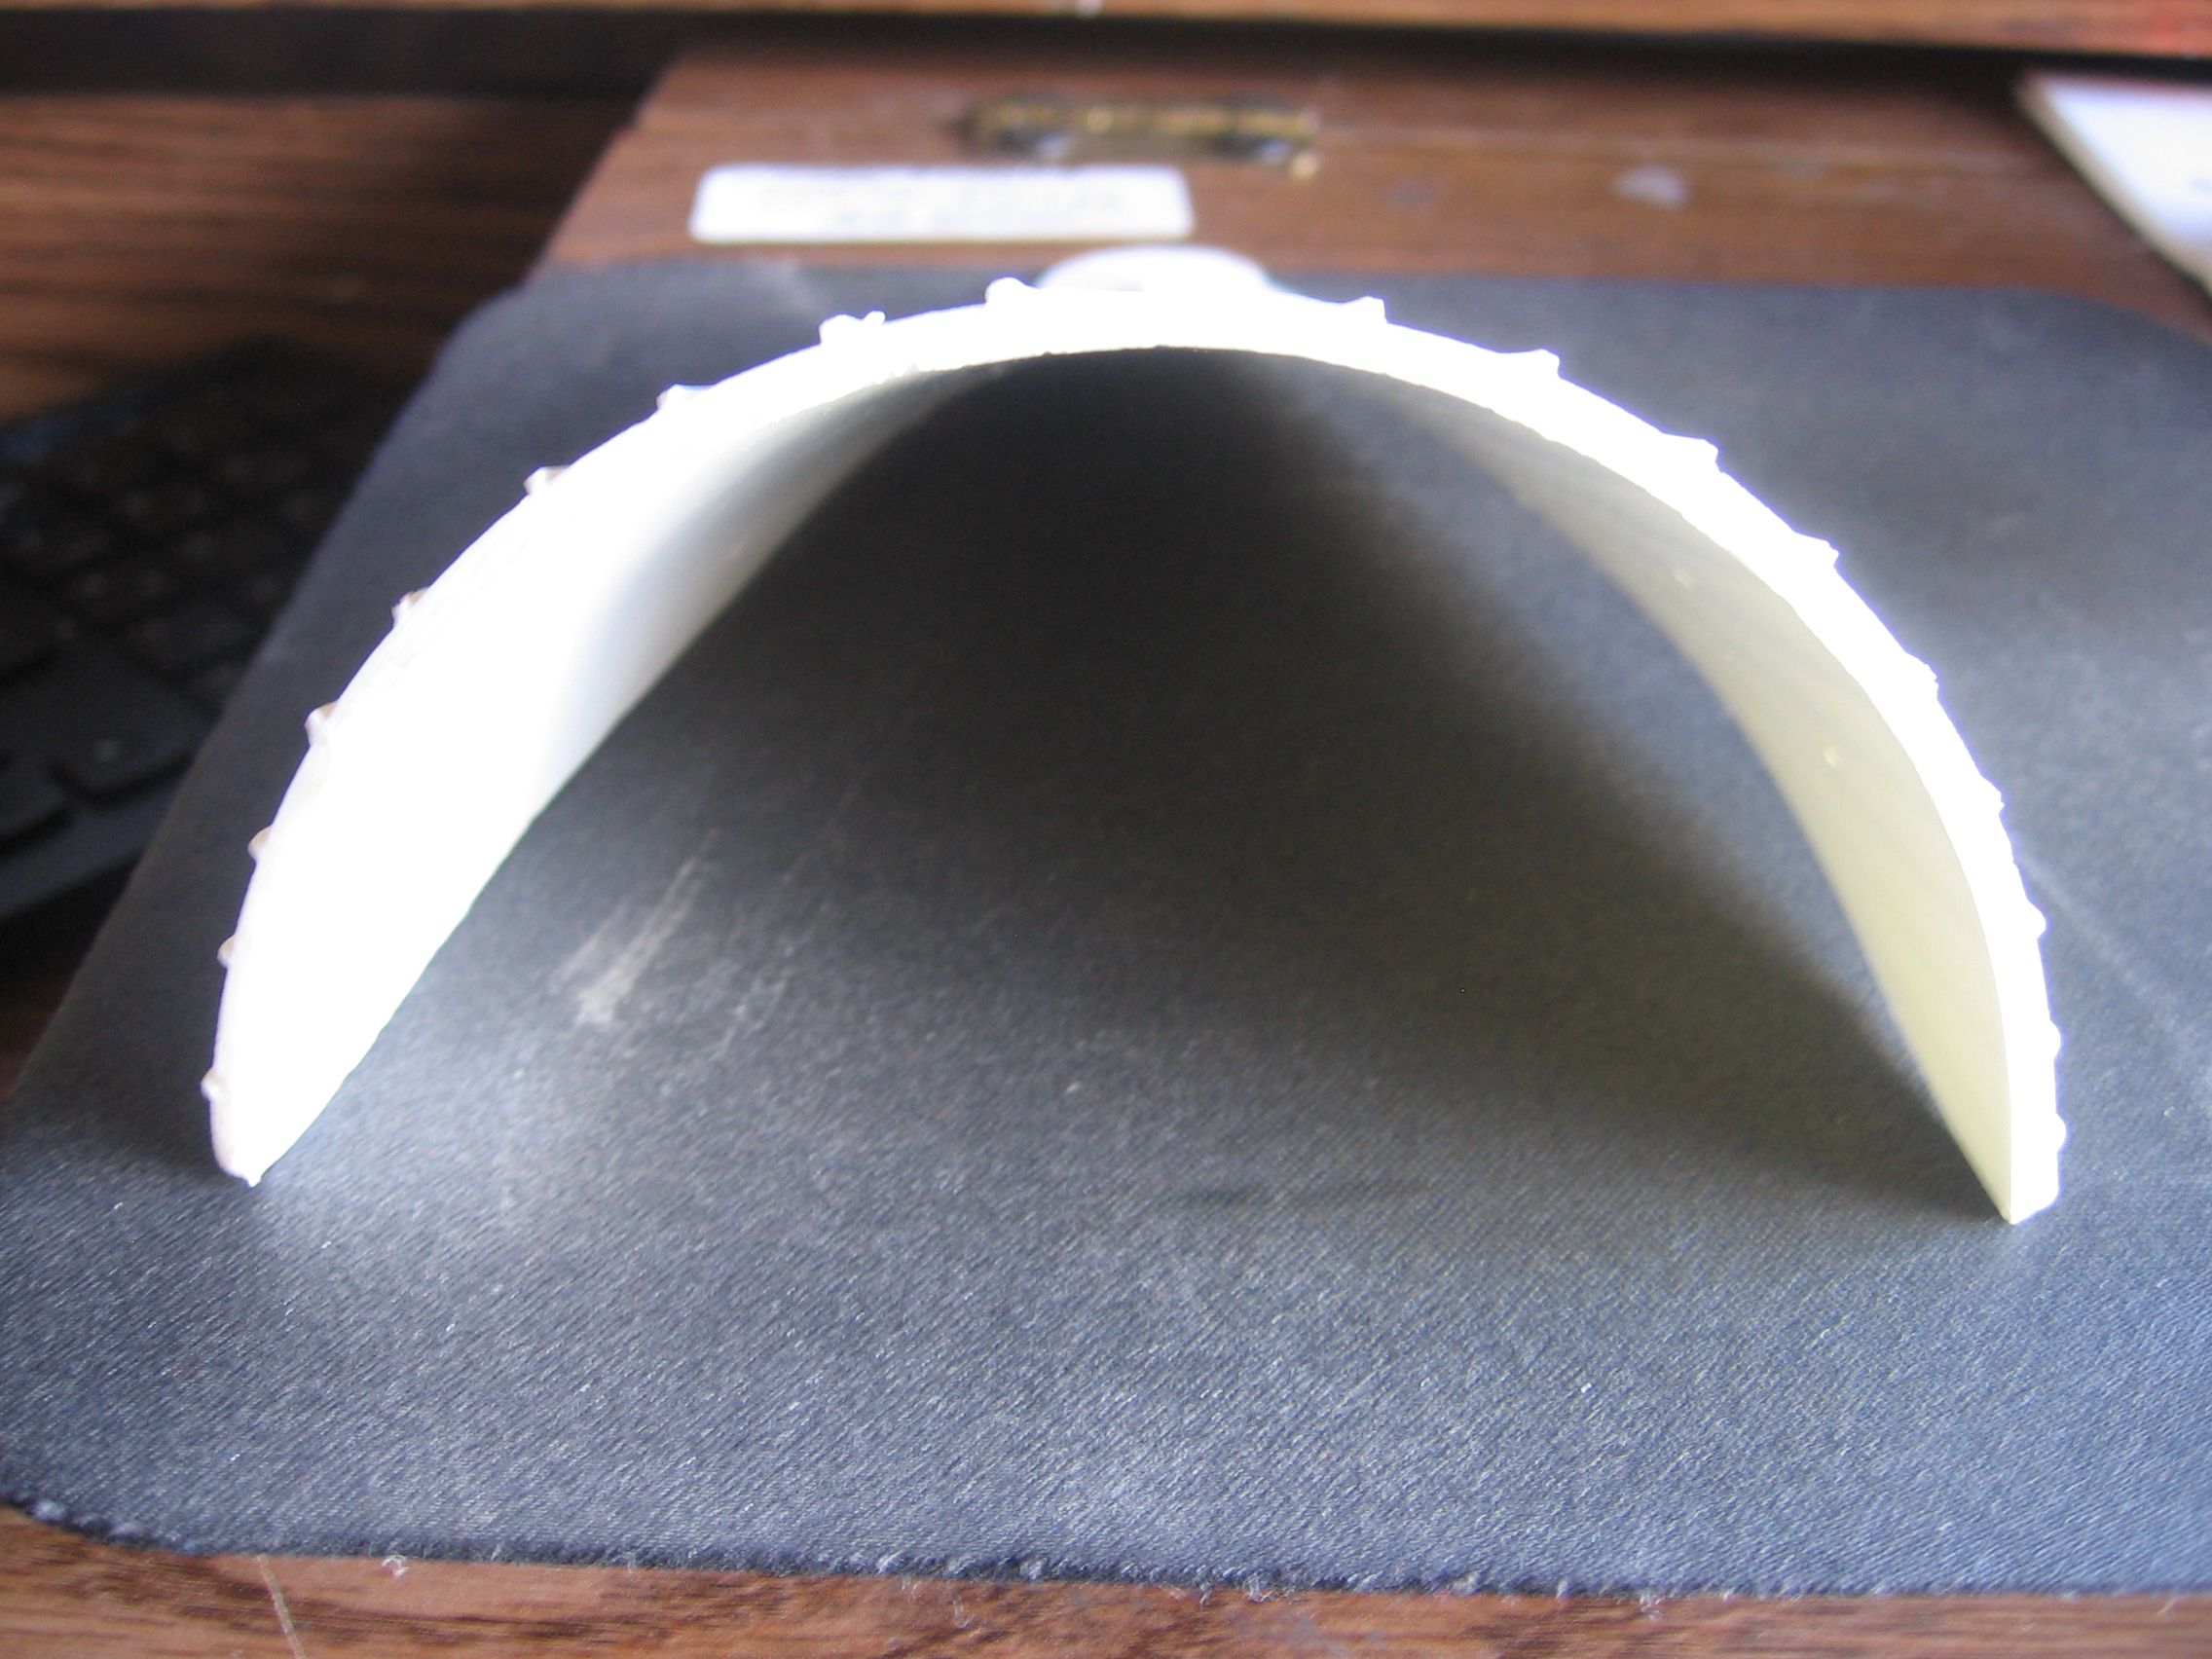
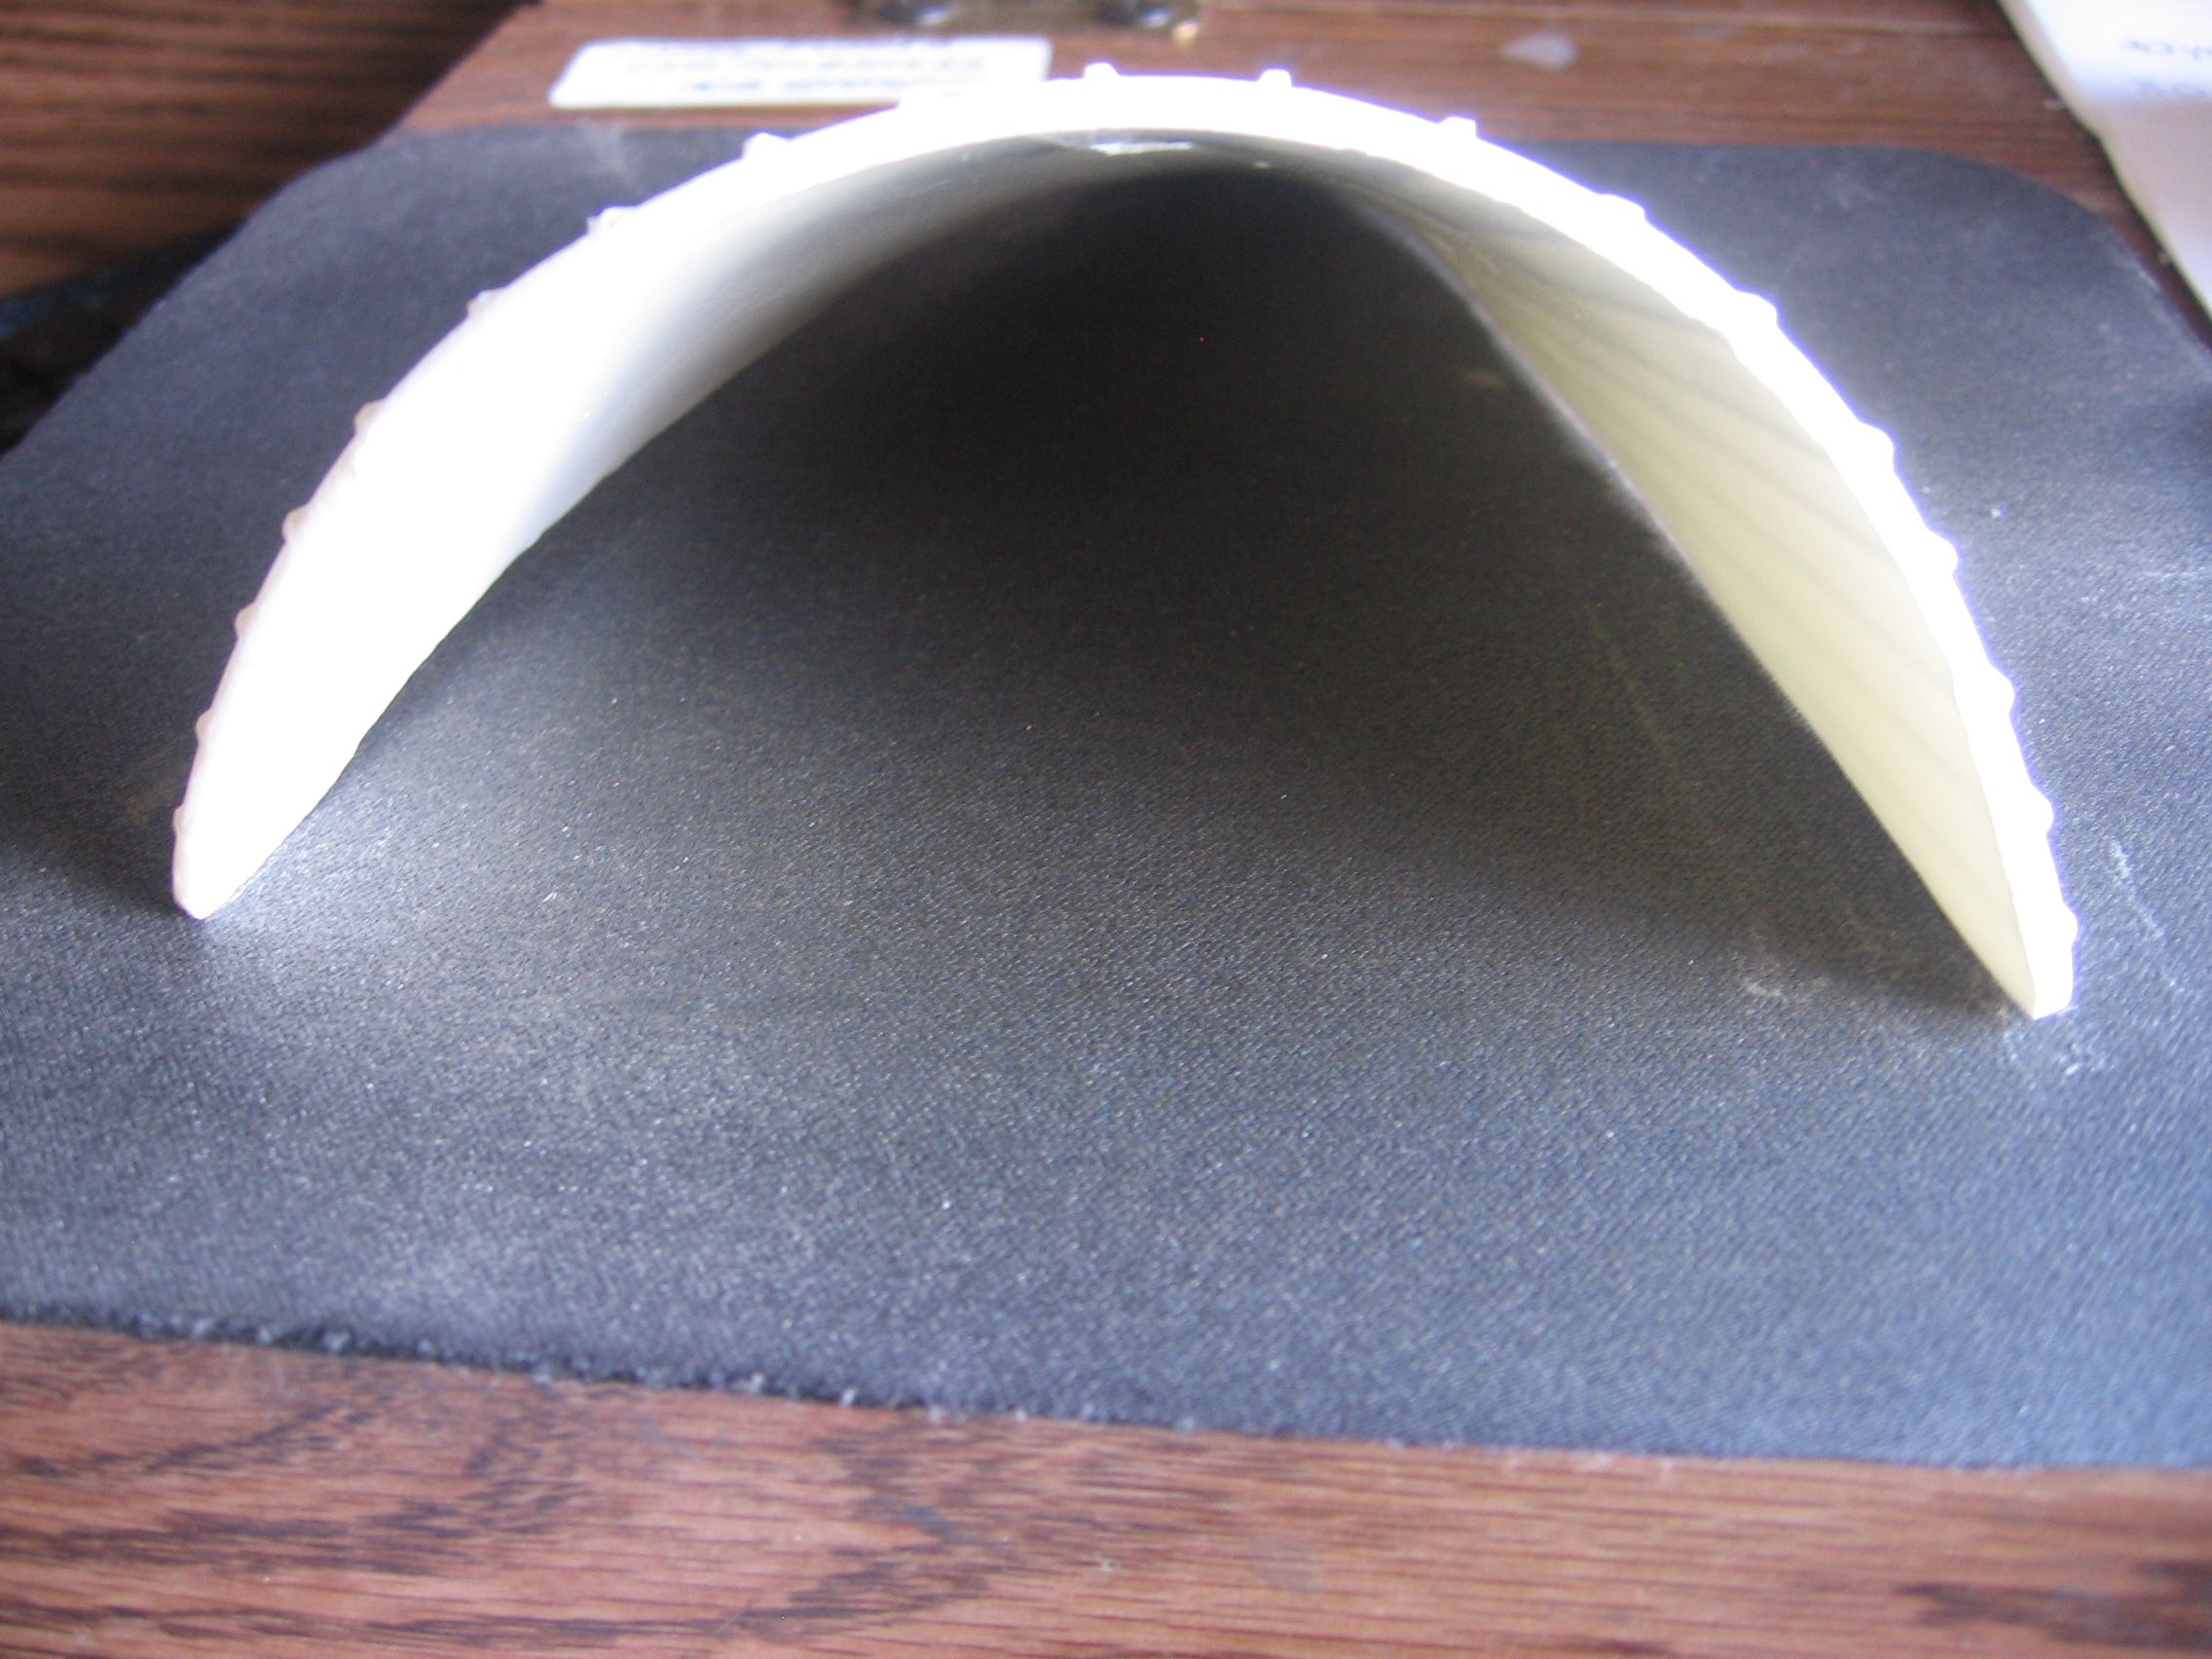
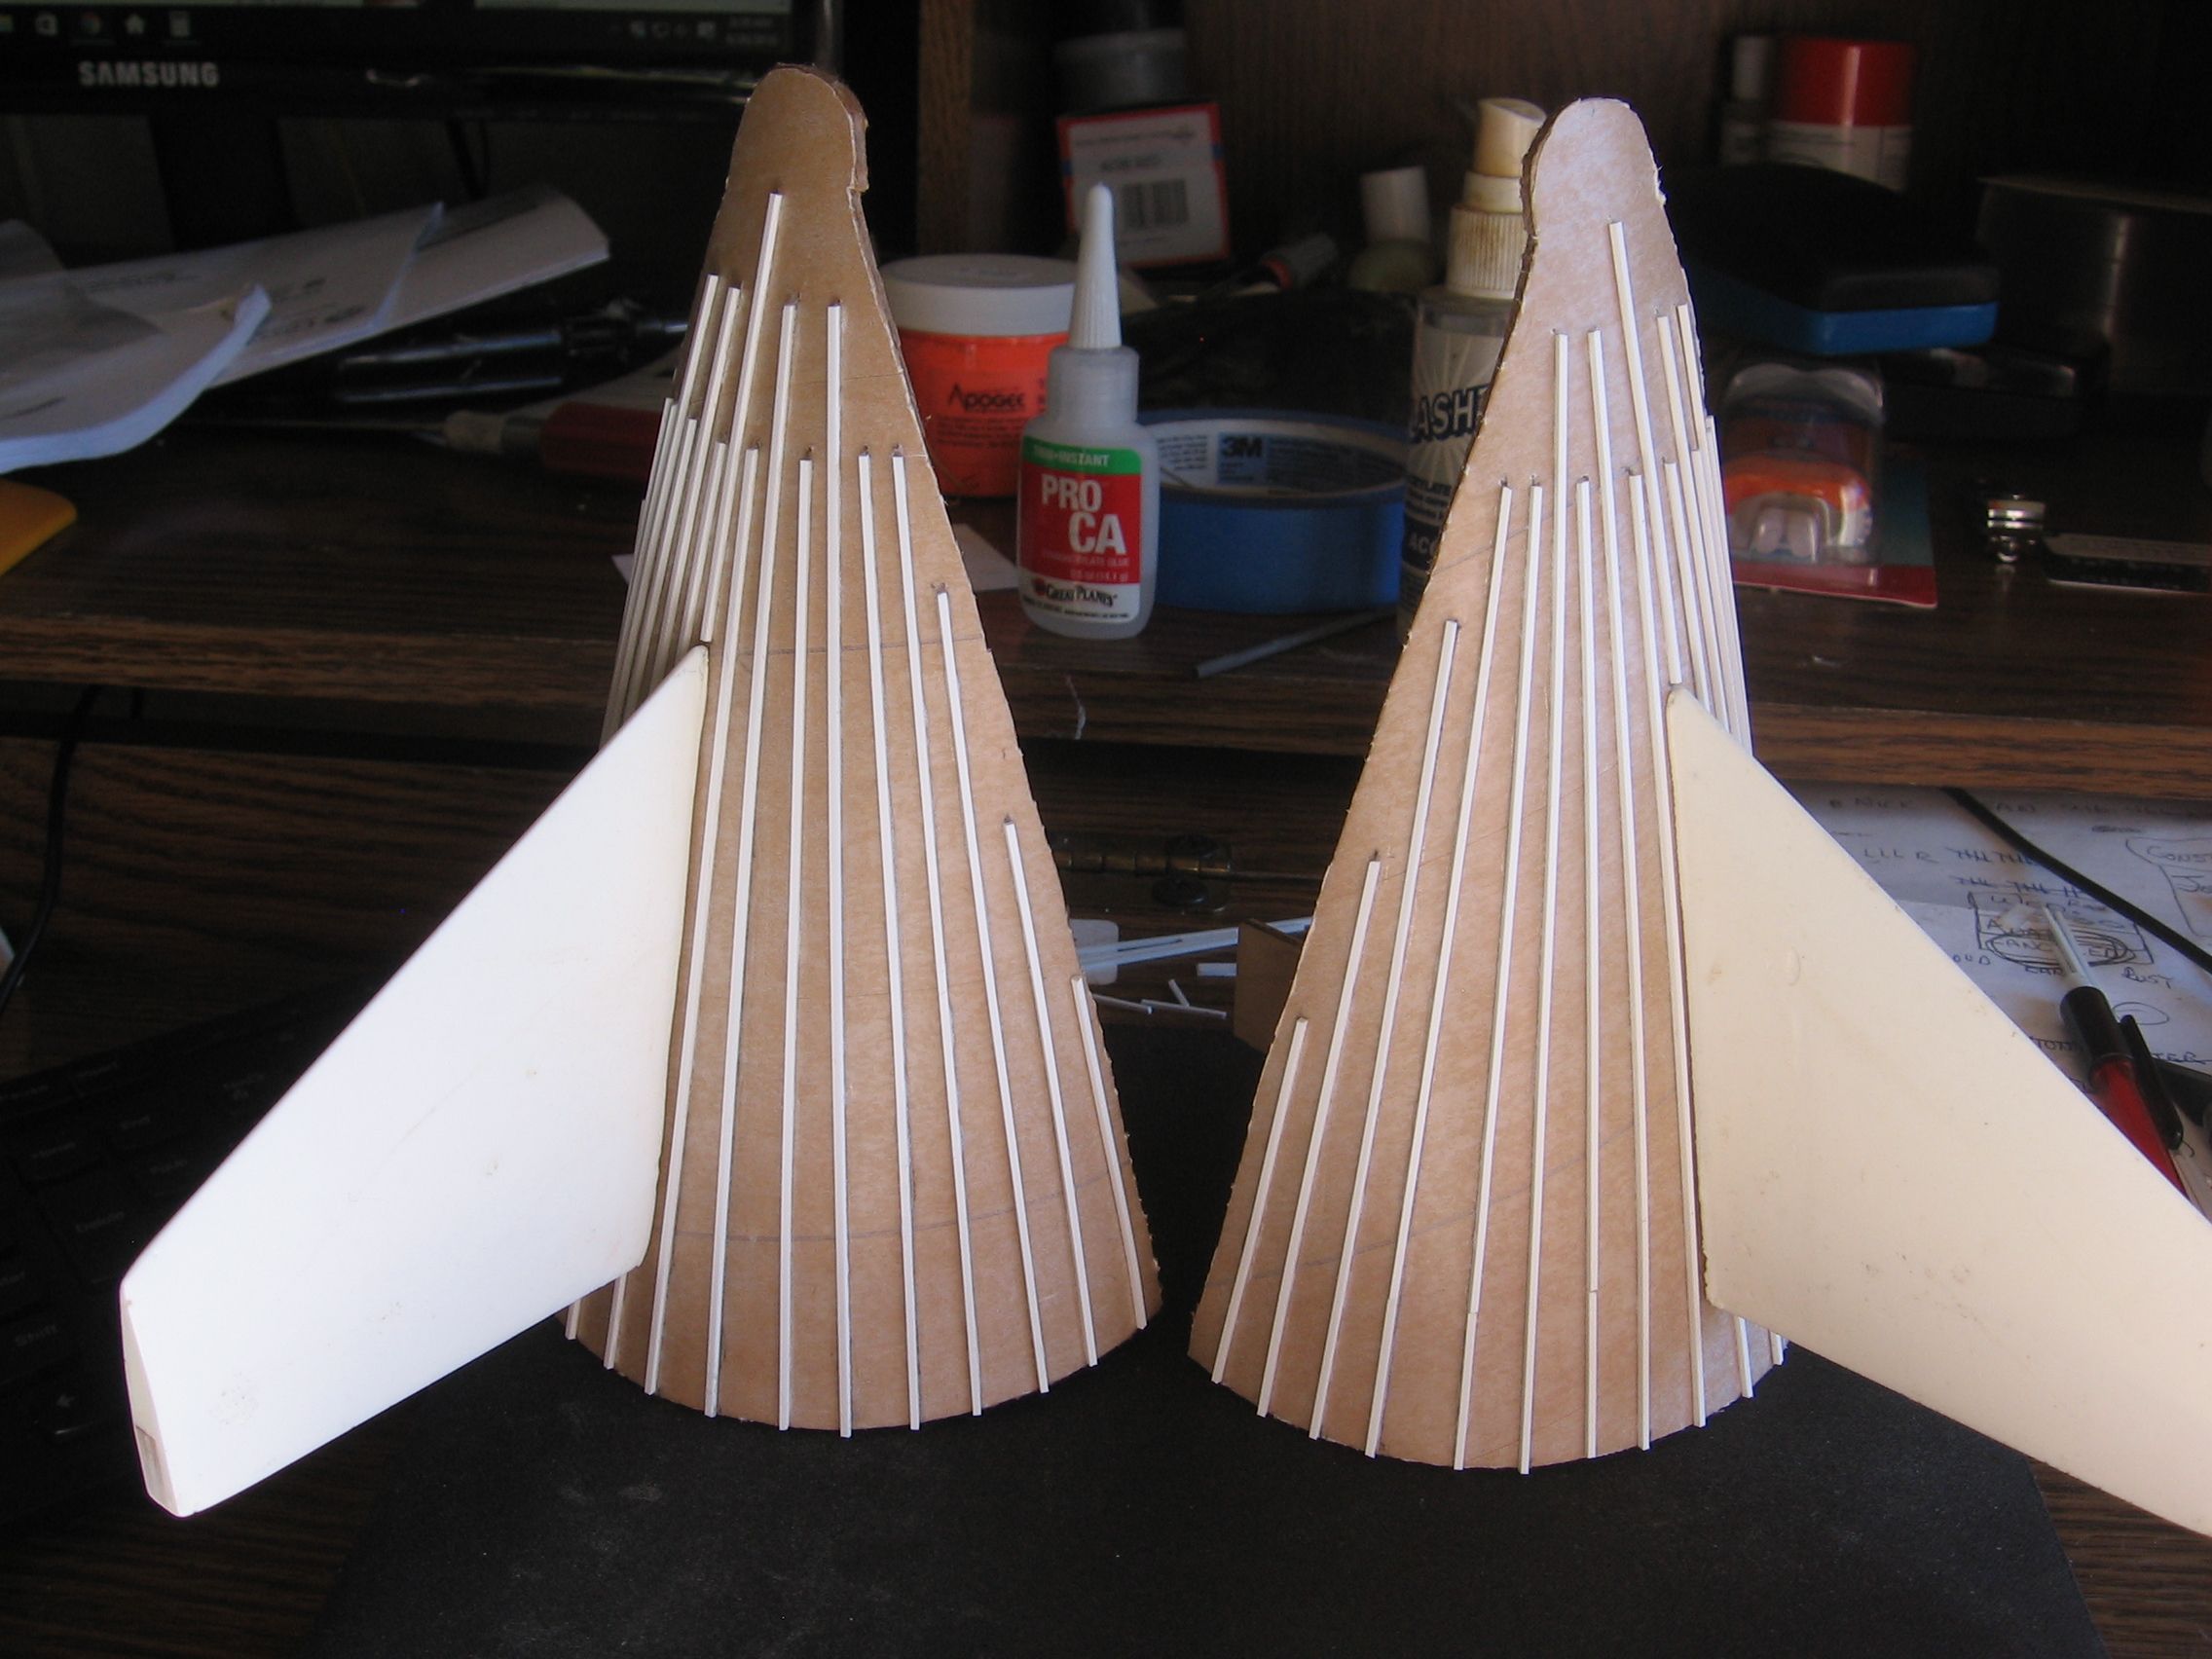
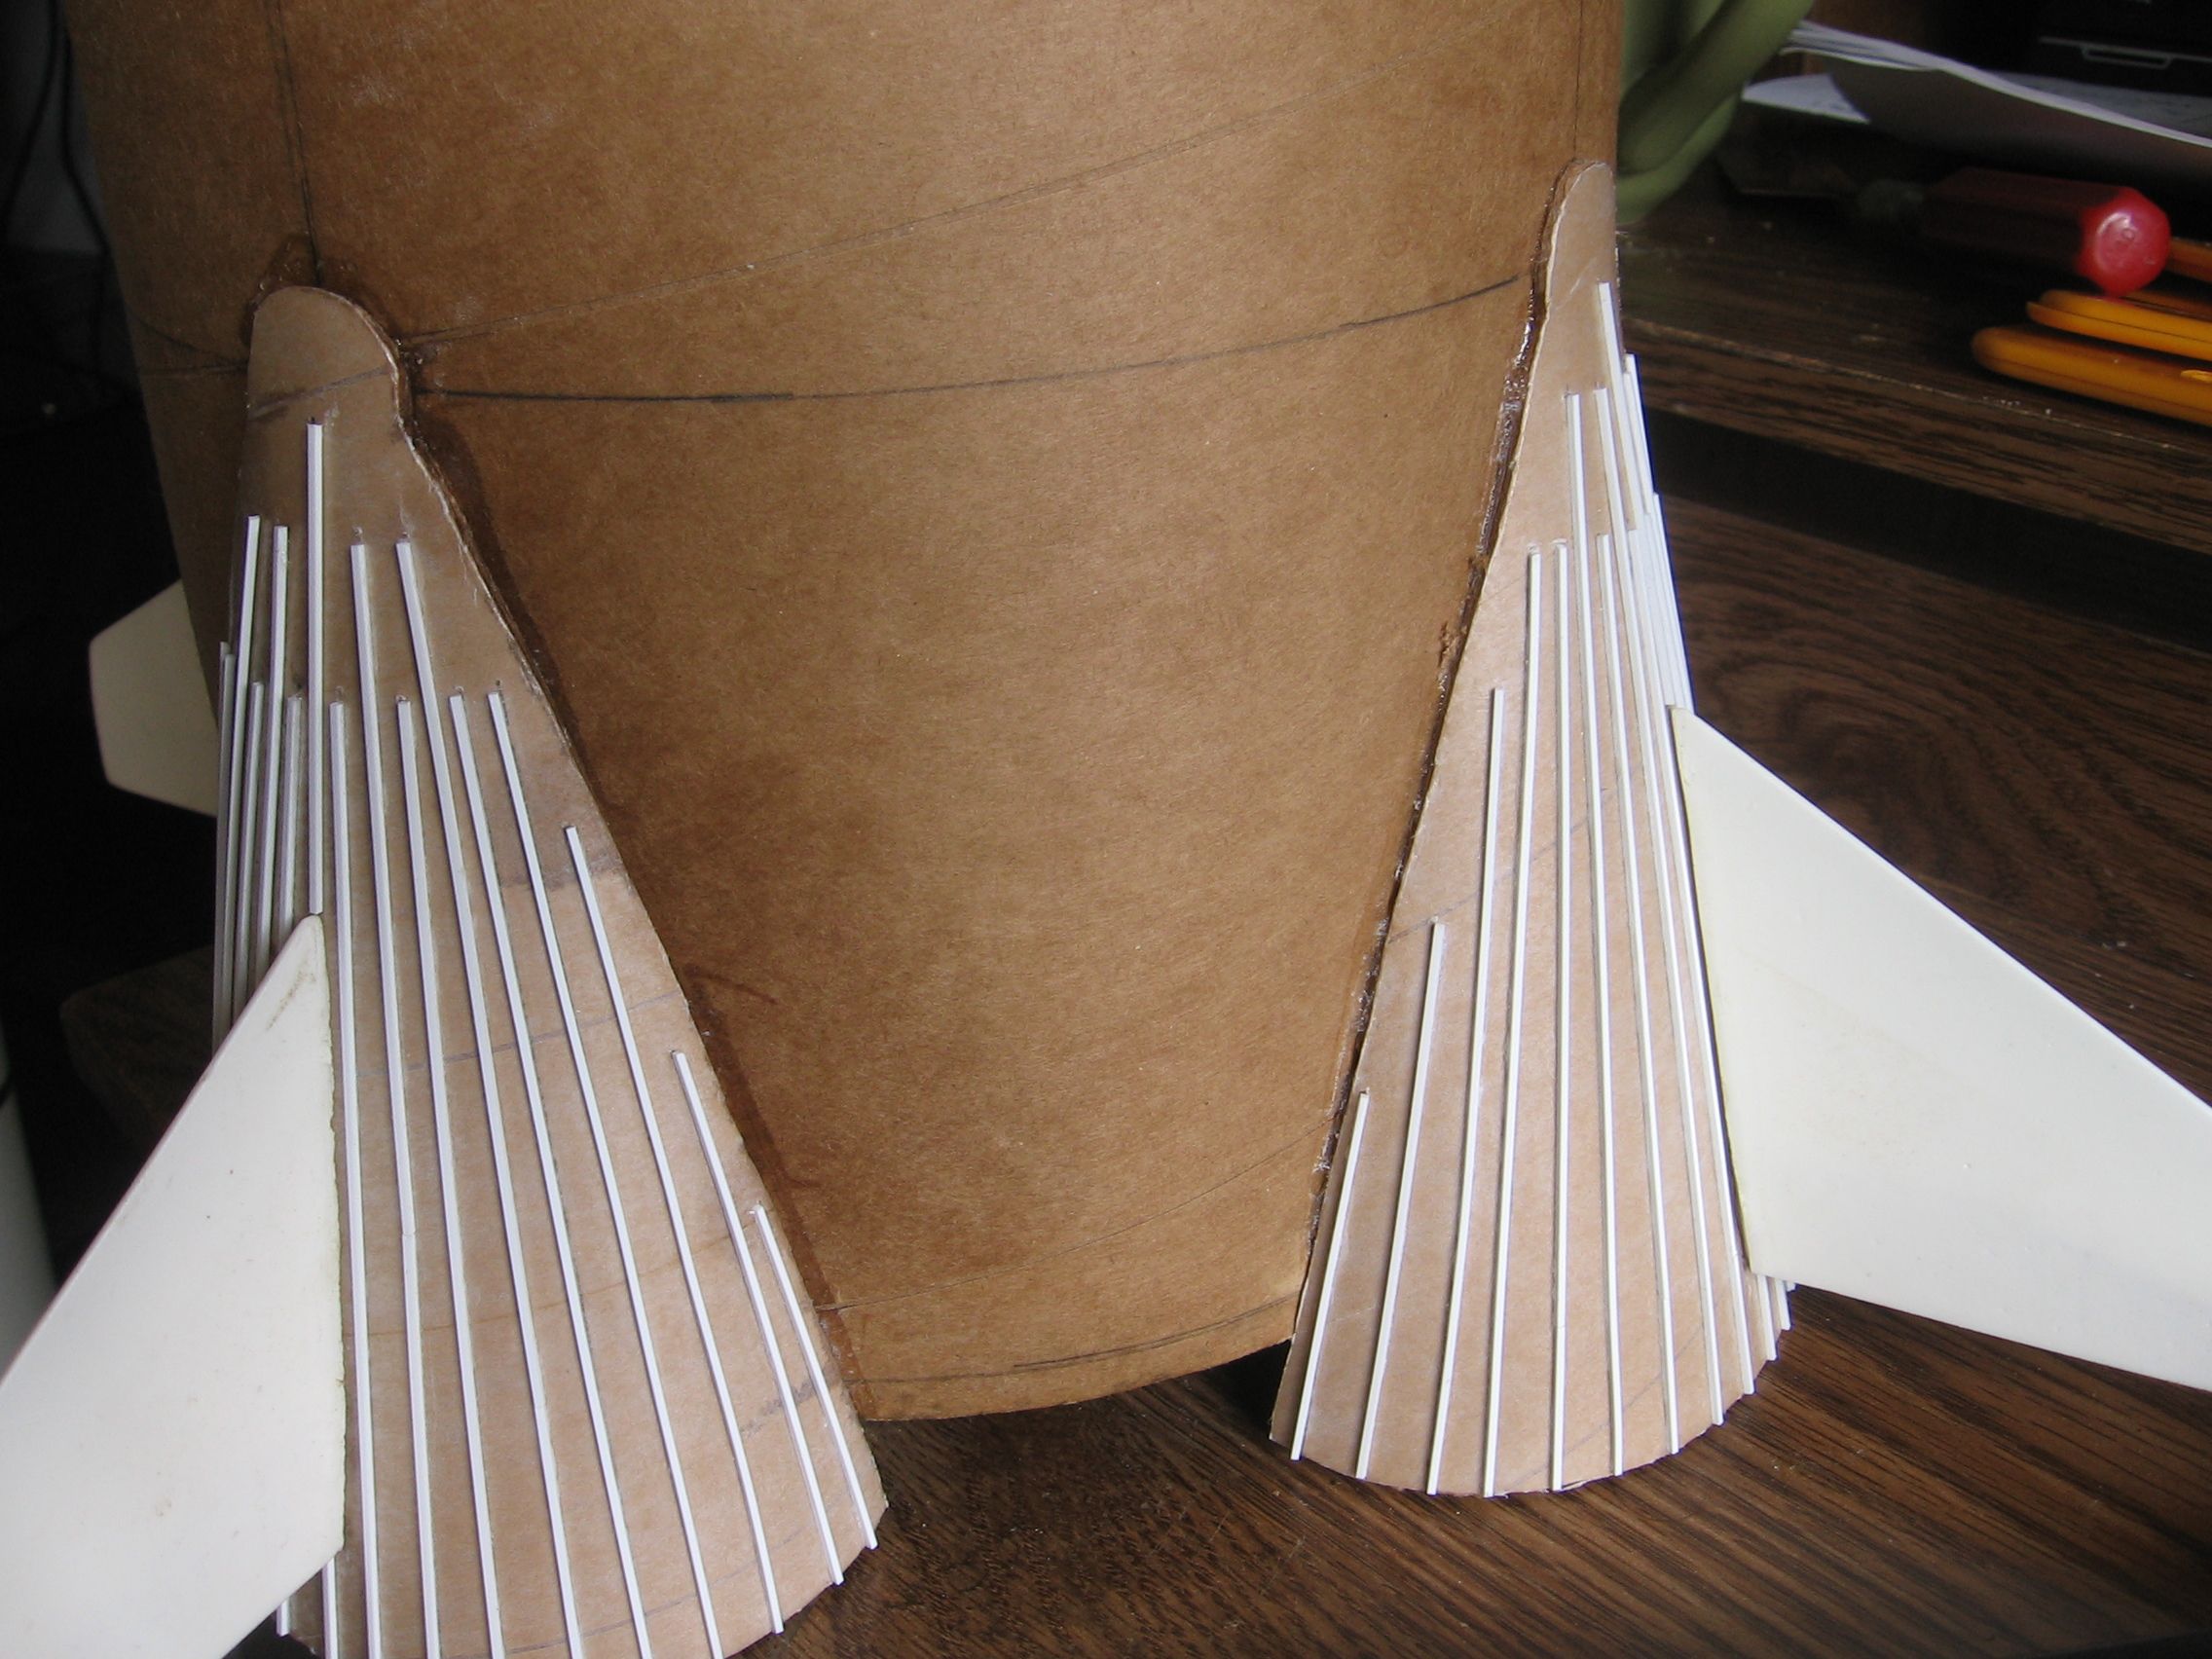
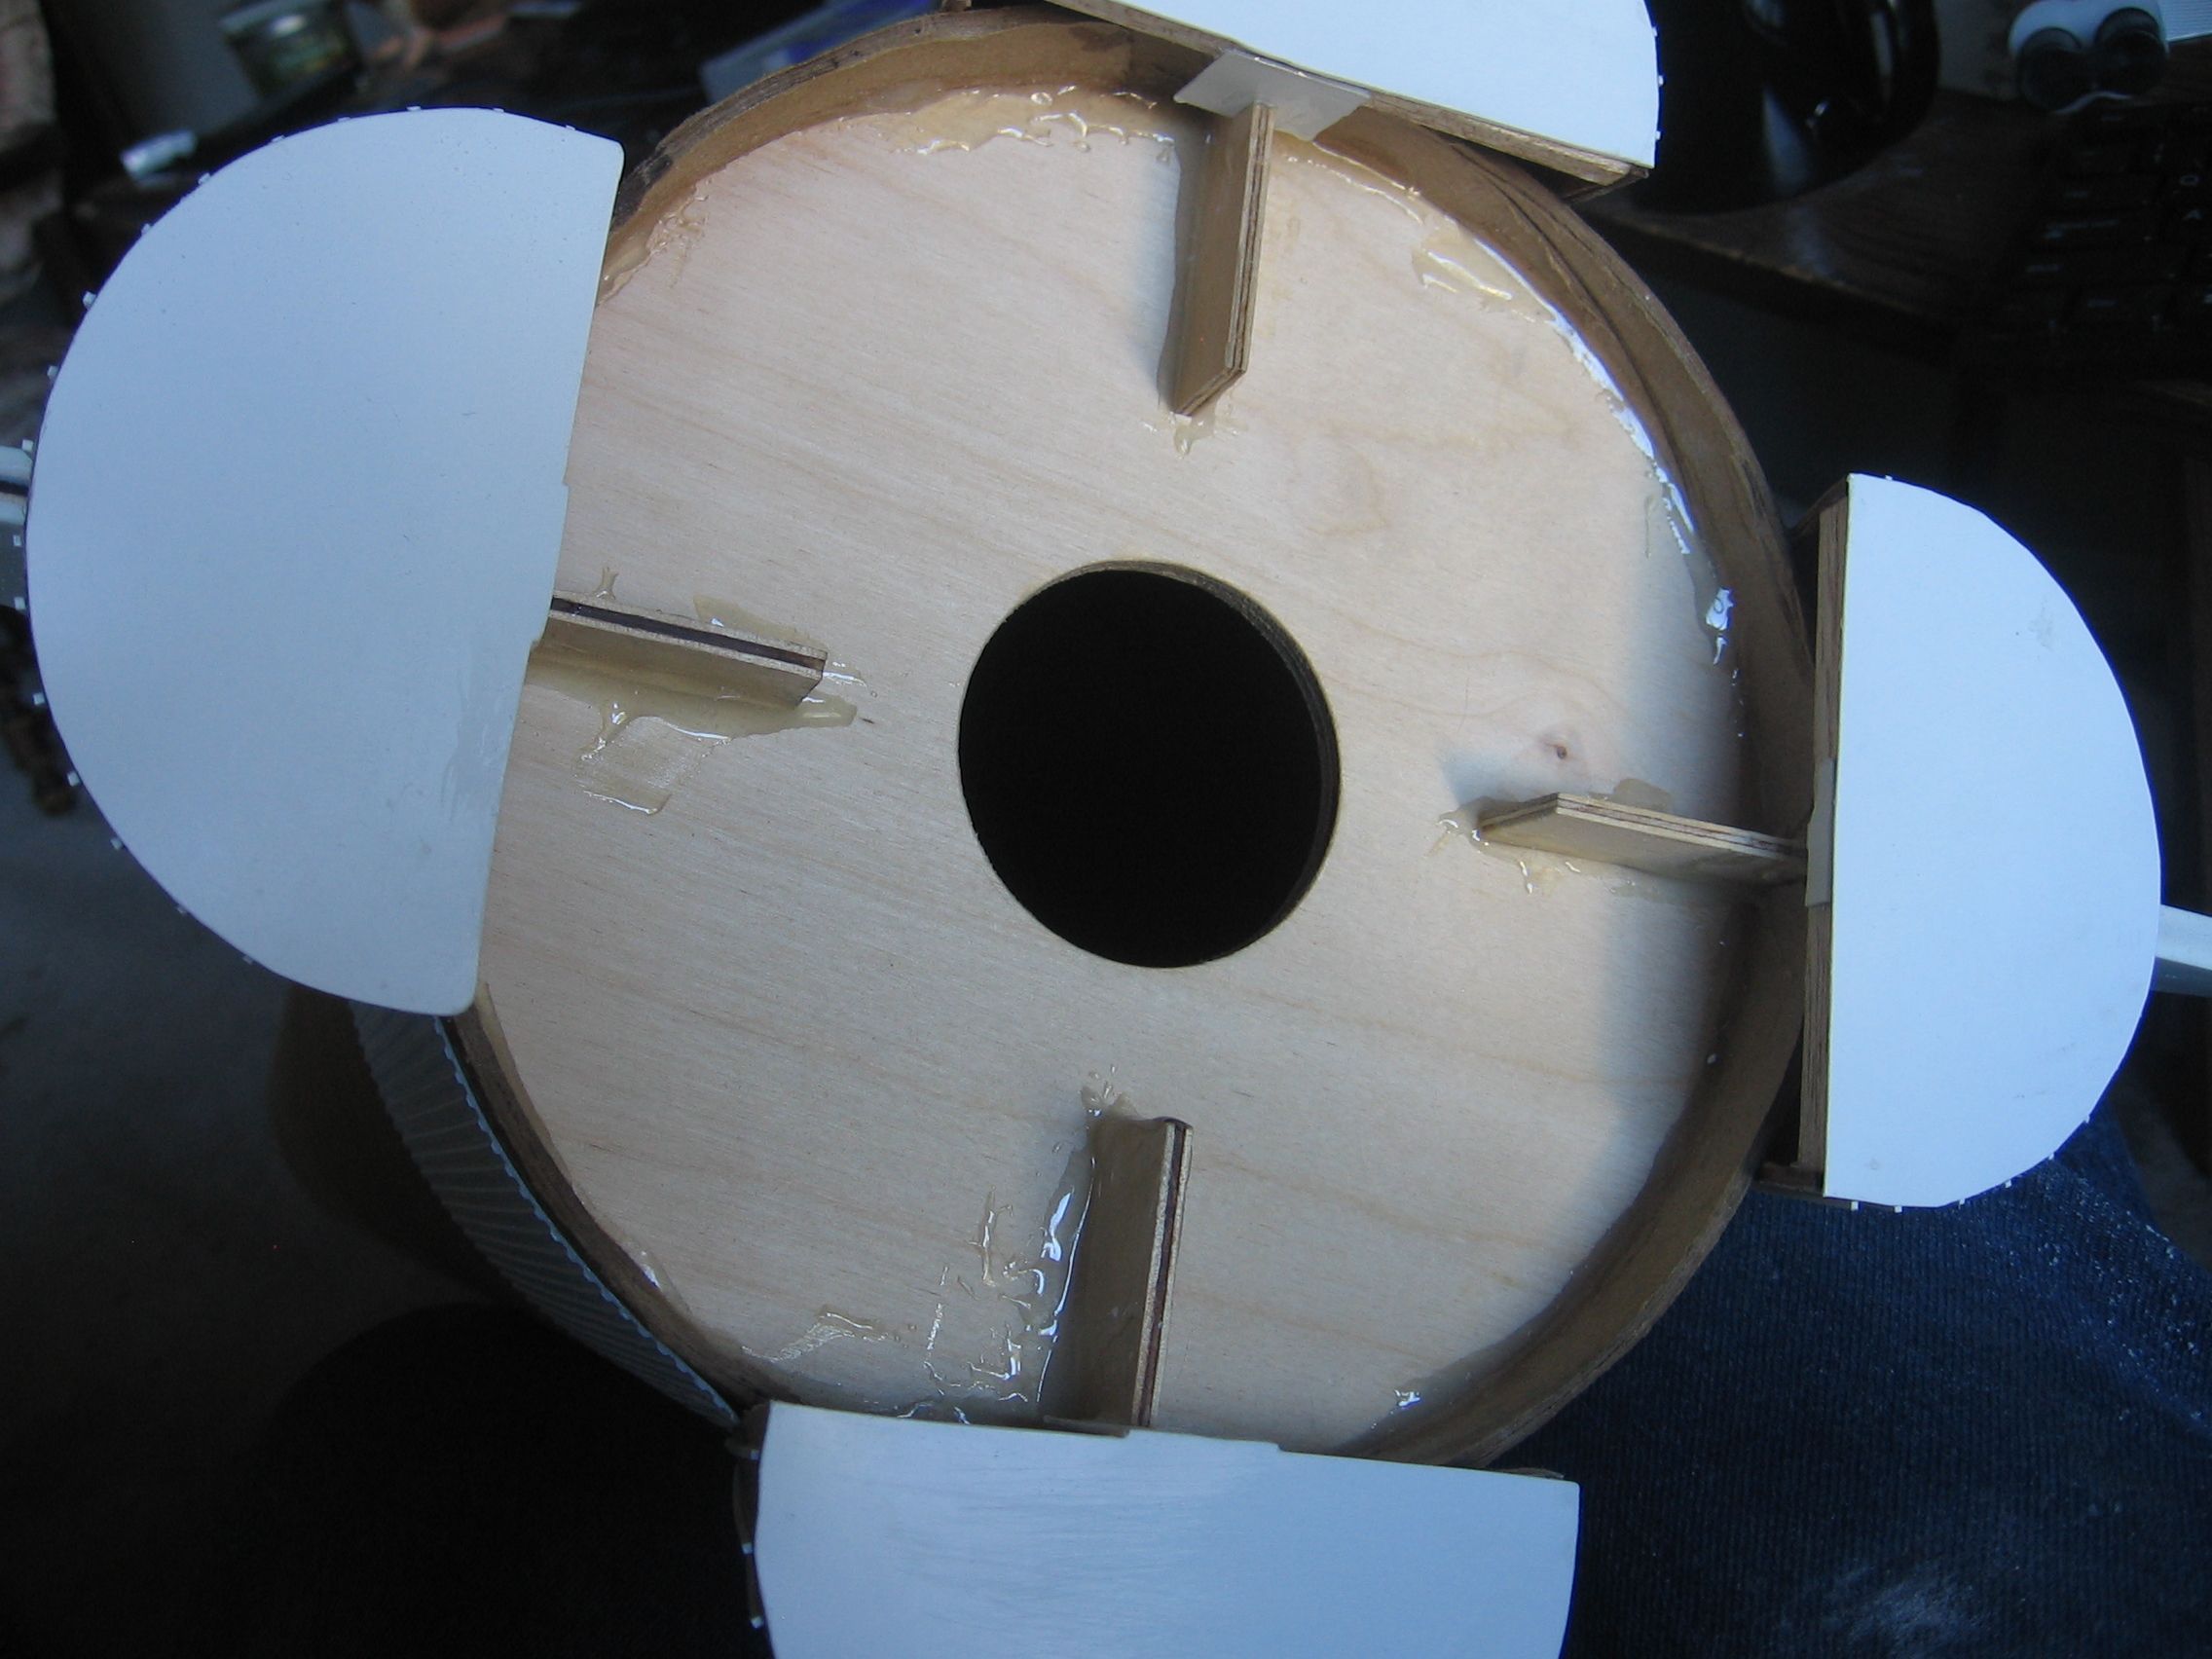
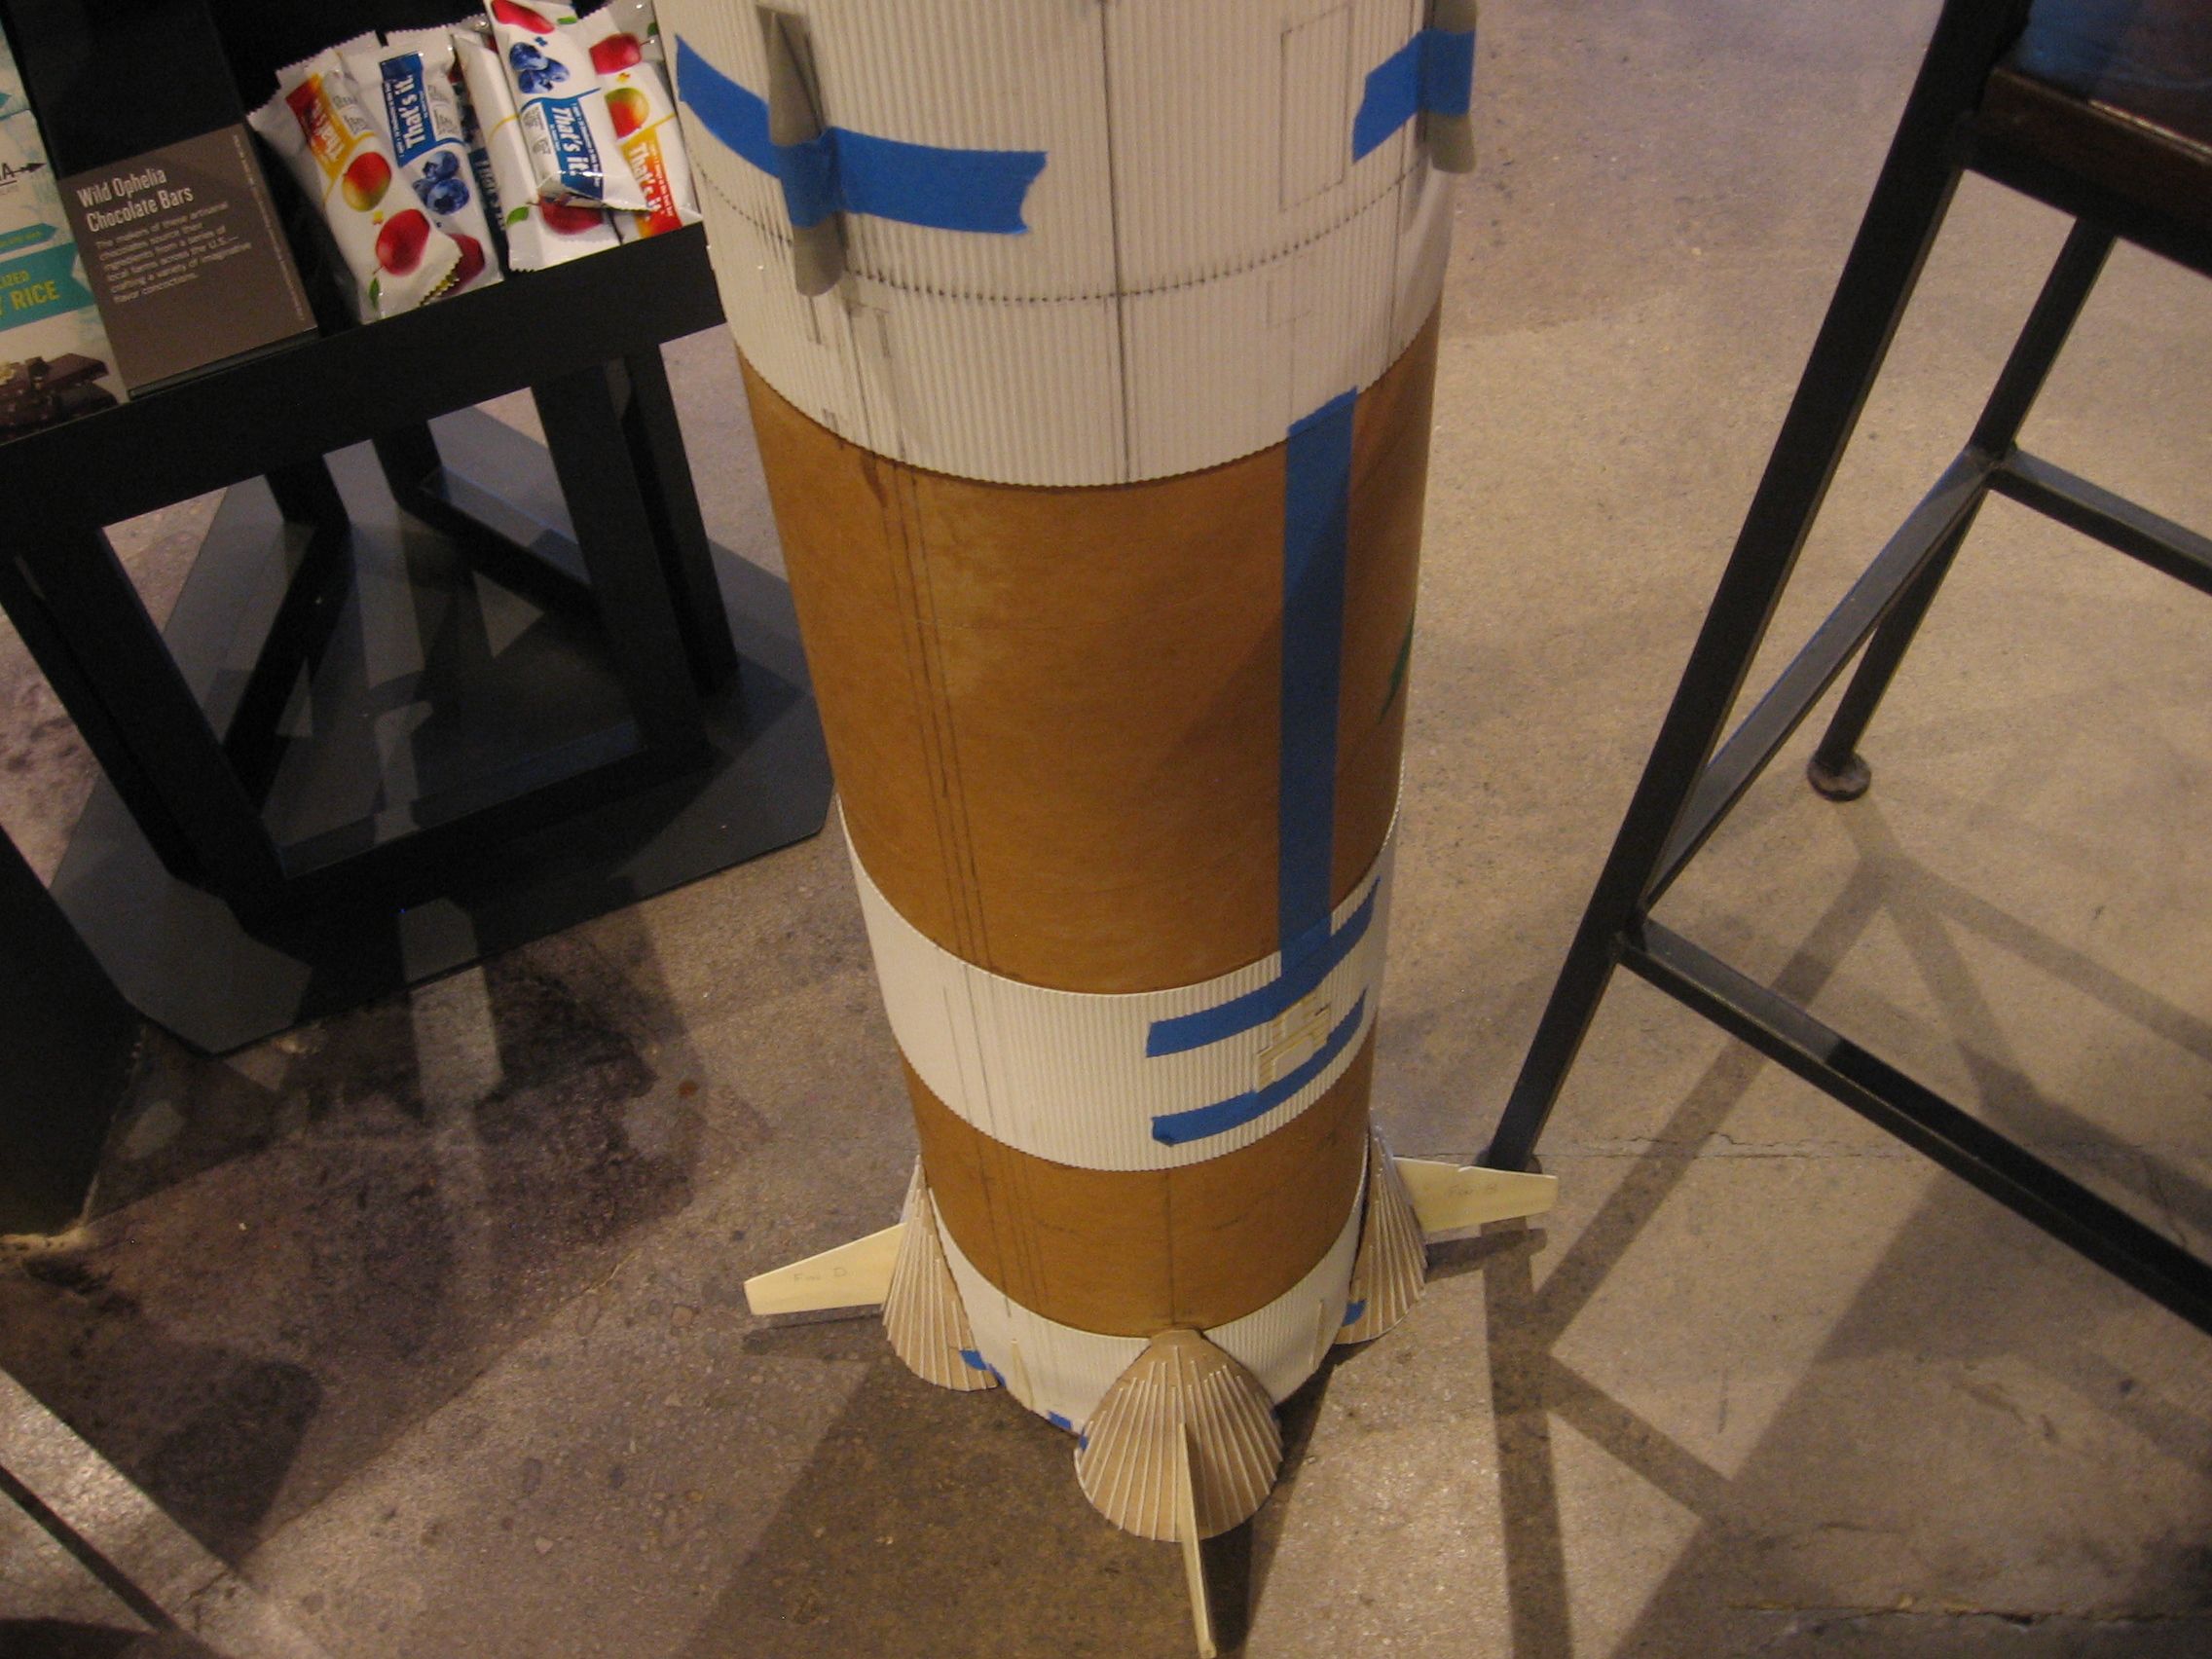
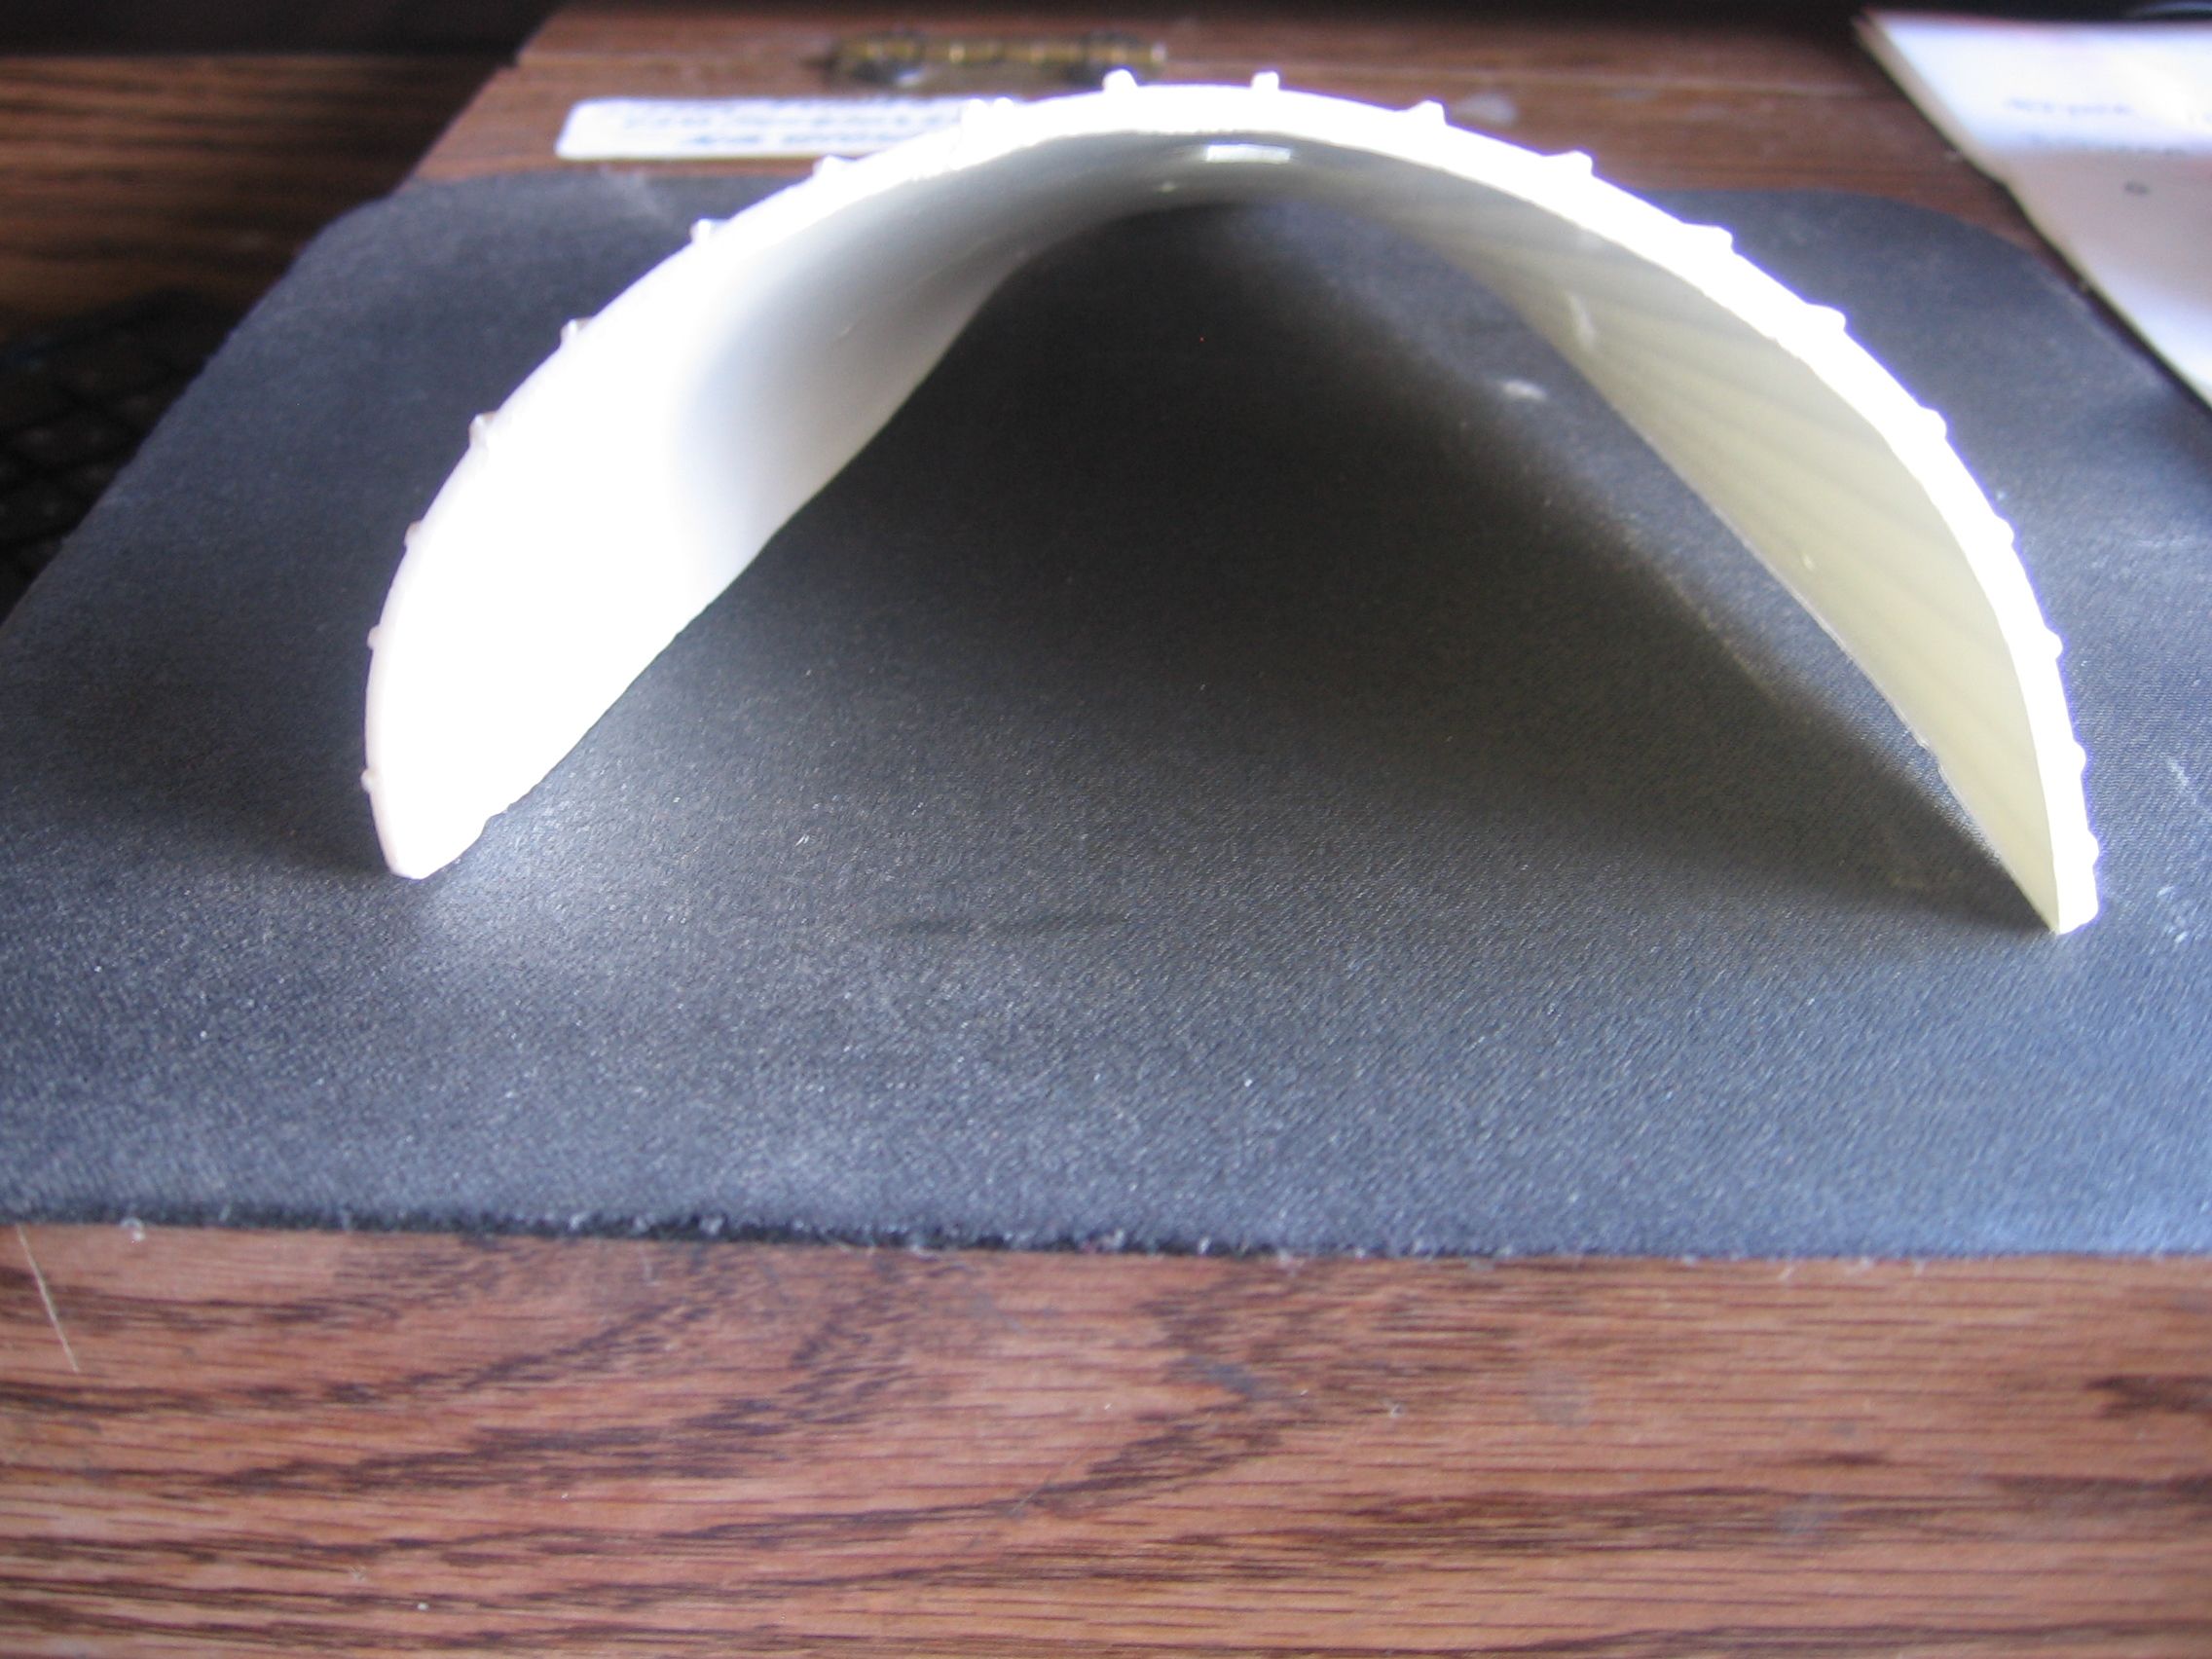
Three of the four resin fin shrouds were warped upon receipt. I tossed out all four and scratch built them out of cardboard tubing.
 
Last edited:
IMG_0001.JPG

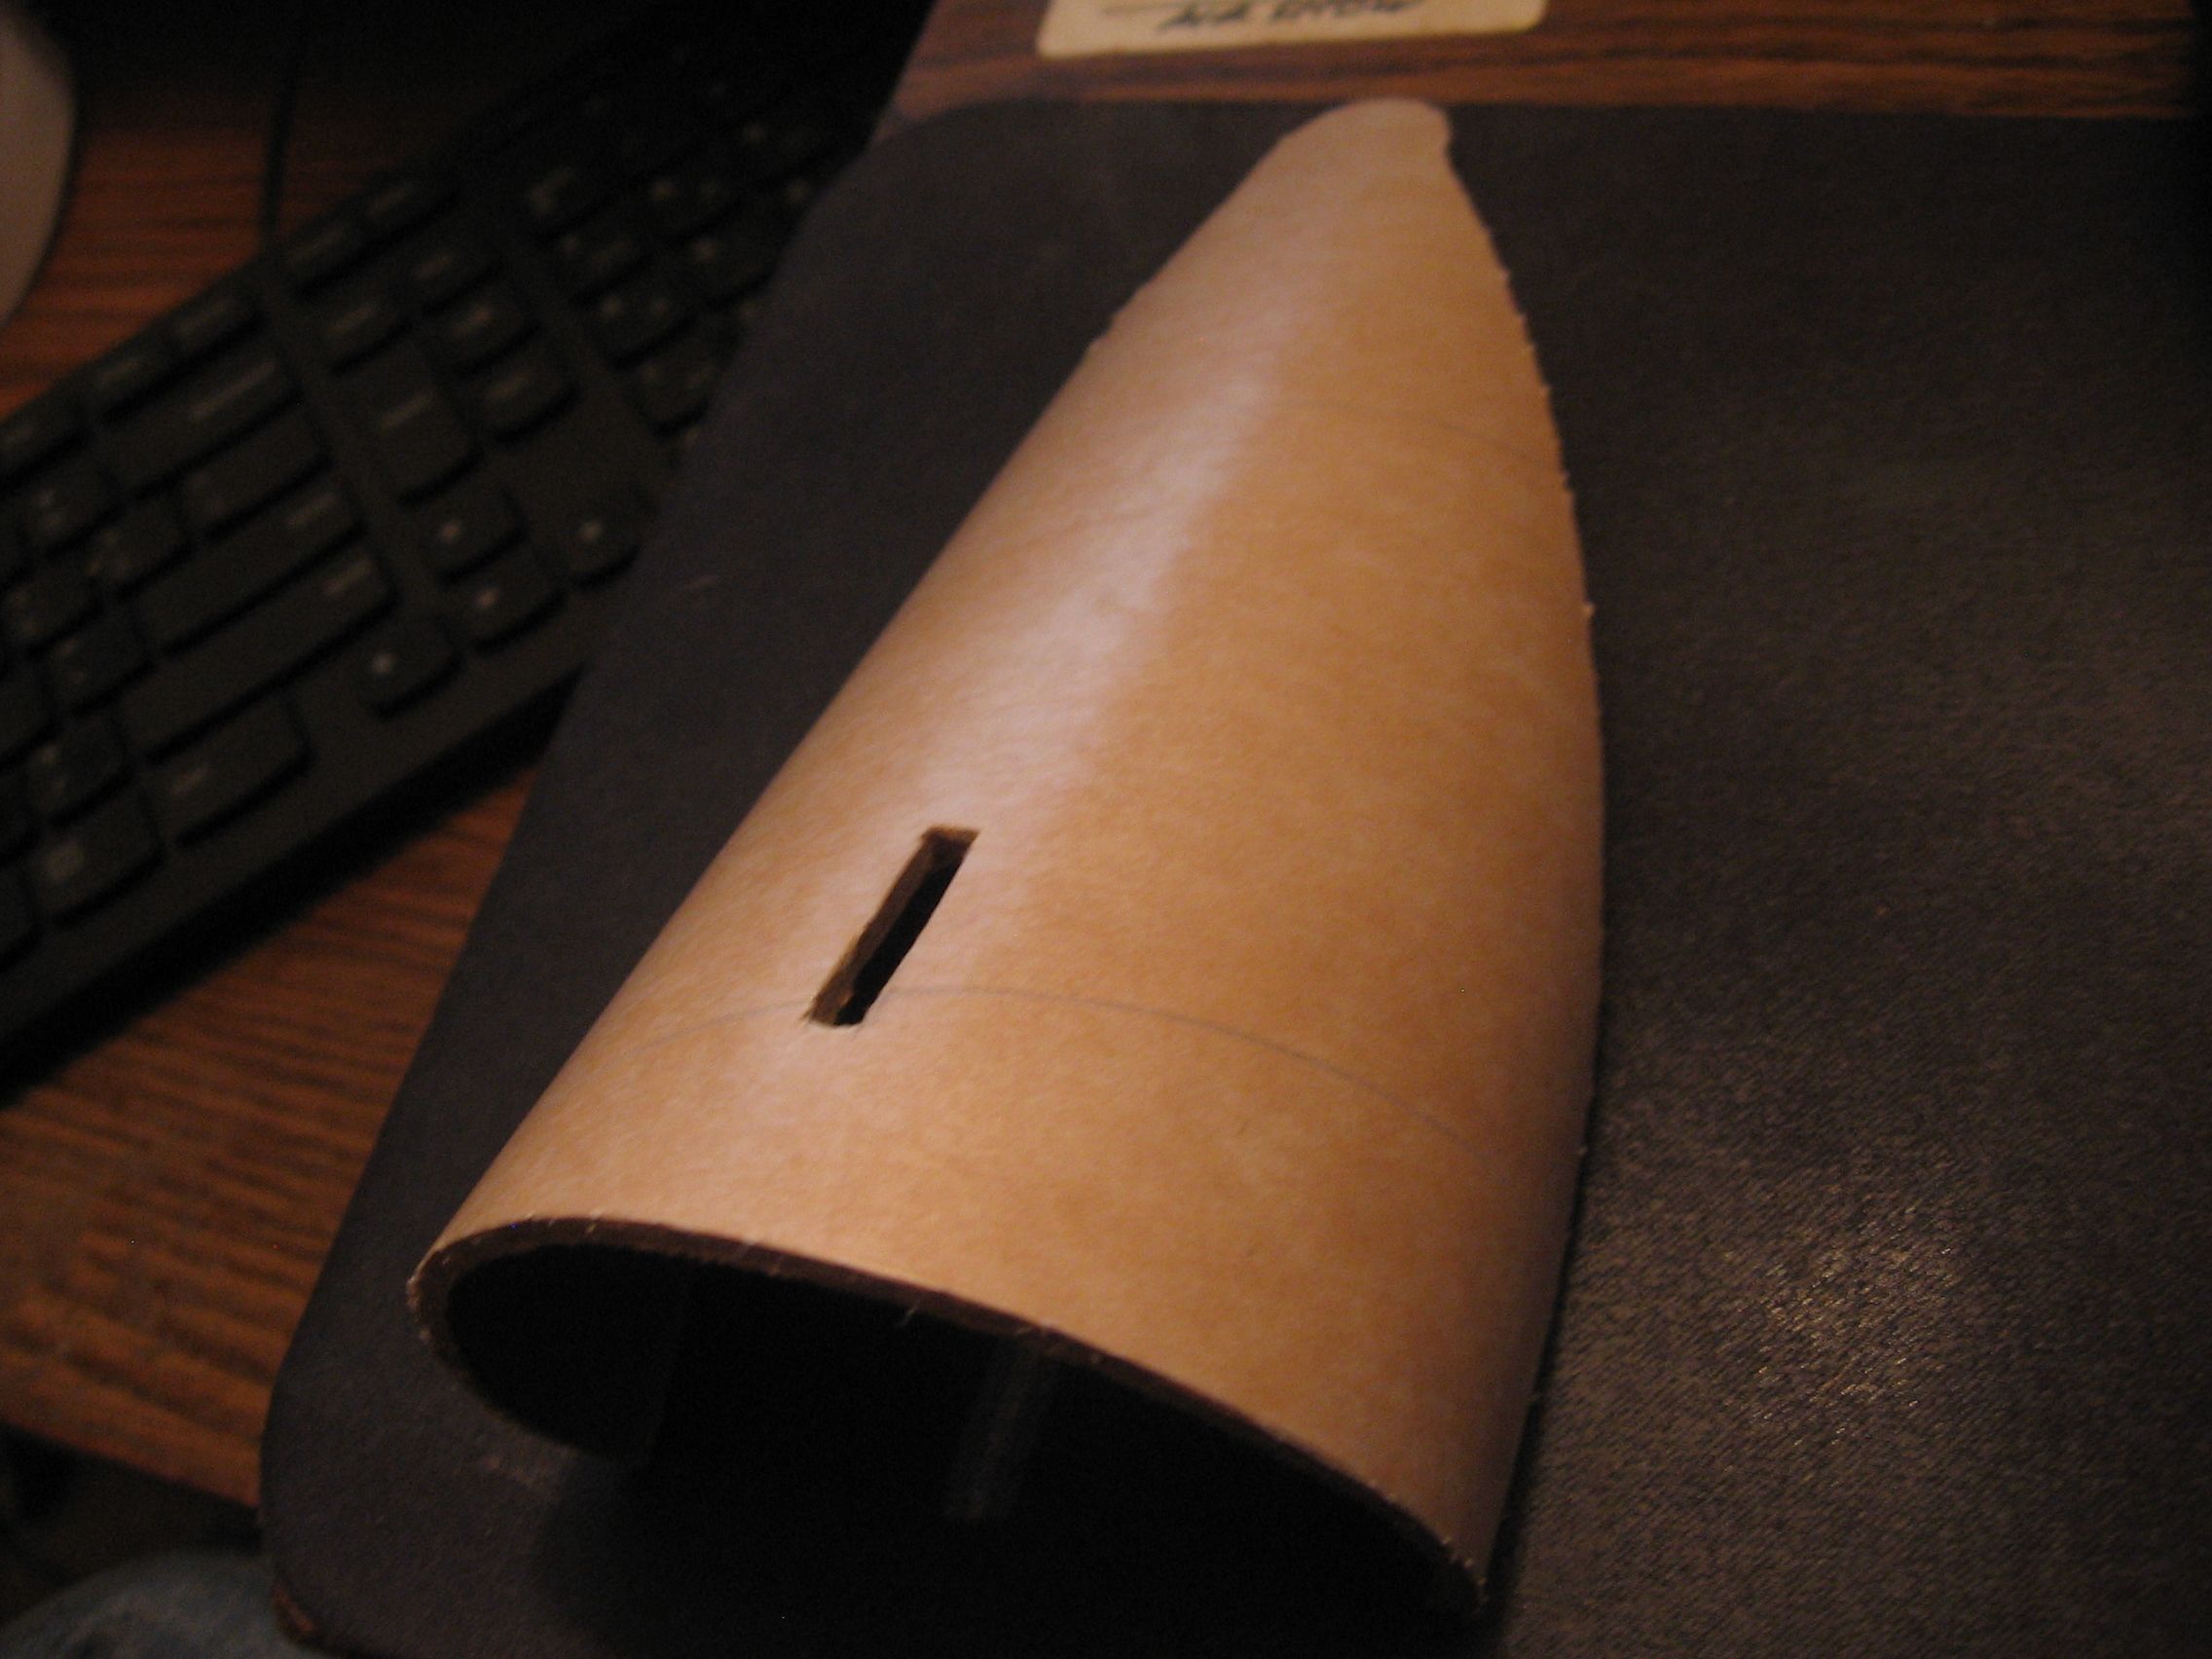
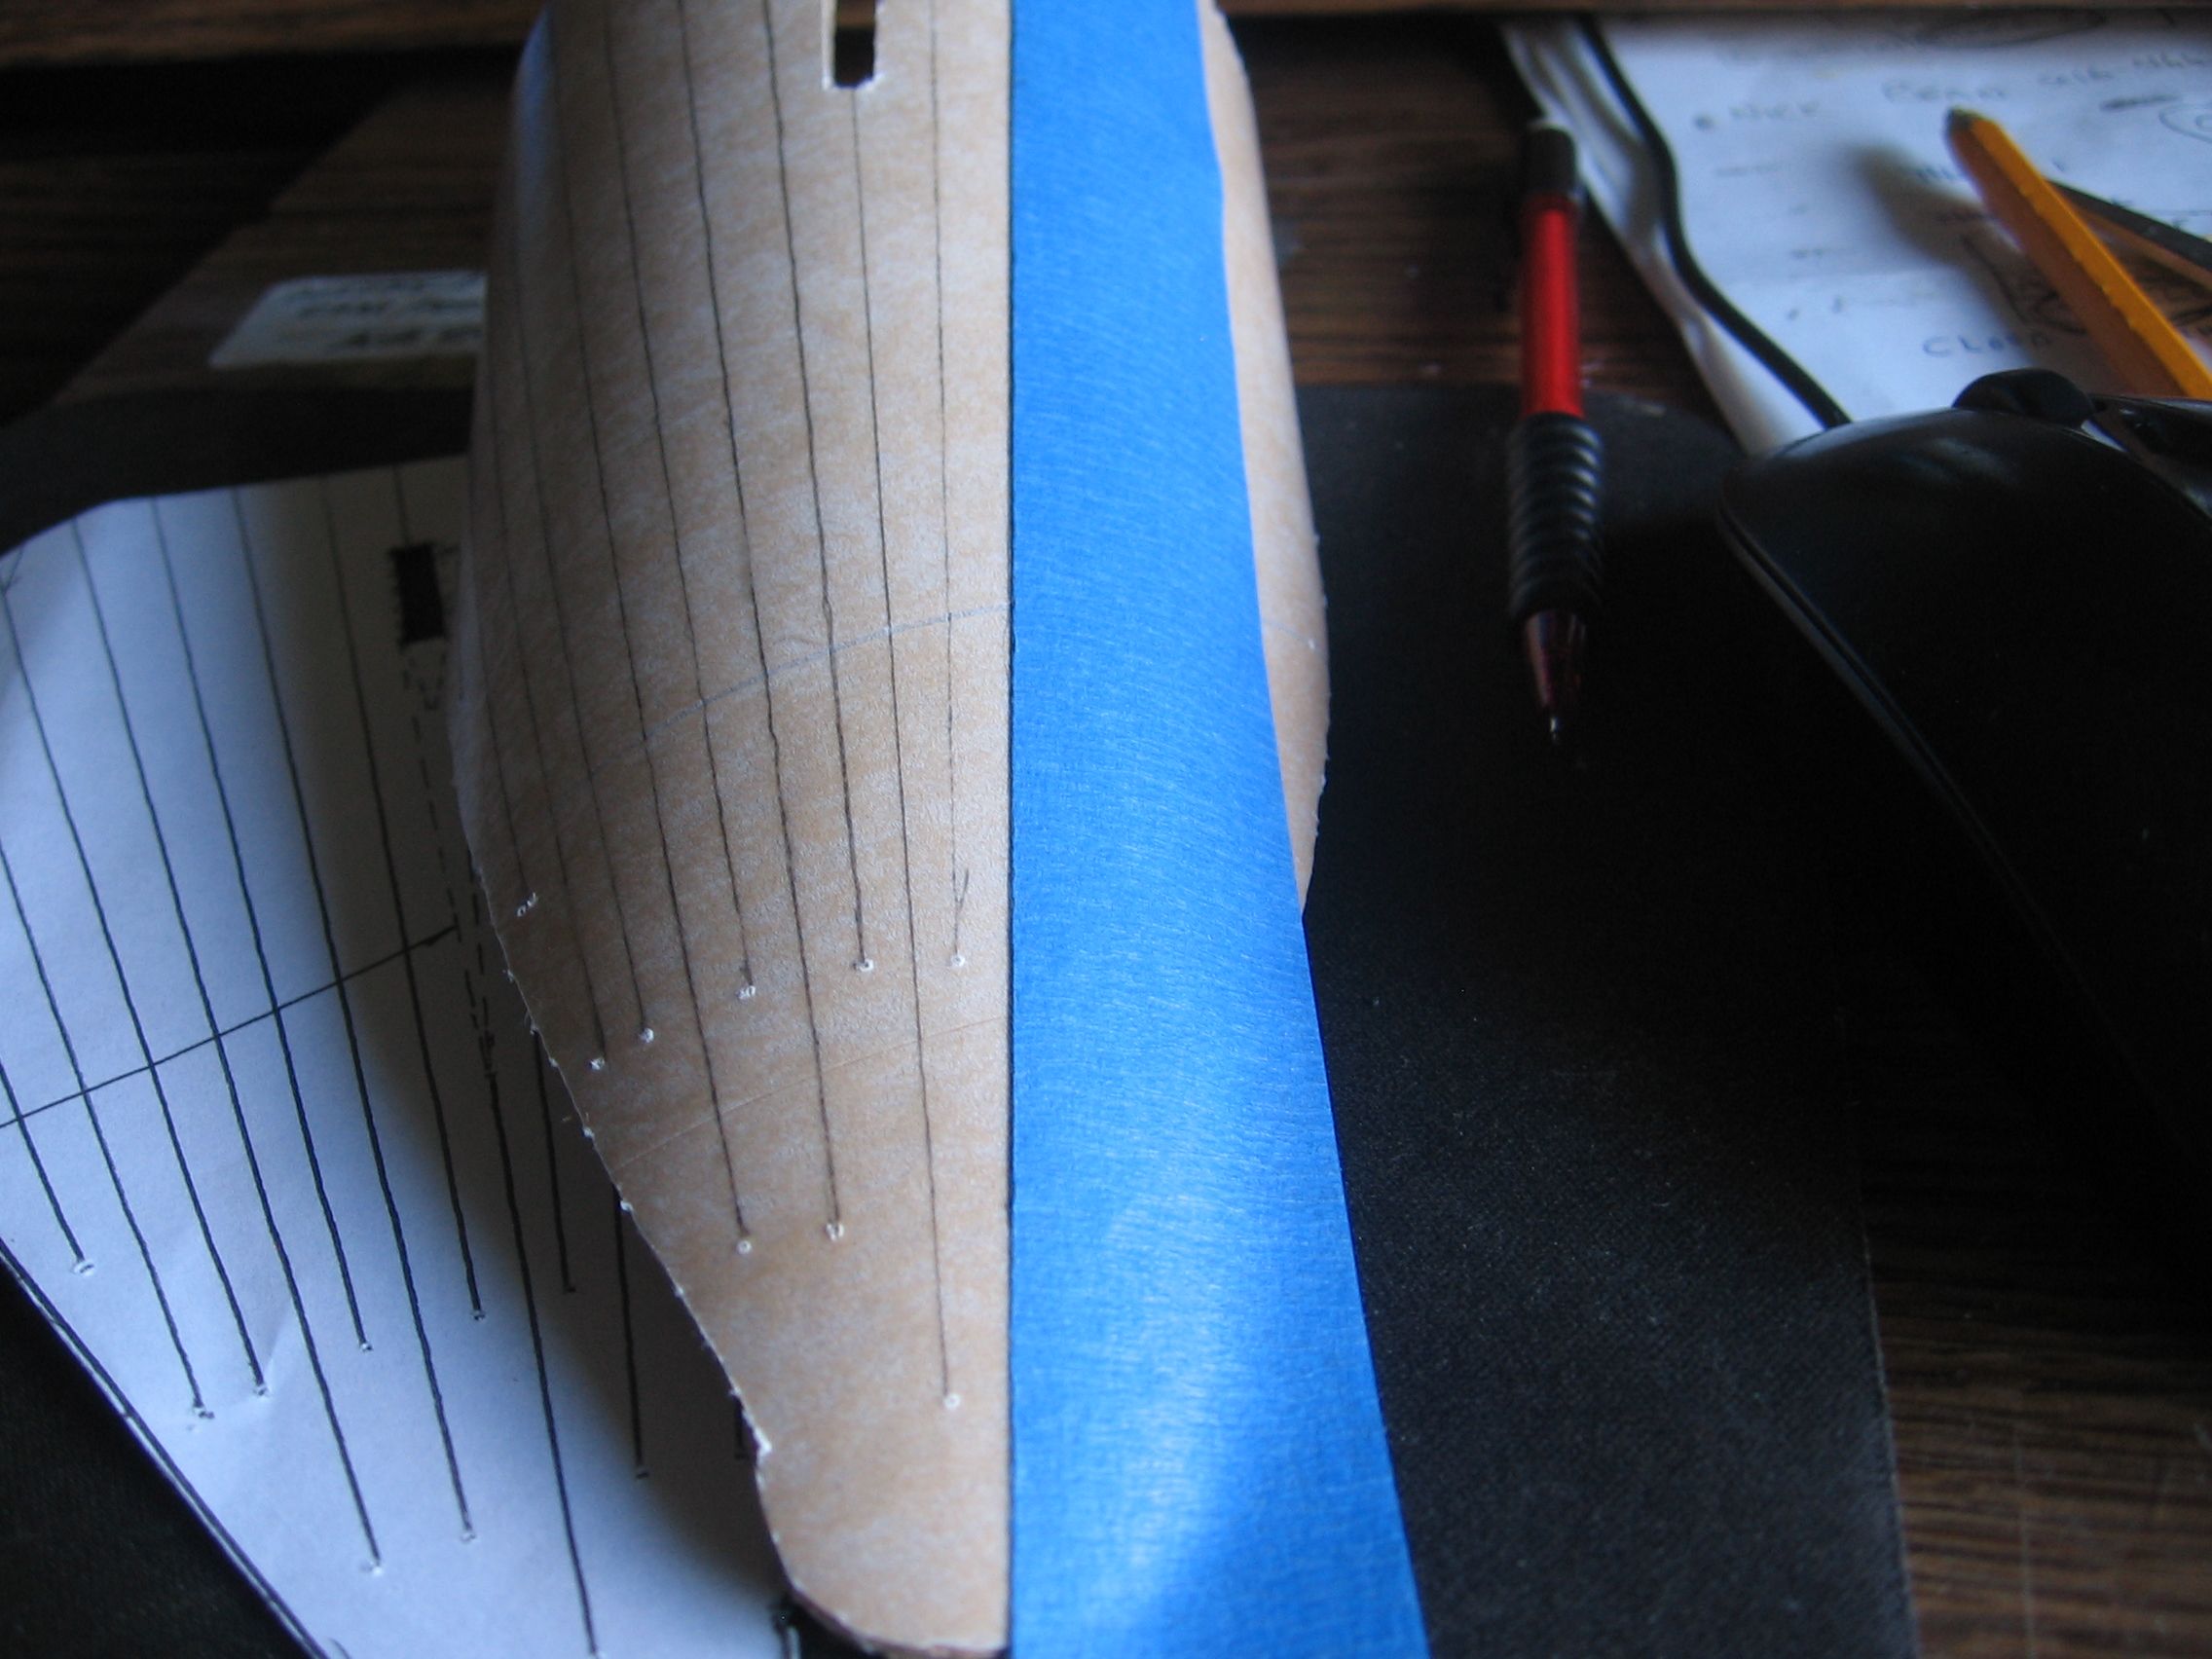
Using the pattern that came with the kit, I traced this onto the tube and cut out all four shrouds.
 
IMG_0002 (2).JPG

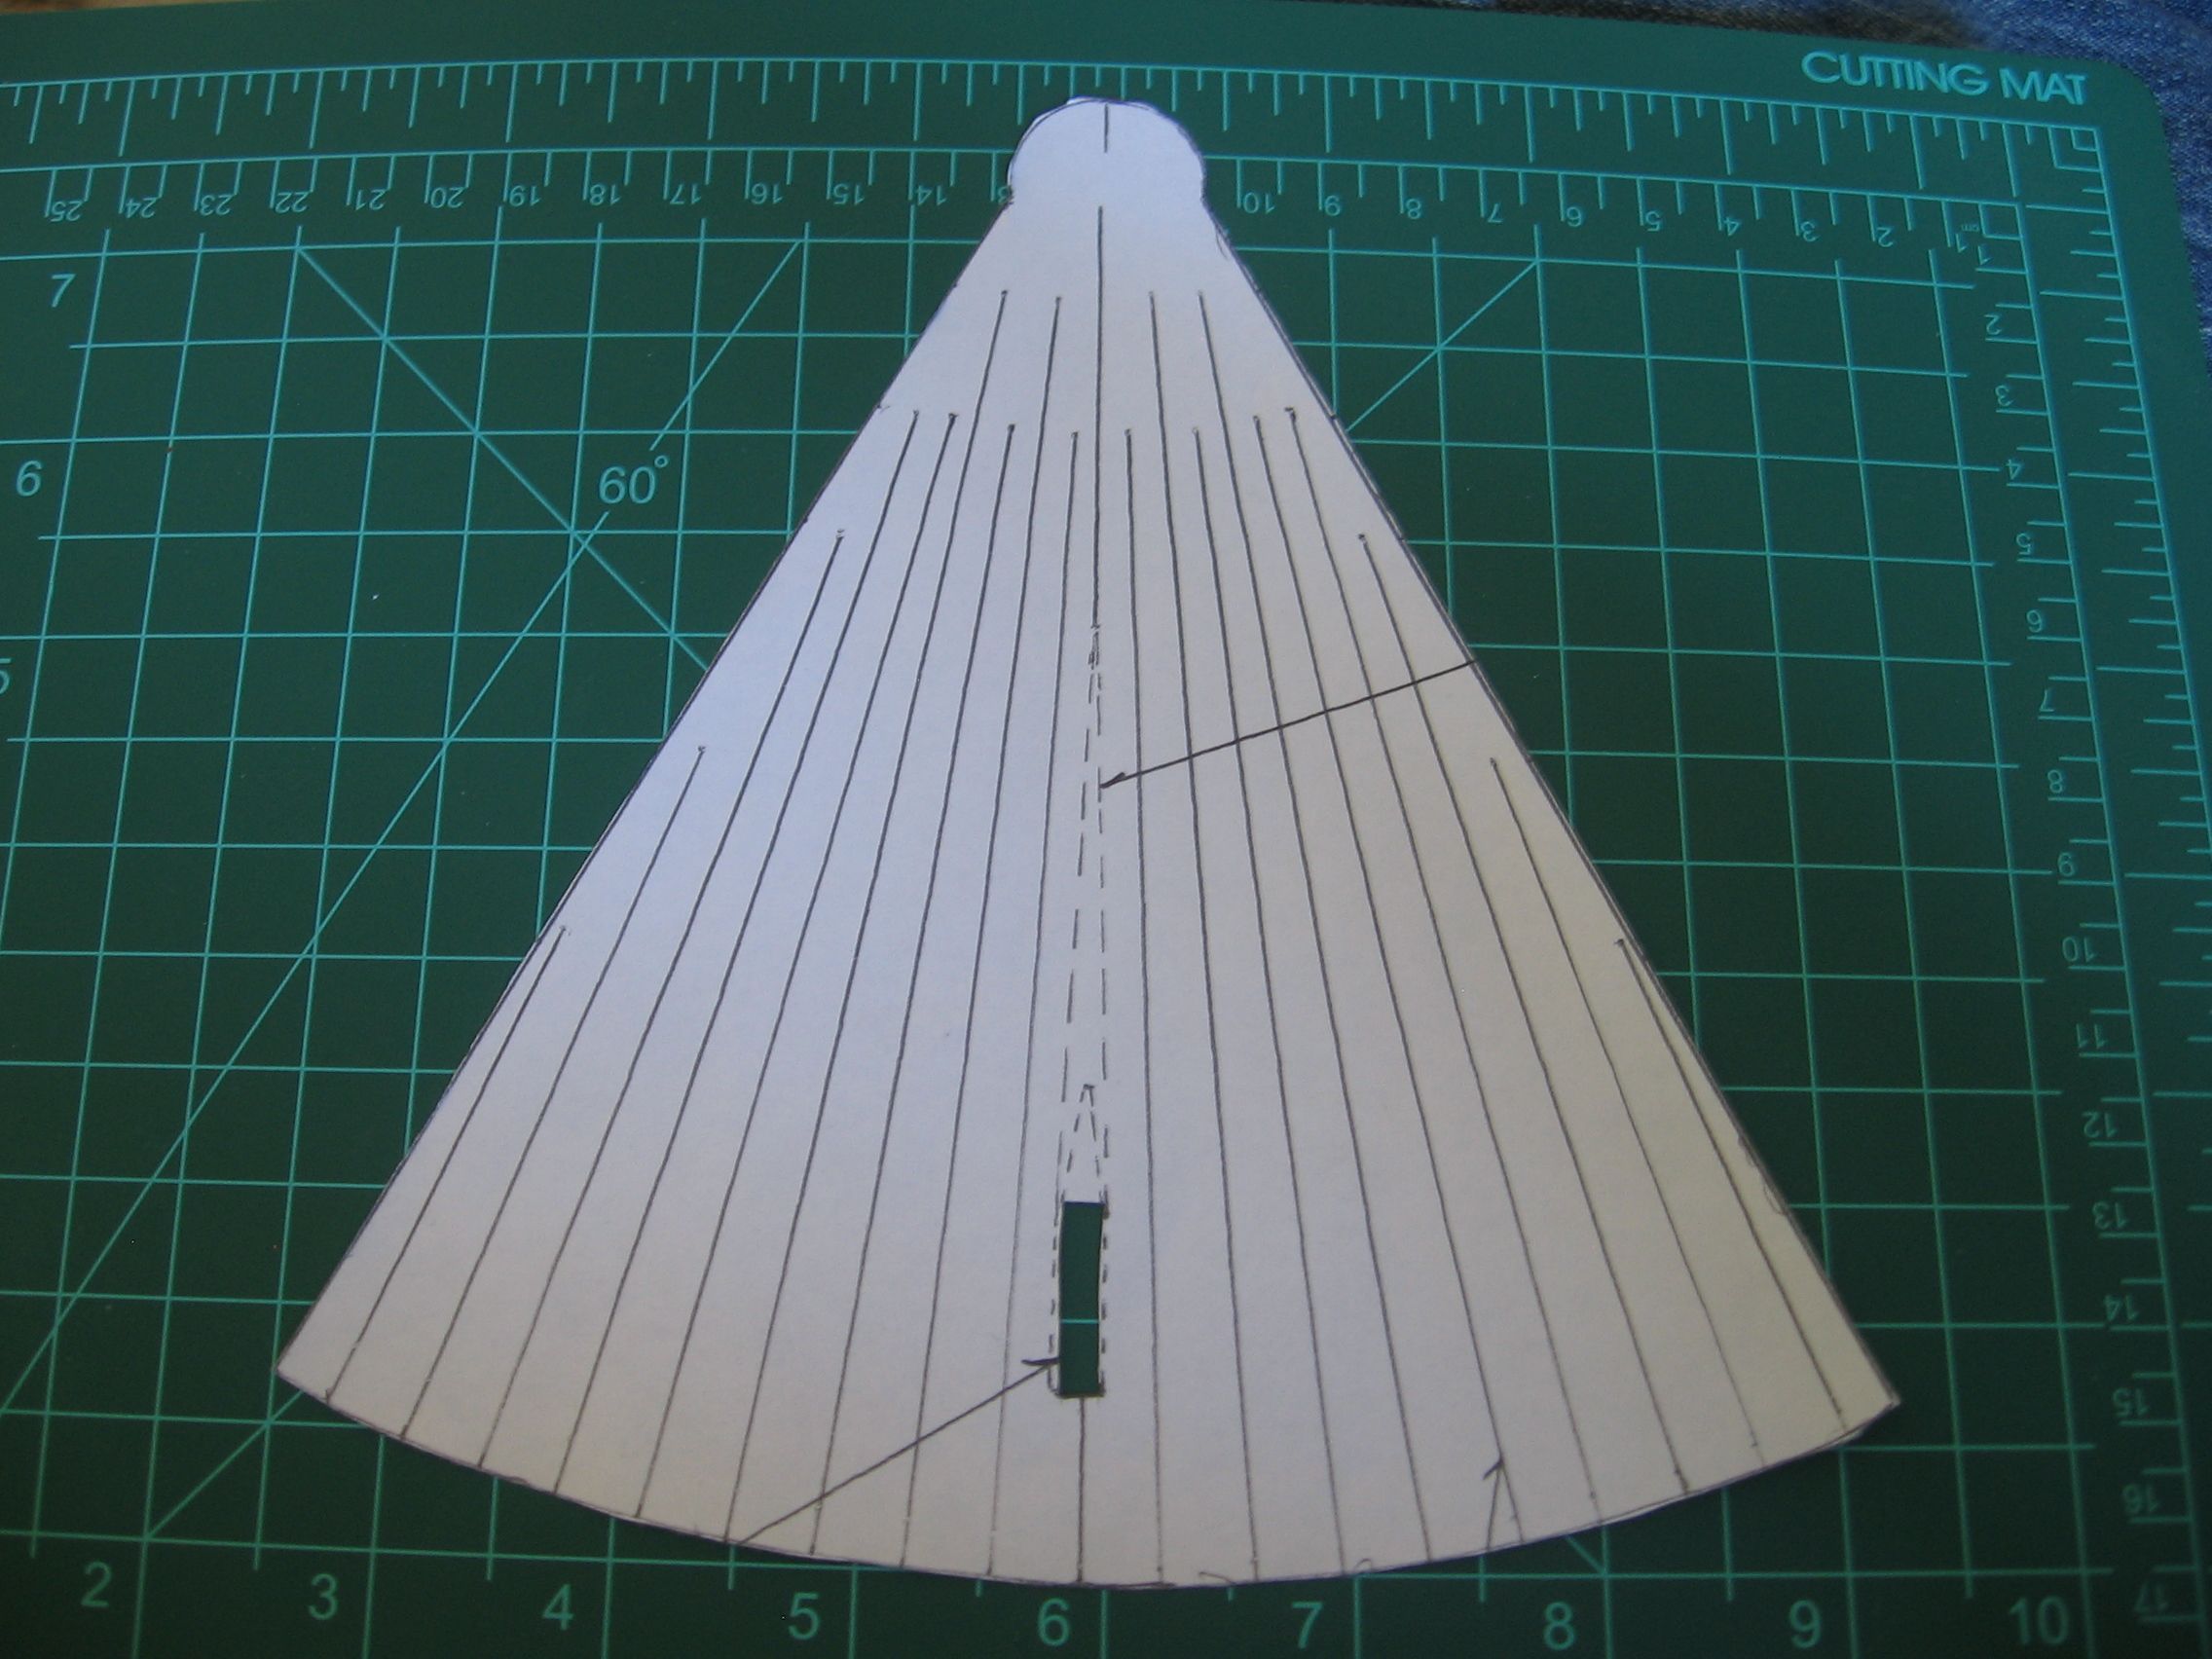
Once again the pattern was used to mark off where the stringers would go. The lower section was simply marked with pencil. The upper section I used a pin, then using tape to connect the marks.
 
IMG_0001 (12).JPG

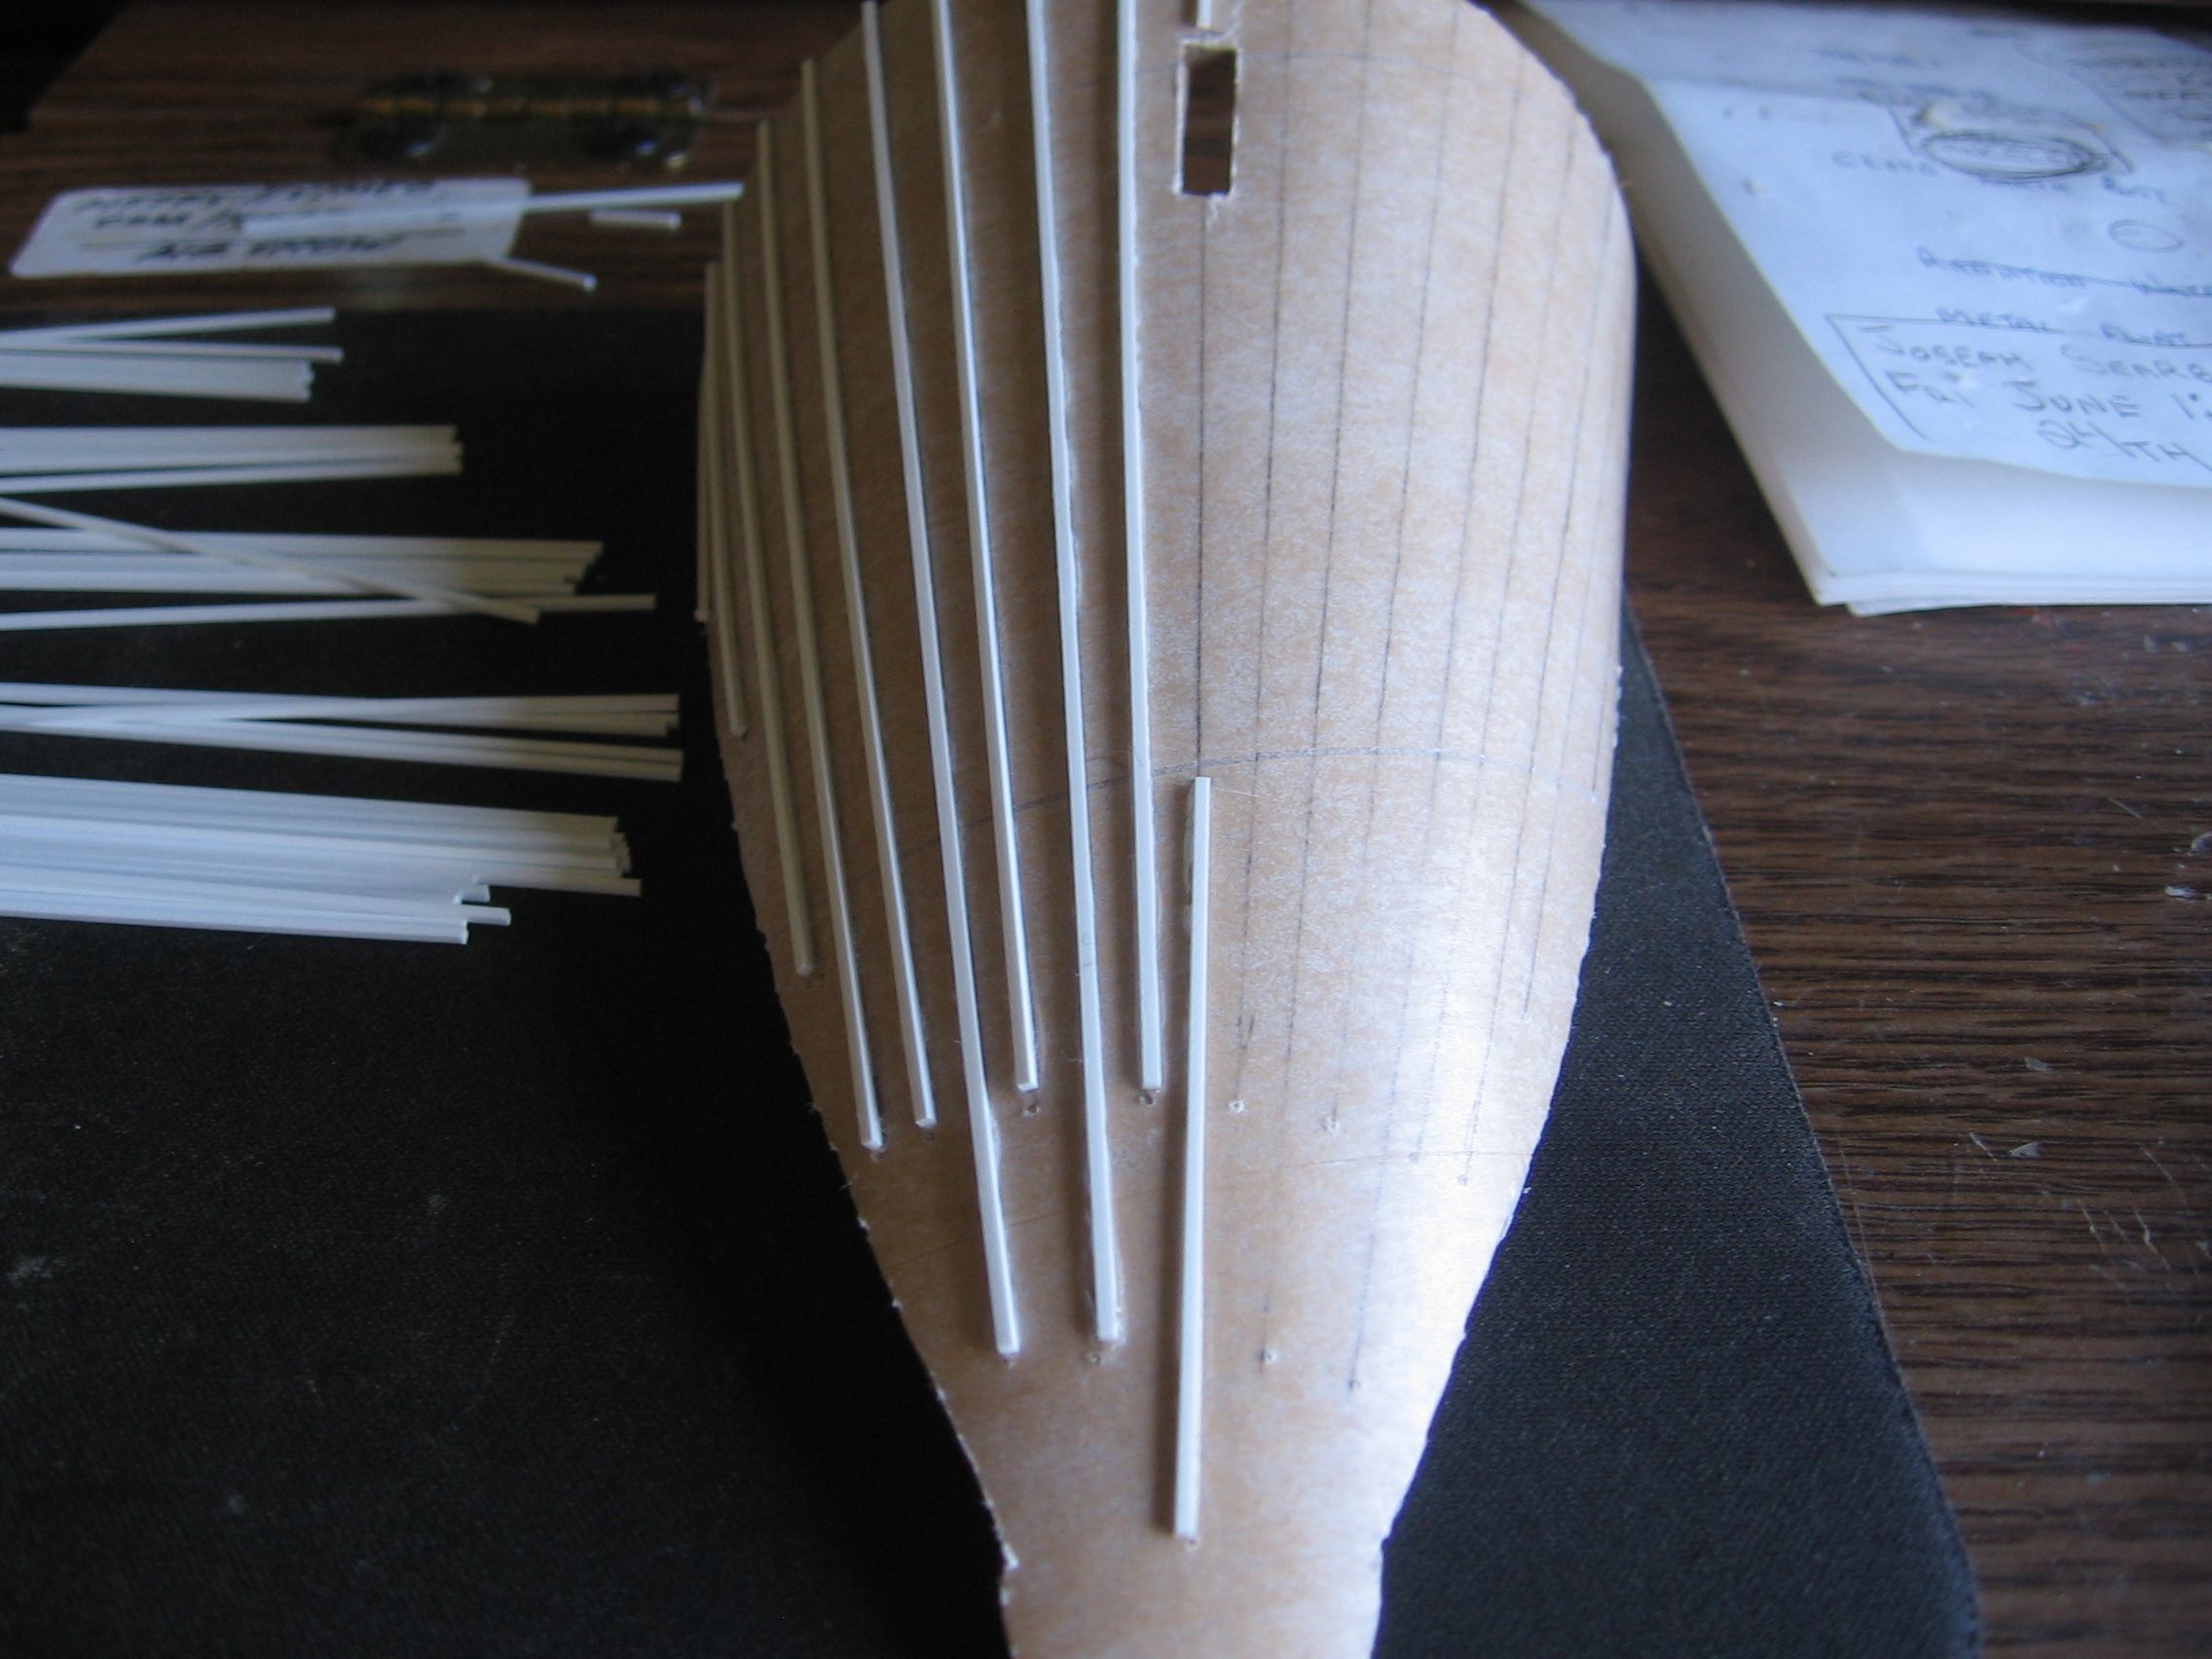
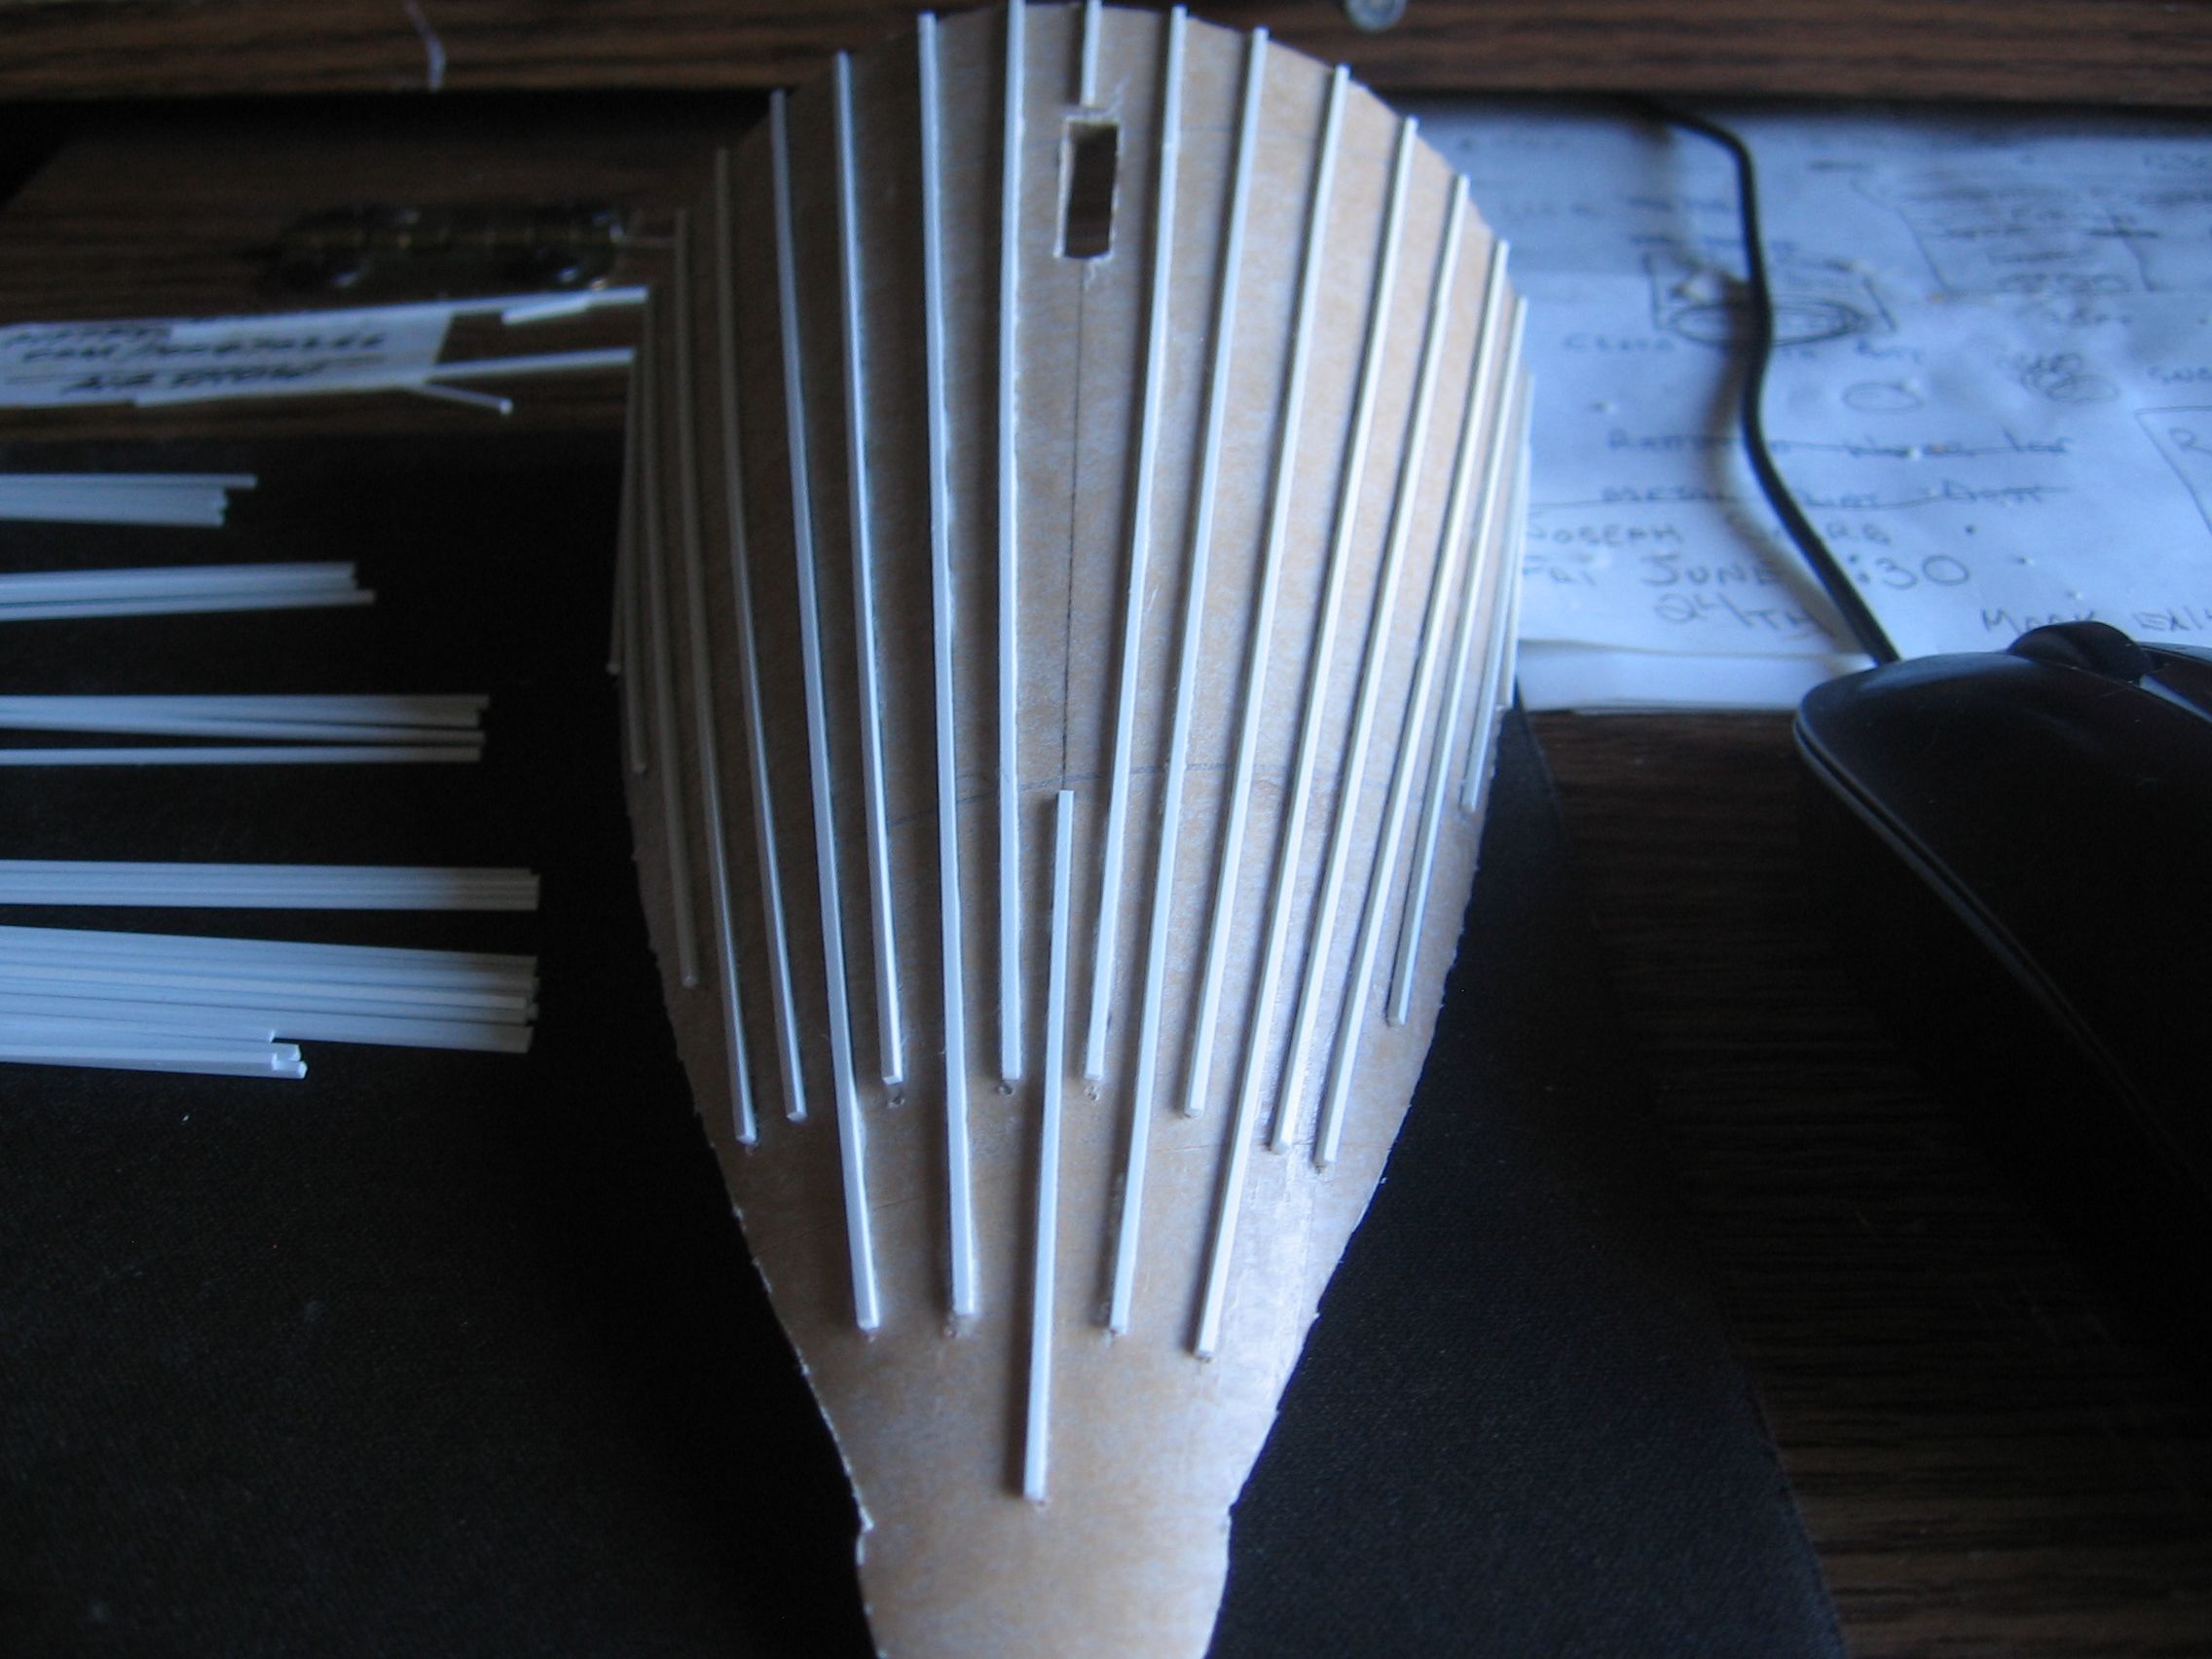
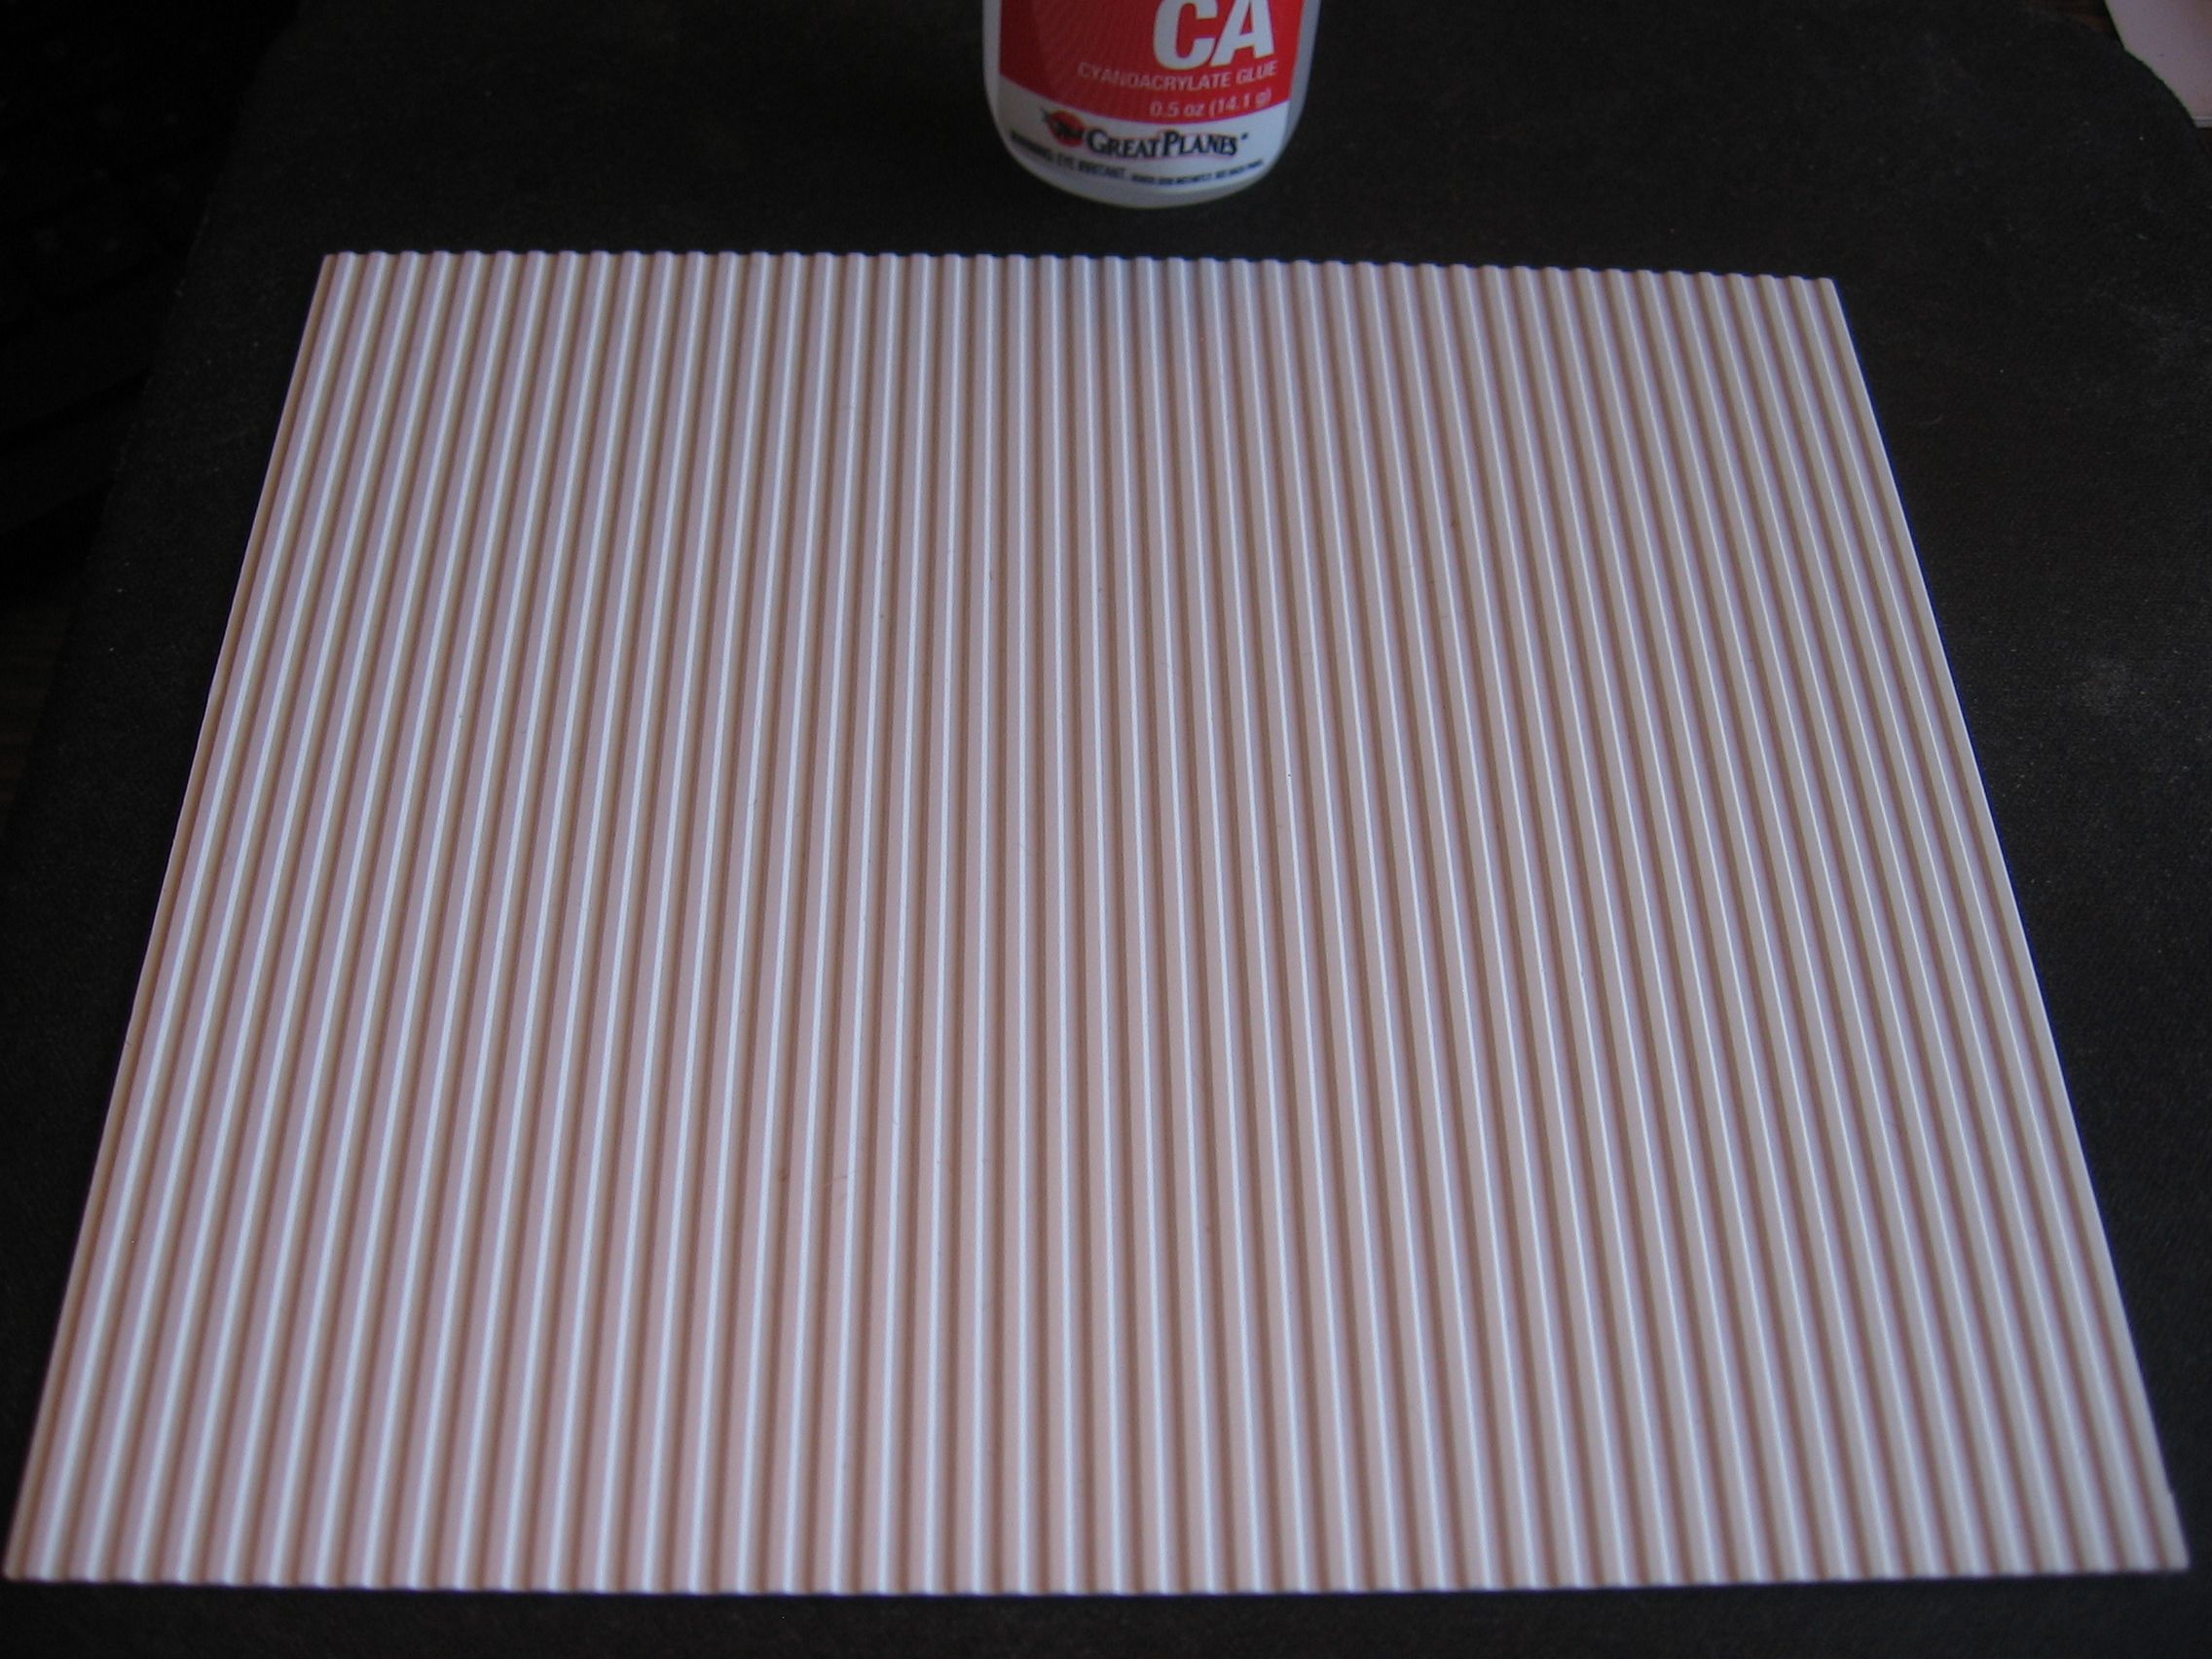
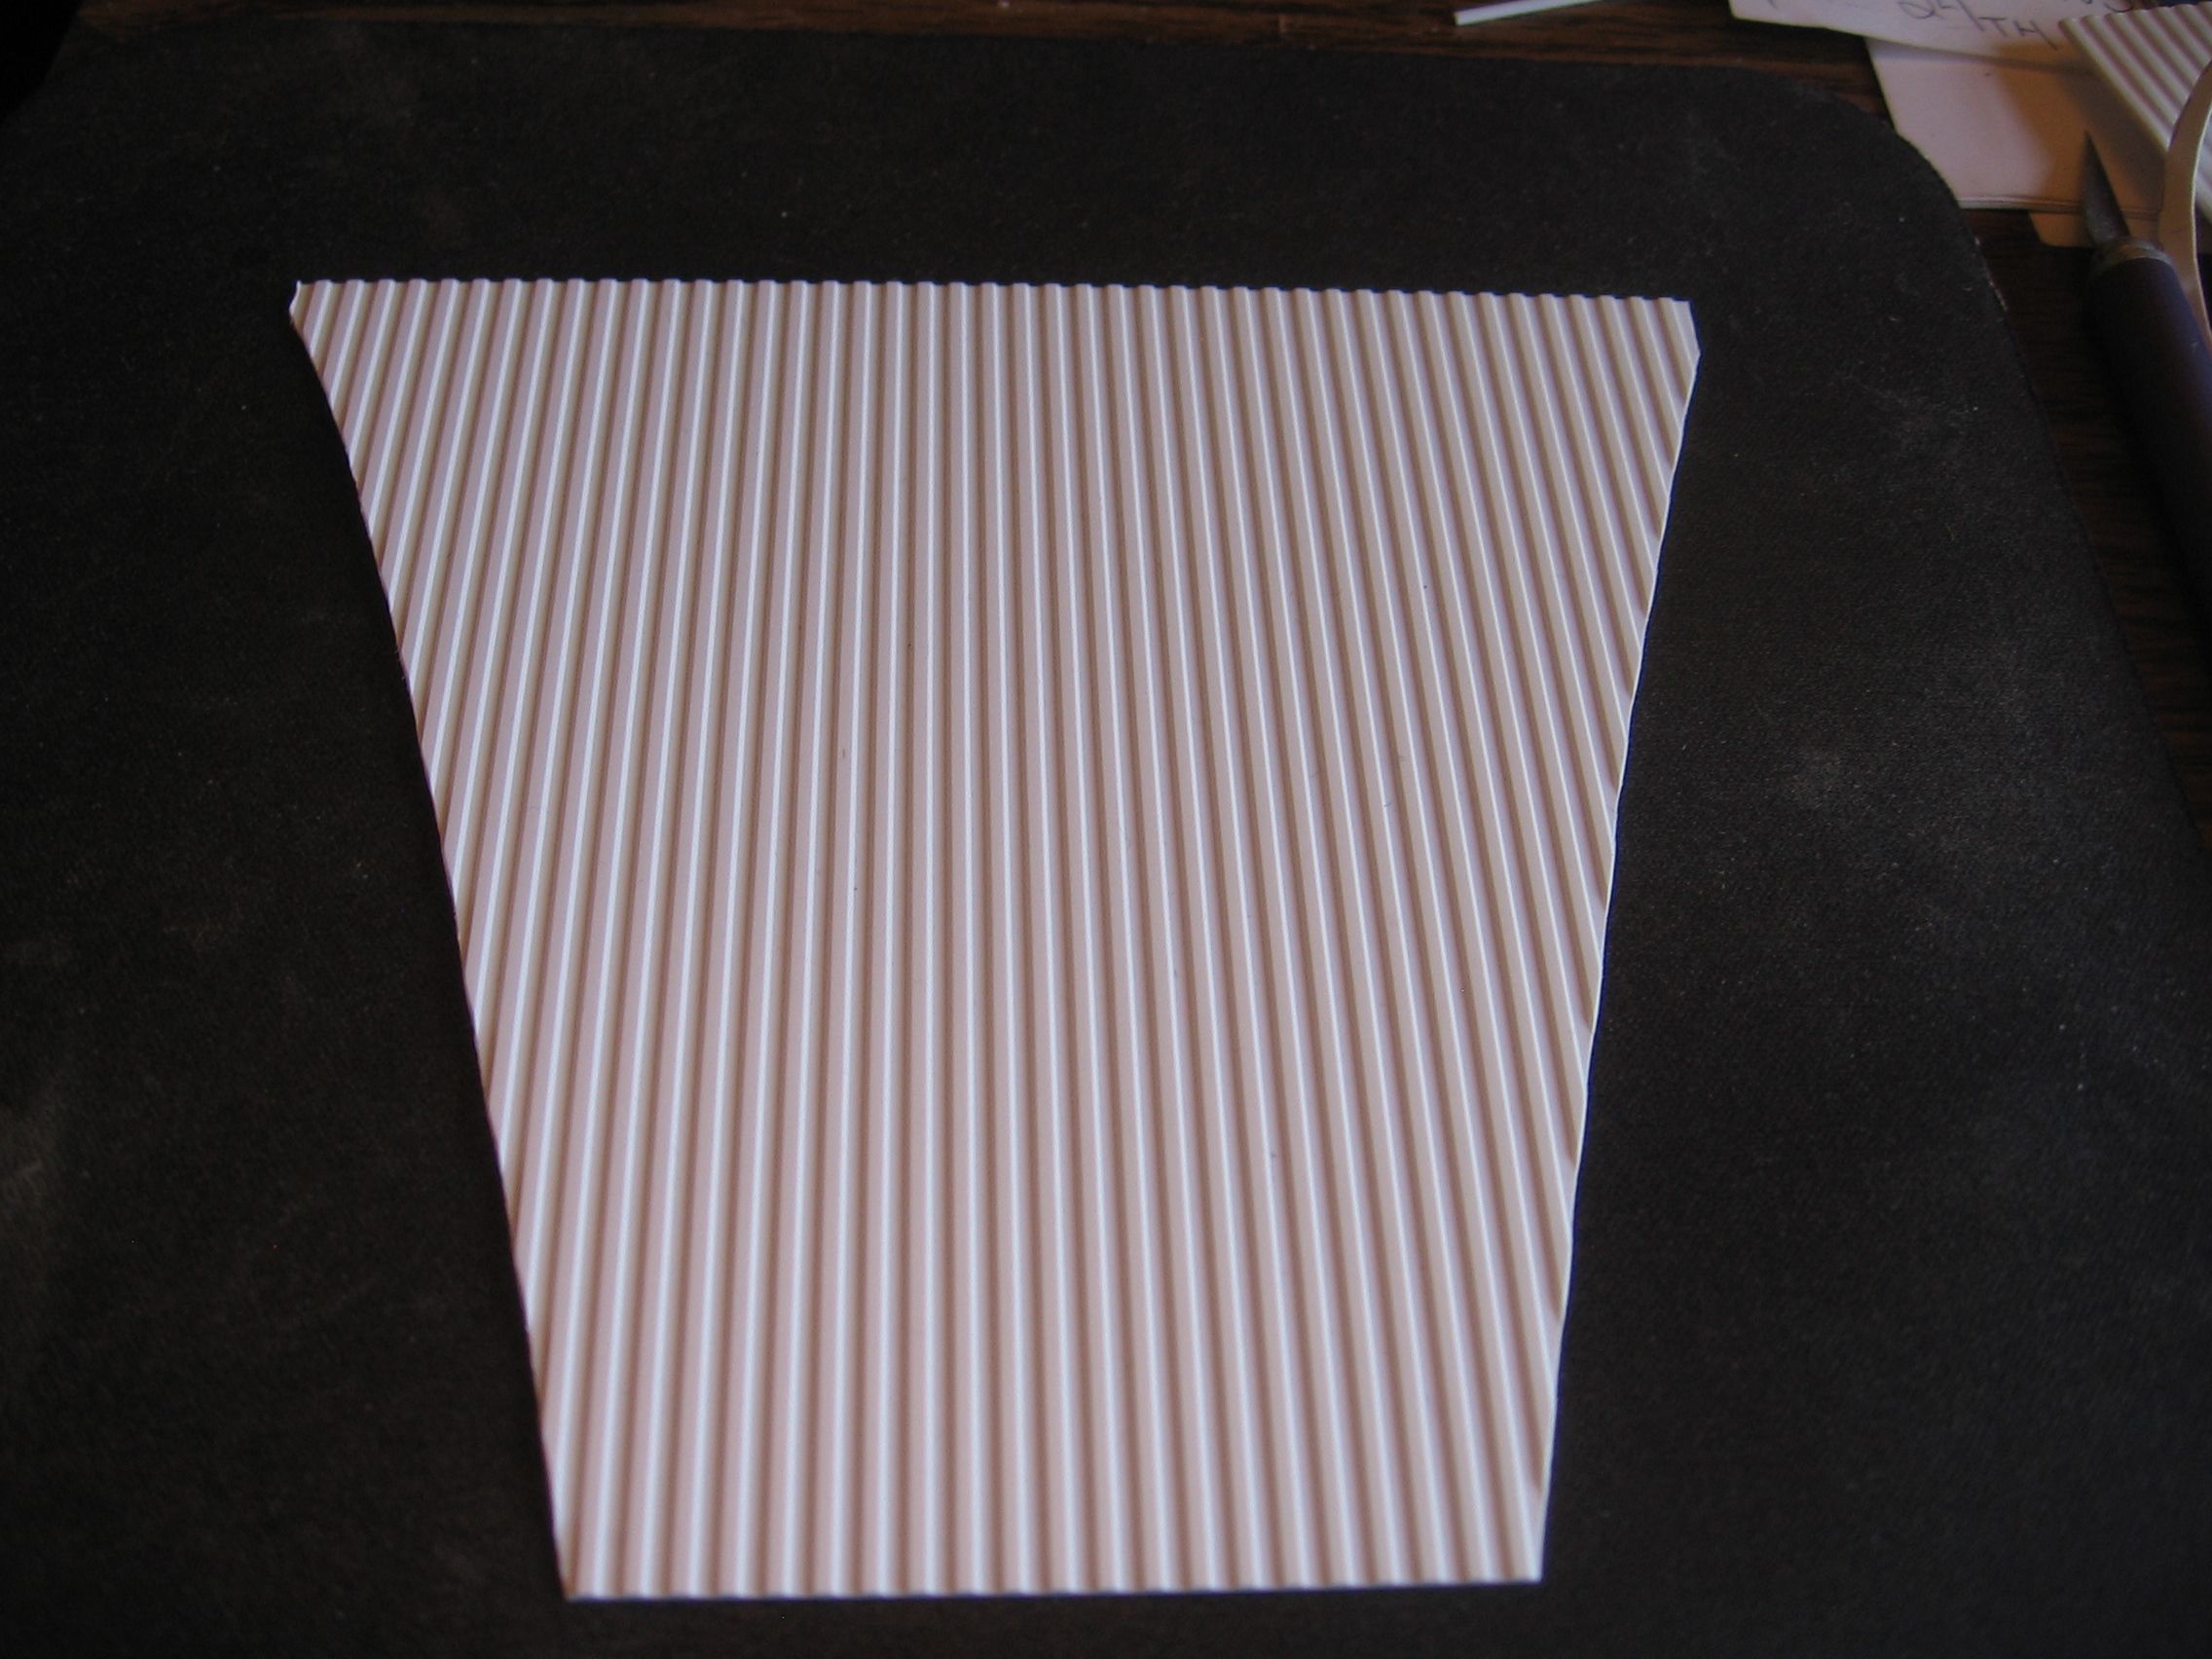
Using the supplied styrene pieces, I cut out what I needed.
IMG_0002 (6).JPG


IMG_0001 (13).JPG

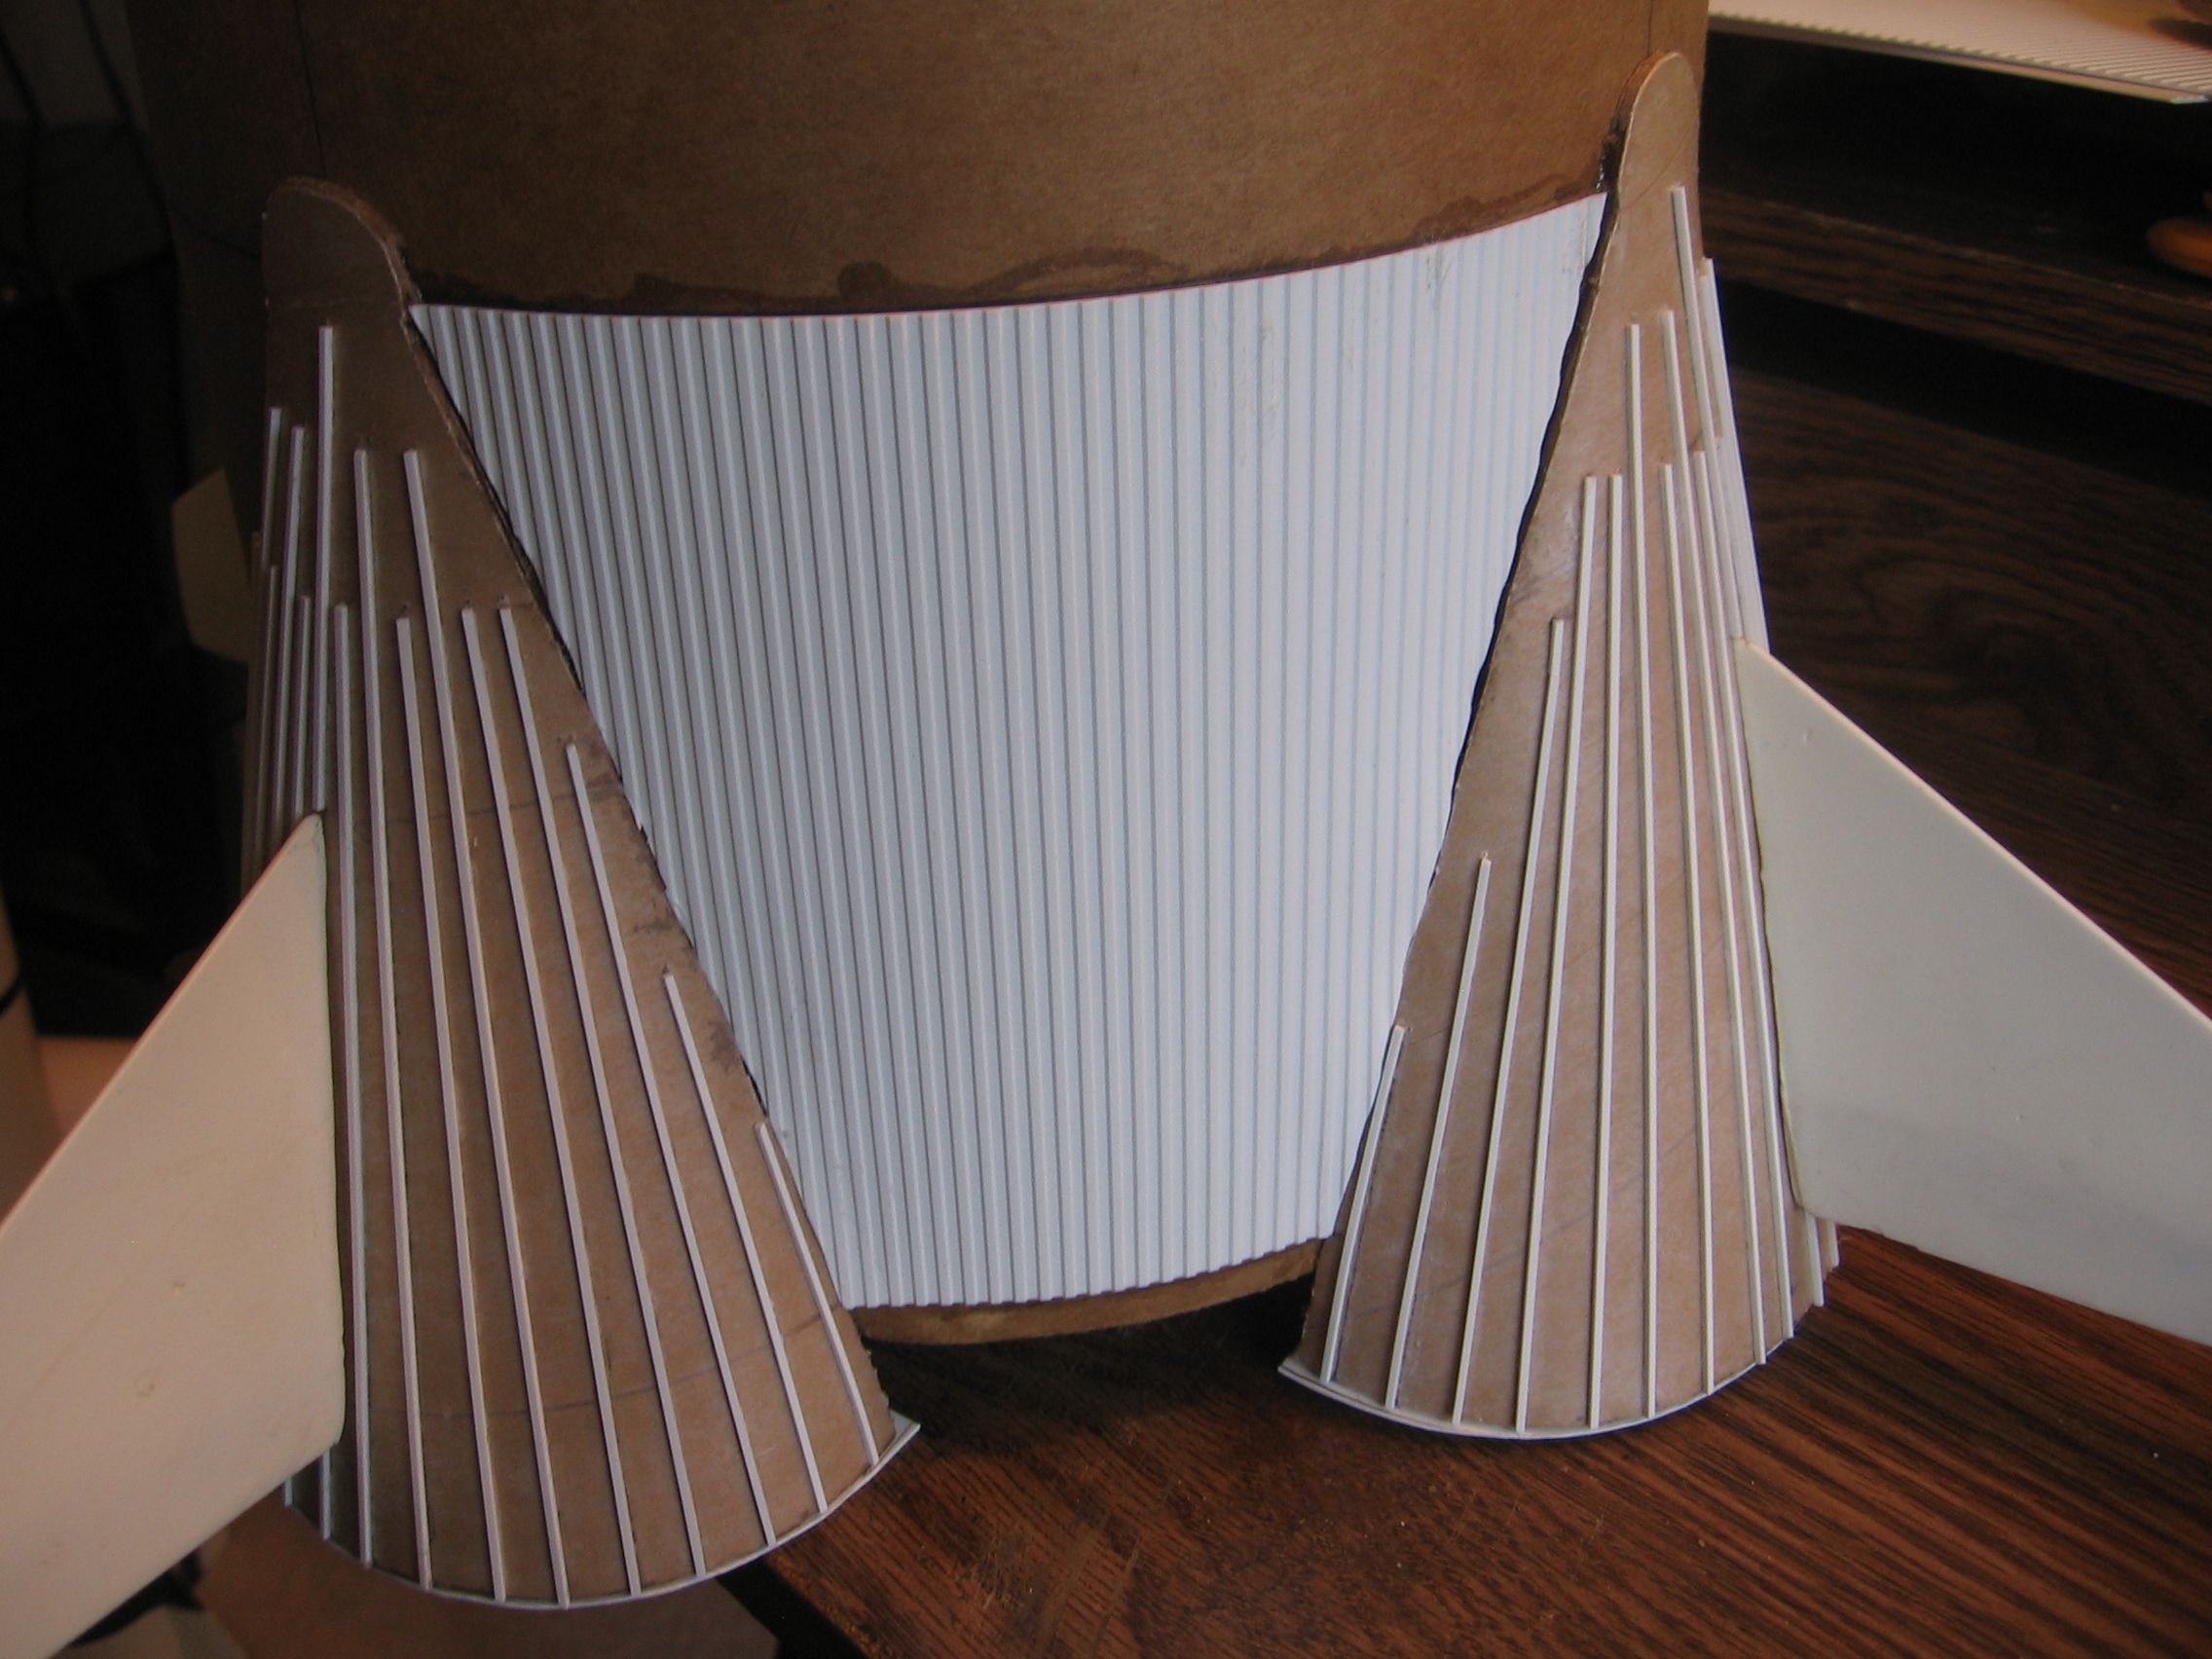
And glued them between the shrouds.
 
IMG_0001 (16).JPG

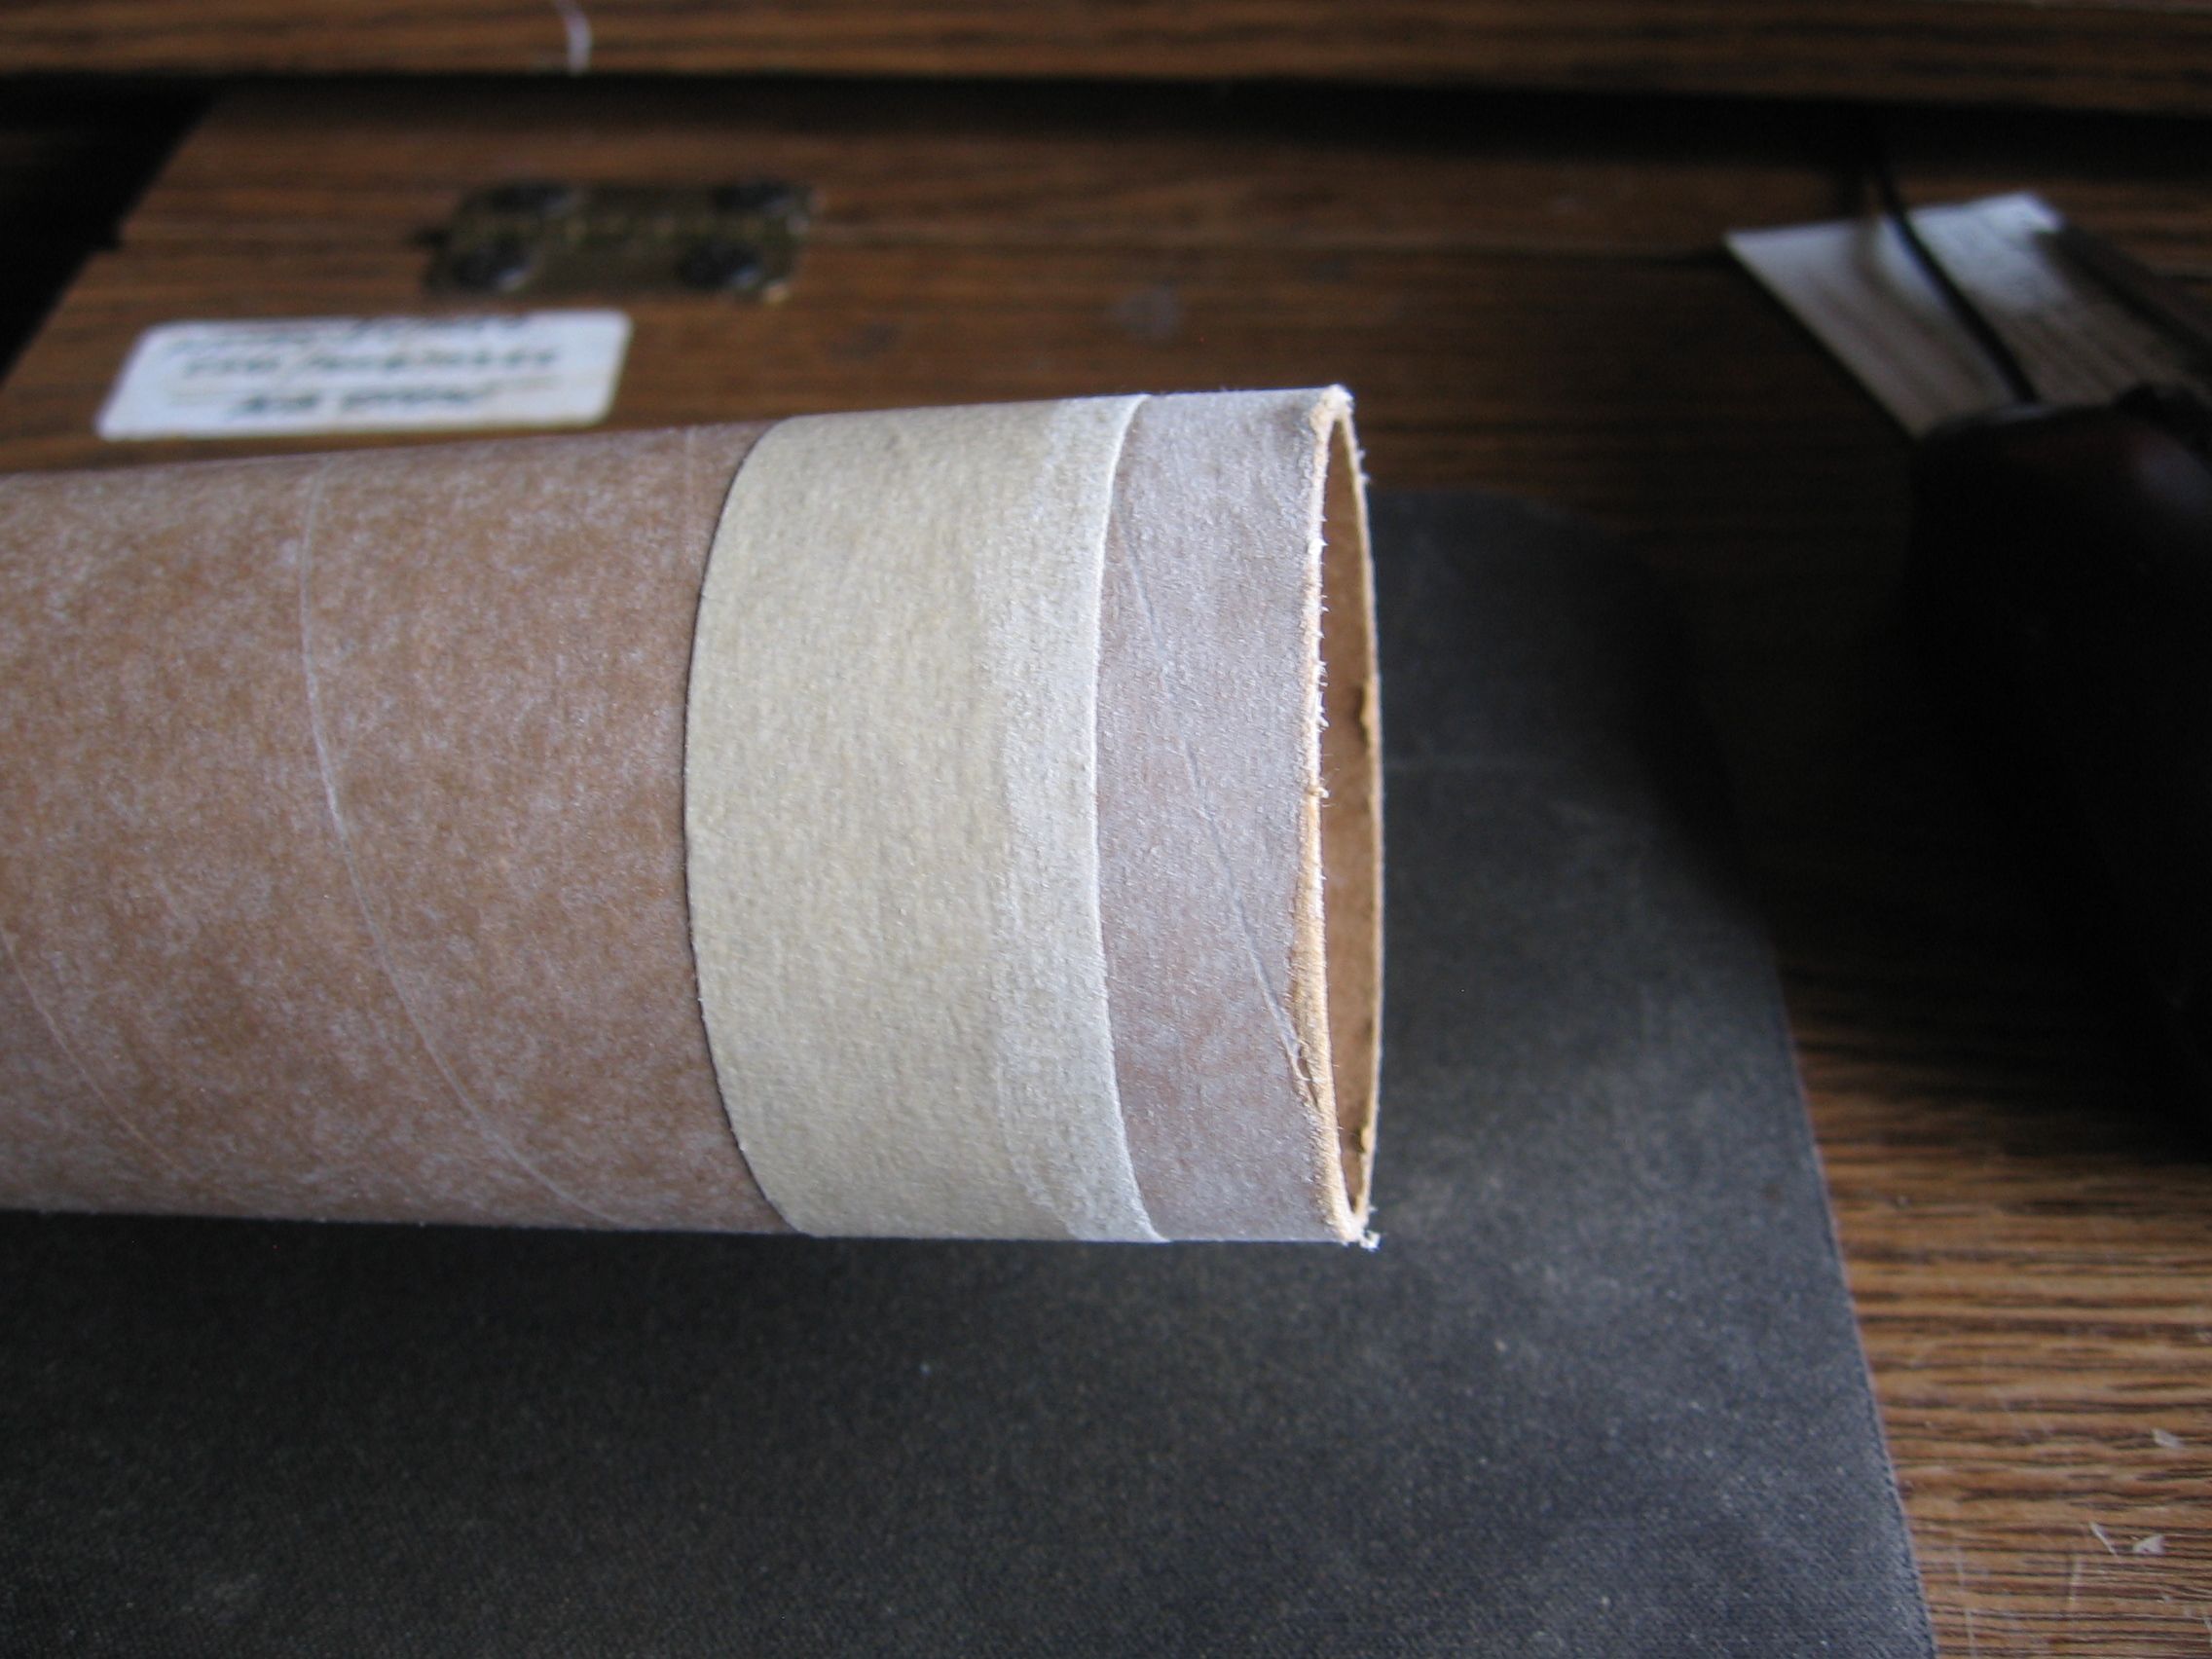
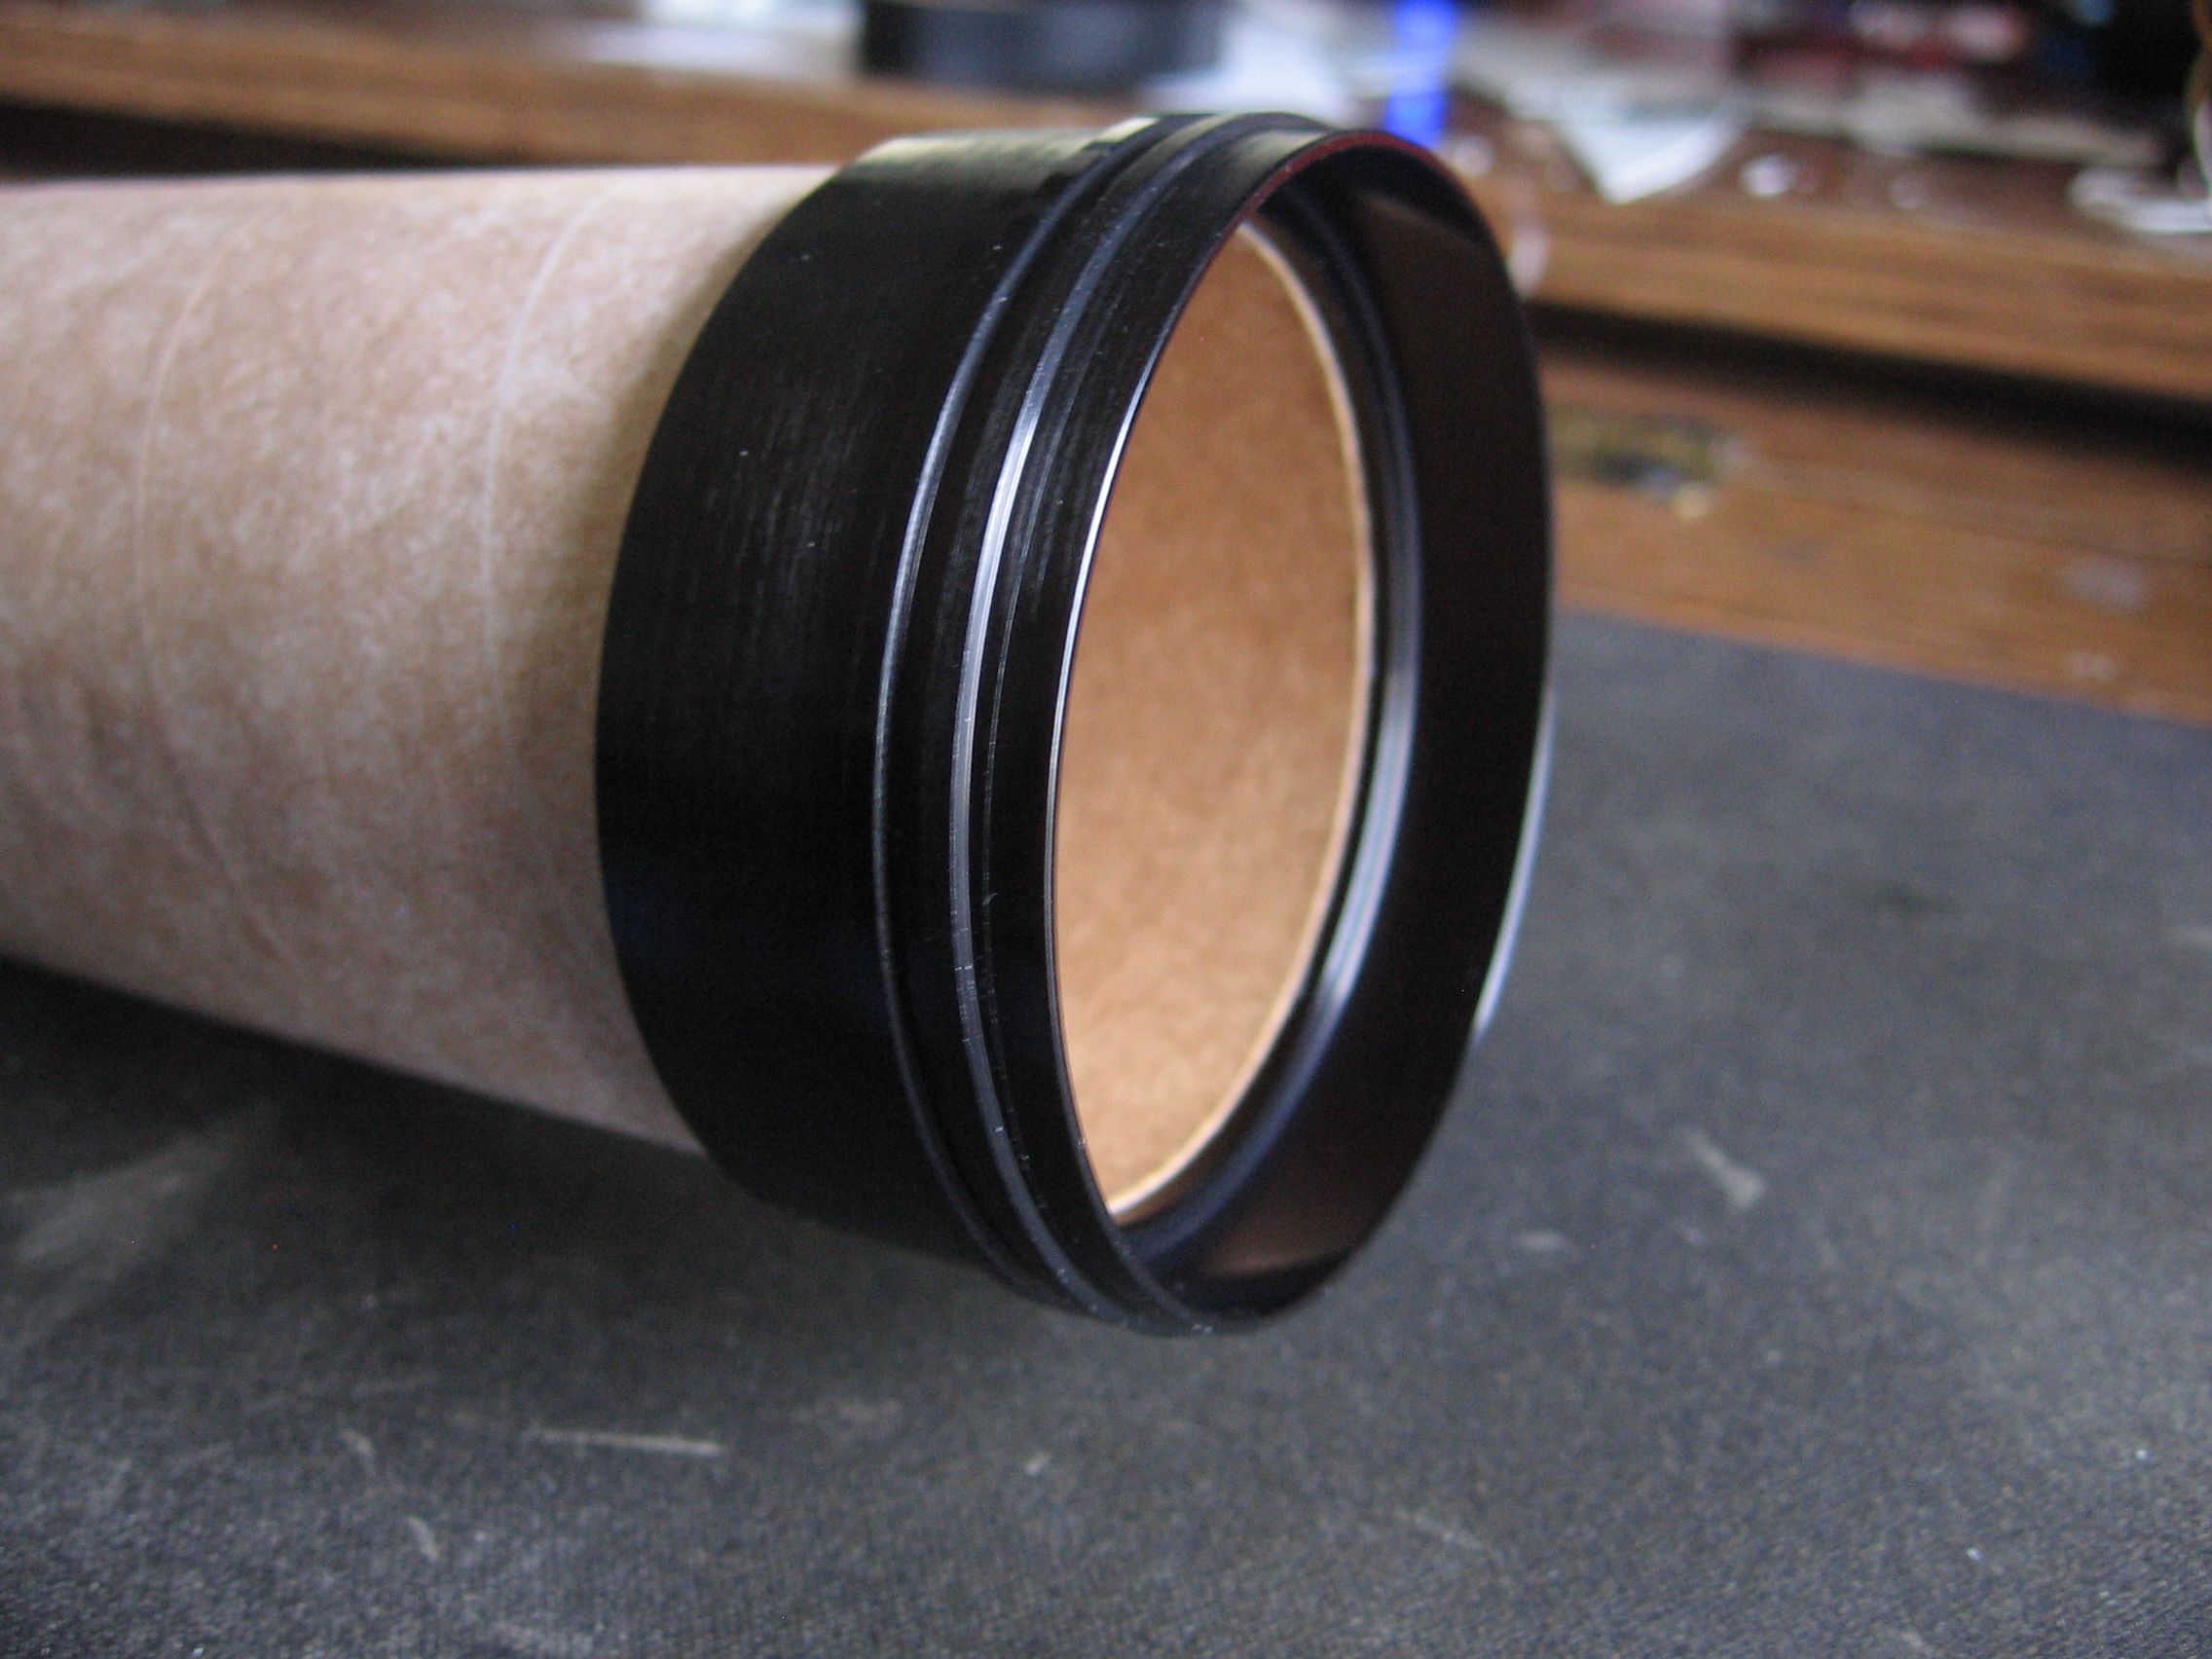
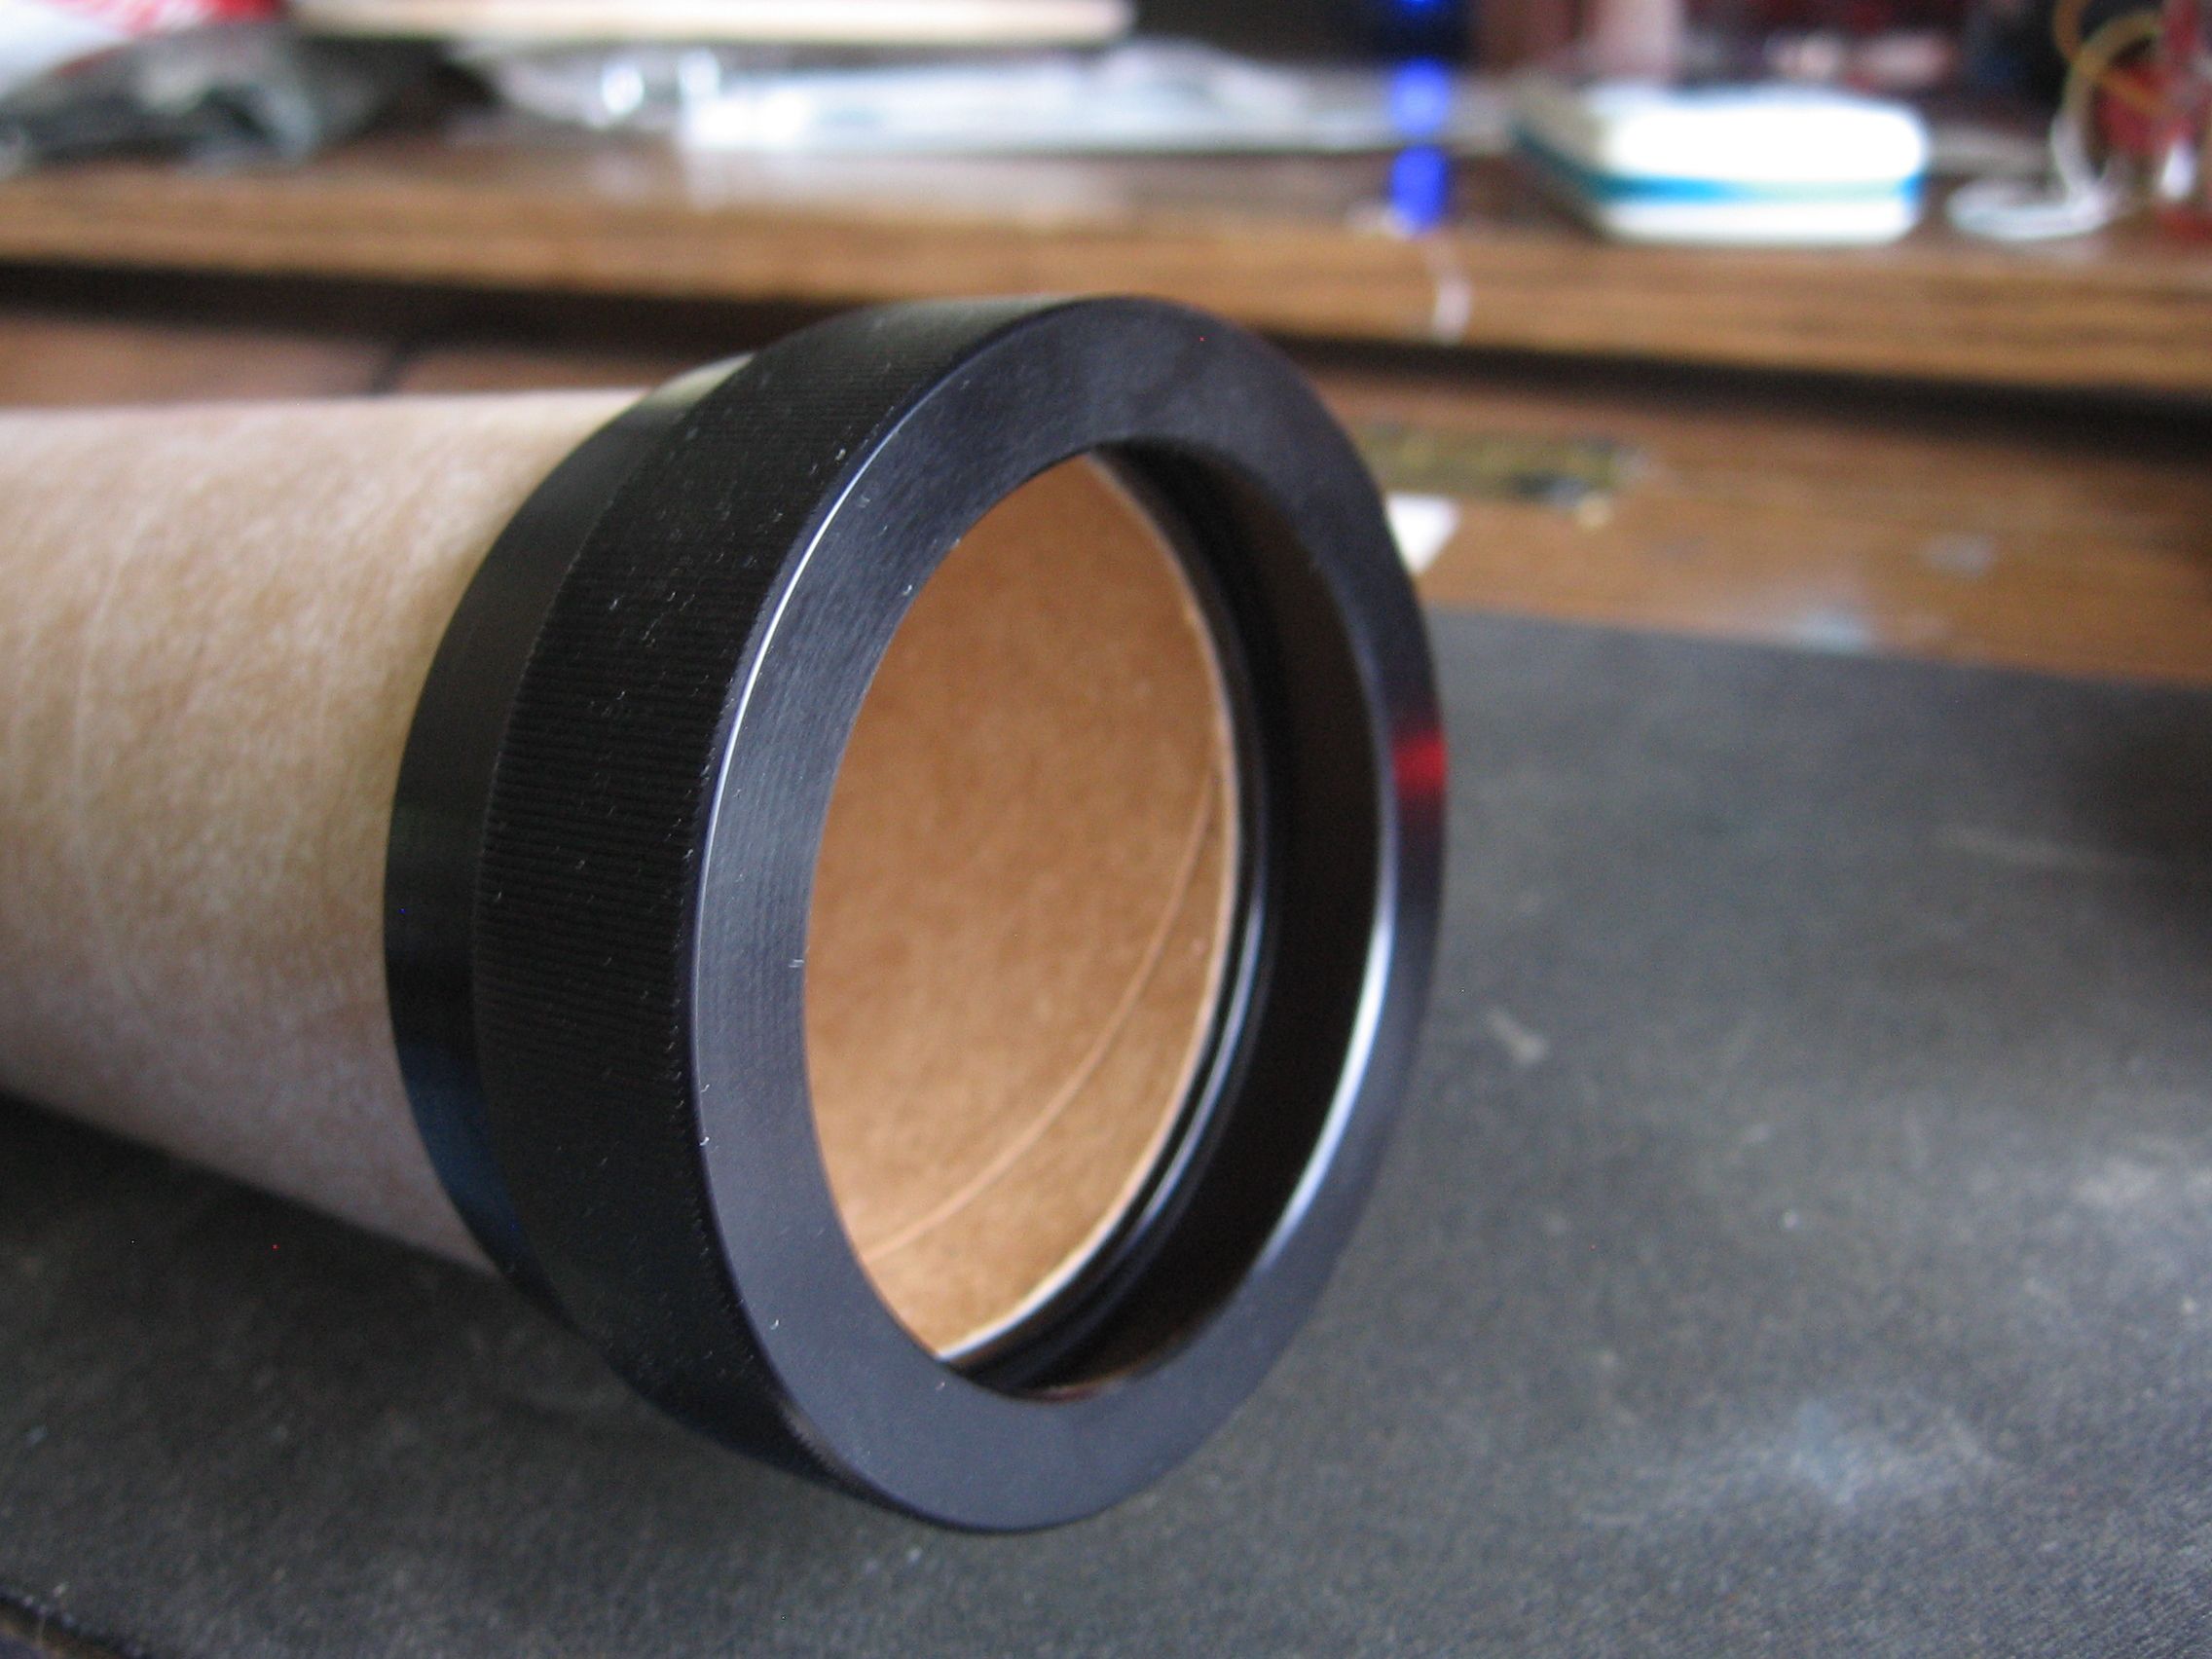
This is a two piece retainer. A screw on cap goes over this. You can see the lip inside which prevents the motor from shifting forward. The cap prevents shifting the other way. Positive retention.
 
o.jpg

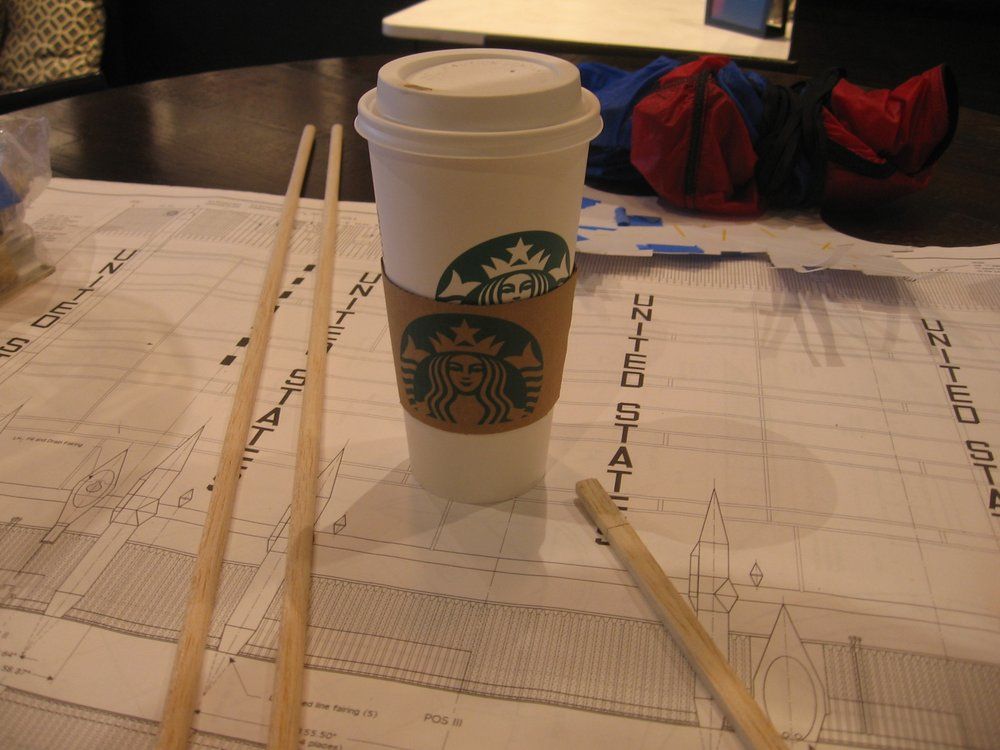
Prior to the covid breakout, I have been building much of this inside a Starbucks shop. I have the largest table to work on. Everyone calls it 'my' table.
 
IMG_0002 (15).JPG

An early morning shot with my Zed in front. When weather permits, I carry the full stack. With the top up, I break this down into the two separate sections. It all fits in the passenger side.
 
IMG_0001 (38).JPG

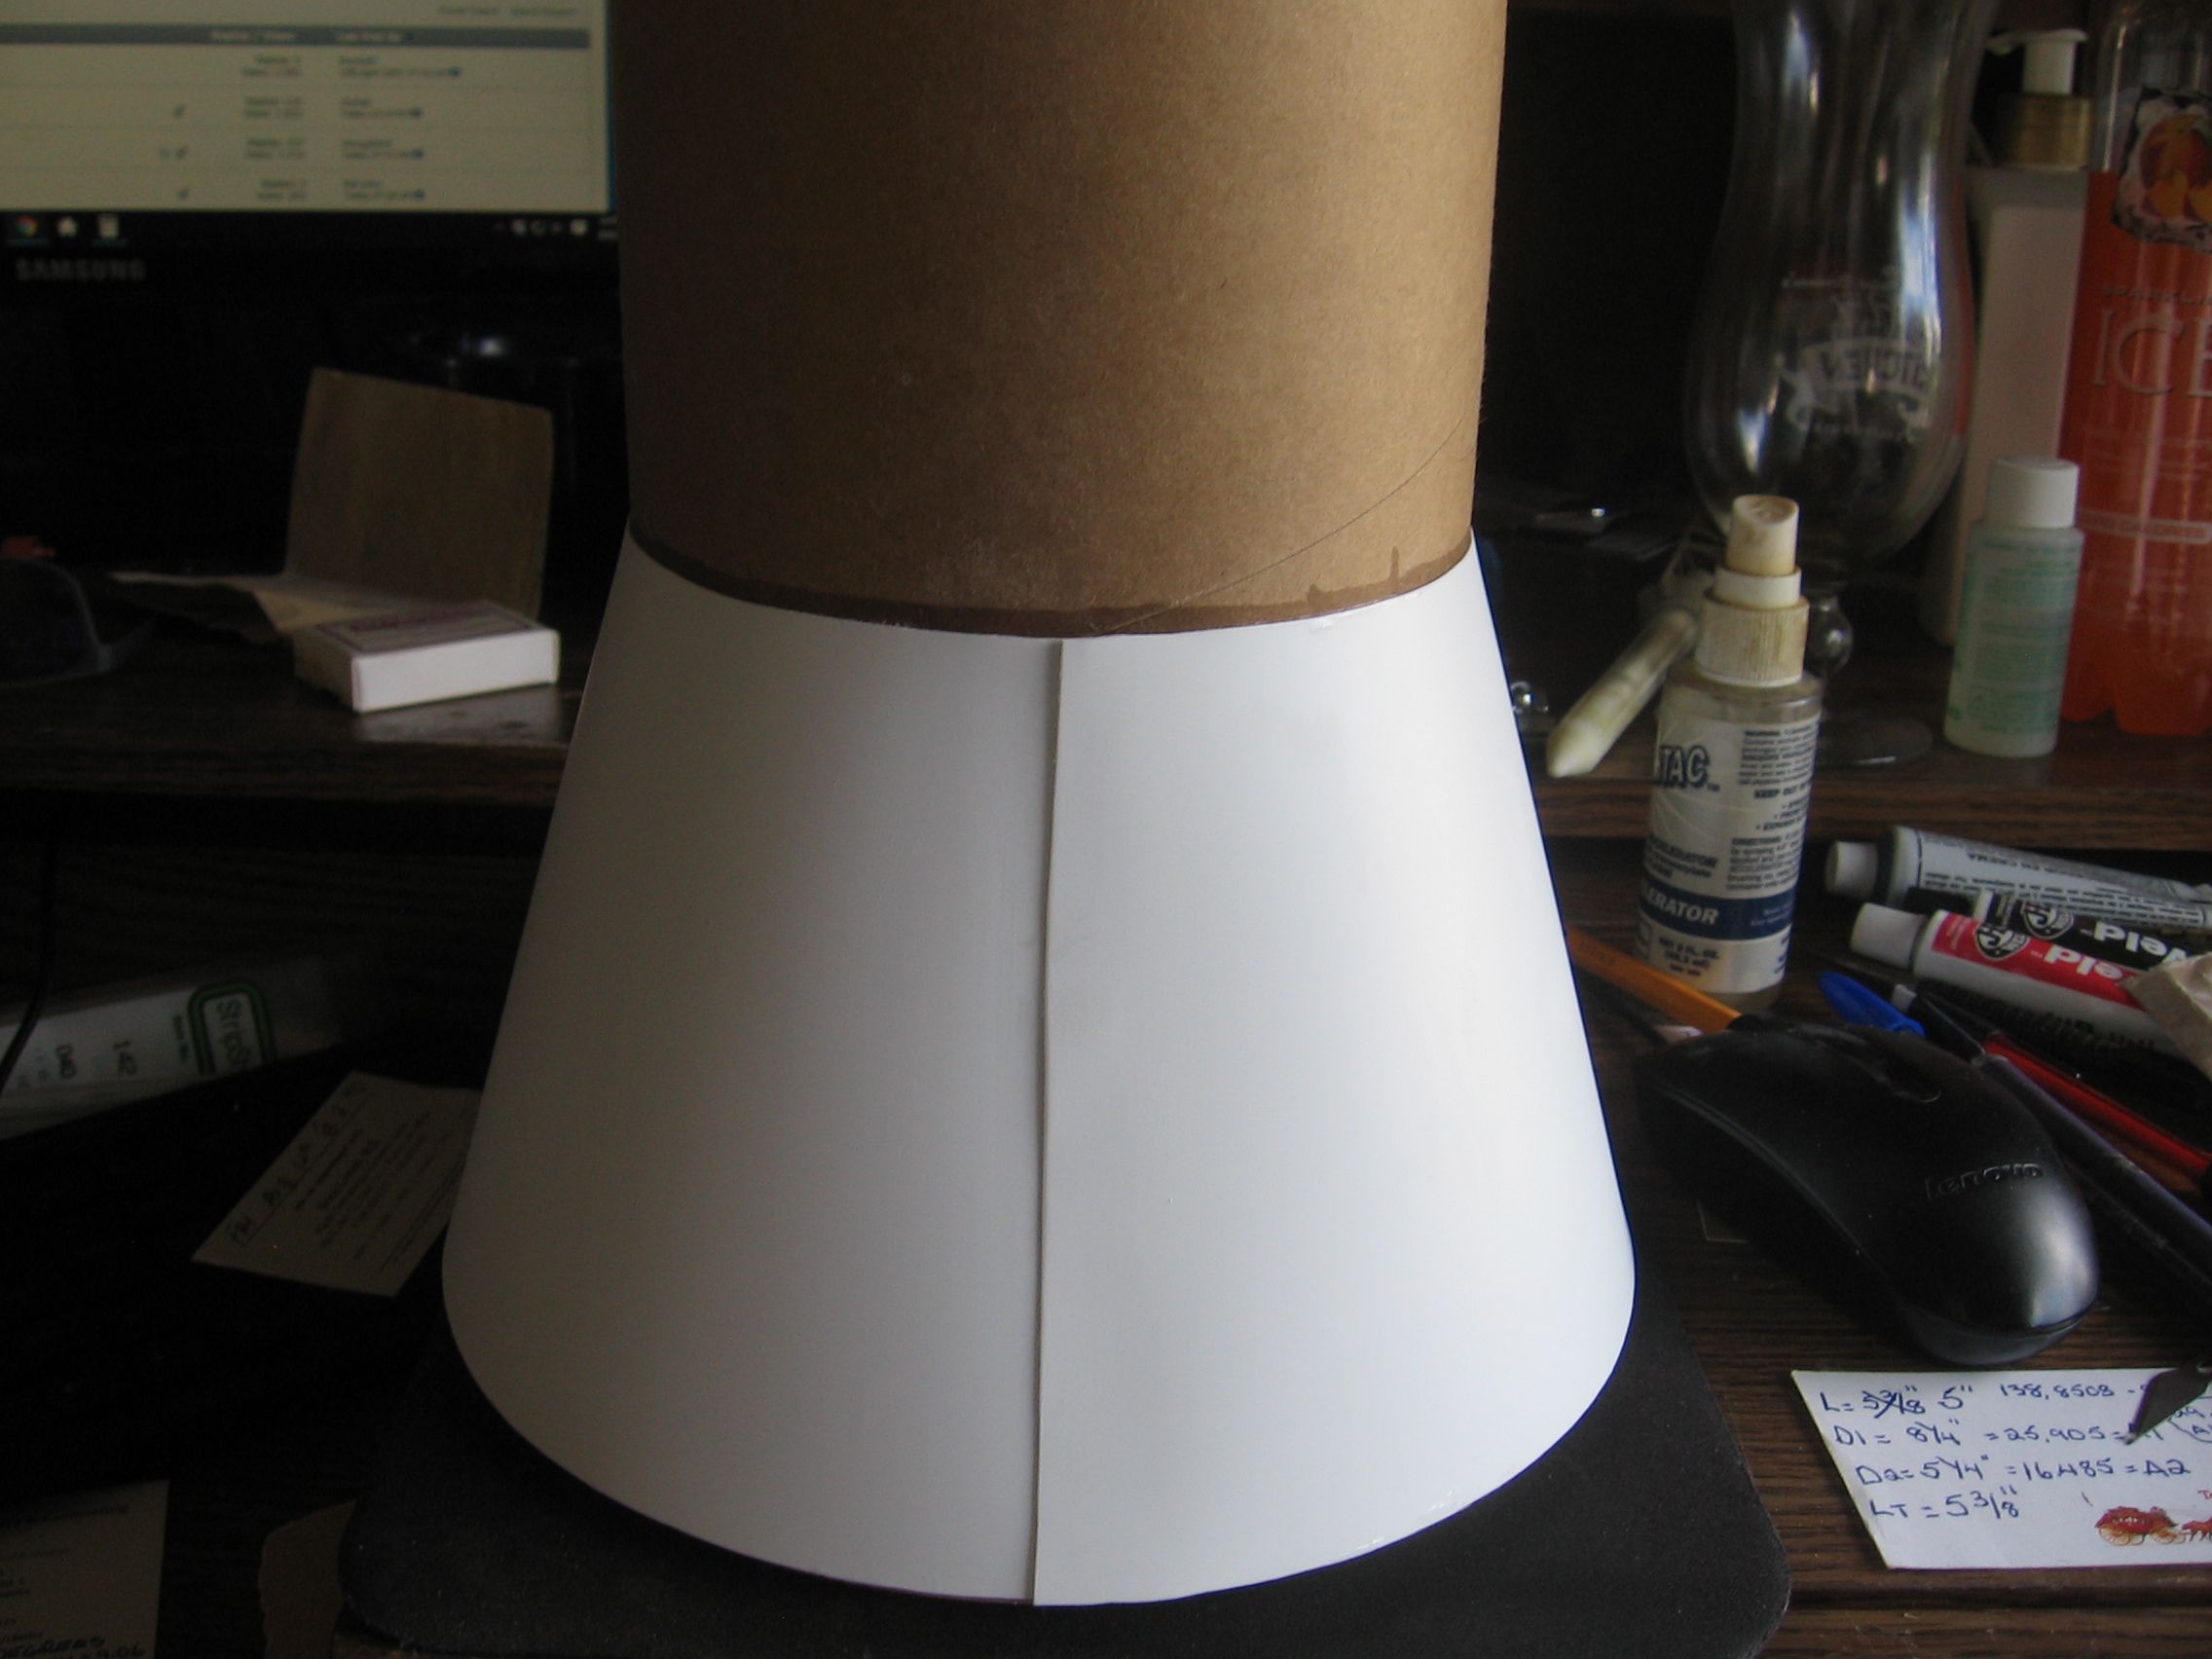
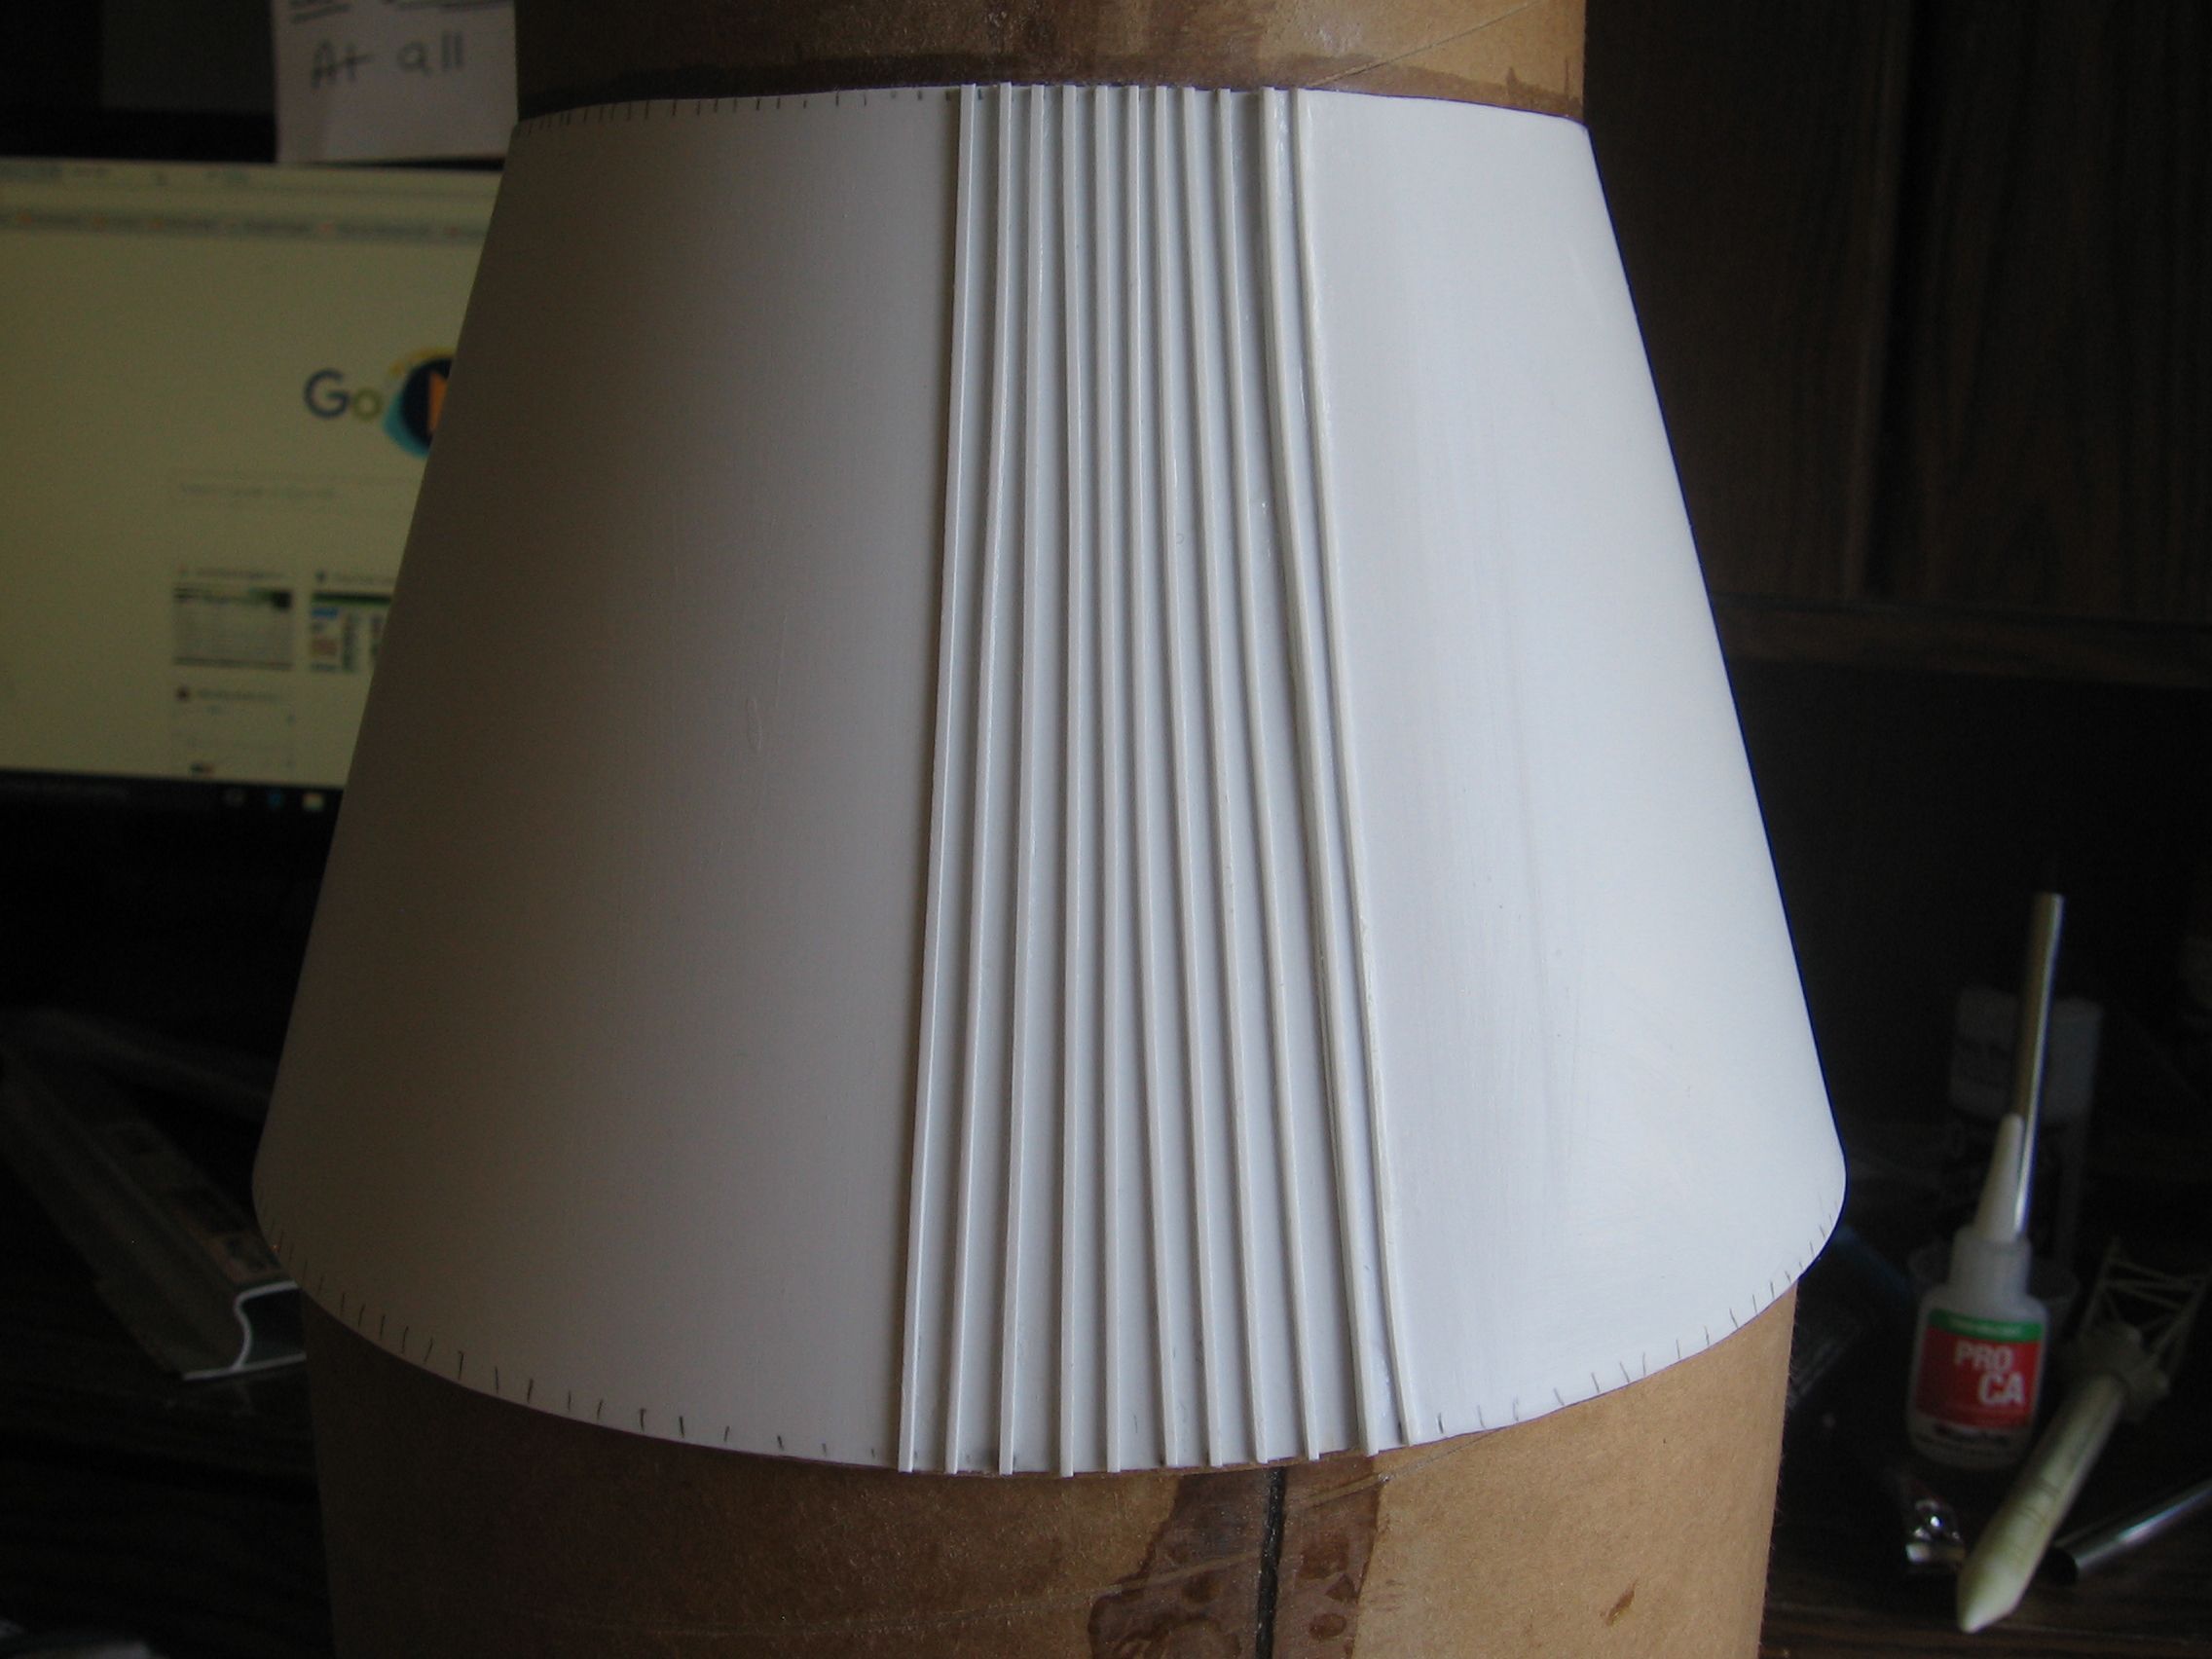
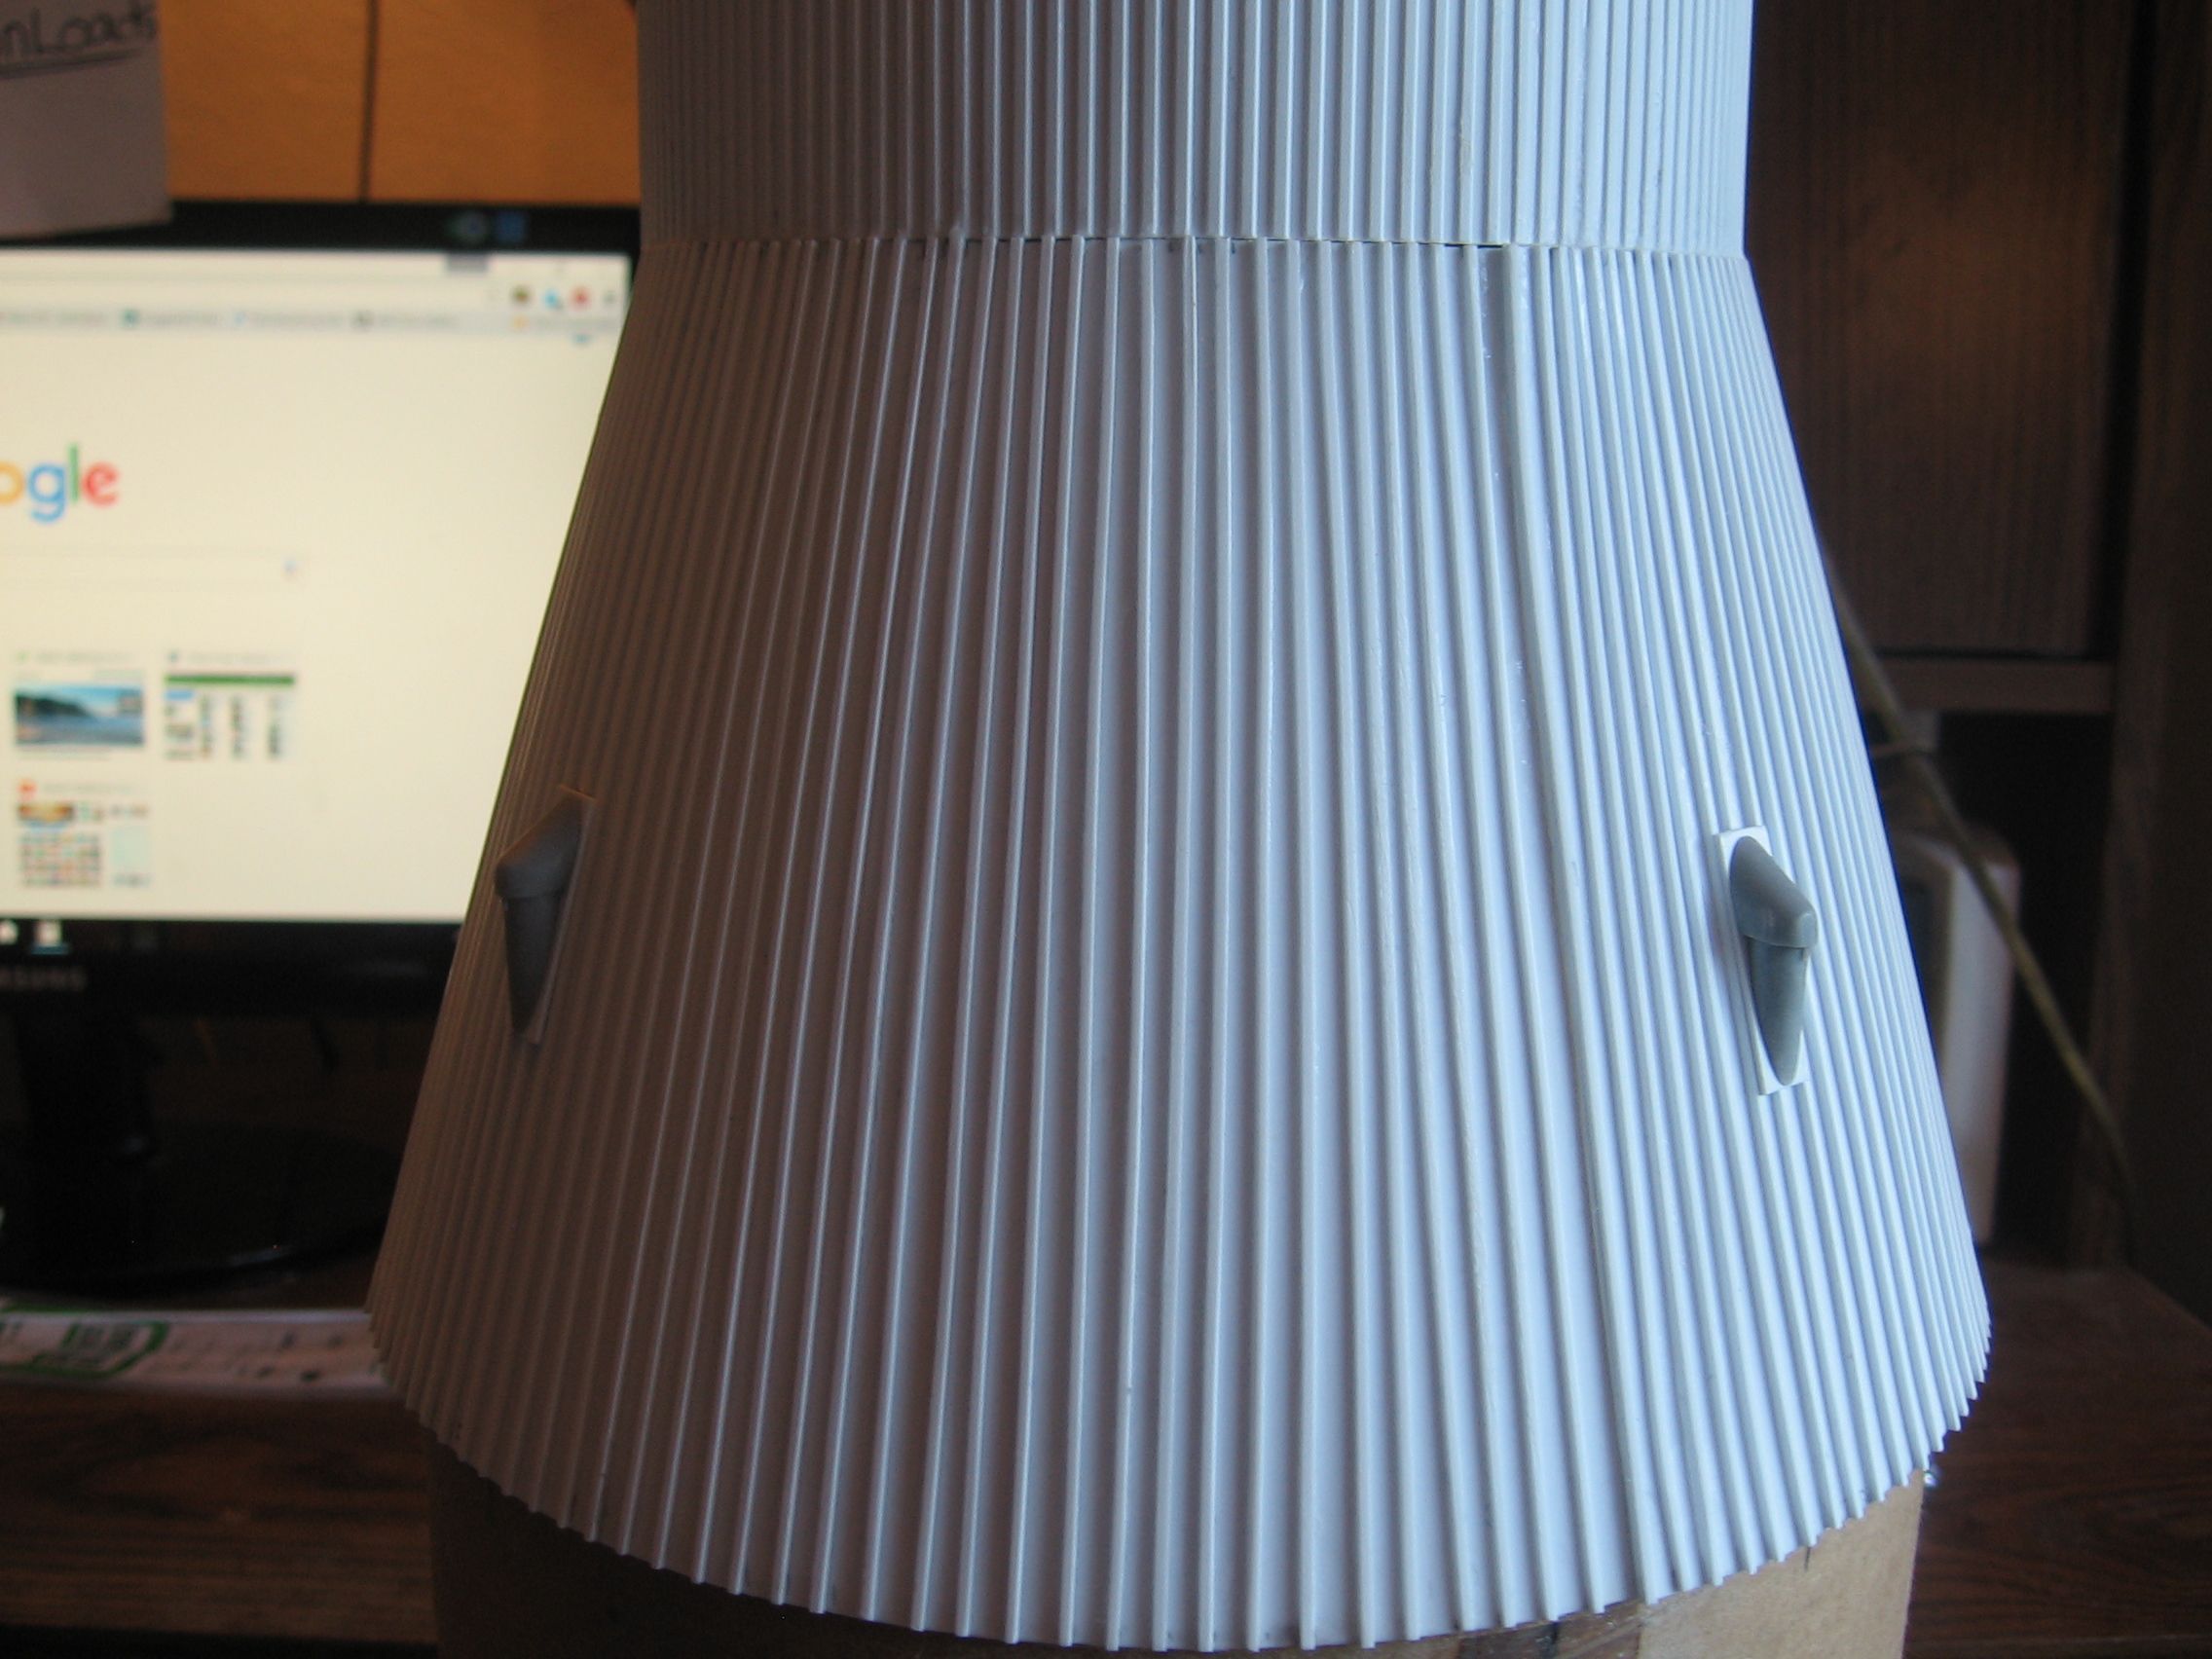
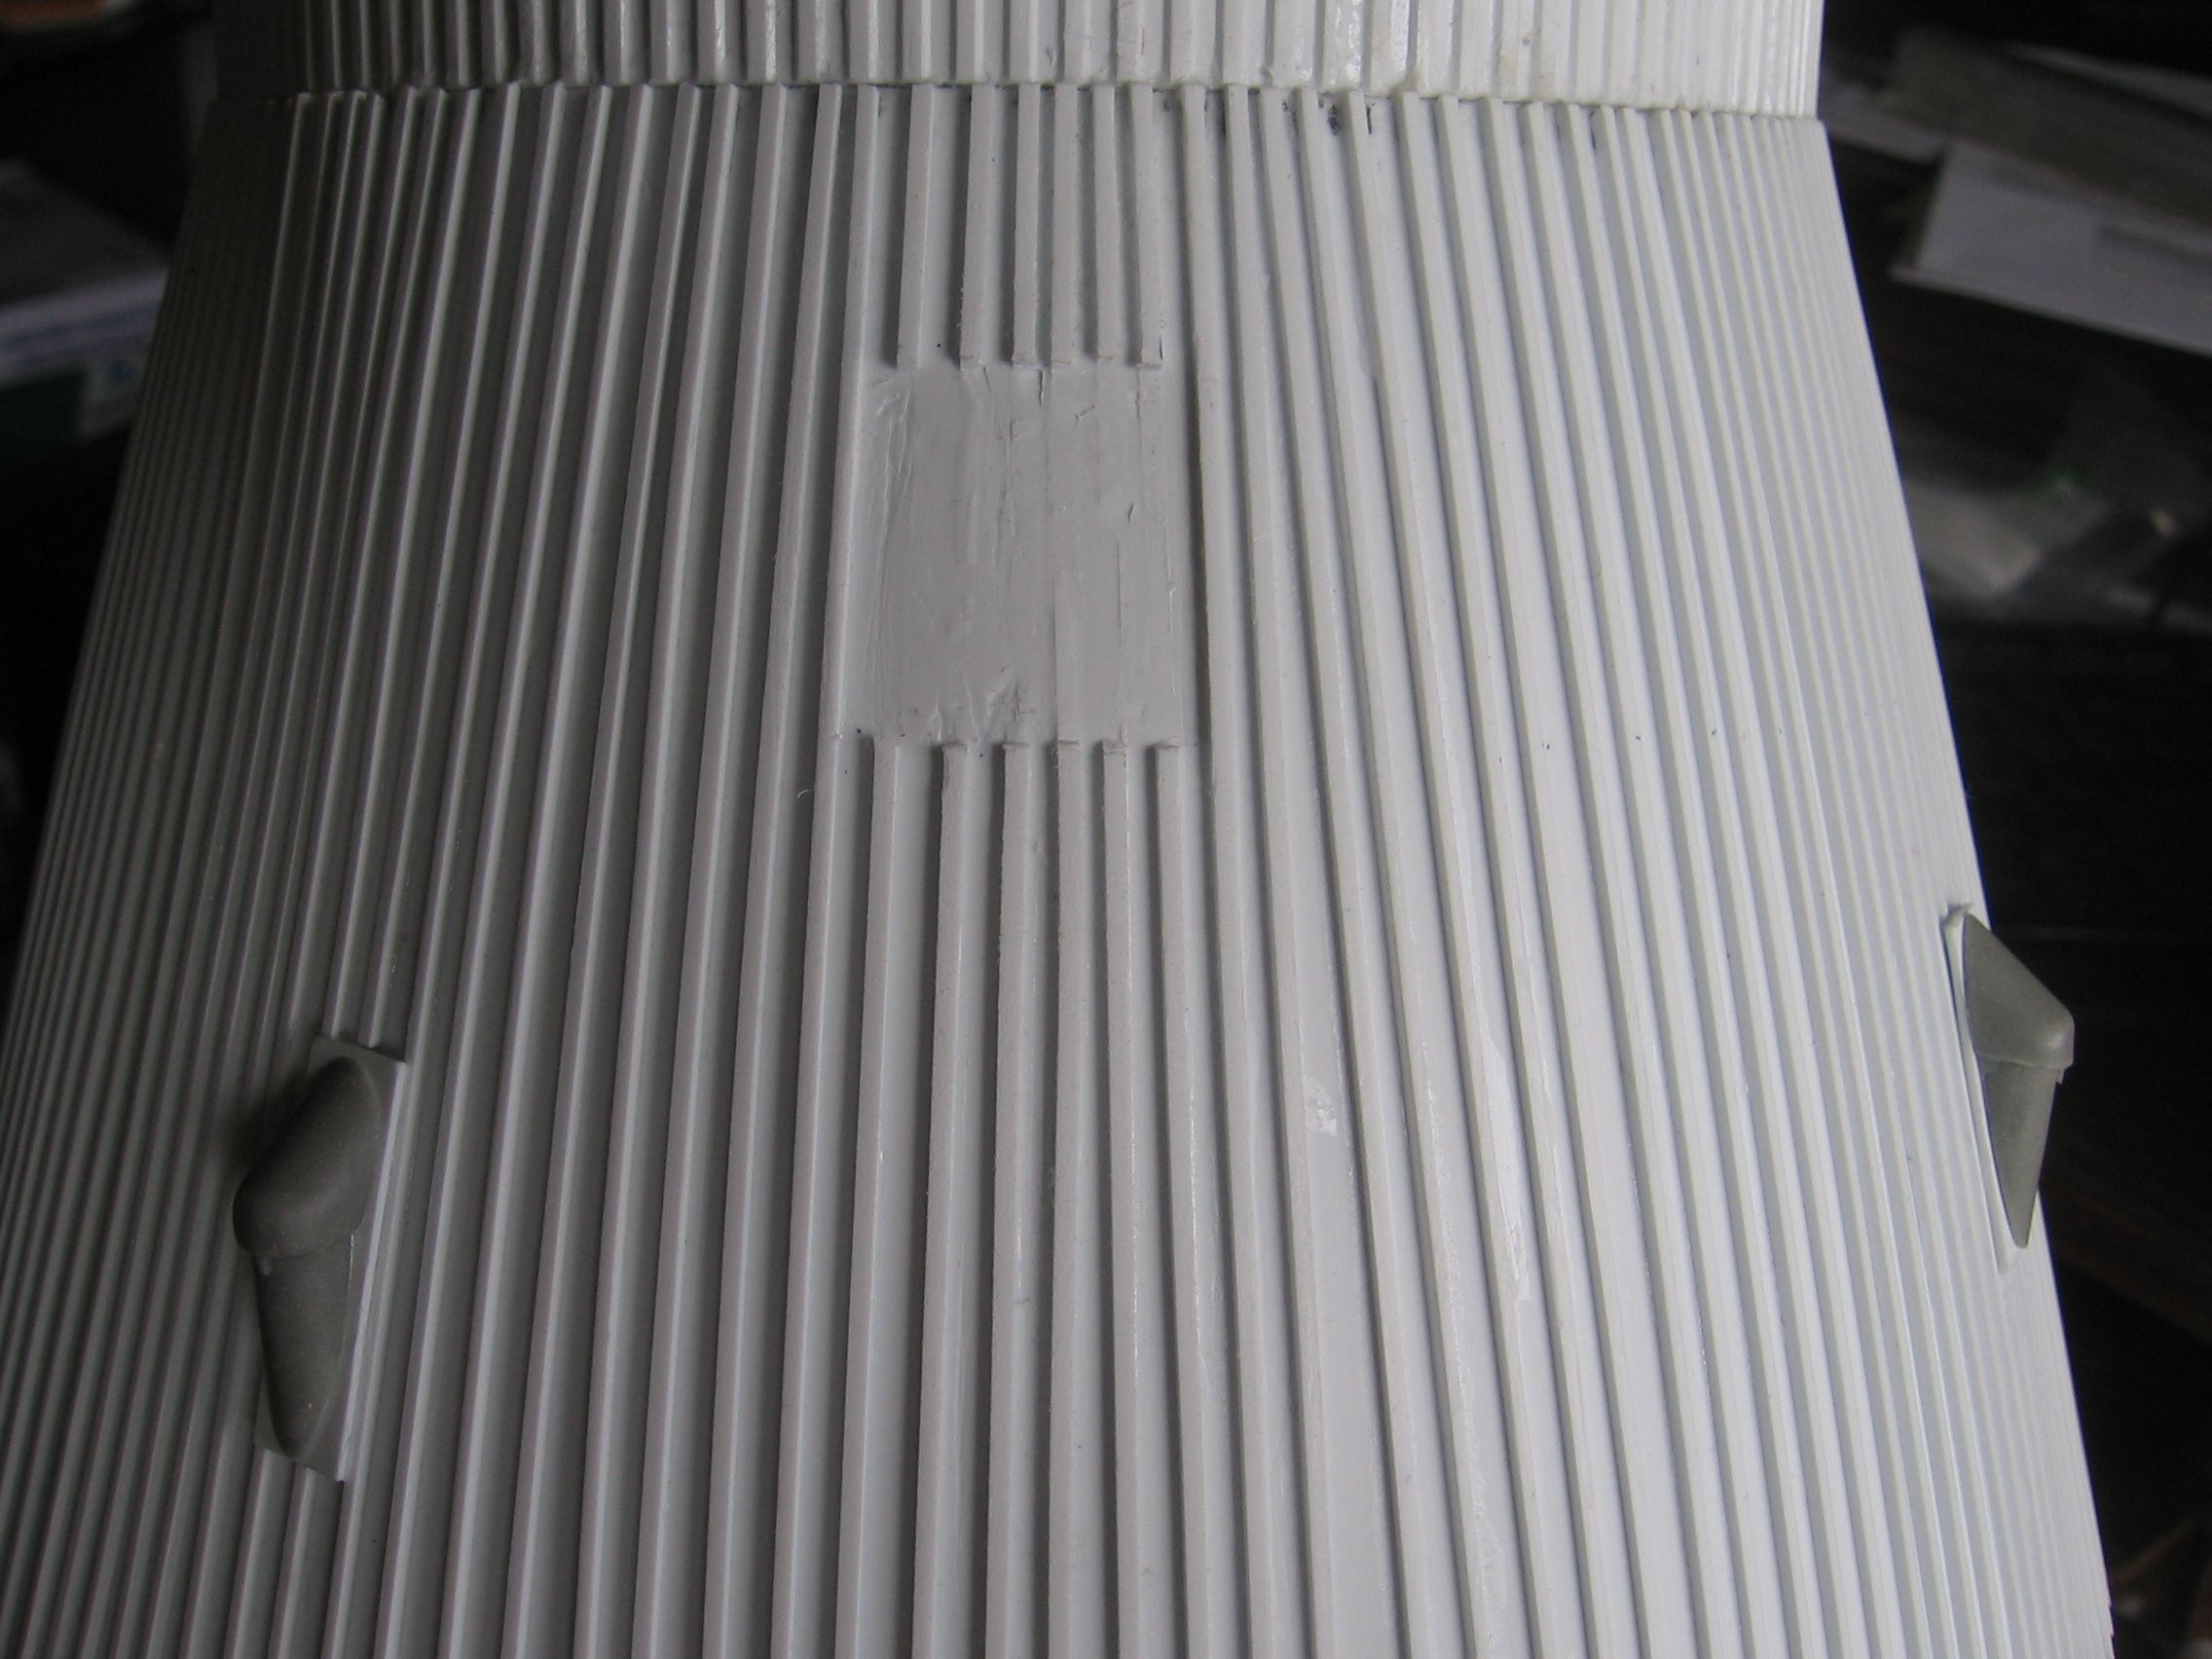
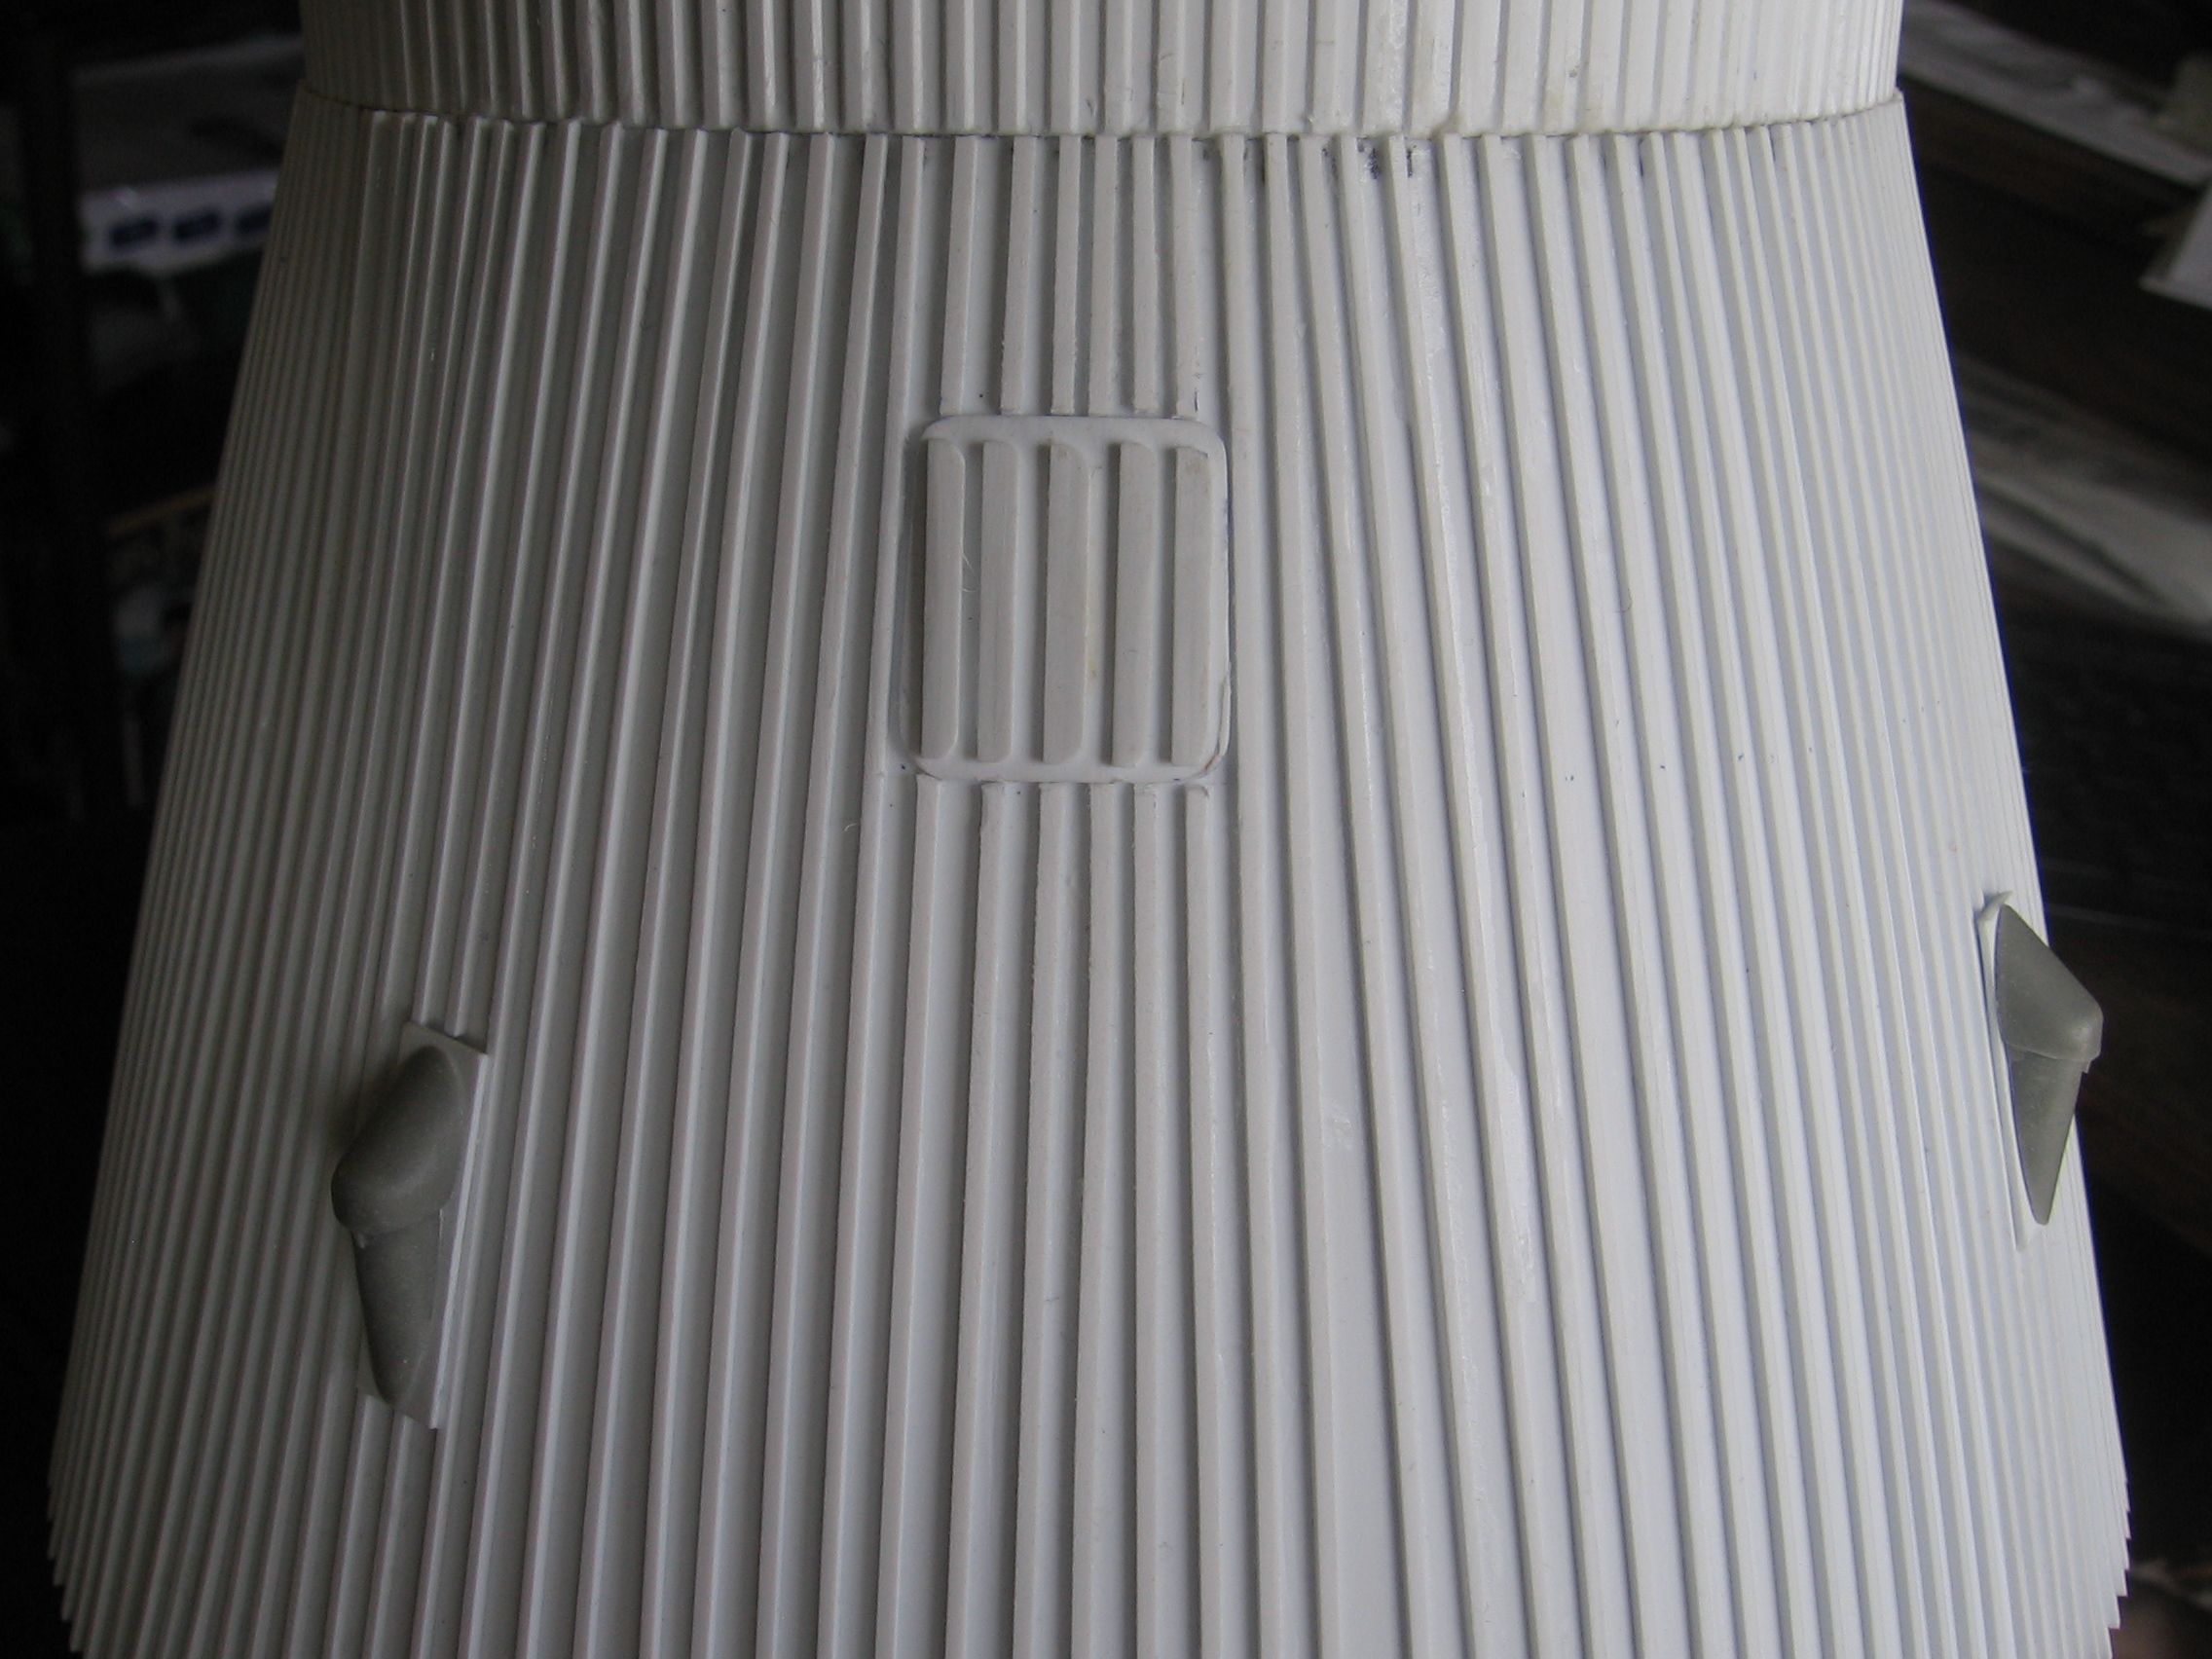
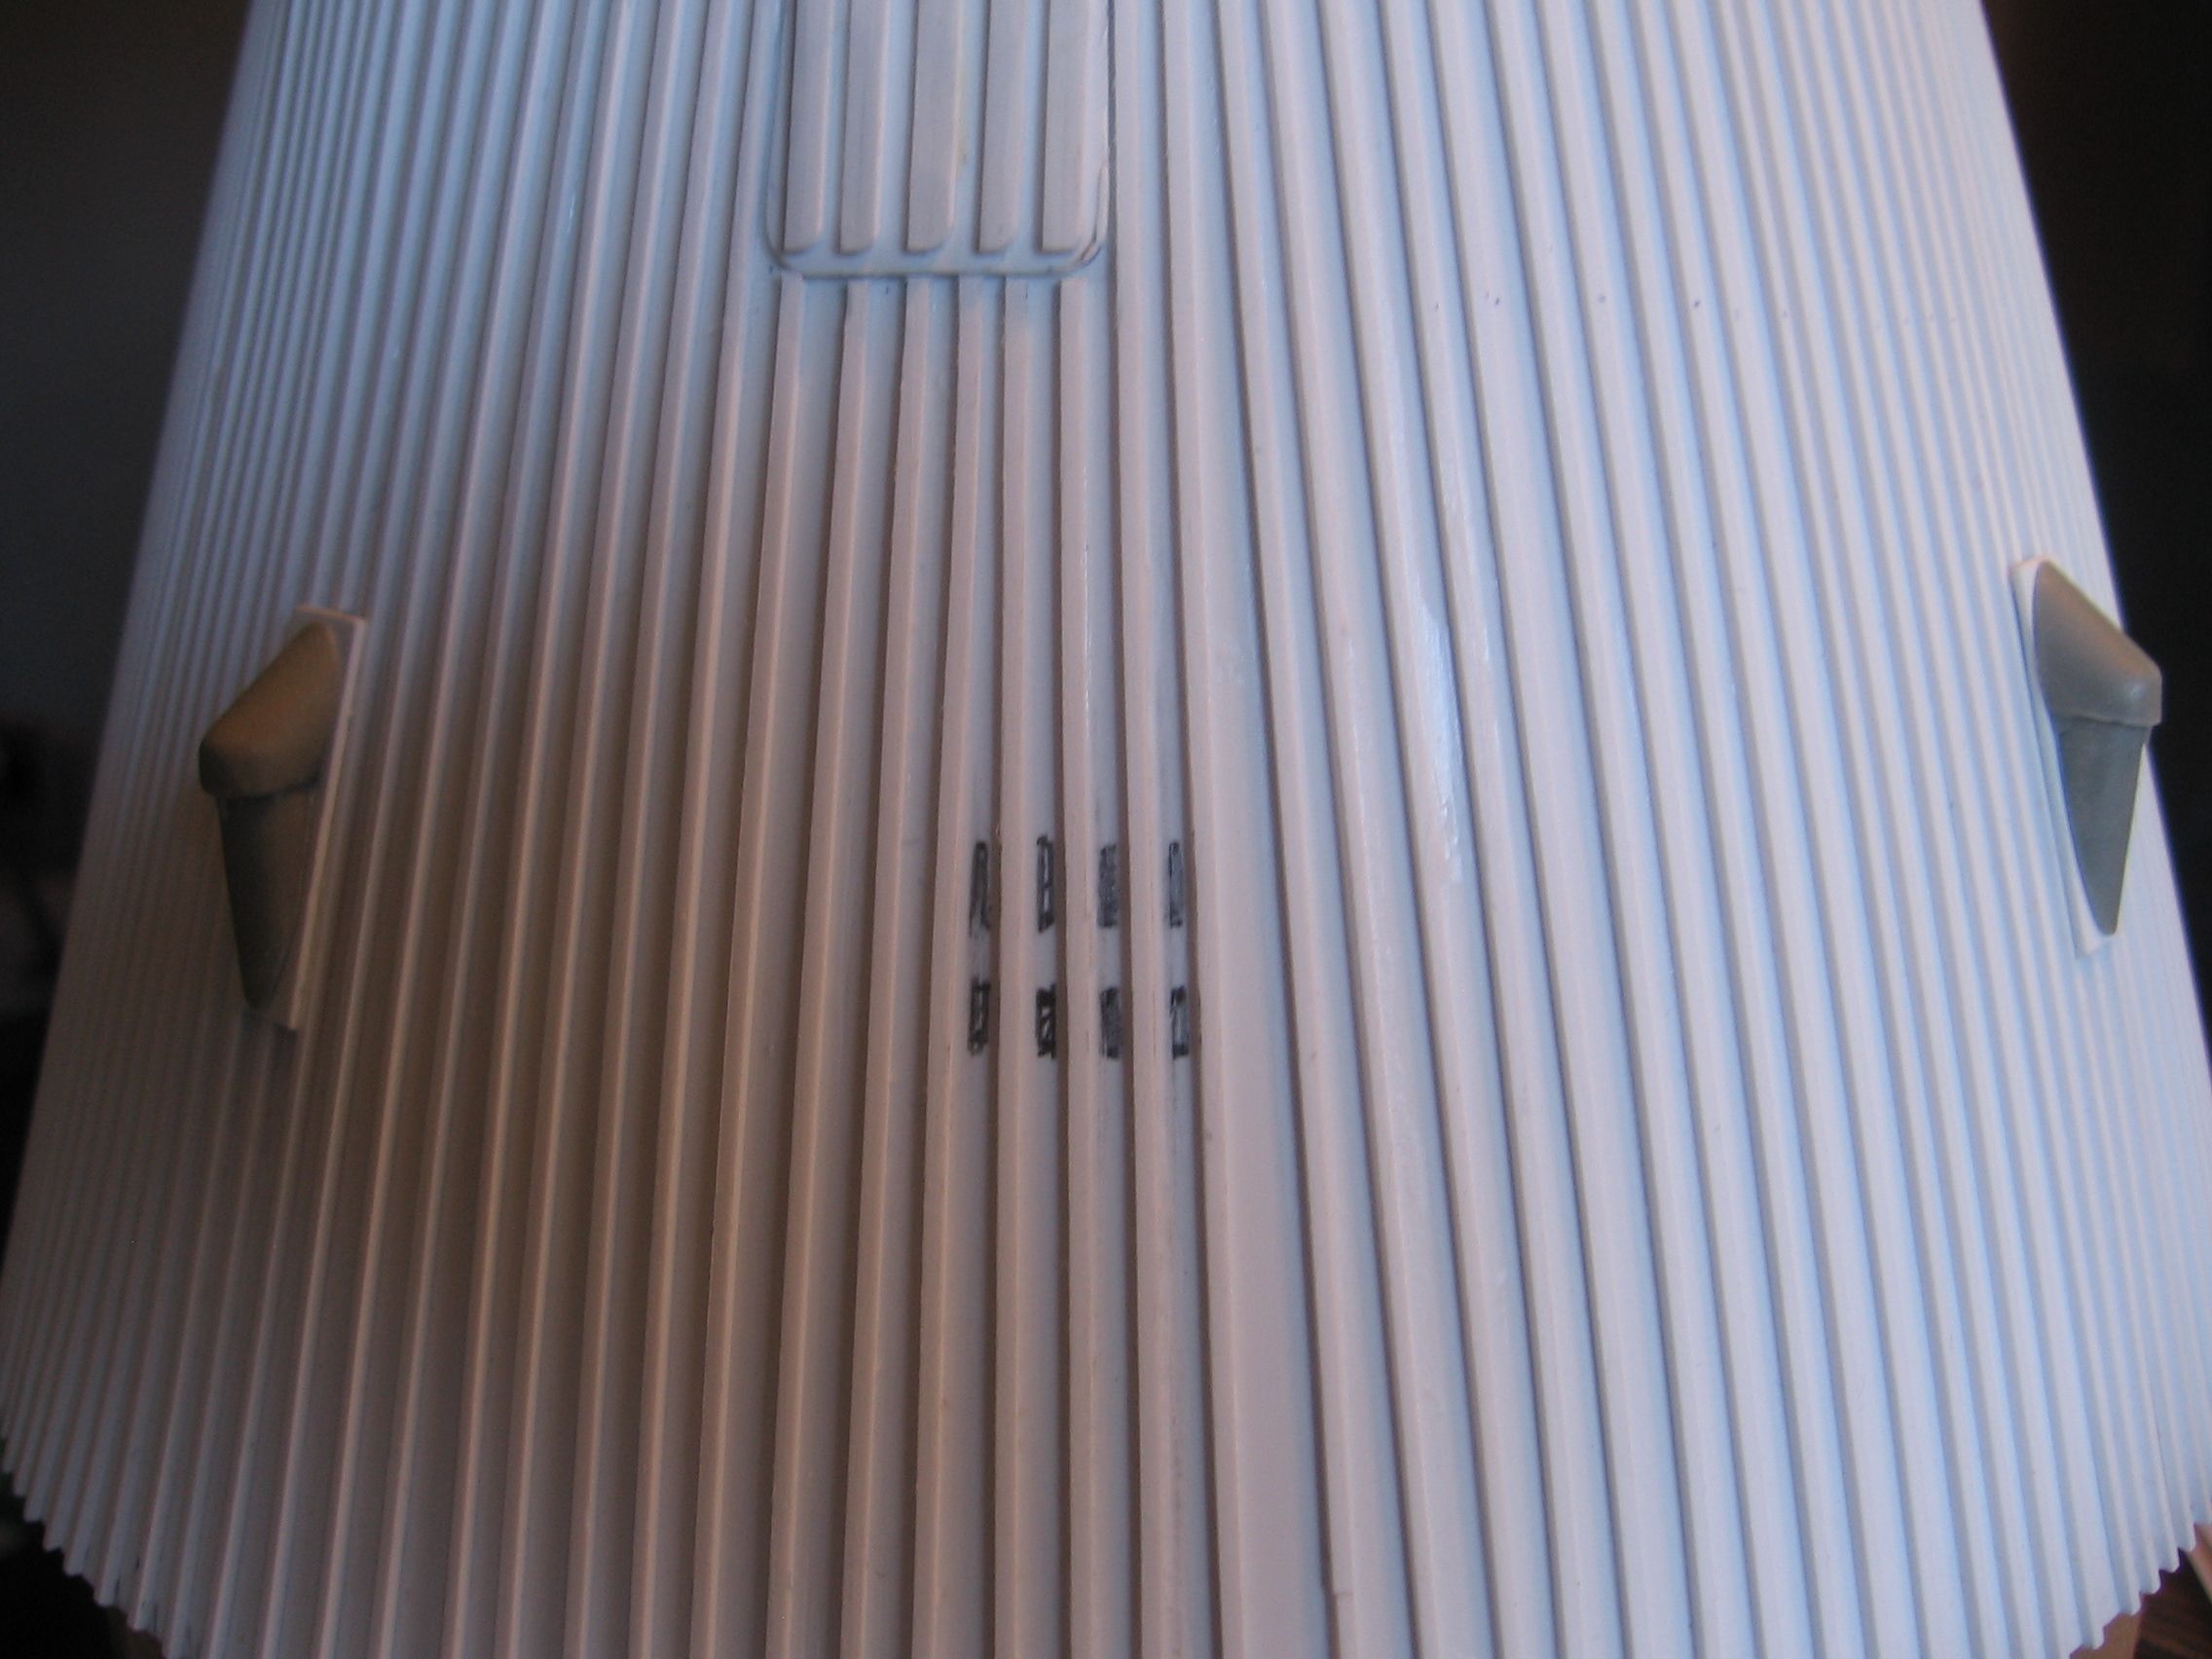
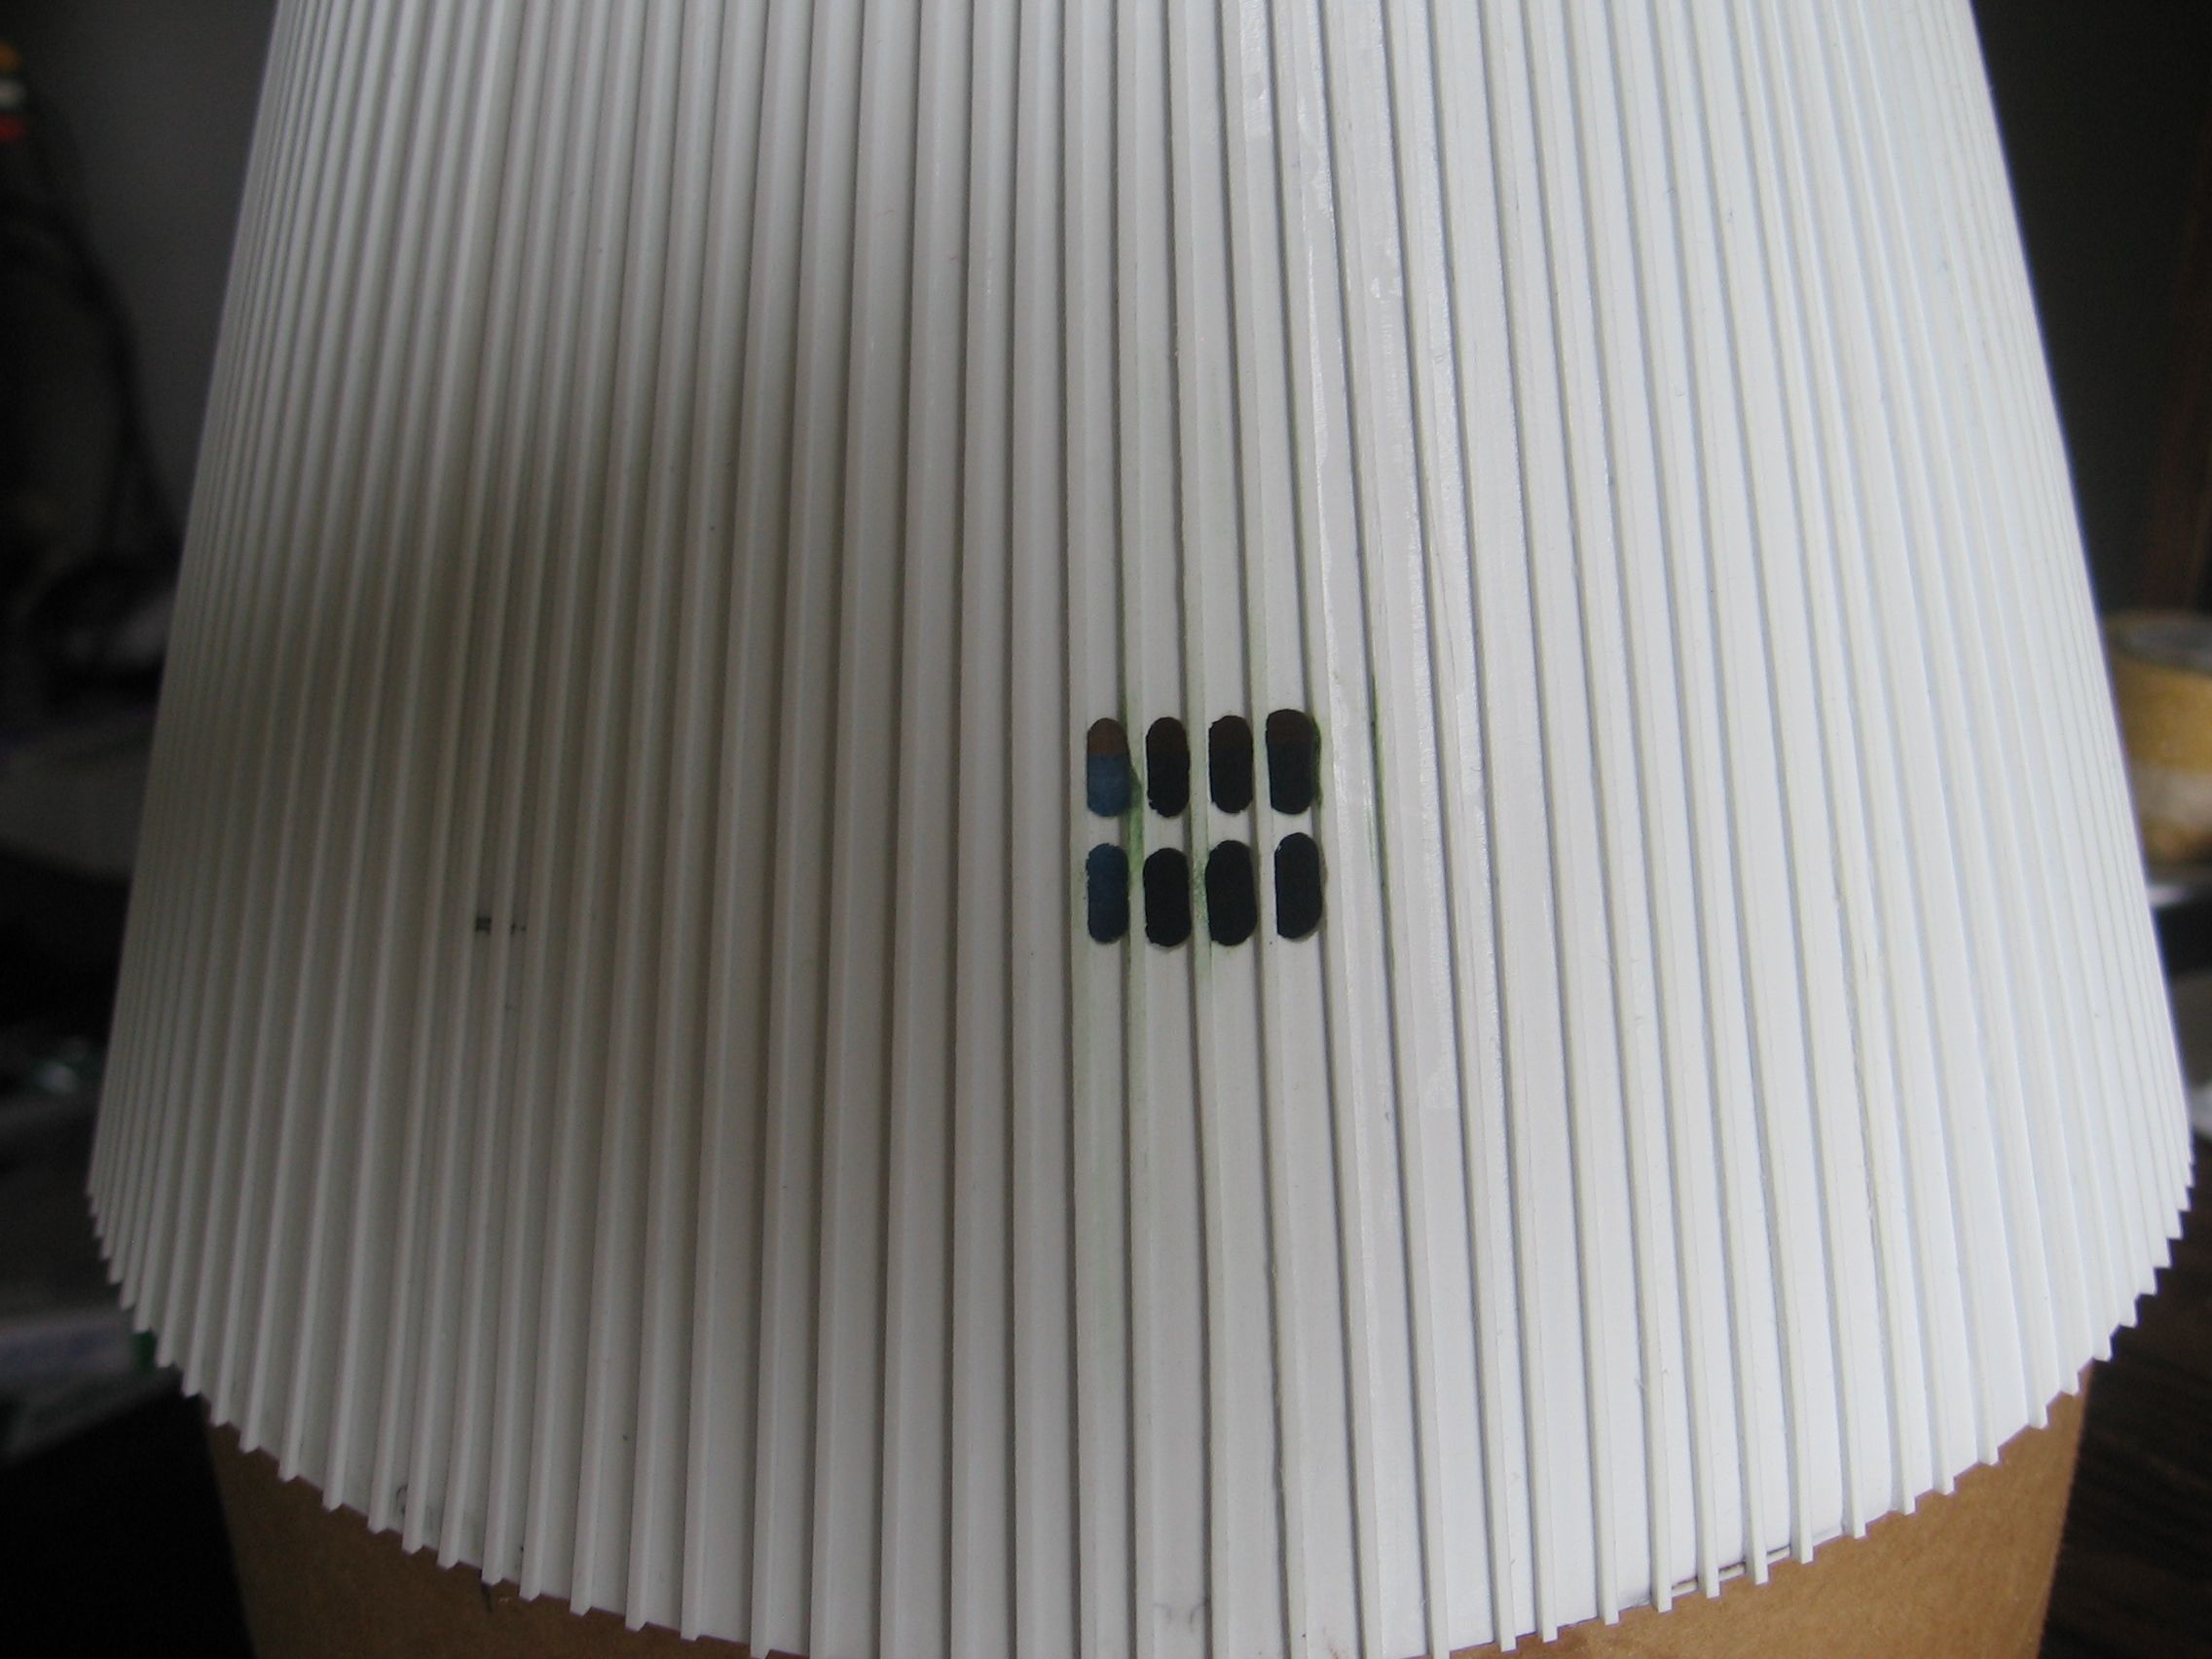
The aft interstage that originally came with the kit consisted of two molded resin pieces. However, when butted together, there was a half inch gap. I chucked them and used .030" sheet styrene as a replacement. I straightened out the seam later with a knife before applying the individual 1 mm stringers.
 
IMG_0001 (4).JPG

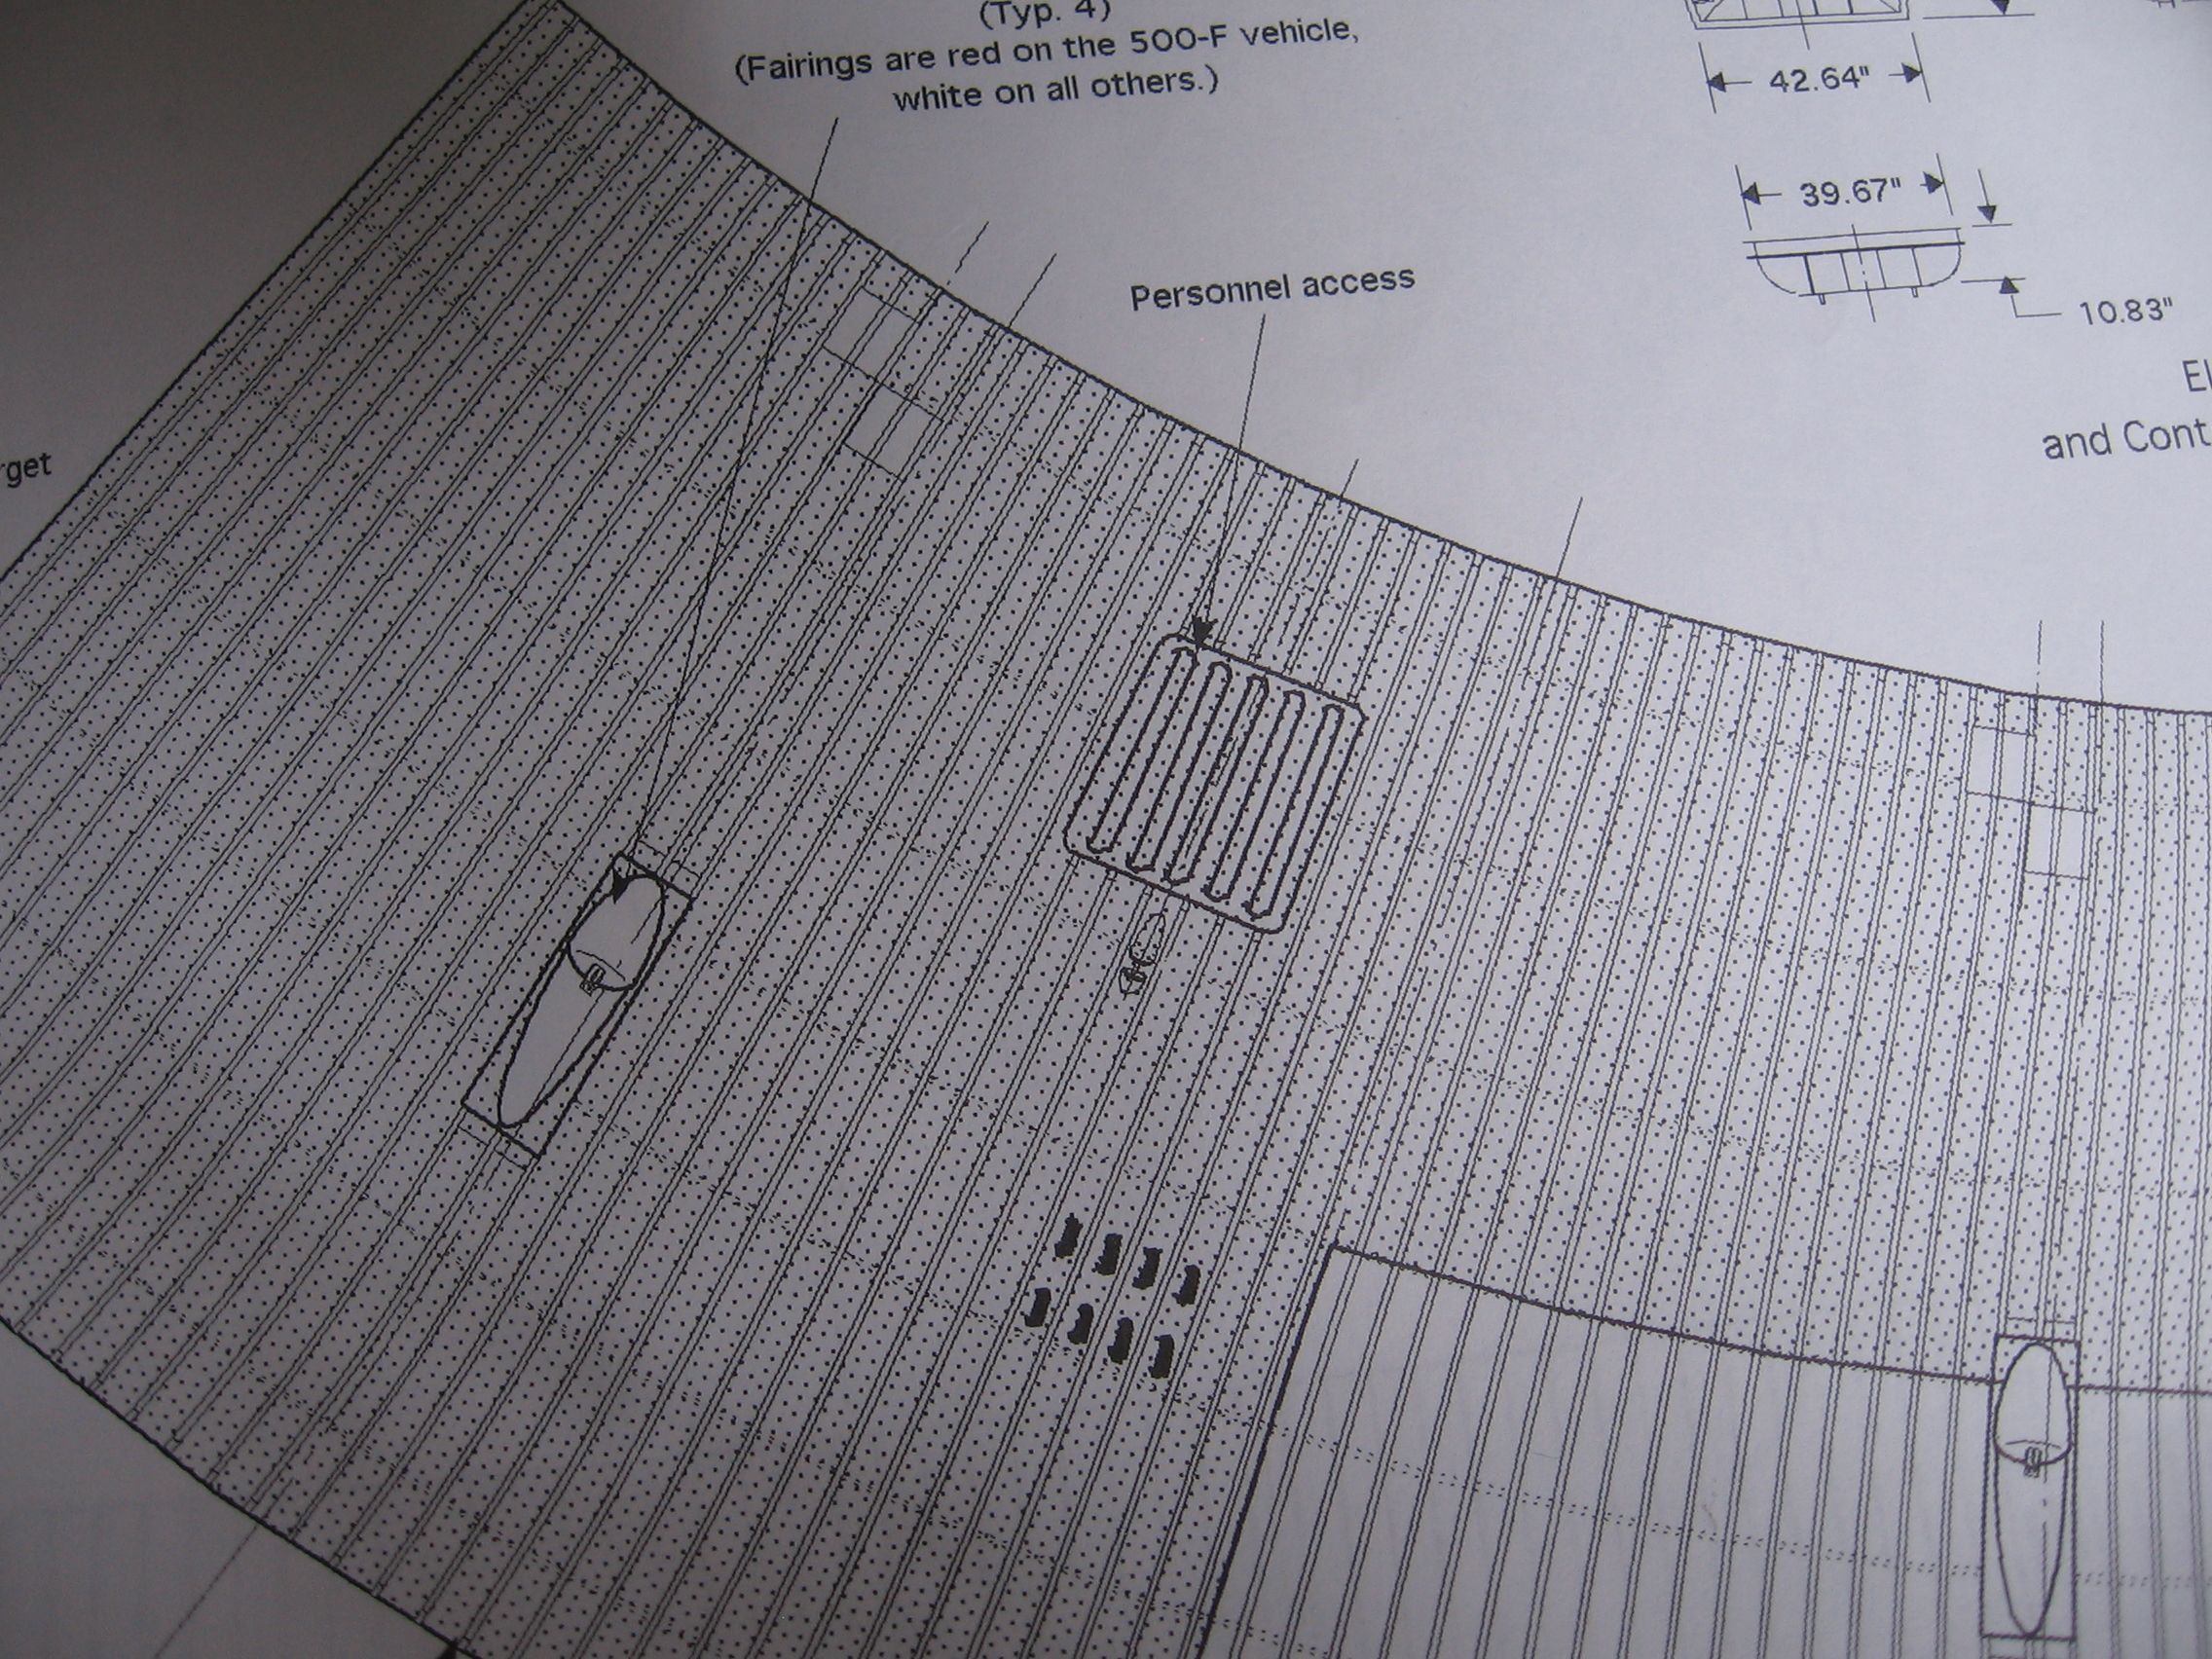
I've been using drawings from David Weeks to plot out additional details to incorporate. These have been invaluable.
 
Last edited:
IMG_0001 (33).JPG

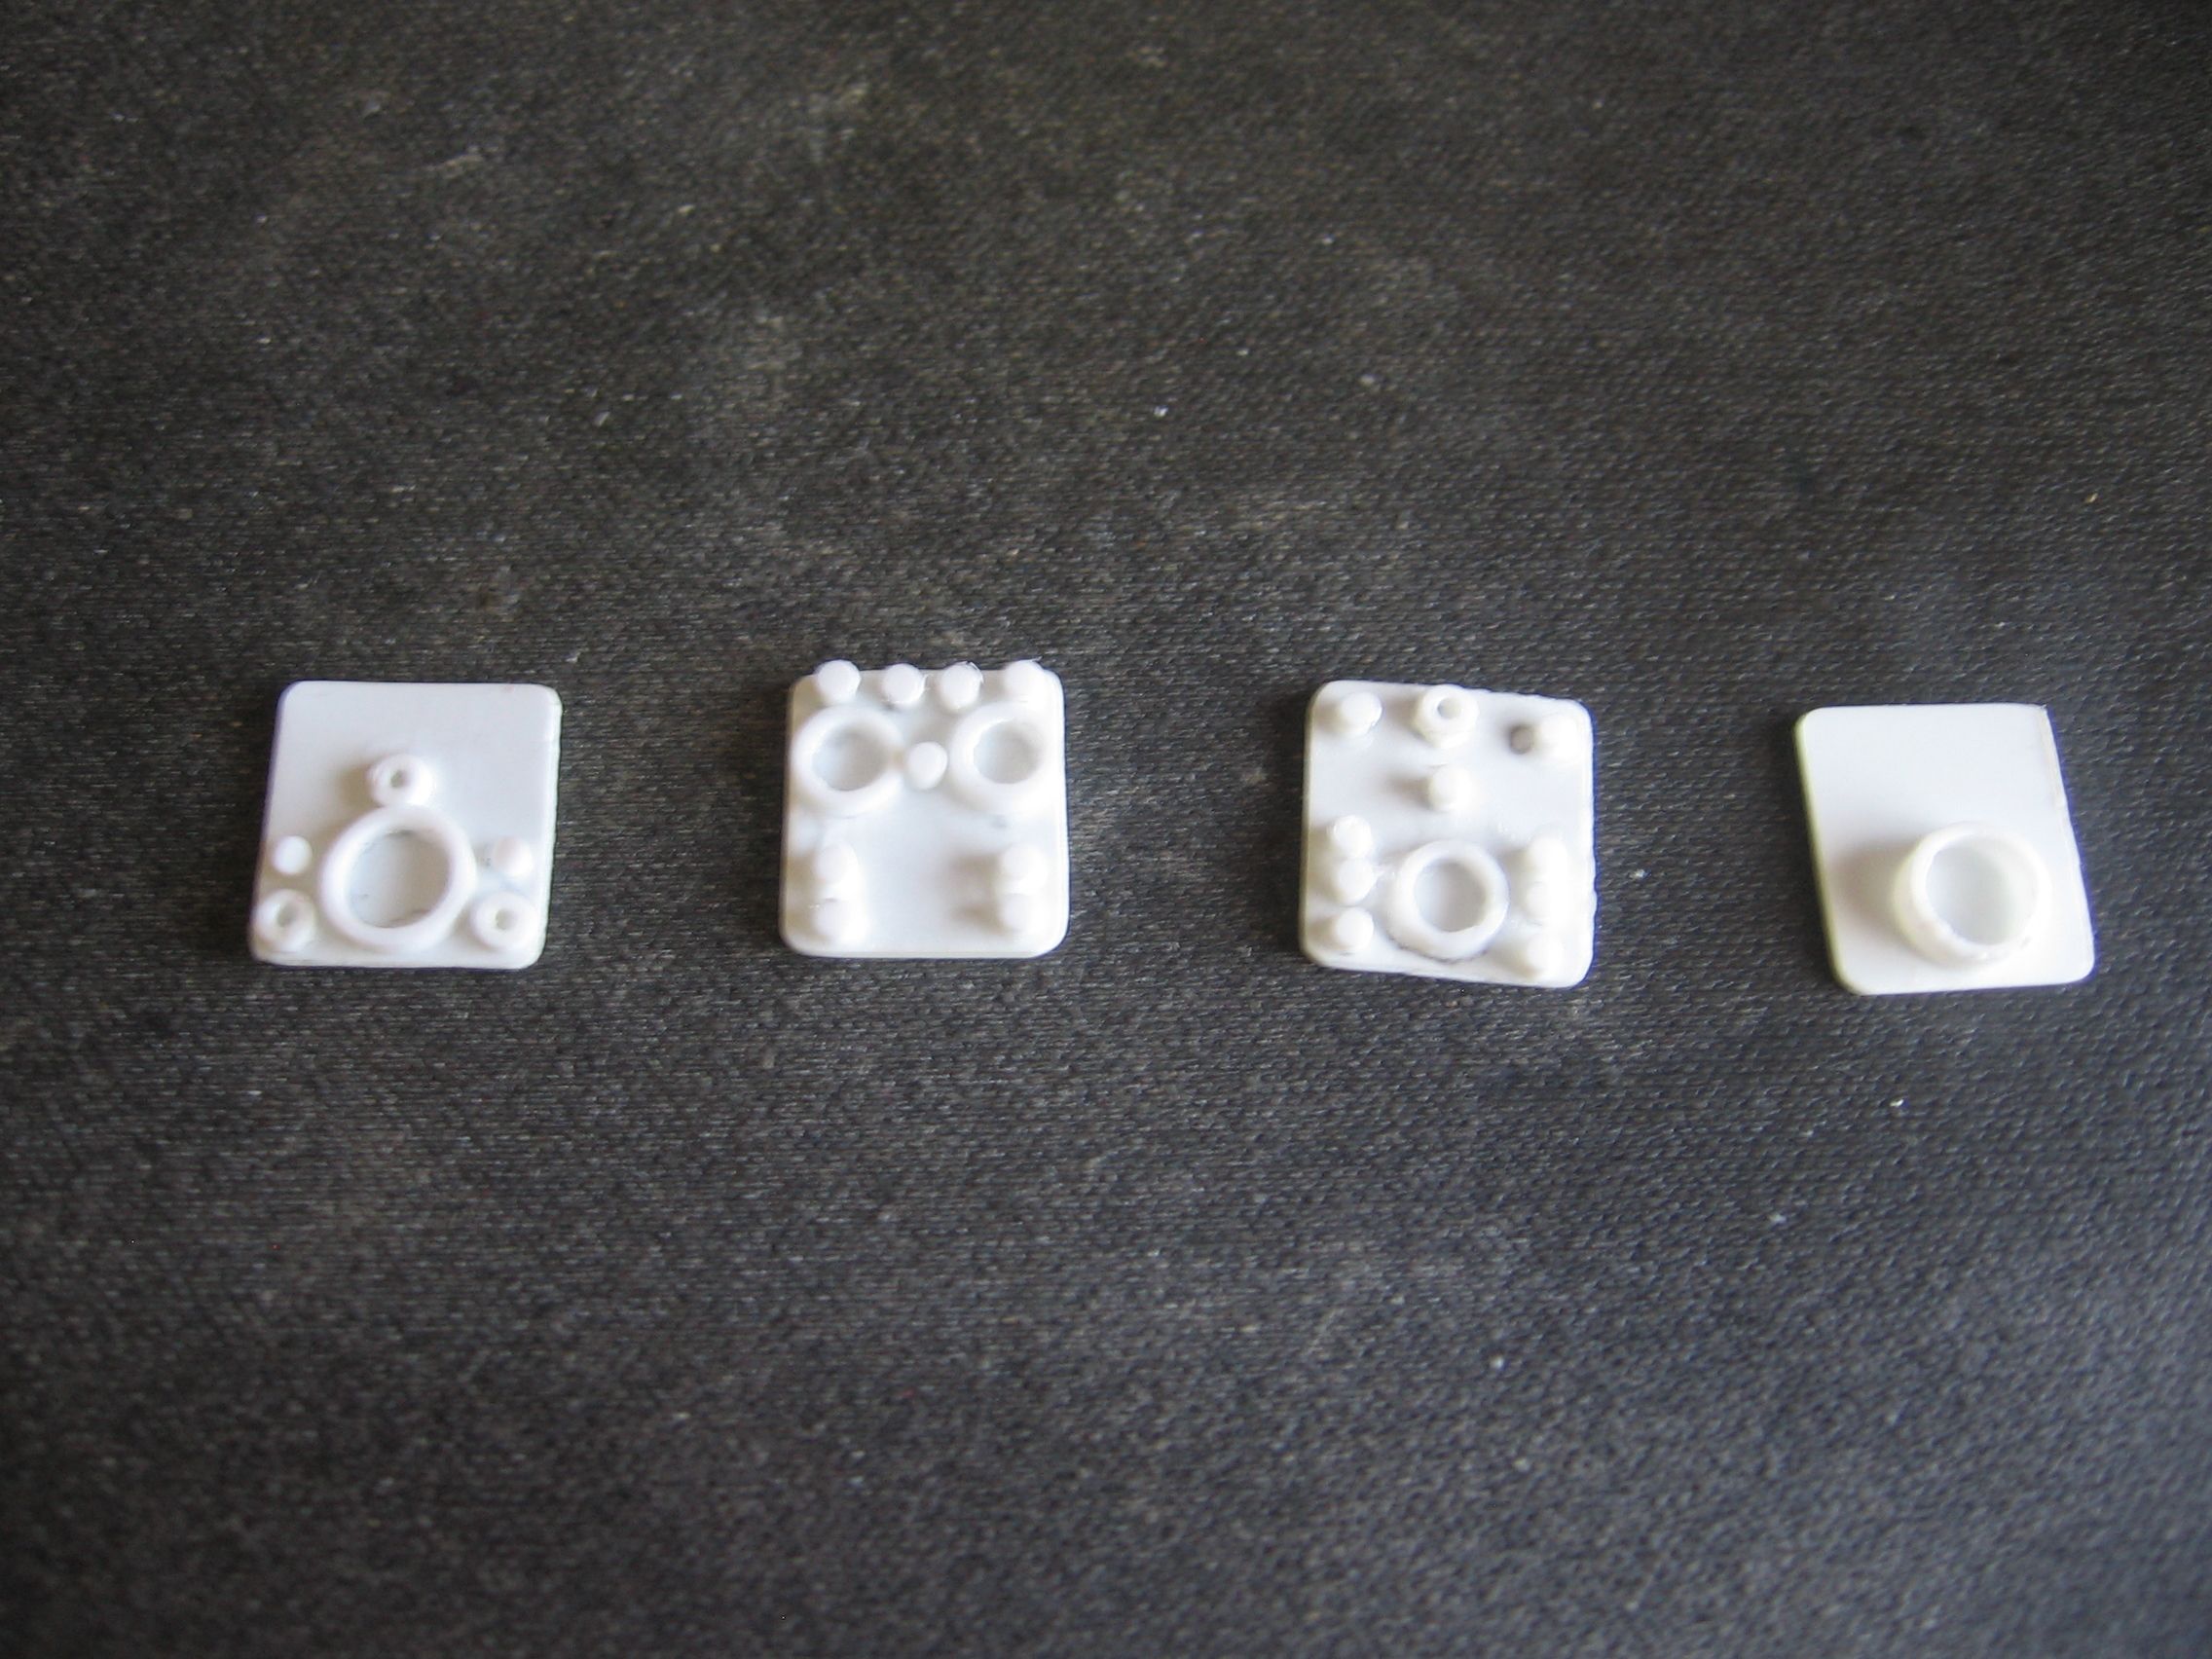
These are four scratchbuilt umbilical connectors and fill and drain vents. These will go on the bottom of the first stage.
 
Back
Top