A very special Spitfire build, another Kotare Spitfire Mk1a (late)

Scale Model Addict - Model Tips, Guides, Tools & Tech, Tutorials, and Community

Help Support Scale Model Addict:

BarryW

Well-Known Member
Joined
Apr 17, 2025
Messages
276
This will be my third Kotare Spitfire and I am sure it's not my last.

It is though a very special one.

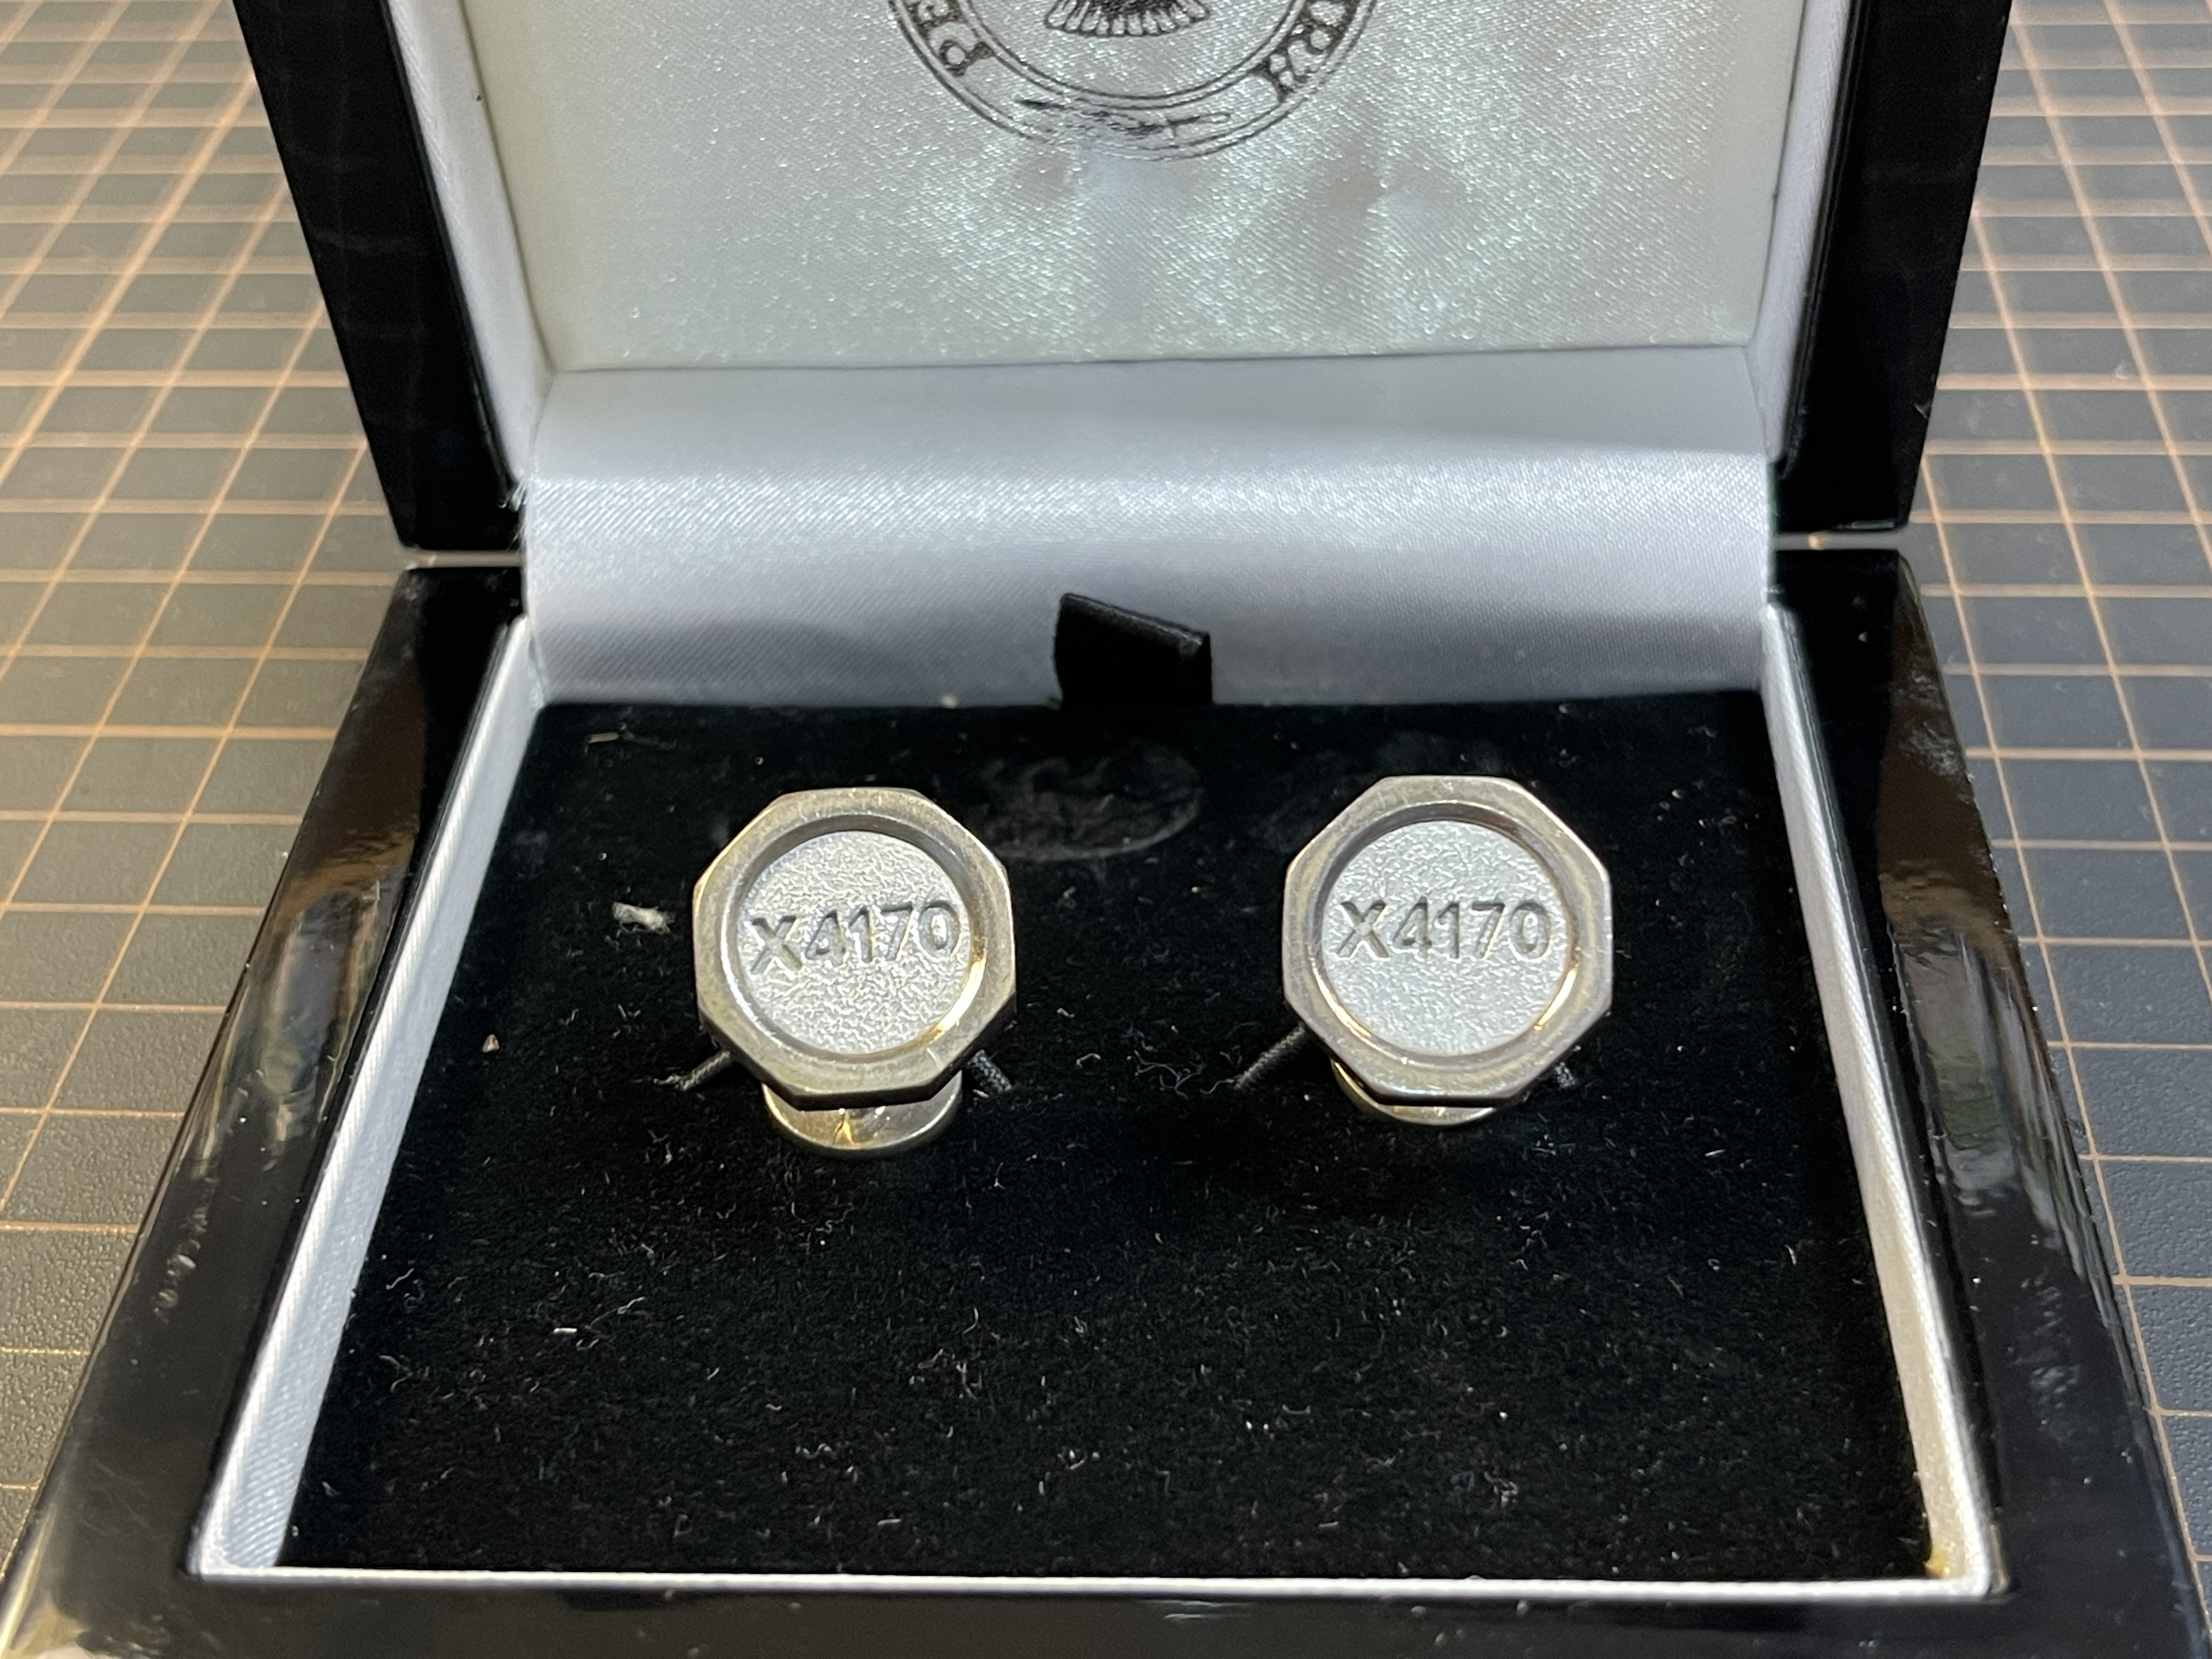
I have a set of cufflinks made from the Merlin engine of Spitfire serial number X4170. So naturally I want an accurate kit of this aircraft.

I won't start the build for a few days as I have my Sea Fury to finish, I will post some completed photos of this when done. This, therefore, is just an introduction to my next full build thread.

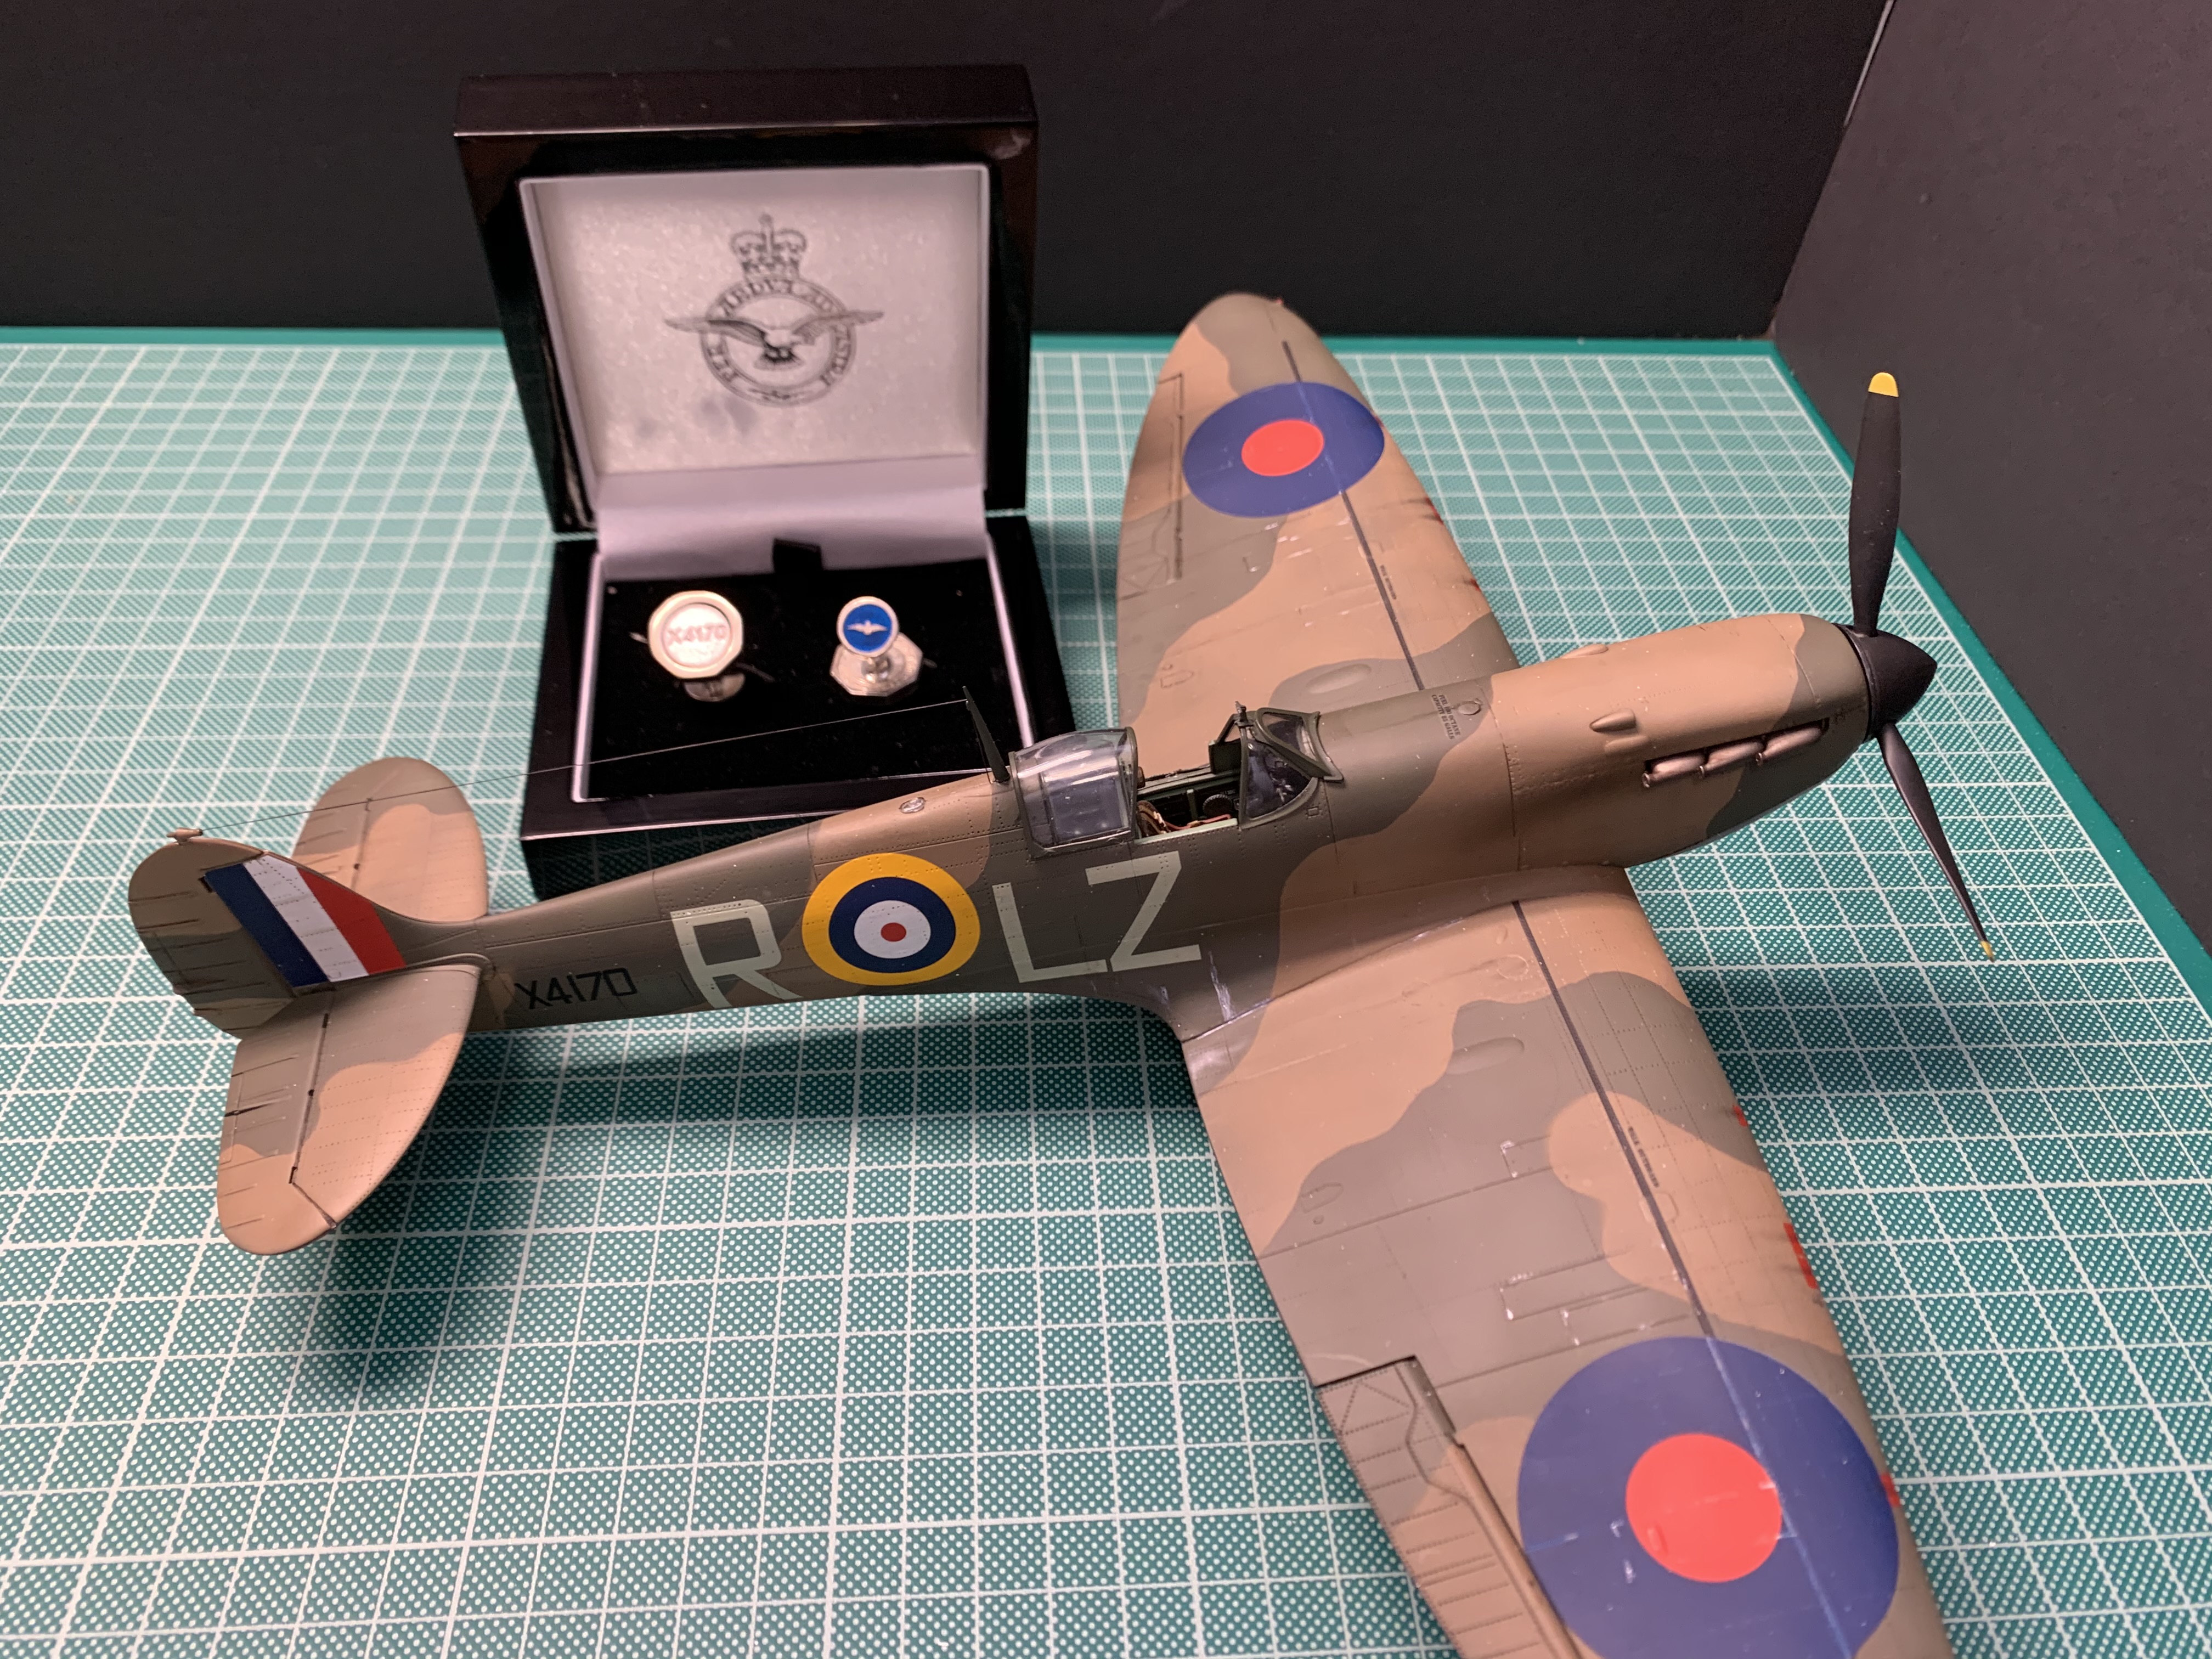
I did do a build of this aircraft years ago using the rather poor Revell 1/32 Mk2 as the base. I spent a lot of money on resin to correct faults in the kit and painted it based on the best information I had at the time. Below is a picture of that build.
IMG_3206.jpeg


This model will be very different in a number of key aspects with the most visual difference being the spinner colour.

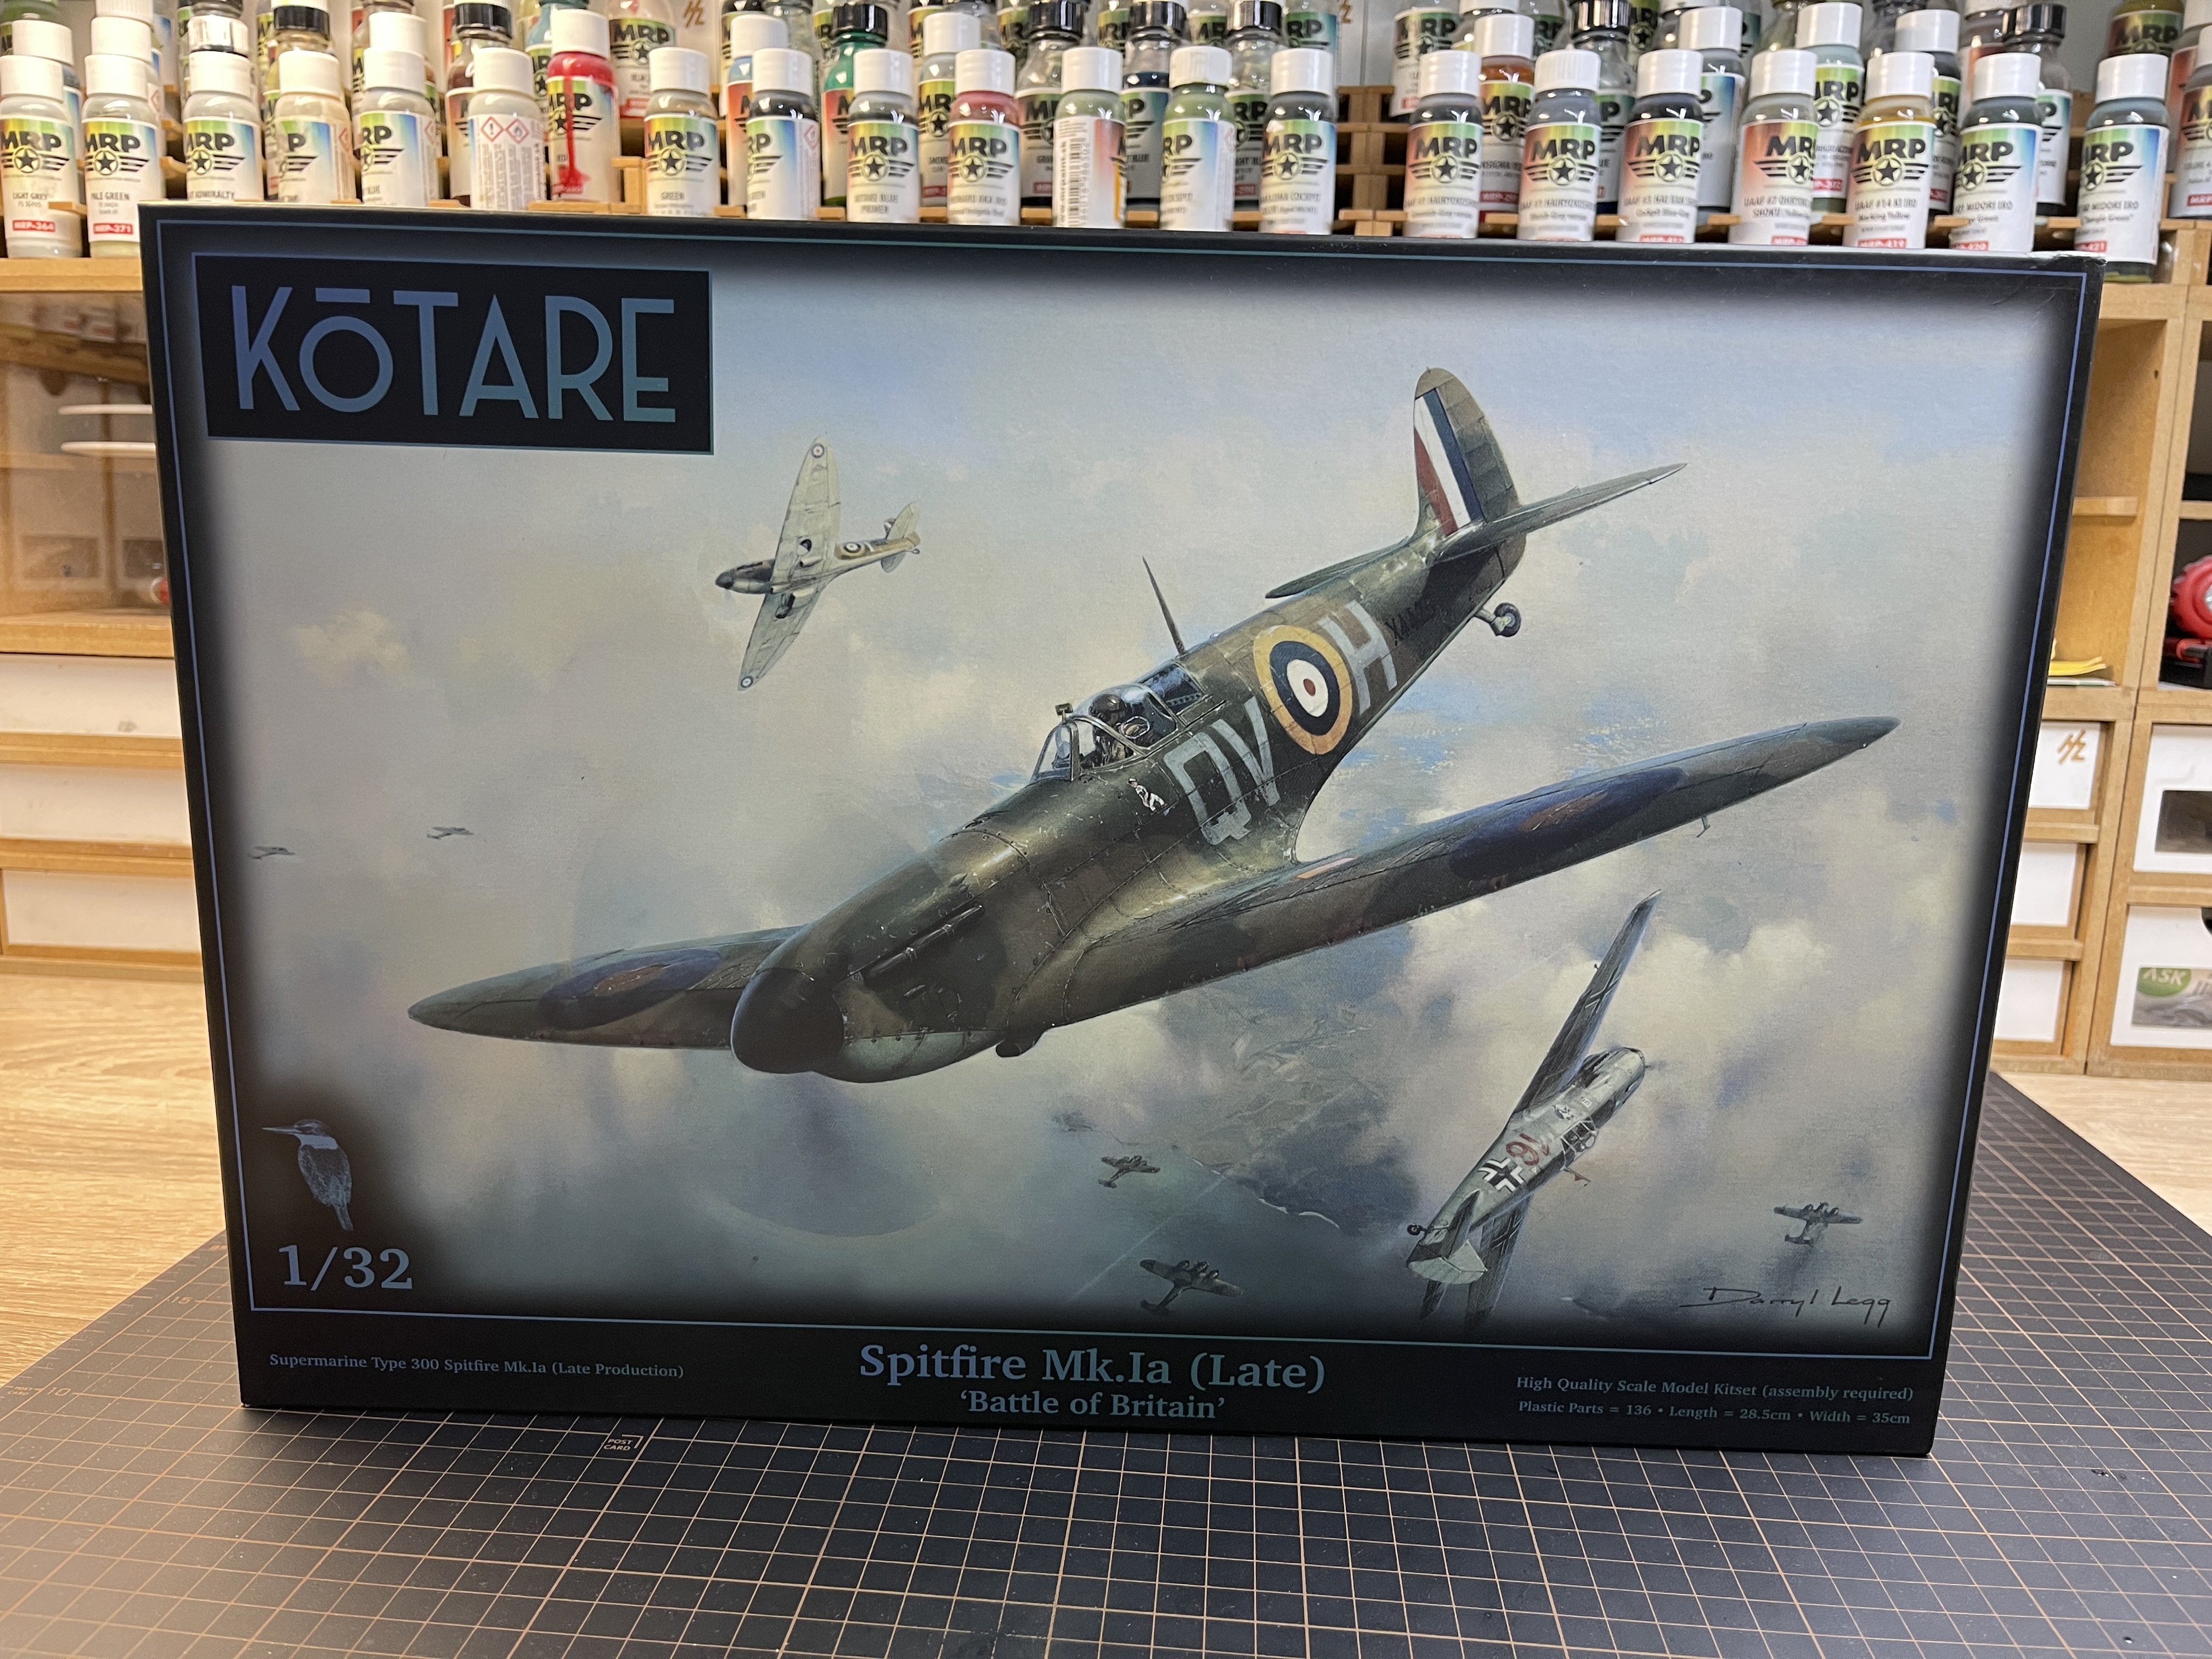
Here is the kit box
IMG_9426.jpeg


Here is a close up of the cufflinks
IMG_9427.jpeg


Some details of the aircraft
Serial X4170
Codes LZ*R
B Camo scheme

Squadron commander of 66 Squadron, Rupert Leigh, ordered his squadron to paint their spinners bright red due to an incident.

The pilot of this aircraft when it was shot down was Bobby Oxspring who went on to survive the war and become an ace and a senior officer in the post war RAF. This aircraft crashed not far from me, in an orchard near Capel le Ferne. It's actually quite close to the present day Battle of Britain memorial.

He had 10 victories in the Battle of Britain, 6 while flying X4170 four of which were 109's, one 110 and one 111..

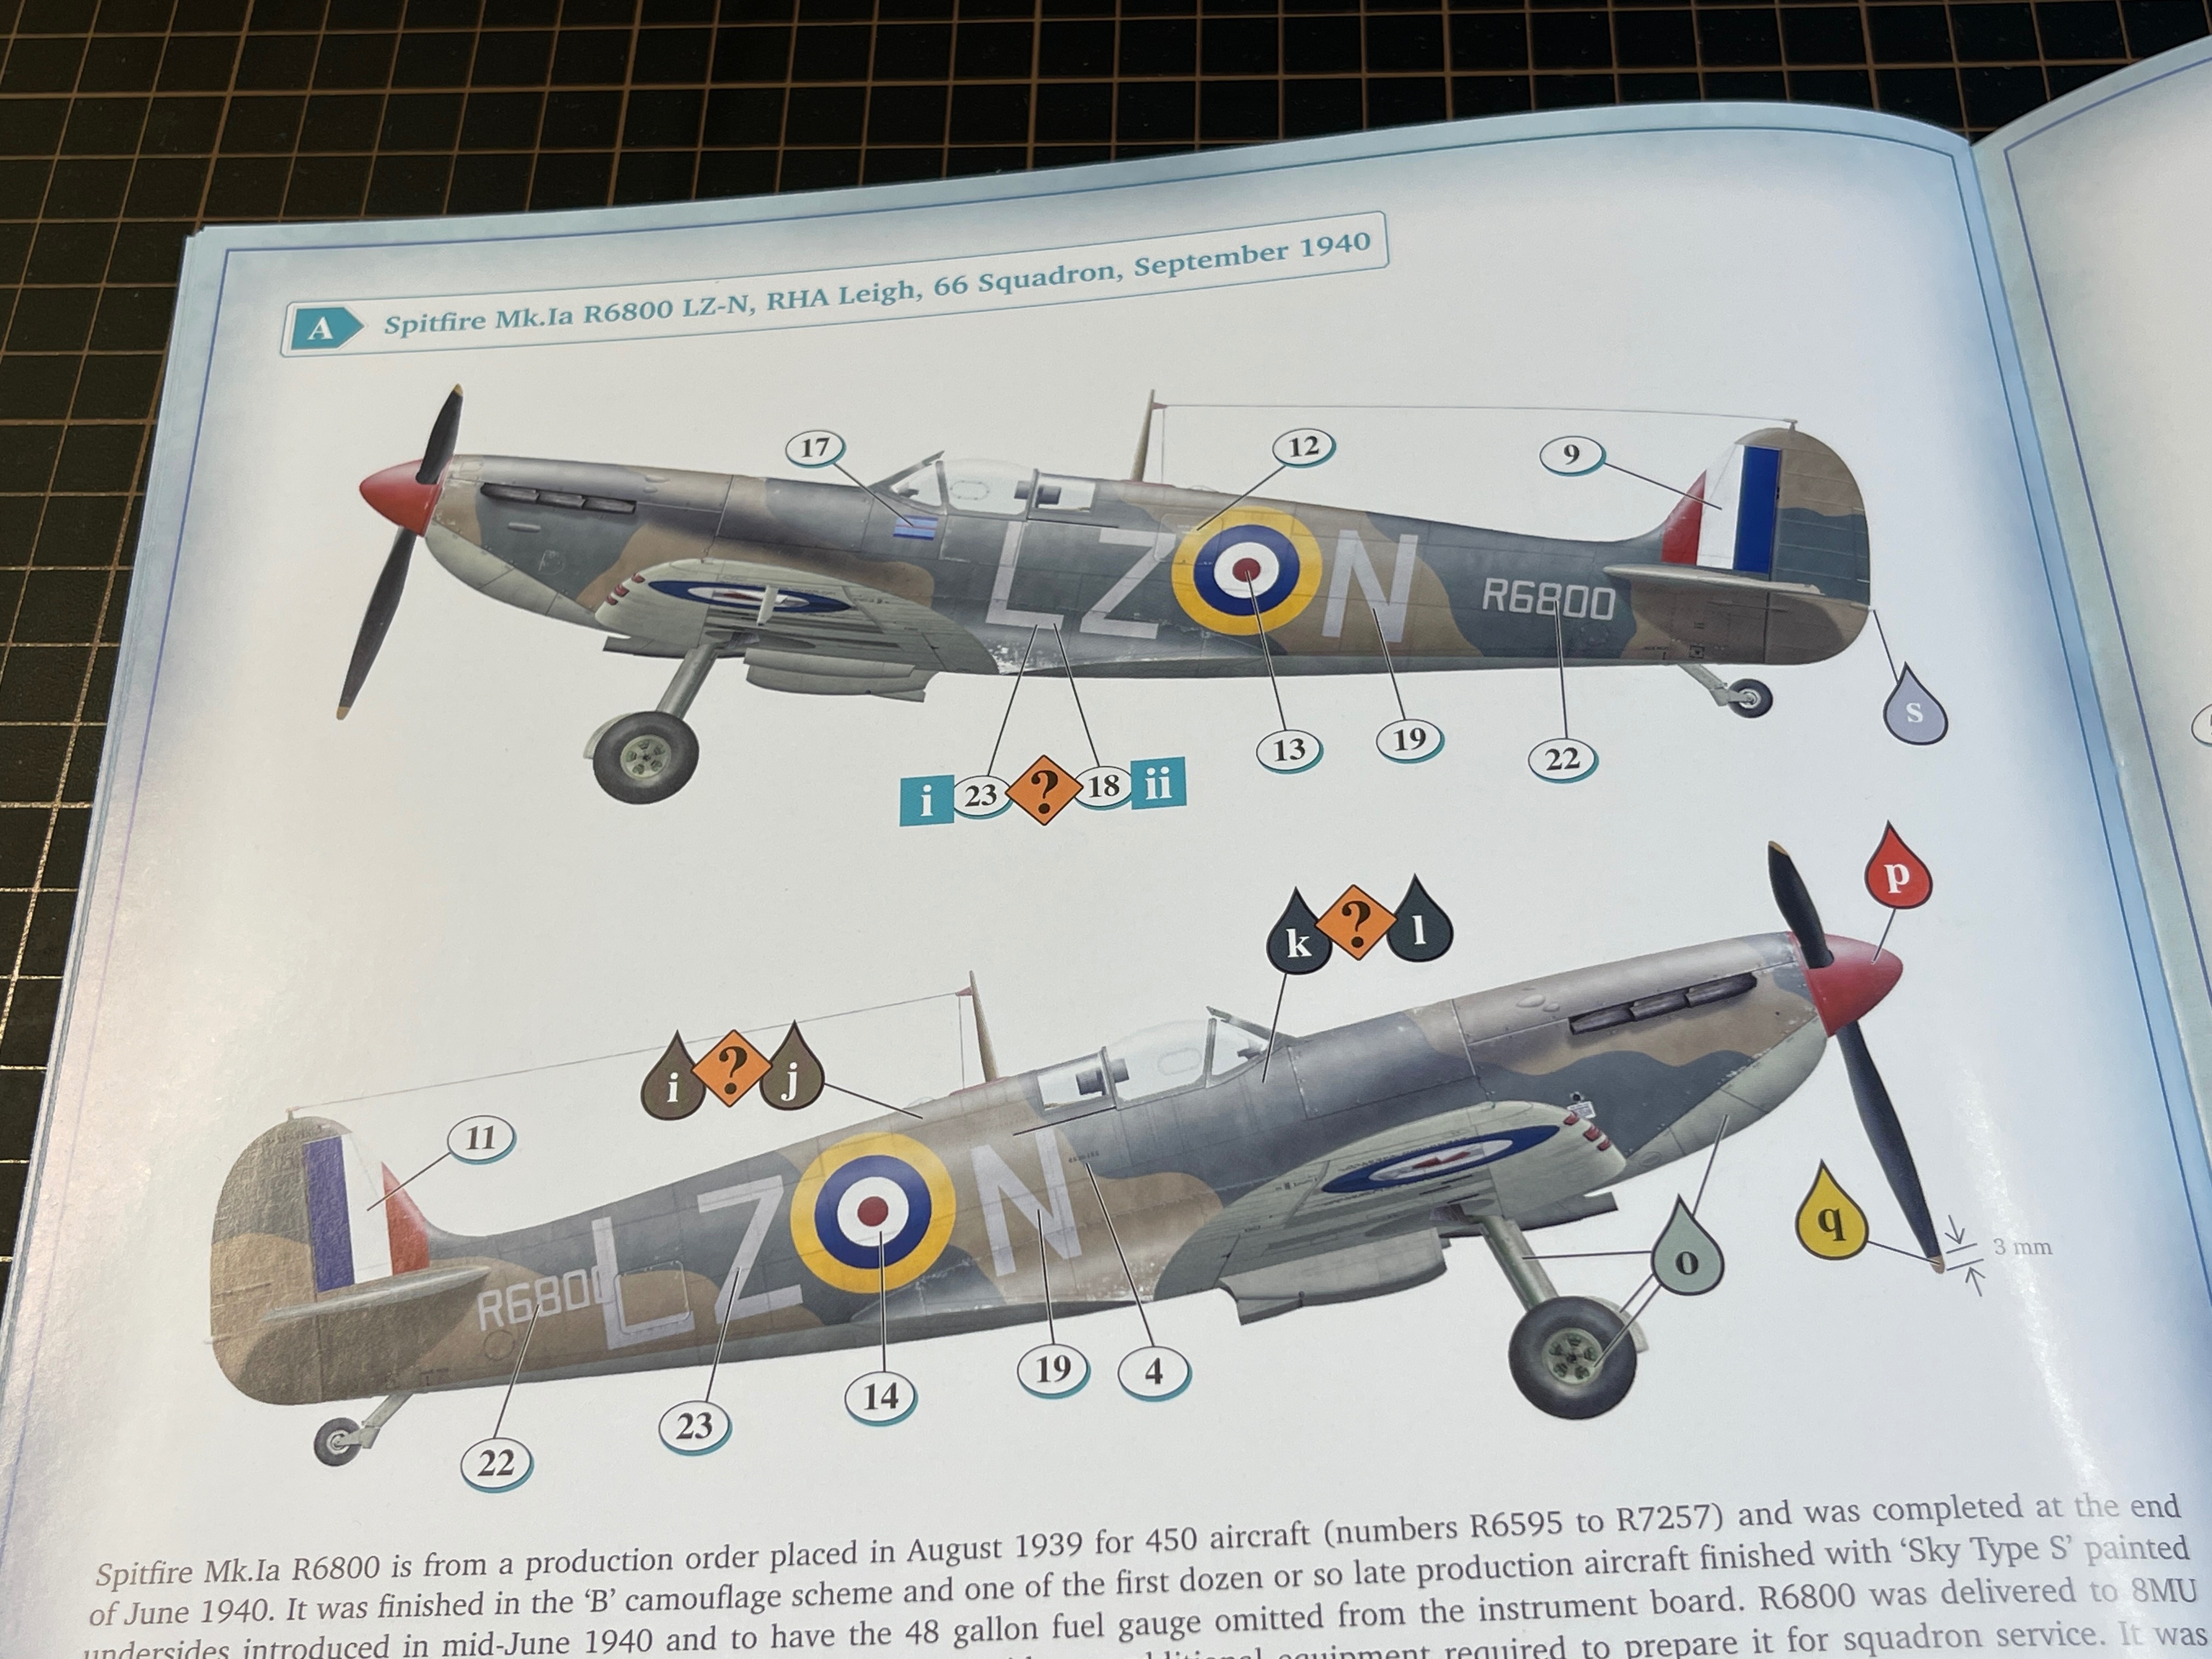
One of the kit options is from 66 squadron but from an earlier Spitfire batch.
This
IMG_9428.jpeg


Another kit option is very close in build sequence to X4170, this.
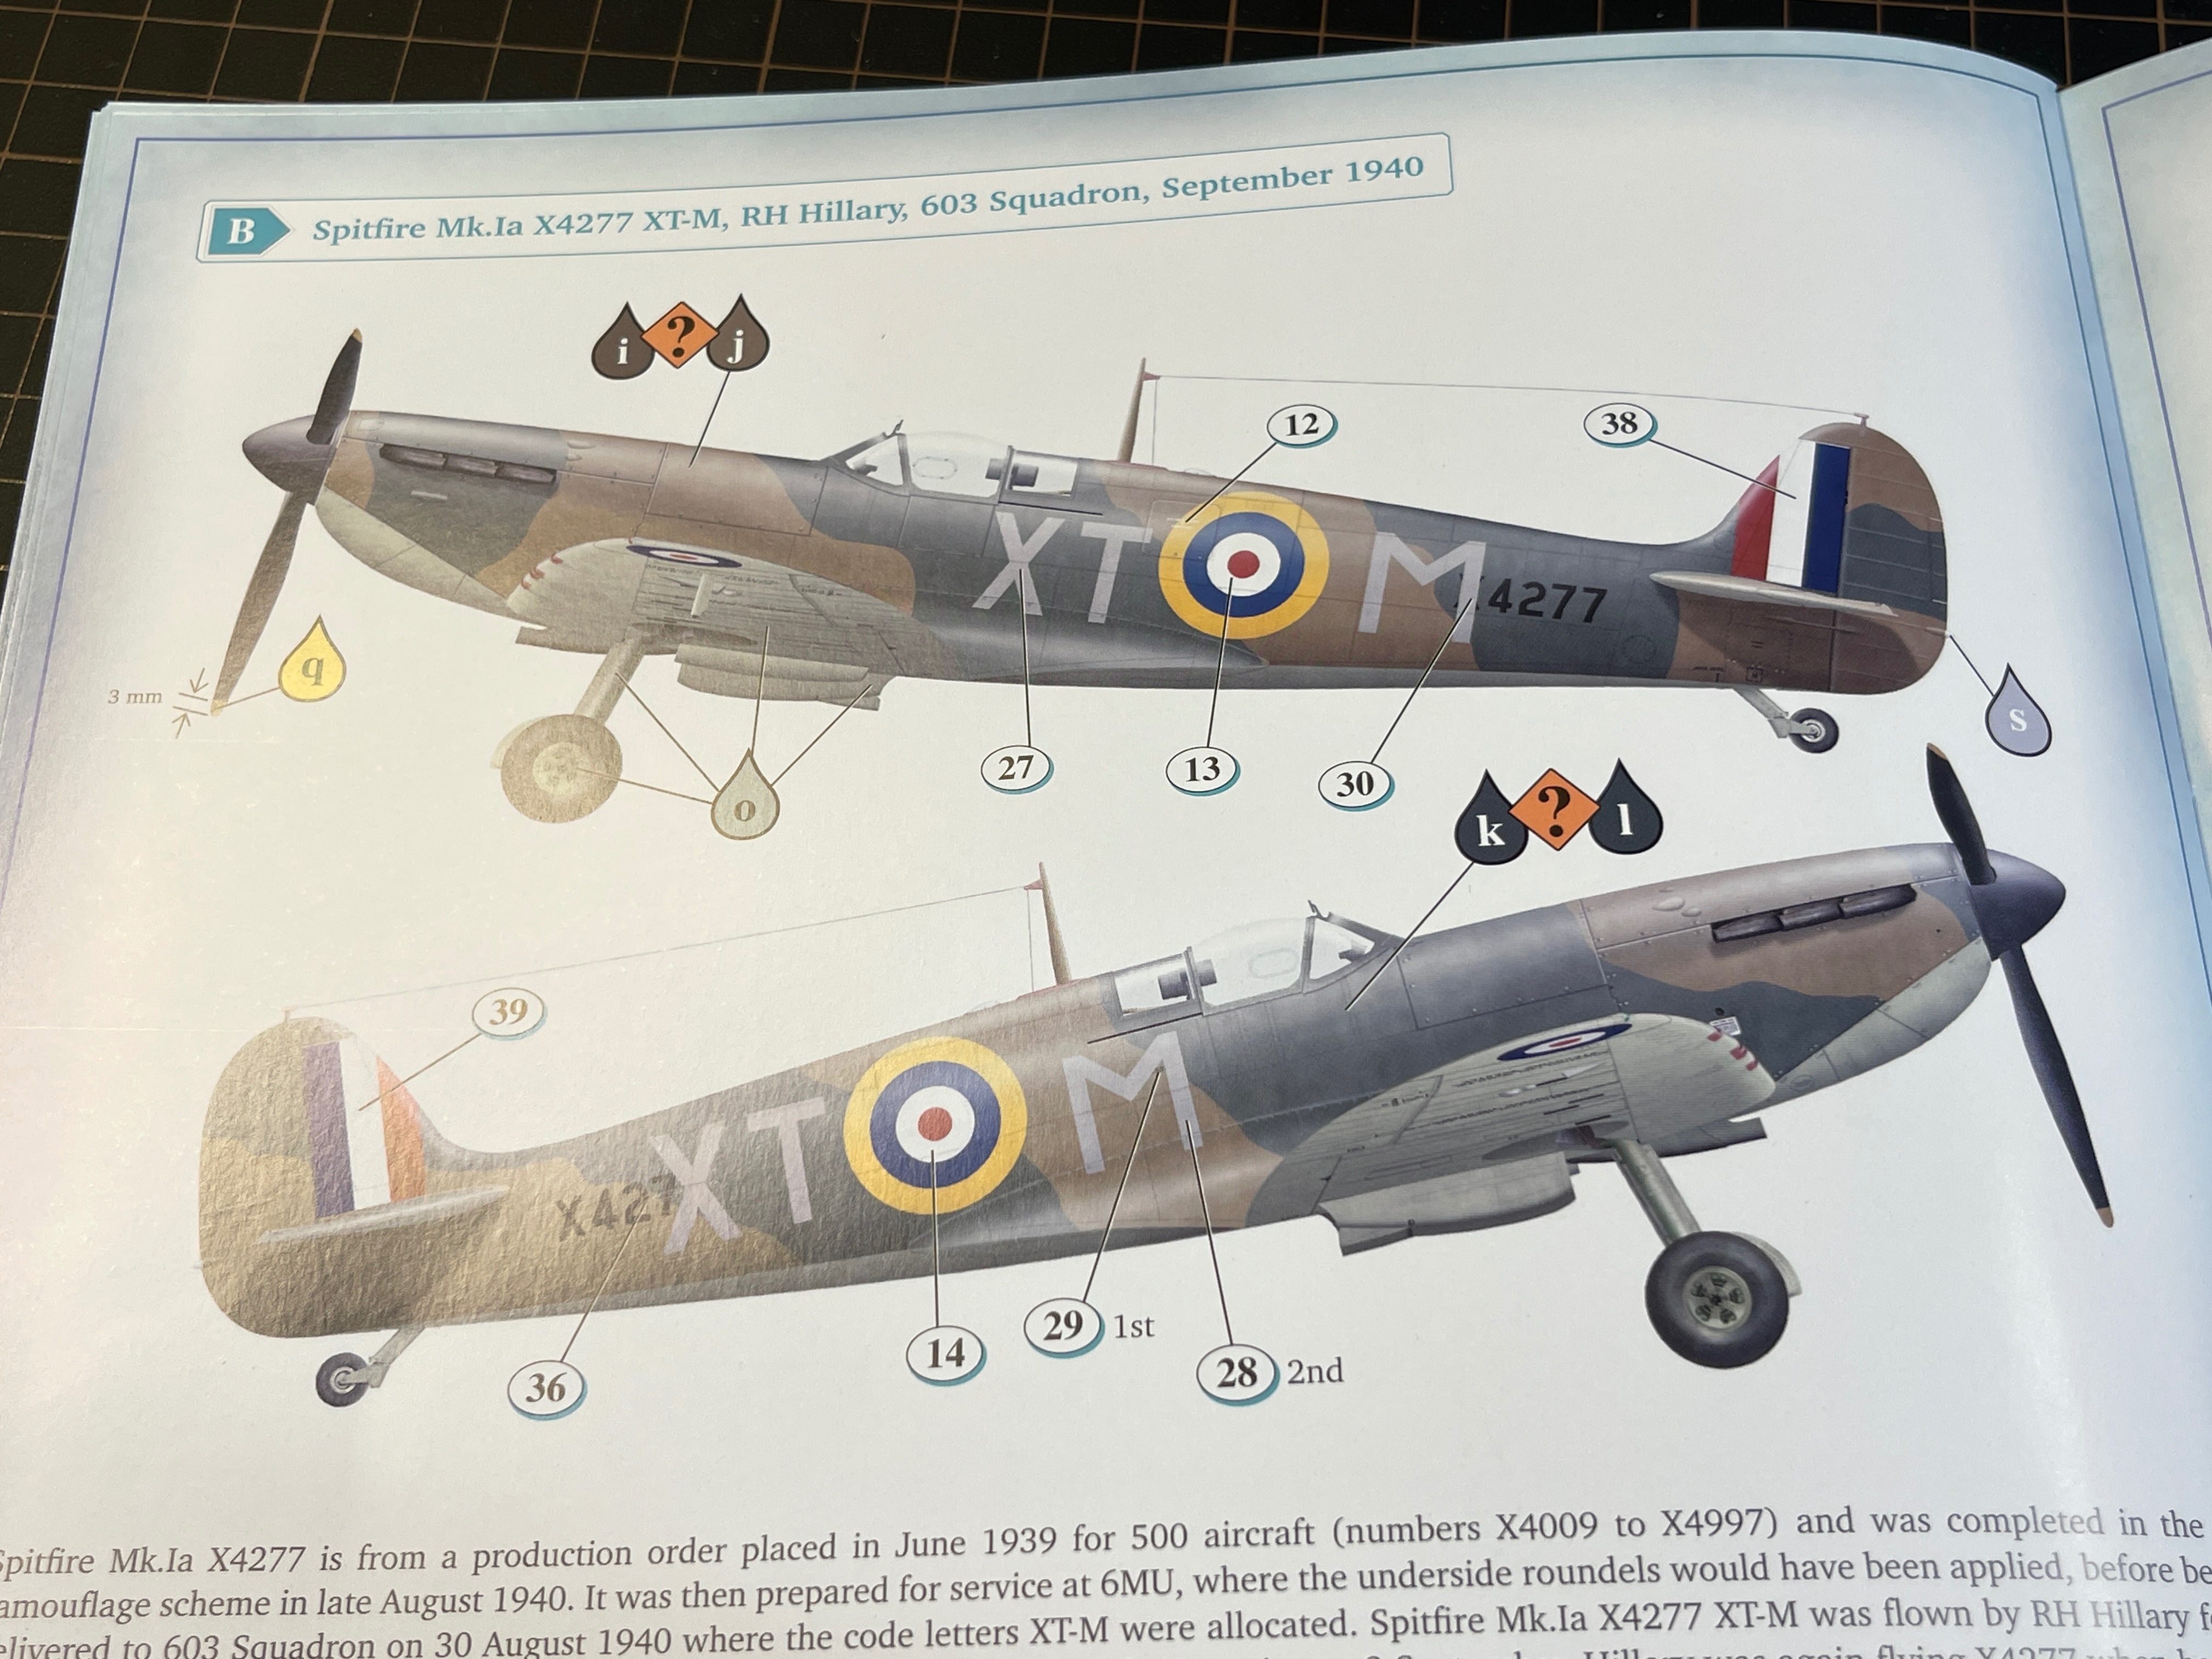
IMG_9429.jpeg


Therefore I conclude that i will get as close to an accurate representation as you can by incorporating appropriate elements from these two kit versions.

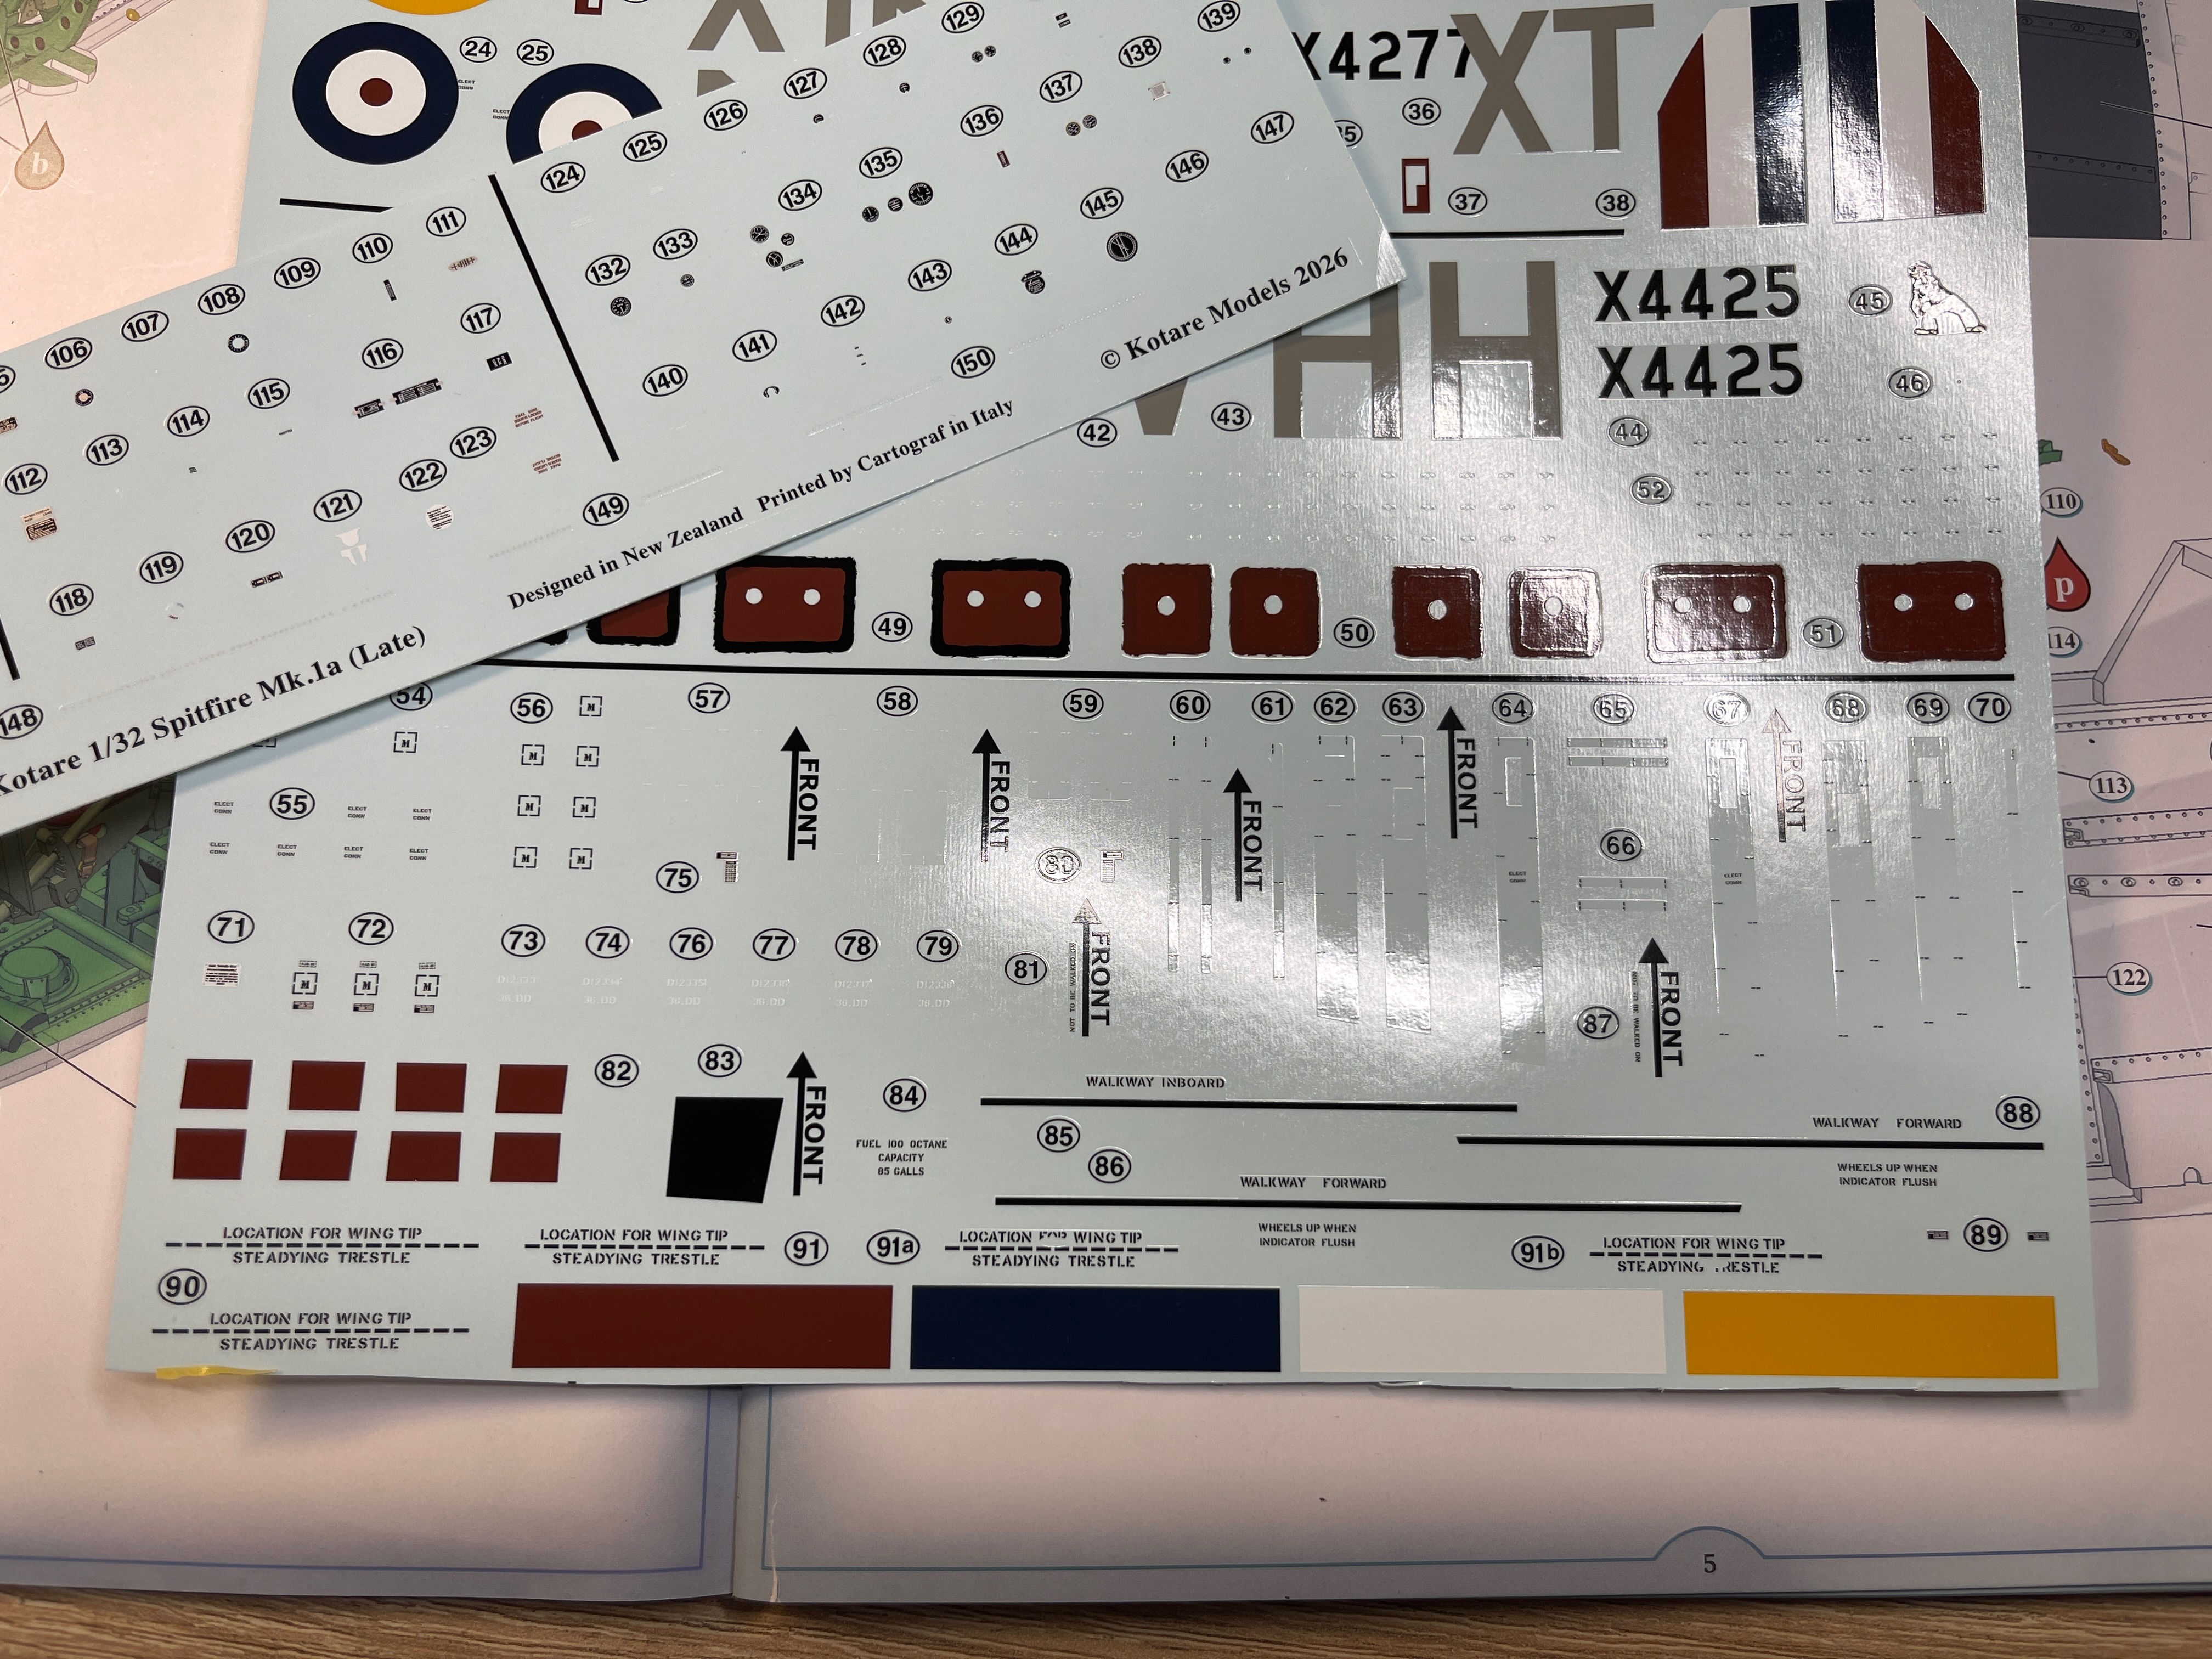
I have appropriate codes and serial numbers produced by Xtra decal from Hannants.

I will post more when I make a start.
 
Very cool project and history. Look forward to seeing this. I never get tired of Spits.

Scale 1/32 isn't really my medium but I would like to build one of these Kotare kits at some point. I will likely wait until they put out a Merlin 60-series variant though.
 
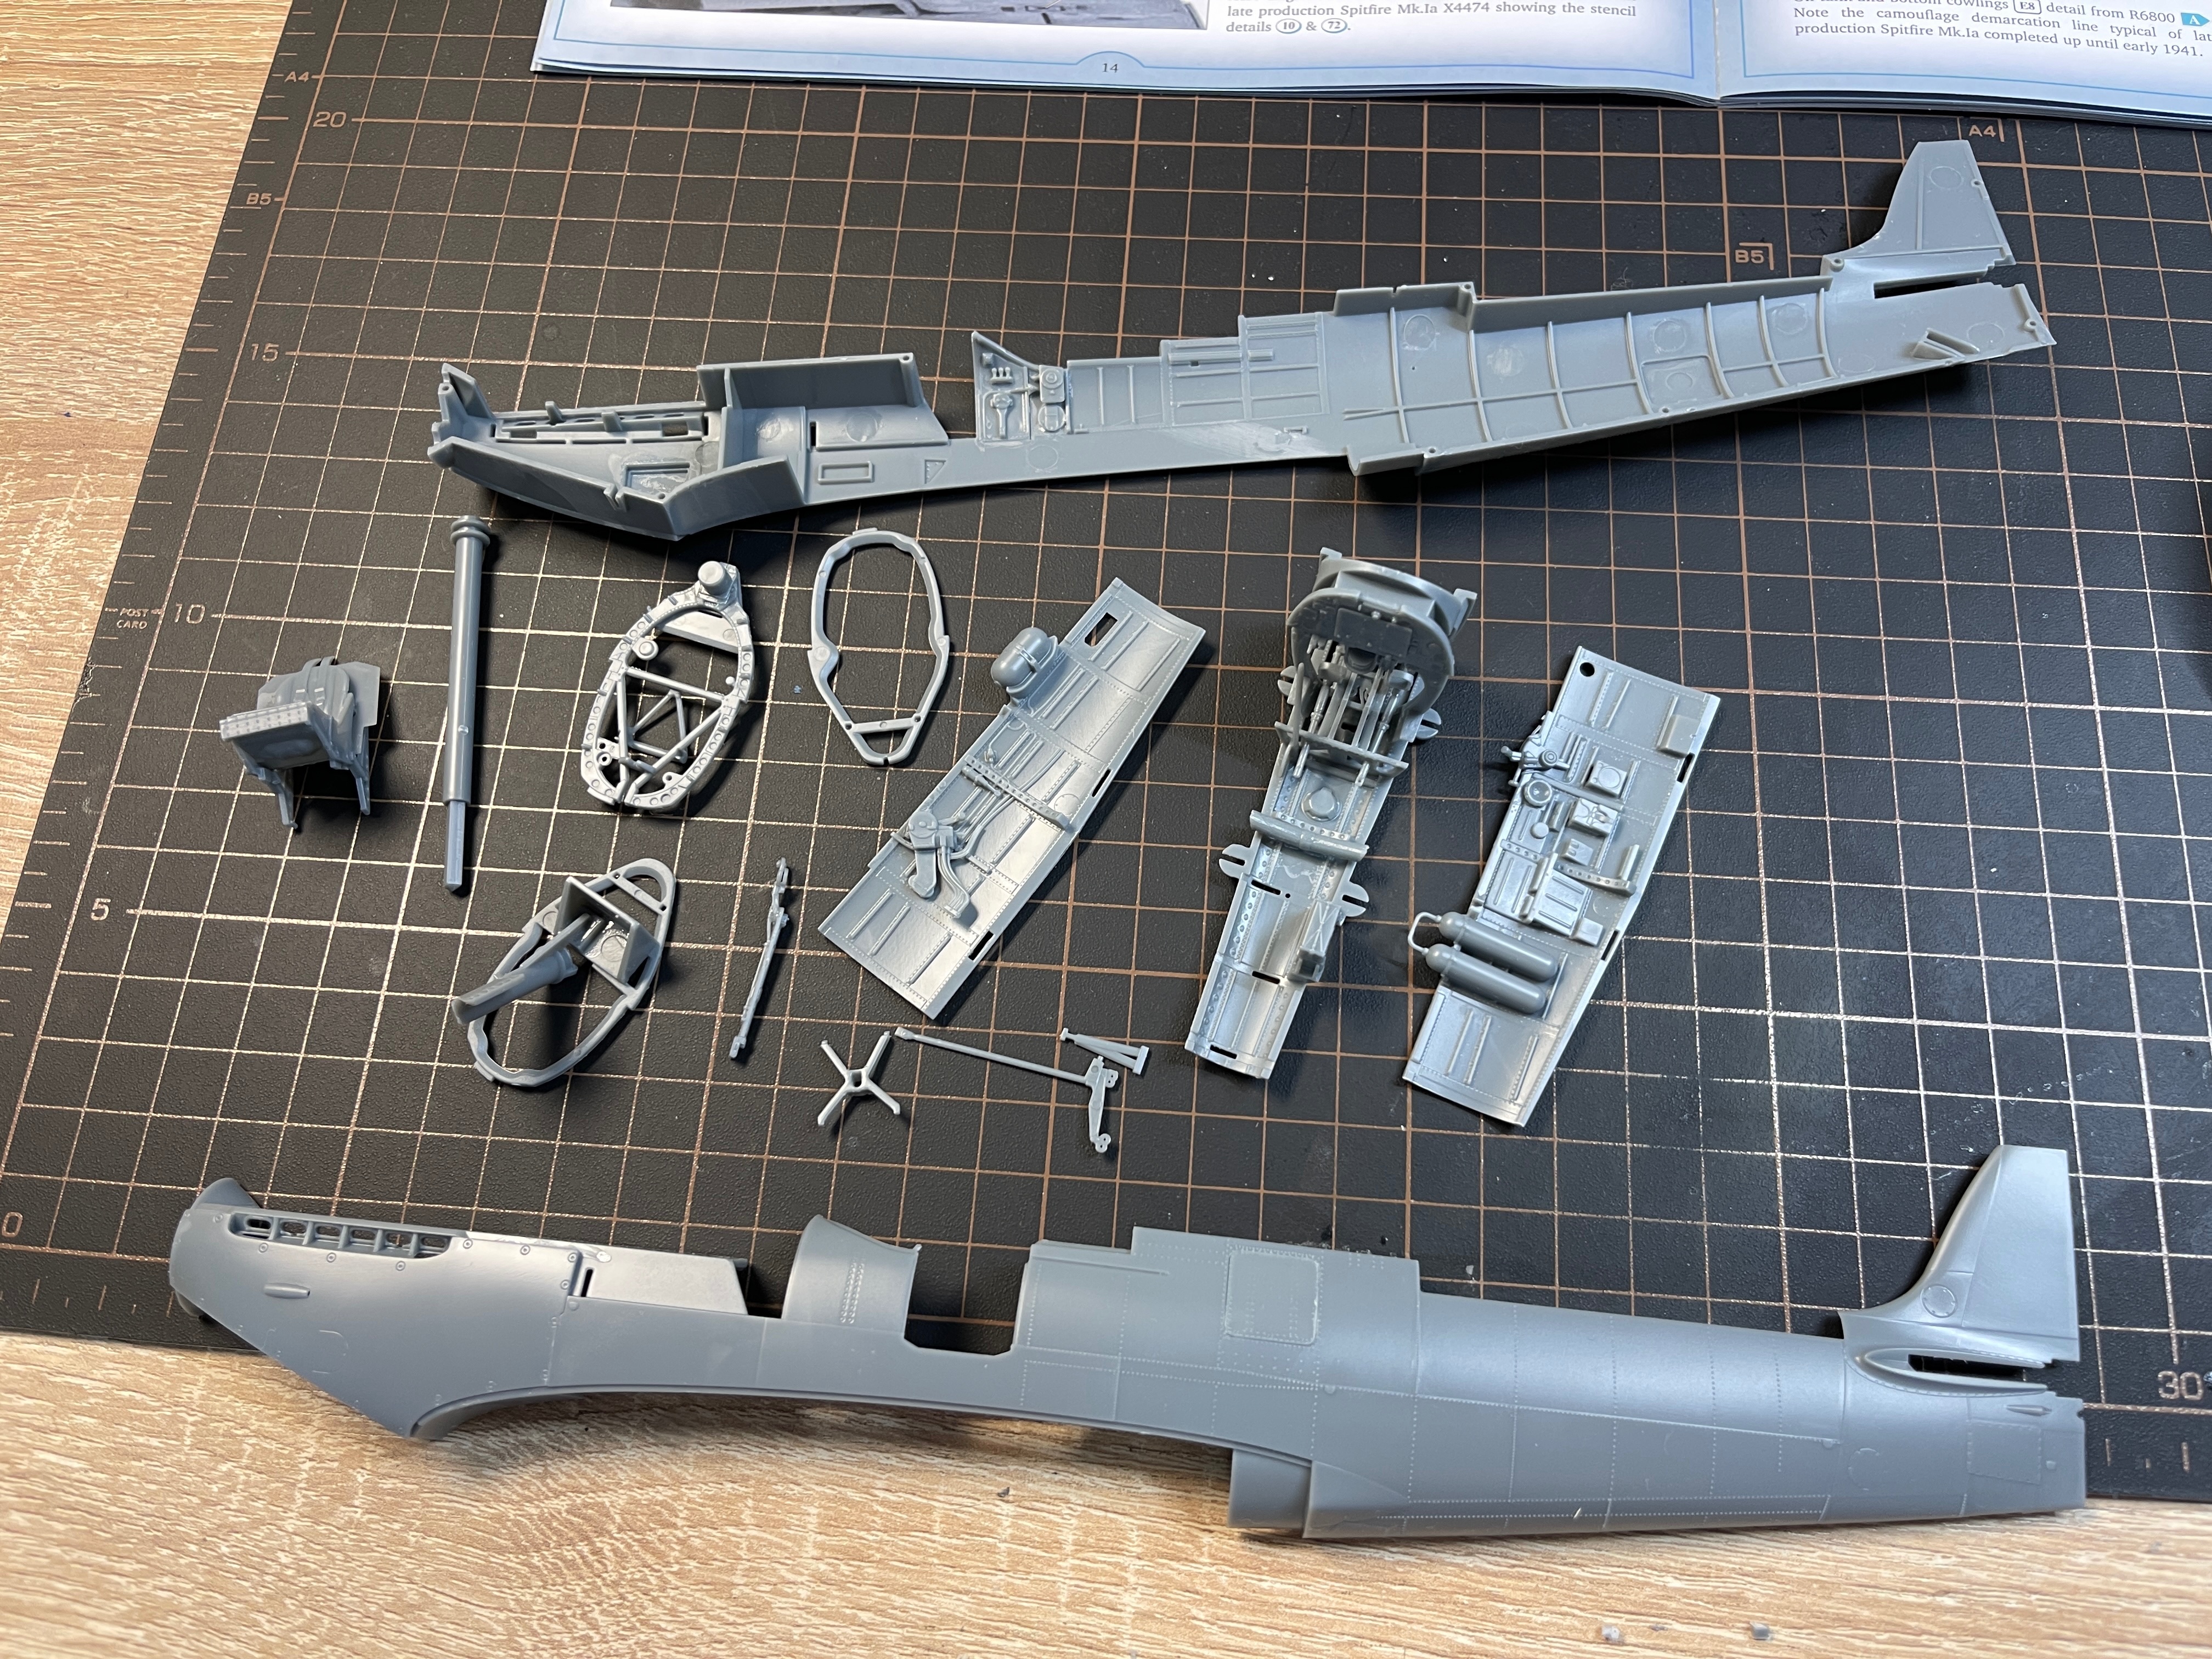
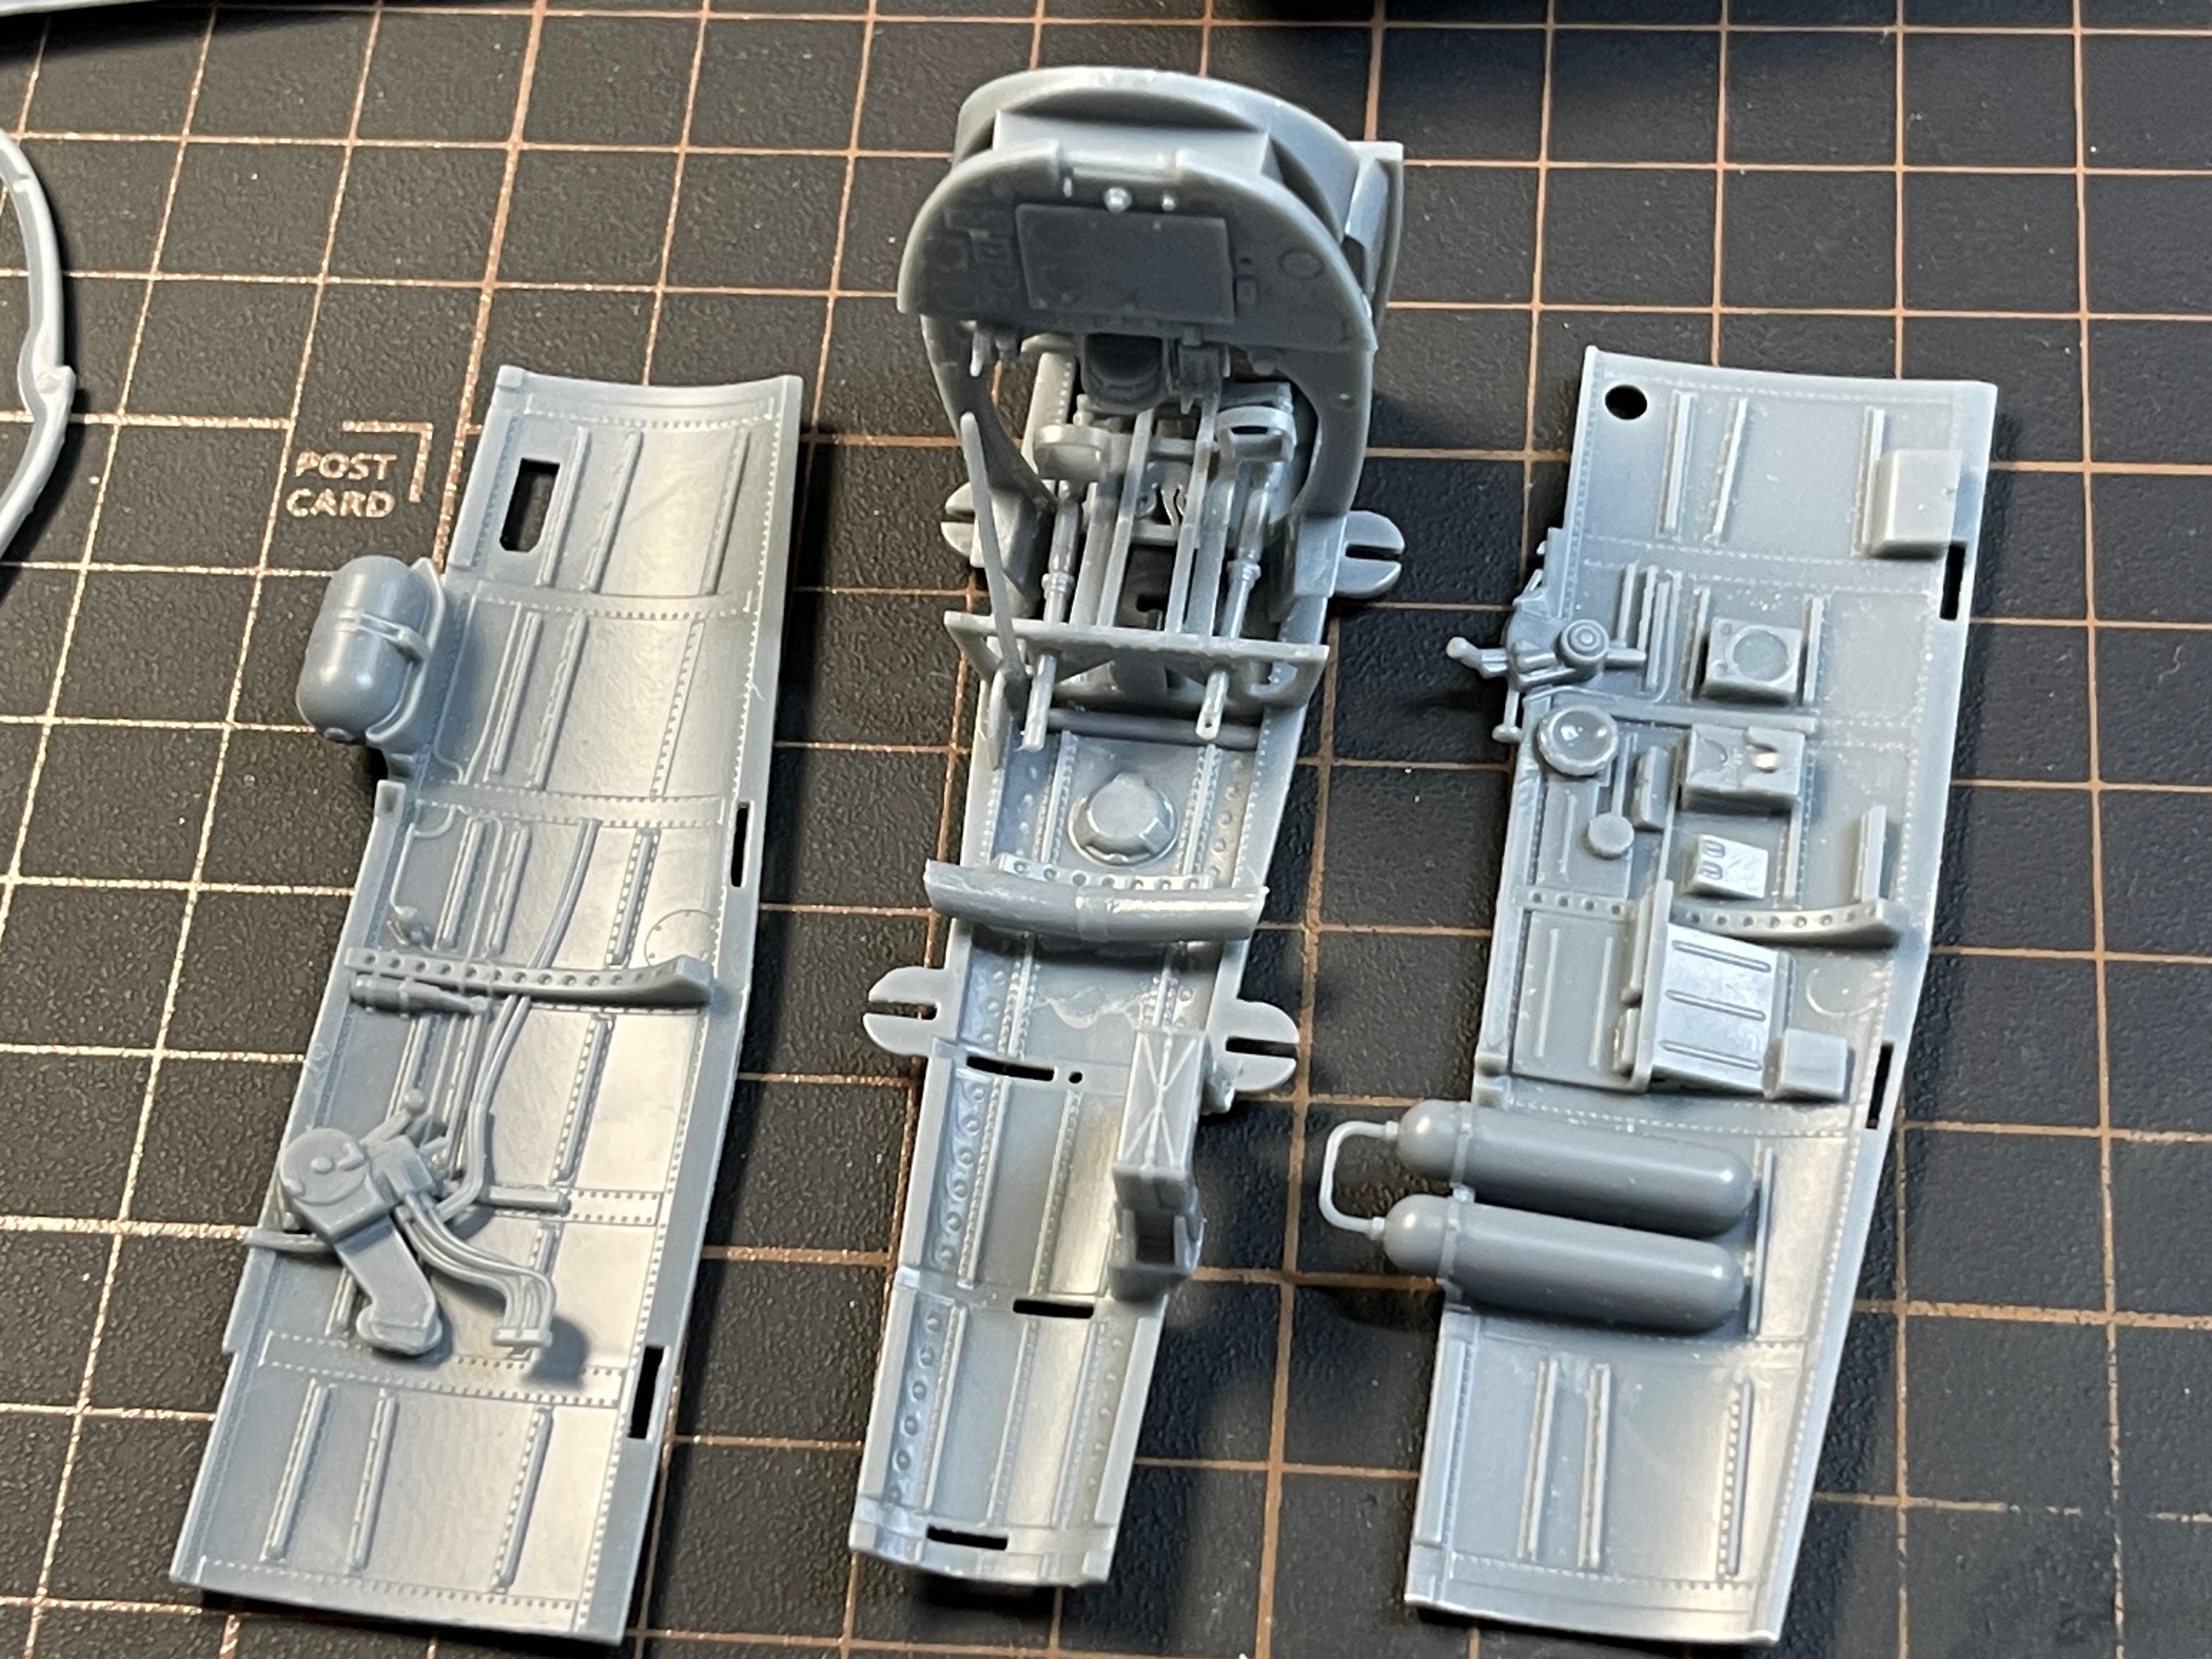
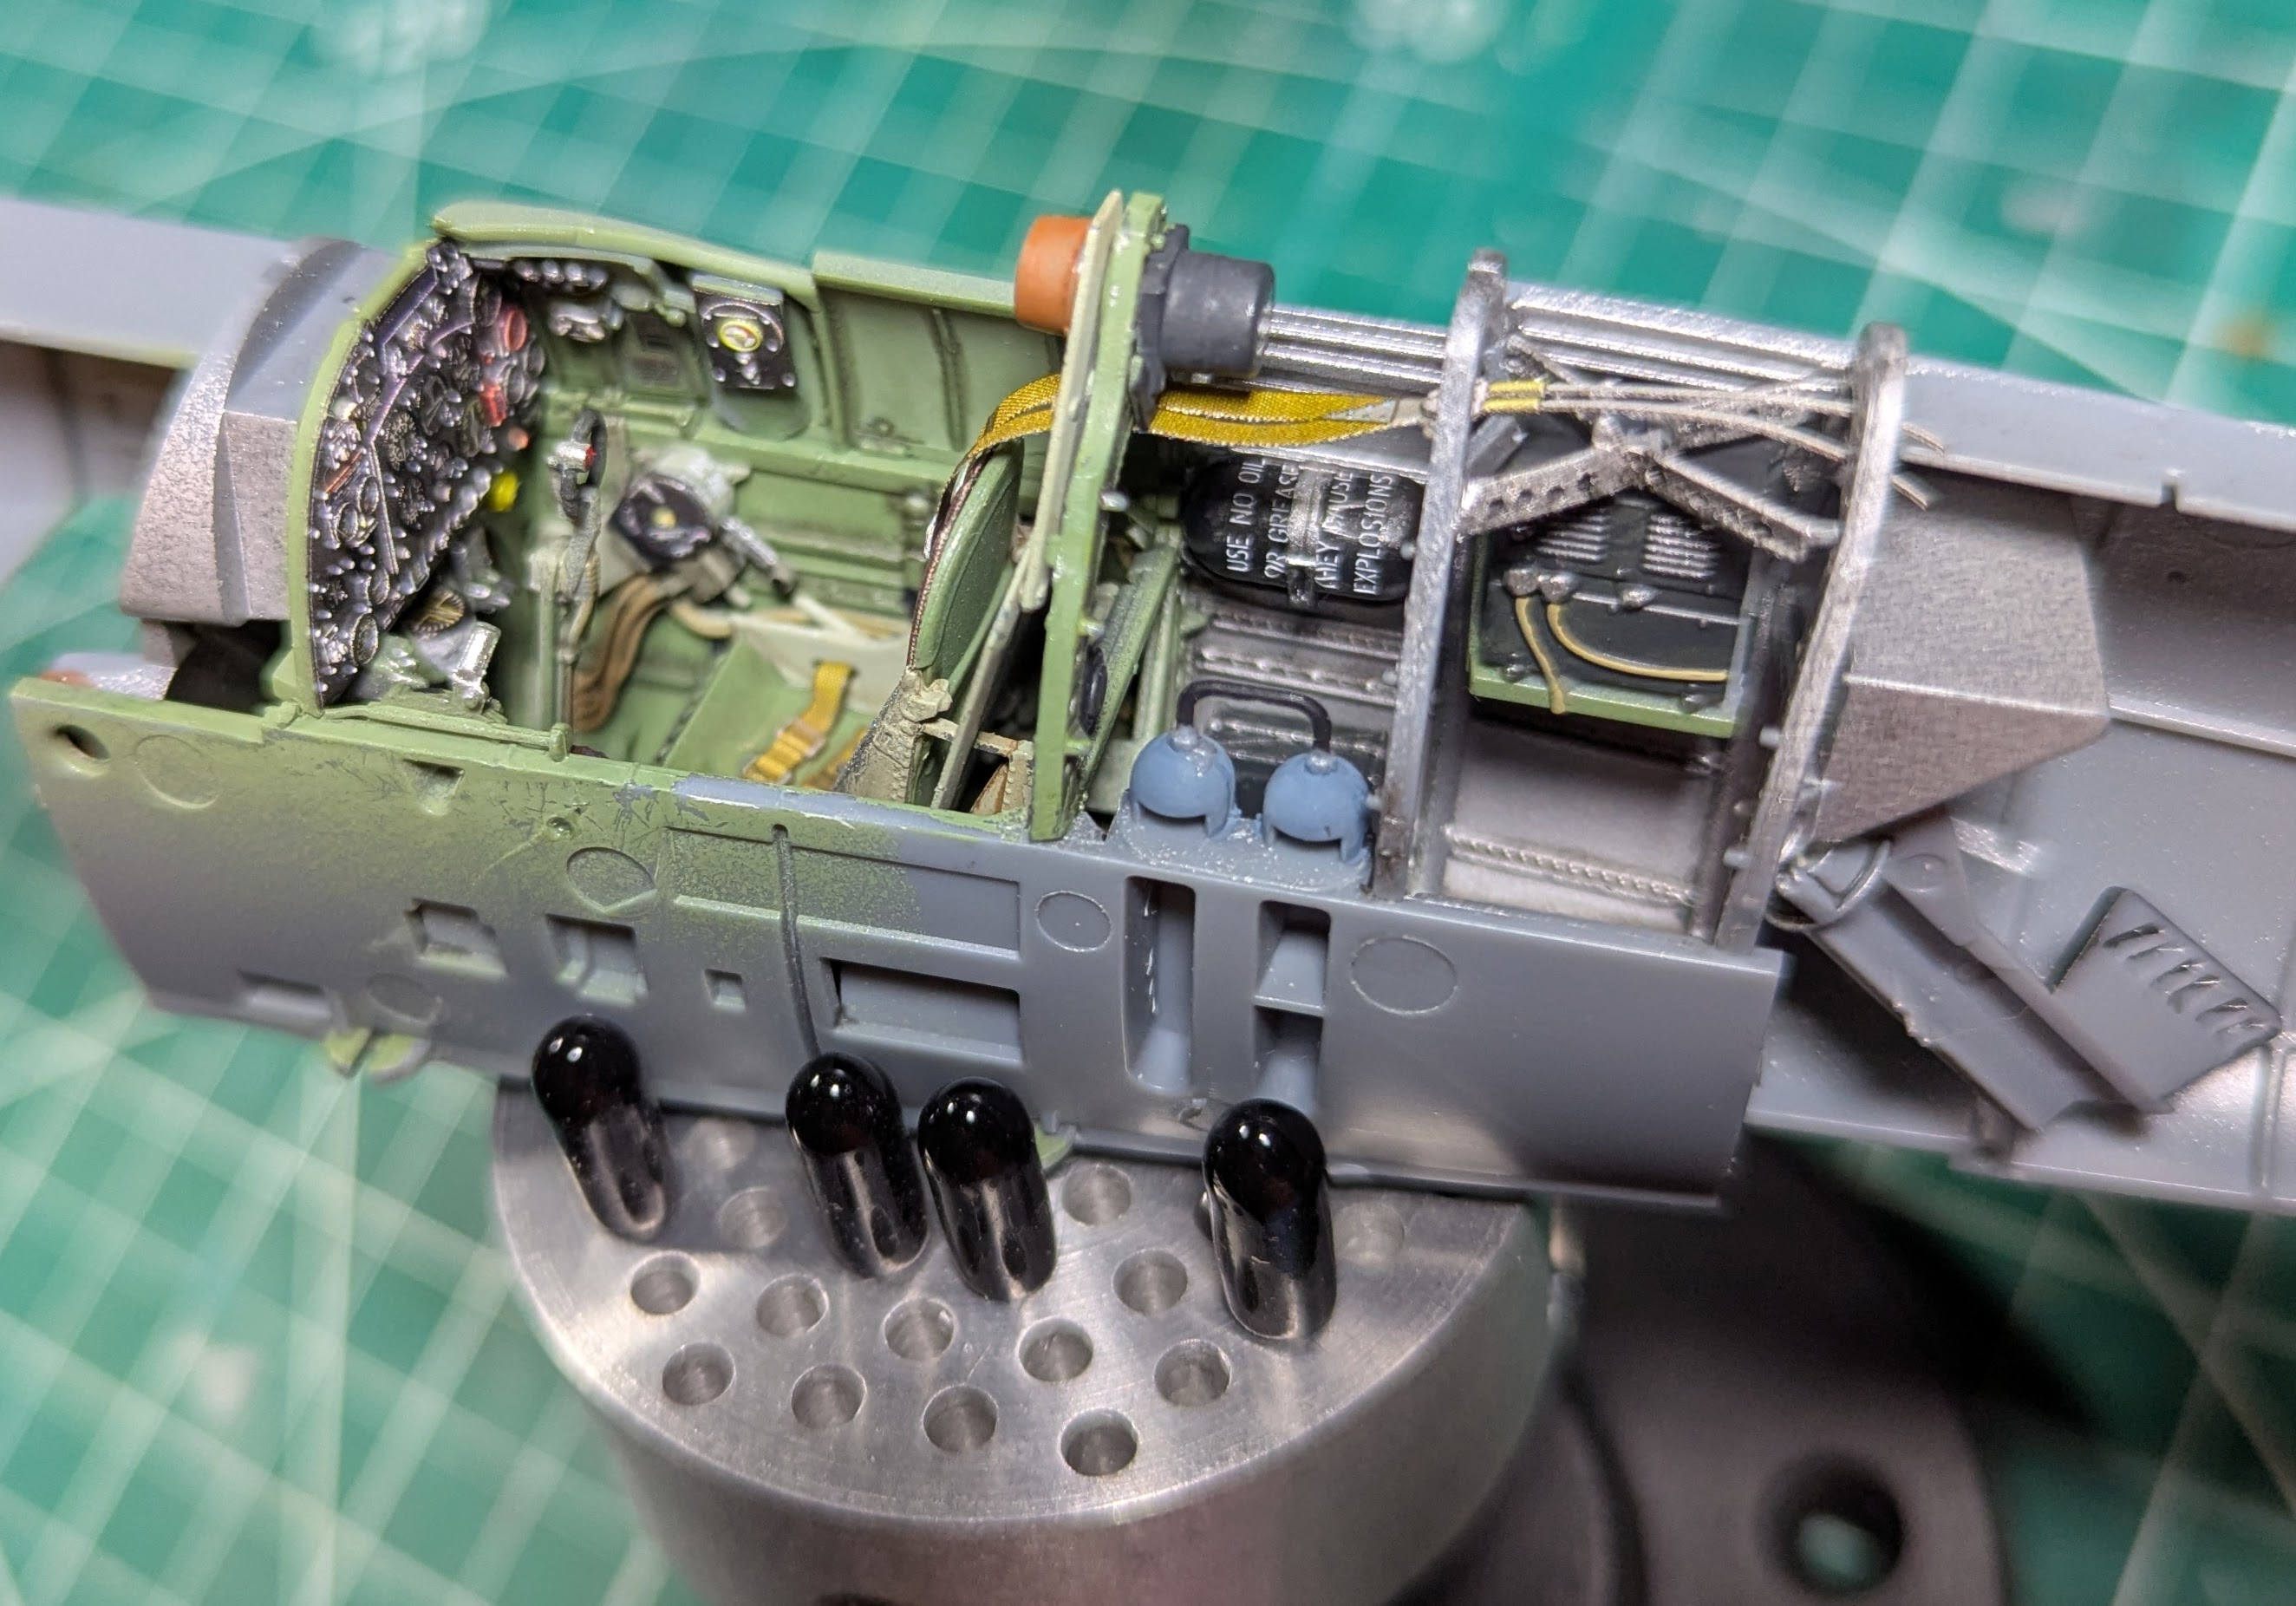
In just one day I have cleaned up the cockpit parts and put together my sub-assemblies ready to paint.

First an overview of the cockpit sub-assemblies all in their subs needed to paint.
IMG_9451.jpeg

You can see that I have also added some panels to the fuselage halves.

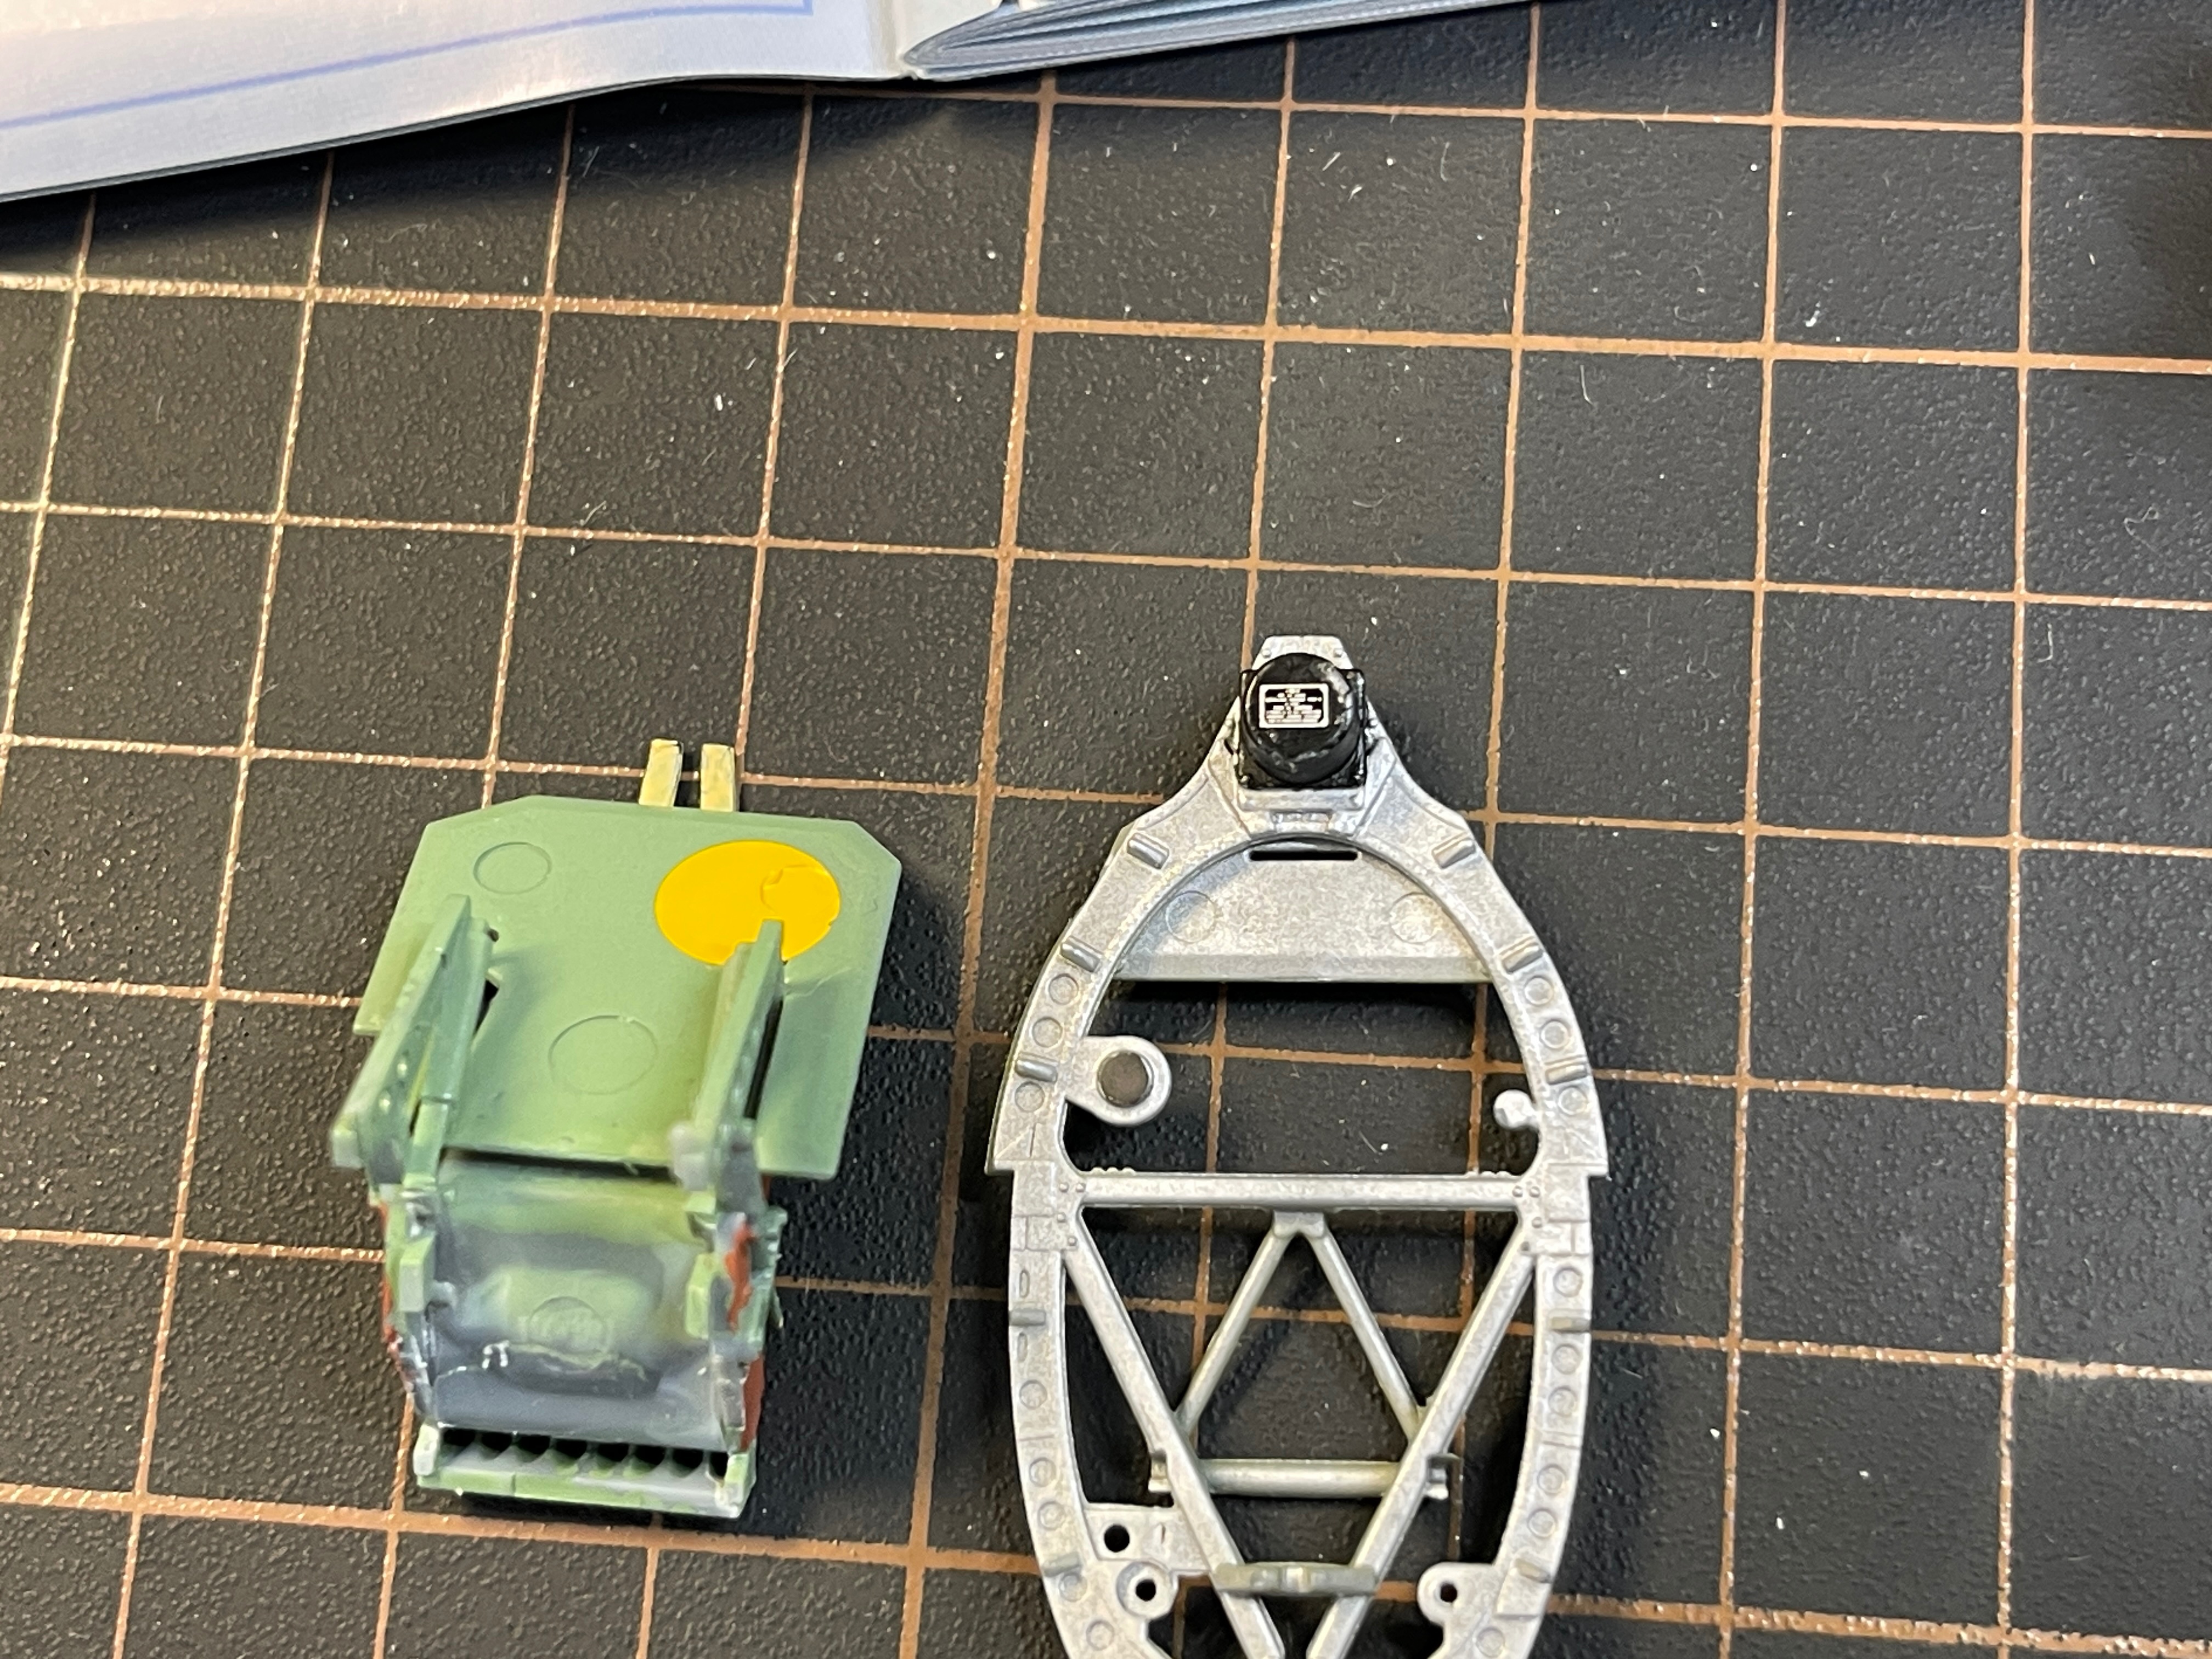
A close up of the three main cockpit subs
IMG_9452.jpeg


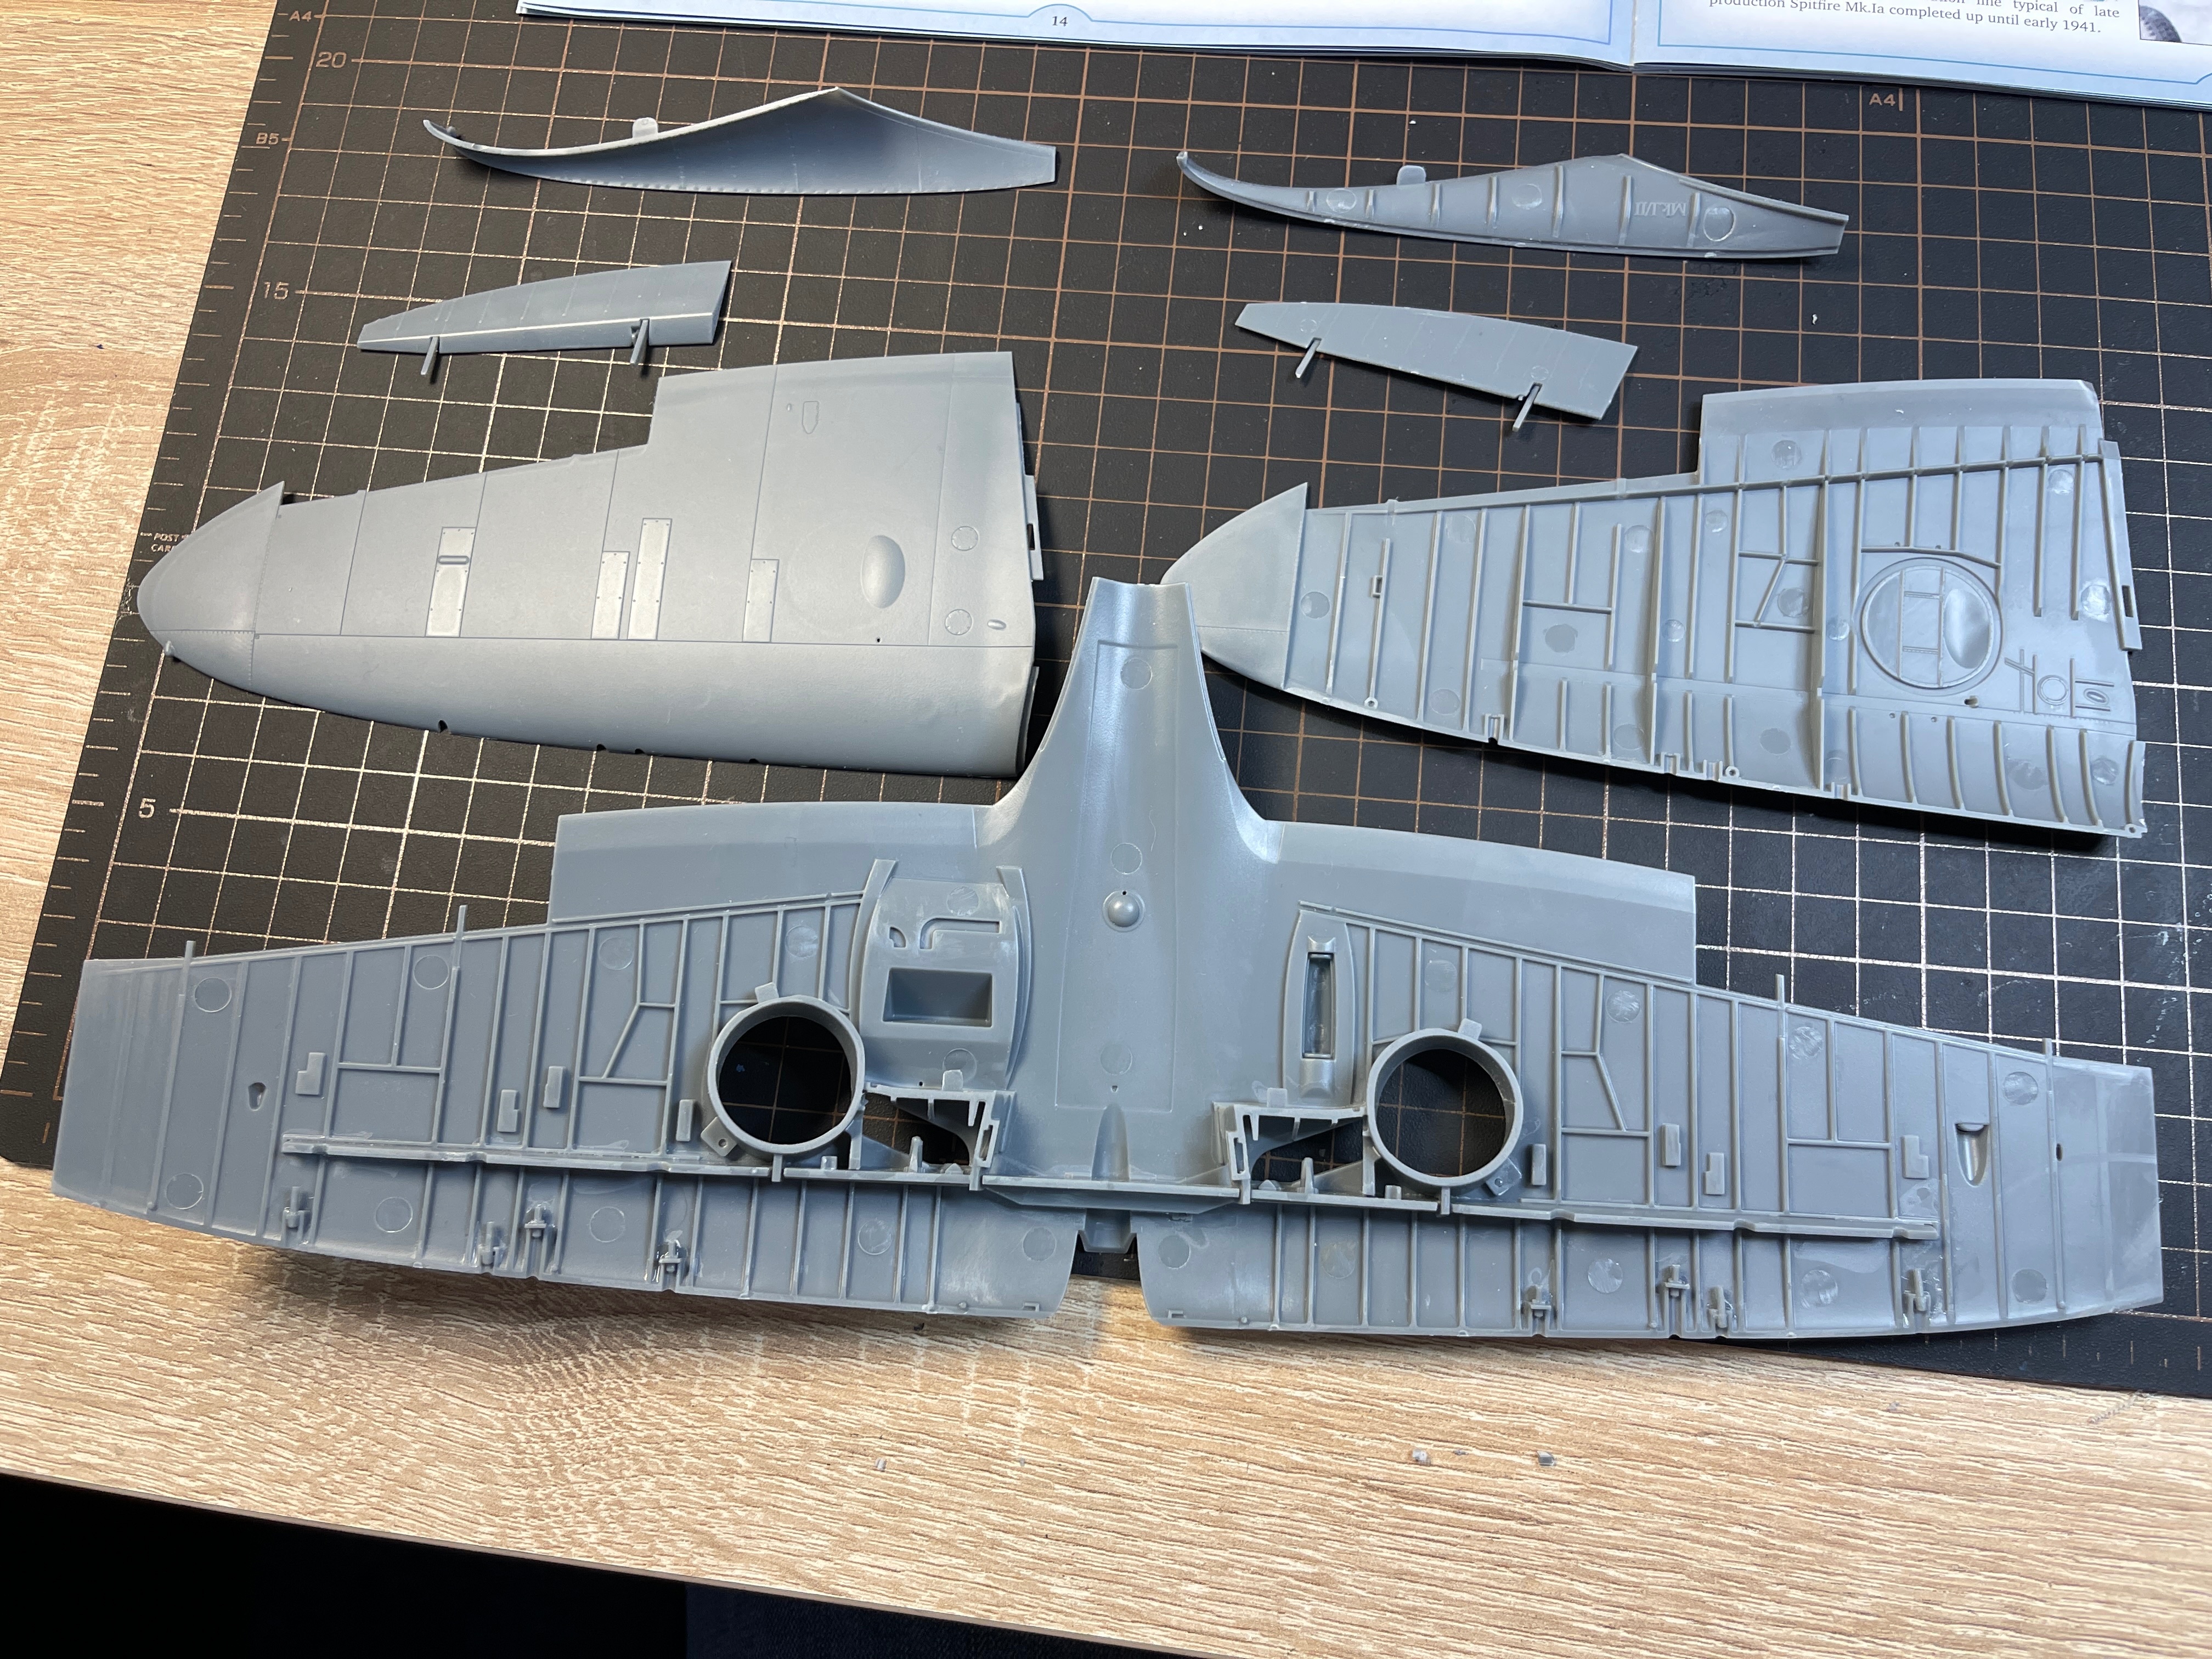
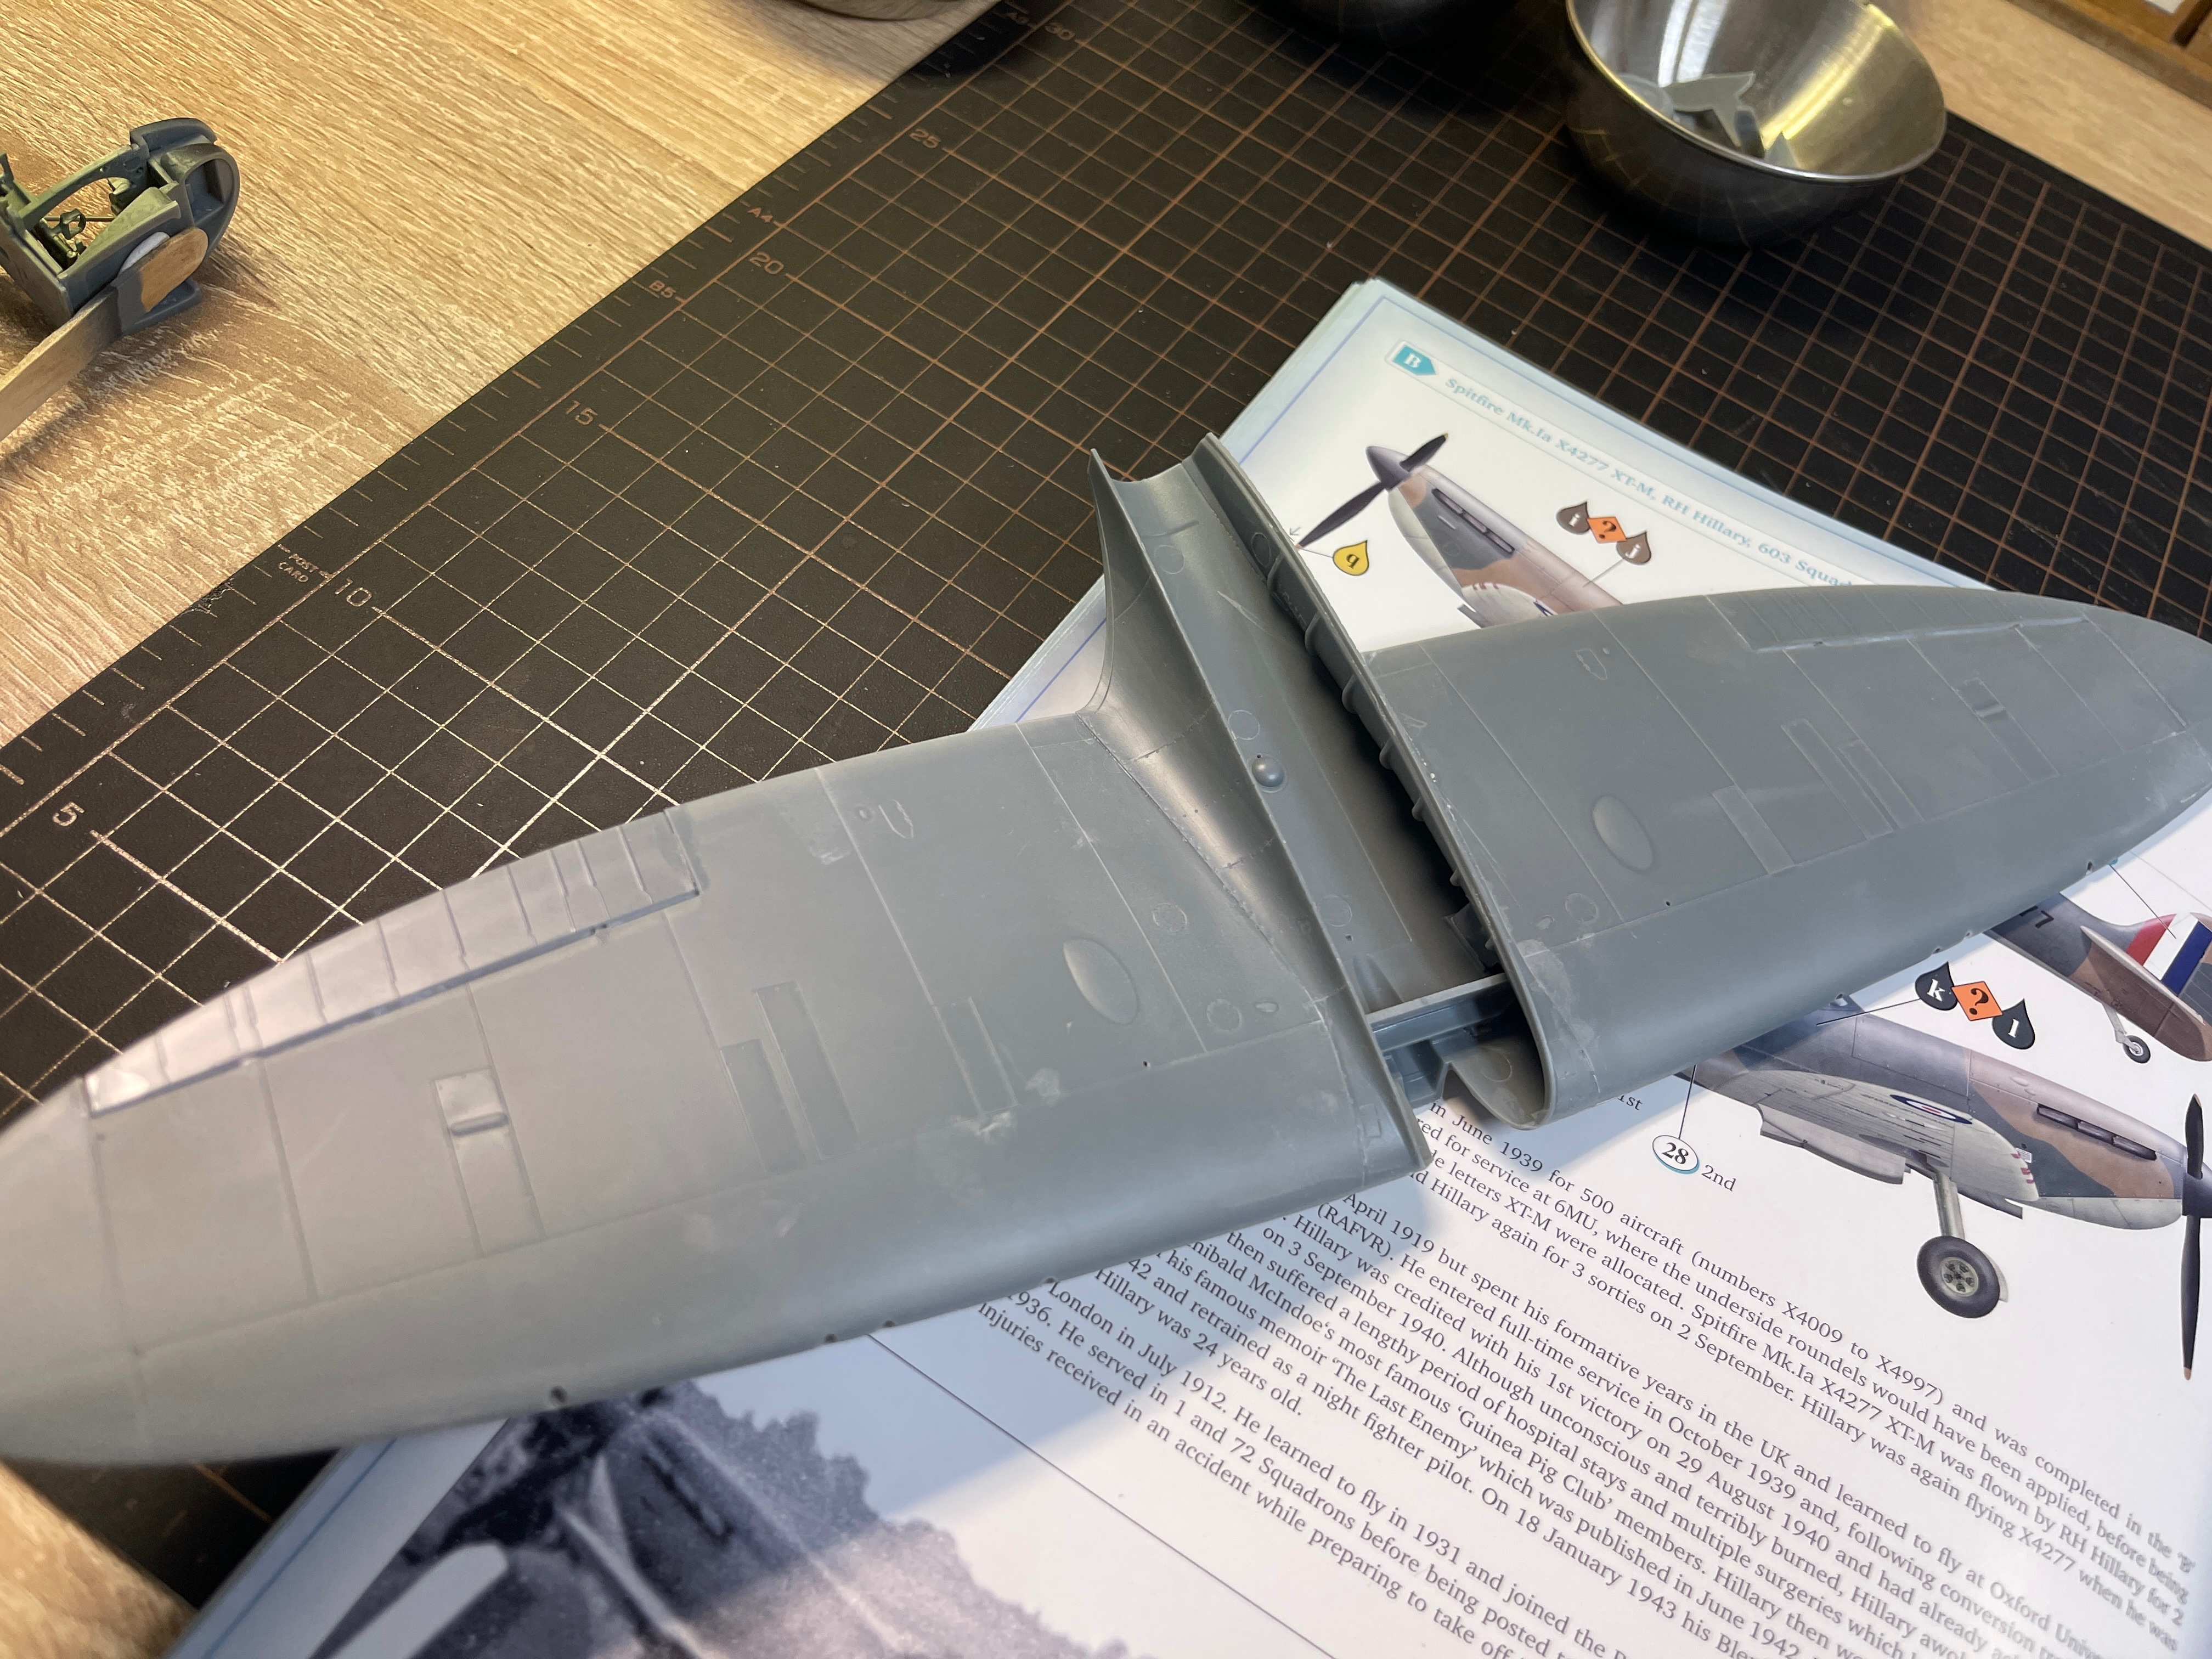
I also got in with the main wing assembly. I will attach the wing halves, wing fillets and ailerons before painting.
IMG_9453.jpeg


Fit is, of course, superlative. I will just say one thing, it is essential to remember that tolerances are tight so it's more important than ever to make sure parts are properly cleaned up. Any excess plastic will come back to bite you. Also dry fitting is essential. If something doesn't fit it's your own fault.
 
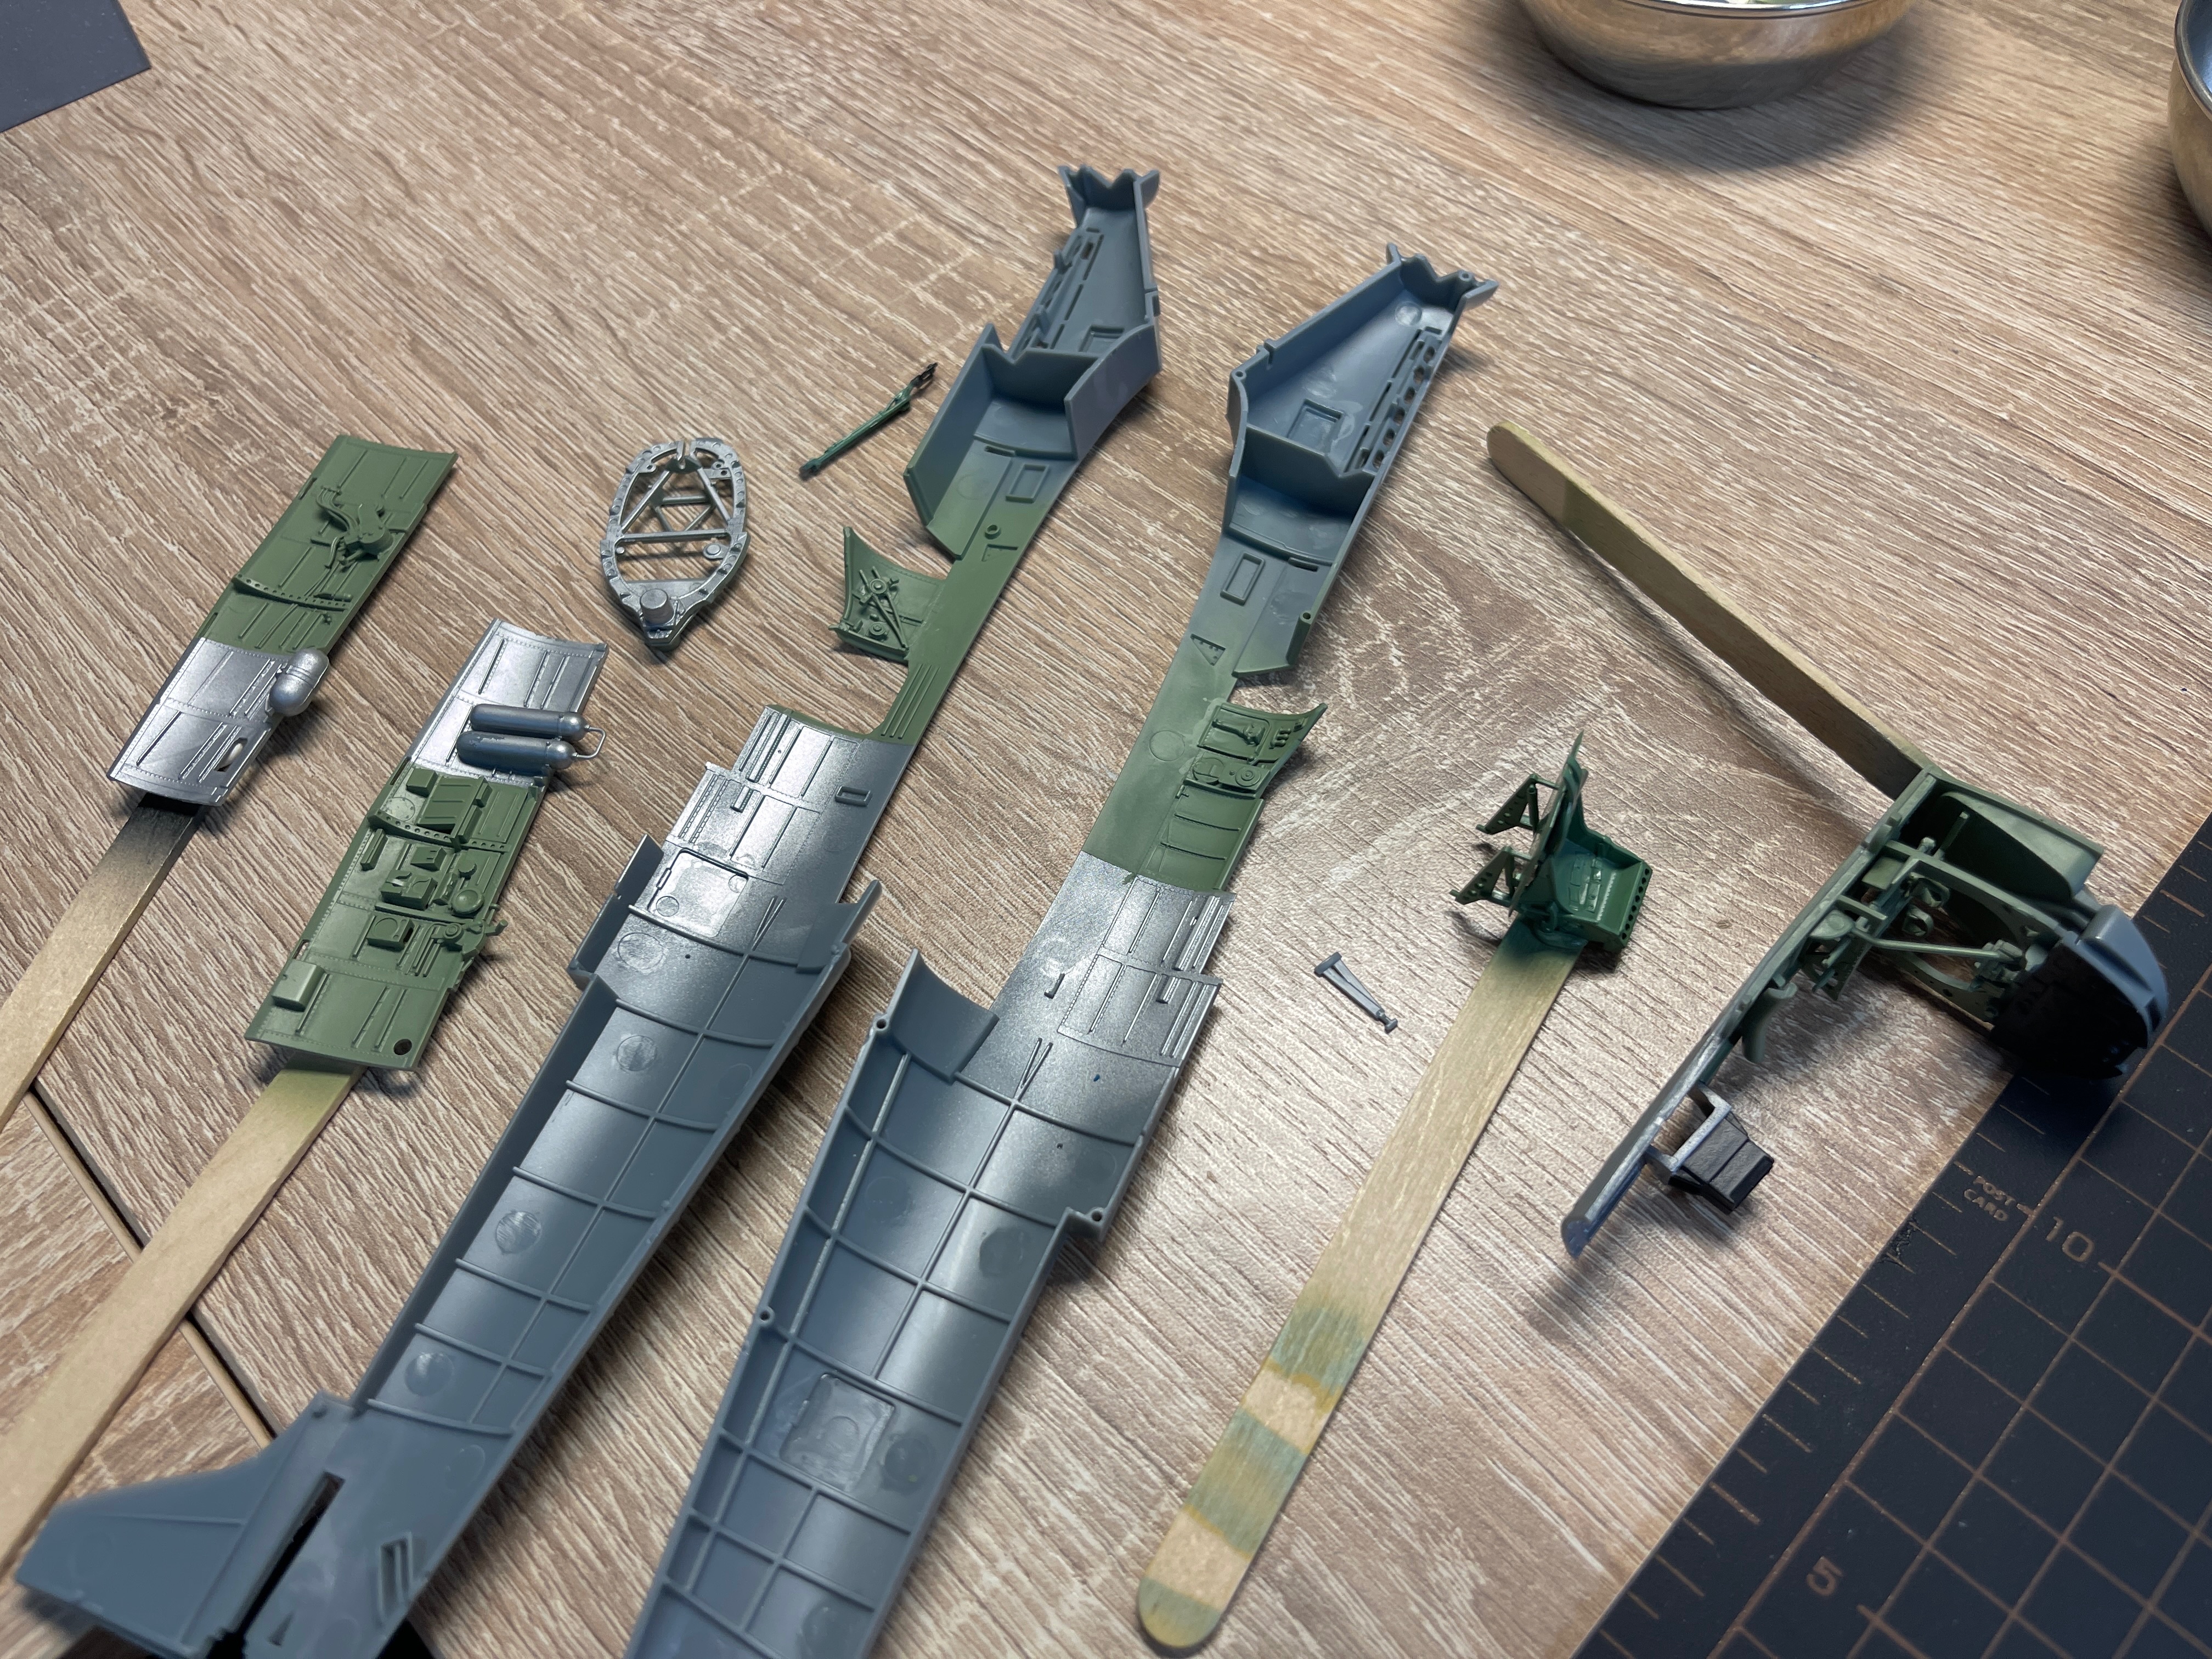
I have got on with the painting, just airbrushing so far. Mostly on the cockpit part but I have sprayed a few other components as well.

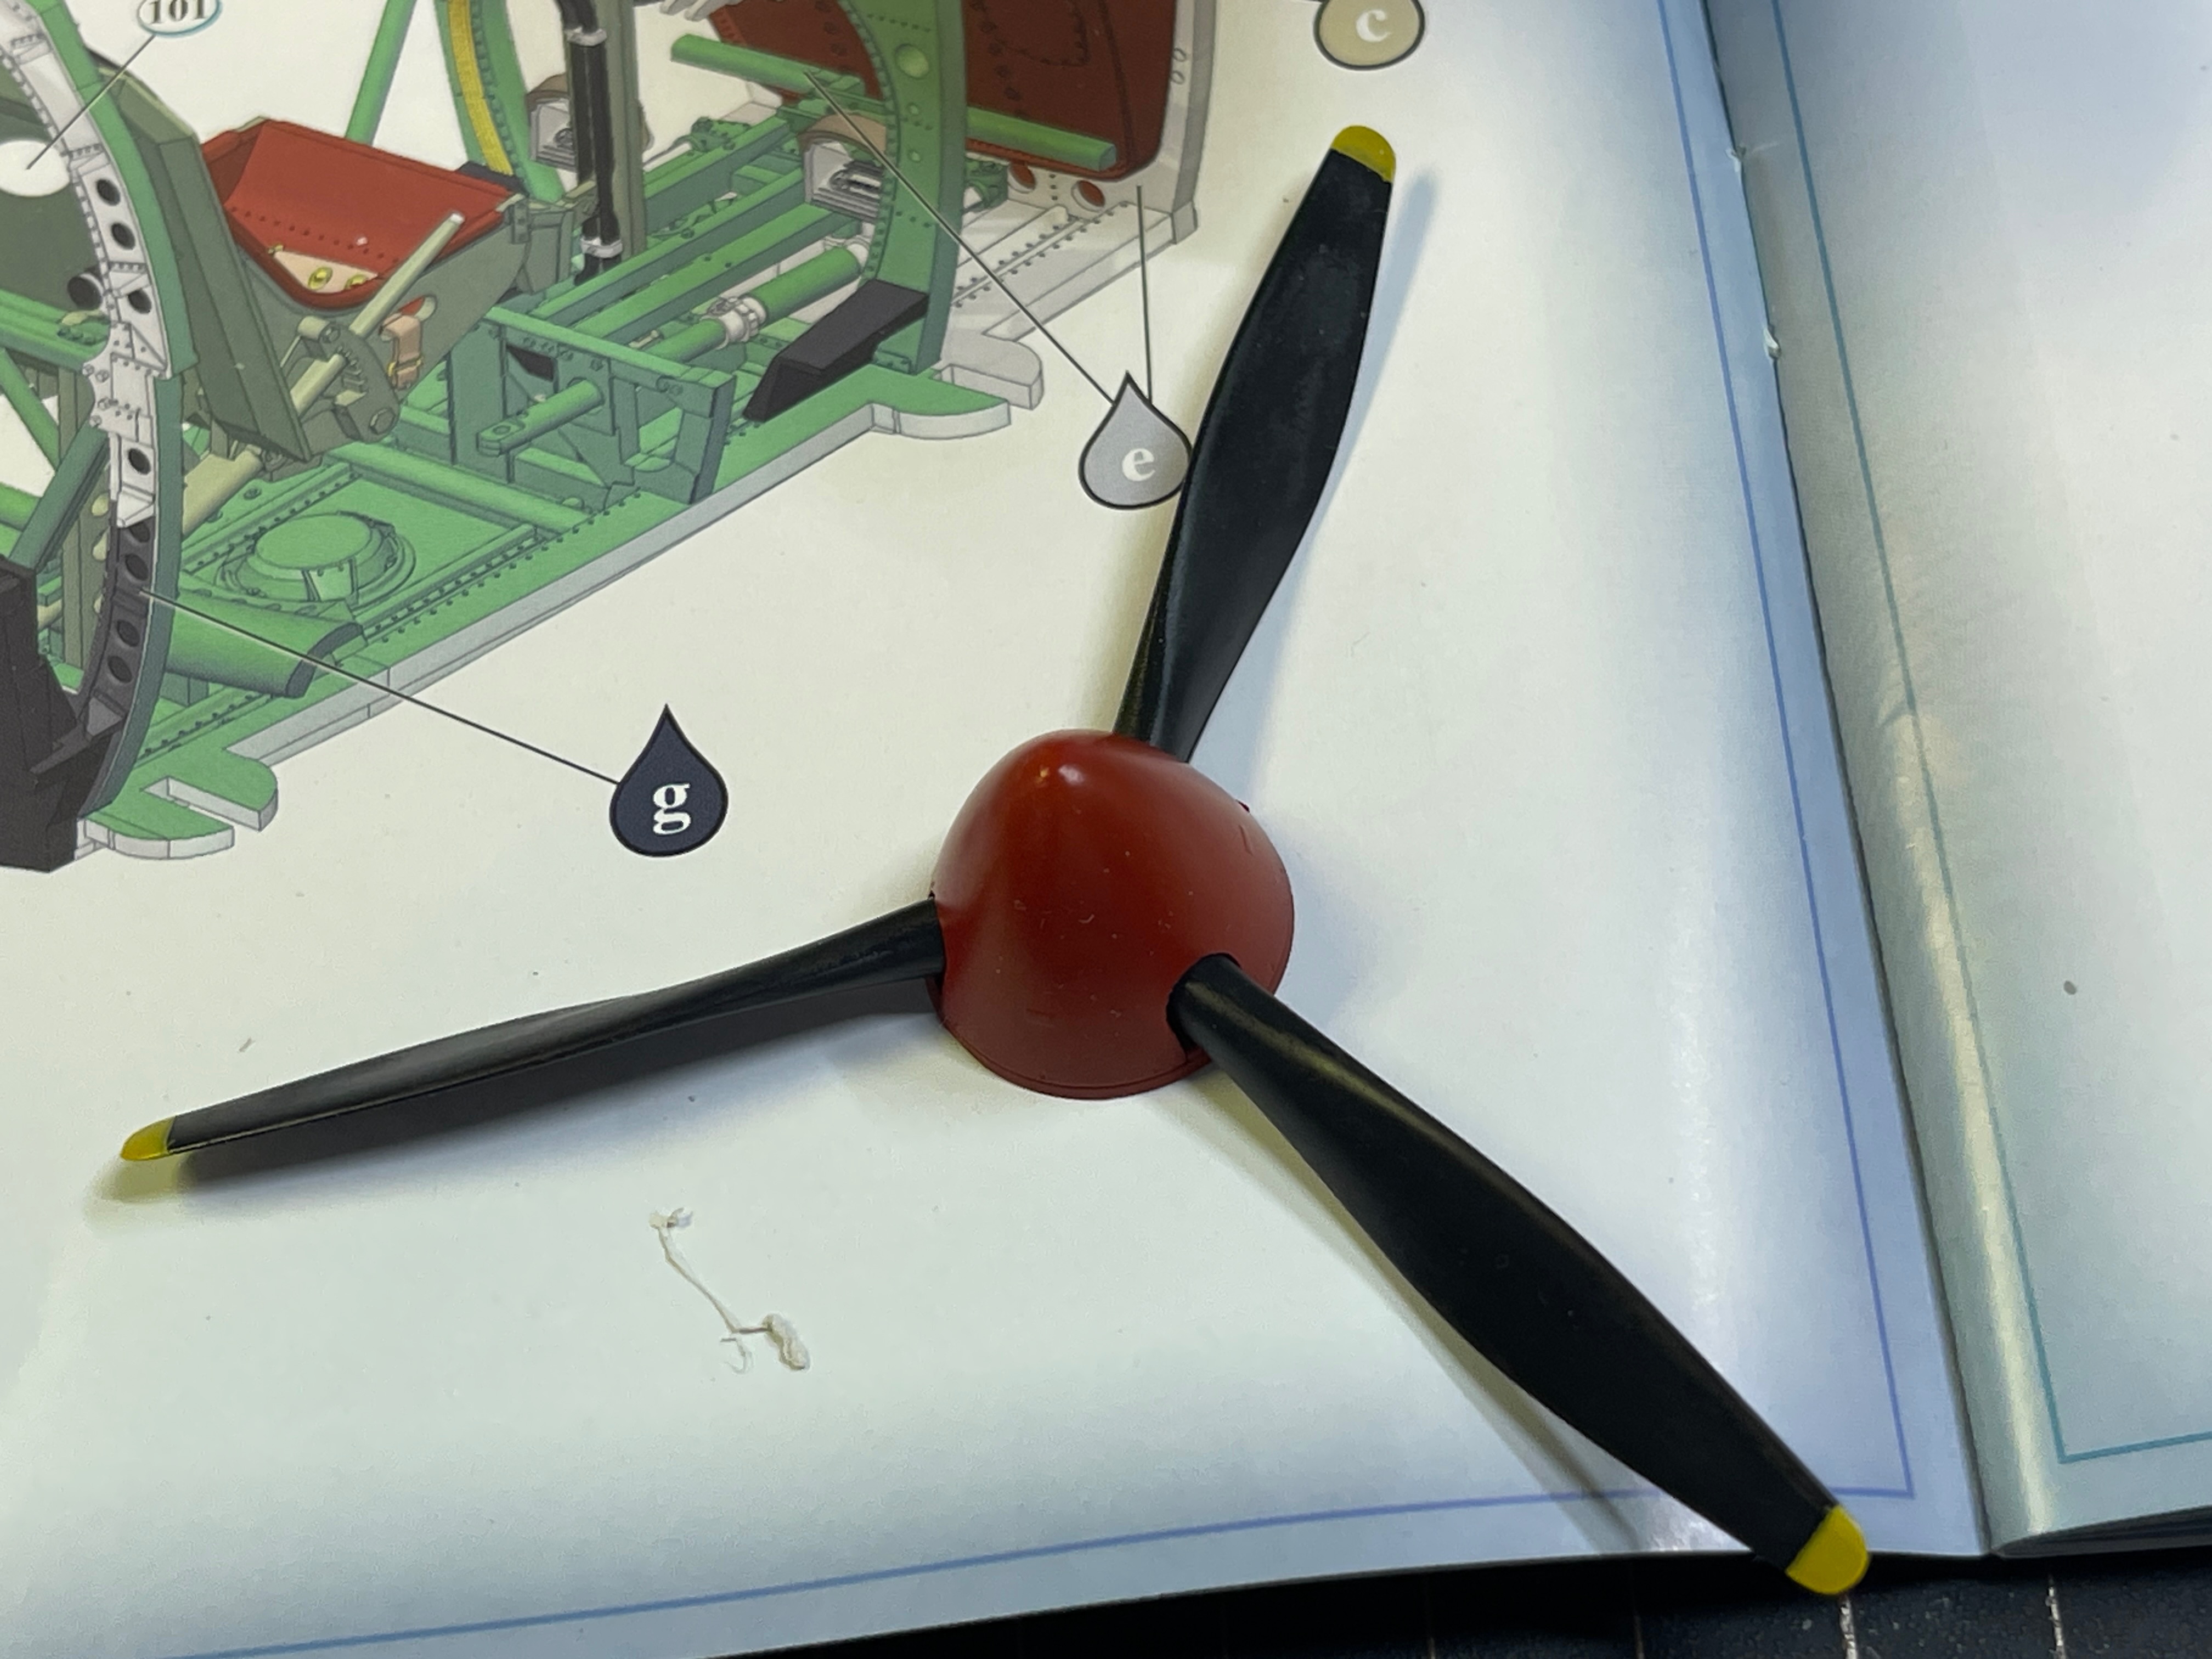
The prop and distinctive red spinner
IMG_9455.jpeg

The cockpit subs
IMG_9458.jpeg

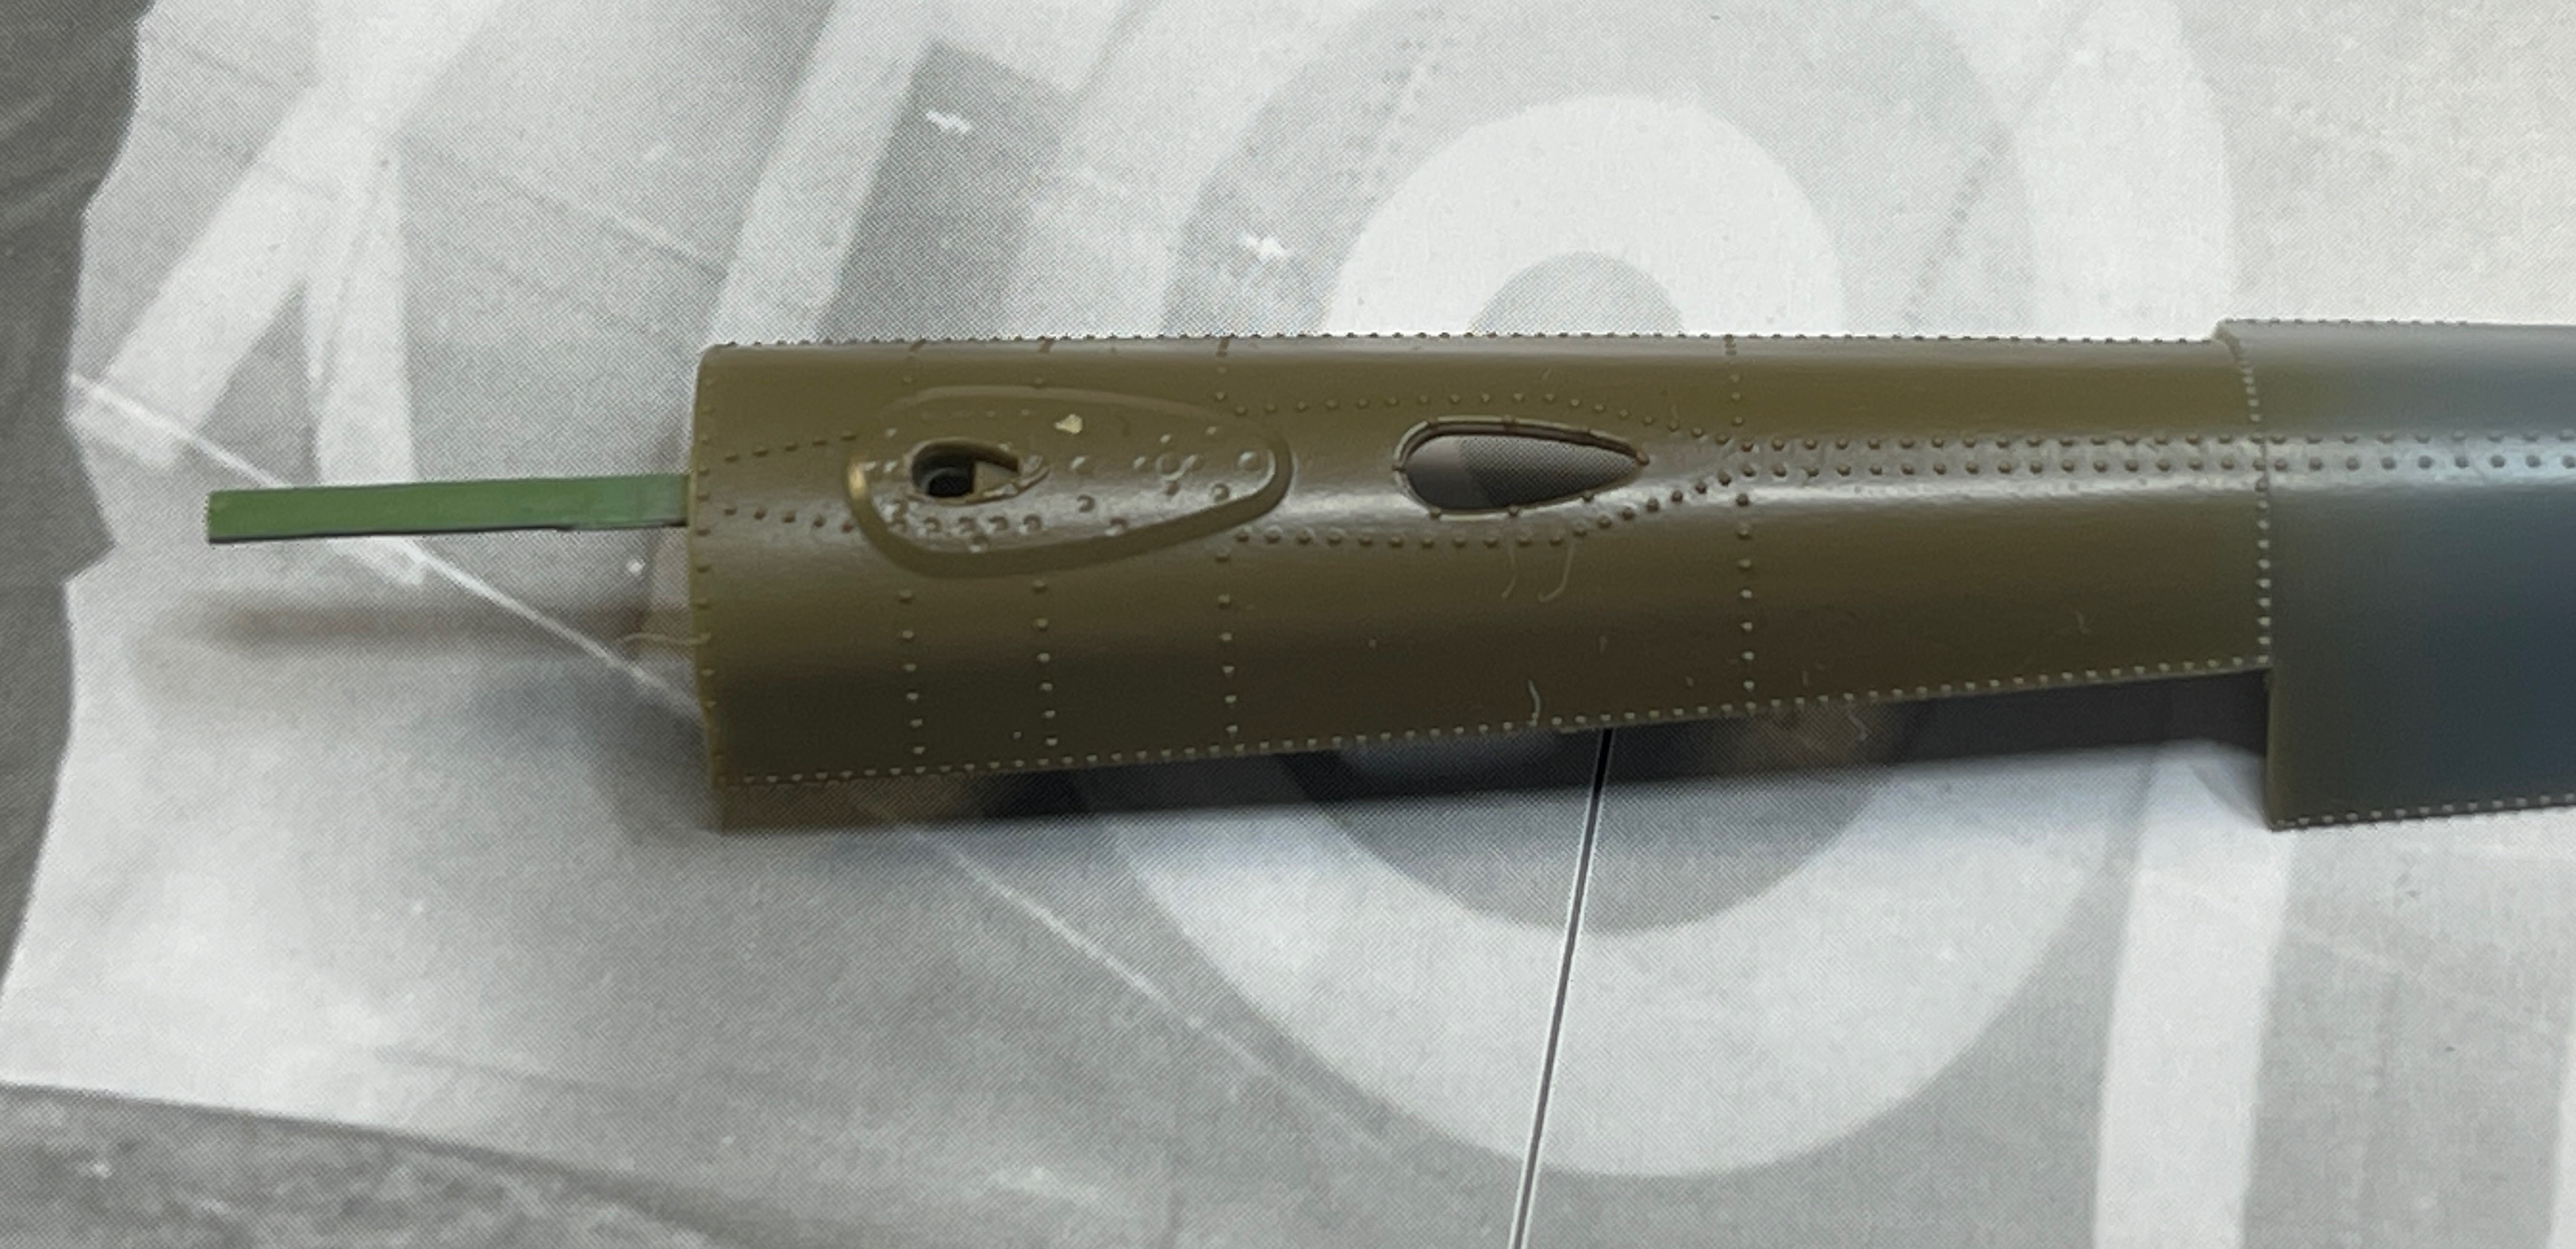
I sprayed the top insert dark Earth around the upper signal light as it makes it easier to mask it.
IMG_9459.jpeg

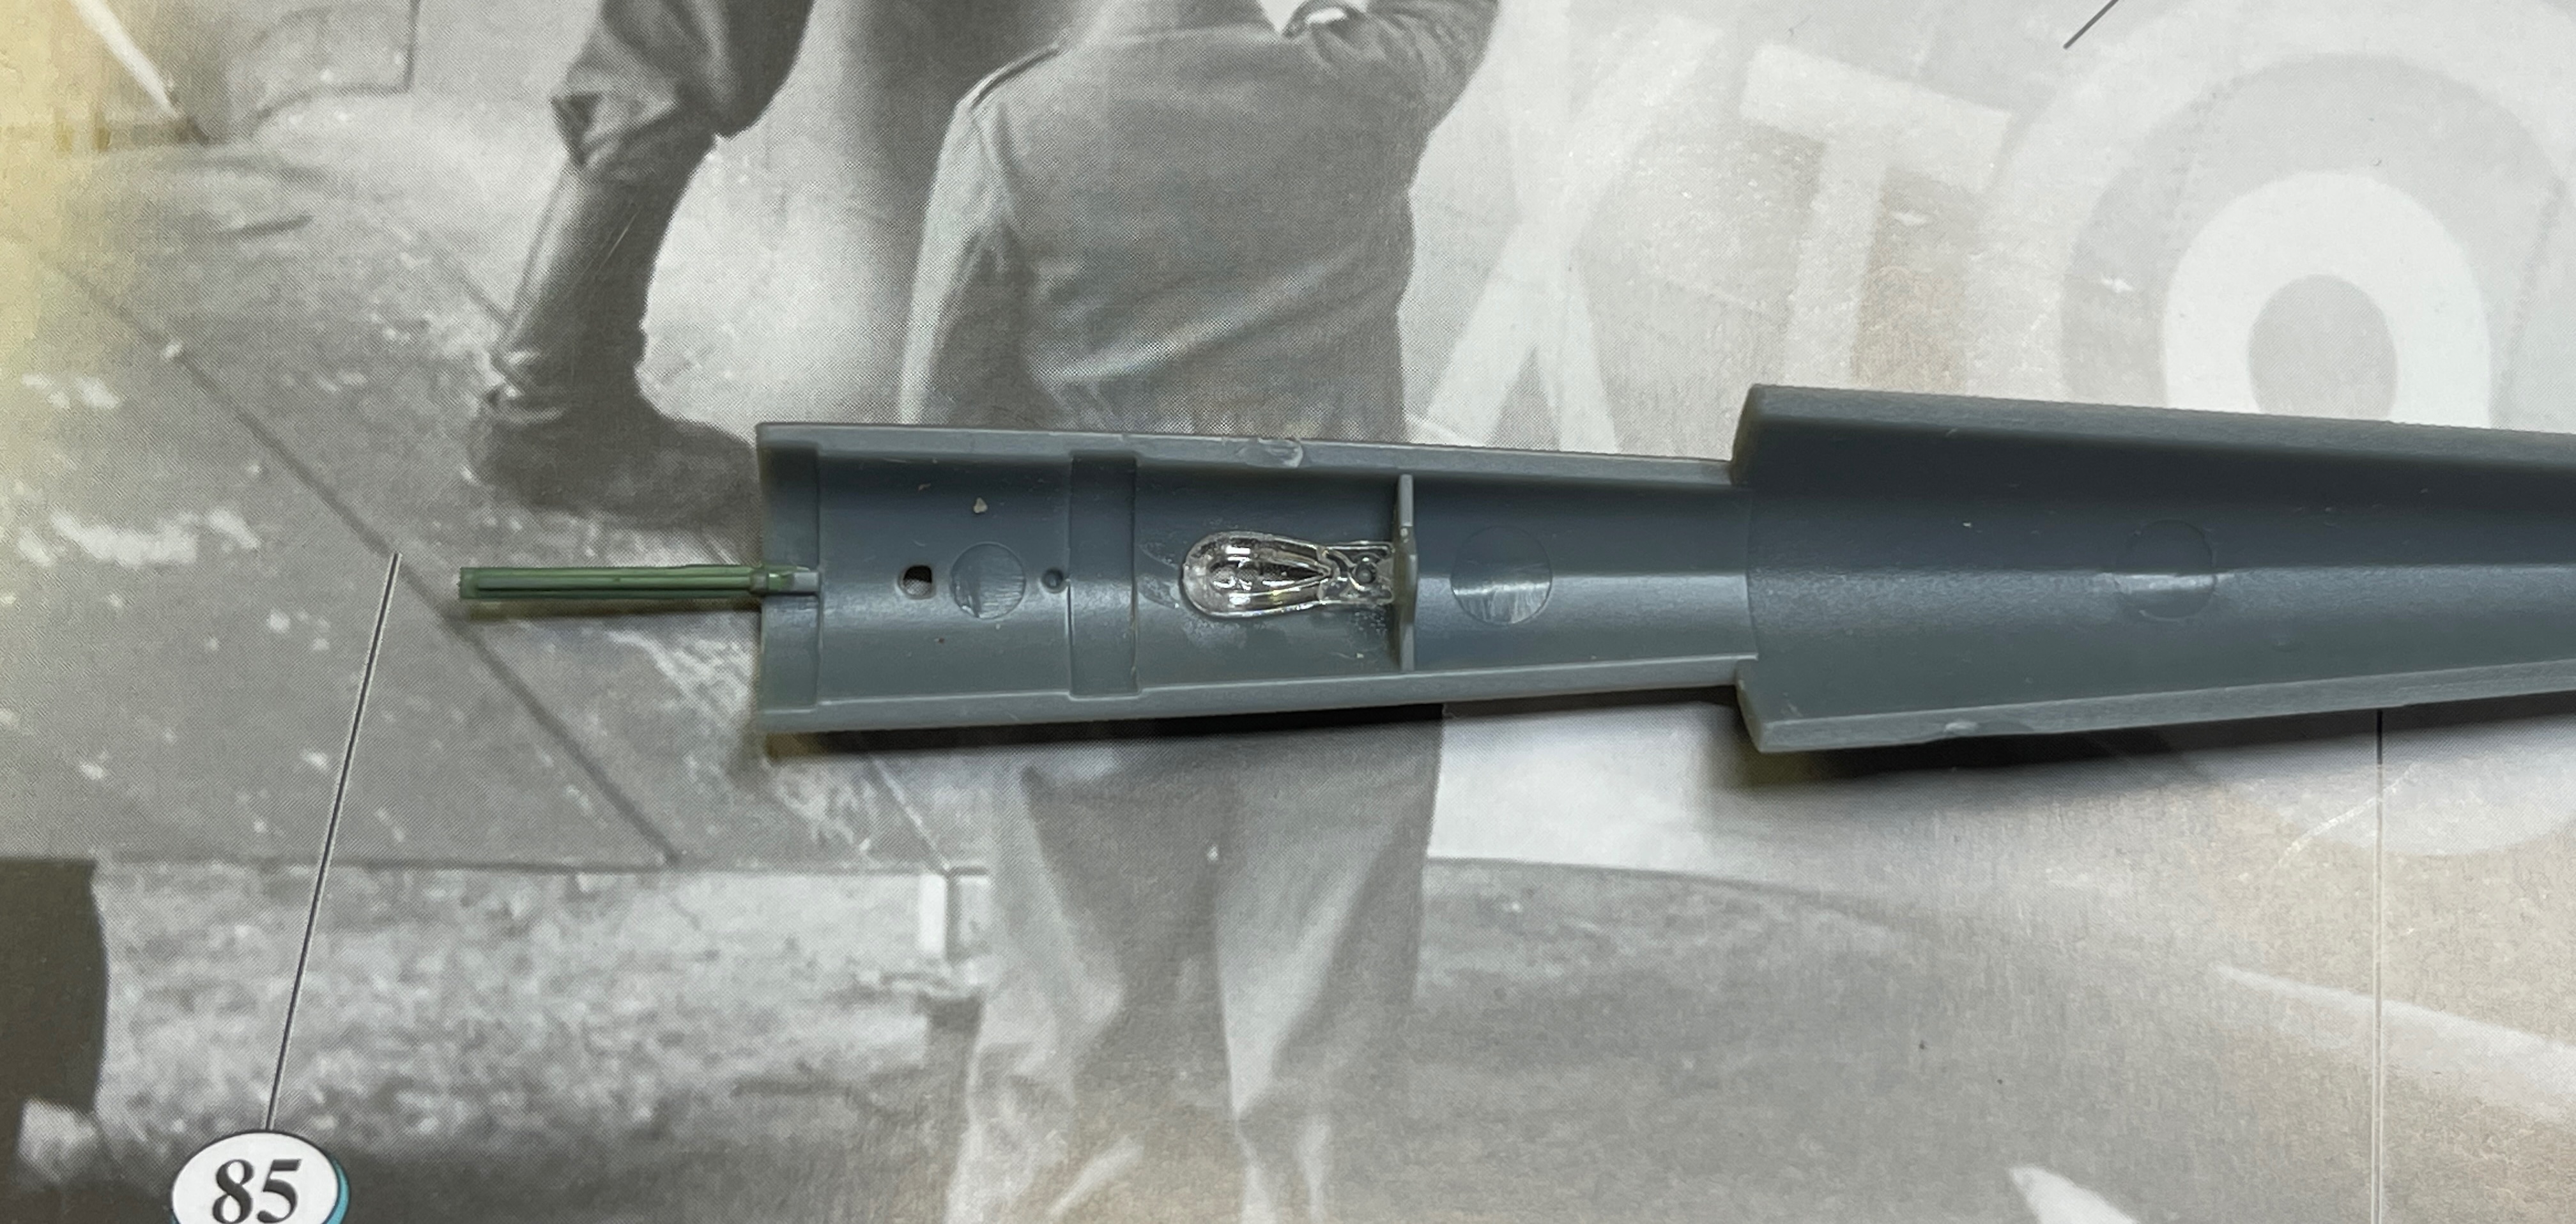
Below you can see how I inserted it from the bottom after spraying the top.
IMG_9463.jpeg

It will be easy to mask it with liquid mask.

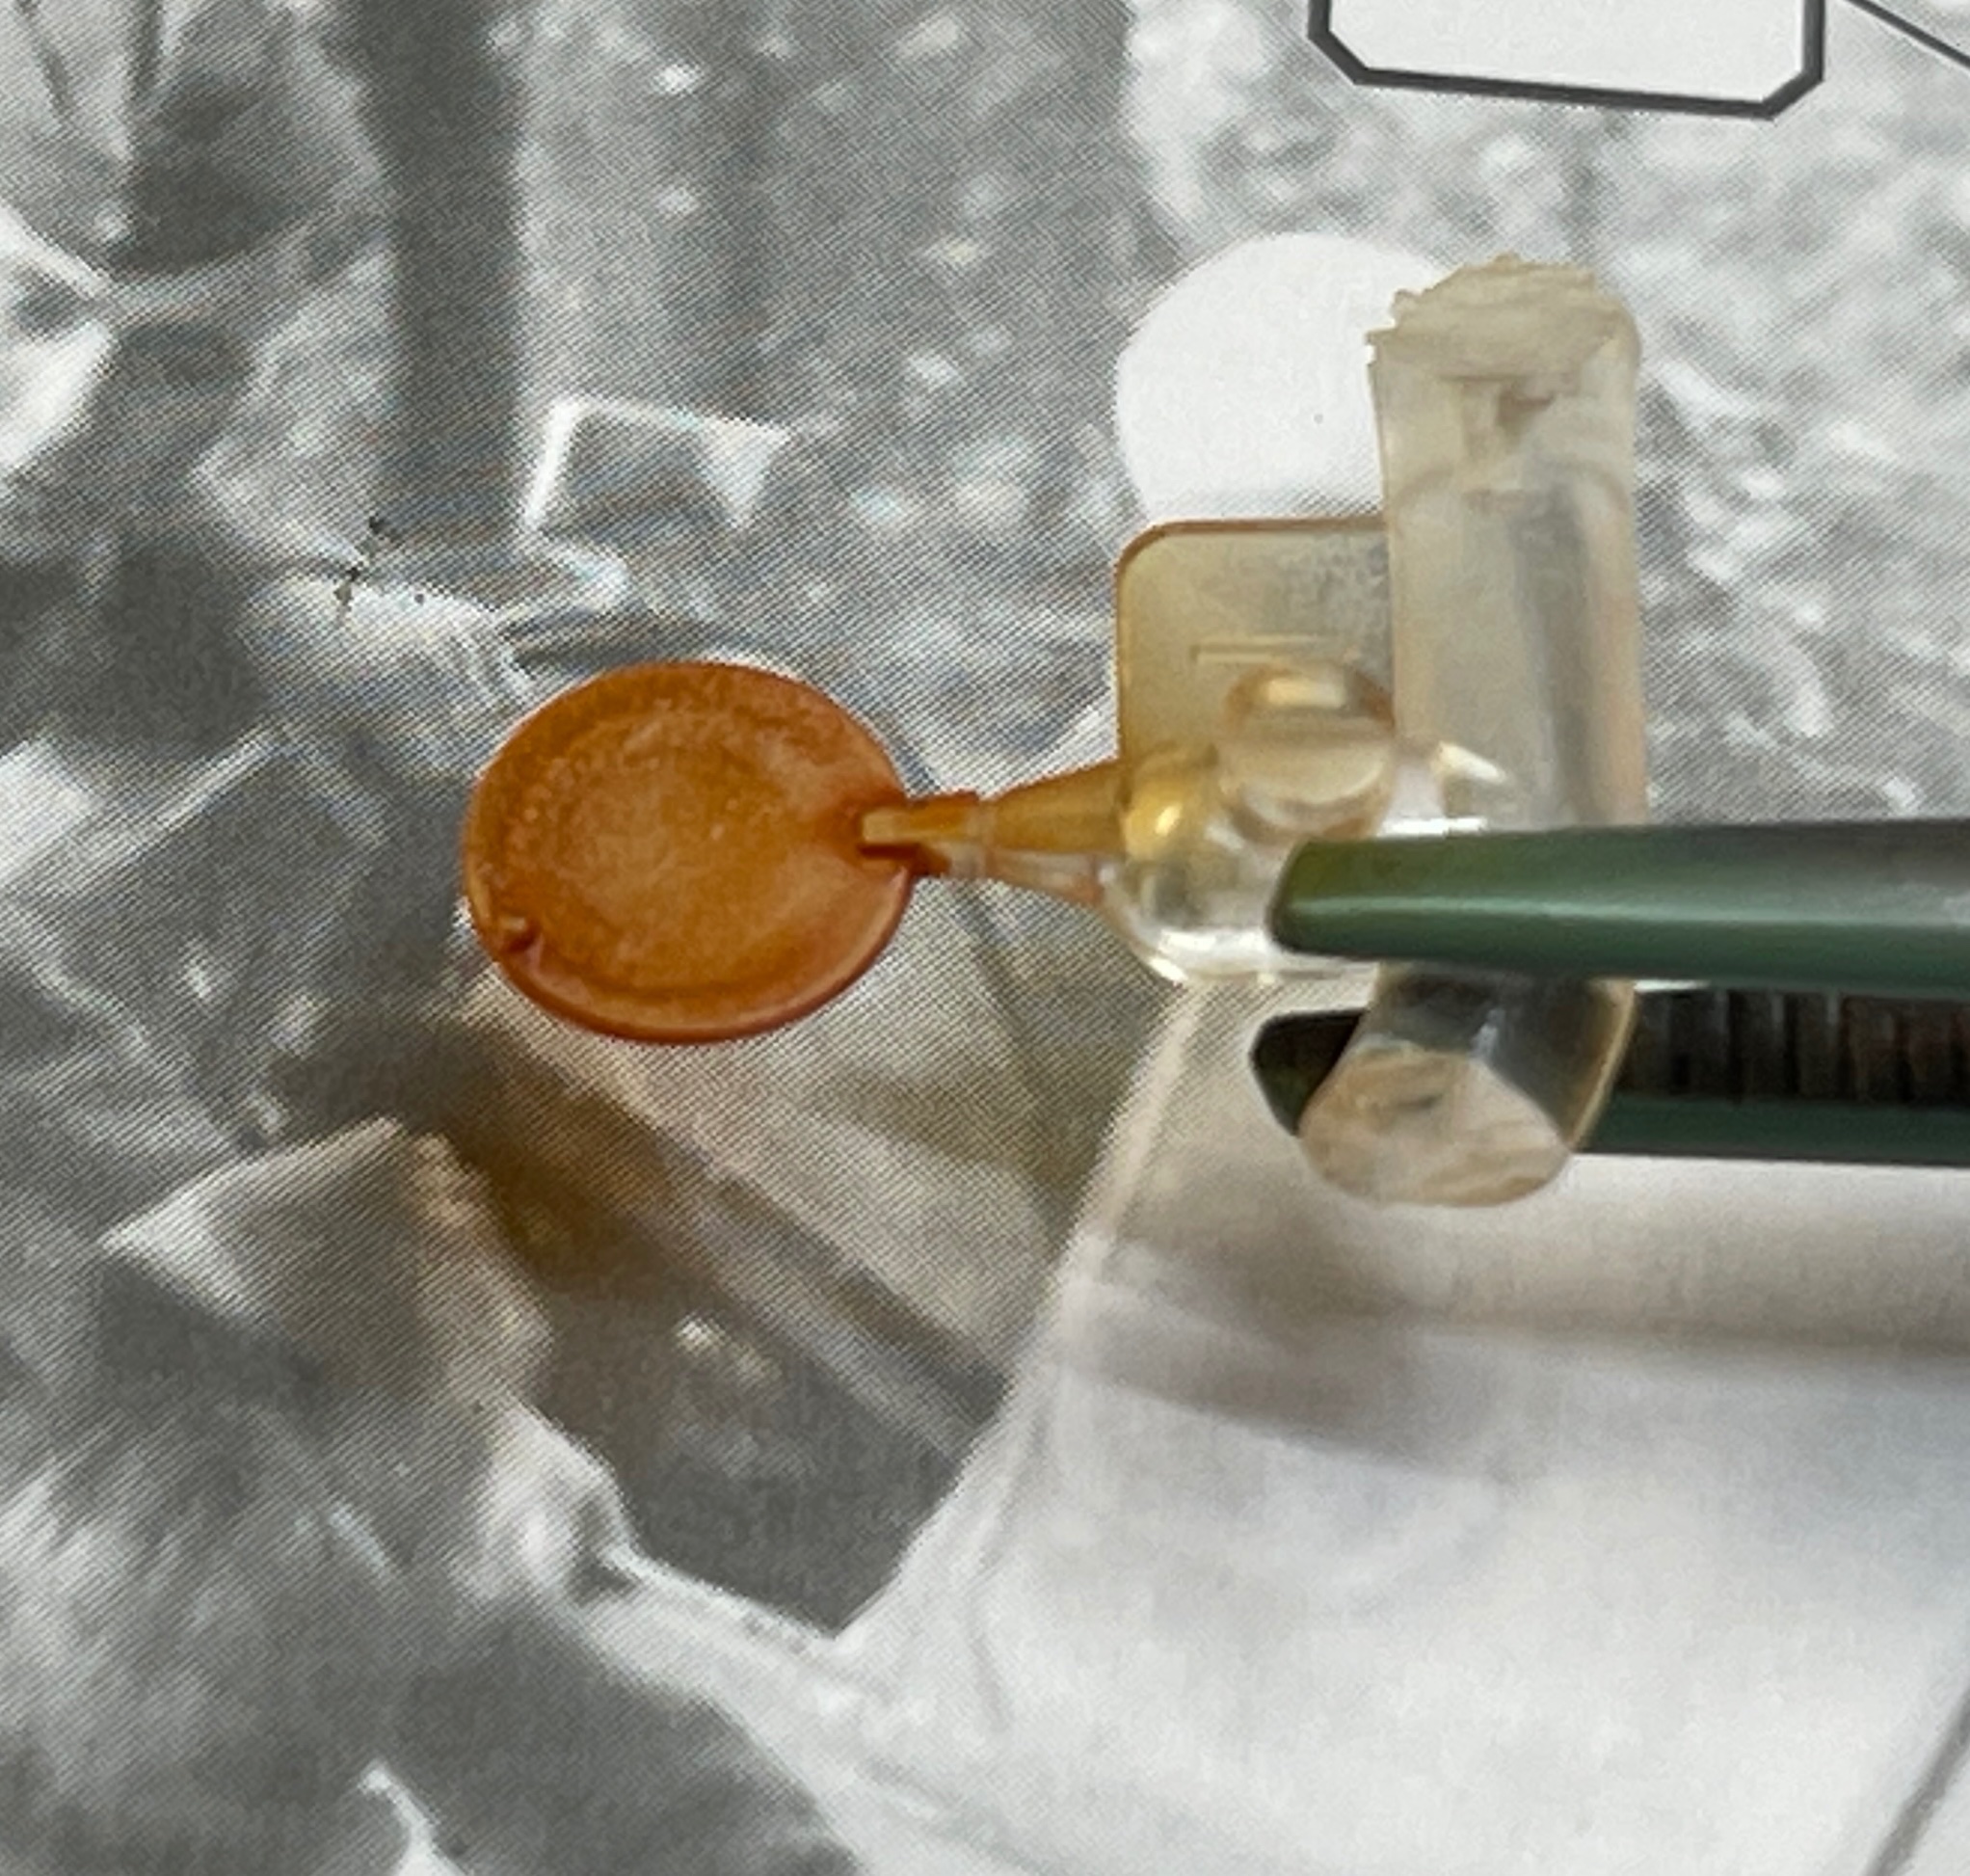
The orange light sprayed
IMG_9460.jpeg

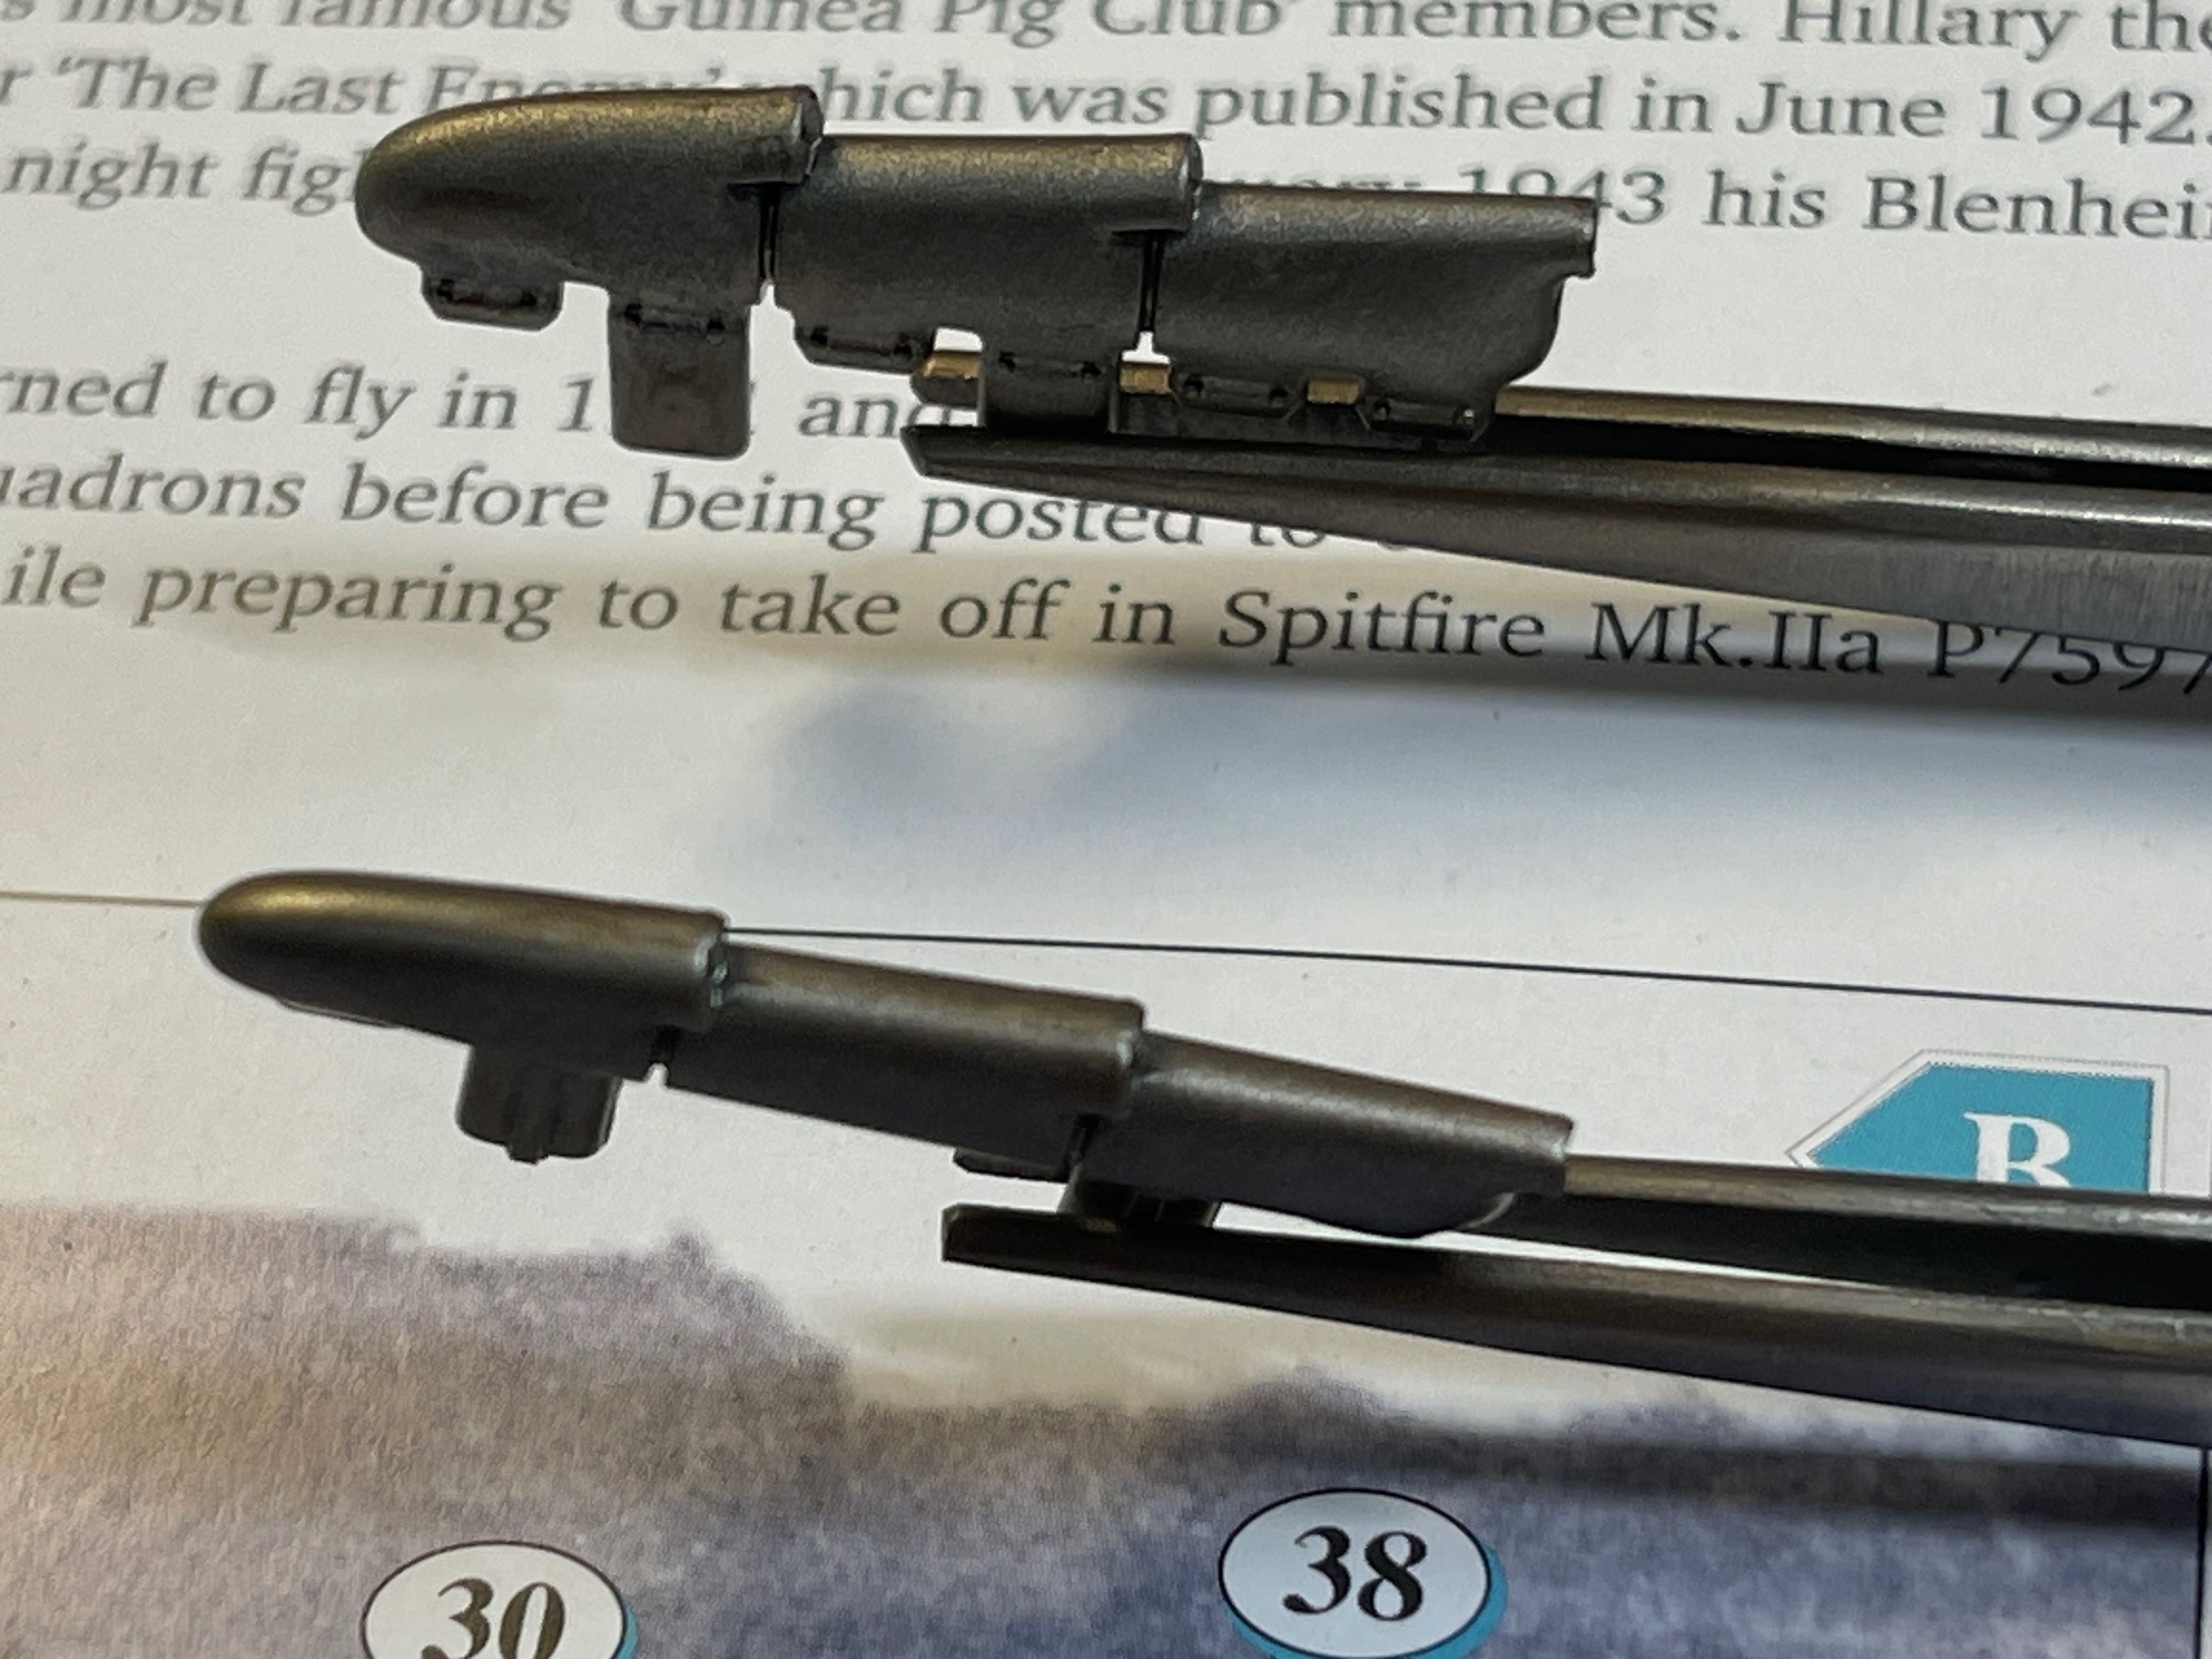
Exhausts sprayed with burnt iron
IMG_9461.jpeg


I also joined the wing halves. Perfect fit.
IMG_9456.jpeg


Progress is quite fast as you can see.
 
This will be my third Kotare Spitfire and I am sure it's not my last.
I am totally enthralled by this kitmaker!

They just opened pre-orders for the 109E, I was considering getting the 109K to go with it as bookends.

Zoukei Mura is fantastic and hyper-detailed, but Kotare takes a different tack...incredible detail while keeping simplicity.

One example...the rivets on the rear-half of the Mk.V with the A-wing vary. Who does that!?!? (I mean who even makes a Mk.Va instead of the Mk.Vb?)
1784668901983.png
 
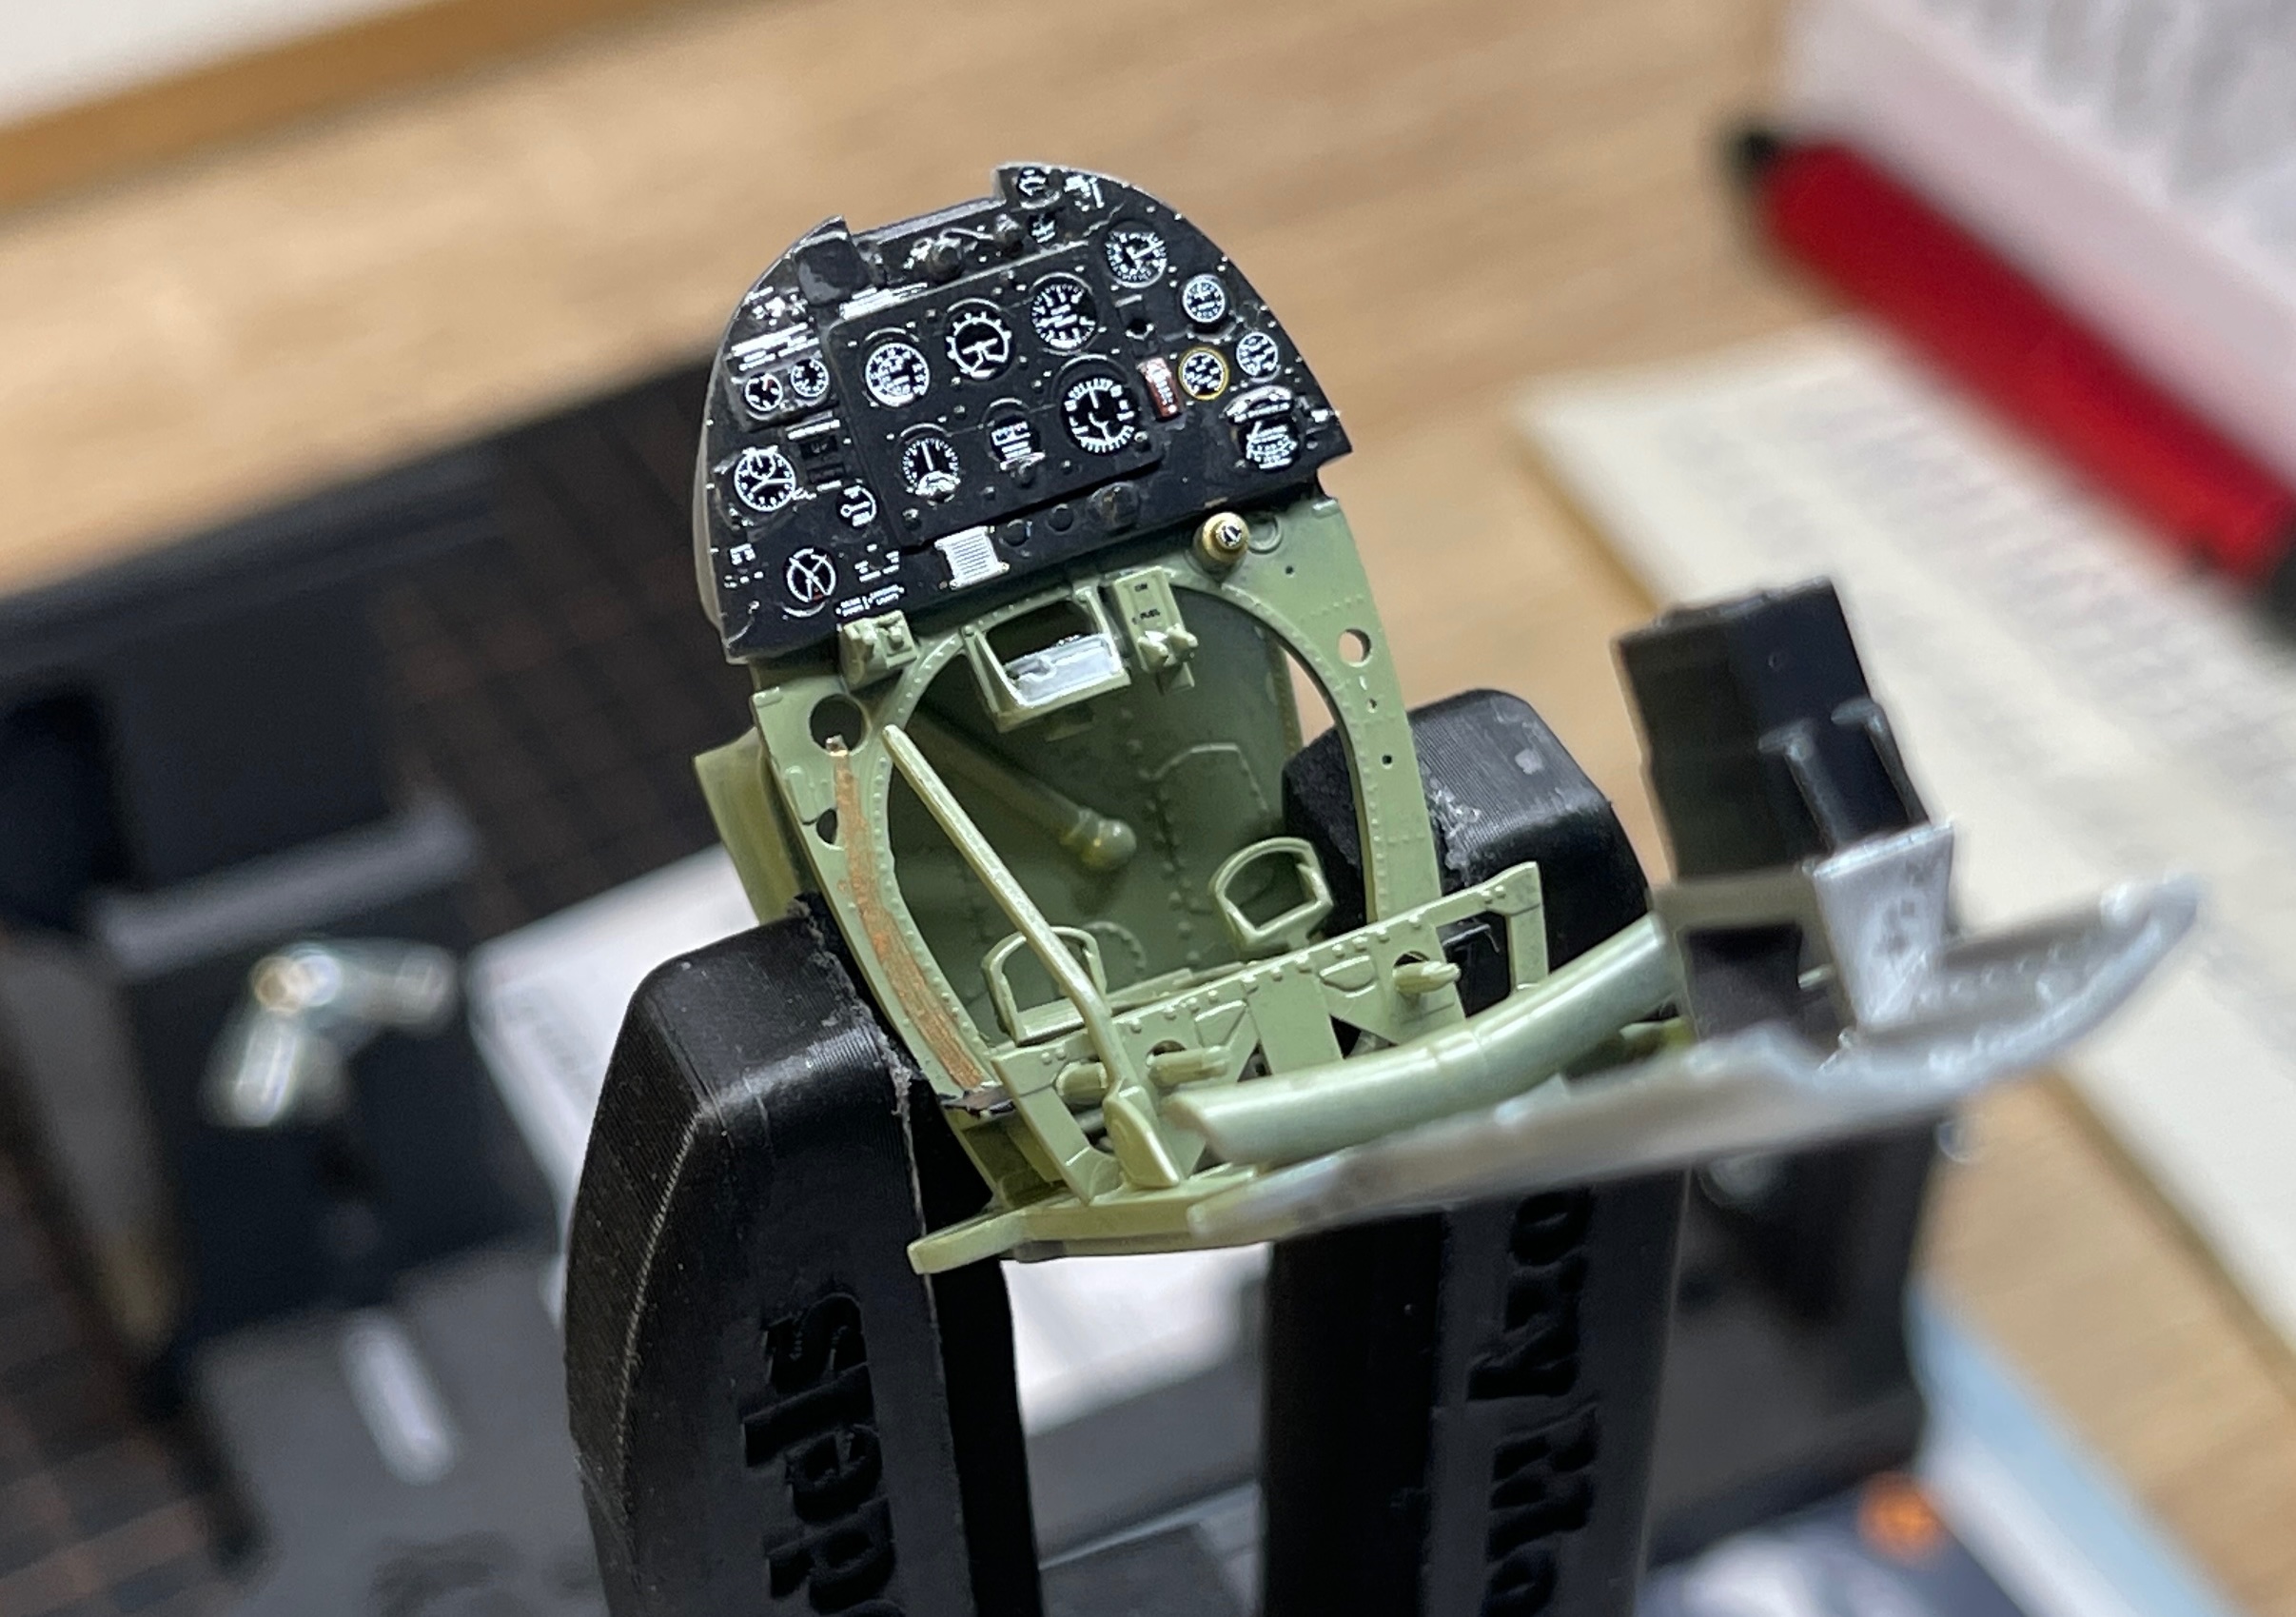
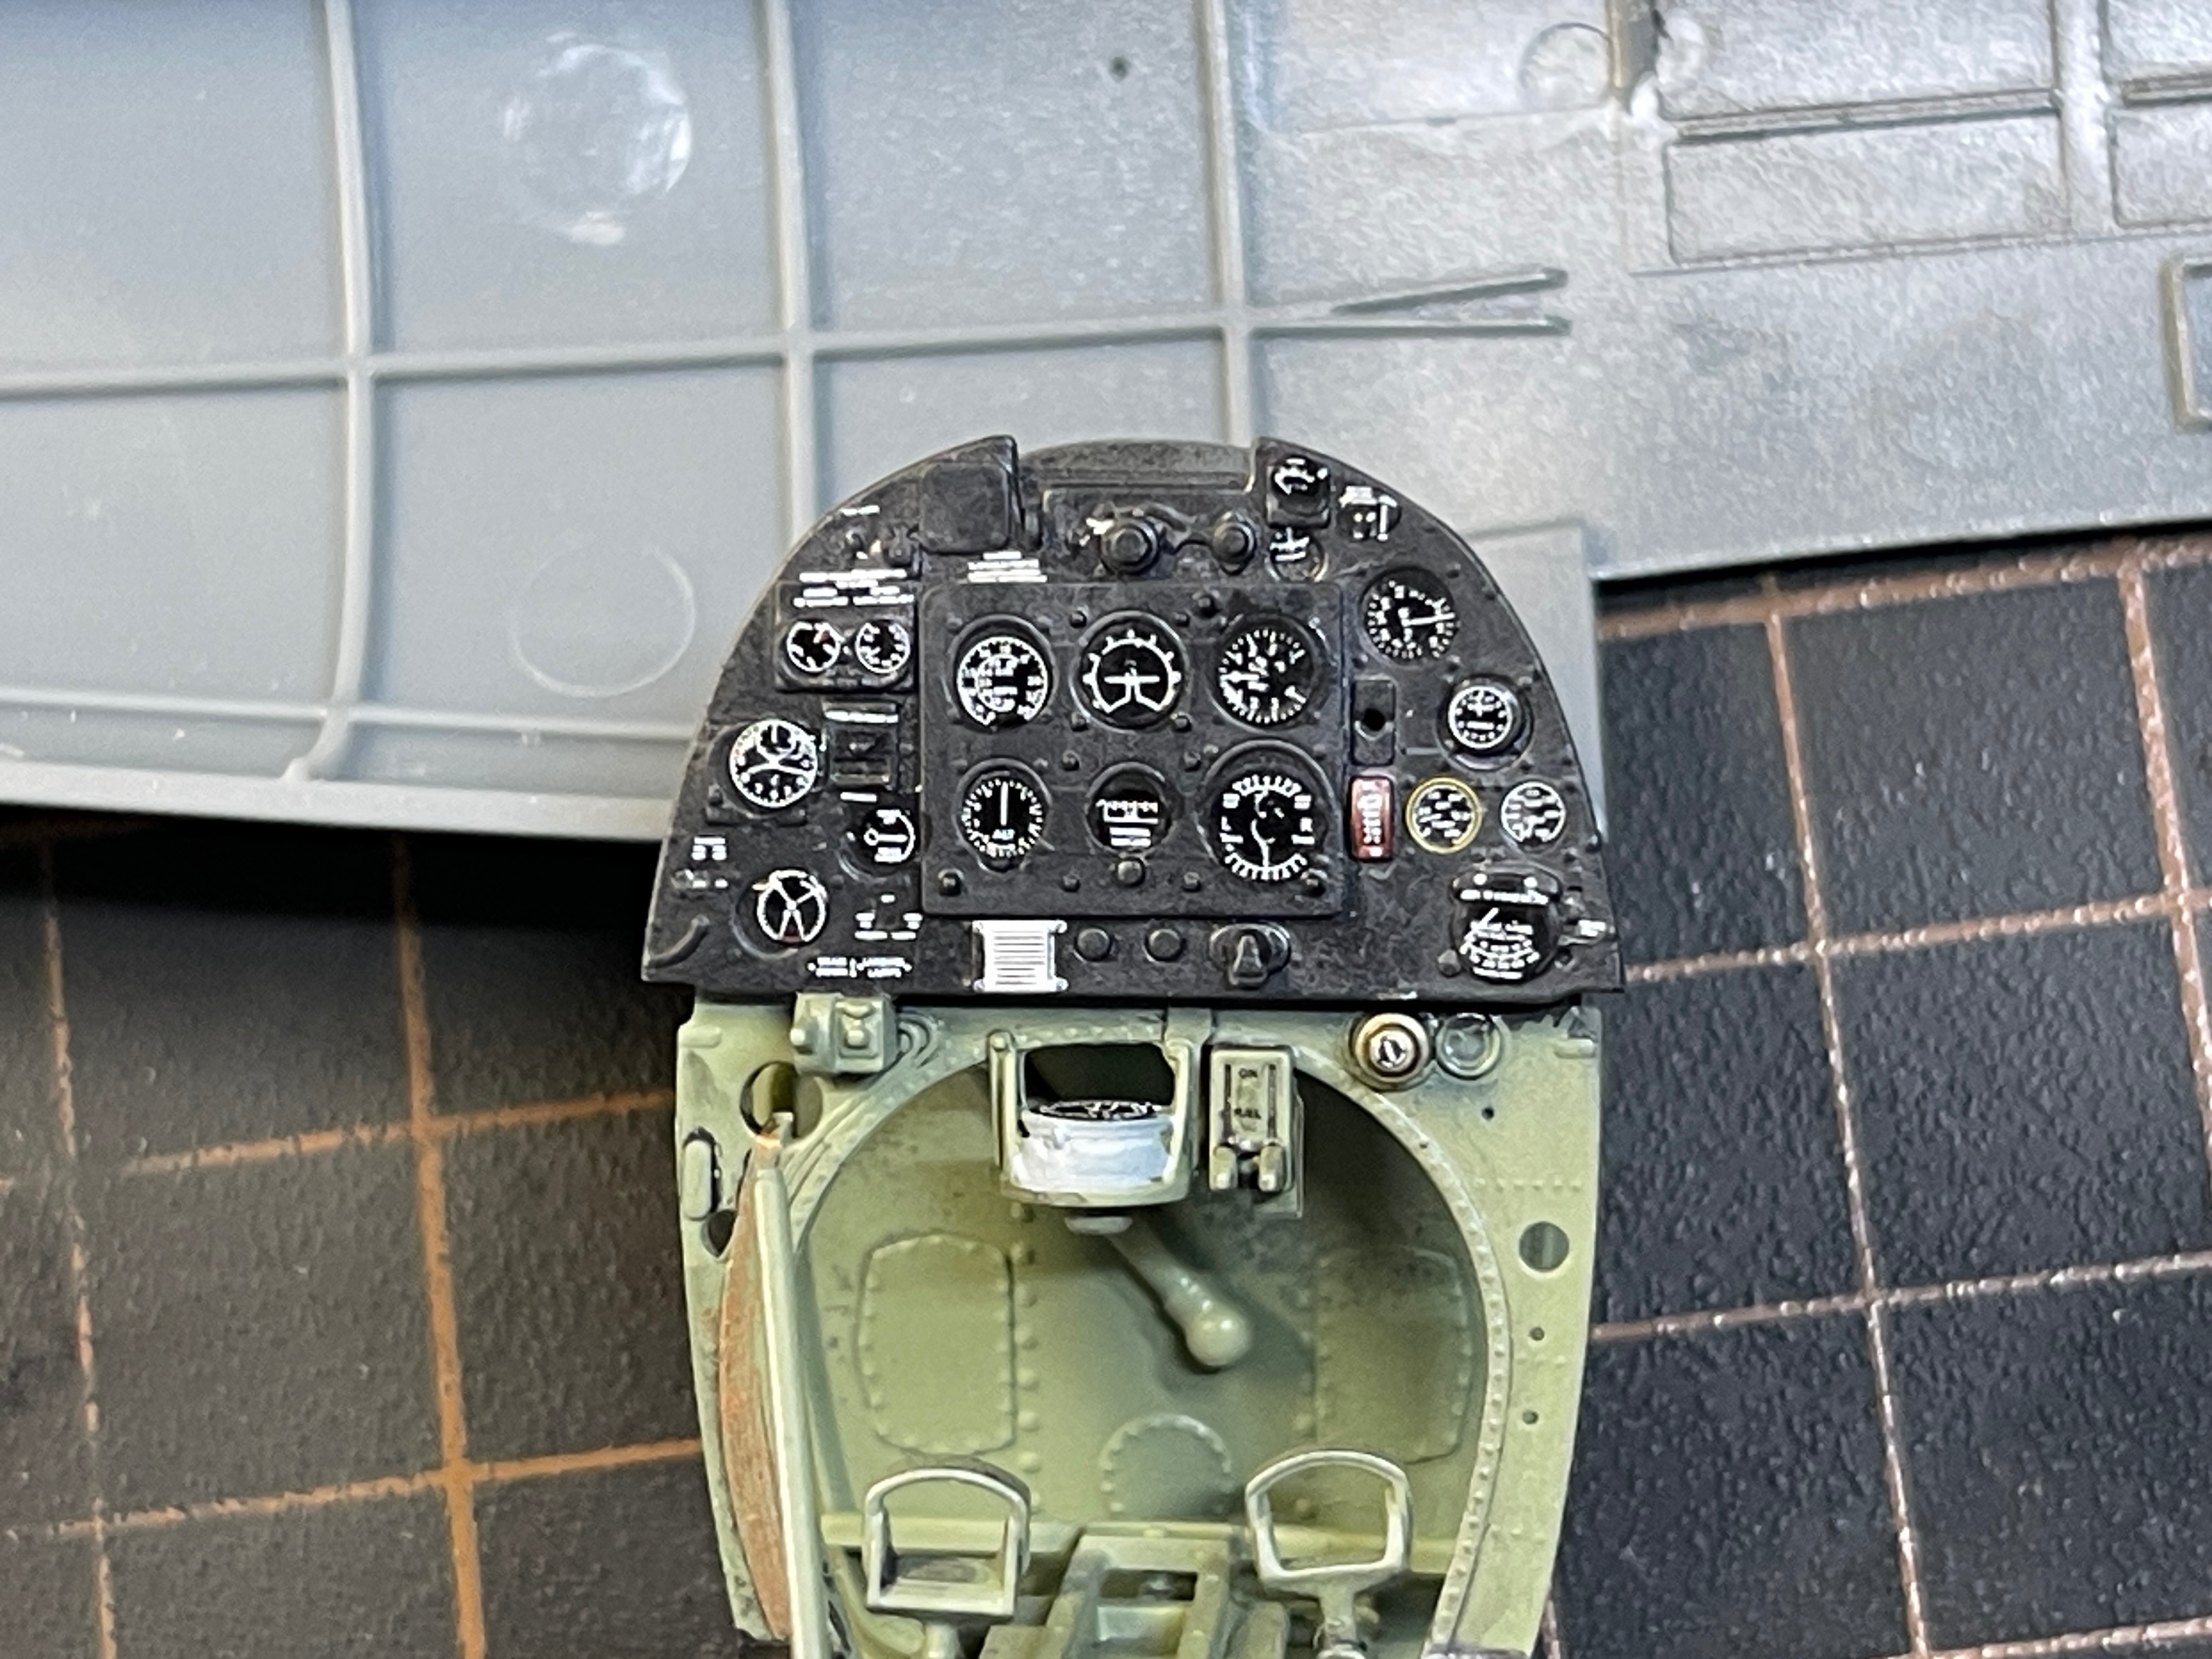
I have finished painting and decalling the cockpit.

Some of the decals are impossibly small, others end up folding or breaking apart while trying to position them and, in the end I probably got around 70% of them in place. Overall I am happy with the result.

IMG_9465.jpeg


IMG_9466.jpeg


IMG_9467.jpeg


IMG_9468.jpeg


I will need to varnish to seal the decals, apply washes then a semi matt to then dry brush with metal powders but thats for tomorrow.
 
I have finished painting and decalling the cockpit.

Some of the decals are impossibly small, others end up folding or breaking apart while trying to position them and, in the end I probably got around 70% of them in place. Overall I am happy with the result.

View attachment 197439

View attachment 197440

View attachment 197441

View attachment 197442

I will need to varnish to seal the decals, apply washes then a semi matt to then dry brush with metal powders but thats for tomorrow.
Gauges look great!
 
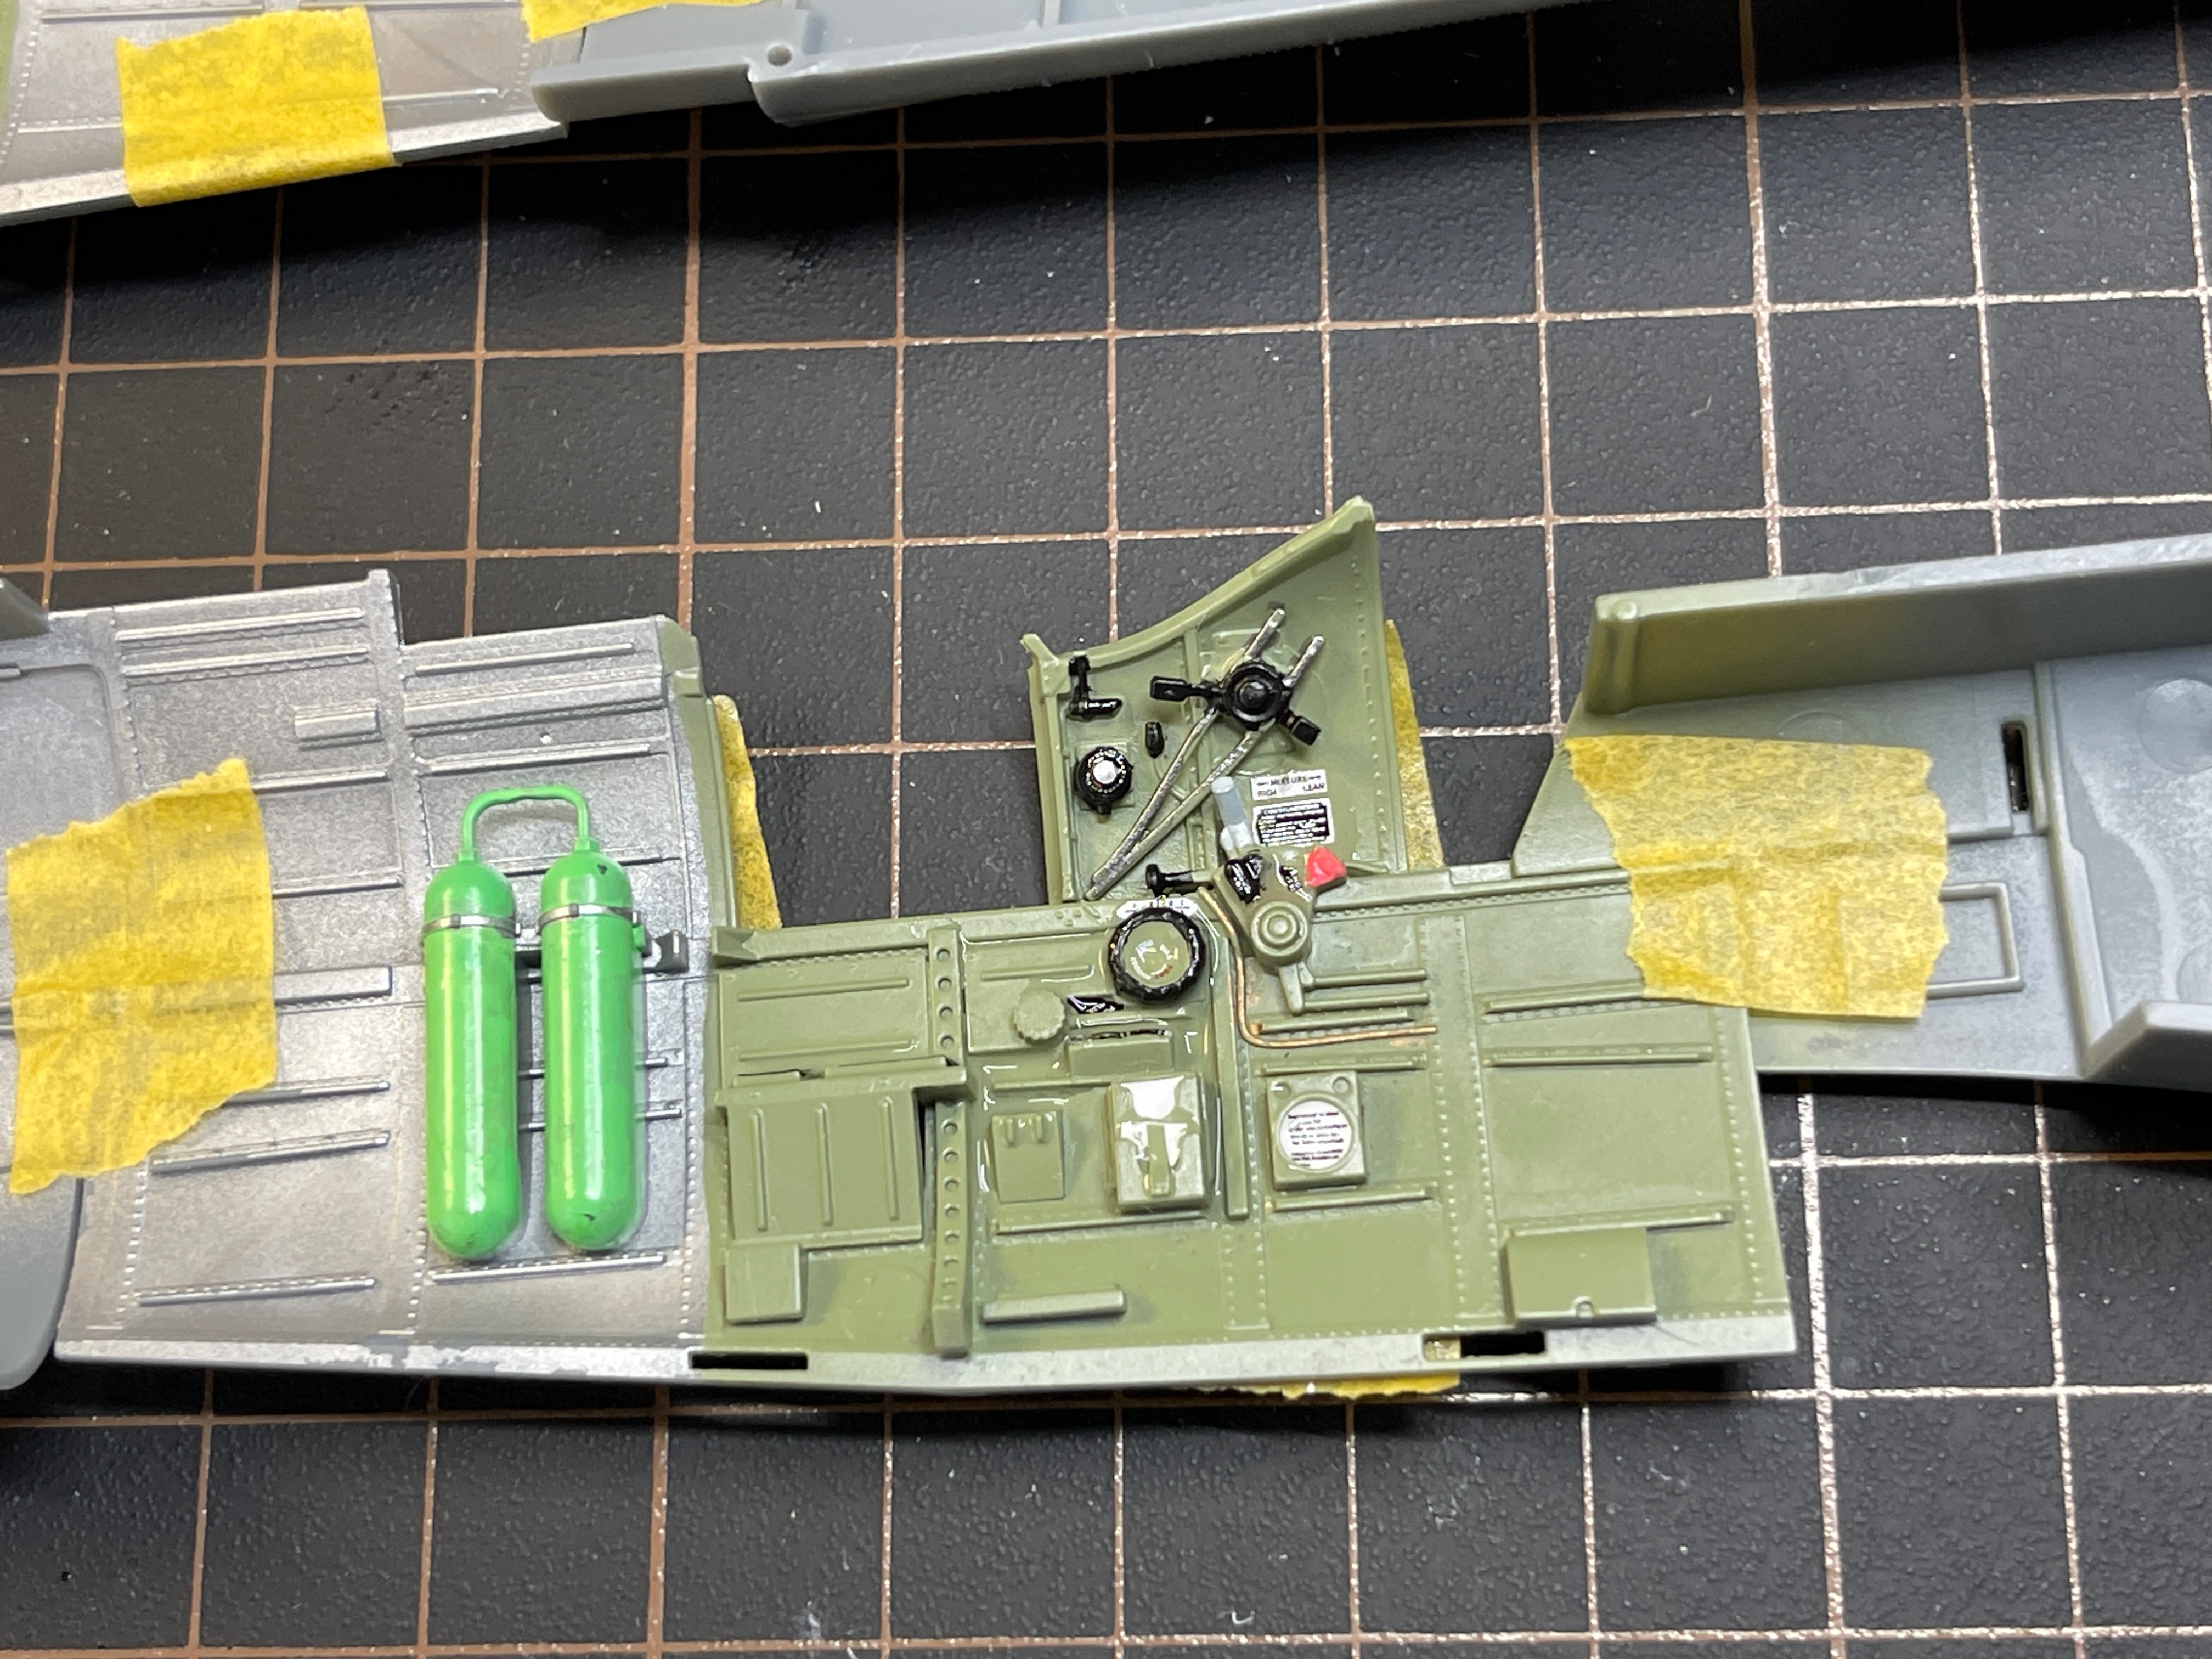
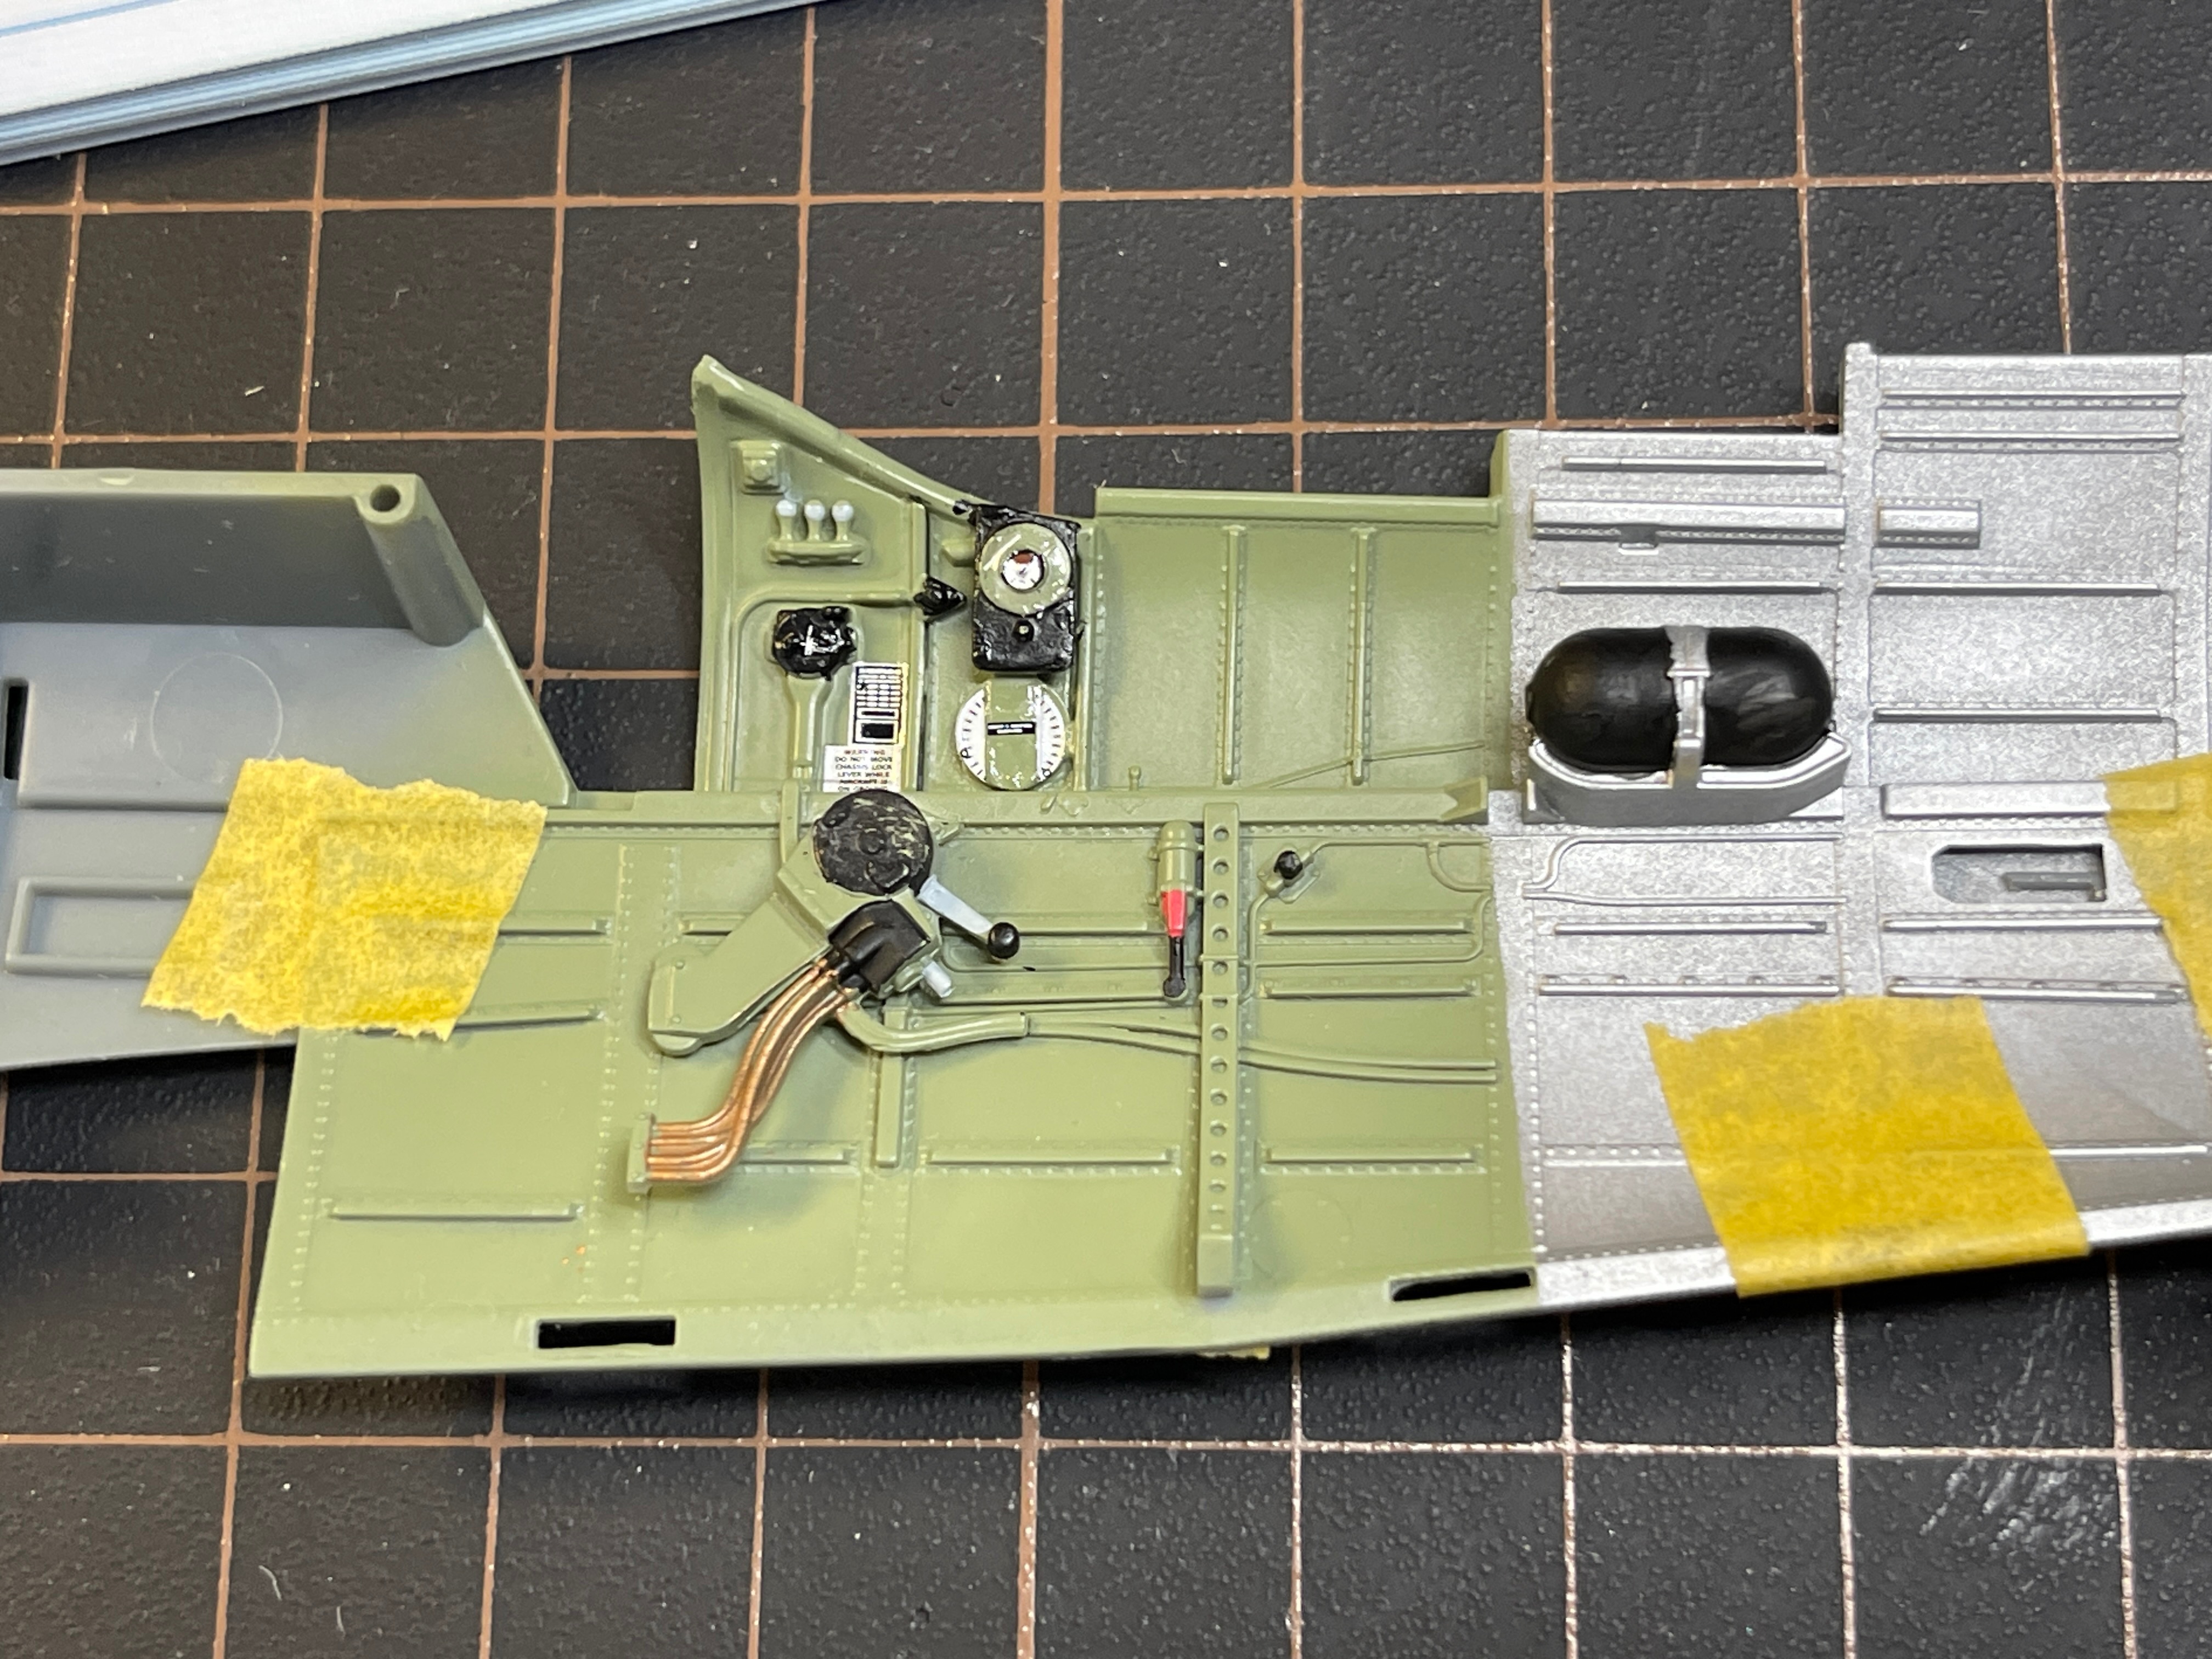
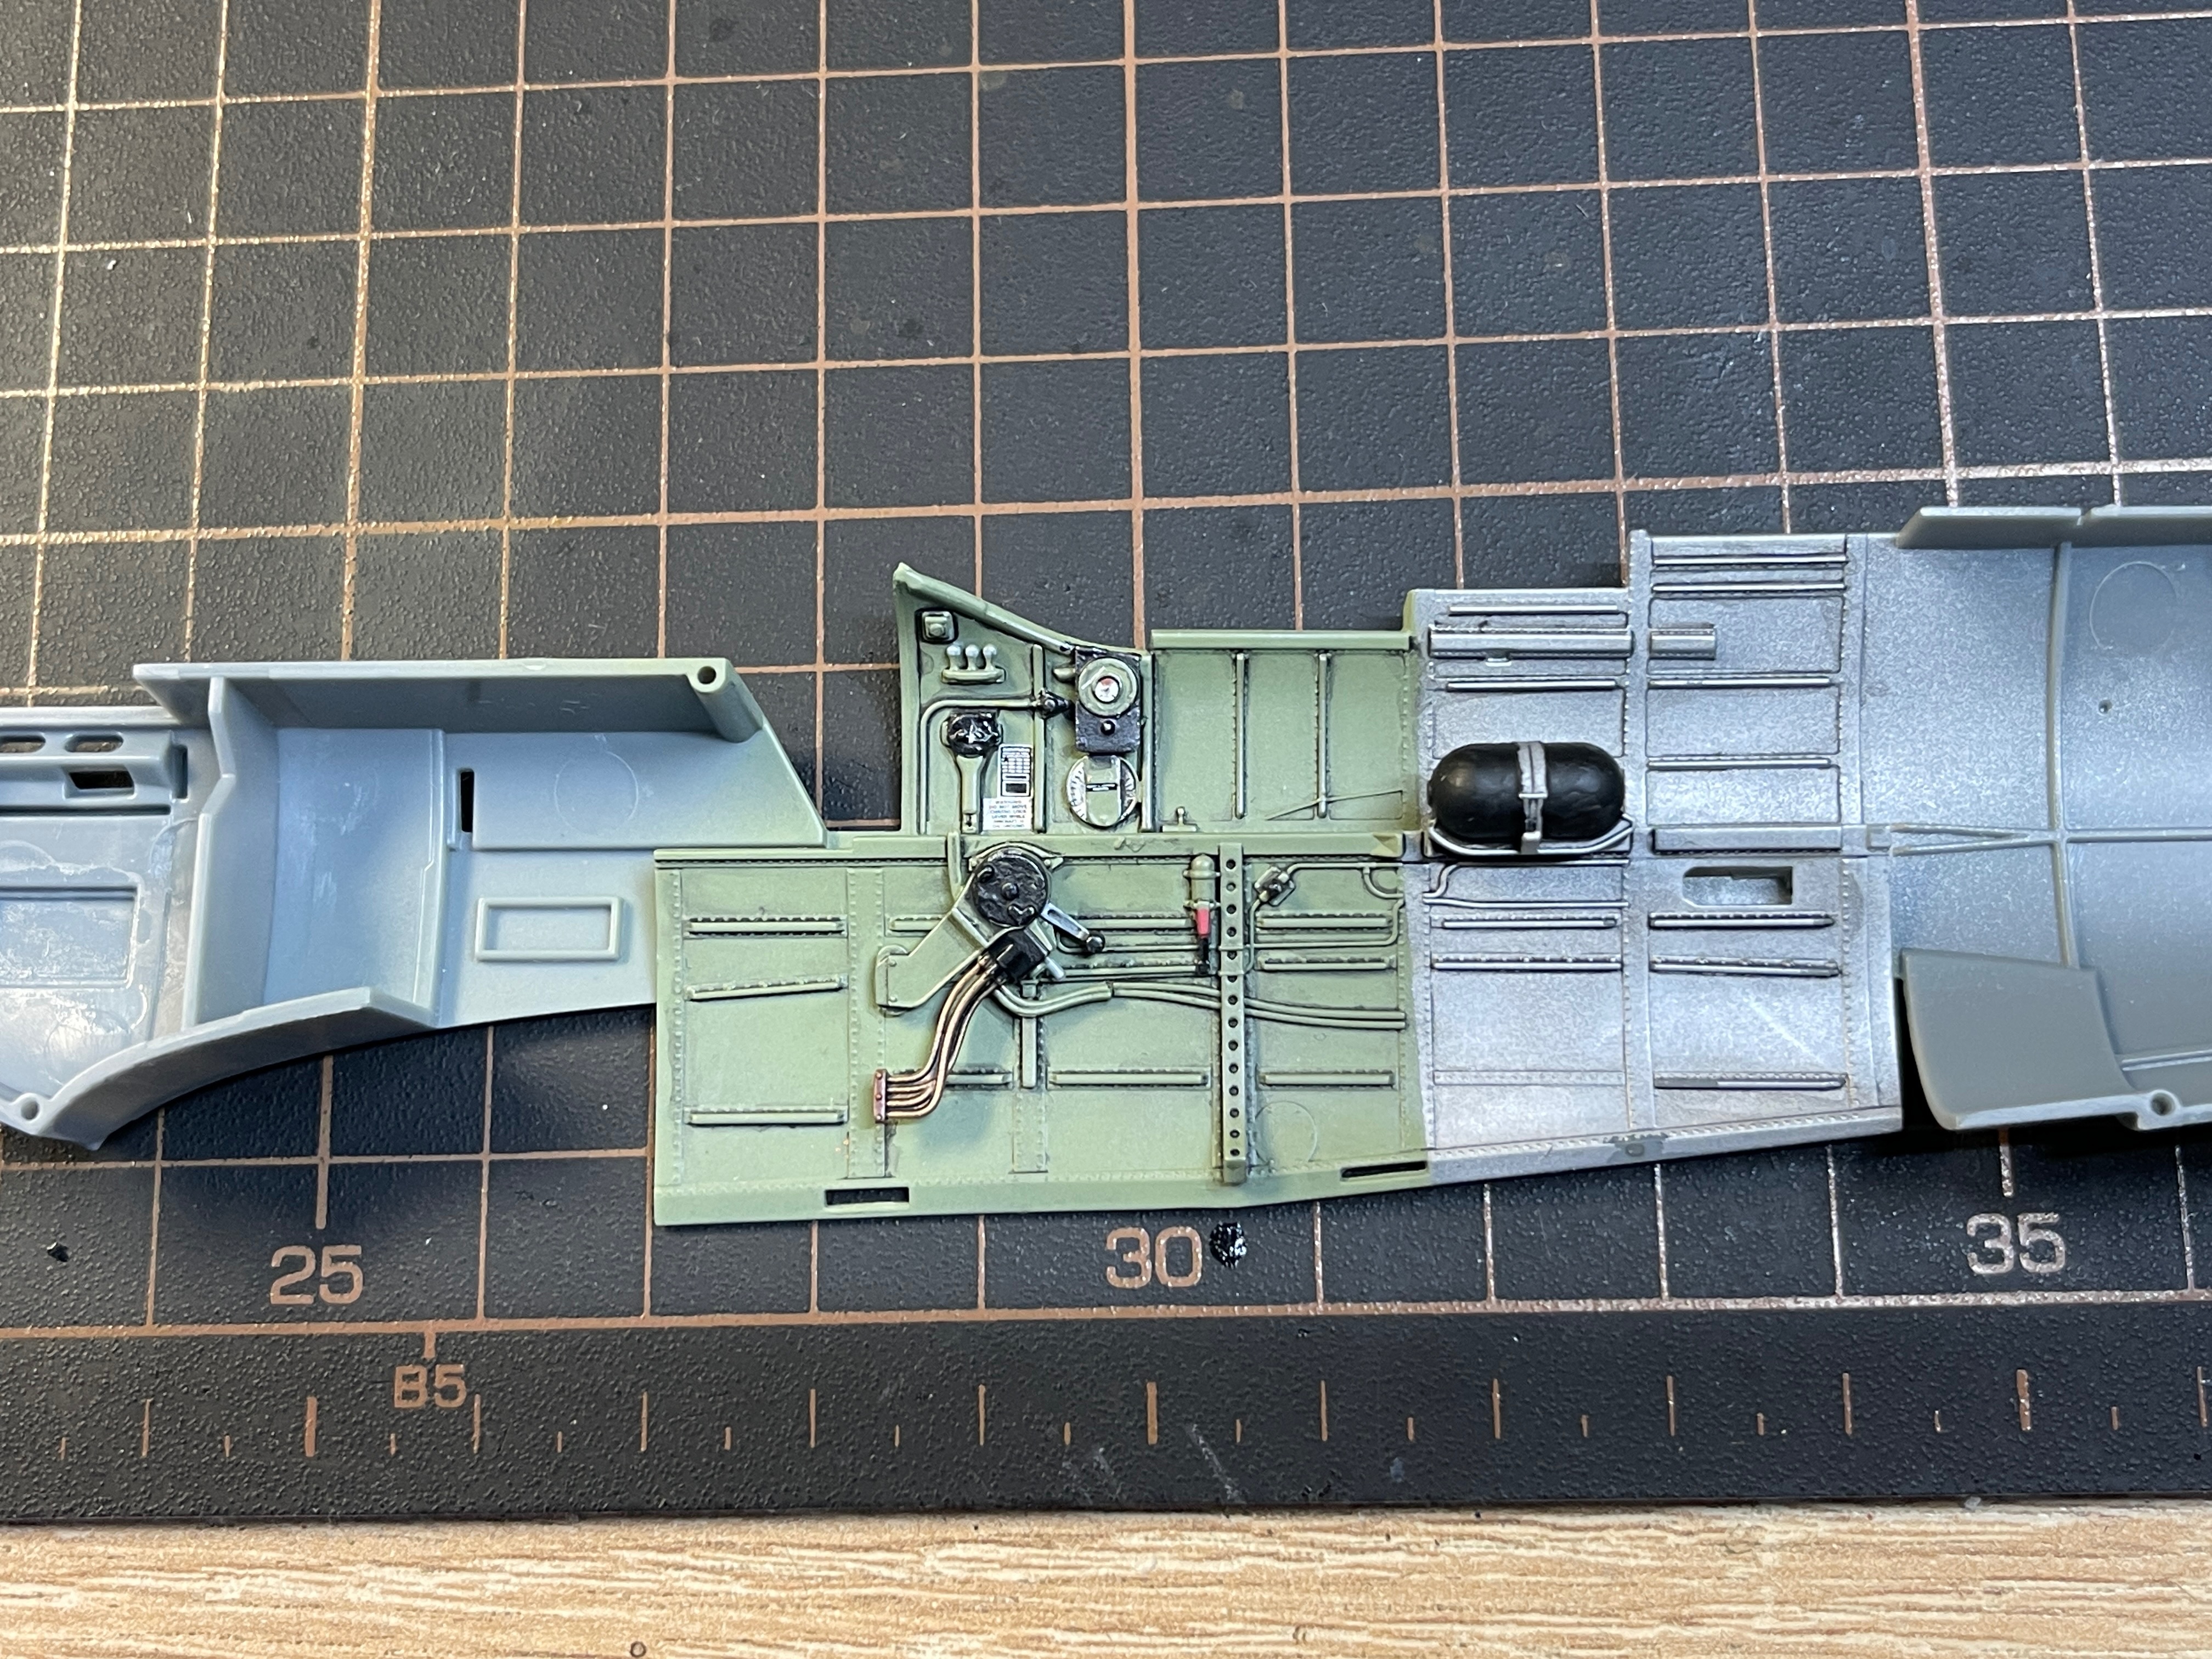
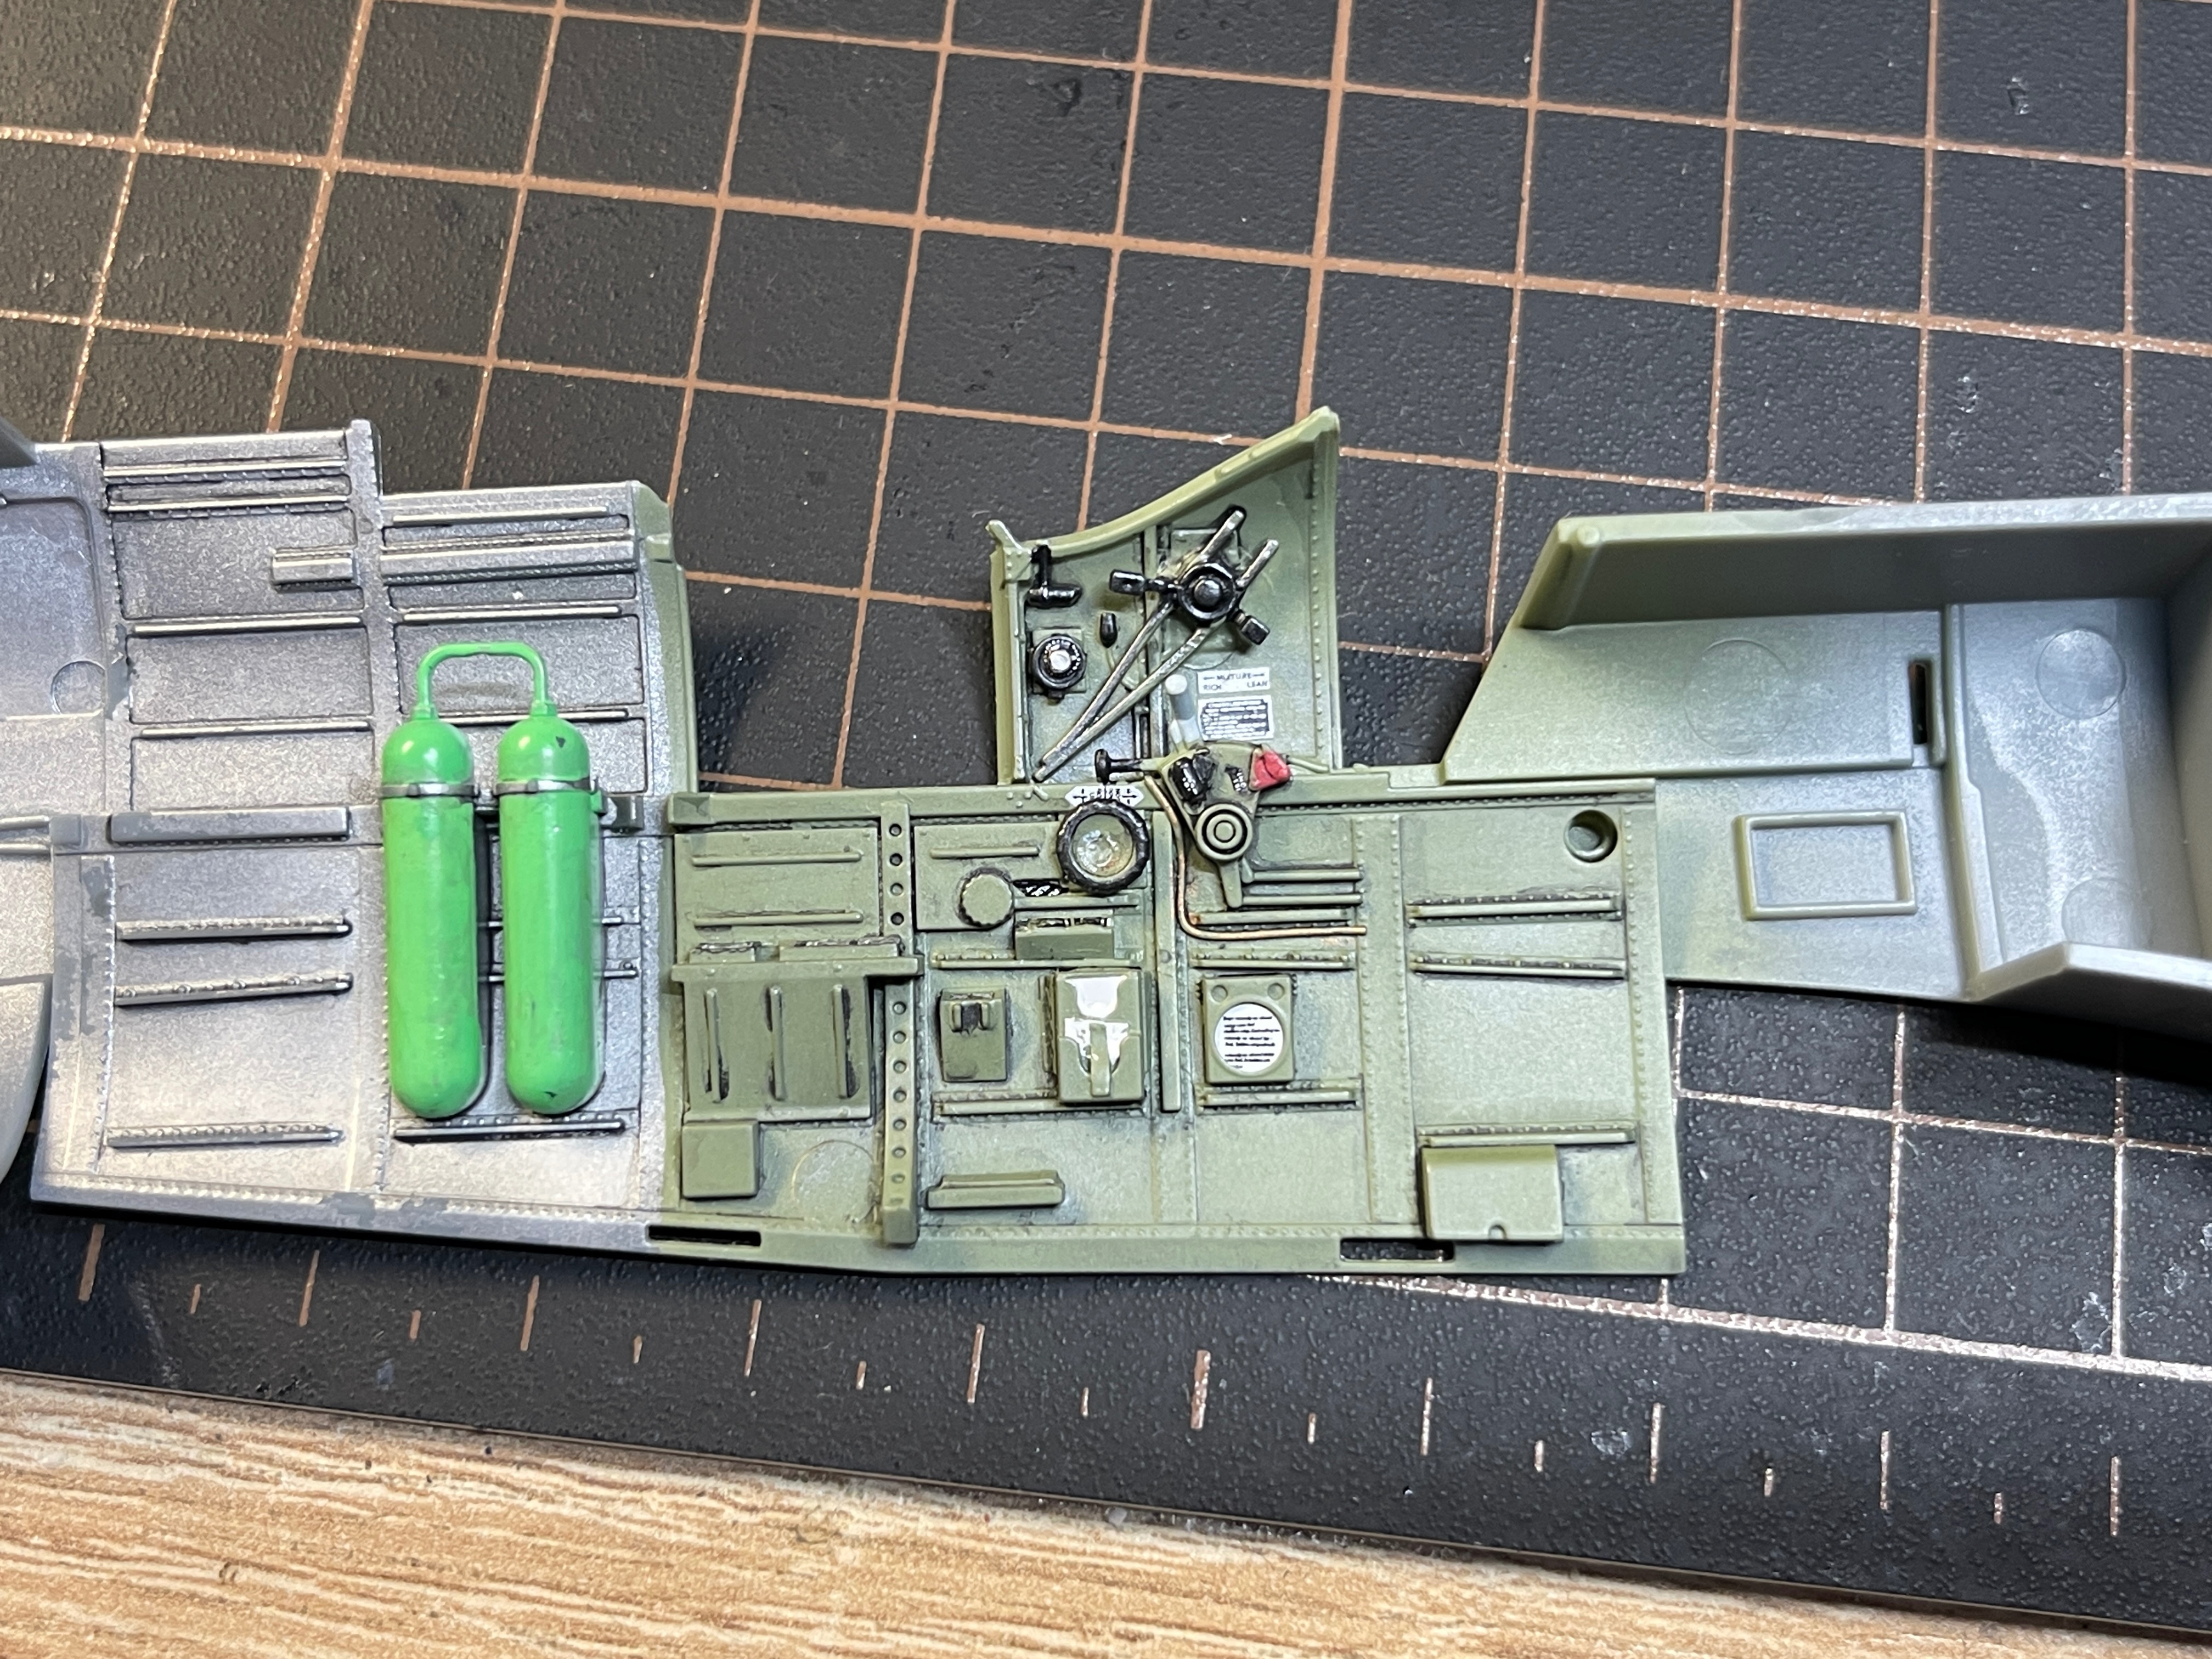
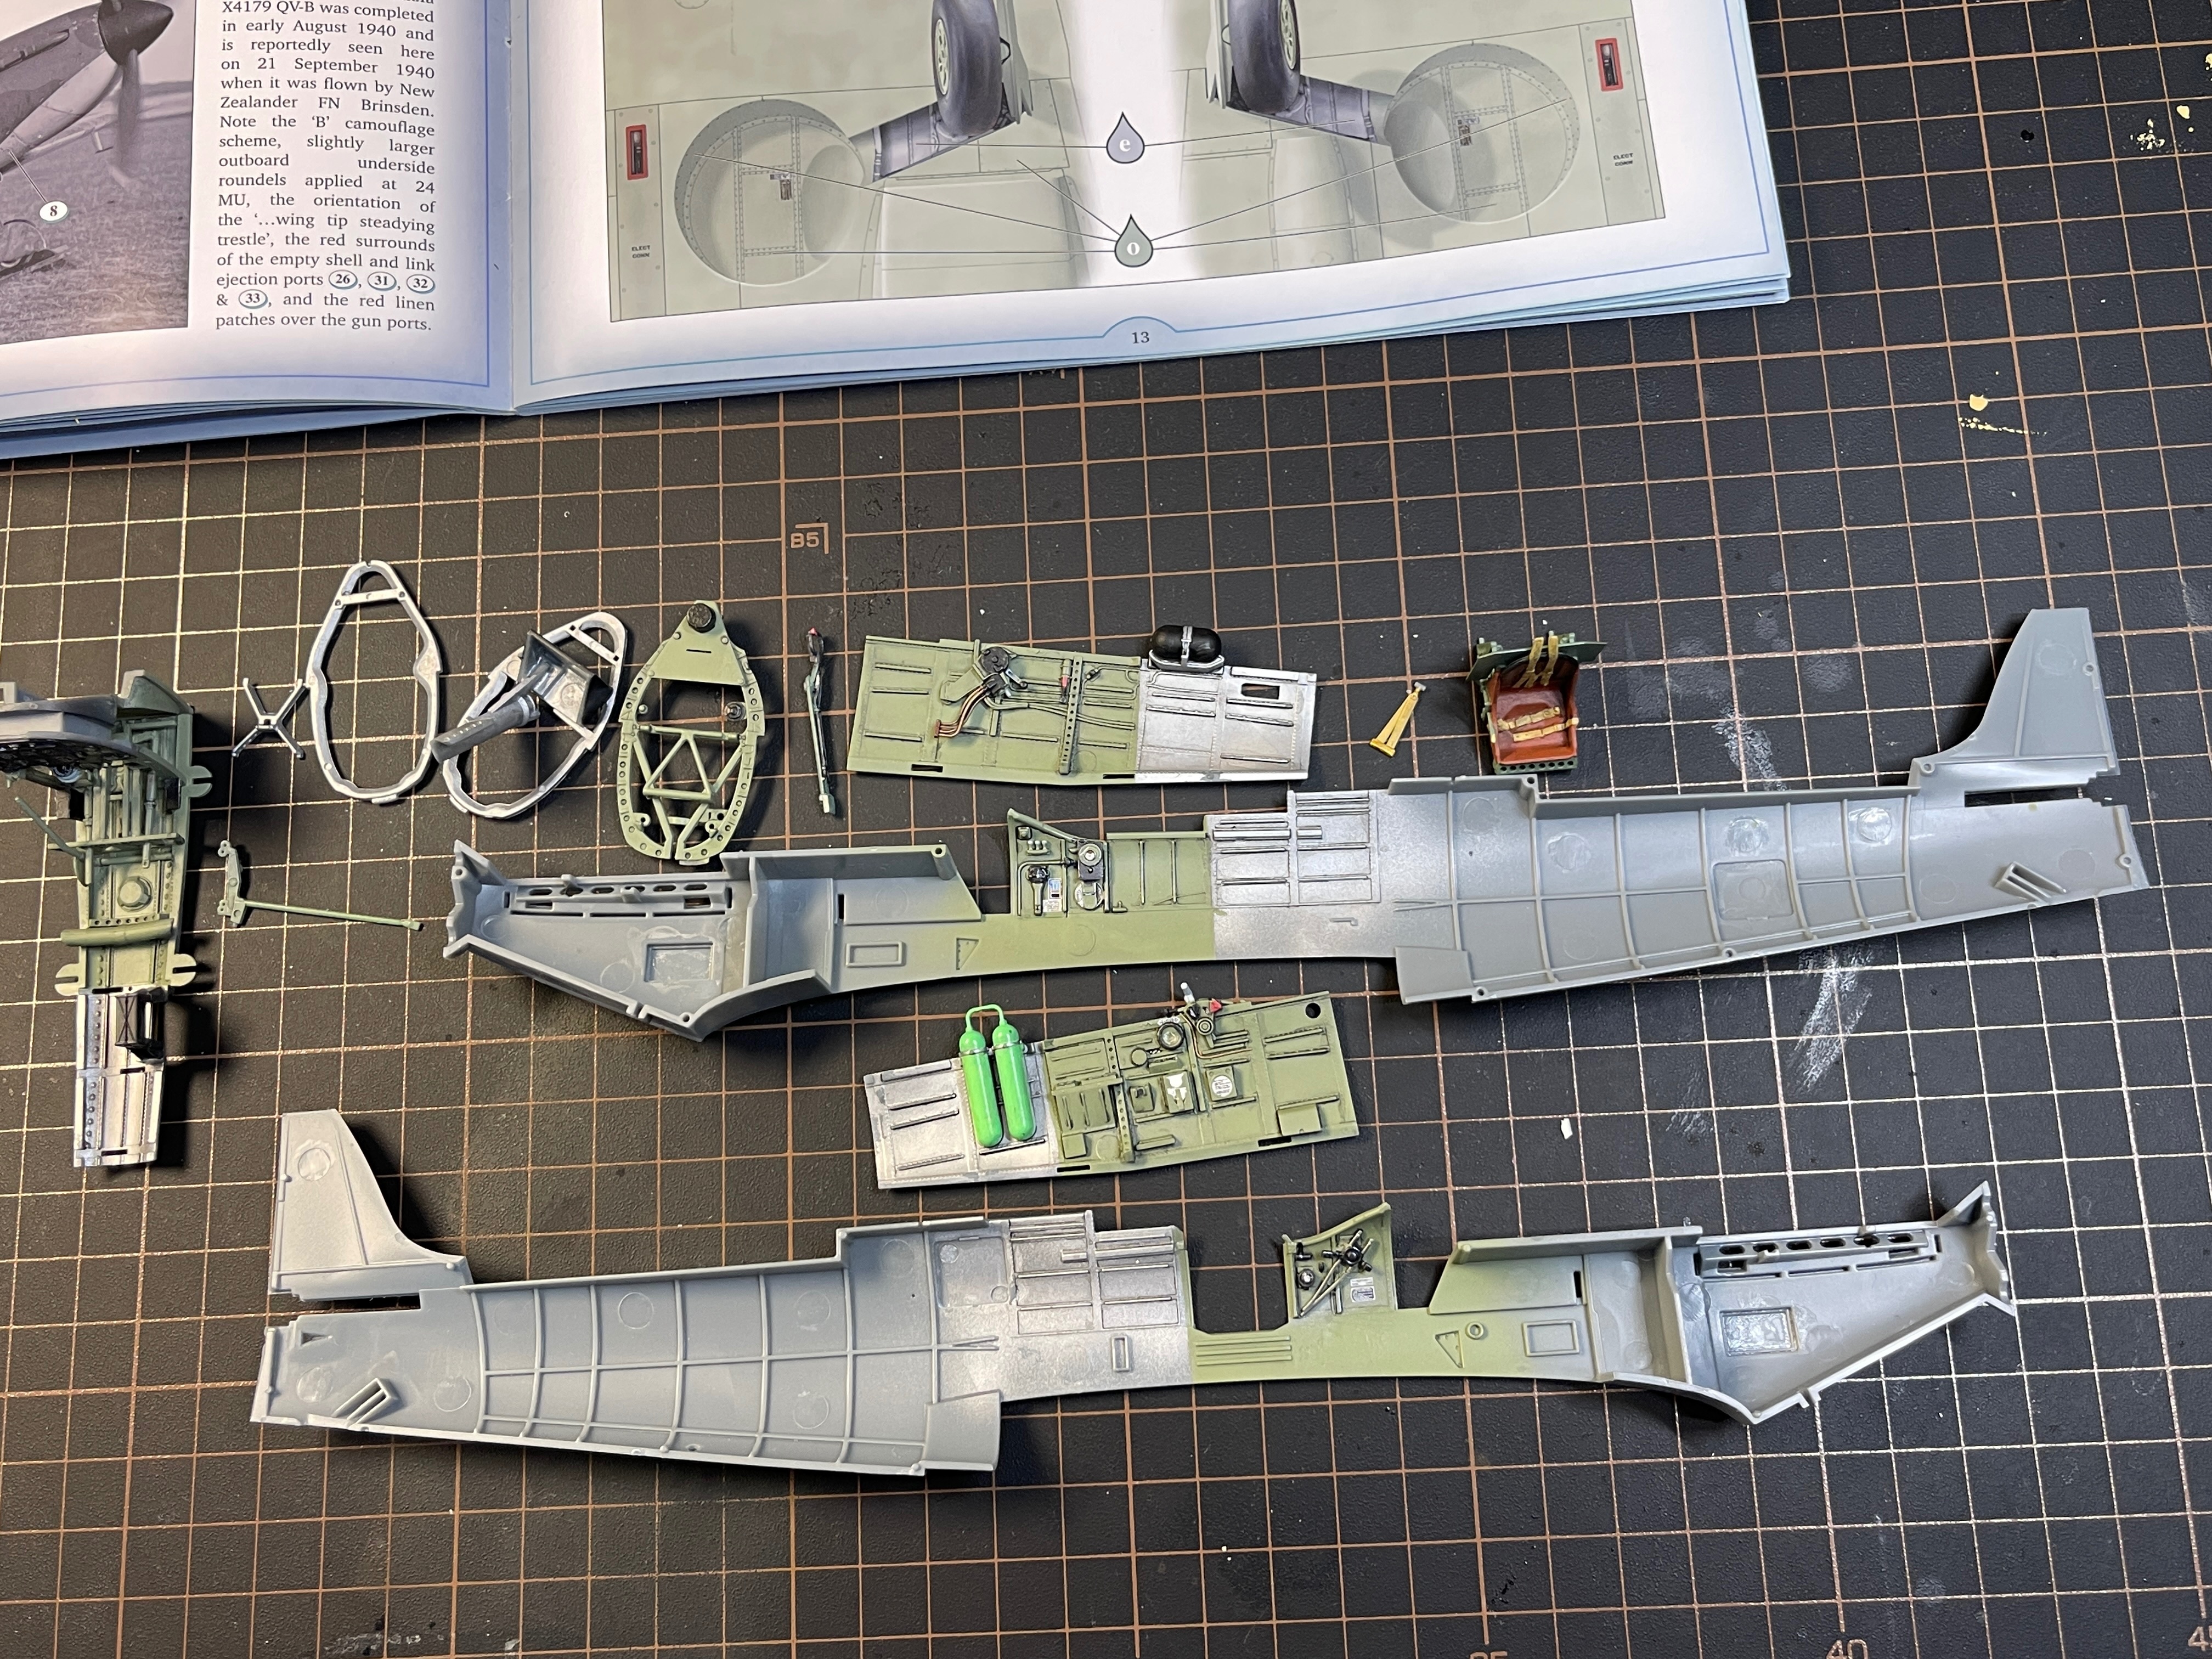
I have applied some semi matt varnish, washes and dry brushed metal powders to give a worn painted metal look where appropriate. I have also applied
Micro Krystal Klear on the dial faces to represent glass.

A few shots of the cockpit parts and an overall view of all these parts that are ready to pull together.
IMG_9469.jpeg

IMG_9470.jpeg

IMG_9472.jpeg
IMG_9474.jpeg

I may not get a chance to do more until Monday.
 
HI Barry some lovley work there on that instrement panel brilliant will you have the tiny door in the cockpit open an shut with a tiny hinge ? an have the canopy open an close ? brilliant work sir i like very much
ATB SIR
chrisb
 
I have applied some semi matt varnish, washes and dry brushed metal powders to give a worn painted metal look where appropriate. I have also applied
Micro Krystal Klear on the dial faces to represent glass.

A few shots of the cockpit parts and an overall view of all these parts that are ready to pull together.
View attachment 197655
View attachment 197656
View attachment 197657View attachment 197658
I may not get a chance to do more until Monday.
Nice detail! Did you buy placards for this kit?
 
I have applied some semi matt varnish, washes and dry brushed metal powders to give a worn painted metal look where appropriate. I have also applied
Micro Krystal Klear on the dial faces to represent glass.
Did the instructions call out the gas cylinders being green? Just curious. I've always seen them marked as being bare aluminum.
 
Did the instructions call out the gas cylinders being green? Just curious. I've always seen them marked as being bare aluminum.
Yes, Light green. They cannot be seen at all anyway.

The be more precise it says dark green (pale), whatever that means. So I just did a light green. It really doesn't matter given it's not seen.
 
Last edited:
A few shots of the cockpit parts and an overall view of all these parts that are ready to pull together.
The first two shots are misleading, and had me wondering why you're not following the instructions. But the next few shgowed those panels were posed and not glued, never mind!
:)

It is super cool, and a testimony to Kotare quality that the interior "pod" can hold together without glue.
 
Yes, Light green.
dark green (pale)
a light green
Medium green, obviously
undersaturated dark green
LOL @ youz guyz

The Kotare Mk.Va called for two different greens and the silver, I could dig up the instructions to find the specific callouts, but having listened to interviews with the team at Kotare, their research is impeccable, I'd do whatever they say.
I believe my next plane kit is going to be a Kotare. I love the detail in this kit!
Ron, I know how much you like Zoukei Mura, and Barry here has used those kits to build masterpieces too. Suffice to say YOU WILL NOT BE DISSAPOINTED!
 
Back
Top