
You are using an out of date browser. It may not display this or other websites correctly.
You should upgrade or use an alternative browser.
You should upgrade or use an alternative browser.
Takom 1/16 Panzerjager 1B
- Thread starter wjbrandel
- Start date

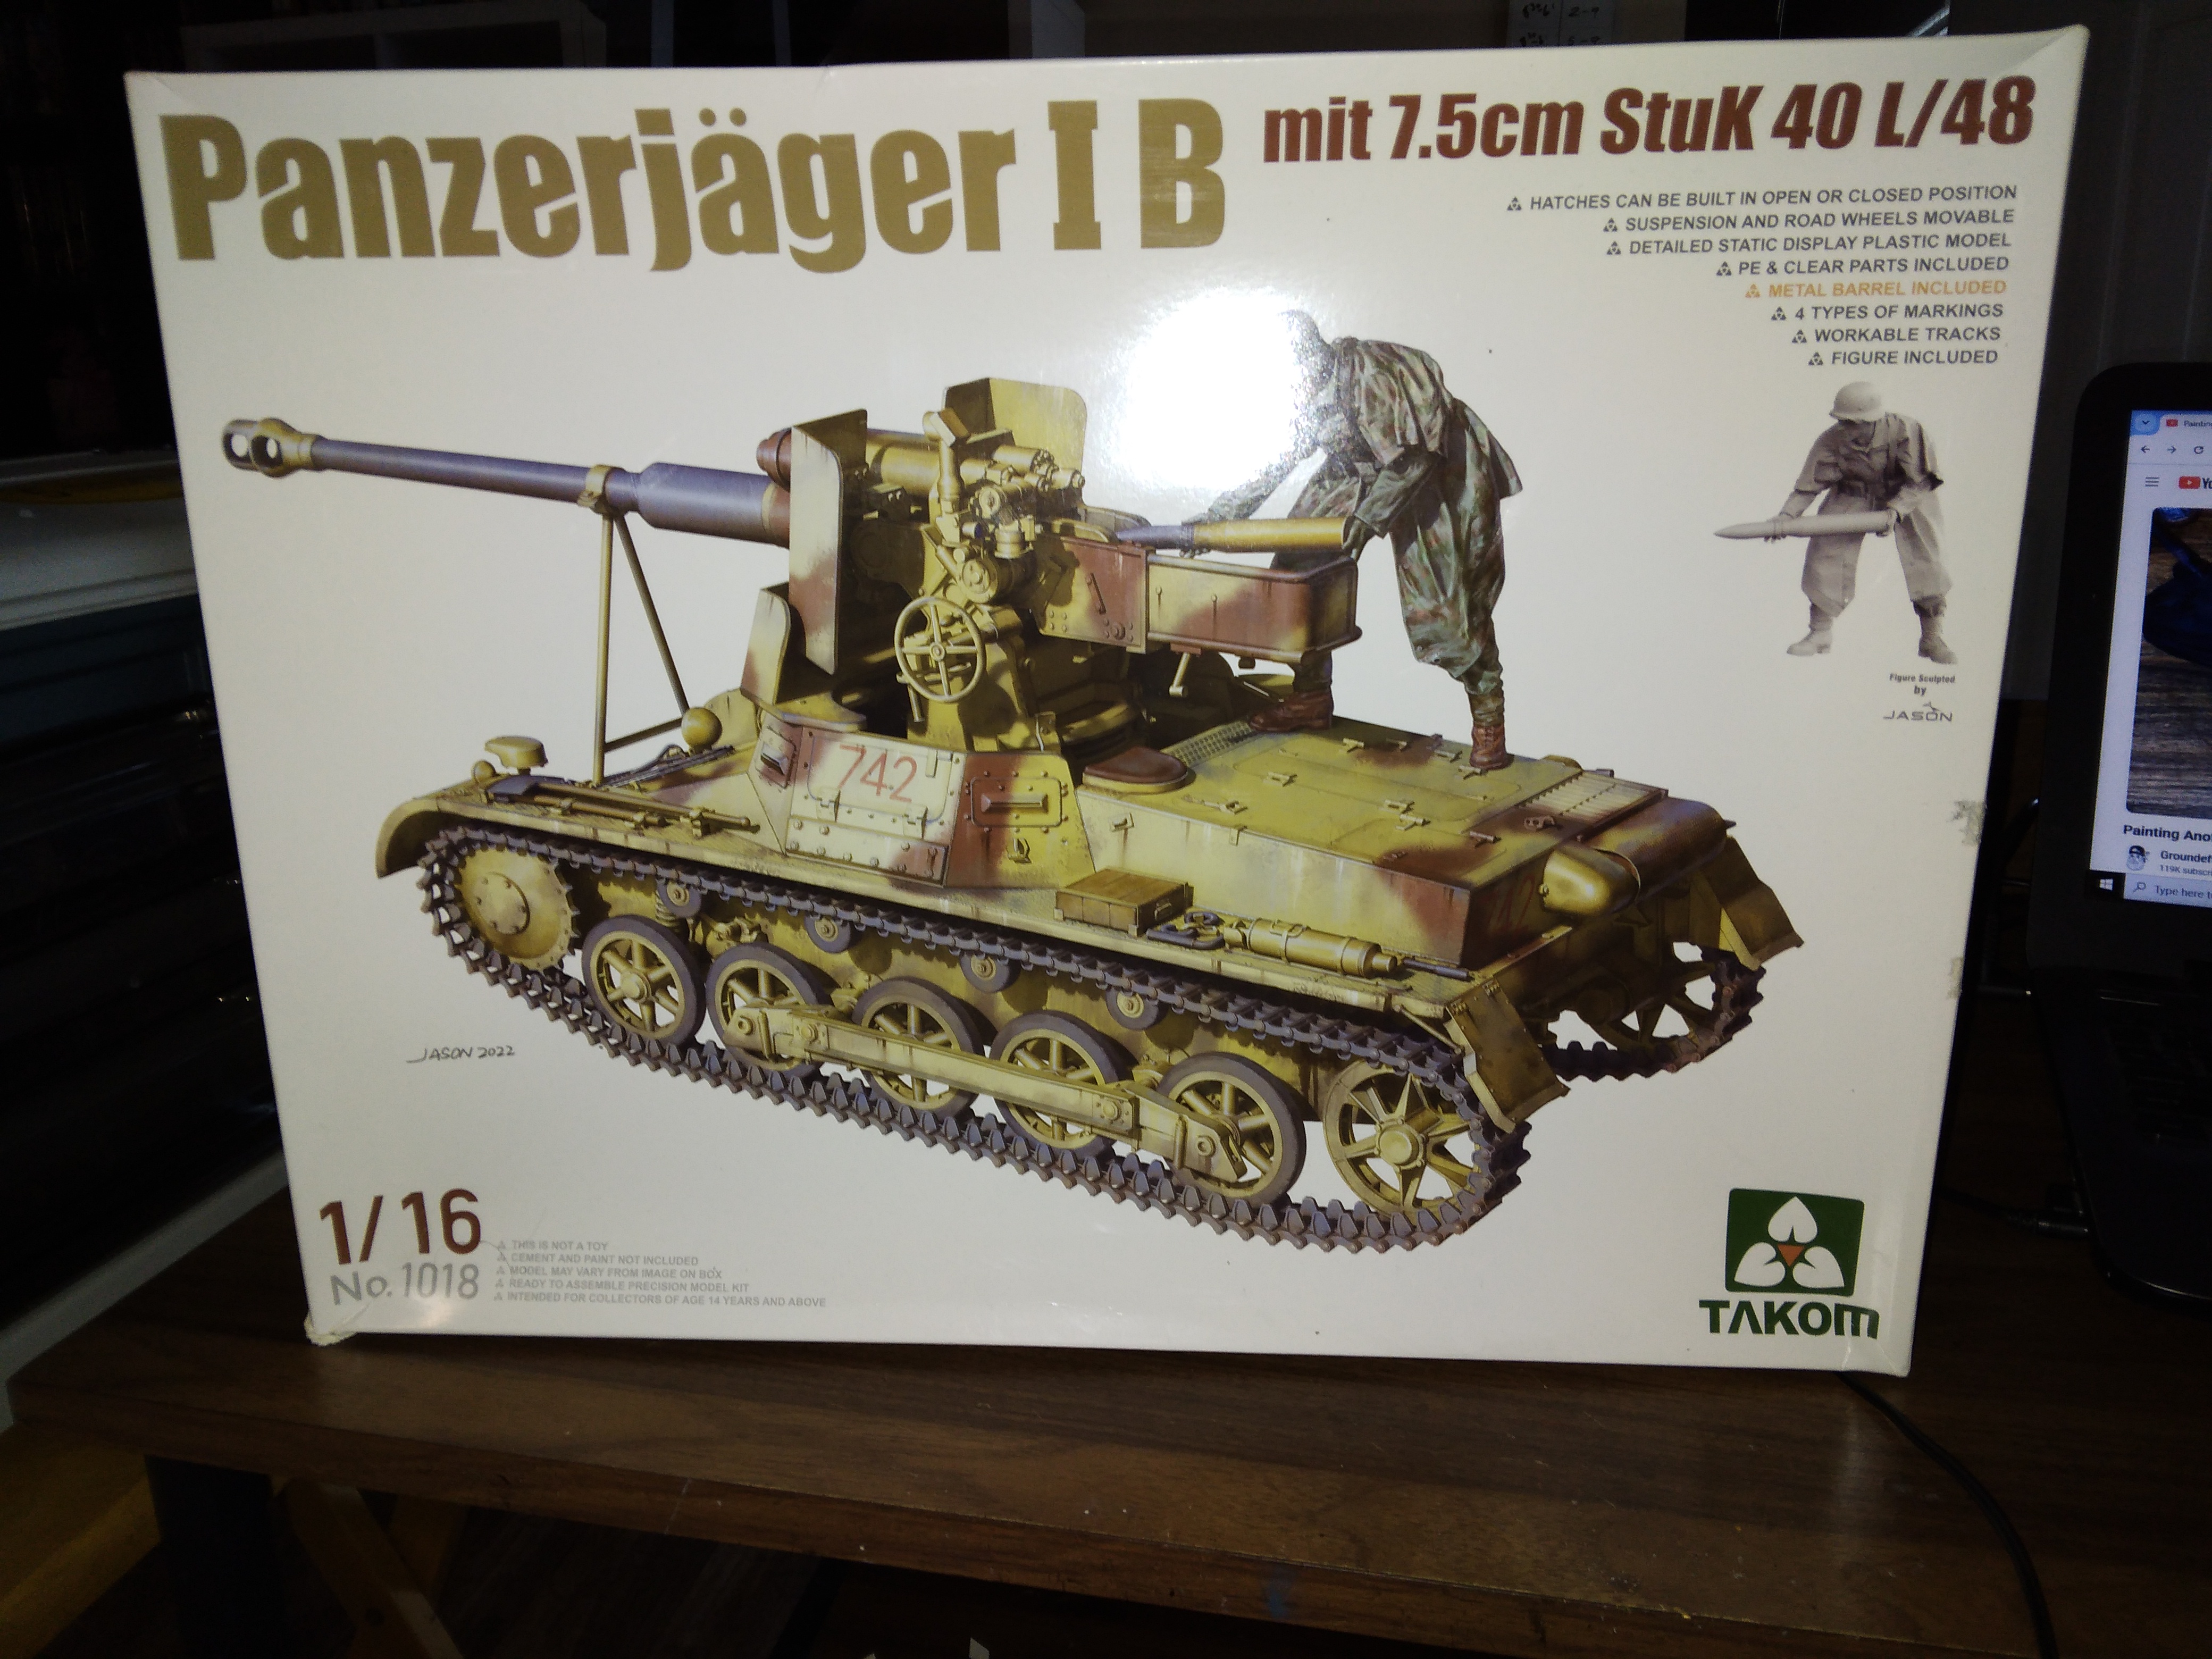
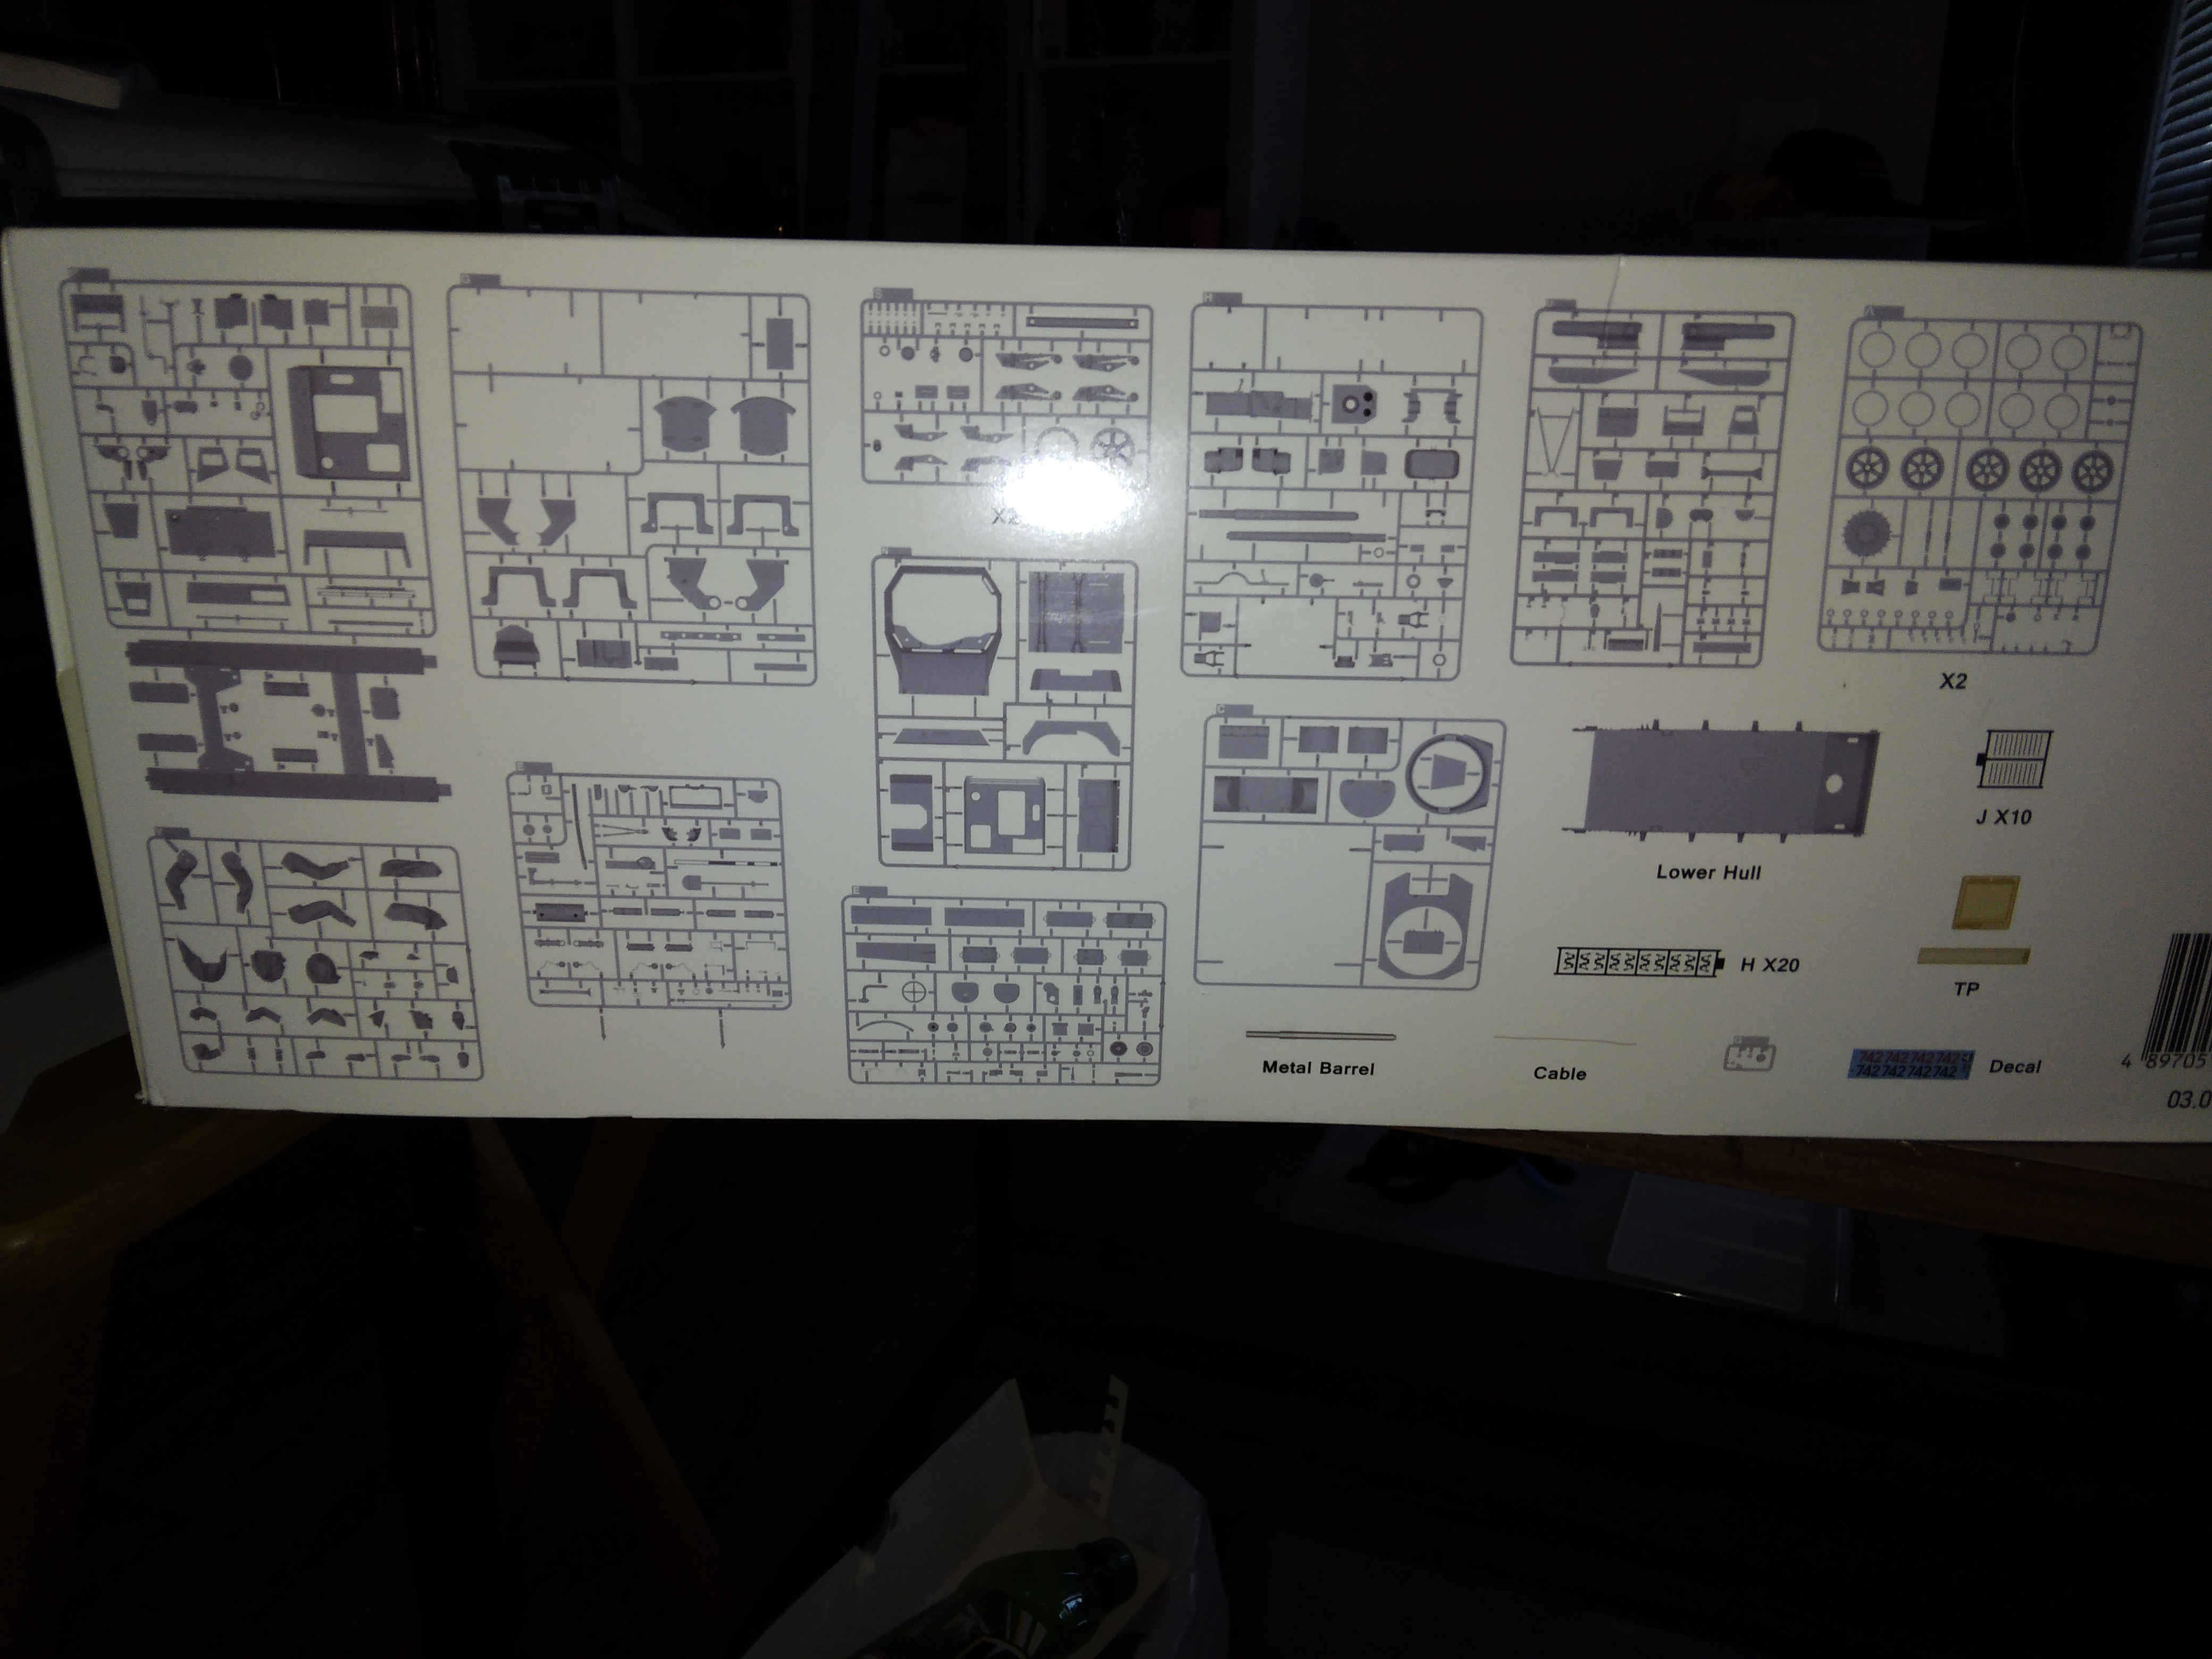
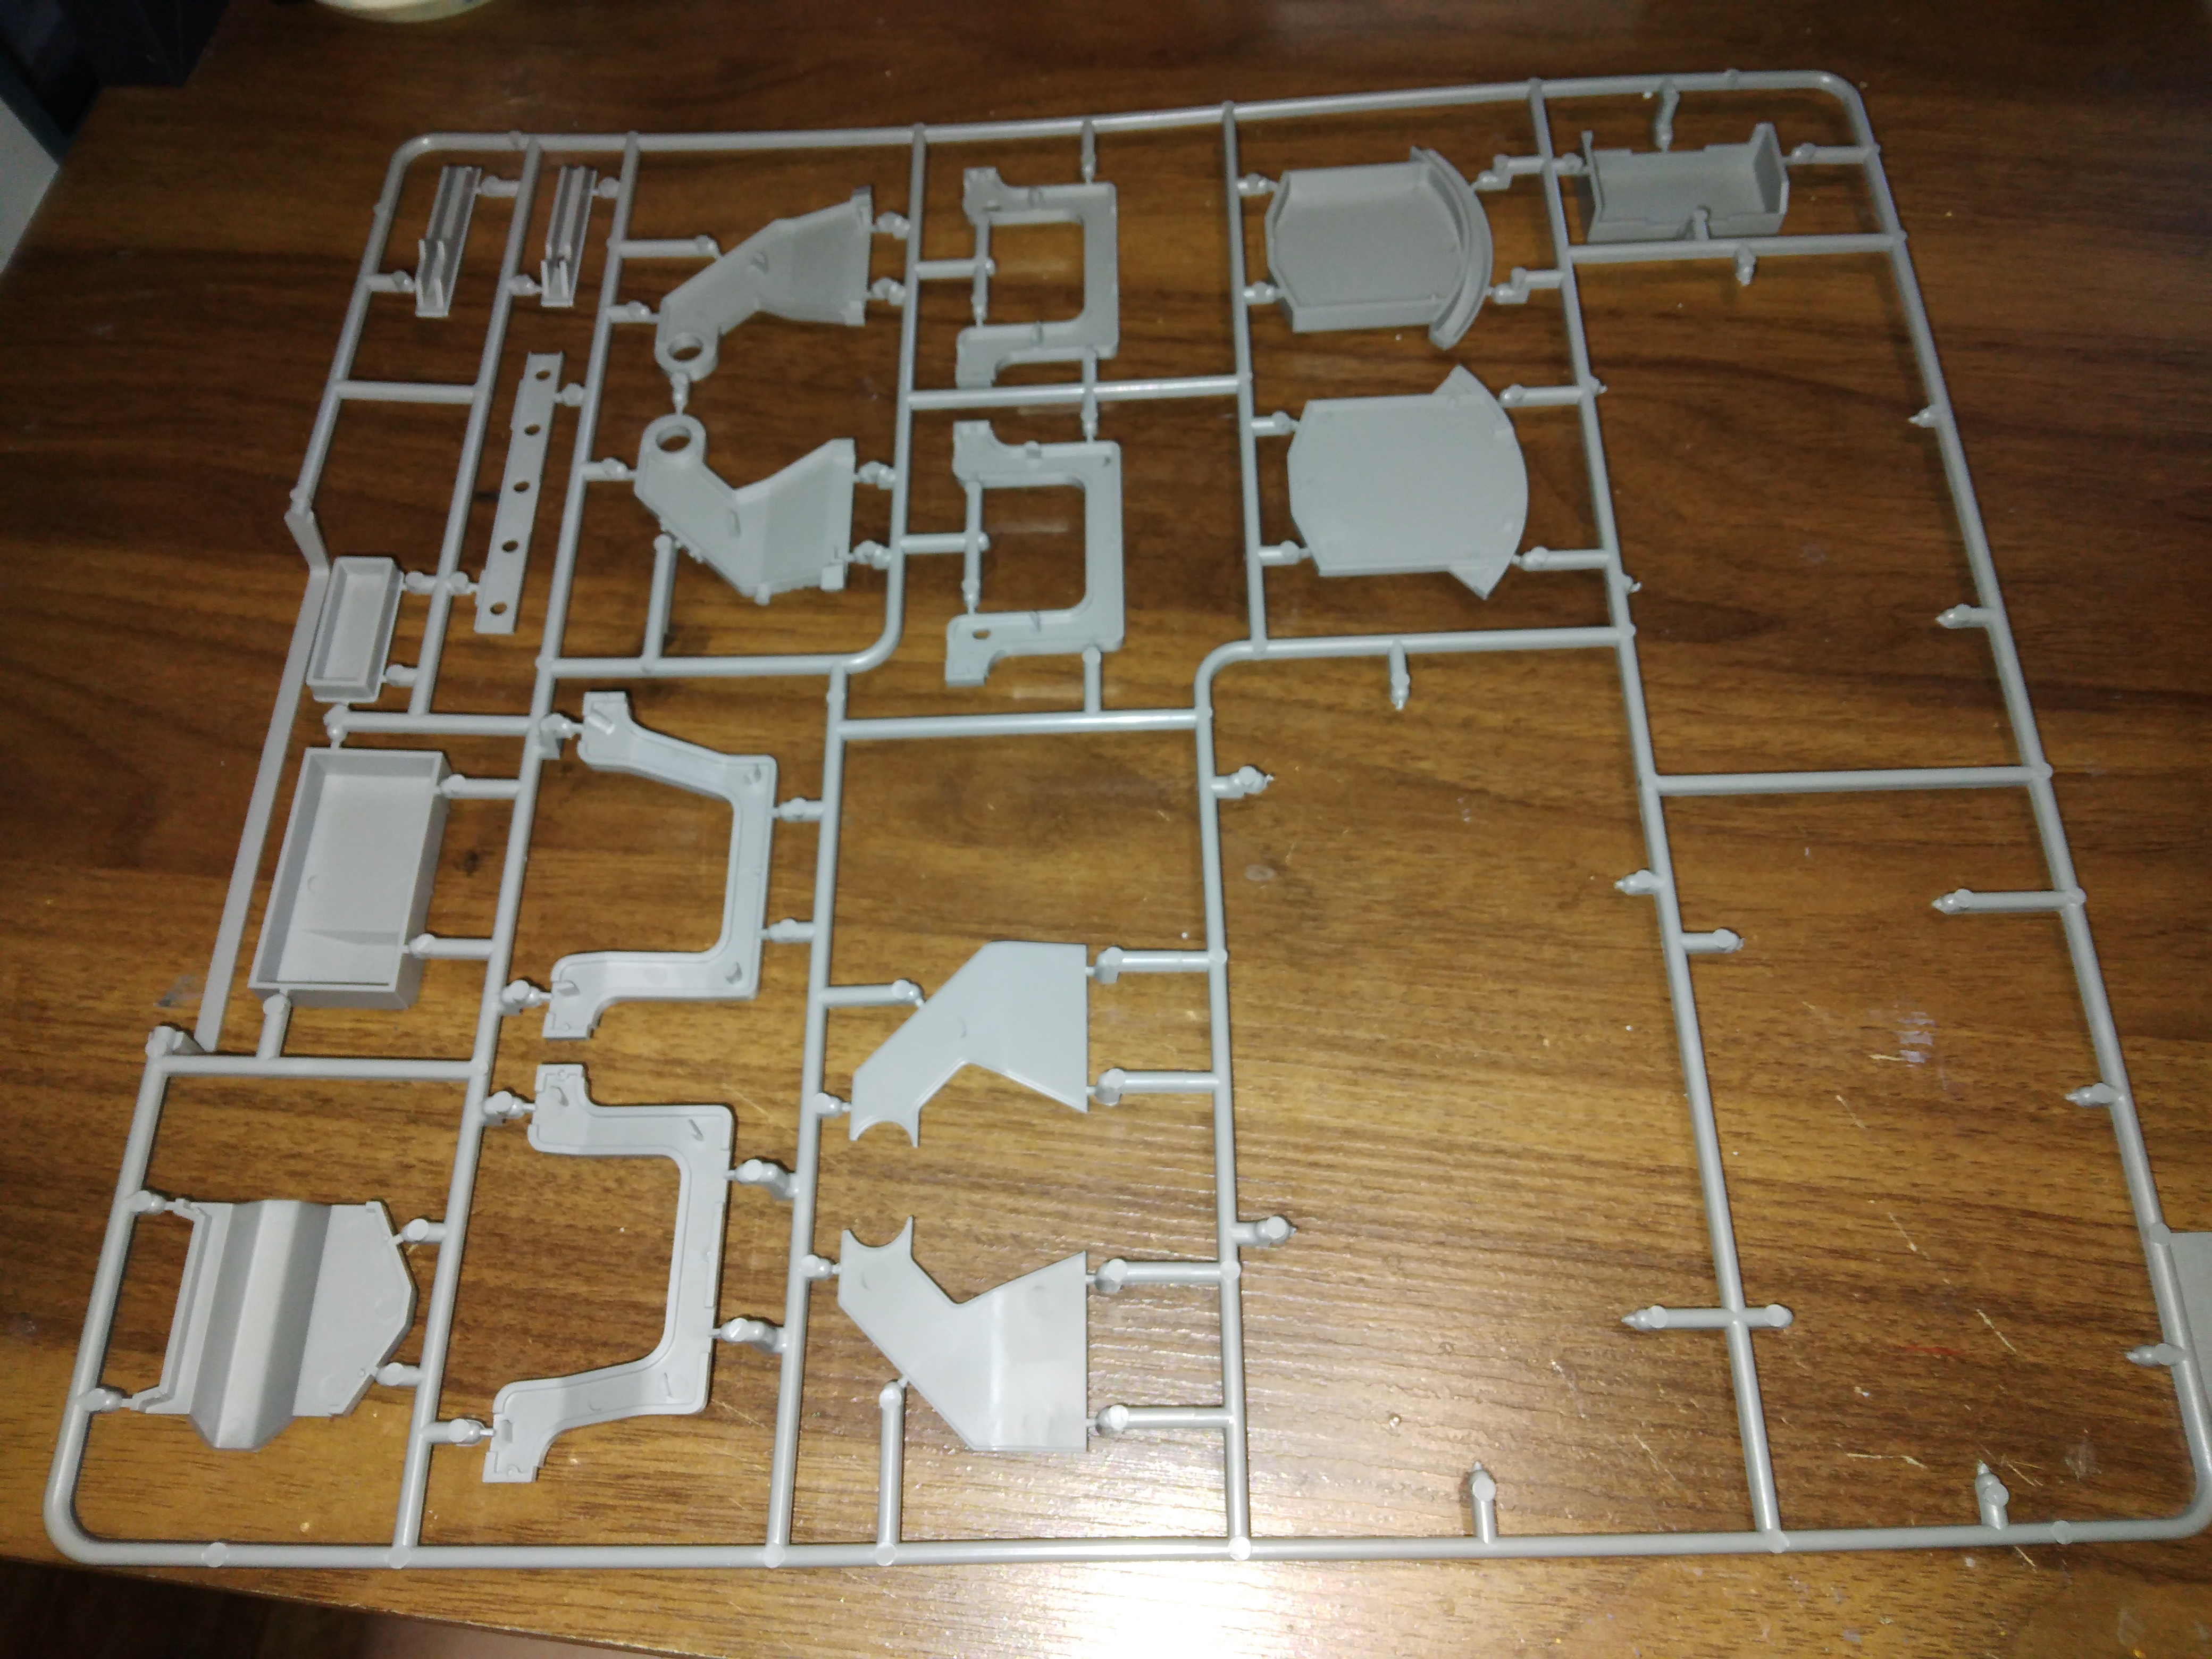
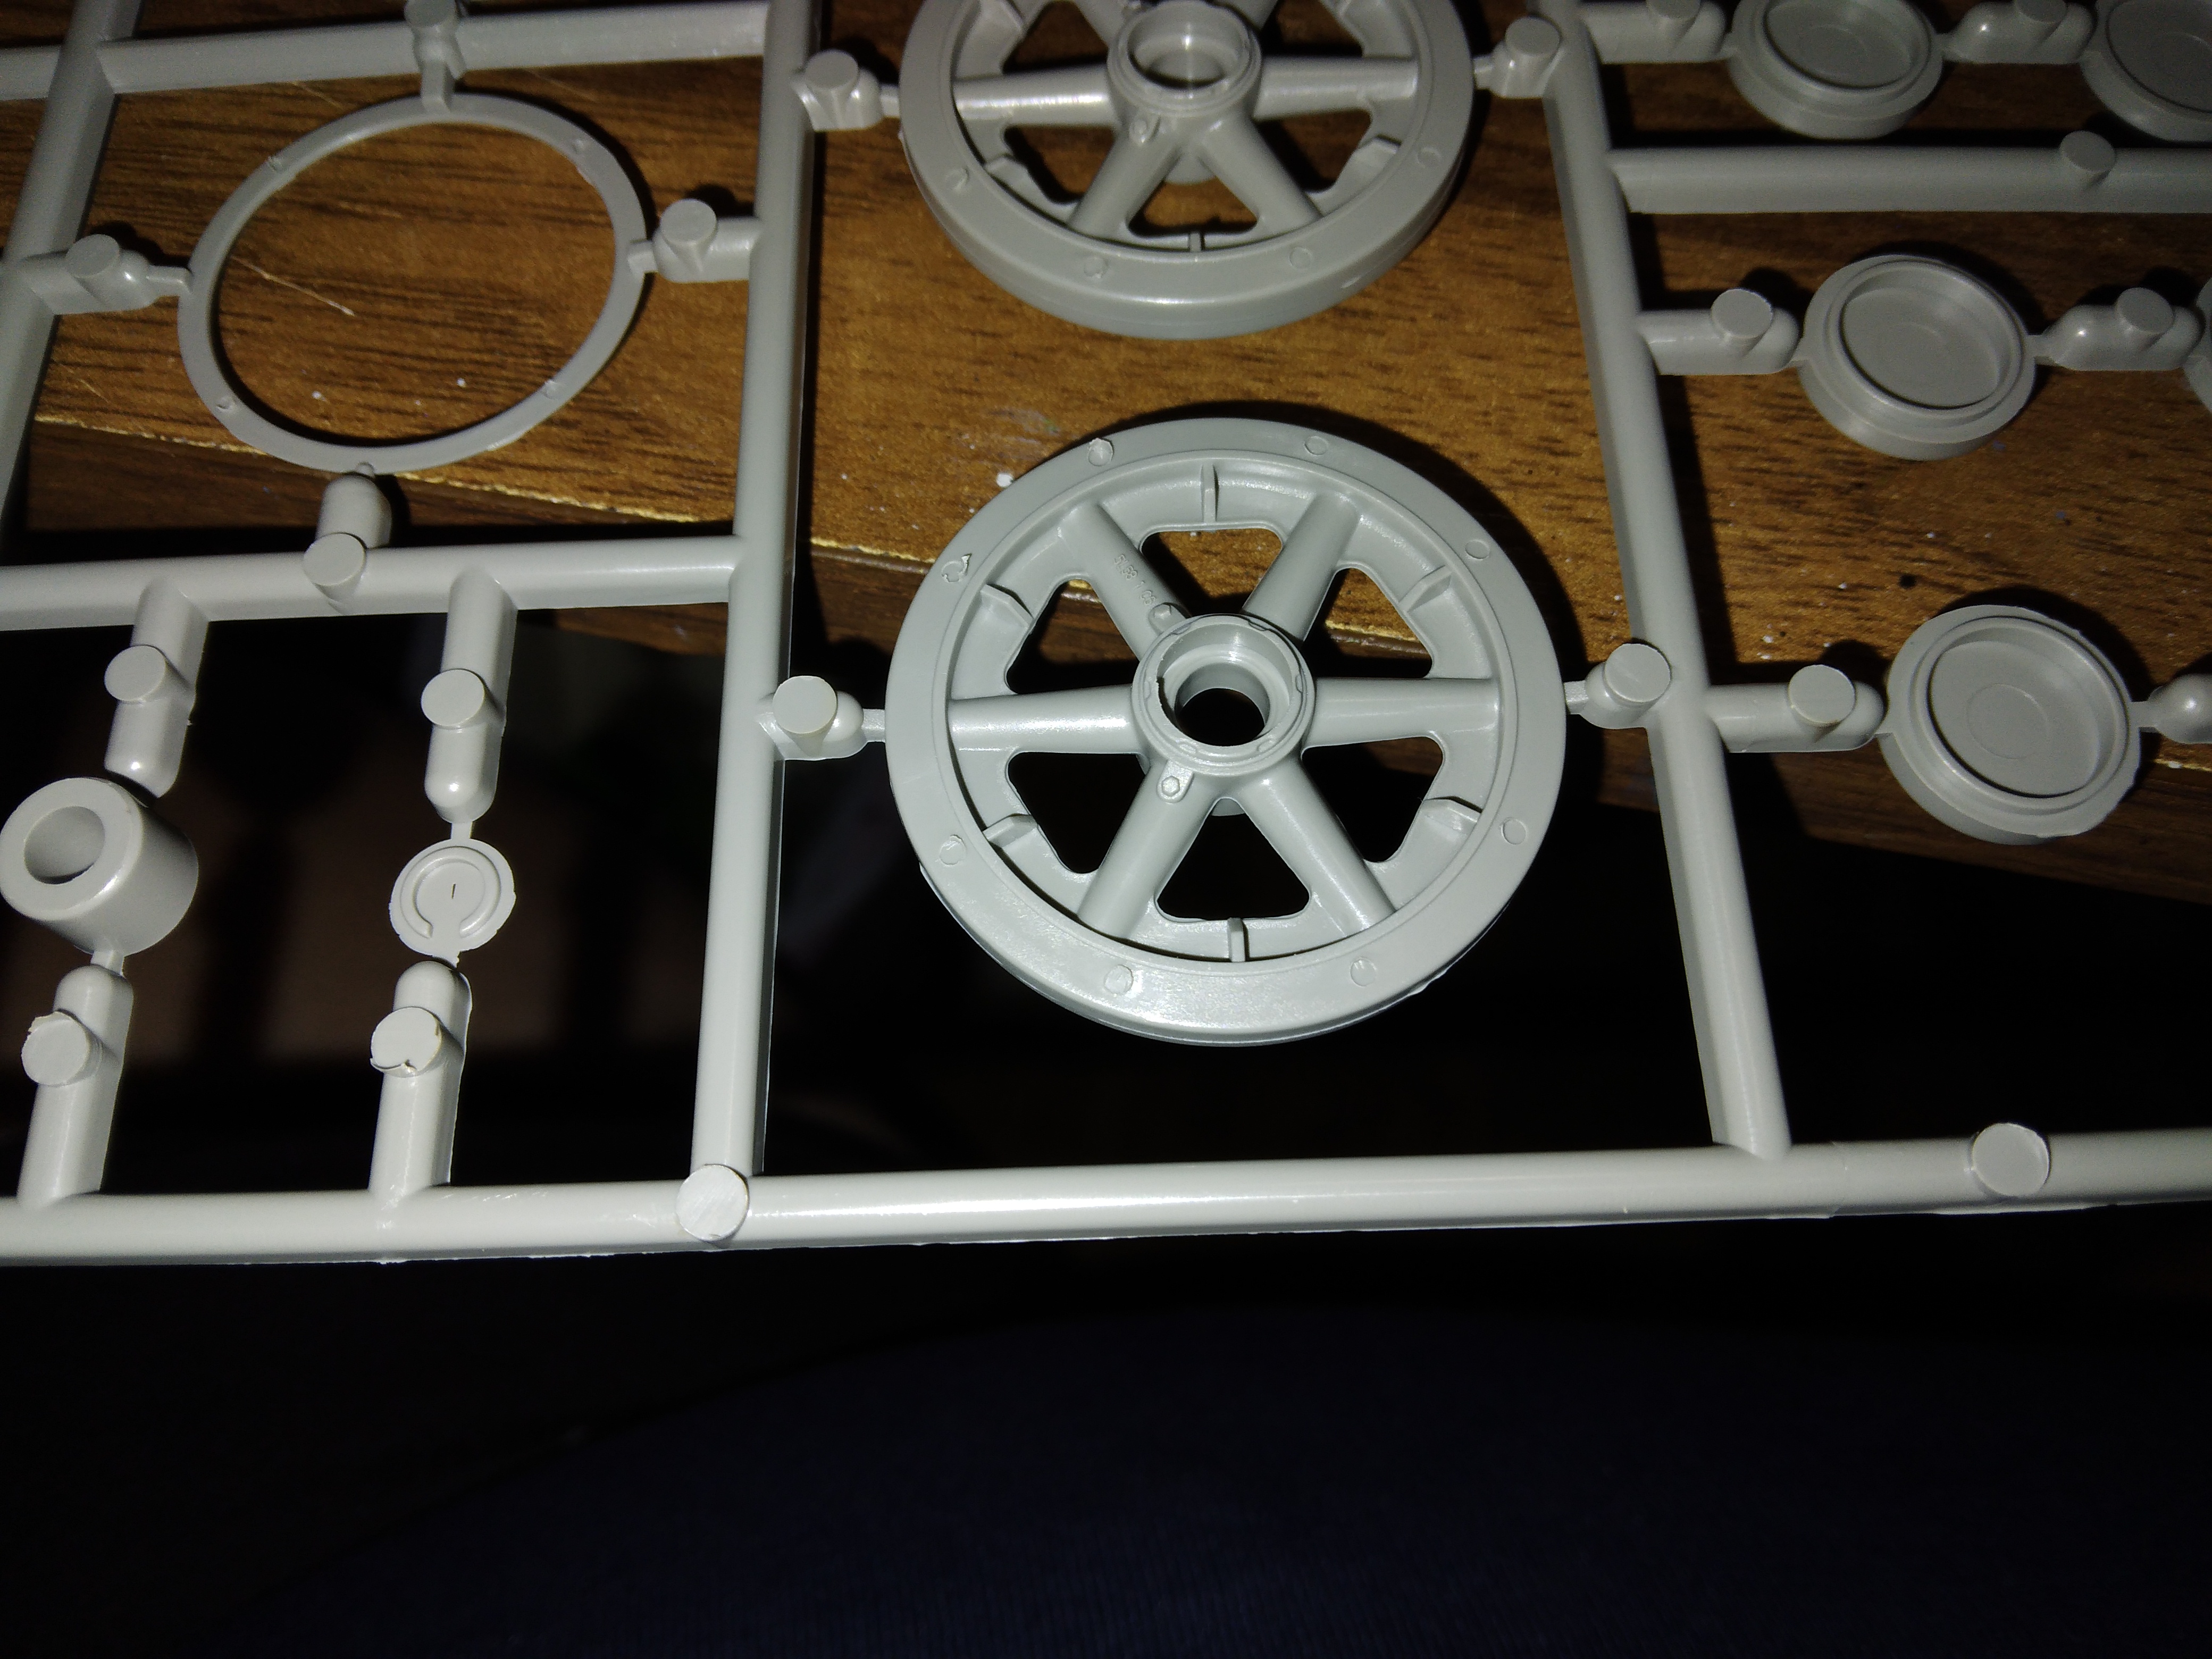
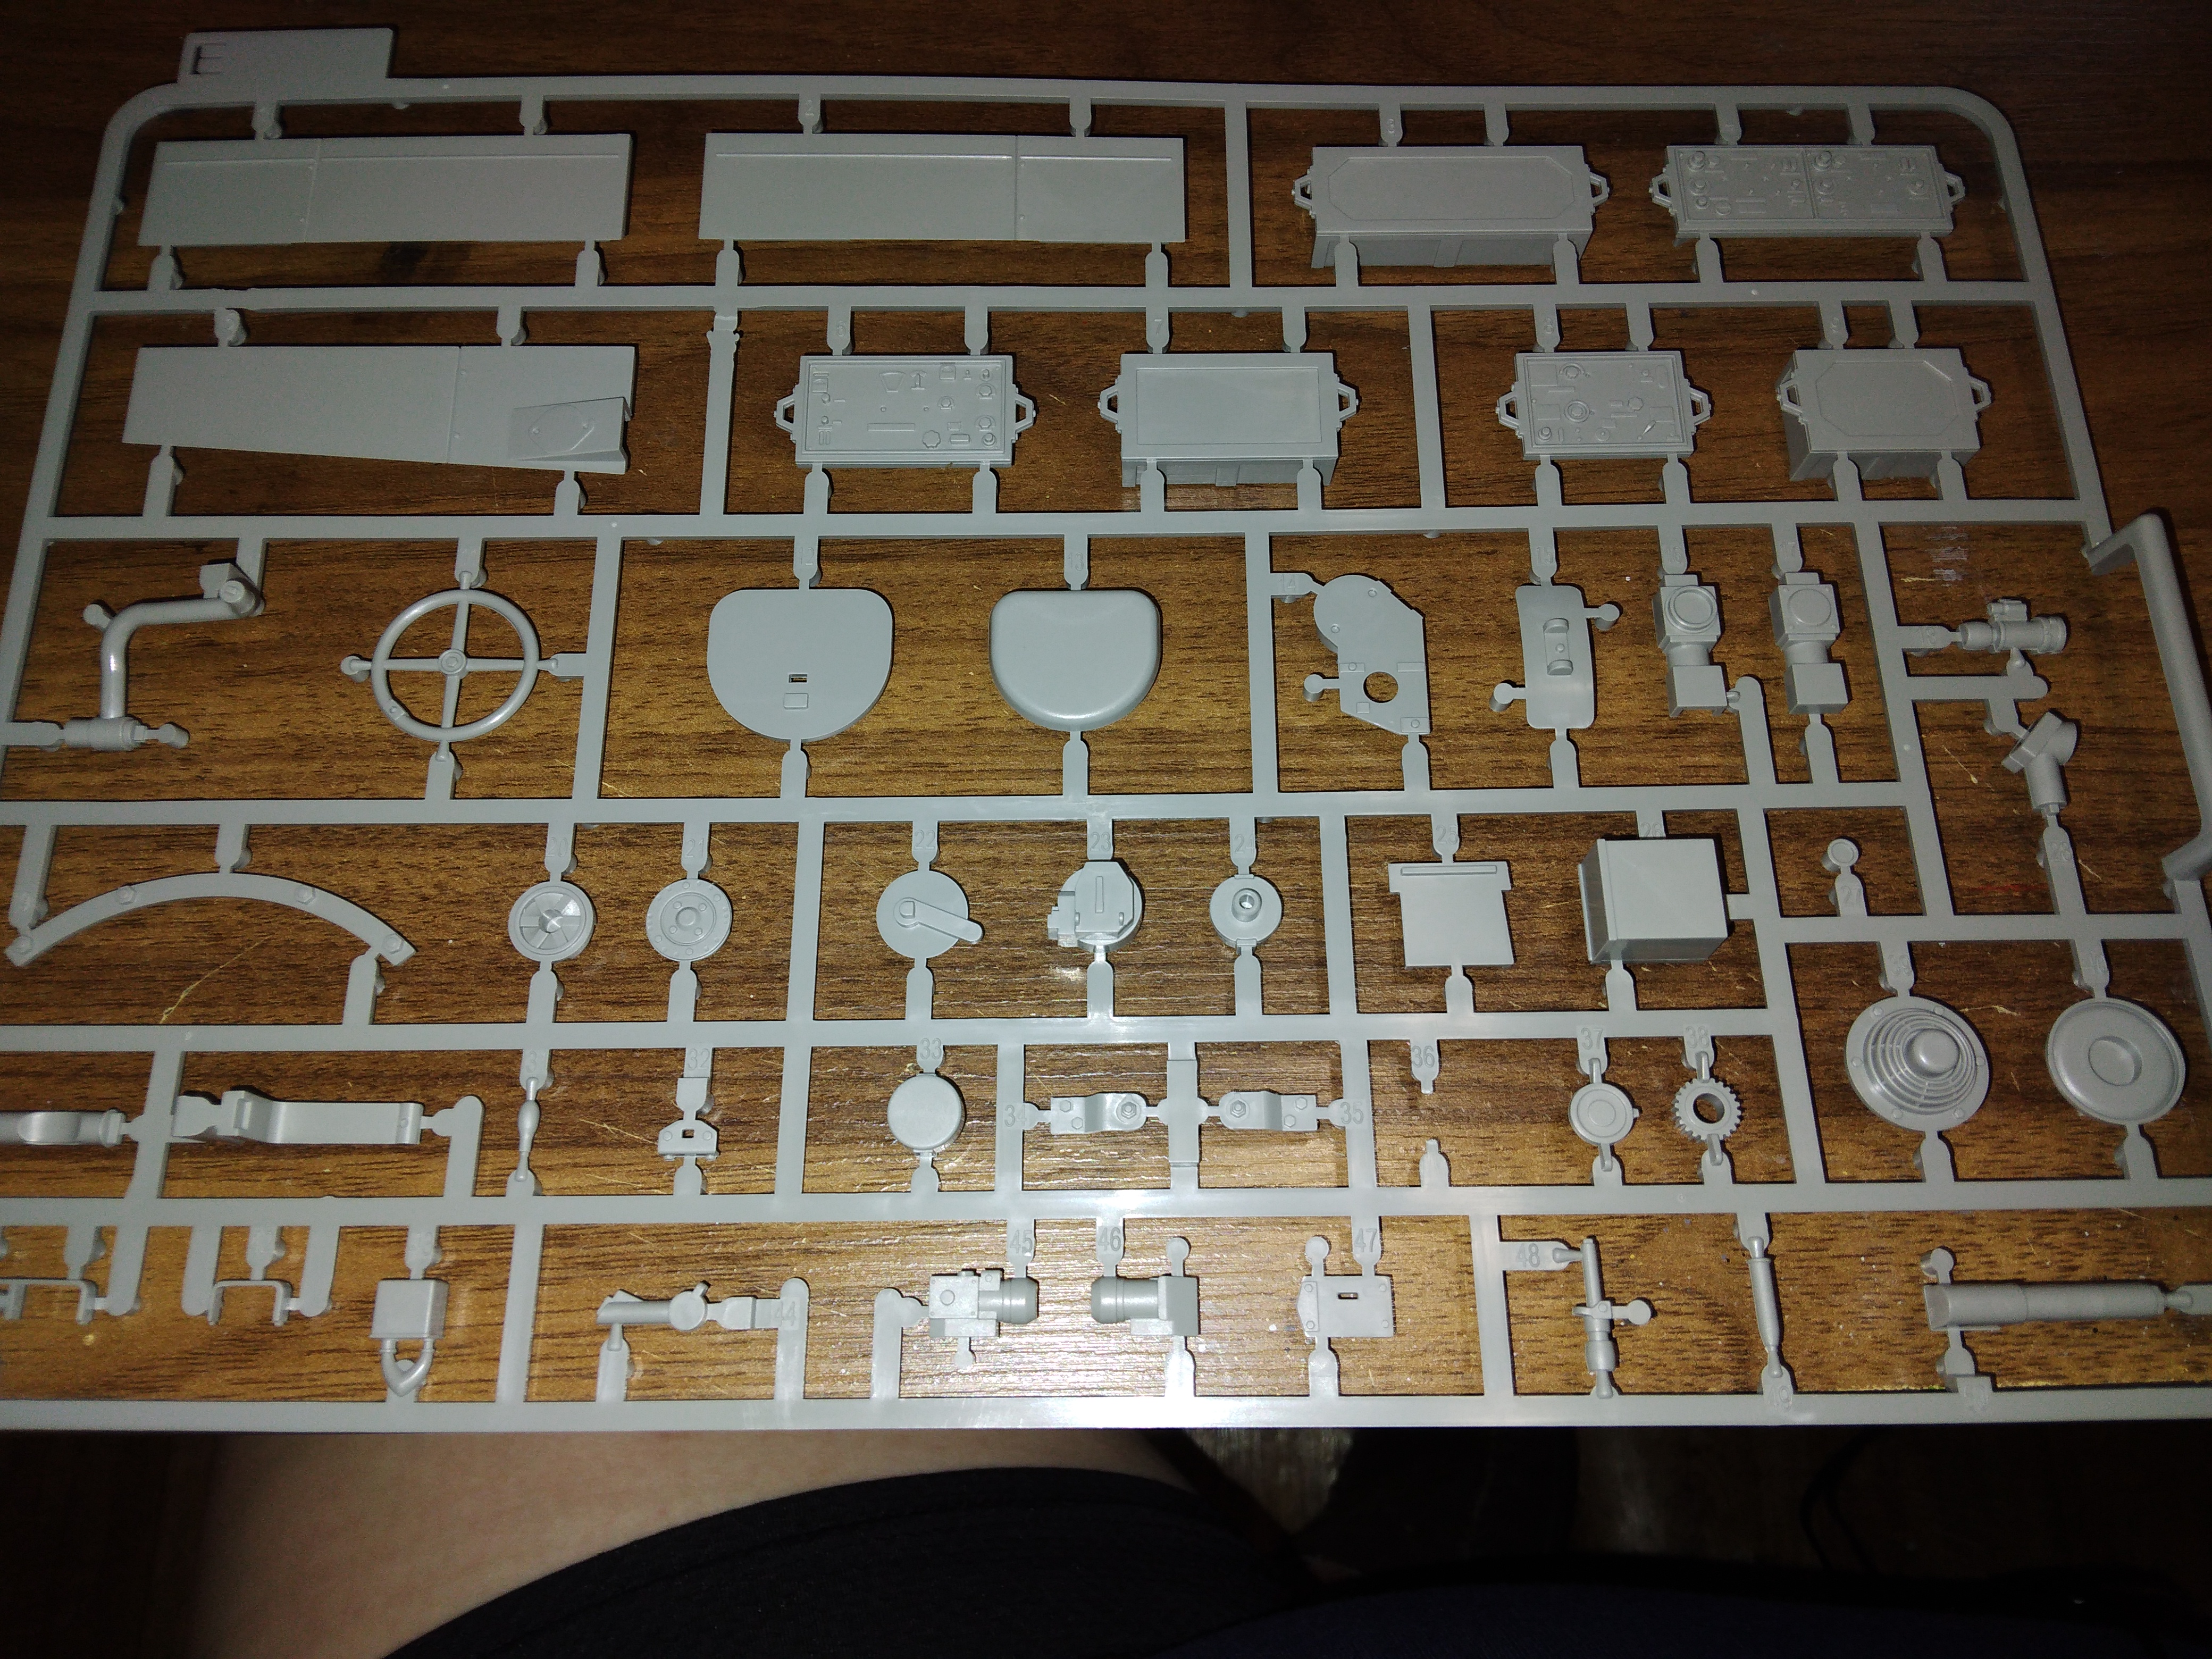
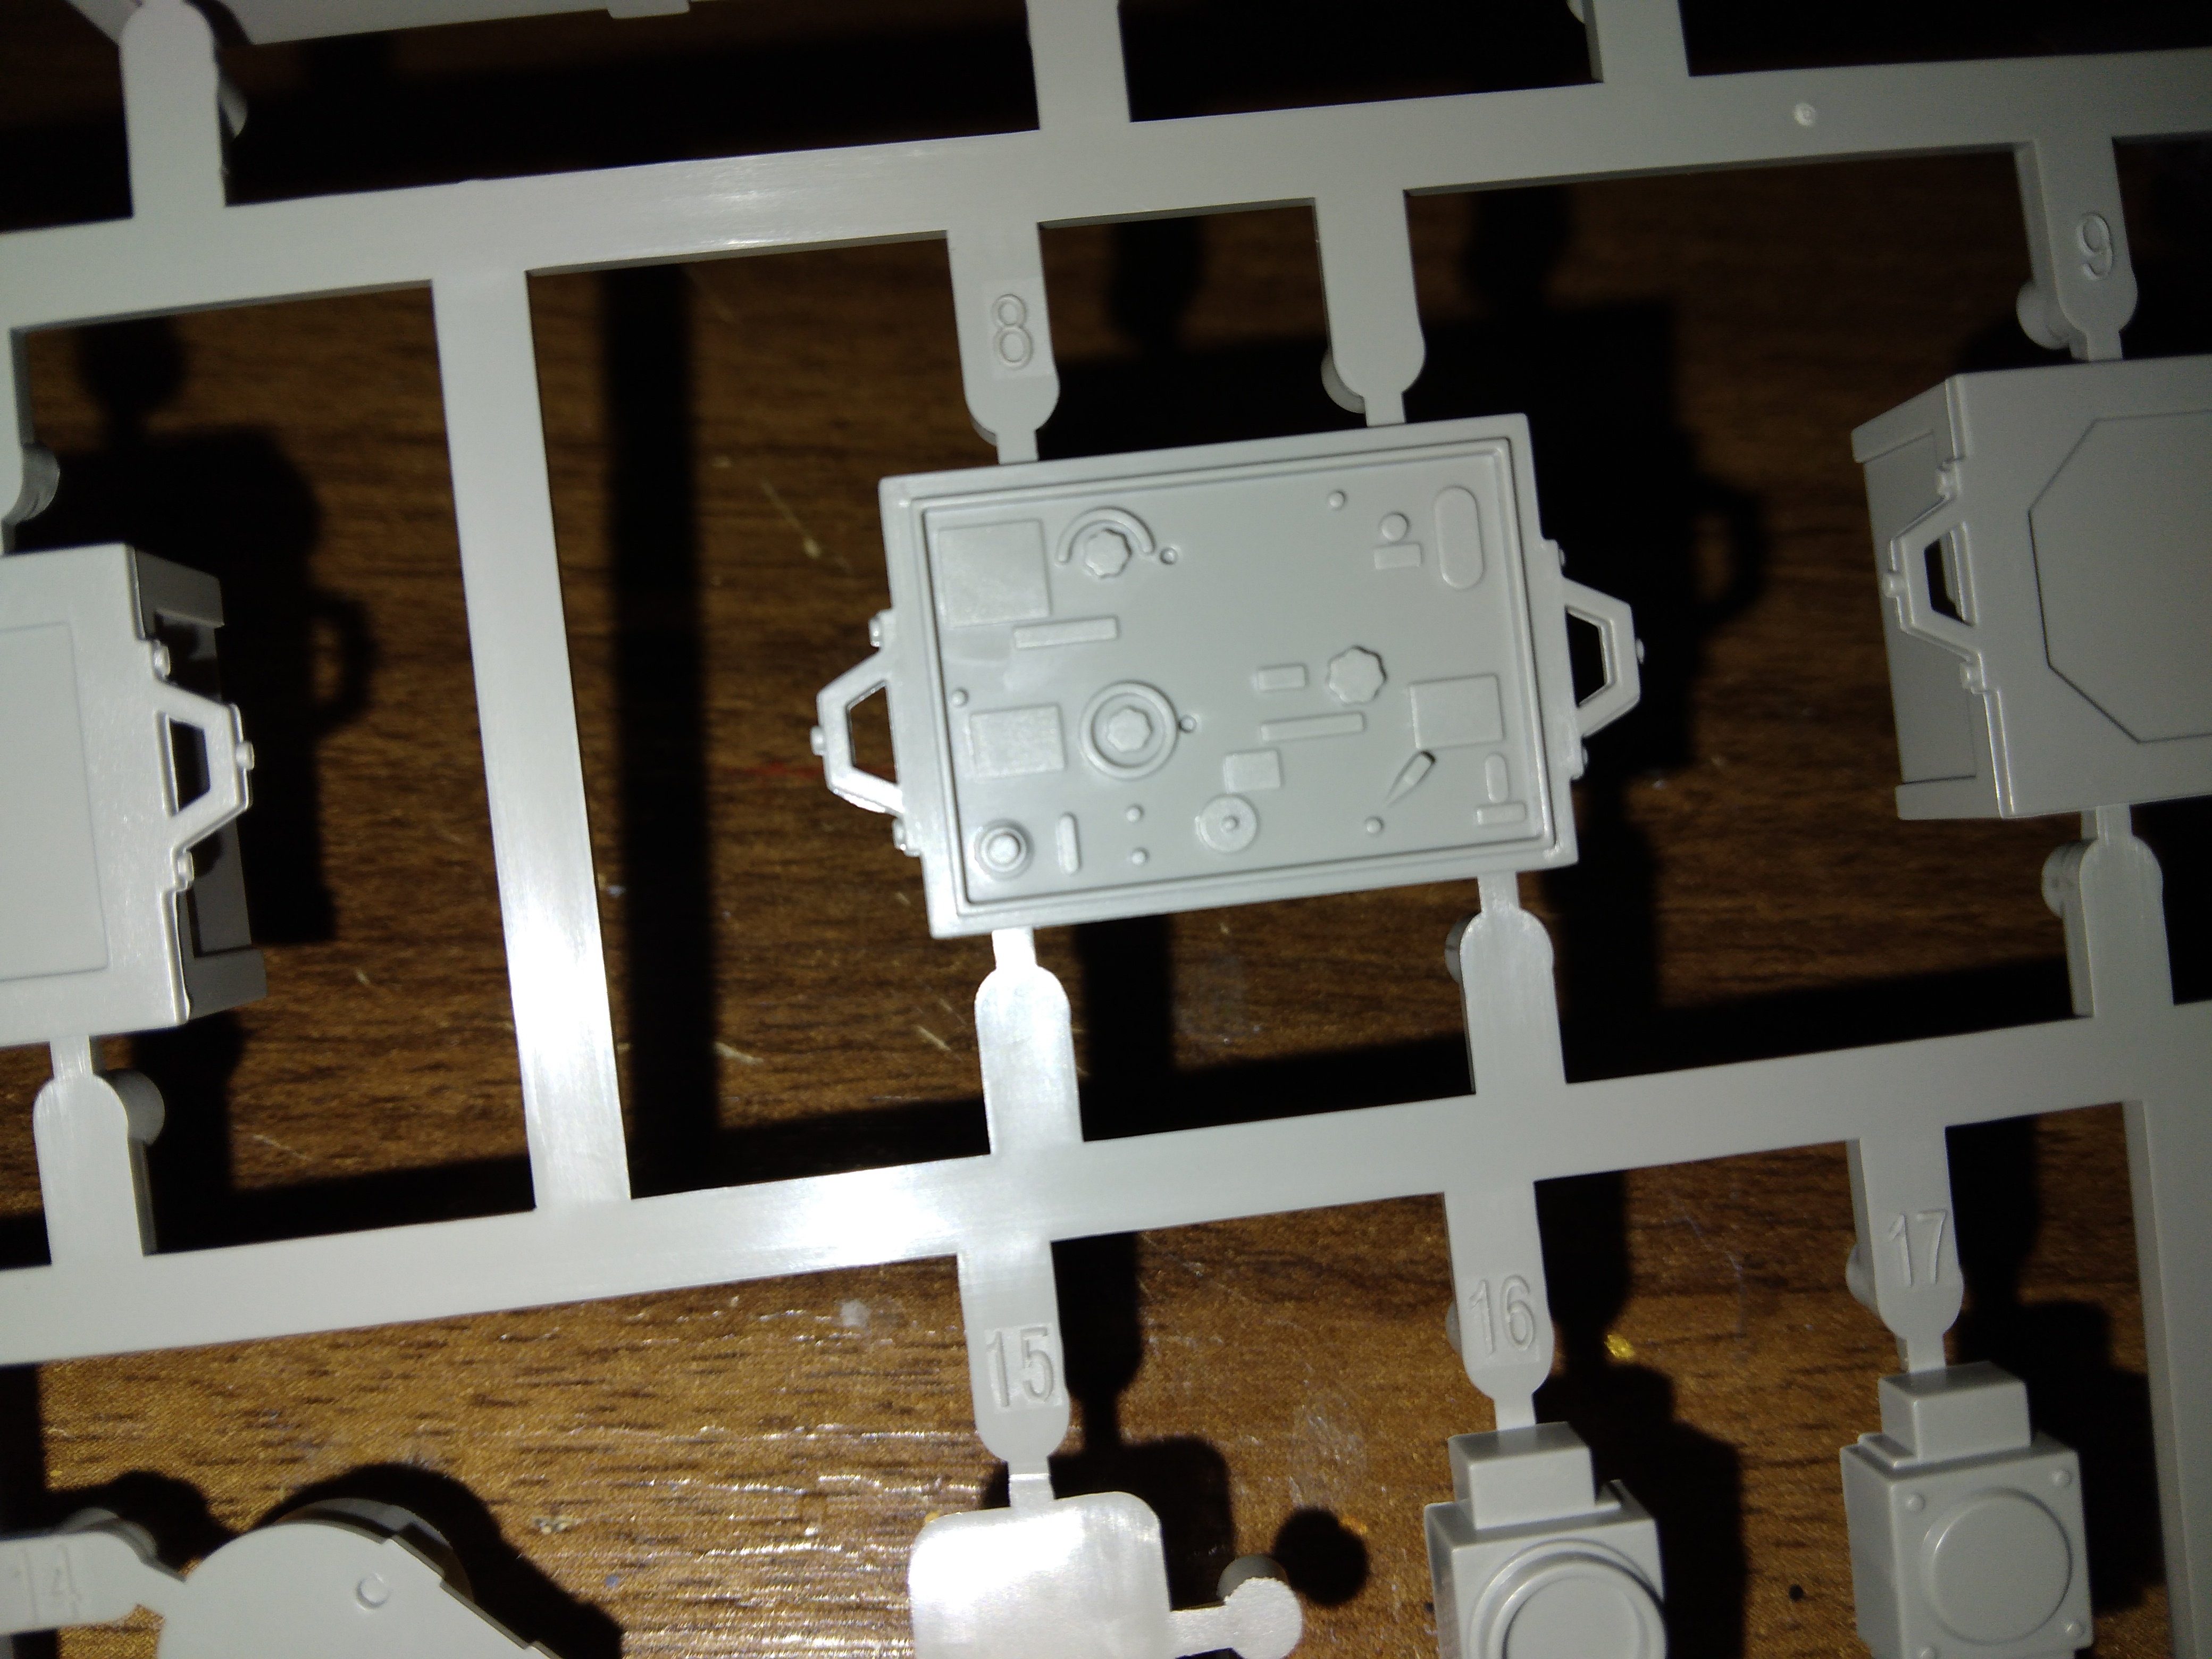
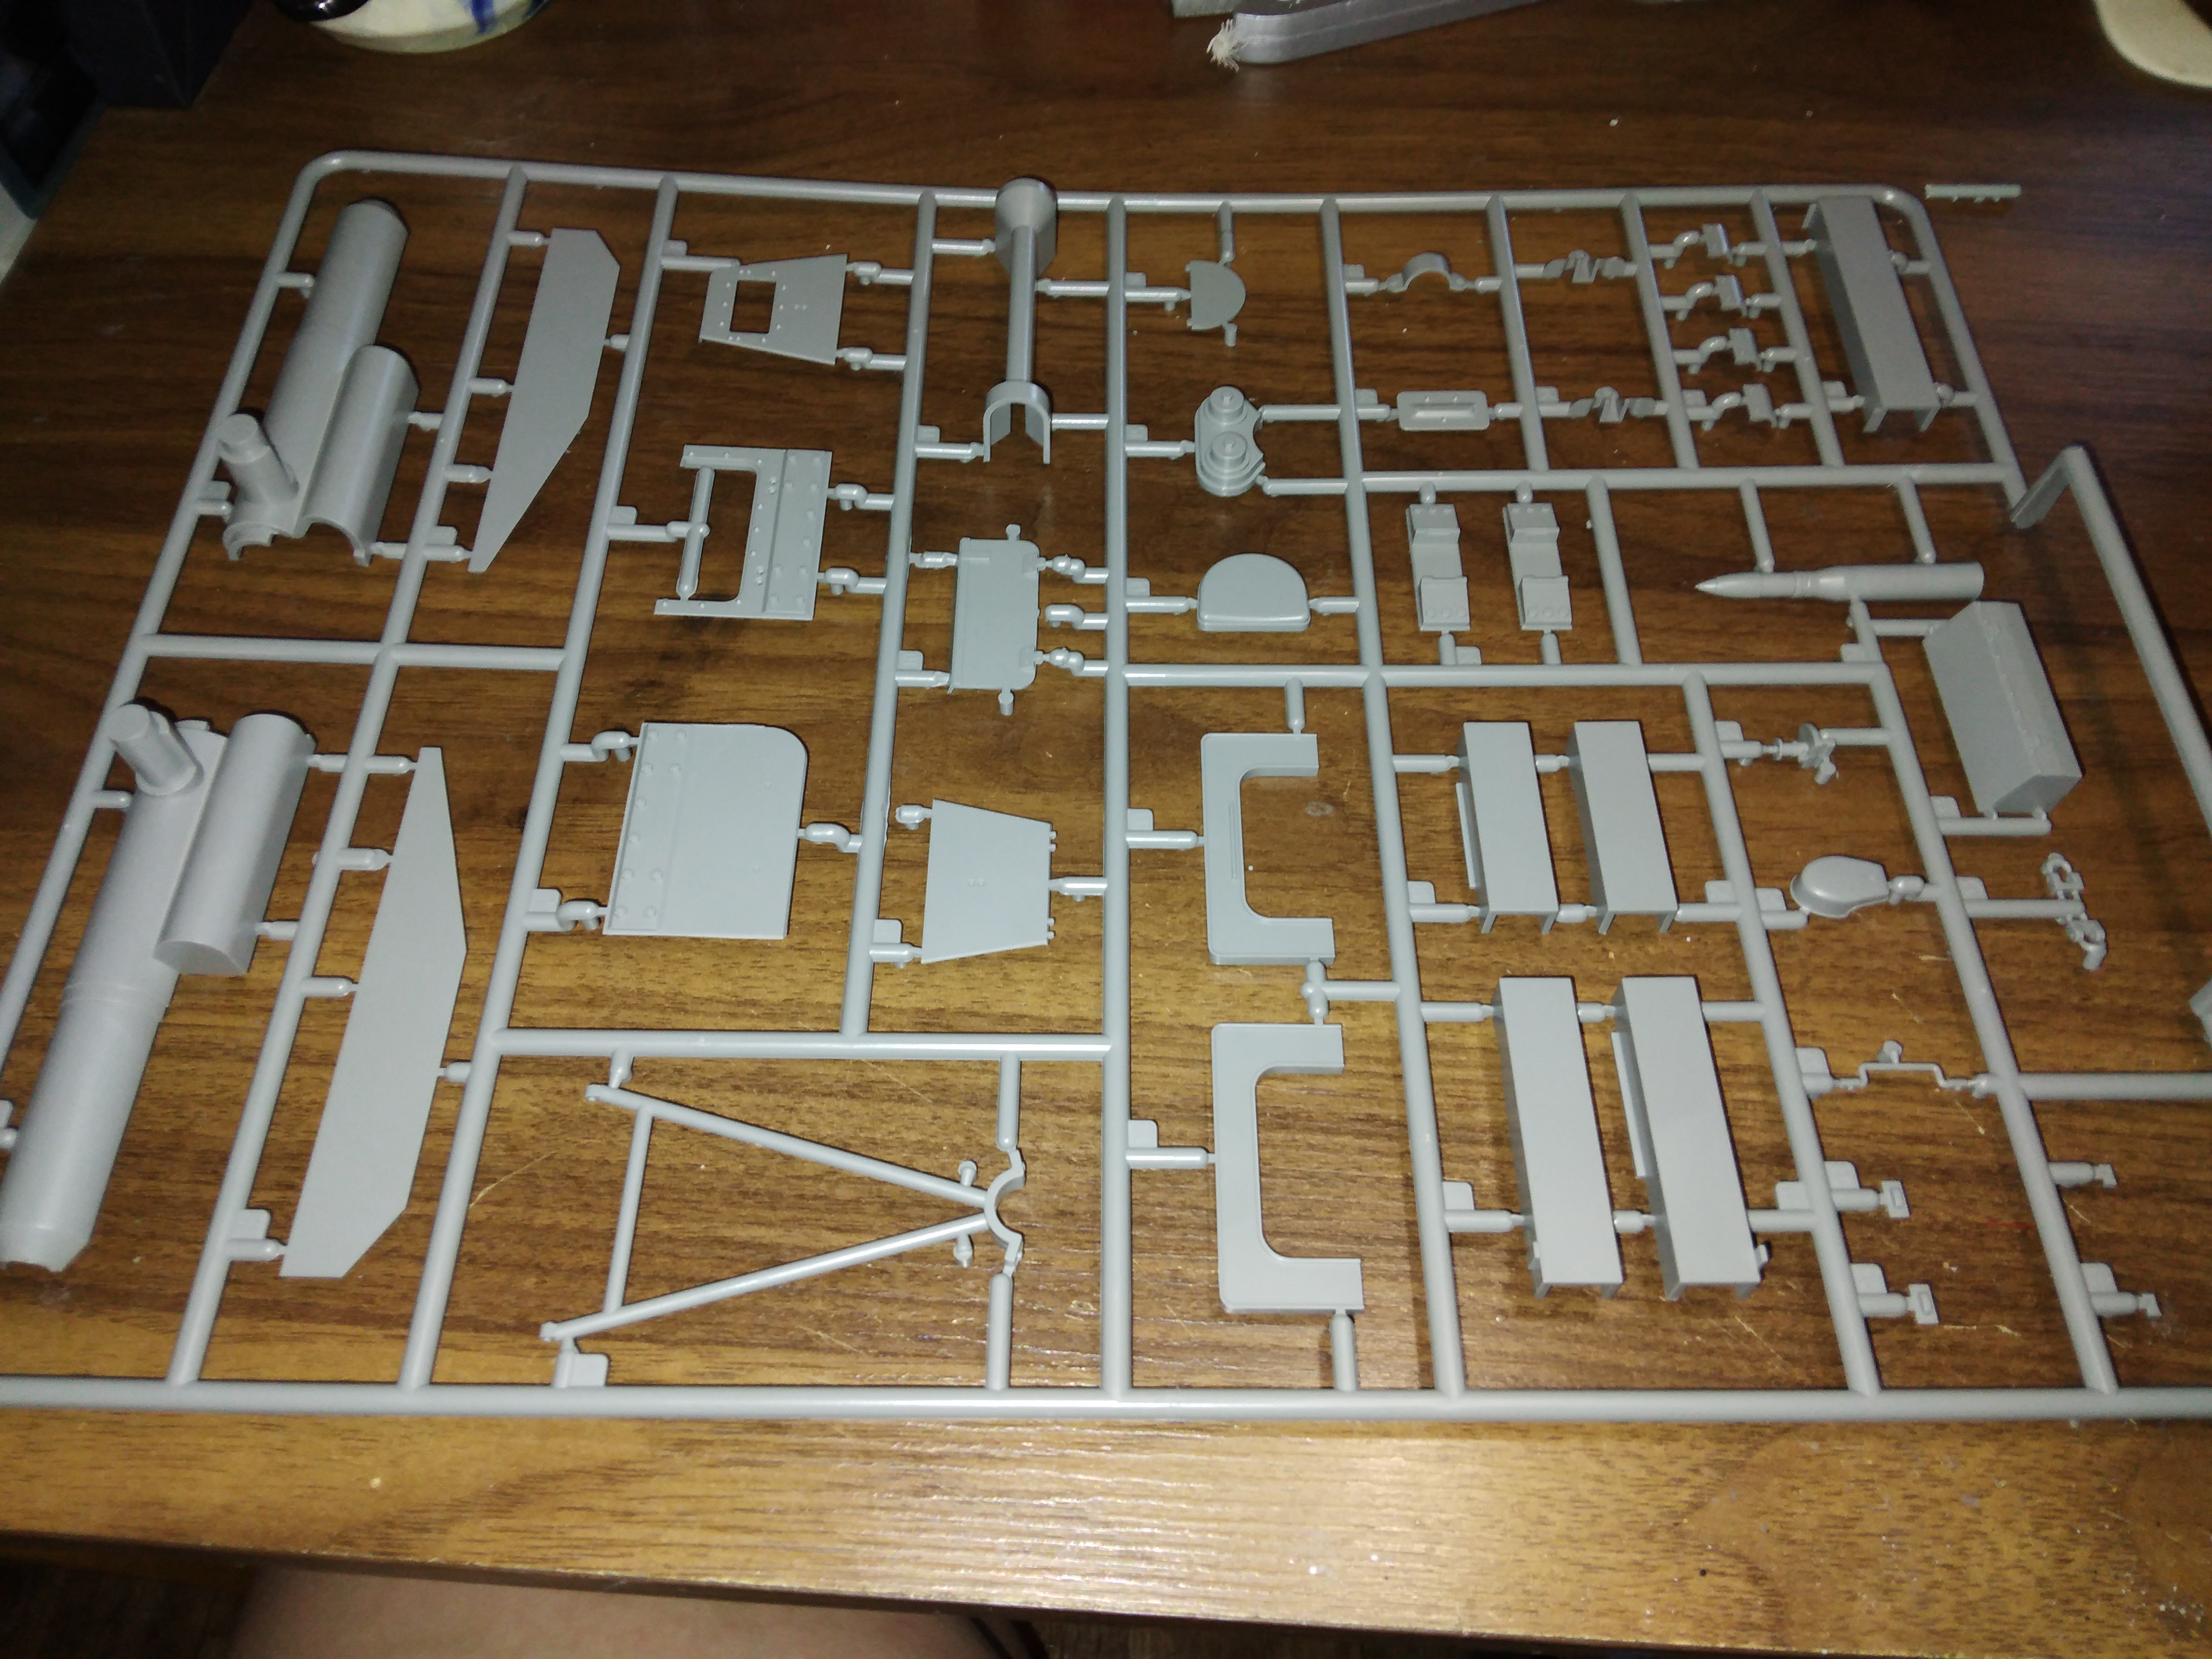
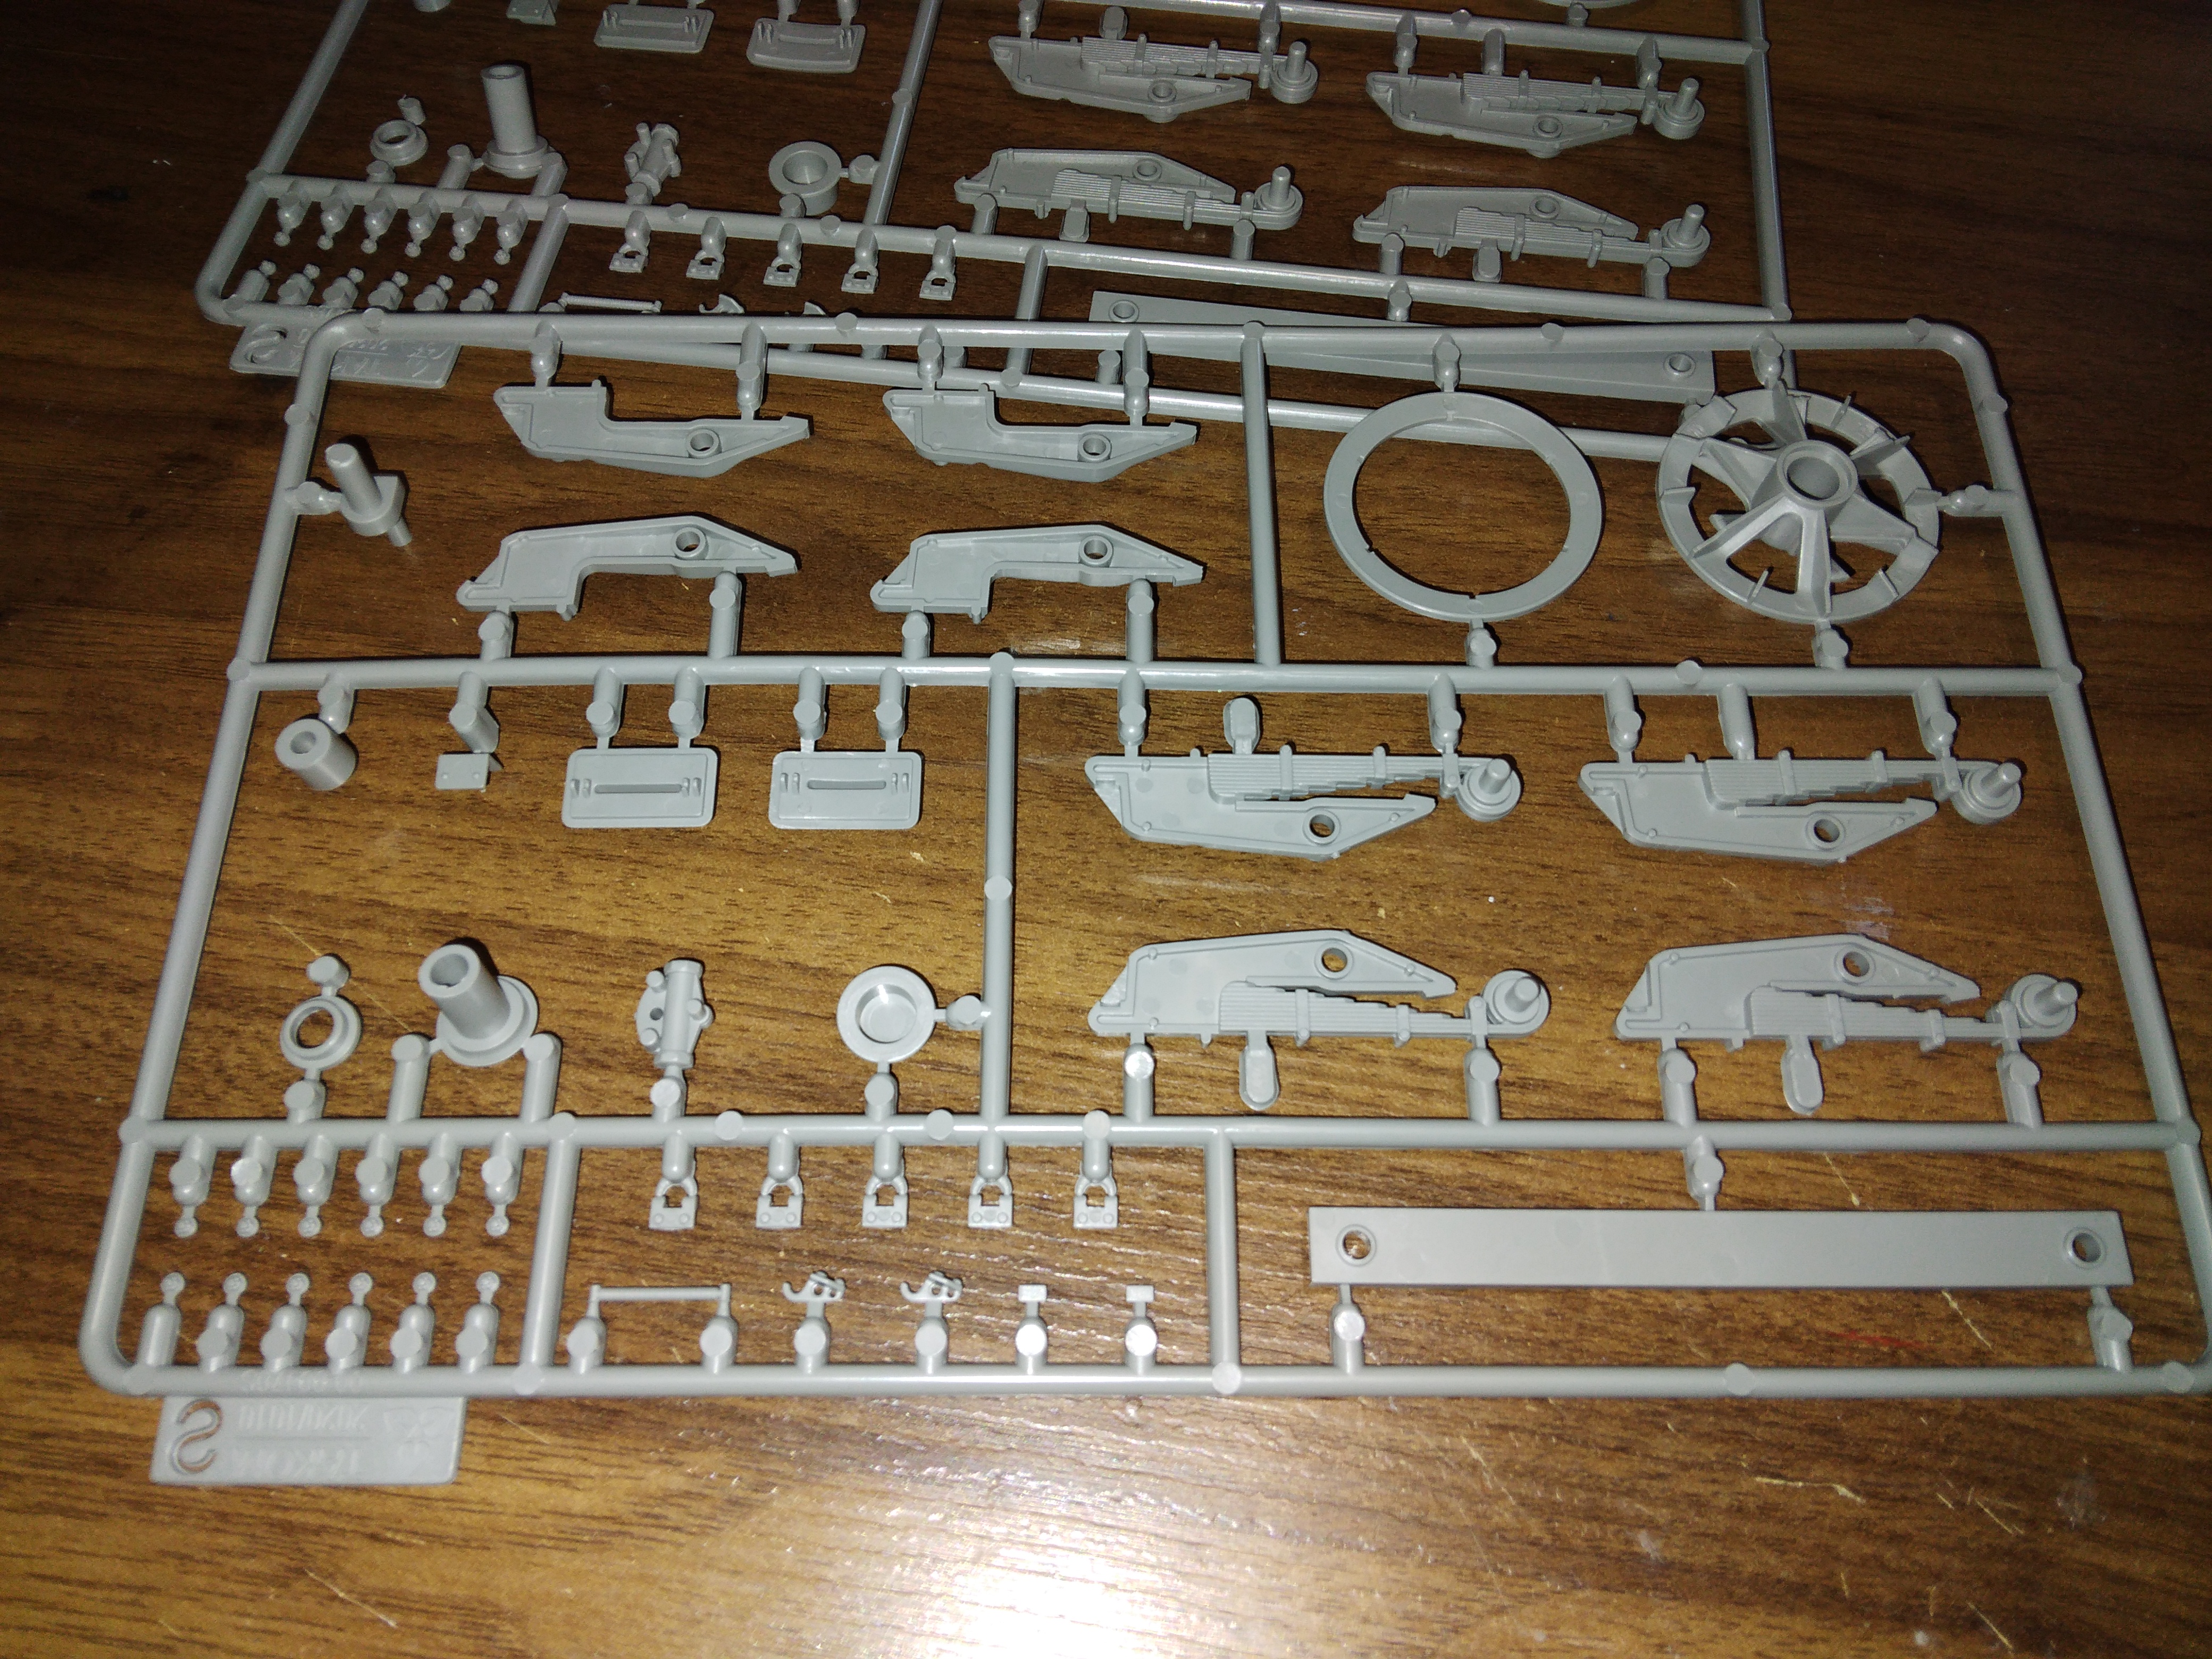
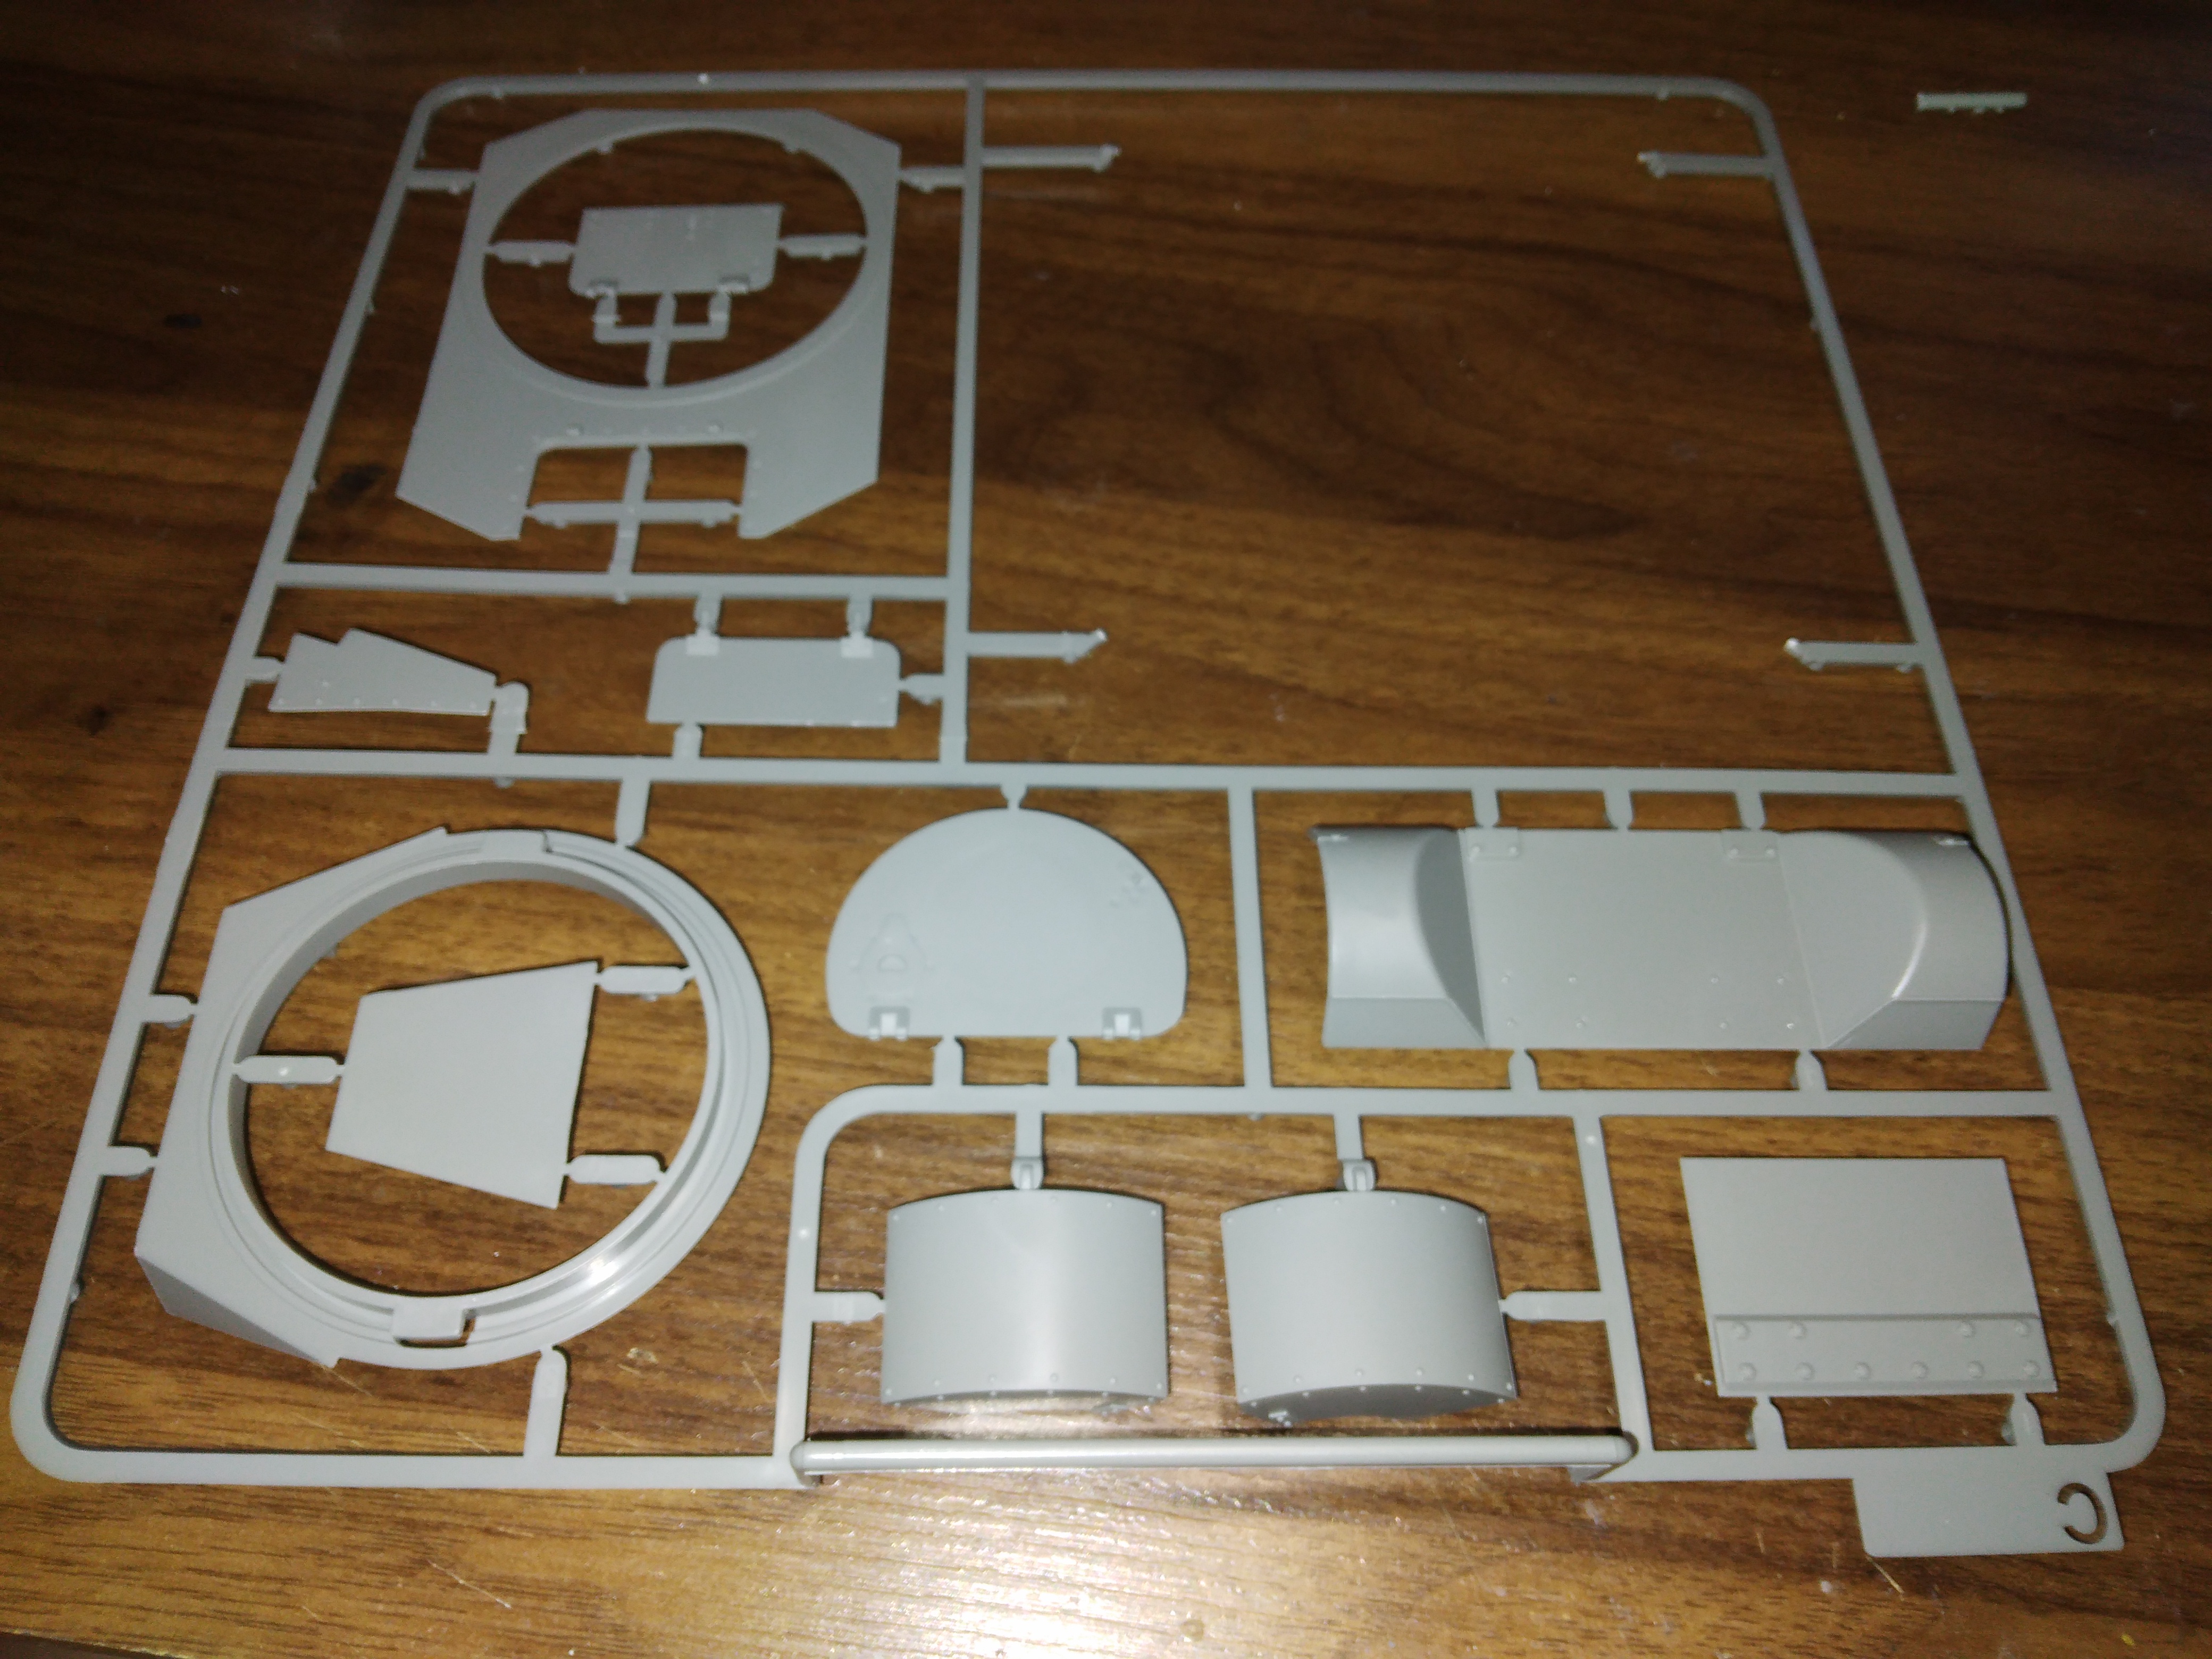
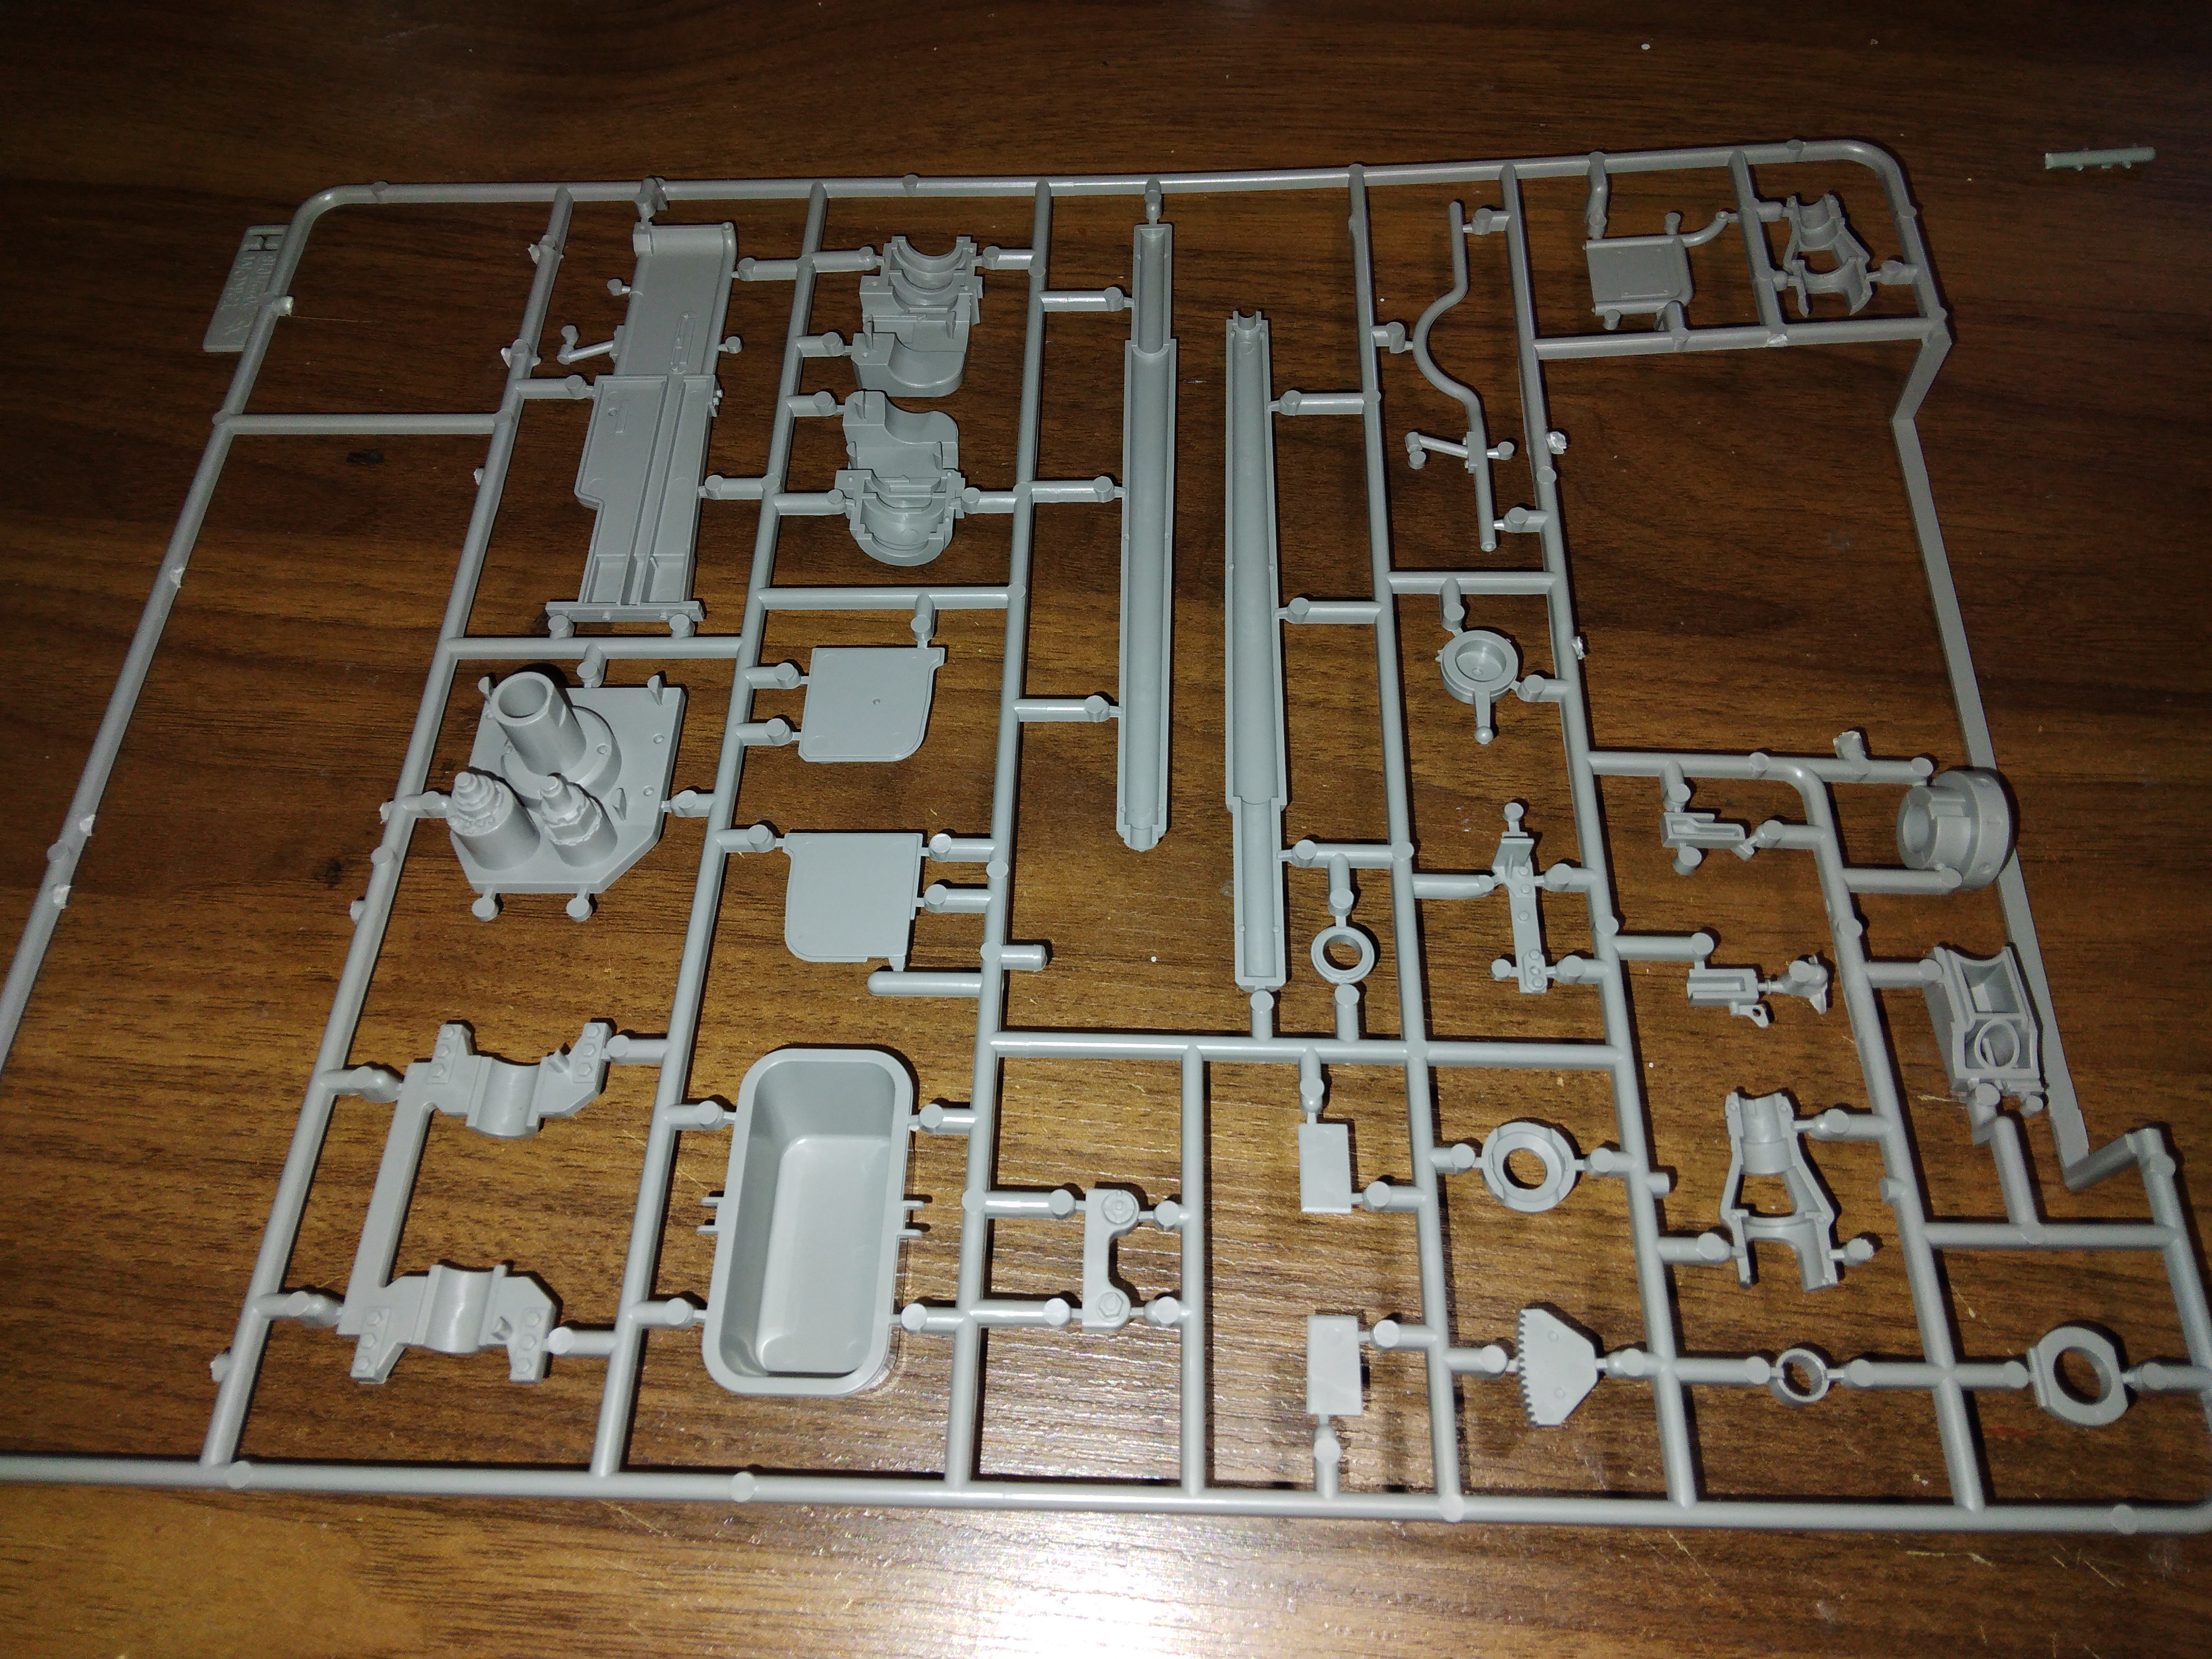
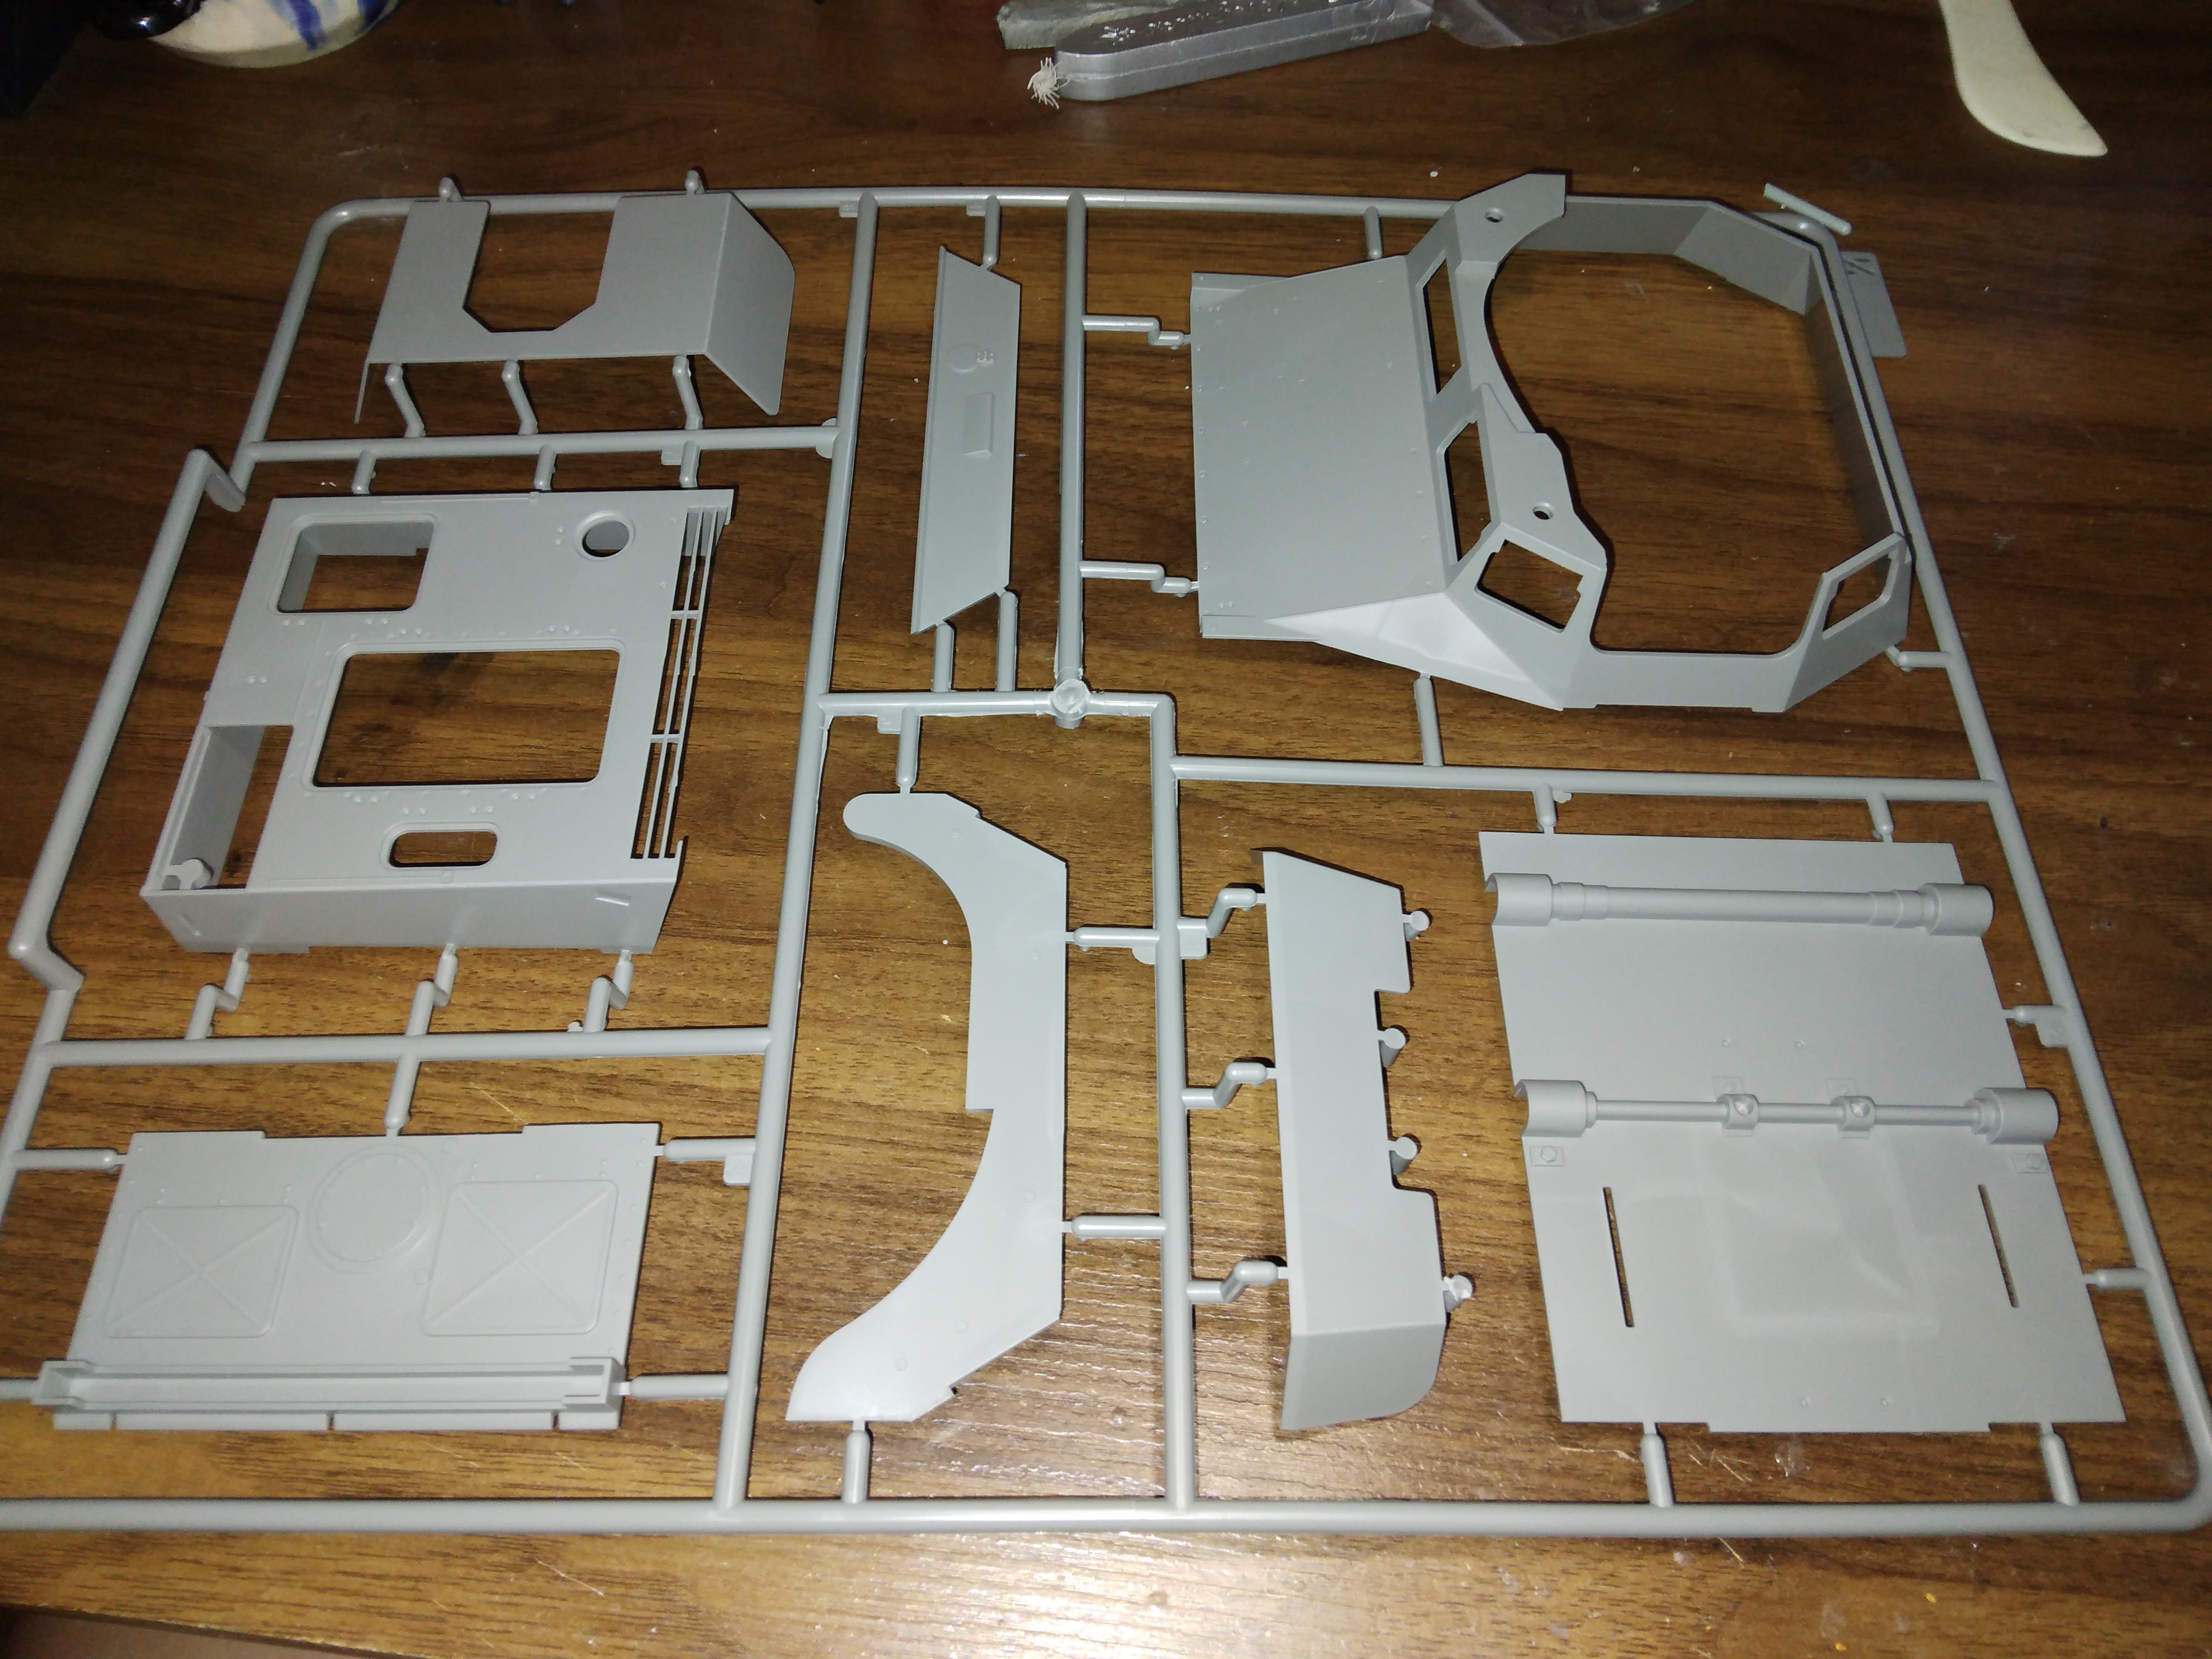
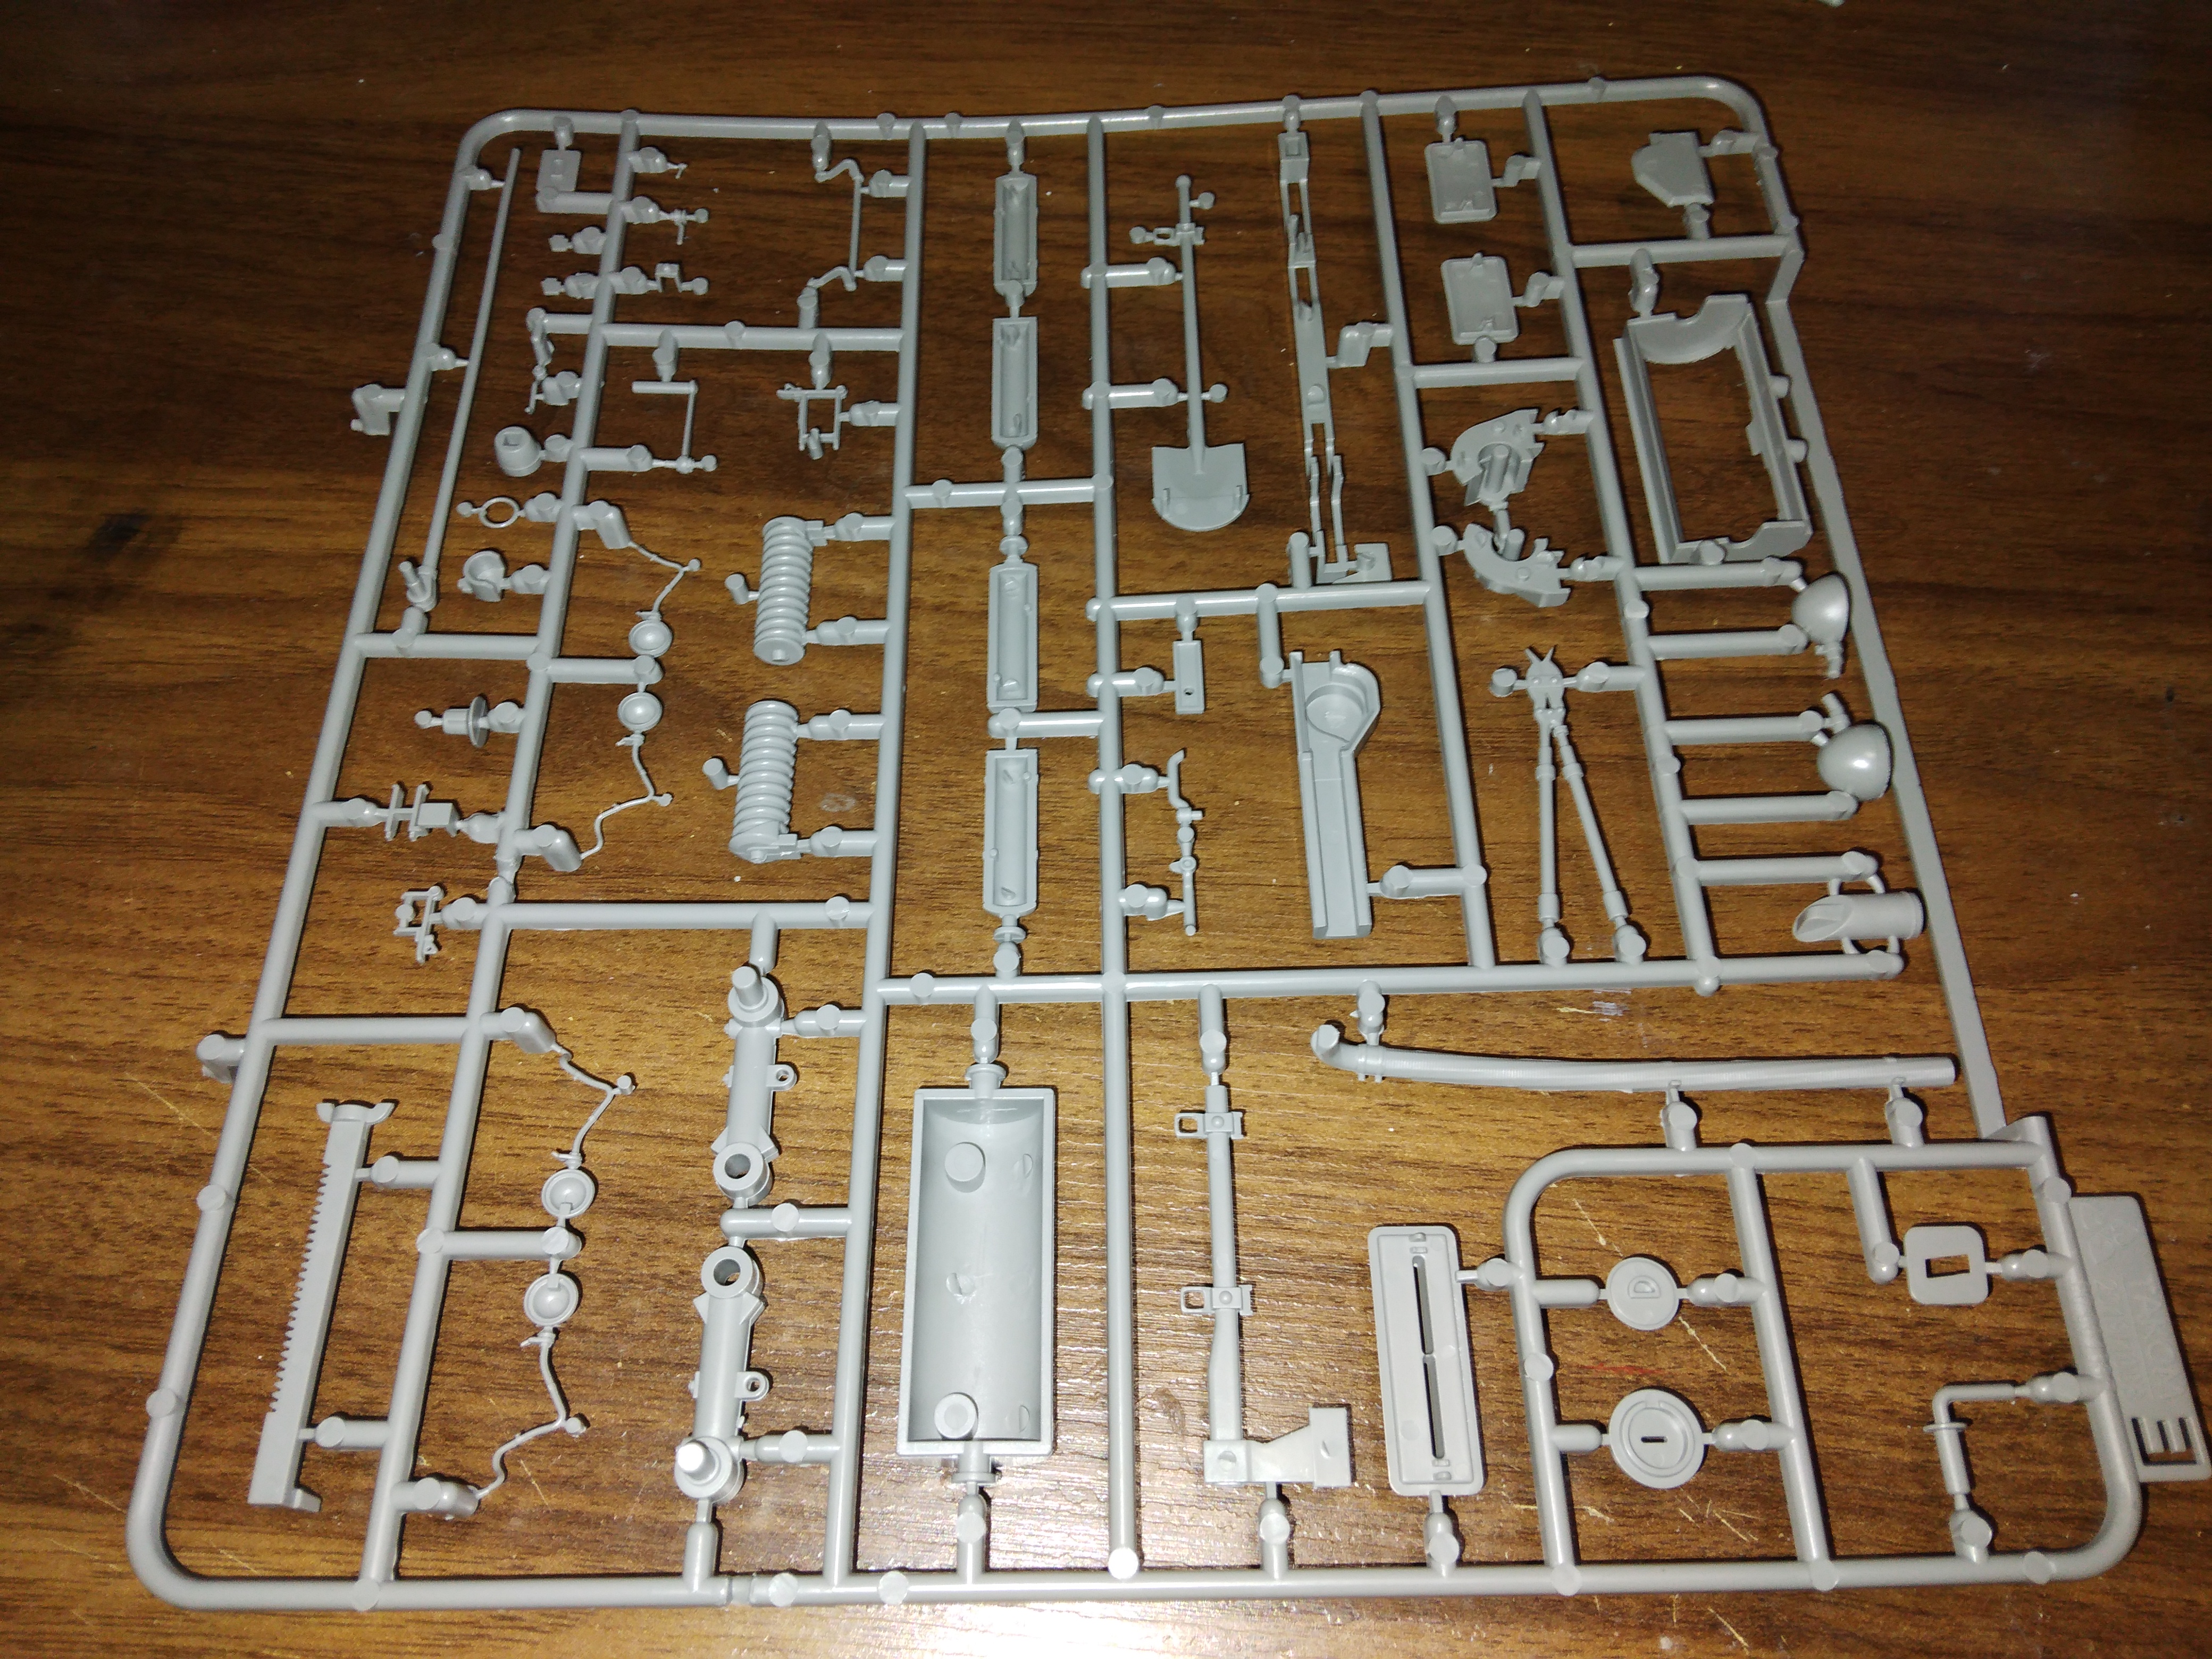
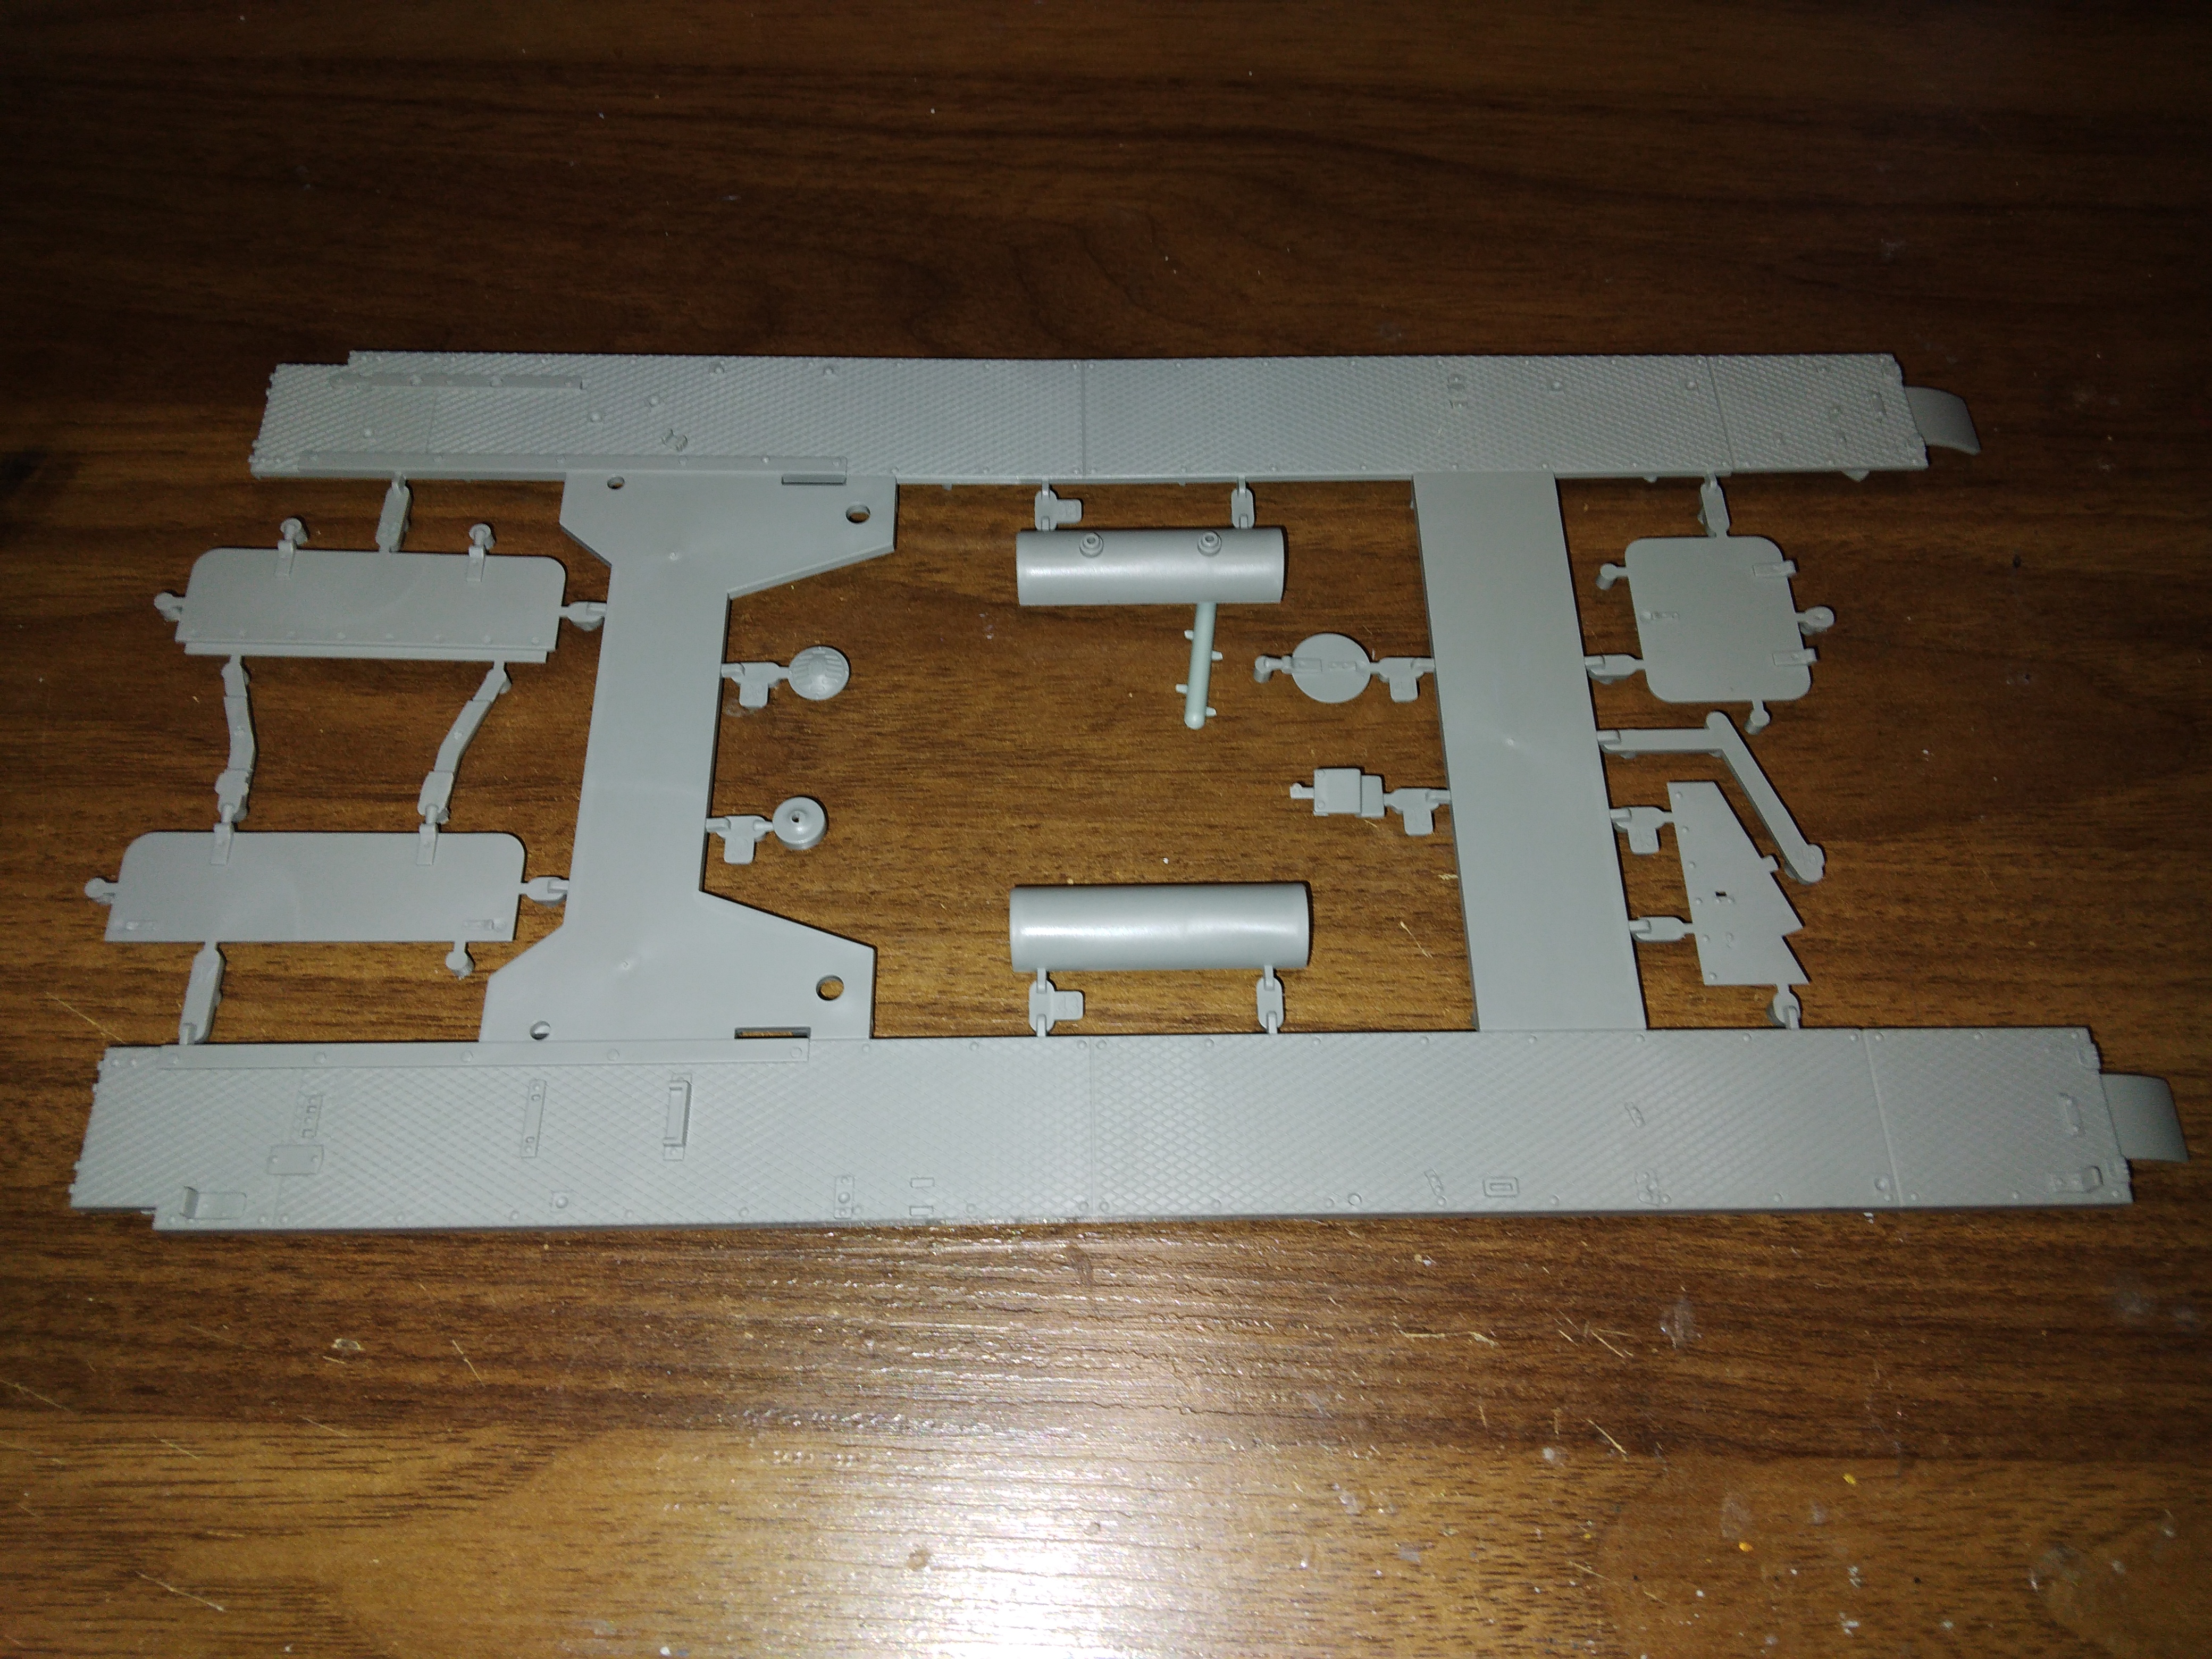
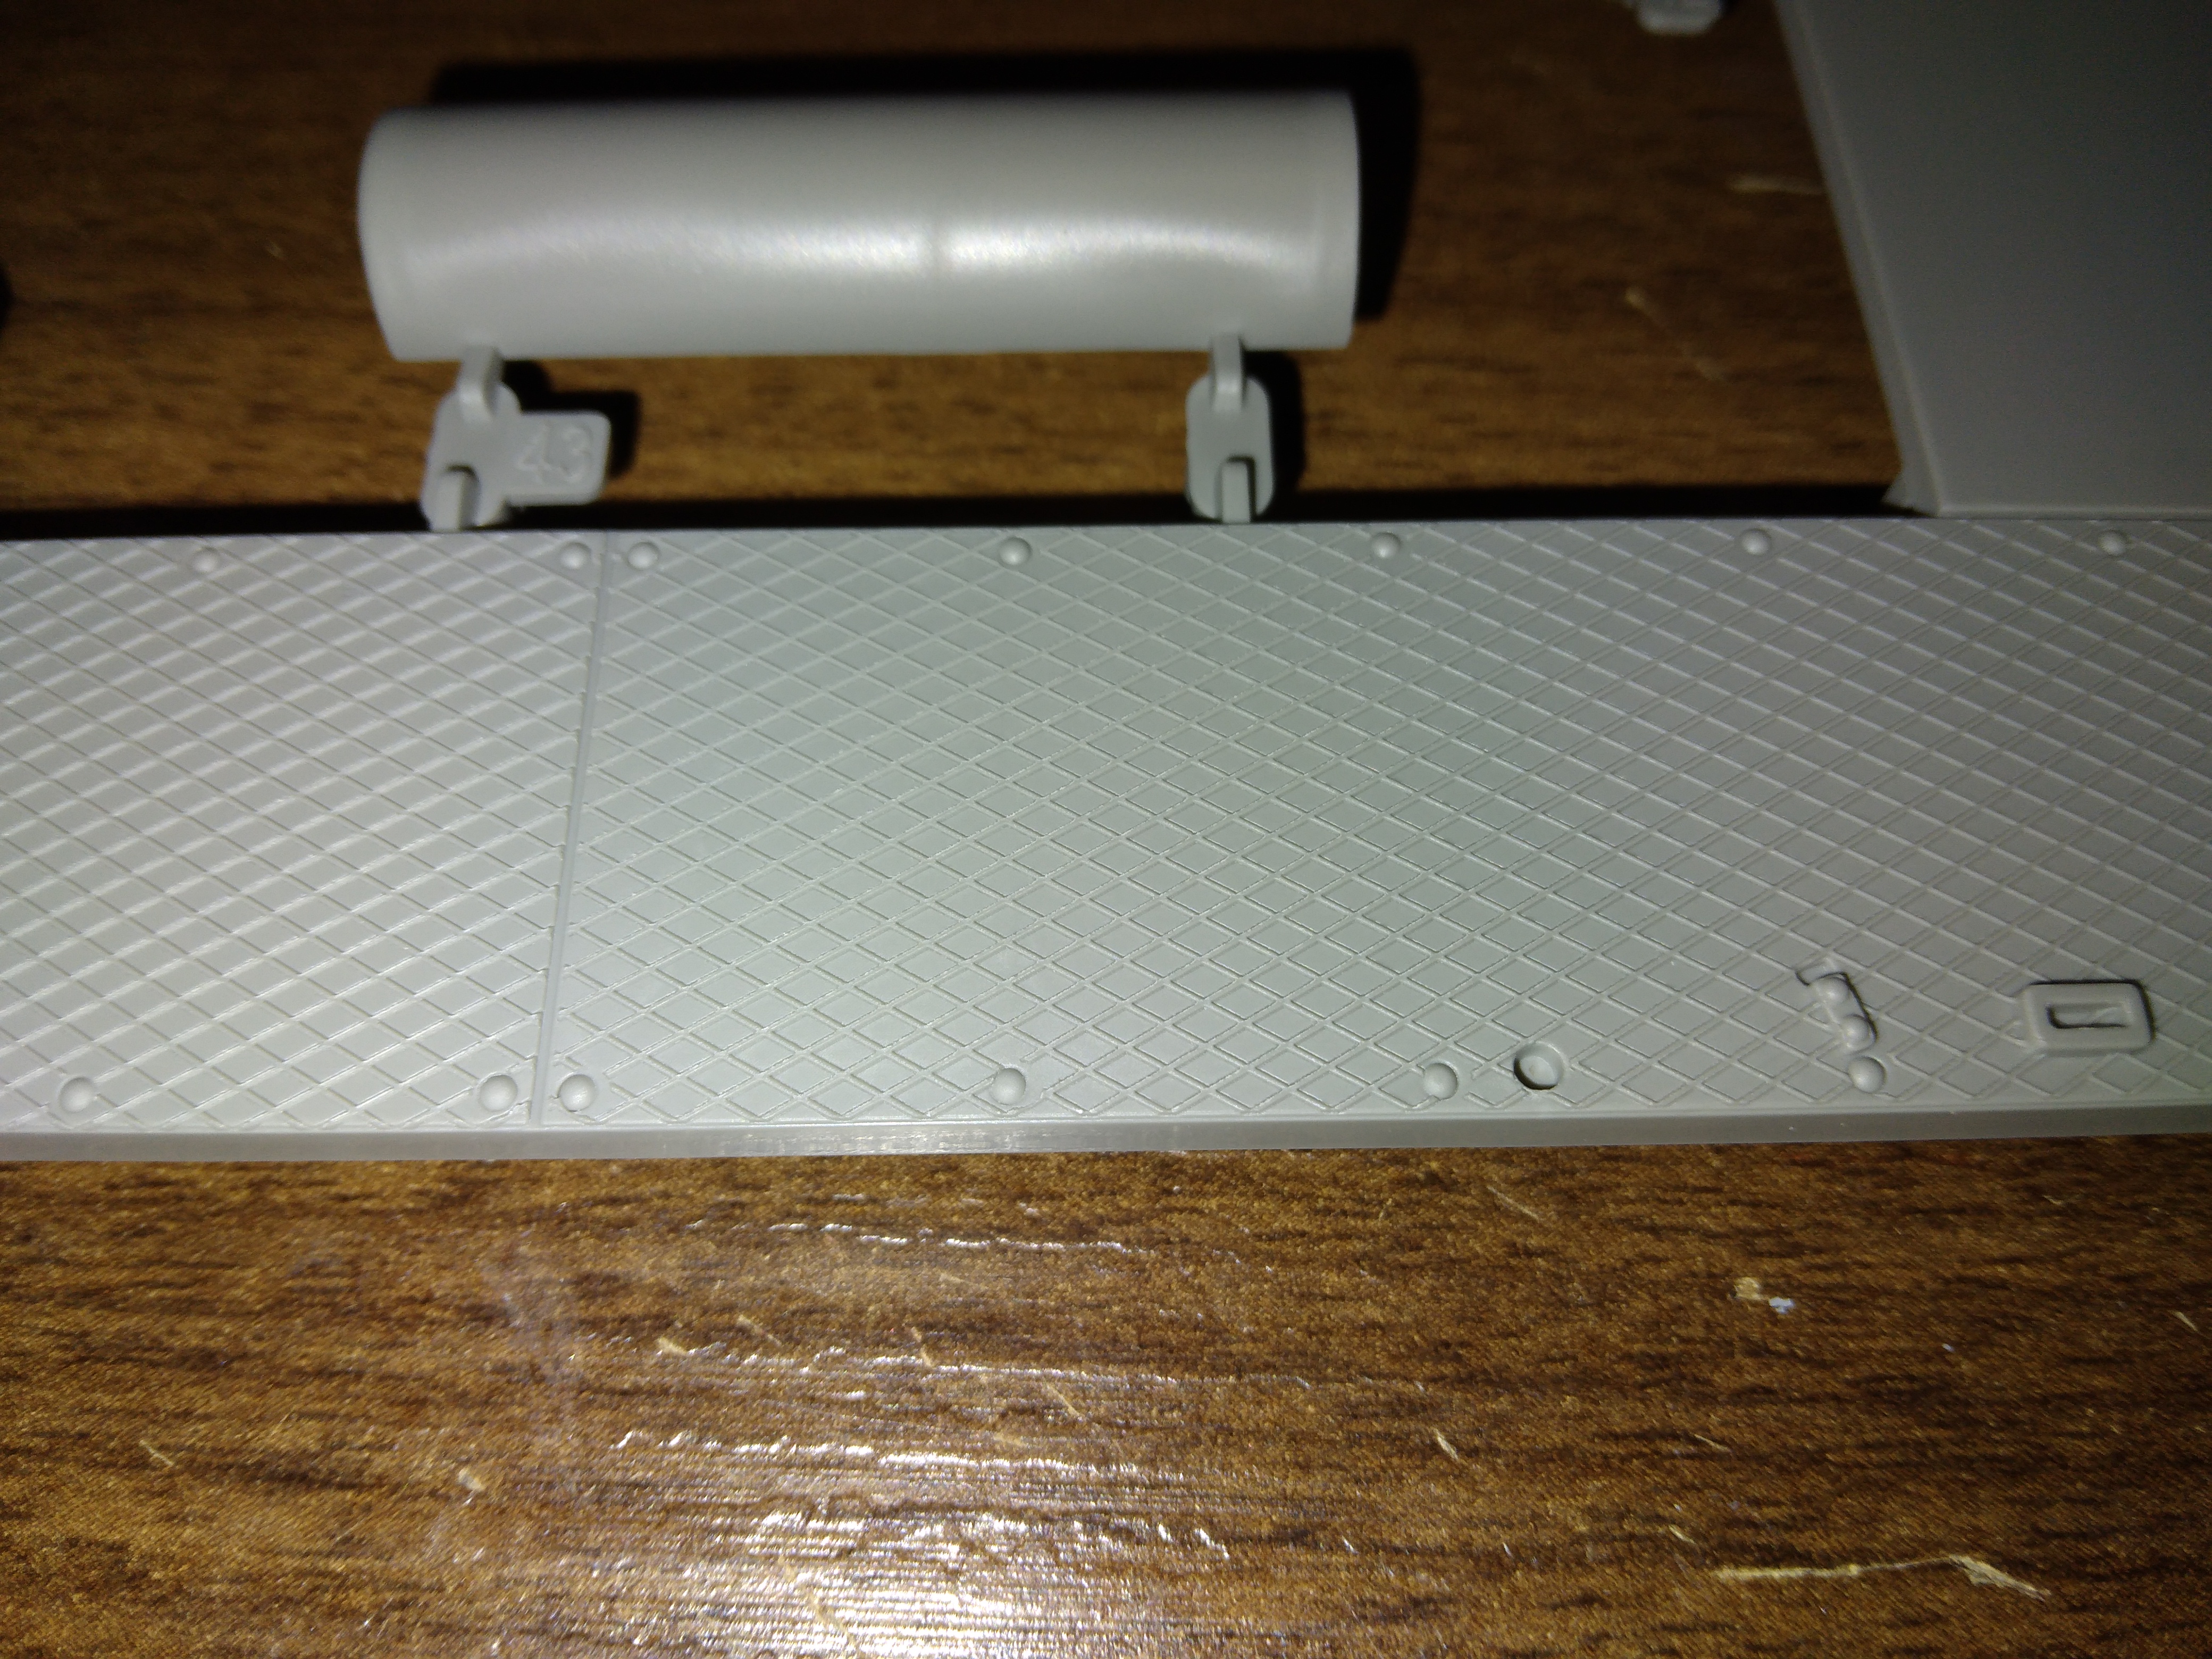
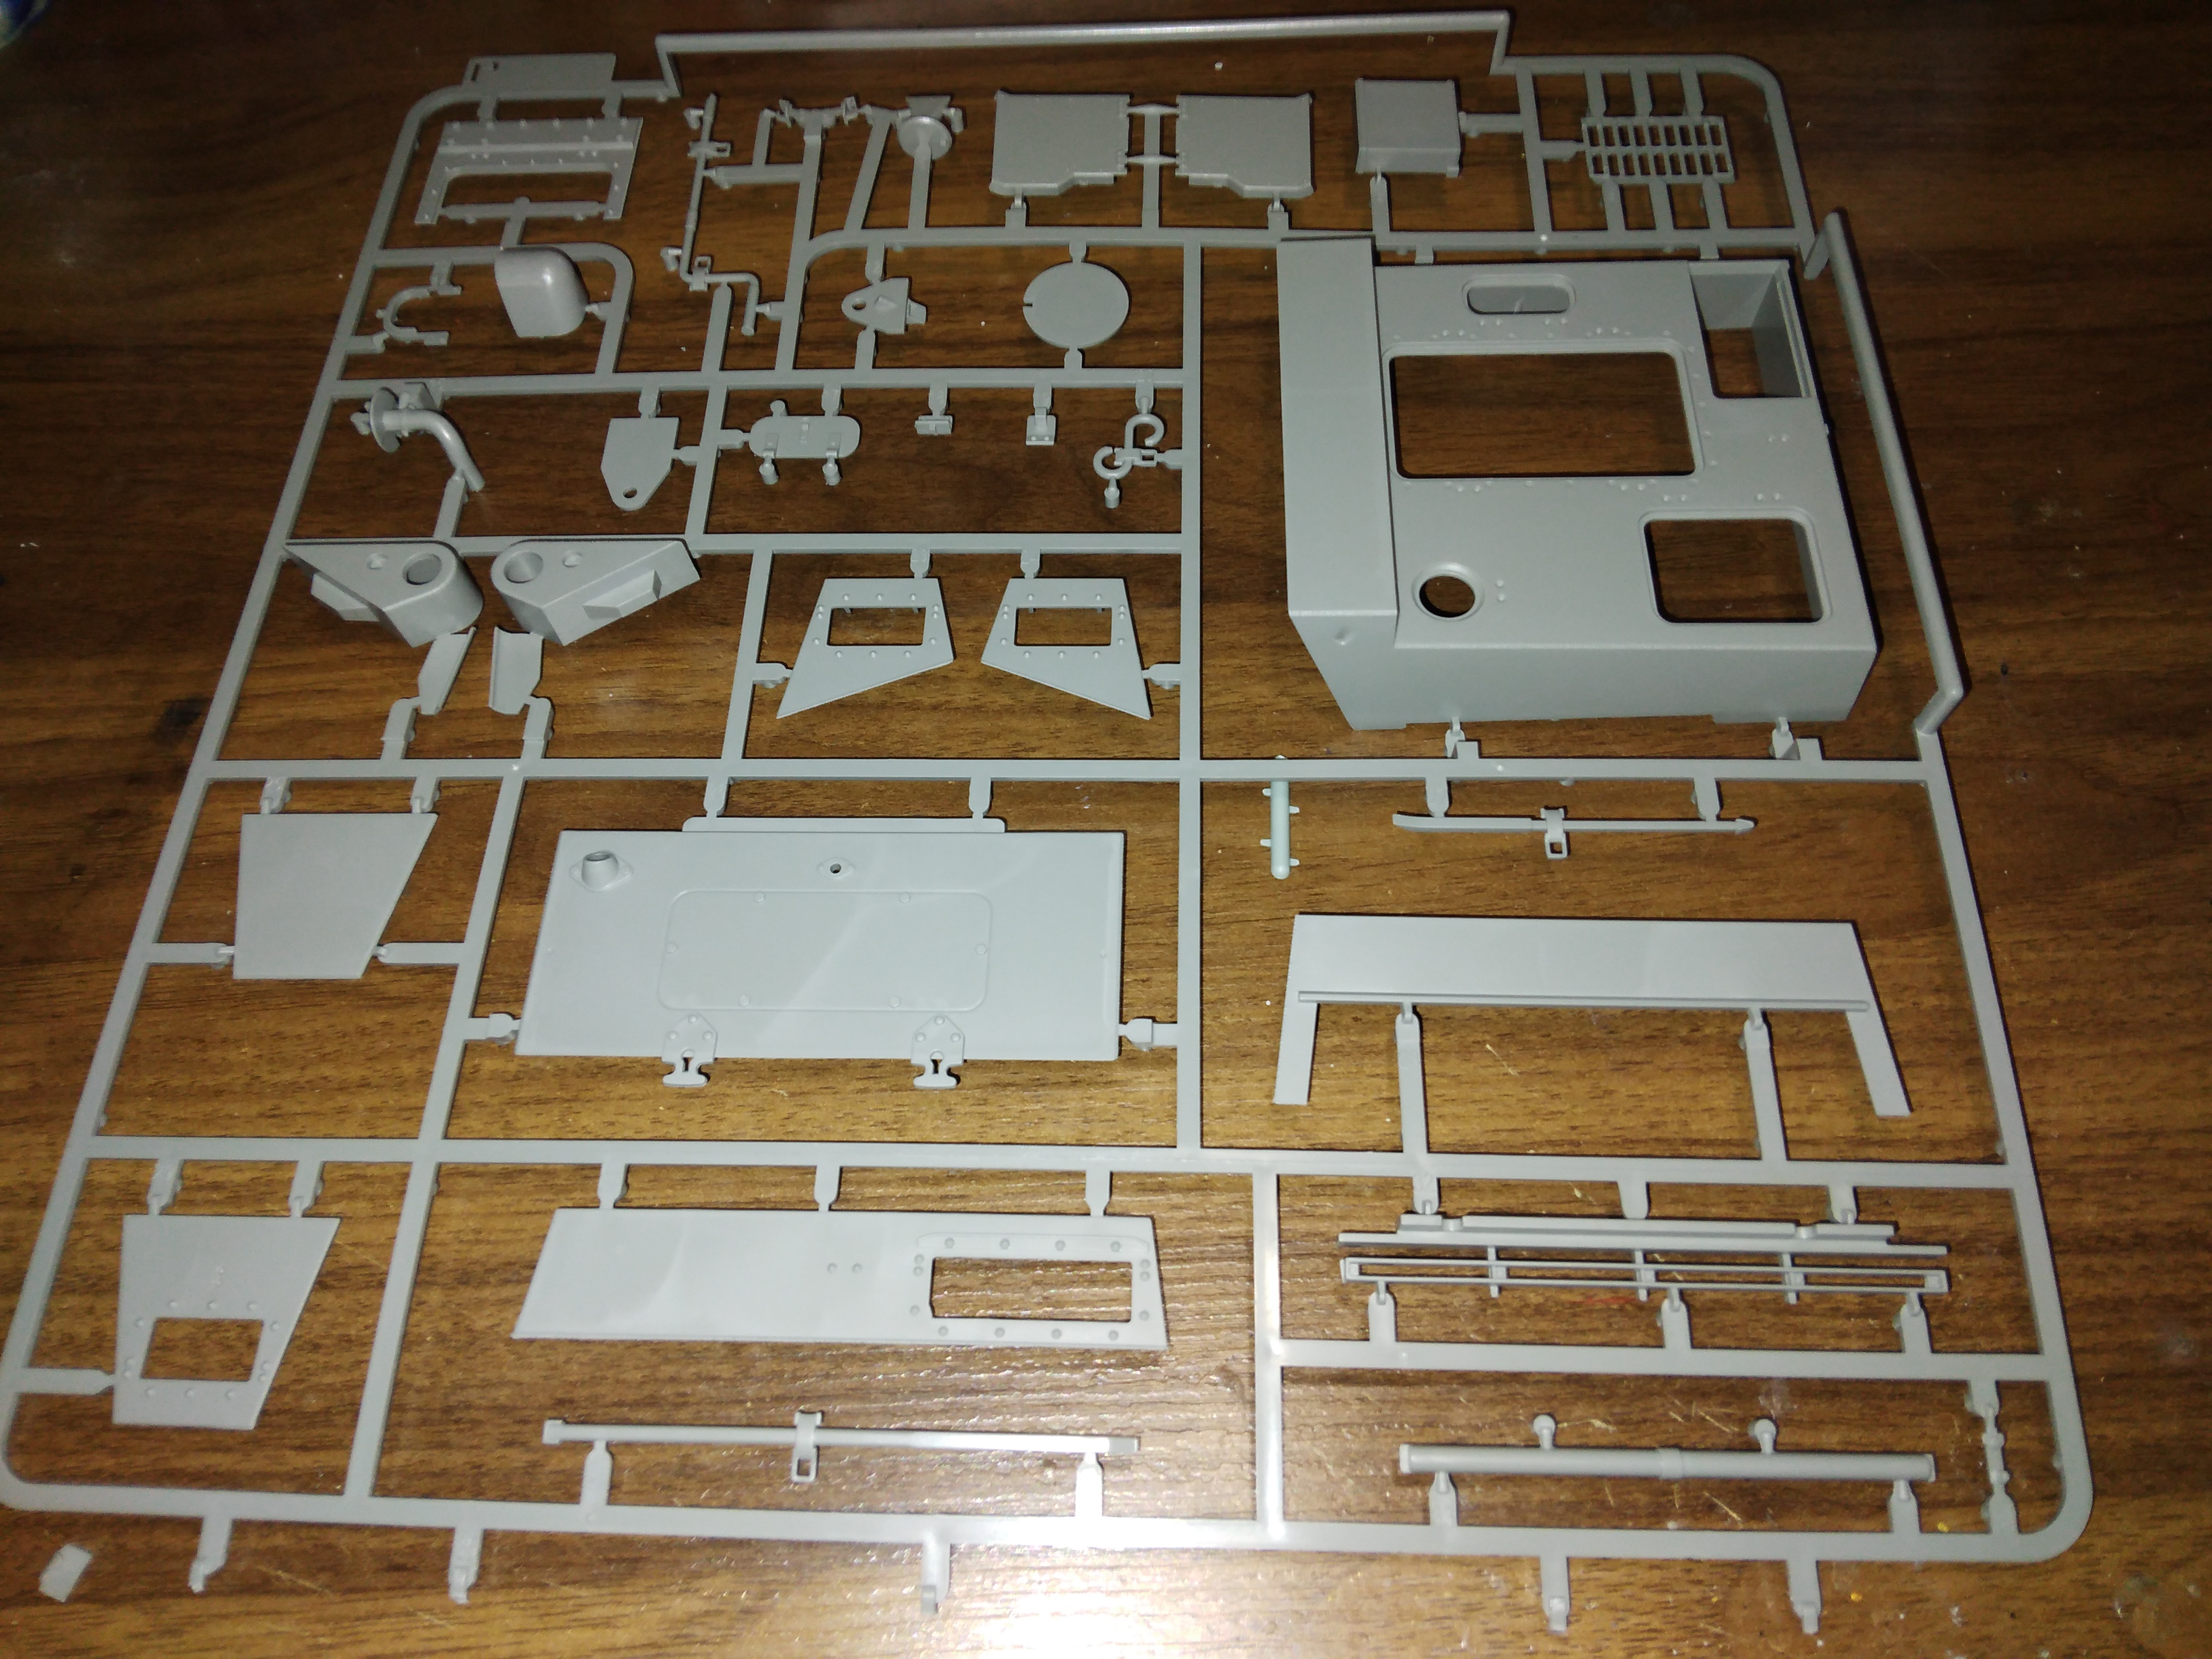
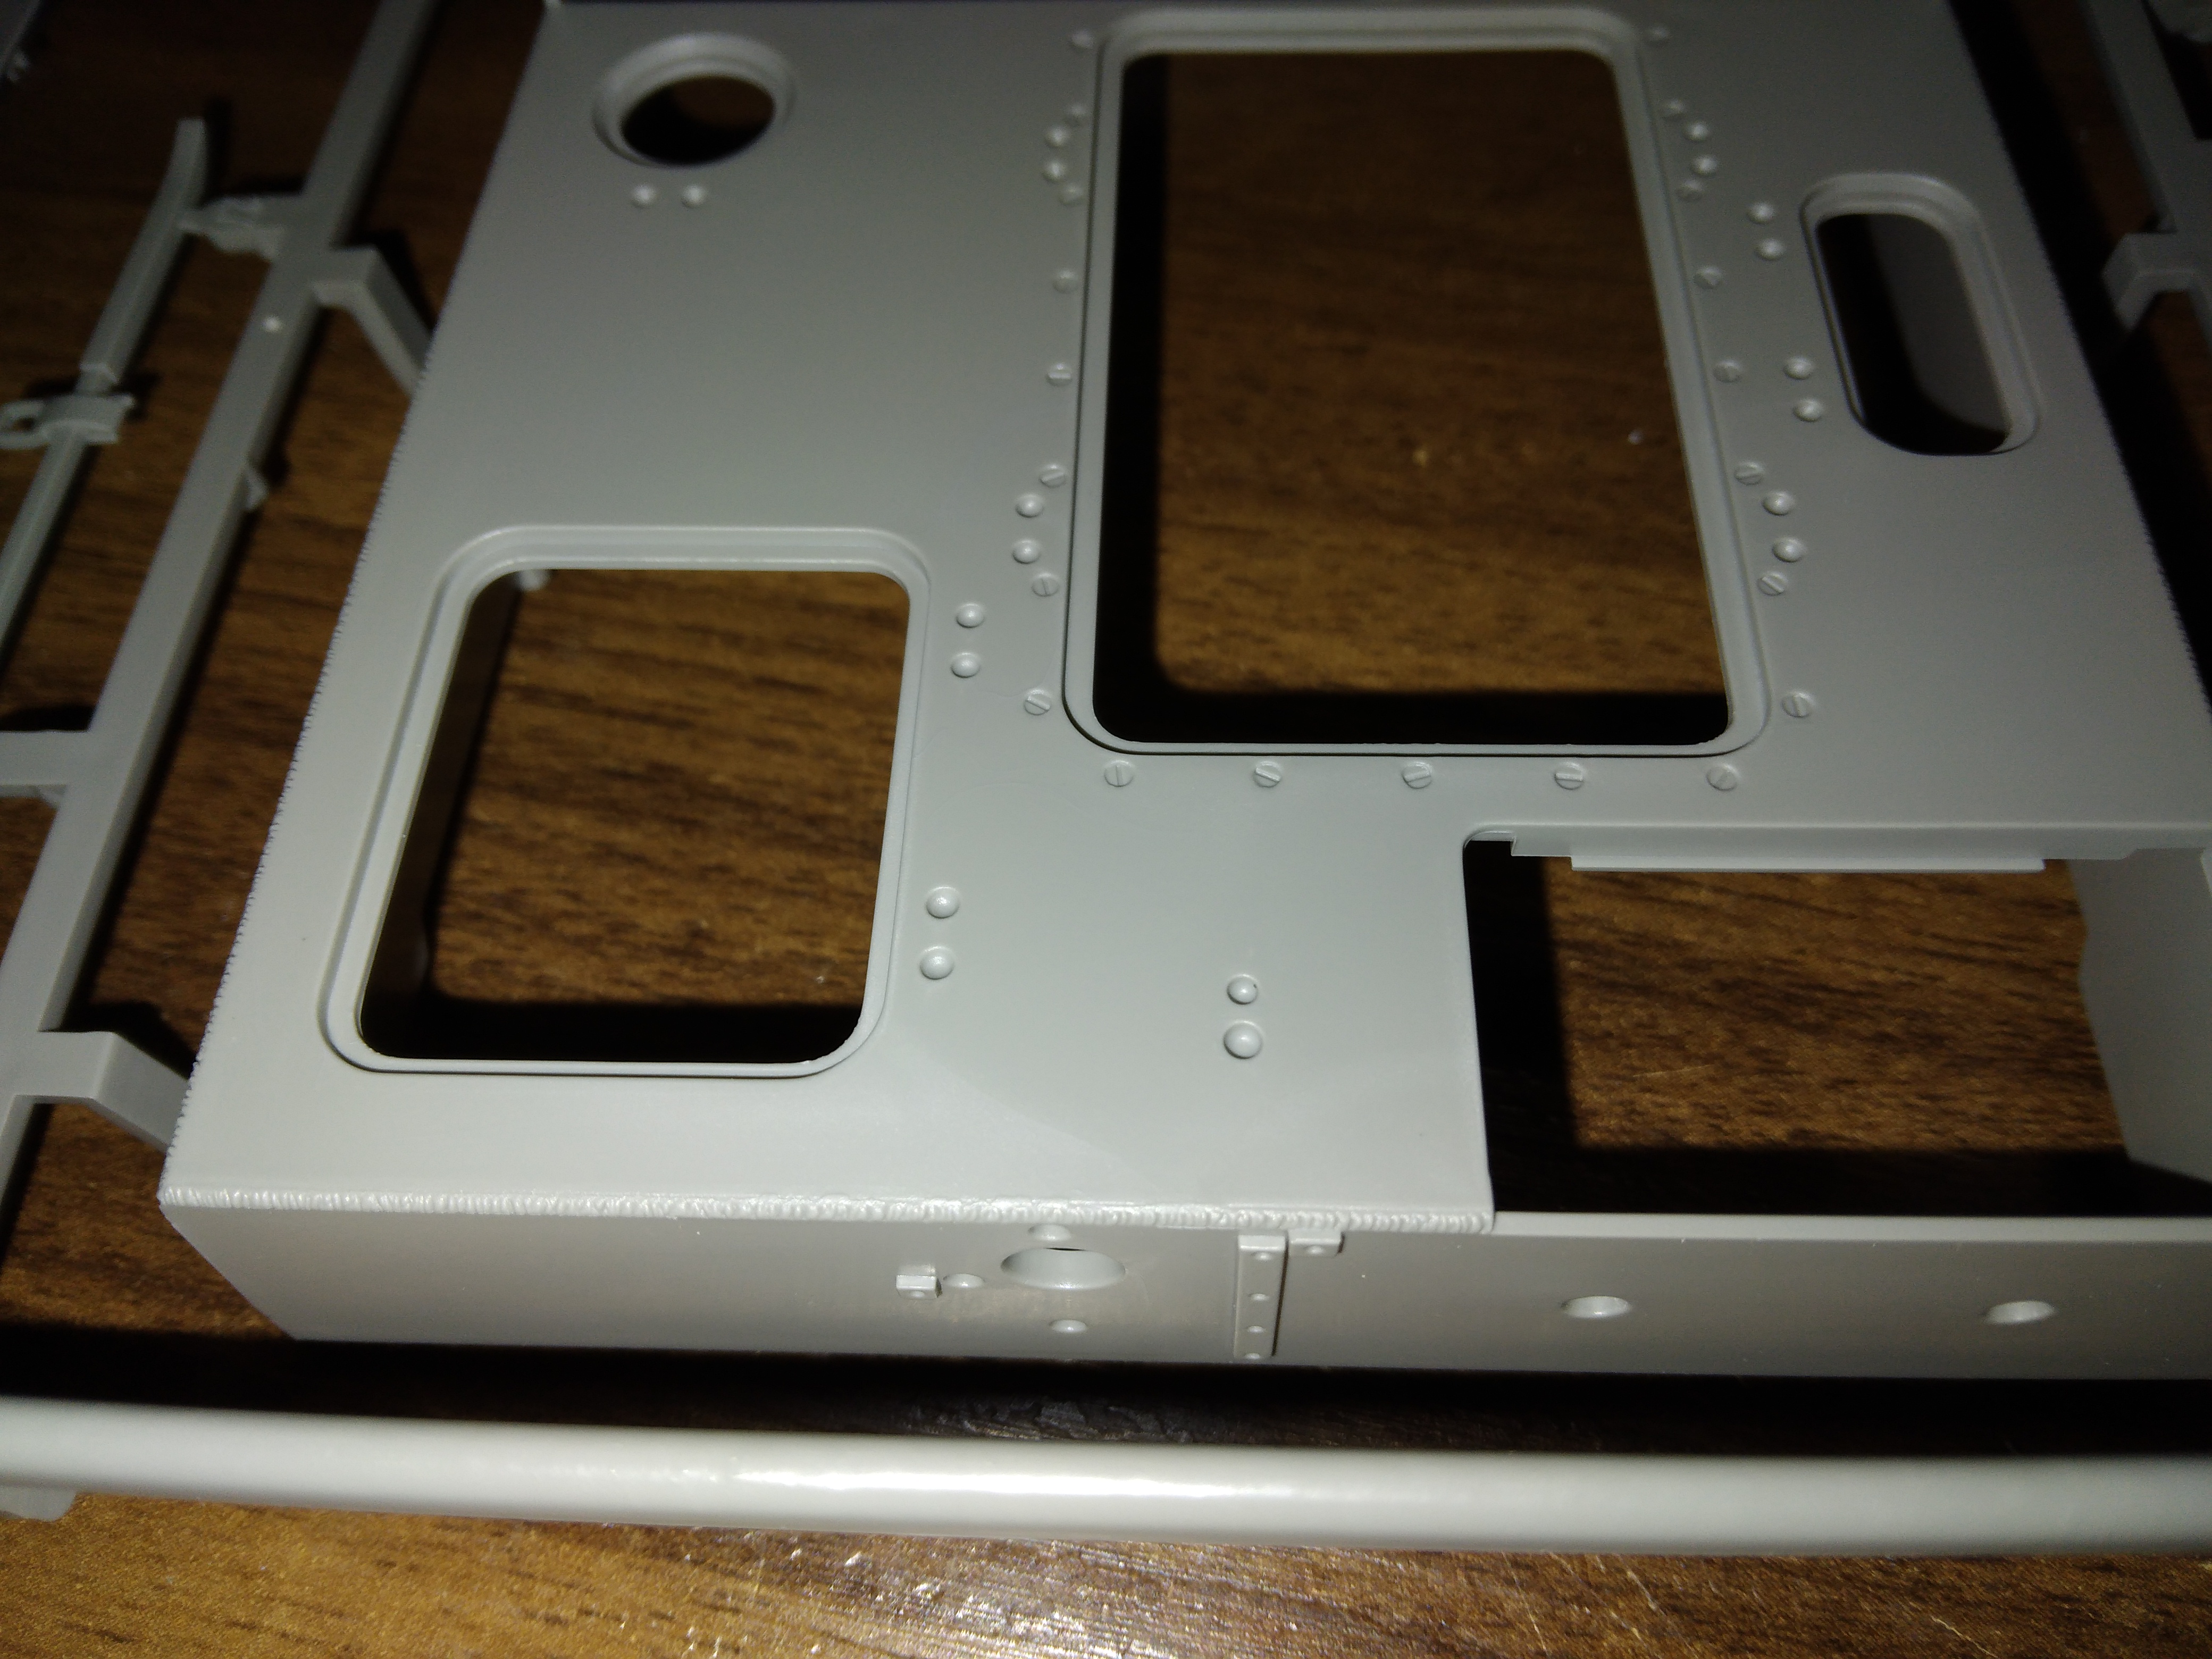
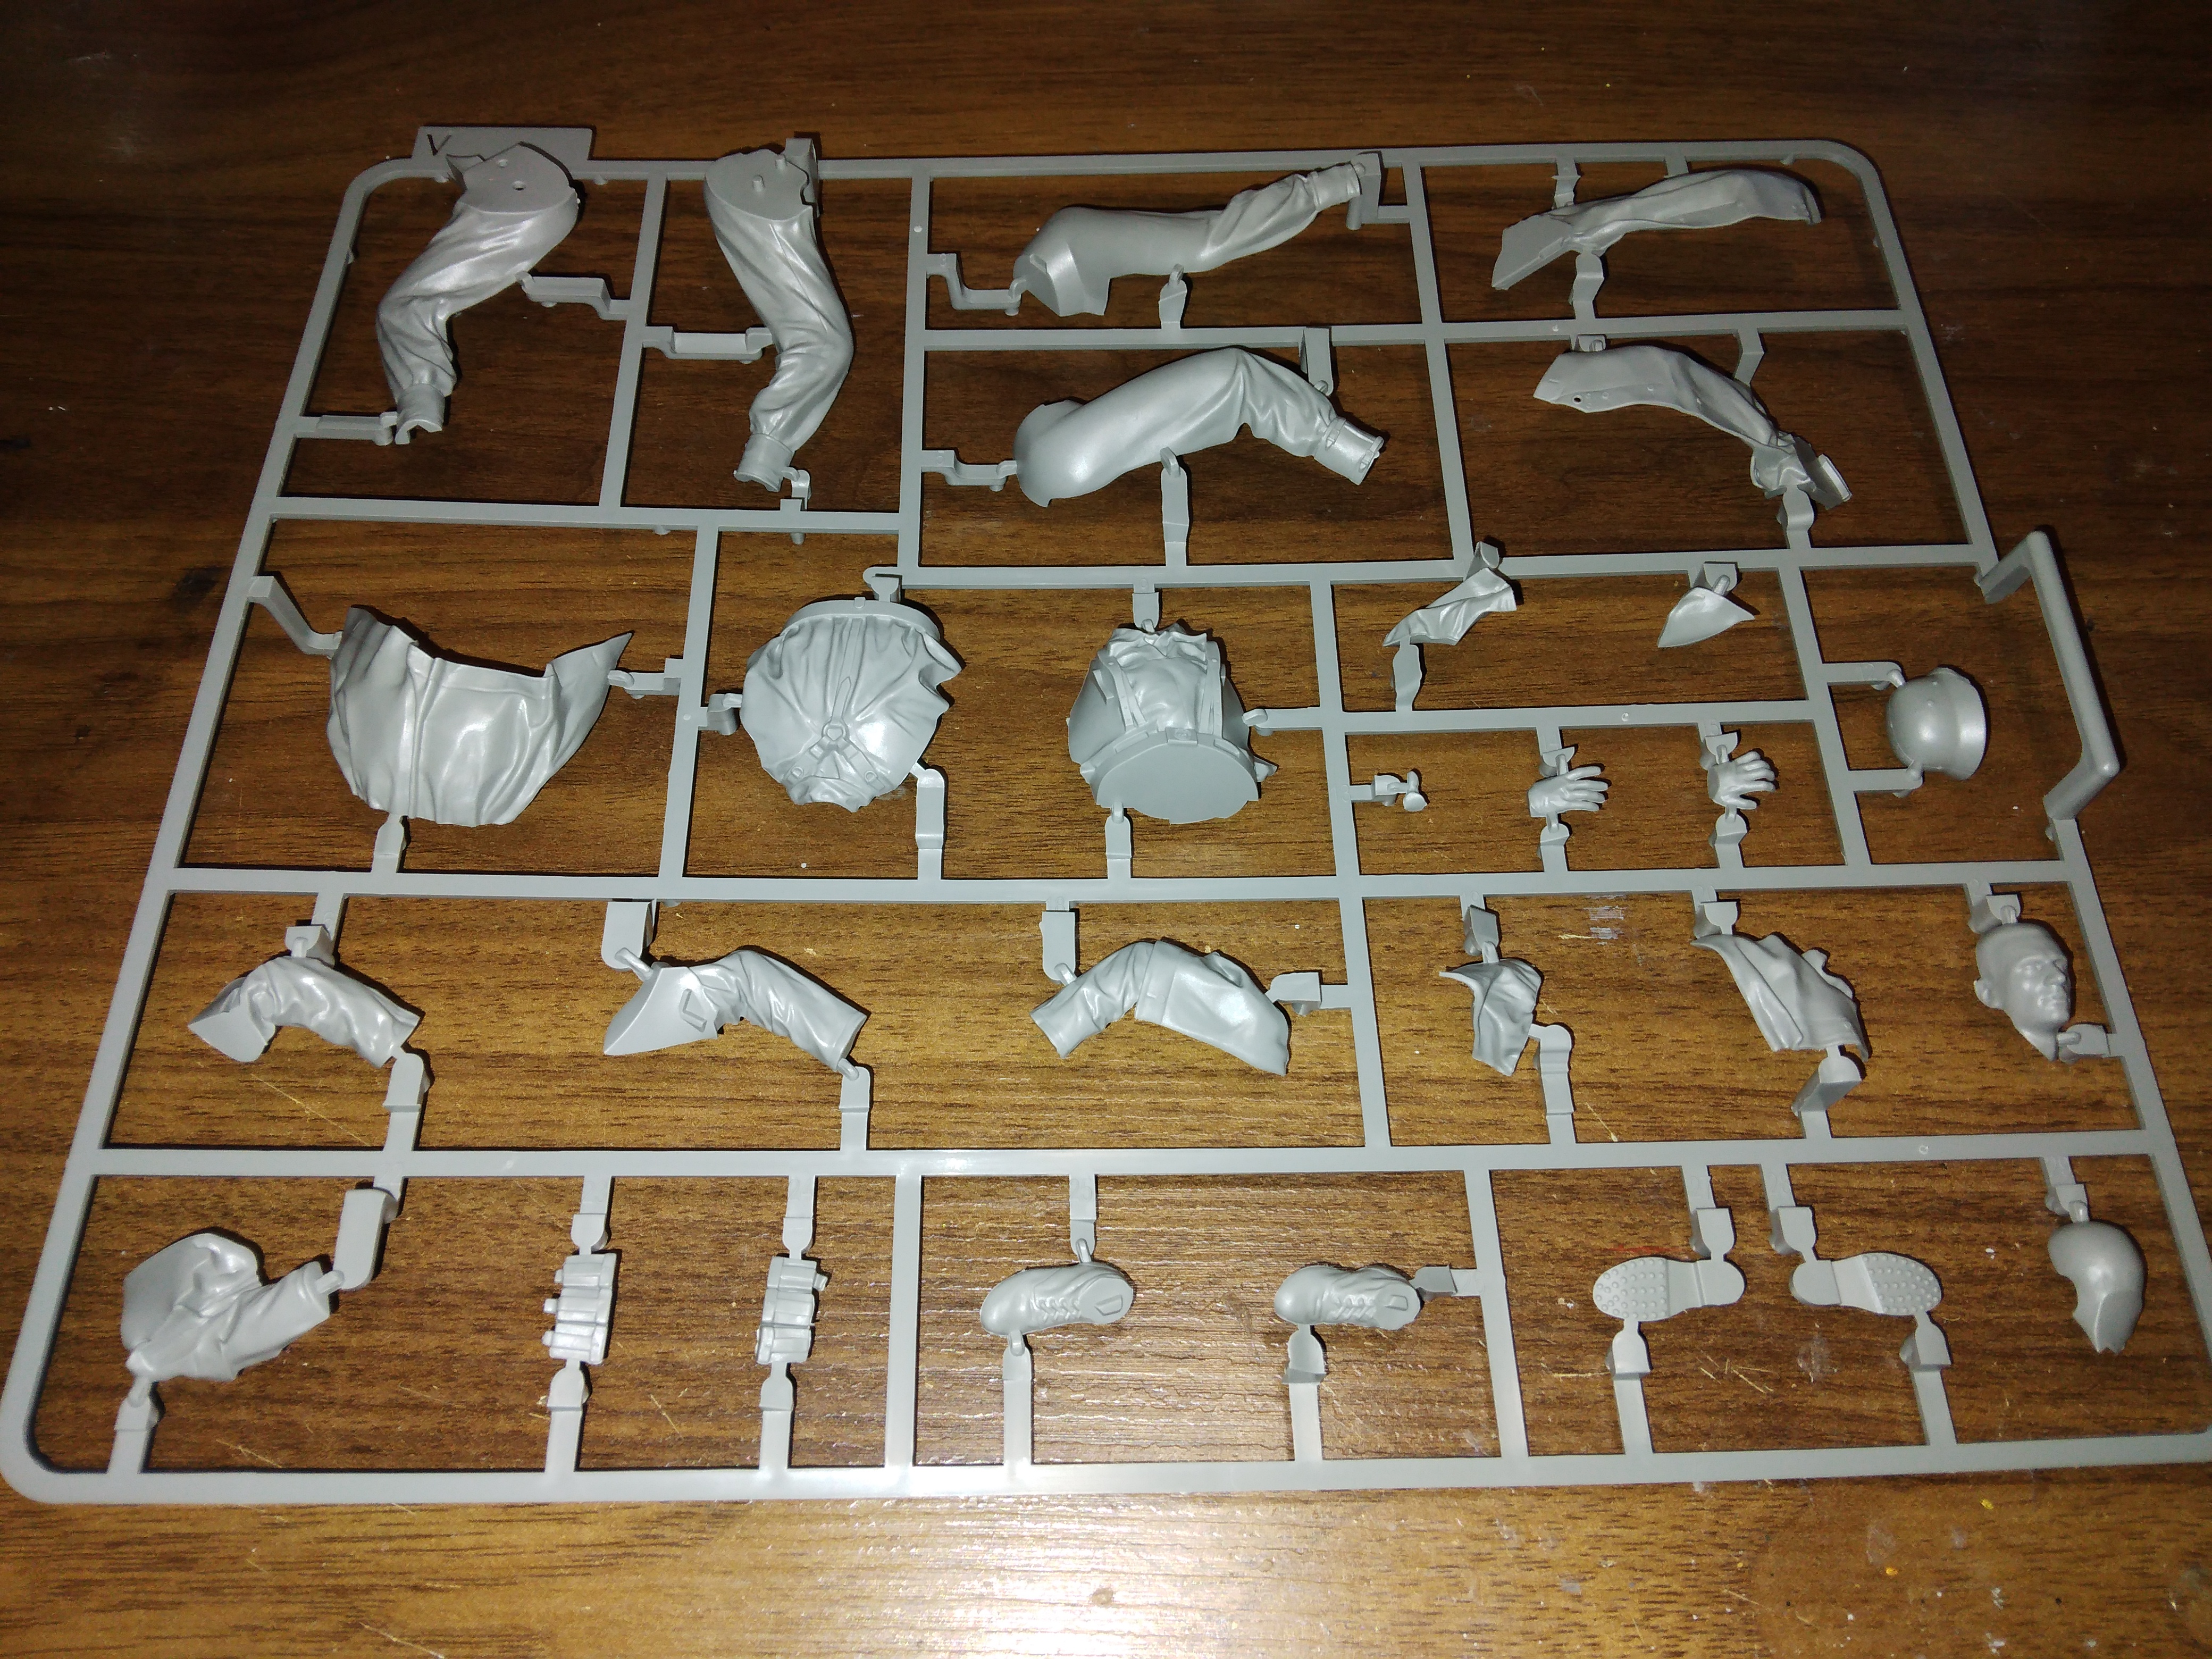
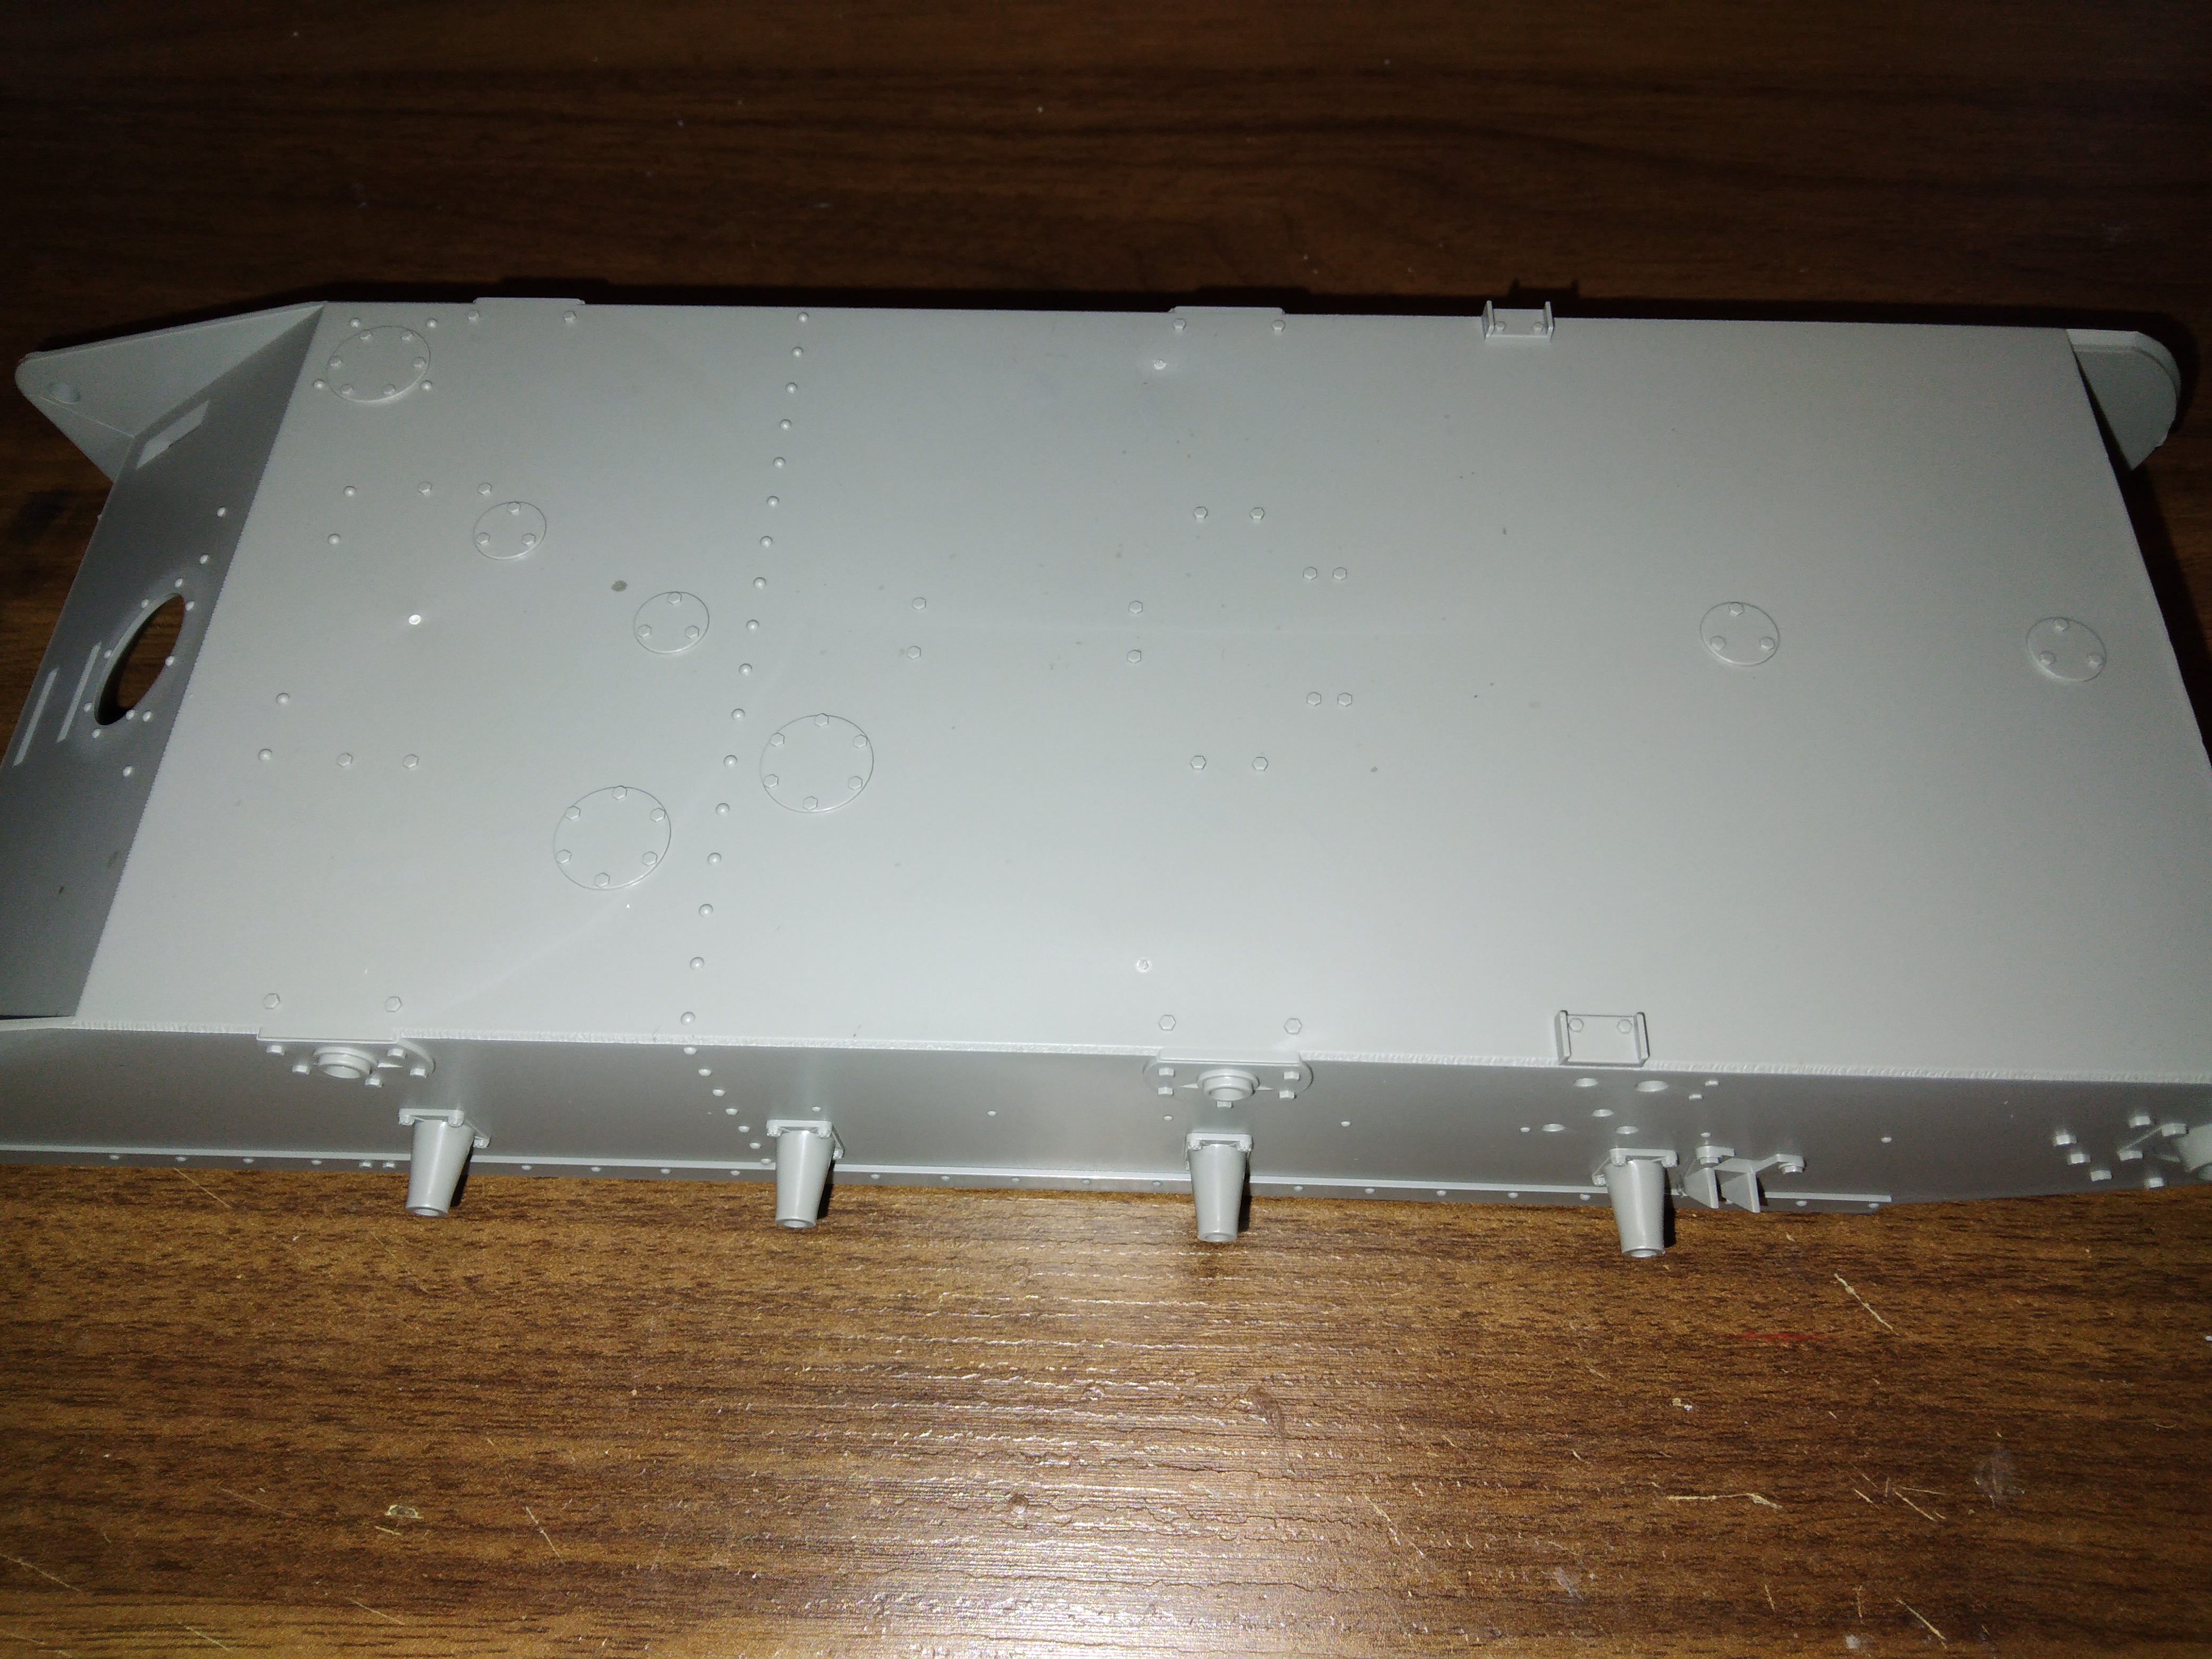
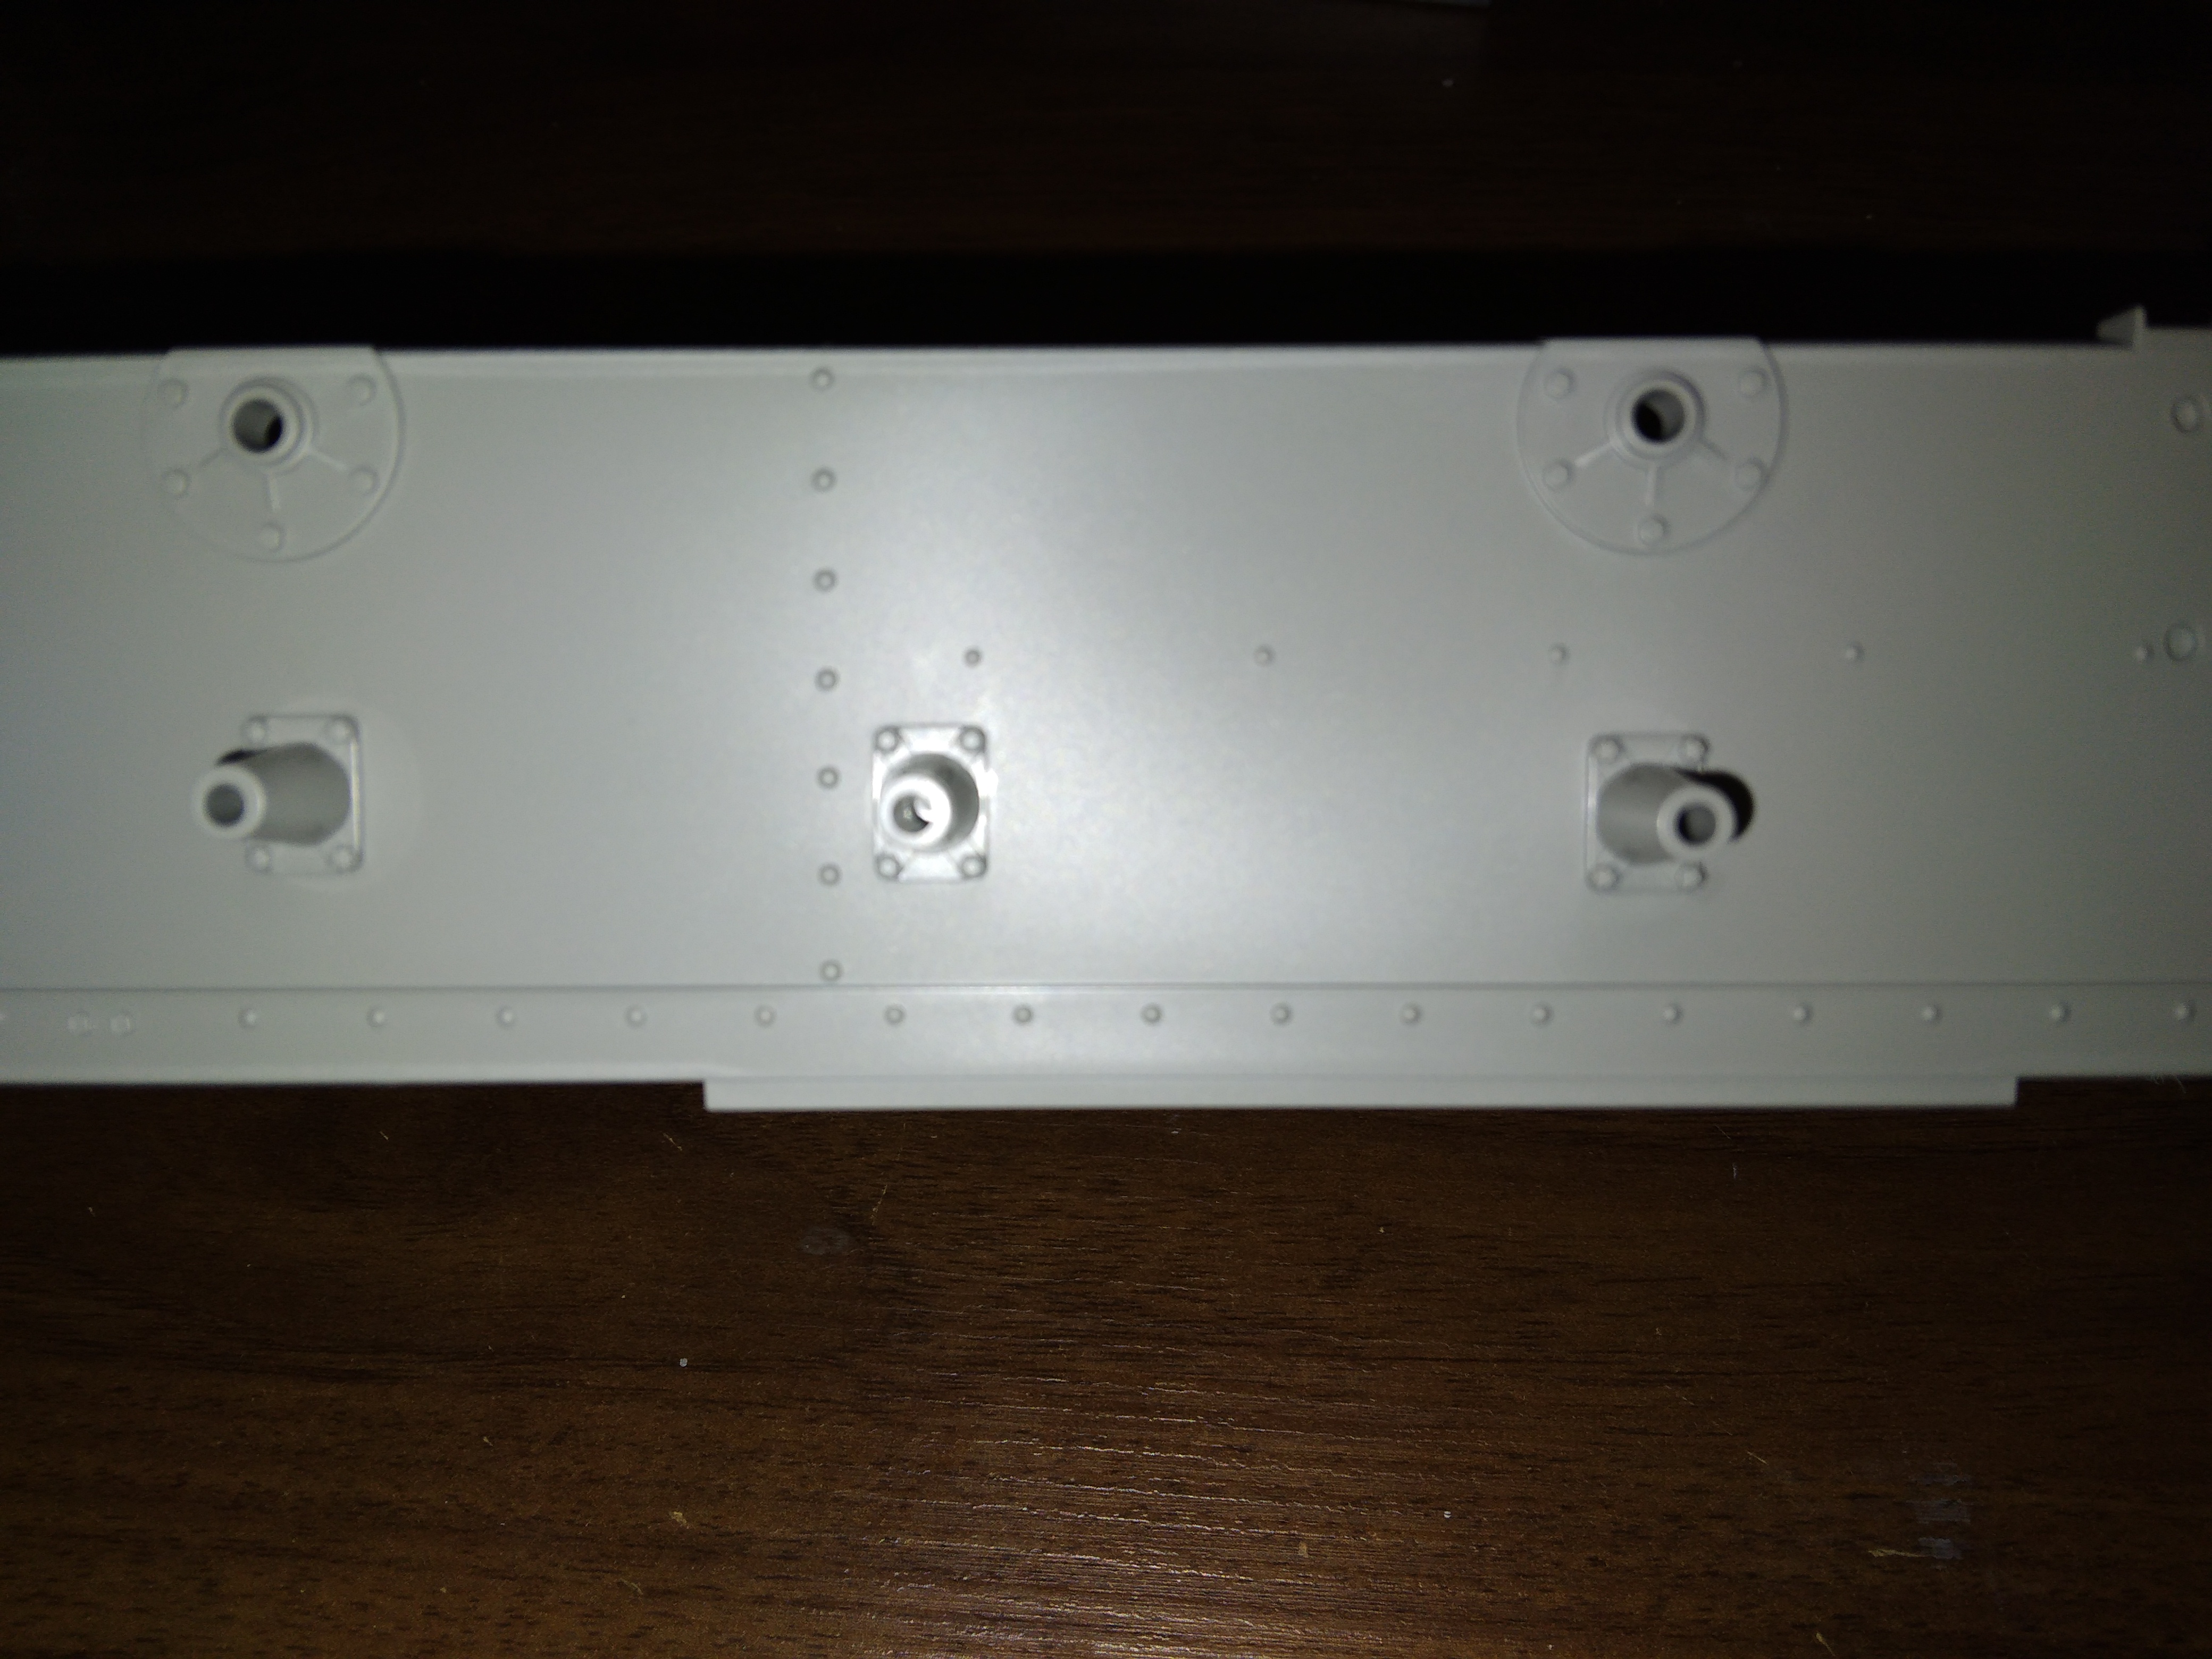
And just when you thought the plastic was done
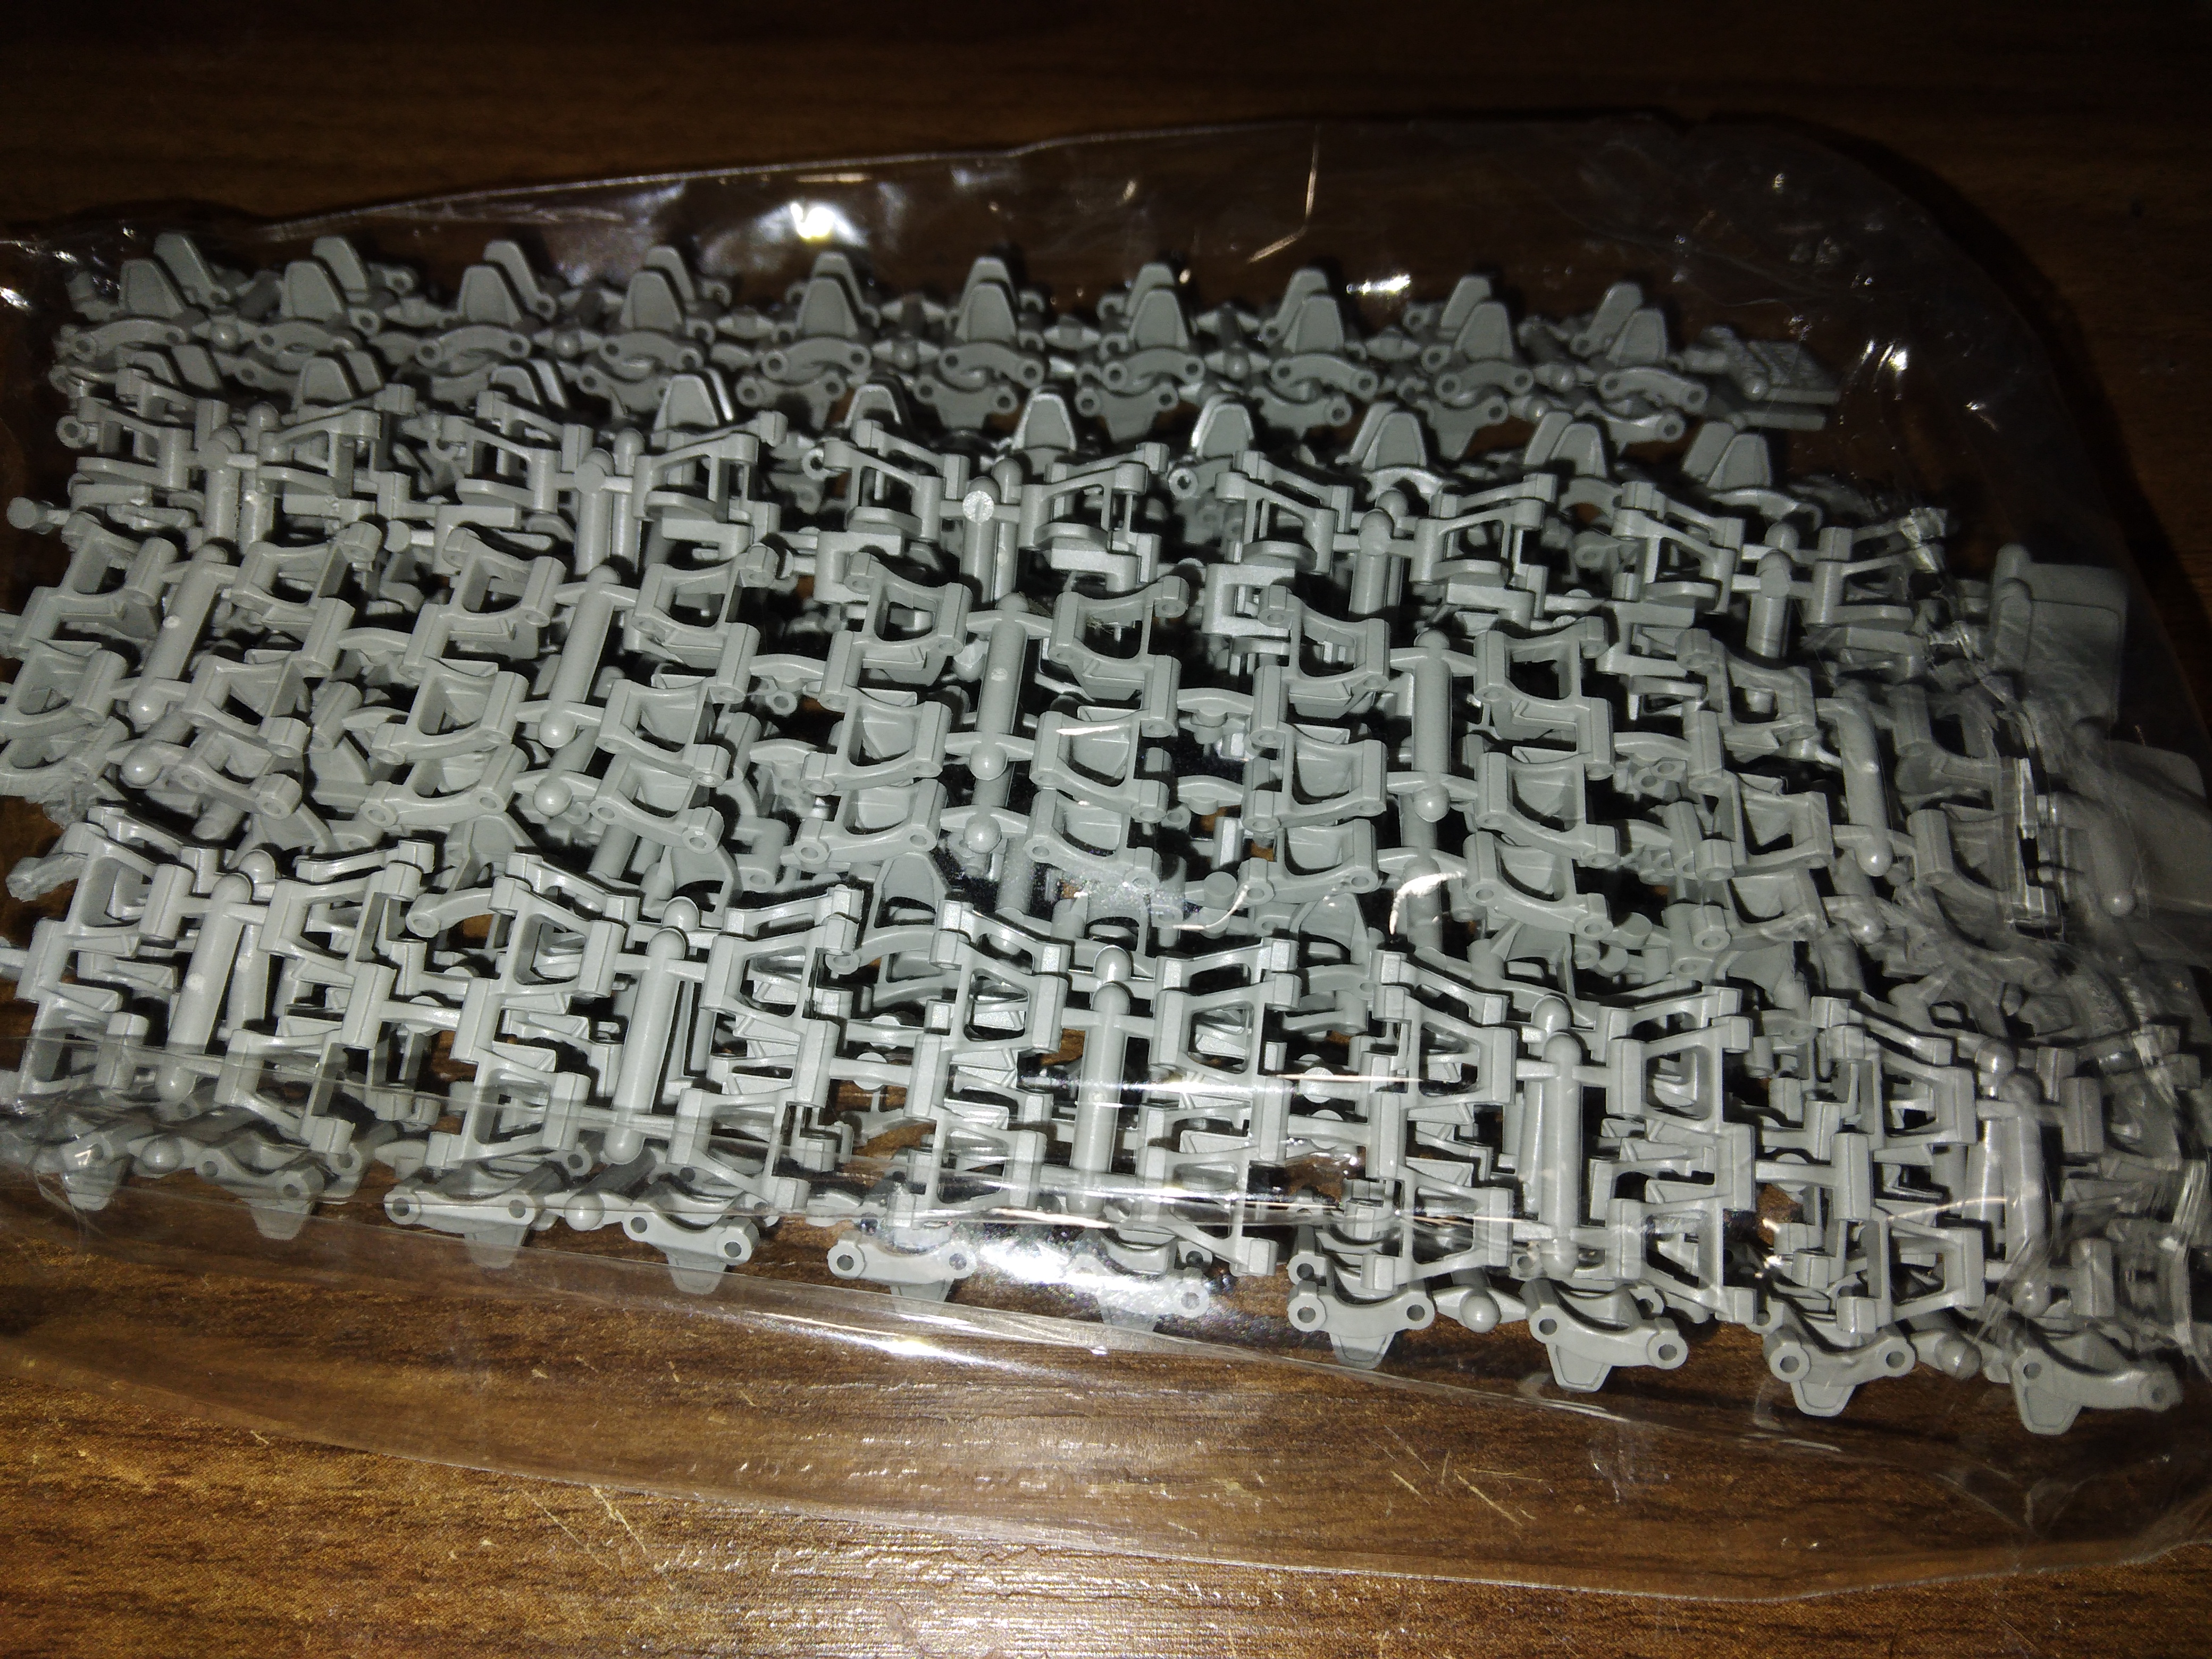
The tracks and pins. Need to make 97 per side.
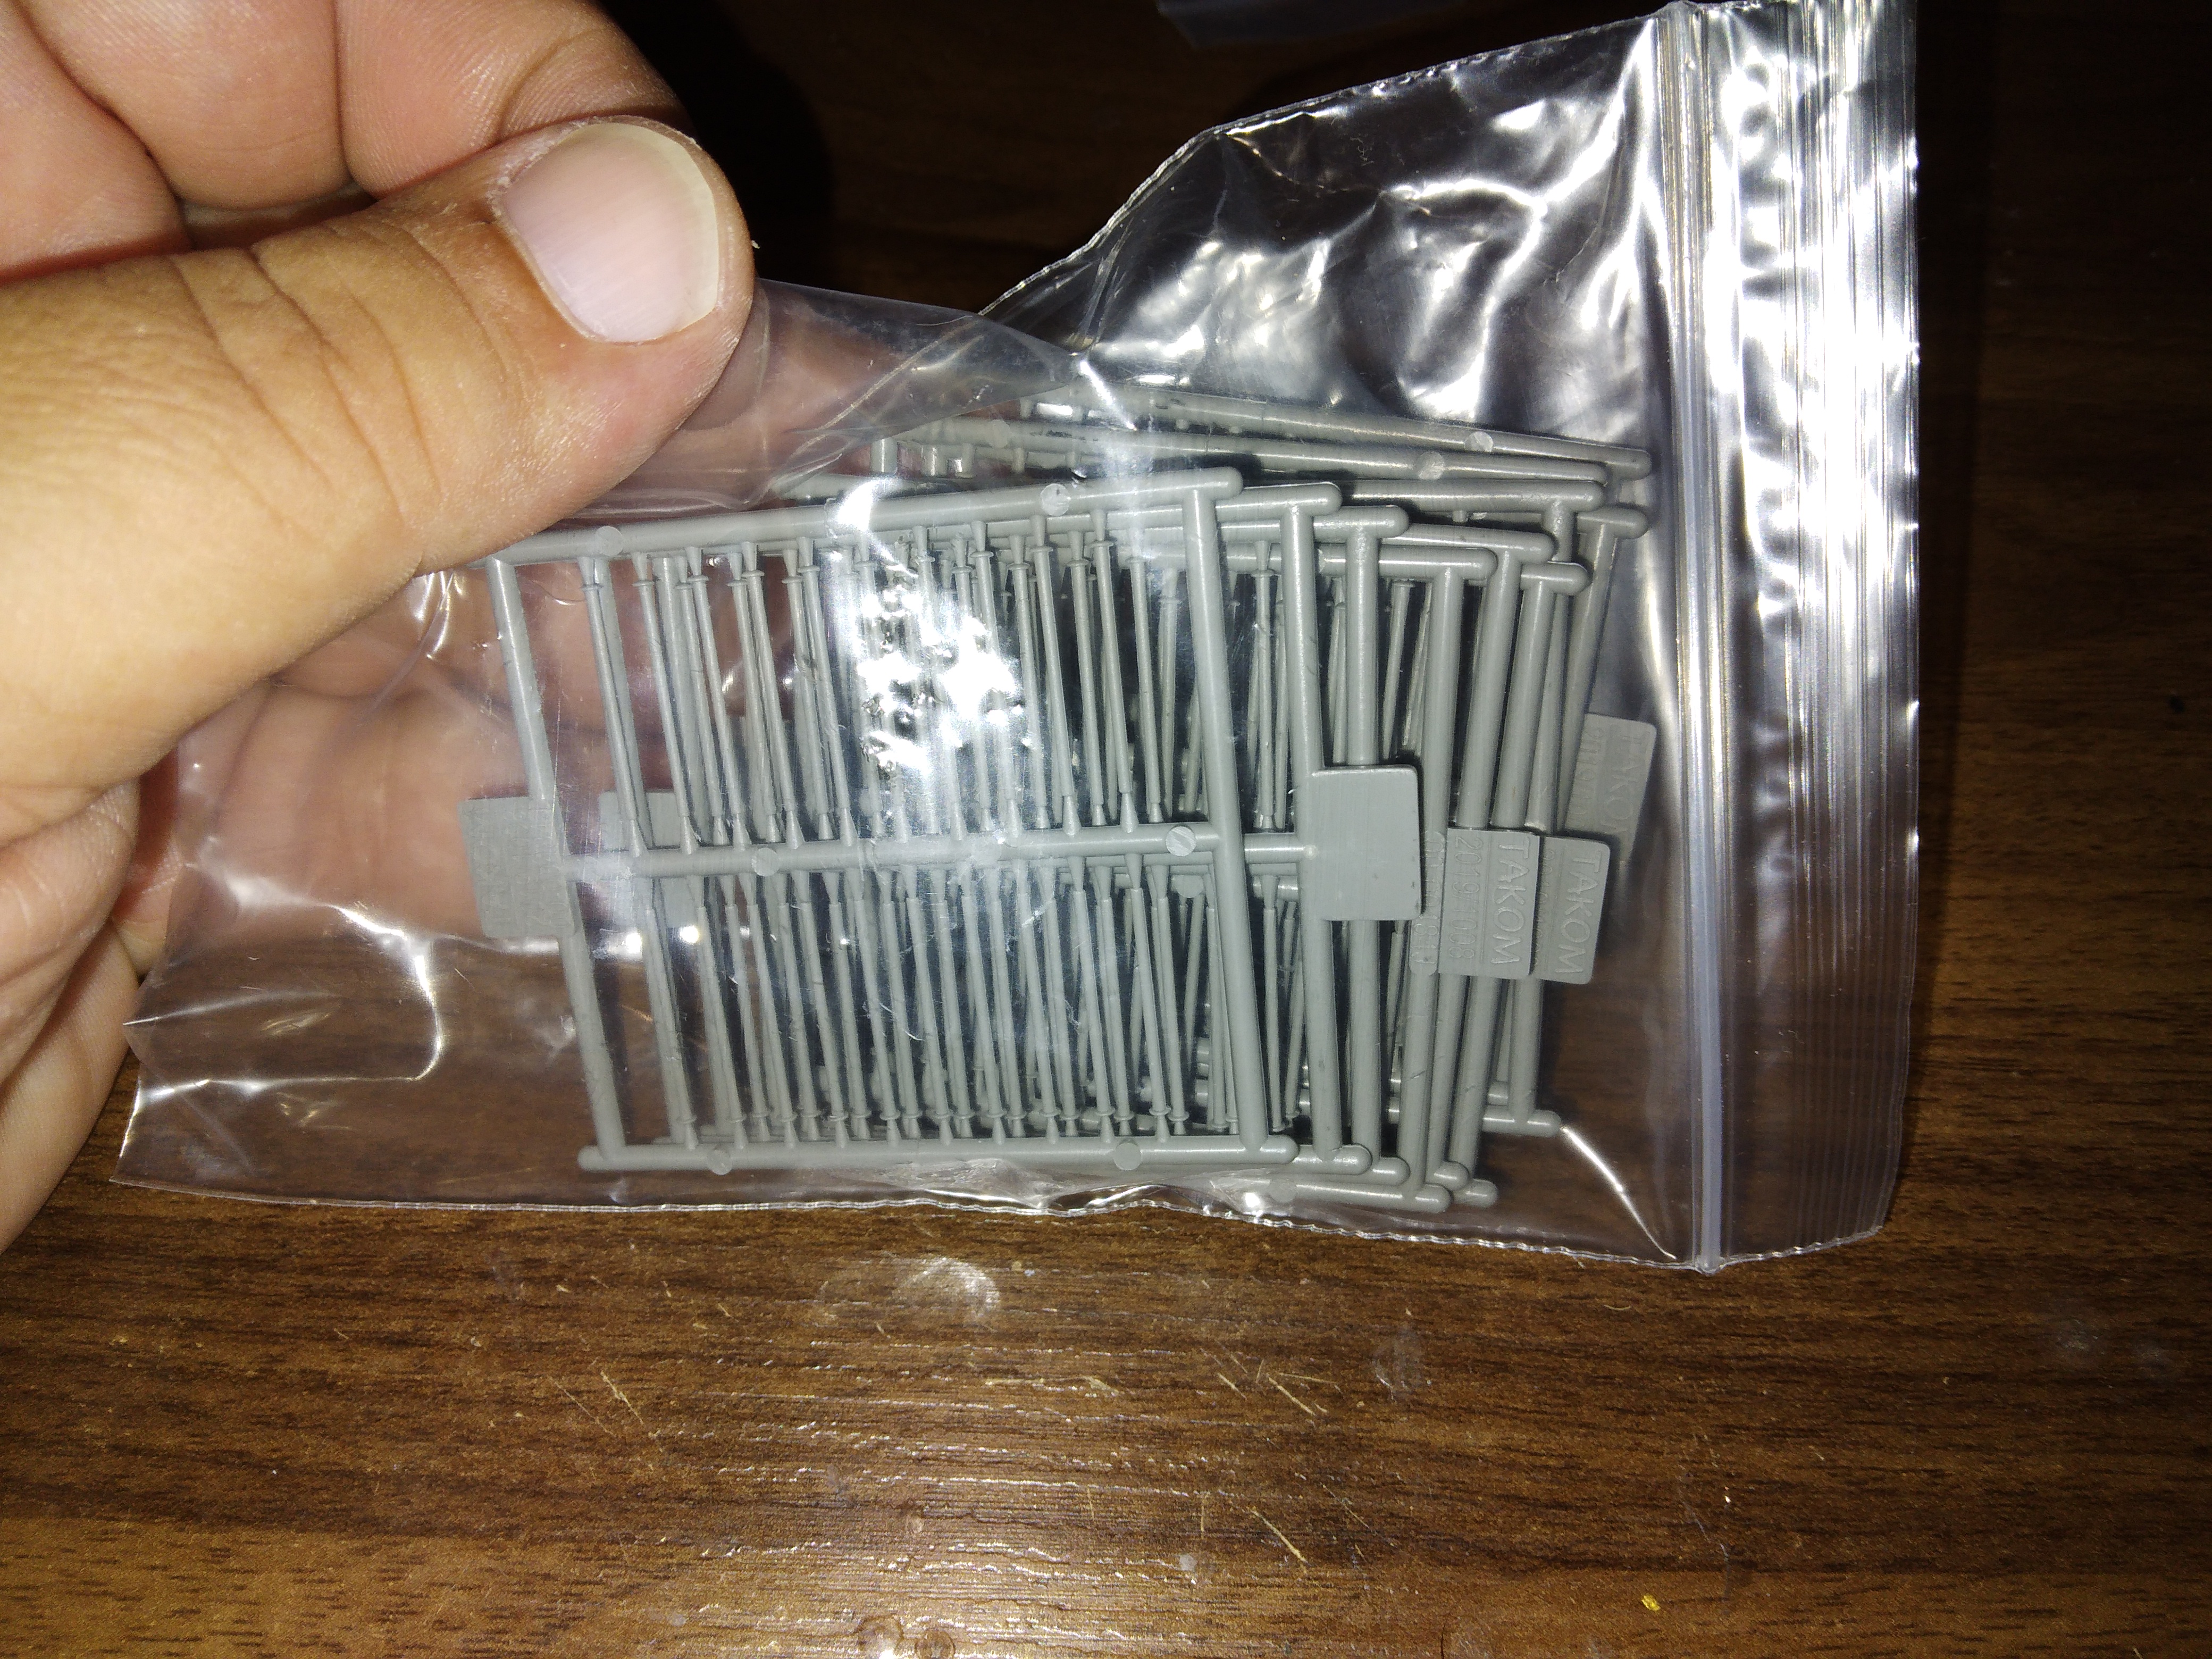
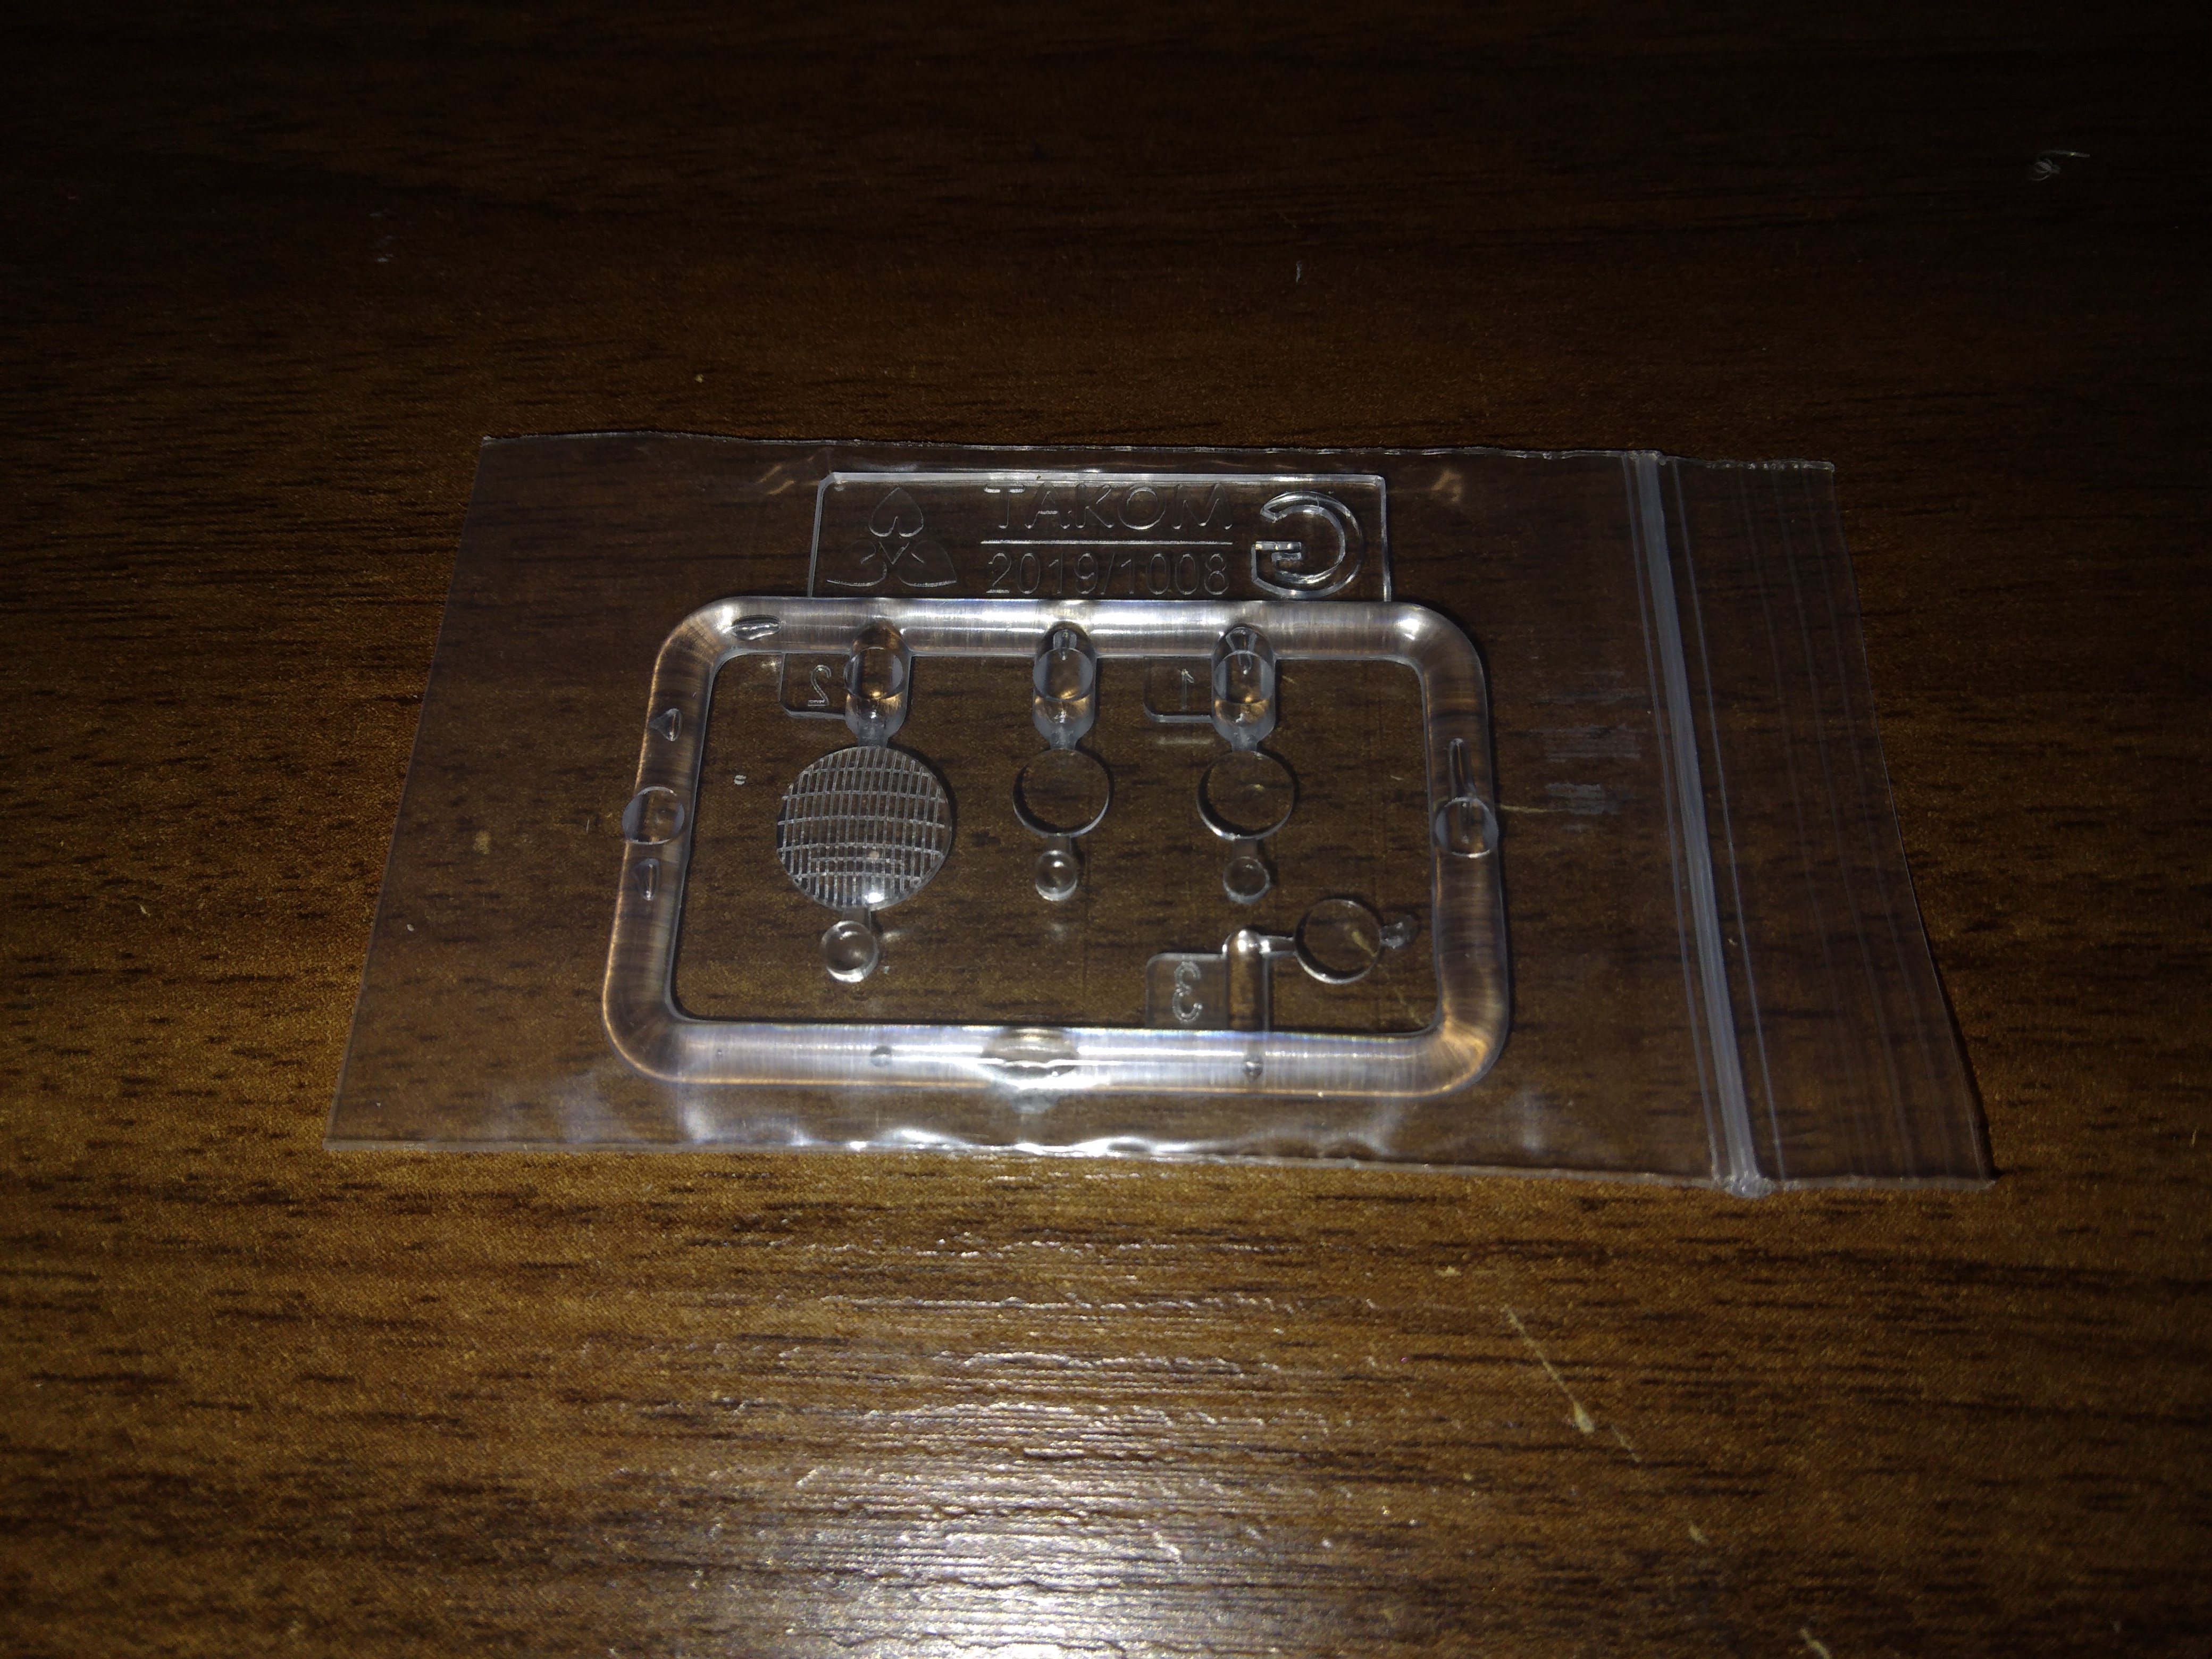
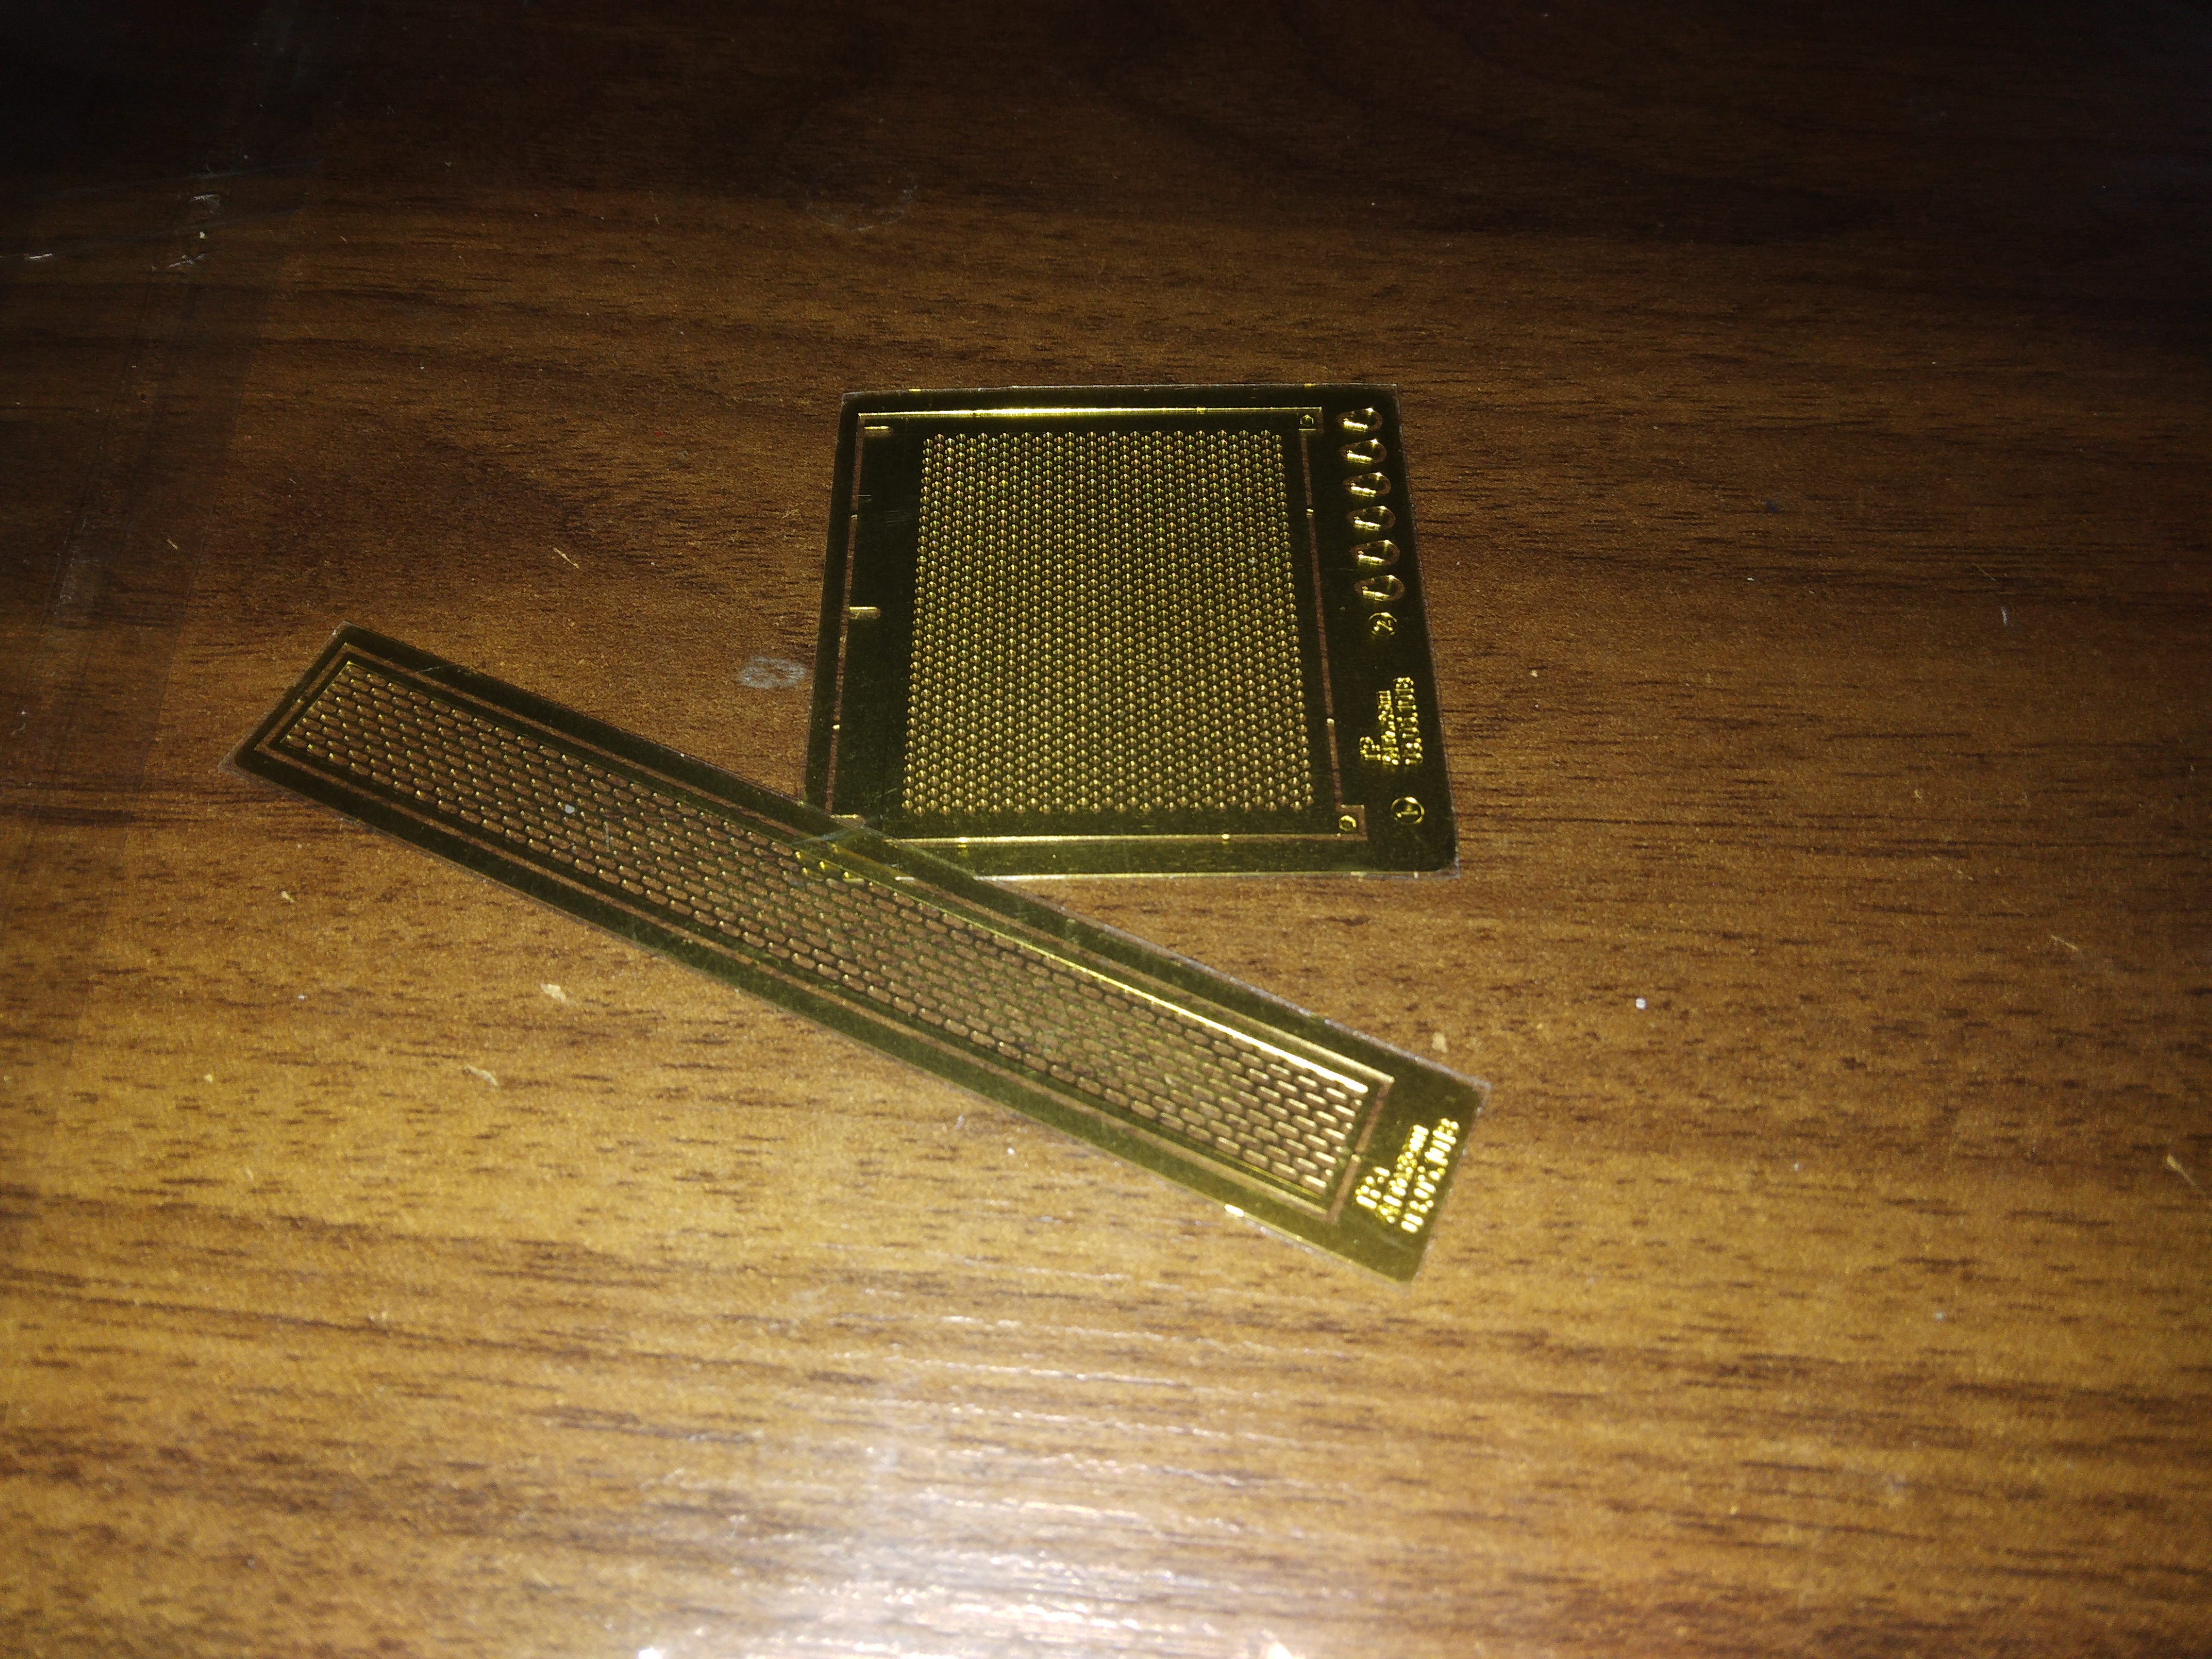
Just a little bit of PE
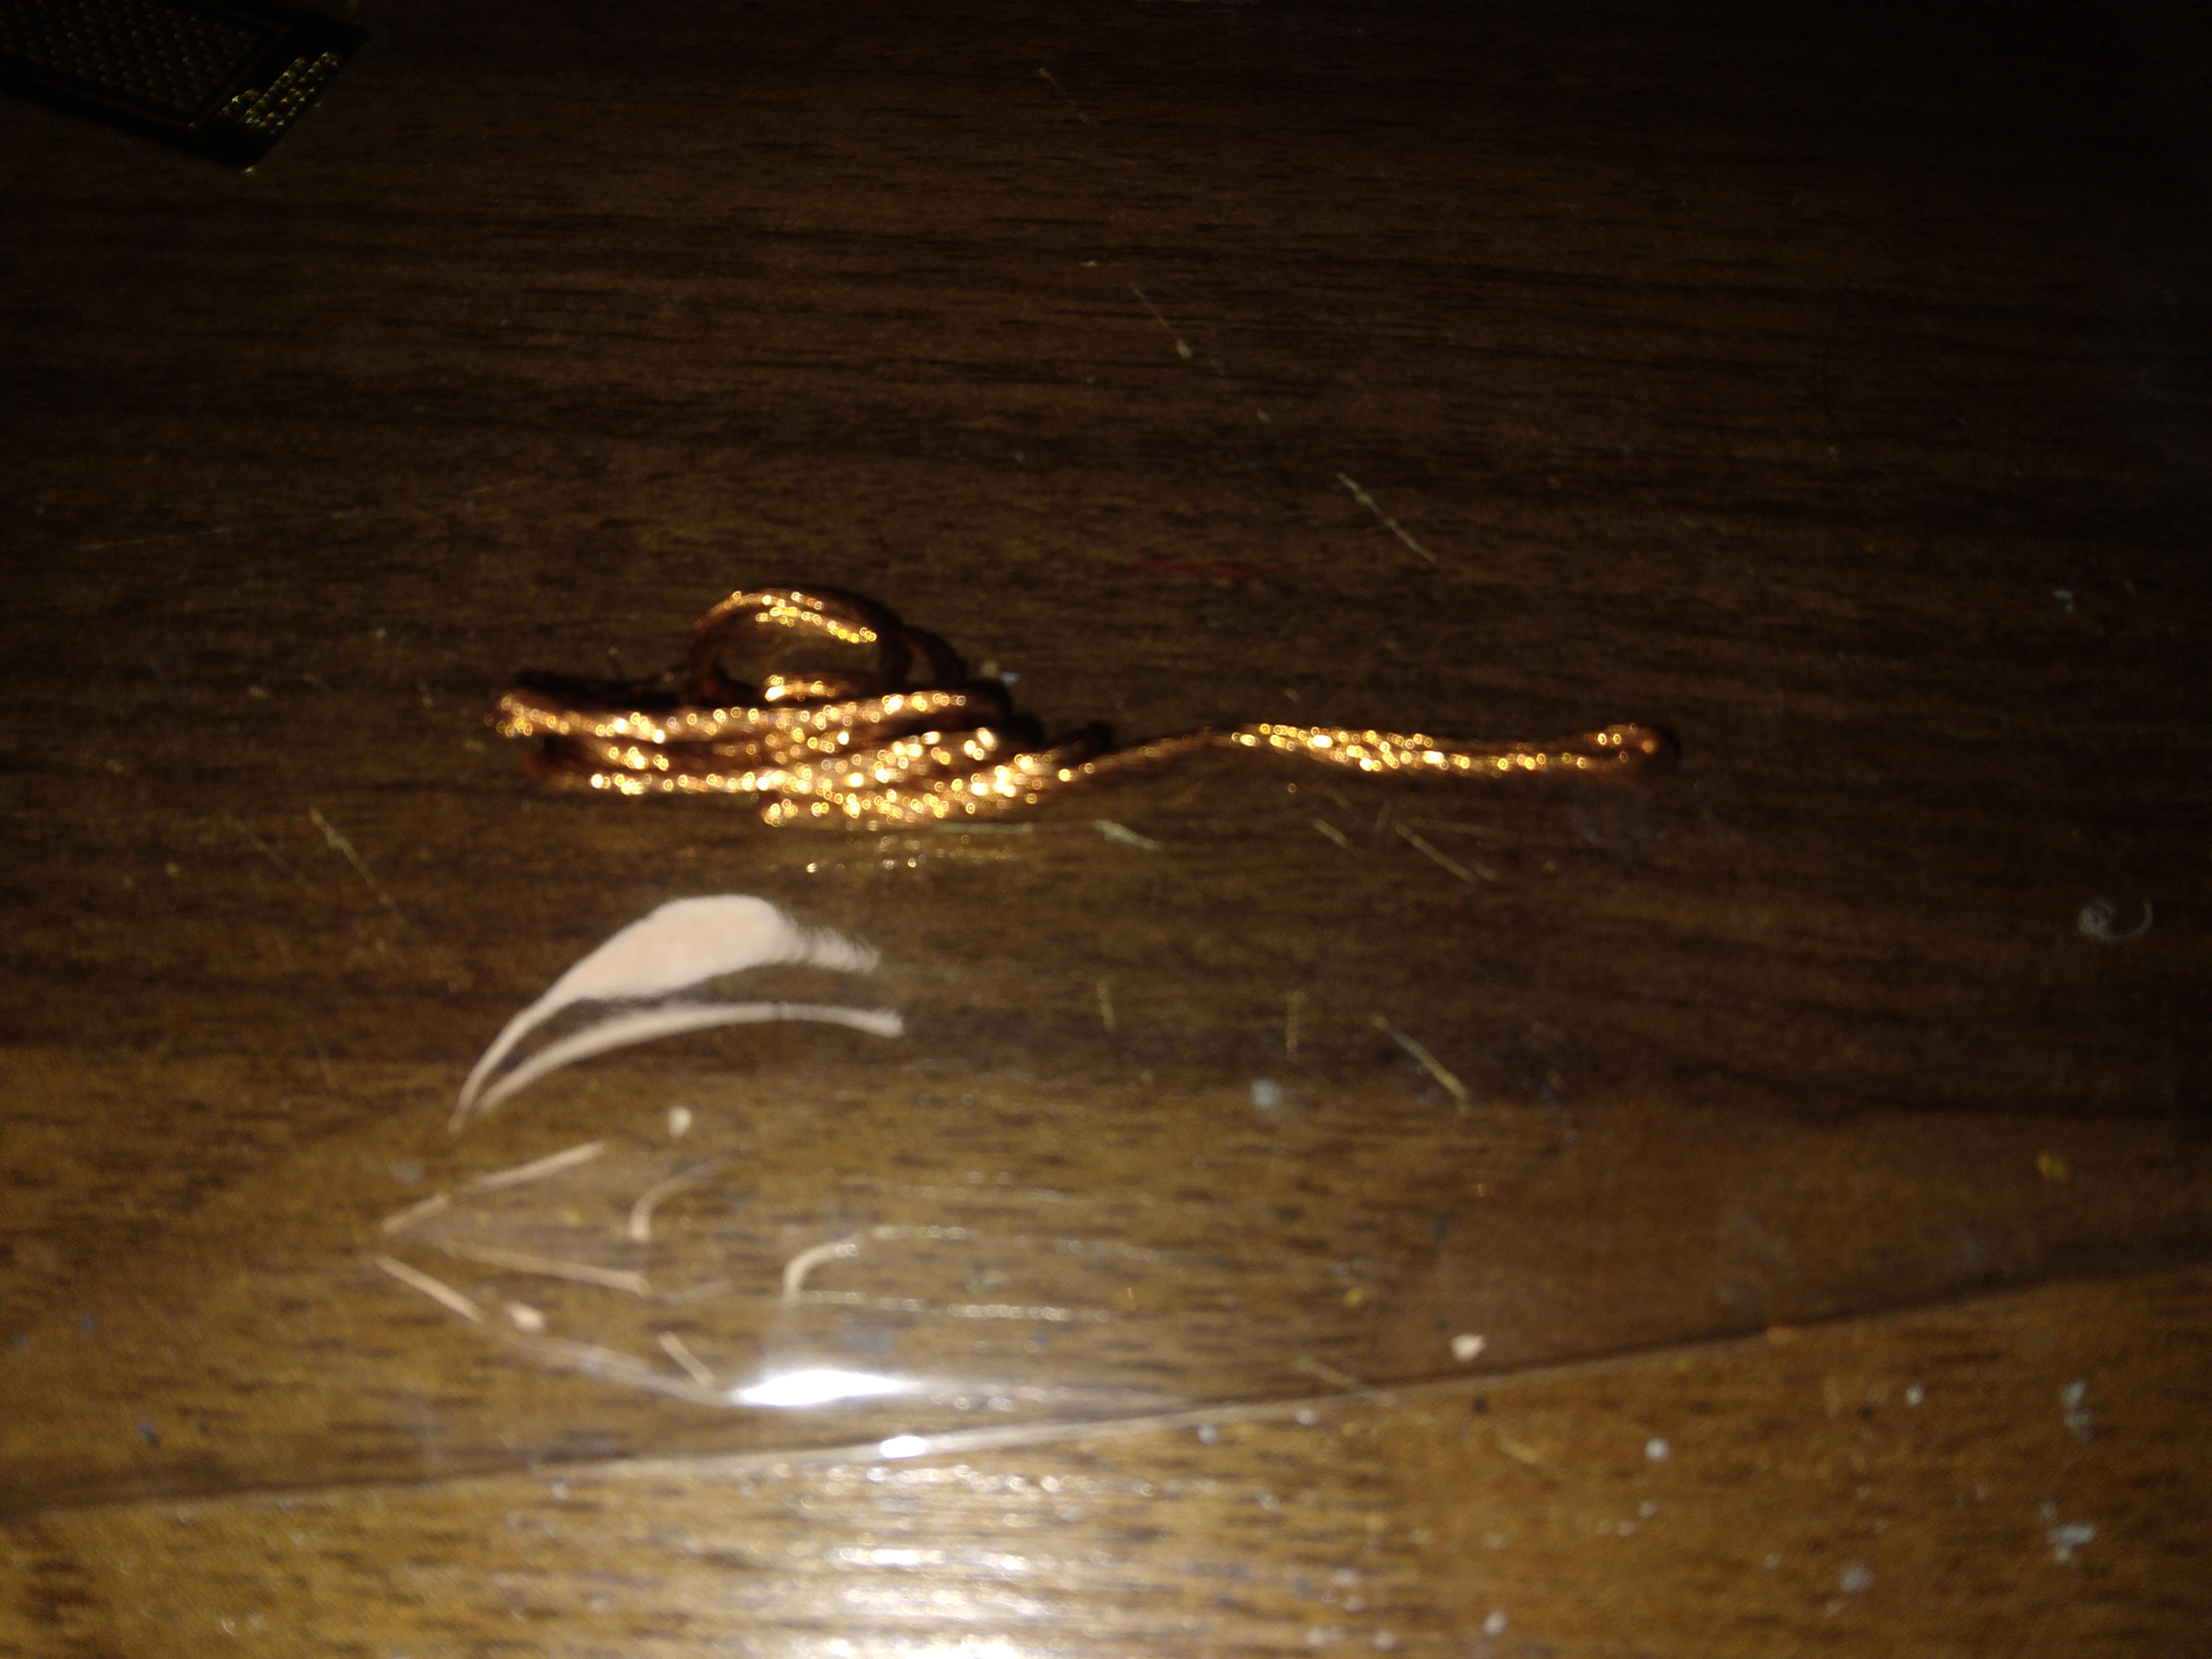
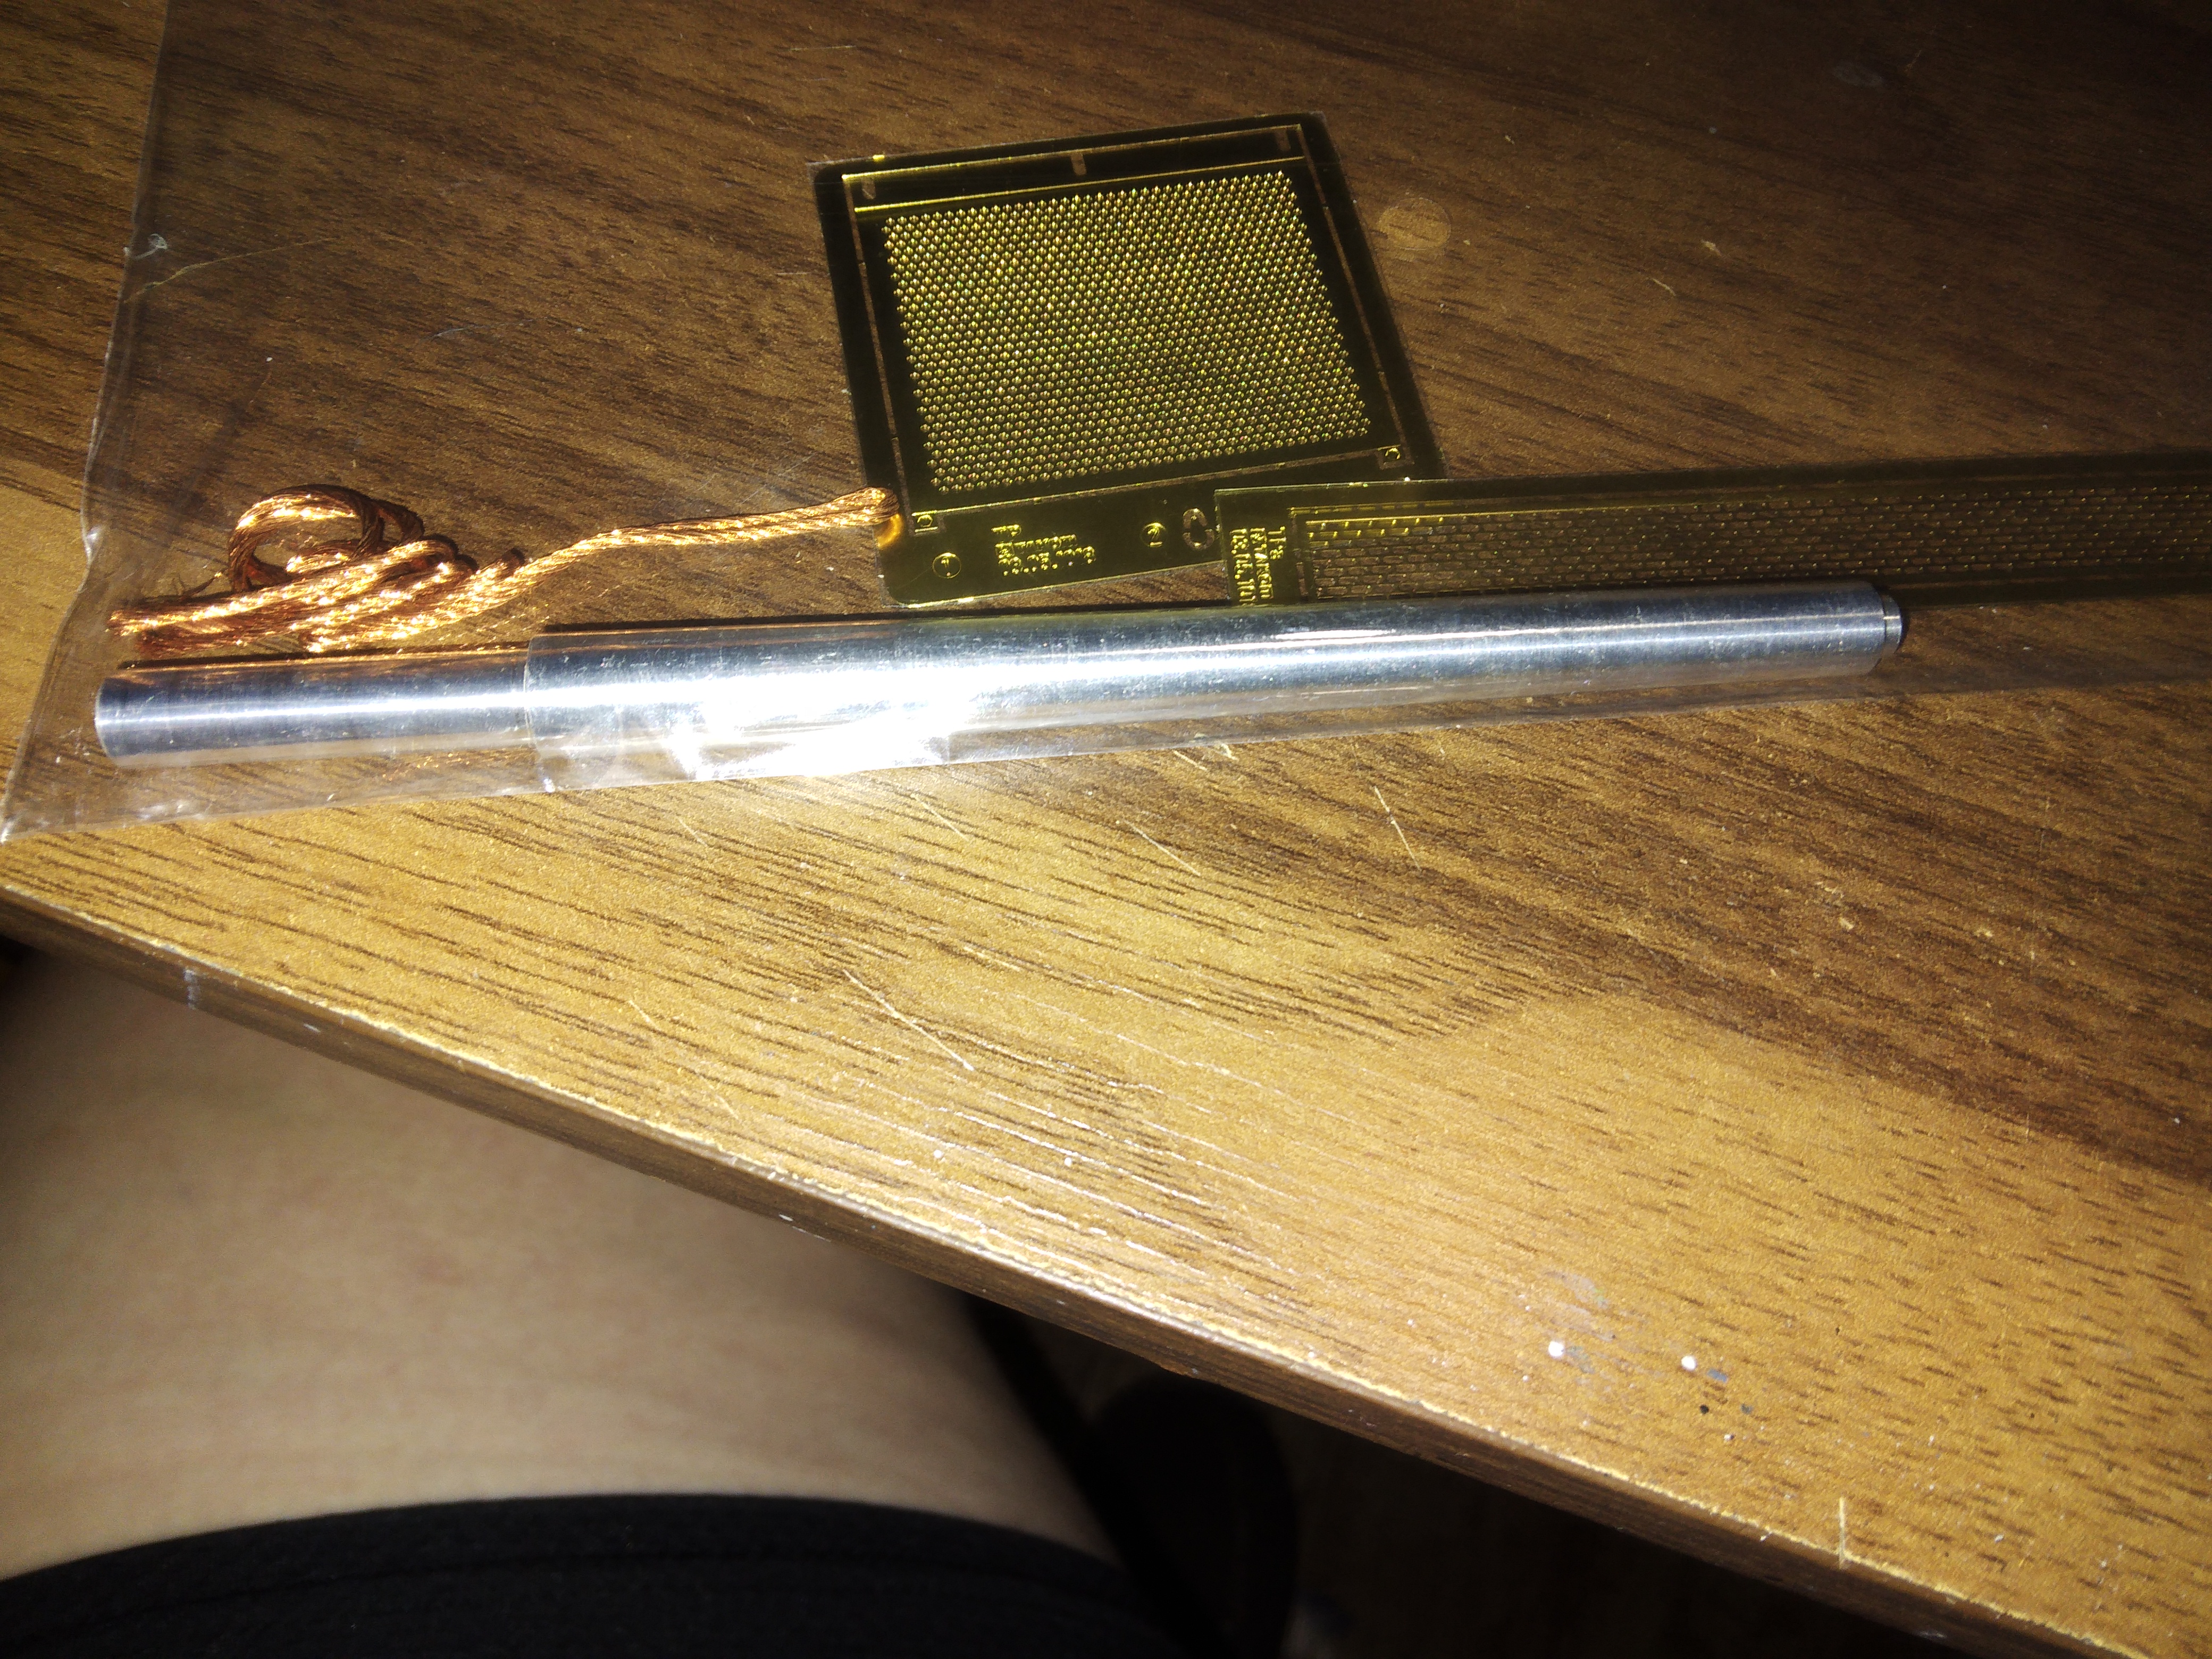
Copper tow cable and metal barrel.
And that's all folks, yes that is a lot of plastic. I tried to go all out with PE and aftermarket, but I couldn't find a whole lot.
The tracks and pins. Need to make 97 per side.
Just a little bit of PE
Copper tow cable and metal barrel.
And that's all folks, yes that is a lot of plastic. I tried to go all out with PE and aftermarket, but I couldn't find a whole lot.
Doesn't look like you'll really need to much- that seems very detailed.And just when you thought the plastic was done
View attachment 194288View attachment 194289
The tracks and pins. Need to make 97 per side.
View attachment 194290View attachment 194291View attachment 194292
Just a little bit of PE
View attachment 194293View attachment 194294
Copper tow cable and metal barrel.
And that's all folks, yes that is a lot of plastic. I tried to go all out with PE and aftermarket, but I couldn't find a whole lot.

Dr. Armor_72
Active Member
- Joined
- Aug 2, 2025
- Messages
- 41
This will be epic build!

kevin
Well-Known Member
The metal barrel is a big plus.


![Pampers Sensitive Baby Wipes, Clinically Proven, Fragrance Free, Unscented, Water Based, Hypoallergenic, Multi-Use, Hand Wipes 336 Wipes Total (6X Flip-Top Packs) [Packaging May Vary]](https://m.media-amazon.com/images/I/41KLBHu9CAL._SL500_.jpg)






As an Amazon Associate we earn from qualifying purchases. Product prices and availability are accurate as of the date/time indicated and are subject to change.
It is very detailed and the gates for the most part are in good positions, easy to clean off.Doesn't look like you'll really need to much- that seems very detailed.
It will be my first metal barrel with a model, should be very easy compared to the 4 part plastic barrel also in the kit.The metal barrel is a big plus.
I have 3 1/16 panzer 1 kits that I am going to build, thinking about a diorama for the 3 but the size...where would I put itThis will be epic build!

I've done two dioramas and three one away d/t size and display issues.It is very detailed and the gates for the most part are in good positions, easy to clean off.
It will be my first metal barrel with a model, should be very easy compared to the 4 part plastic barrel also in the kit.
I have 3 1/16 panzer 1 kits that I am going to build, thinking about a diorama for the 3 but the size...where would I put it
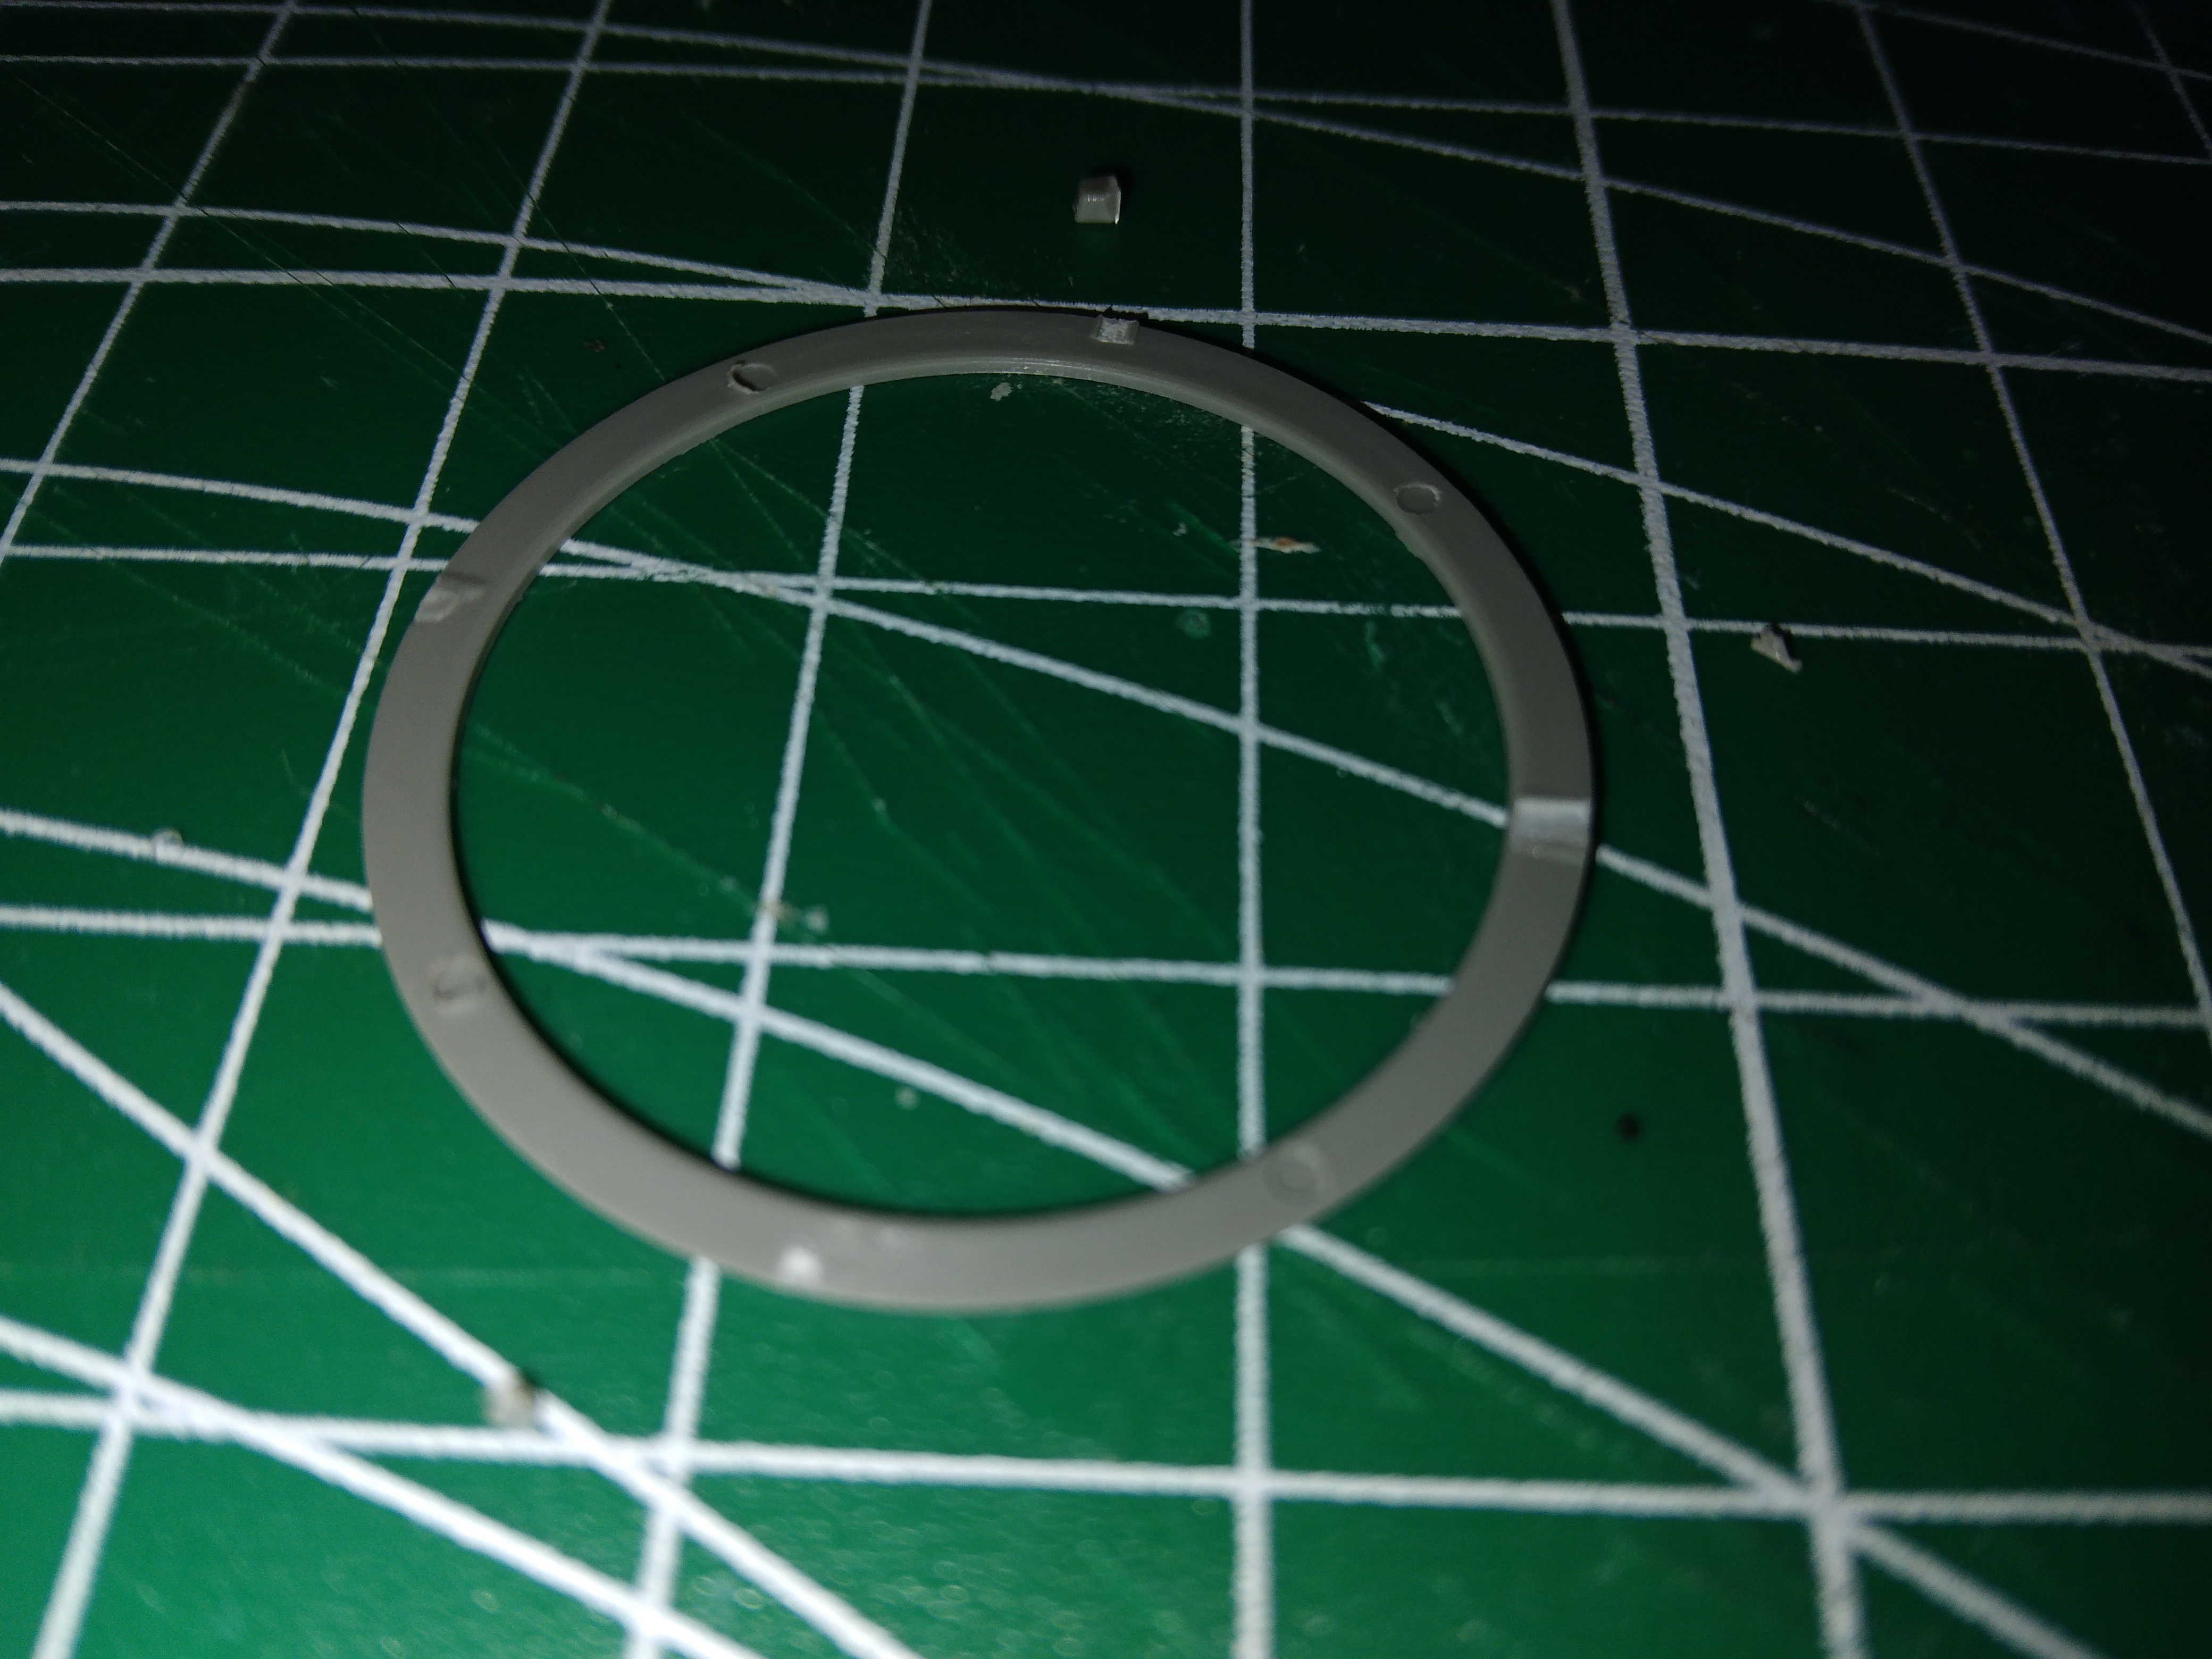
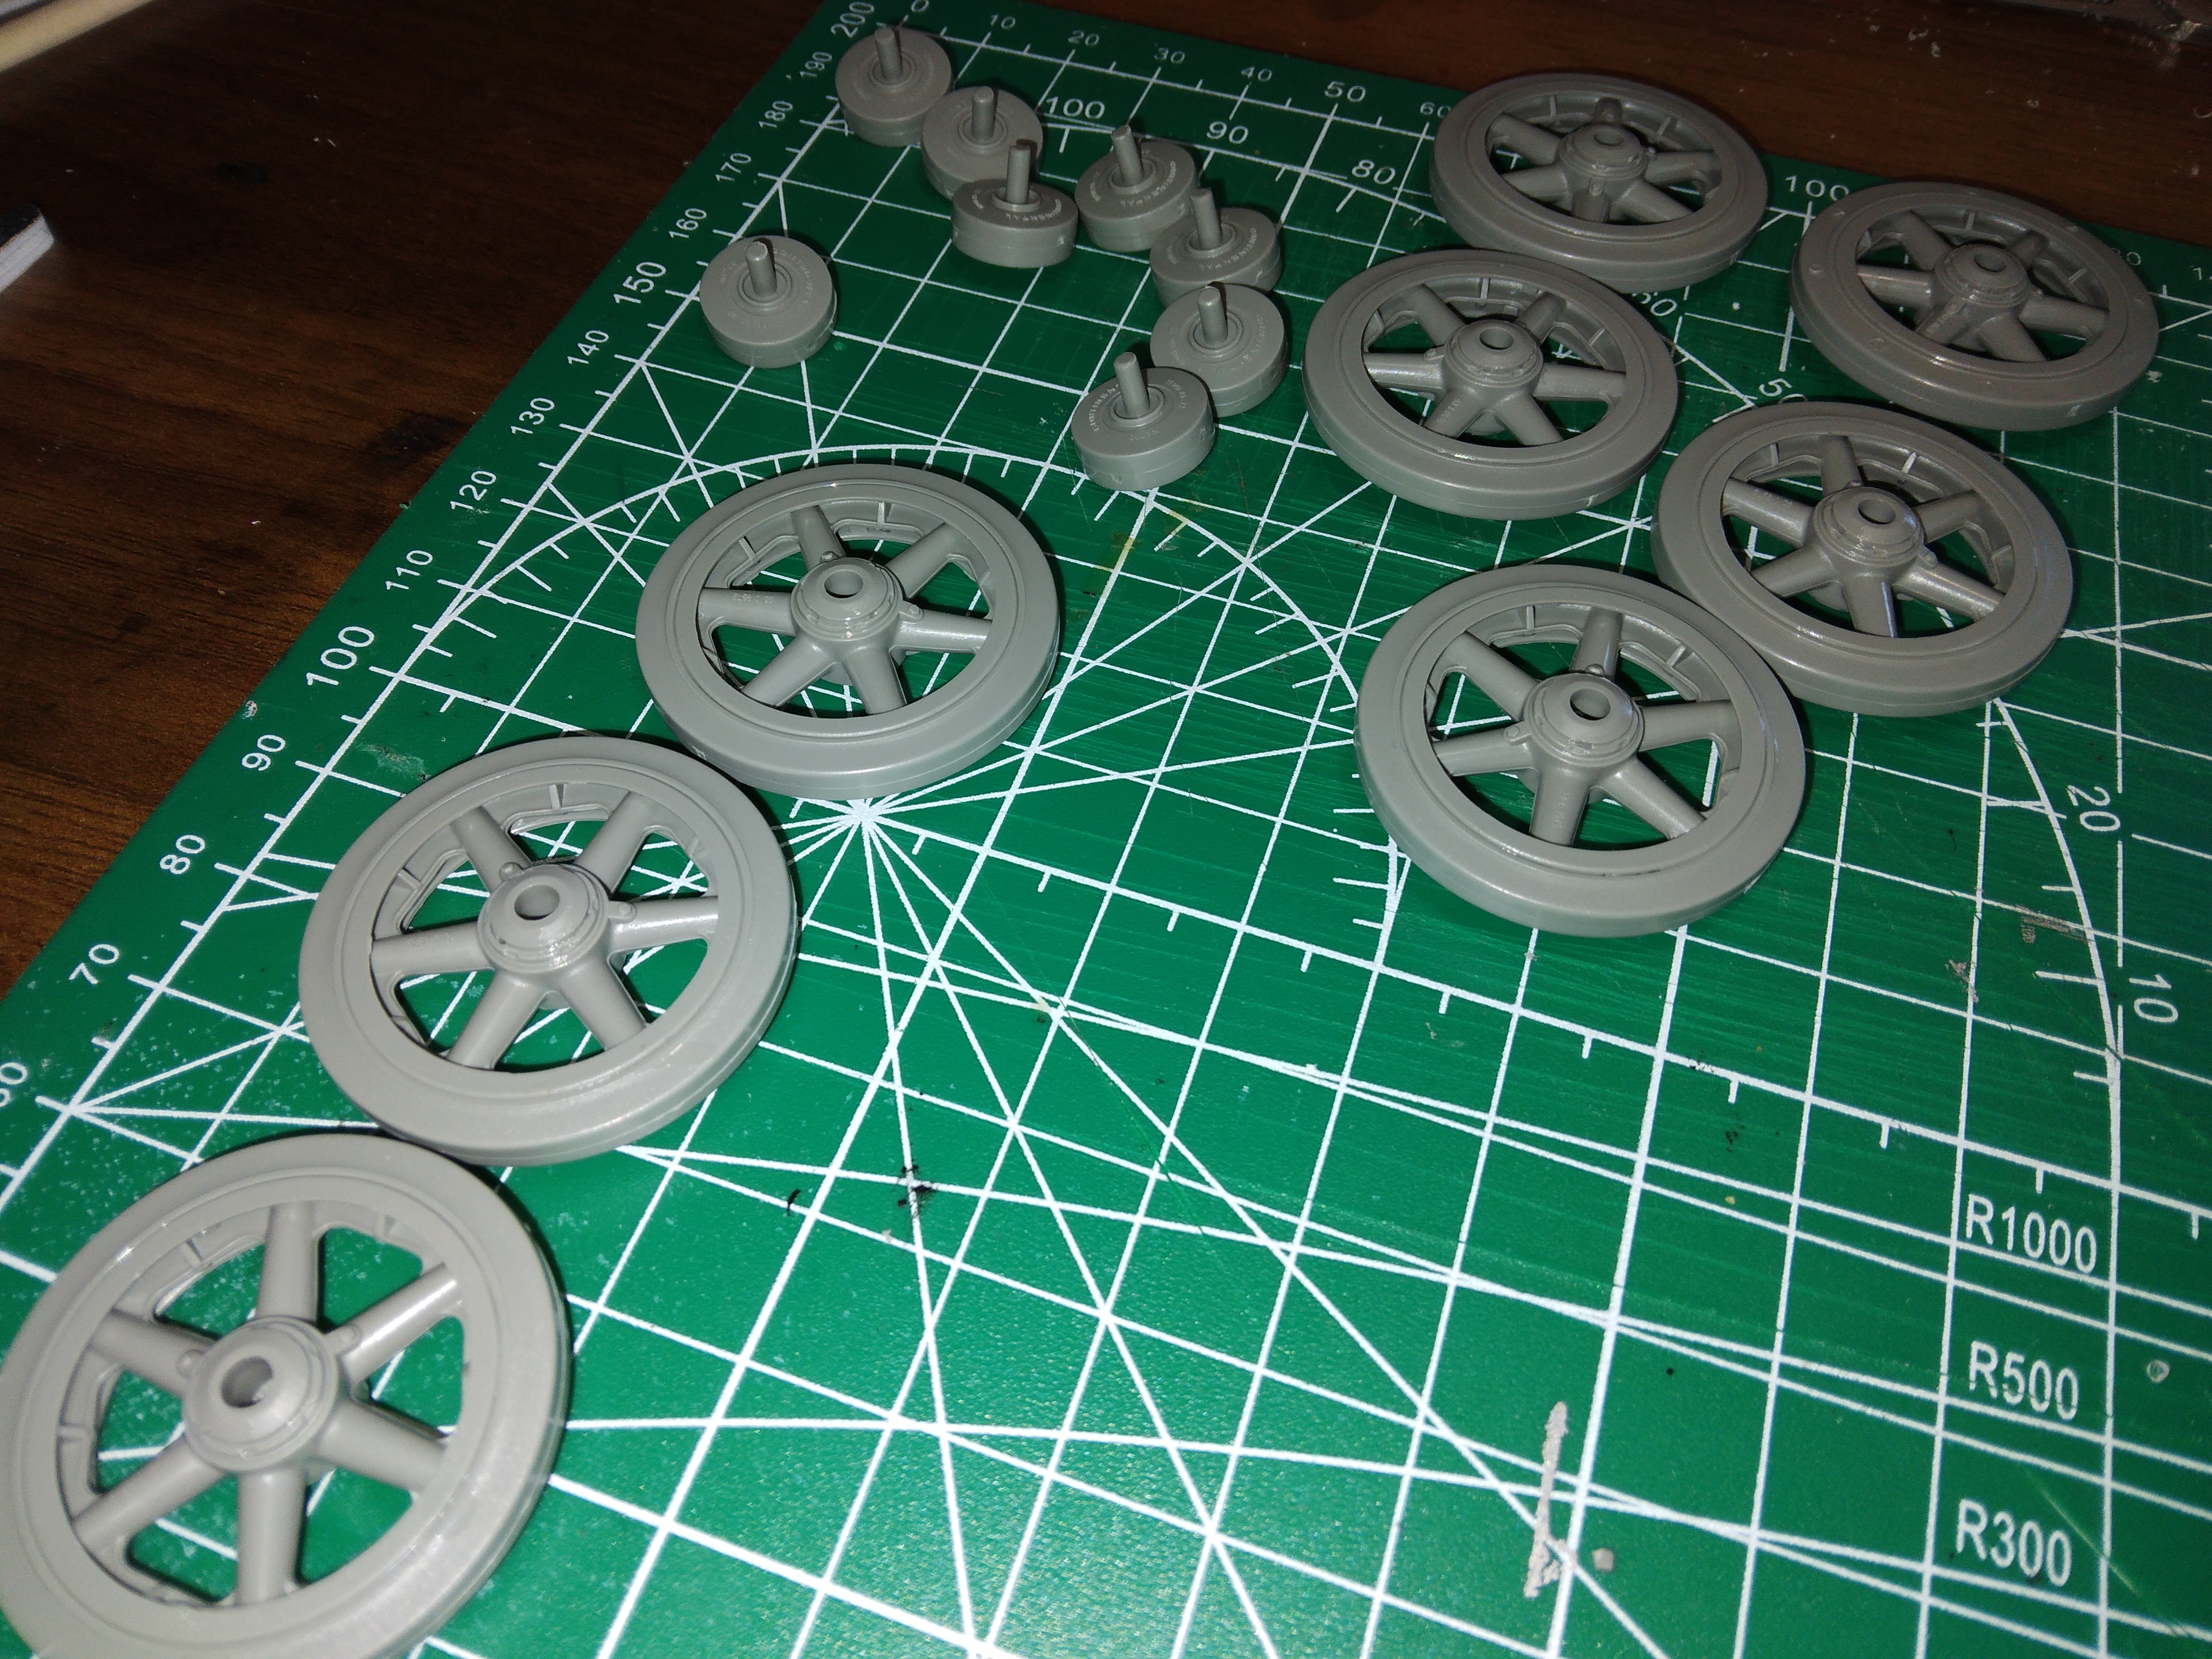
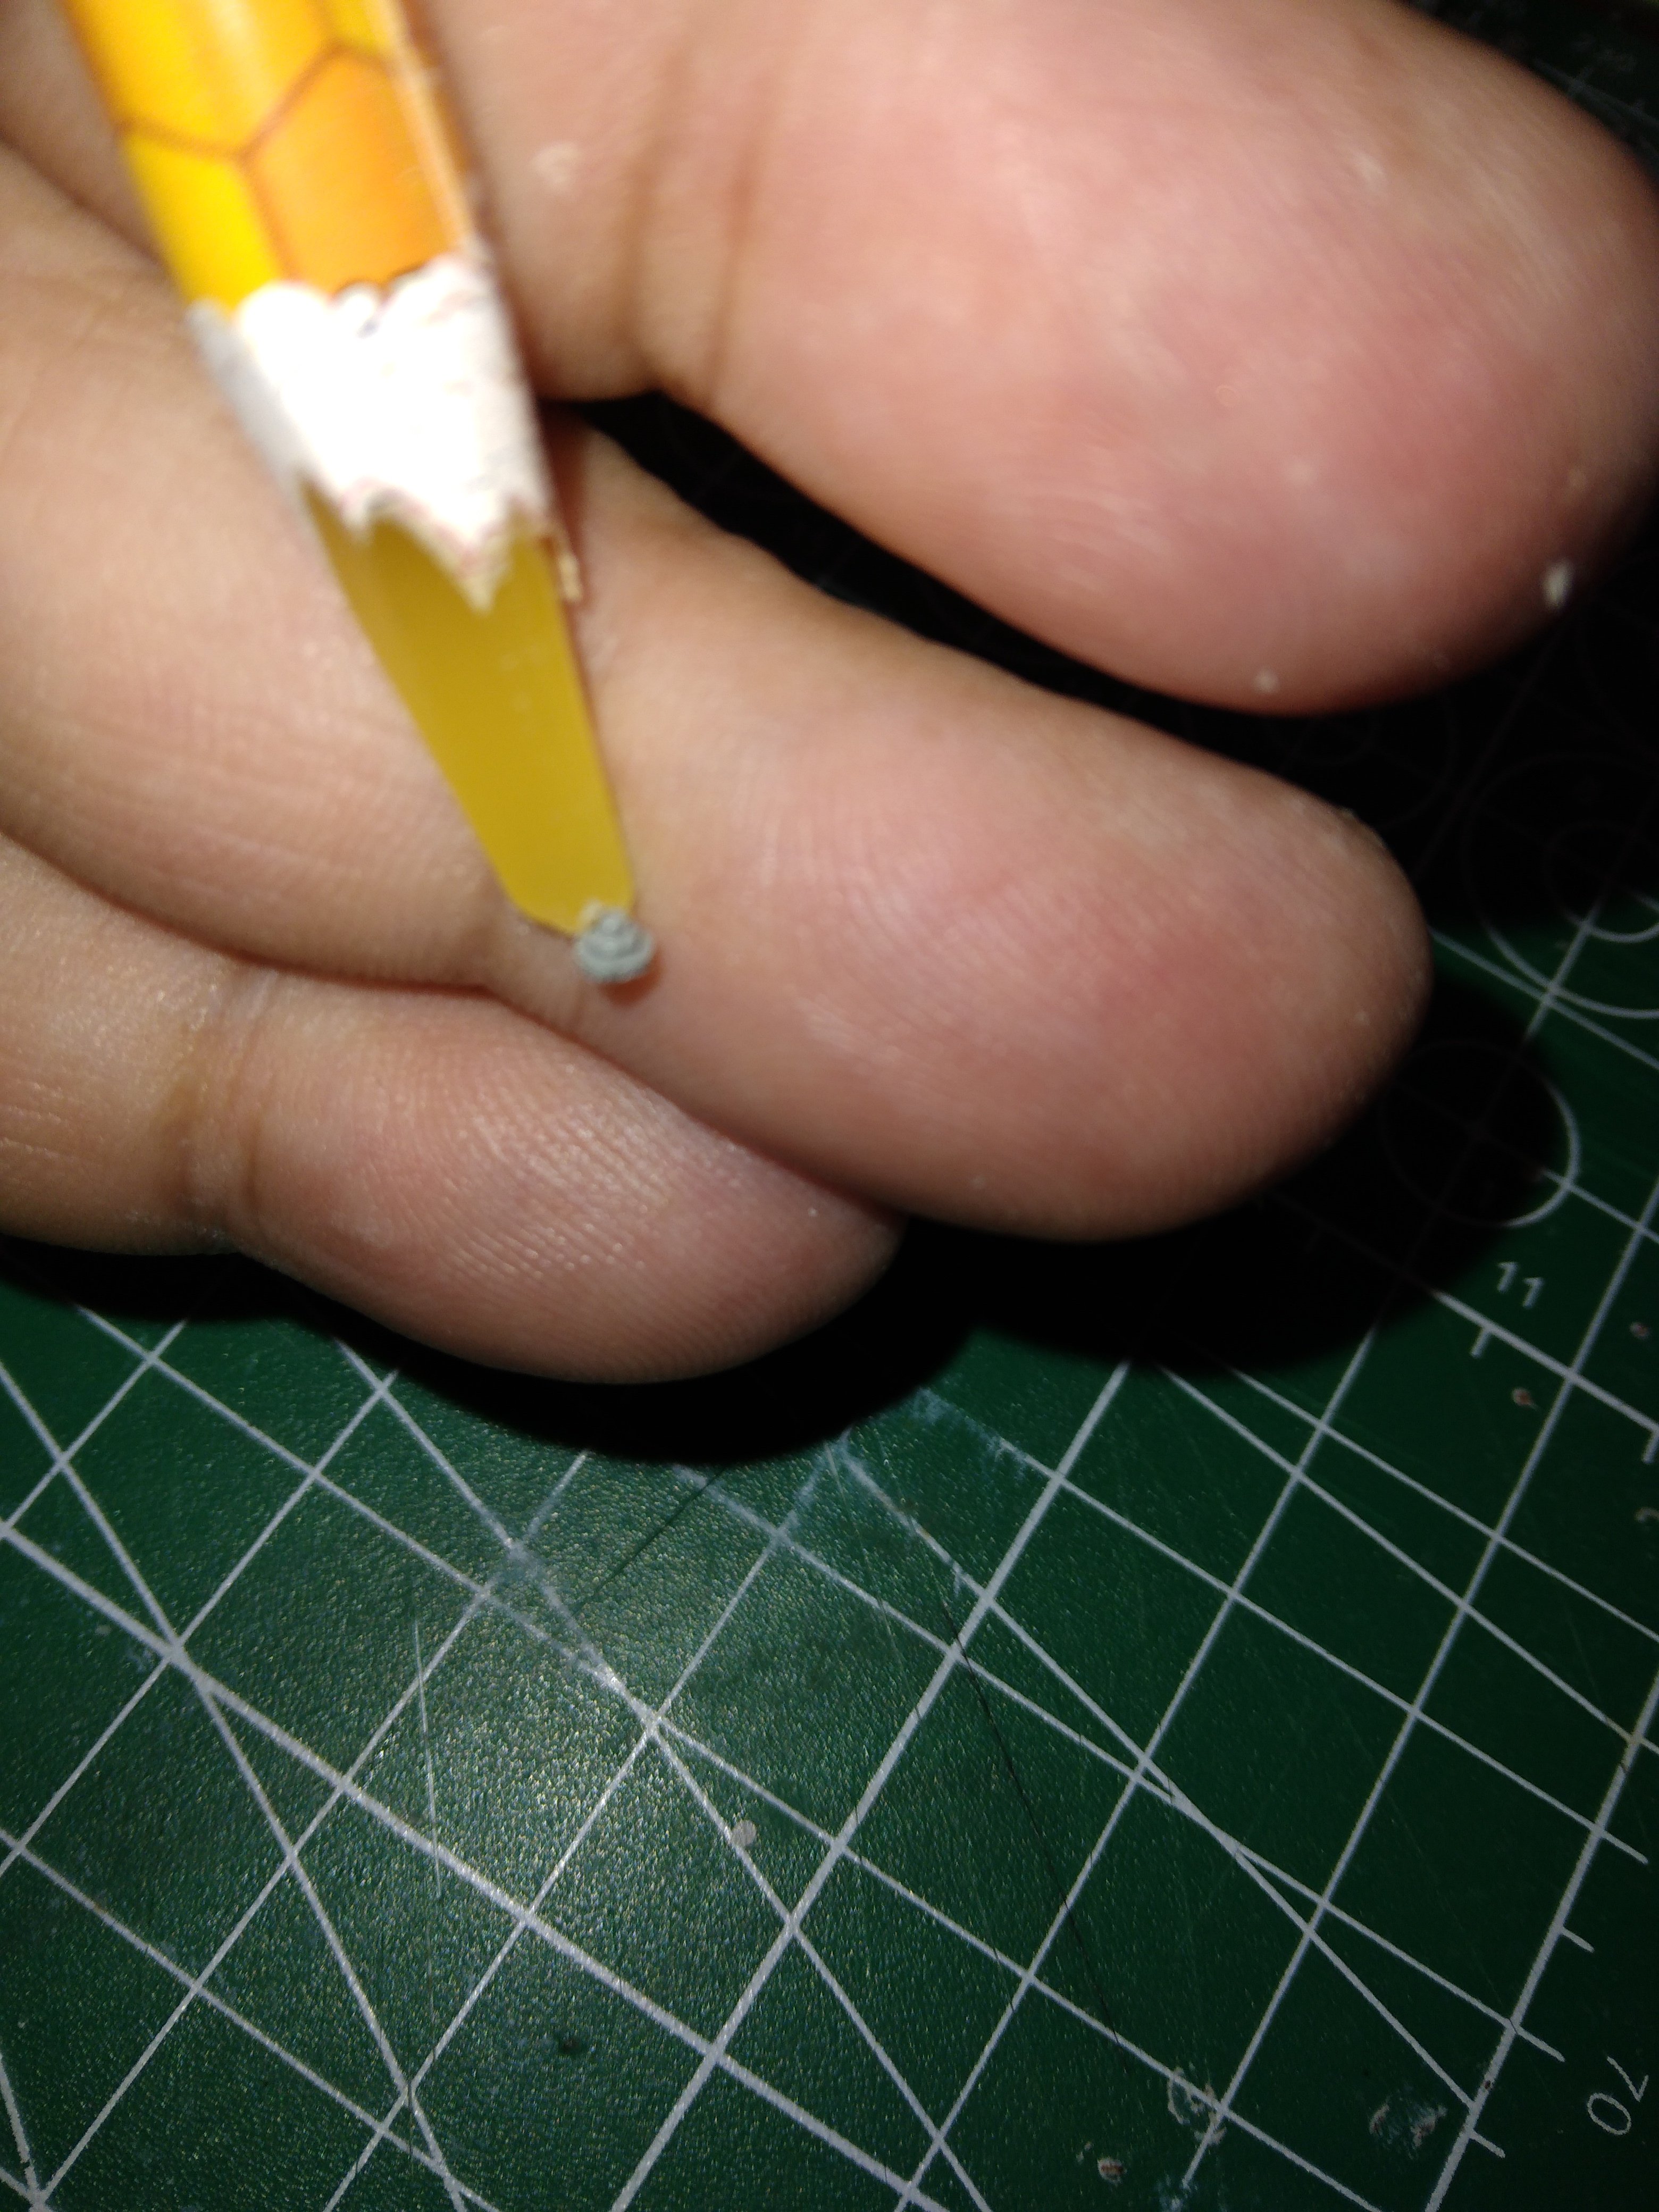
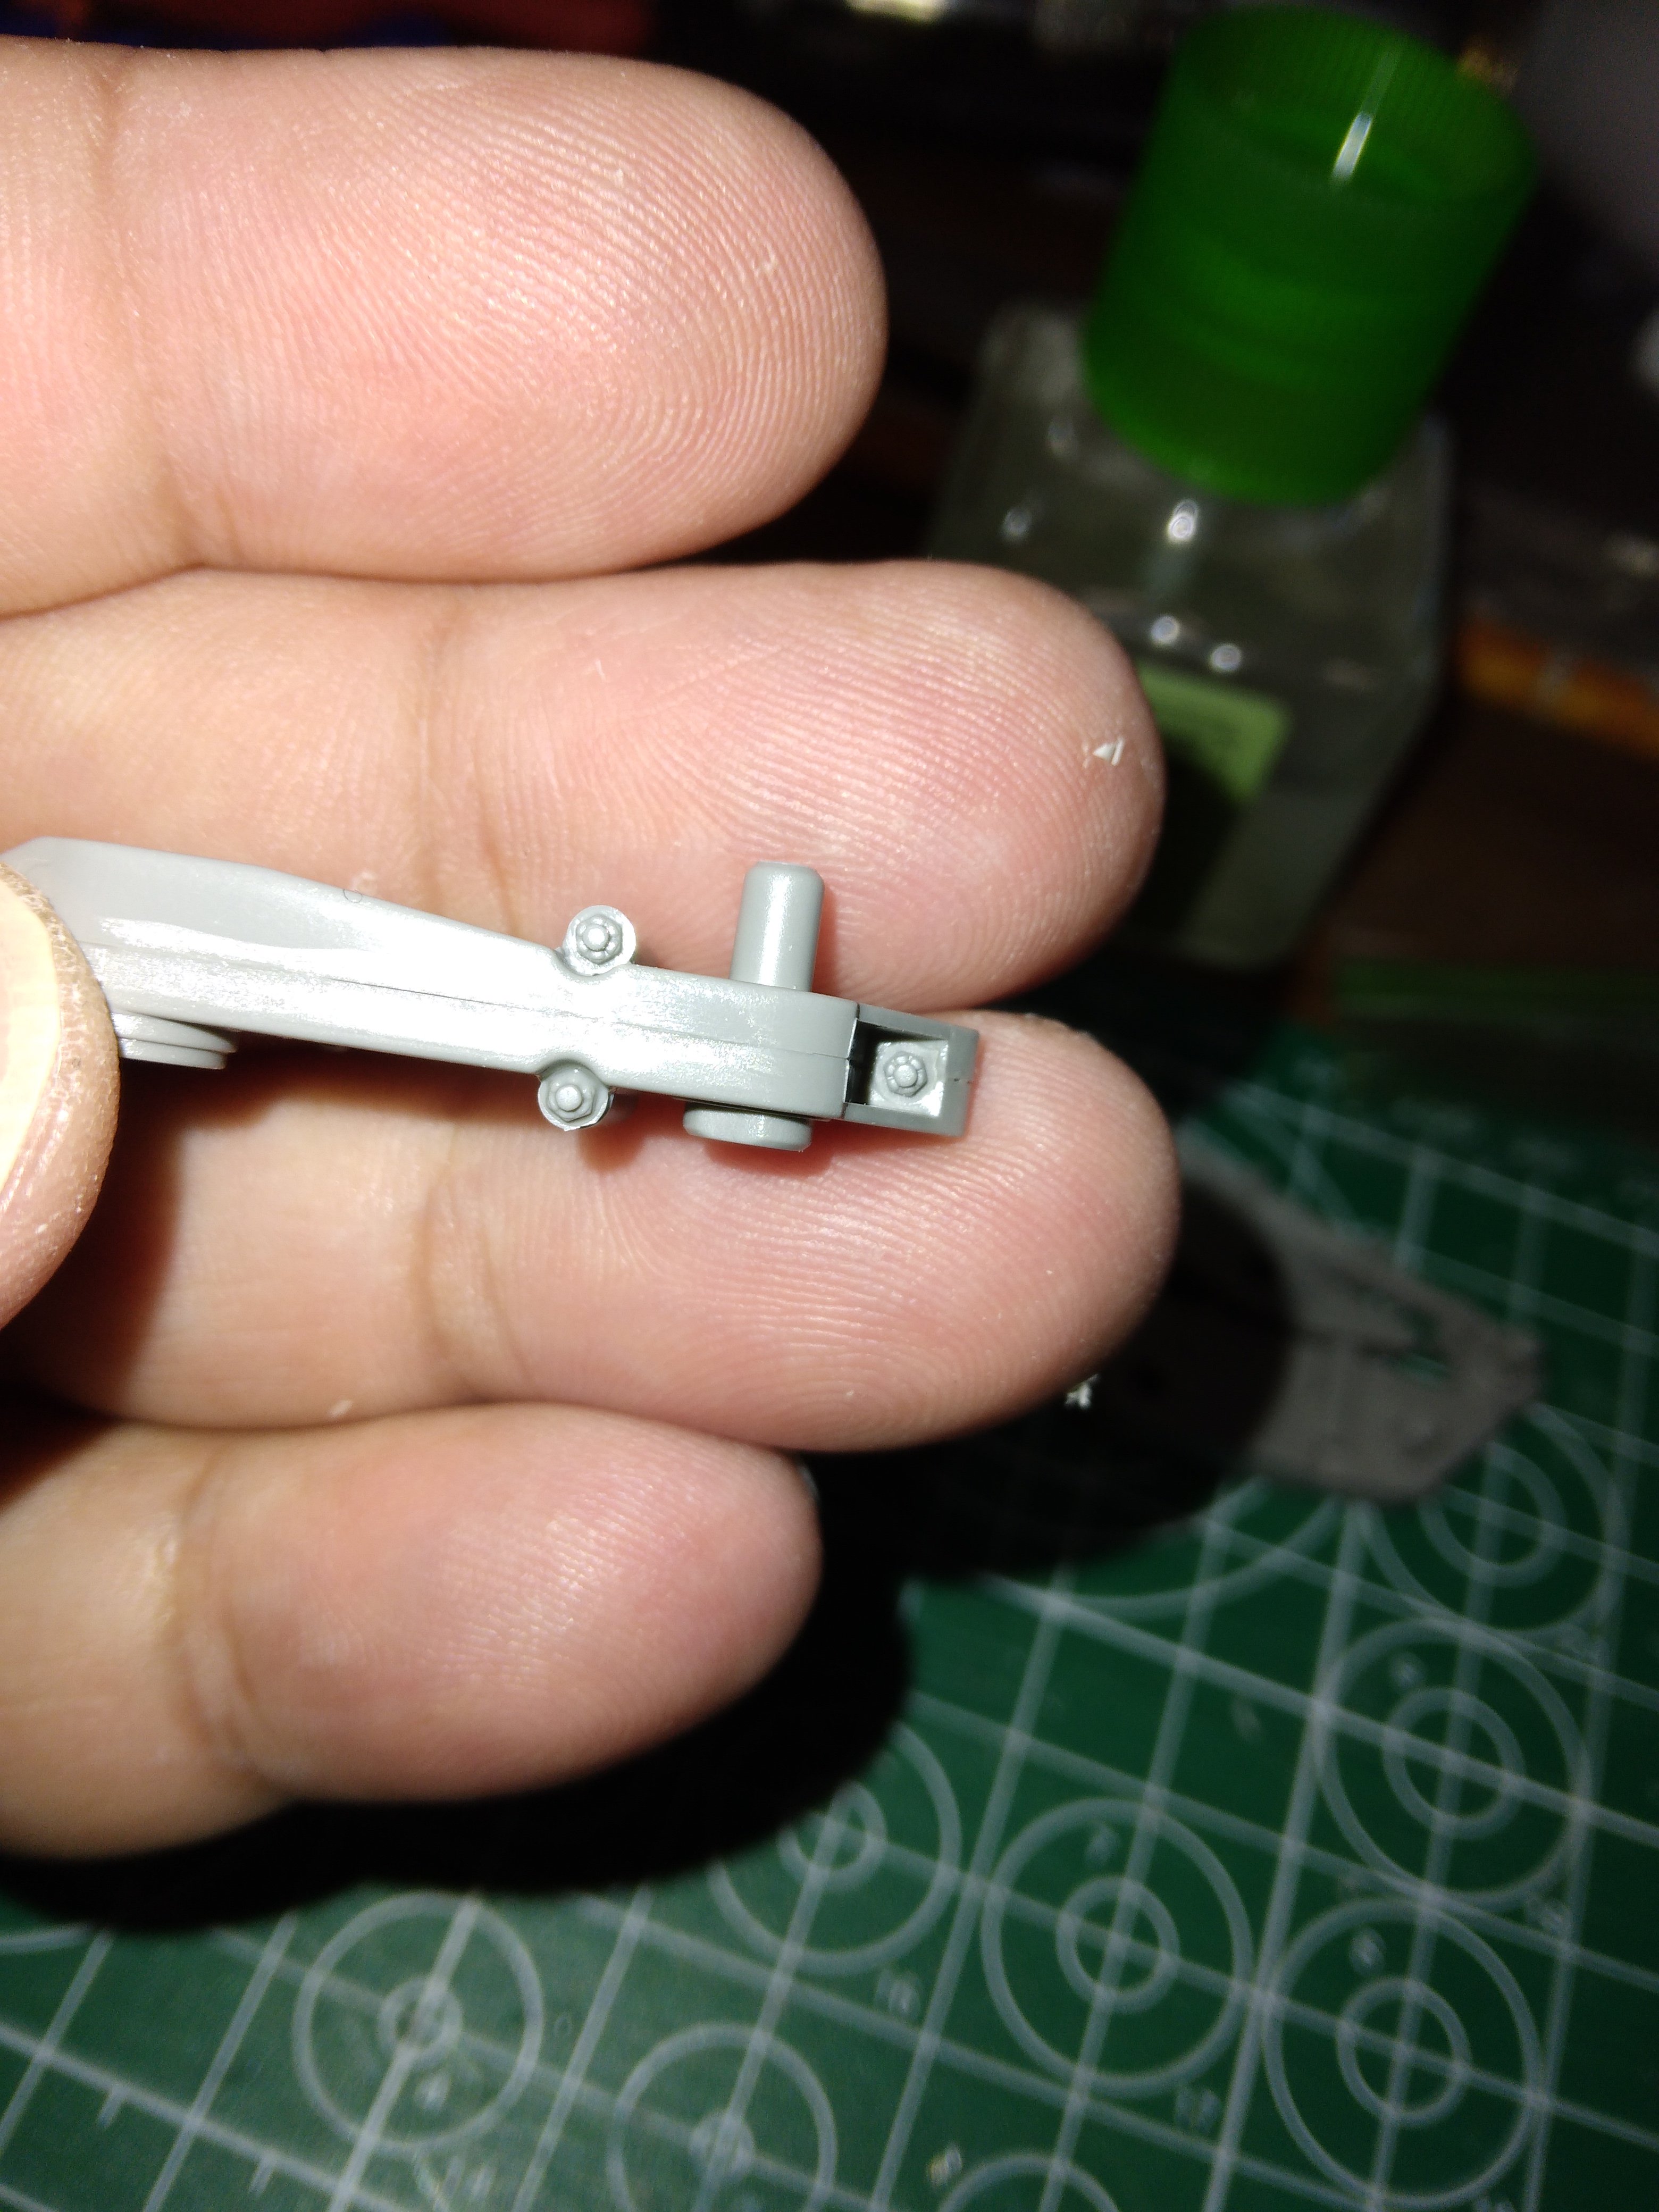
Wow.Just a bit more built while waiting for oil paint to dry
View attachment 194654
Tiny parts 24 bolt heads and they go here
View attachment 194655

Edbert
Well-Known Member
- Joined
- May 16, 2024
- Messages
- 3,117
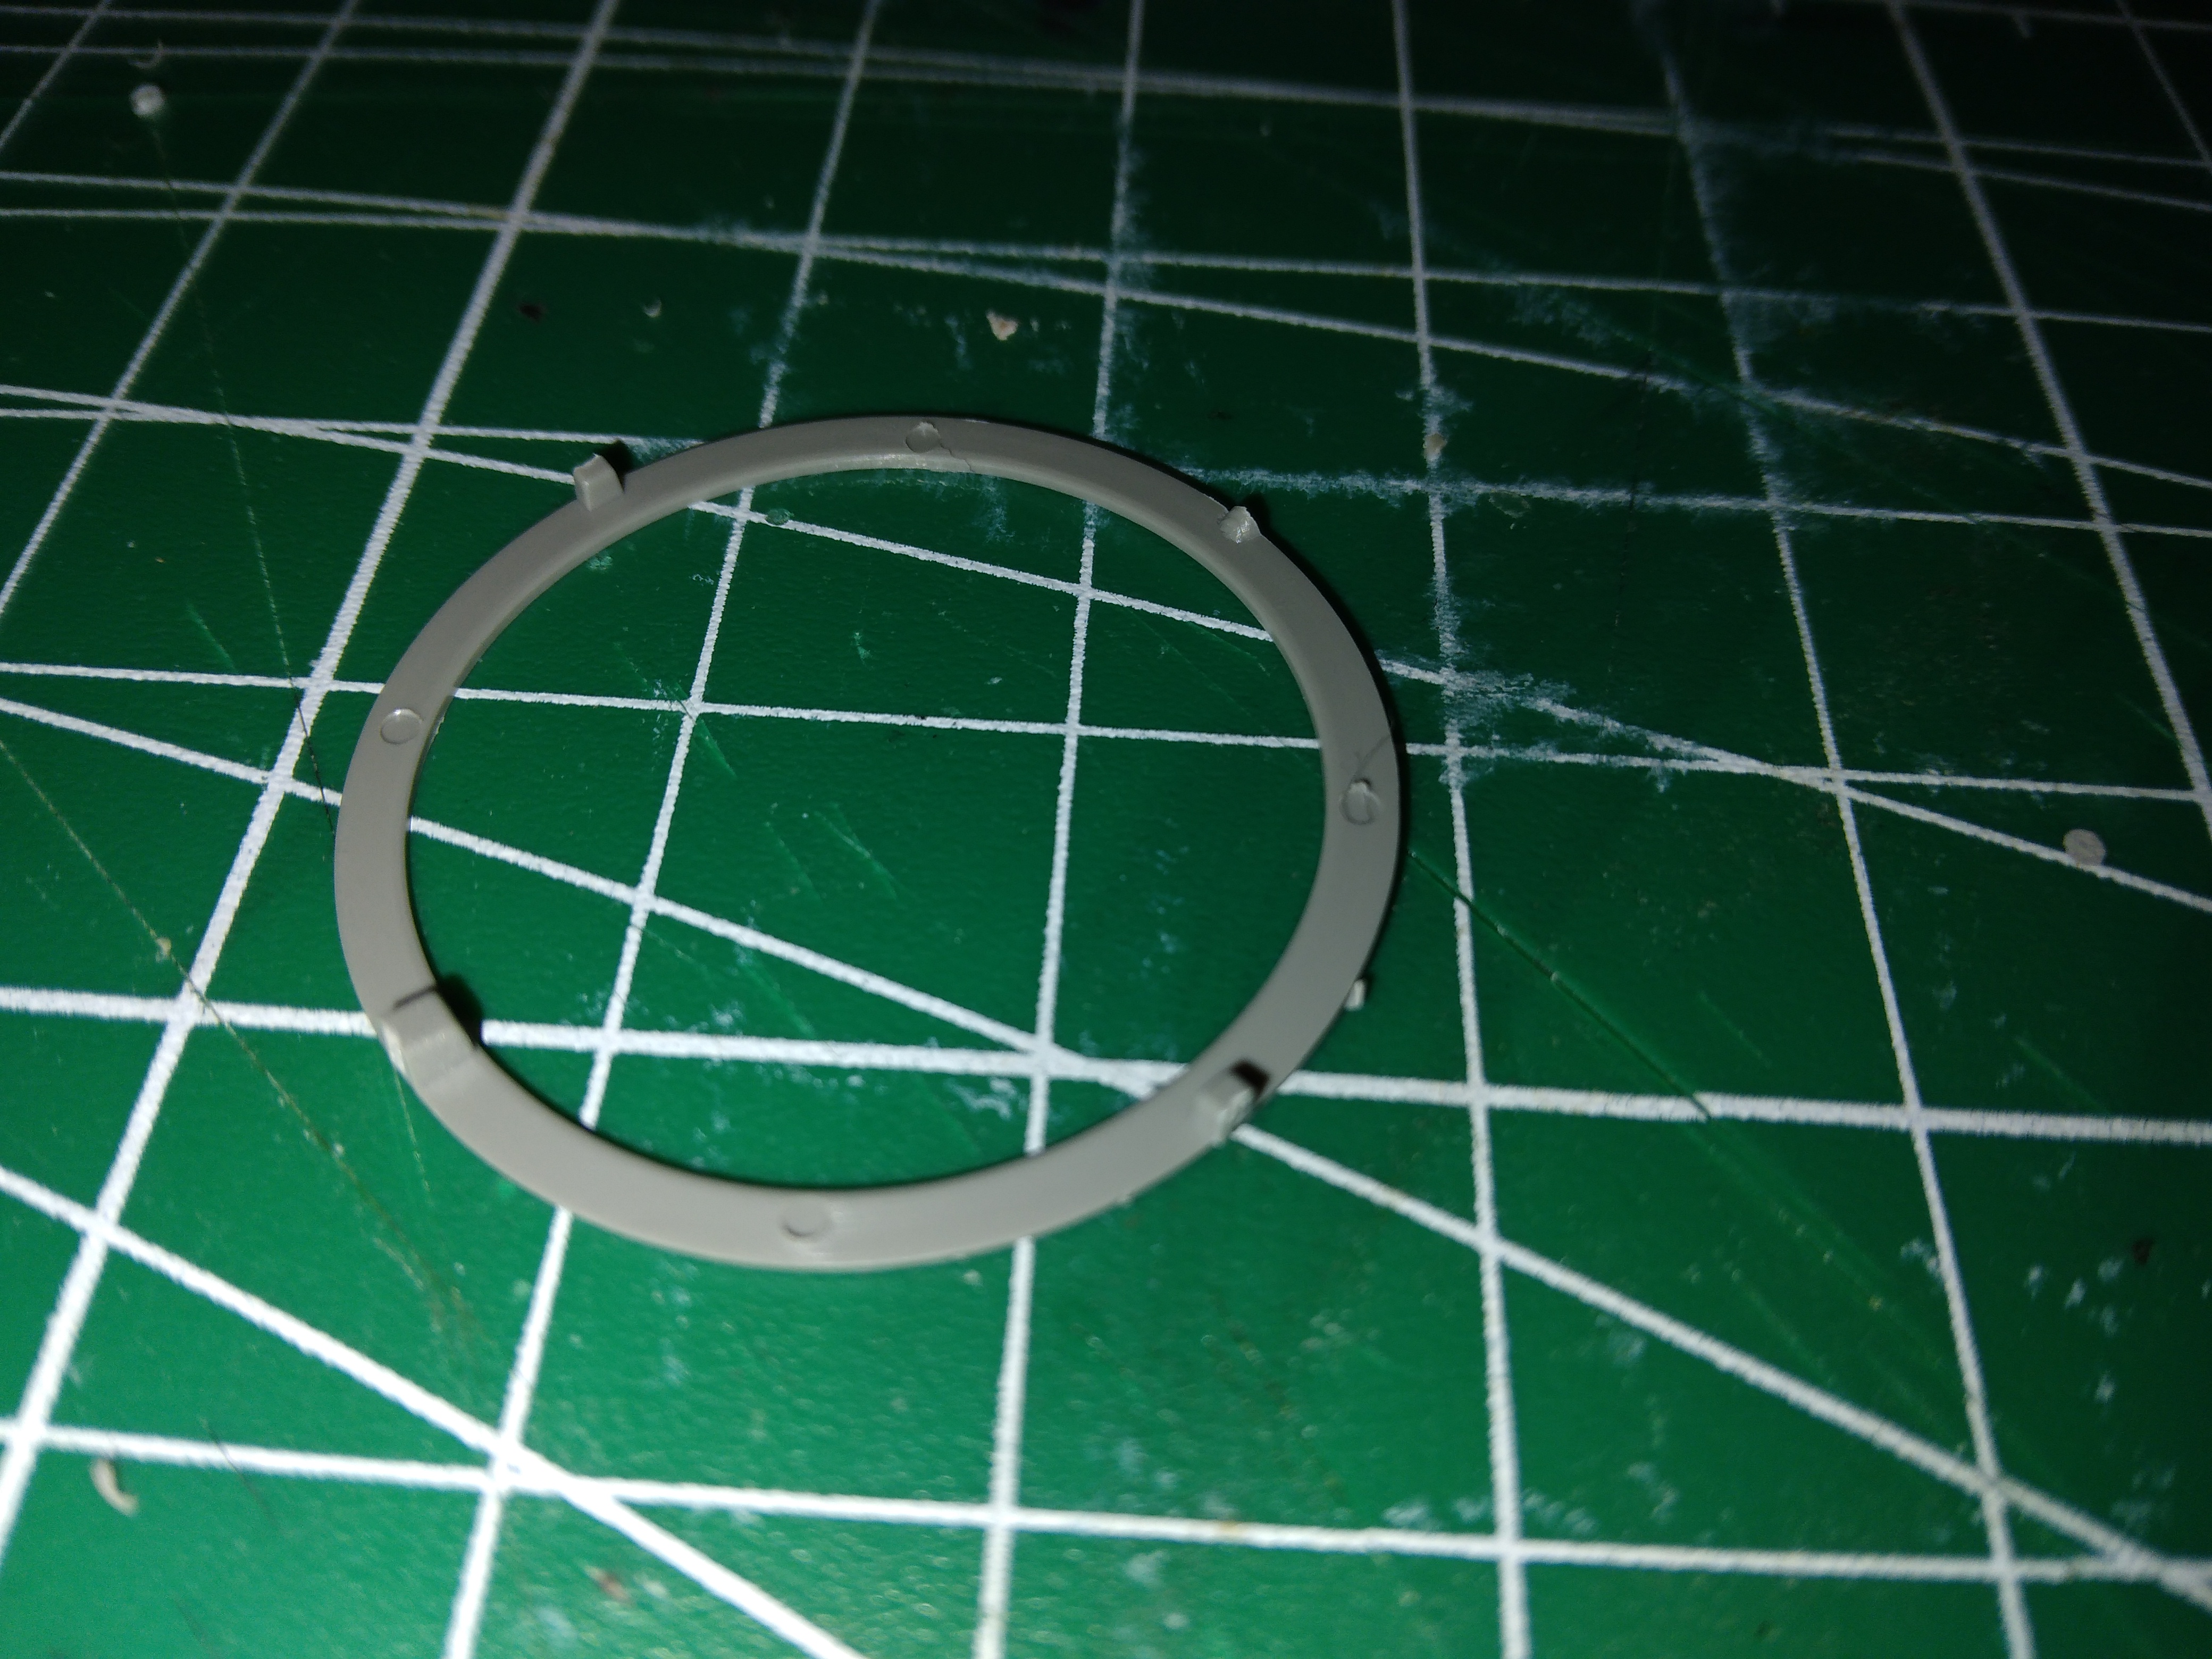
You mean they are on the outside? It drives me crazy when they do that, or the ejector pin marks, they could easily be on the inside.Wheel rims need a bit of clean up. The gates are on the side

Agree!This will be epic build!
Big model, little vehicle, judging by the figure size... So much detail!

Jakko
Well-Known Member
I think he means they're on the flat side rather than on the circumference. This makes them harder to clean up, but the ring will be perfectly circular without flats or other imperfections caused by cutting off the gates.You mean they are on the outside?
So "gates" are where the sprue attaches to the part?I think he means they're on the flat side rather than on the circumference. This makes them harder to clean up, but the ring will be perfectly circular without flats or other imperfections caused by cutting off the gates.
Edbert
Well-Known Member
- Joined
- May 16, 2024
- Messages
- 3,117
Yessir.So "gates" are where the sprue attaches to the part?
Jakko
Well-Known Member
Yes. Well, technically it's where the part attached to the runnerSo "gates" are where the sprue attaches to the part?
 If you want to be accurate in terminology, the sprue is actually where the plastic pellets are injected into the mould, while the frame that holds the parts is the runner; the place where this narrows to attach to the part is the gate. The actual sprue is usually removed in the factory.
But in modellers' terminology, rather than plastic manufacturing terminology, the sprue is the frame the parts are attached to by means of the gates.
The foot bone's connected to the —But in modellers' terminology
ankle bone...
the ankle bone's connected...
Yep they are on the flat side. the flush nippers I have were good enough since you can't see that side after attaching them to the wheels.You mean they are on the outside? It drives me crazy when they do that, or the ejector pin marks, they could easily be on the inside.
Sorry I was gone fer a while, business has picked up a bit and I've been getting home late, not really wanting to stay up to late even for the forums

- Joined
- Apr 29, 2024
- Messages
- 1,569
You see? That's why I call him Joe College.The foot bone's connected to the —
ankle bone...
the ankle bone's connected...
Could do worse!I call him Joe

My French Canadian grandad on my mum's side's name was Almanzor. So all the anglos at work called him Joe.
...and sometimes, if I spend just a little too long making sure something is locked, tied or properly put away, my wife starts singing that song from John Prine, "Safety Joe"!!
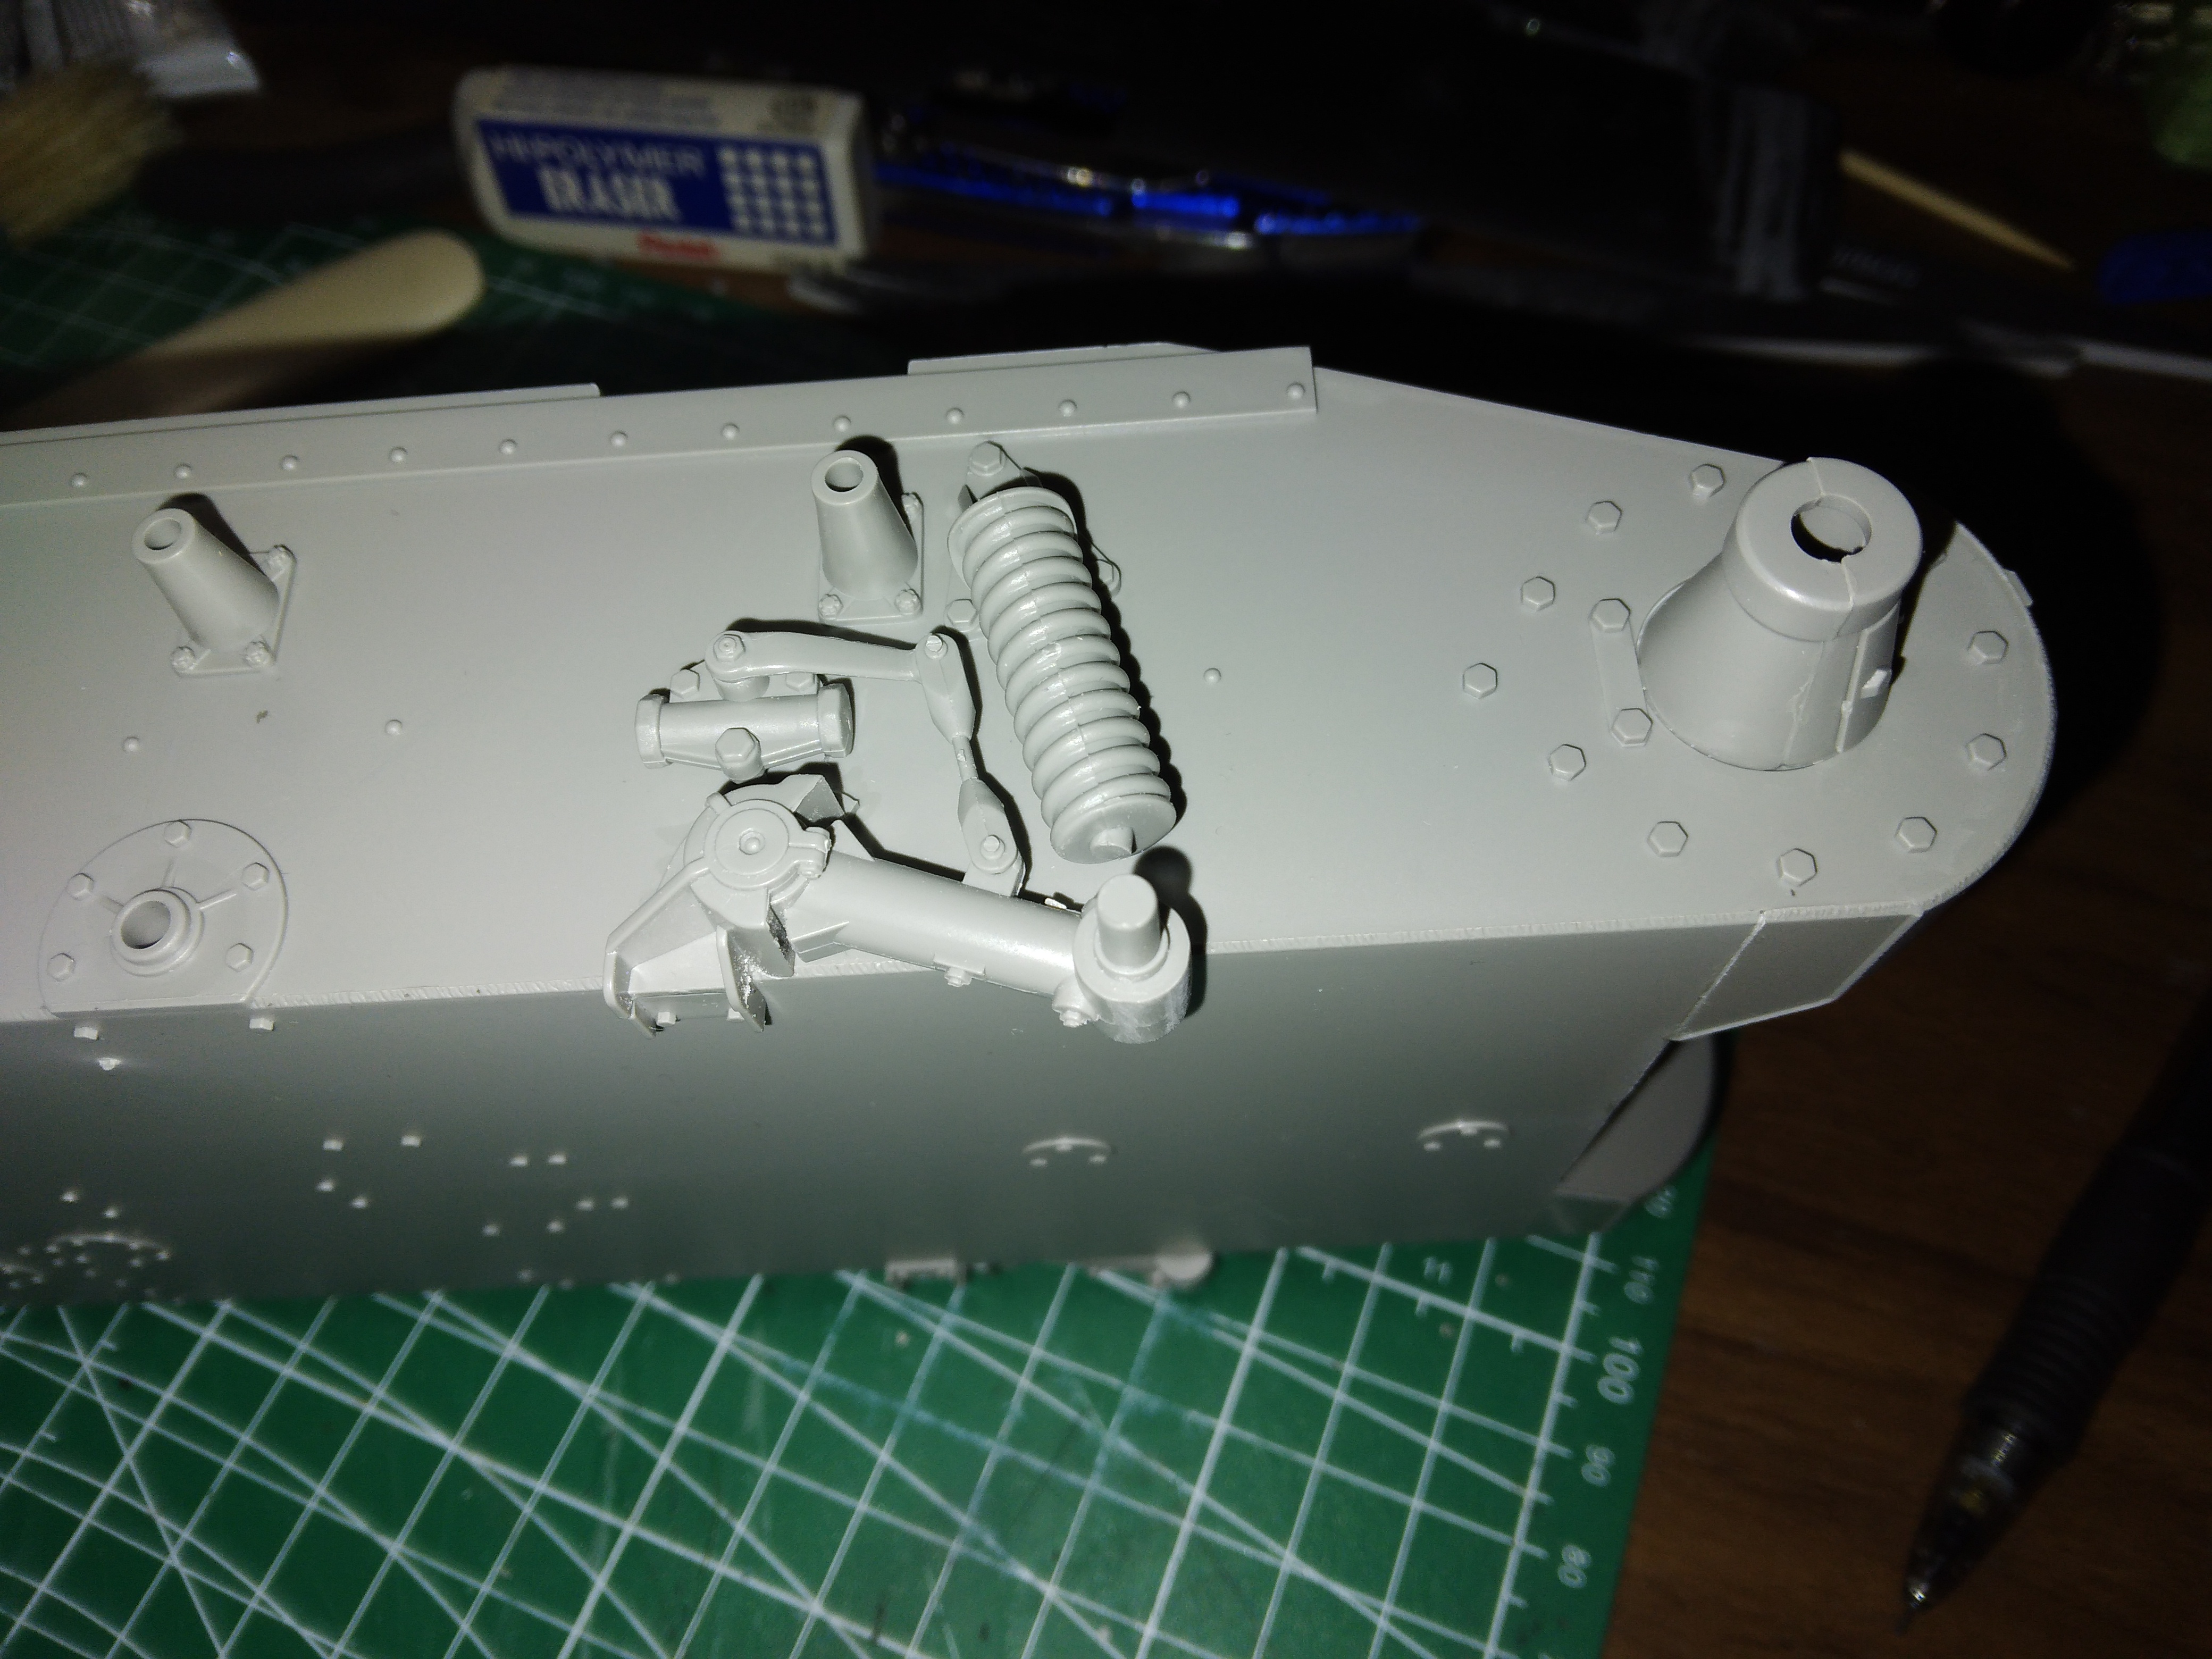
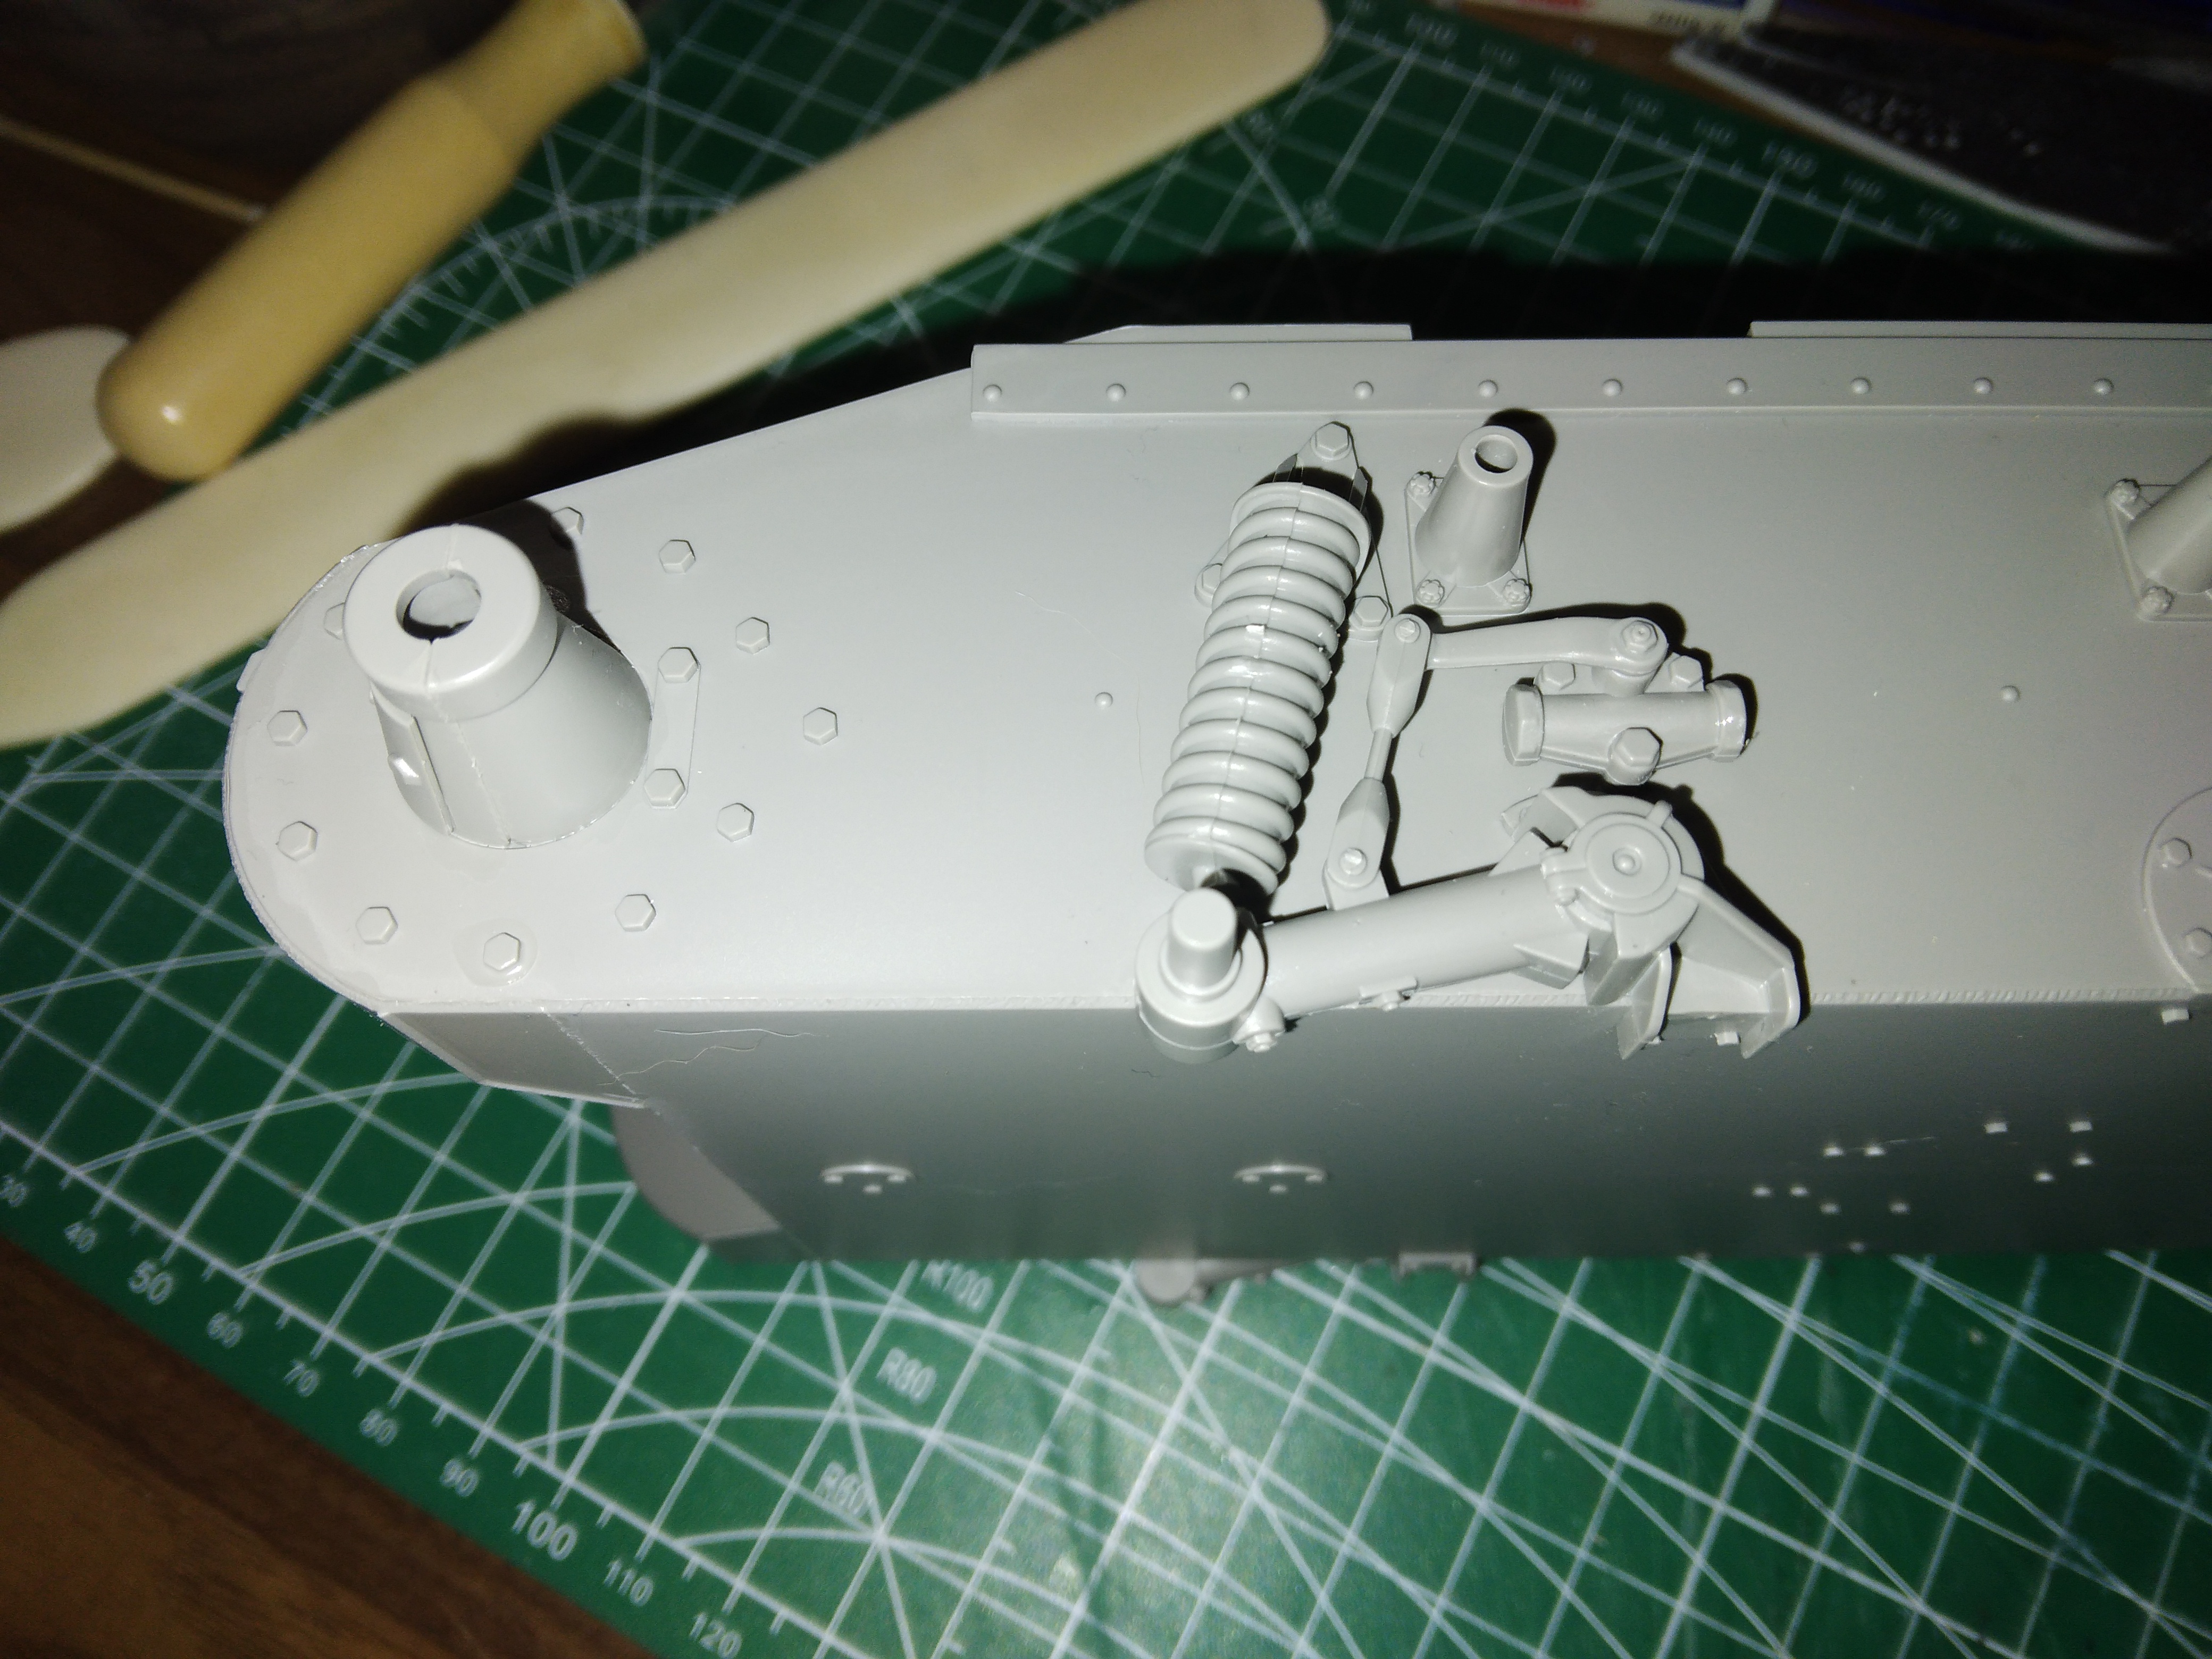
Did some work on the hull. Yes that front arm is moving and made from 5 parts.
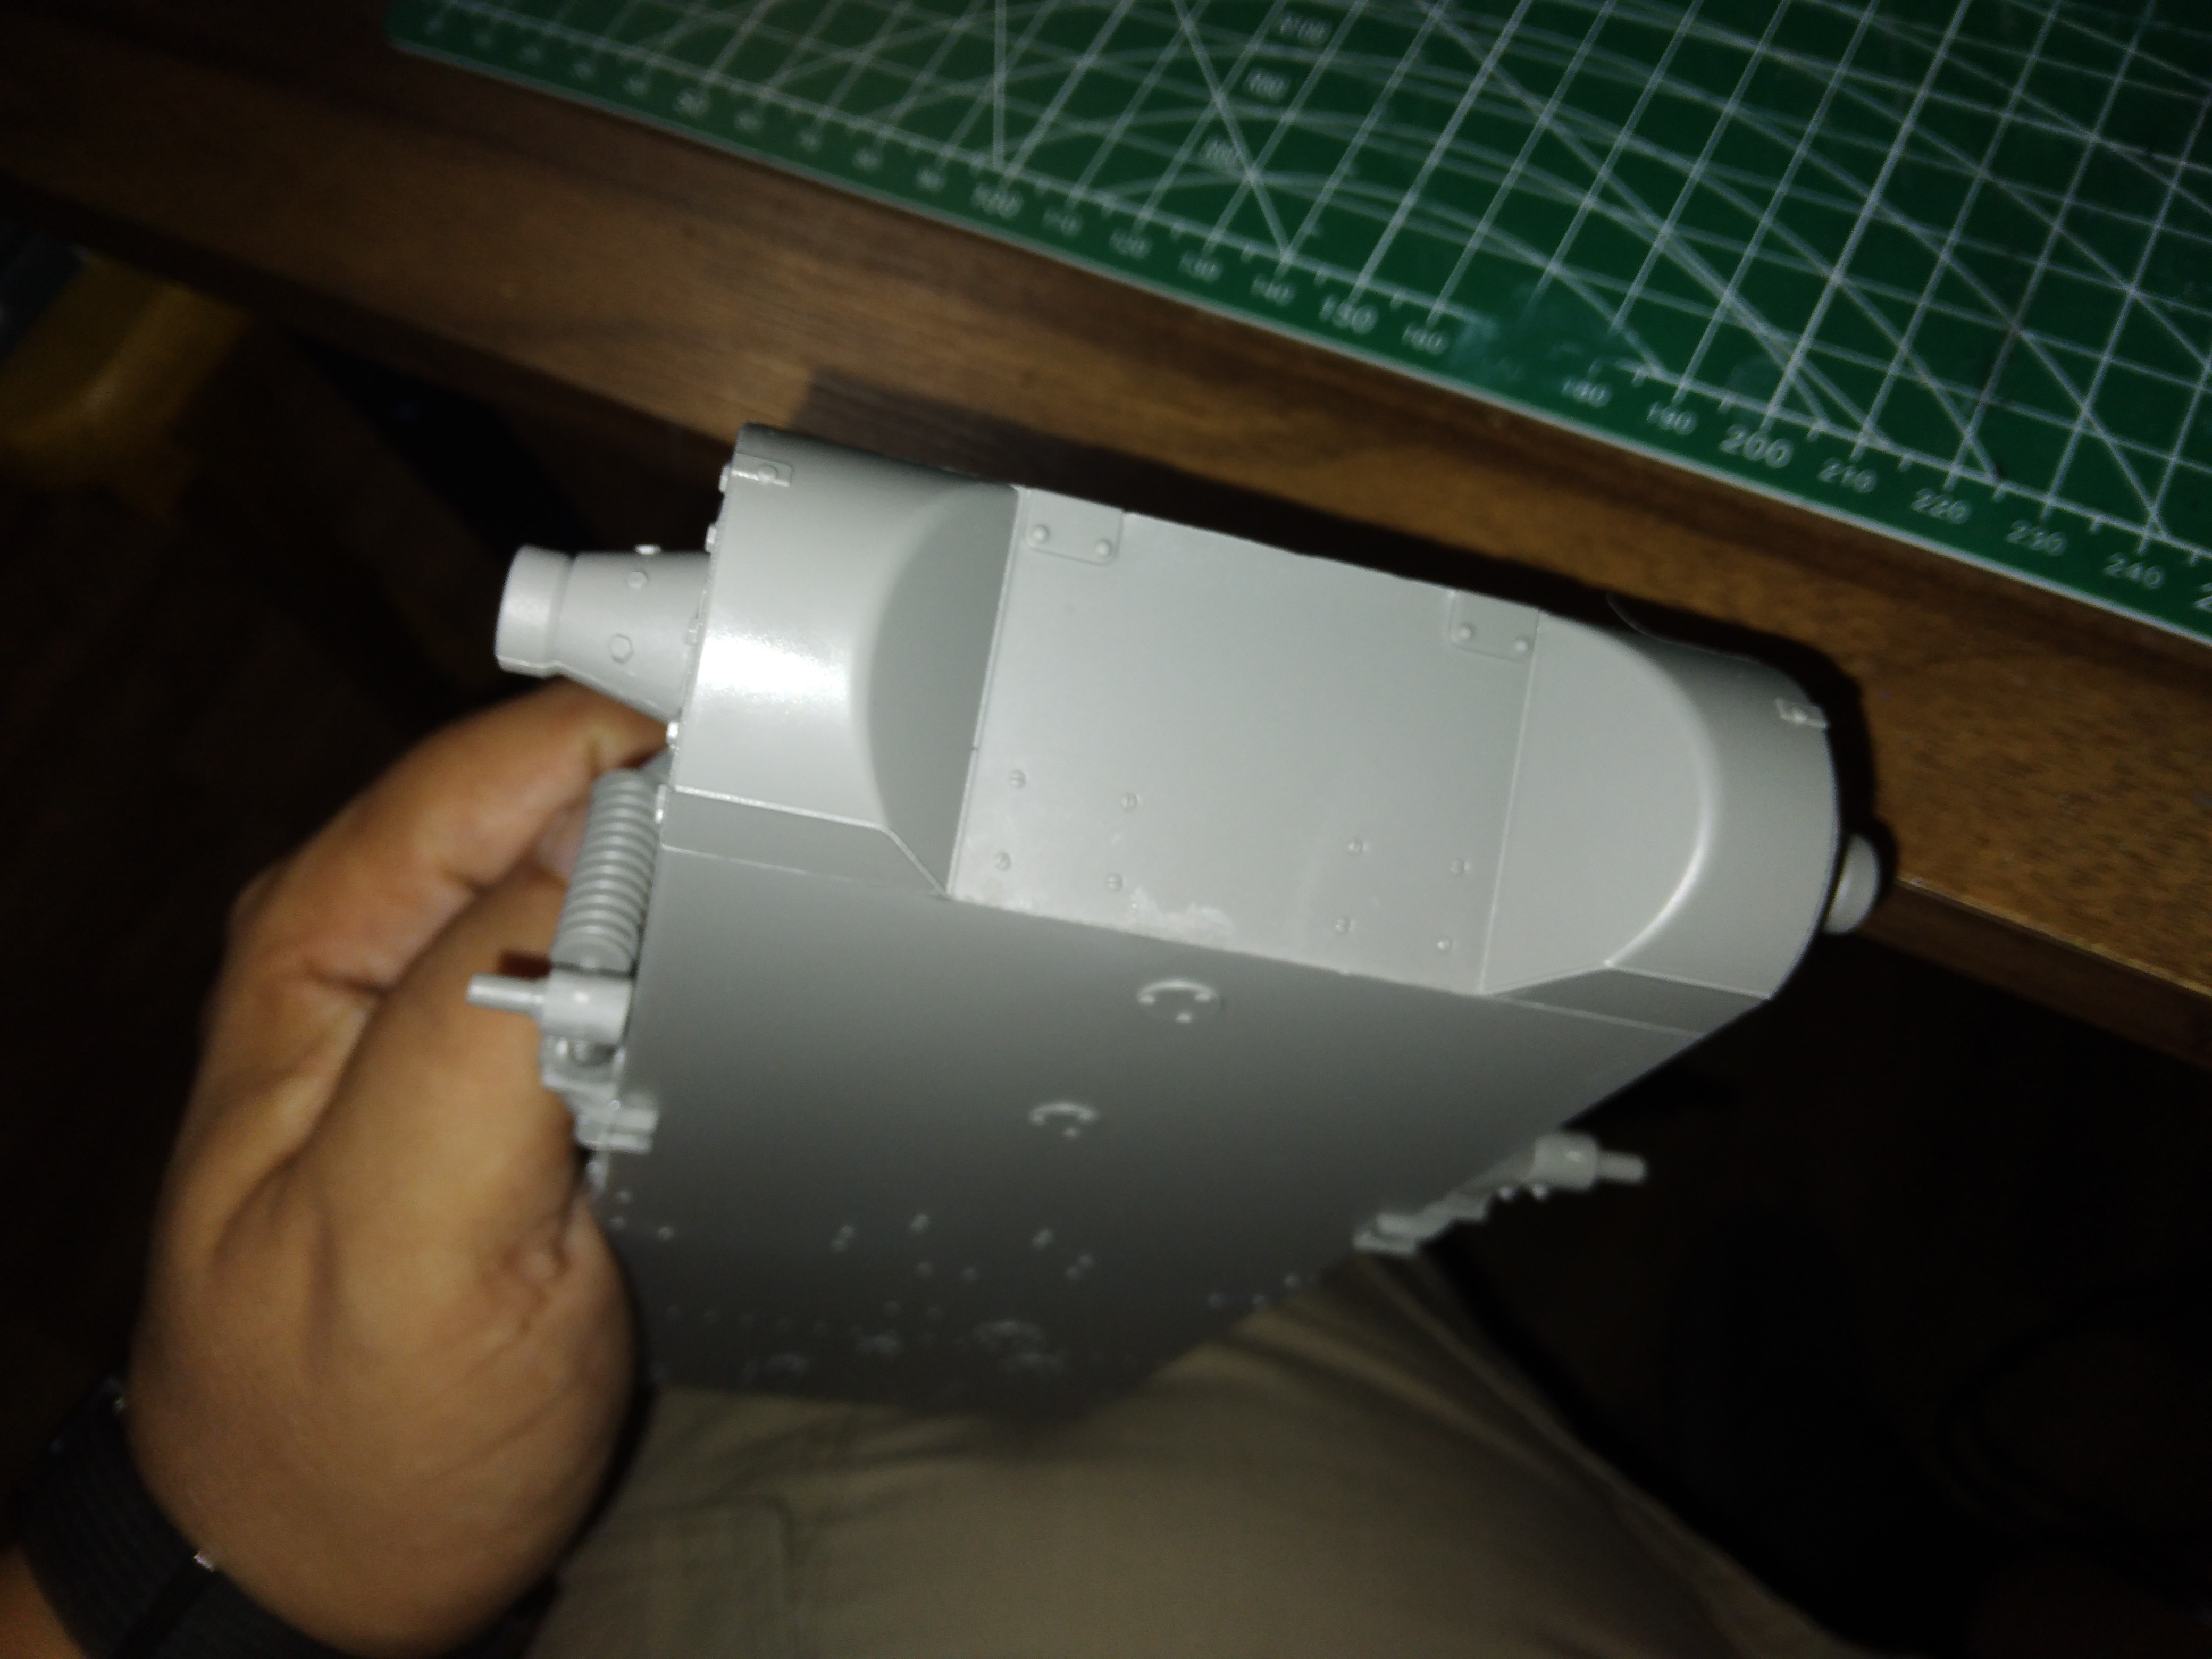
That front plate went on easy, no sanding or scraping needed
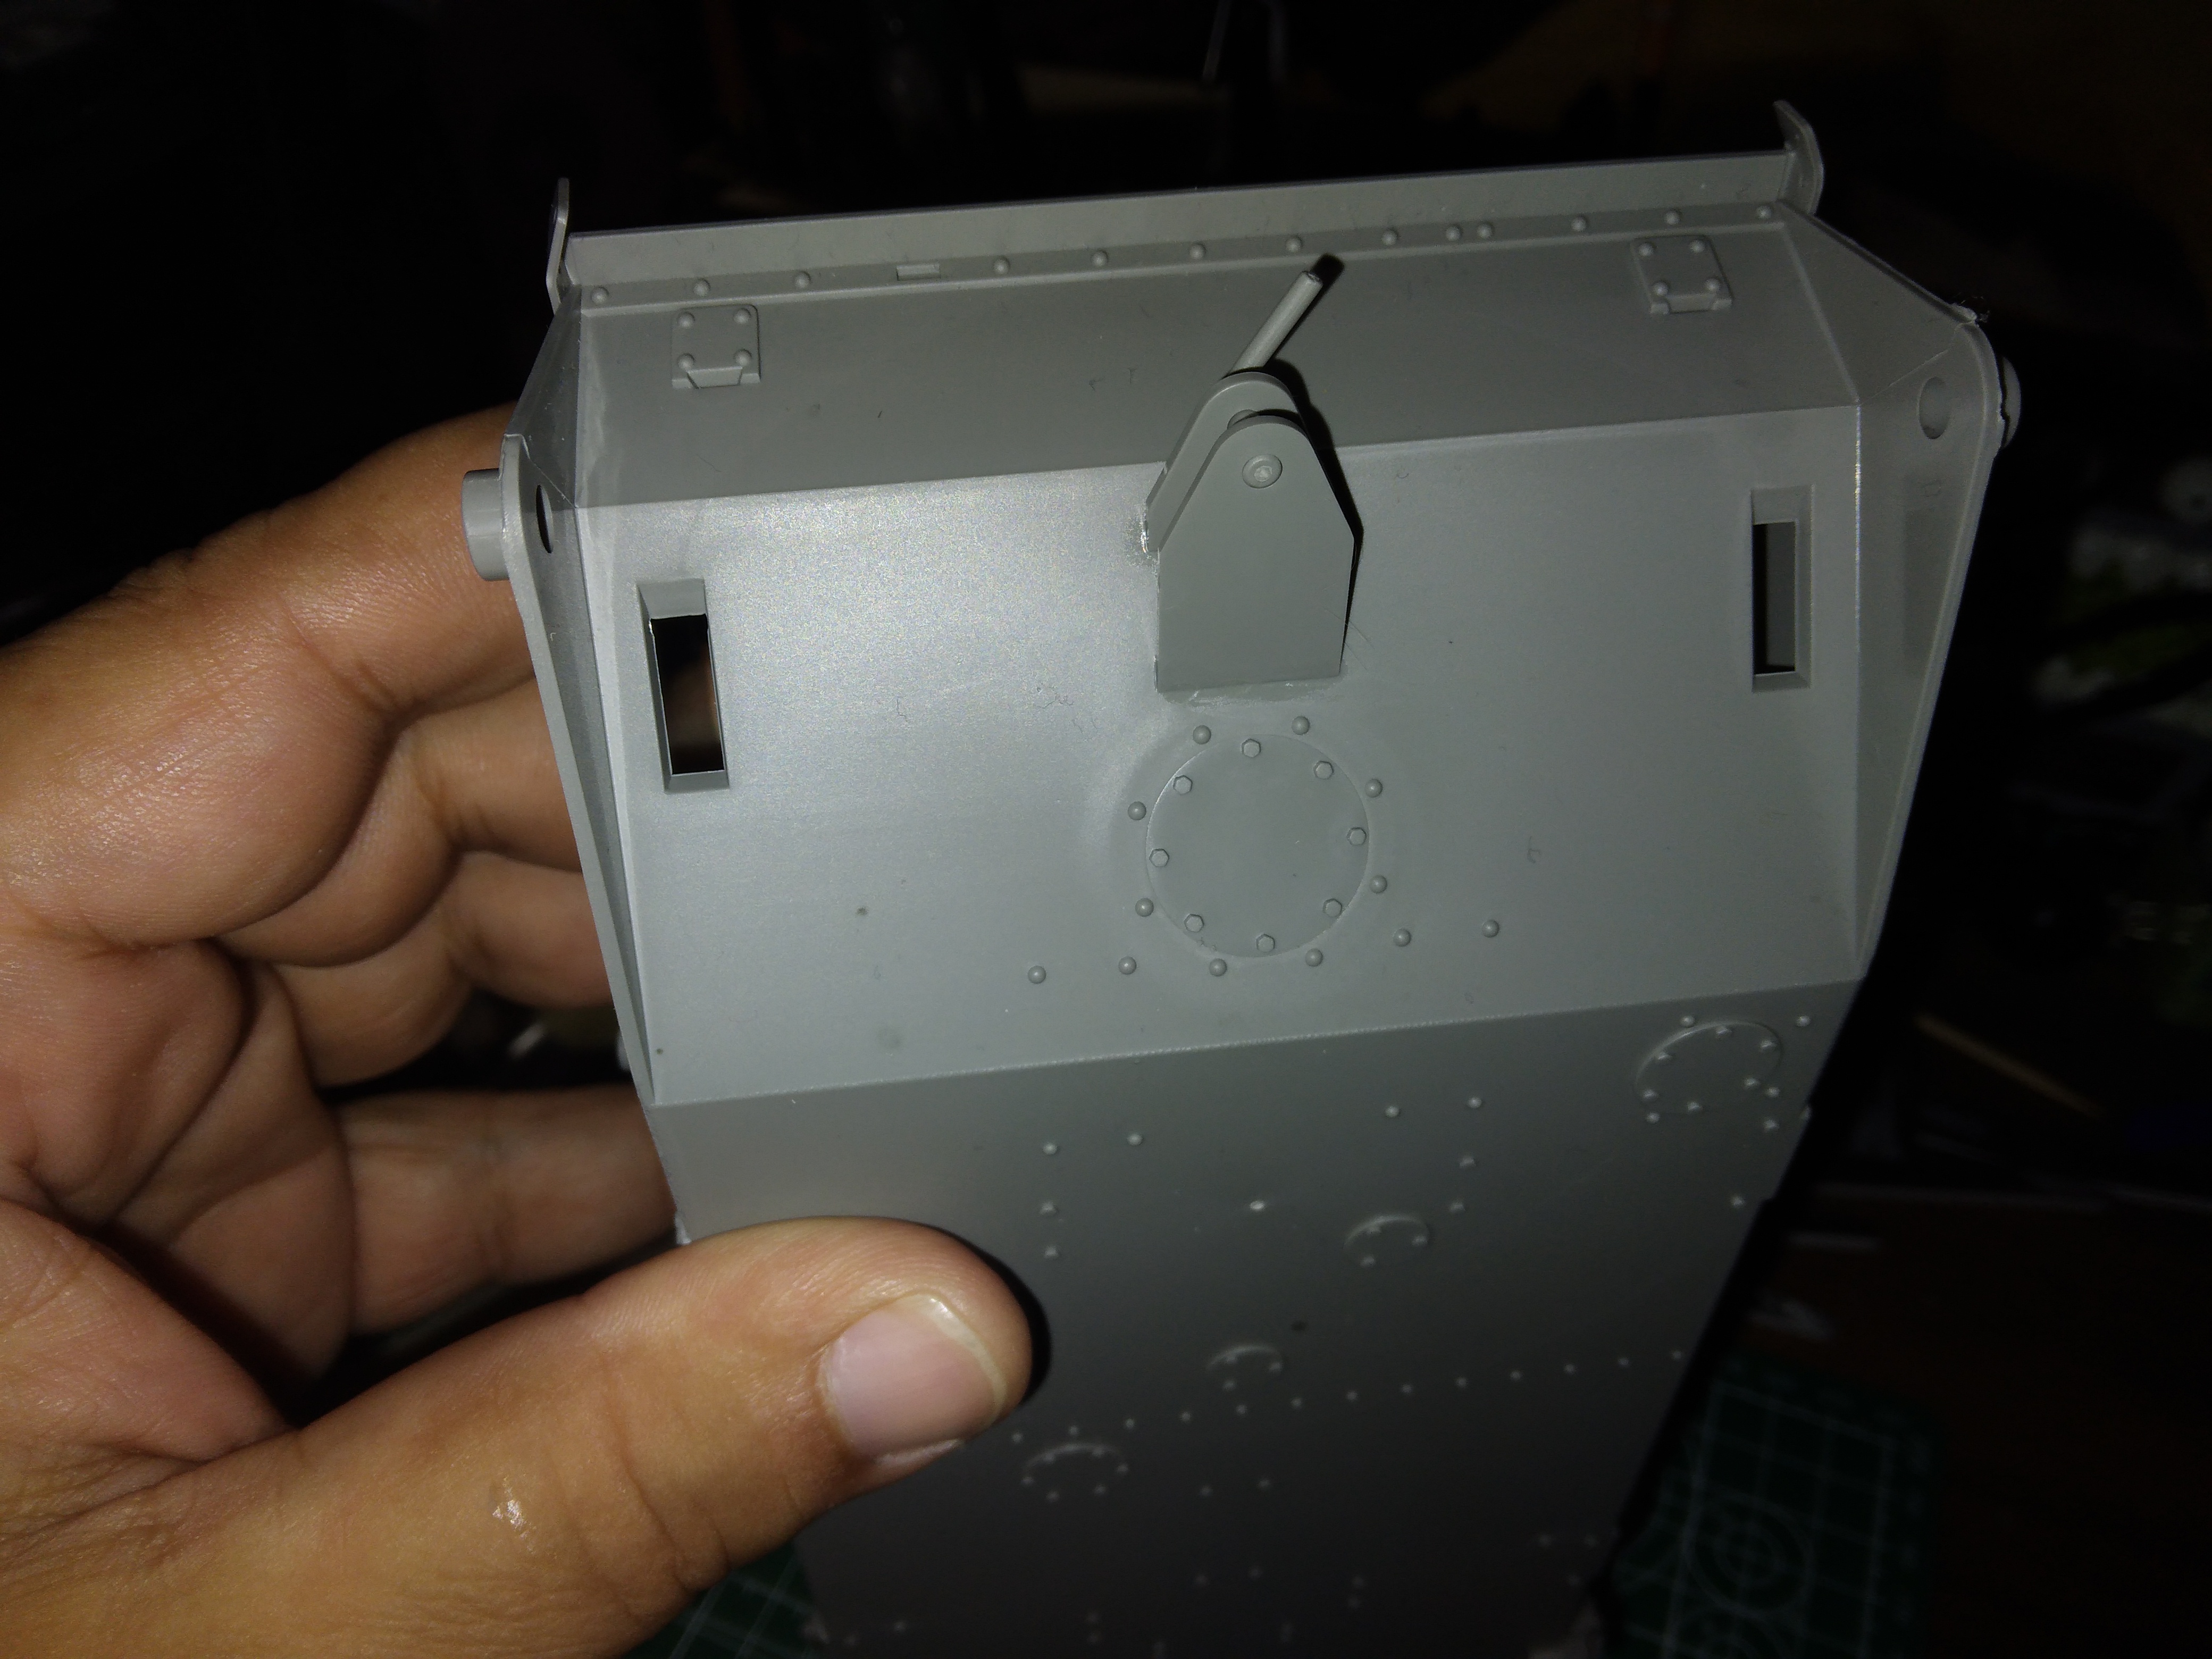
And the towing pintle is installed
So far this model has gone together very easily. The only complaint is the location of some of the sprue connections and on one piece the amount of ejector pin marks.
I've done one or two takoms and my experience was about the same as yours has been. It's a nice build!View attachment 196091View attachment 196092
Did some work on the hull. Yes that front arm is moving and made from 5 parts.
View attachment 196093
That front plate went on easy, no sanding or scraping needed
View attachment 196094
And the towing pintle is installed
So far this model has gone together very easily. The only complaint is the location of some of the sprue connections and on one piece the amount of ejector pin marks.
Jakko
Well-Known Member
In quality of moulding, I'd say Takom is pretty close to Tamiya. However, Tamiya easily leads in buildability and quality of the instructions — Takom kits give me the impression they only ever test-build them on their computer, and the instructions reflect that.


